Toggle Nav
 Inspire.
Create.
Stitch.
Inspire.
Create.
Stitch.
Search
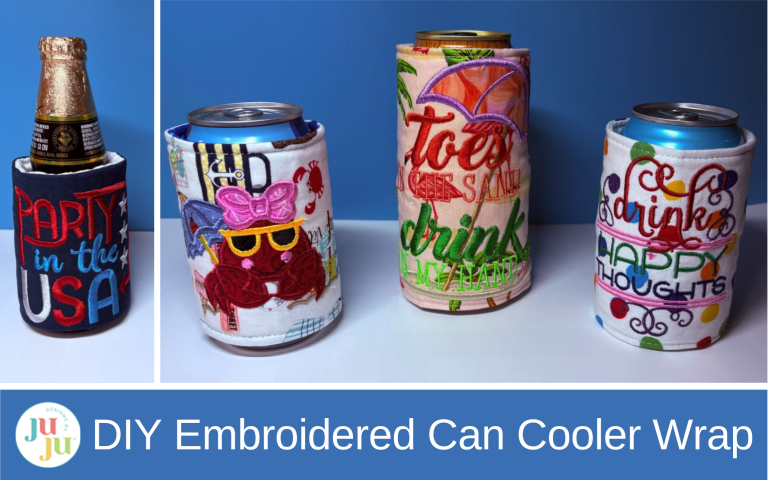
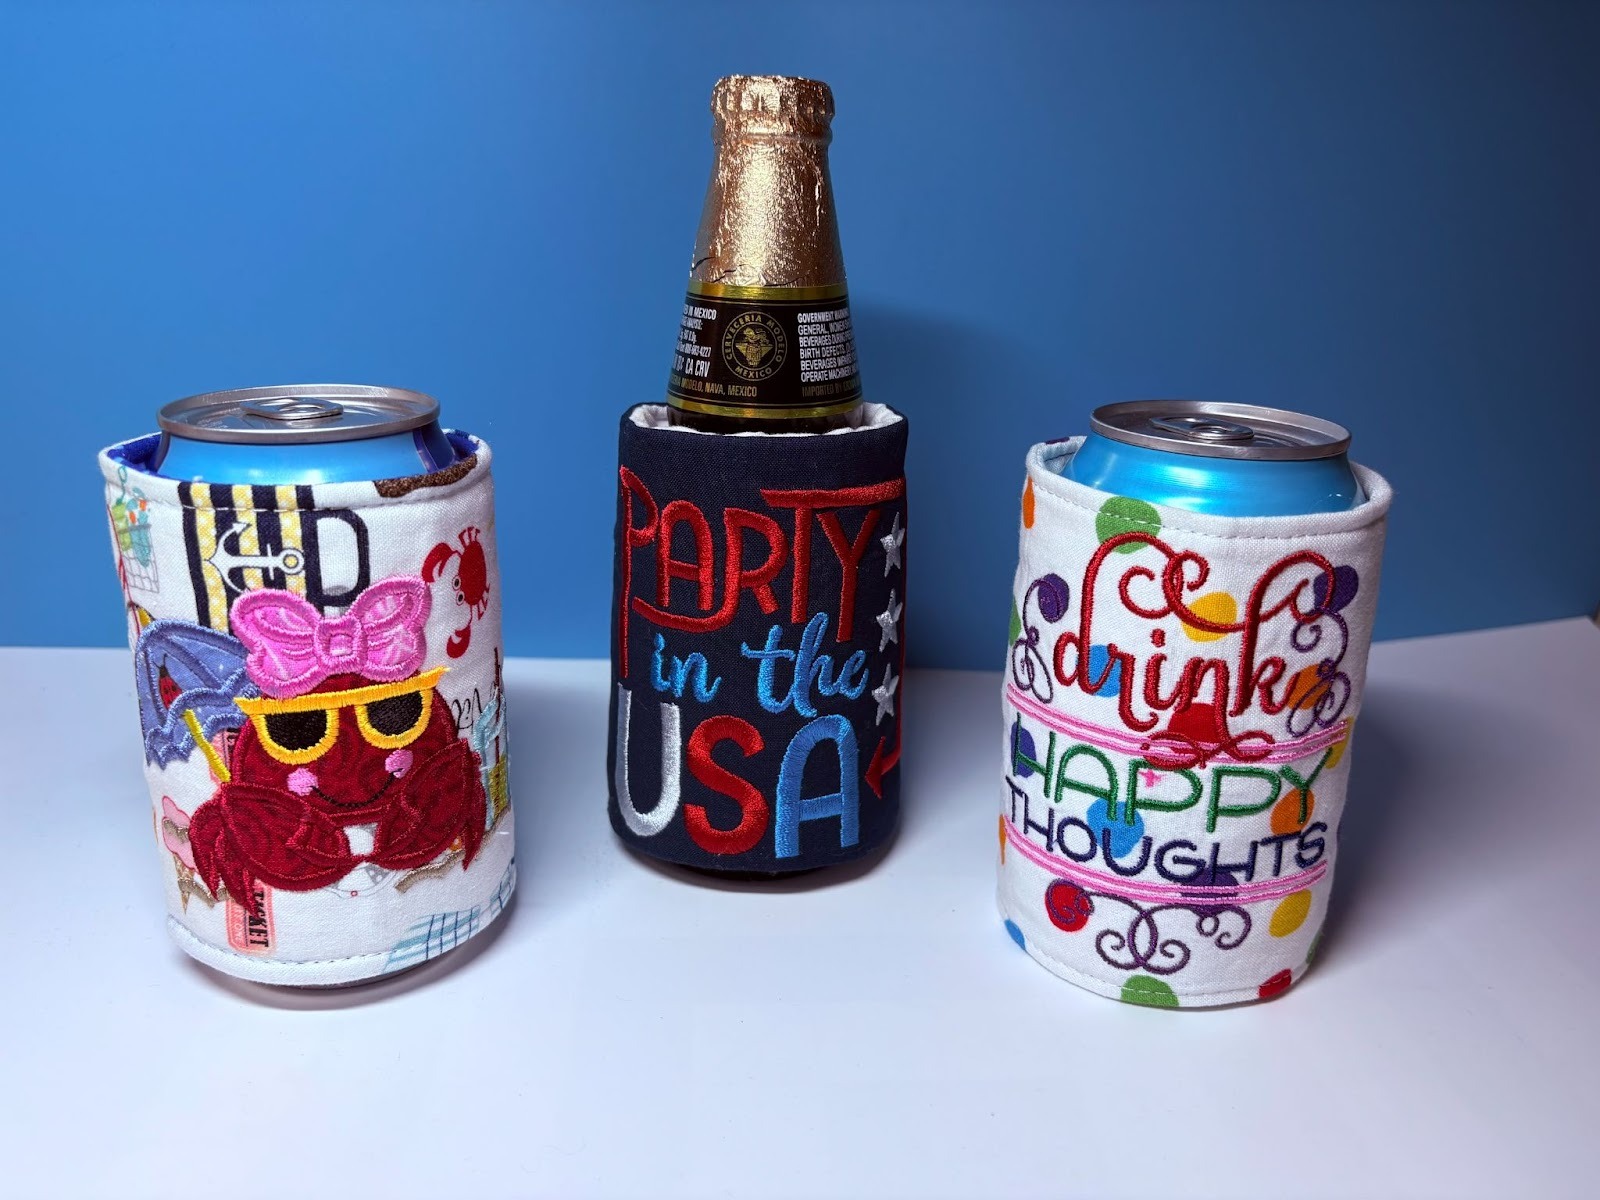
Create custom embroidered can-cooler wraps with your favorite Designs by JuJu designs. This quick machine embroidery project makes fun gifts for summer parties, picnics, barbecues, and patriotic celebrations.
Grab a cold drink and let’s get creative! In this DIY, you’ll make a custom can-cooler wrap that’s both stylish and useful. Whether you’re by the pool, at a picnic, or relaxing on the porch, this project adds a personal touch to every sip. Let’s turn simple supplies into something fun.
These wraps work with a 4x4 hoop, making them perfect for quick stitching sessions. With lots of JuJu designs to choose from, you can mix and match to create a cooler wrap that’s all your own.
Finished size: 4” x 10”, 6” x 10”
Check out the DBJJ team’s favorite supplies in the Designs by JuJu Amazon store. For all your stabilizer and batting needs, be sure to check out Designs by JuJu+.

Prepare the interfacing according to the instructions on the package.
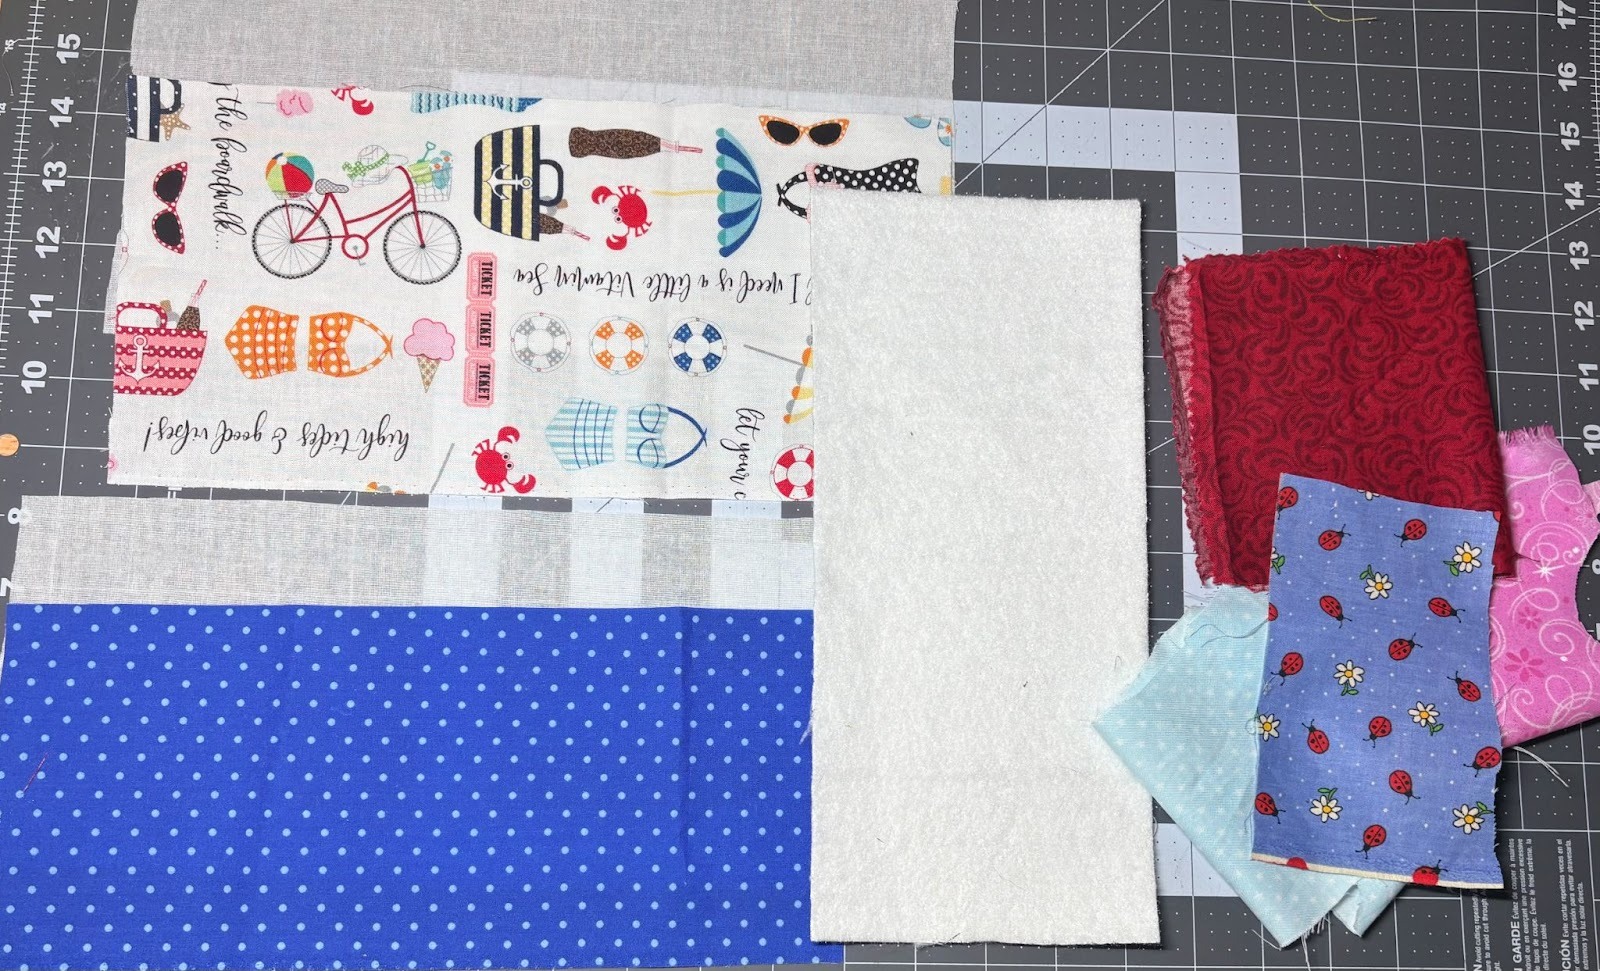
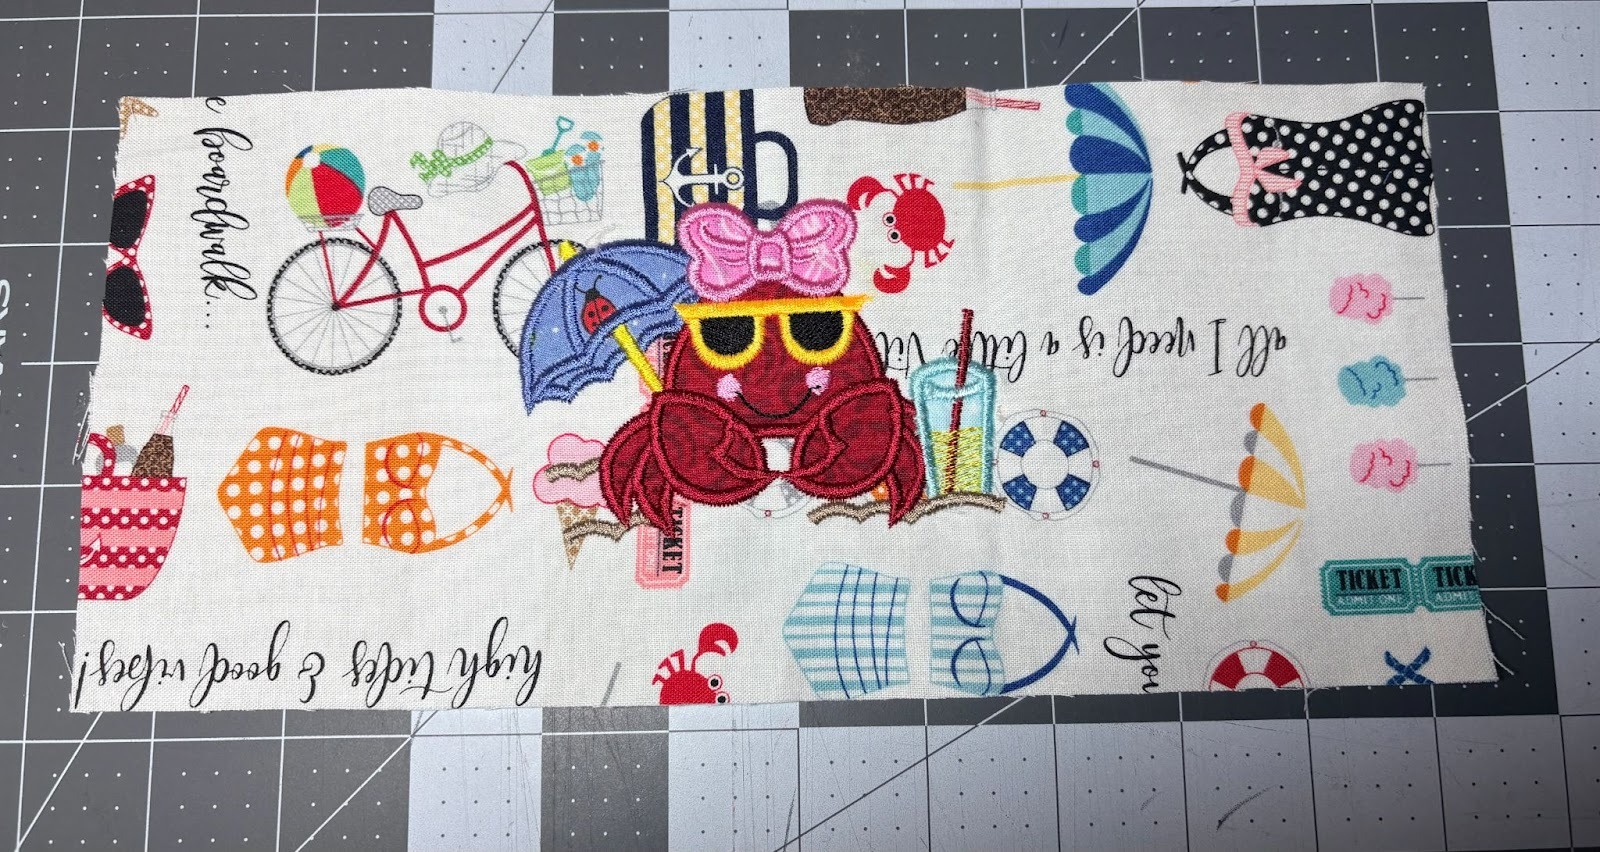
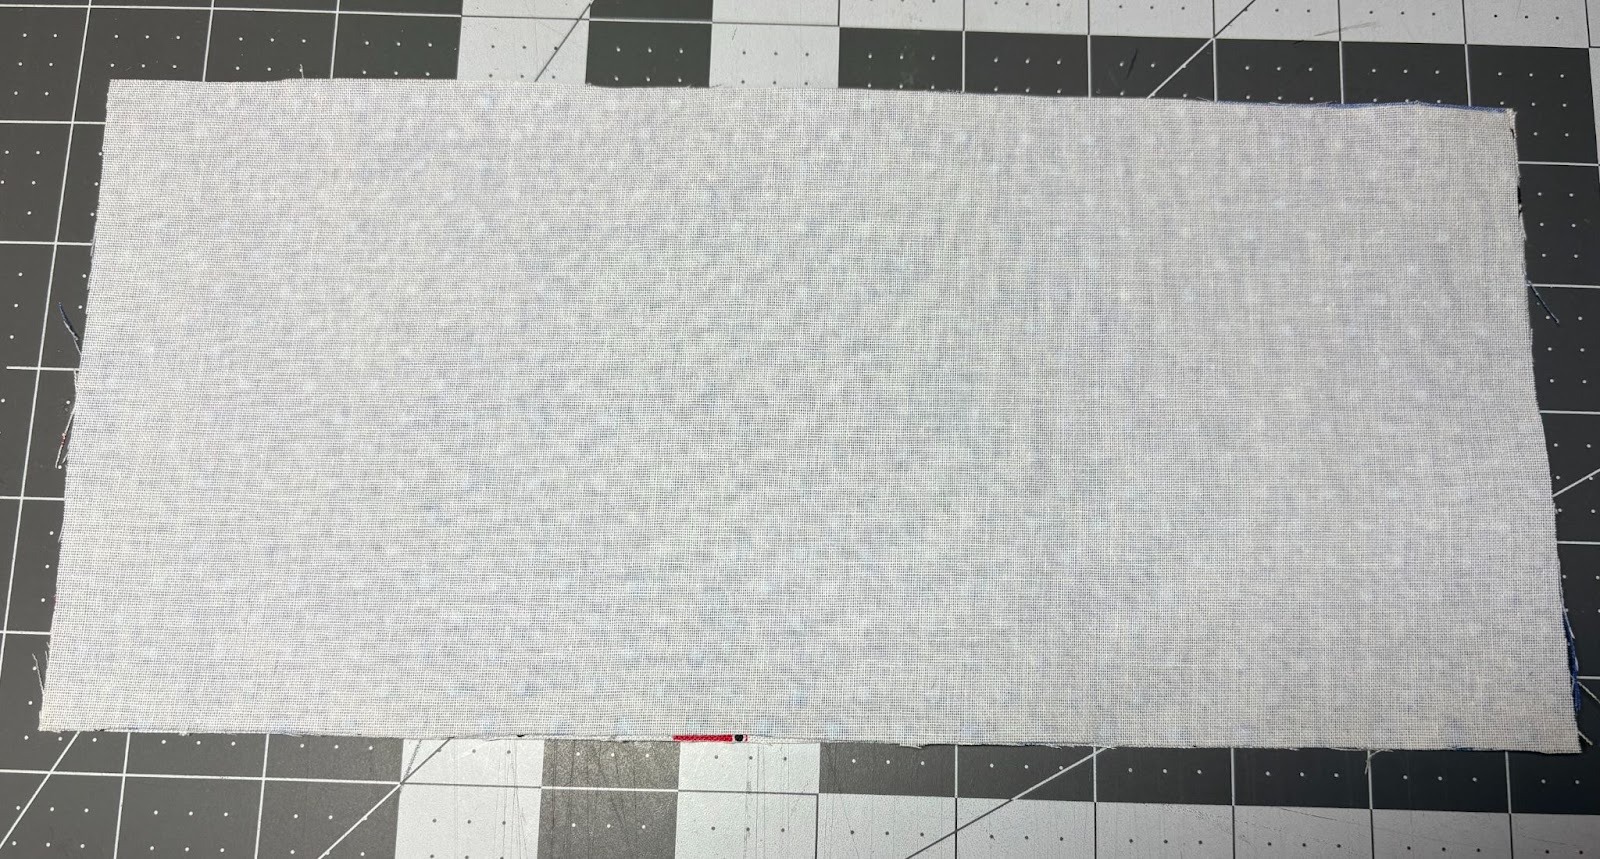
Cut the front and one interfacing fabric to 12” x 6”. Cut the back, second piece of interfacing, and Insul-Brite to 11” x 5”. Gather scraps for any applique.

Fuse prepared interfacing onto the wrong side of each front and back fabric piece.

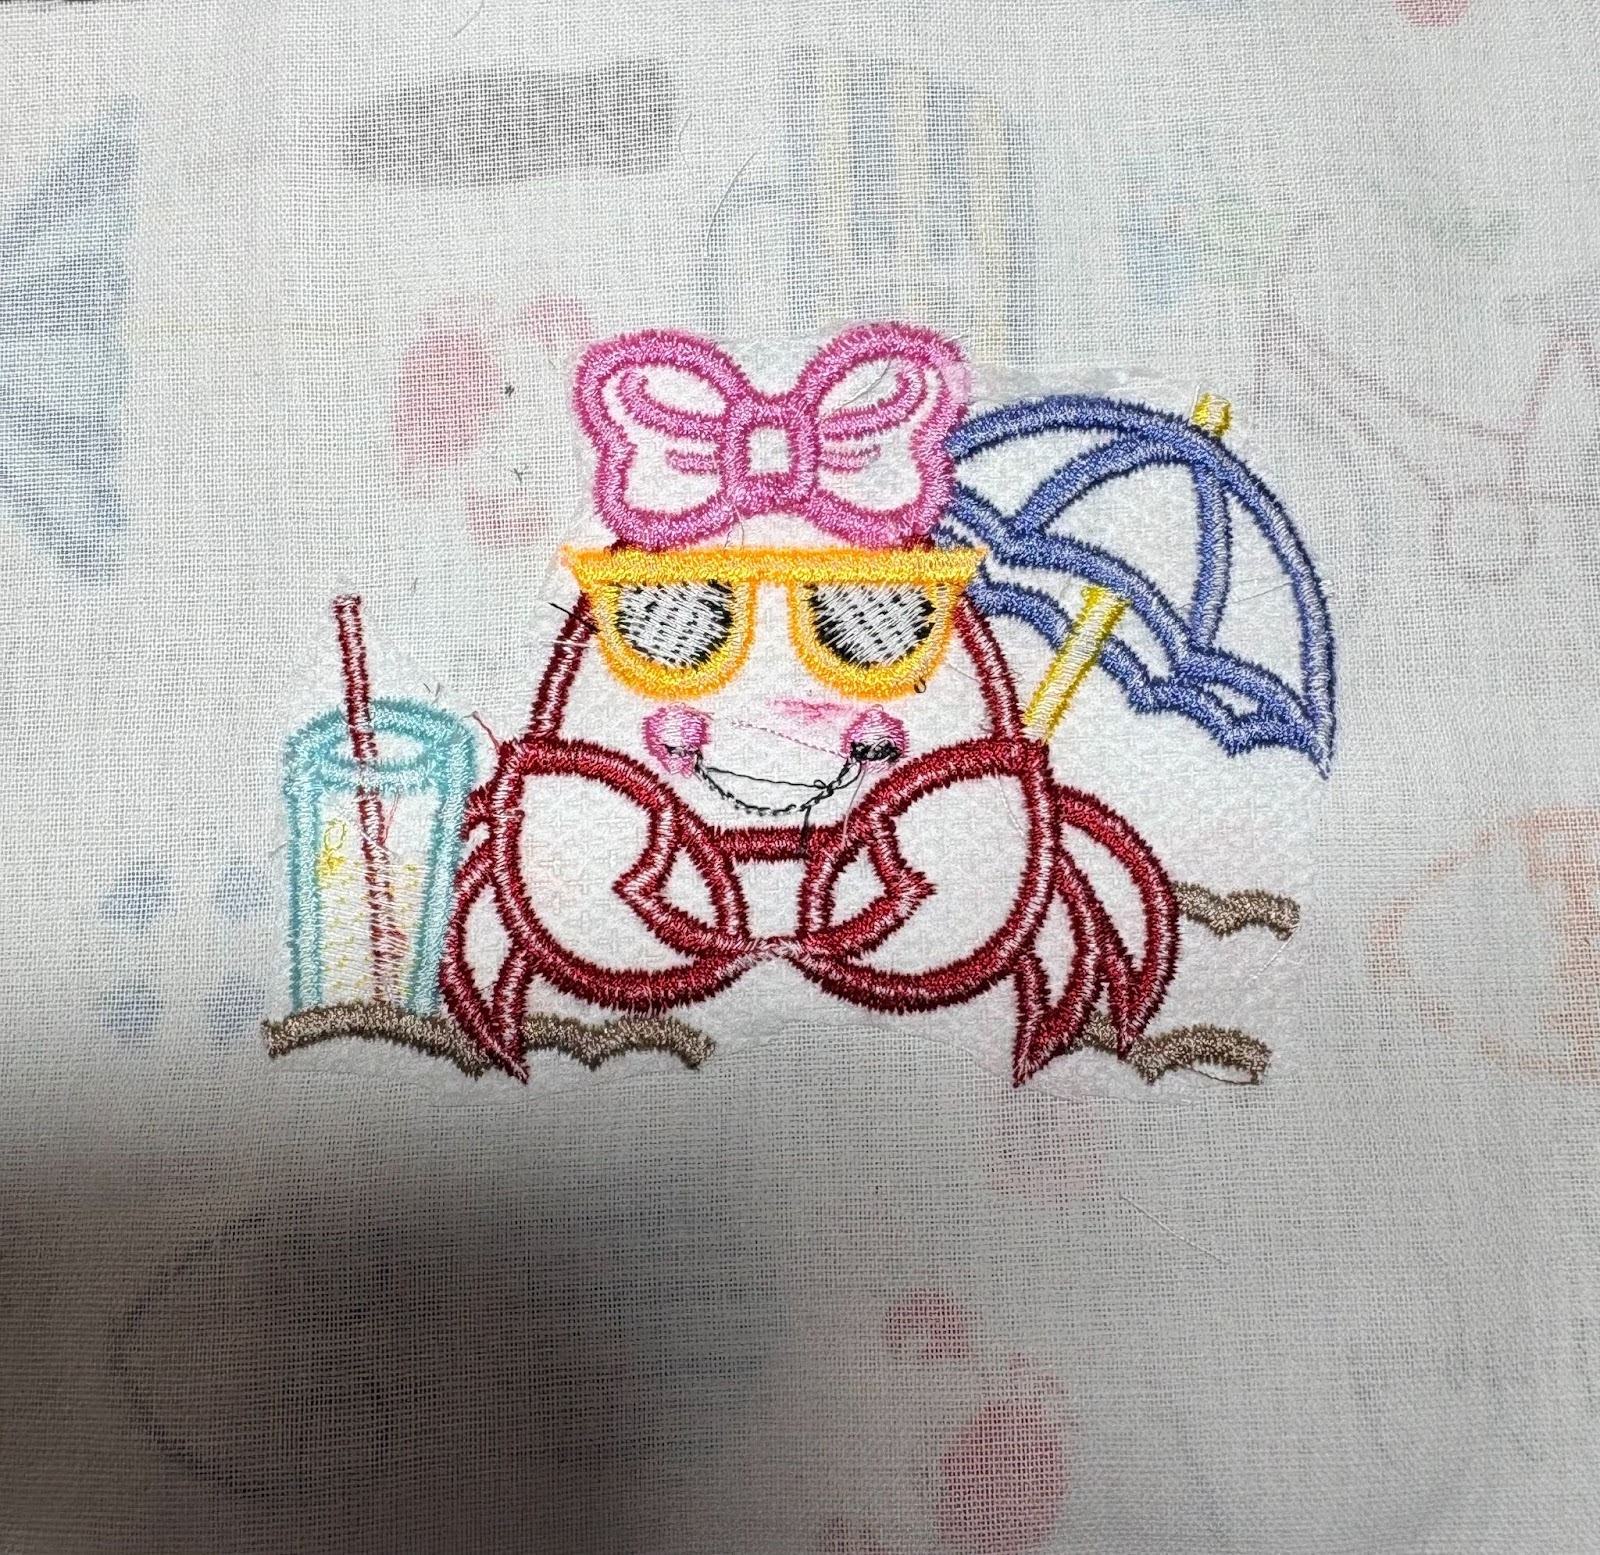
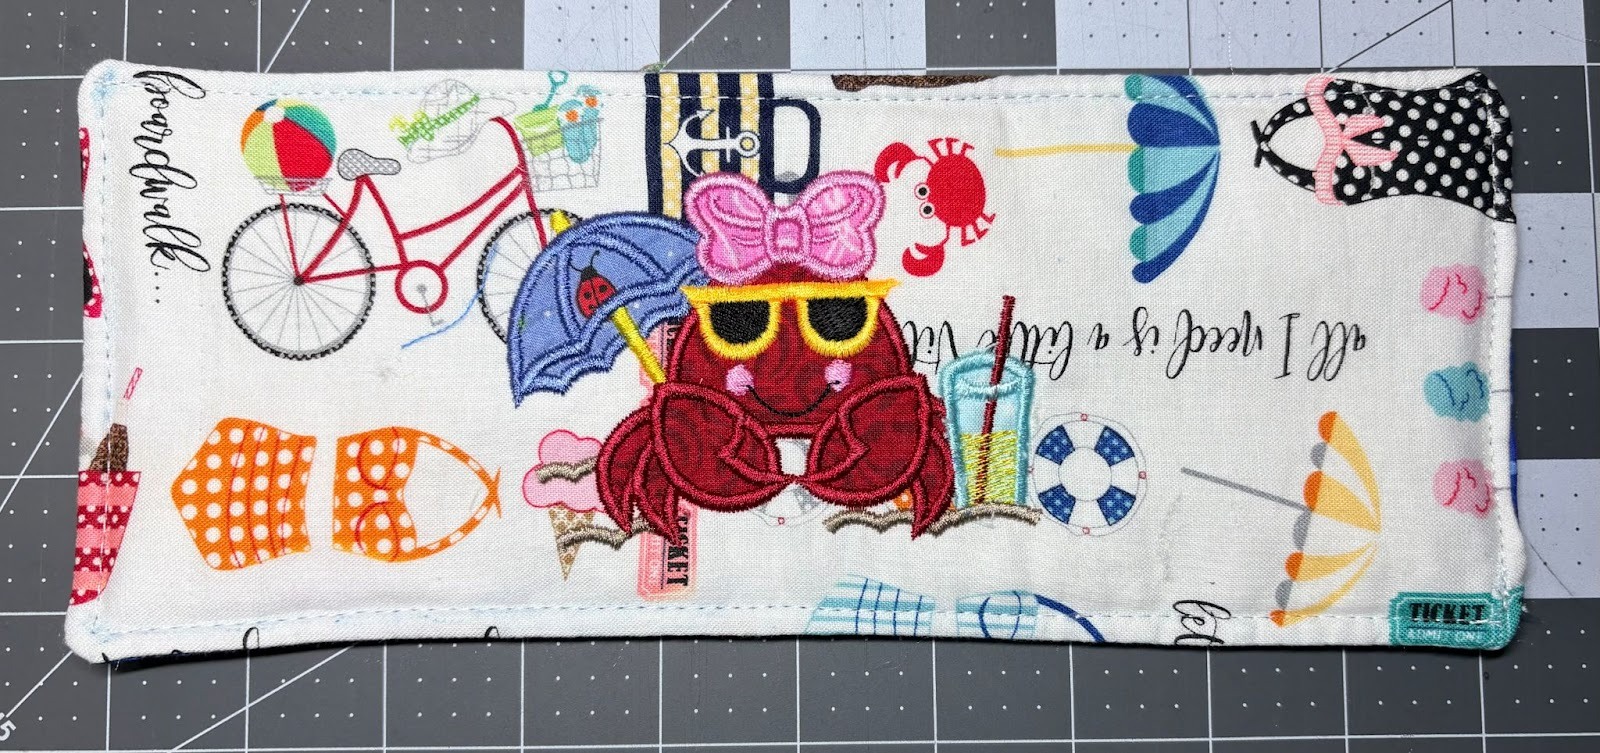
Choose your design and load the 4x4 hoop size. My design is Beach Crab Umbrella Applique.

Hoop magicMESH Cut-Away Stabilizer and take it to the machine.
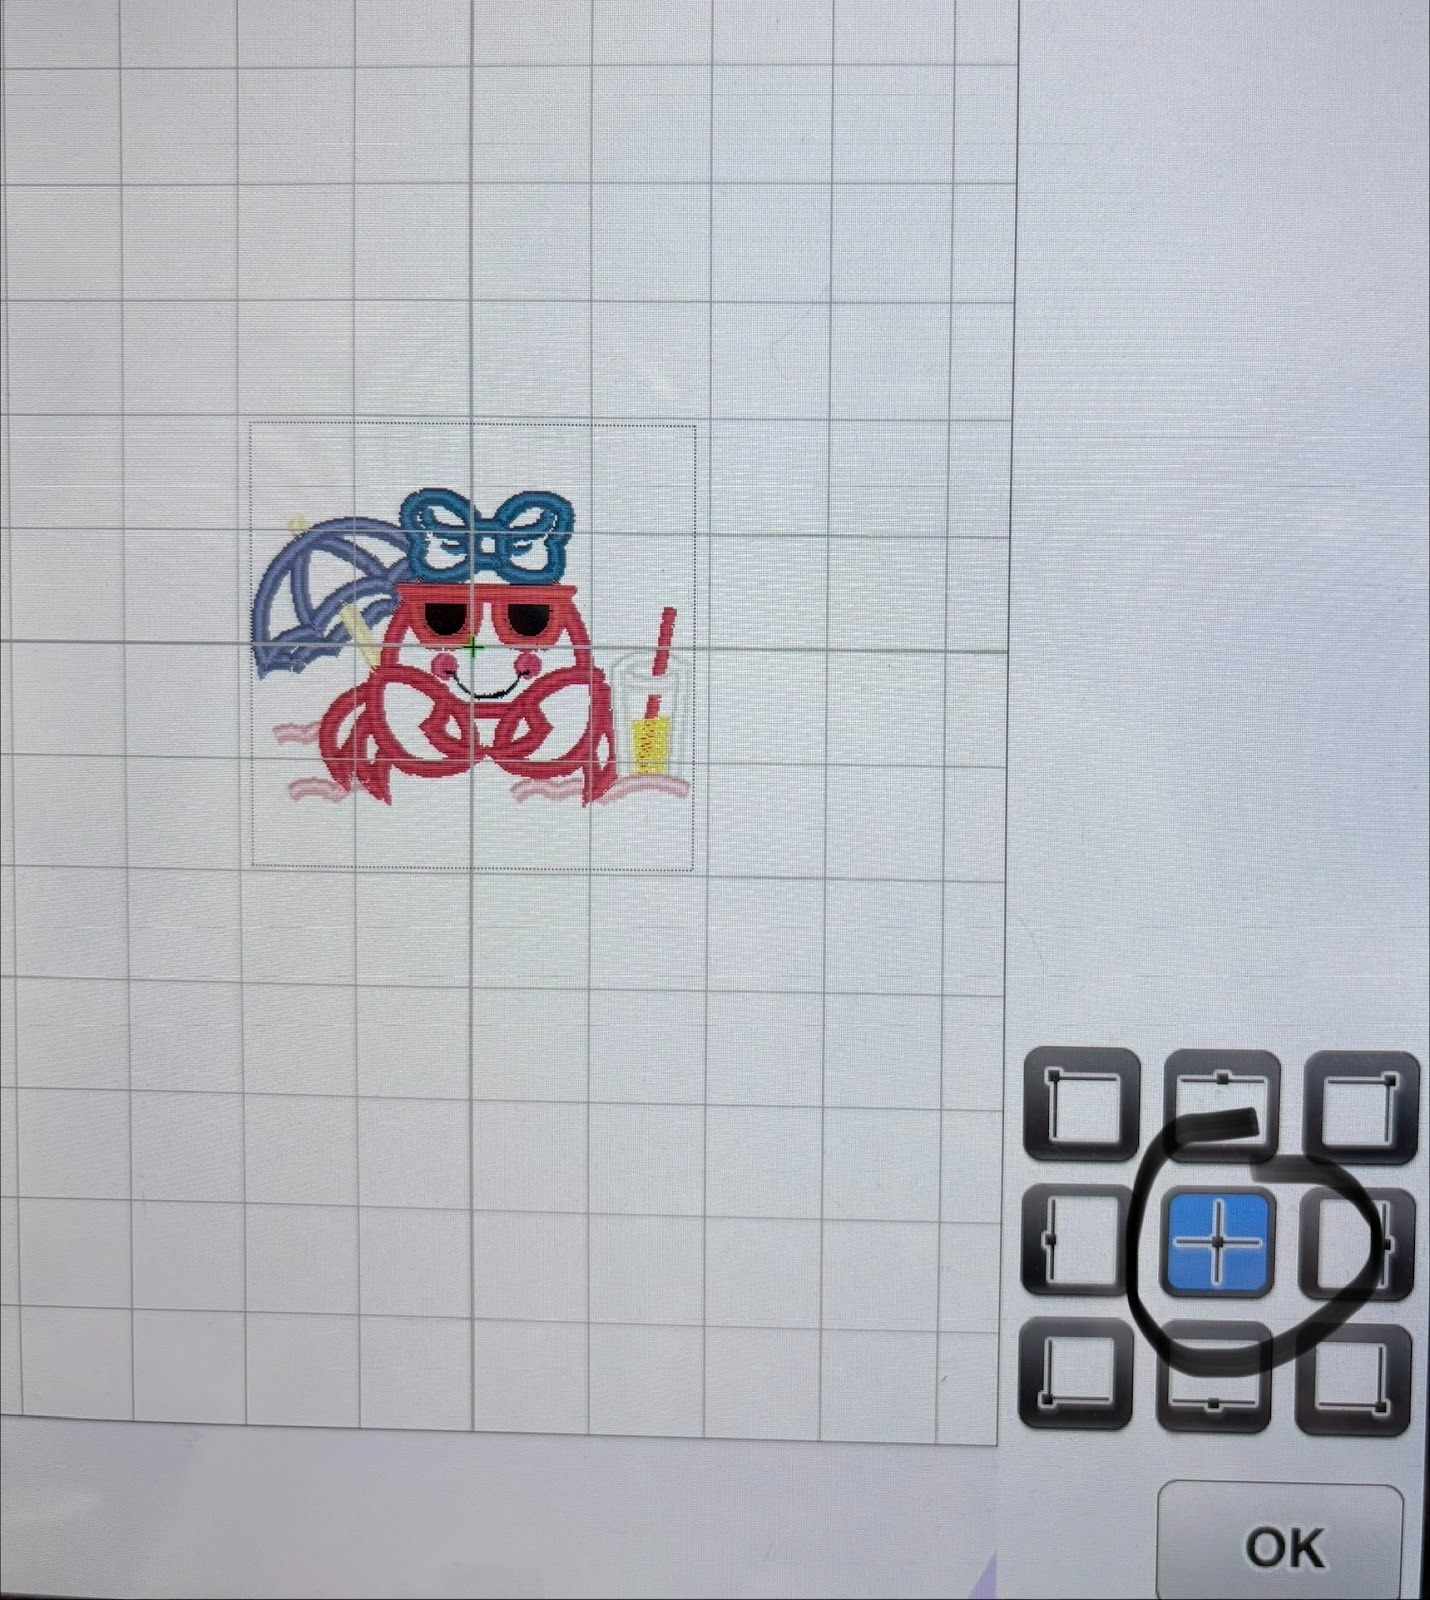
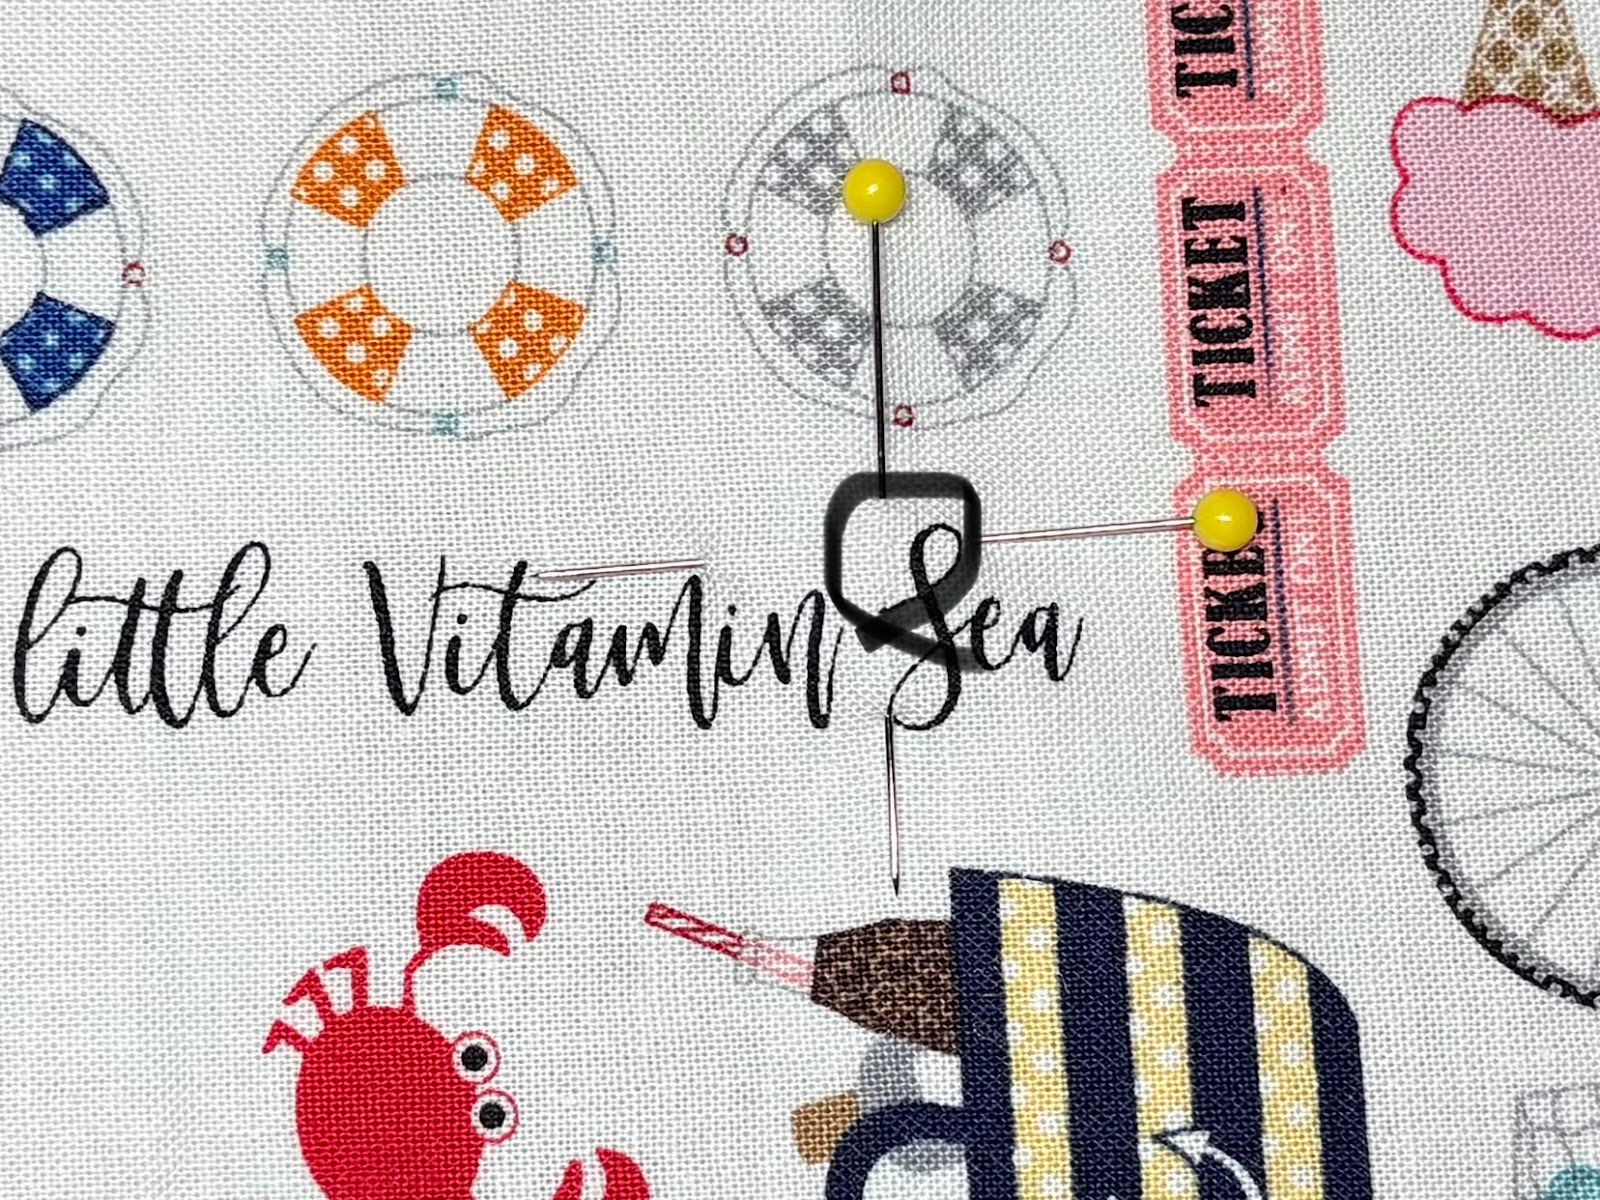
Use Placement keys to find the design’s center.
Mark the center of the design on the stabilizer with a fabric marker.
Remove the hoop and place it on a flat surface.

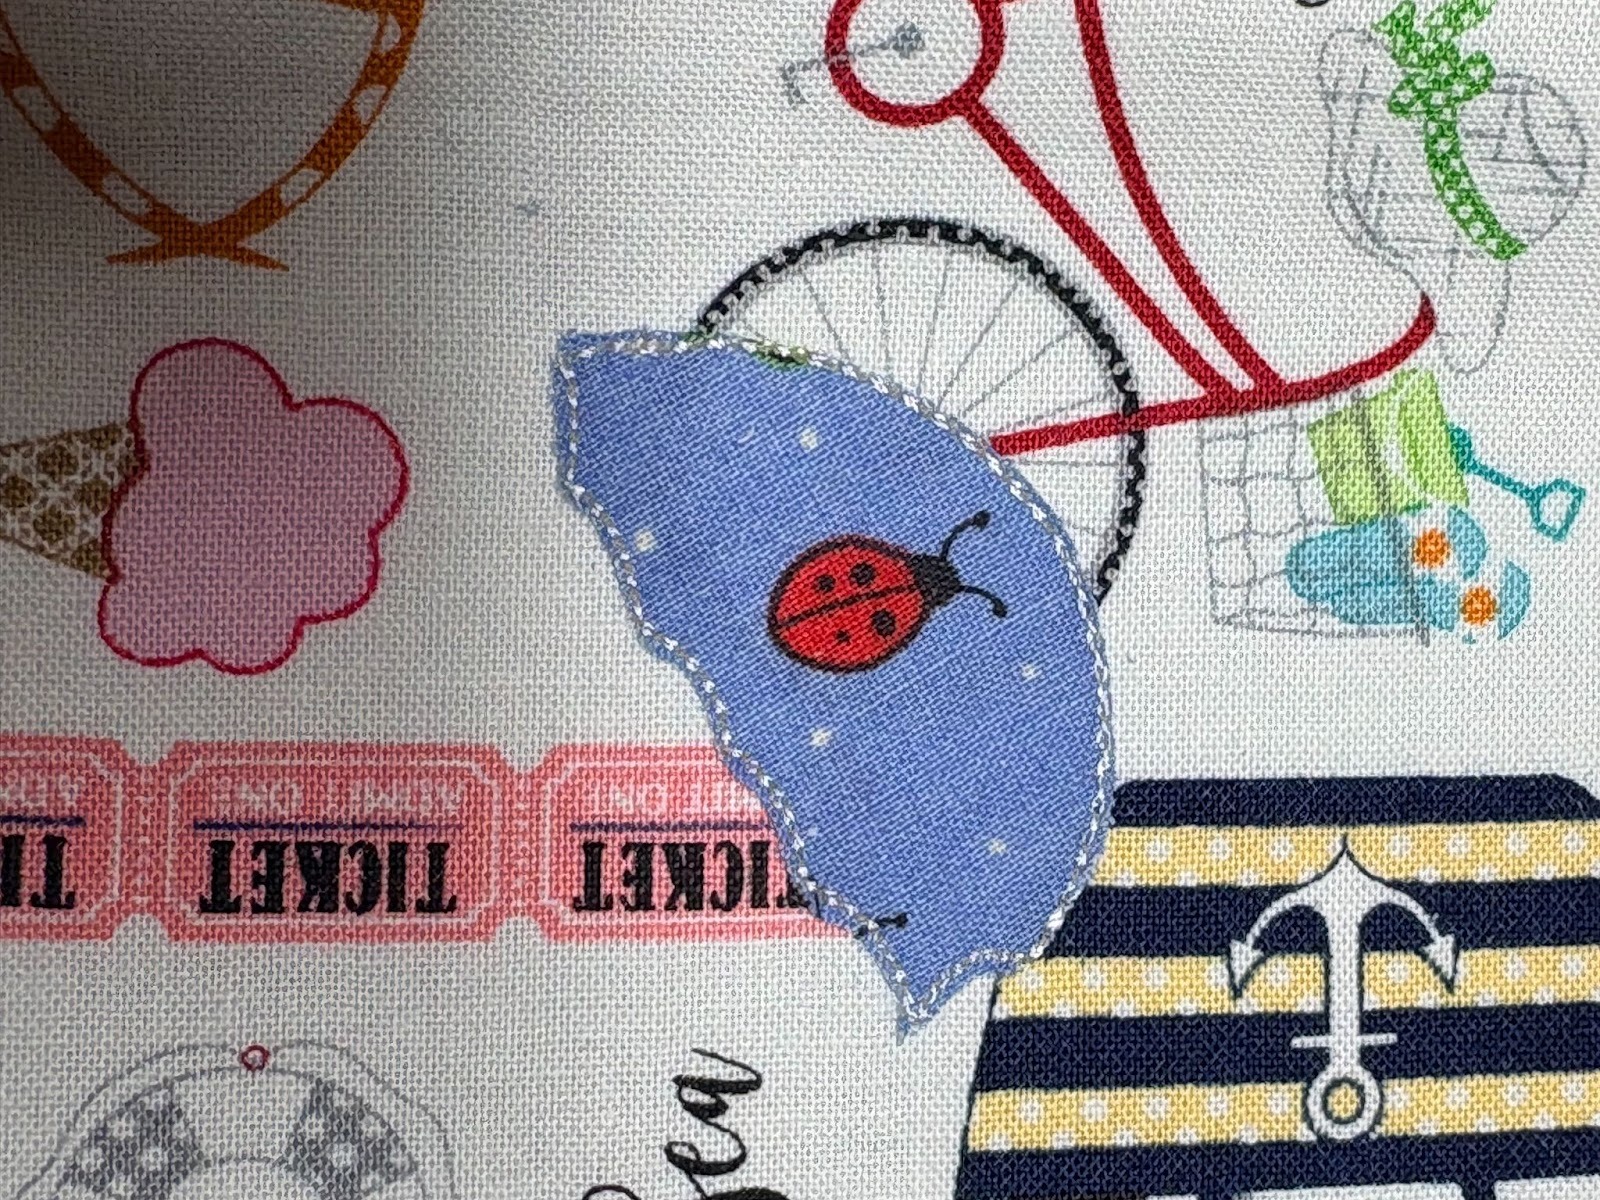
Fold the front fabric in half both ways to find the center. Mark with a pin.
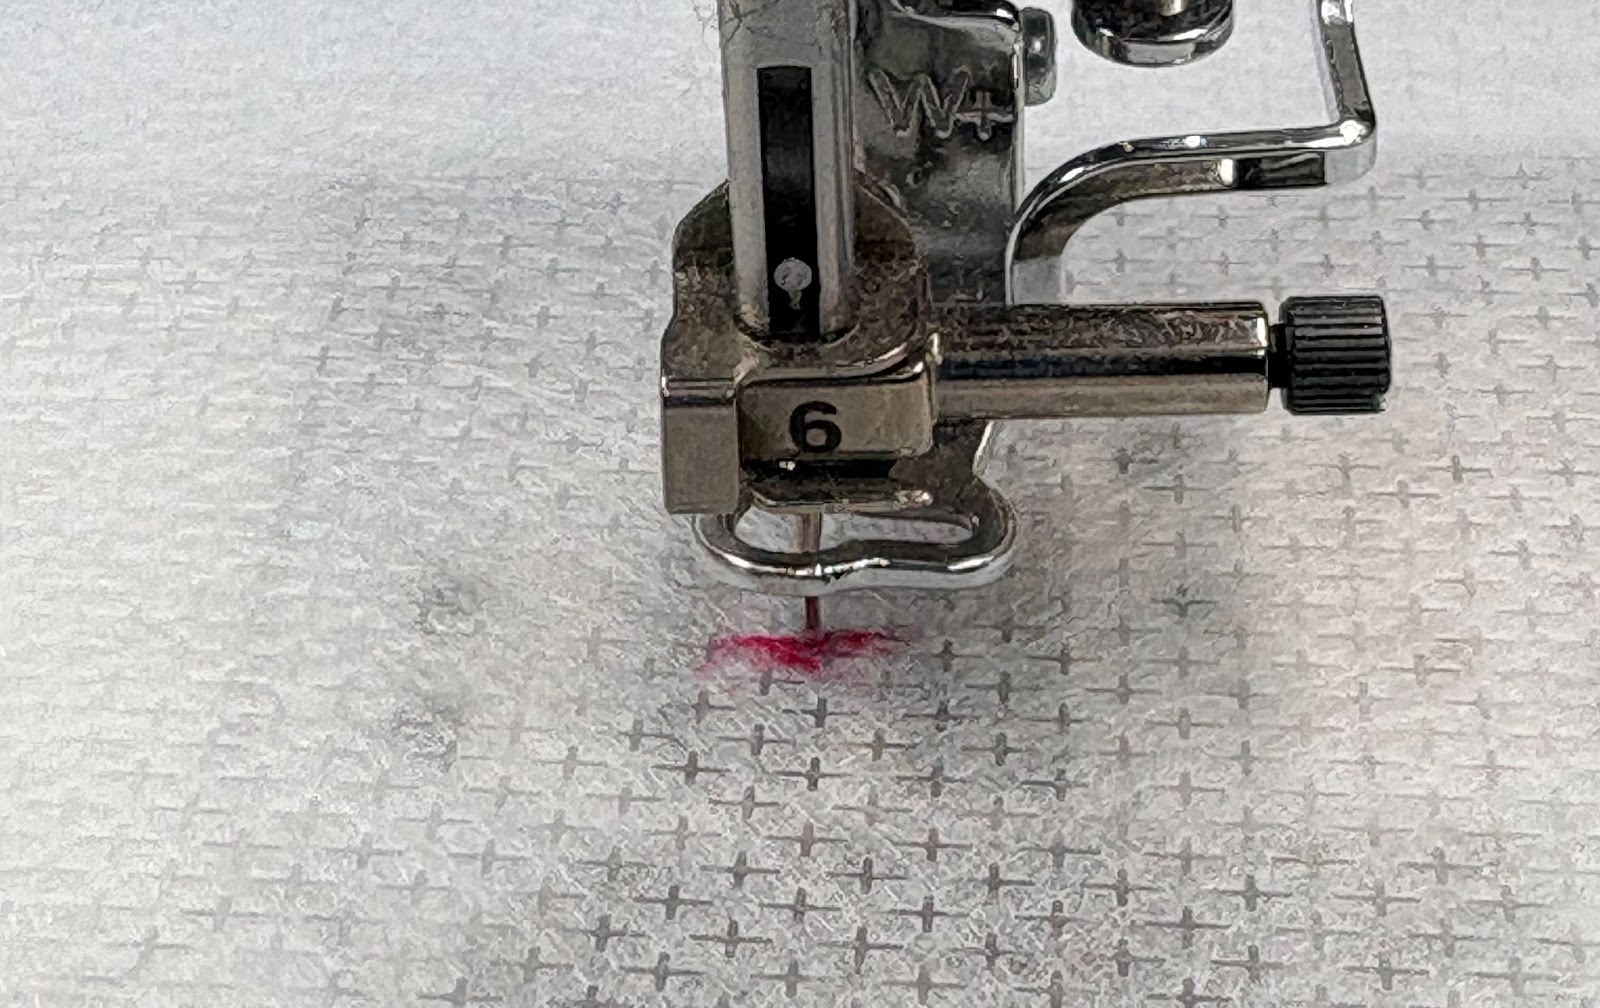
Spray stabilizer with fabric adhesive. Align the center of the fabric with the center mark on the stabilizer.
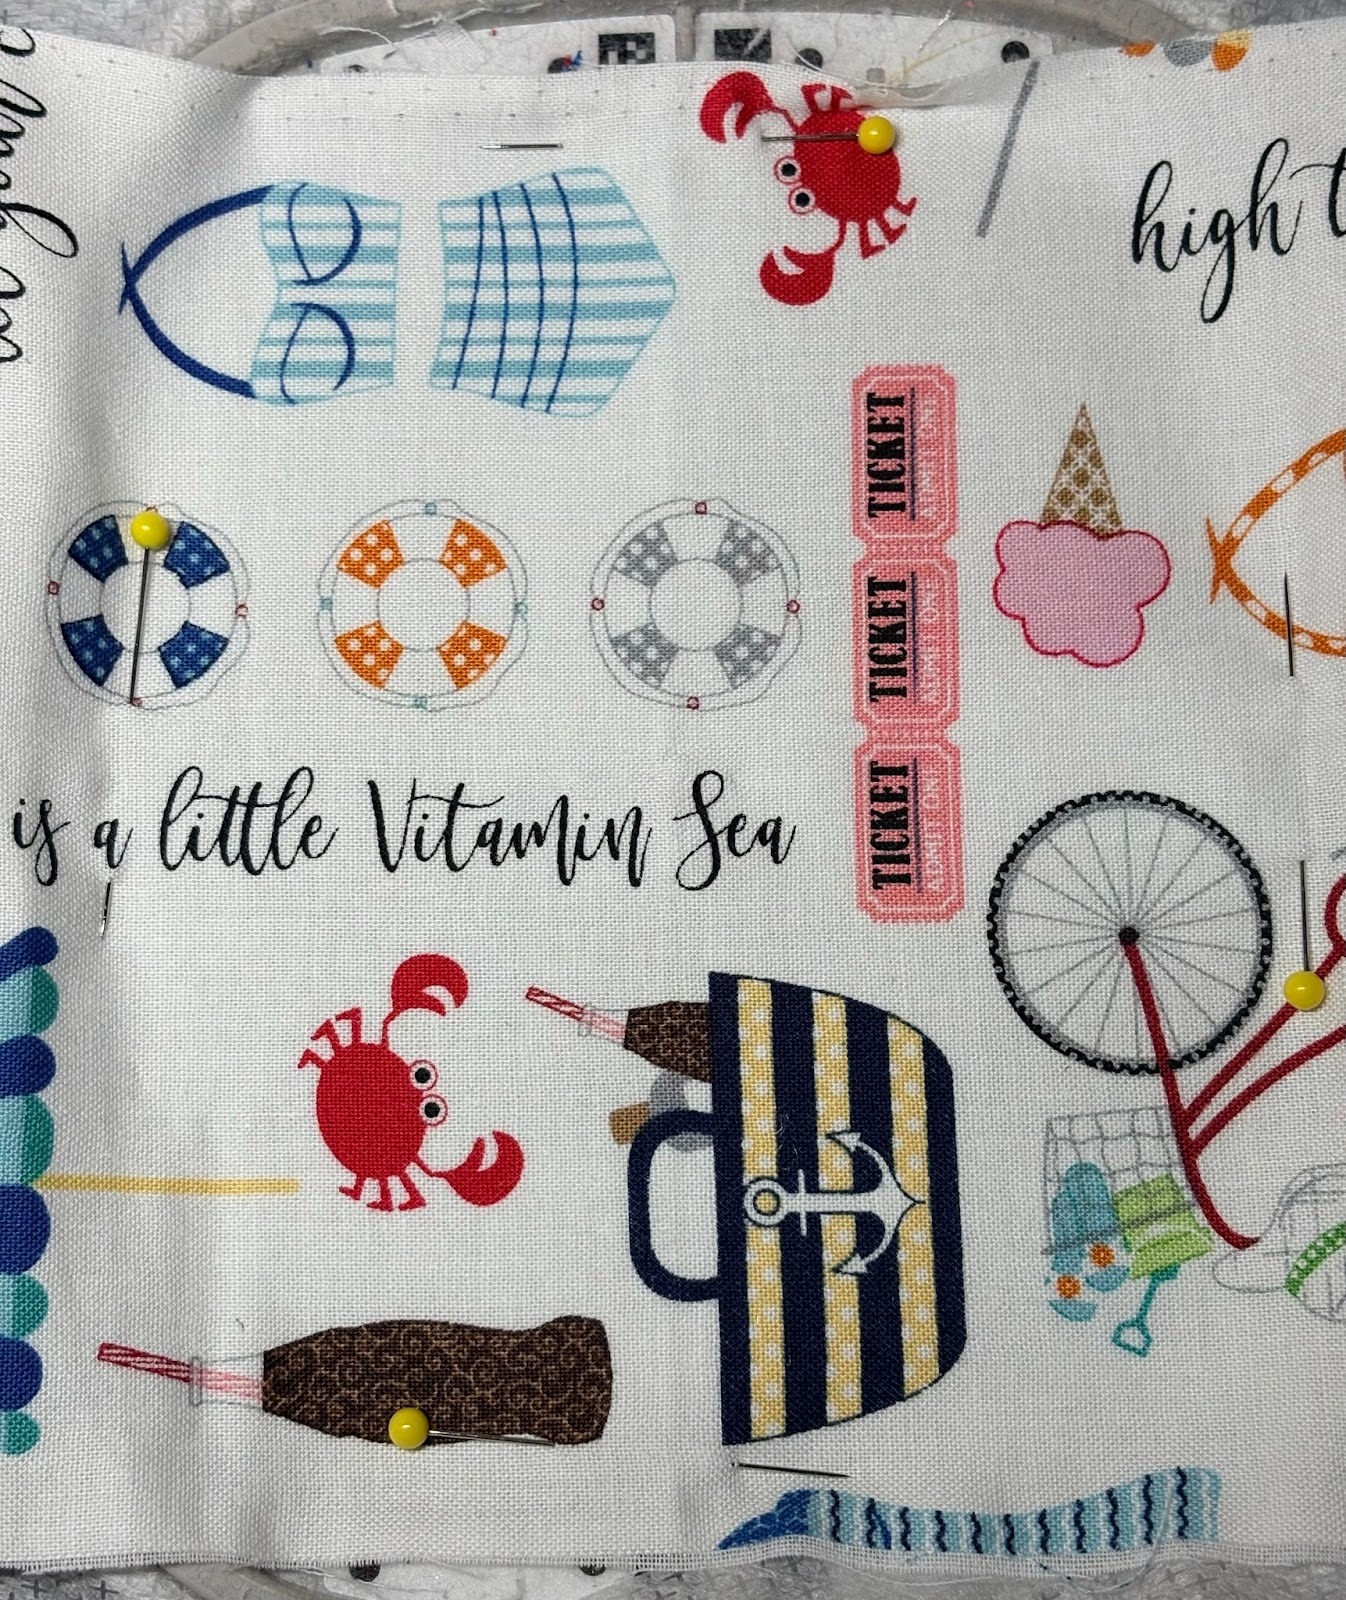
Smooth flat. Pin for additional security, keeping pins out of the stitching area.
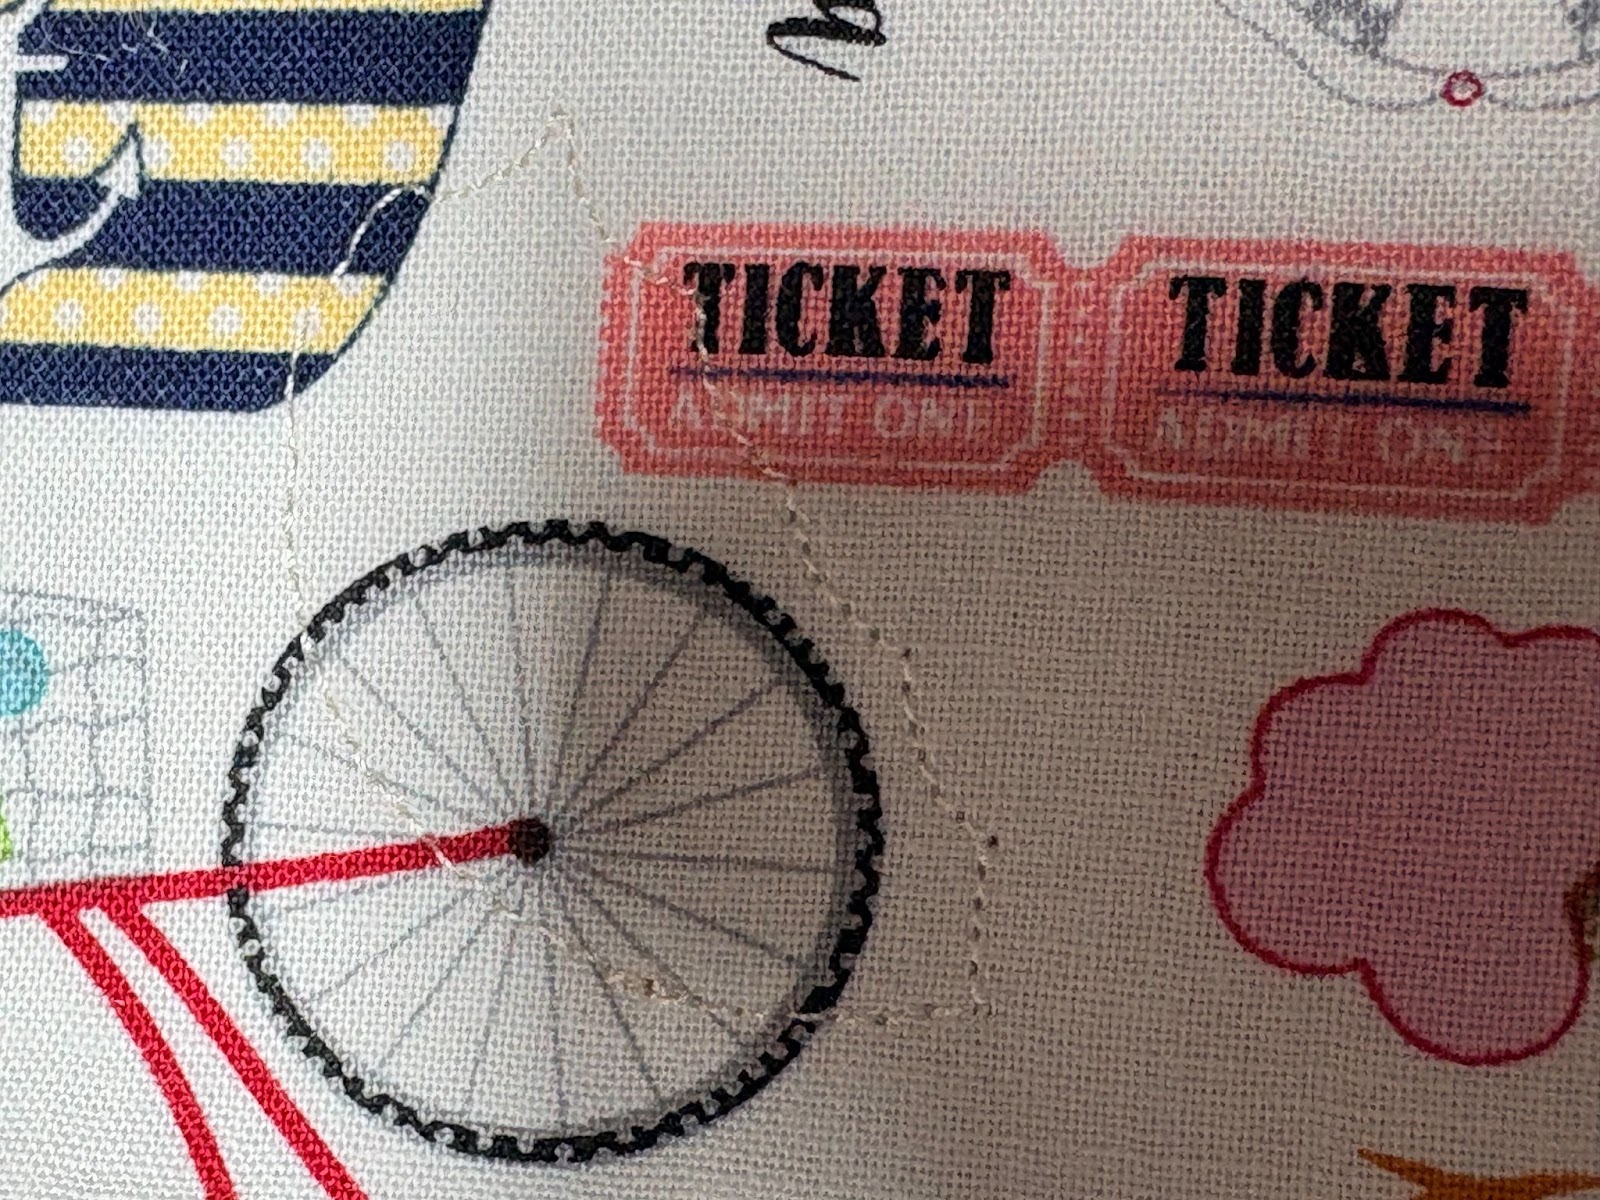
Return the hoop to the machine. Stitch your design.
If your design is an applique, the first step is the placement stitch.
Lay fabric down to cover the stitch area.
Sew tack-down stitches.
Remove the hoop from your machine and trim the excess applique fabric close to the stitches.
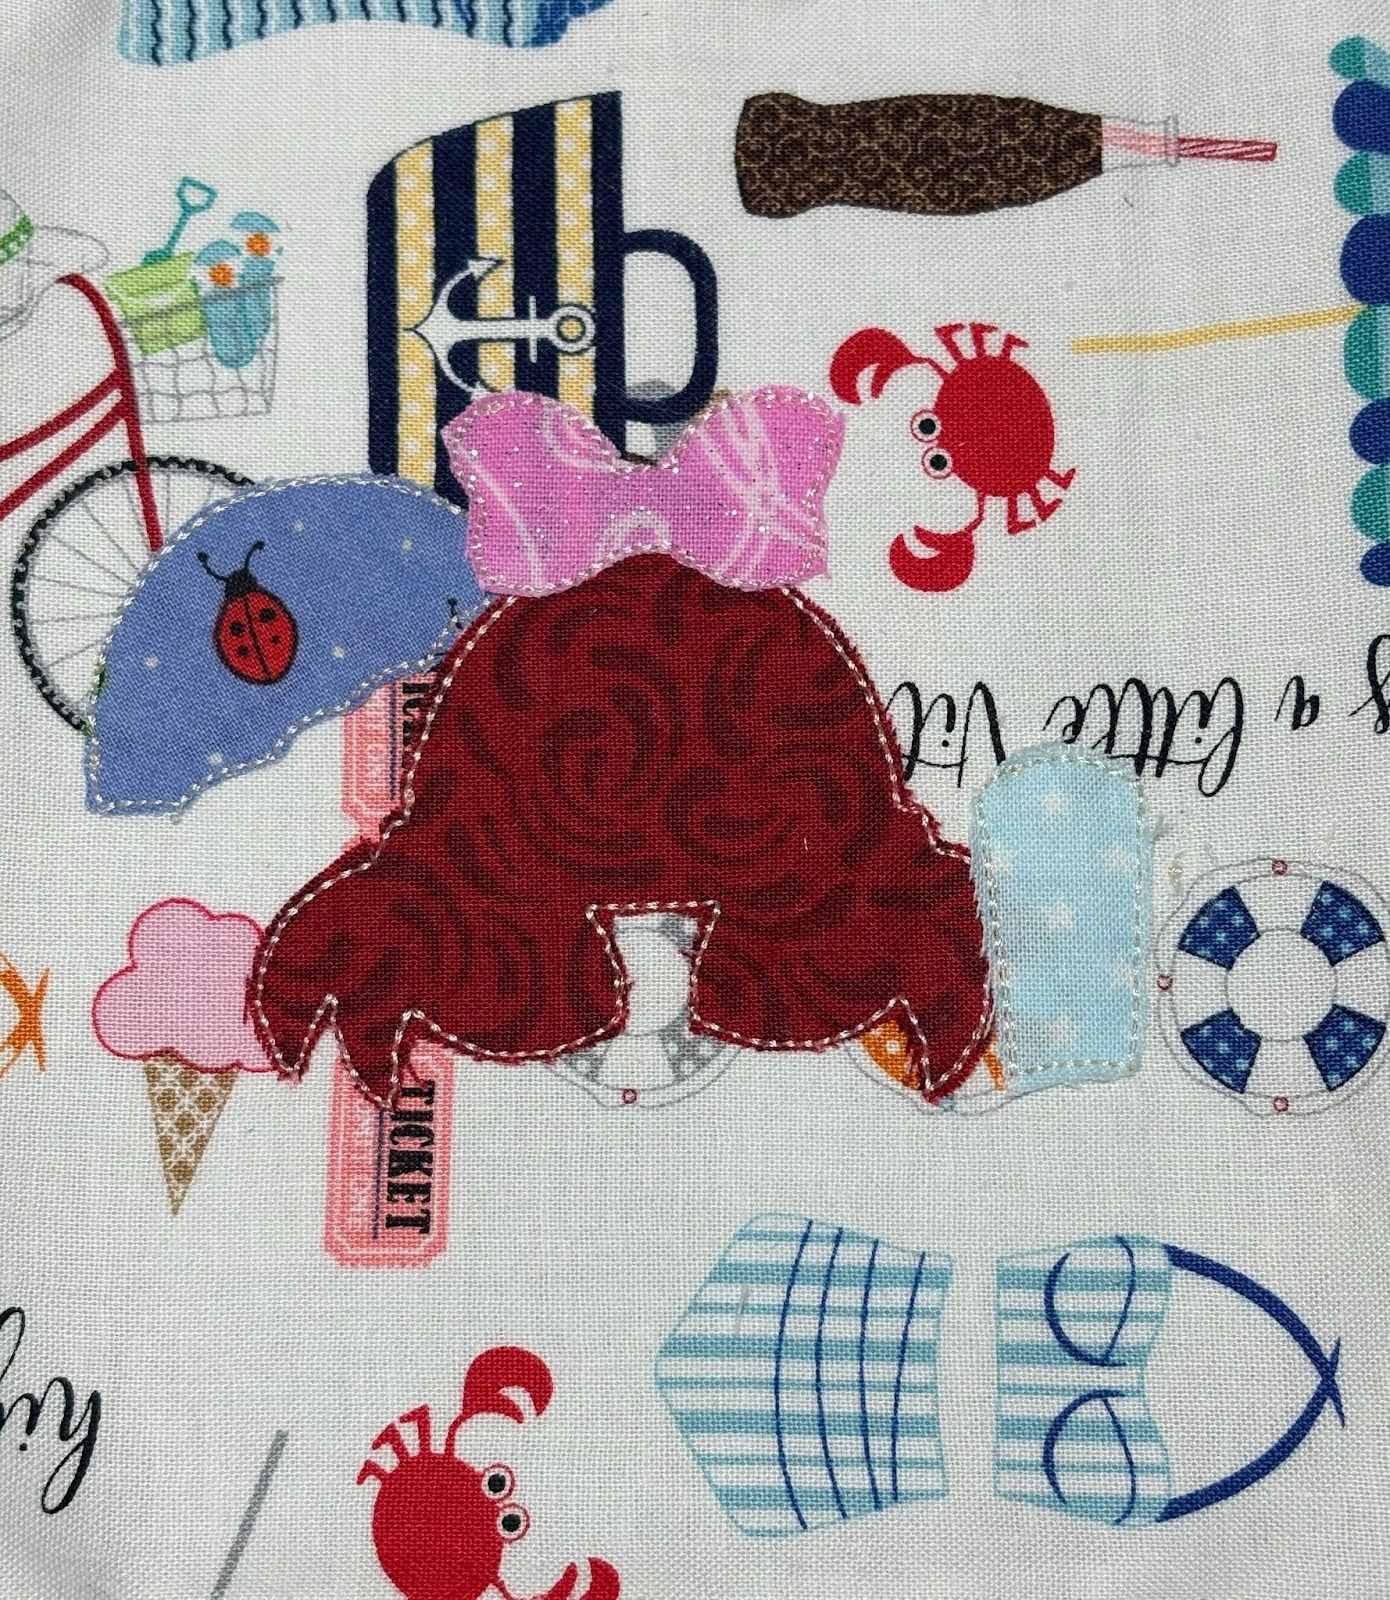
Return the hoop to the machine. Continue with the remaining applique steps, trimming each piece before proceeding.

Finish with the decorative satin edge.
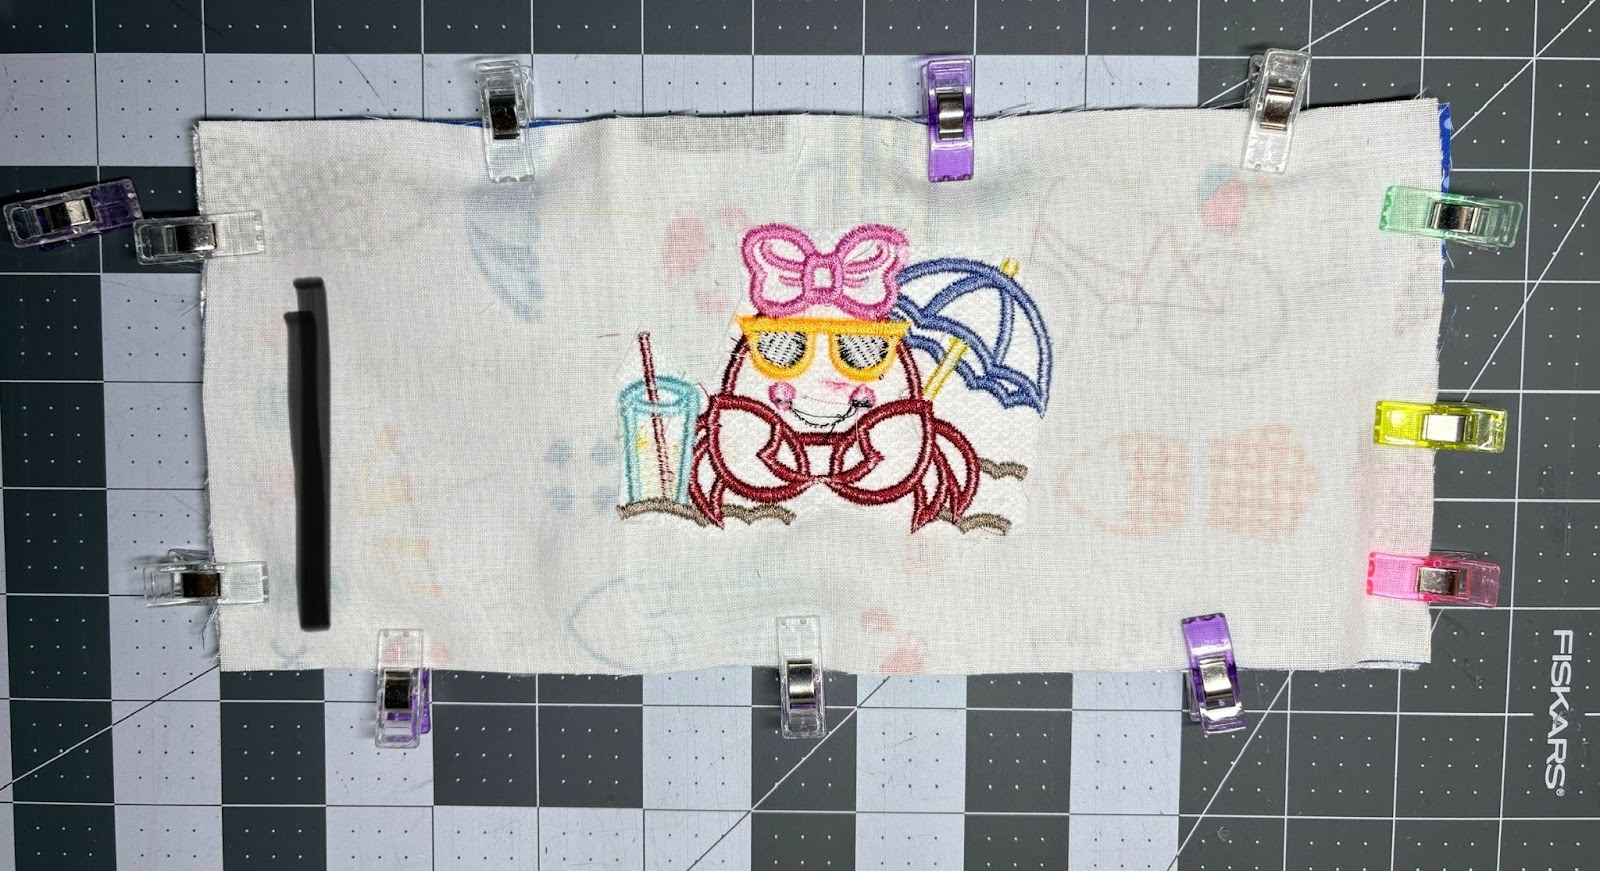
Remove the fabric from the hoop and trim away the excess stabilizer on the back.
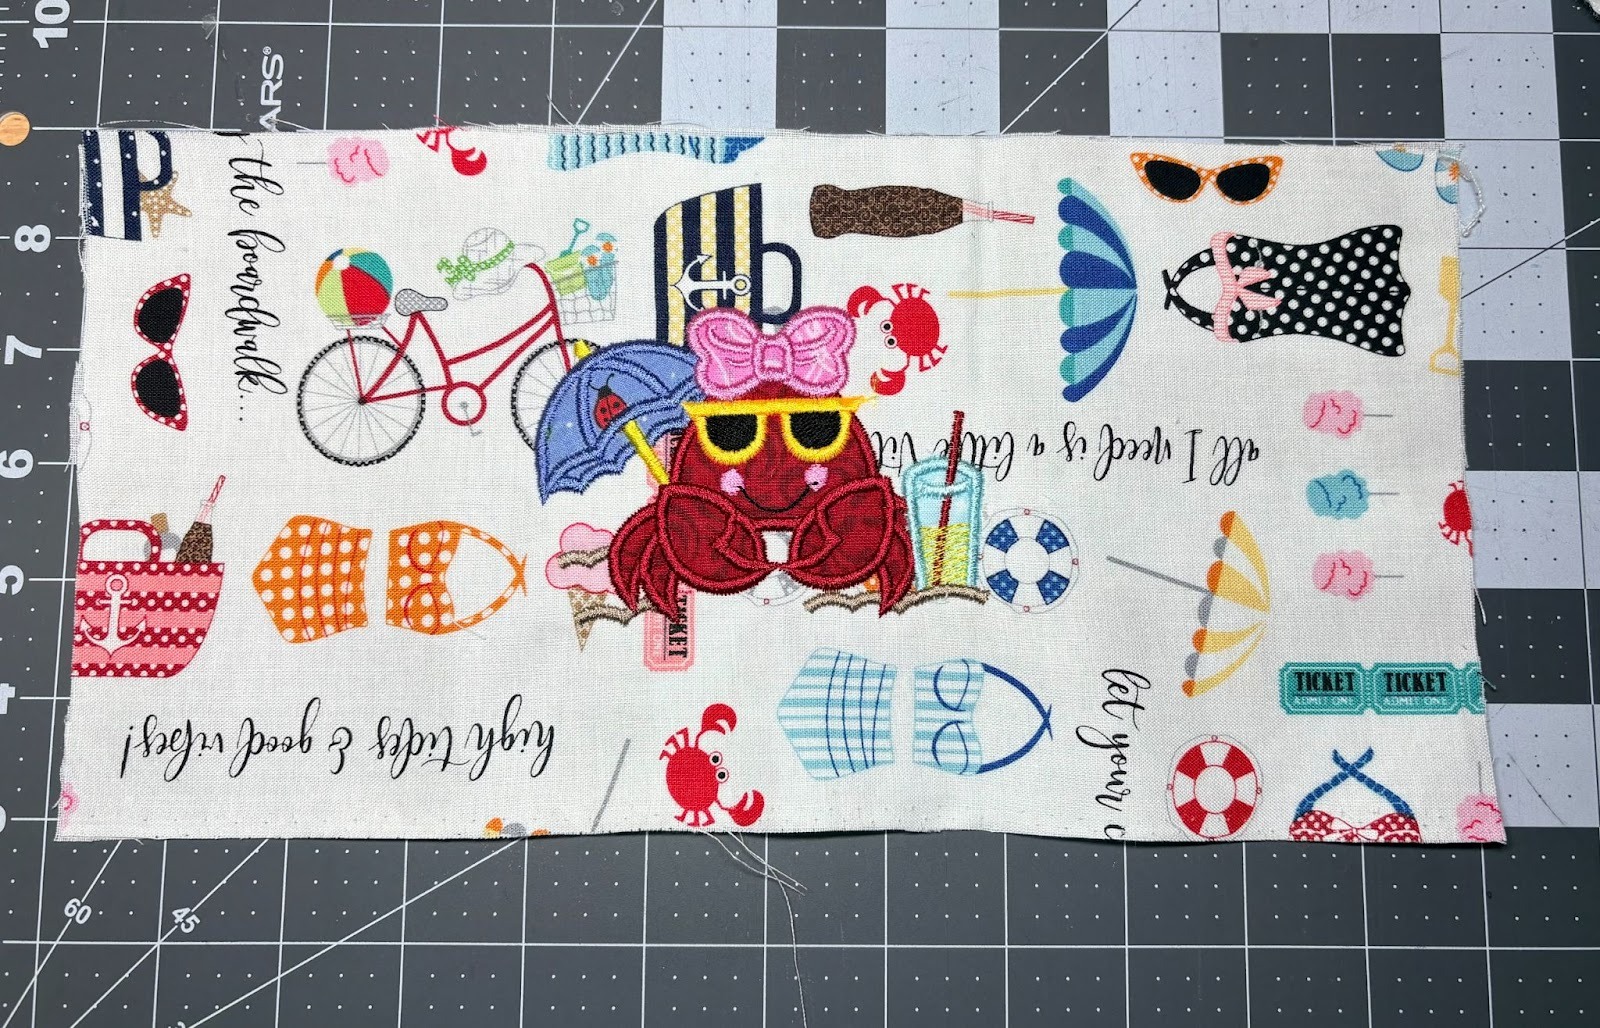
Trim your embroidered fabric to 11" x 5". Adding embroidery can sometimes pull the fabric. Waiting until after embroidery helps ensure accuracy. Measure carefully. To keep the design centered and reach 11" x 5", trim equally from each short end as well the long ends. After trimming, your fabric should measure exactly 11" x 5".

We will now layer the front, the back, and the Insul-Brite to create a sandwich.
Begin with the embroidered front fabric right side up.
Add the back fabric right side down.
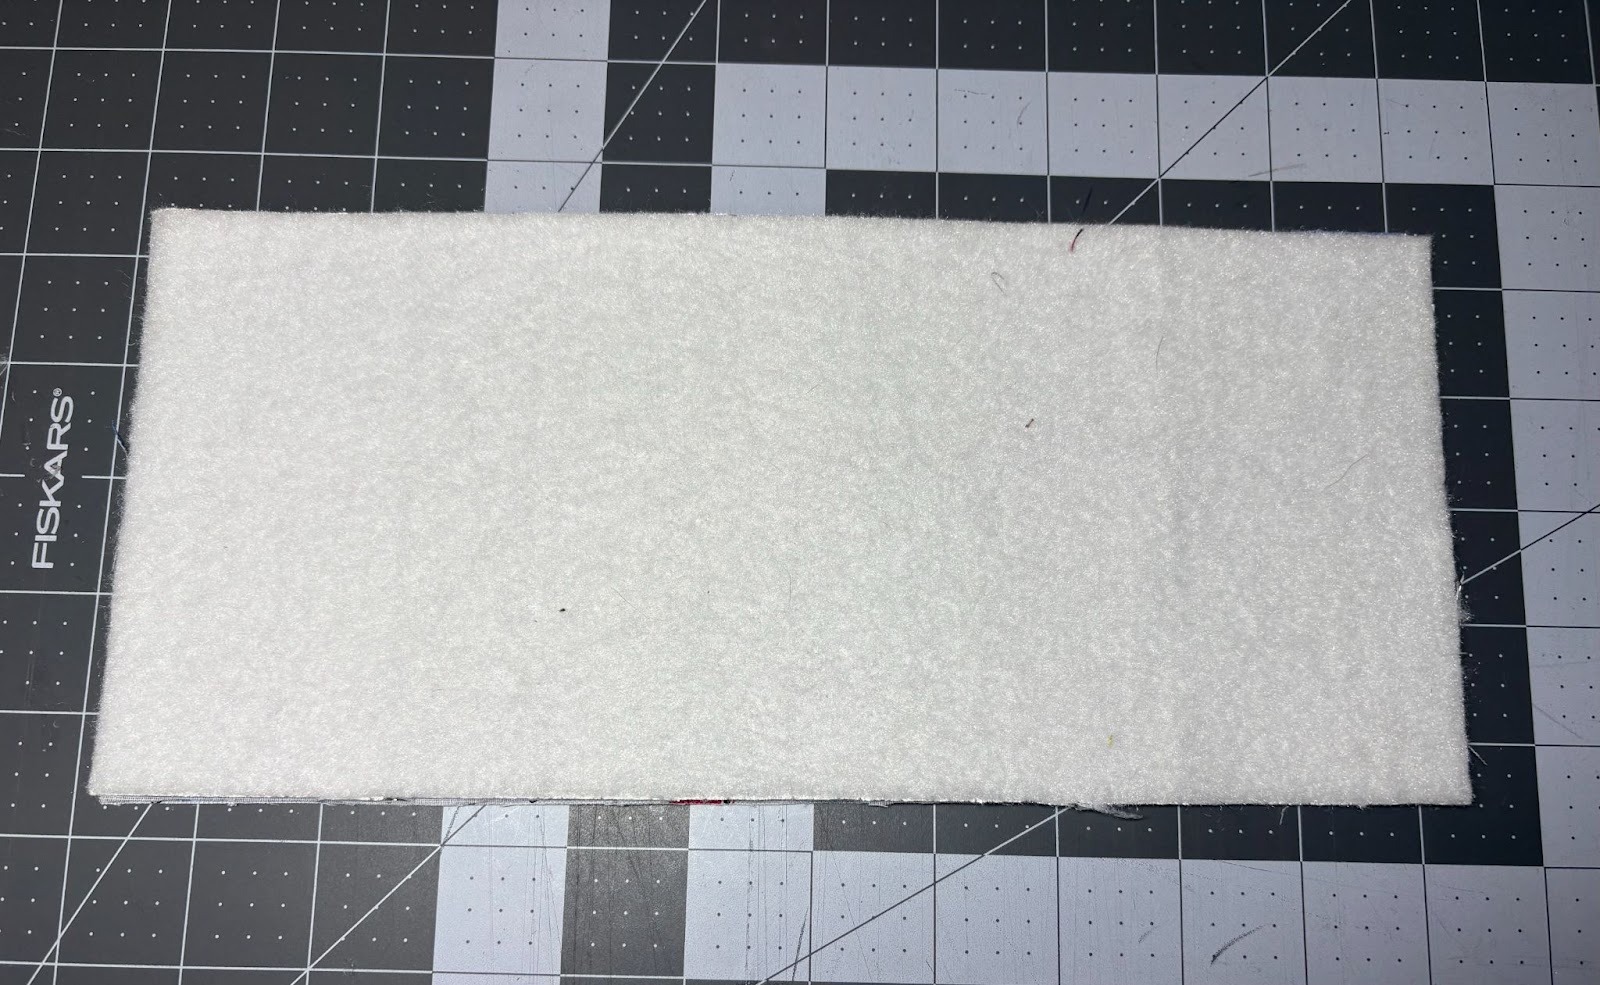
Finish with the Insul-Brite on top.

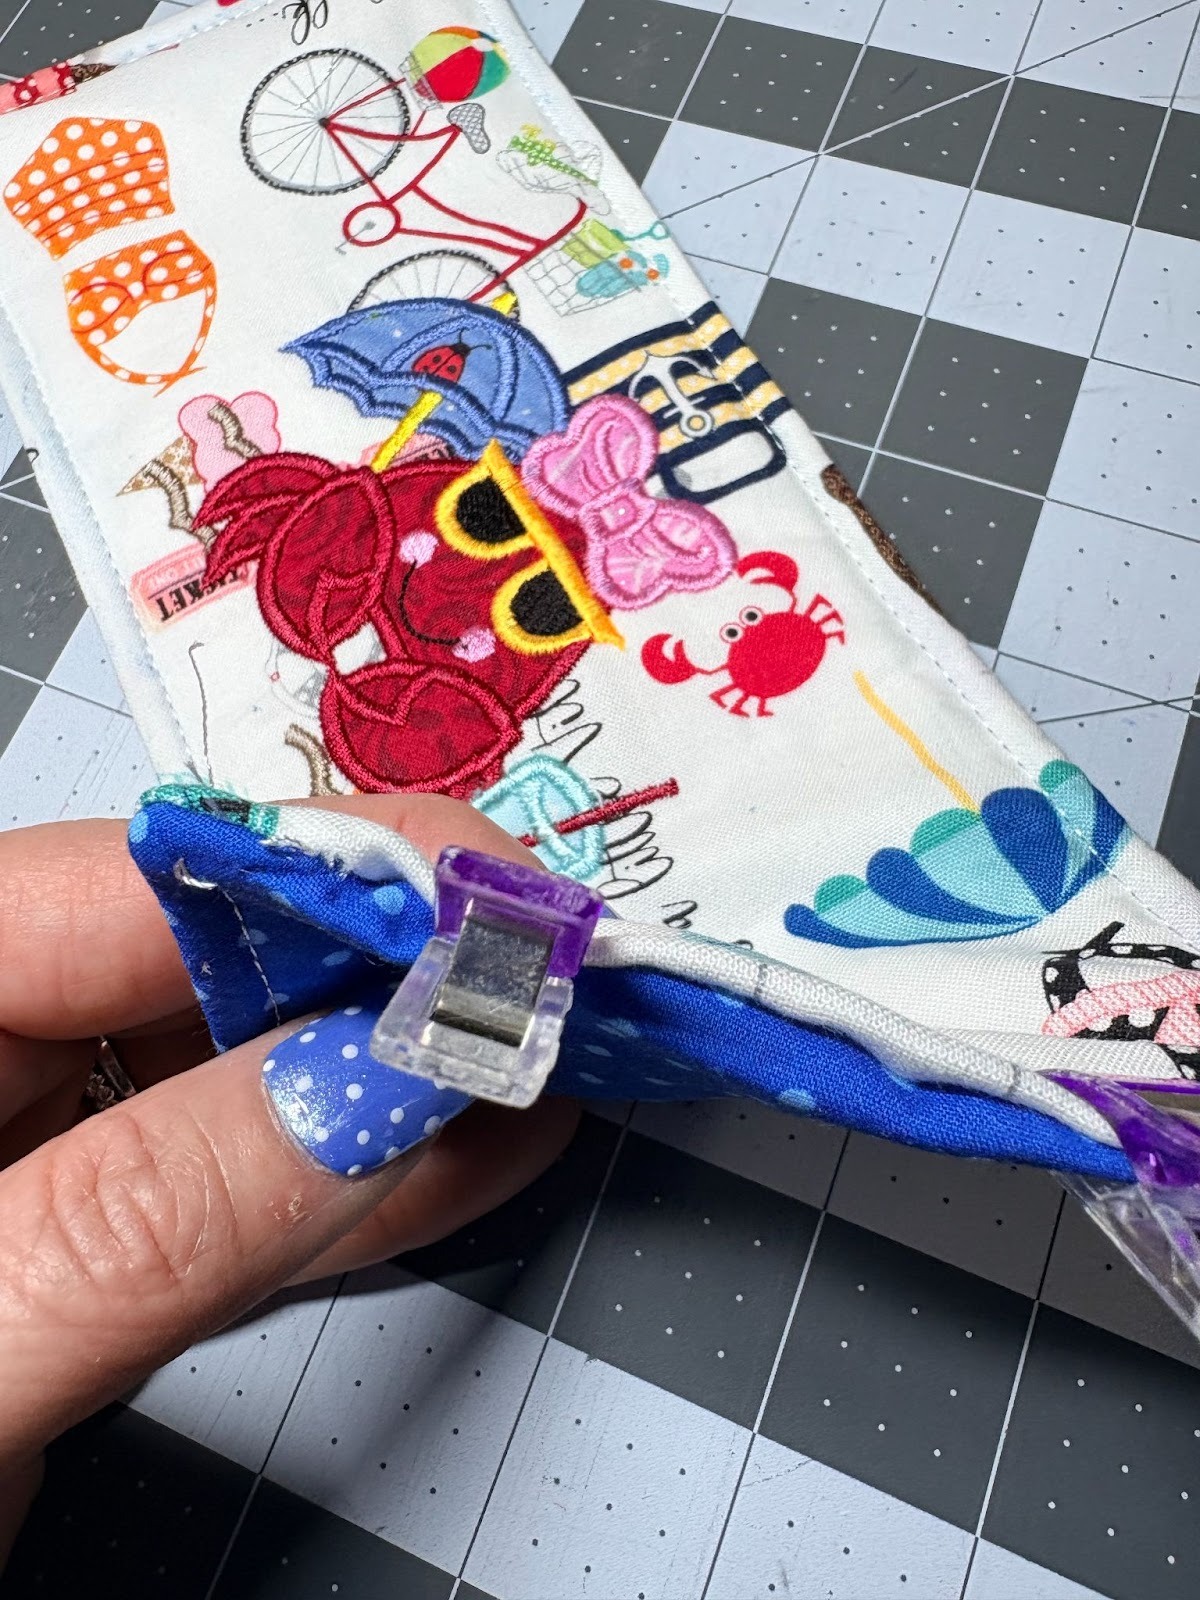
Clip or pin together all the way around.
Leave a 3- to 4-inch opening on one short end so you can turn the wrap right side out later.

Sew around the edges with a ¼" seam, leaving your opening.
Trim around the wrap ⅛" from the seam. Do not trim the opening area. Clip the corners to reduce bulk.
Turn the wrap right side out using a turning tool. Push out the corners carefully so you do not push through the stitching. Press the wrap and fold the raw edges at the opening inward.
Topstitch ¼" from the edge all around, closing the opening in the process.
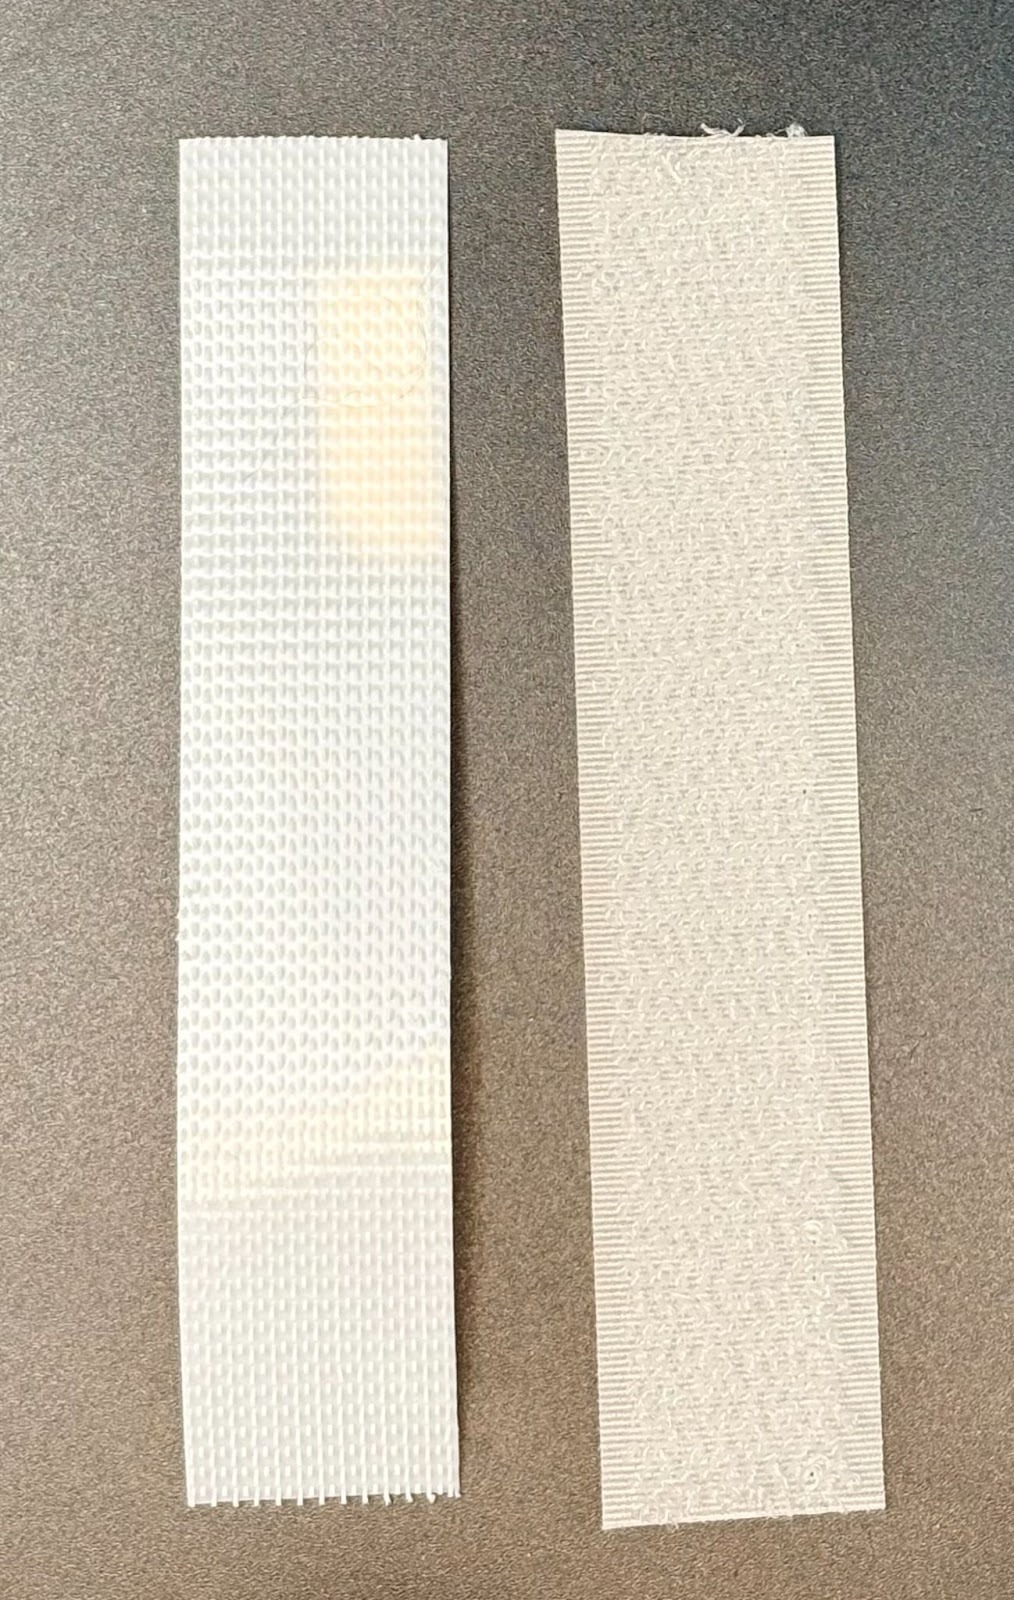
Cut the hook-and-loop tape into a 4” strip and separate the two sides.
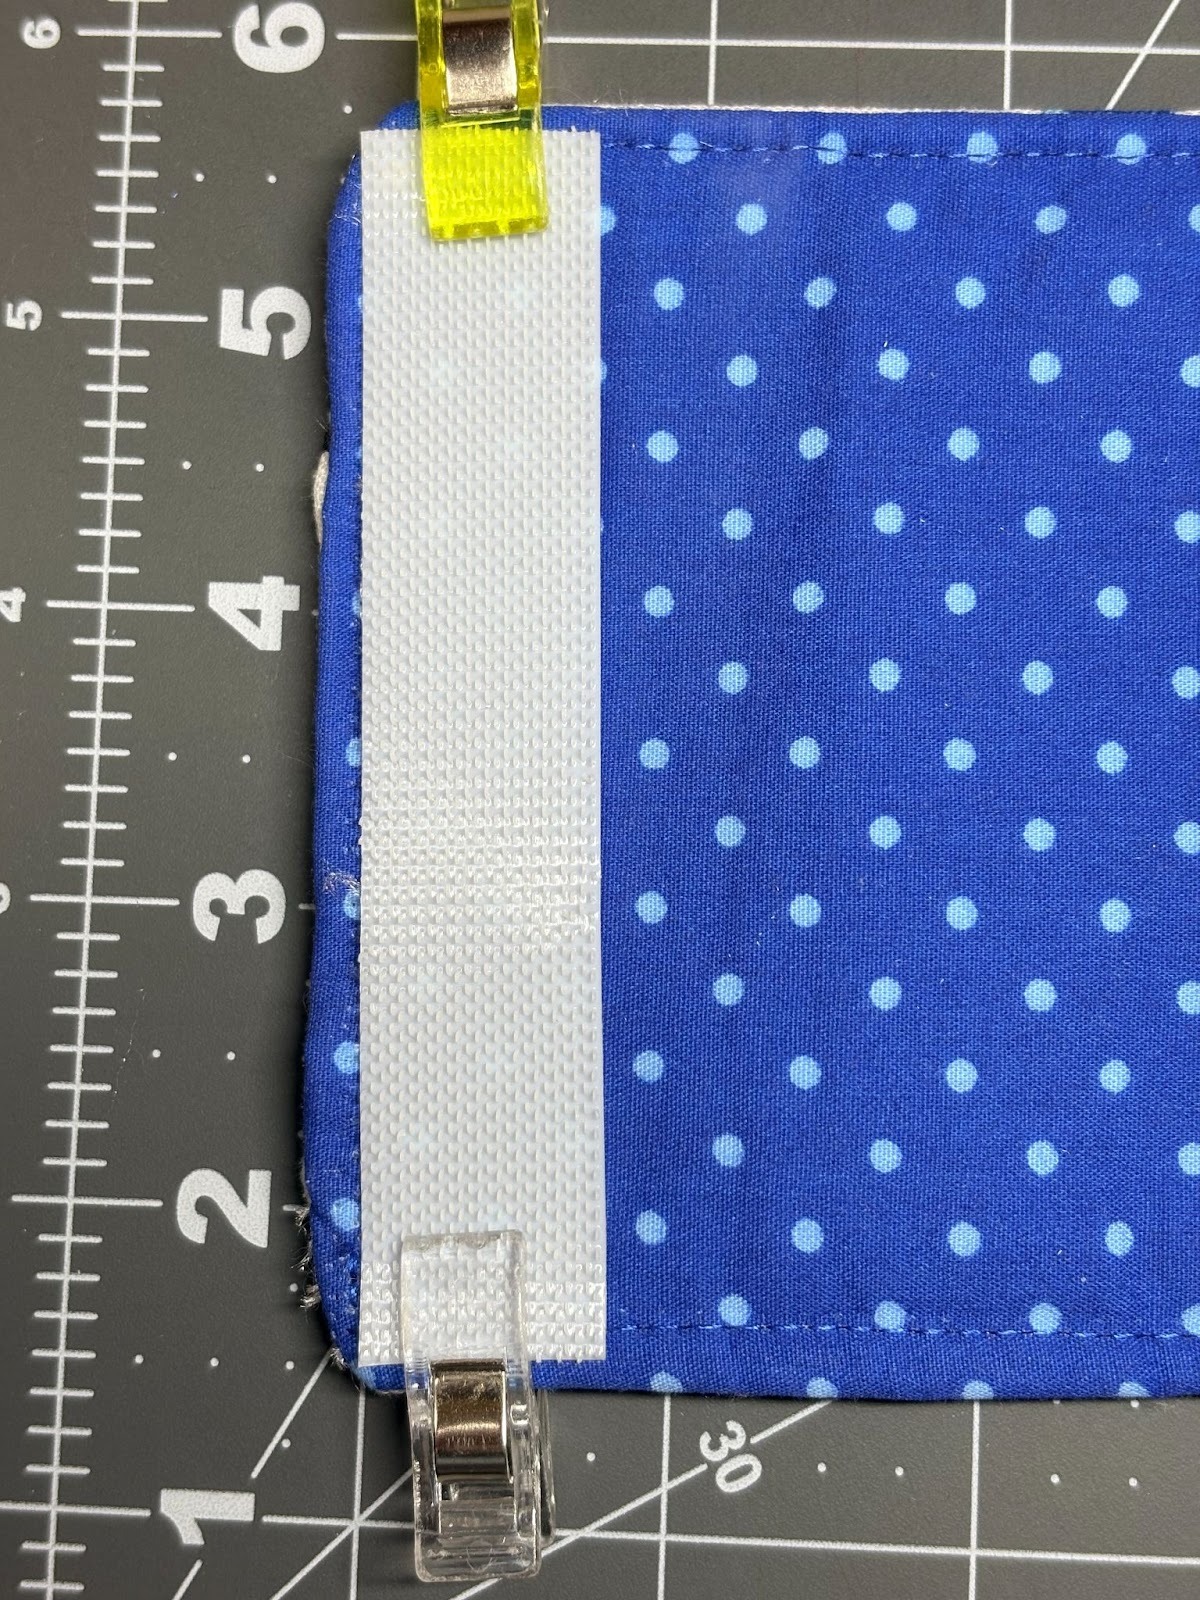
Turn the wrap to the back side. Clip the hook portion to the left side close to the edge.
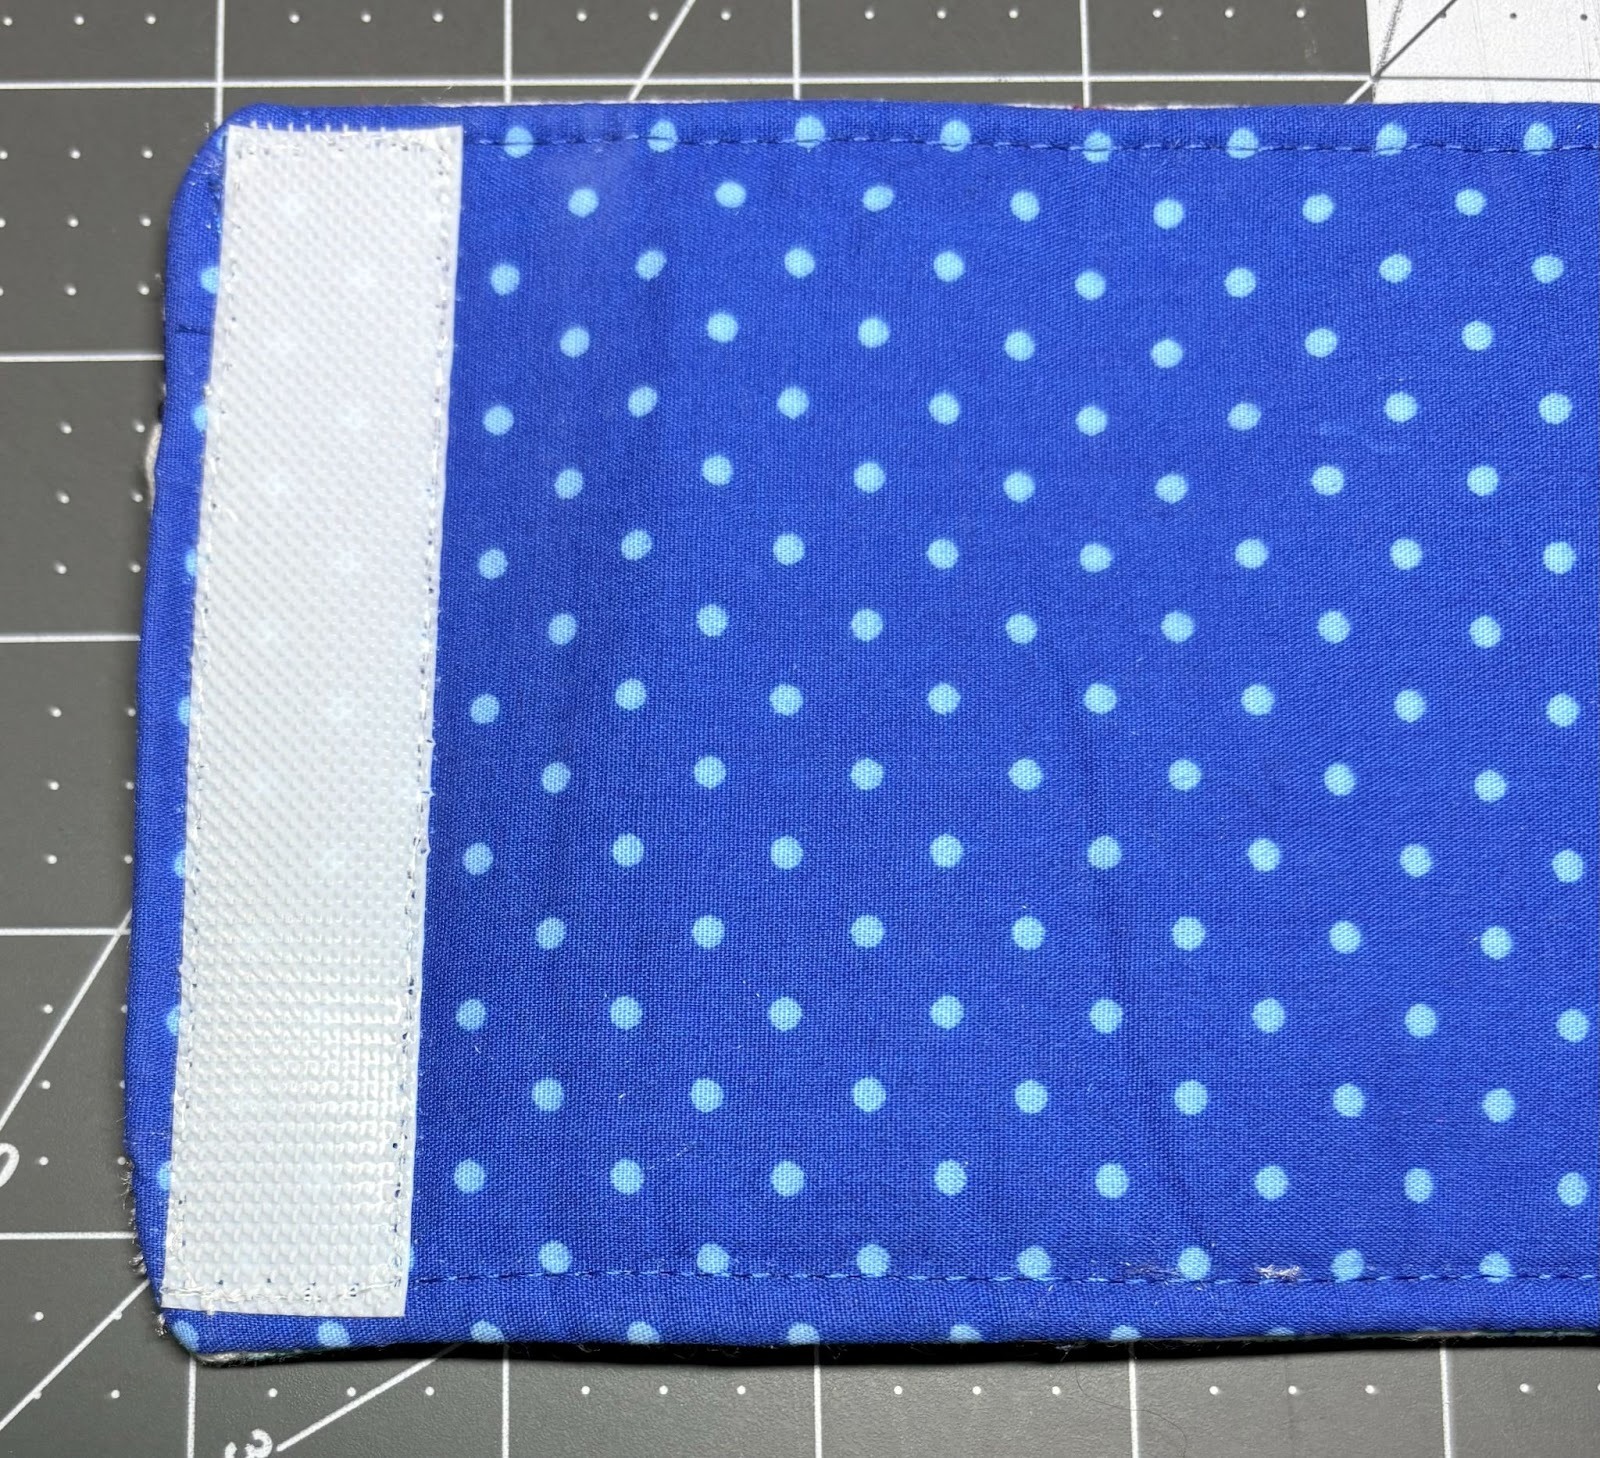
Sew around all four sides.
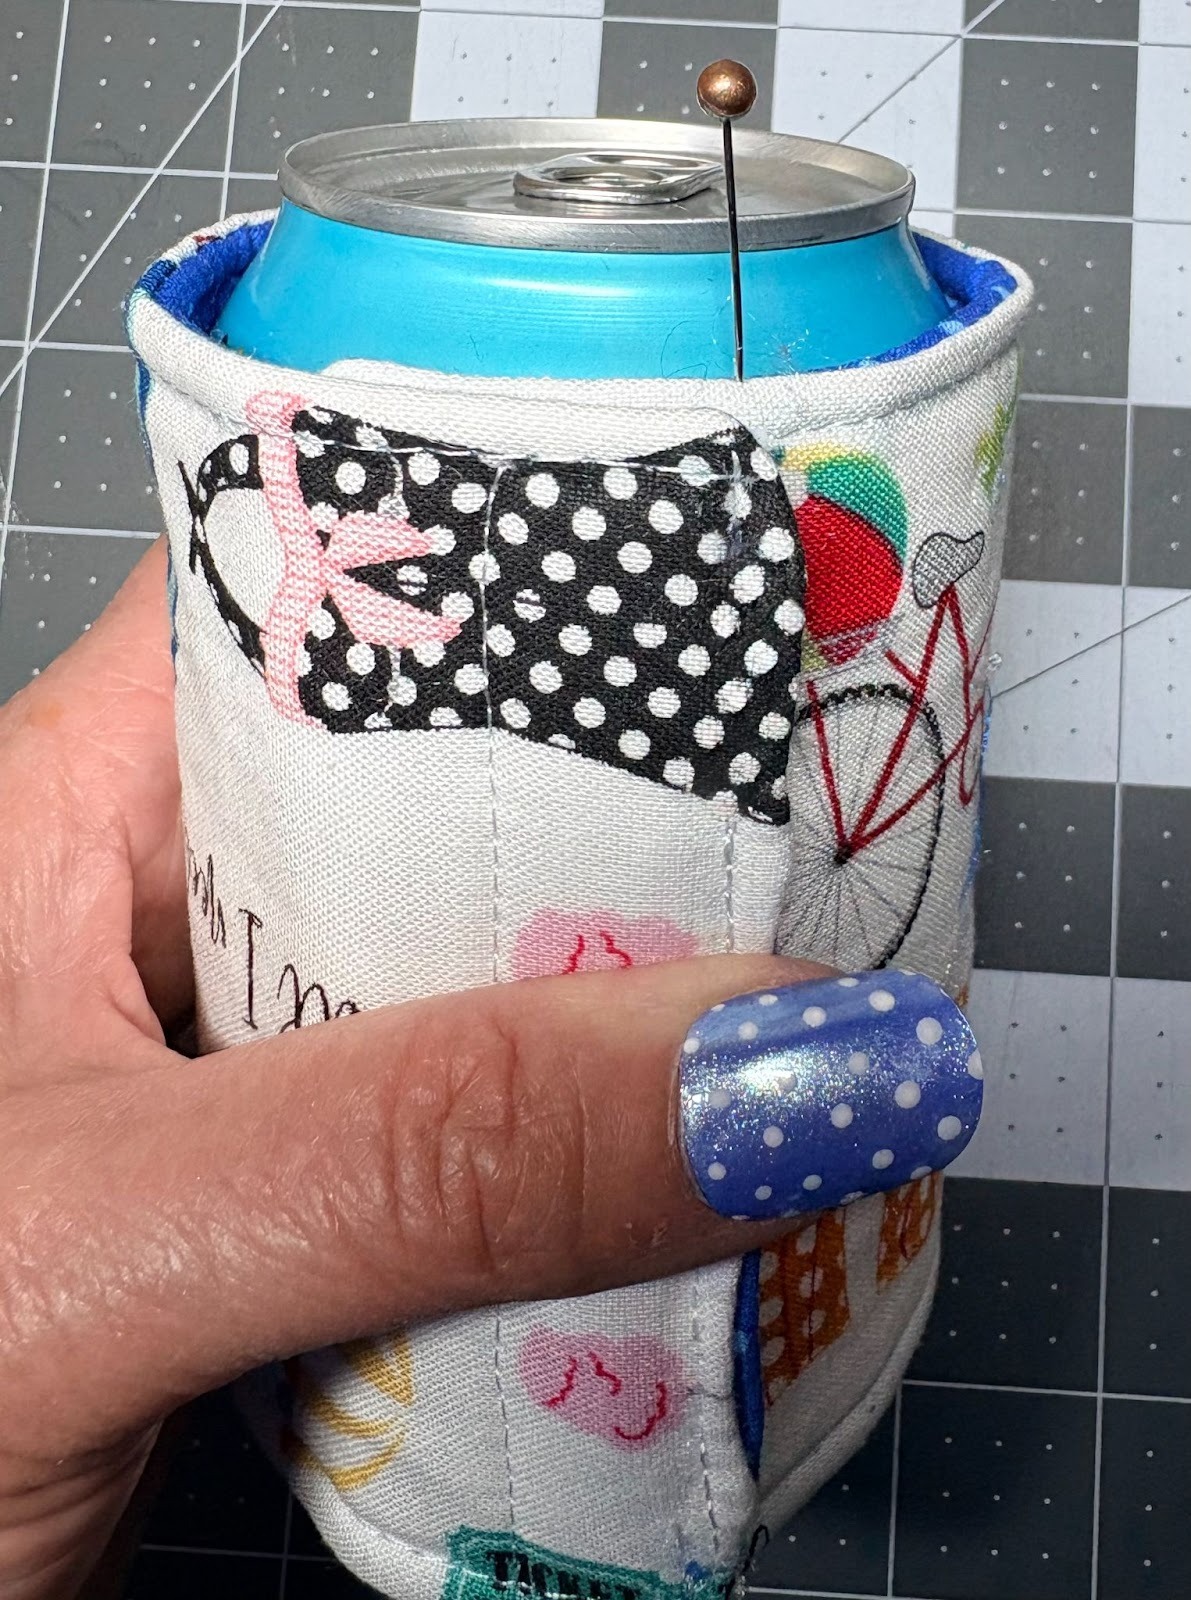
The width of your hook-and-loop tape will determine placement for the second piece. This next step is important. If your tape is less than 1” wide, you will need to adjust the placement.
Wrap the cooler around a can. Adjust and place a pin at the edge of the first hook-and-loop piece. You want your cooler wrap to fit snugly.

Clip the loop portion of the hook-and-loop tape to the front opposite side of the wrap. Line it up with the pin mark. Your piece may be in a different spot than the picture shows.
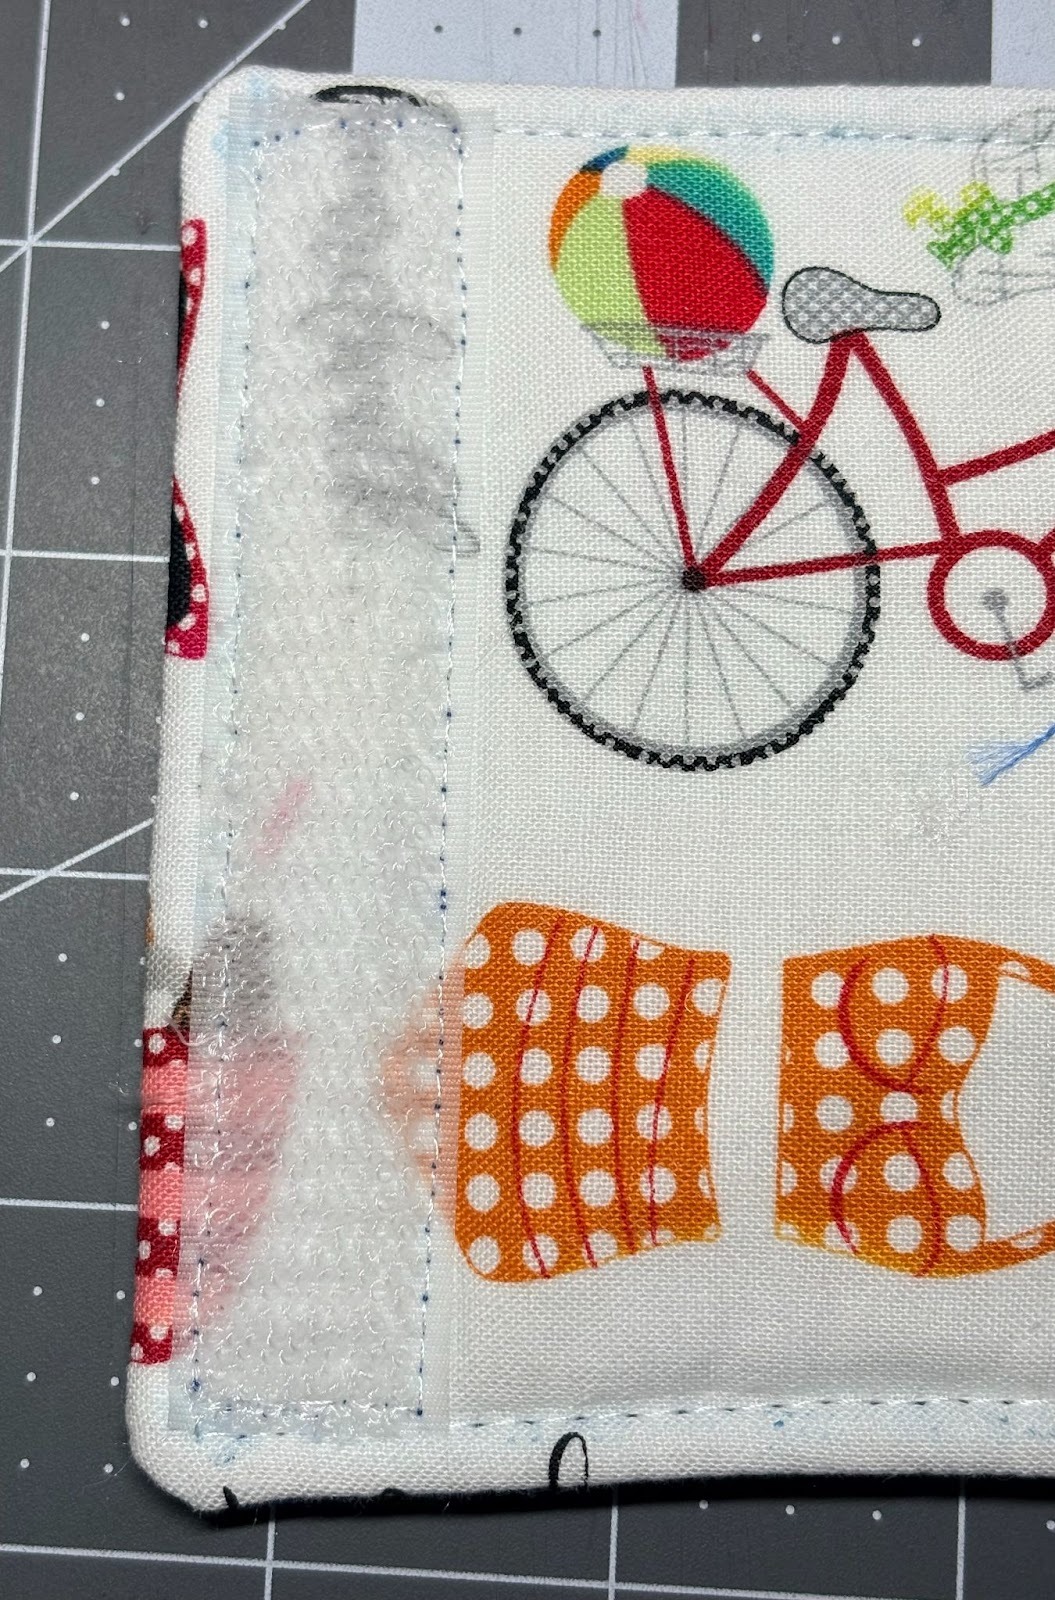
Sew around all four edges to secure.
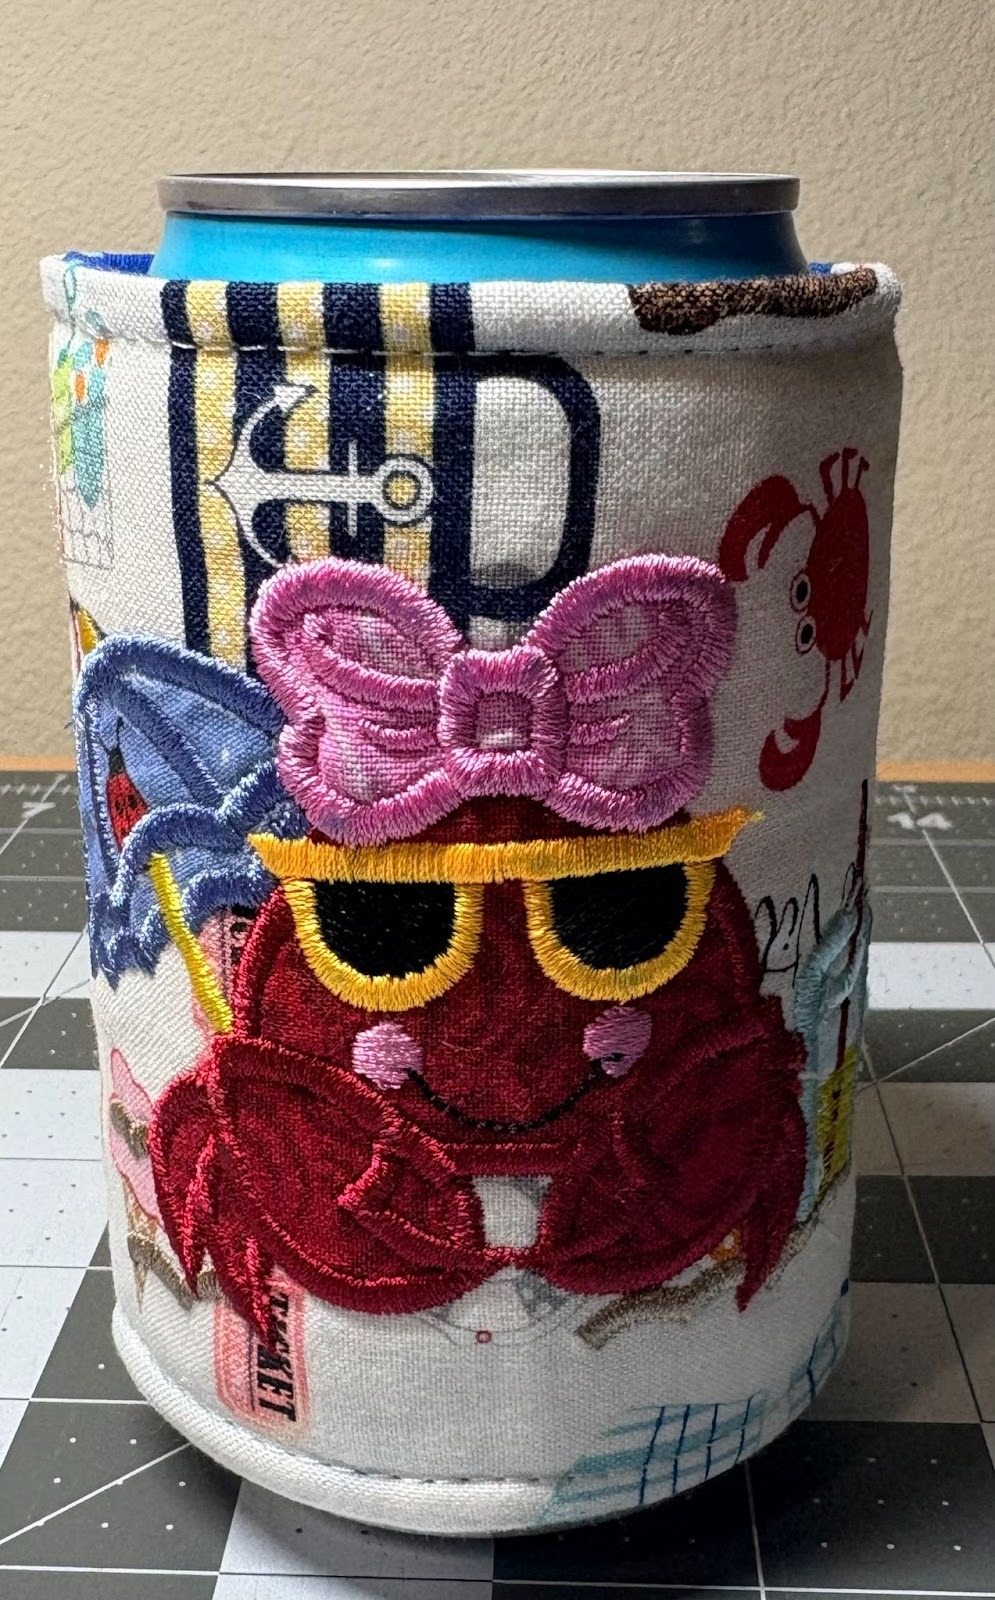
Your can-cooler wrap is complete!

Wrap it around a bottle or can and enjoy your cool beverage.

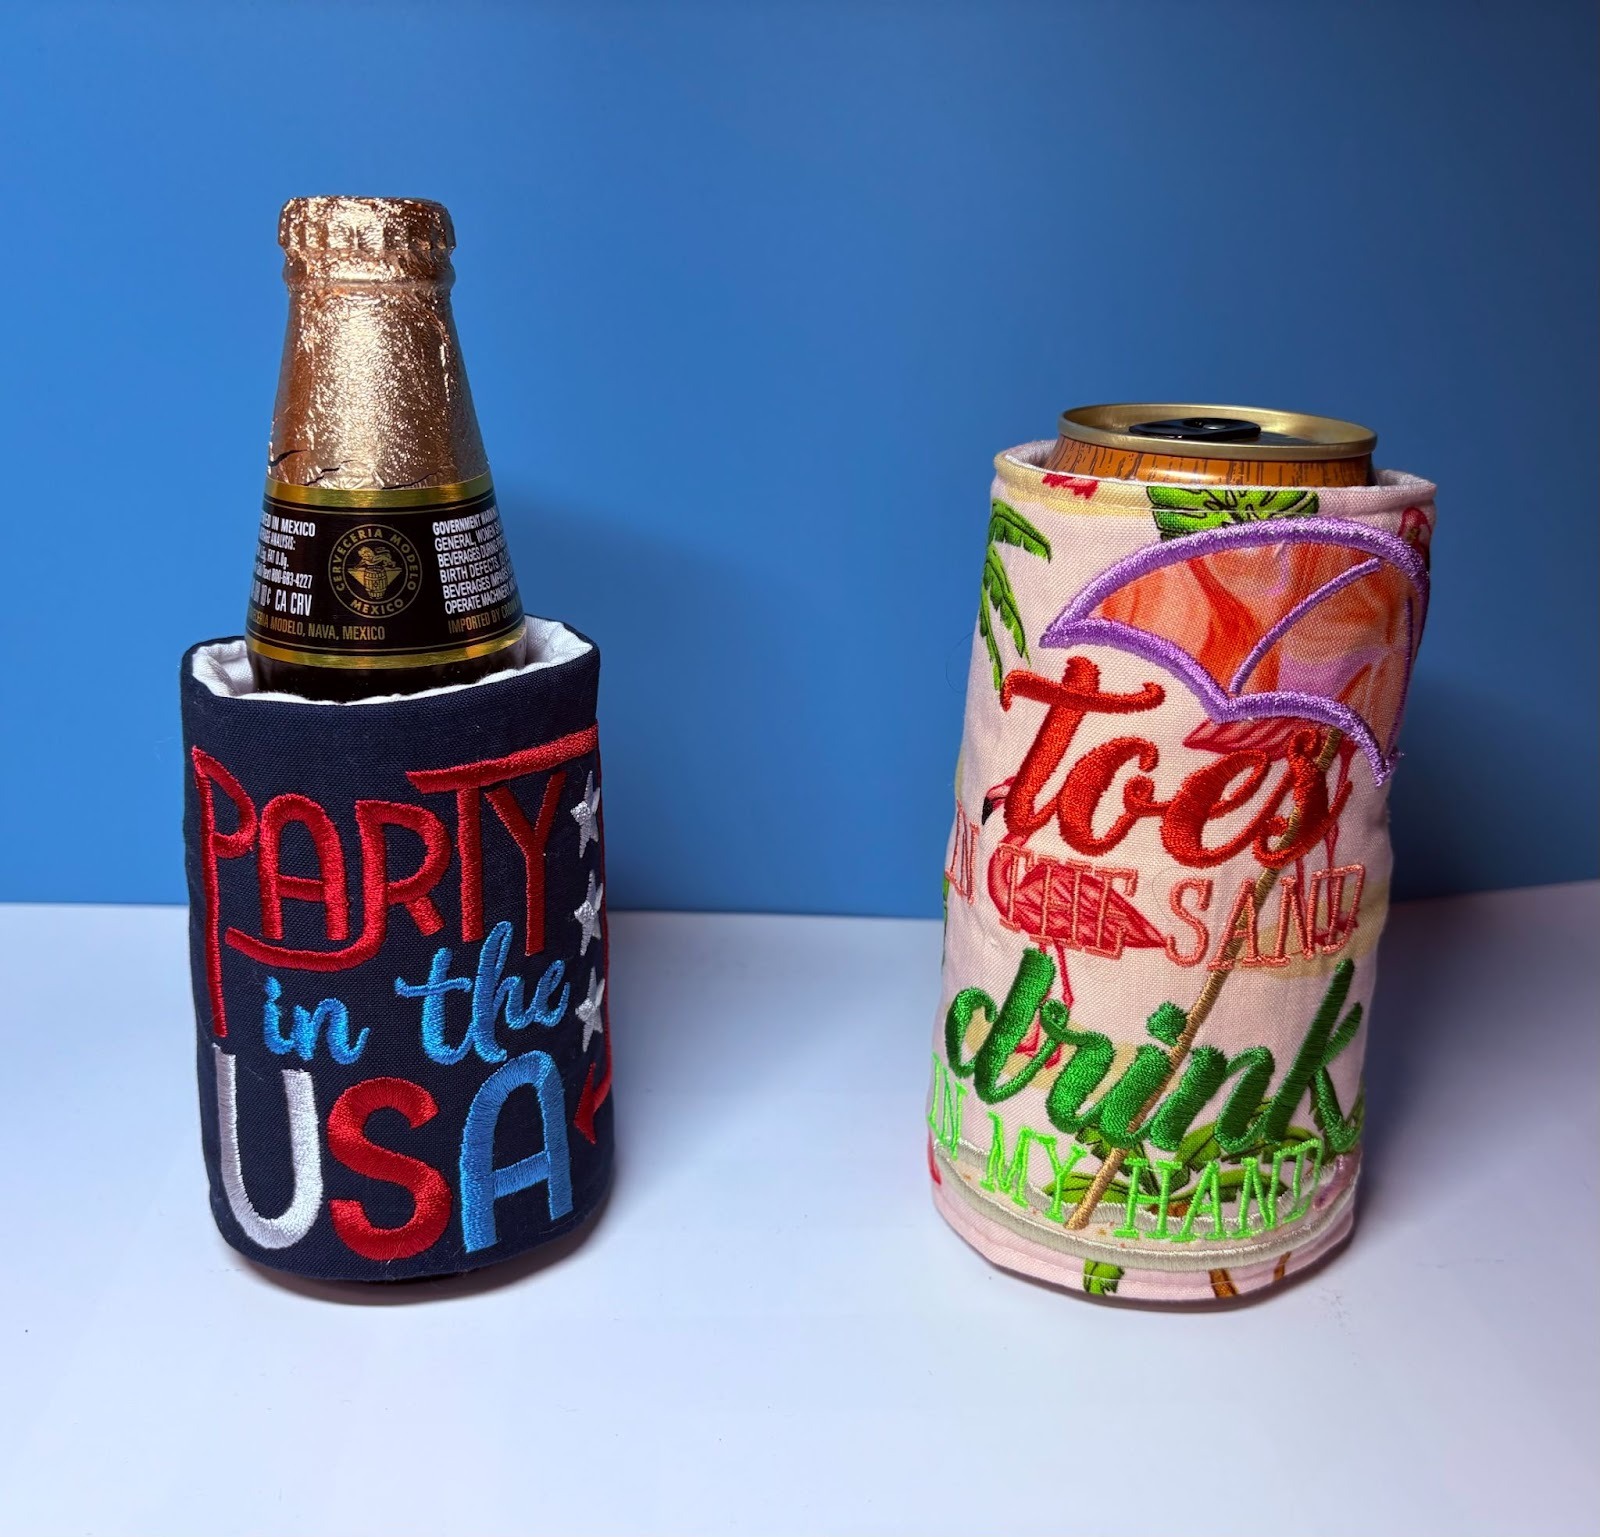
If you have a tall can, no problem. Just change the measurements.
Try using a JuJu design for a 5x7 hoop or smaller. For this cooler wrap I used Beach Word Art 3 in the 5x7 hoop size.
Instructions are the same.

Try a design that wraps around the can for an overall cute look!

And just like that, your embroidered can-cooler wraps are ready to keep things cool in style! Whether you’re stitching them up for backyard barbecues, holiday gatherings, or thoughtful handmade gifts, these little projects pack a lot of personality into every sip. Play with colors, mix up designs, and make each one uniquely yours, because even the smallest details bring the biggest smiles.
Please share your can-cooler wraps in the Designs by JuJu Embroidery Blessings Group on Facebook, or use the hashtag #designsbyjuju anywhere on social media. As always, we love to see what you make!
Cheers to creativity and staying cool!
