Toggle Nav
 Inspire.
Create.
Stitch.
Inspire.
Create.
Stitch.
Search

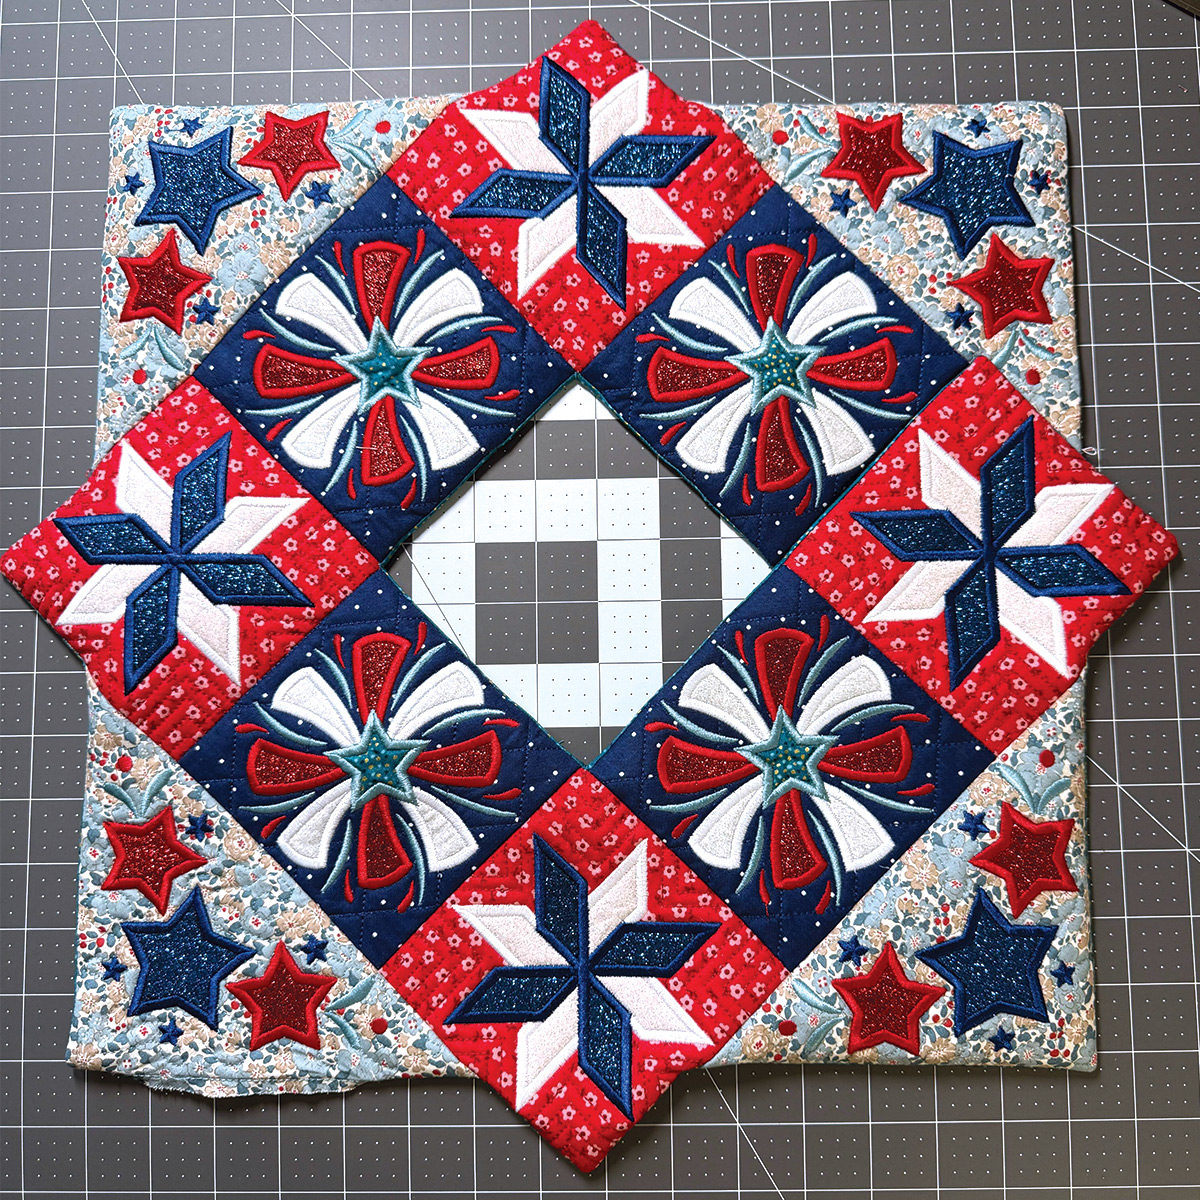
Add handmade charm to your summer celebrations with this patriotic table topper—perfect for tables, umbrellas & display stands!
Looking for a fun, functional way to dress up your summer décor? This Patriotic Table Topper project is a festive favorite—with a little surprise built in! This version includes hidden tabs and a clever backing construction so your topper can wrap beautifully around a table umbrella, pole, or even display stand.
Whether you’re stitching for a picnic table, backyard BBQ, or festive indoor celebration, this topper adds just the right touch of handmade charm.
Check out the DBJJ team’s favorite supplies in the Designs by JuJu Amazon store.
This tutorial builds on the standard Table Topper instructions but gives you an added way to secure it around objects with neatly hidden Velcro tabs. Let’s get stitching!
Note: You do NOT need to sew out the center block of your Table Topper for this version.
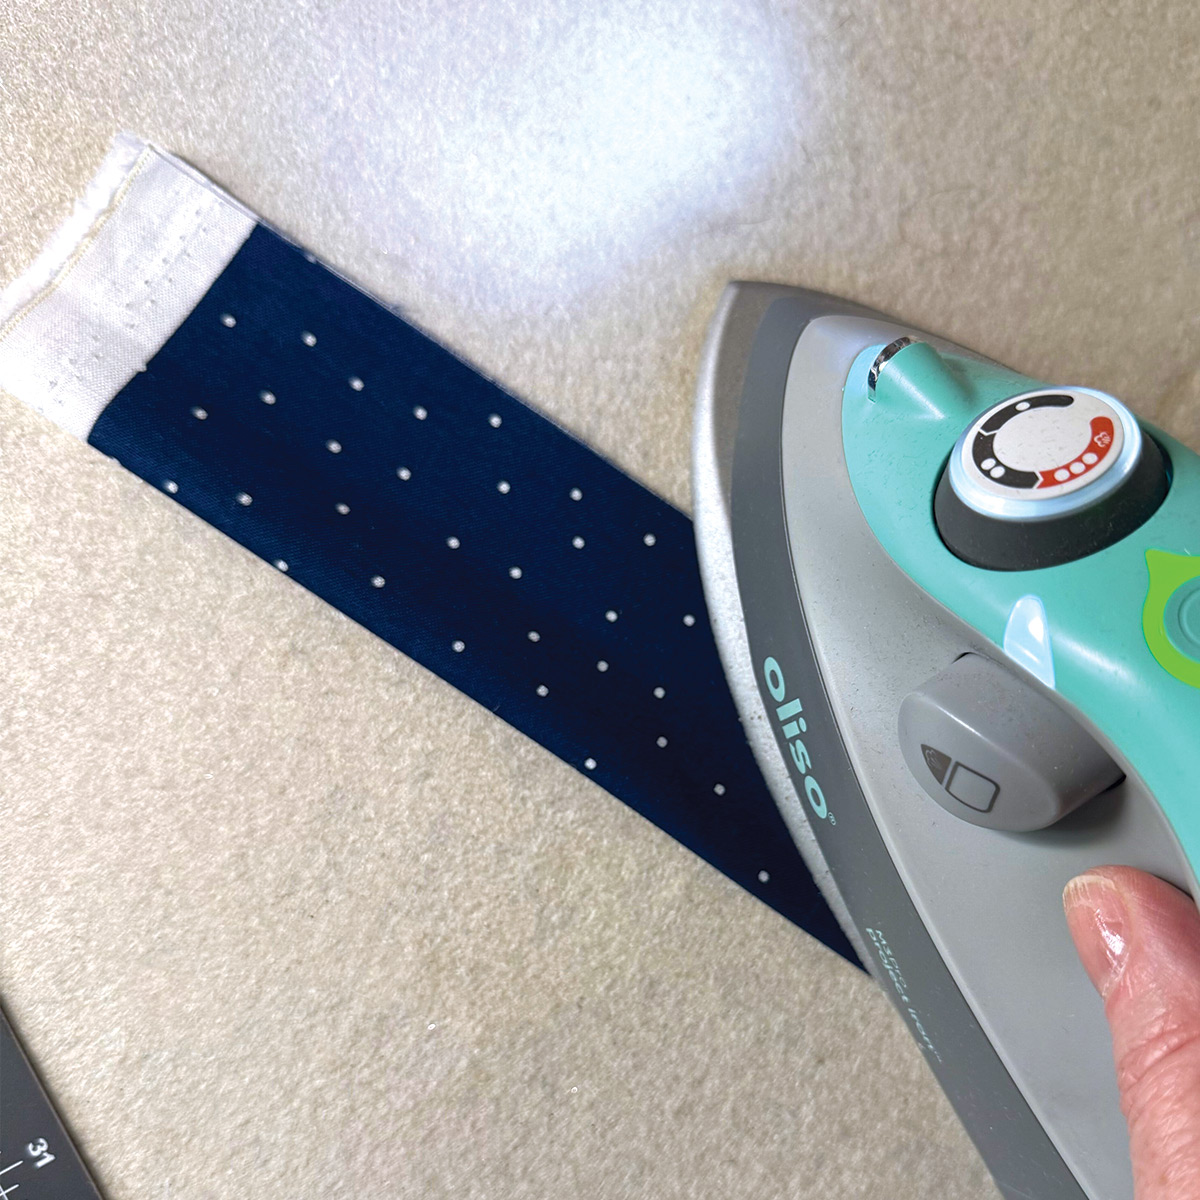
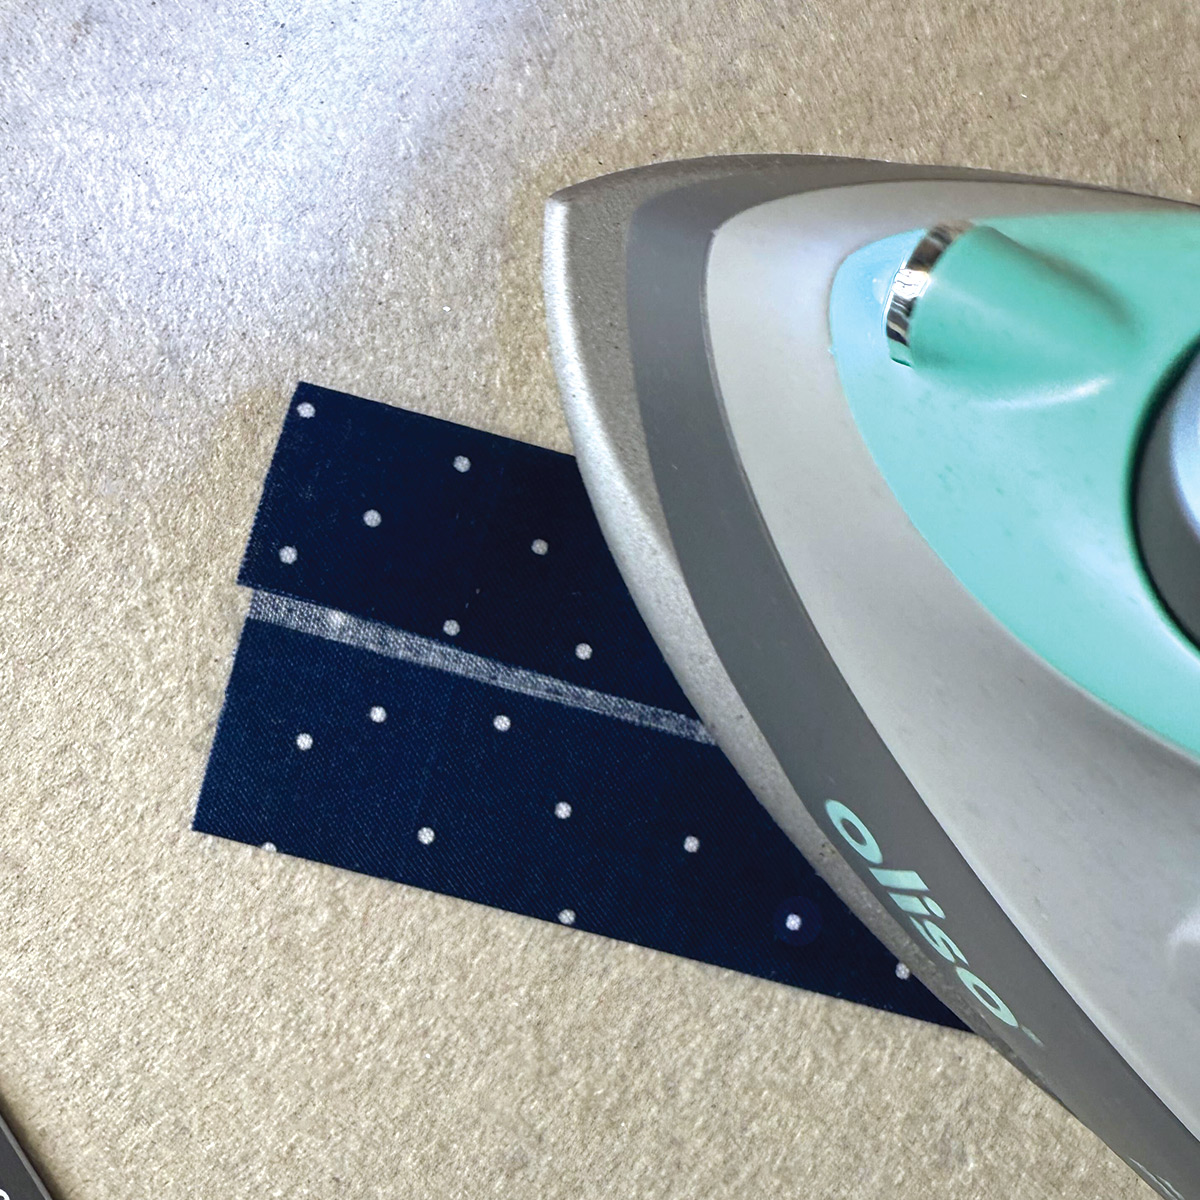
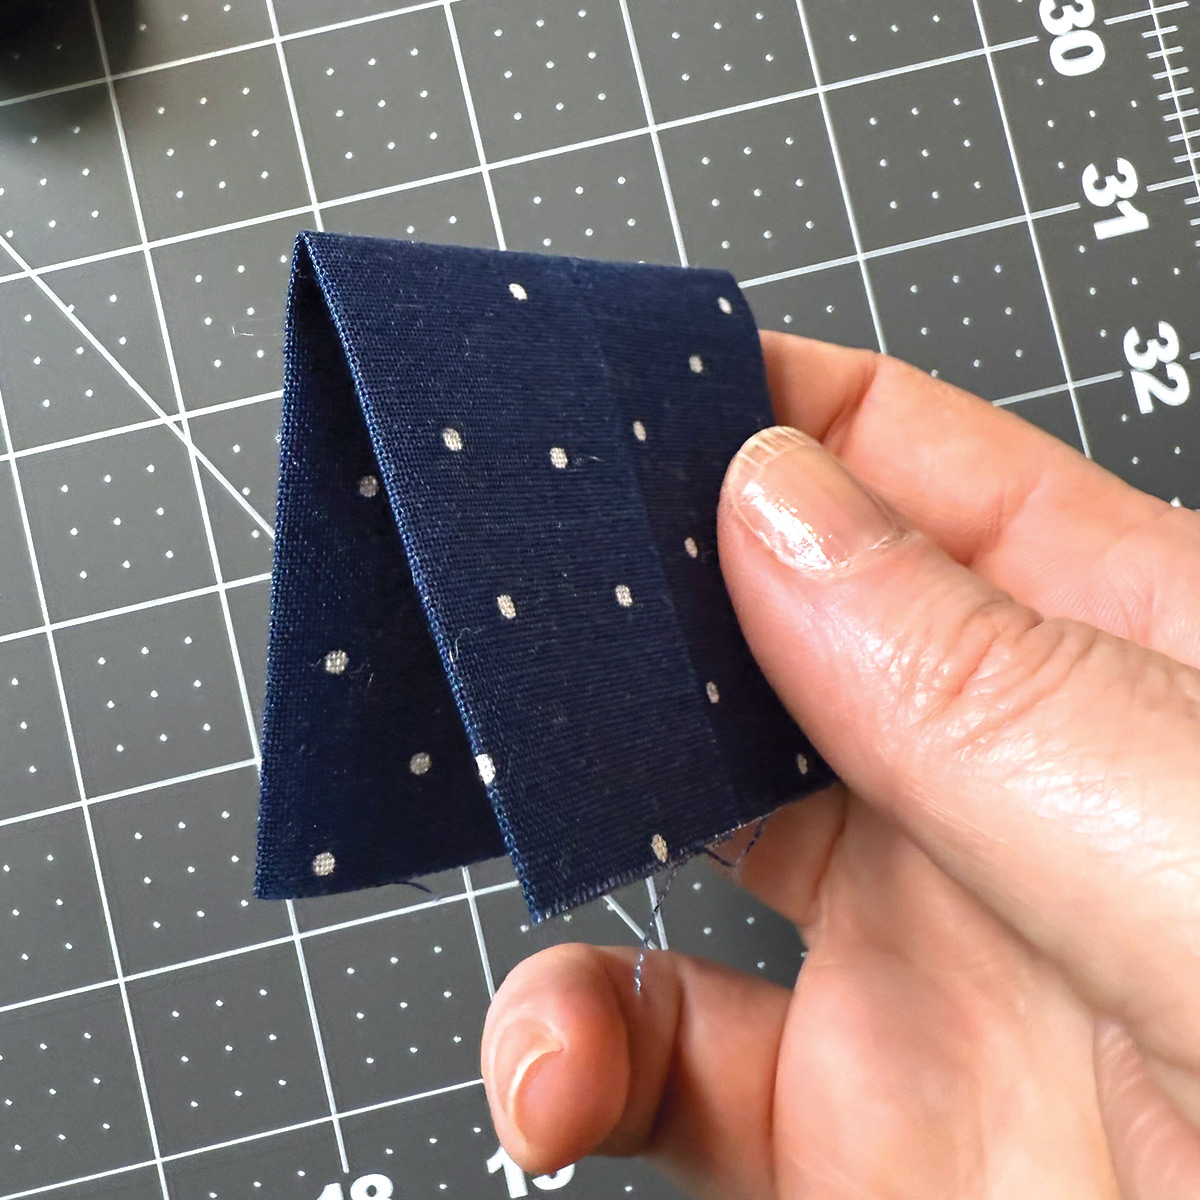
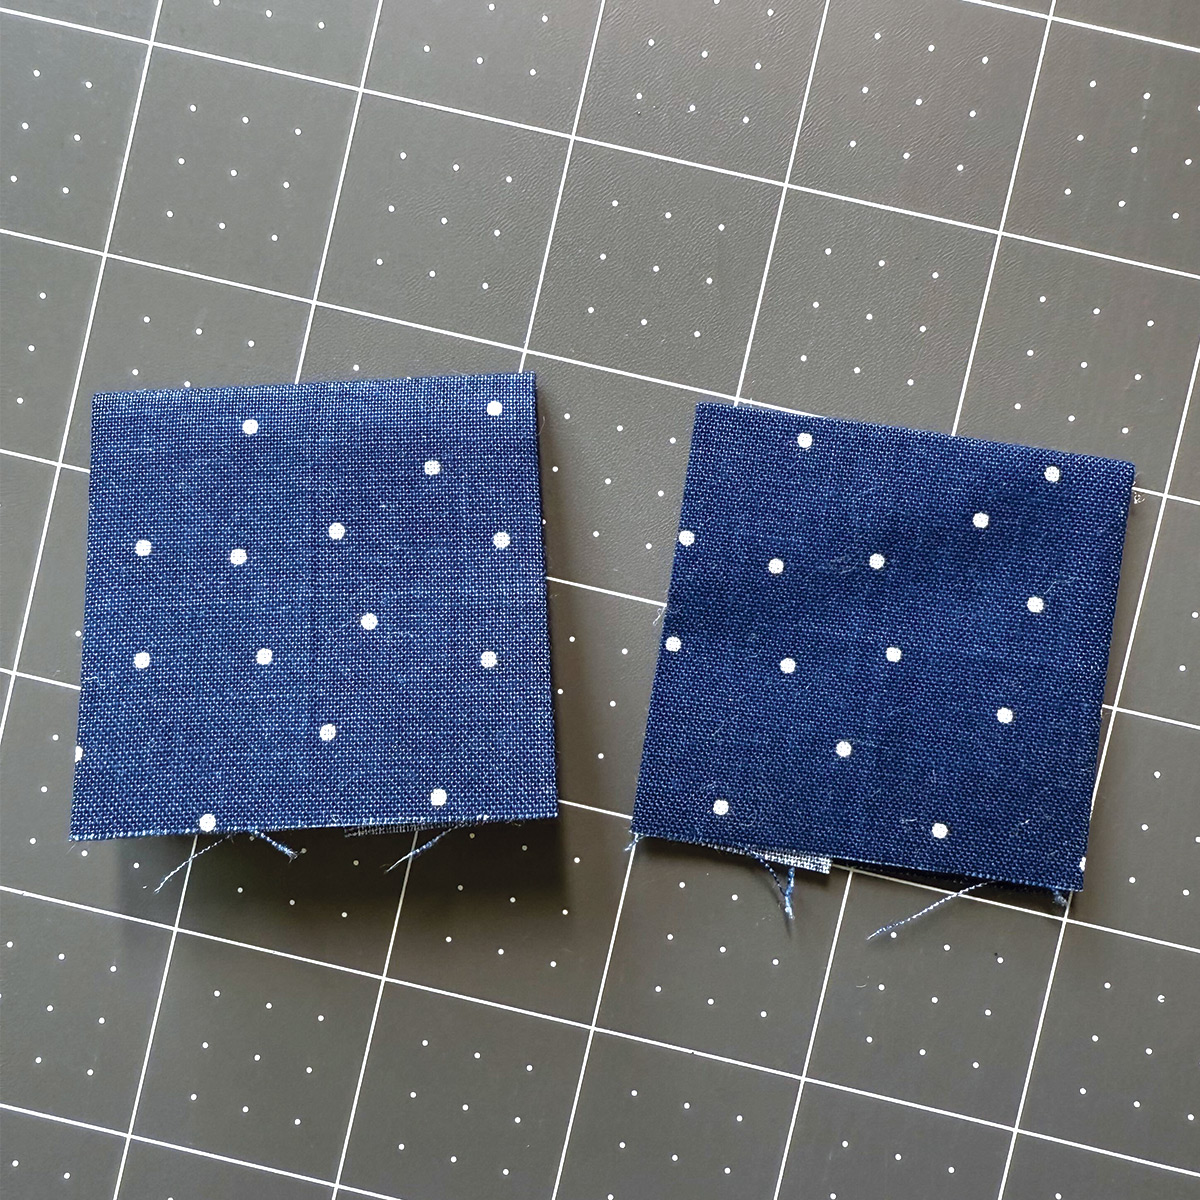
Step 1: Cut two 4” x 4” pieces of coordinating fabric. Fold each piece in half and press with your iron. Open them up, then fold each edge into the center fold and press again. Set these aside—we’ll use them for hidden tabs later.
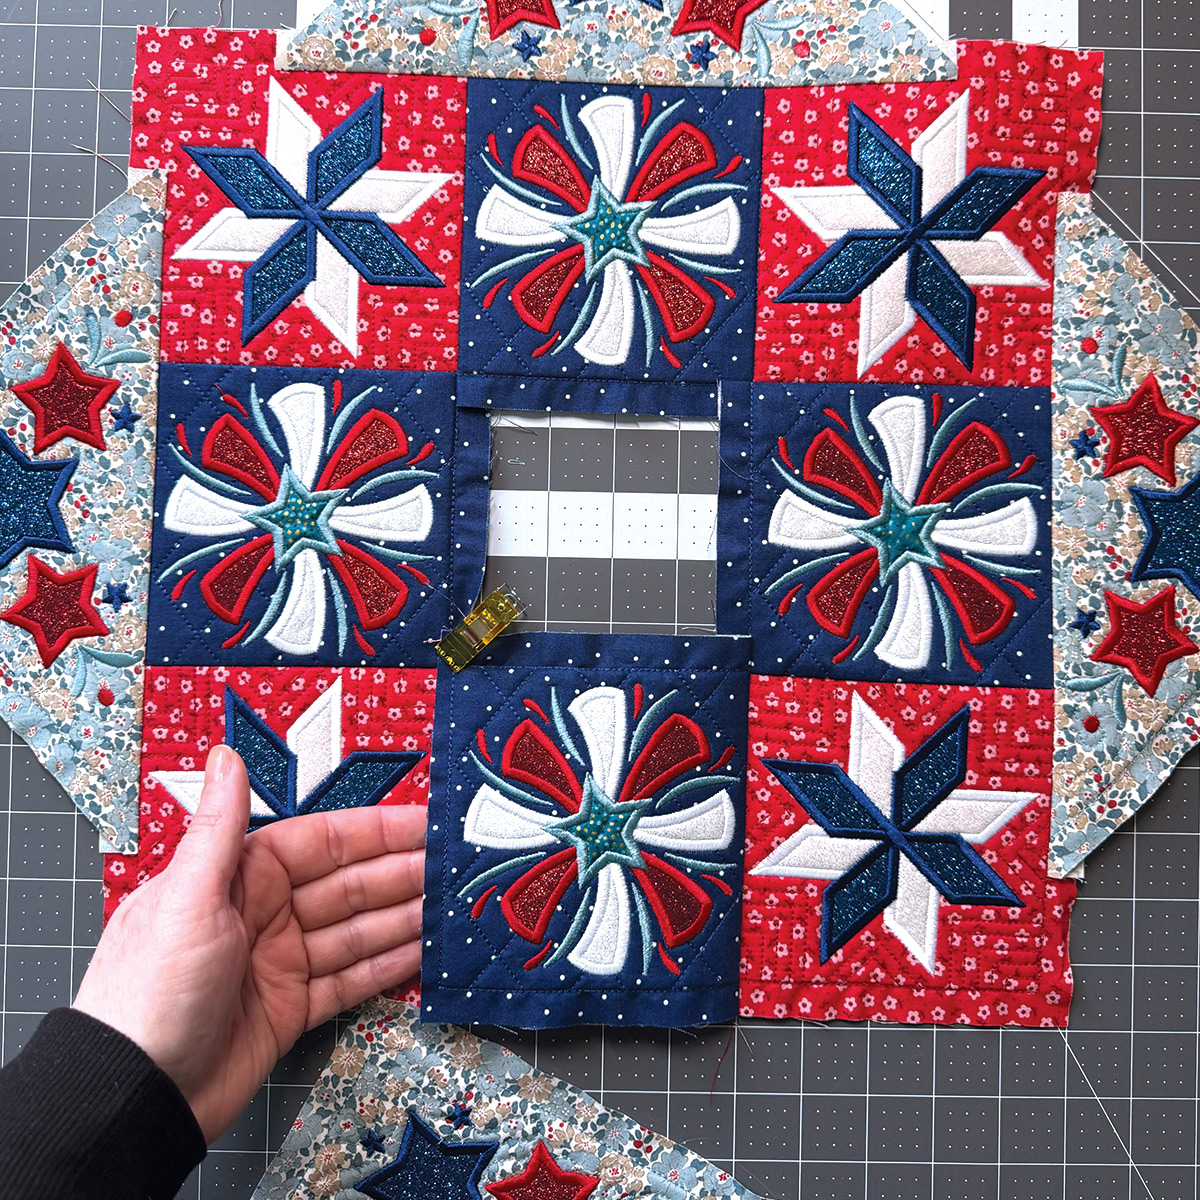
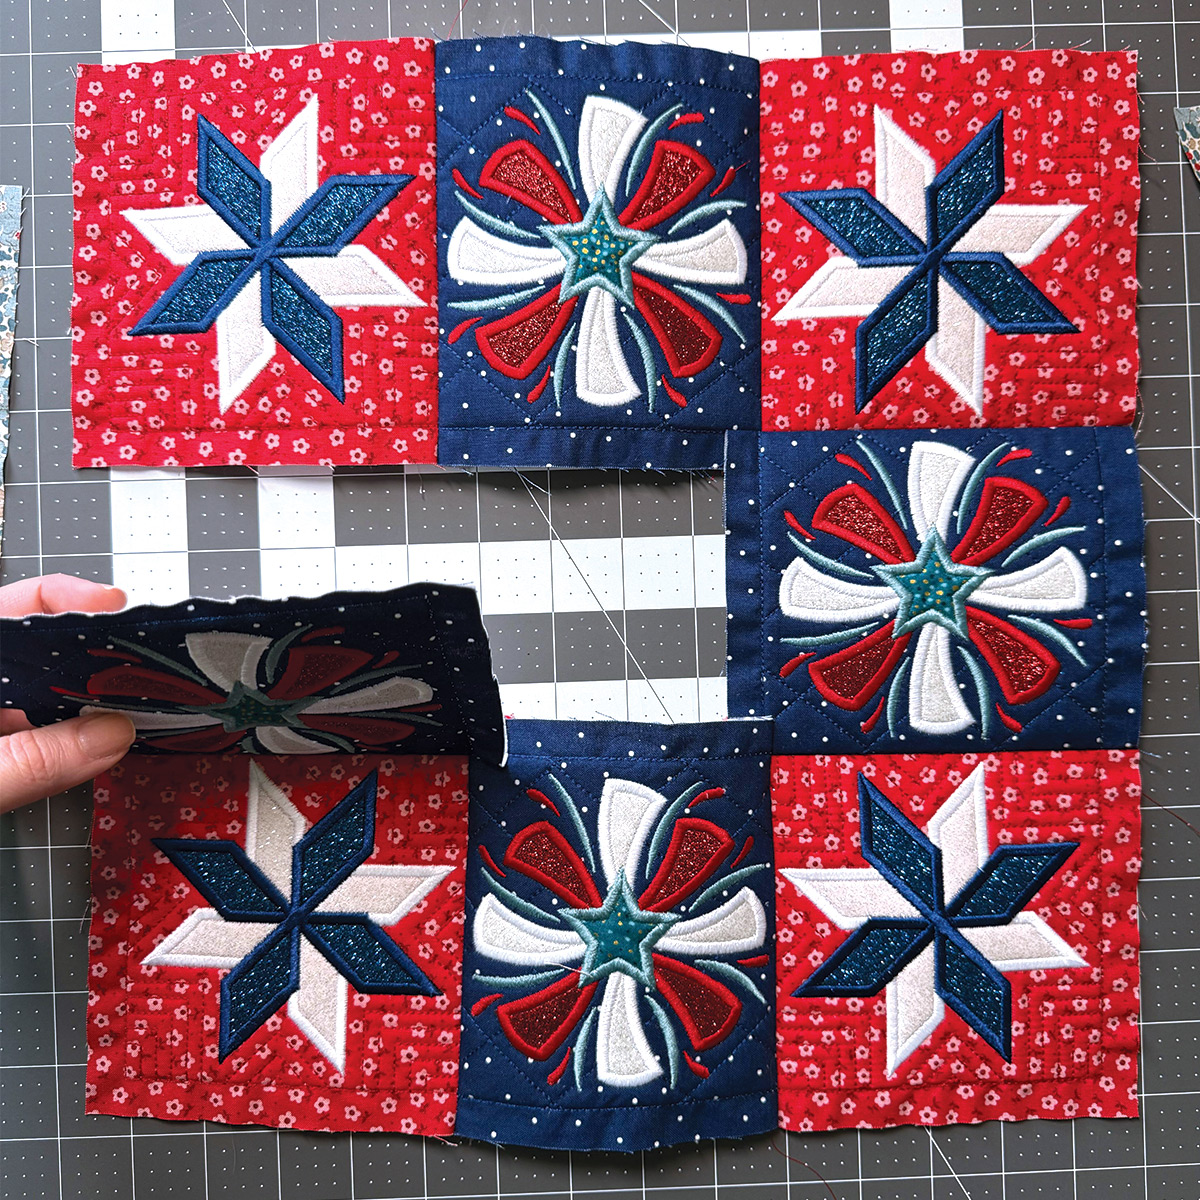
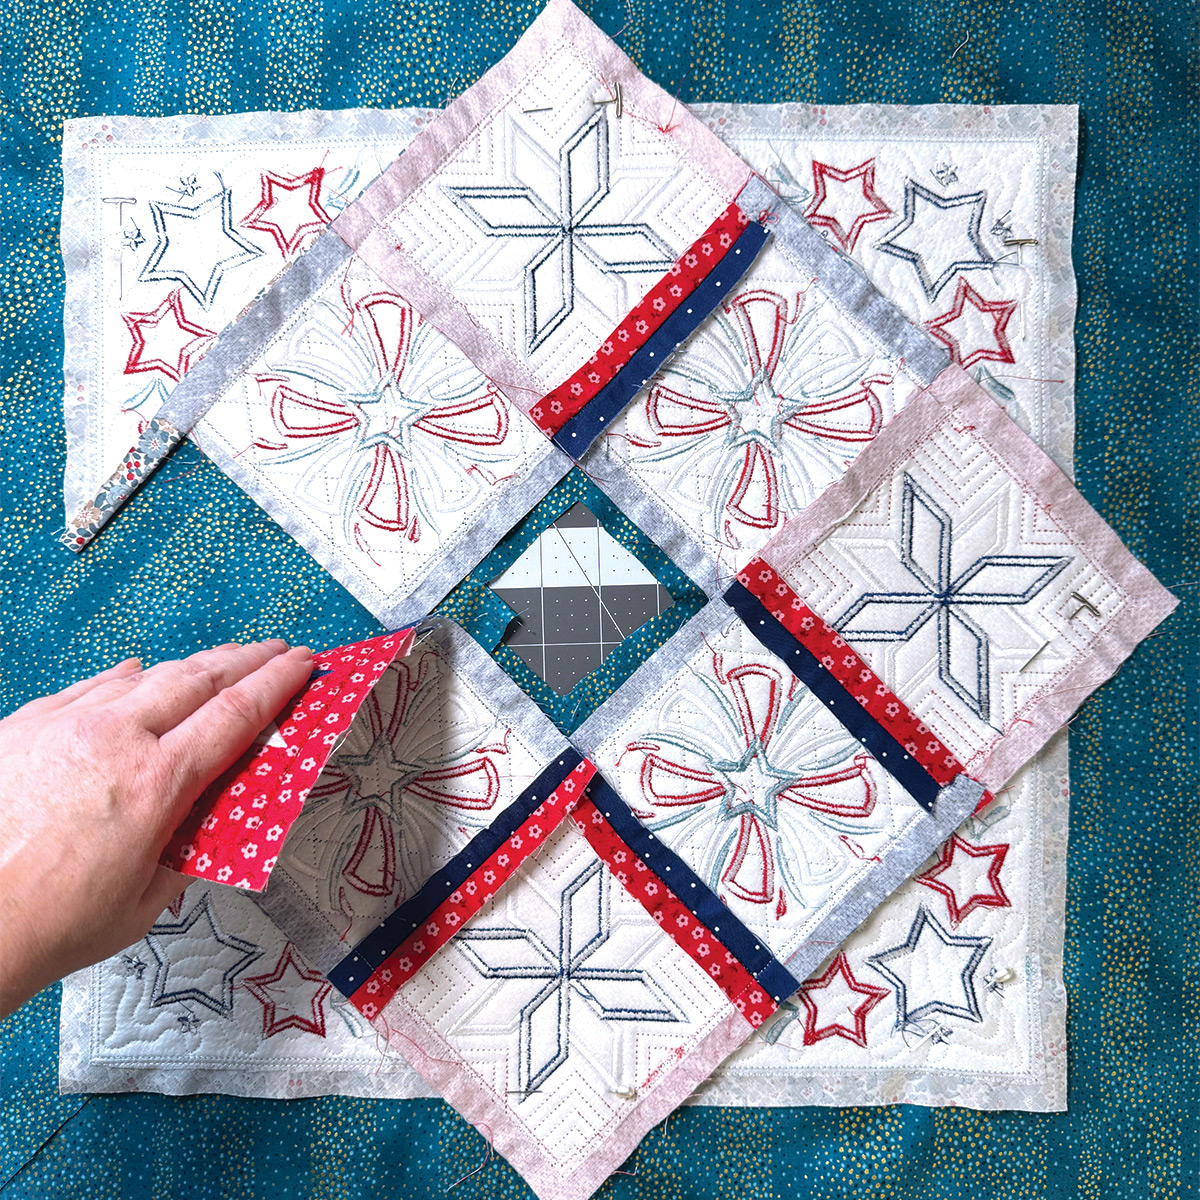
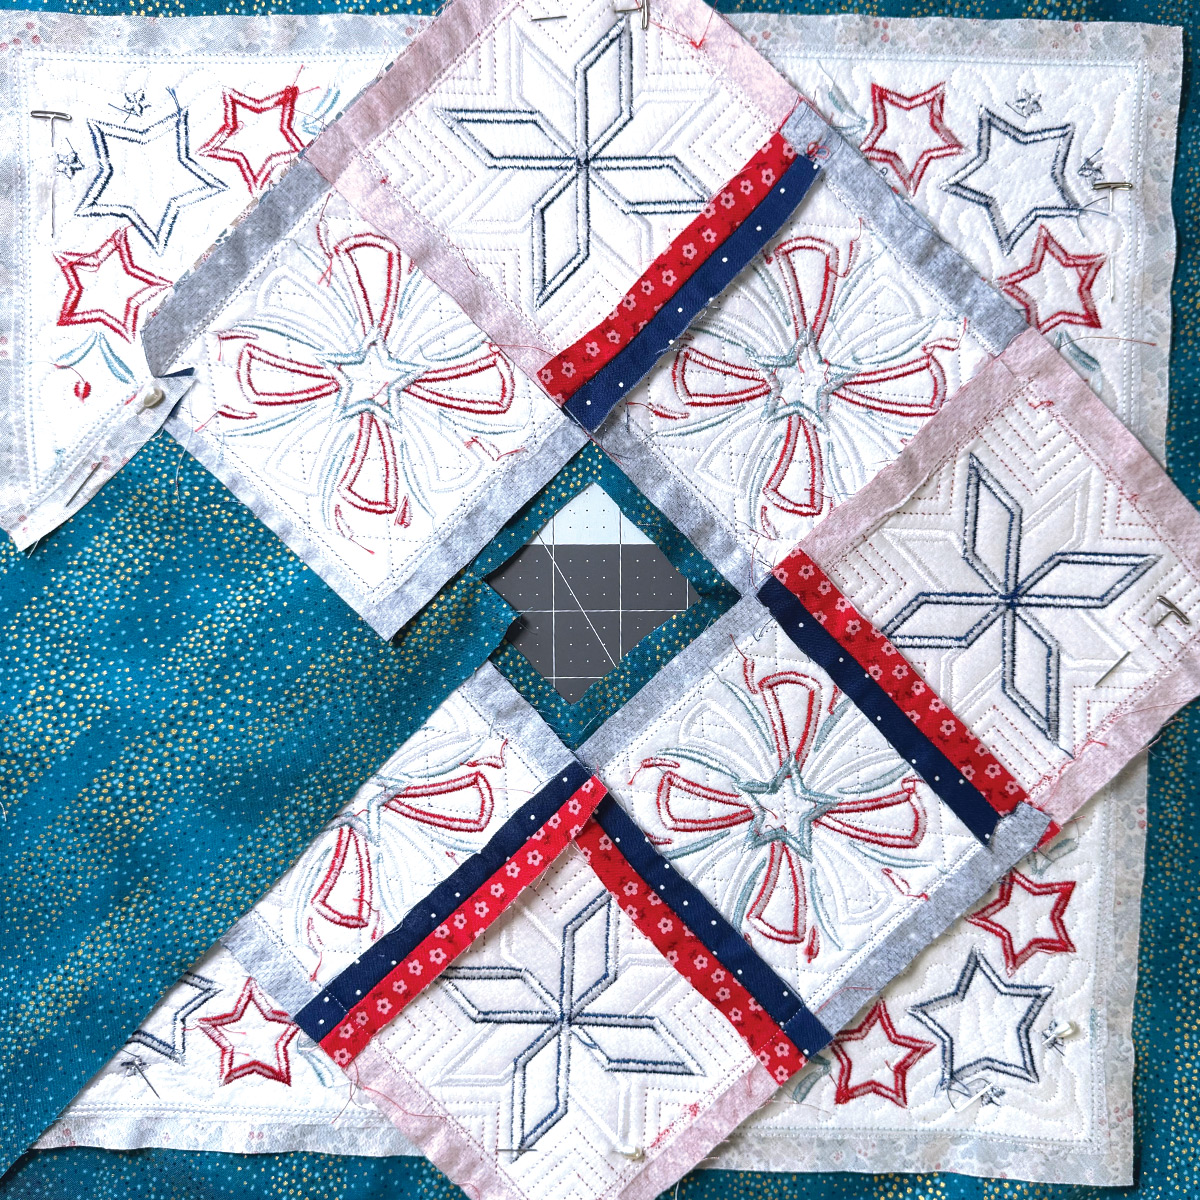
Step 2: Sew your Table Topper blocks together according to the instructions provided with your DBJJ design download. Be sure to leave an opening along one of the block sides and part of one triangle—this is important for turning and inserting your tabs later.

Step 3: Place your assembled Table Topper on top of your backing fabric. Roughly cut around it, leaving about 2” extra fabric all around the edge.
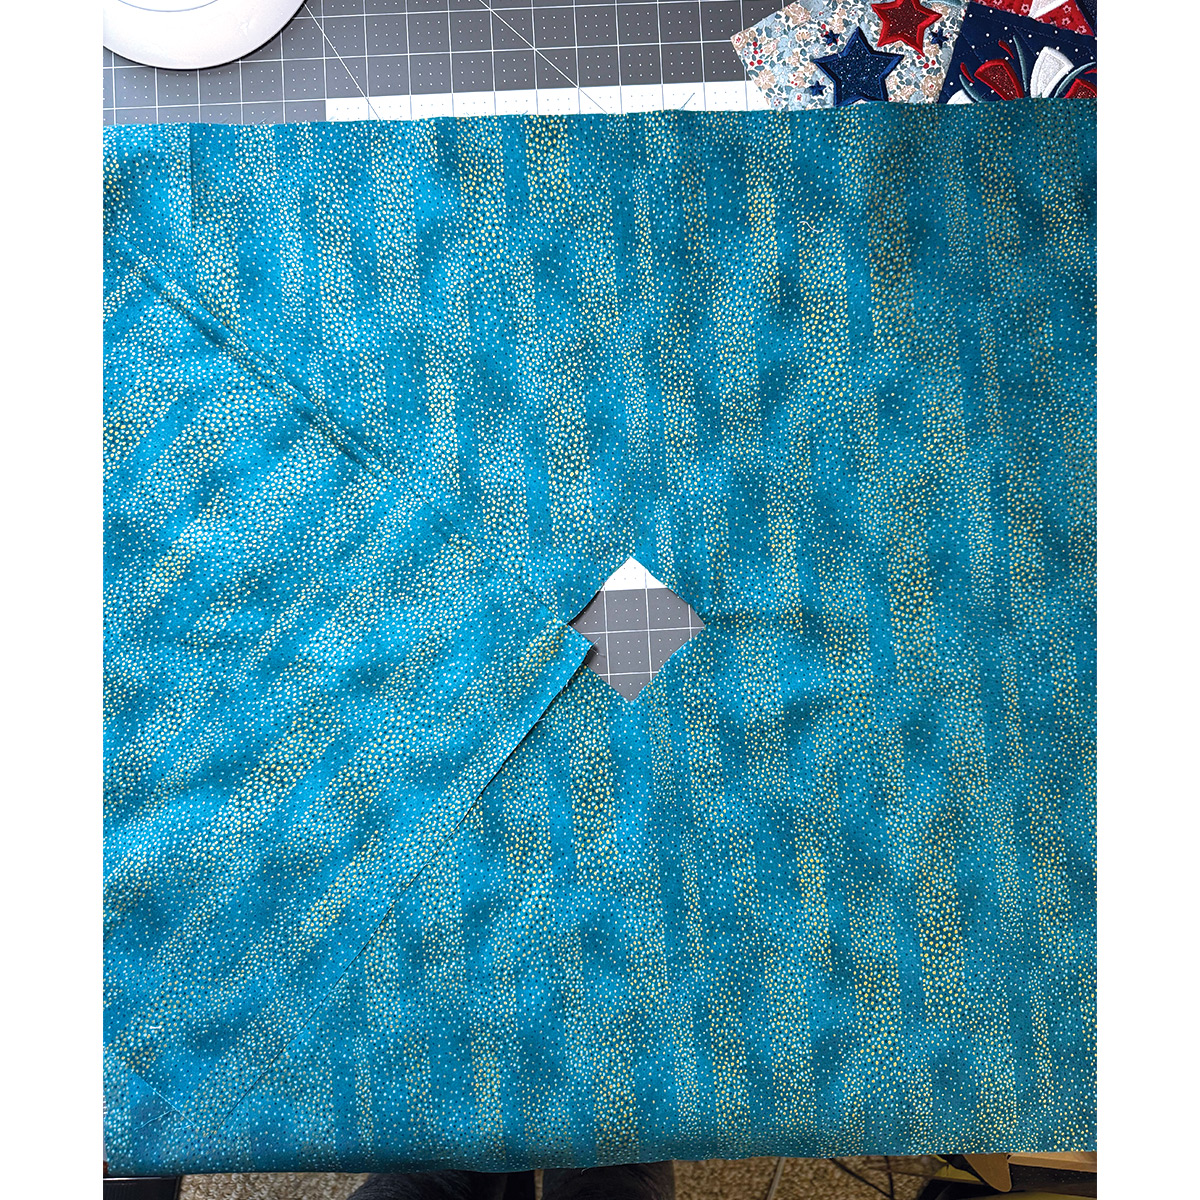
Step 4: With the Table Topper still on top of your backing, use a marking pen to draw a square hole in the center—about ½” in from the Table Topper’s inner edge.
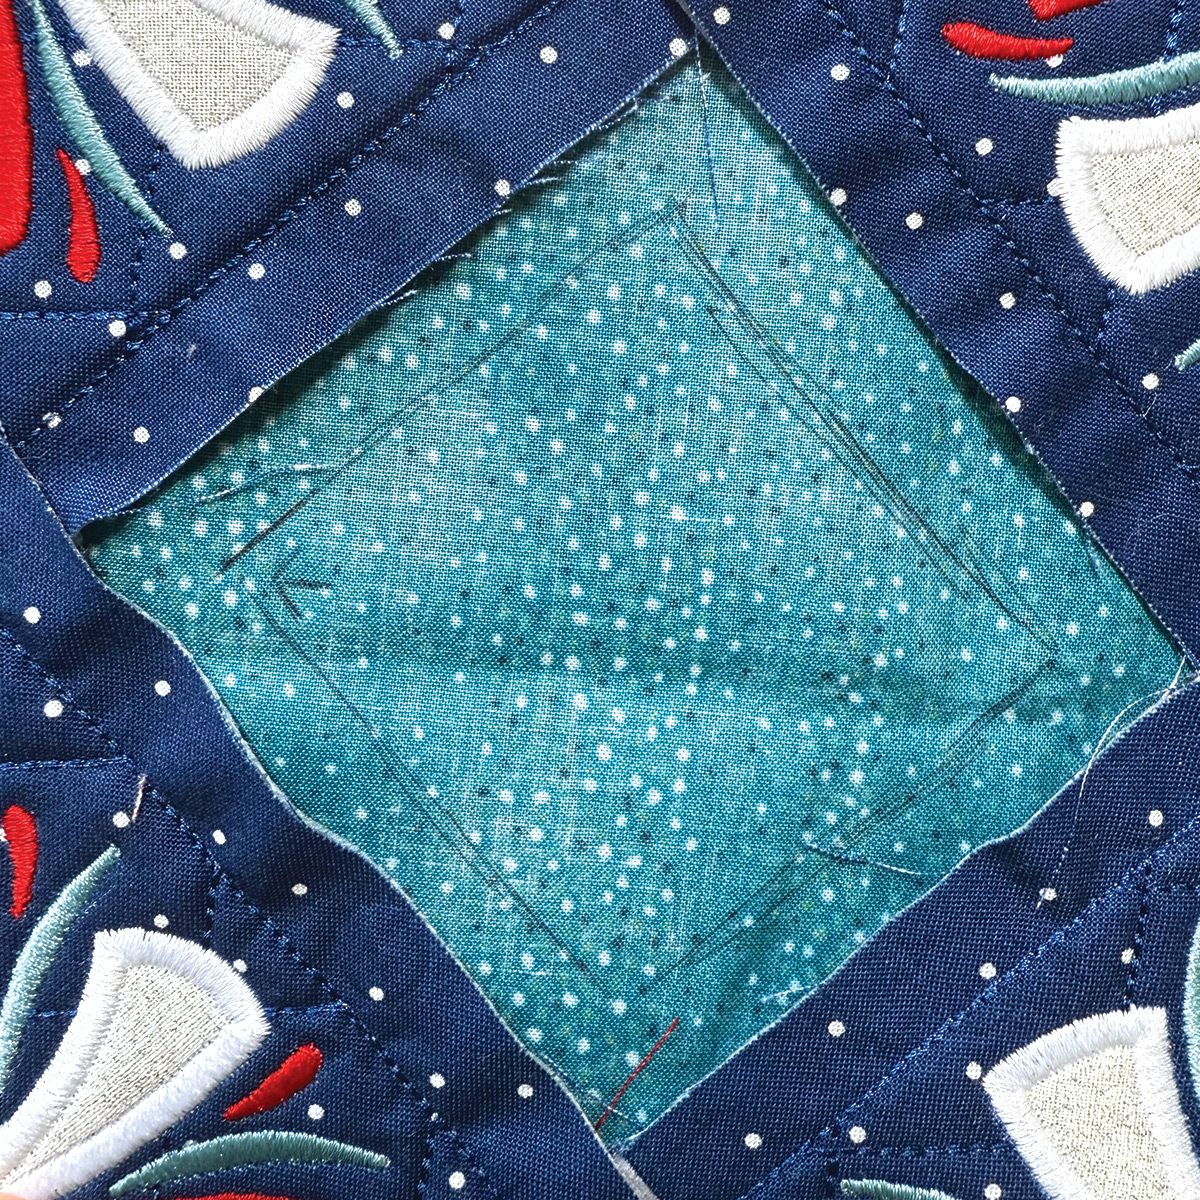
Step 5: Cut out the square you just marked.
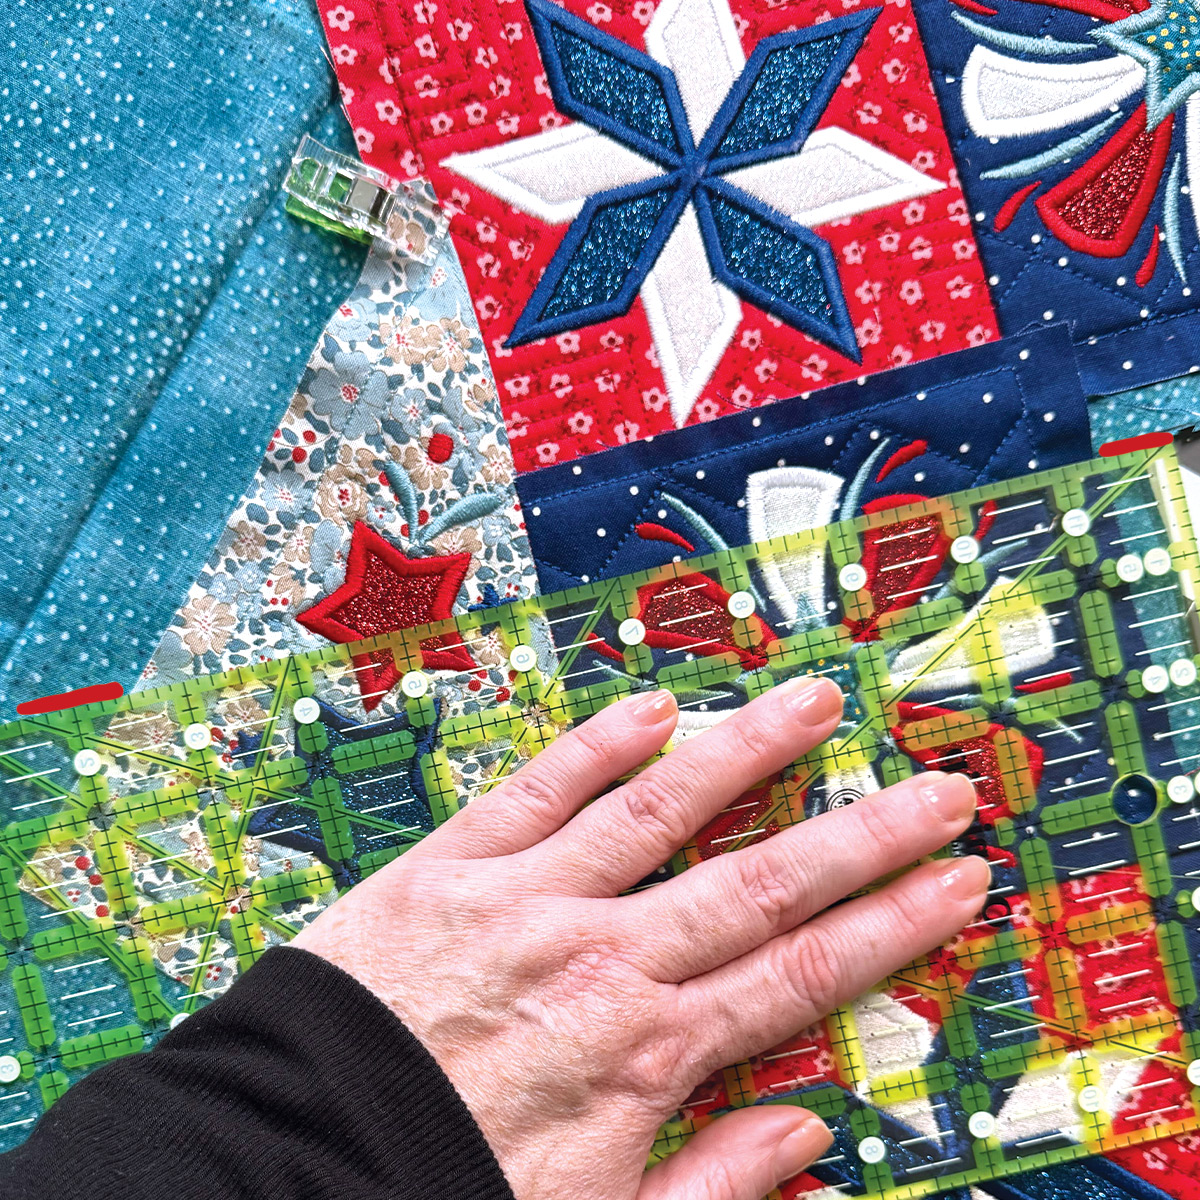
Step 6: Mark which corner of your backing fabric aligns with the opening in your Table Topper. Then, use a ruler to mark a diagonal line from that corner to the edge of the square opening.

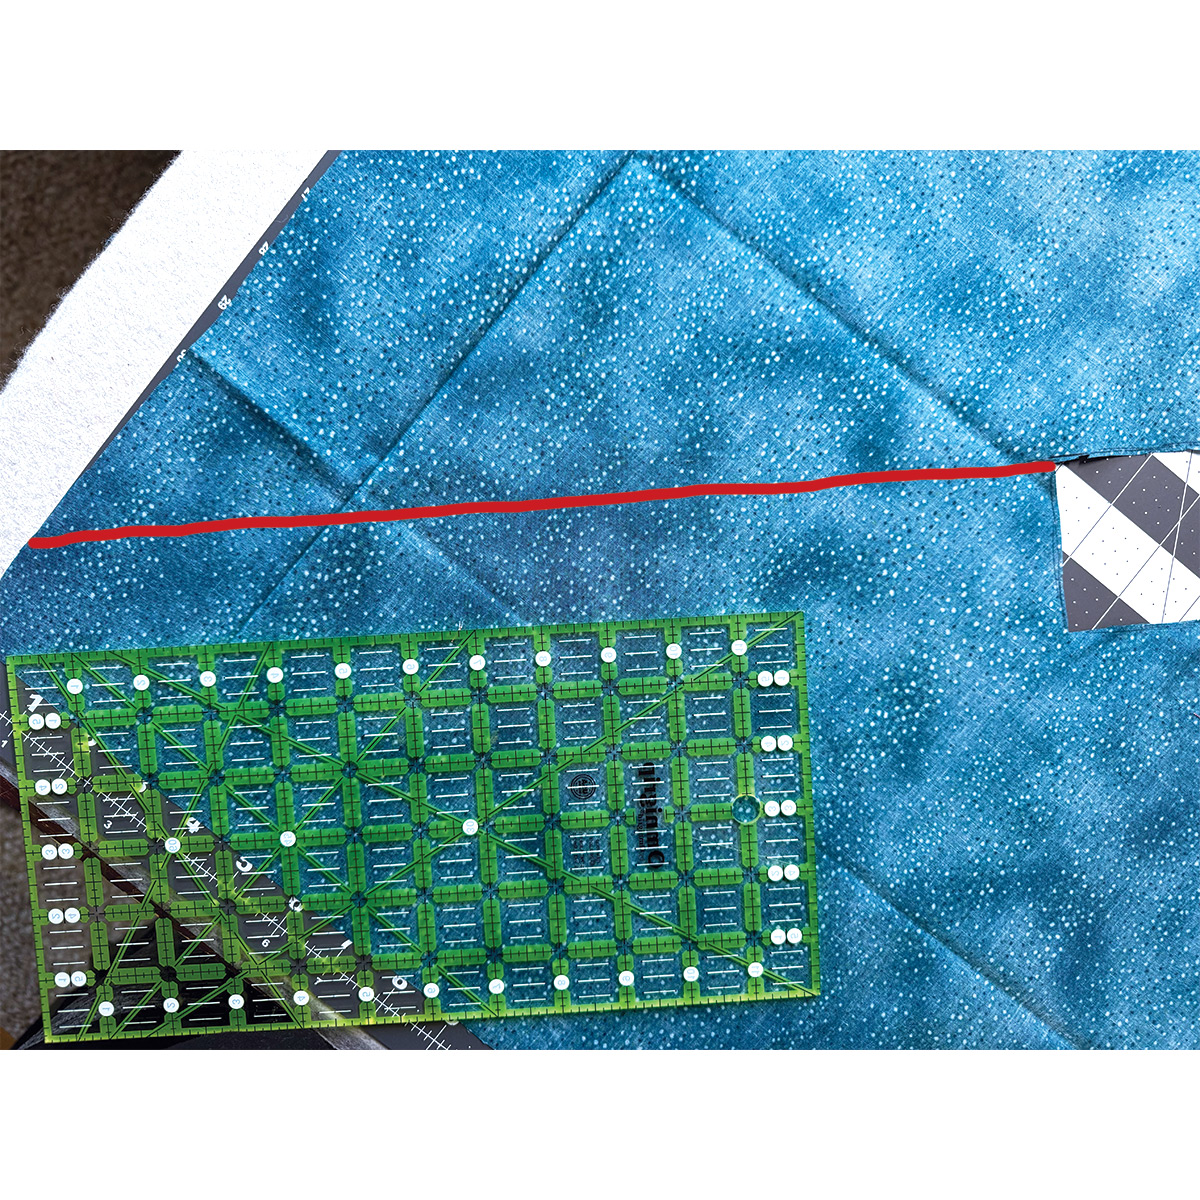
Step 7: Remove the Table Topper and cut along that line on your backing fabric from the fabric edge to the inner square opening.
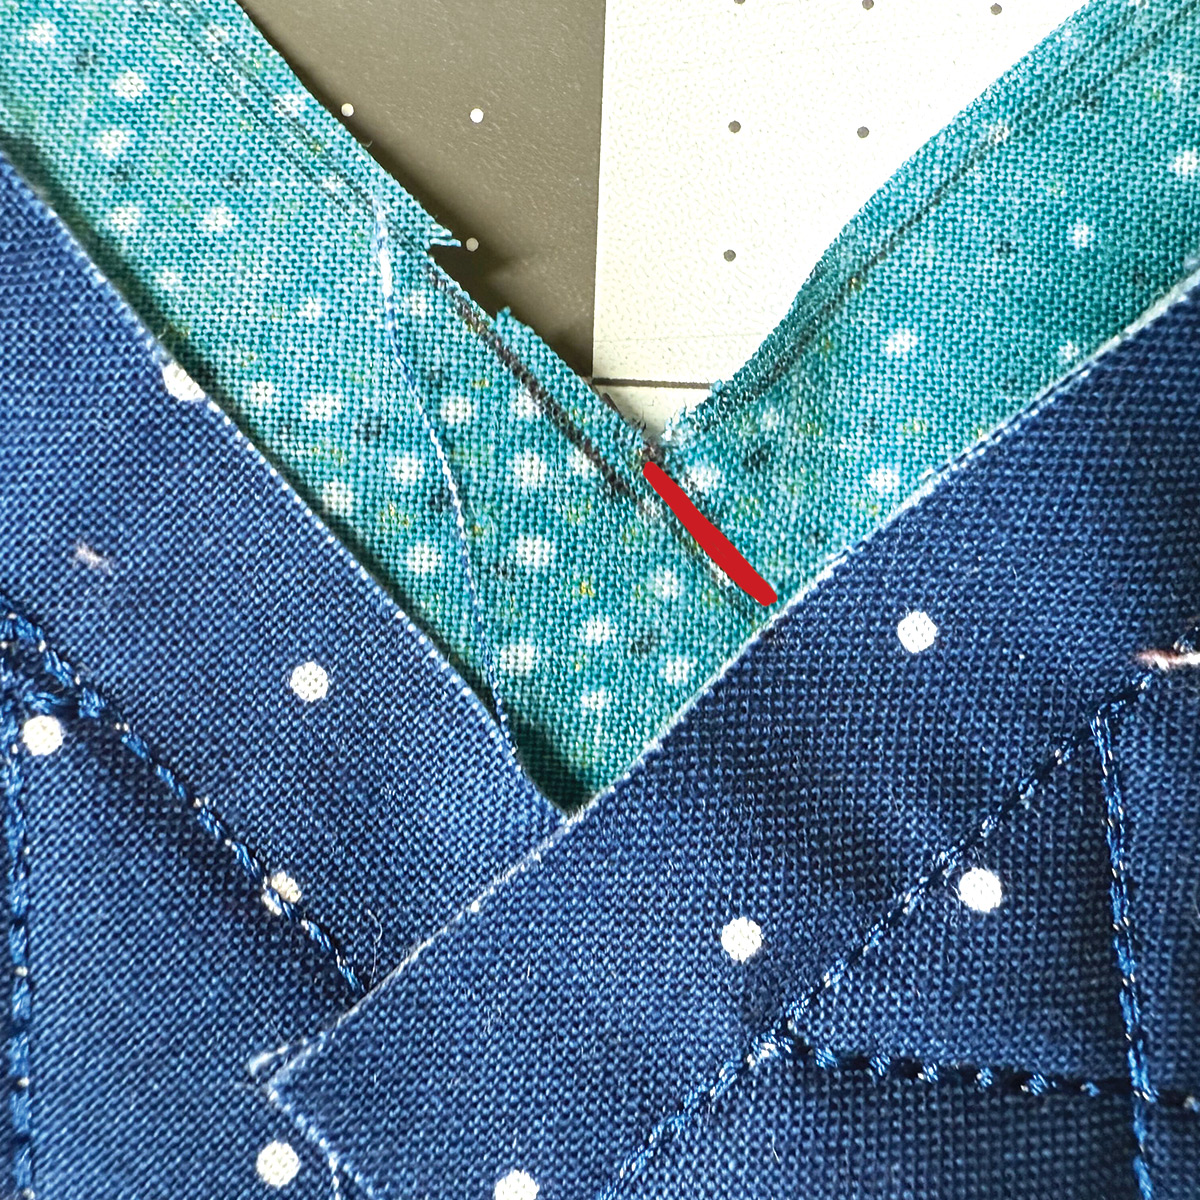
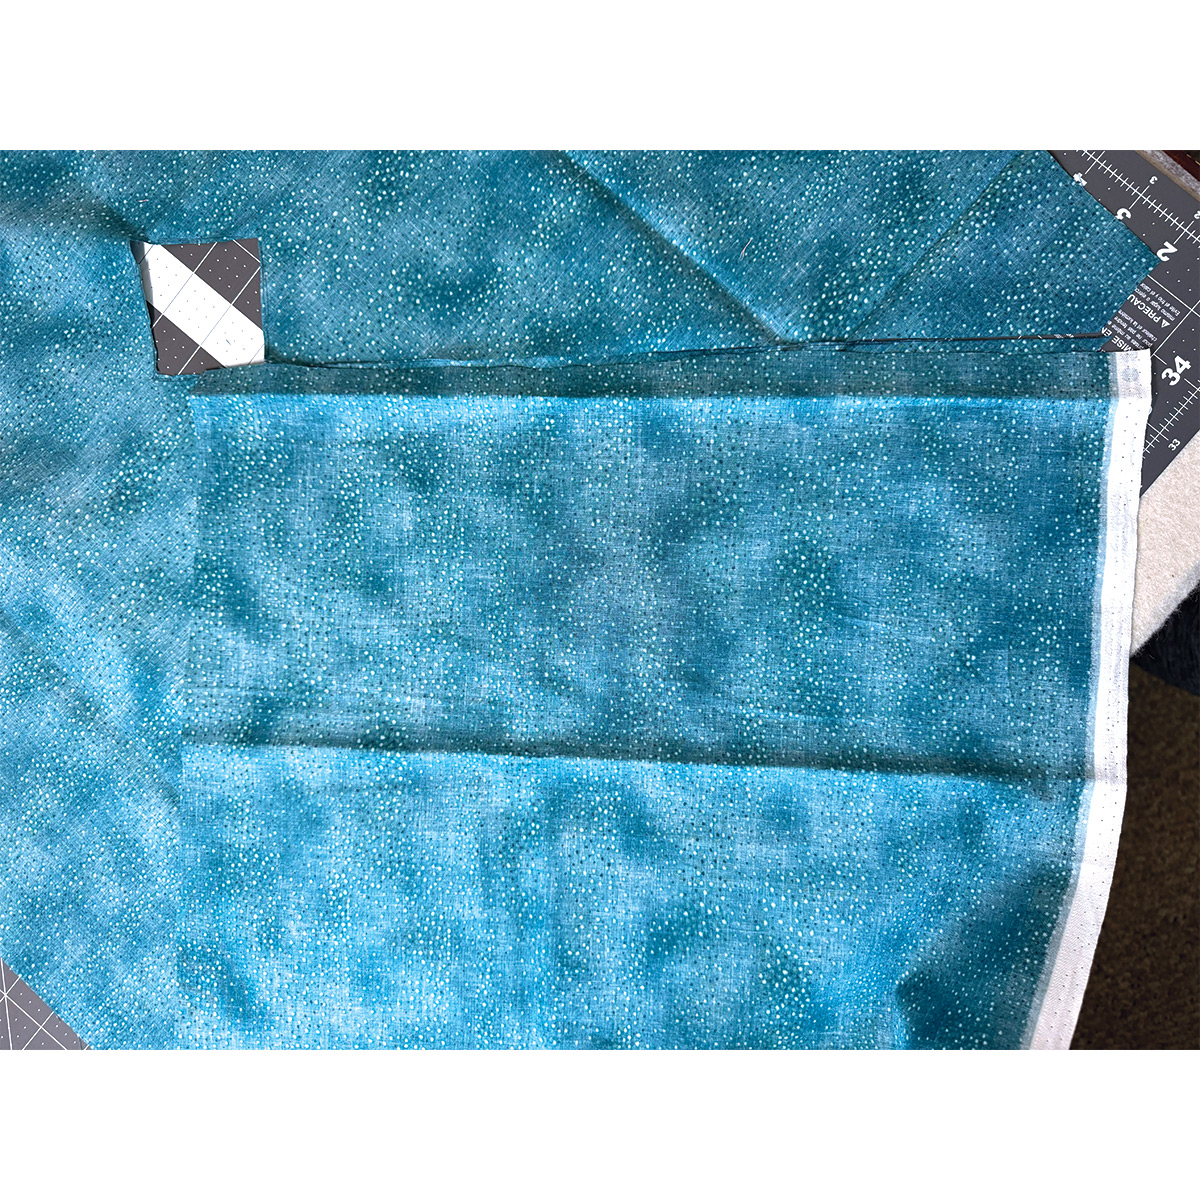
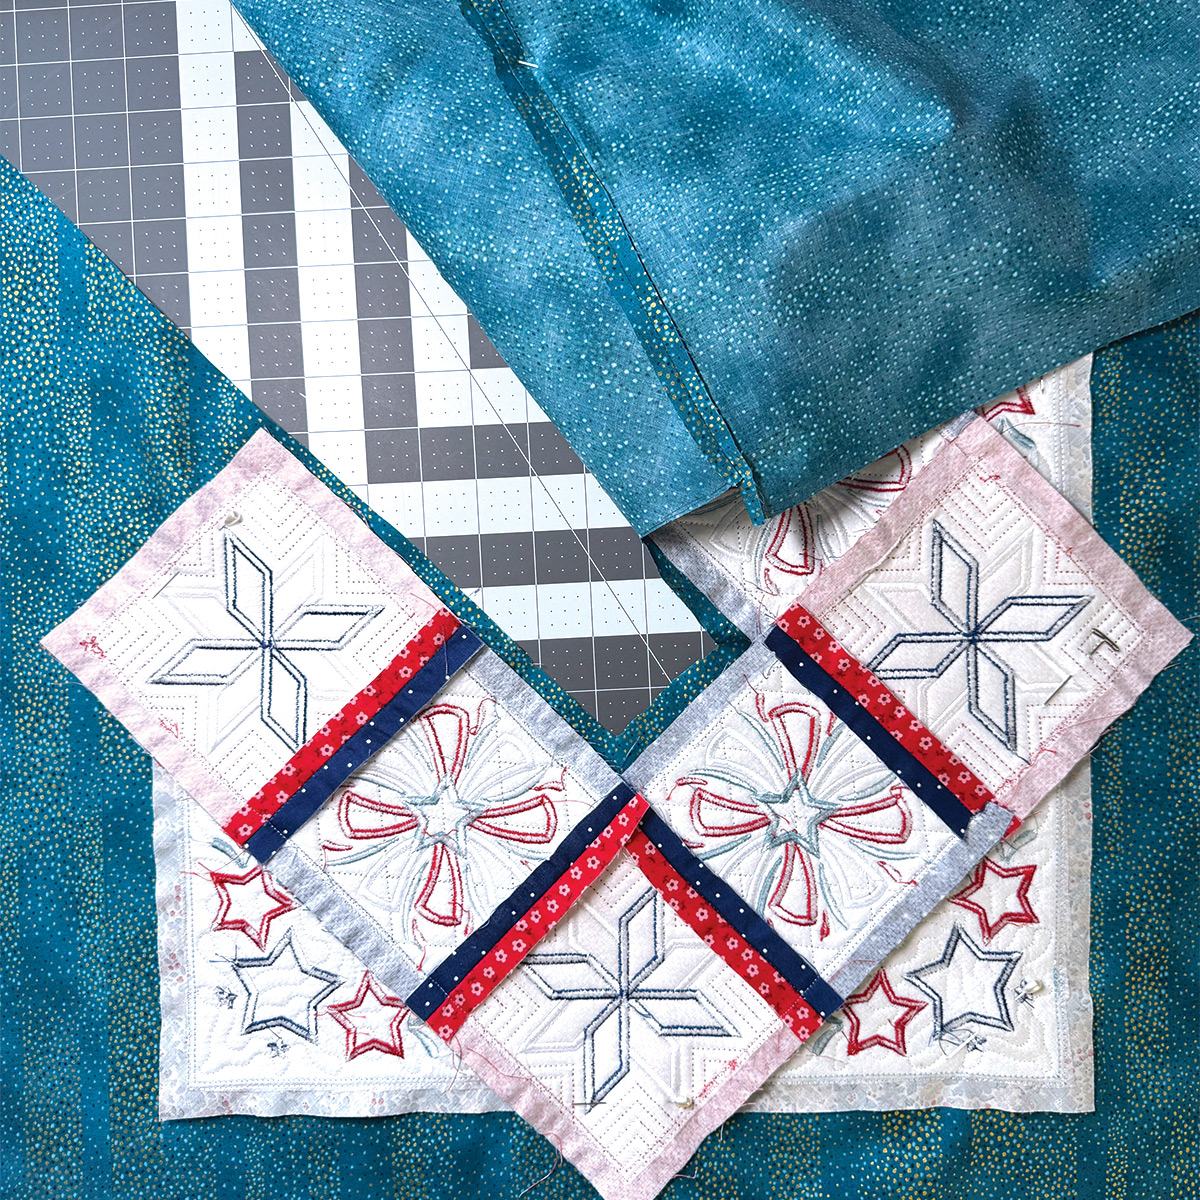
Step 8: To finish this diagonal edge, lay another piece of your backing fabric right side down along the cut line, making sure it extends at least 7”. Sew along the edge, flip it open, and press it flat.

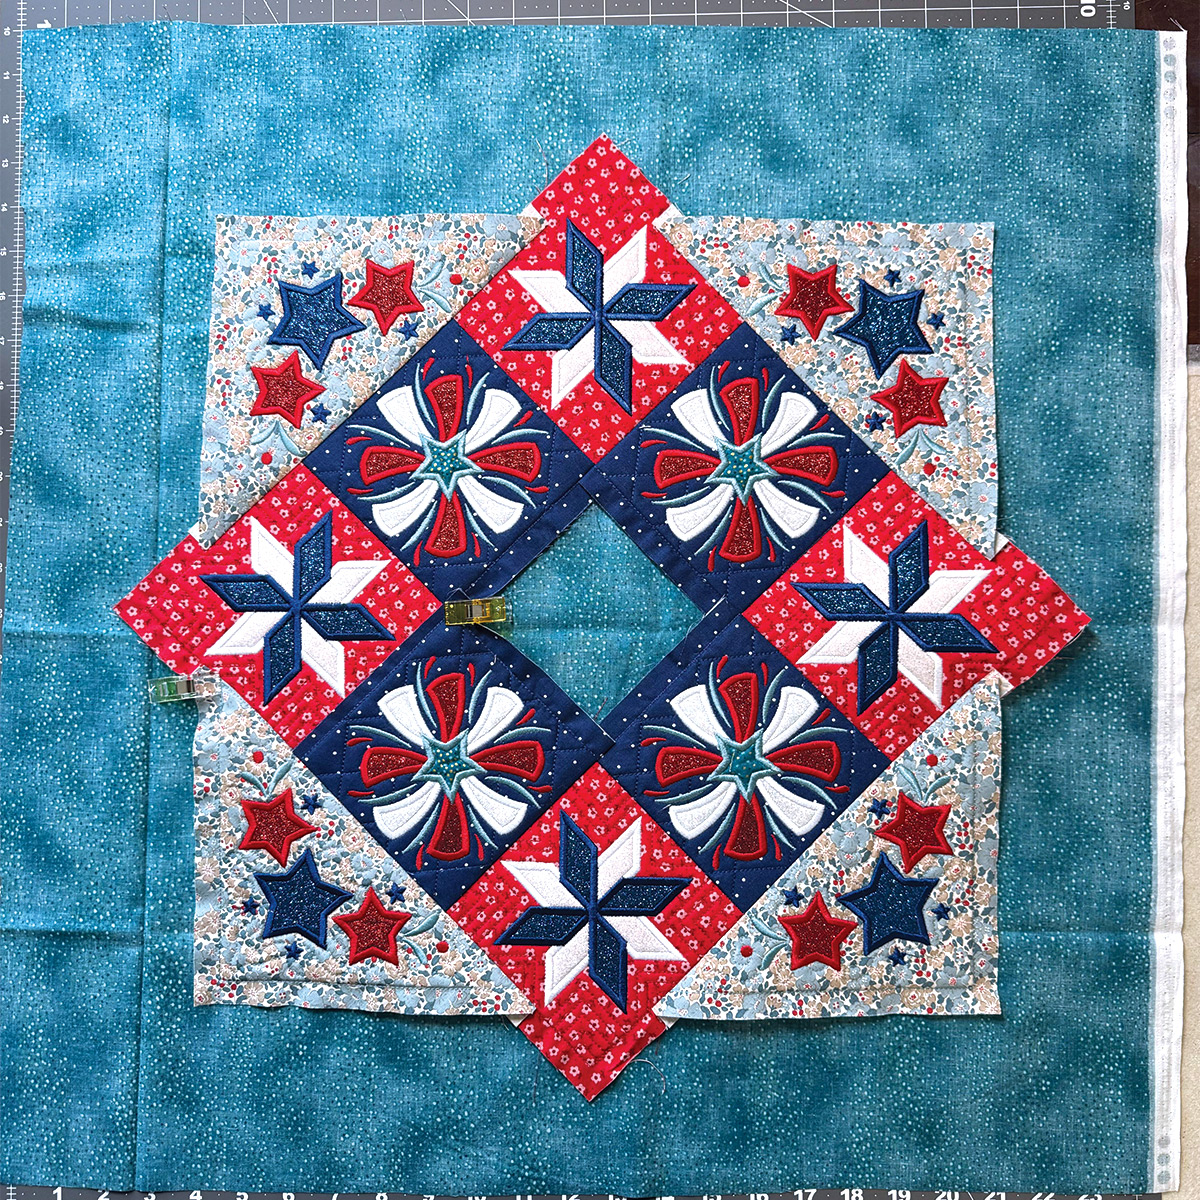
Step 9: Now place your Table Topper on top of the pressed backing fabric, right sides together, matching the opening and "free arm" areas of both pieces.
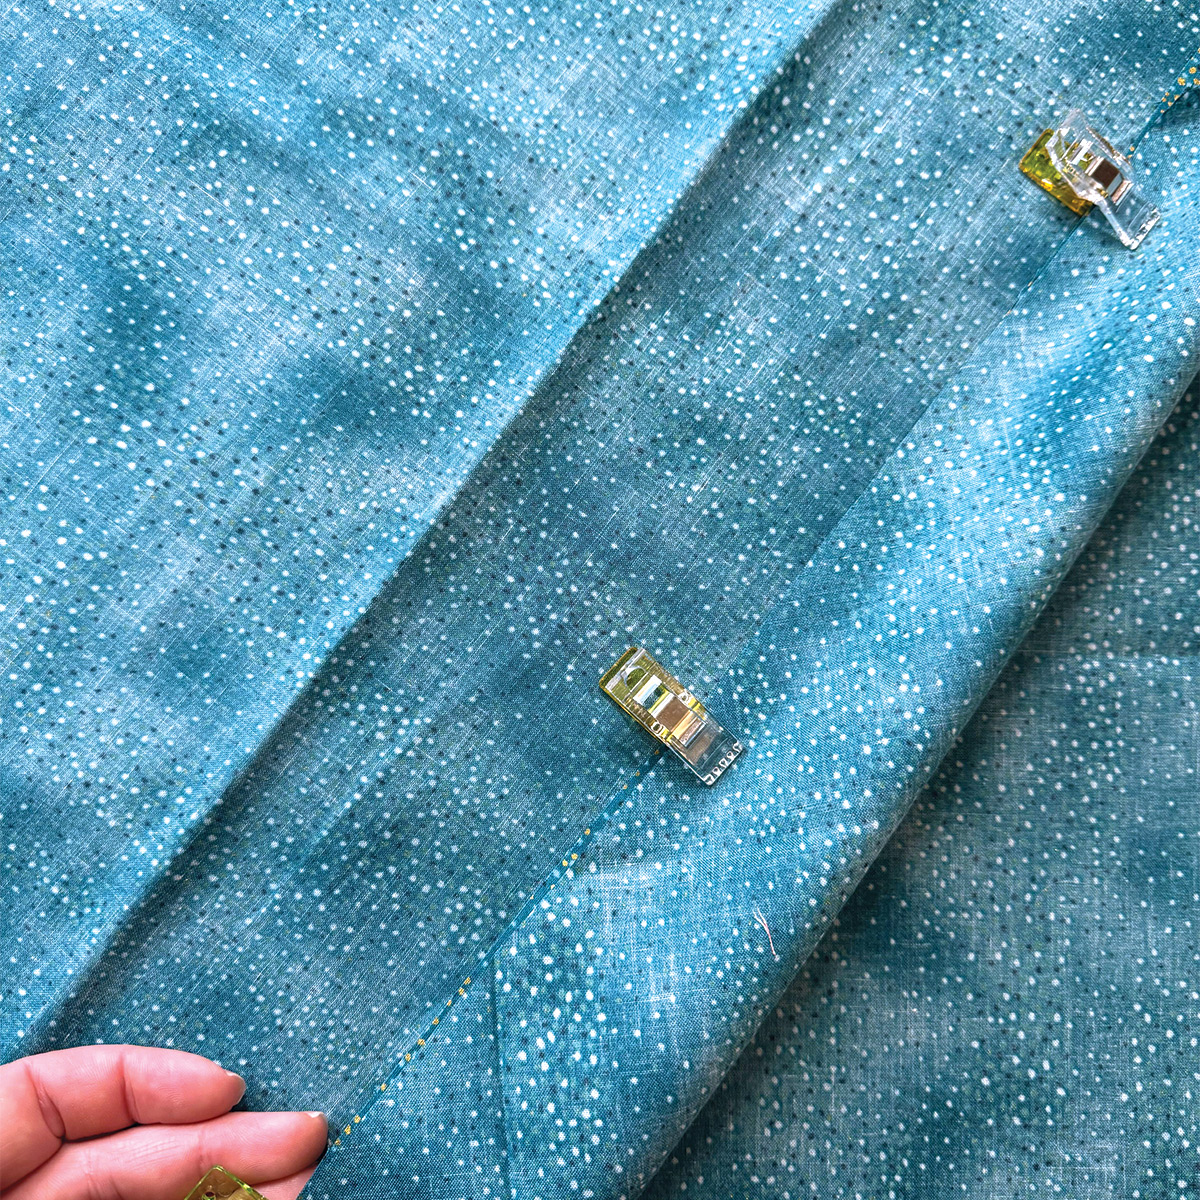
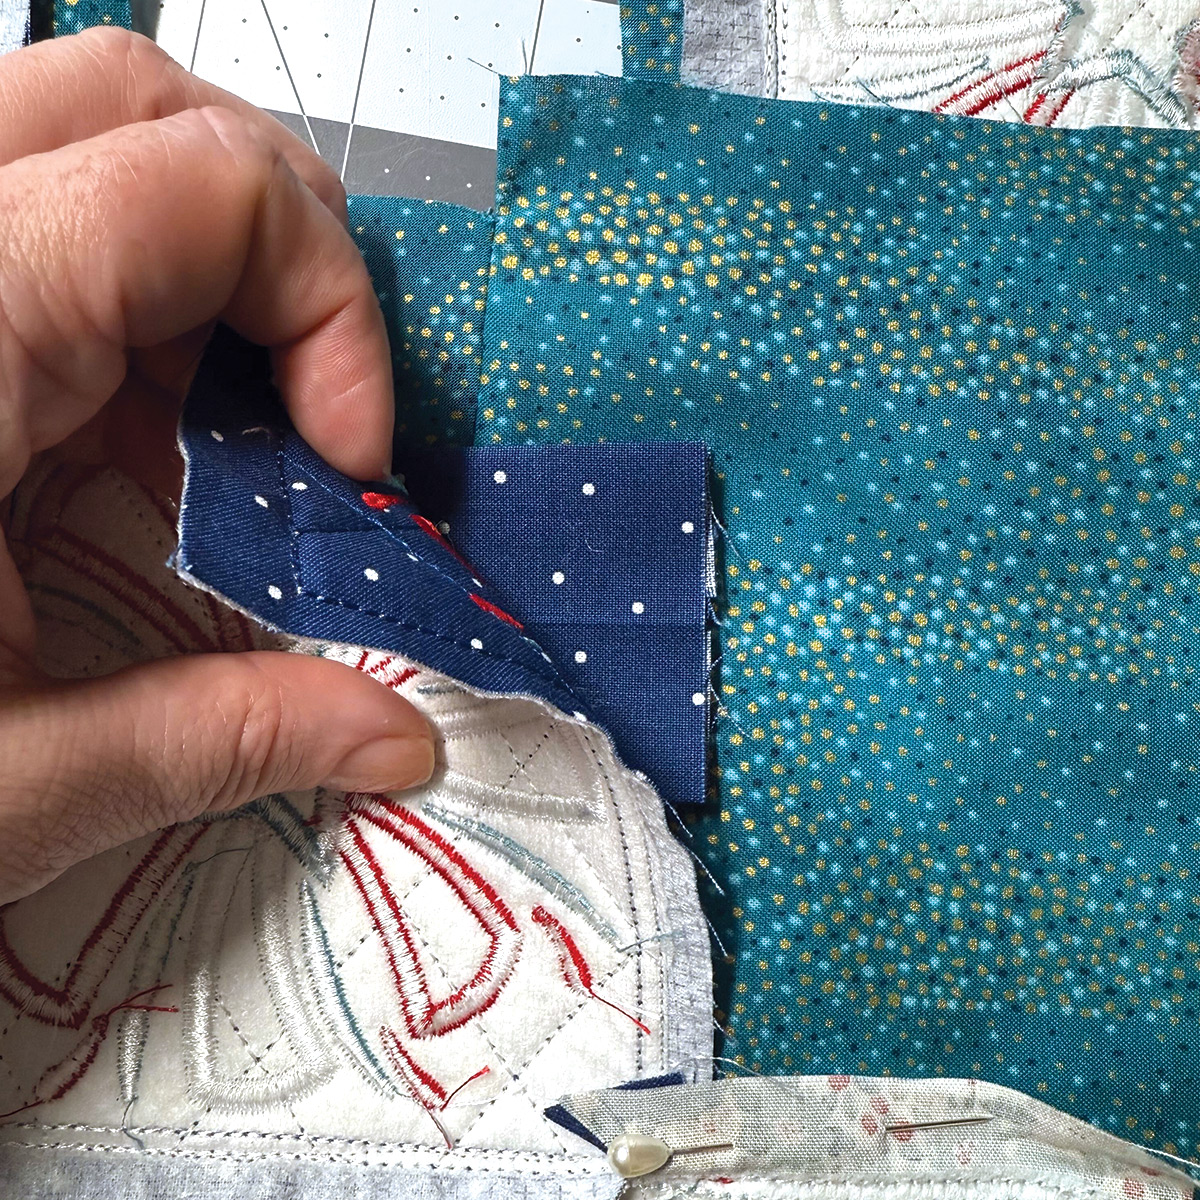
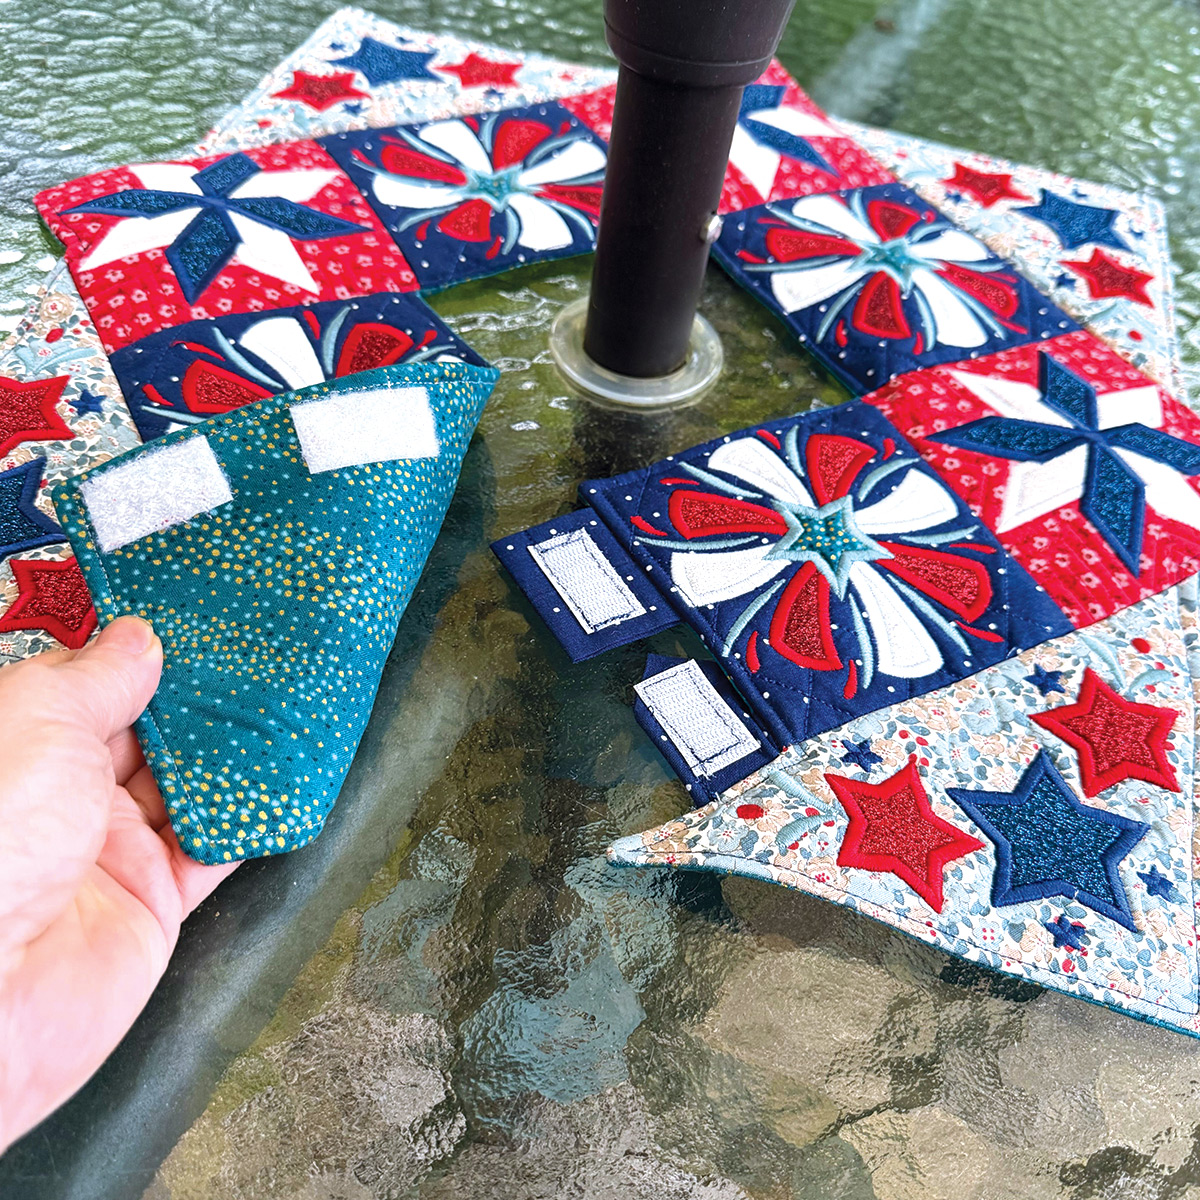
Step 10: Take your pressed fabric tabs from Step 1, fold them in half again, and insert them along the opening flap as shown (see image if following along visually). These will become your Velcro tabs.
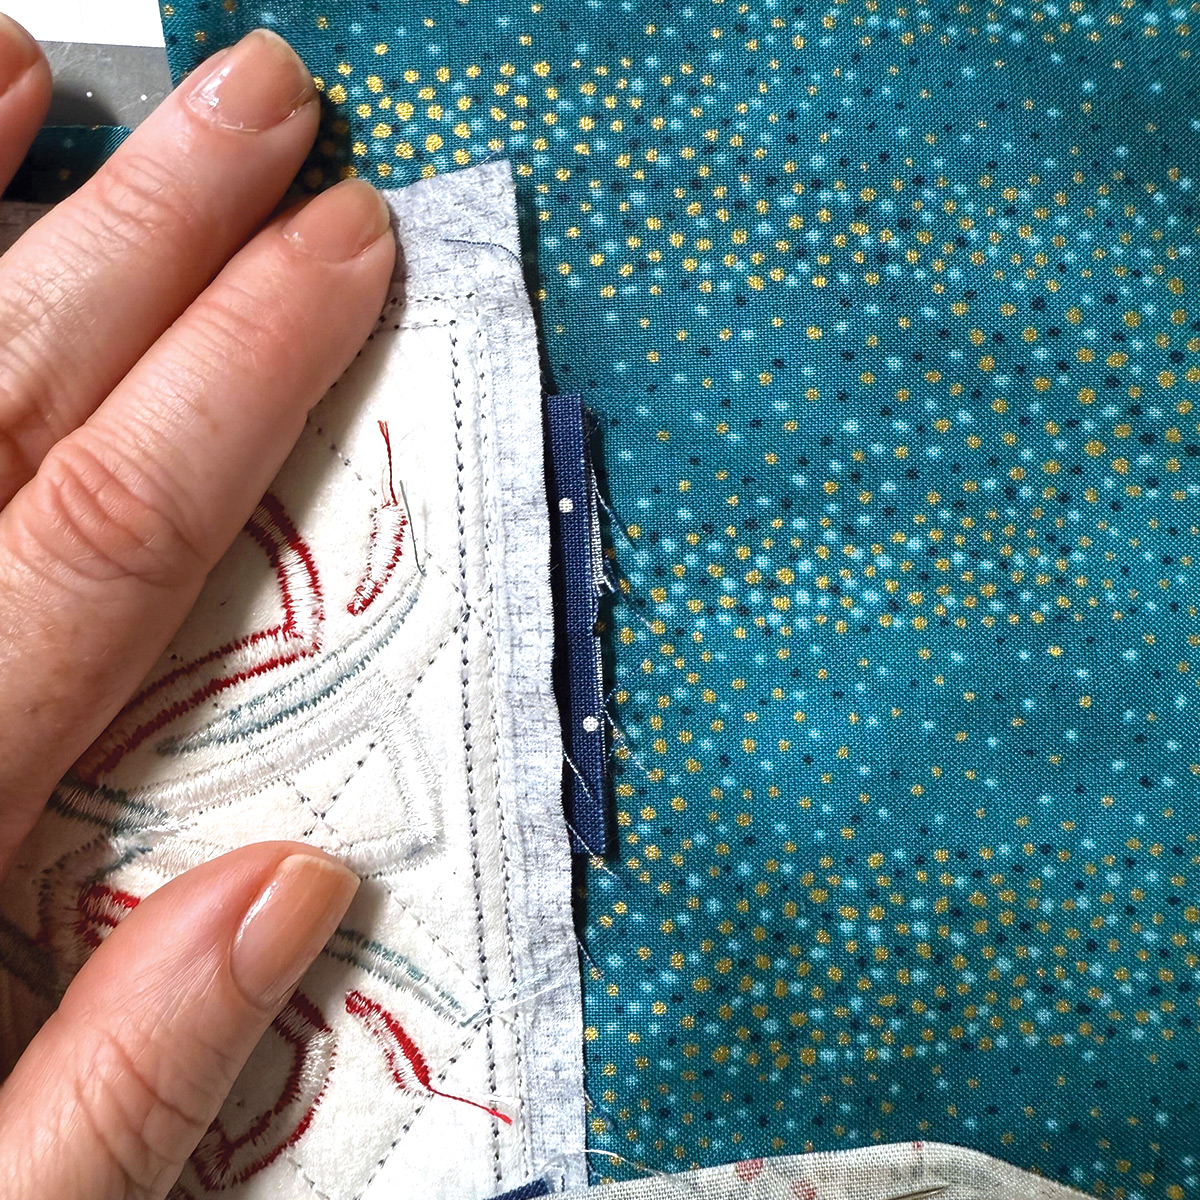
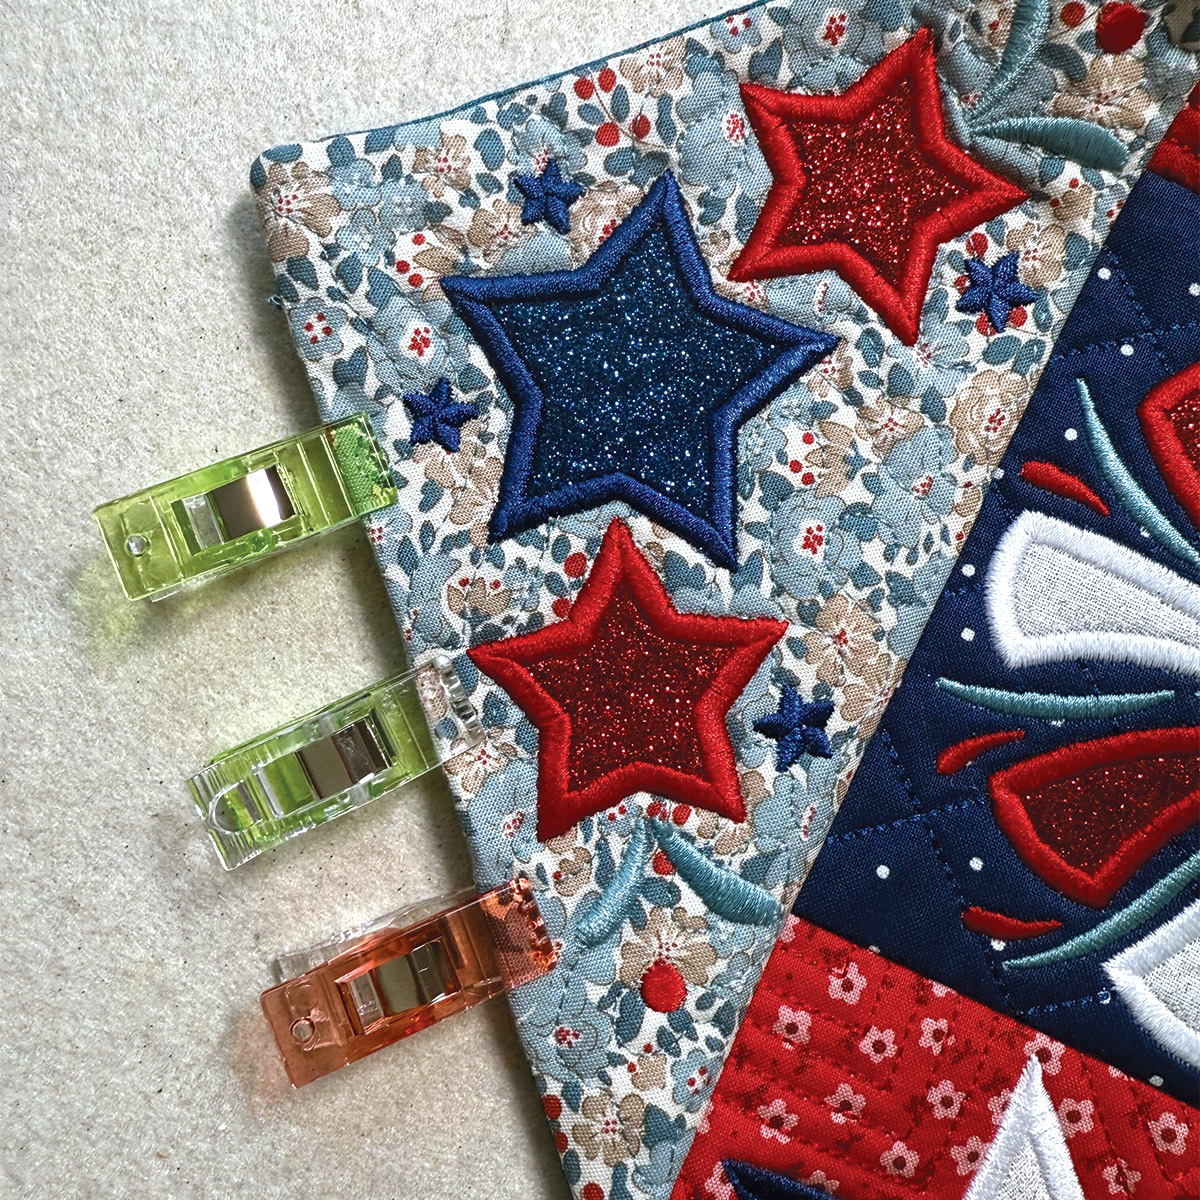
Step 11: Pin the Table Topper securely to the backing. Trim excess backing now or wait until after sewing—it’s up to you.
Step 12: Sew around the entire edge, leaving a 4–5" turning opening along one of the triangle pieces.
Step 13: Trim the seam allowance down to ¼” all around. Clip the inward corners and trim outward points for clean, crisp edges.
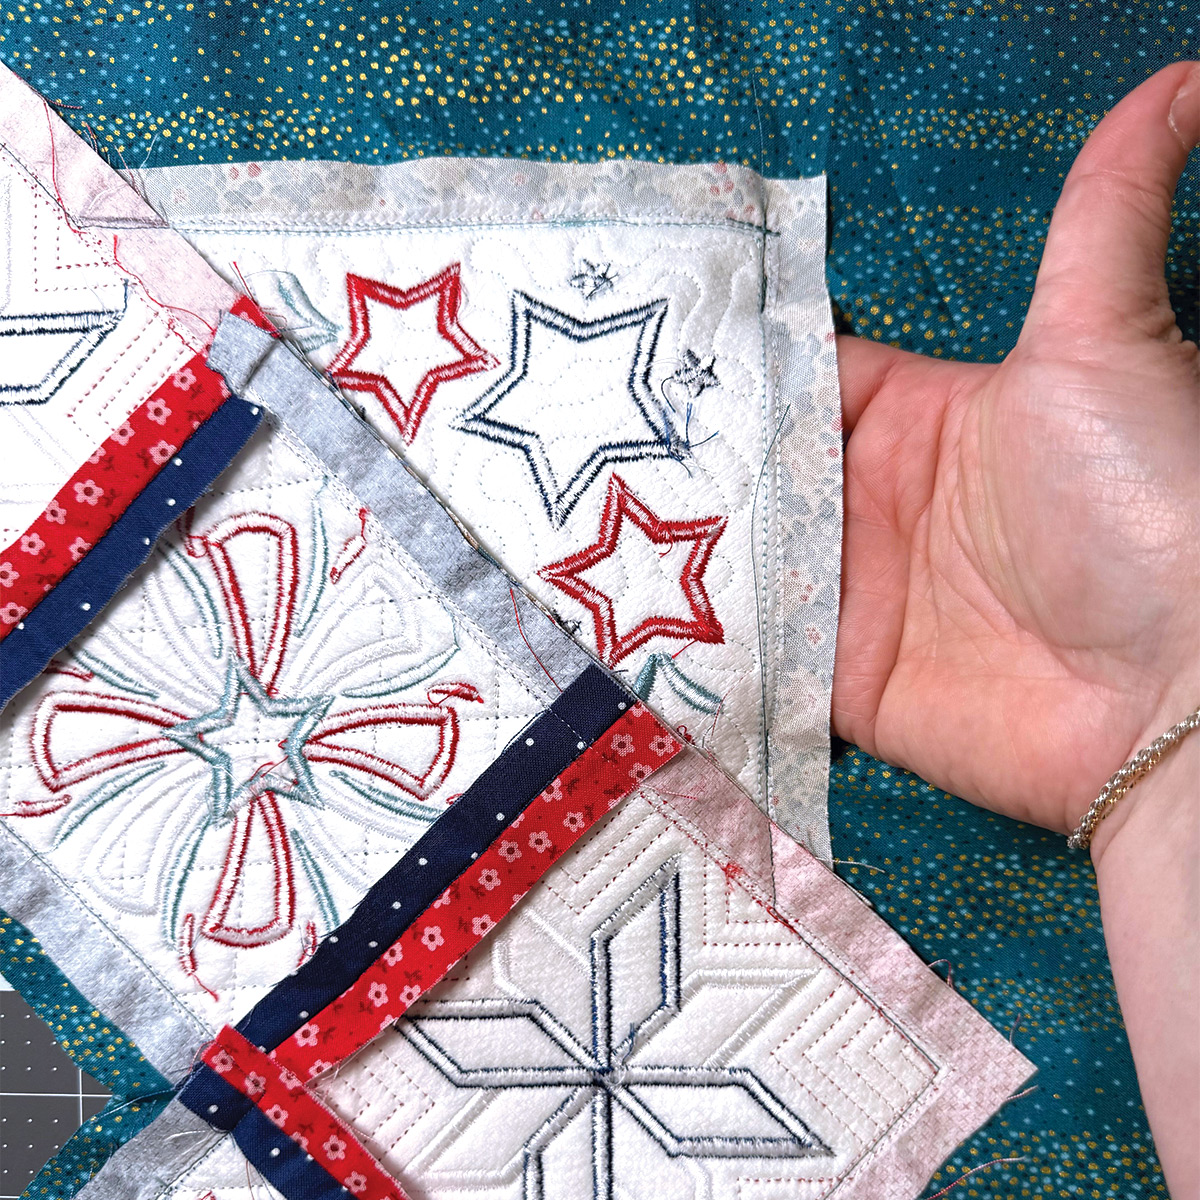
Step 14: Turn your Table Topper right side out. Use a point-turner or chopstick to push out those corners, then give it a nice press.
Step 15: Fold the seam allowance in at your opening, press, and clip it closed. Topstitch around the entire topper, sewing as close to the edge as you can.
Step 16: I also added “stitch in the ditch” along the seams to keep the top layer nice and secure.
Step 17: Add Velcro to the fabric tabs and you're done!

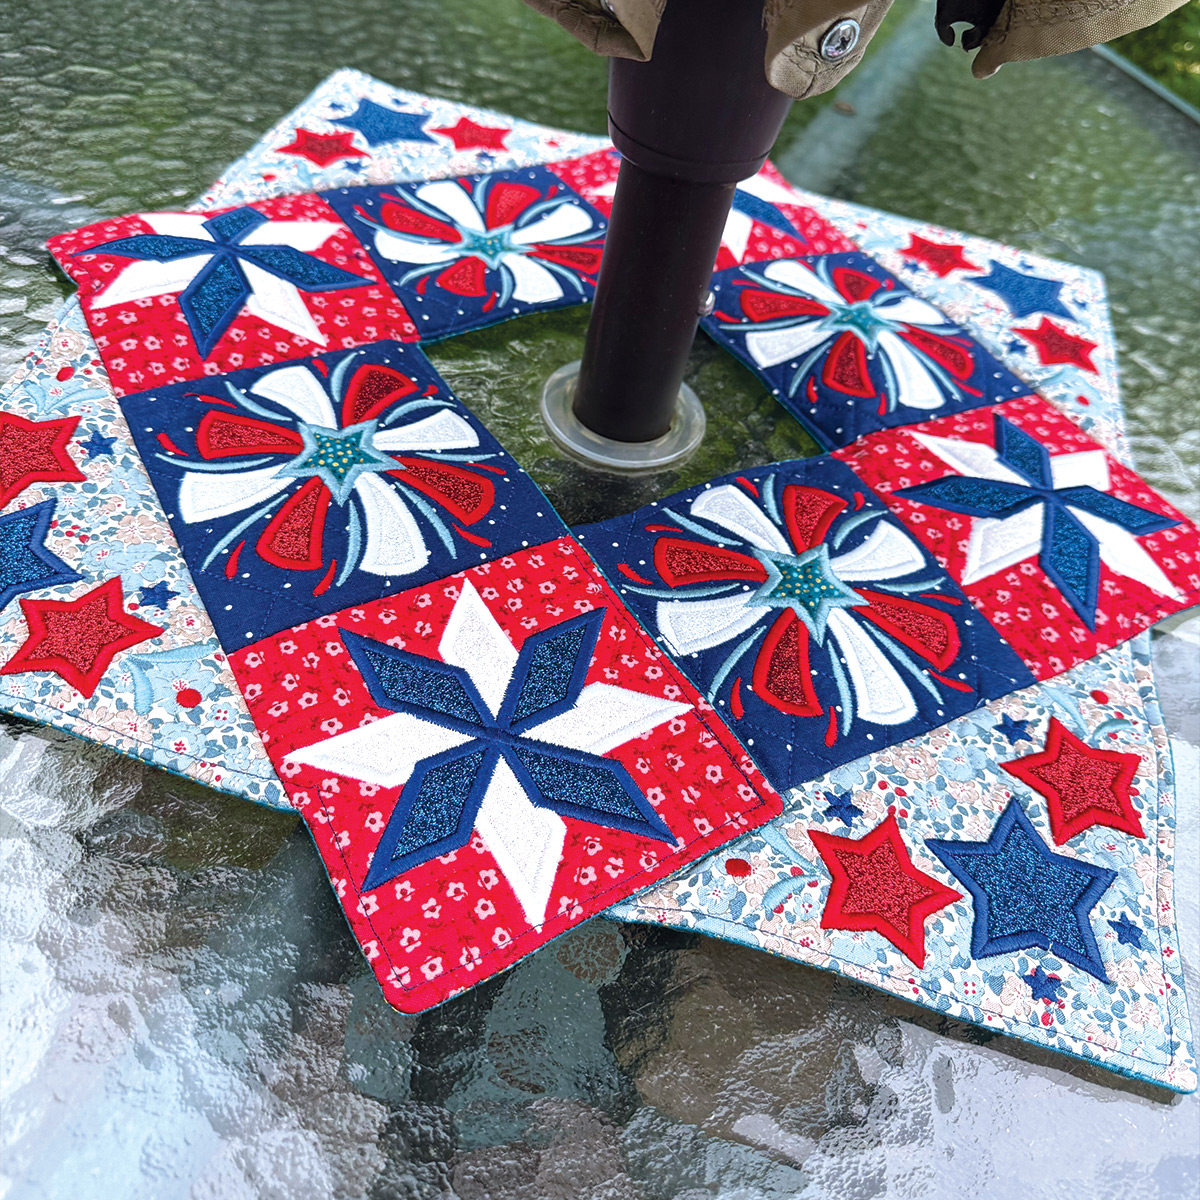
This version is as beautiful as it is functional, and we love how versatile it is for summer entertaining. Wrap it around an umbrella pole, dress up a buffet table, or use it as a centerpiece—no matter how you style it, it’s full of handmade charm.
We want to see how you use yours. Join the fun by sharing your finished project with us using the hashtag #designsbyjuju, or post in the Designs by JuJu Embroidery Blessings Facebook Group.
Happy stitching, and happy celebrating!