Toggle Nav
 Inspire.
Create.
Stitch.
Inspire.
Create.
Stitch.
Search
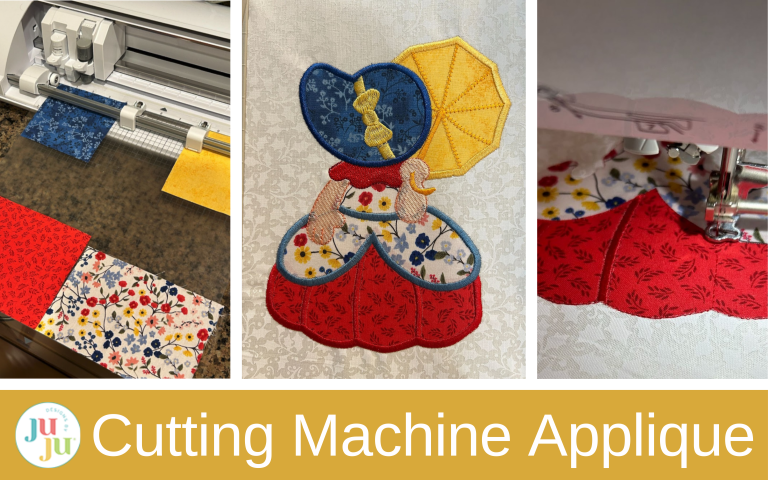
Discover how a cutting machine can streamline applique prep while keeping your workflow flexible and beginner friendly.
I love applique. I love being able to choose all the fabric to make my designs fit the exact project I’m working on. I have been intrigued about using a machine to precisely cut the pieces for my applique projects. So today I’ll show you some tips and tricks to help you use your cutting machine to make cut pieces perfectly fit your design.
Note: Since there are so many different cutting machines and software options out there, Designs by JuJu isn’t able to offer troubleshooting or technical support for individual cutting machines or programs. If you run into questions along the way, your best resource will be your machine’s manual or the help features built into your software. I’ll show you general tips to make it a success.
Check out the DBJJ team’s favorite supplies in the Designs by JuJu Amazon store. For stabilizers and batting, Designs by JuJu+ has everything you need.
I start by opening my applique design in my cutting software. You’ll need to ensure your cutting software can open your embroidery file and convert it to a cutting file.
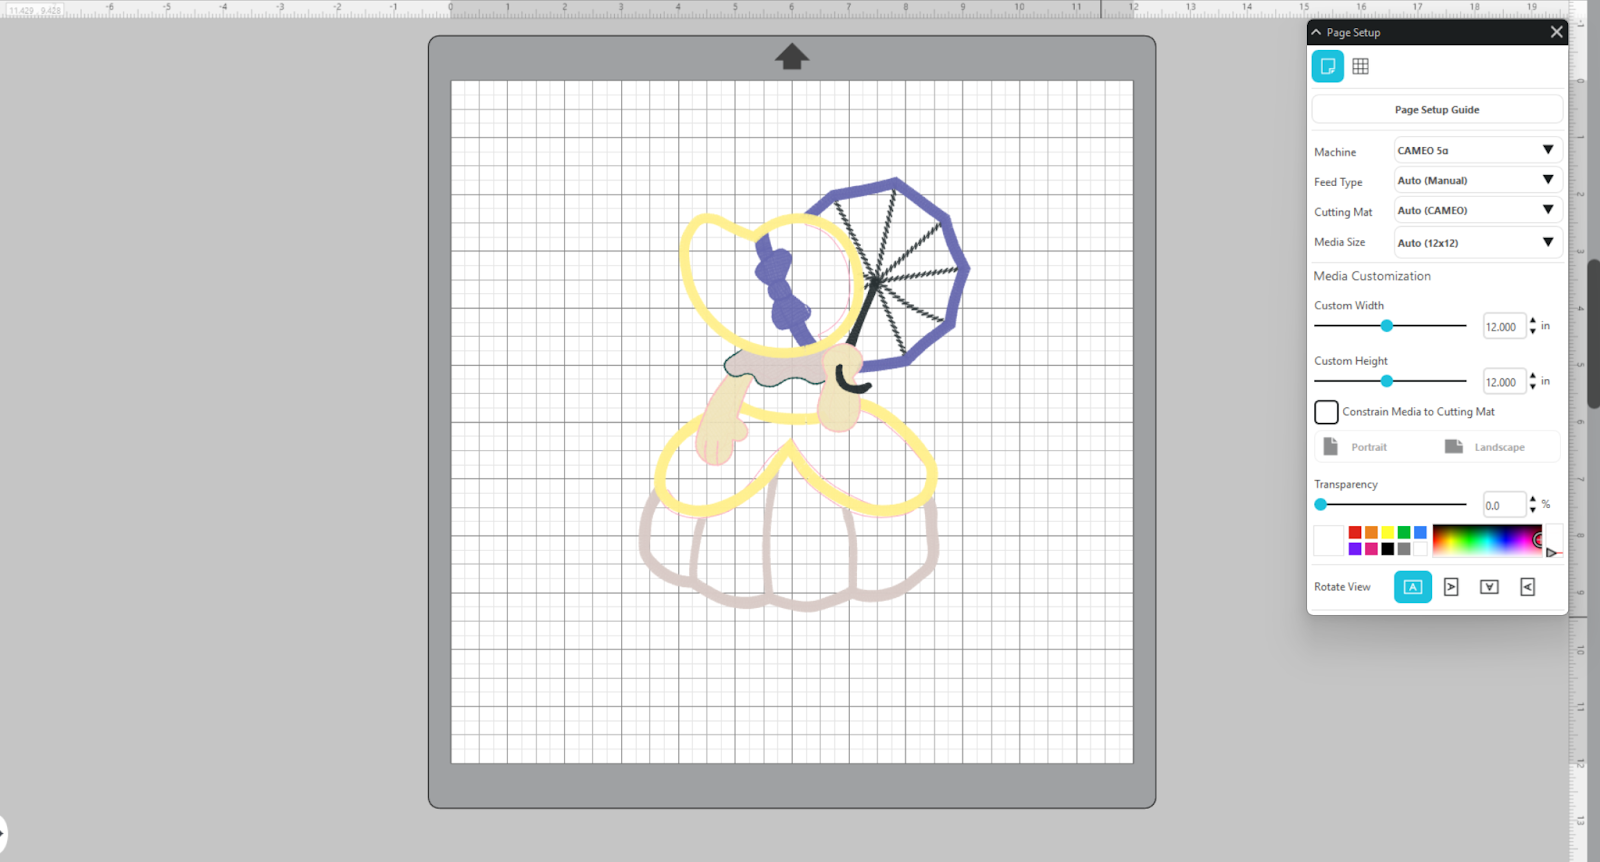
Take a good look at your color chart. We are going to want to isolate the tack-down lines. By having the color chart, you can see the correct color of line to keep. For my example piece, it will be the lines from steps 2, 4, 6, and 8.

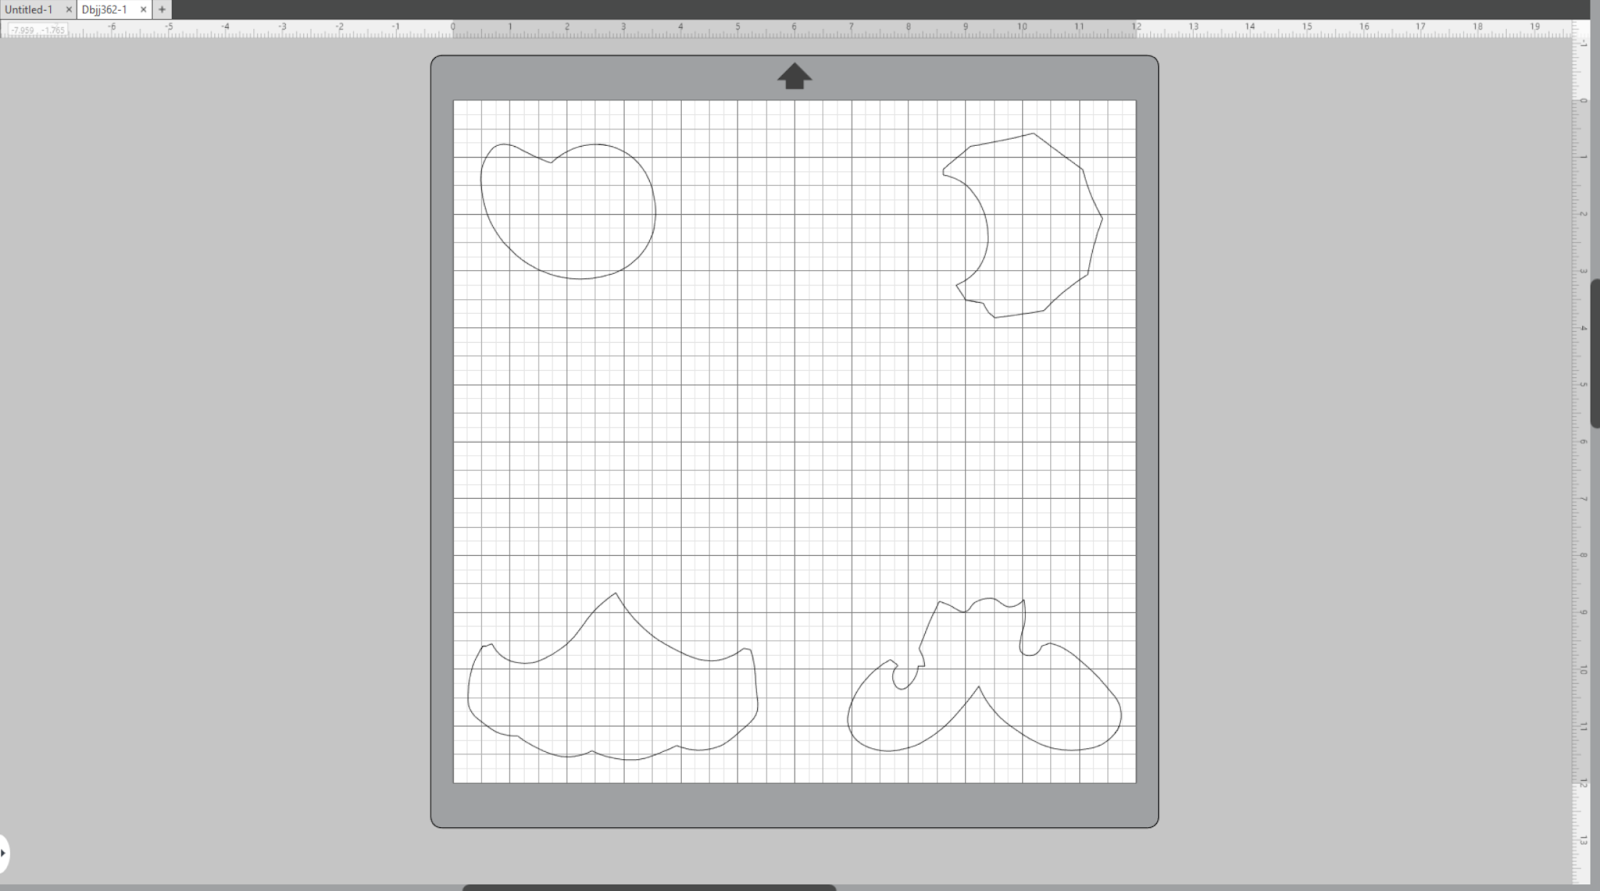
Remove all the other stitches and lines from your design, keeping only the tack-down lines. Space them out on your cutting area so that you can cut them from separate fabrics, or move them close together to conserve fabric if they will be cut from the same piece. Mine are all different fabrics so I spaced them apart.
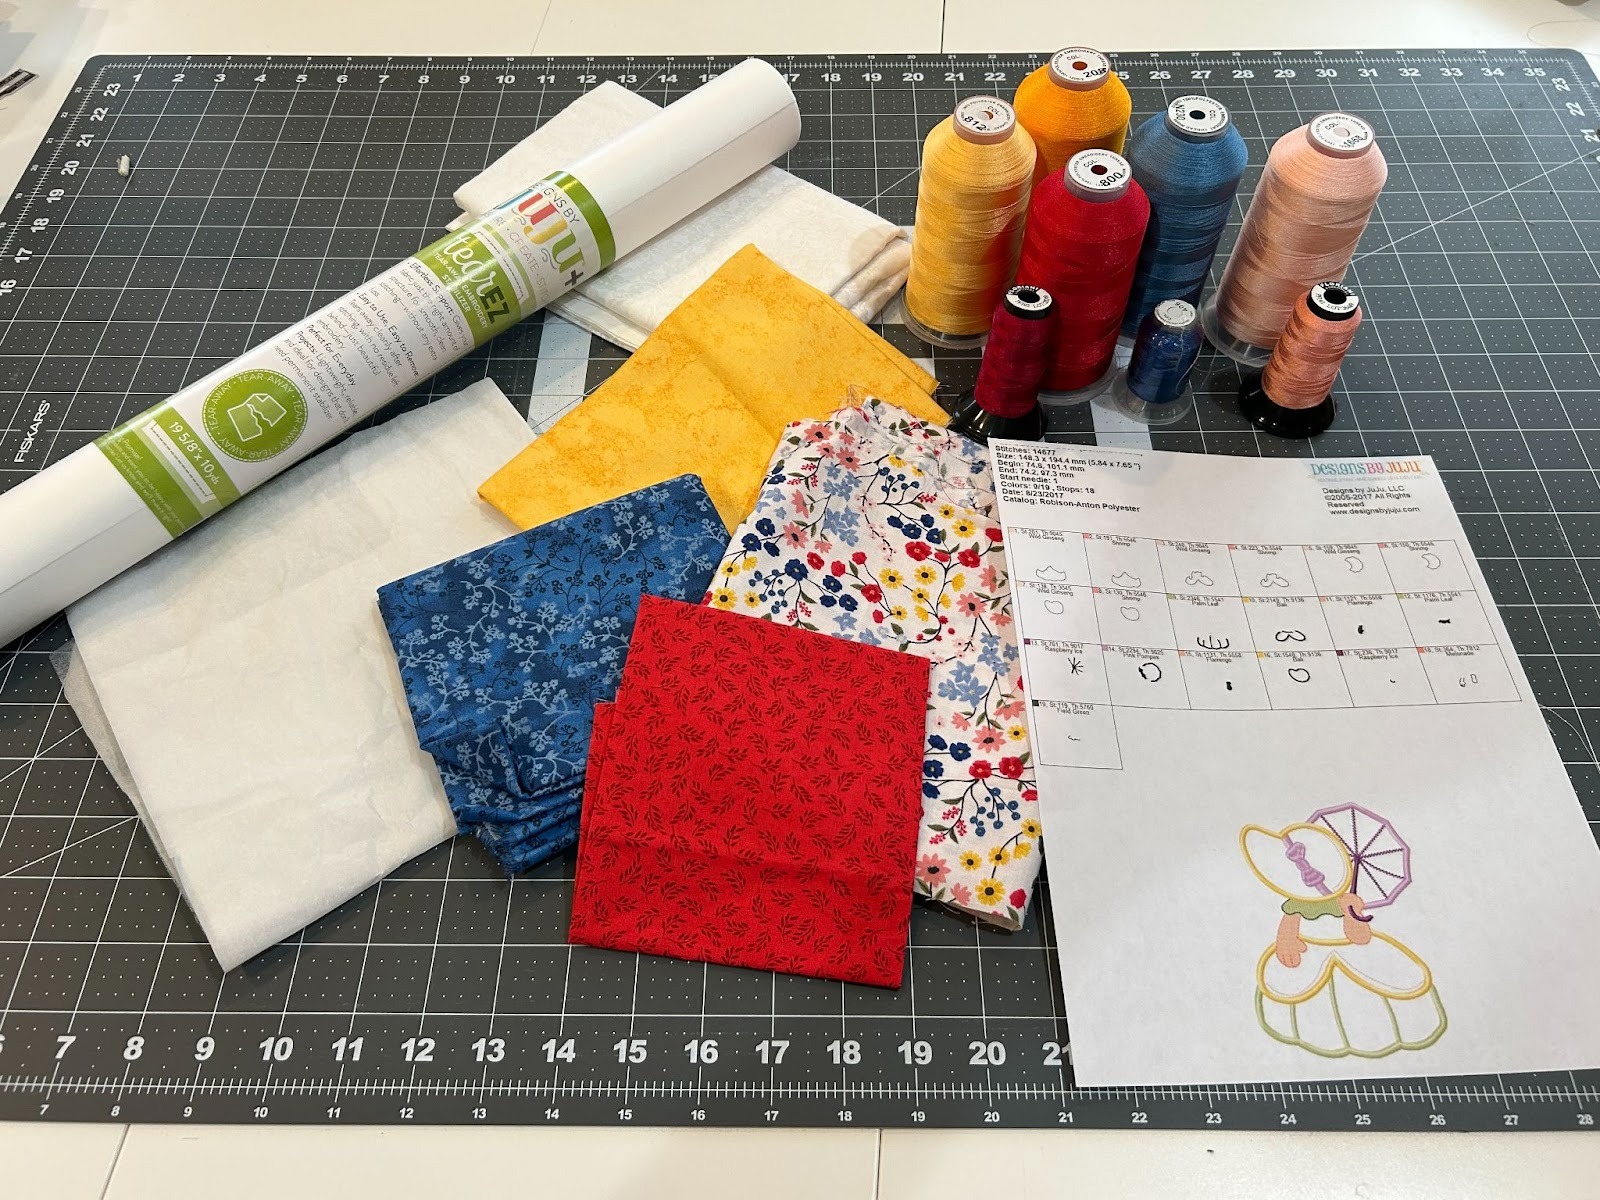
Now we will prepare our fabric. I like to use a paper-backed fusible web like Stitch Witchery or Heat-n-Bond Lite on the back side of my pieces. My machine doesn’t require it, but it can help hold the pieces in place while the finishing stitches stitch around the design in my embroidery machine. Because we are cutting right on the tack-down line, there really won’t be much fabric for the tack-down stitch to catch.
I cut a piece of the Stitch Witchery to the size I need for my applique piece. I like to cut a square that the piece will easily fit into.

Repeat this for all of your applique pieces.

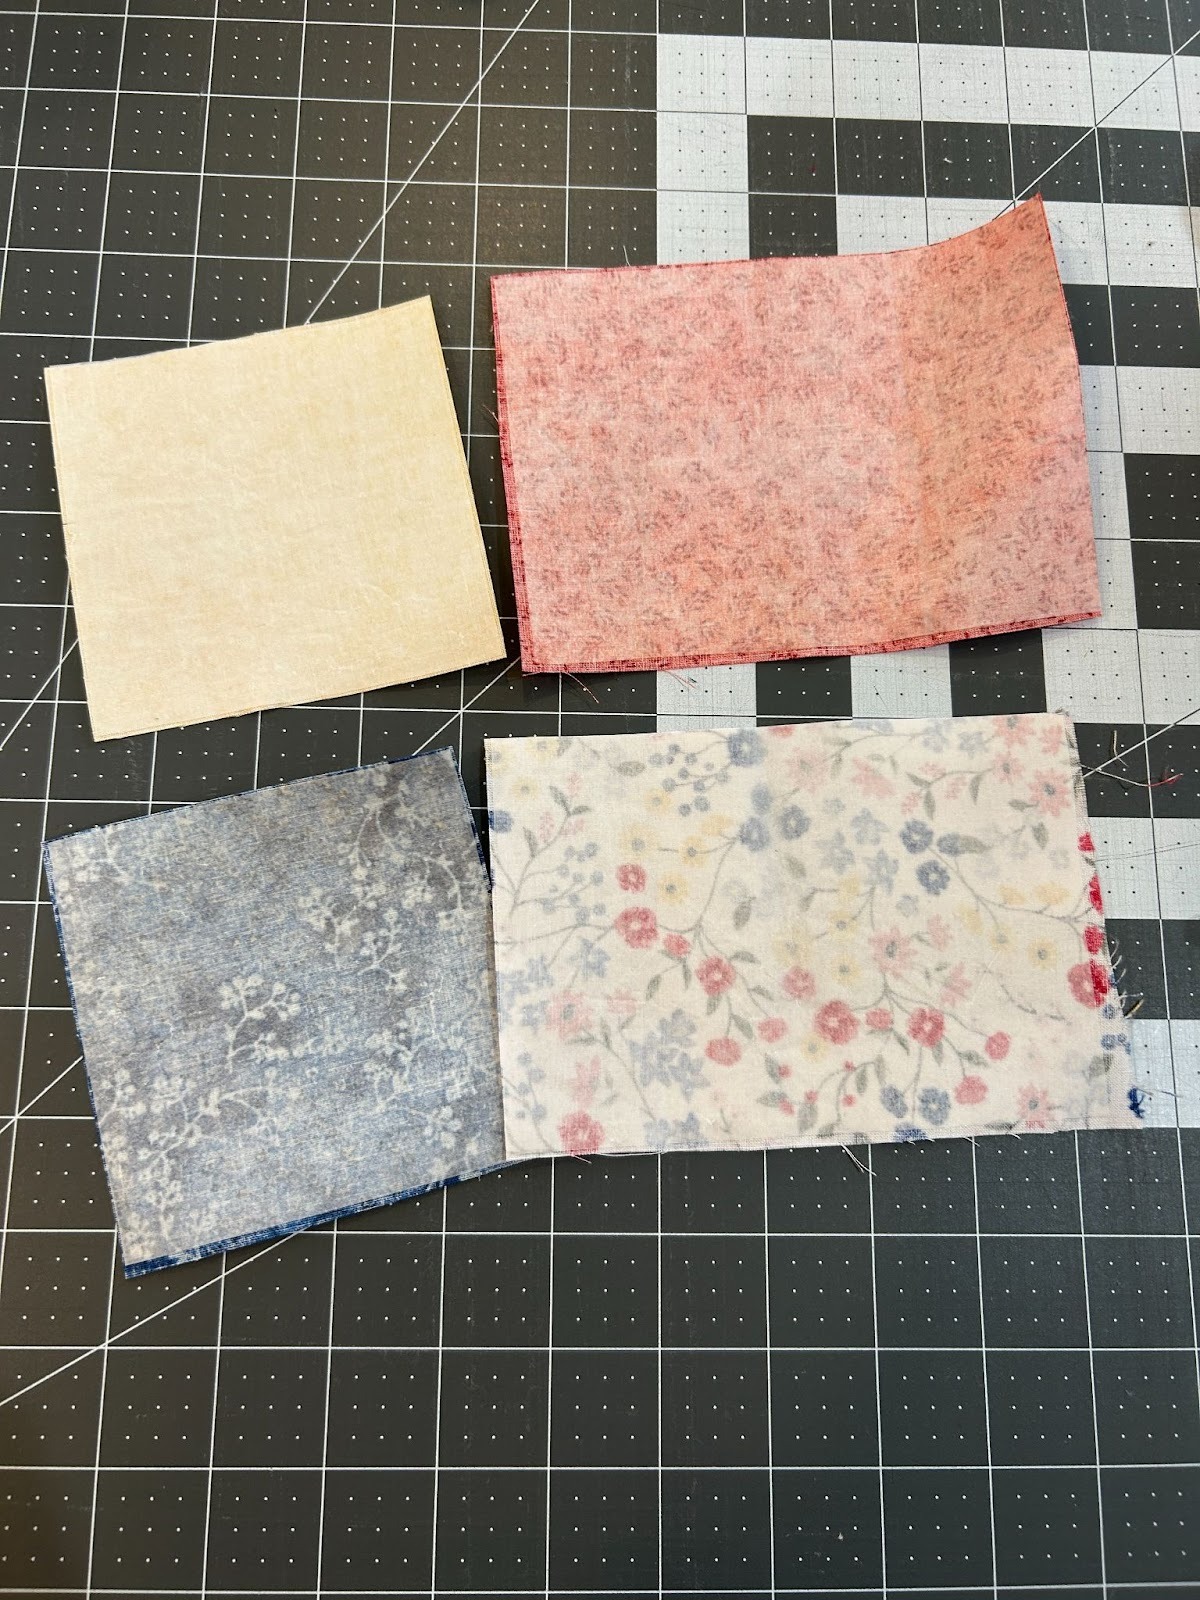
Fuse the Stitch Witchery to the wrong side of your applique fabric, paper side up. Repeat this for all your fabric and Stitch Witchery pieces.
Then trim your fabric so it’s the same size as your paper.

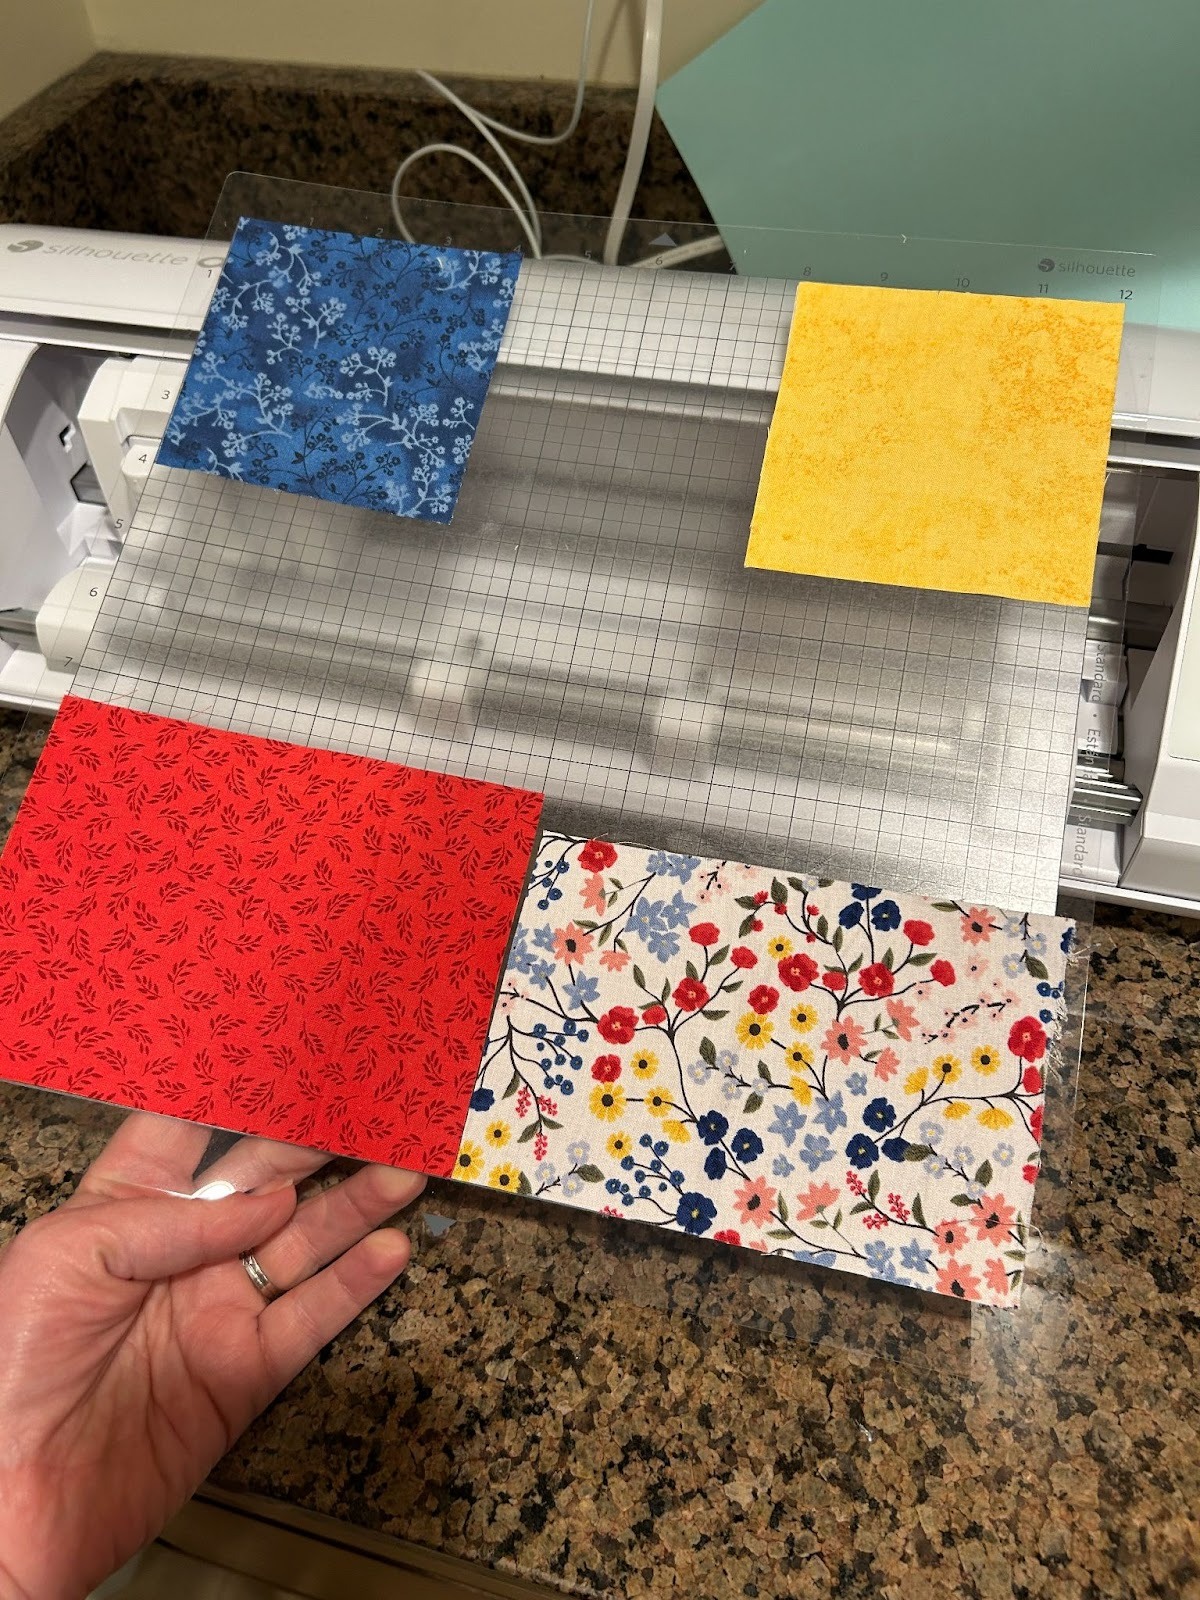
Once you have all your pieces finished we are ready to cut them out. My applique only had four pieces so I could keep them organized pretty easily, but if you have an intricate design with a lot of pieces, it’s probably best to bag and tag them as you go.
We will now head back to our cutting machine. Place your fabric on a cutting mat (or follow your machine’s recommended method). I was able to put all four pieces on my mat at one time, but it’s okay if you do it in batches.
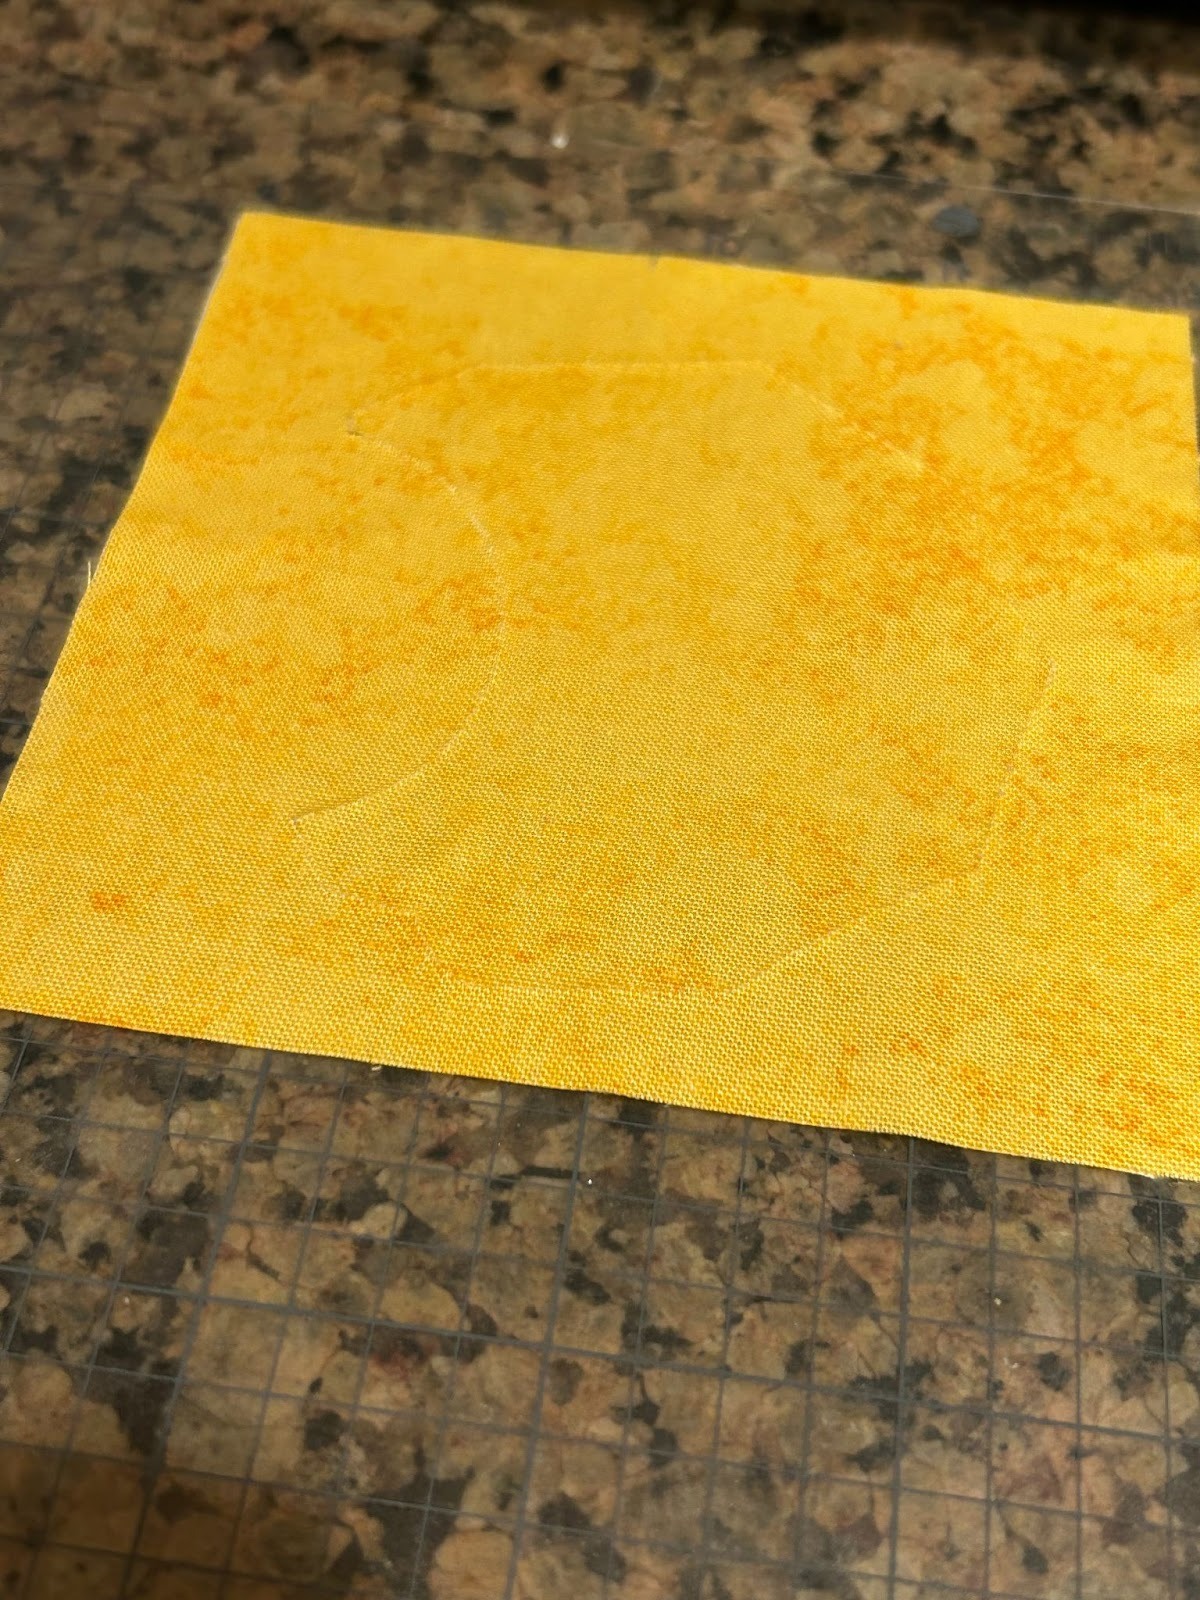
Load it in your machine and start cutting! This is always the fun part for me! I think of all the trimming time I’m saving.

Once it’s done you’ll see that the fabric has been cut and you can remove the pieces. Then it’s time to head back to our embroidery machines.
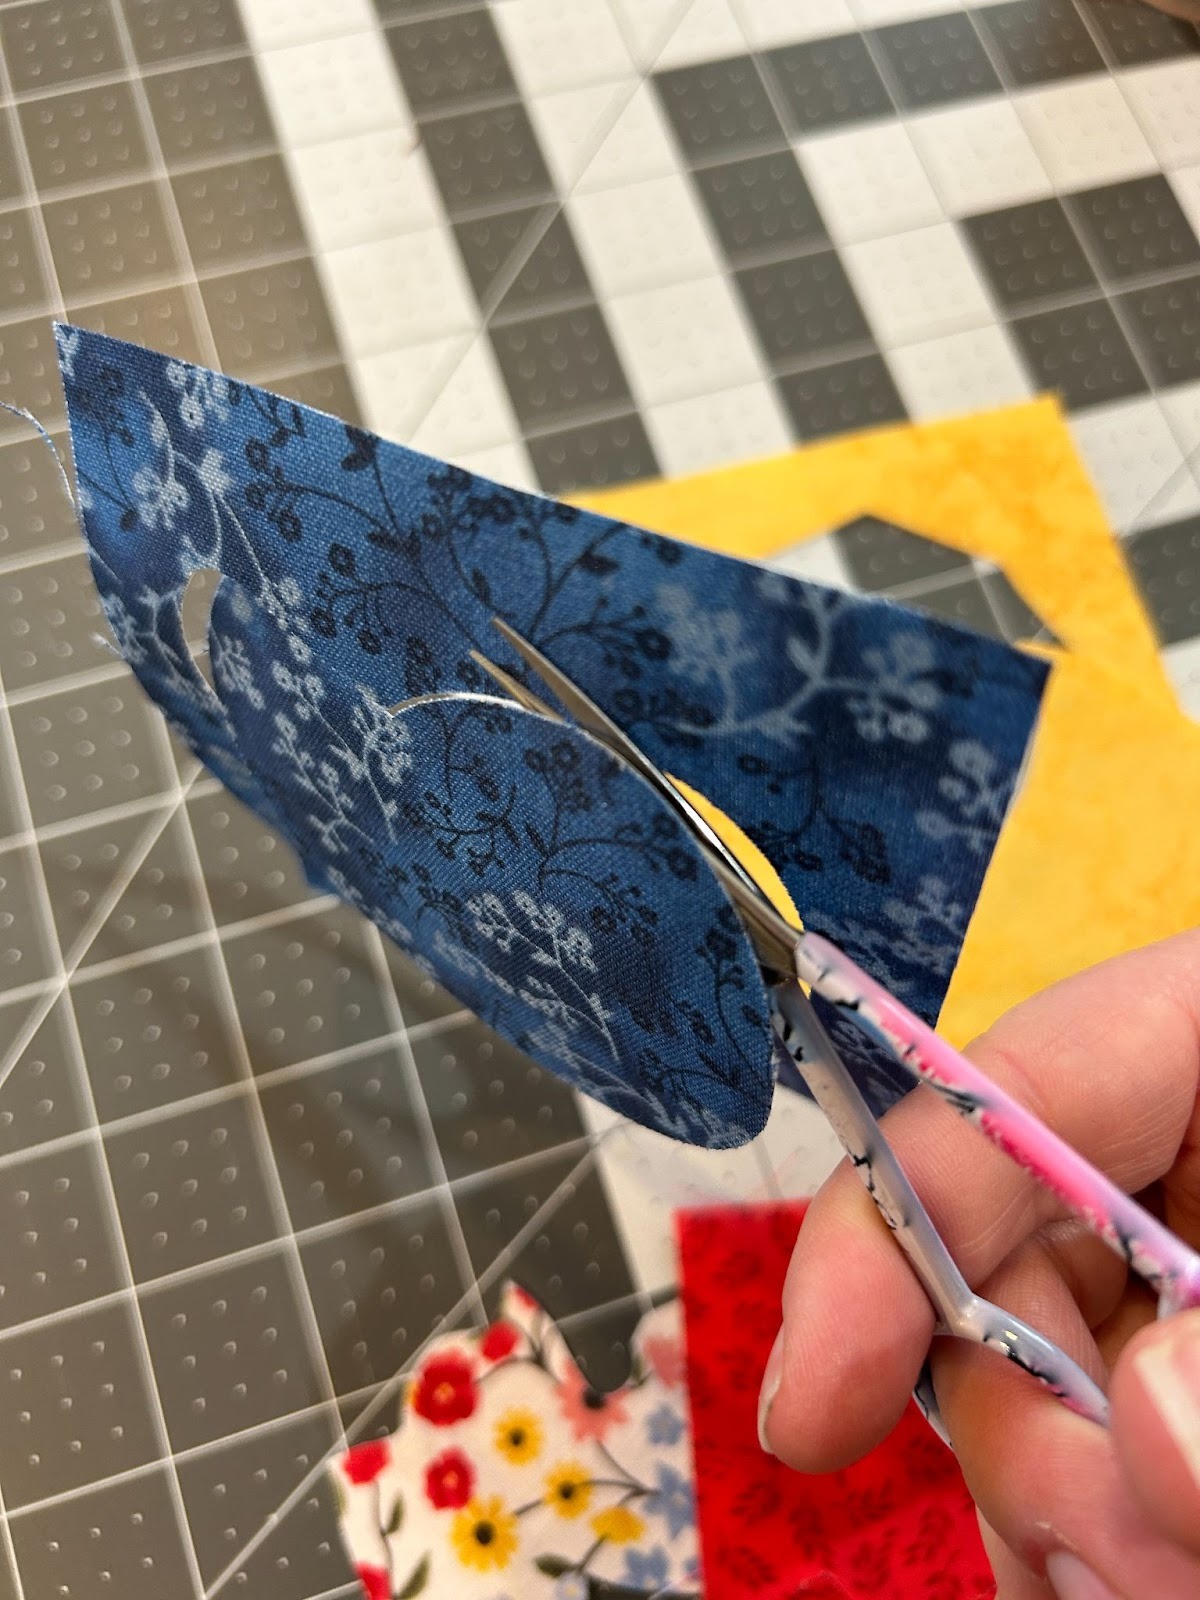
When I get back to my embroidery machine I carefully remove the applique piece from the rest of the fabric. Occasionally, I’ll have a tiny spot where one thread didn’t seem to cut quite as cleanly, so I’ll trim it right up.
Remove the paper backing from the pieces.
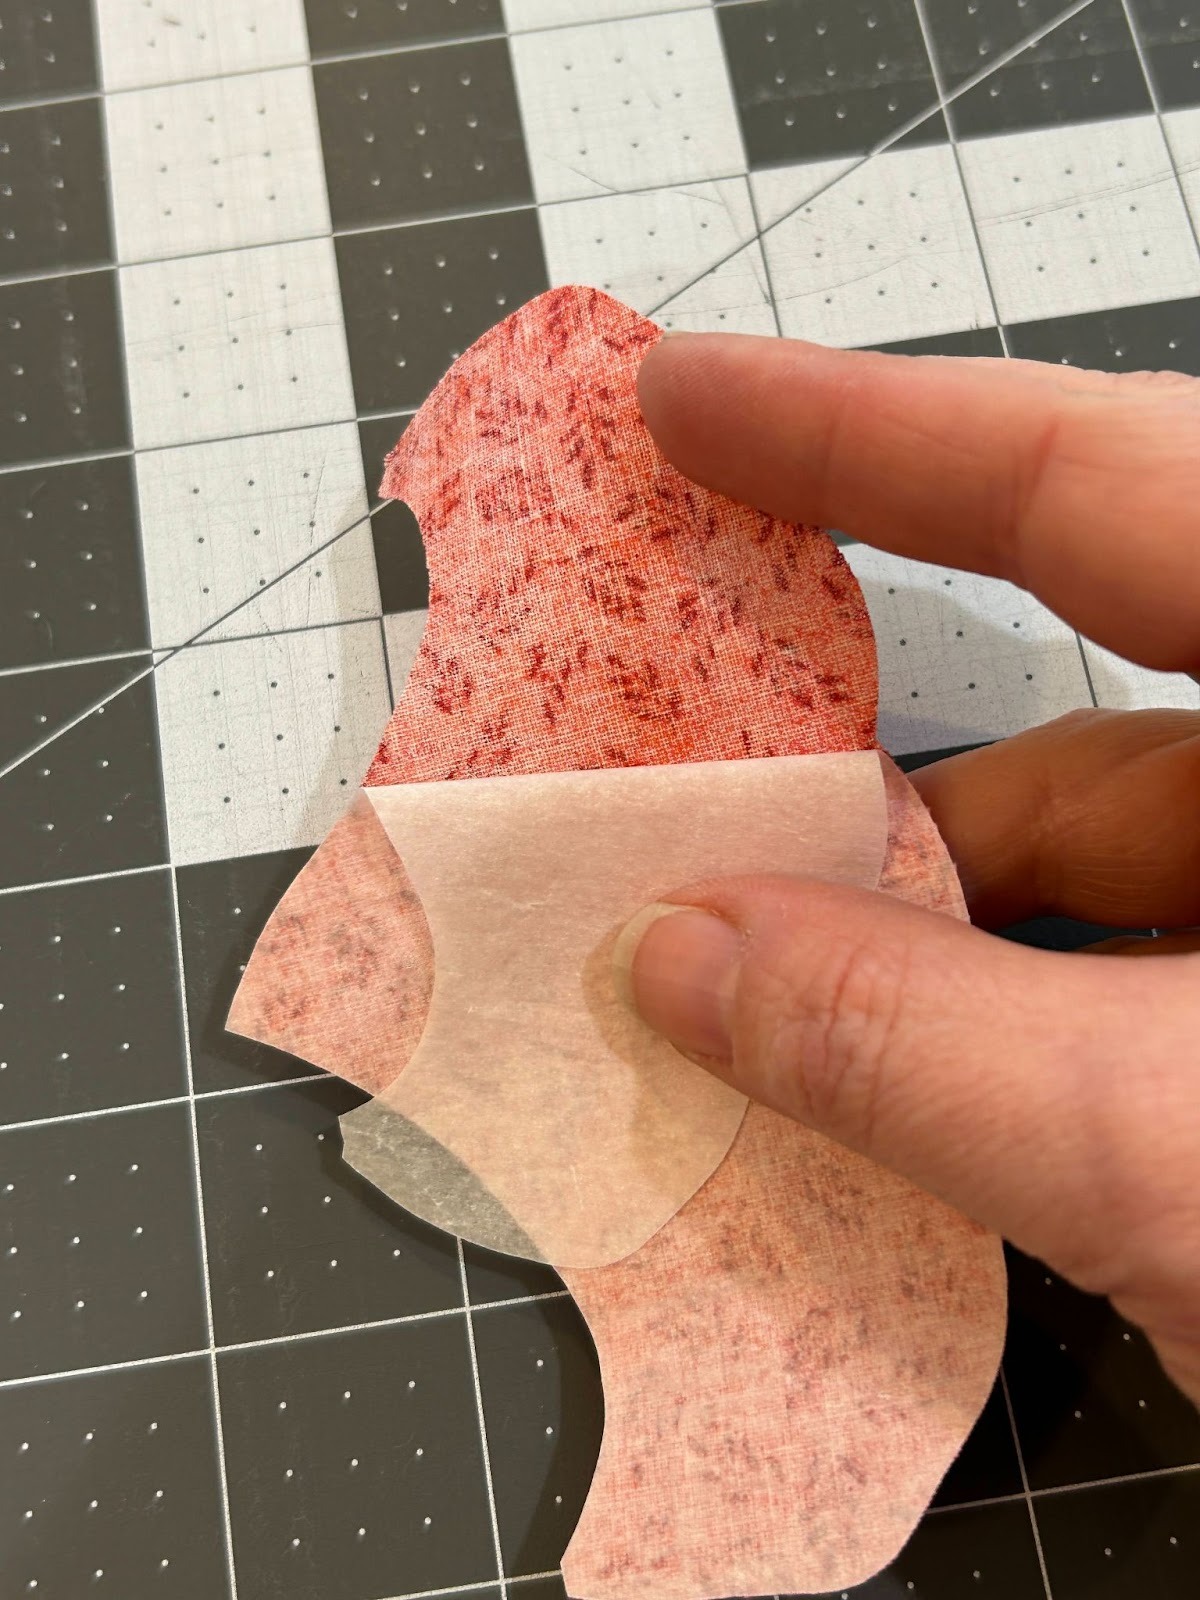
And then we have all the pieces for our applique ready to go.

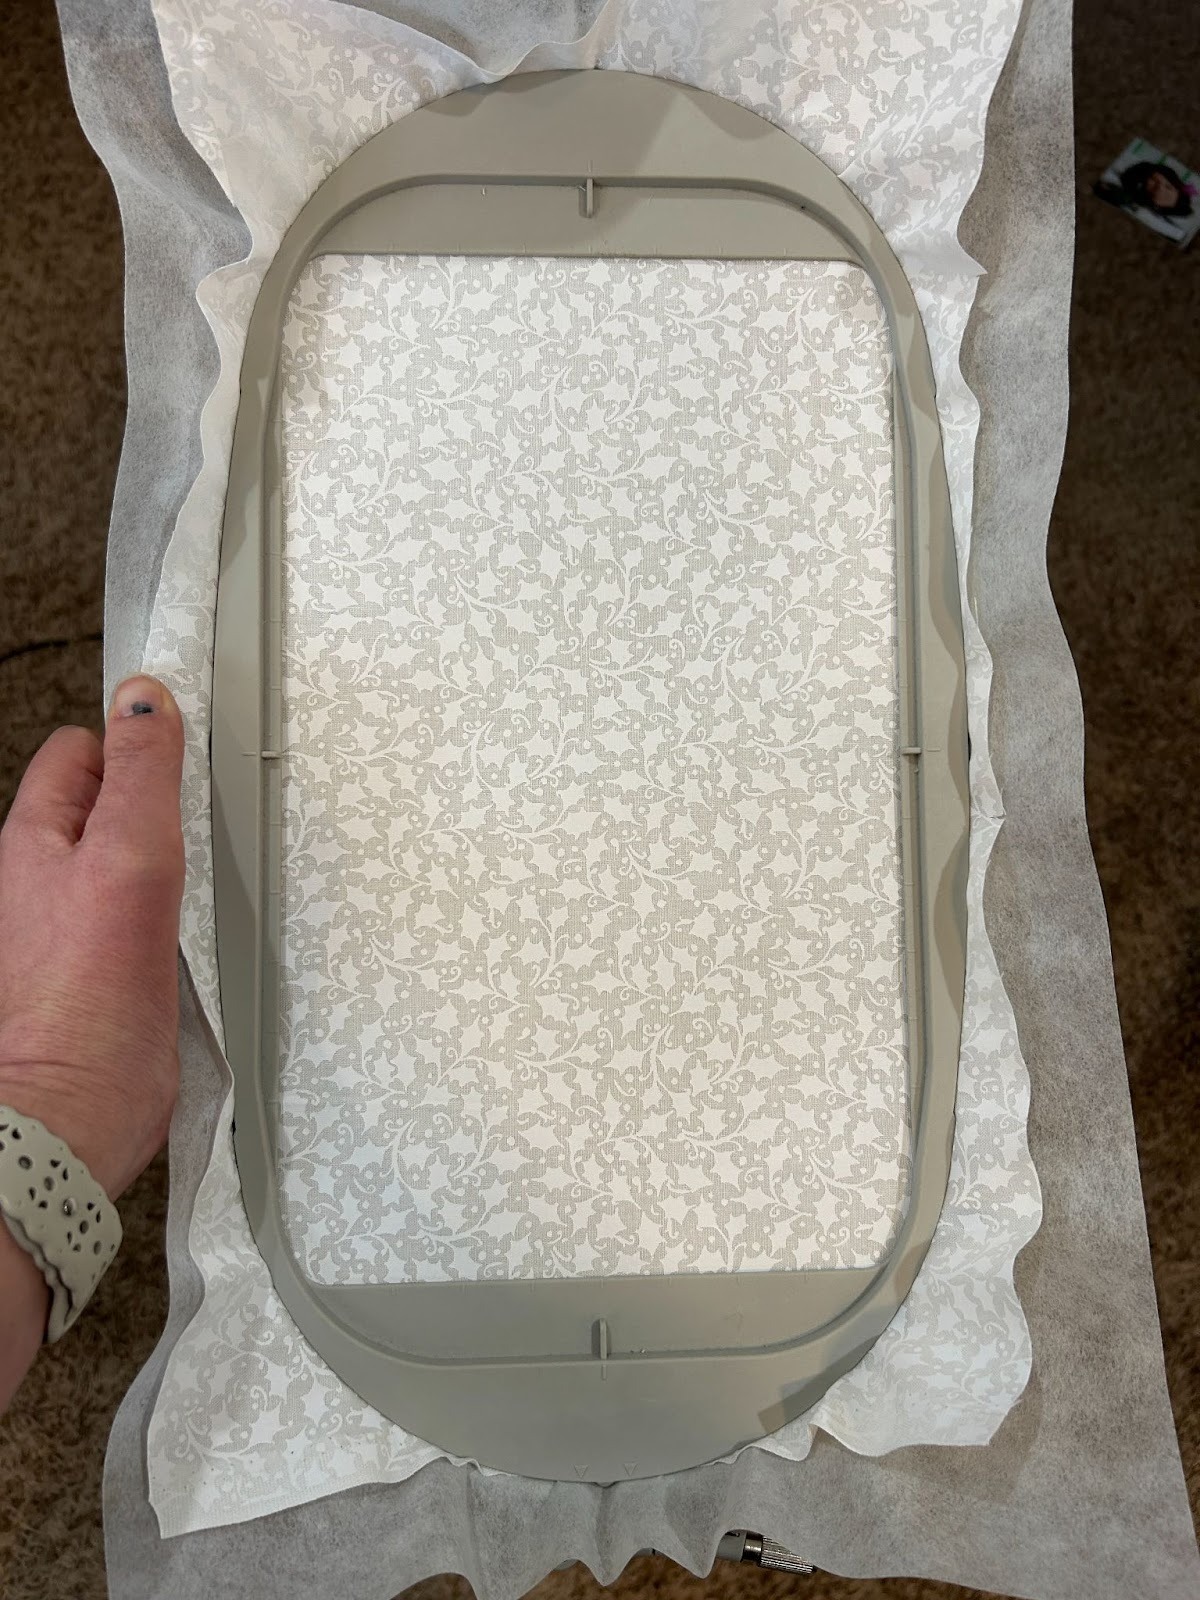
Hoop your stabilizer and fabric (or project you’re using).
Place it in your machine and stitch out your first placement stitch. I like to remove my hoop from the machine and carefully place the piece over the top. The edges of the fabric will come right to the stitches.
NOTE: I tried to resize the pieces a little bit bigger so that the tack-down stitches would catch them, but in my program it didn’t seem to work like I envisioned. If your program does that, you can give it a try. Your experience may vary.
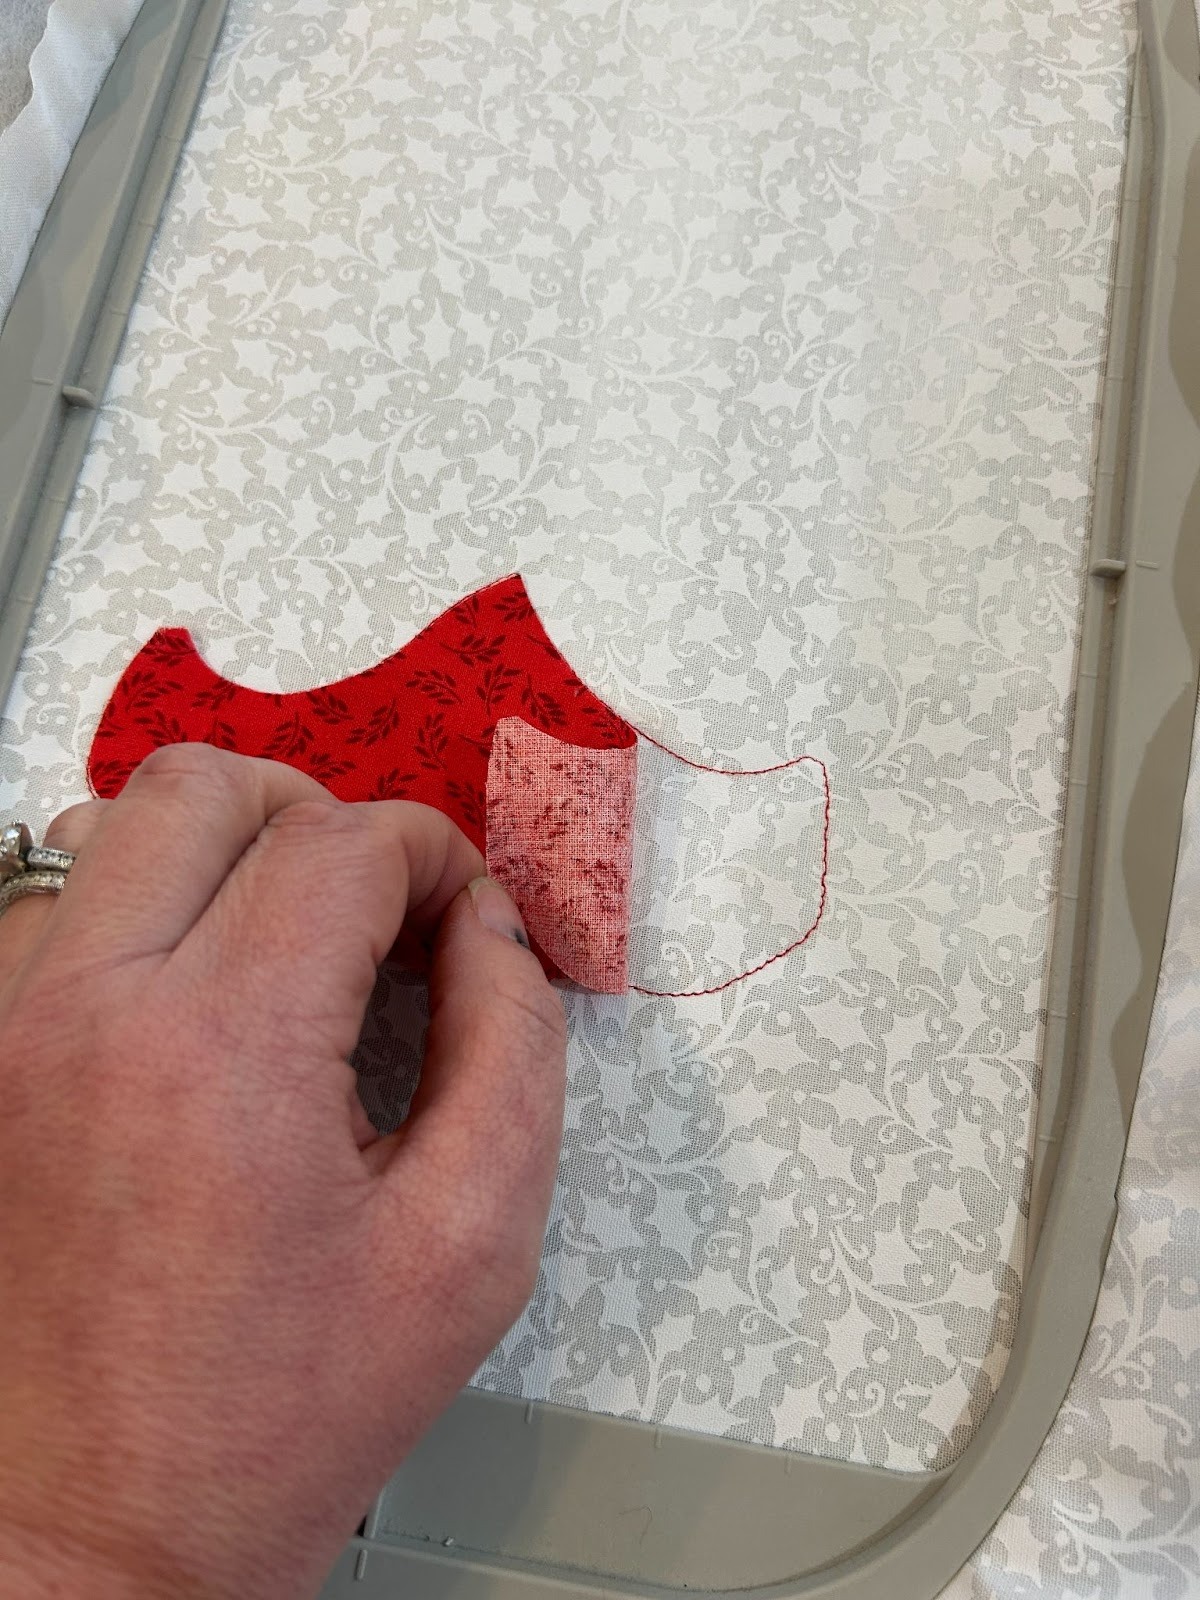
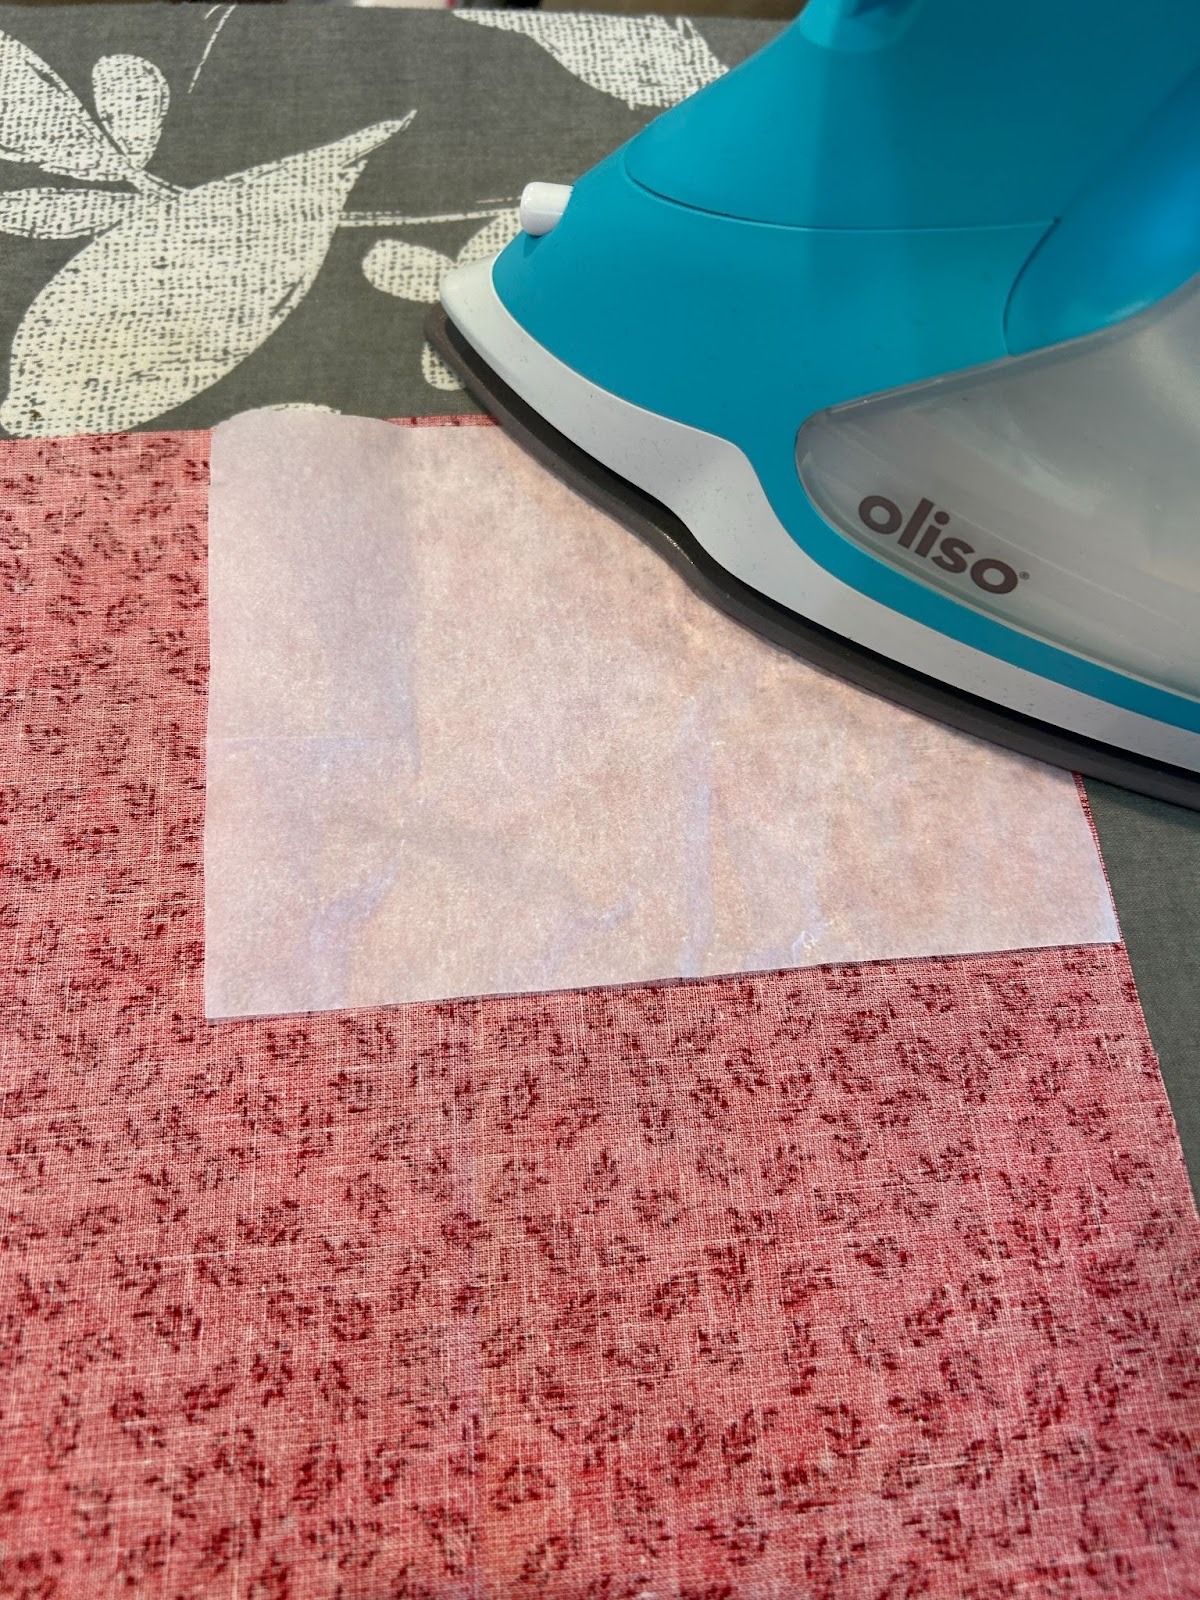
Now, because I used the Stitch Witchery, I will give it a quick little press with my mini iron to hold it in place.
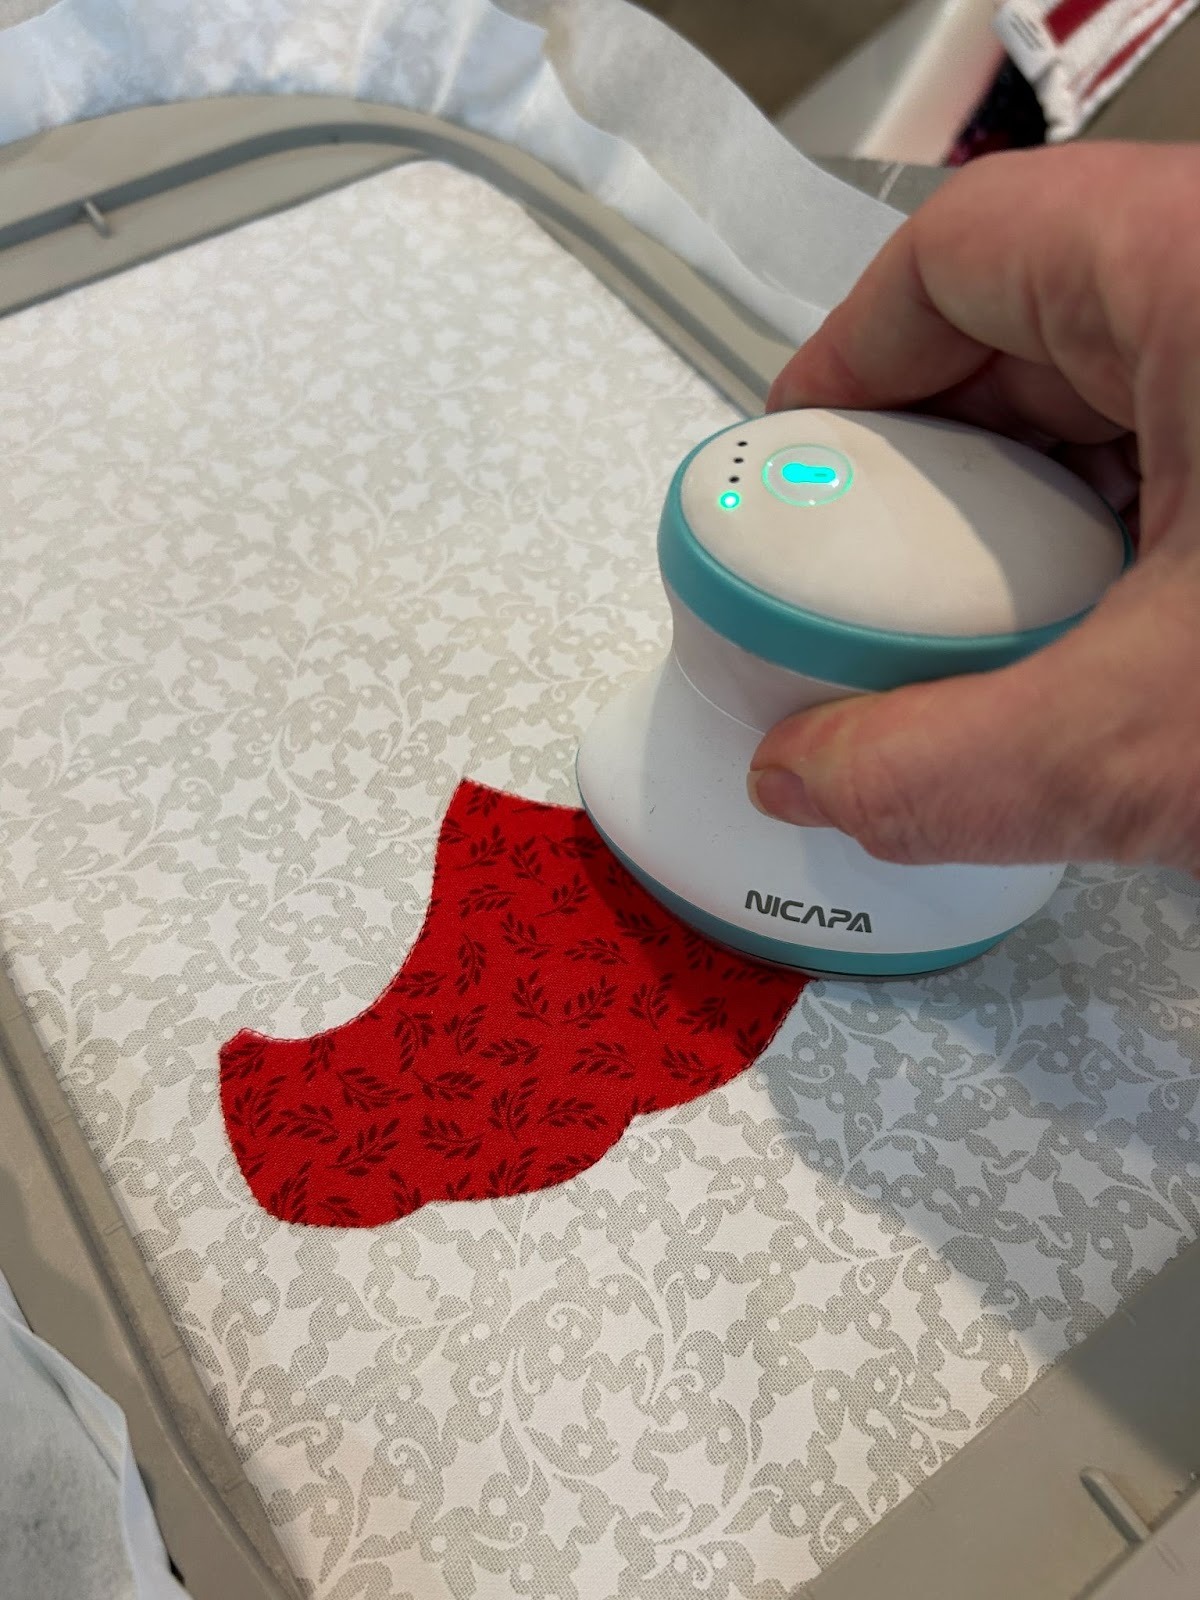
Because it’s fused in place I’m going to skip the tack-down step and move onto the placement stitches for the next piece. Cover with the applique piece and press it in place.
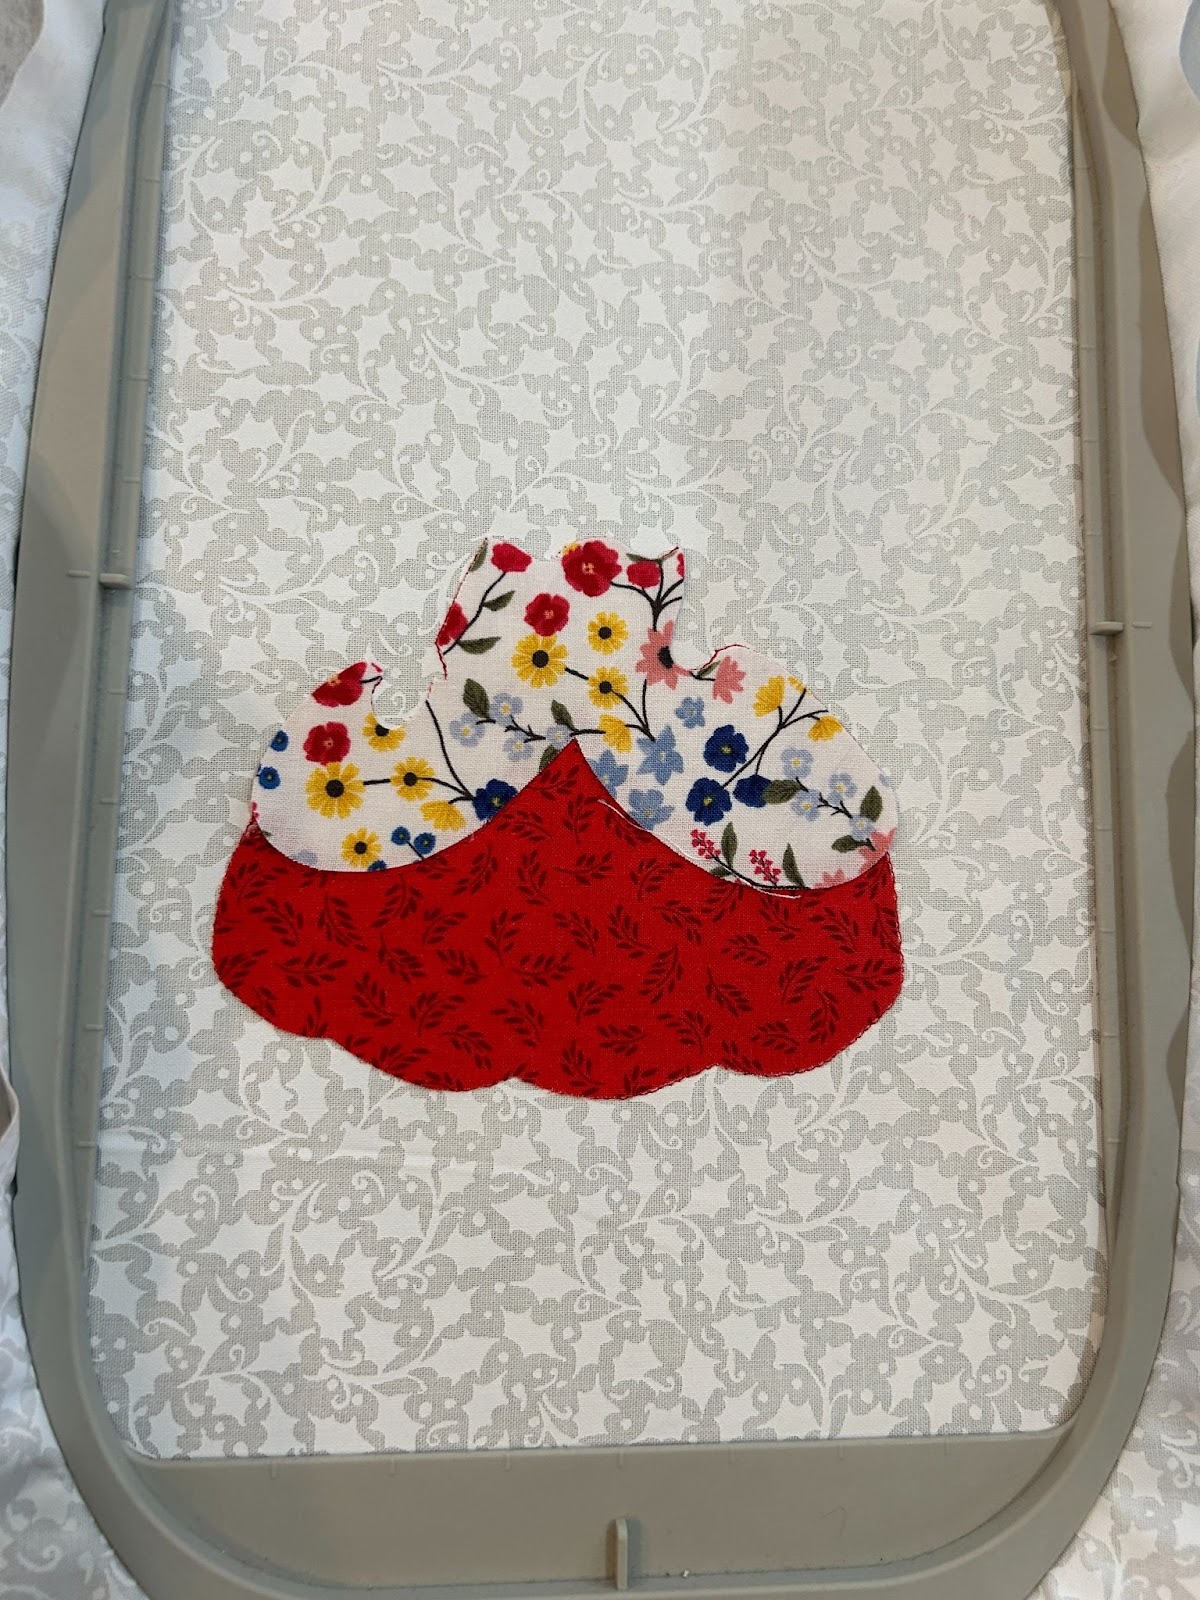
Continue until you have all your applique pieces in place. Your design may have some decorative stitches on top of the pieces before you place the final applique pieces. Just follow your color chart and do them in order. Mine placed all the applique pieces first. This is how it looked after all the applique pieces were in place.
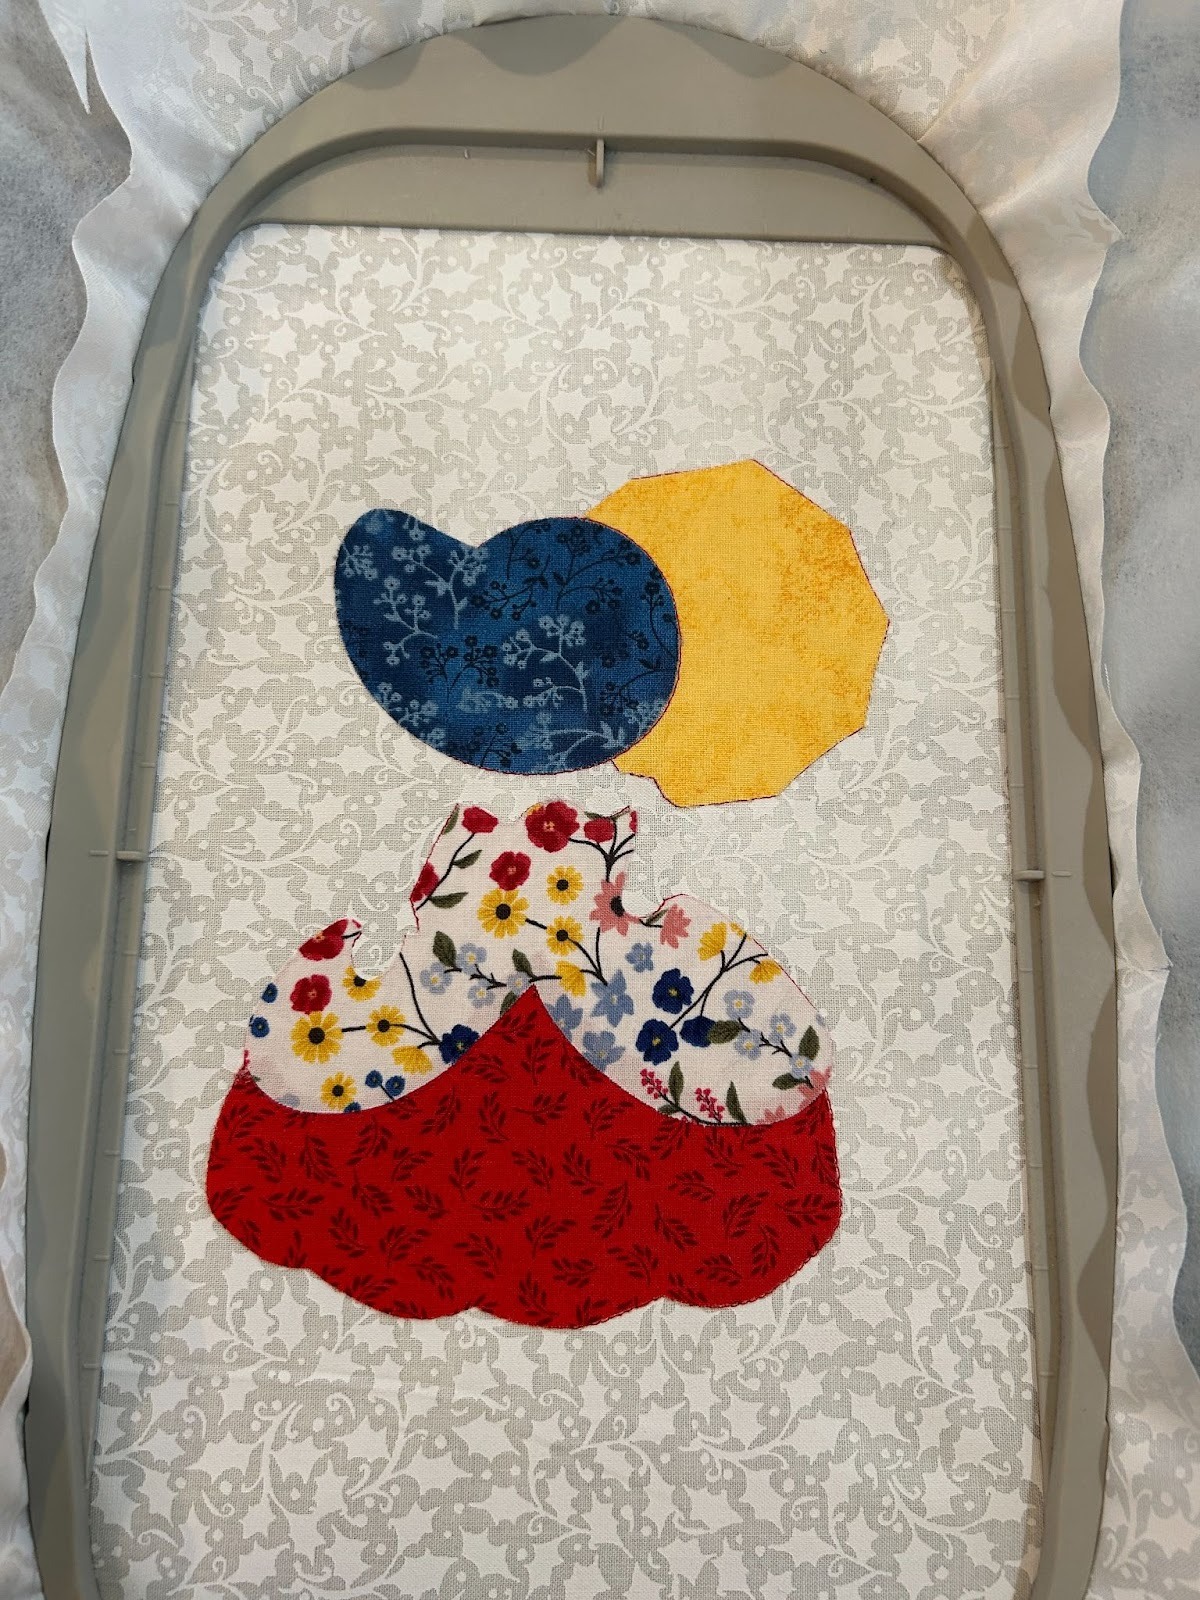
Now it’s time to do the decorative stitches and satin edge stitches. Continue through your pattern in the order that they come. Mine started with some decorative stitches . . .
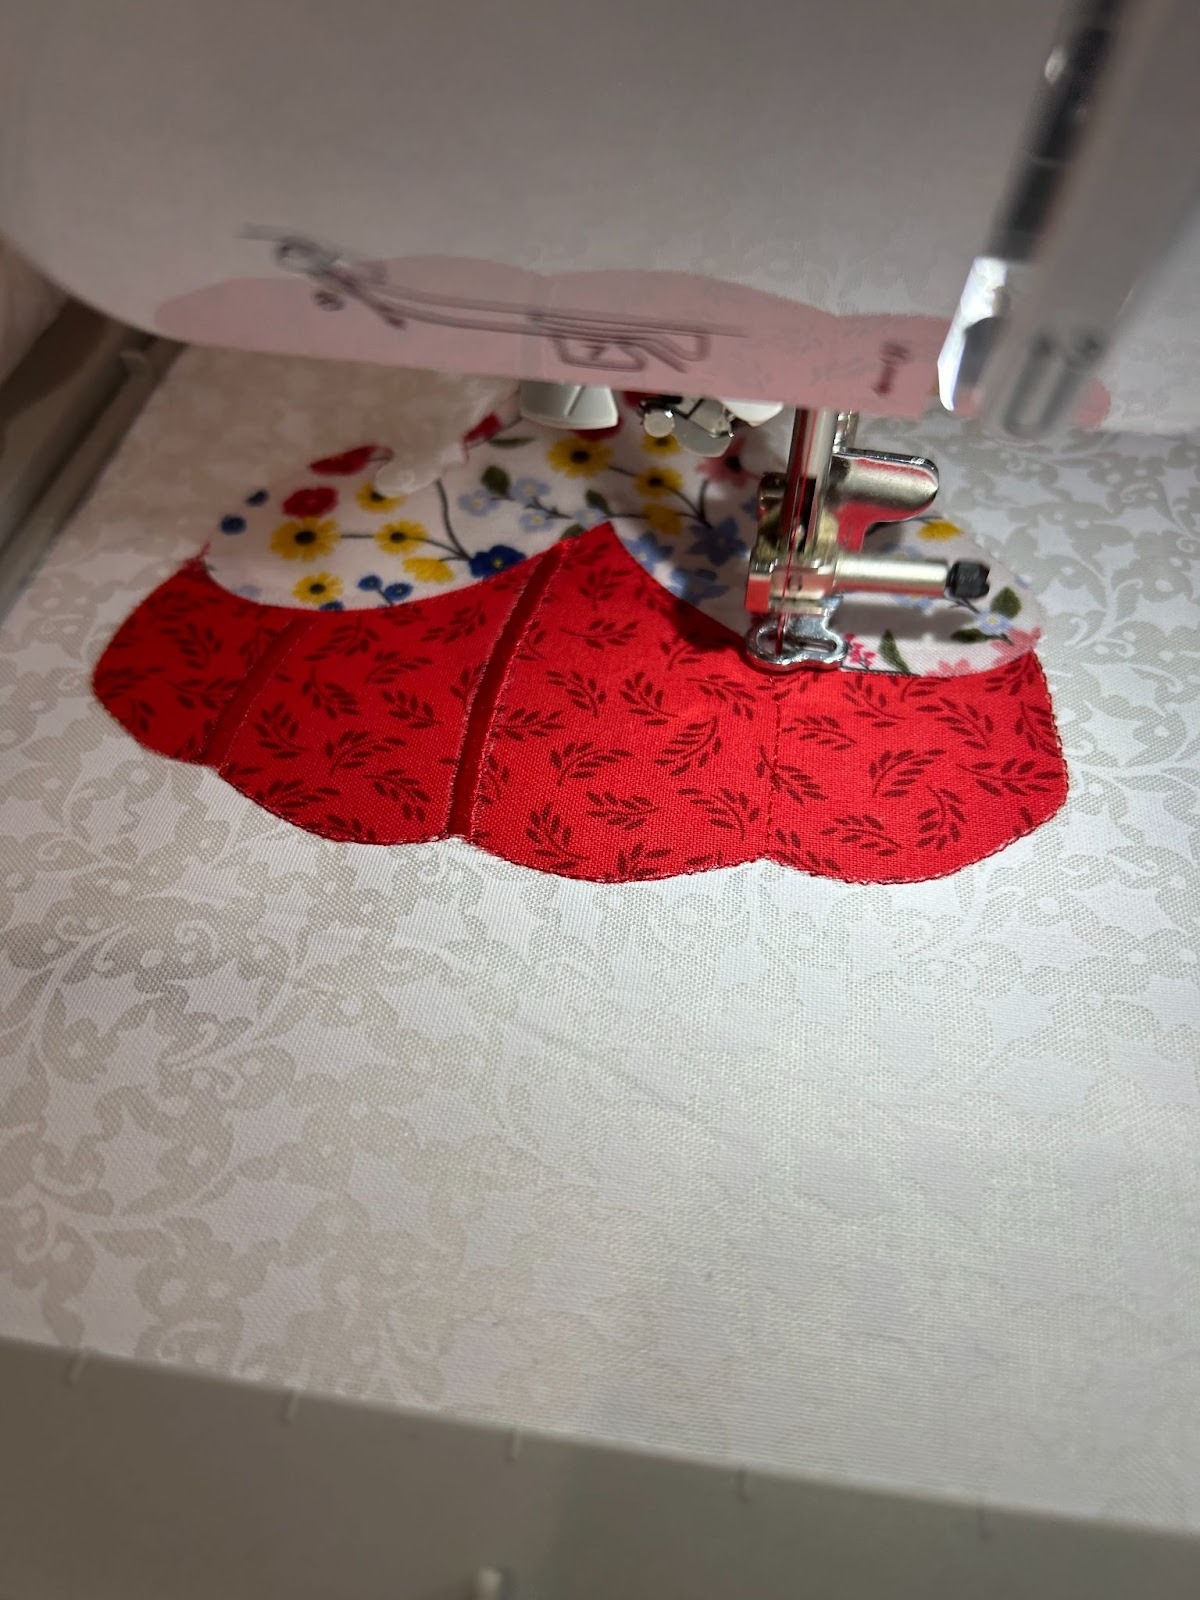
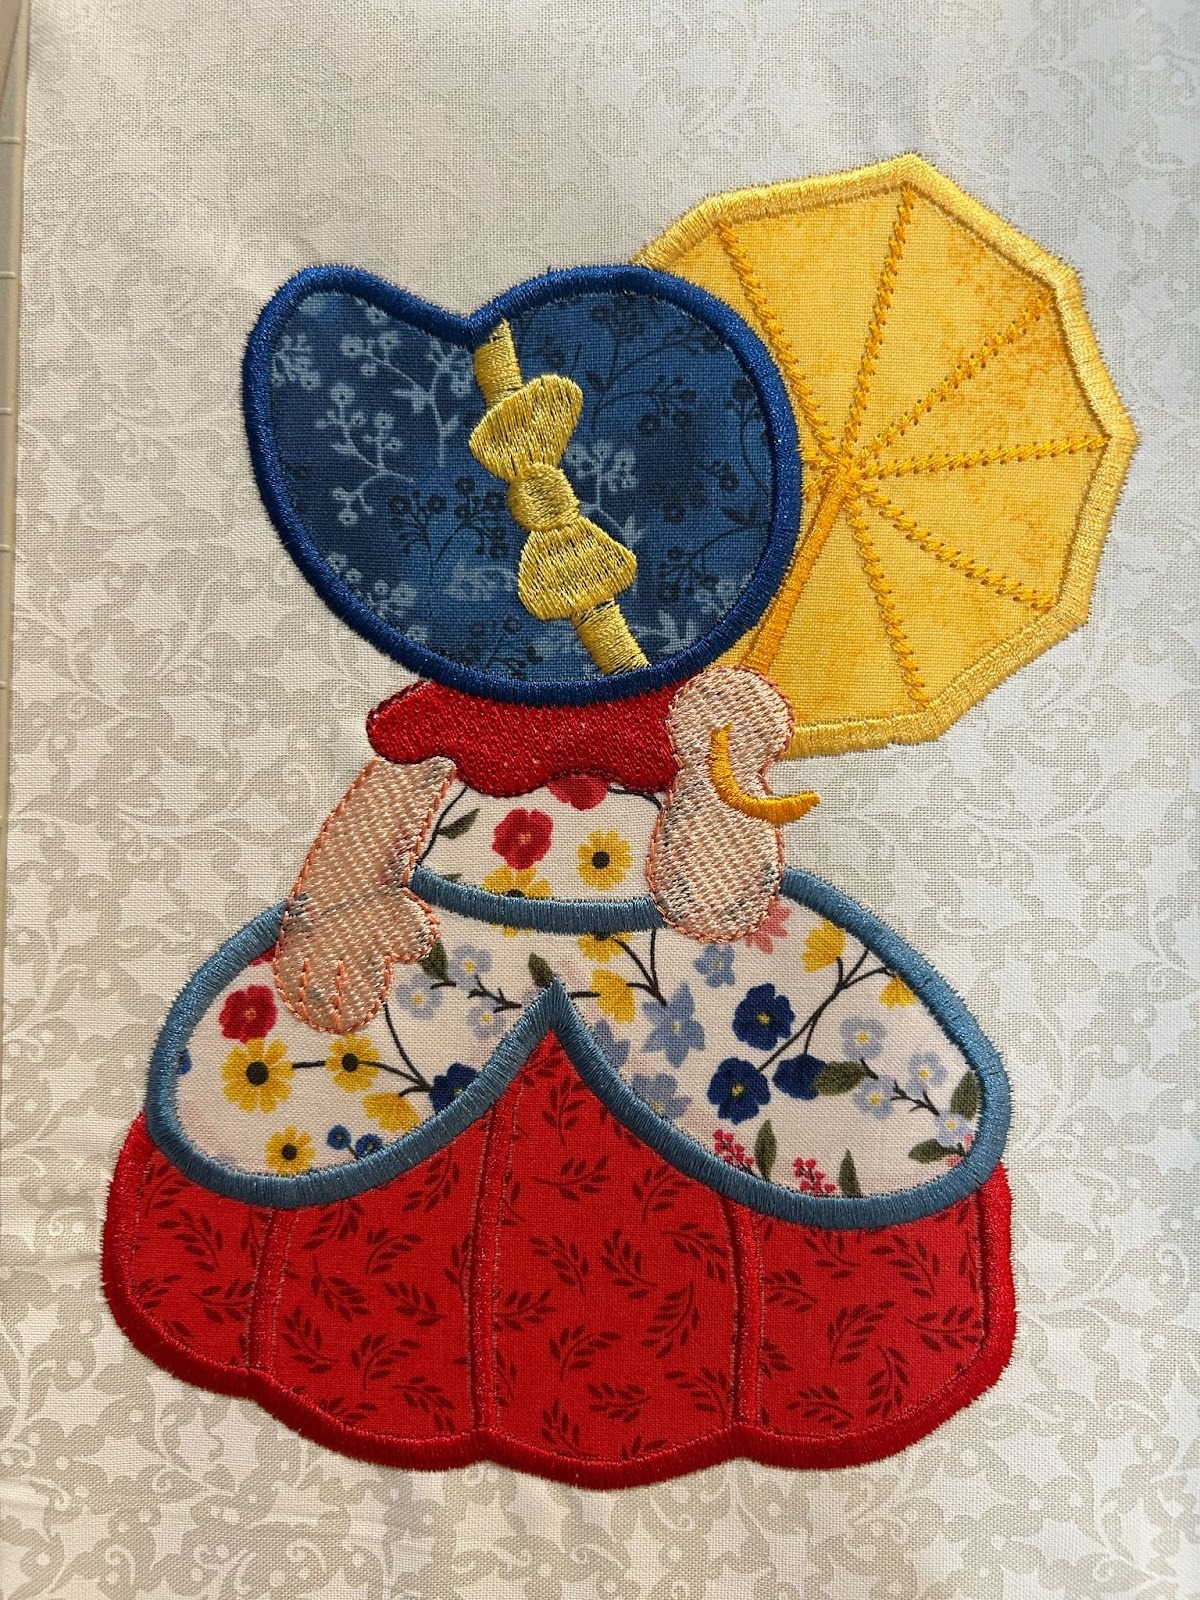
. . . and then finished with satin edge stitches. This shows how well the applique pieces are covered by the satin edge stitches.

And then you have your finished project!
I was so happy to try this method and was thrilled when it felt like the process went faster without having to stop to trim the applique pieces by hand. I will definitely be doing this again! I wish I had done this when I made my Mandala Pillow, because you repeat the same design four times, and it would have been so easy to cut all the pieces out at once and then let my machine stitch all the pretty stitches! I guess I’ll just need to make another pillow.
I would love to see how you use this method on your applique projects. Share with us in the Designs by JuJu Embroidery Blessings Facebook Group (or on social media using the hashtag #designsbyjuju) any tips and tricks you have for using your cutting machine to make your applique projects. We love to see your creativity in action!
