Toggle Nav
 Inspire.
Create.
Stitch.
Inspire.
Create.
Stitch.
Search
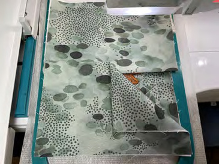
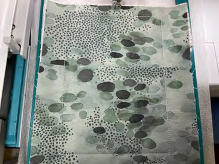
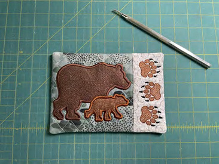
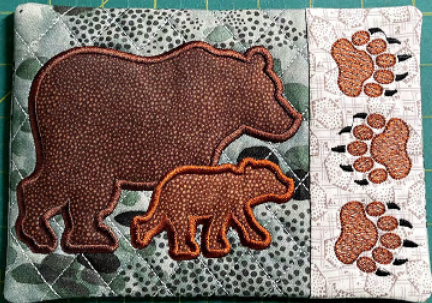
If you’re looking for a quick and fun machine embroidery project that’s both functional and charming, the Northwoods Bear Mug Rug is the perfect fit! This in-the-hoop project combines rustic, nature-inspired design with practical use, making it a wonderful gift or a cozy addition to your own home décor. Whether you’re sipping your morning coffee or enjoying tea by the fire, this mug rug will add a touch of woodland warmth to your day.
Designed for simplicity and success, this project comes with everything you need to get started, including a step-by-step tutorial. You'll stitch the entire mug rug right in your embroidery hoop—no extra sewing required! Plus, with its beautiful bear and pine tree design, it’s ideal for anyone who loves nature or rustic cabin vibes.
Grab your favorite fabrics, fire up your embroidery machine, and let’s get stitching!
5x7 Approximate Finished Size 5”x7”
6x10 Approximate Finished Size 6”x 8.5”
7x12 Approximate Finished Size 7”x 9.5”
8x12 Approximate Finished Size 7.75”x 10.75”
9.5x14 Approximate Finished Size 9”x 12.5”
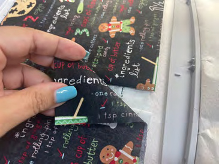
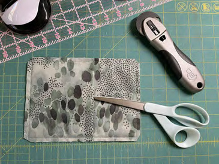
Check out Embroidery Supplies JuJu Uses for our favorite supplies!
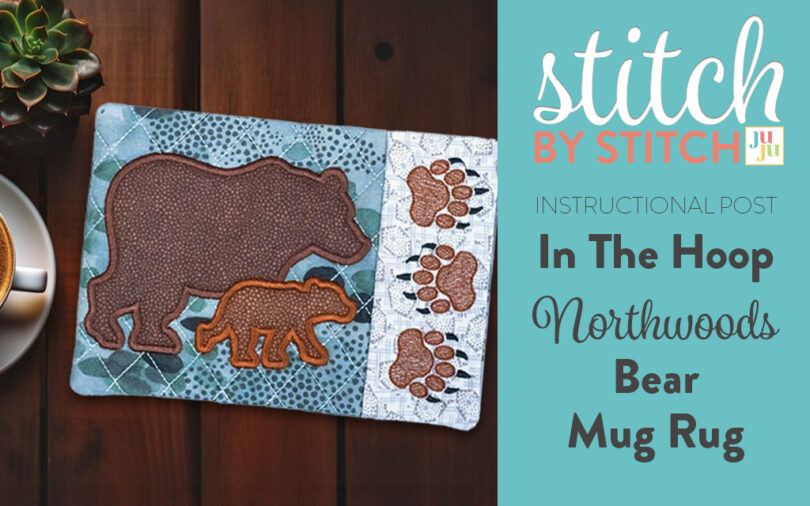
STEP 1: Hoop a piece of stabilizer.
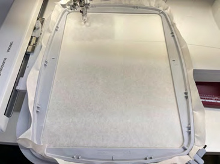
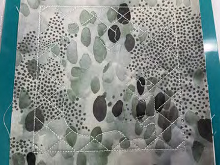
STEP 2: Stitch the placement line for the batting.
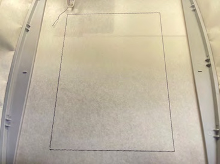
STEP 3: Cover placement line with batting, making sure all sides are completely covered. Stitch tack down line. Trim the batting as shown.
STEP 4: Stitch placement line for the left background of mug rug.

STEP 5: Position left background fabric over the placement line. Run tack down stitches to secure fabric. Trim away excess fabric as shown.
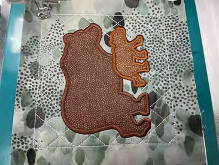
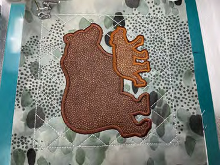
STEP 6: Next stitch the quilt motif for the left side of the mug rug.
STEP 7: Now complete the applique for the mug rug.
For additional assistance with applique, please see applique tutorial included with the download (DBJJAppliqueTutorial.pdf).
STEP 8: The next few stitching steps are the decorative and satin stitches for this side of the mug rug.
Refer to color chart, included with download, for satin and design stitching sequence.
STEP 9: Stitch placement line for right background fabric.
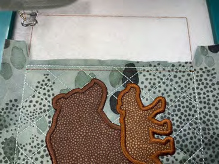
STEP 10: Position the fabric strip with right side facing down, and parallel to the placement stitch. Extend the fabric strip approximately 1/8—1/4 inch over the placement line. Run tack down stitches to secure the fabric as shown.
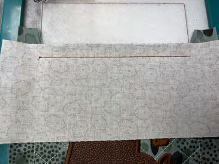
STEP 11: Remove hoop from machine and fold over the fabric, pressing the seam well with your fingers. Tape down to secure in place. Run tack down stitches to secure the border with right side facing up.
STEP 12: The next few stitching steps is the decorative stitches for the right side of the mug rug.
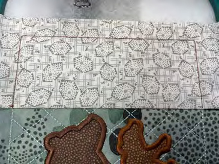
STEP 13: The final step is to add the back. Position the folded pieces of fabric so the fold is in the center of the mug rug.
Place folded fabric on top/right side first then lay the second piece down overlapping them.
STEP 14: The folded pieces of fabric should overlap slightly, each piece approximately 1/8" to 1/4" beyond the center. Be sure the fabric is centered and the sides extend well past outside edges.
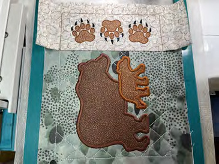
STEP 15: The final stitch in the design will outline the entire mug rug. Be sure to slow down your machine.
STEP 16: Remove from hoop. Cut away stabilizer and, using a ruler, trim 1/4 inch around all borders and then clip the corners at an angle.
STEP 17: Turn your mug rug right side out. If preferred, the overlap can be secured with something like Stitch Witchery.
THE MUG RUG IS COMPLETE!!!!
If you loved this project, you’ll find plenty more just like it in our Home Hub—a curated collection of quick, creative, and practical projects perfect for gifting (or keeping!)
If you make this project, please share it with us in the Designs by JuJu Embroidery Blessings Facebook group, or anywhere on social media using the hashtag #designsbyjuju. We can't wait to see what you create!