Toggle Nav
 Inspire.
Create.
Stitch.
Inspire.
Create.
Stitch.
Search

Stitch a hoop full of love and turn your stitches into sweet Valentine wall art.
Take a sweet Valentine sentiment and turn it into wall art. Gather a few favorite fabrics and ribbons and have fun—it's easier than you think with Designs by JuJu!
Find the DBJJ team’s favorite supplies in the Designs by JuJu Amazon store.
Note: If desired, paint your outer hoop with the white acrylic paint. I removed the screw and placed the outer hoop on a piece of freezer paper to paint it. I painted the outside and top edges only.
The first thing I did was import the fonts into my Embrilliance software. I did this so I could get the curves I needed and space the letters how I wanted, using the Dennis Embroidery Font. With some embroidery machines, this can be done right on your machine. I put this and my quilting design on my USB and gathered my supplies. I hooped the cut-away stabilizer and floated my batting and background fabric.
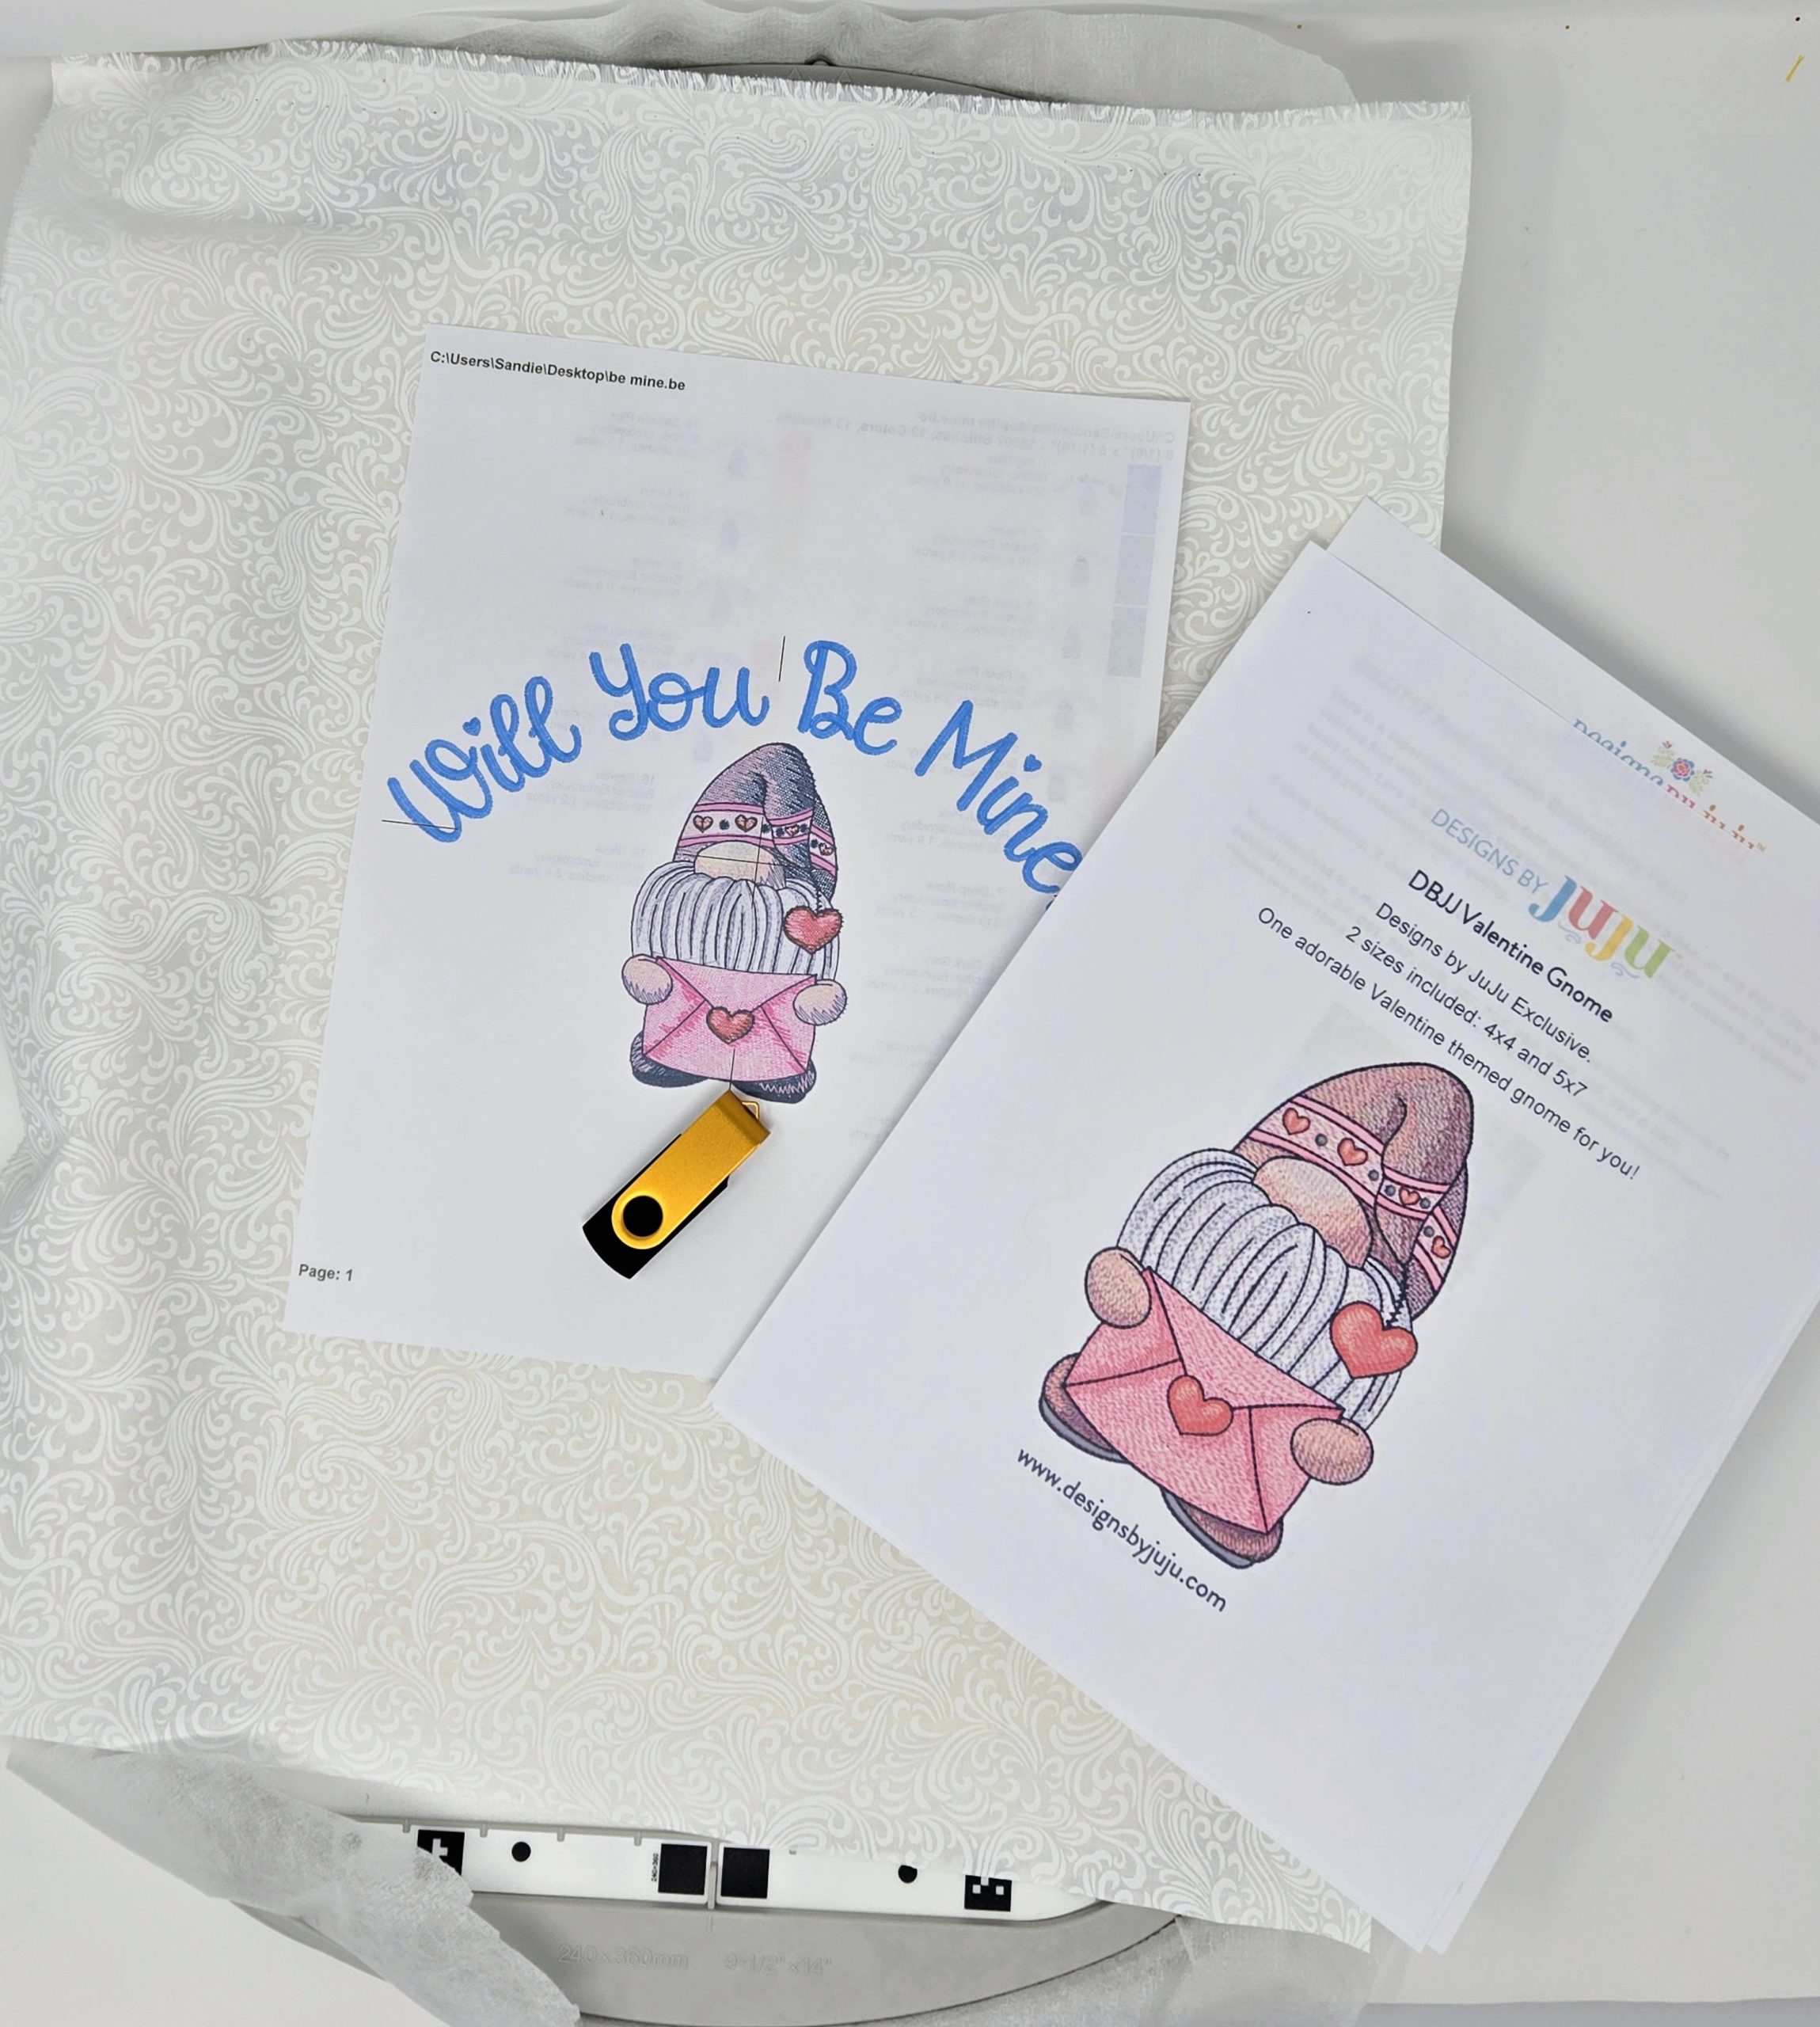
I used my biggest hoop to embroider the Valentines 1 End-to-End Quilting Design on my background fabric. I was hoping when I added the embroidery design, I could move it to include the word love in the final wooden hooped design.

Embroider your design. I was able to move the design down on the hoop to get love where I wanted it. Can you see it to the right of the gnome’s foot? I love this little sketch gnome! I used a white-on-white FQ for the background because a patterned fabric might show through the sketch.
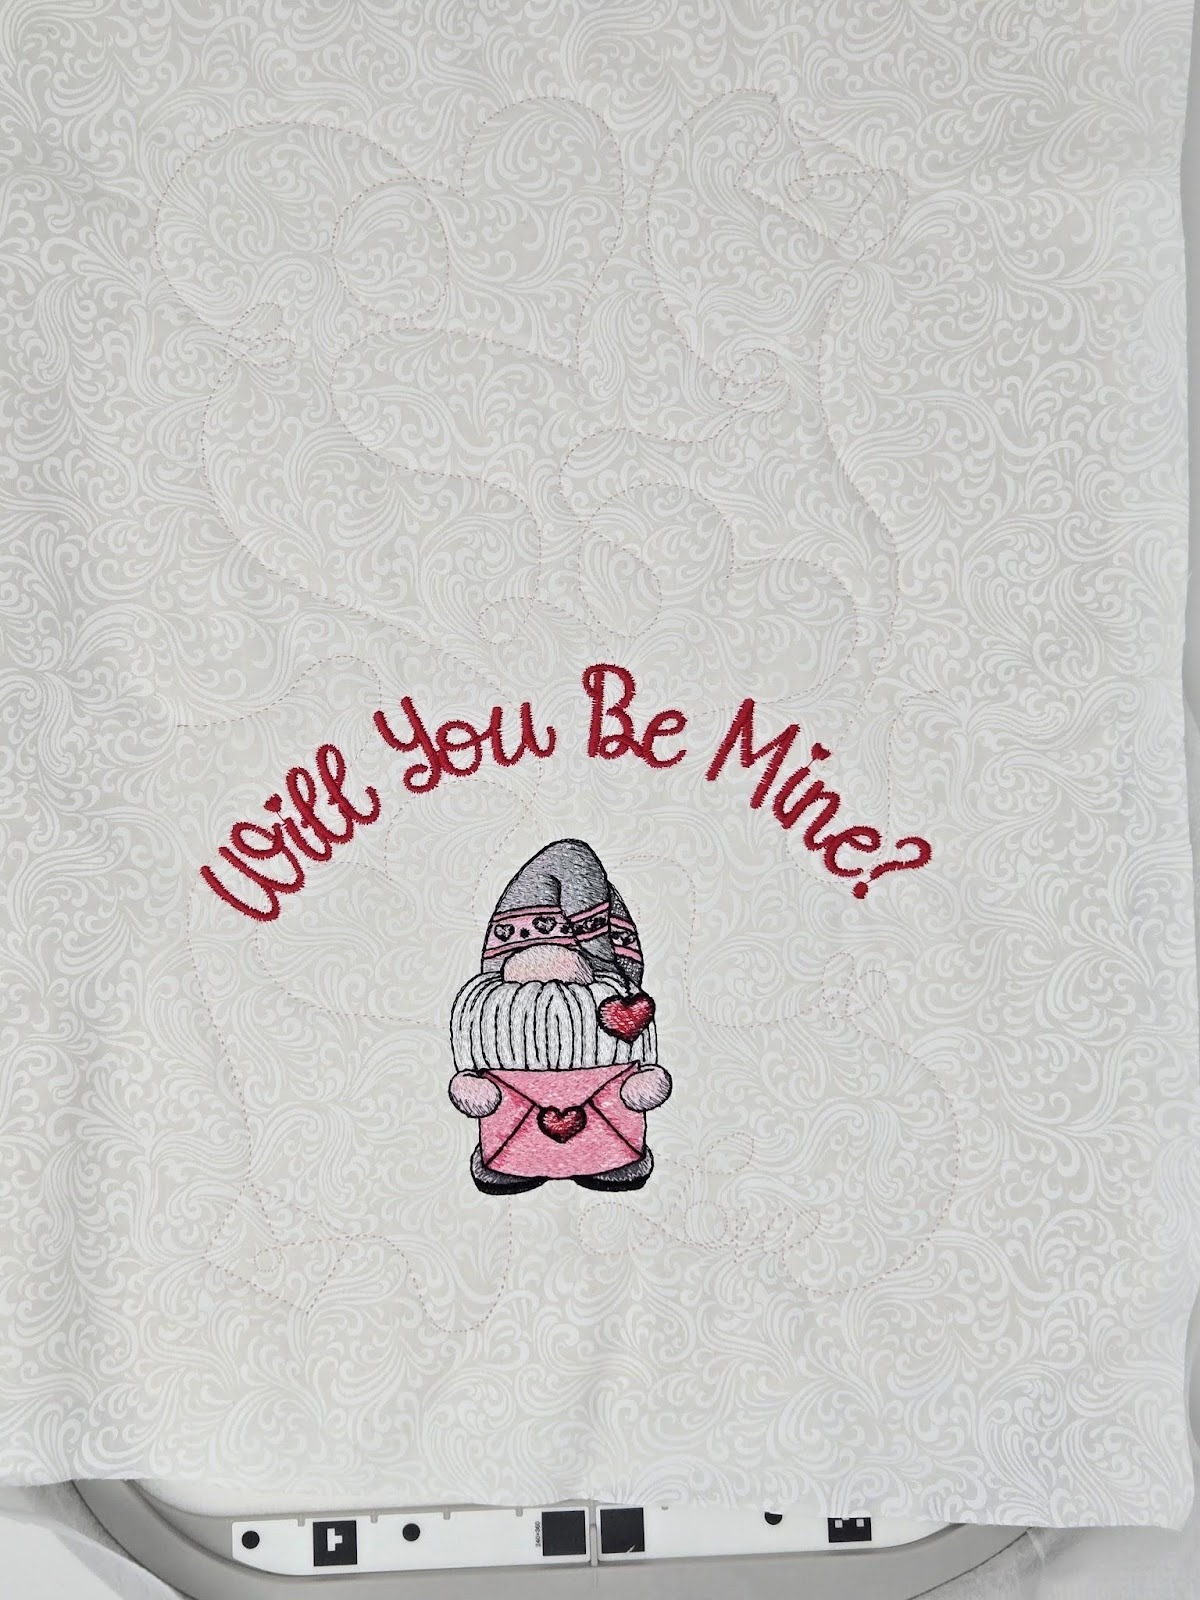
Next I placed the inner part of my 10” wooden hoop over the design to check placement. It worked! I got the word!
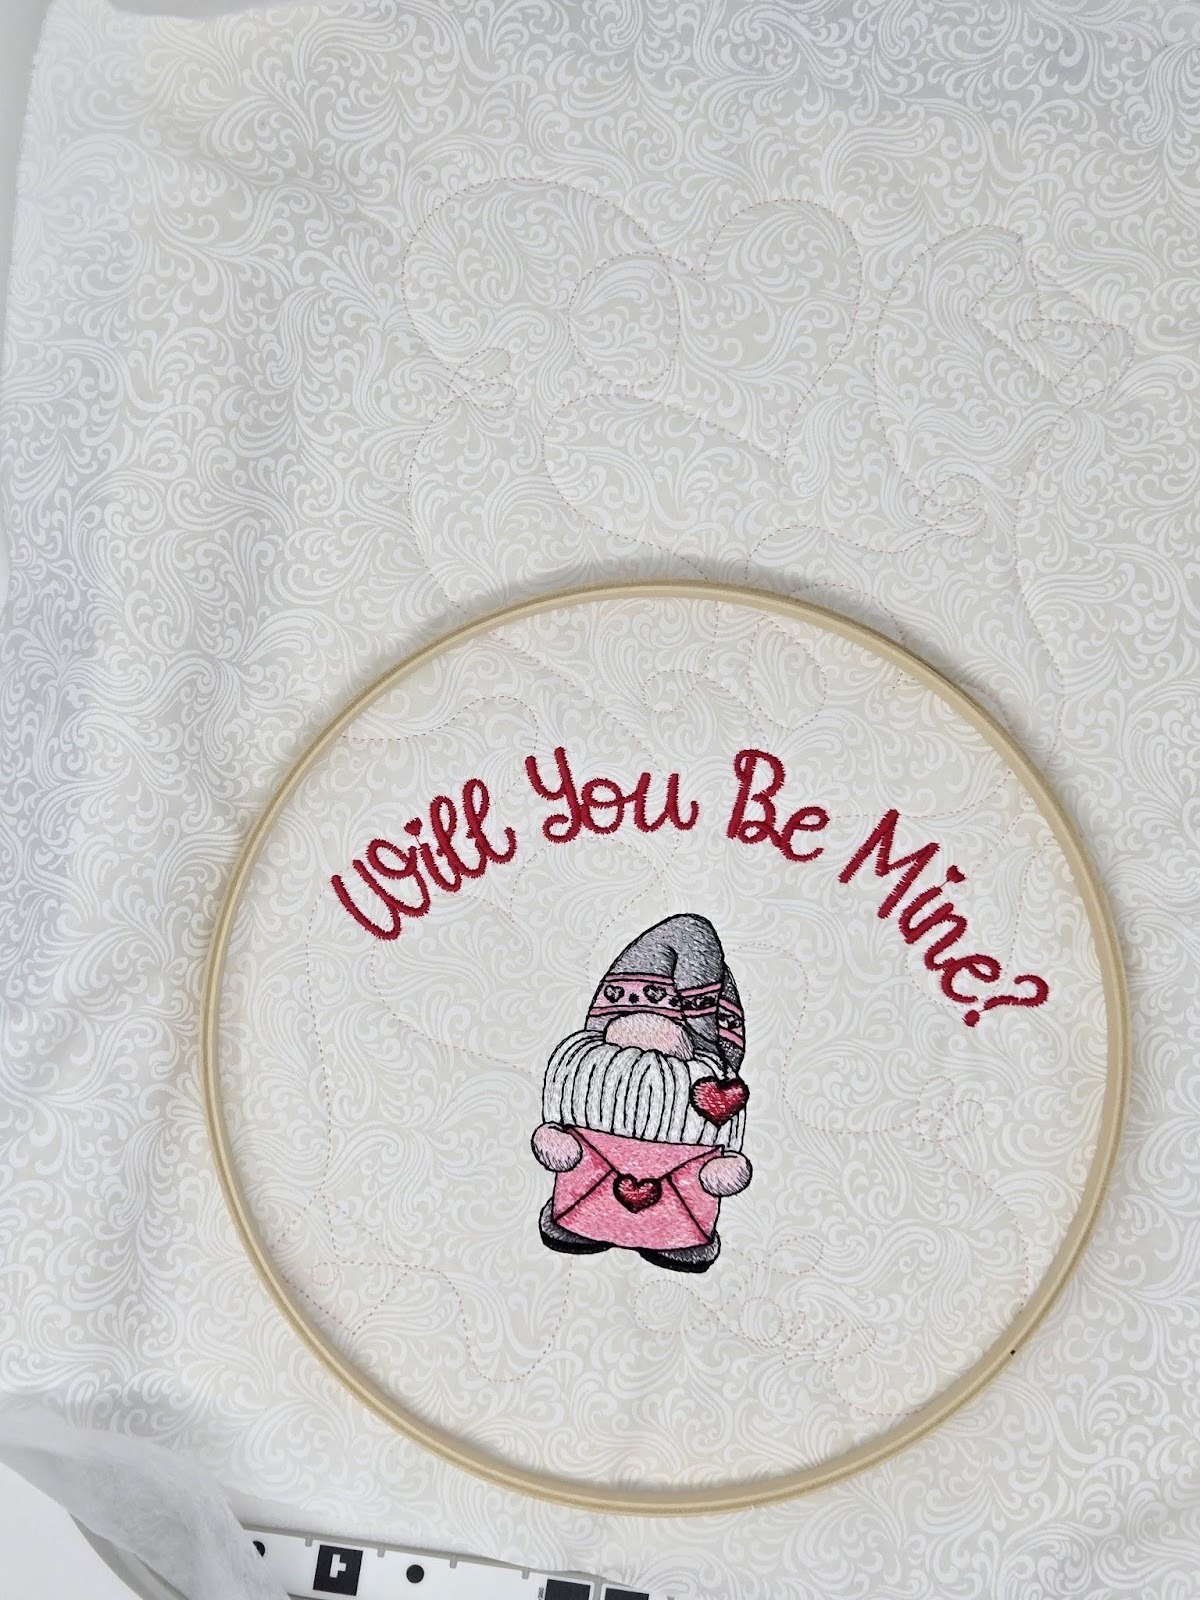
I roughly cut about 1½” around my design from the outside of the wooden hoop. I cut the cut-away stabilizer, the batting, and the fabric all together. I did not trim the cut-away stabilizer or batting further. I also trimmed the jump stitches—there were only three. I like to use these little hooked scissors to cut jump stitches because I can lift them up off of the fabric to cut.

I took the circle to my sewing machine and used a large zigzag stitch to sew some perle cotton to the outer edges. Don’t catch the perle cotton in your stitches—you want to be zigzagging over it. This will be used to gather your circle to fit the inner wooden hoop. Leave long tails of the perle cotton.

Next, place your inner wooden hoop on the back of your embroidery and gently pull the ends of the perle cotton to gather the design around the hoop. When you have it gathered pretty evenly and tightly, tie the ends together.

When you are happy with your gathering, (I tried not to have any tucks on the front) add your outer hoop.

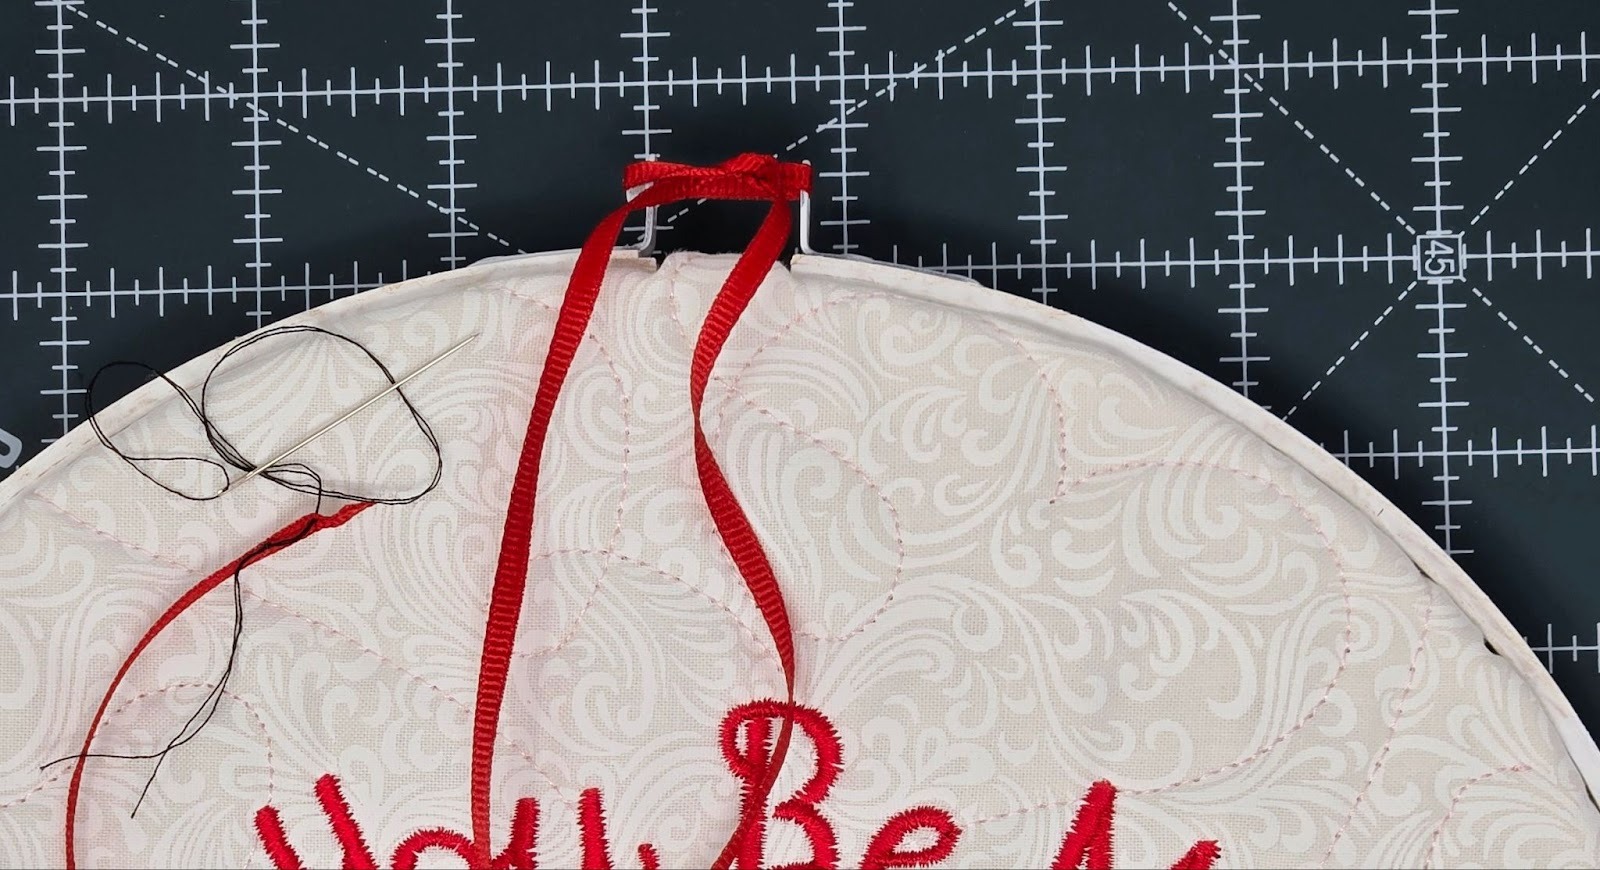
If you didn’t remove the screw when you painted your hoop, do it now. With the fabric and batting, I was not able to use the screw to hold it back together. Instead, I took an approximately 12” piece of ⅛” ribbon and put it through the holes. I used a needle and thread to guide the ribbon through by knotting the end of the thread and pulling it through the end of the ribbon. Then guide the needle, pulling the ribbon through the holes. Knot the ribbon.
Next I lightly traced the outline onto the felt and cut out the felt circle. Then I glued the rickrack to the back of the hoop with my glue gun, and the felt on top to hide the back.
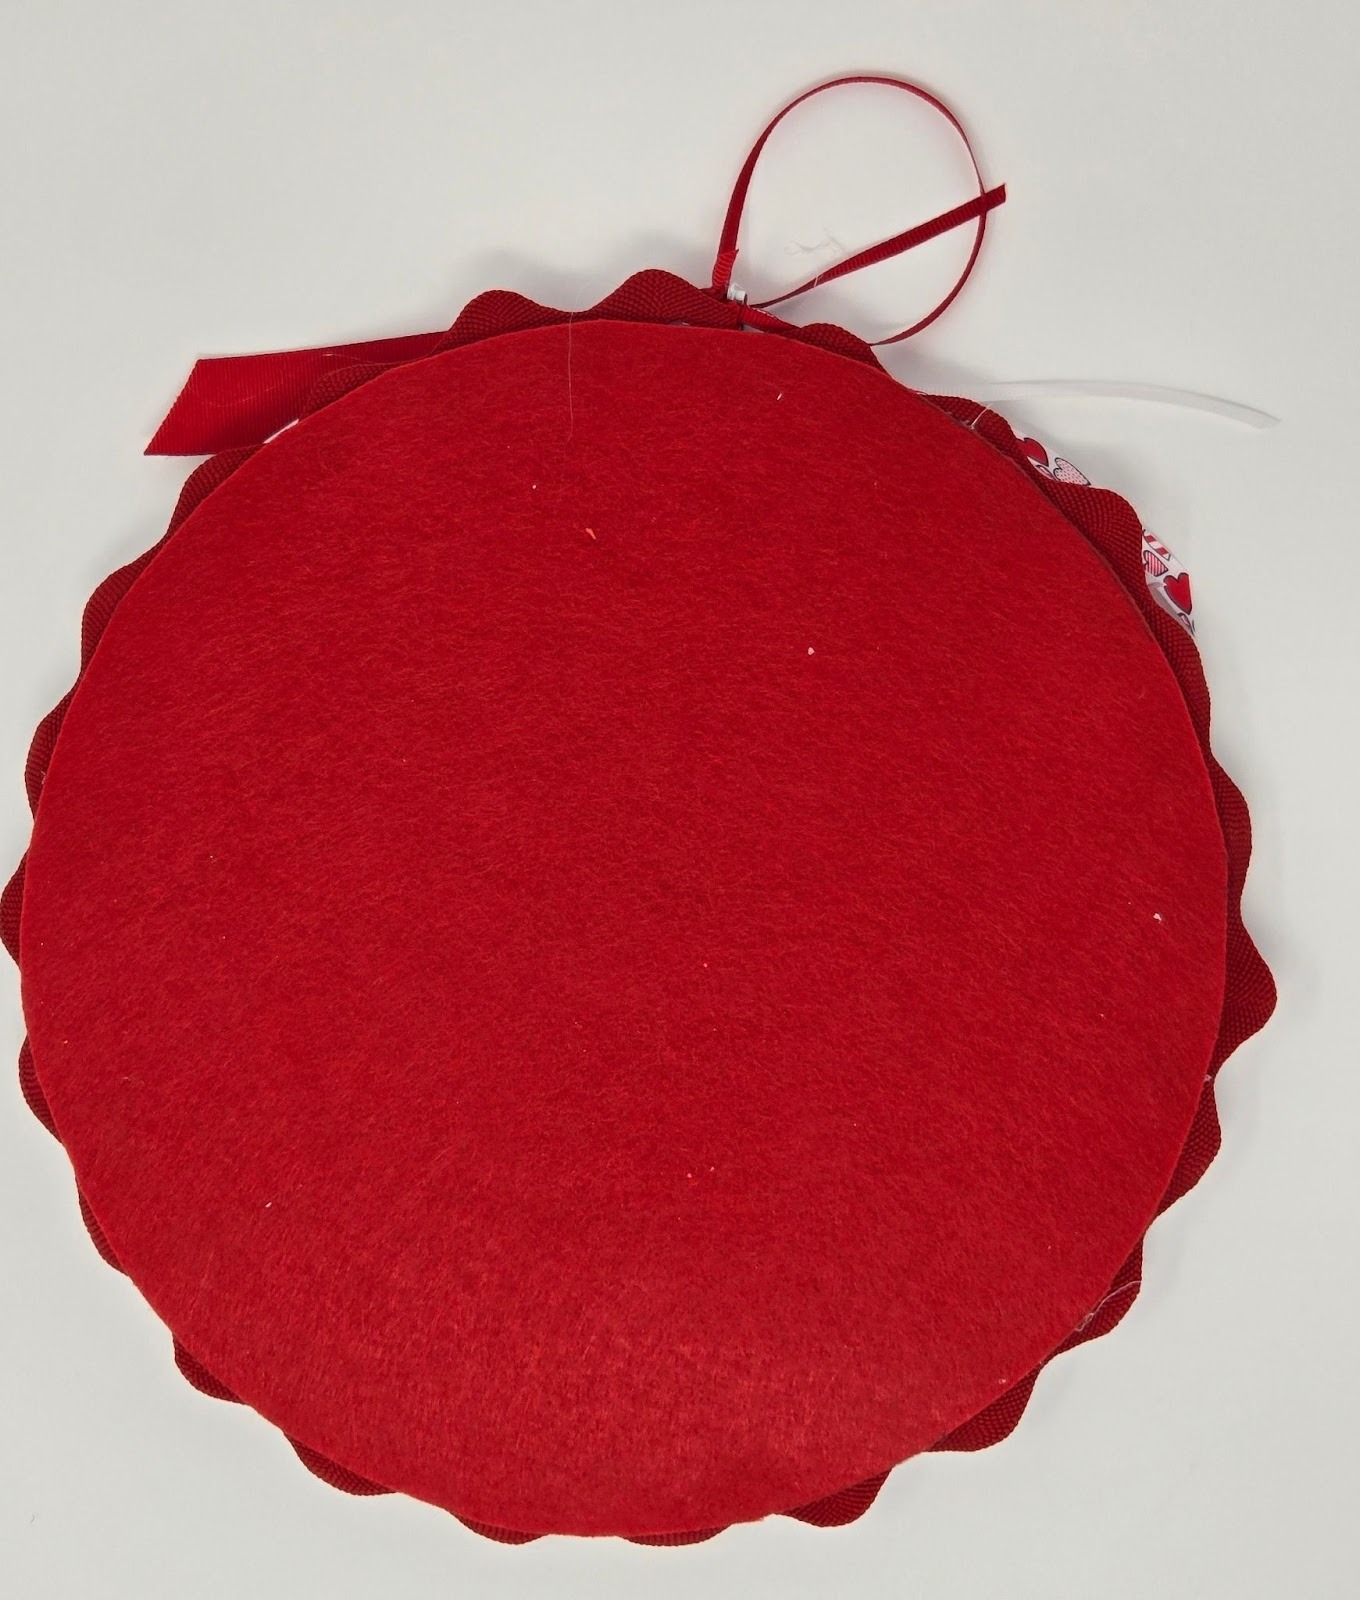
Taking various lengths and widths of ribbon, I tied them into the ribbon holding the screw holes together. Add a ribbon hanging loop and you are finished!
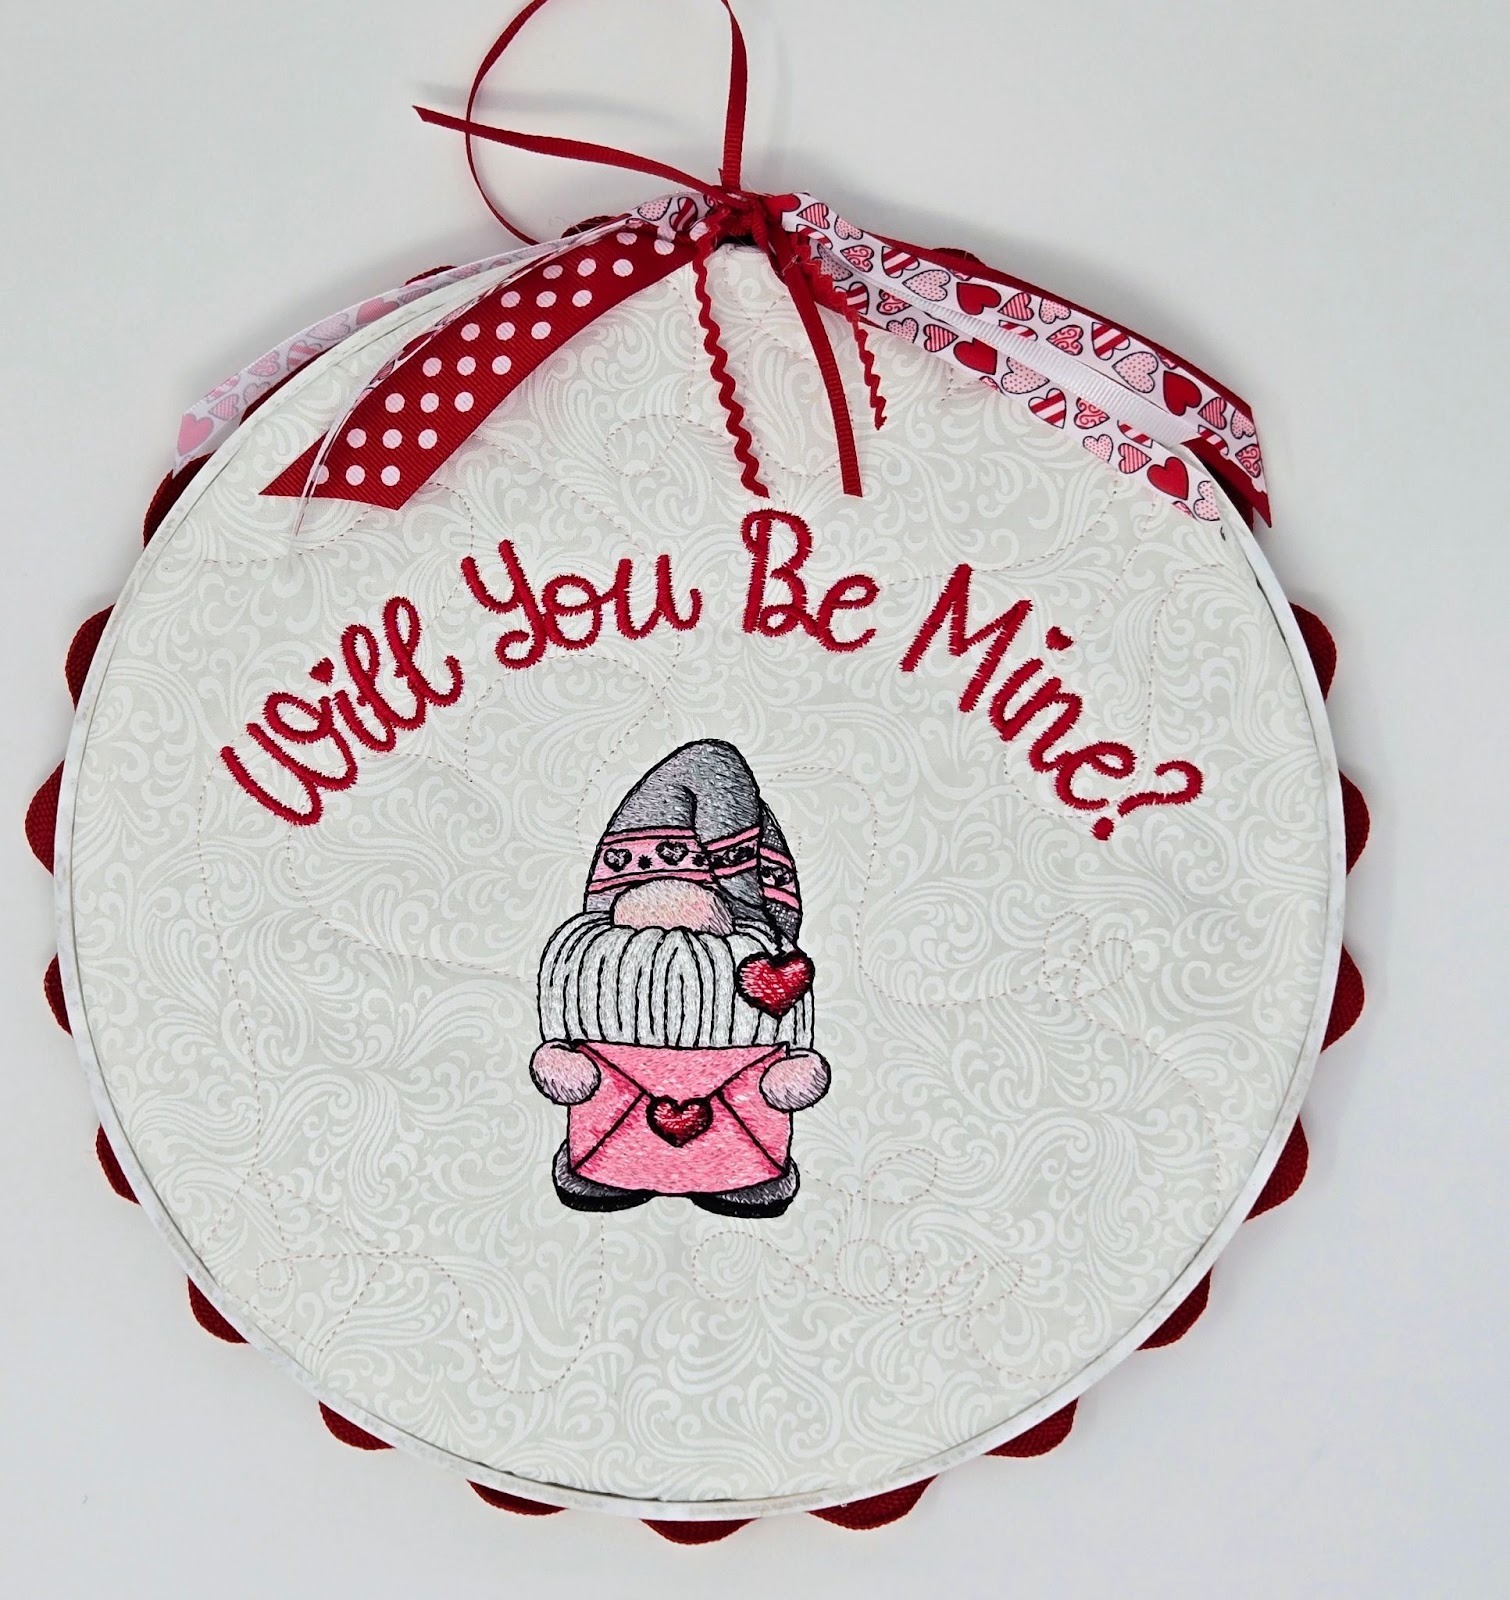
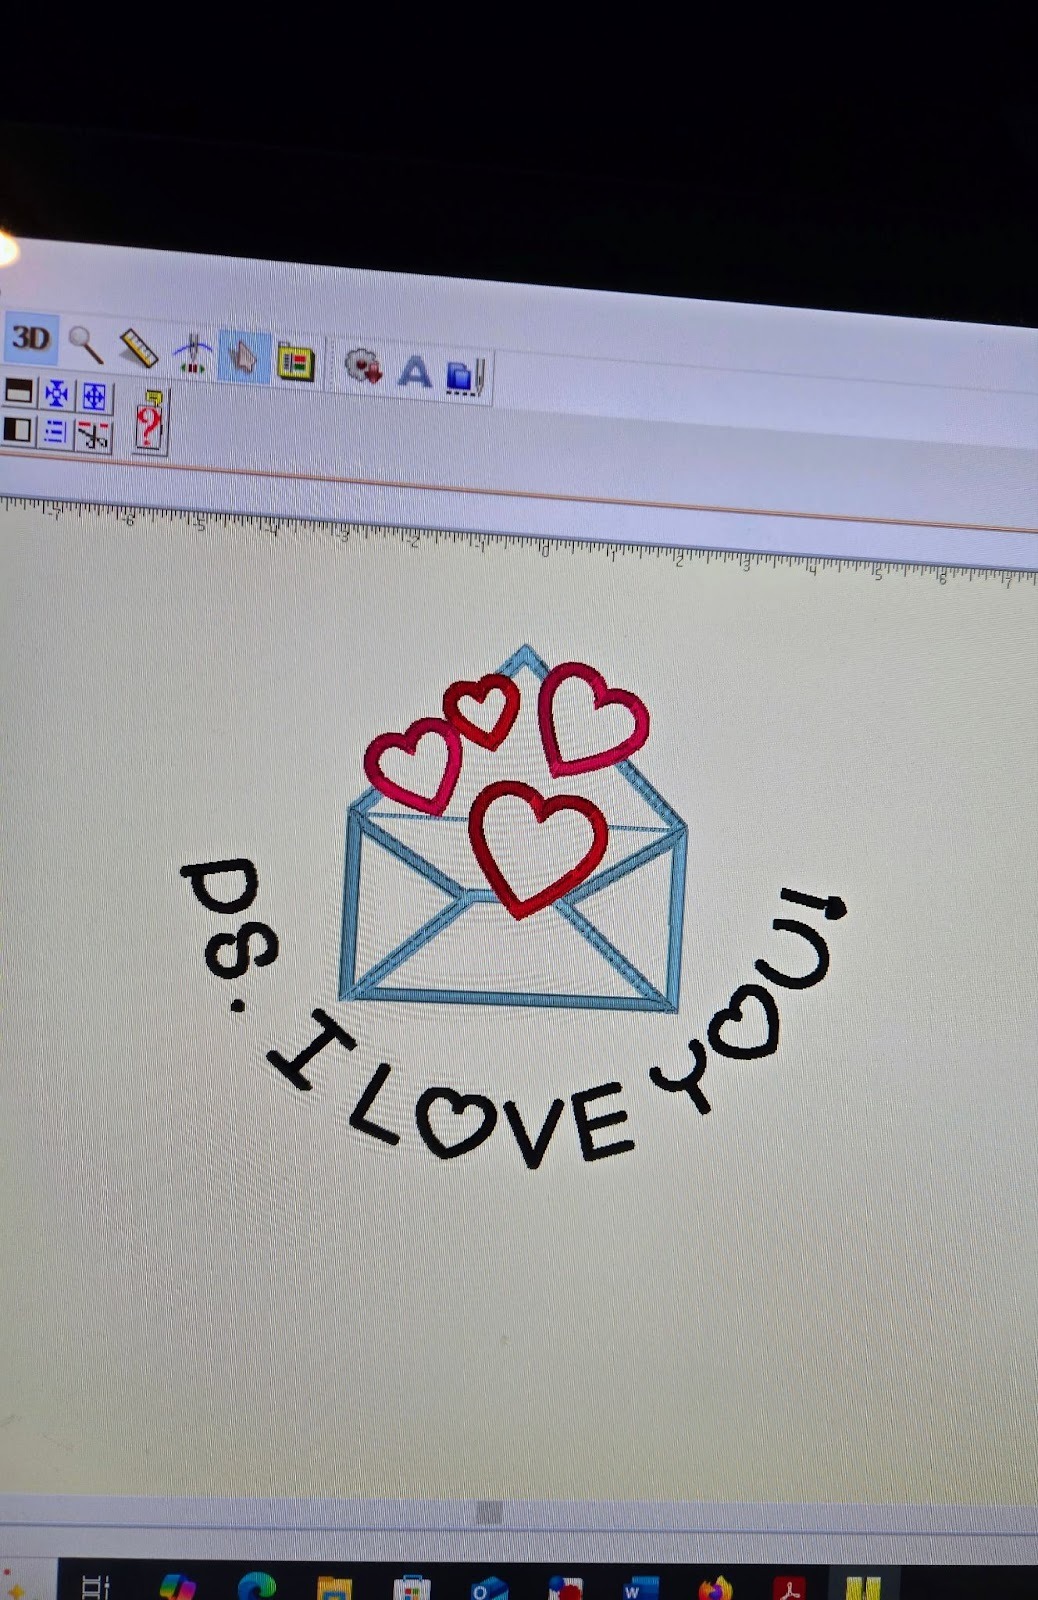
Well, if one is nice, two is better, right? In the first one, I curved the lettering across the top. I wanted to try curving it around the bottom of a design. So I went back to Embrilliance and used the Fool for Love Font and Valentine Envelope Applique.
Load the design, along with your preferred quilting design, onto your USB.

I used the Hearts and Loops End-to-End Quilting Design in my largest hoop again—9.5x14. After it finishes quilting, then embroider the design.
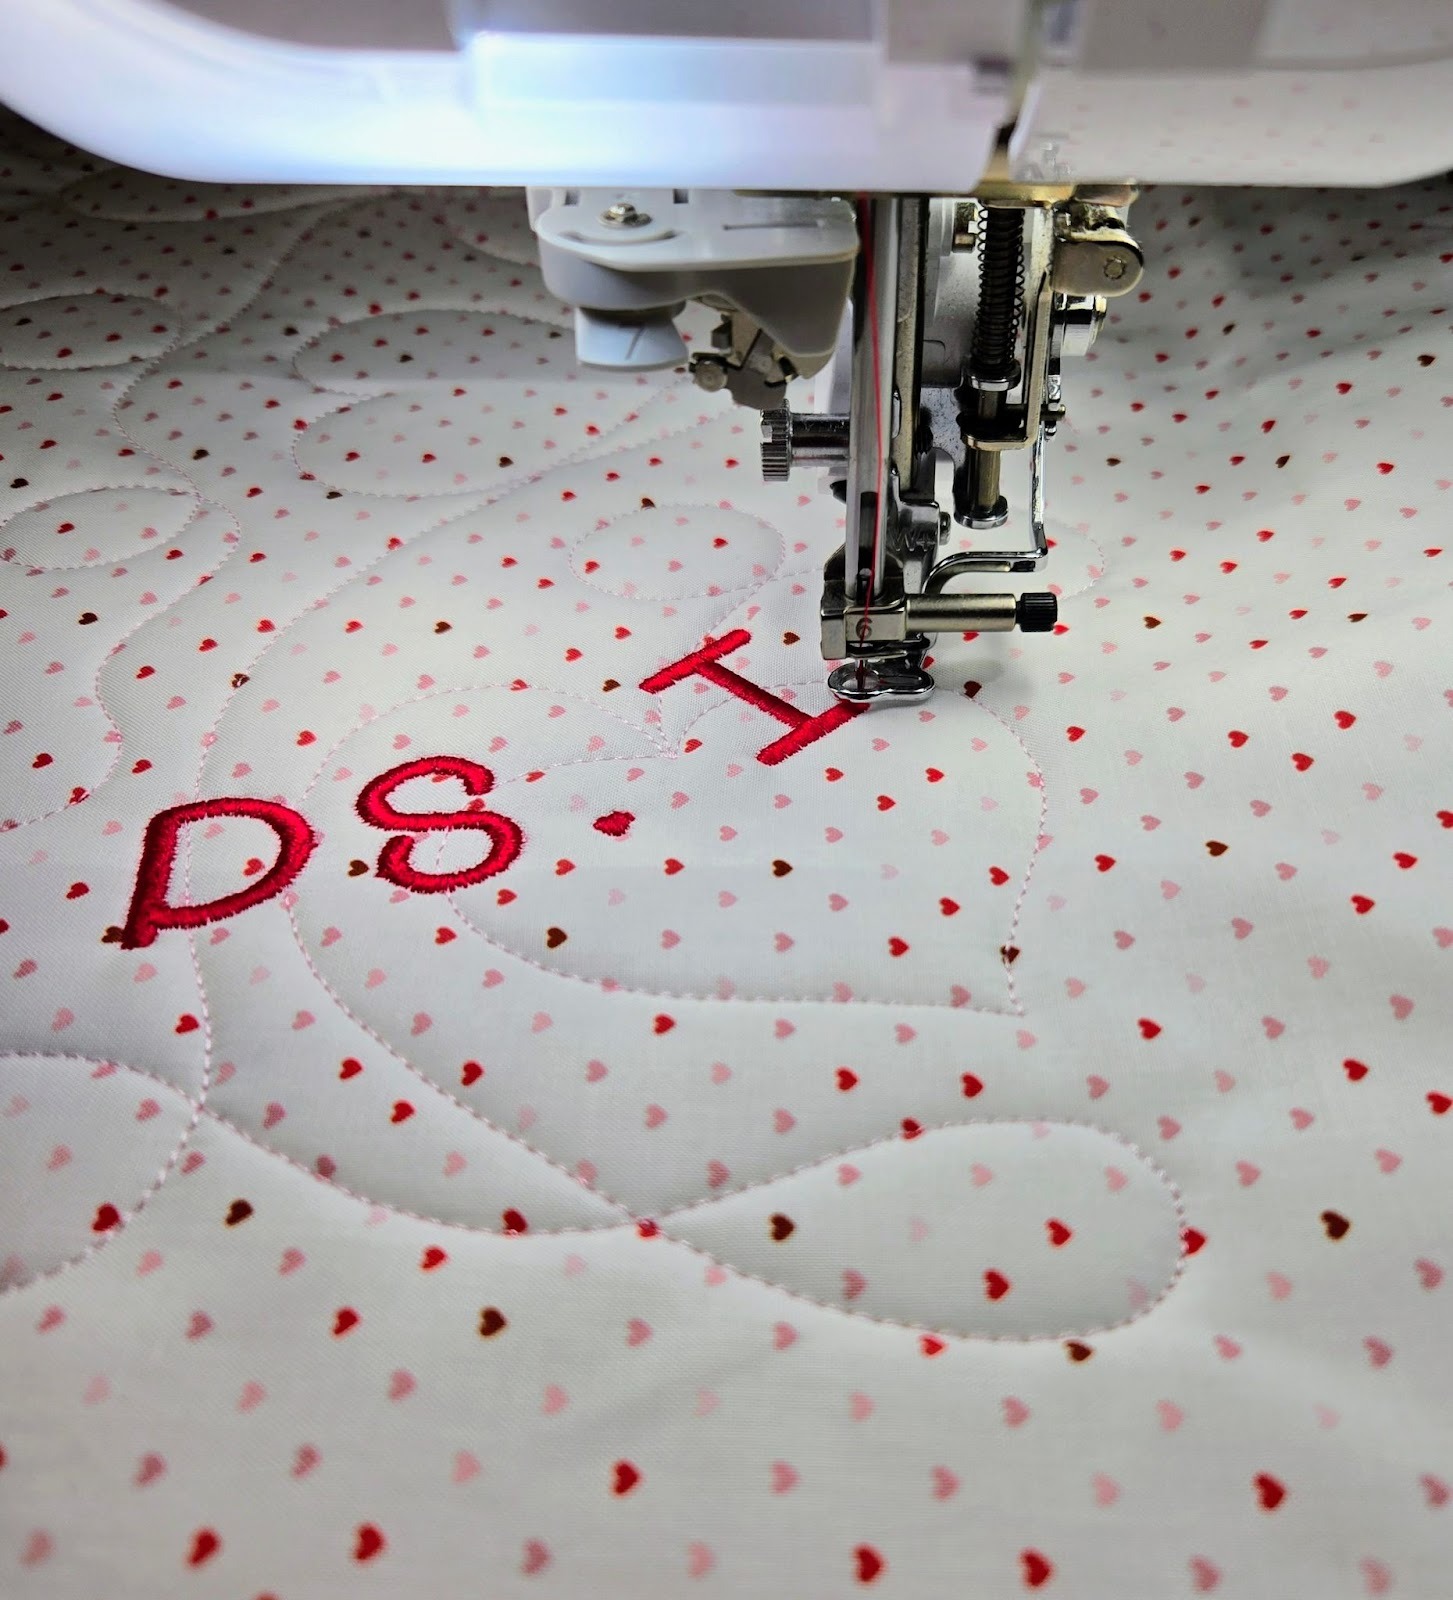
Continue embroidering until you are finished. As you can see, I did change my thread colors from what I had in Embrilliance. Also, I always tighten and loosen my hoops with the little screwdriver that came with my machine. You would be amazed at how a few extra turns tightens your stabilizer so you don’t have any pulling from the sides later!

I trimmed my embroidery 1½” outside the hoop, the same as before. Follow above to zigzag around your circle with the perle cotton. Insert your inner hoop and tighten. Then with a ribbon through the screw holes, add the outer wooden hoop and tie to tighten. Glue the rickrack to the back so part of it peeks out the front. Add the felt and decorative ribbons and you have a second little hoop hanging to enjoy all month long!


I hope you enjoyed this little project and you will make a few too! Please be sure to share your projects in the Designs by JuJu Embroidery Blessings Facebook Group, or use the hashtag #designsbyjuju anywhere on social media. We all love to see what you create!
