Toggle Nav
 Inspire.
Create.
Stitch.
Inspire.
Create.
Stitch.
Search
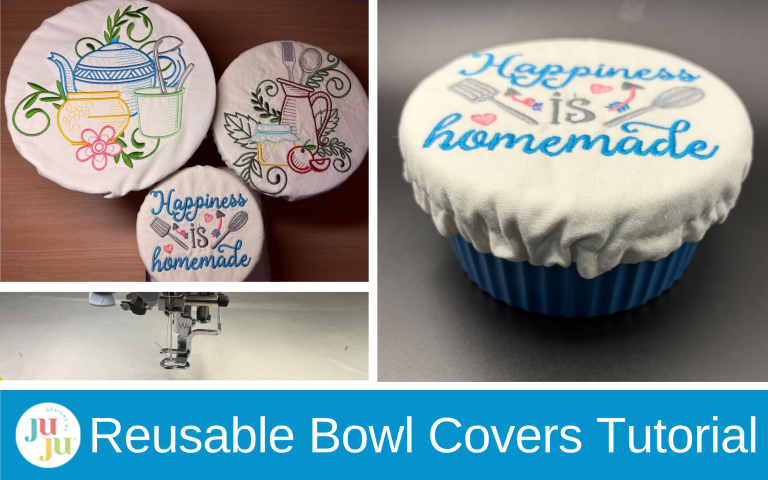
Stitch up some eco-friendly charm—these reusable bowl covers are cute, practical, and so easy to make!
Create your own washable, reusable bowl covers that are perfect for picnics, leftovers, or simply adding a touch of handmade charm to your kitchen. They’re easy to size for any bowl, and even more fun to personalize with your favorite embroidery designs. With just a few basic supplies, you can stitch up something practical, cute, and wonderfully eco-friendly for everyday use.
Check out the DBJJ team’s favorite supplies in the Designs by JuJu Amazon store, and visit Designs by JuJu+ for quality stabilizers and batting.
You can make these reusable covers for bowls of any size. However, if your circle is smaller than 4”, it may be more difficult to sew and turn the casing. I recommend starting with bowls that are 4” or larger.

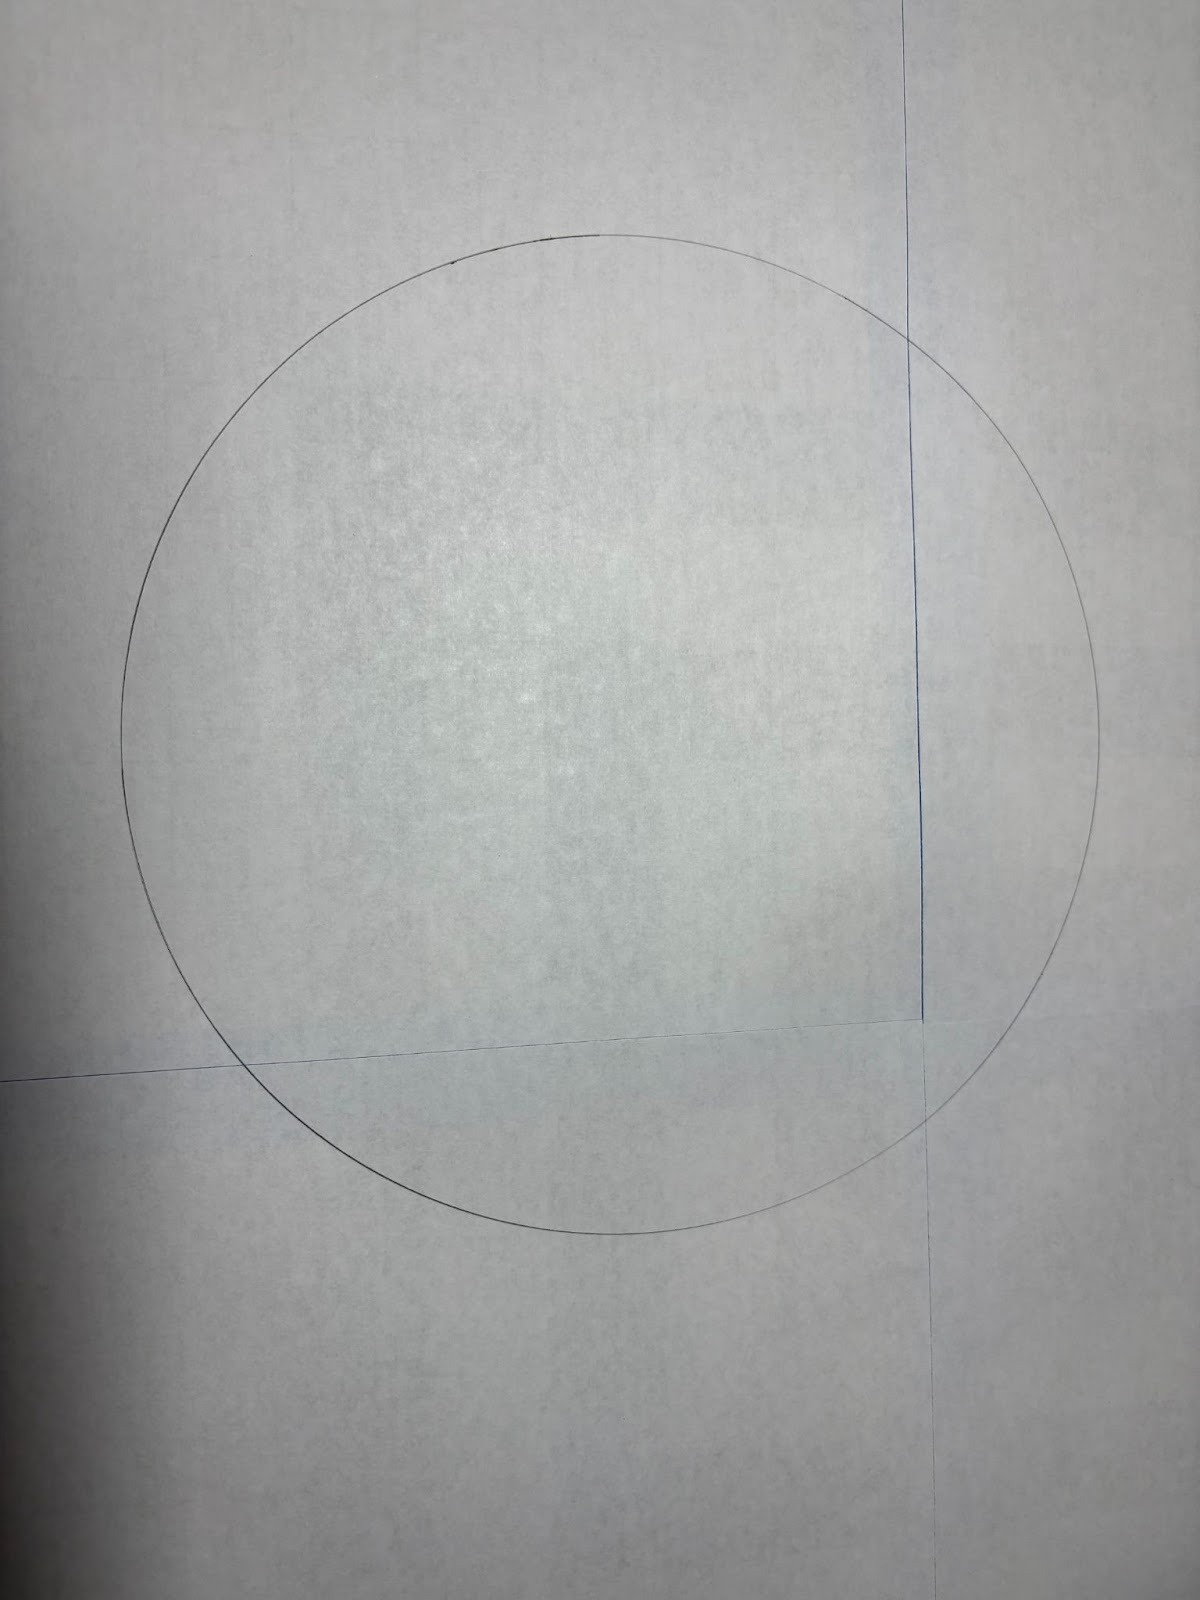
Place your bowl upside down on a sheet of paper and trace around the rim.

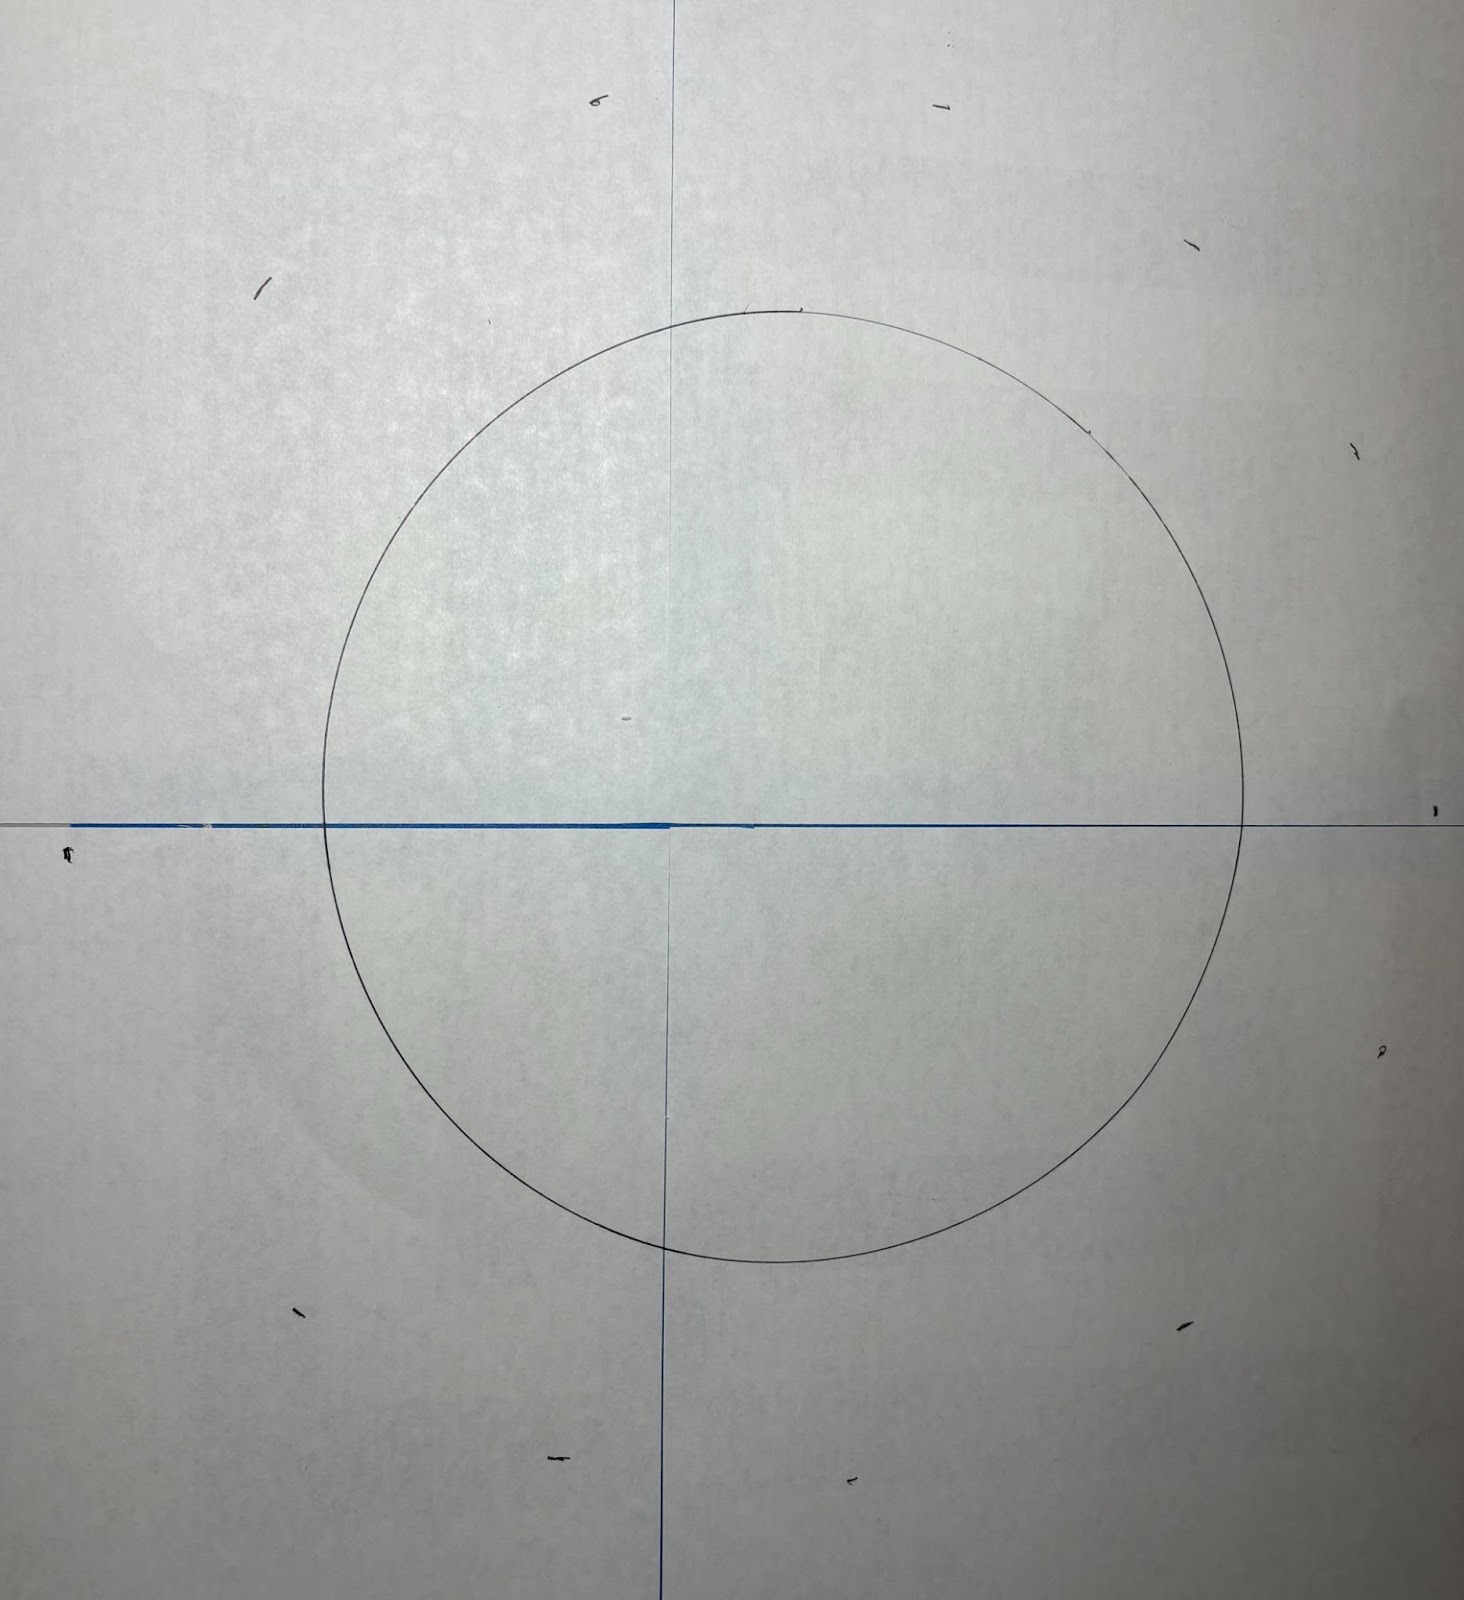
Remove the bowl, then use a ruler to measure 2” out from your traced line all the way around. These extra inches will become your seam allowance and casing for the elastic.
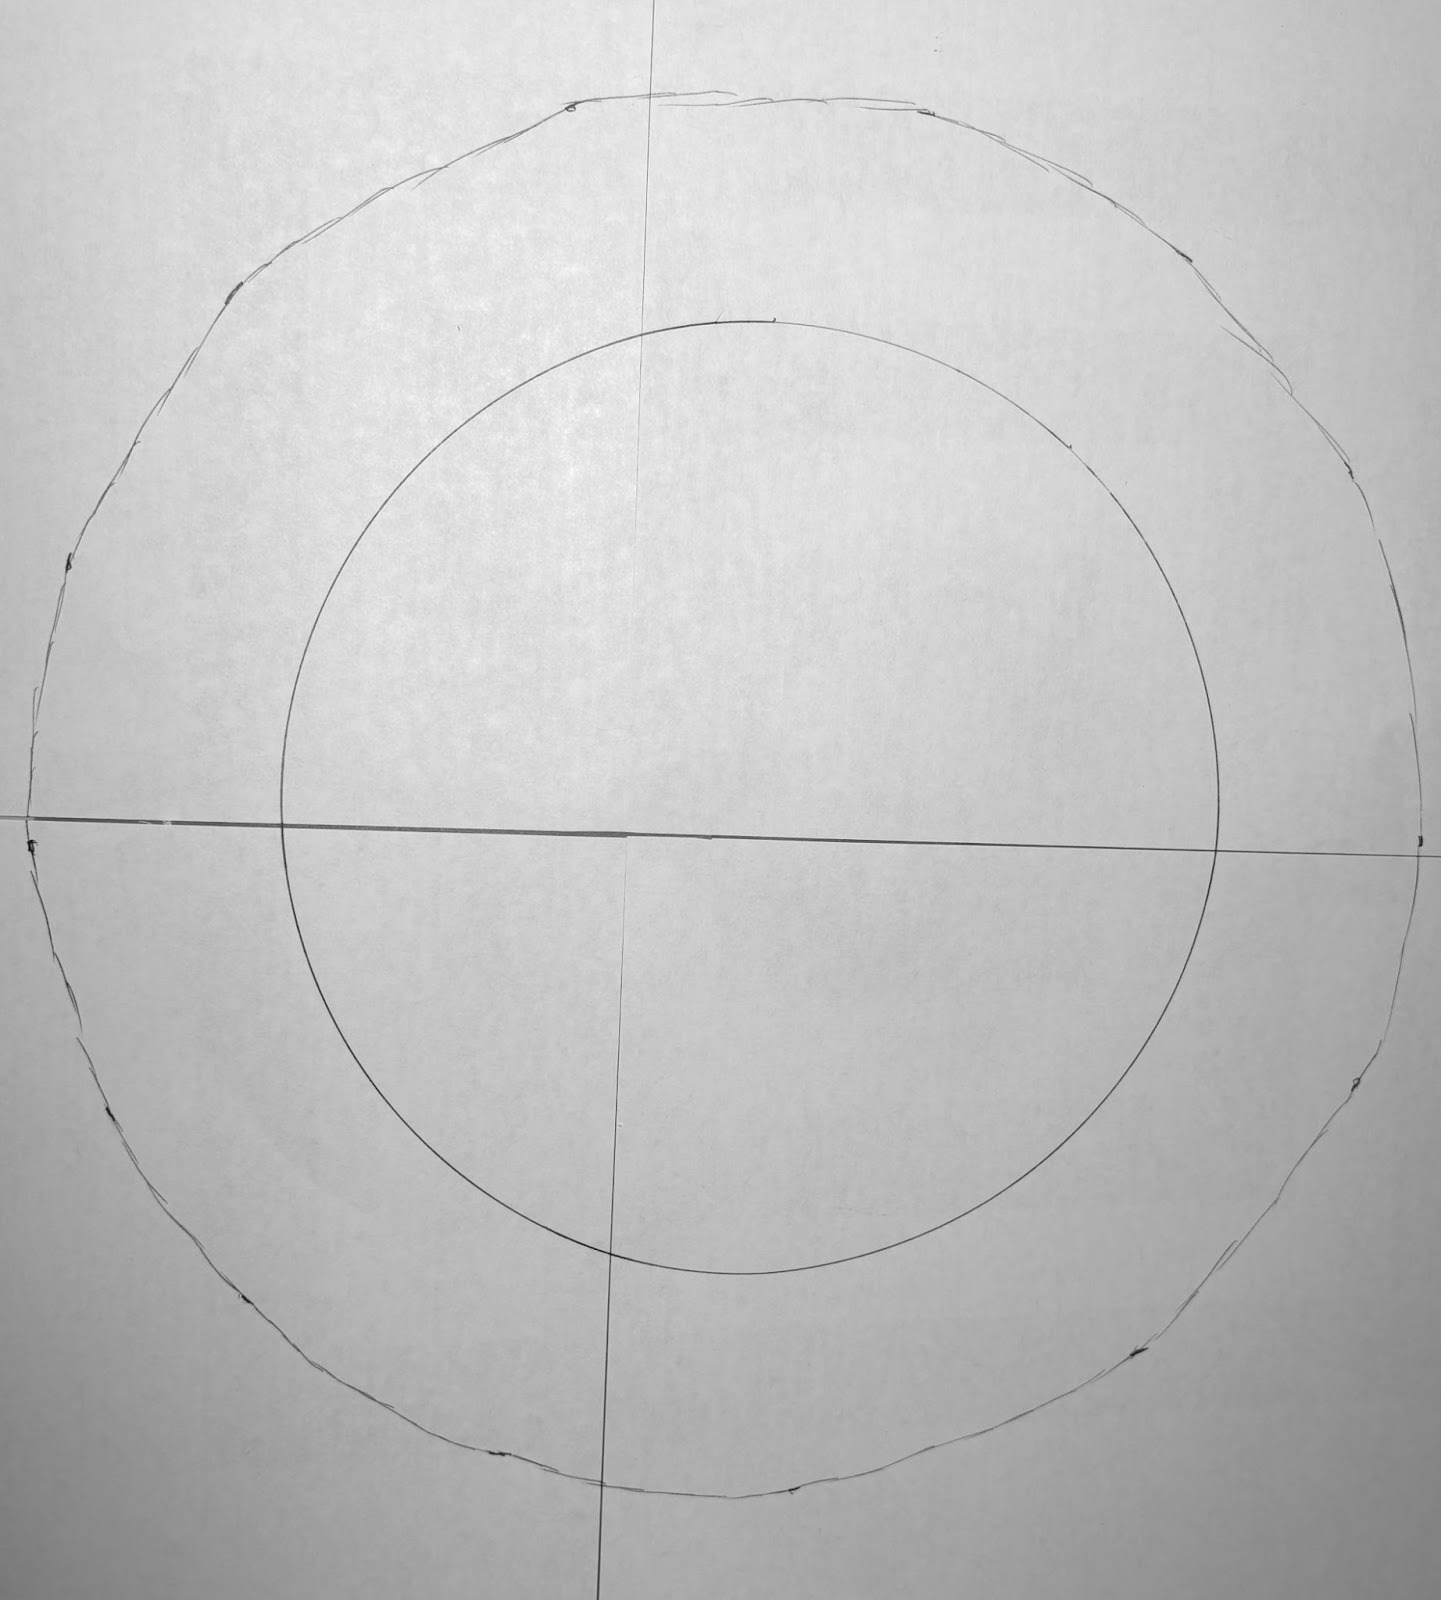
Connect the marks to form your outer circle. (You could also use a compass if you have one big enough.) Cut out the pattern along the outer circle. Your paper circle is now ready to use as your cutting template.
Start by washing, drying, and pressing your fabric to remove any wrinkles or shrinkage.
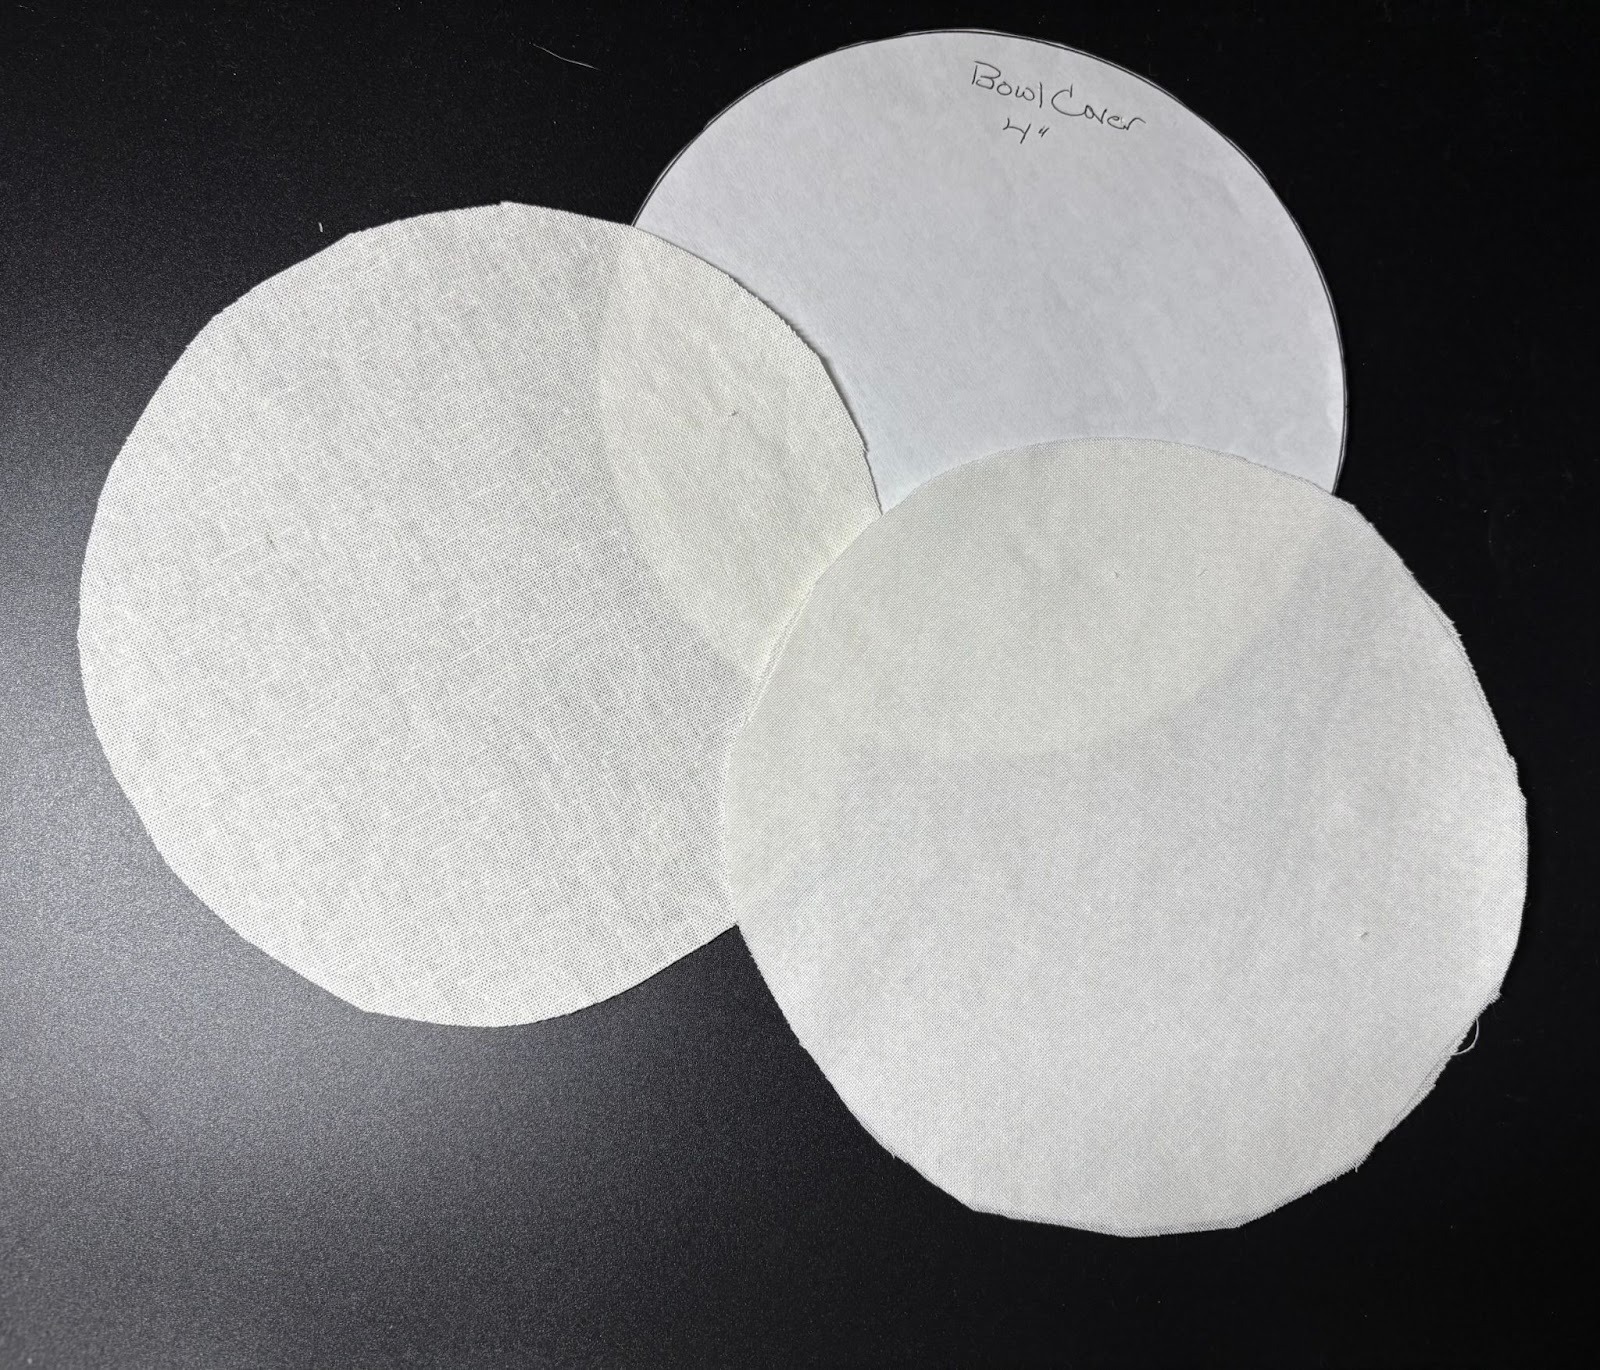
If you’re using the same fabric for both the top and the lining, fold the fabric in half before cutting. Pin your paper pattern to the fabric and cut out two identical circles, one for the top and one for the lining.
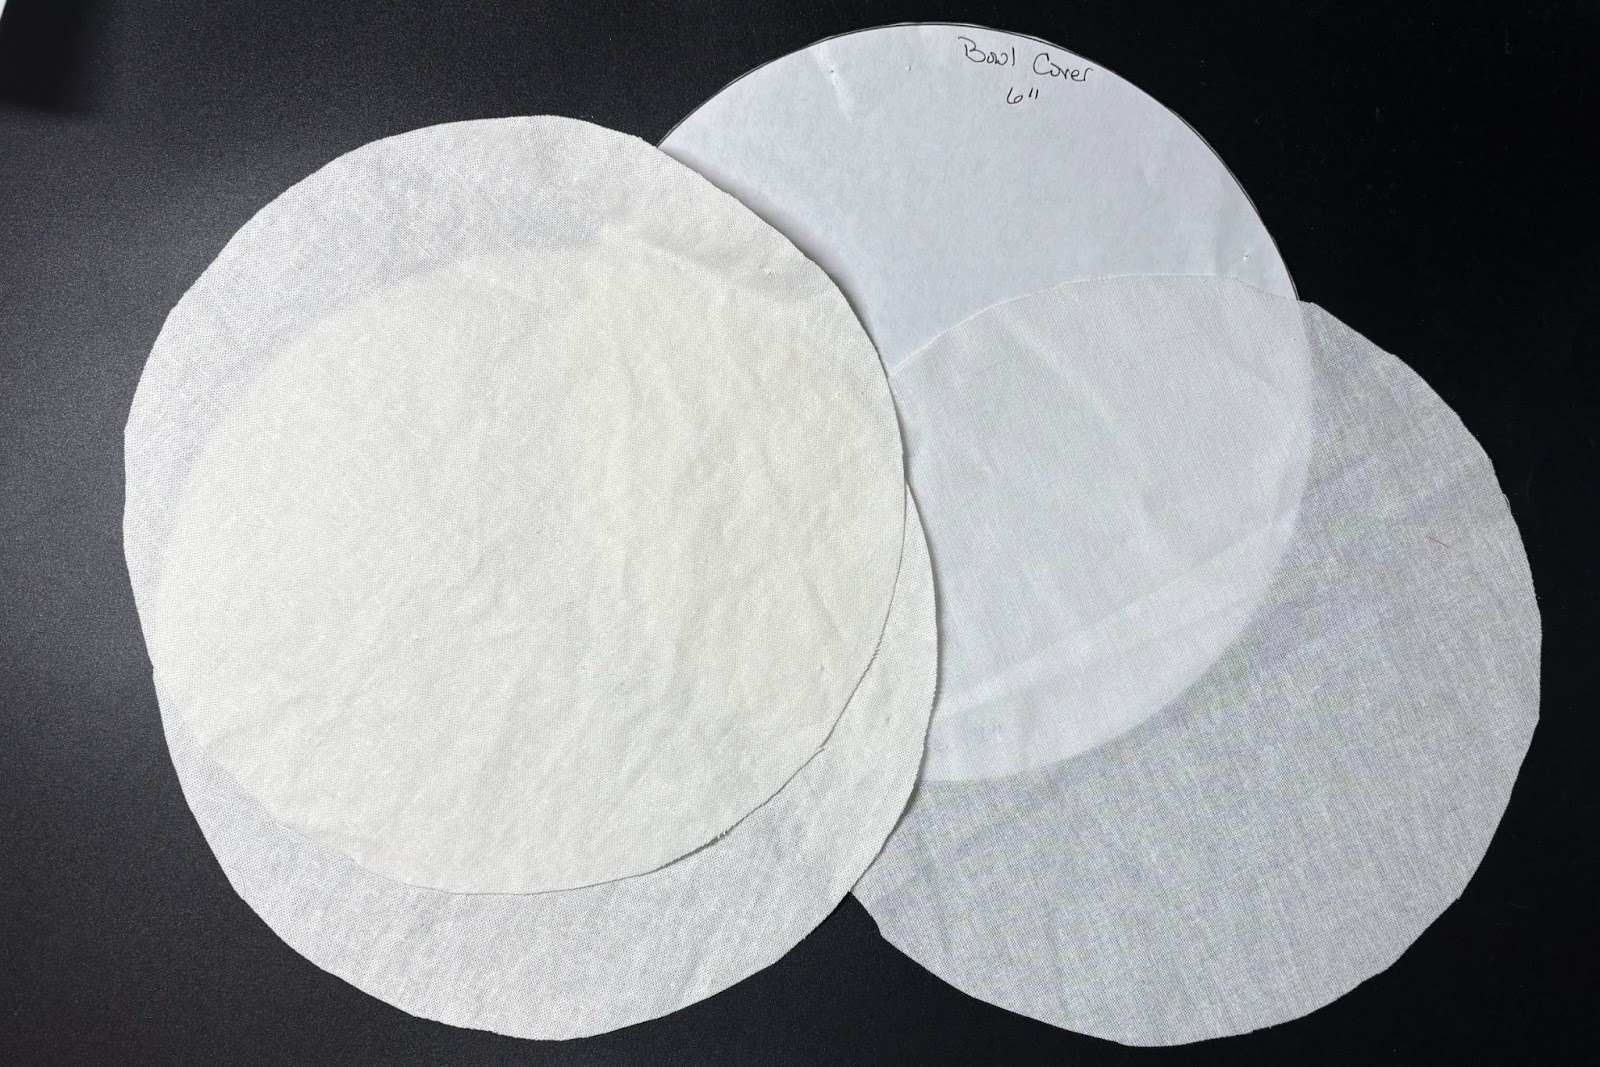
For best results, cut a third circle from SF101 interfacing. This will be fused to the back of the top fabric to add stability and help prevent puckering during embroidery. Fuse the SF101 to the wrong side of your top fabric following the manufacturer’s instructions.
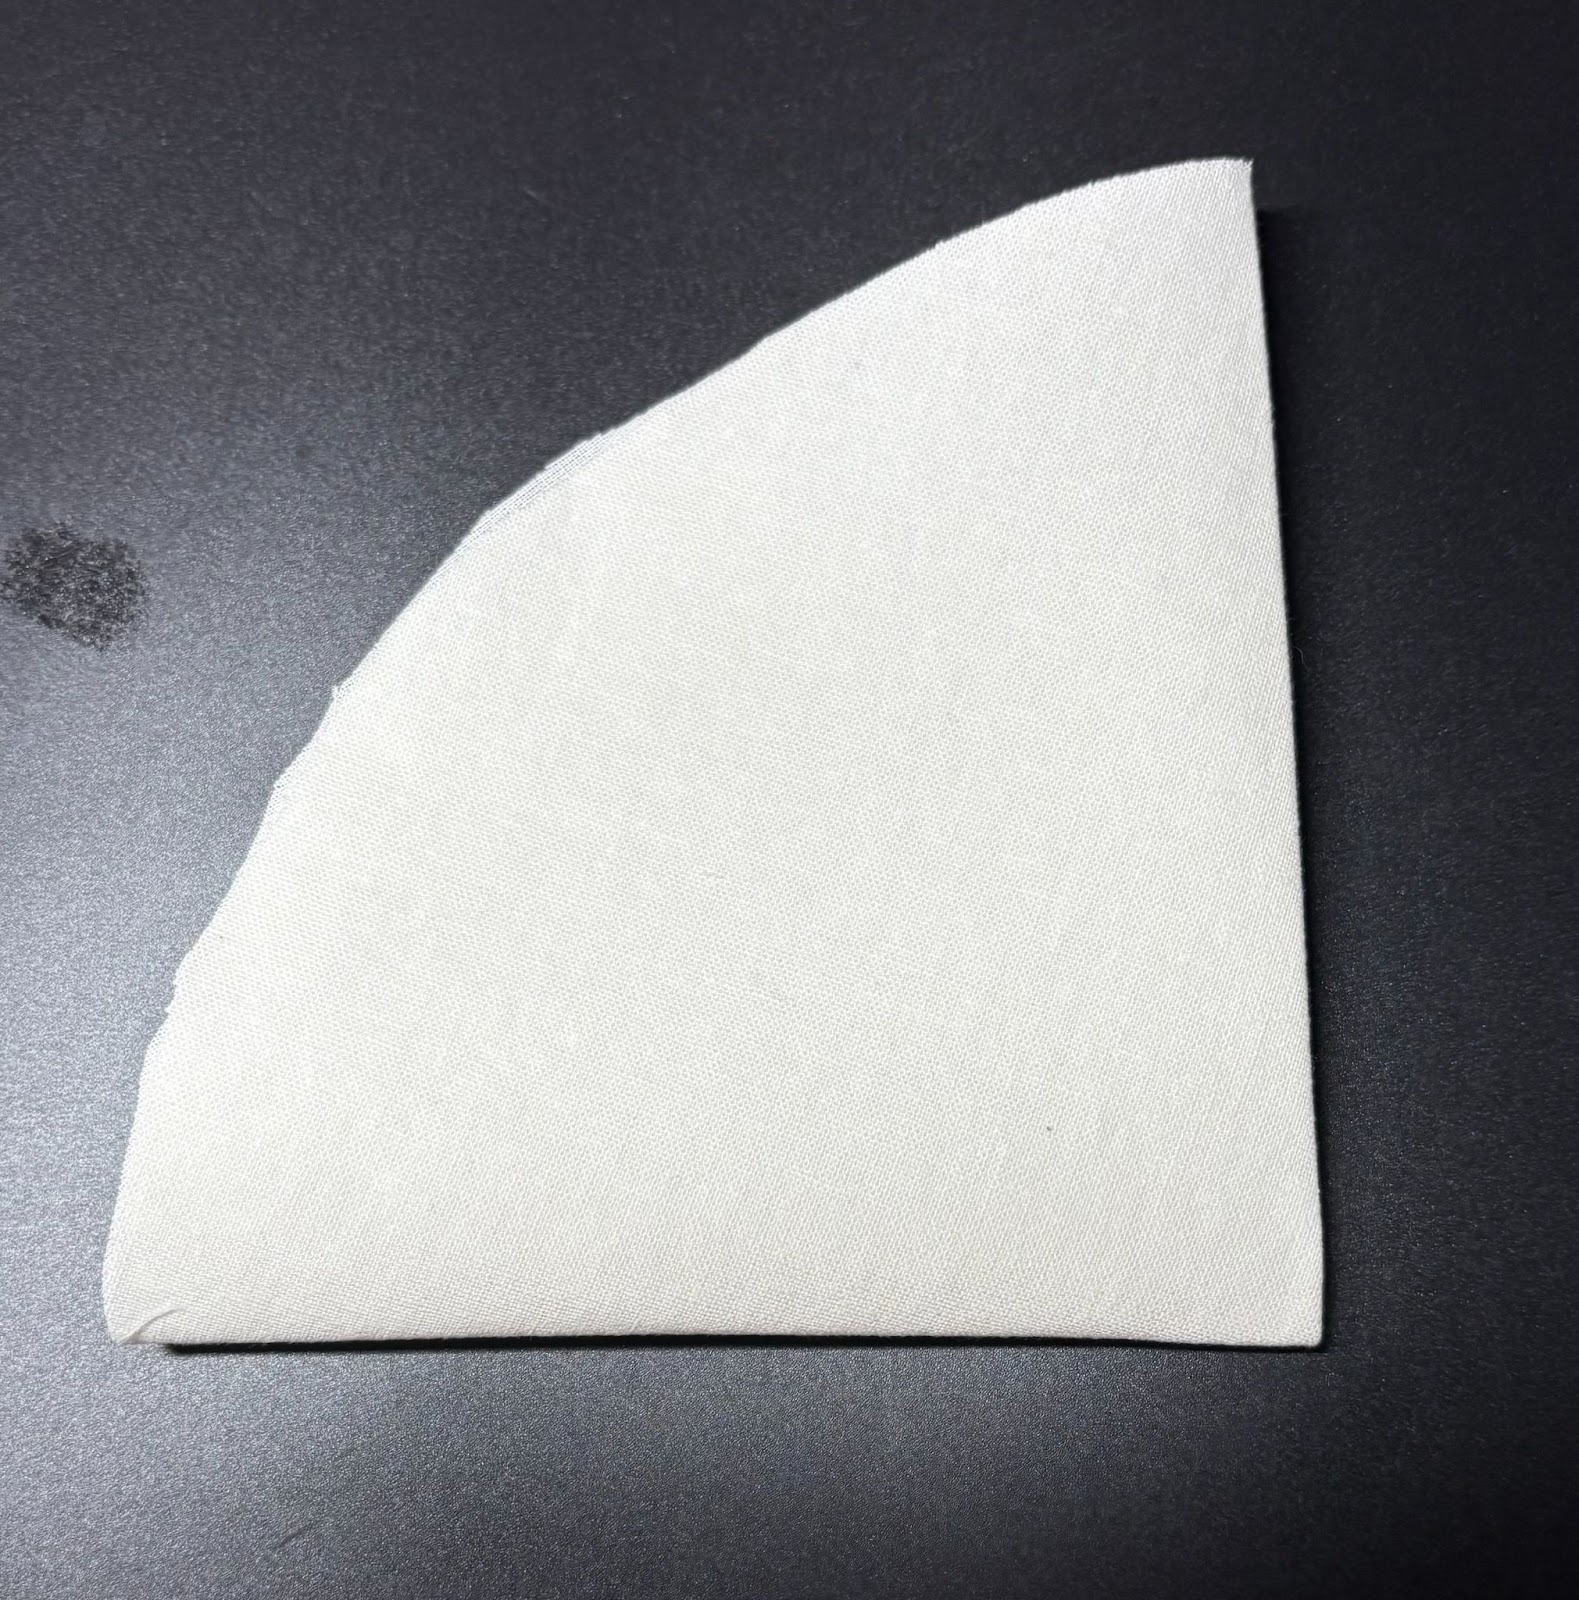
Next, fold your top fabric in quarters to find the center.
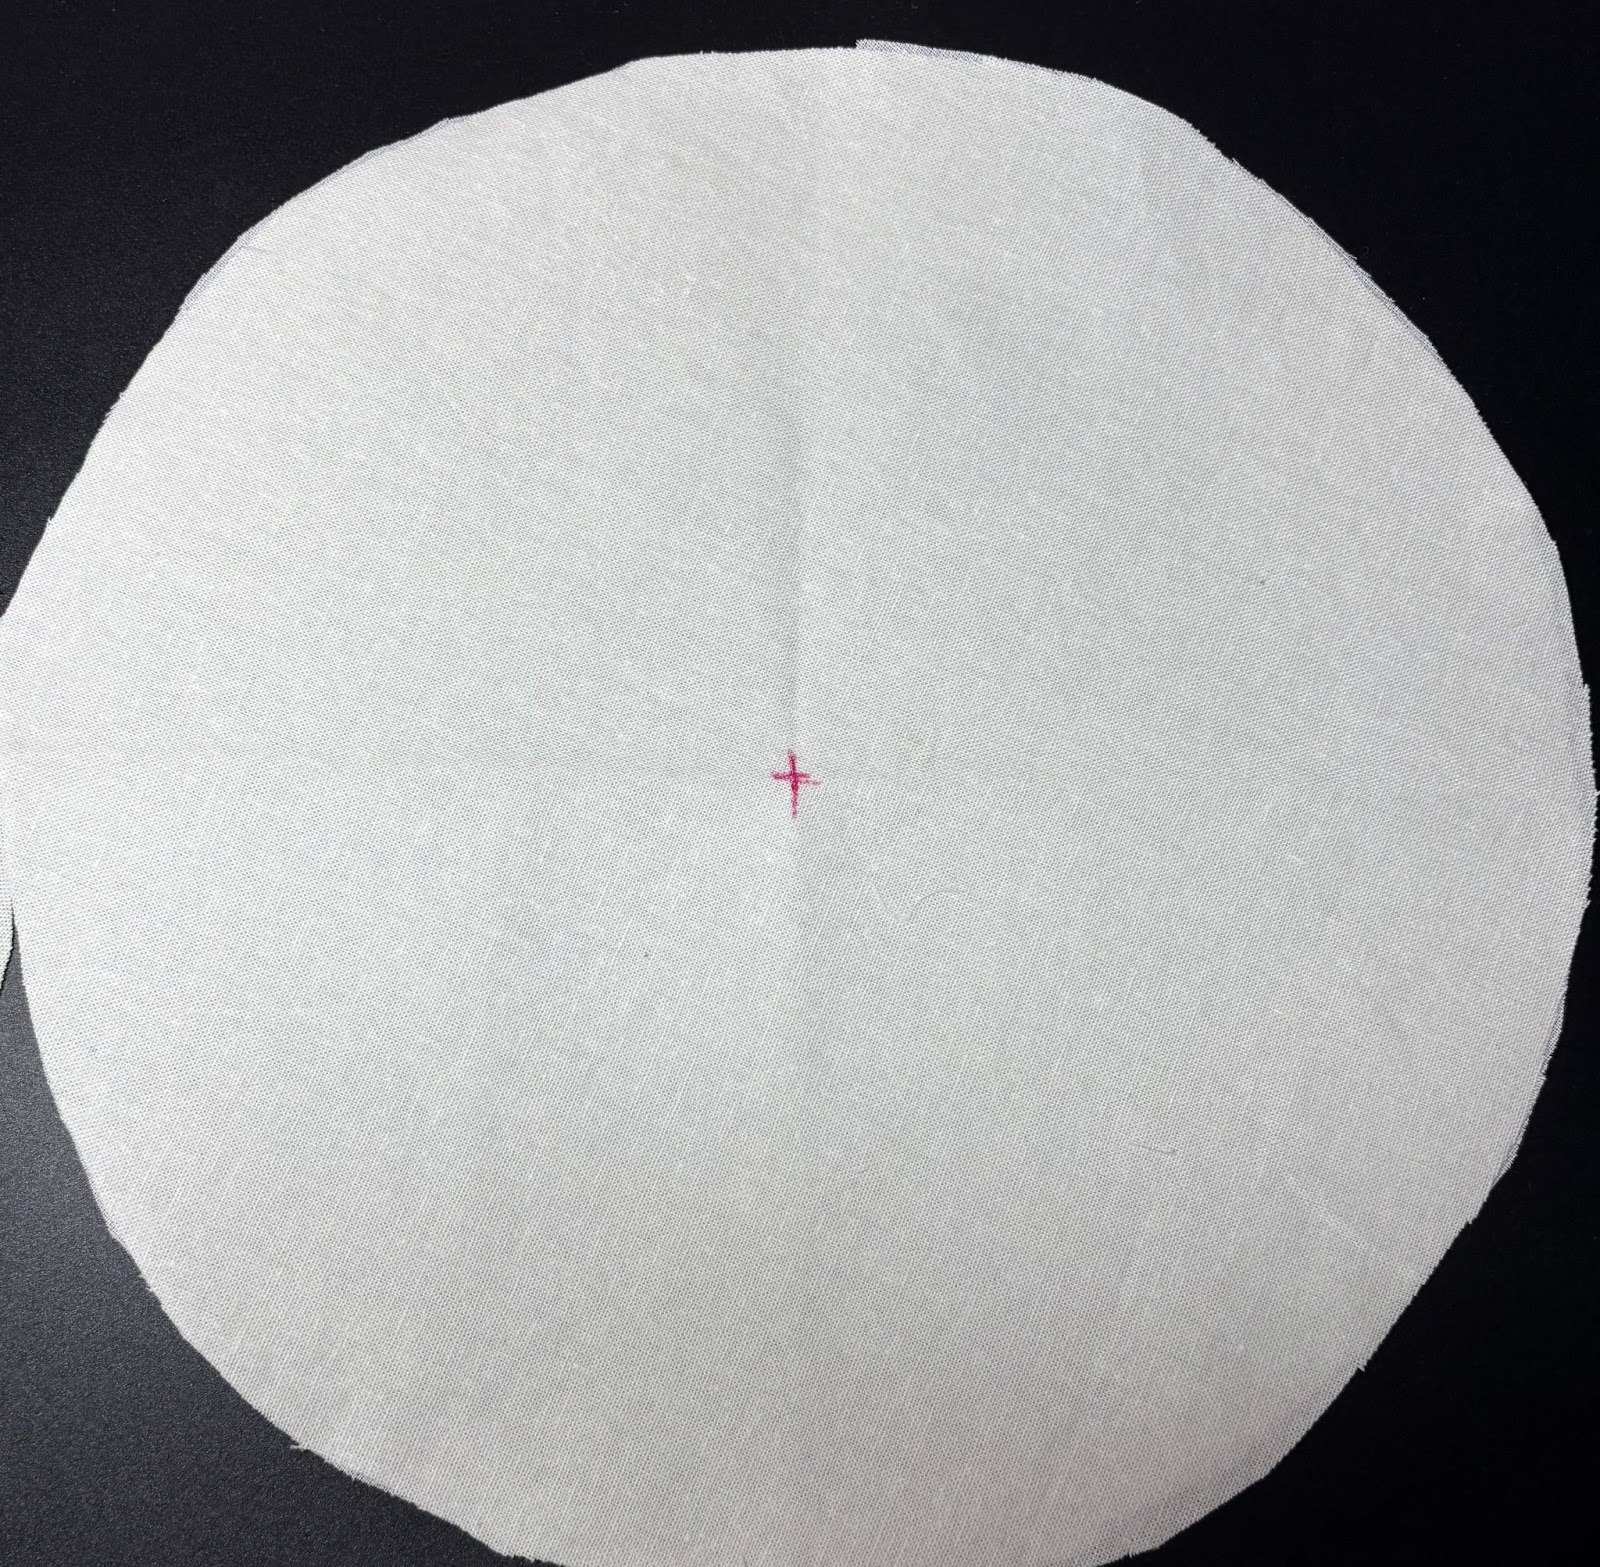
Mark the center point with an erasable fabric pen. This will help you perfectly align your embroidery design in the next step.
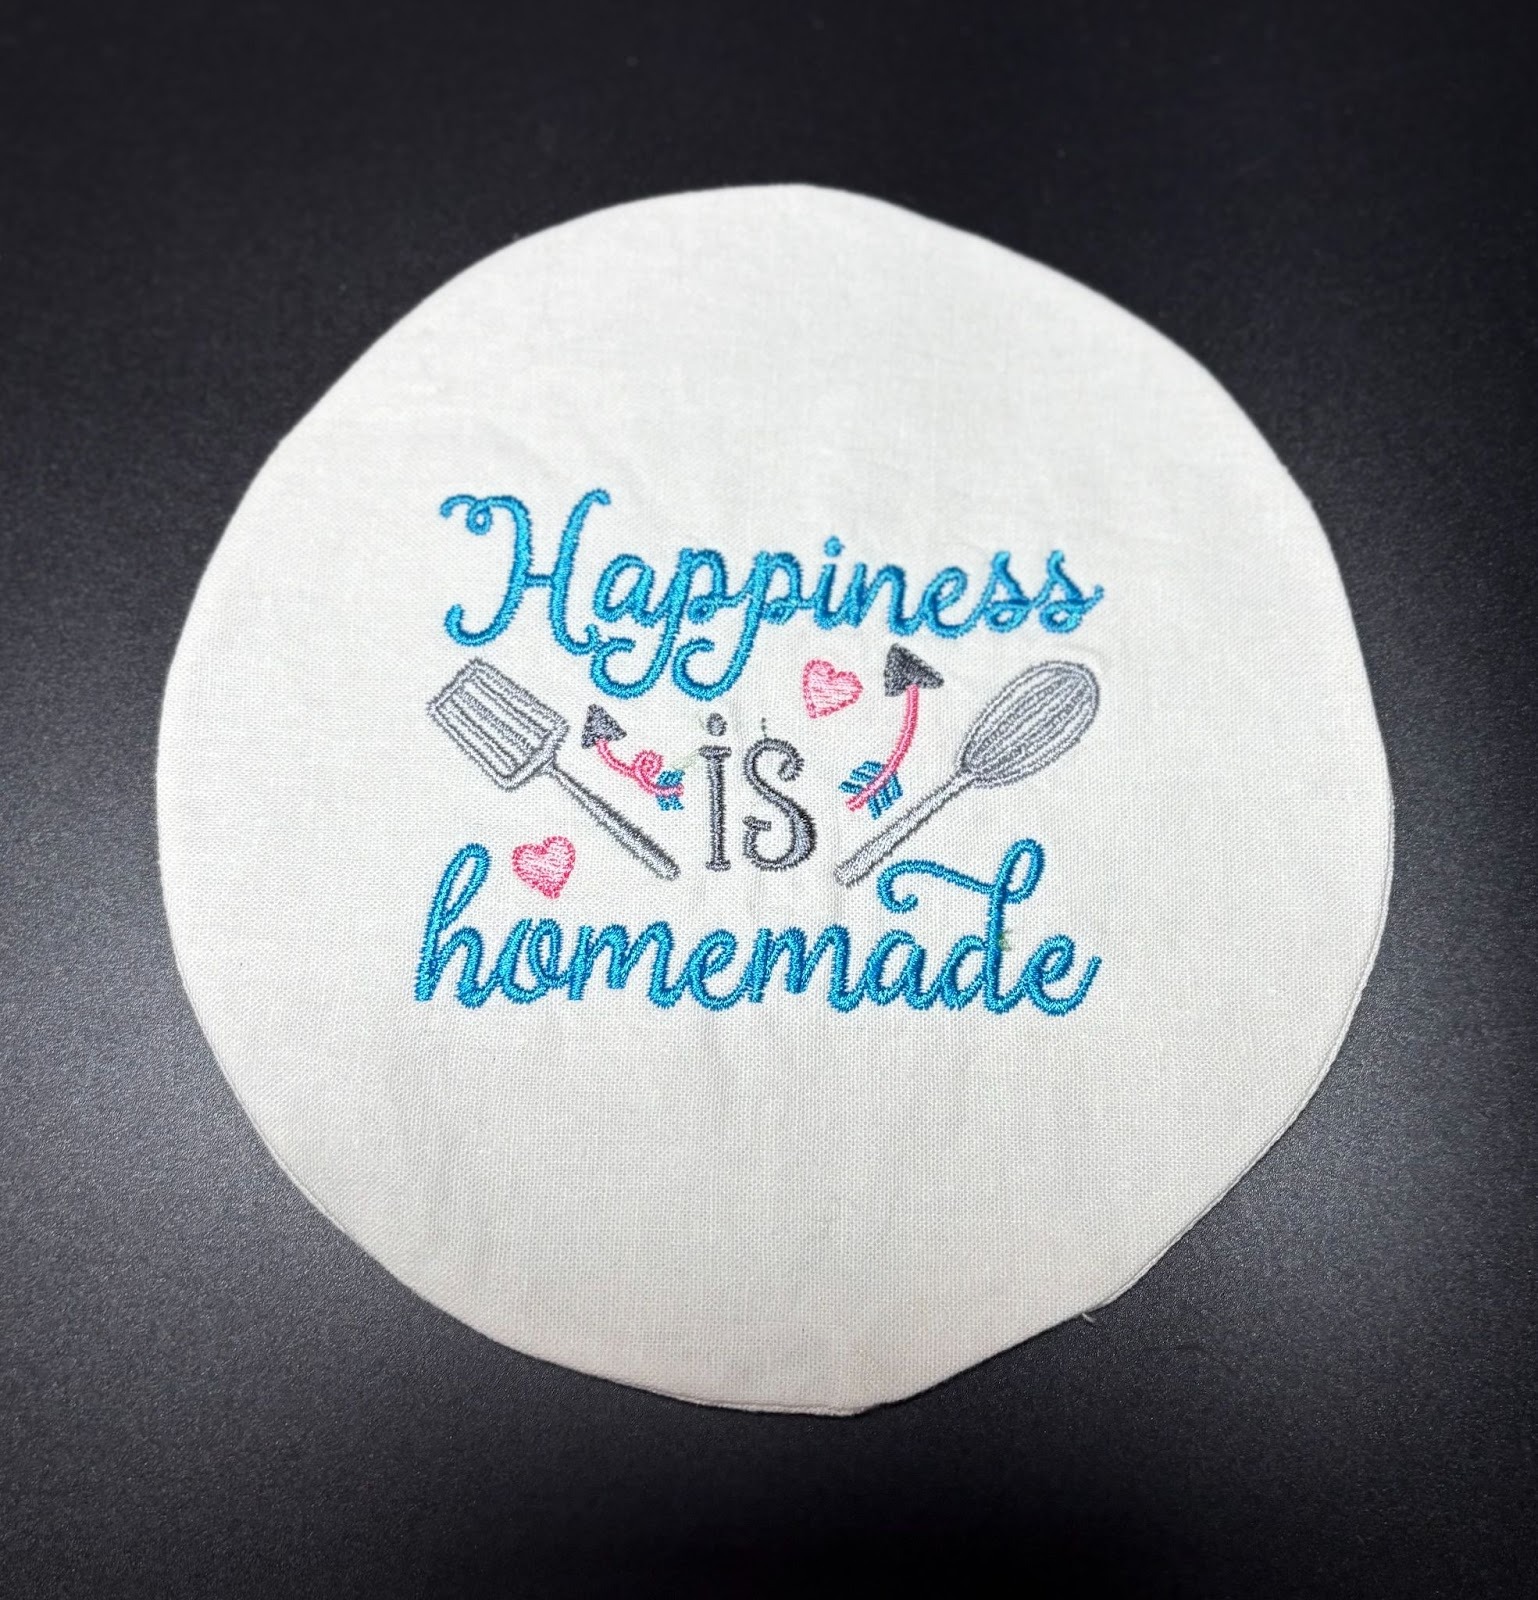
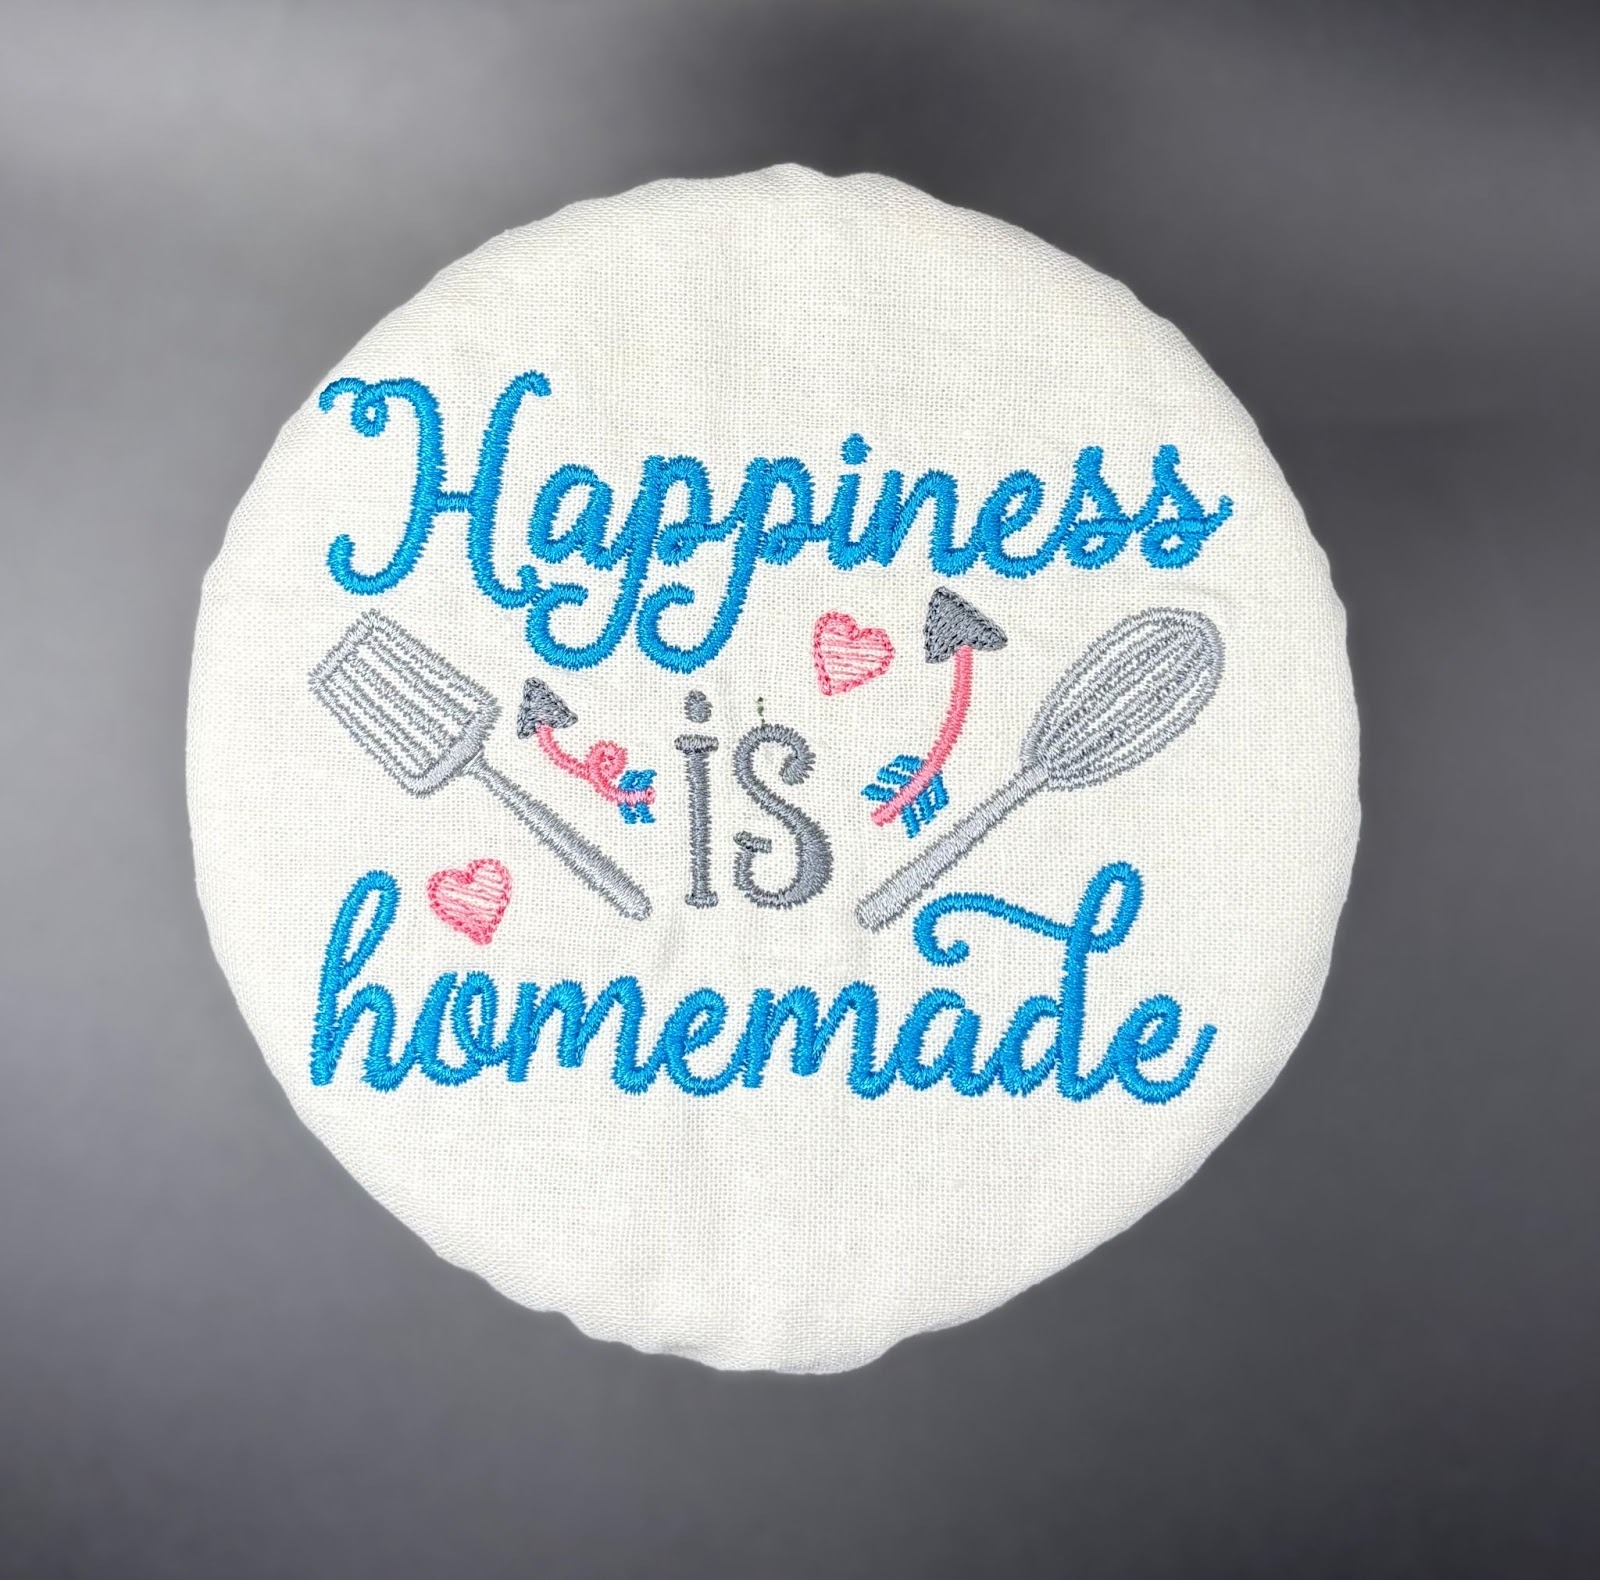
Now for the fun part—choosing your design! Pick an embroidery design you’d love to feature on the top of your bowl cover. Designs by JuJu offers a wonderful variety, so you’re sure to find one that fits your style. For my bowls I used Happiness Is Homemade Embroidery, Floral Swirly Kitchen 1 and Floral Swirly Kitchen 3. These swirly designs are so cute and there are so many to choose from.
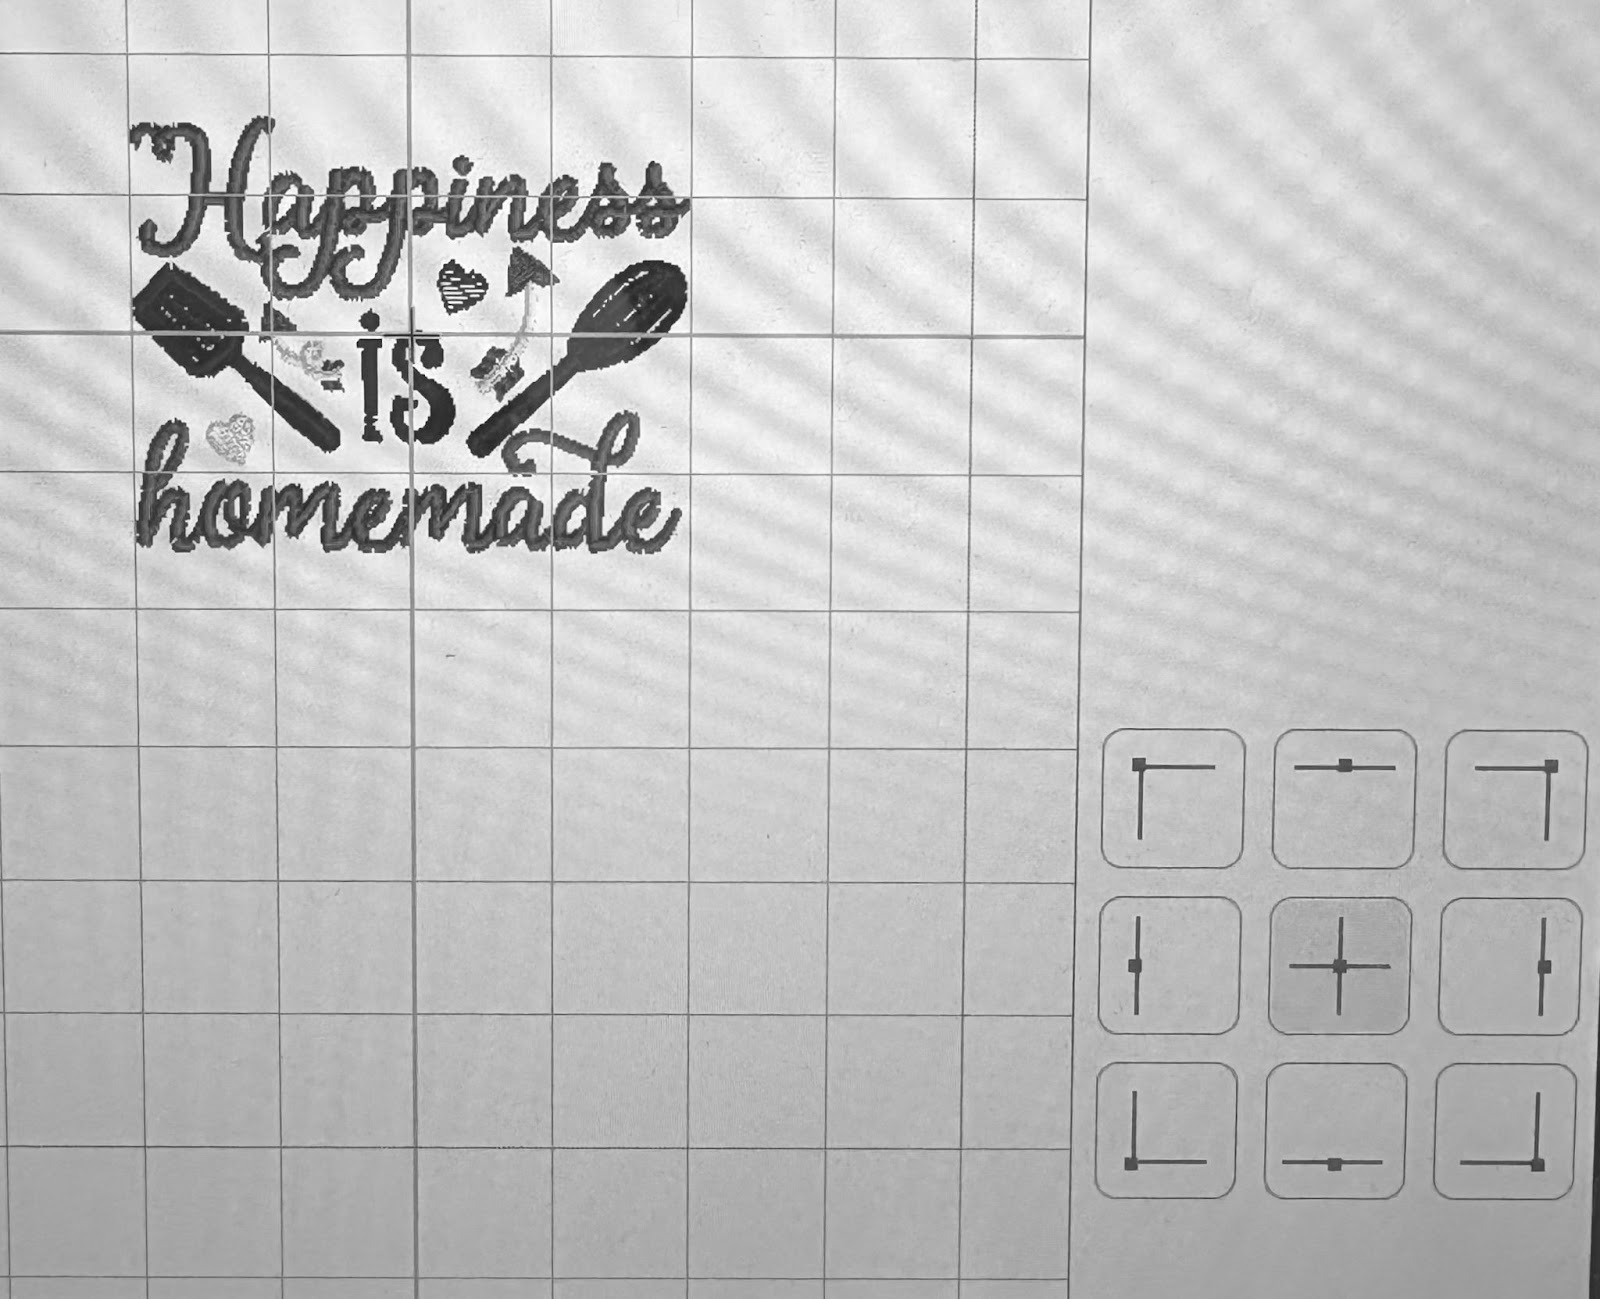
Load your chosen design onto your embroidery machine. Using the Design Placement keys, find the center of your design. My machine is a Brother Stellaire; your screen may look different.

Hoop a piece of wash-away stabilizer and place it in your machine.
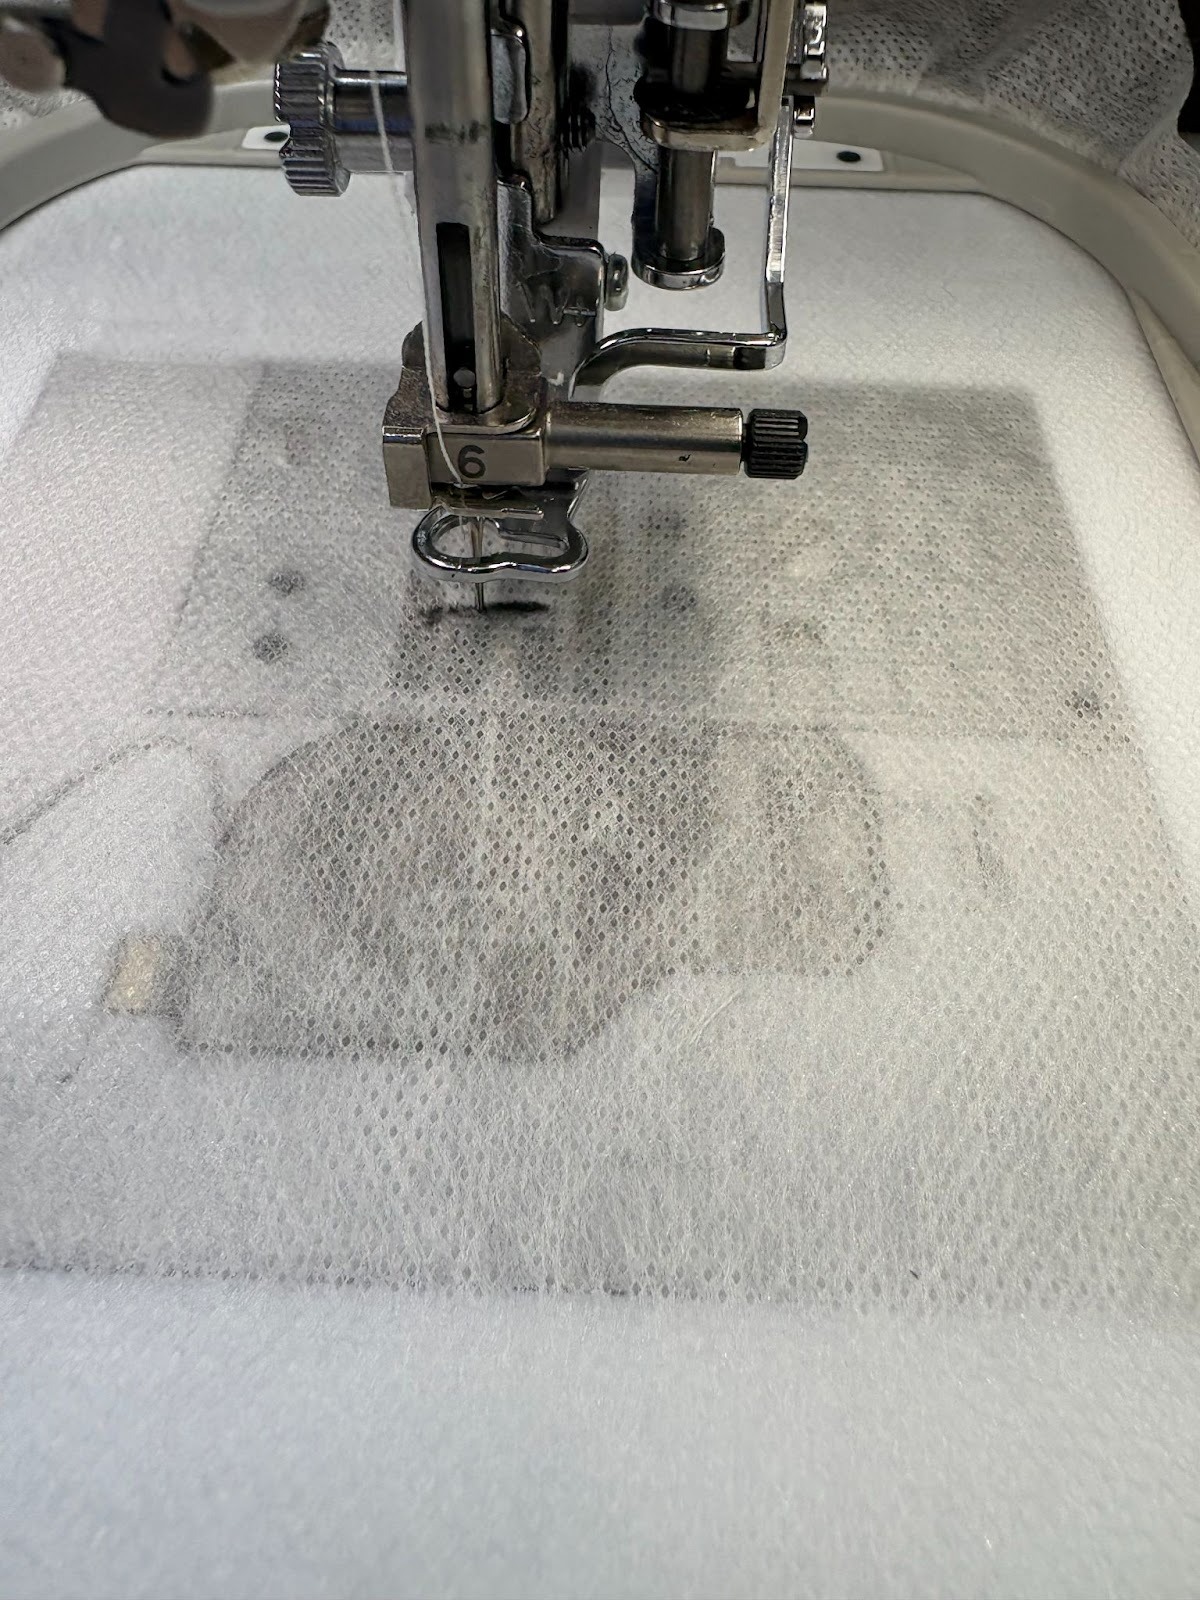
Use the Needle Down key to mark the center of the design onto the stabilizer, then remove the hoop and place it on a flat surface.

Match the center of your fabric with the center mark on the stabilizer.
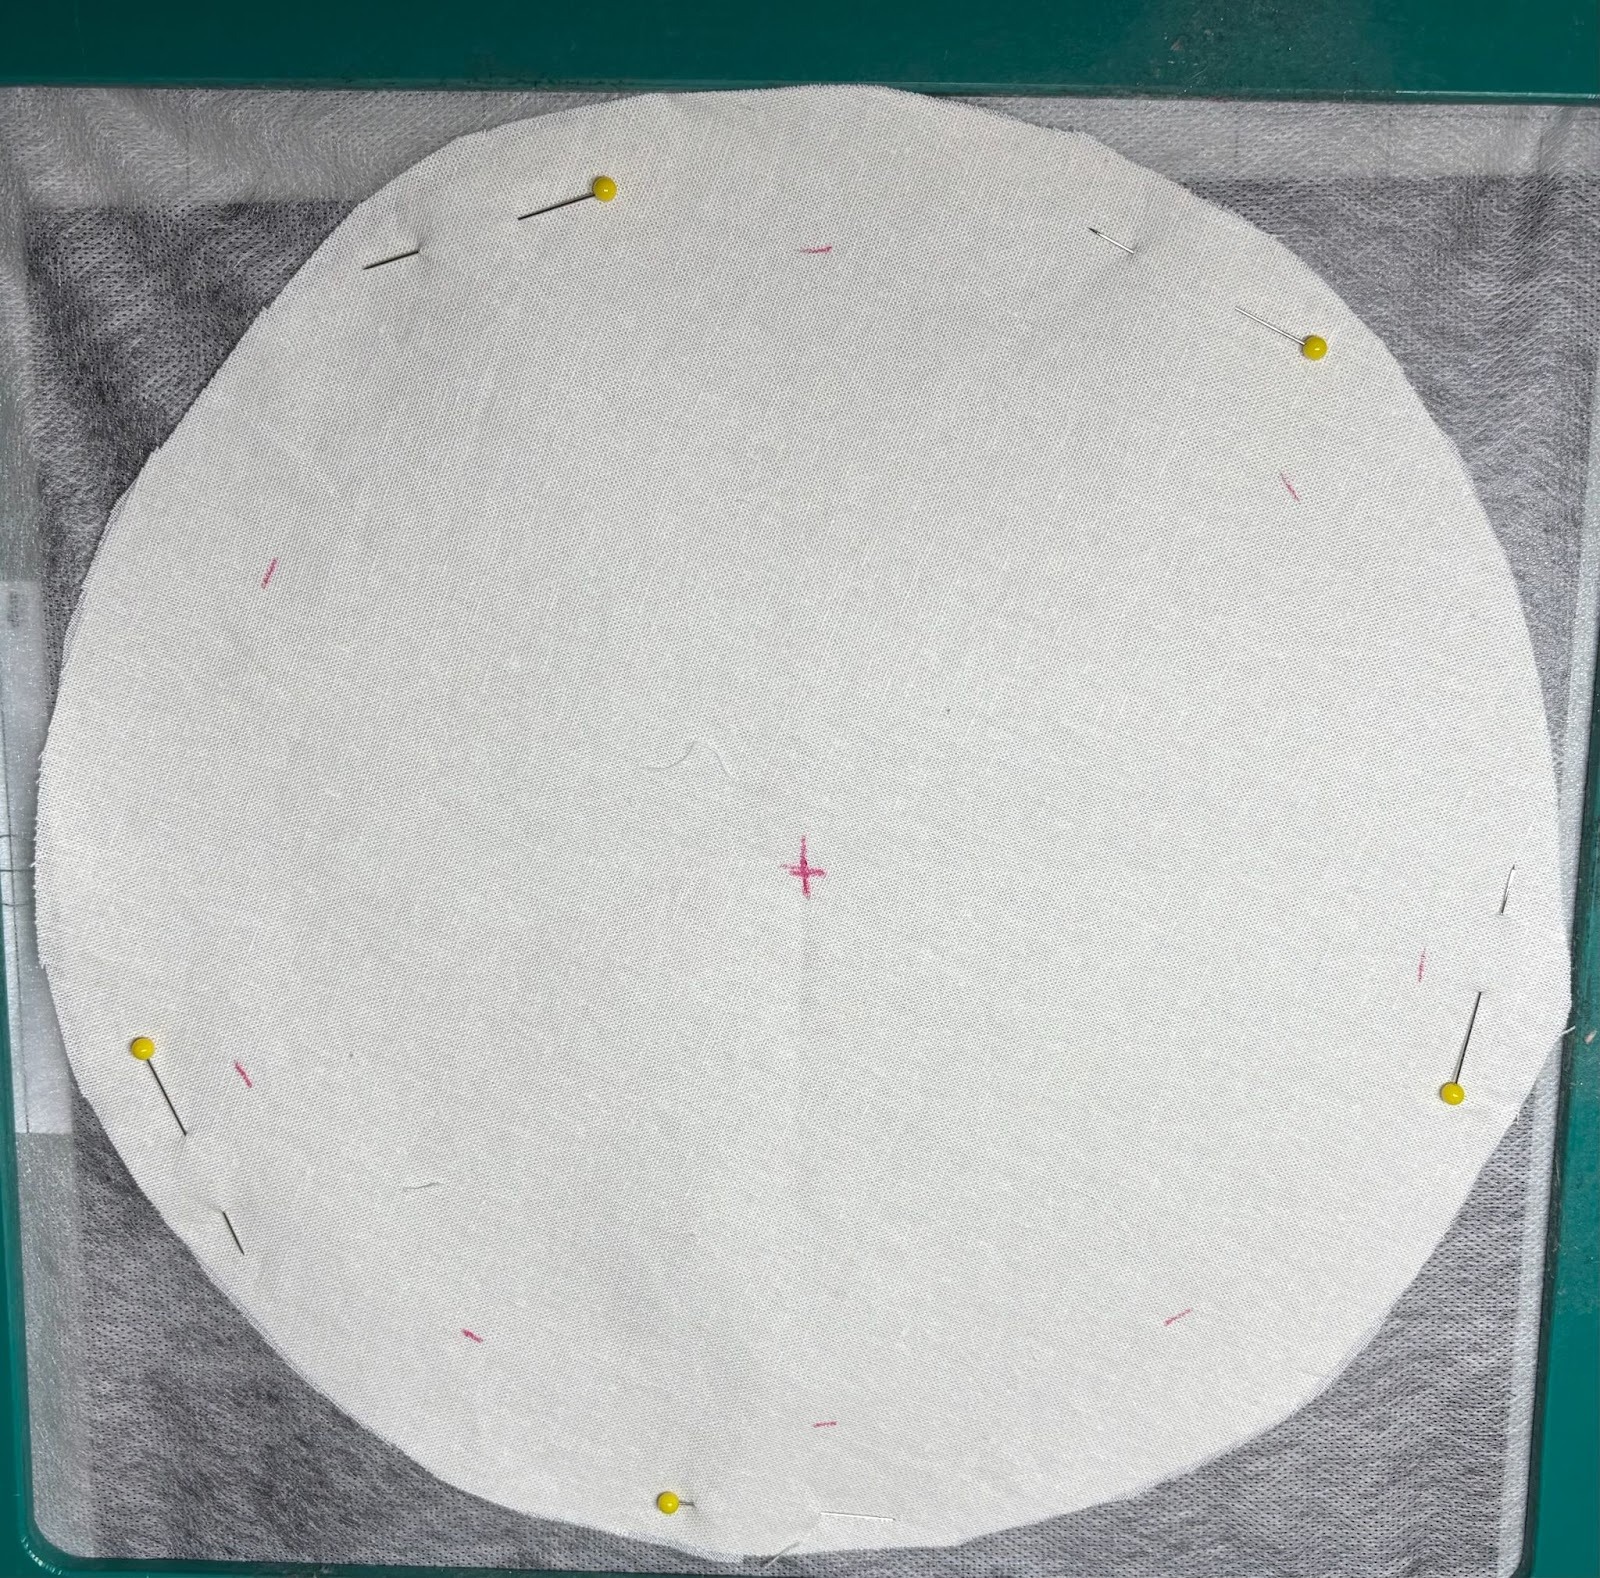
Pin the fabric to the stabilizer. Remember to keep the pins out of the embroidery area. You can also use a fabric basting spray to hold your fabric in place.
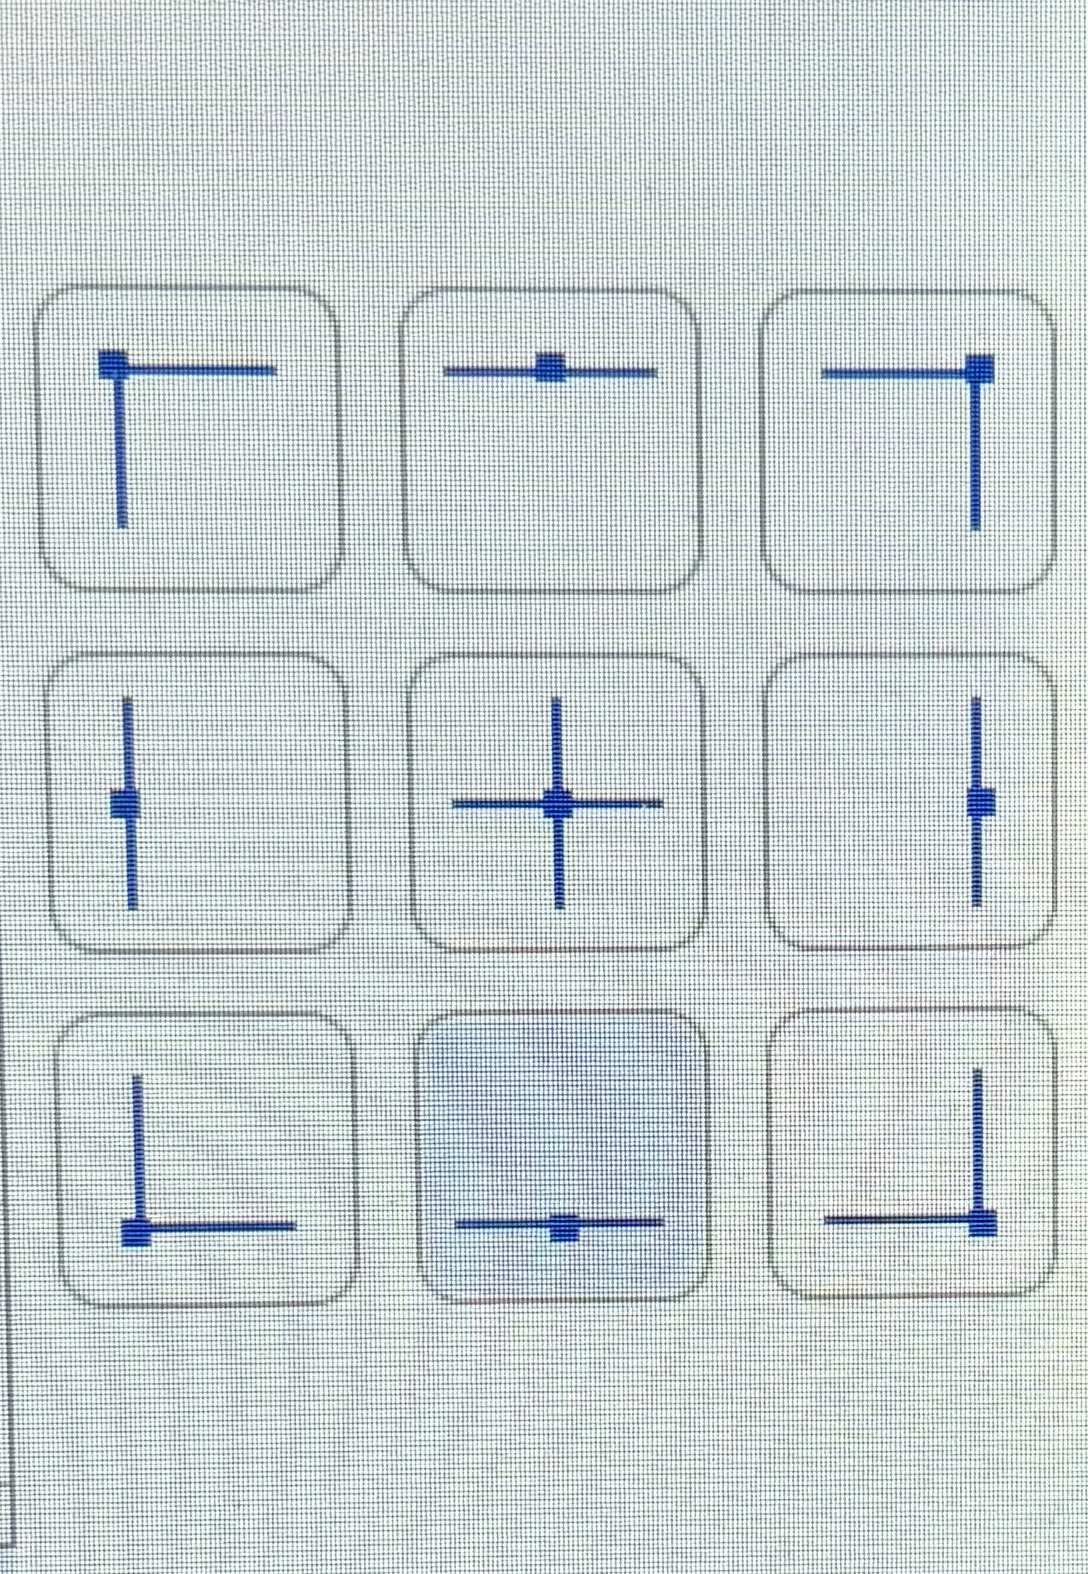

Return the hoop to your machine and use the Design Placement keys to check that the design fits neatly within your circle.
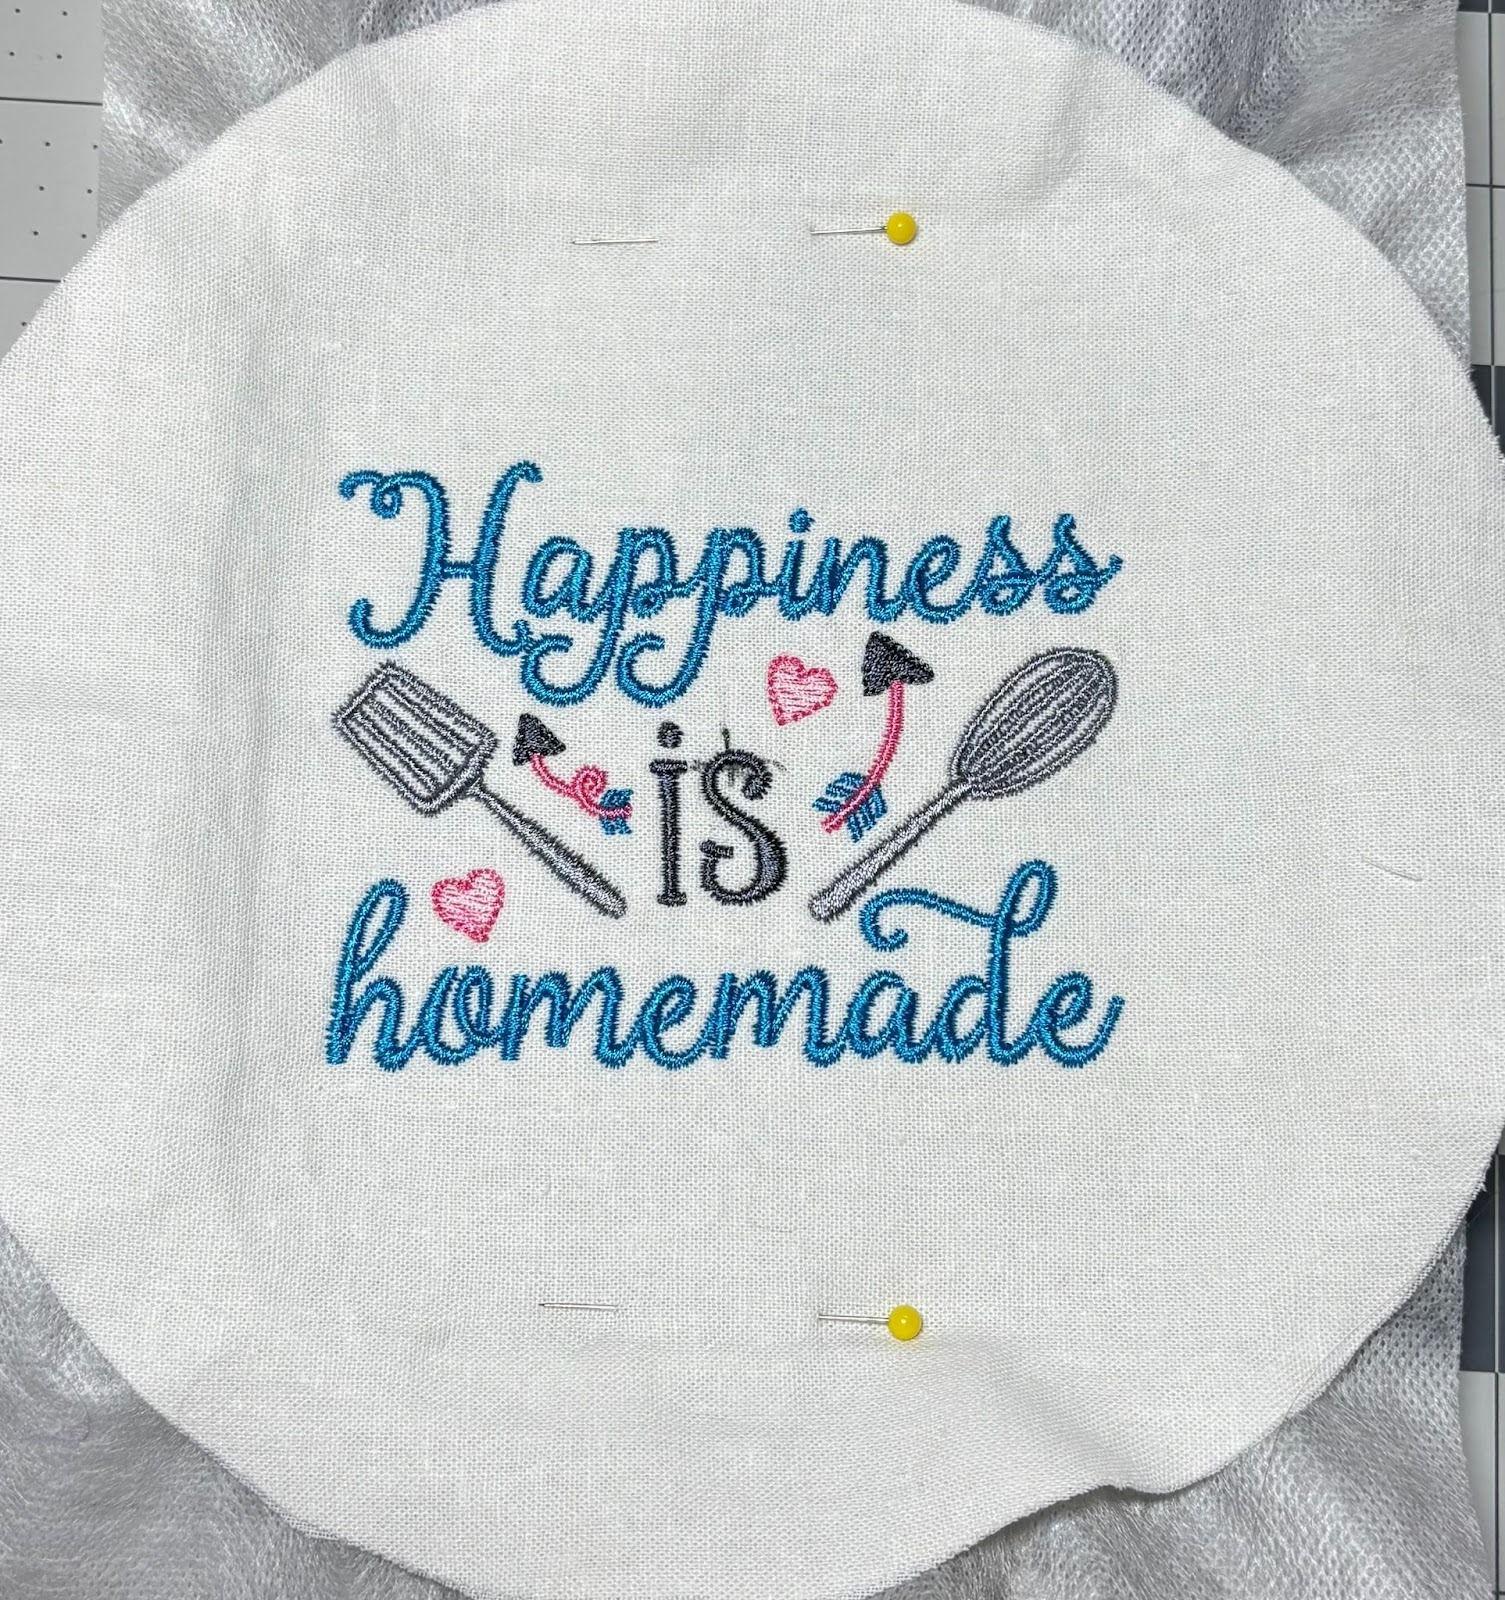
When you’re happy with the placement, stitch out the design.
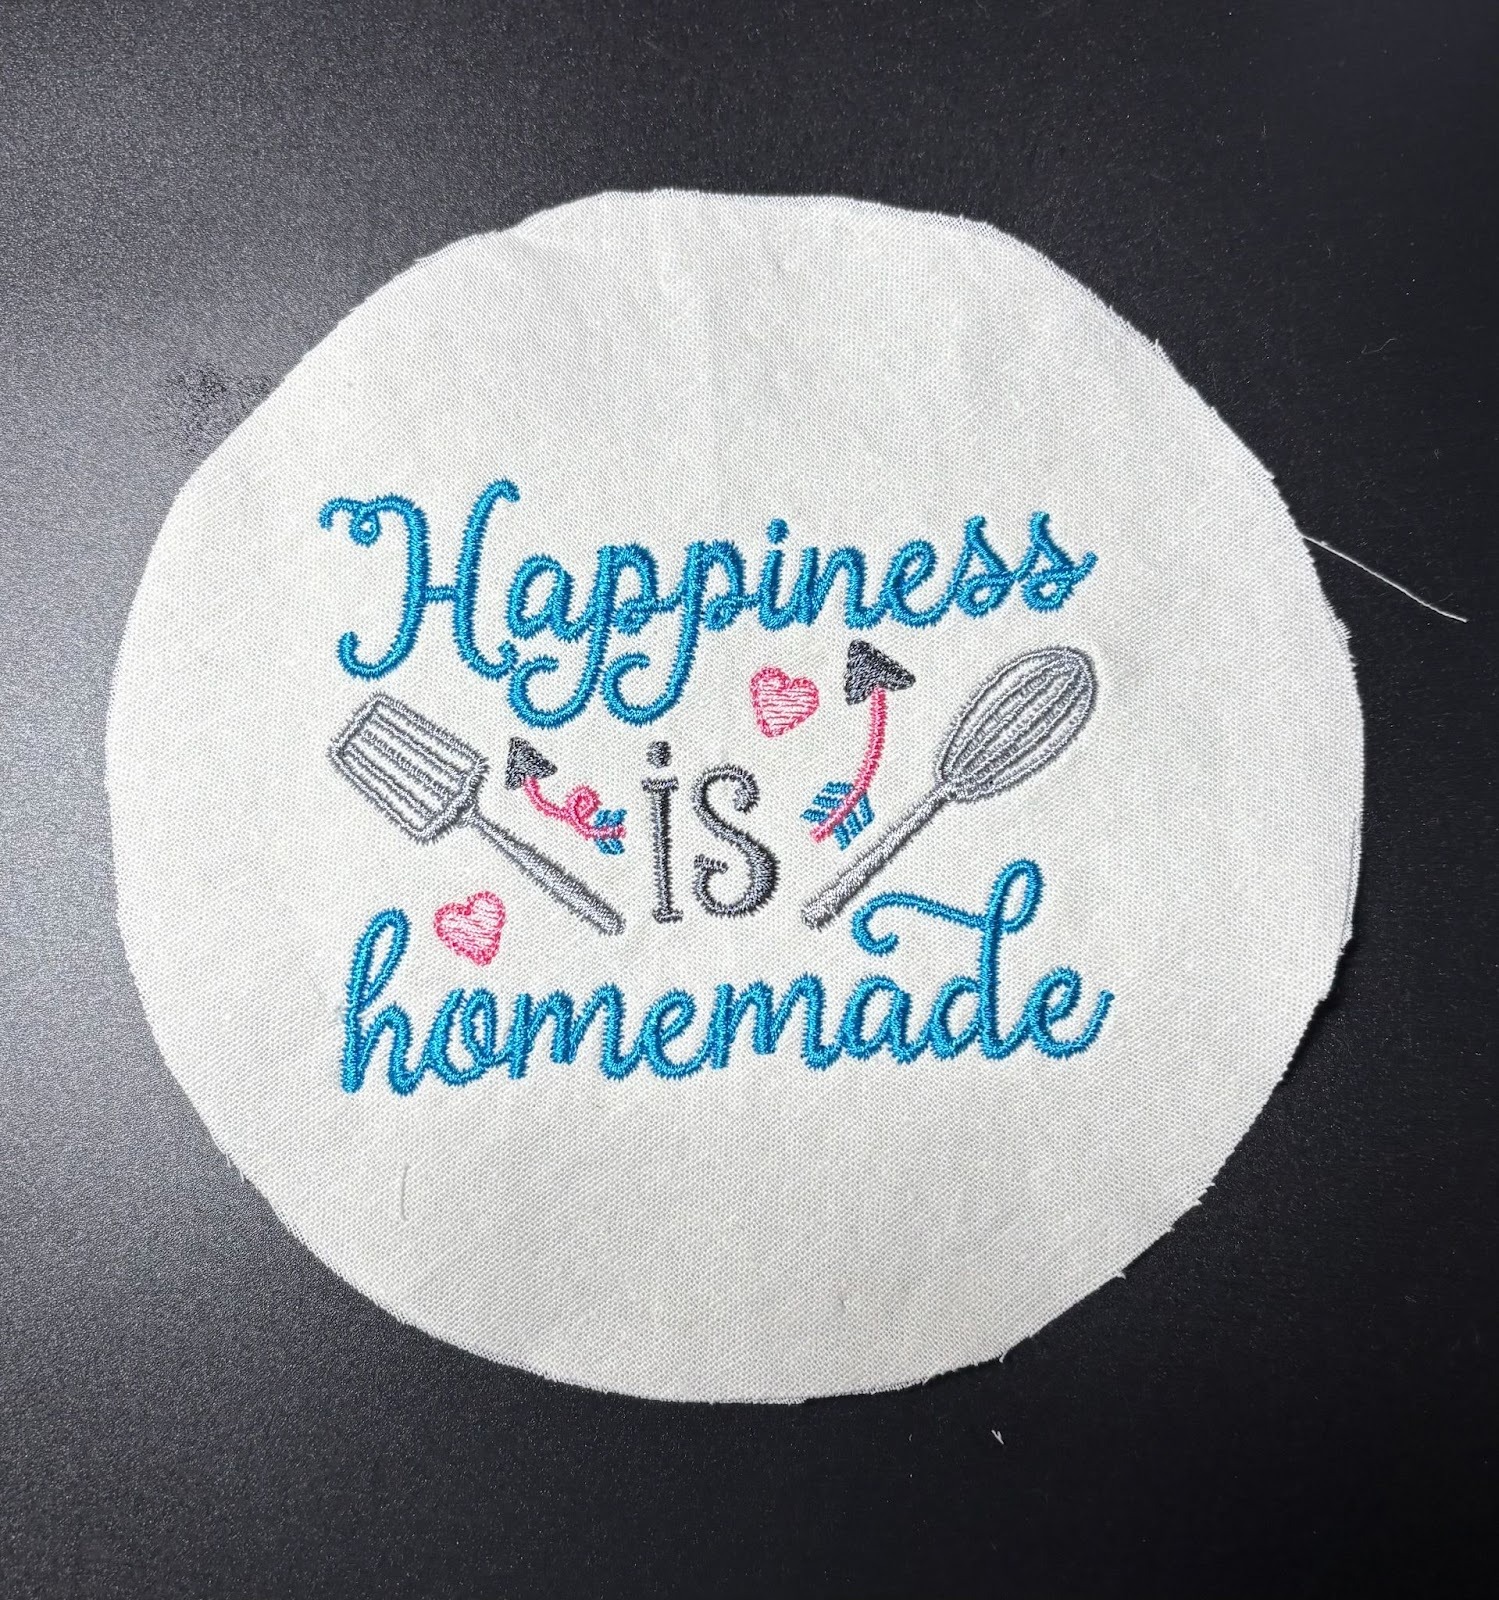

Once finished, remove the project from the hoop and trim away the excess stabilizer from the back.
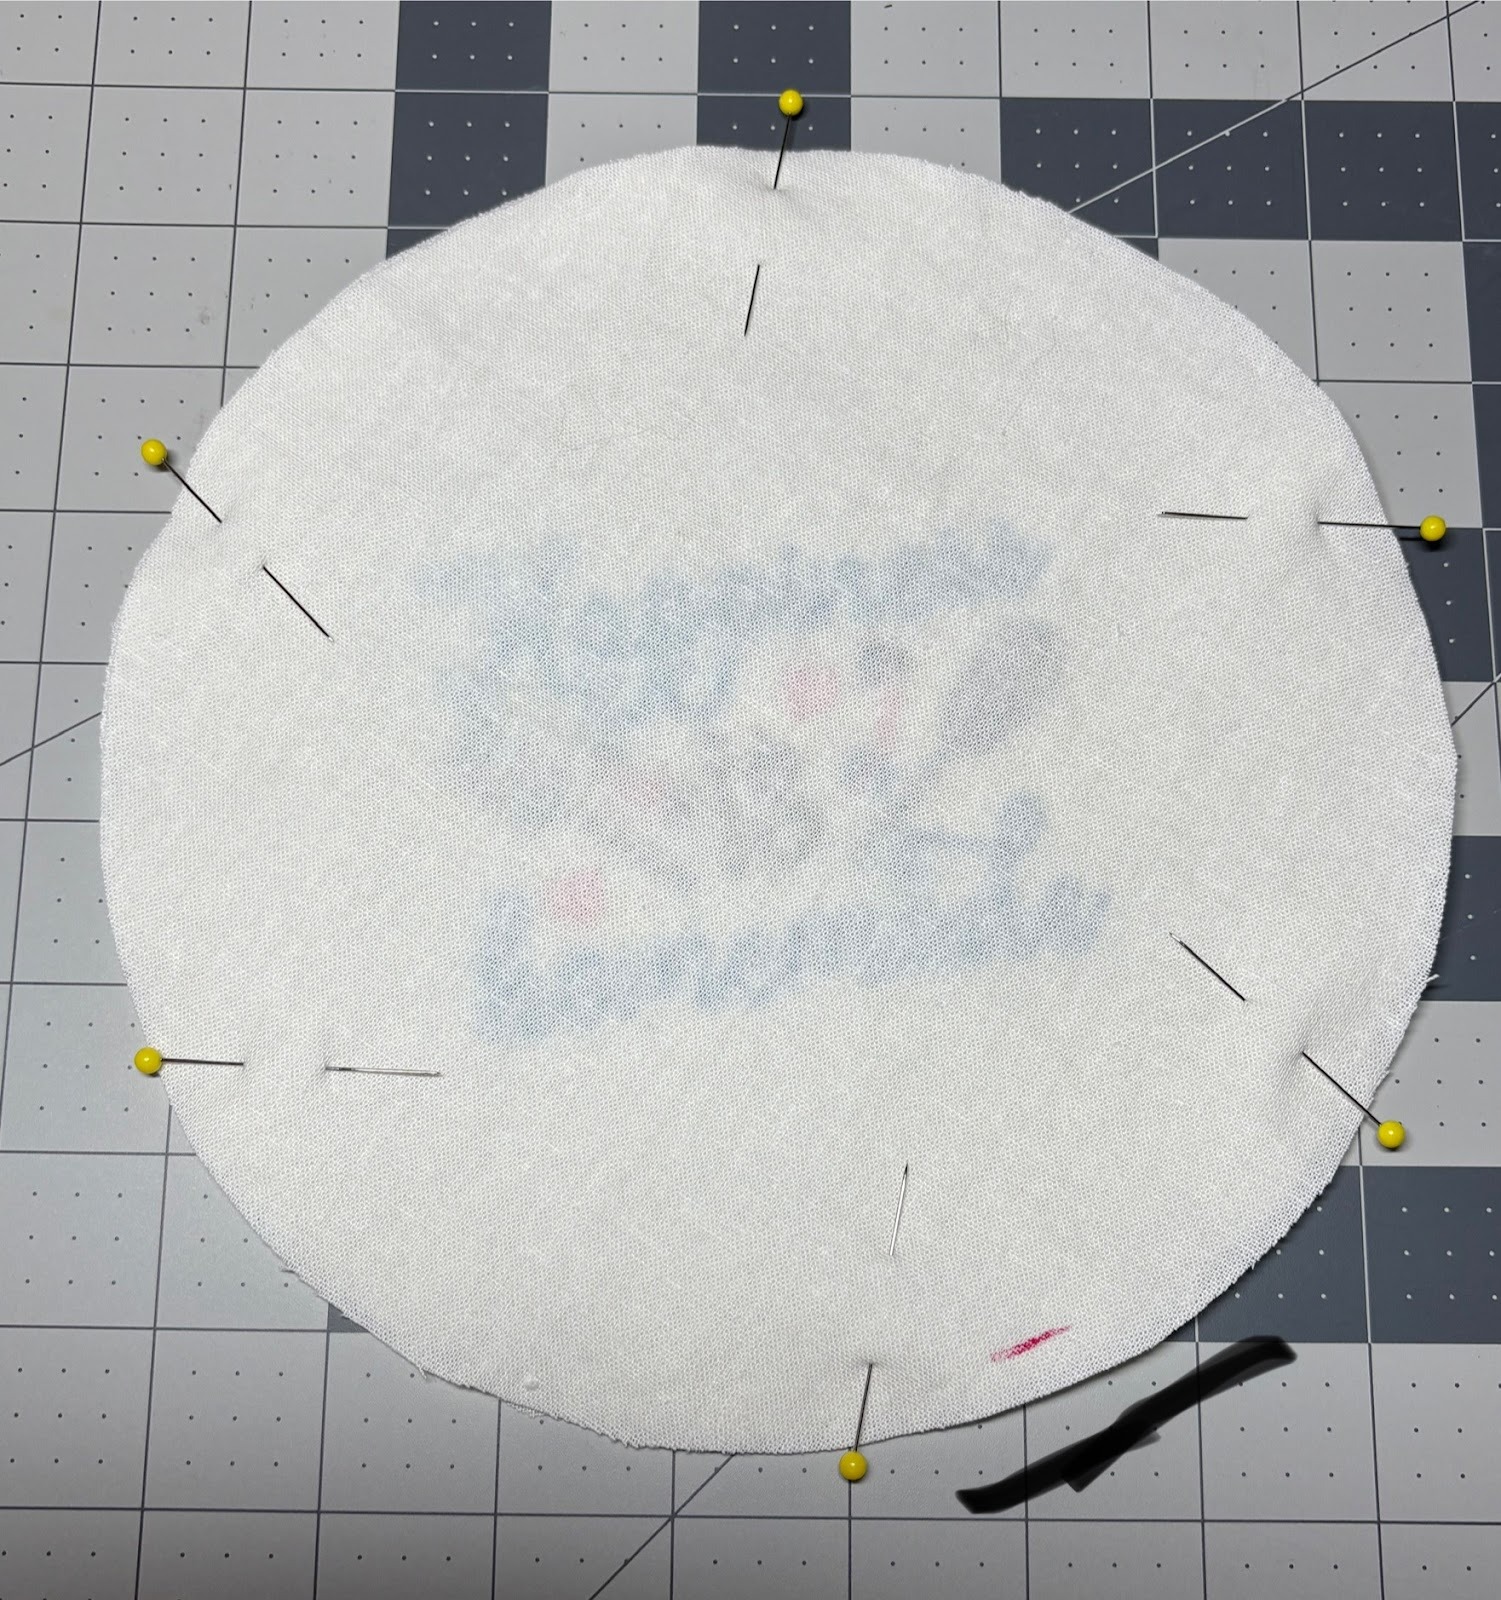
With the right sides together, pin the embroidered top and the lining fabric. Mark a small opening for turning.
Sew around the circle using a ½” seam allowance, remembering to leave the opening unstitched. Trim close to the stitching, but do not trim near the opening. This will make it easier to close later.
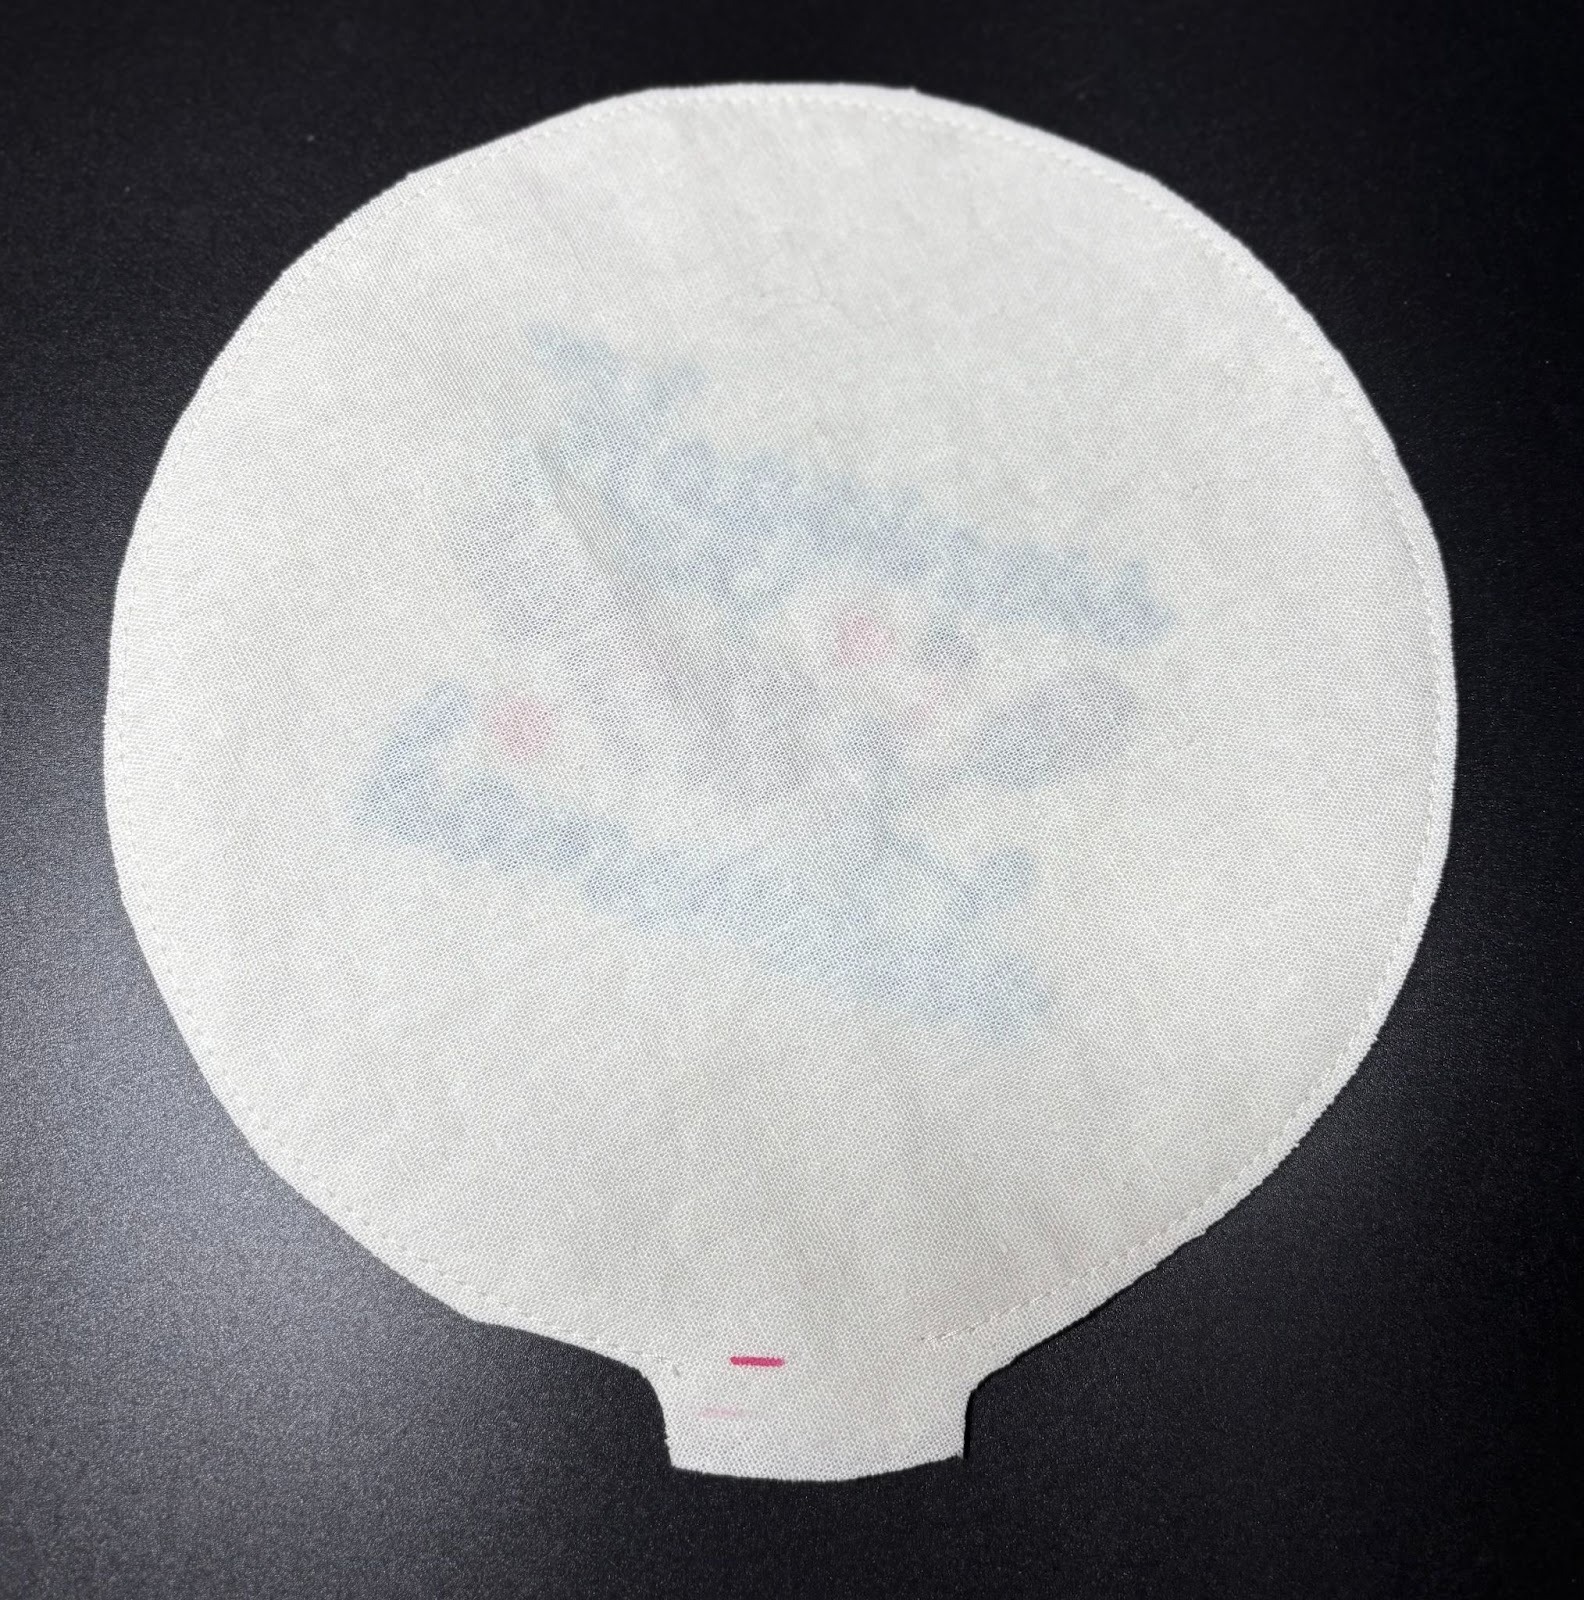
Turn the cover right side out. Use a turning tool to round out your seams. Press flat, folding the edges of the opening neatly to the inside.
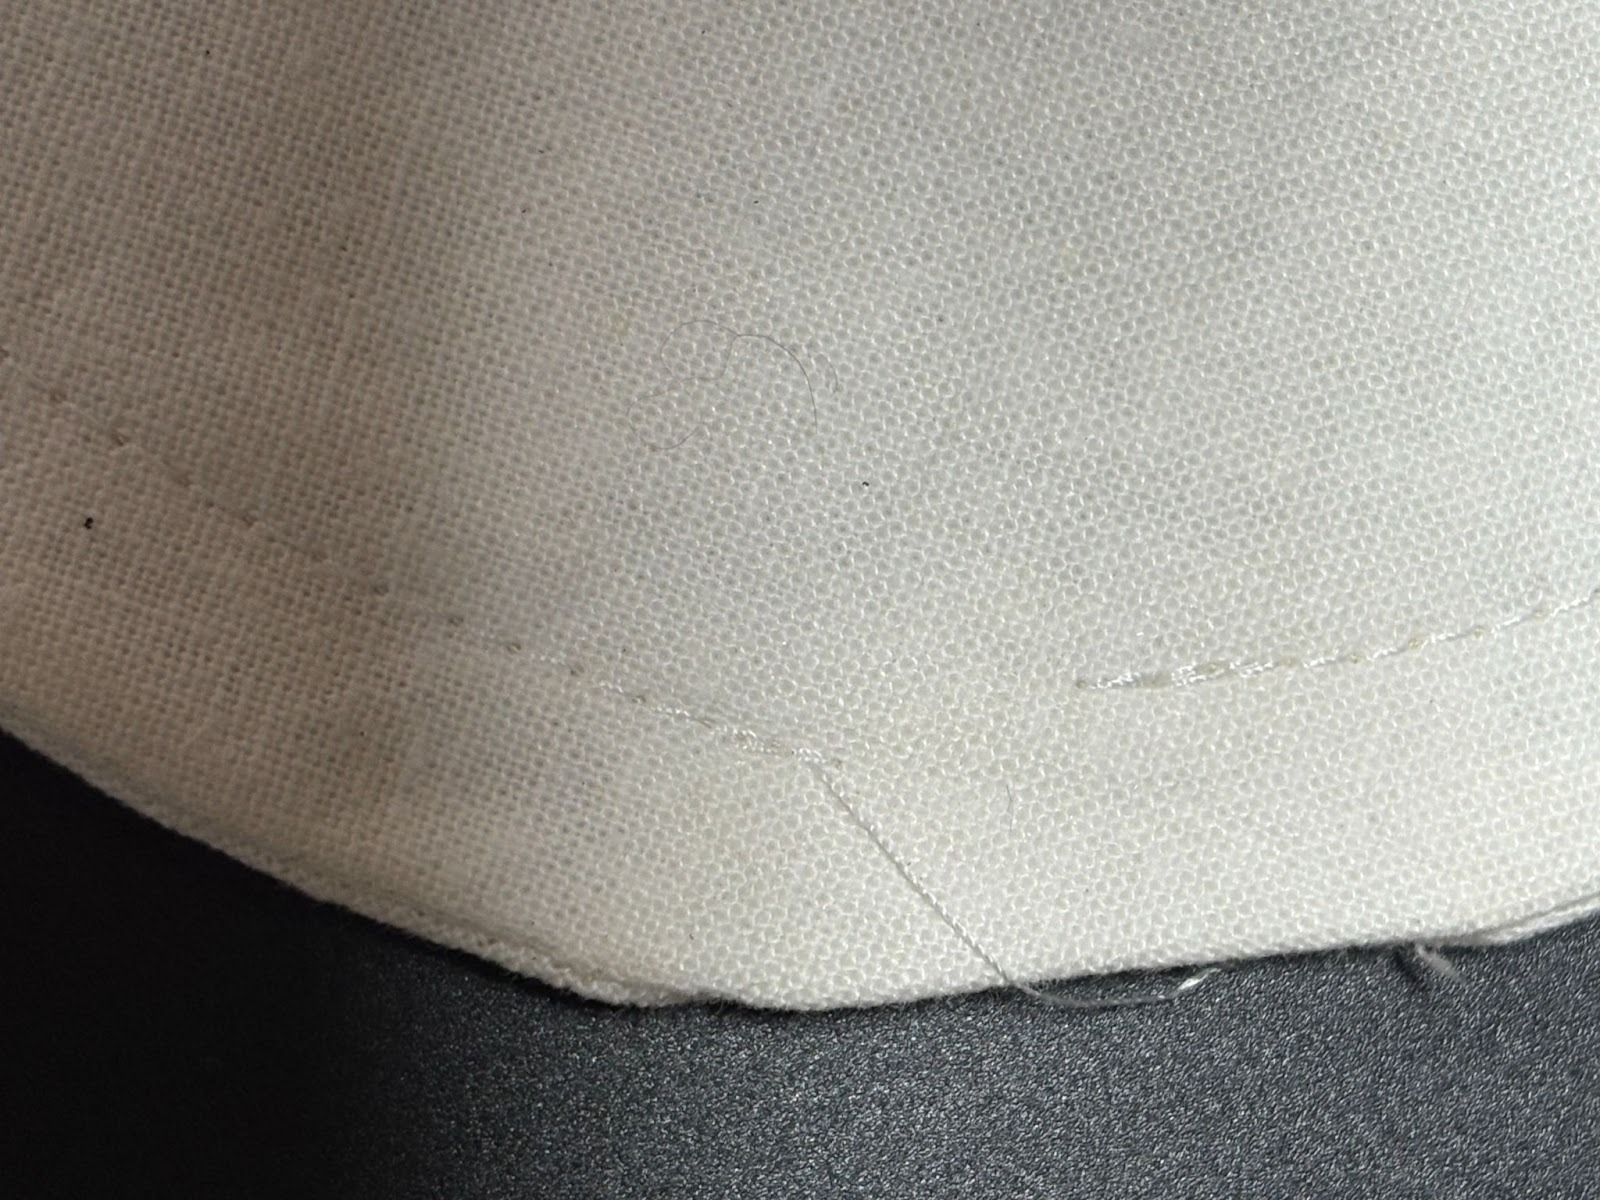
Return to your machine and stitch ⅜” from the edge all the way around to create the elastic casing. Be sure to leave the opening unstitched.
Now you are ready to insert the elastic.

Take your ¼” elastic and attach a safety pin to one end. I do not recommend cutting your elastic until you feed it through the casing. This allows you to adjust it to your preference.
Once the elastic comes all the way around, overlap the ends by ½” and secure with the safety pin. Test the cover around the top of your bowl. Make any adjustments needed. Stitch the elastic, backstitching several times to secure it.
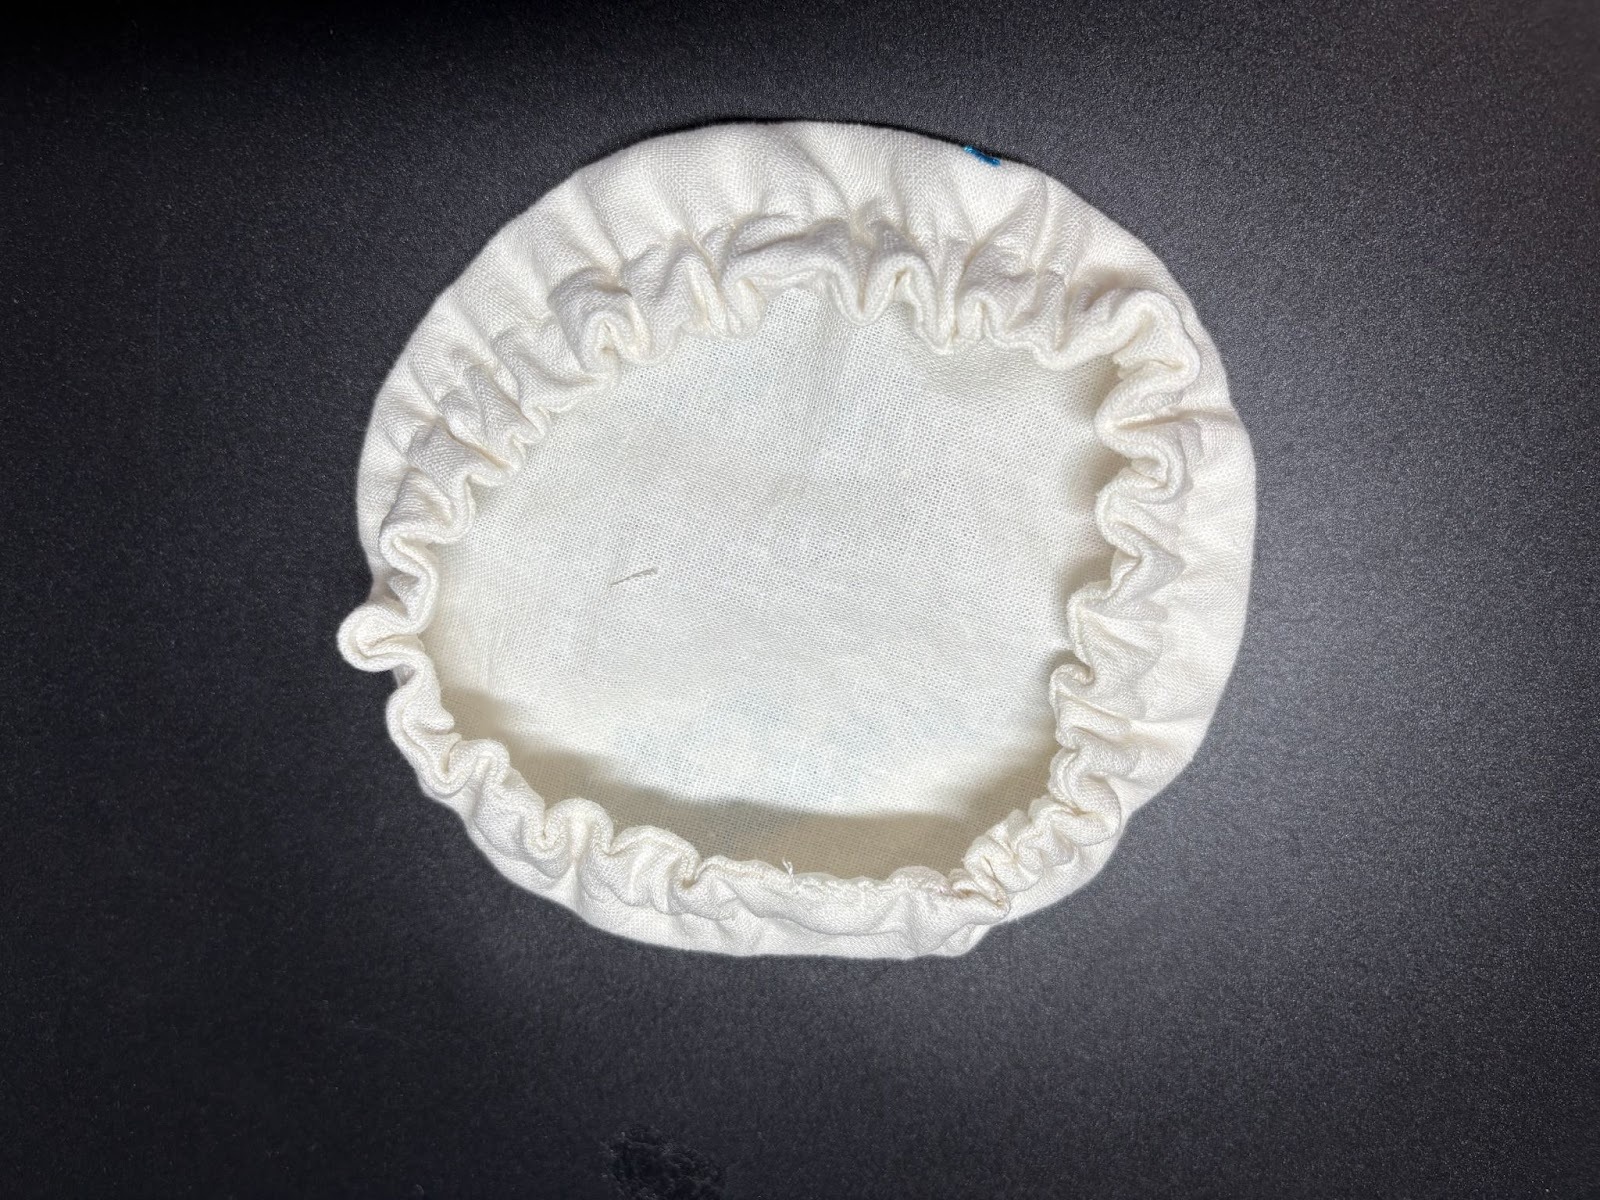
Distribute the fabric evenly around the elastic so the gathers look smooth. Stitch the opening in the casing closed, either by machine or with a few hand stitches.
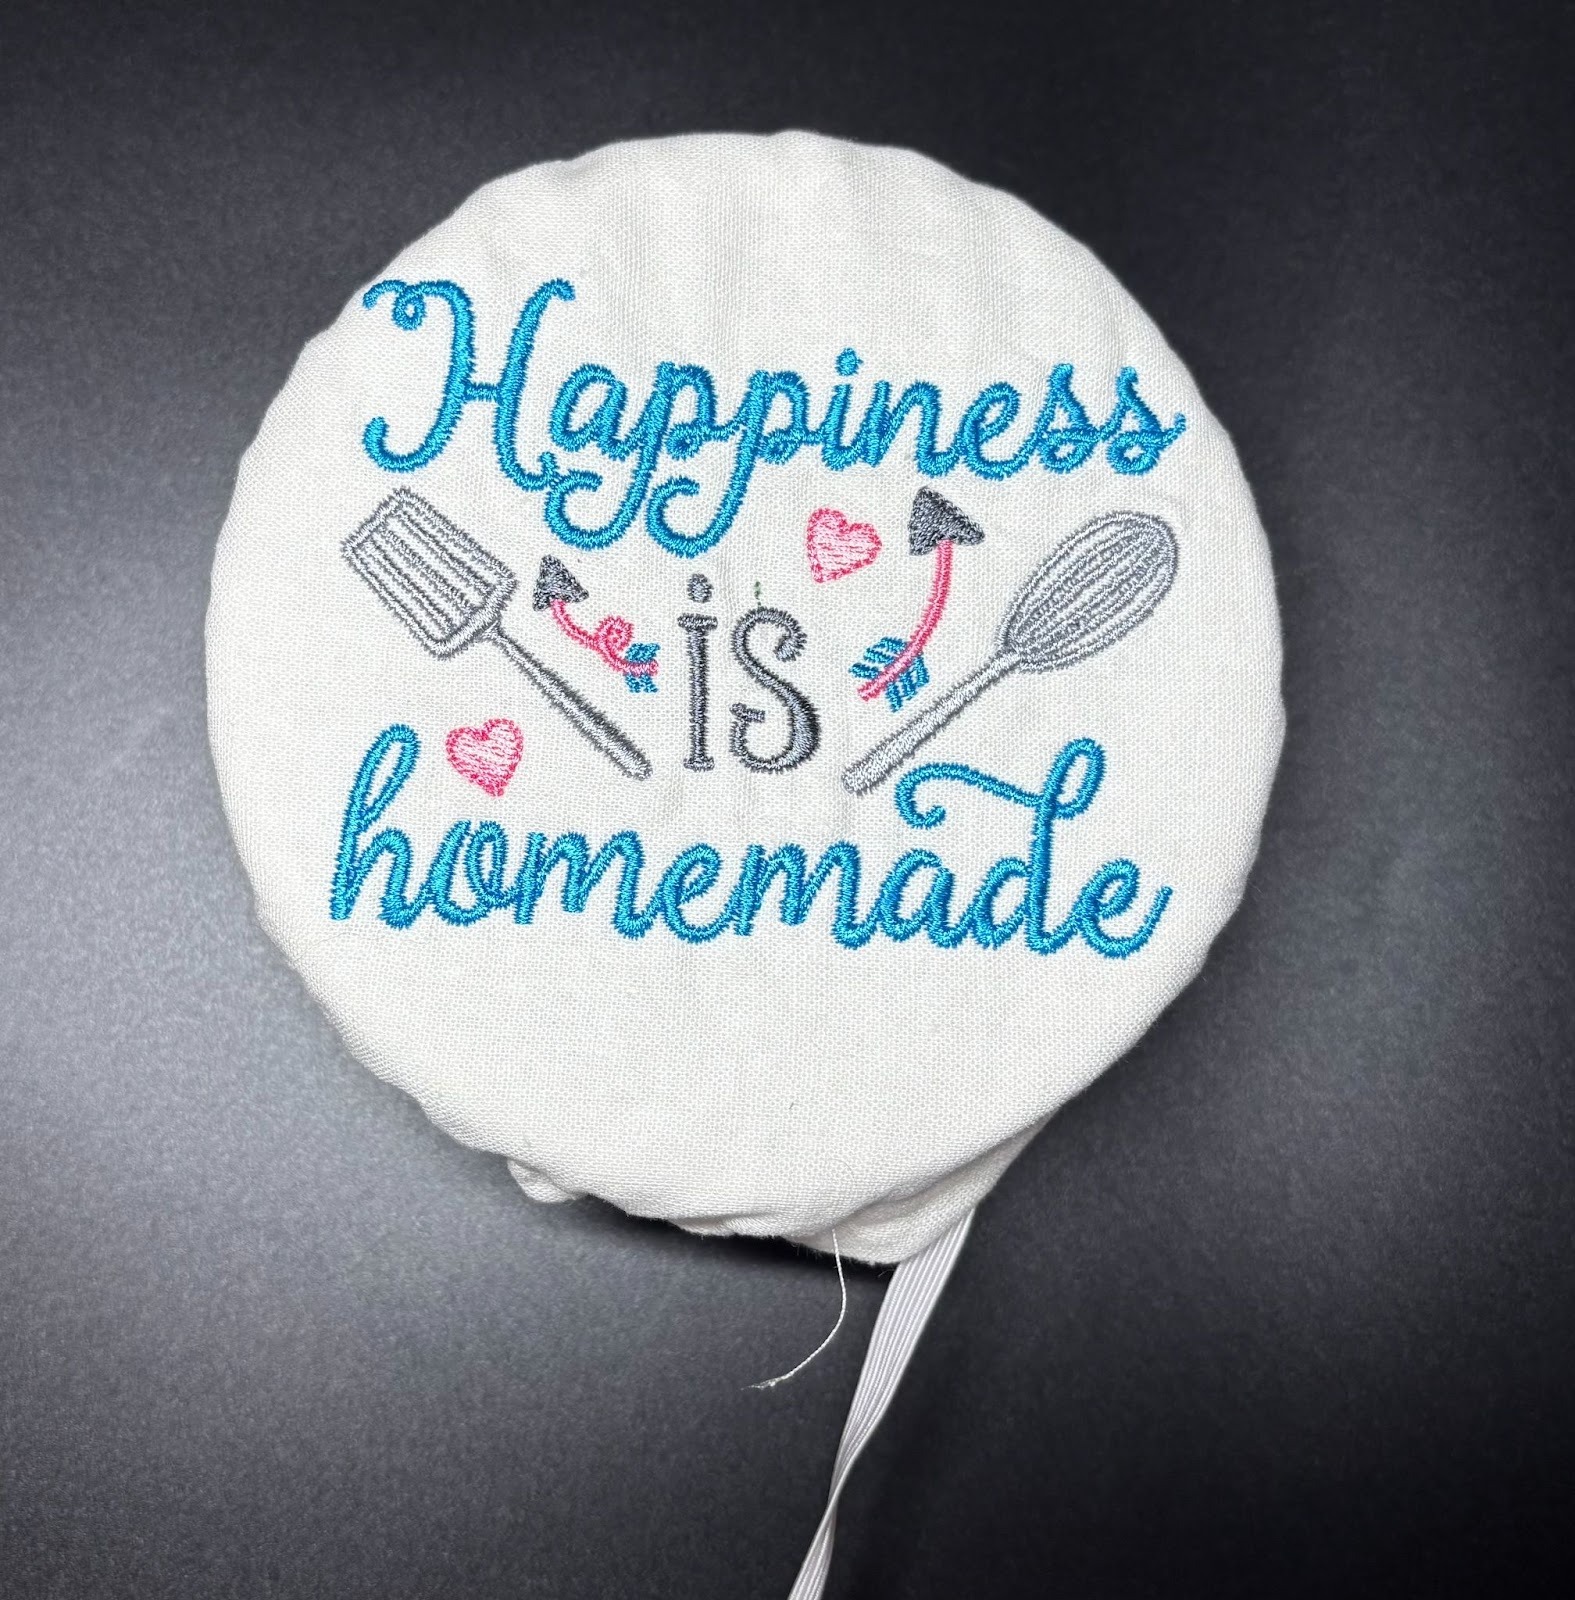
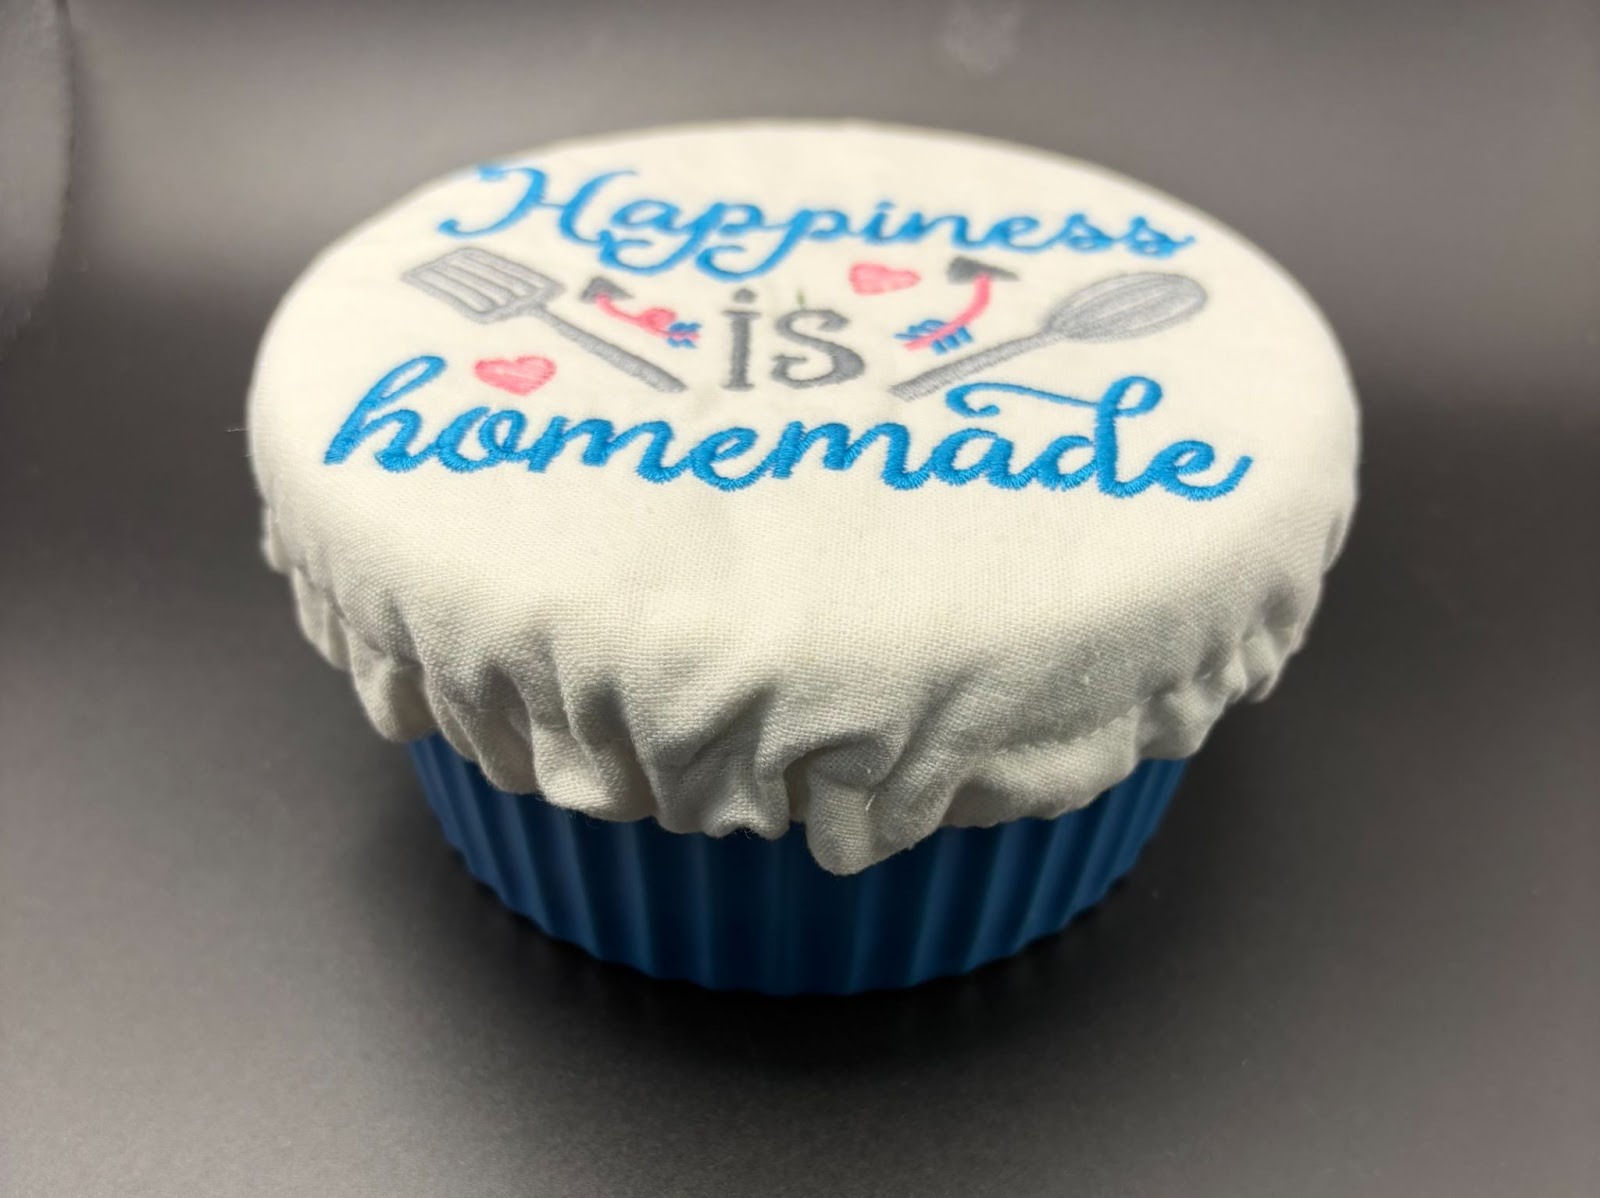
Give your cover a final press, and it’s ready to use!
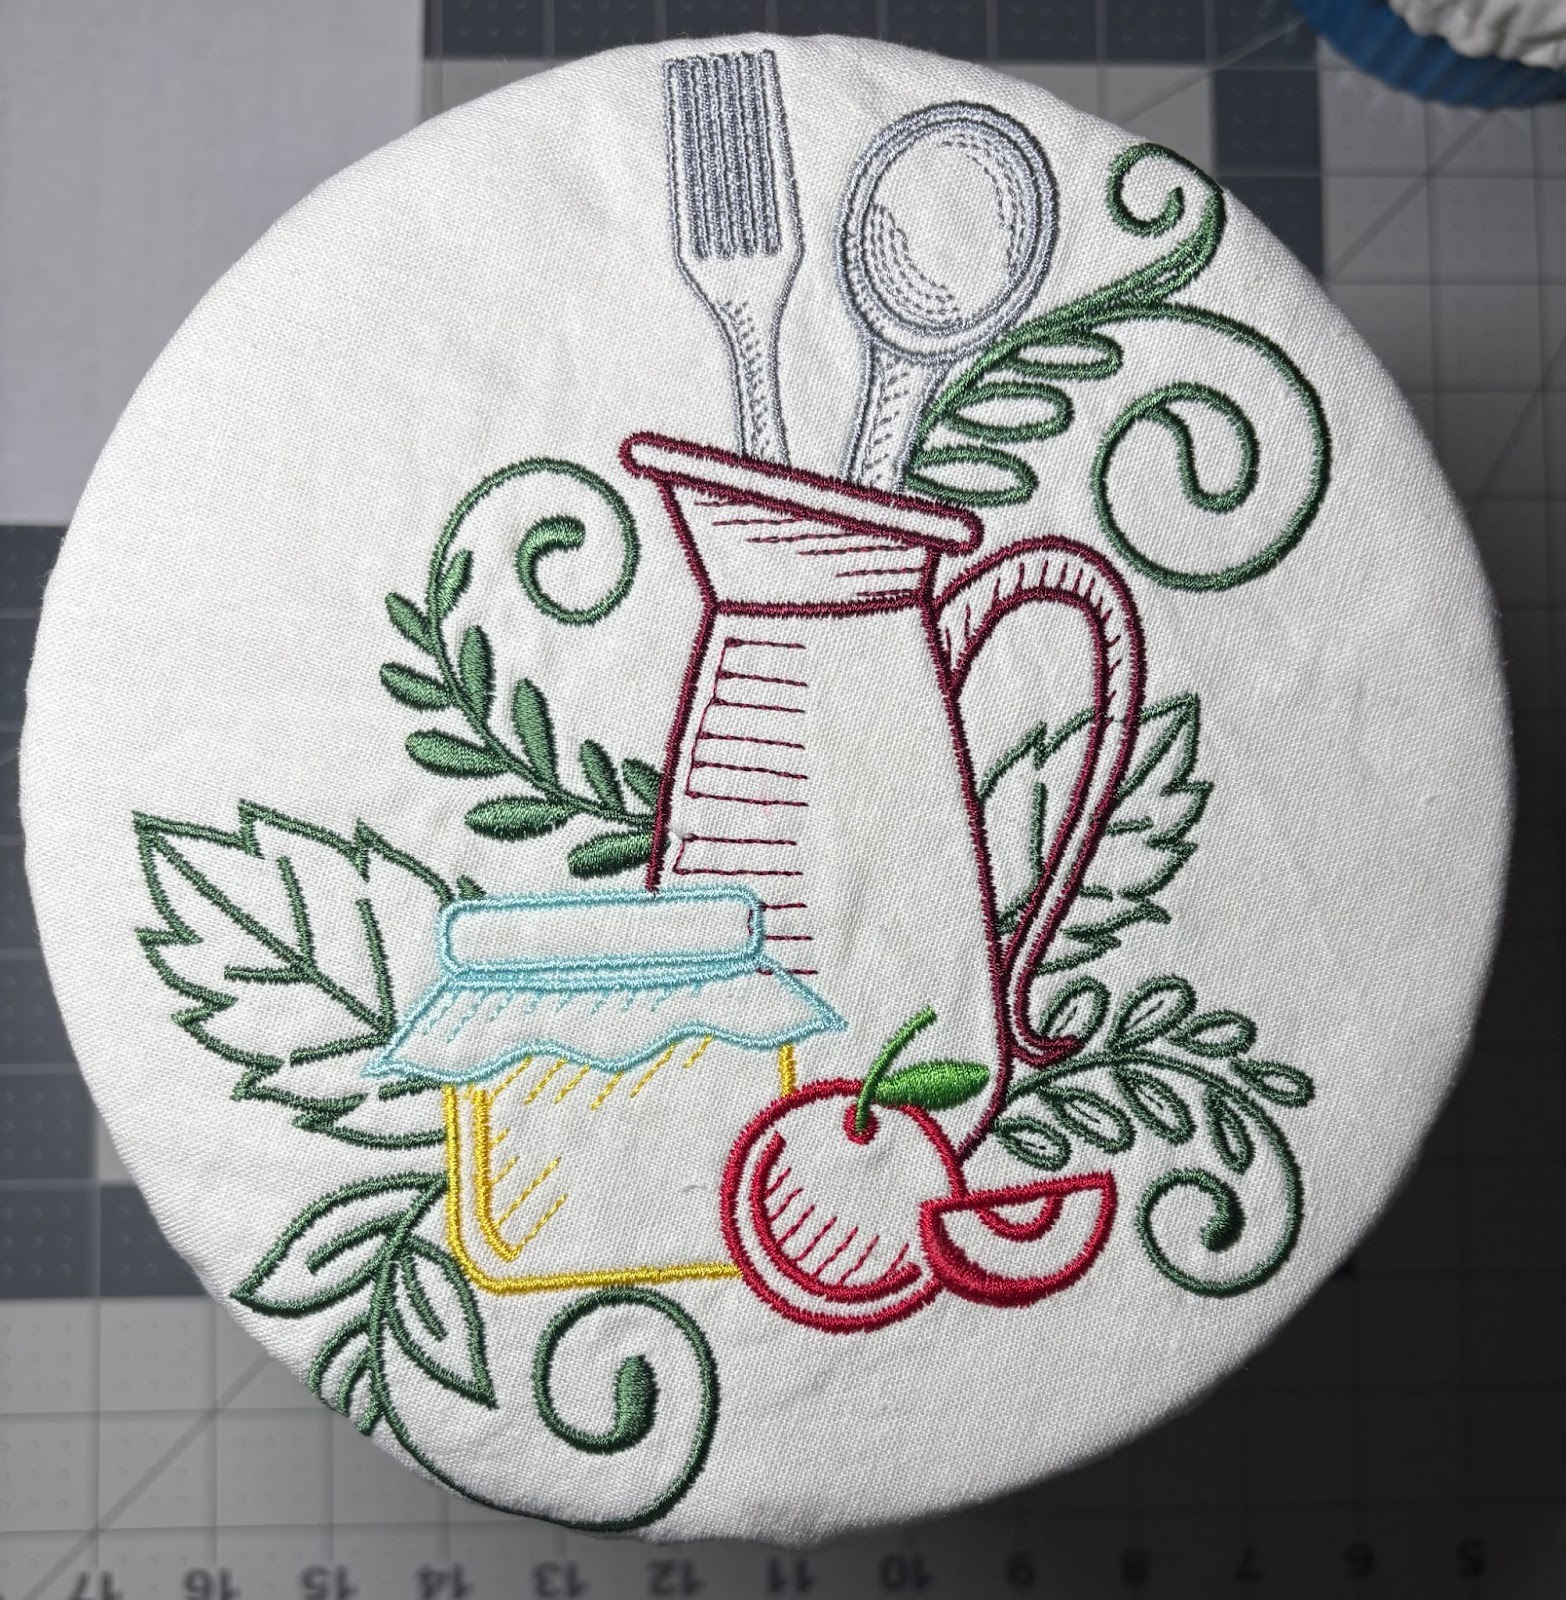
This cover was made using linen and a Floral Swirly Kitchen 1 design.
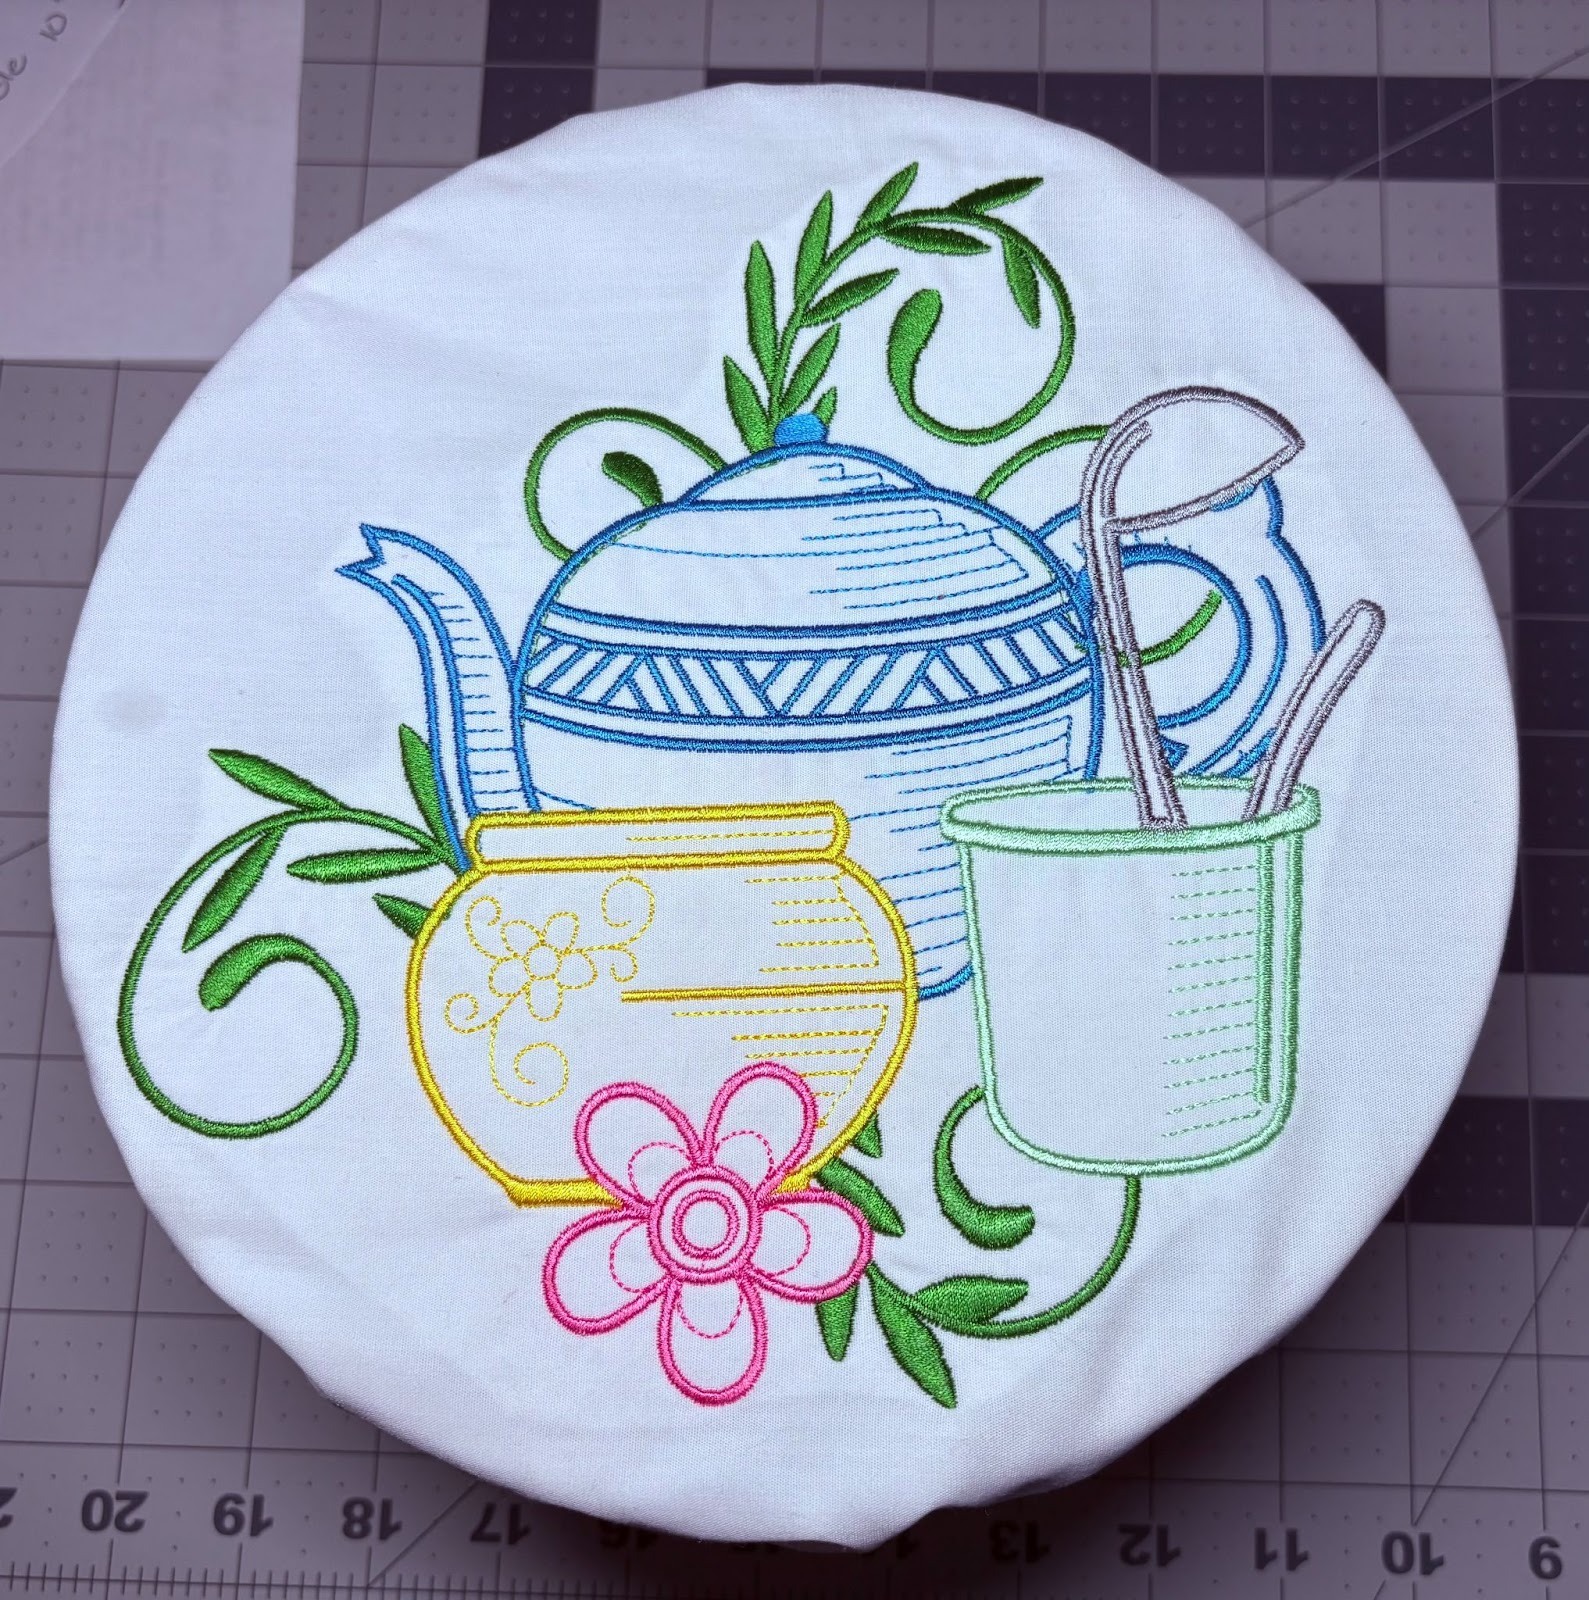
This cover was made with cotton and a Floral Swirly Kitchen 3 design.

Your reusable bowl cover is complete! Use it to cover leftovers, protect food from insects outdoors, or add a bit of handmade style to your kitchen. Try experimenting with different fabrics and embroidery designs to make a matching set for gifts or everyday use.
Please share your projects in the Designs by JuJu Embroidery Blessings Group on Facebook, or anywhere on social media using the hashtag #designsbyjuju. As always, we love to see what you create!
