Toggle Nav
 Inspire.
Create.
Stitch.
Inspire.
Create.
Stitch.
Search
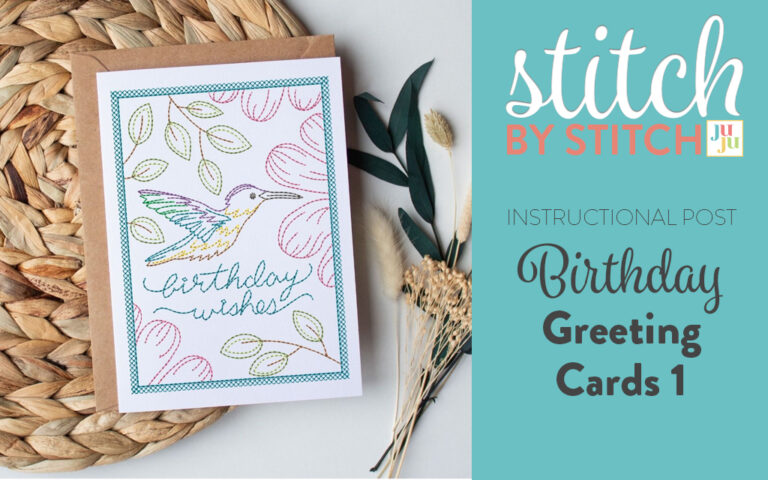
Create beautiful and personalized birthday greeting cards with ease by following our step-by-step guide; whether you're a crafting newbie or a seasoned pro, these tips will help you design stunning cards that will delight your loved ones and make their special day even more memorable.
Check out Embroidery Supplies JuJu Uses for our favorite supplies!
Please note: for embroidering directly onto paper, while you certainly CAN use regular cardstock, for BEST results, we highly recommend embroidering directly onto a high fibrous paper such as Watercolor Paper. The combination of the fusible stabilizer and watercolor paper, yields lovely embroidered card results.
With this method, you will not stitch directly onto the prefolded card, but rather the watercolor paper which will then be mounted to the card with colored cardstock as a nice background matte.
| Step 1: Hoop a piece of medium weight fusible cut-away stabilizer such as Sulky Fuse n Stitch | 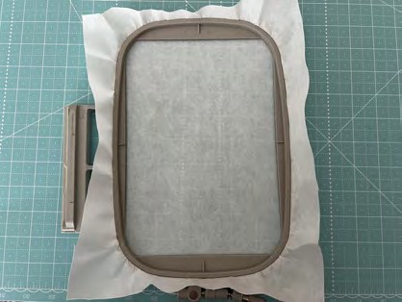 |
| Step 2: Stitch the placement line for the card- stock. | 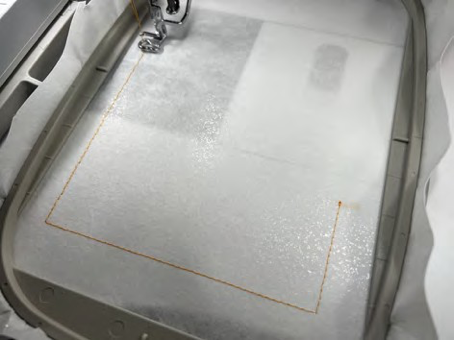 |
| Step 3: Using Sulky KK200 spray adhesive, lightly spray the back of your watercolor paper and place within the placement line. If you’d like, secure the corners with painters tape or washi tape. | 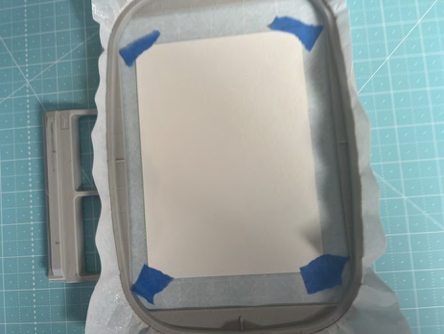 |
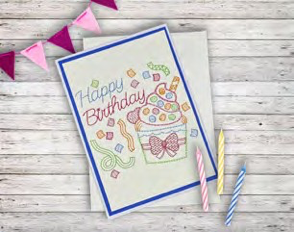
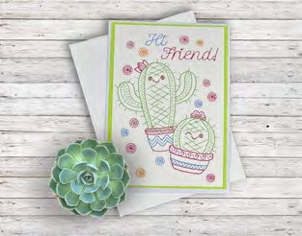
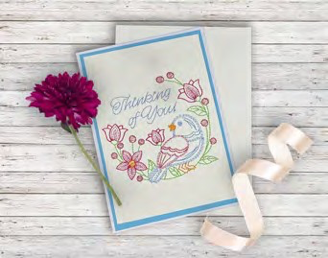
| Step 4: Stitch out your design digitized specifically for cardstock. Follow the included color- chart for your convenience. If you purchased the kit, your options include: “Cactus: Hi Friend!”, “Thinking of You” or “Happy Birthday” | 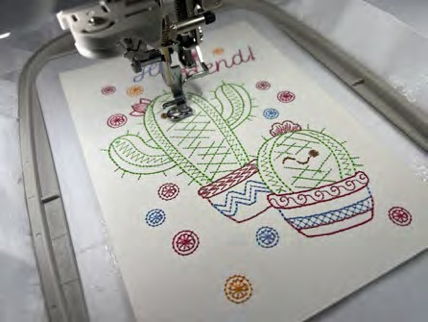 |
| Step 5: Once stitched, remove your project from the hoop and trim approximately 1/4 inch off each border so your paper measures 4.5 x 6.5 inches. I use a rotary cutter that I reserve specifically for cardstock and watercolor paper. | 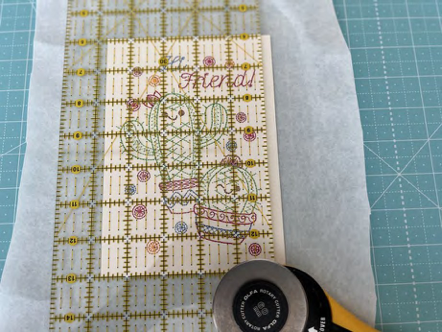 |
| Step 6: At this point you will take it to your iron and fuse that stabilizer directly to your card- stock, which will make a nice permanent fuse for your special embroidered card. | 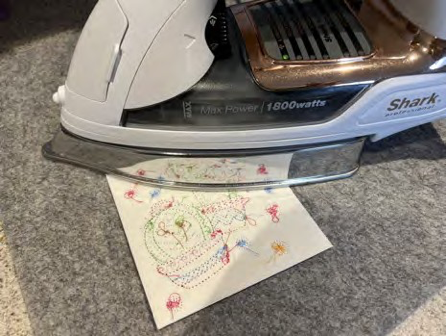 |
| Step 7: If you haven’t already done so, trim the colored cardstock for mounting to approximate- ly 4.75 x 6.75 inches | 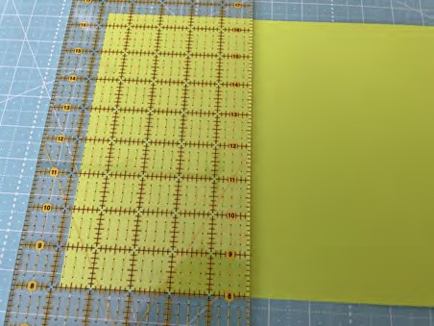 |
| Step 8: Using double sided tape or glue, mount your cardstock to the front of your pre-made 5x7 greeting card. | 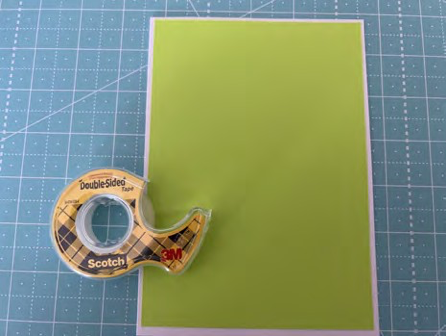 |
| Step 9: Now, using glue or double sided tape, mount your embroidered piece to the colored cardstock. Your greeting card is complete! Be- cause you mounted it to the paper, there is no stitching showing on the inside of the card. | 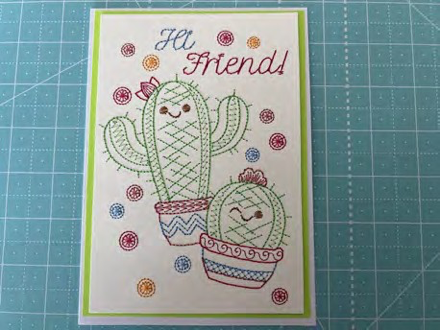 |
| Step 10: A7 envelopes are perfect for the pre-made 5x7 greeting cards. These envelopes measure 5.25 x 7.25 | 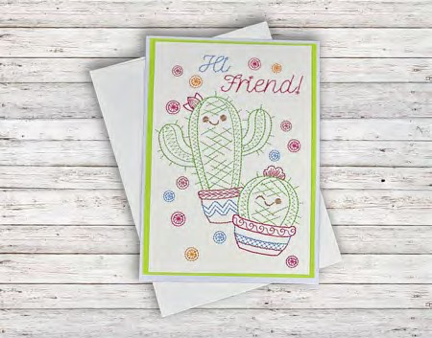 |
If you make this project, please share it with us in the Designs by JuJu Embroidery Blessings Facebook group, or anywhere on social media using the hashtag #designsbyjuju. We can't wait to see what you create!