Toggle Nav
 Inspire.
Create.
Stitch.
Inspire.
Create.
Stitch.
Search

Love accent pillows? Follow this quick guide to stitch a heart-shaped pillow that adds instant warmth and personality.
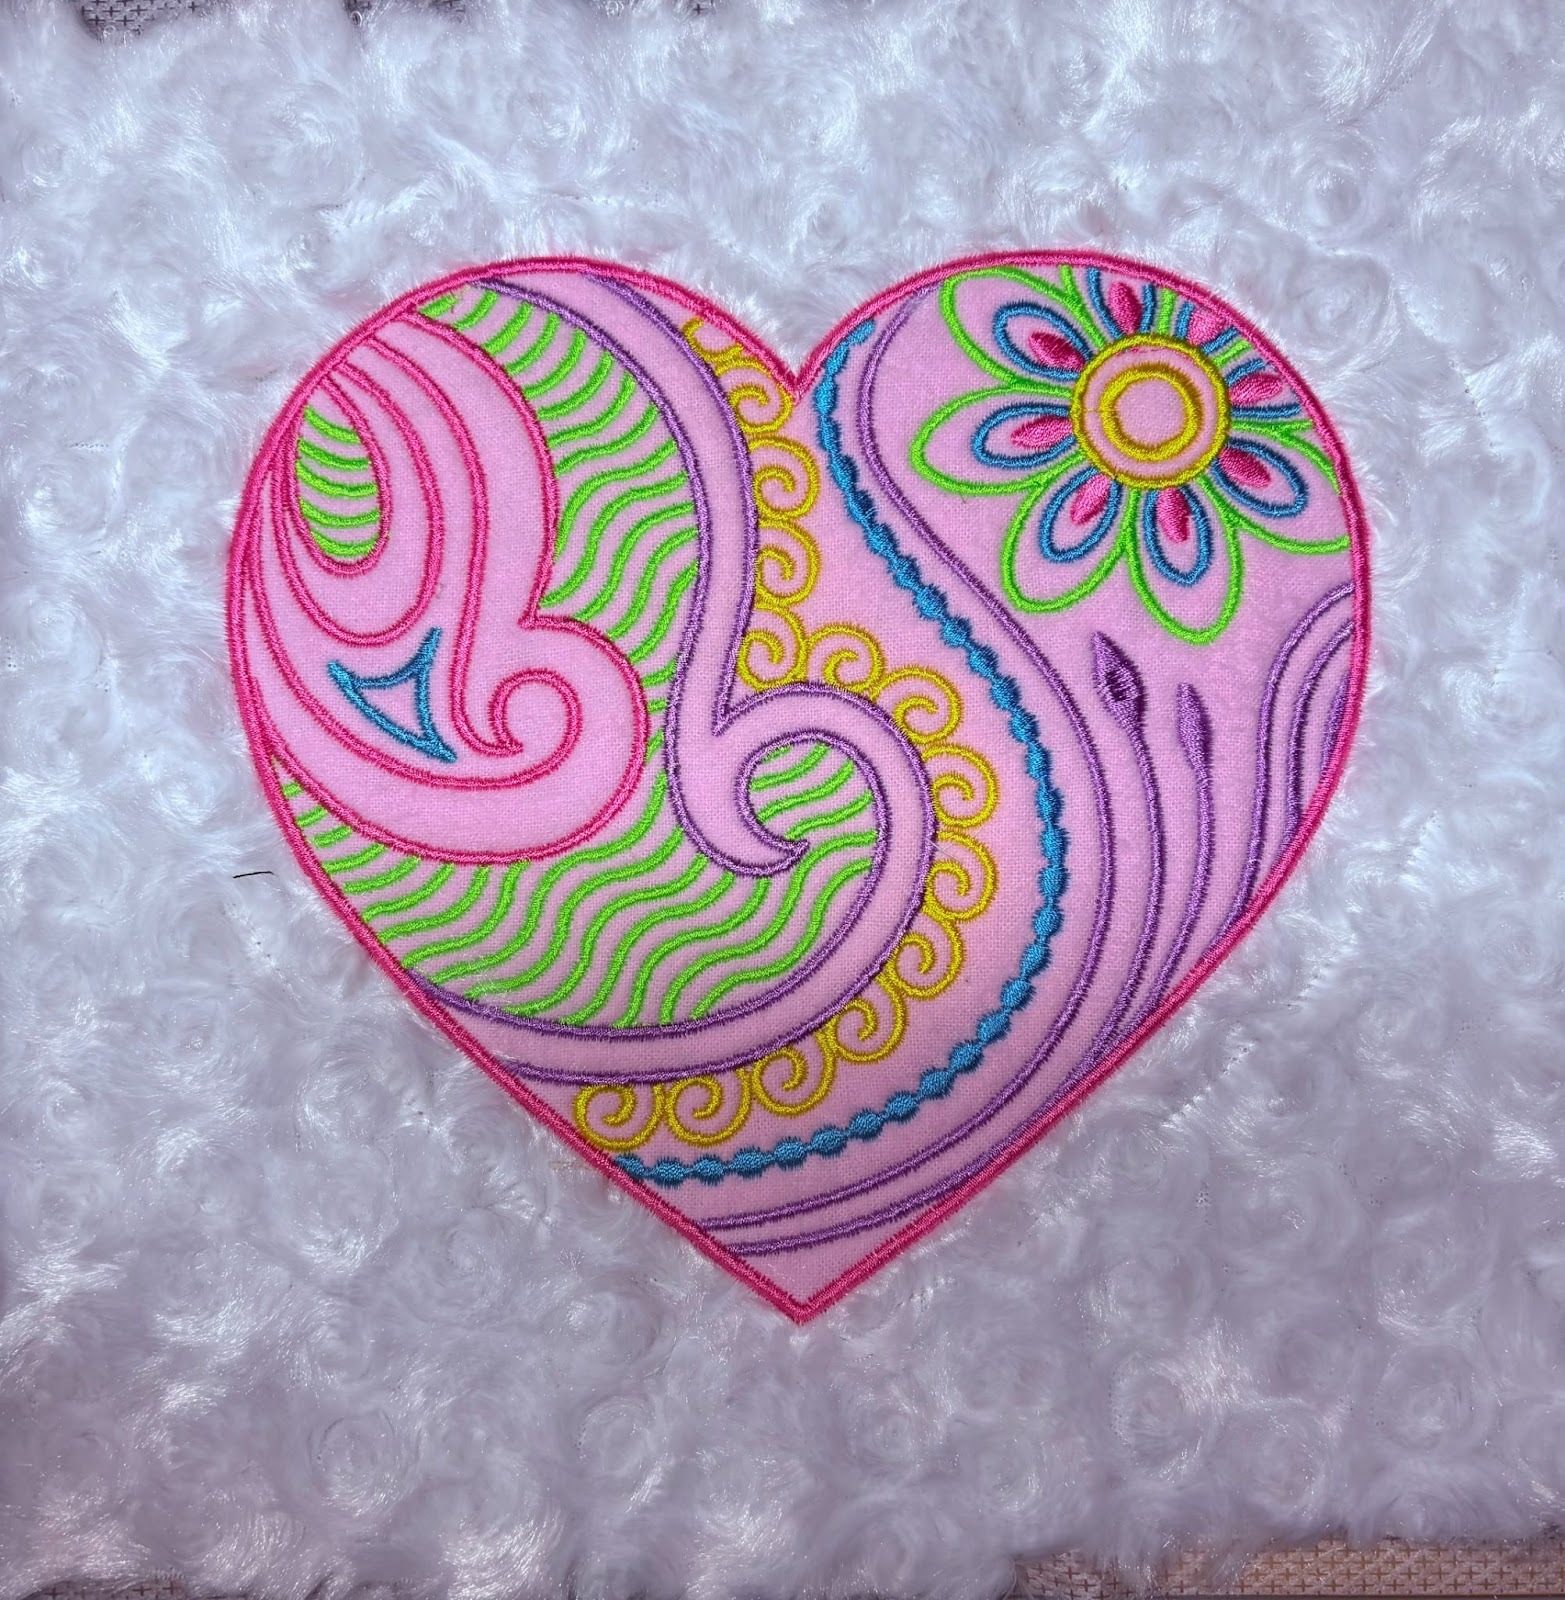
Looking for a sweet and simple in-the-hoop project? This heart pillow is the perfect way to showcase your favorite embroidery designs while adding a touch of handmade charm to your home decor. Whether you're stitching for Valentine’s Day, gifting to a friend, or creating a keepsake for a nursery, this project comes together beautifully using layered fabrics and a clean satin outline finish. I’ll walk you through each step so you can create a professional looking pillow right in the hoop.
Check out the DBJJ team’s favorite supplies in the Designs by JuJu Amazon store. For stabilizers and batting, Designs by JuJu+ has everything you need.
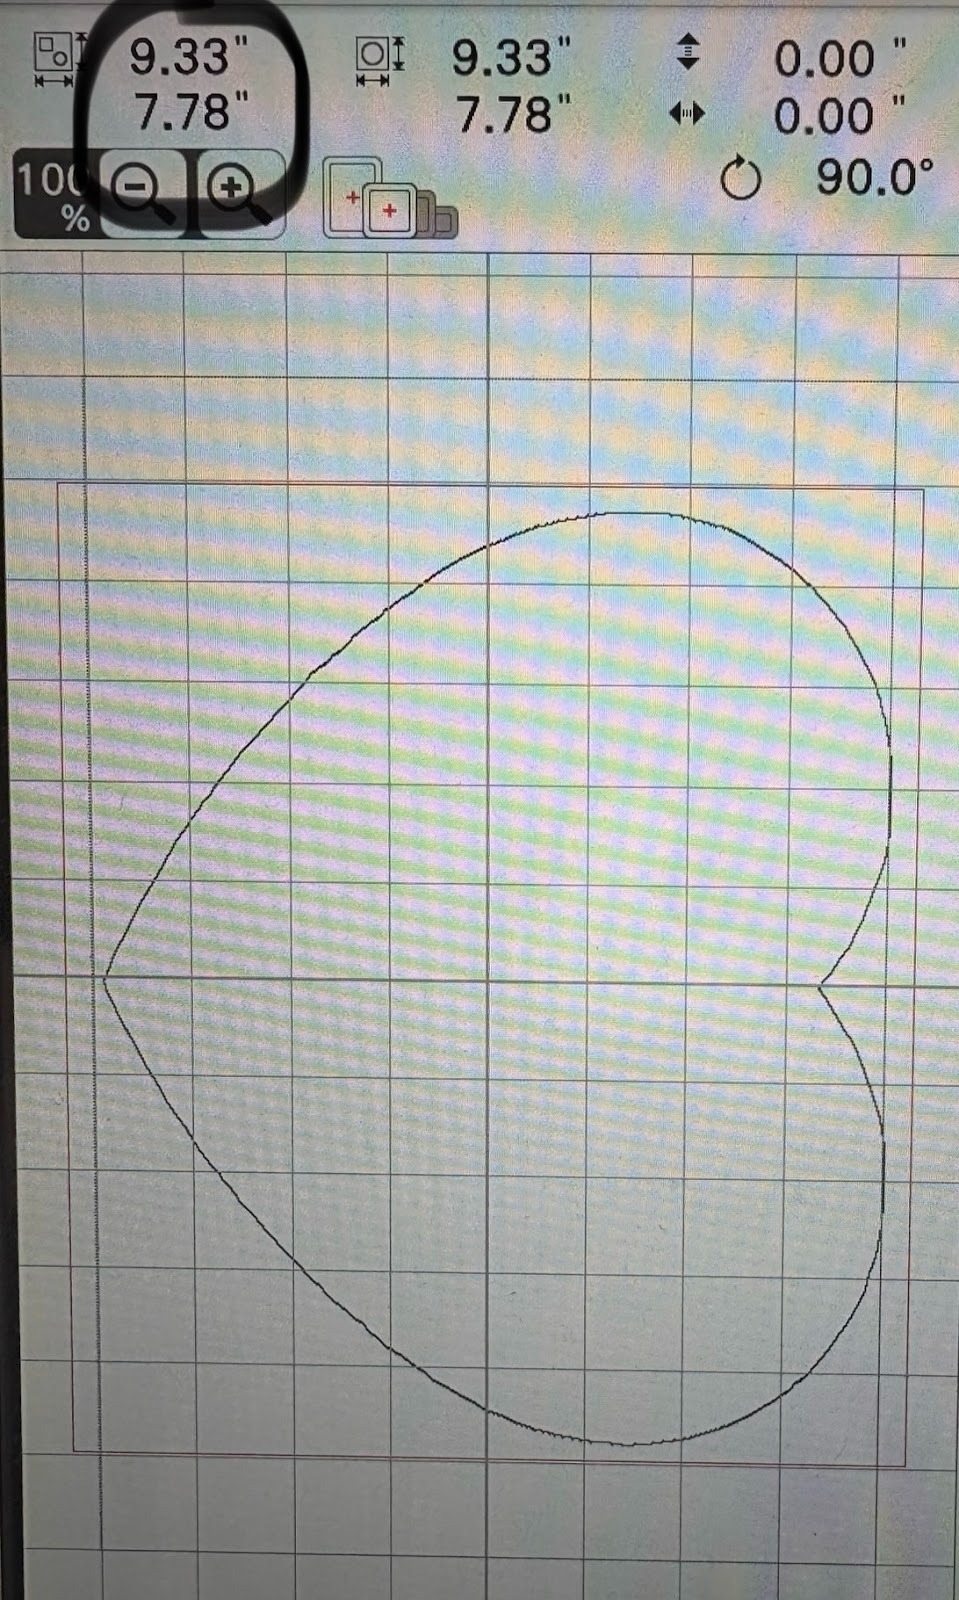
Begin by selecting the built-in shapes on your embroidery machine. Choose a basic heart and resize it to 9.33” x 7.78” so it fits neatly within a 9½” × 9½” hoop.
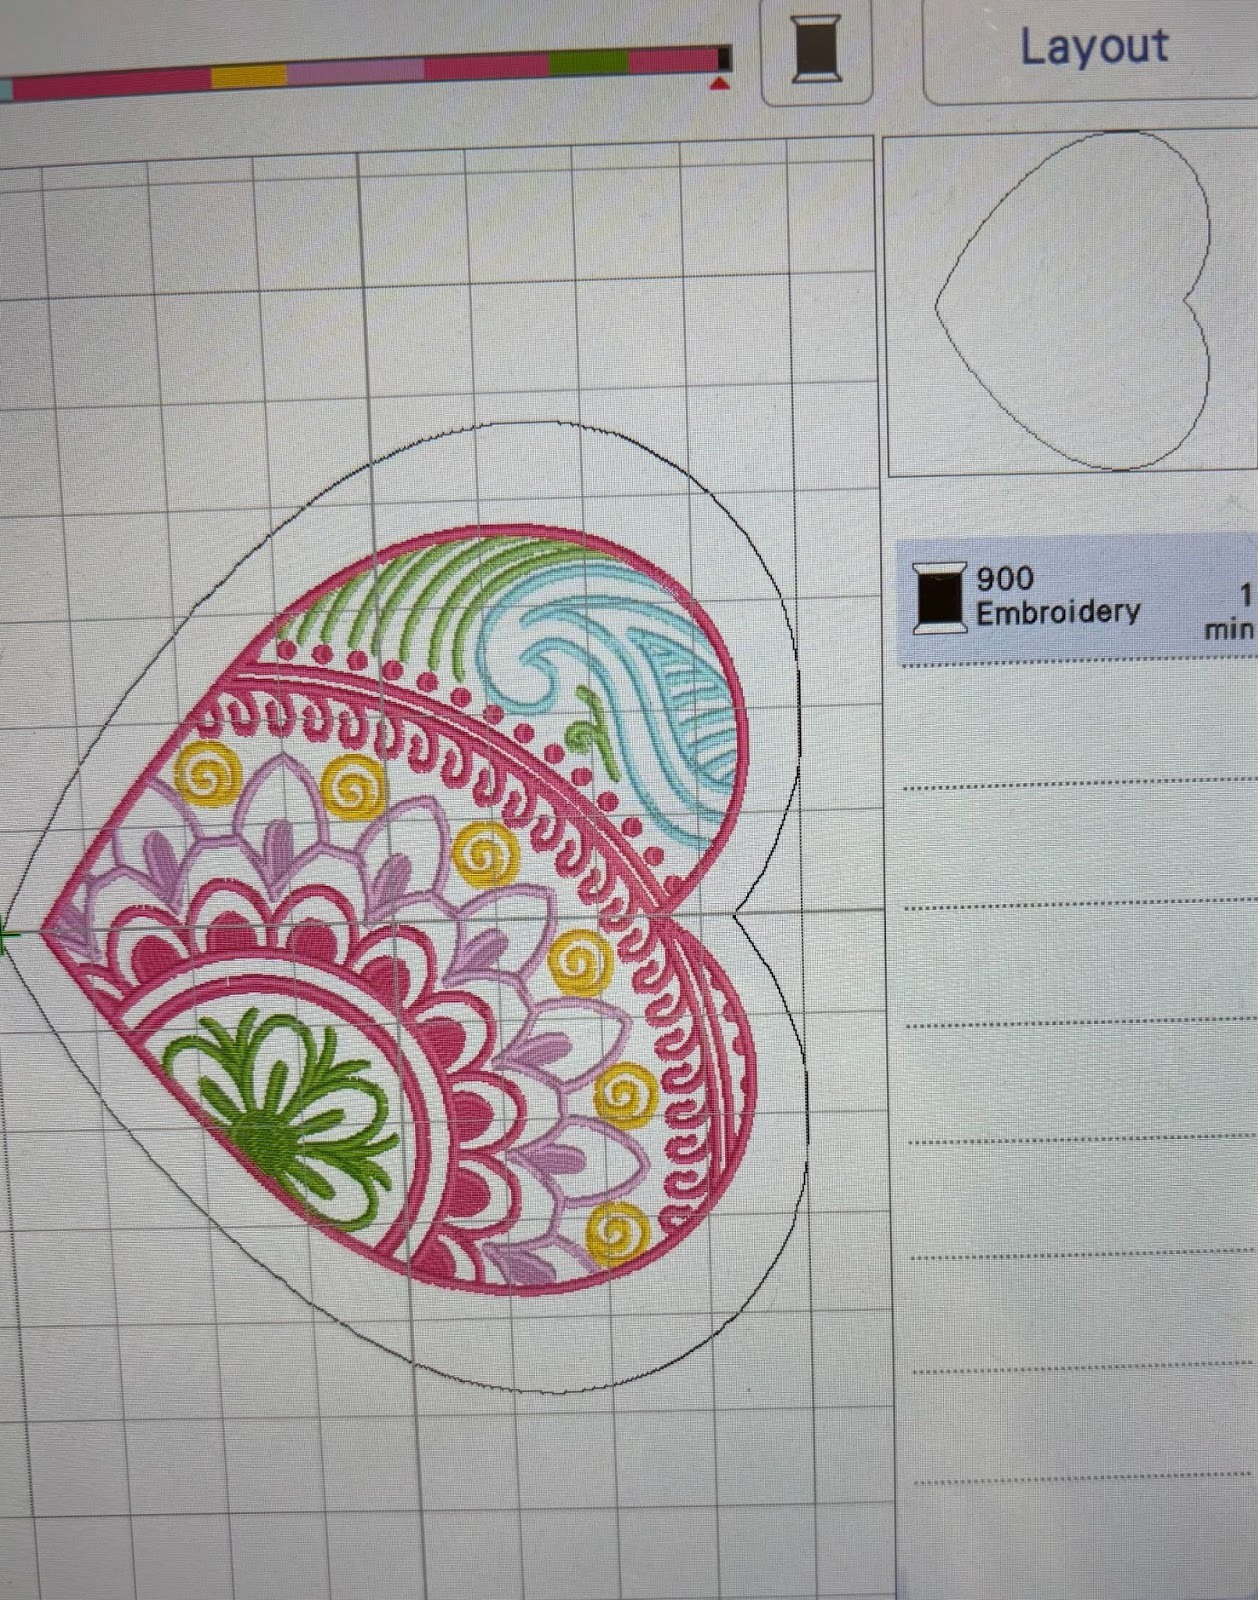
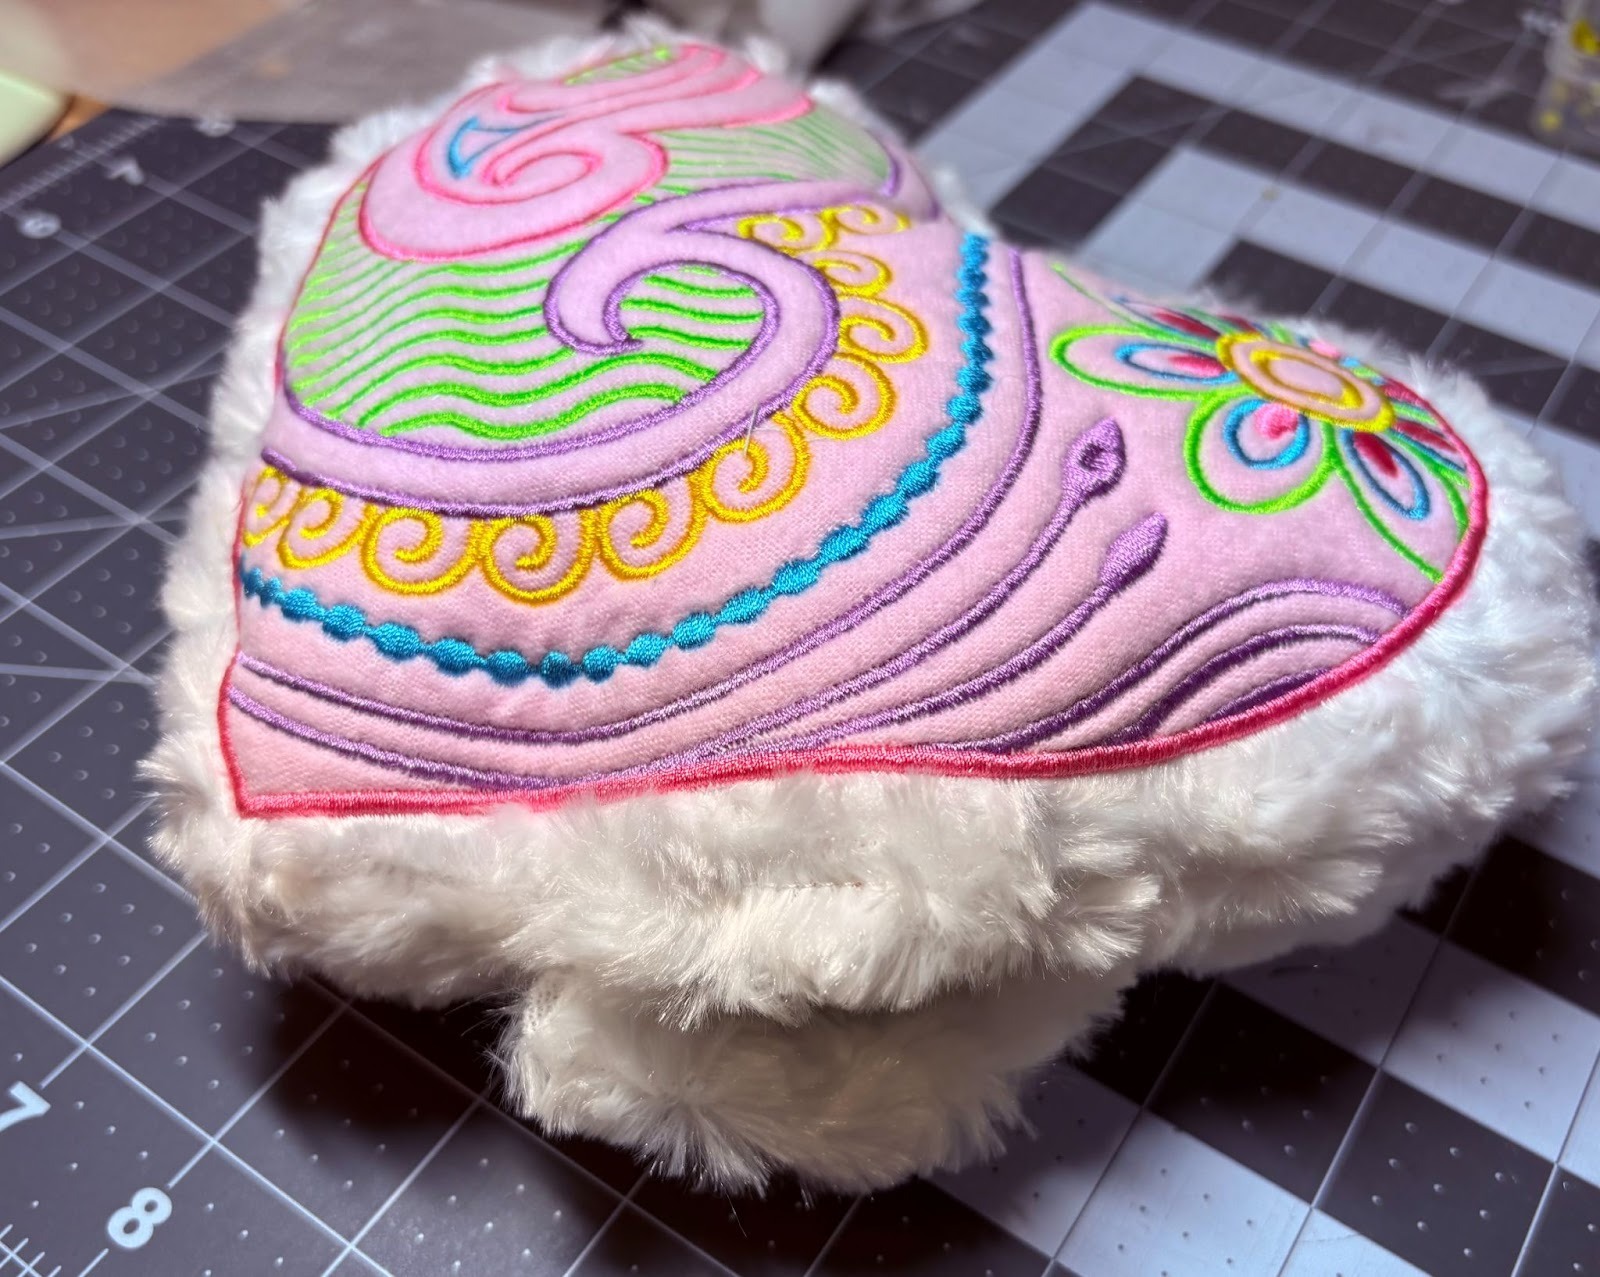
Select the 8x8 Mehndi Hearts design of your choice and center it inside the heart shape you just sized.
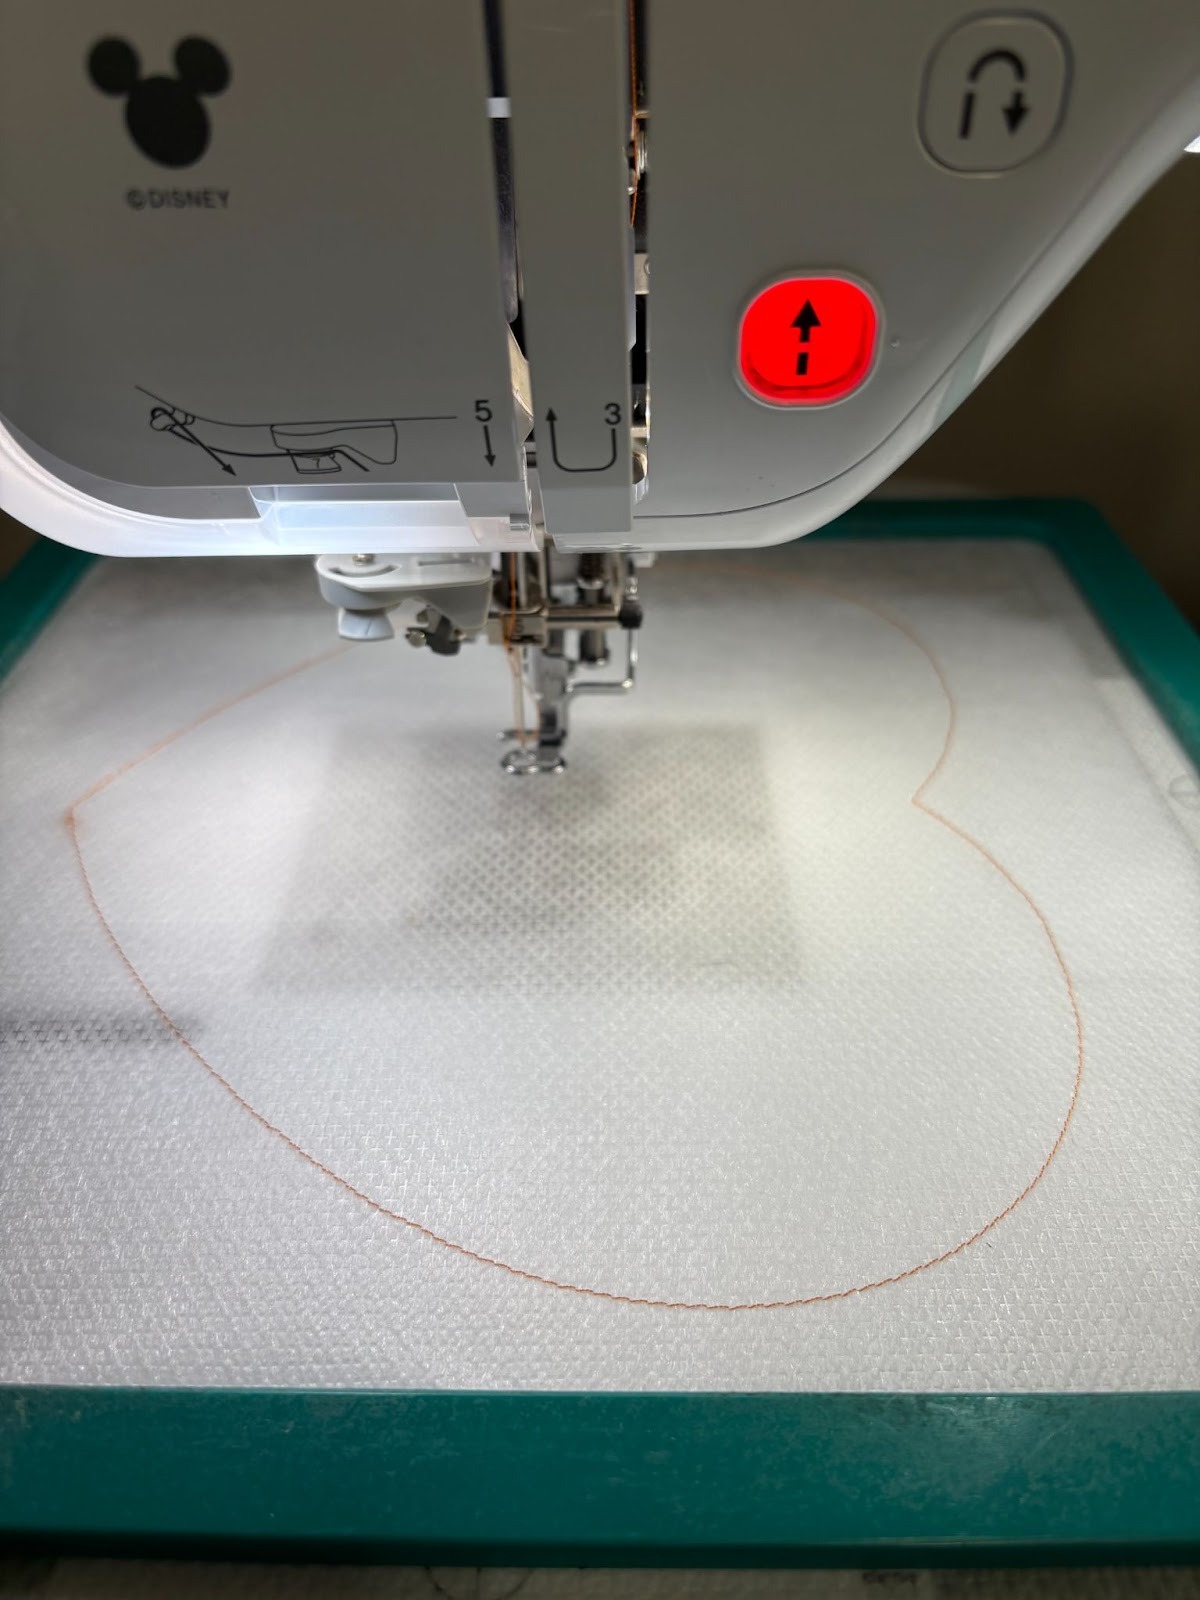
Hoop mesh stabilizer and place the hoop on your machine. Stitch the heart outline from your machine.
Place your background fabric over the heart so the stitches are completely covered by at least 1" all the way around.

Return to Step 1. Restitch the heart to tack down the background fabric.
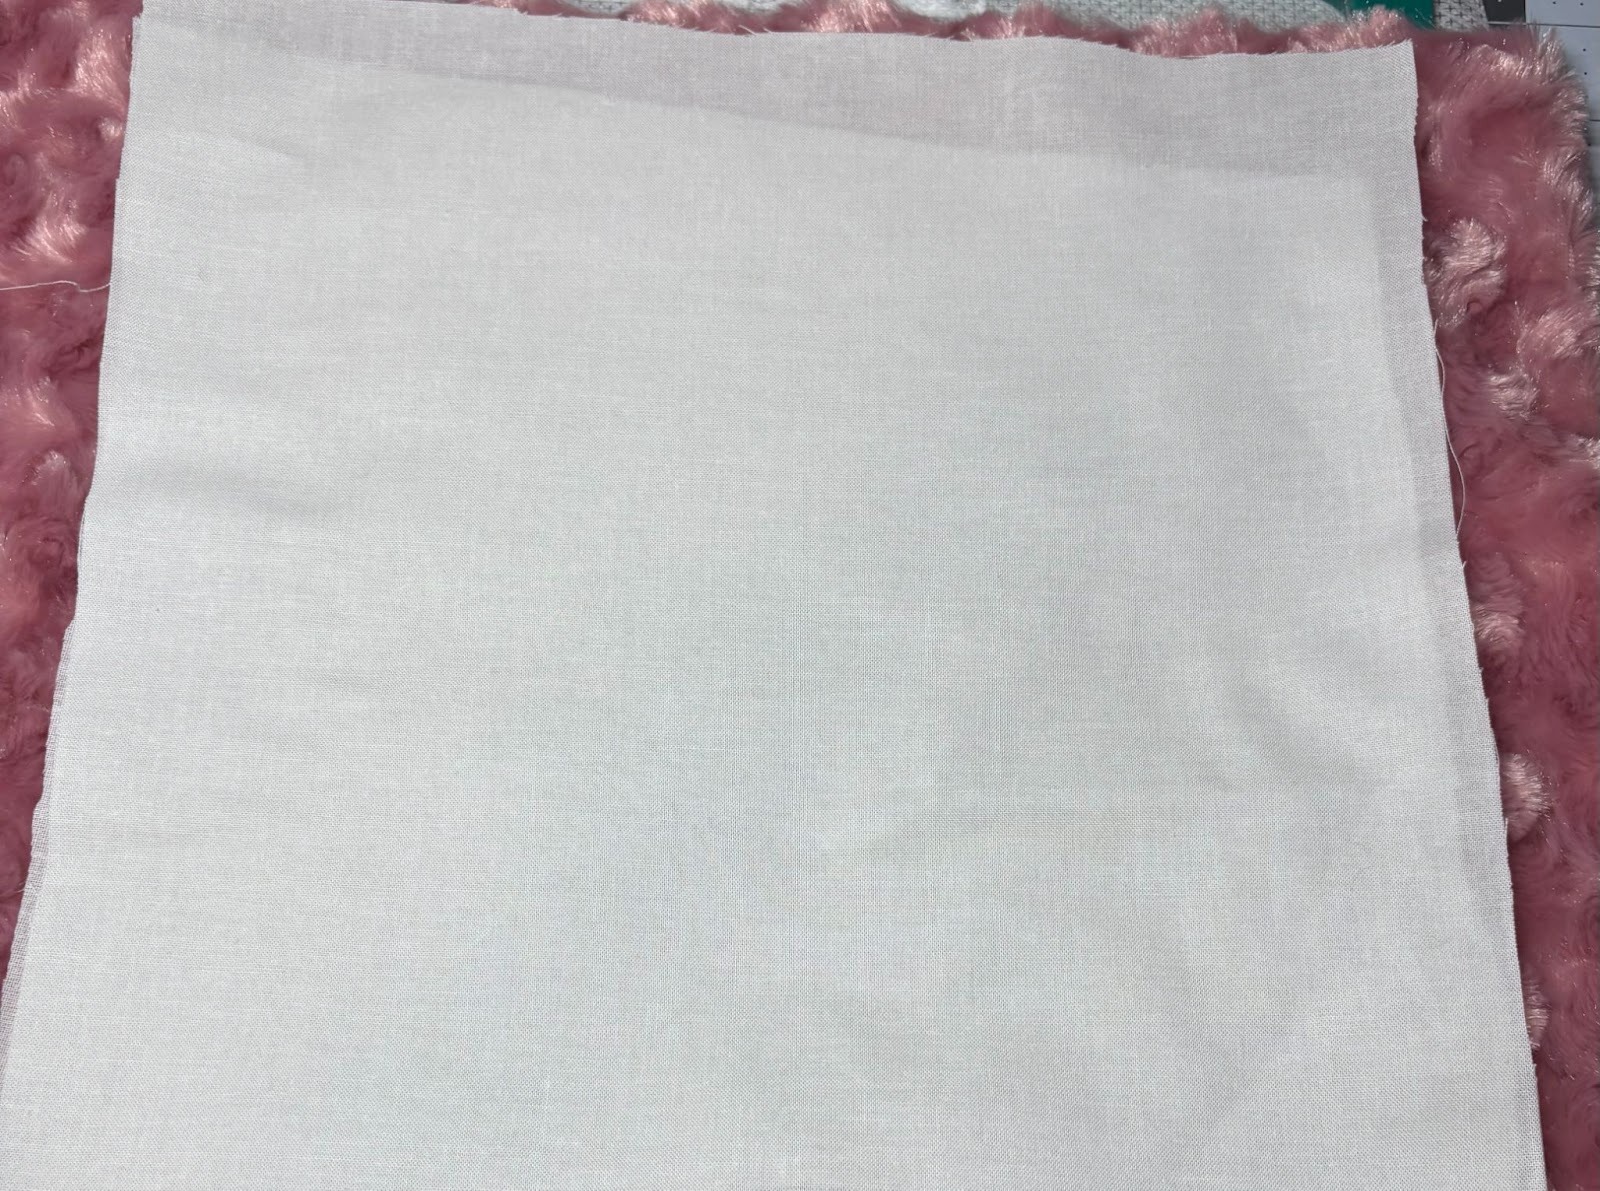
If using cotton for your top fabric, fuse SF101 to the back.
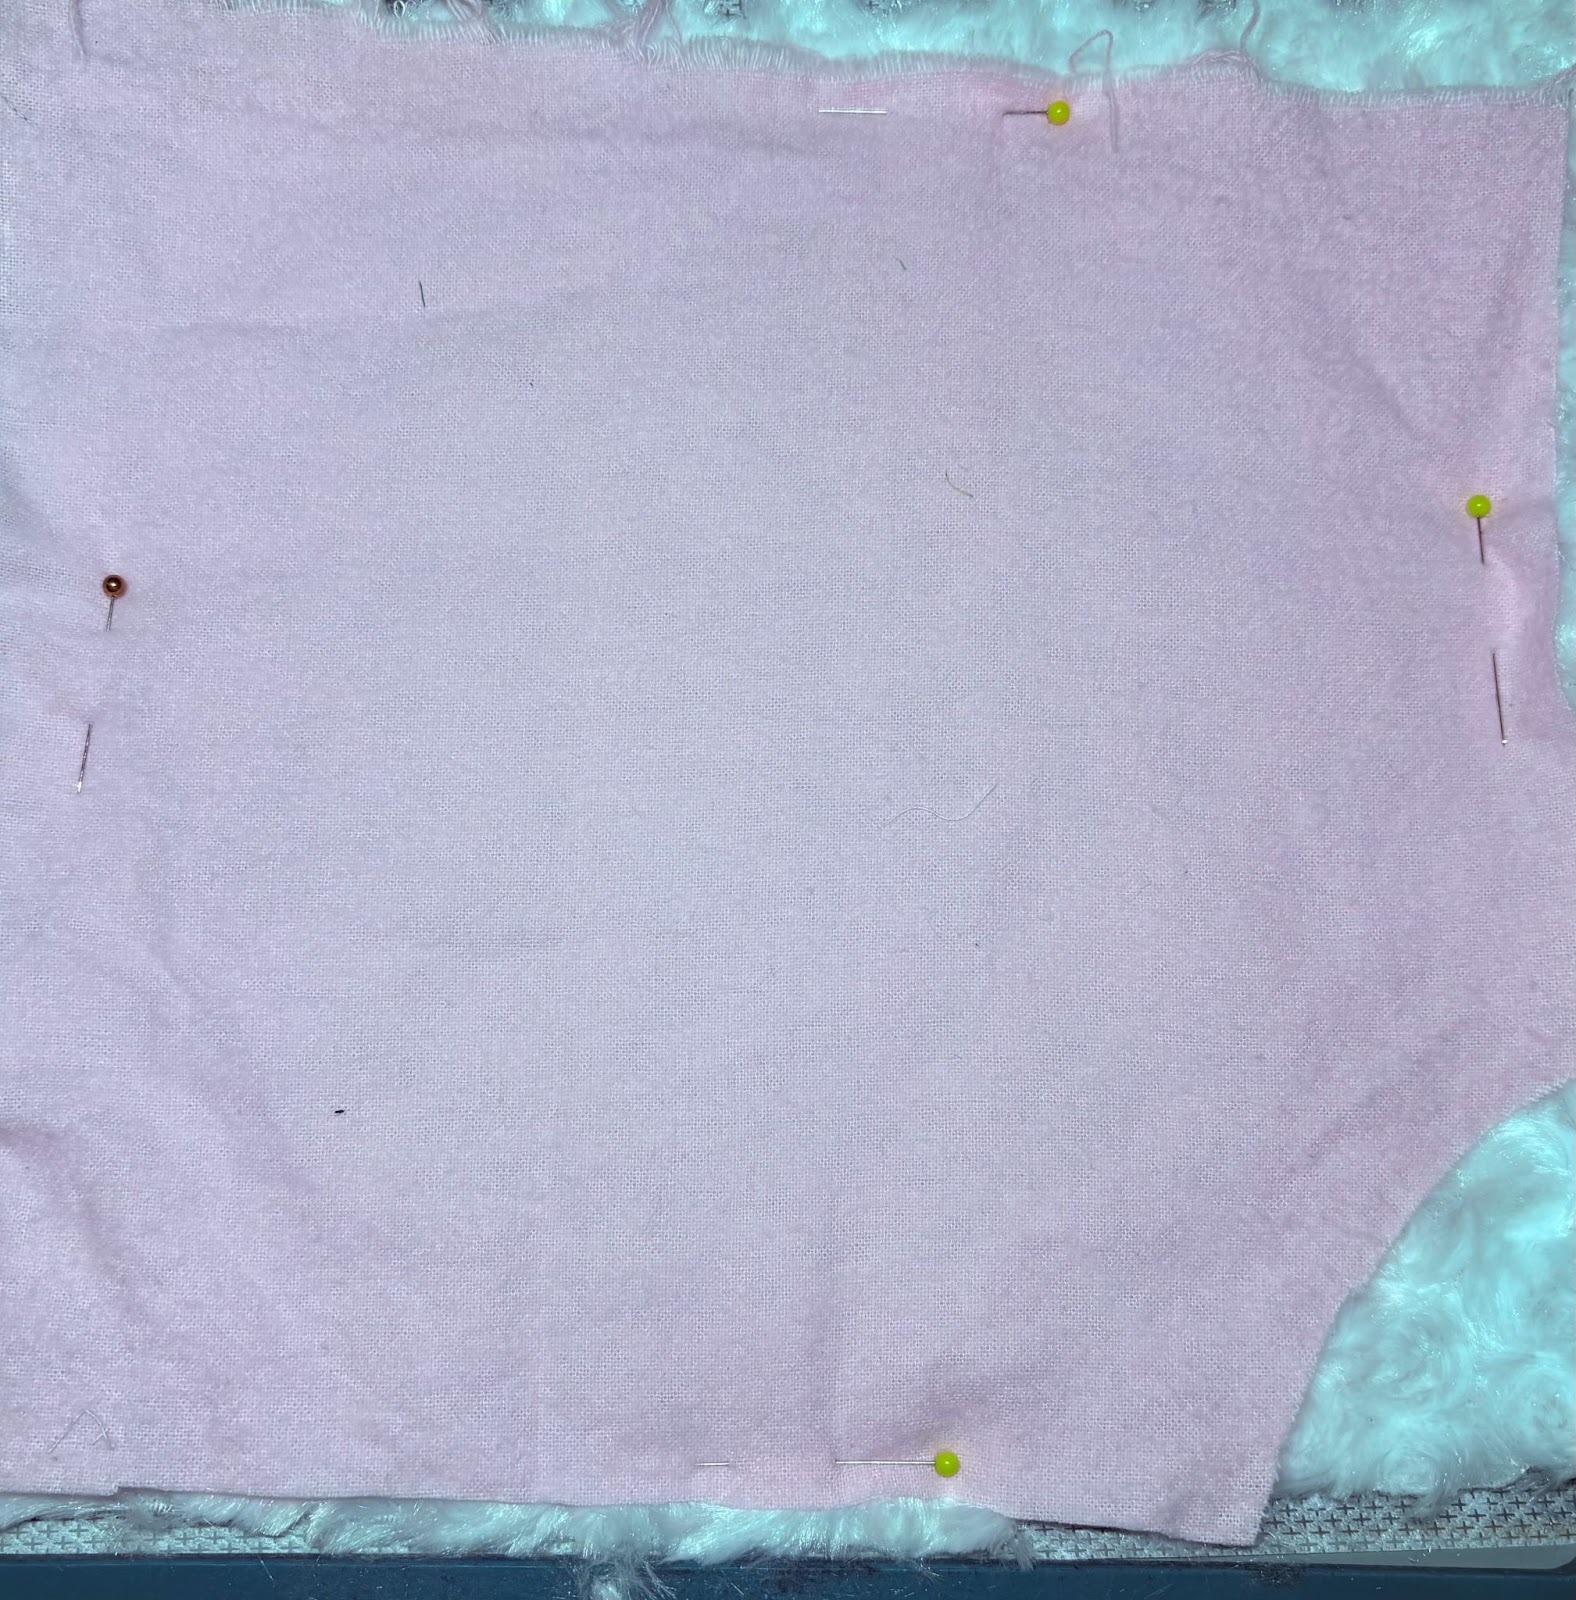
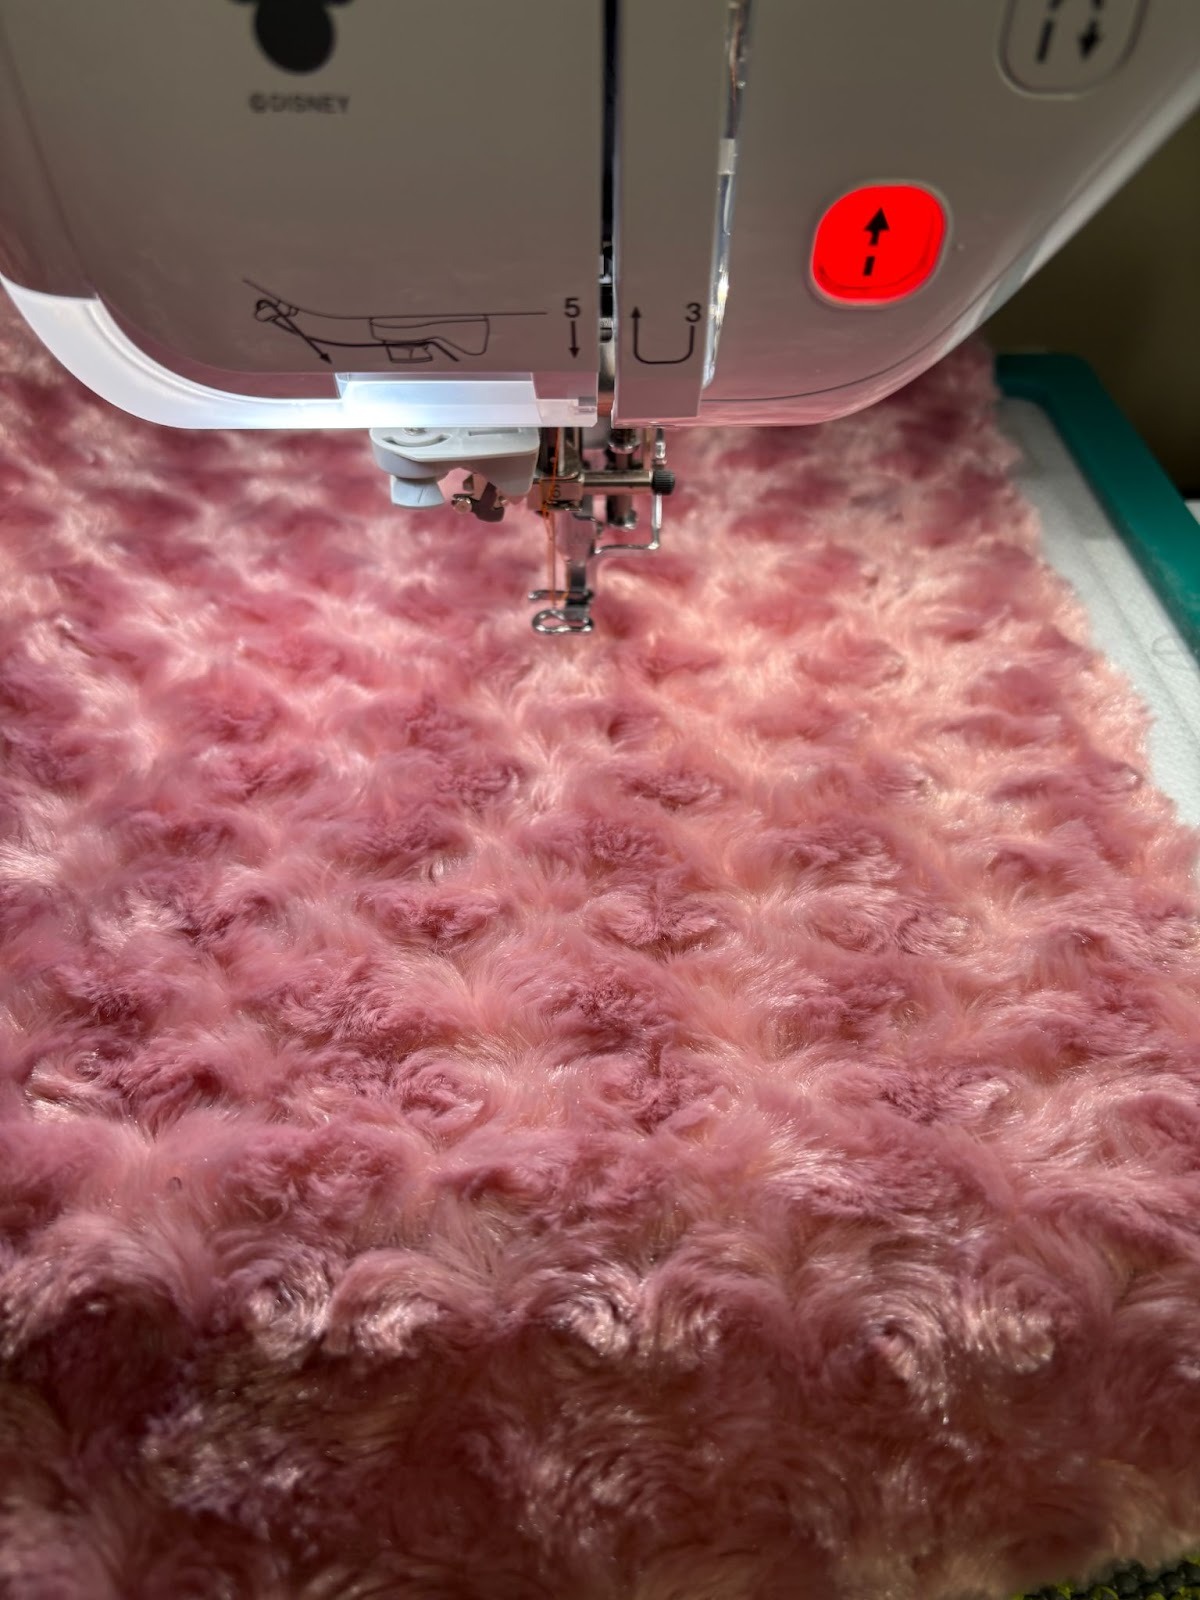
Place your top fabric over the background fabric. This will be the visible fabric for your stitched design. Pin to the background fabric and stabilizer. Make sure to keep all pins out of the embroidery area. I used flannel for my top fabric.
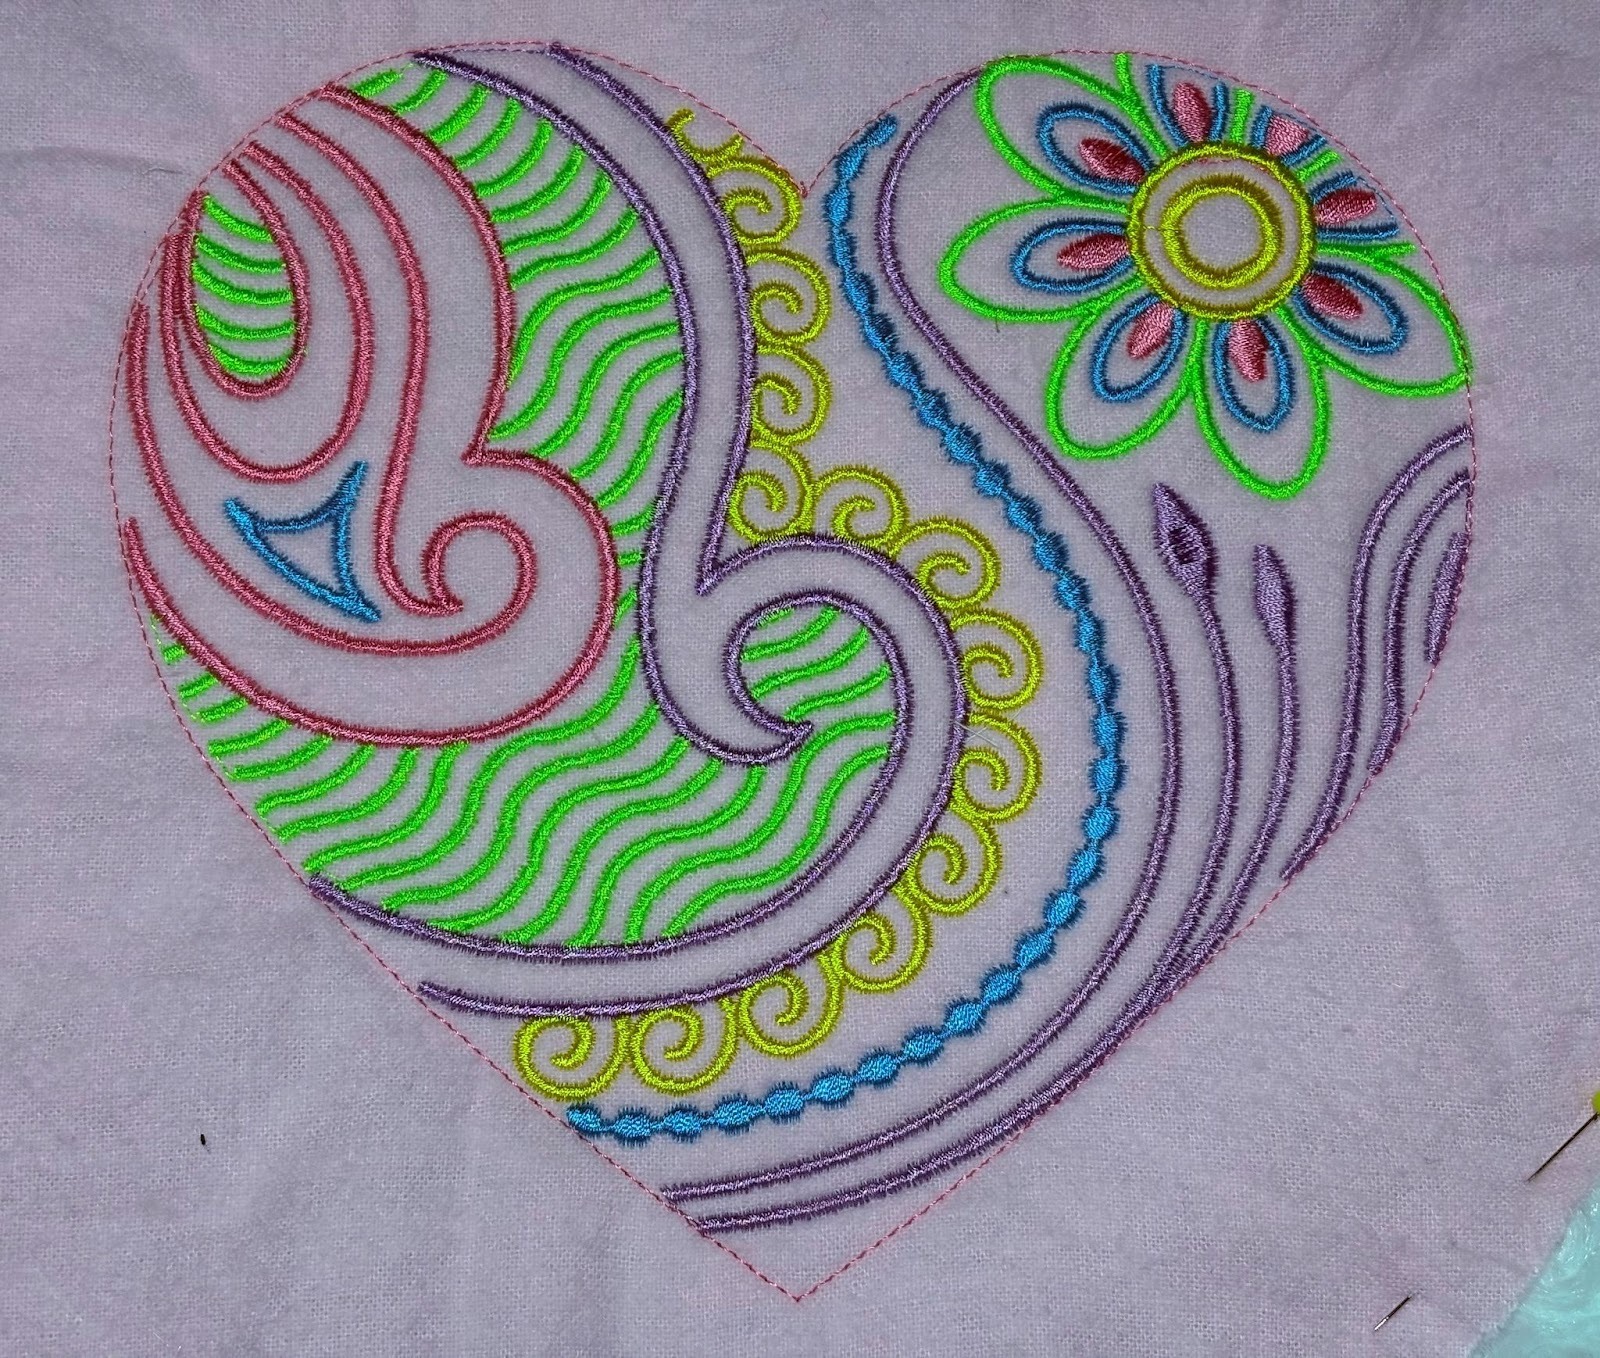
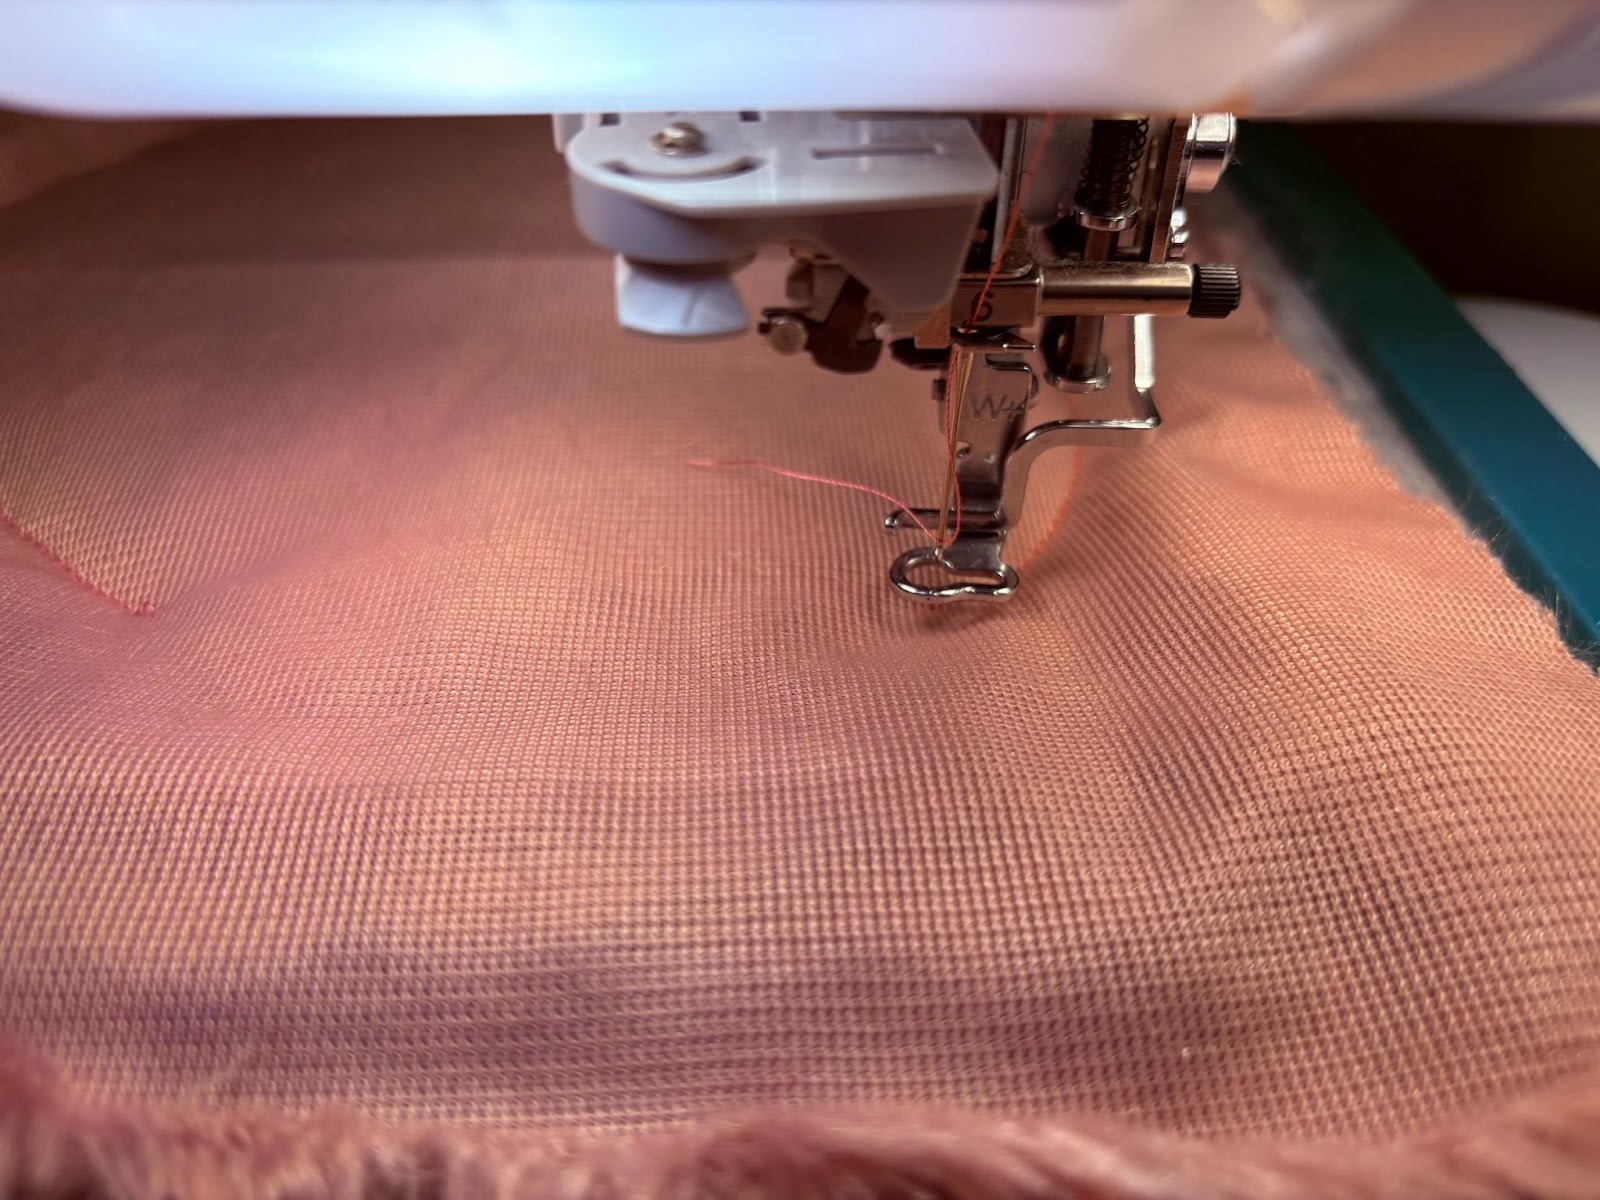
Stitch out the design, but stop at the last step, the satin stitch. We are going to use this step to create a cutting line for our fabric. Stitch only the outline, then stop the machine. Remove the hoop and place on a flat surface.
Trim top fabric closely around the outline stitches.

Return the hoop to the machine. If your fabric has a nap, I recommend placing a layer of water-soluble topper over it before stitching the satin outline. This helps keep the stitches raised and prevents the thread from sinking into the fabric.
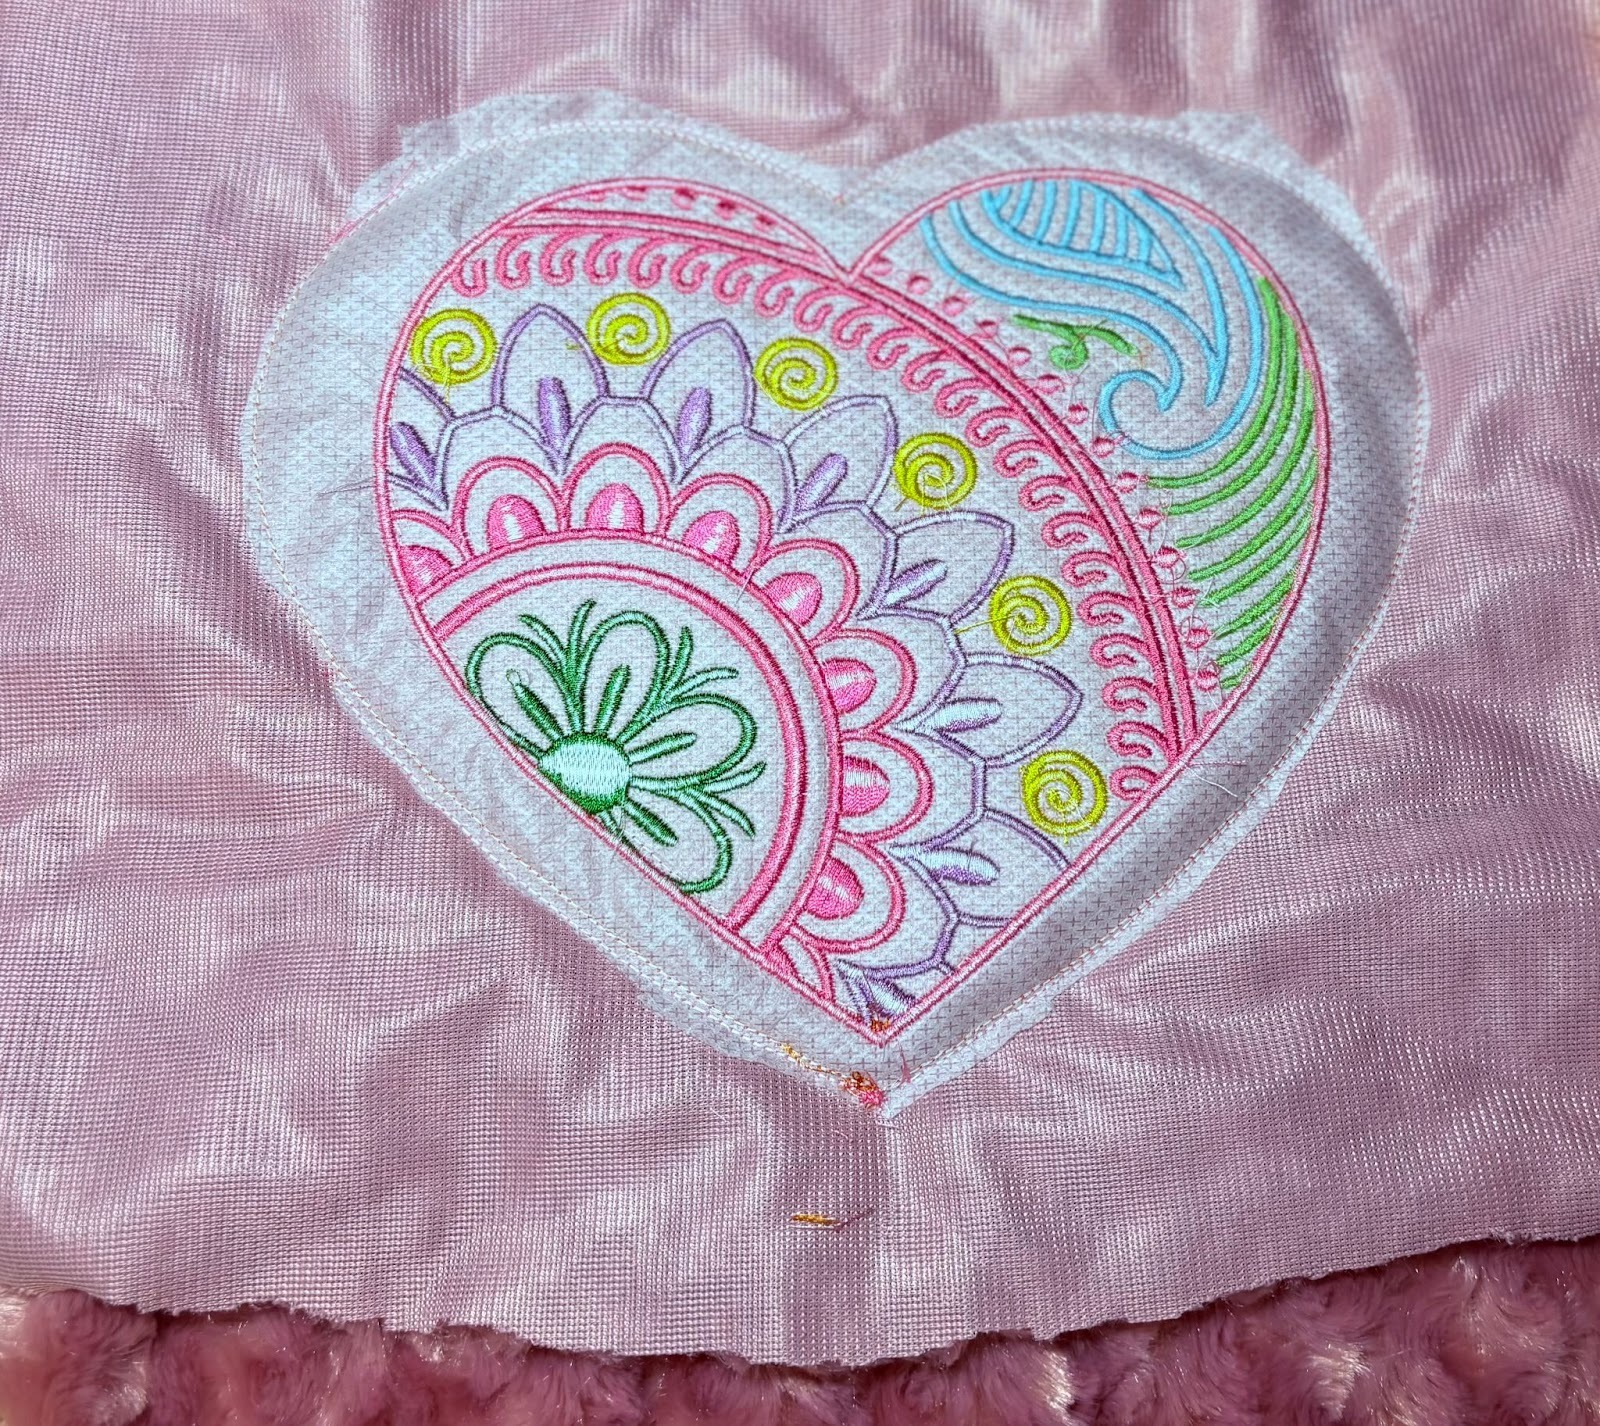
Continue to stitch the satin stitch. When the design is finished, remove the hoop from the machine and place it on a flat surface. If you used a water-soluble topper, carefully remove it at this time.
Place your second piece of background fabric on top of the stitched piece, right sides together.

Return the hoop to the machine and go back to the first step, the heart outline.
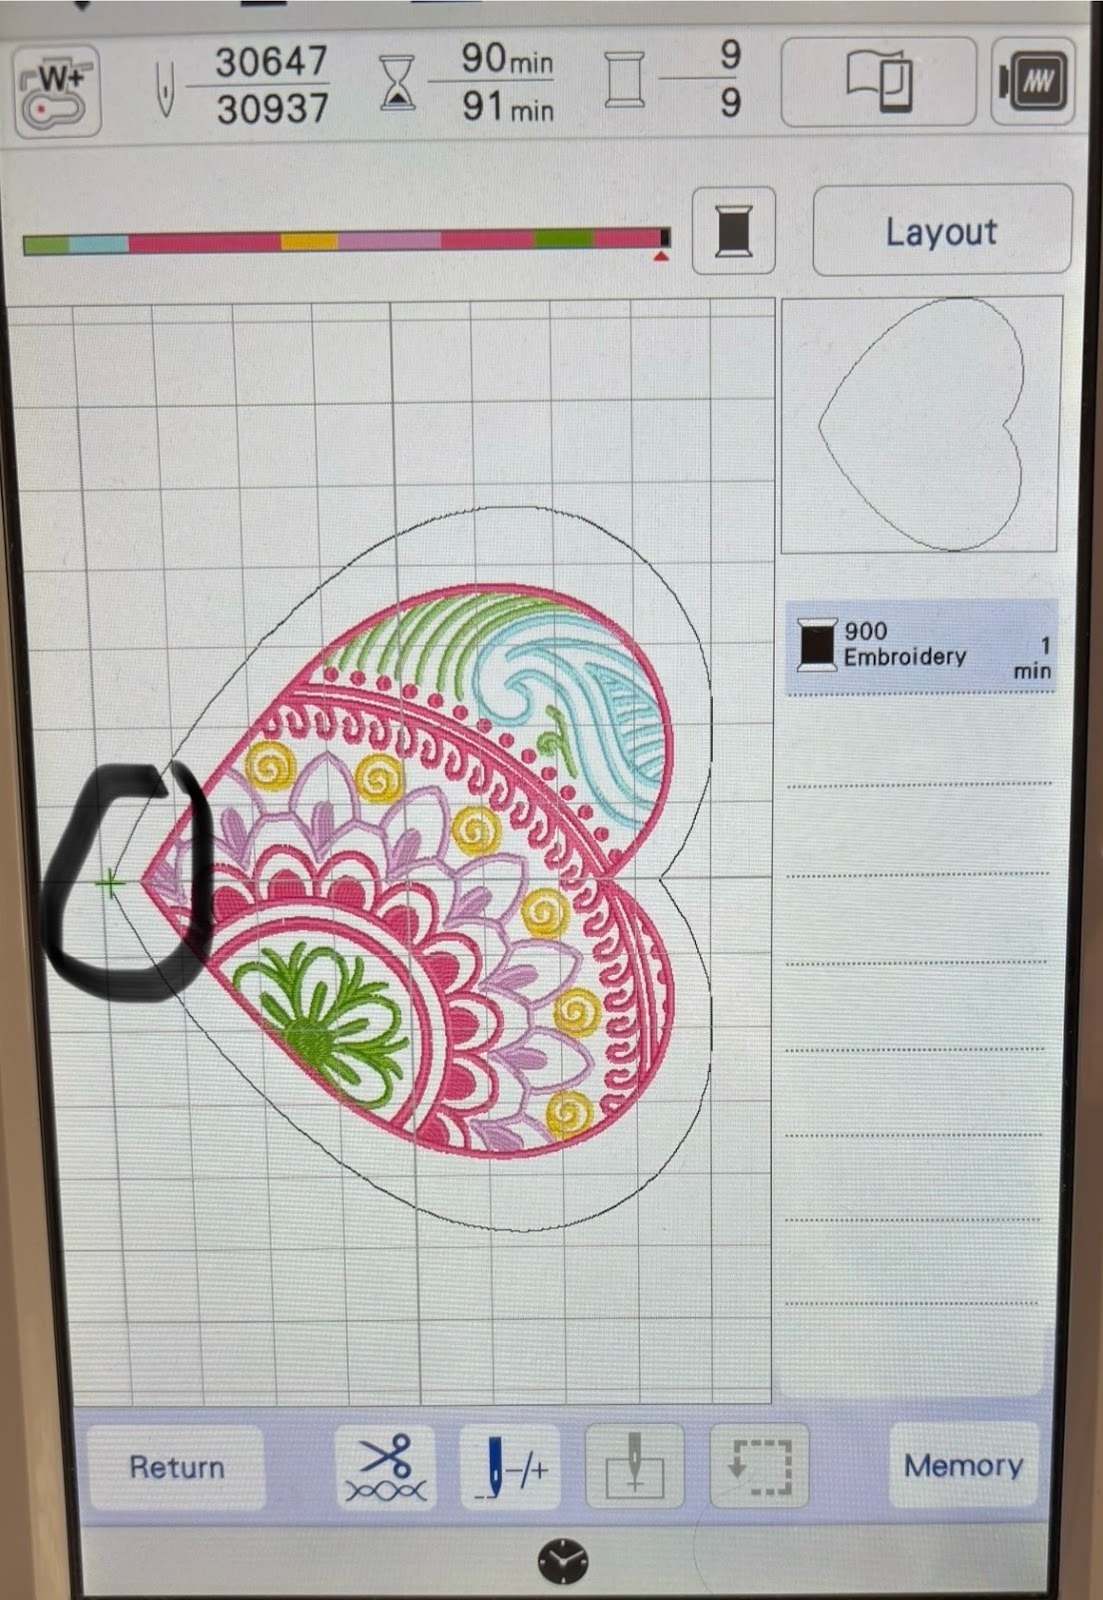
The machine will naturally want to begin stitching at the bottom of the heart. For easier turning later, we want to start stitching along the side instead.

Advance the stitch count approximately 100 stitches so the needle moves to the side of the heart, then begin stitching from that point.
Allow the outline to continue around the heart. When the stitching reaches the bottom point, it will stop. Restart the stitch again and continue sewing until you have left a 3"–4" opening.
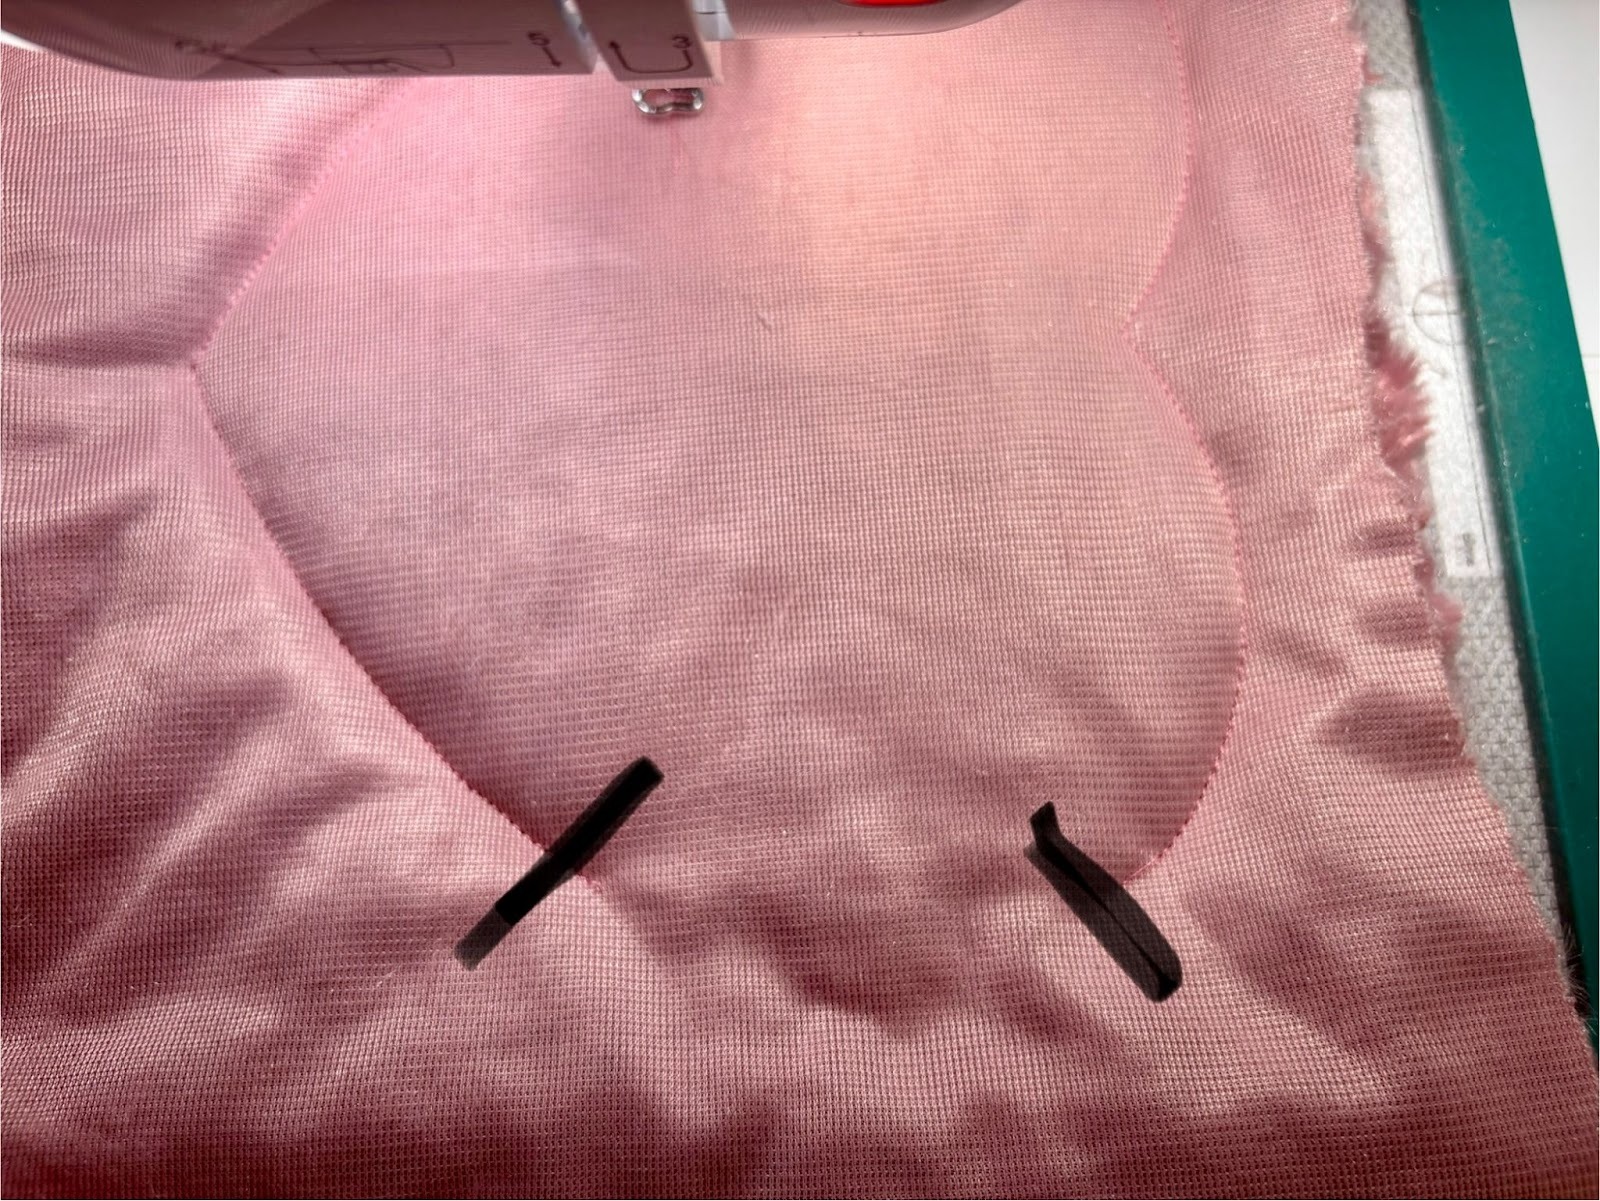
Stop the stitch there. Repeat the outline a second time to reinforce the seam. Stitching the outline twice ensures the seam is secure and stable.
Remove the pillow from the hoop and trim away the stabilizer from the back.
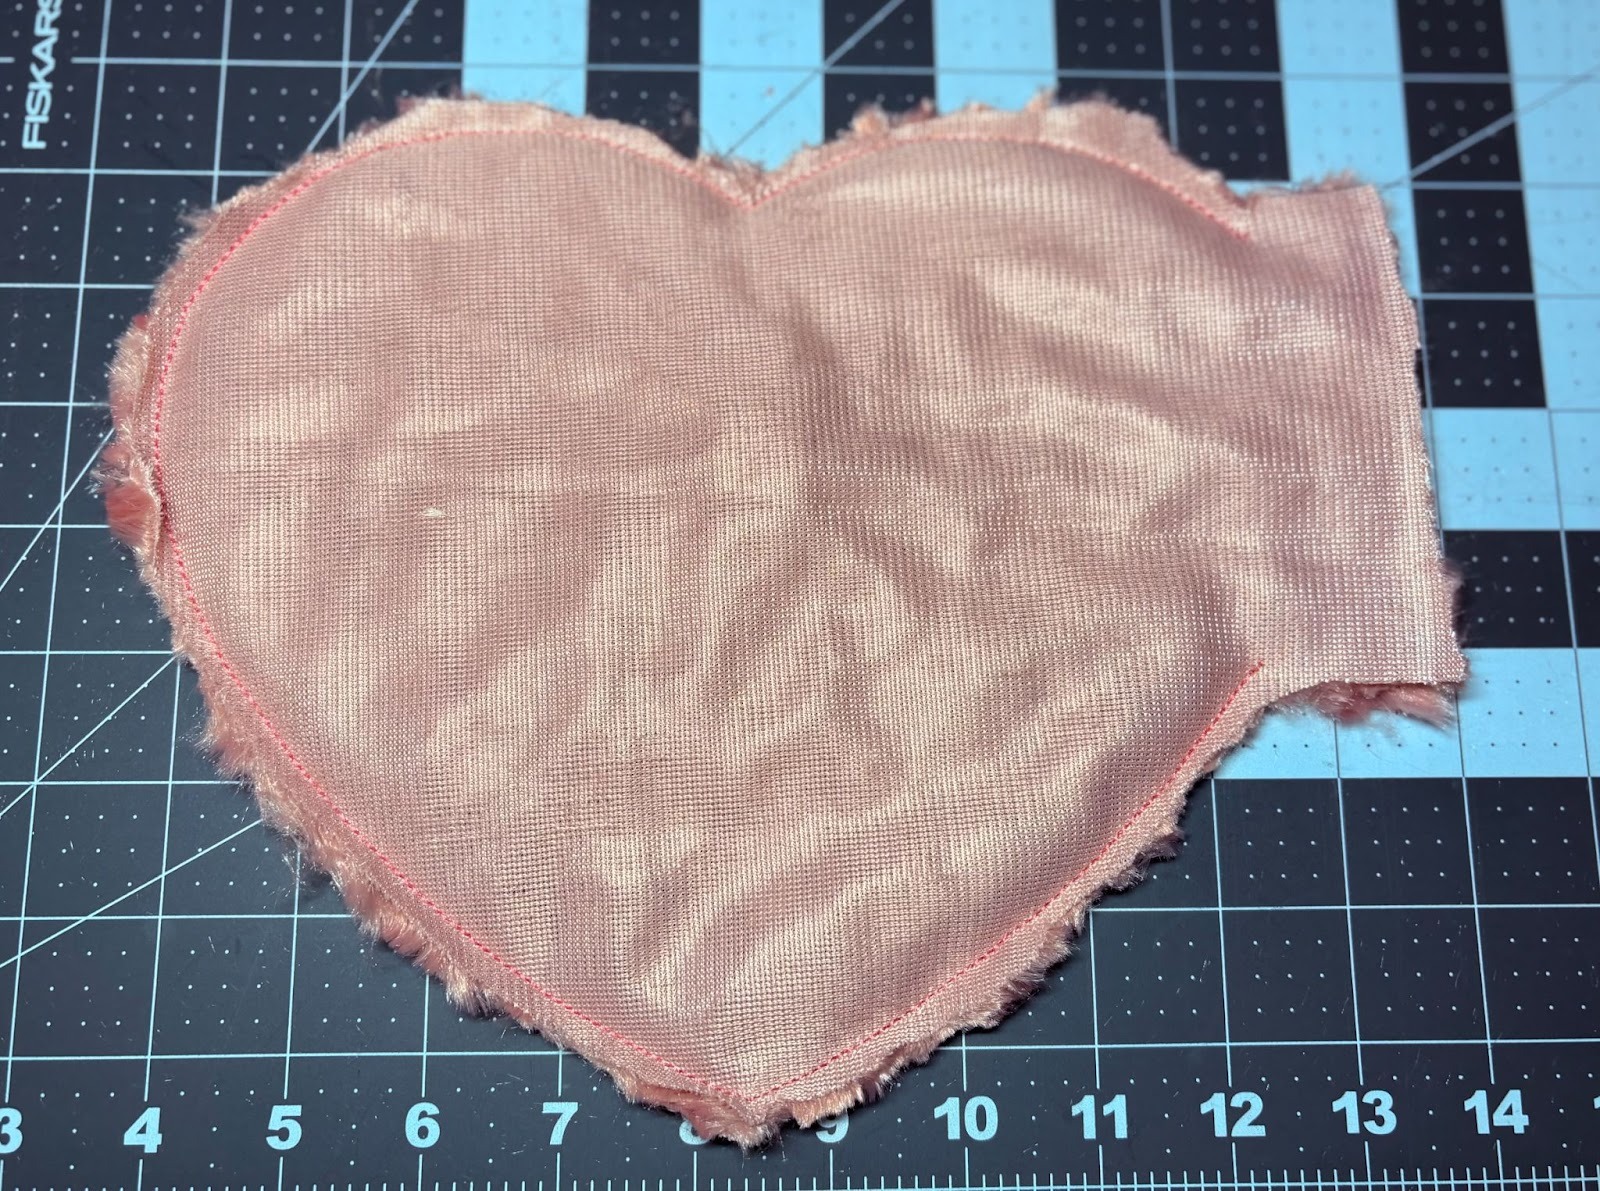
Using scissors, trim the fabric ⅛” from the stitched seam, but be sure to leave at least 1” of extra fabric at the opening. You’ll need this allowance to close the pillow later.
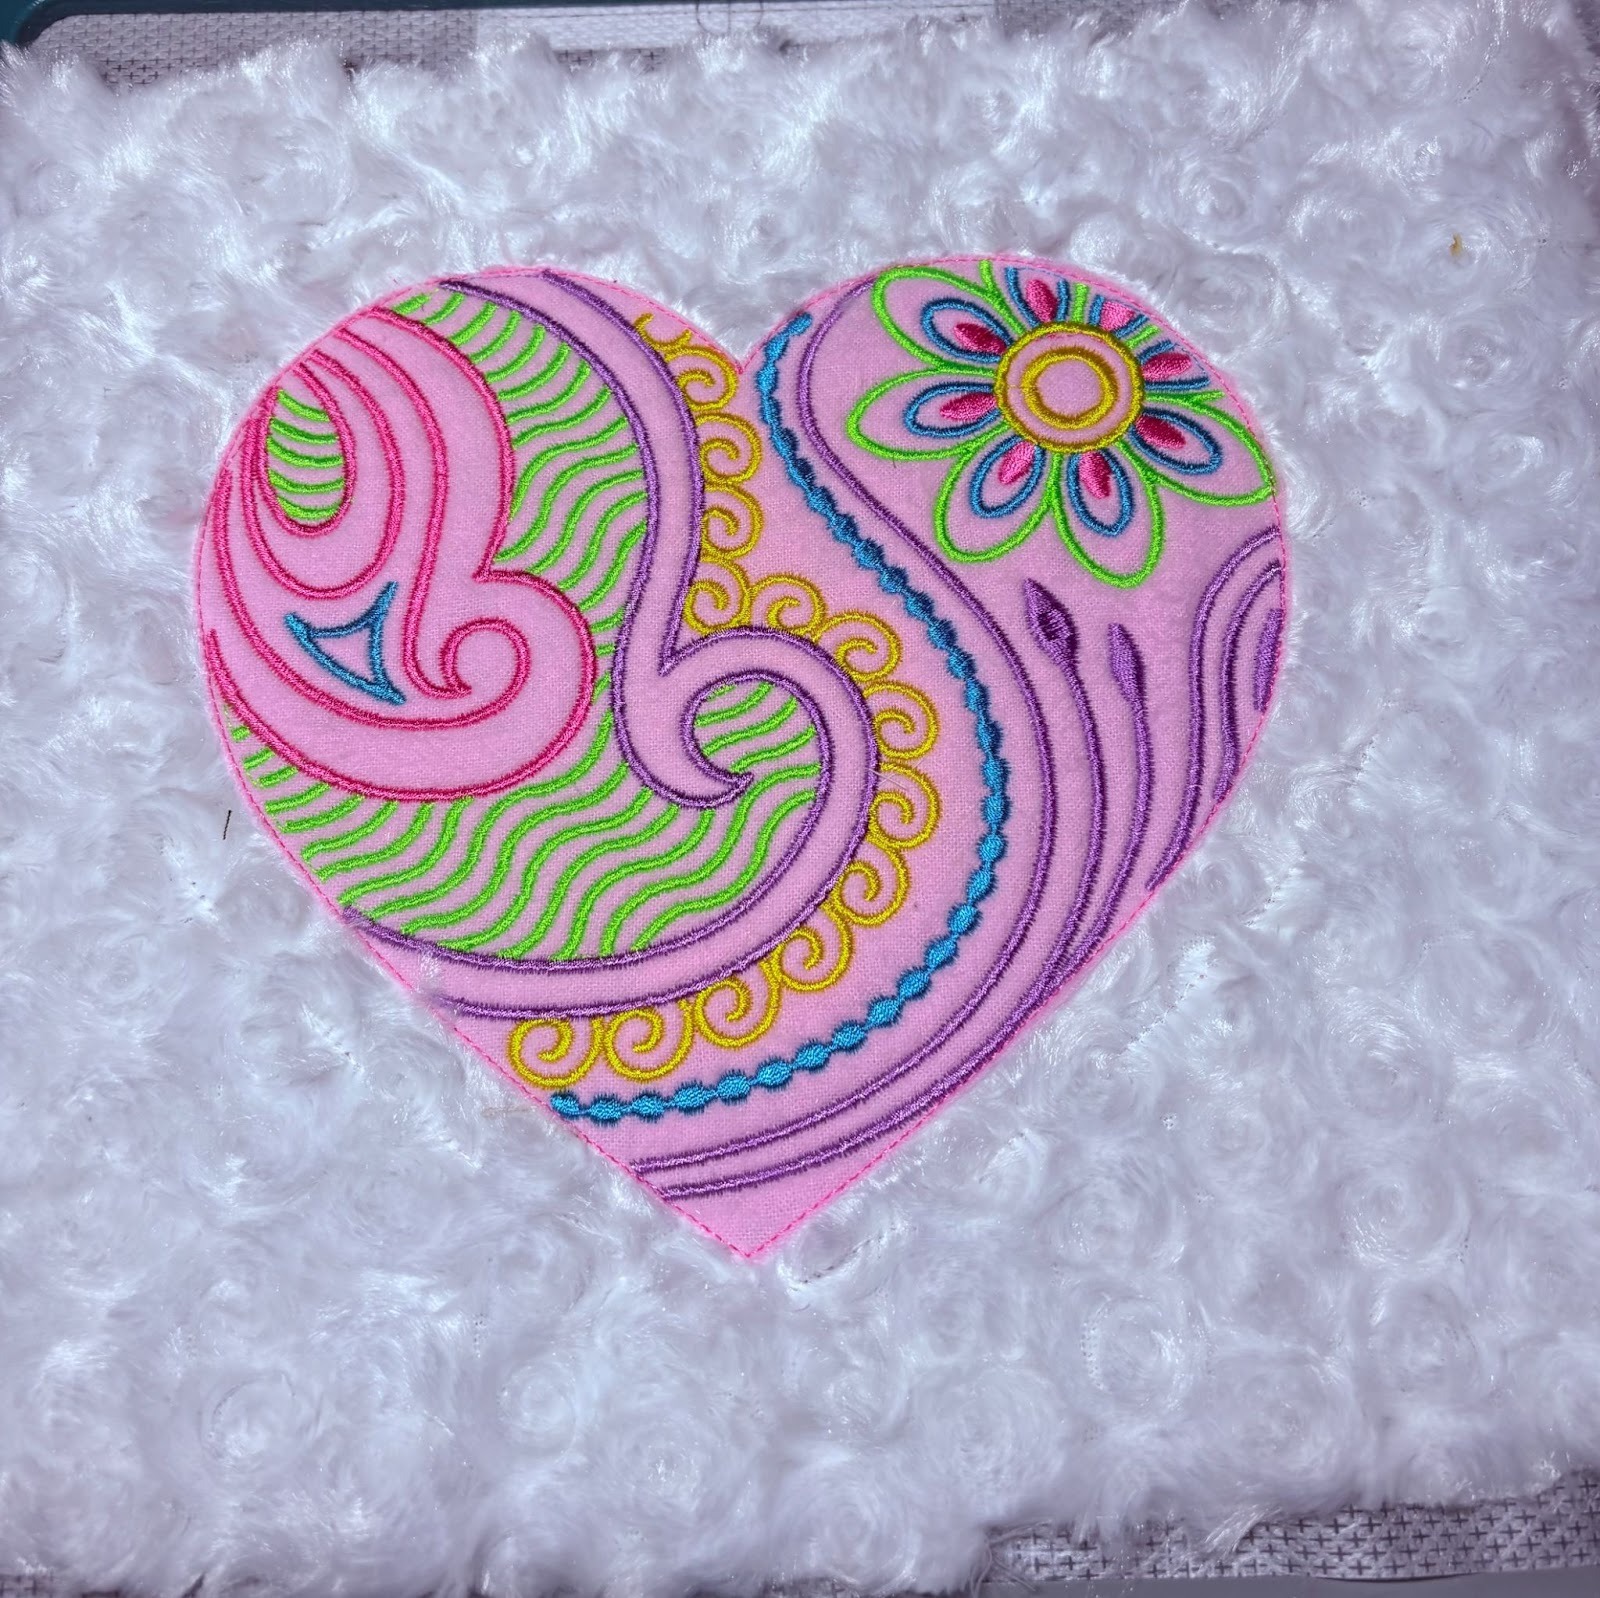
Turn the pillow right side out through the opening. Stuff the pillow with Poly-fil® to your desired fullness.
Fold the raw edges of the opening to the inside and pin in place. Hand stitch the opening closed using a ladder stitch or your preferred hand-sewing method.
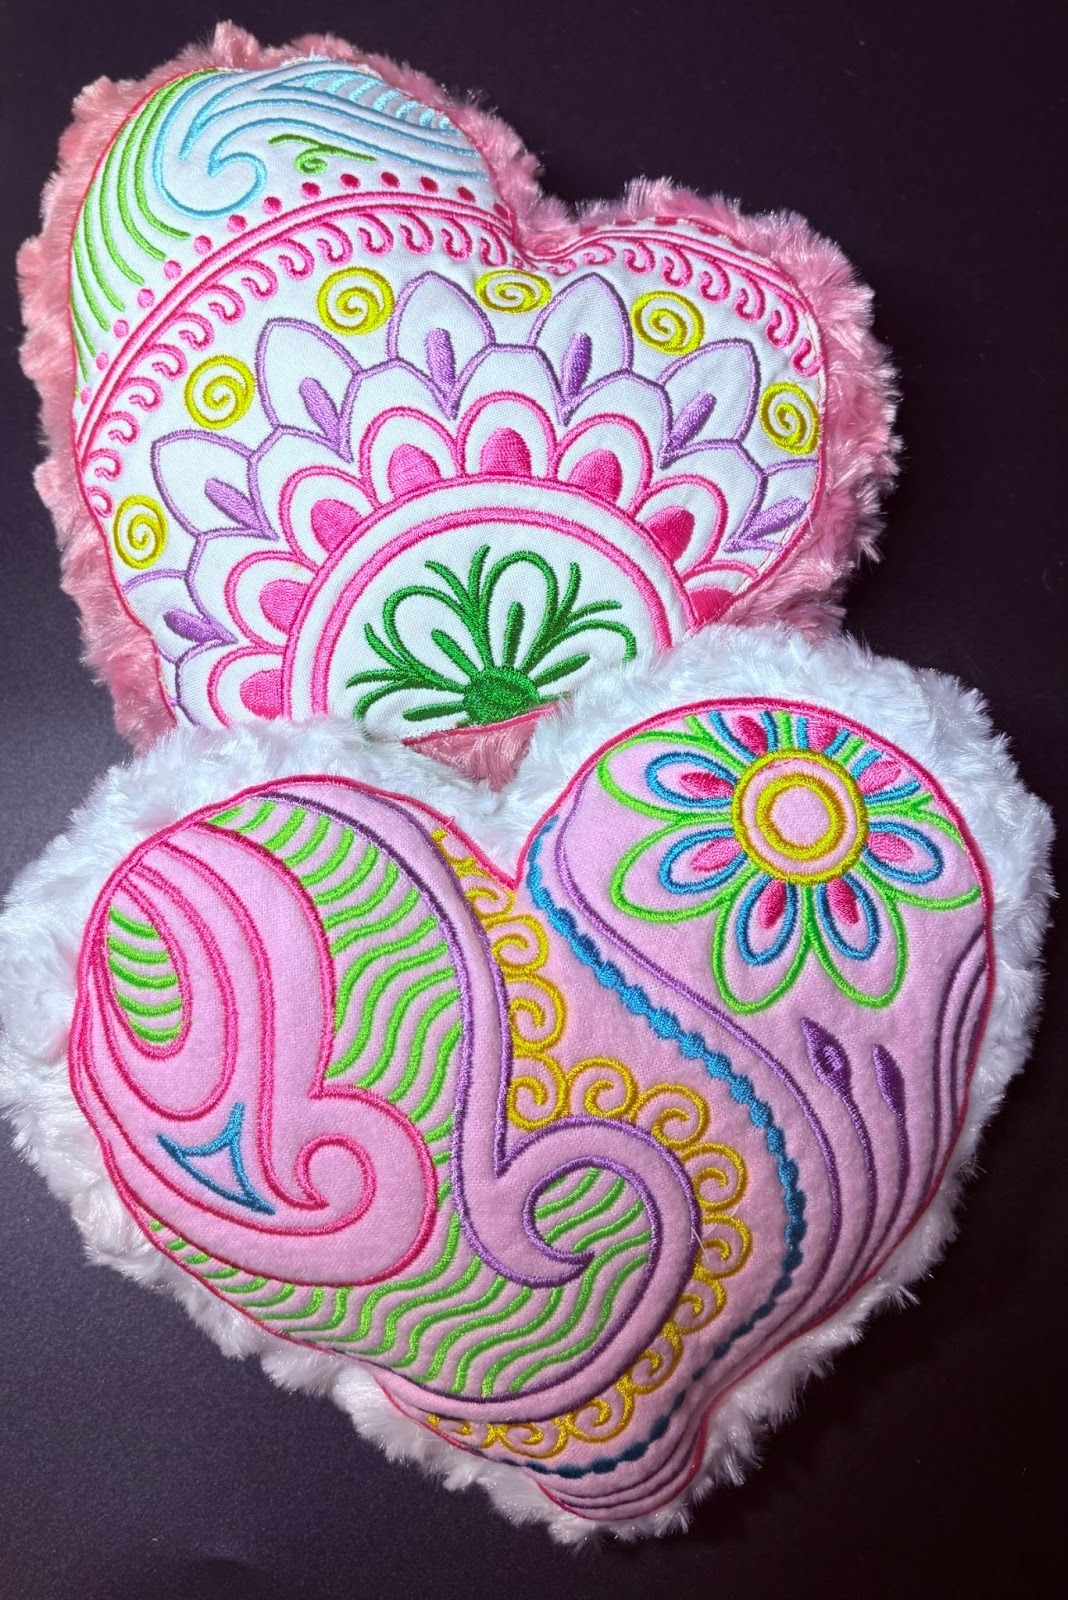

And that’s it! Your in-the-hoop heart pillow is complete and ready to display, gift, or even snuggle. I love how customizable this project is. You can change the fabric, resize your heart, or switch out the center design to fit any theme or occasion. Once you make one, you’ll want to make more!
If you enjoyed this tutorial, be sure to save it for later and share your finished pillow in the Designs by JuJu Embroidery Blessings Group on Facebook, or anywhere on social media using the hashtag #designsbyjuju. We love to see what you create!
