Toggle Nav
 Inspire.
Create.
Stitch.
Inspire.
Create.
Stitch.
Search
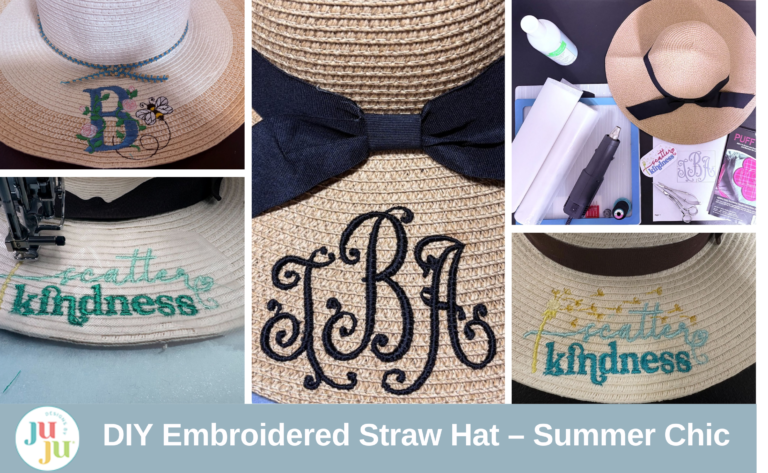
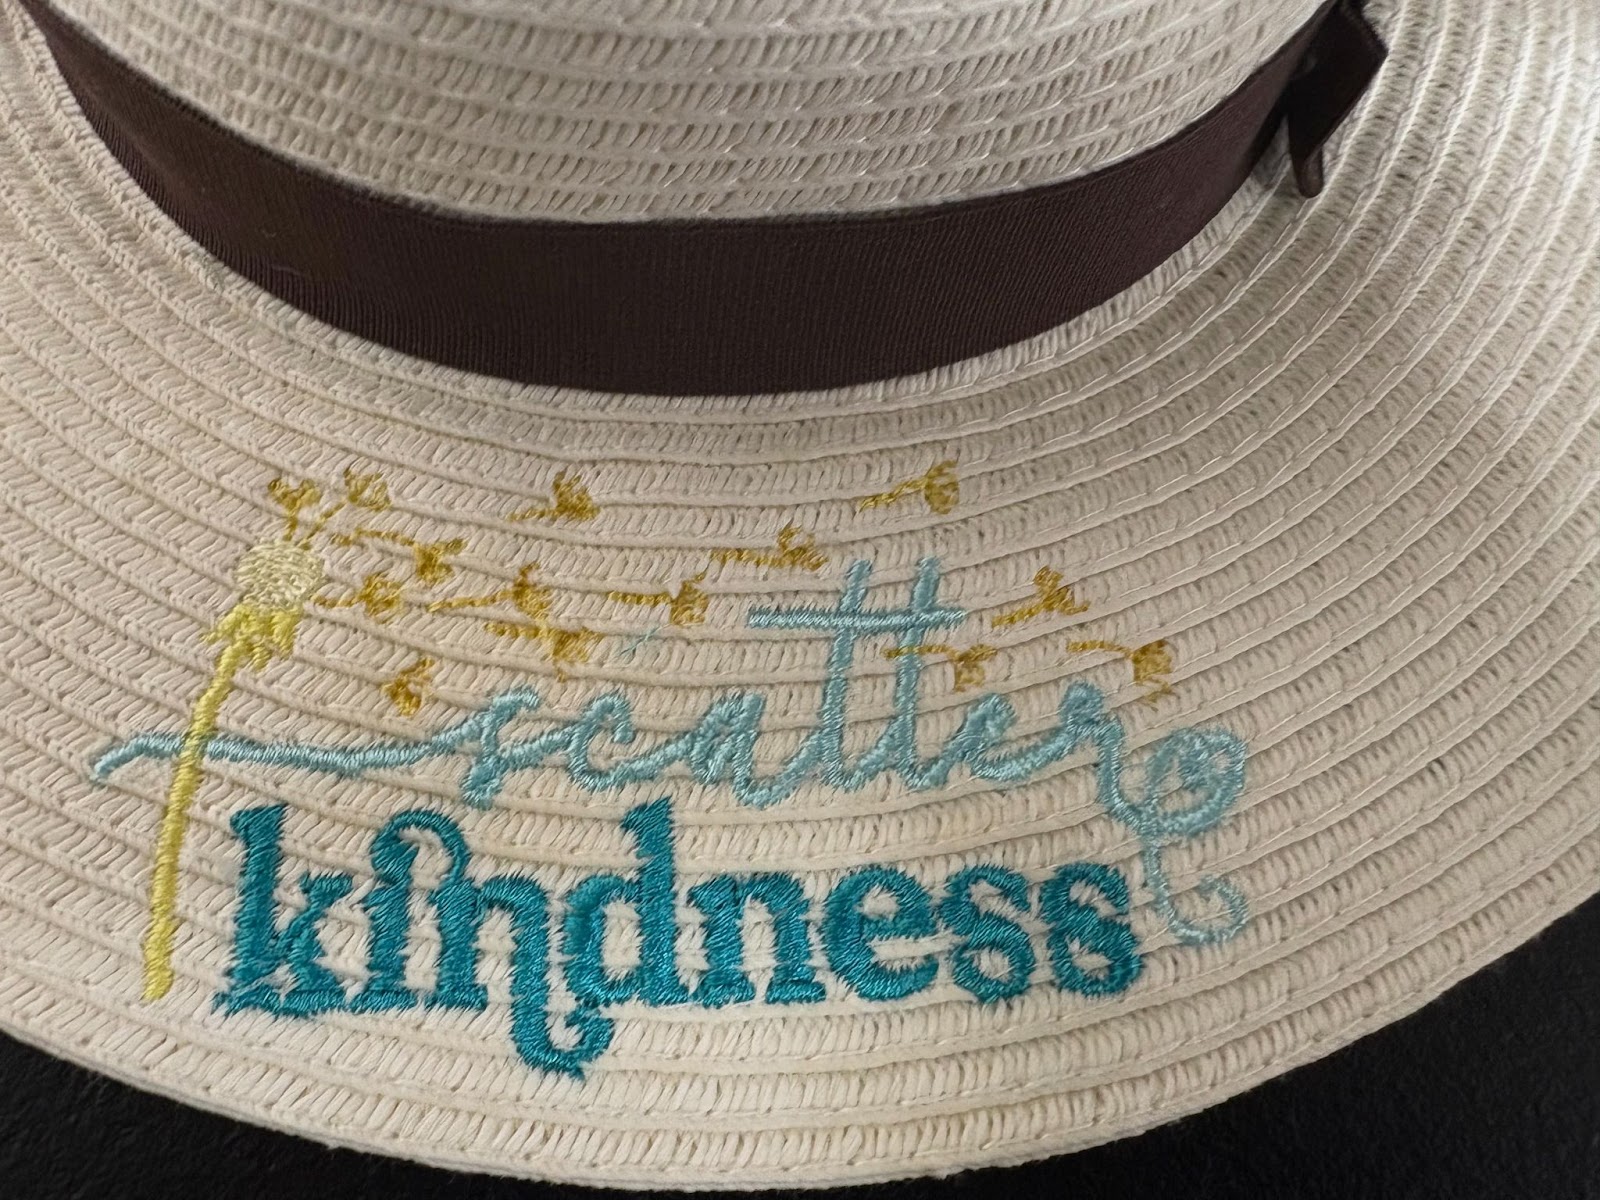
Elevate your summer outings with a delightful embroidered straw hat!
It’s not just an accessory; it’s a statement piece that adds a splash of charm to your sunny adventures. It's the perfect accessory for enjoying the sunshine and staying stylish. Embroidering on a straw hat is a fulfilling and enjoyable way to enhance your summer wardrobe. With JuJu’s designs, you can express your creativity while protecting yourself from the sun.
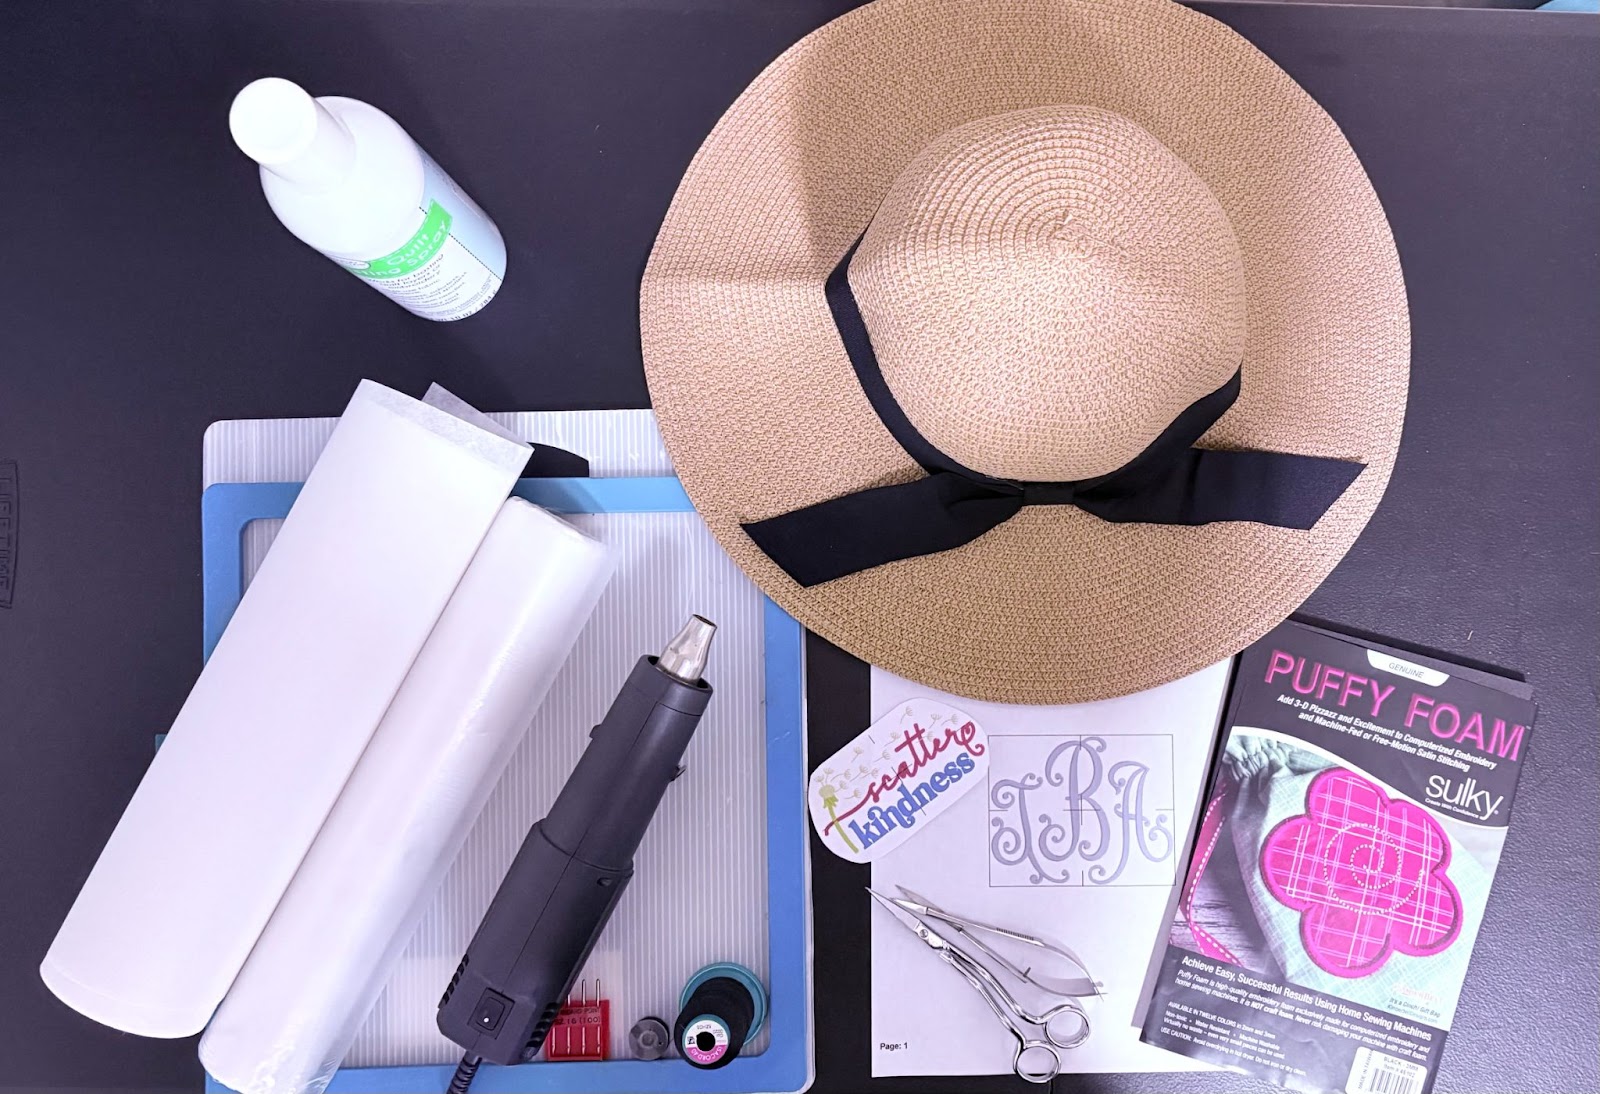
Check out the DBJJ team’s favorite supplies in the Designs by JuJu's Amazon store.
In this tutorial I will show you two different methods to embroider on a straw hat. The first will be using a monogram or simple design and stitching directly onto the hat.

The second will show how to use puffy foam for a 3D finish.

Designs by JuJu has a wide variety of monograms, as well as simple sayings. You are sure to find just the right one to complement your straw hat.
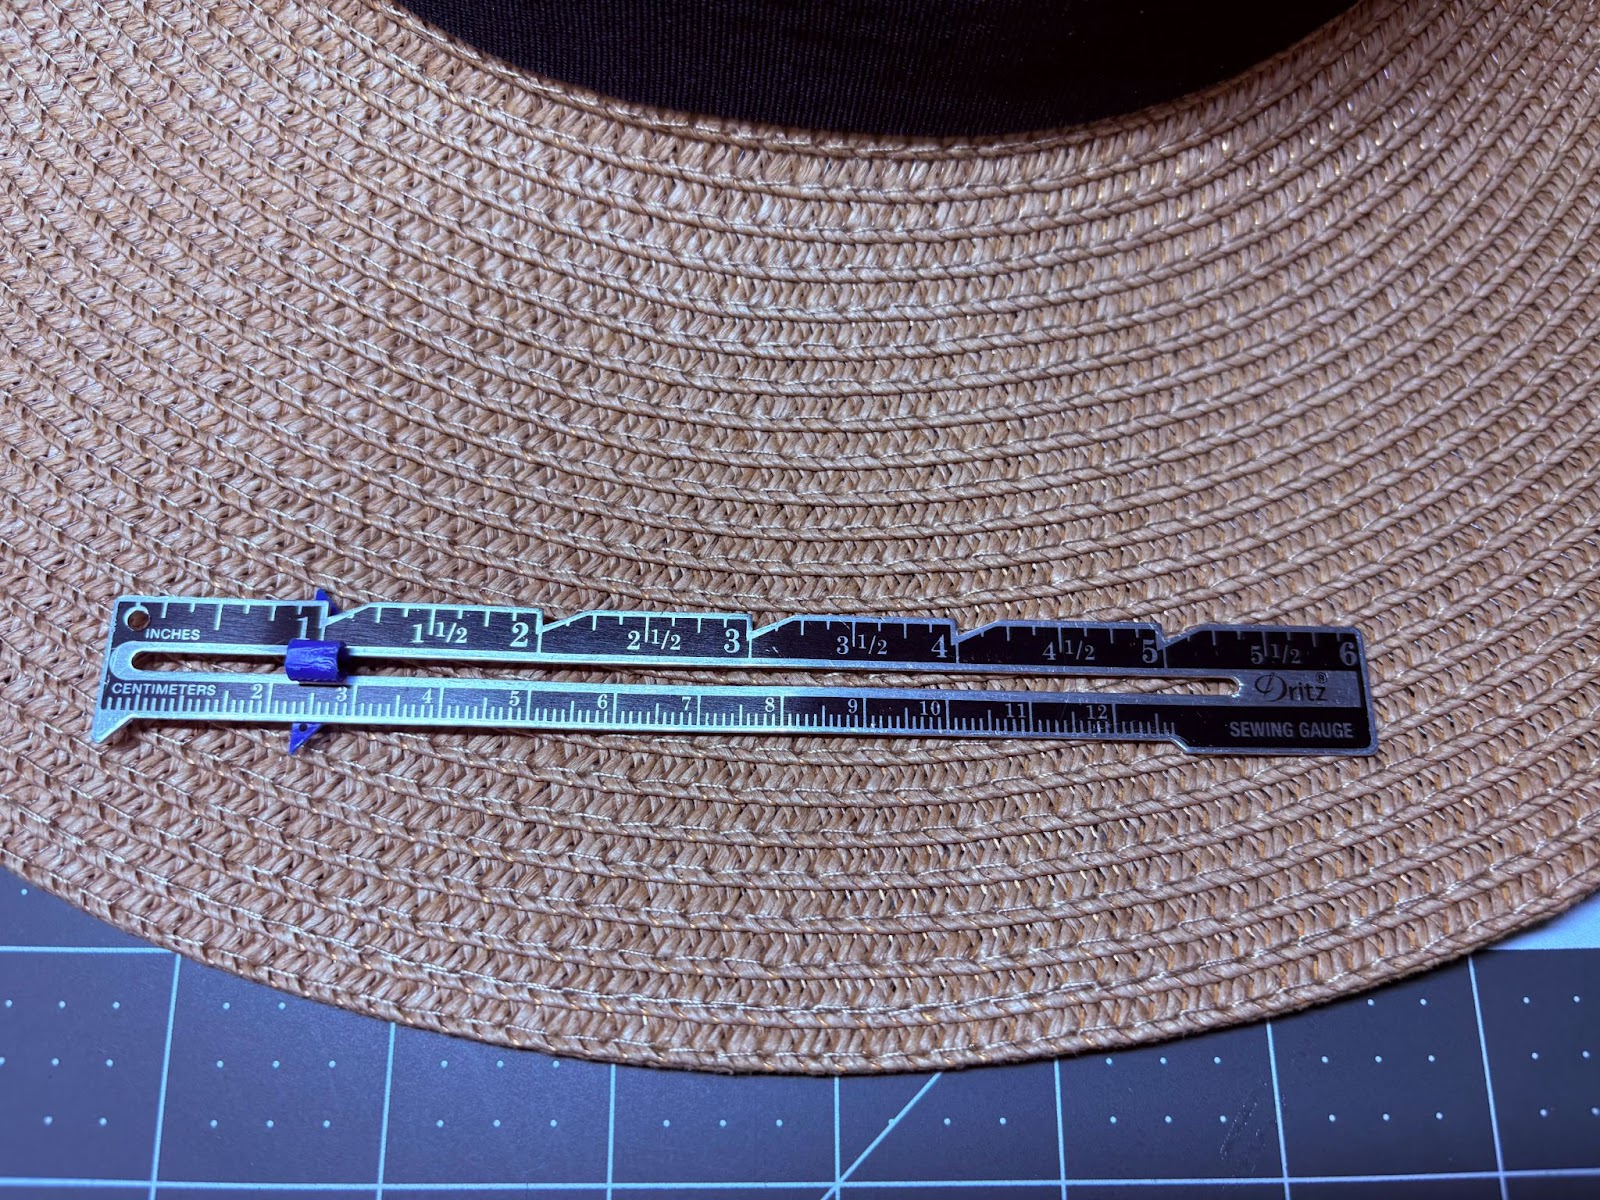
Once you decide on the design you wish to use, you will need to select the correct size. To do this, measure the embroidery area on the brim of your hat. Hats will vary.
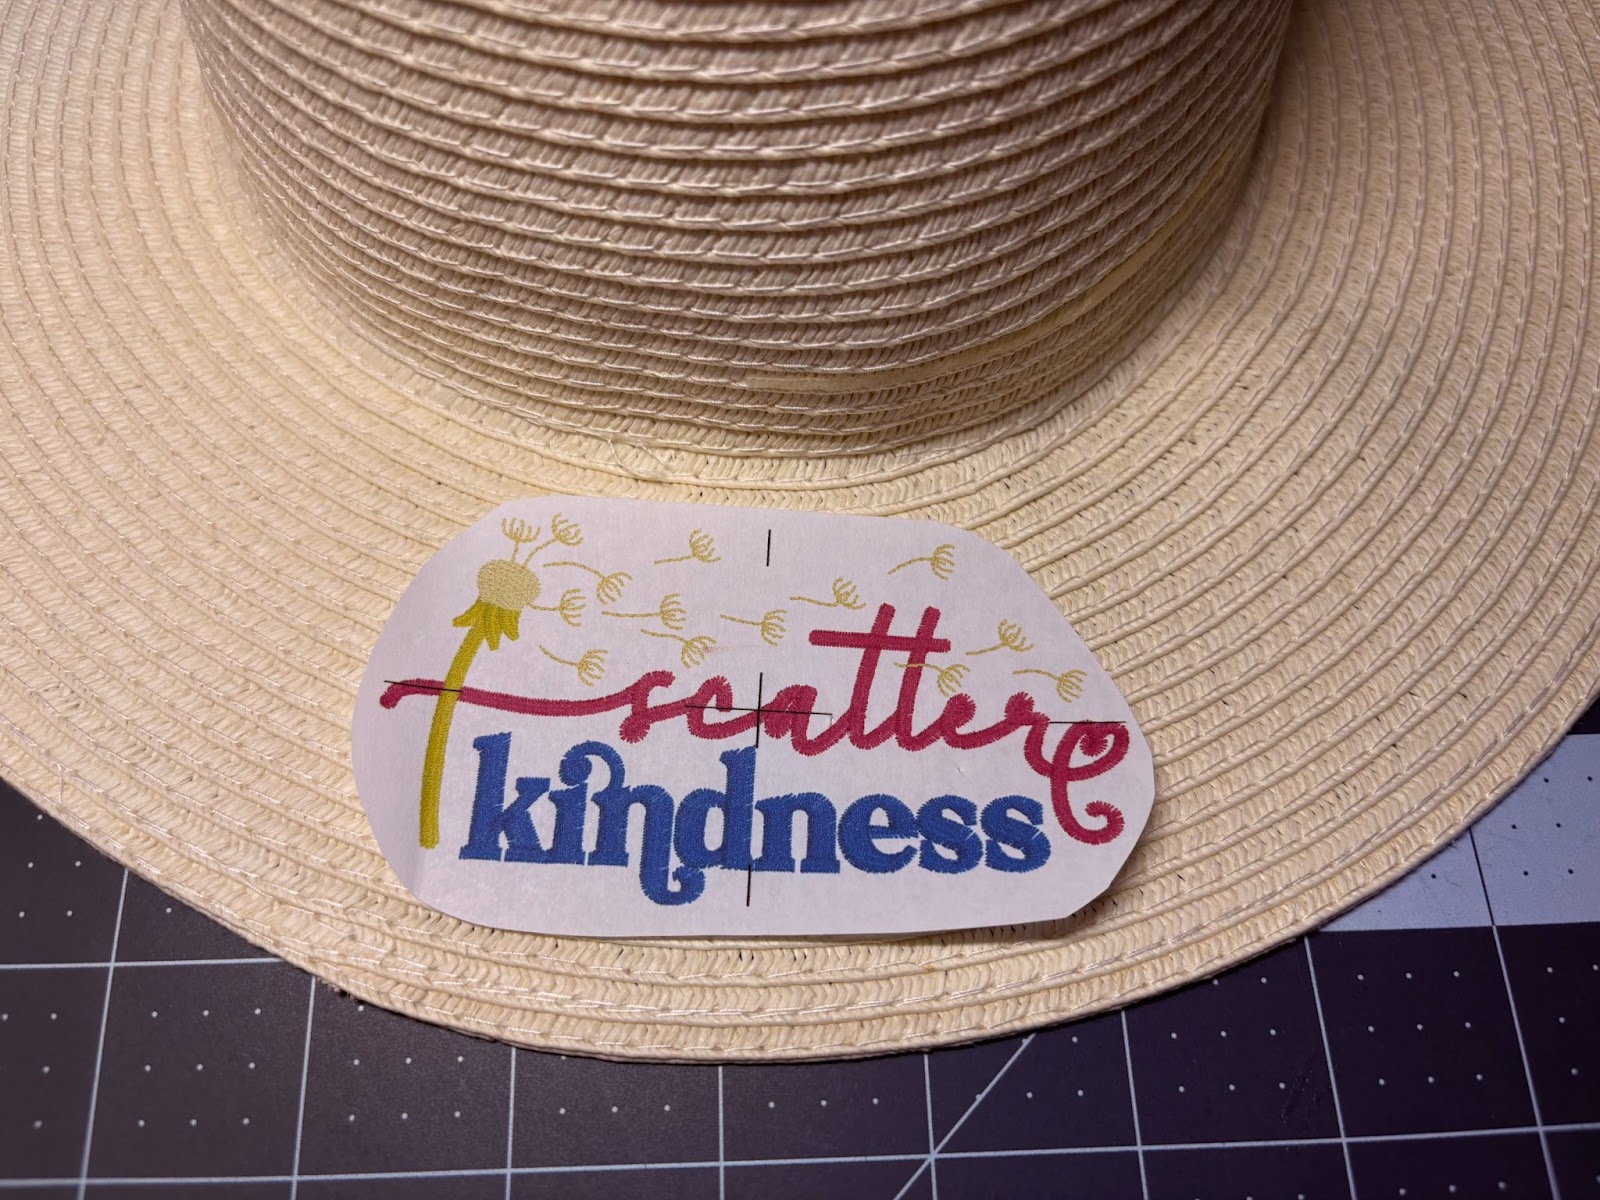
If using software, upload the design, select the size you think will work best, and print the image. Center the image onto your hat to ensure it is the correct size.
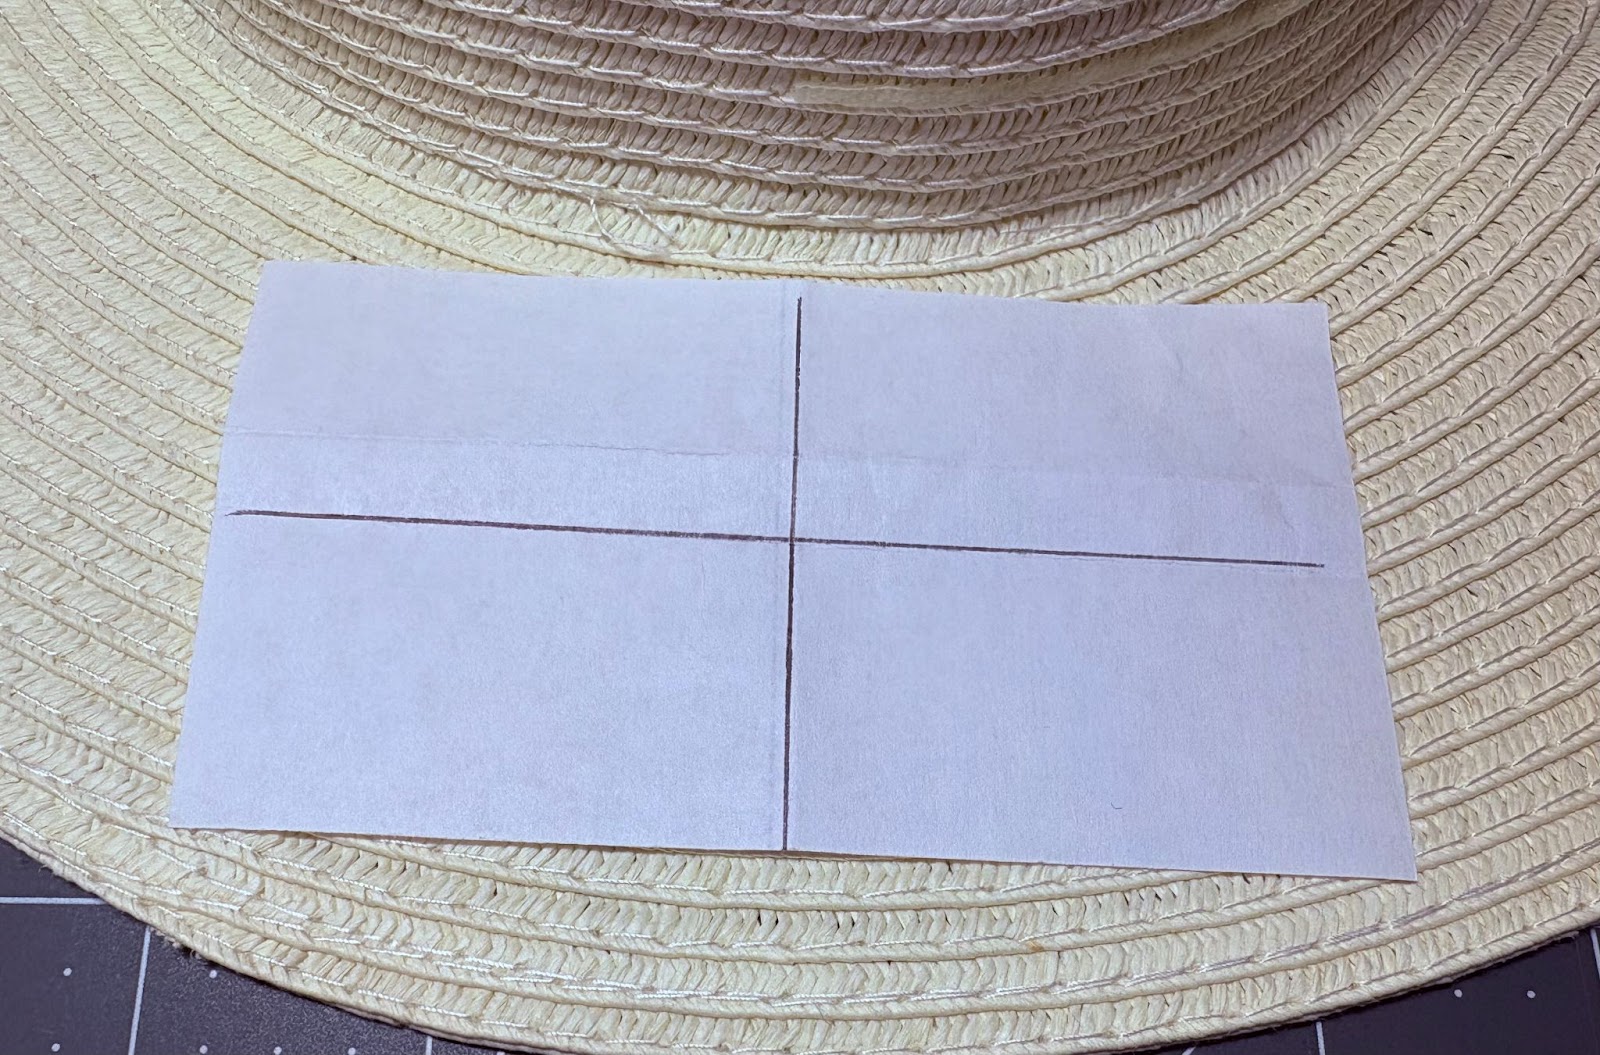
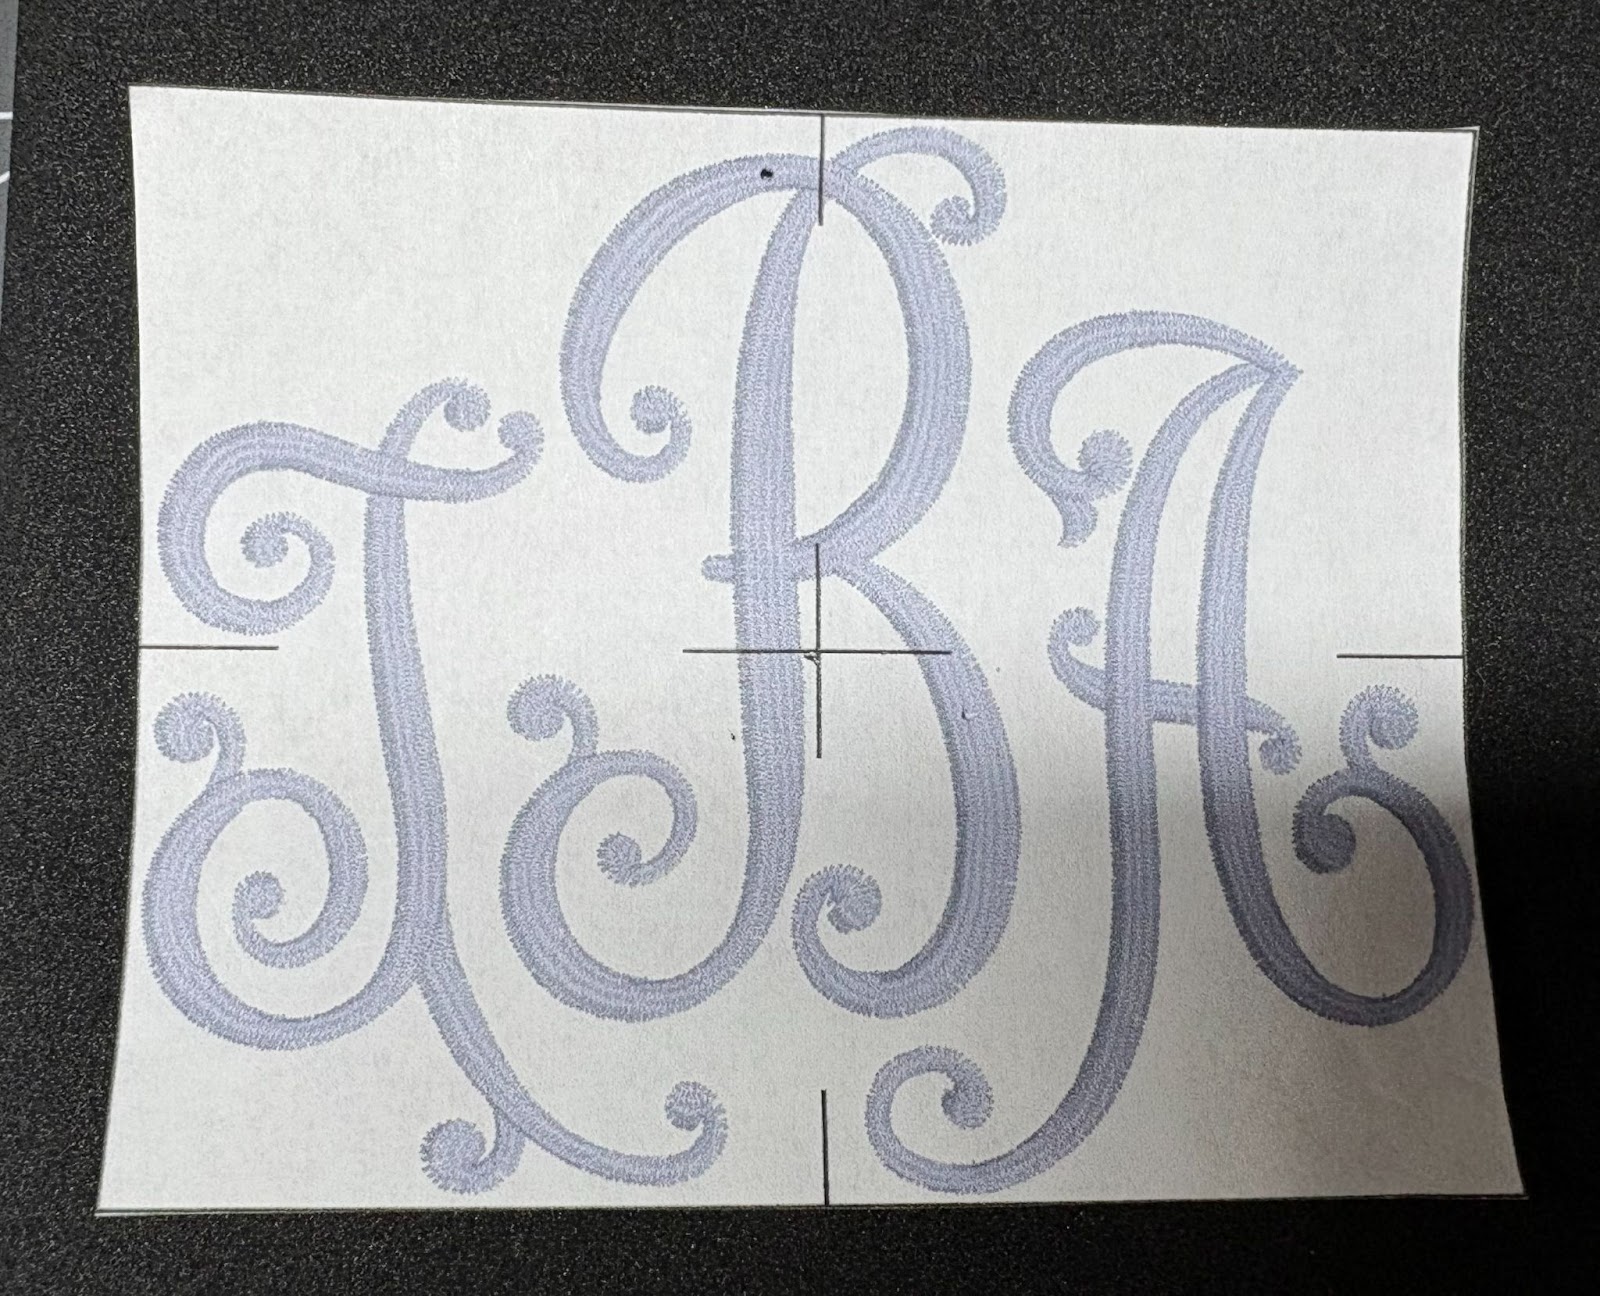
If you do not have software, load the image onto your machine and, from paper, cut a template the size of the design. Fold it and draw crosshairs to give you a center mark. You can decide to put your design on the front, back, or even the side of your hat. It’s a personal choice. Wherever you decide, you will want to make sure it is centered with the brim and the top.
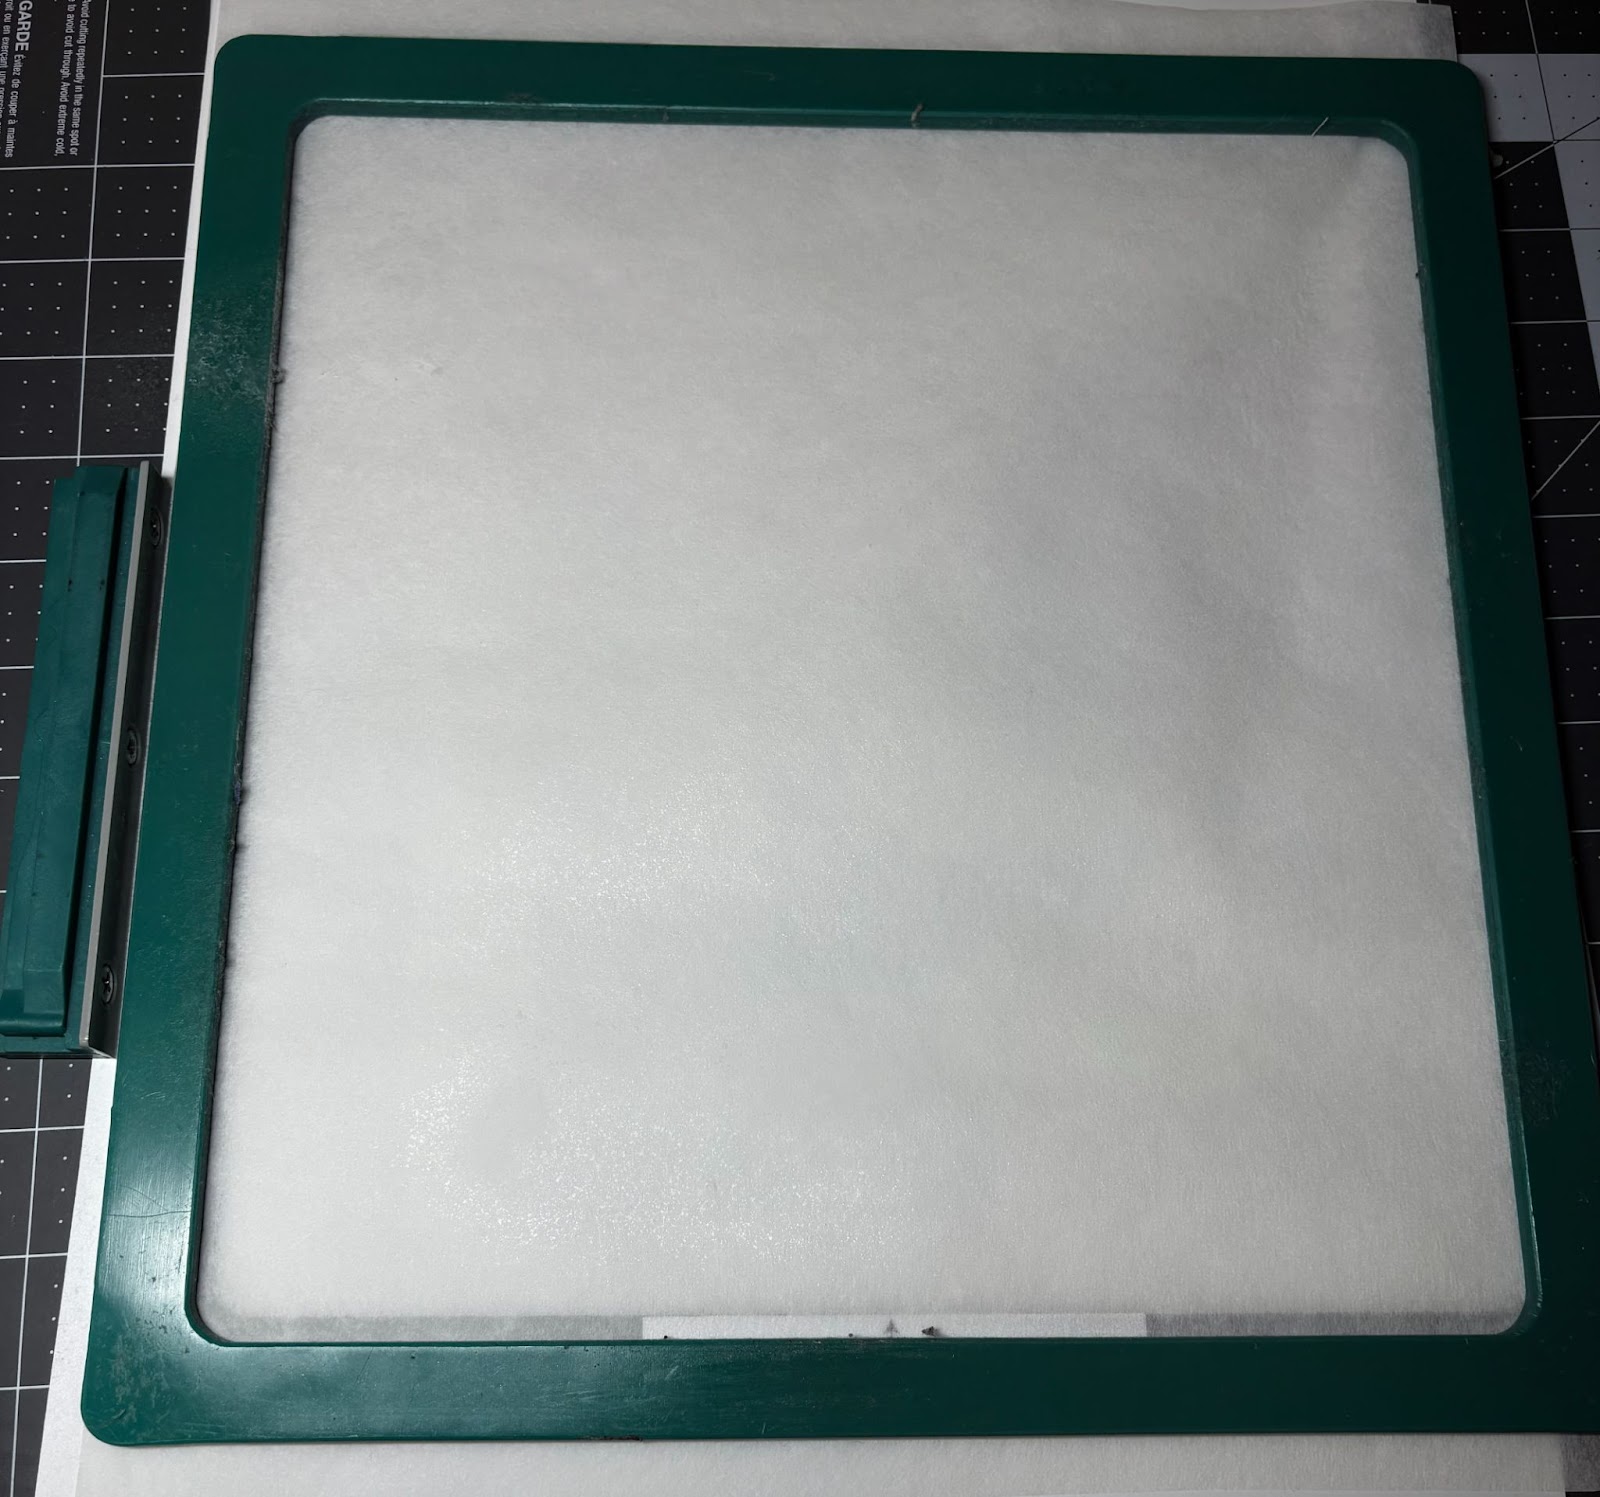
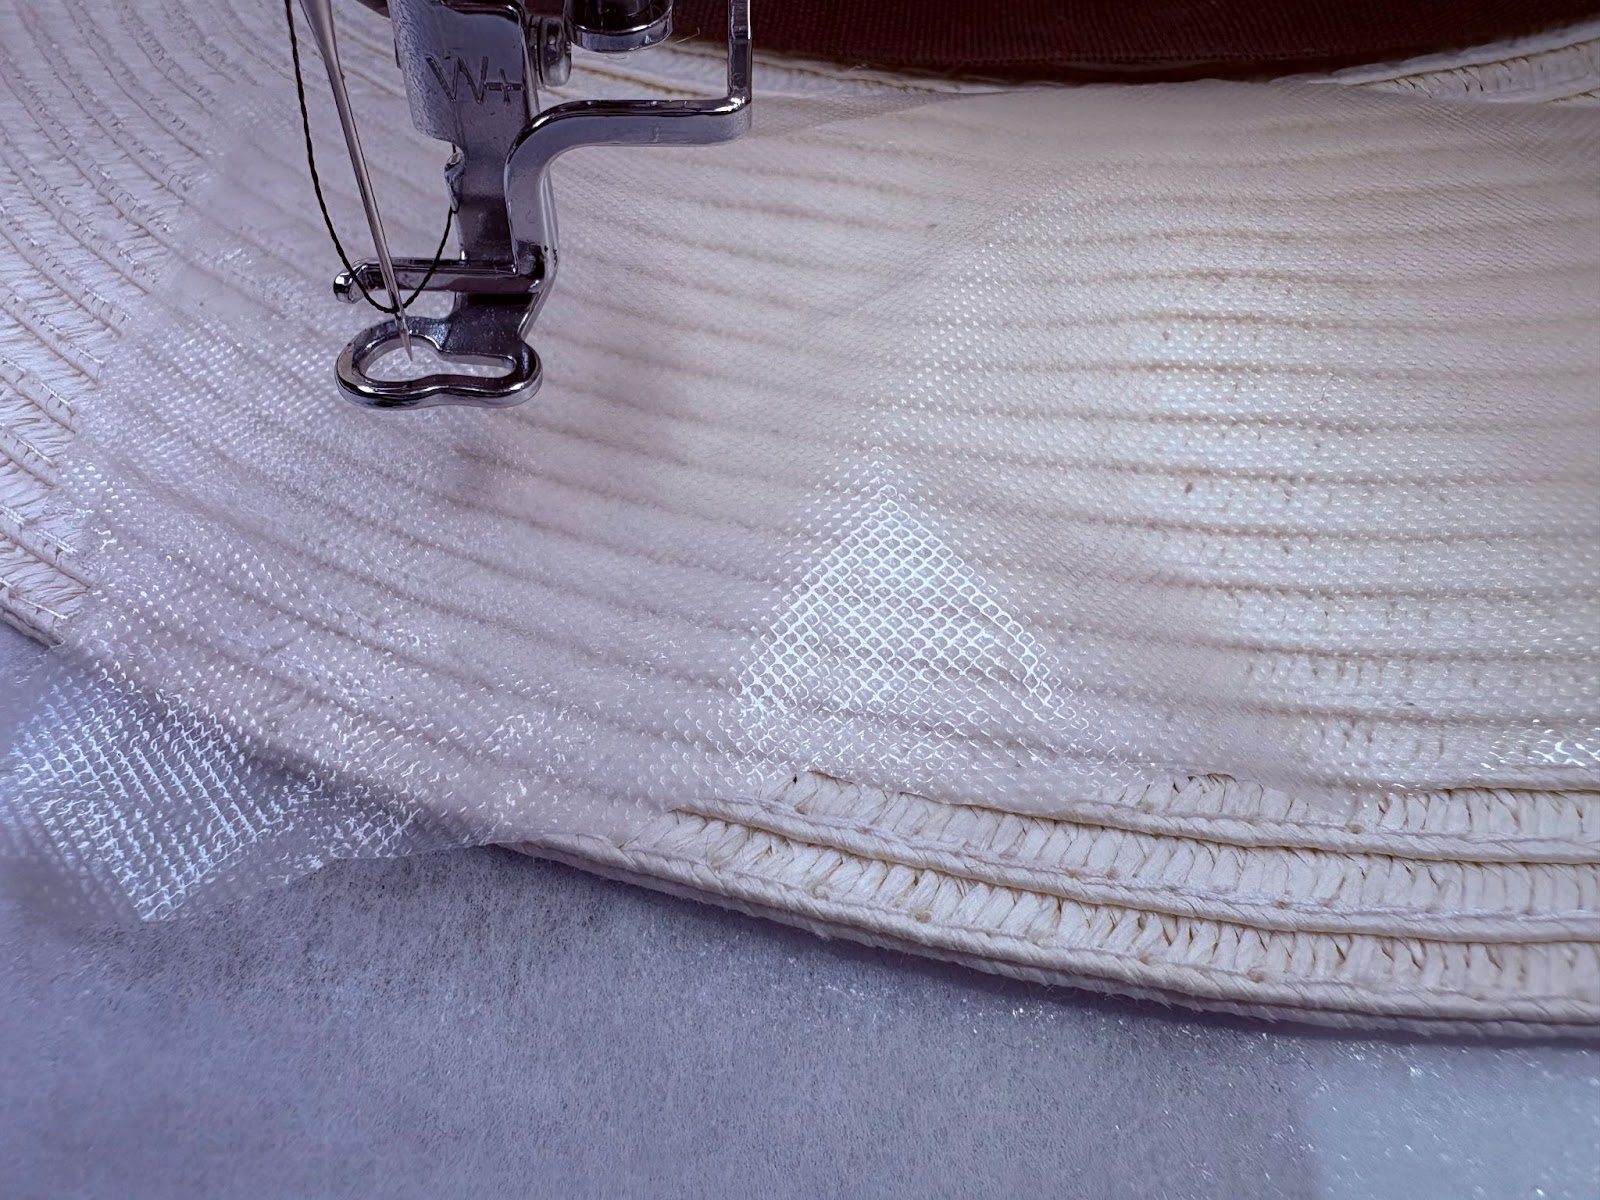
To ensure your hat lays flat, if possible use an embroidery frame 6” x 10” or larger. Hoop tear-away stabilizer.
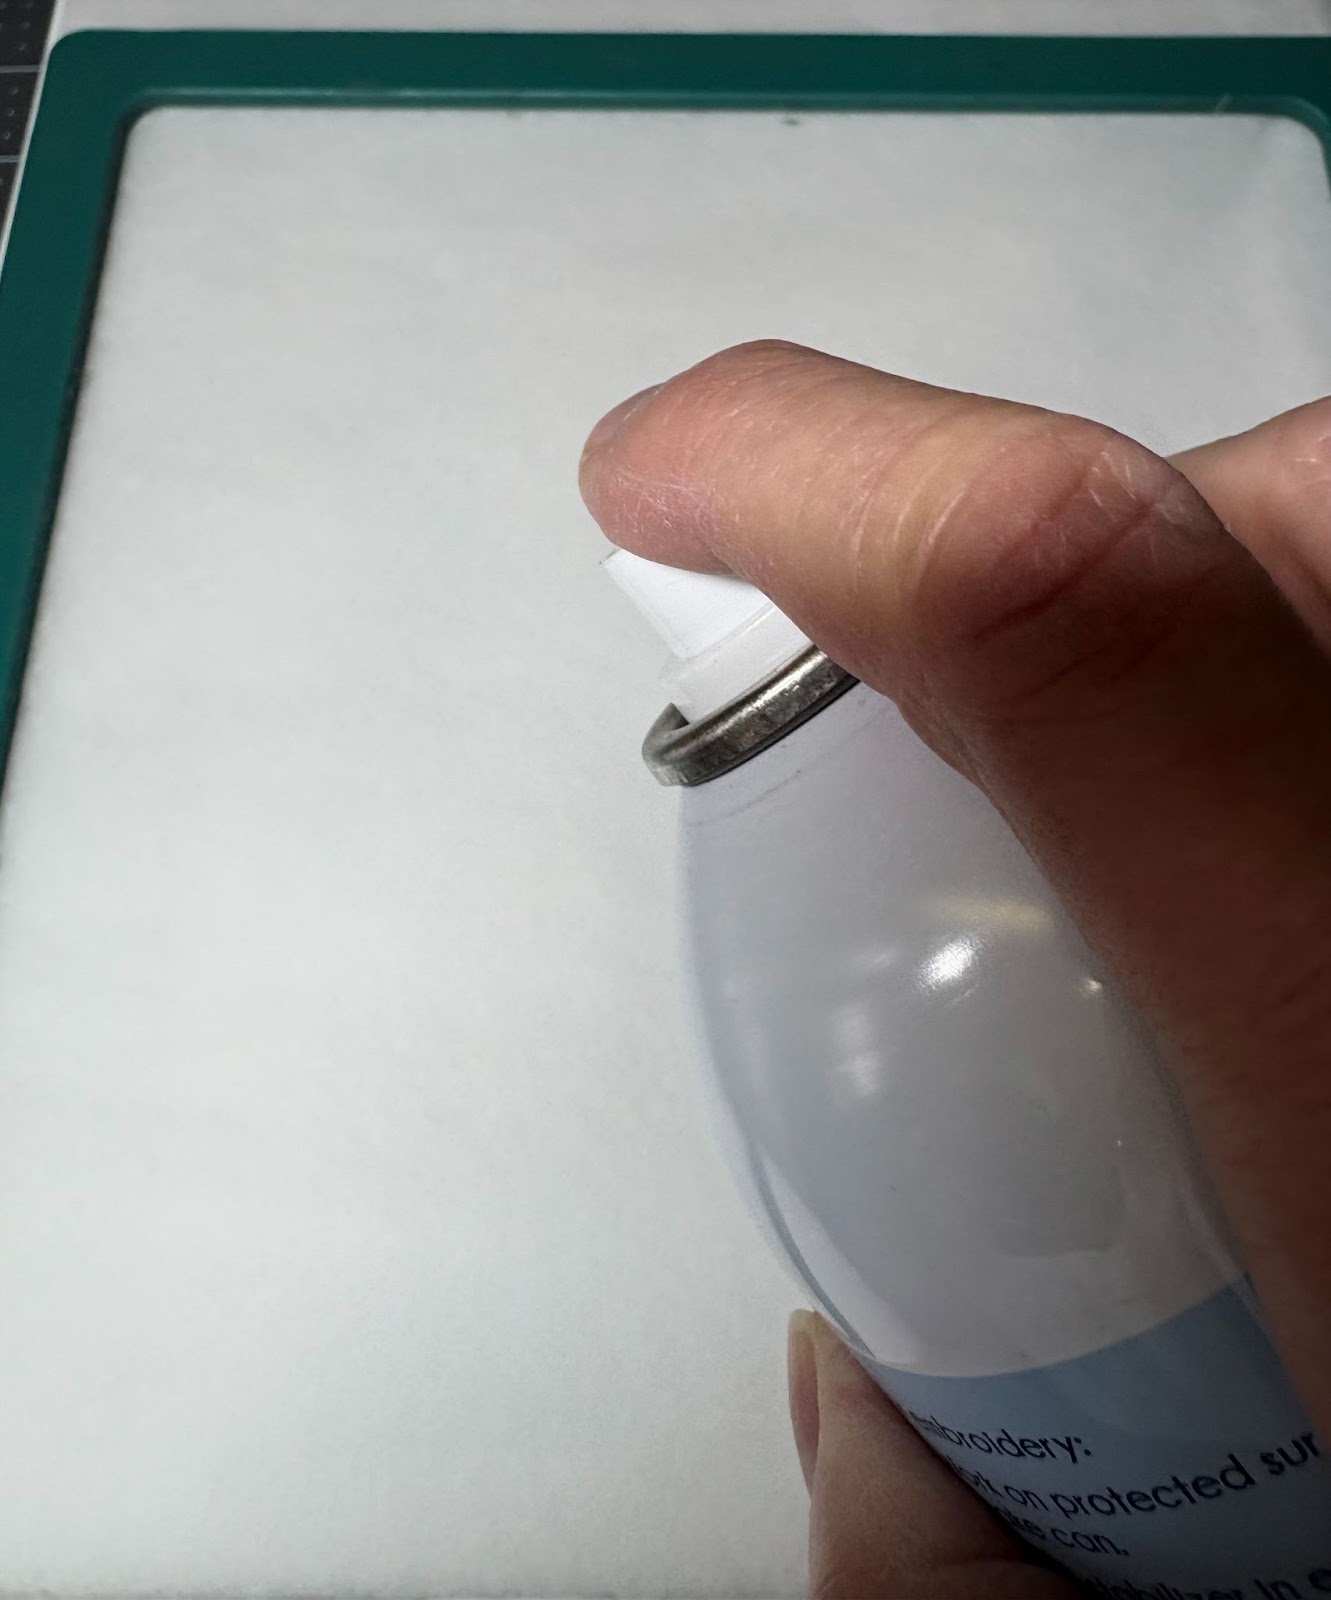
Spray the stabilizer with an adhesive basting spray. This will secure the hat and allow it to float on the hoop.

Change the bobbin thread to a light color similar to the hat. Since straw hats are pliable, you can pin your hat to your stabilizer and then take it to the machine and carefully slide it under the needle. Another option is to place the hat on the hoop after the frame is attached. Then use clips on the side of the hoop to secure it.

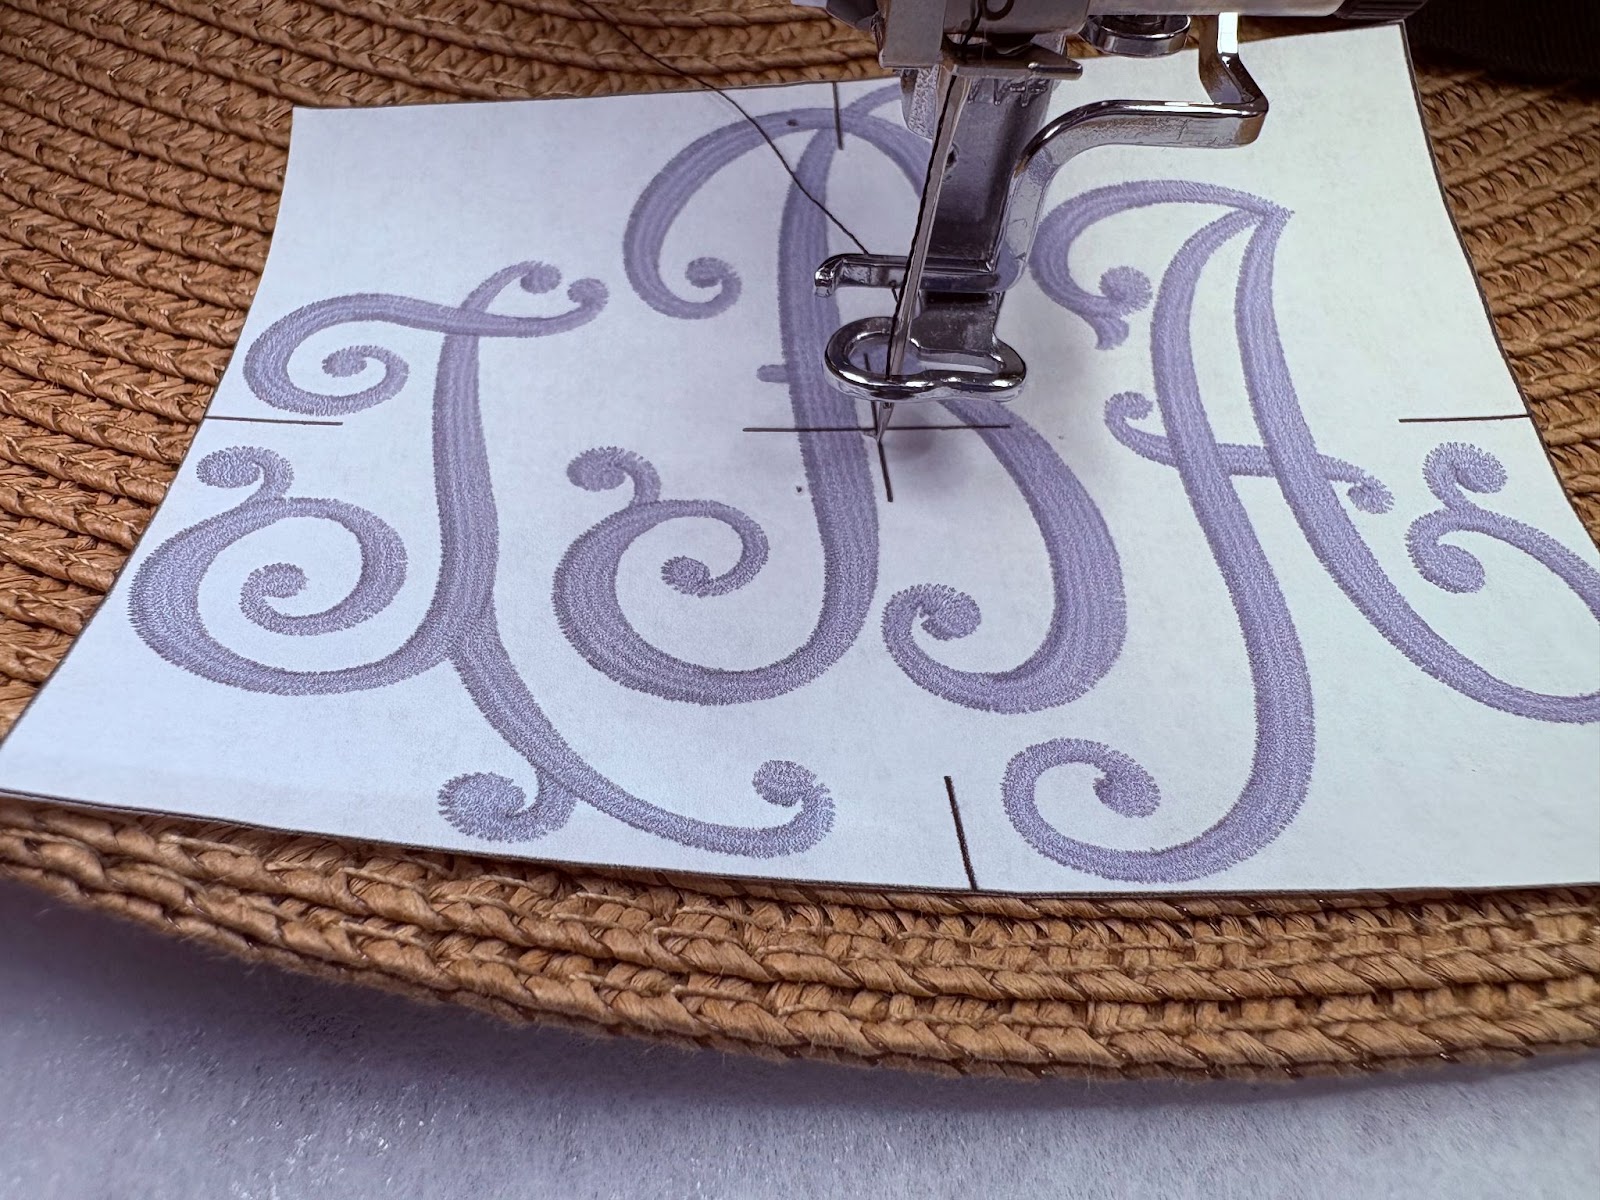
Using the Trial key, find the center of your design. If necessary, use the Move key to center the design onto the hat.
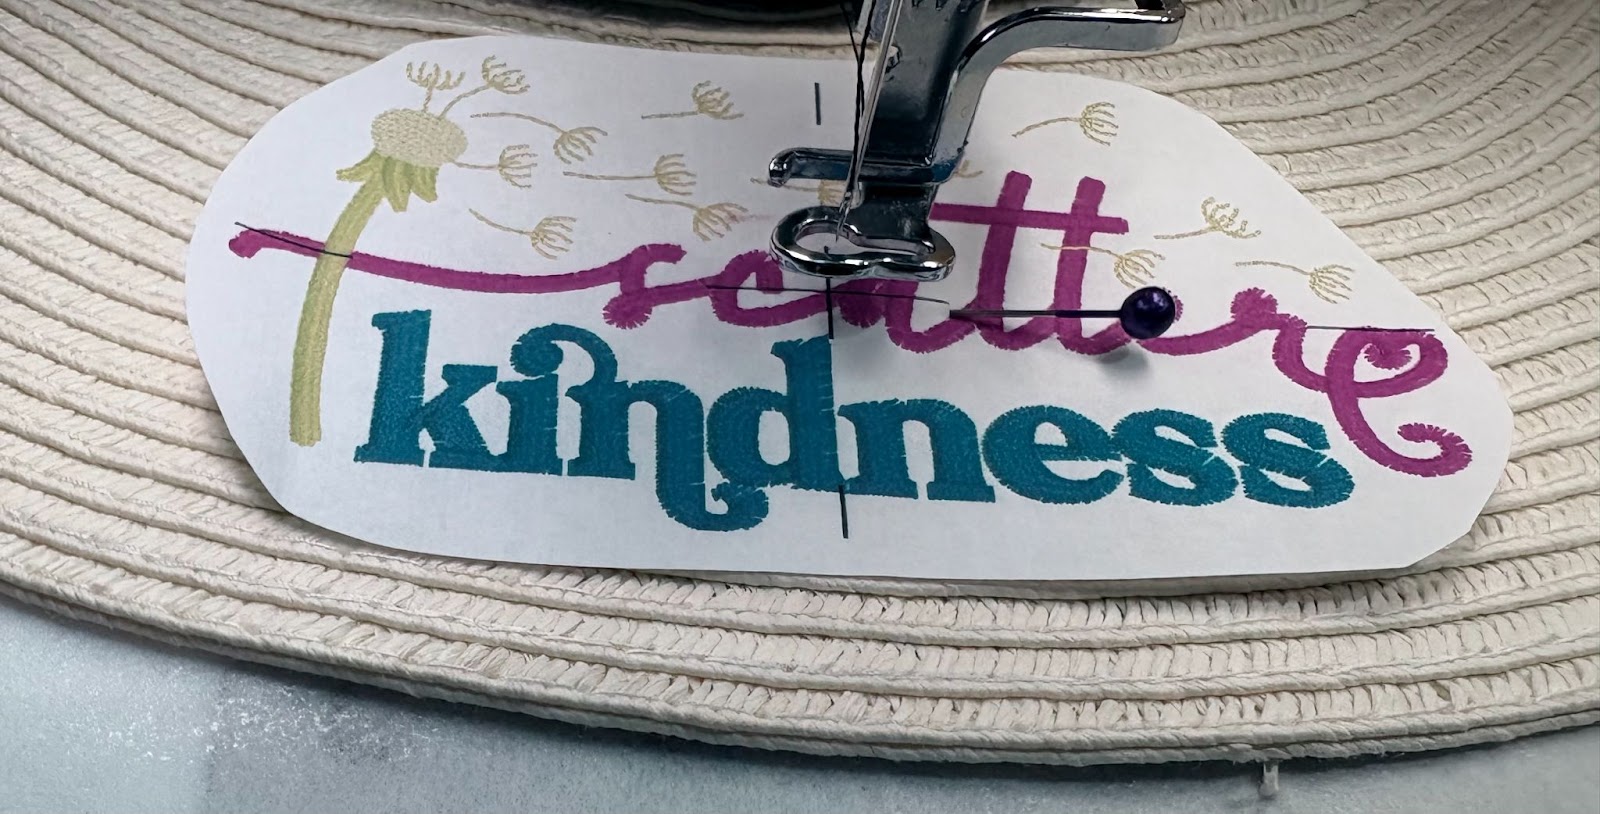
Once the design is centered, remove the template. Press the hat down onto the prepared stabilizer.
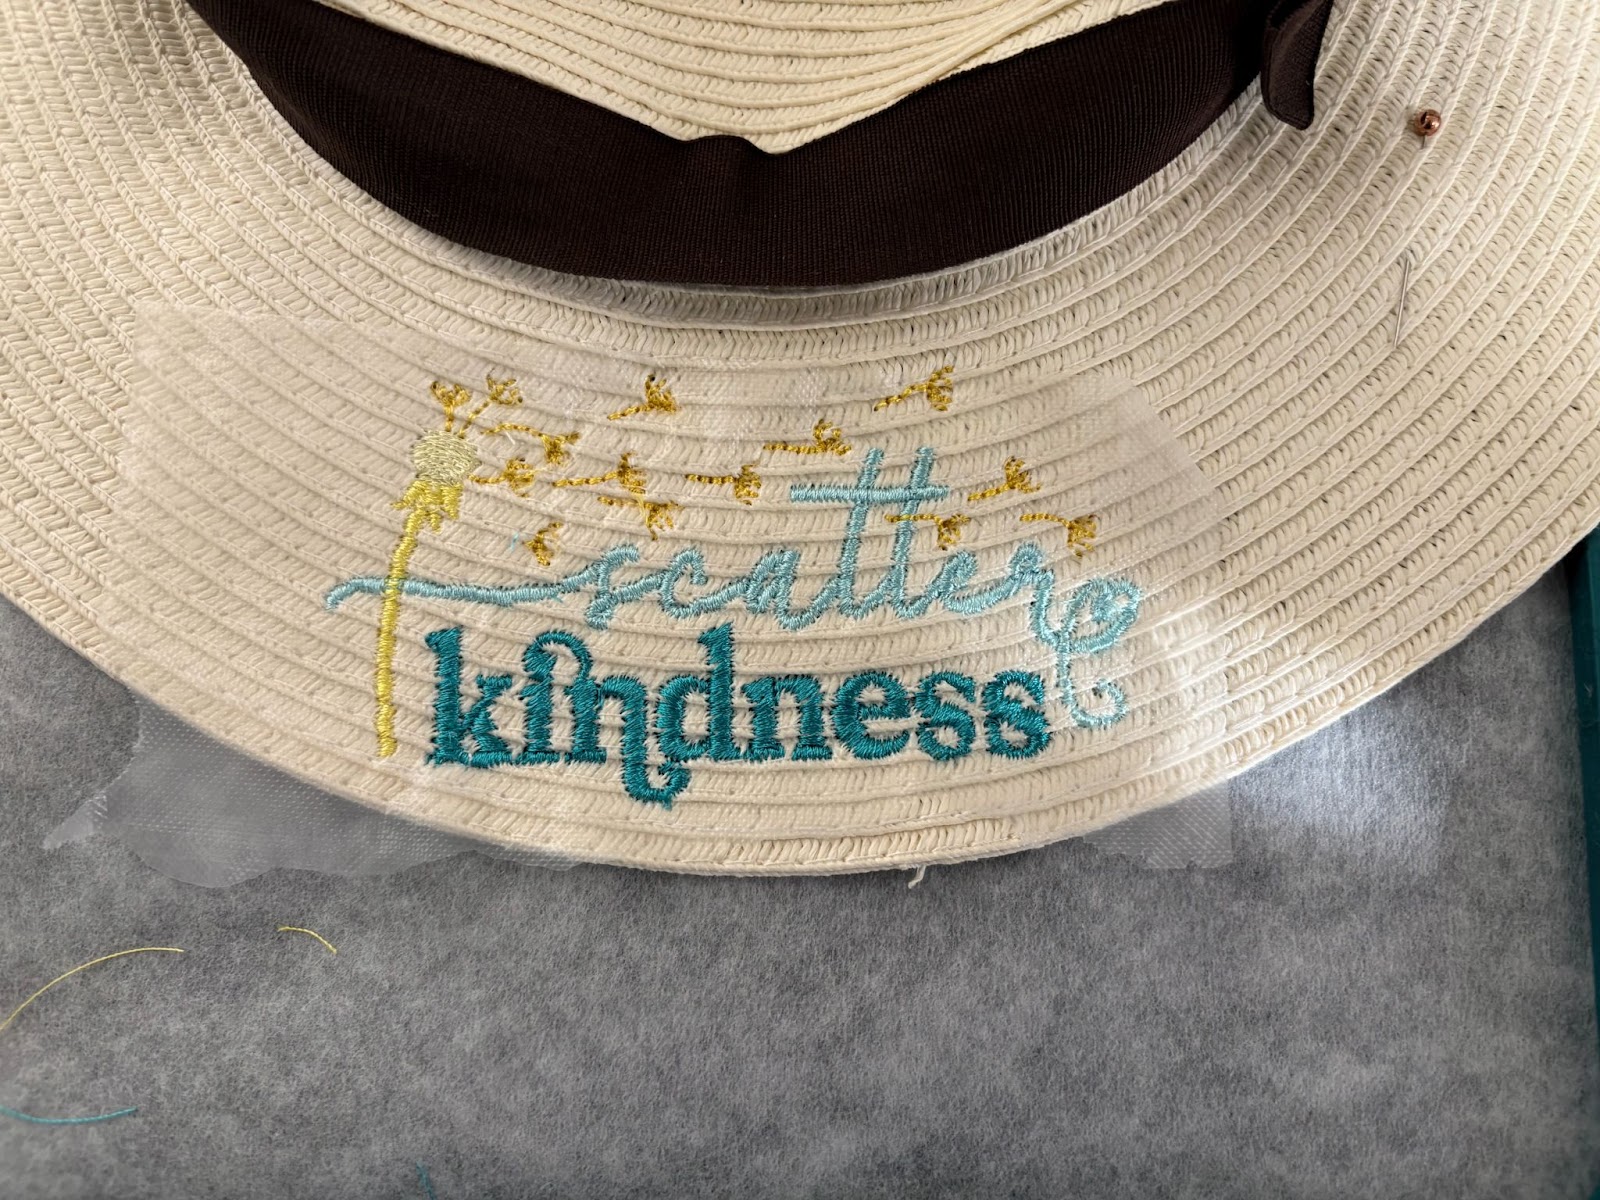
Lay water-soluble film topper over the design area.
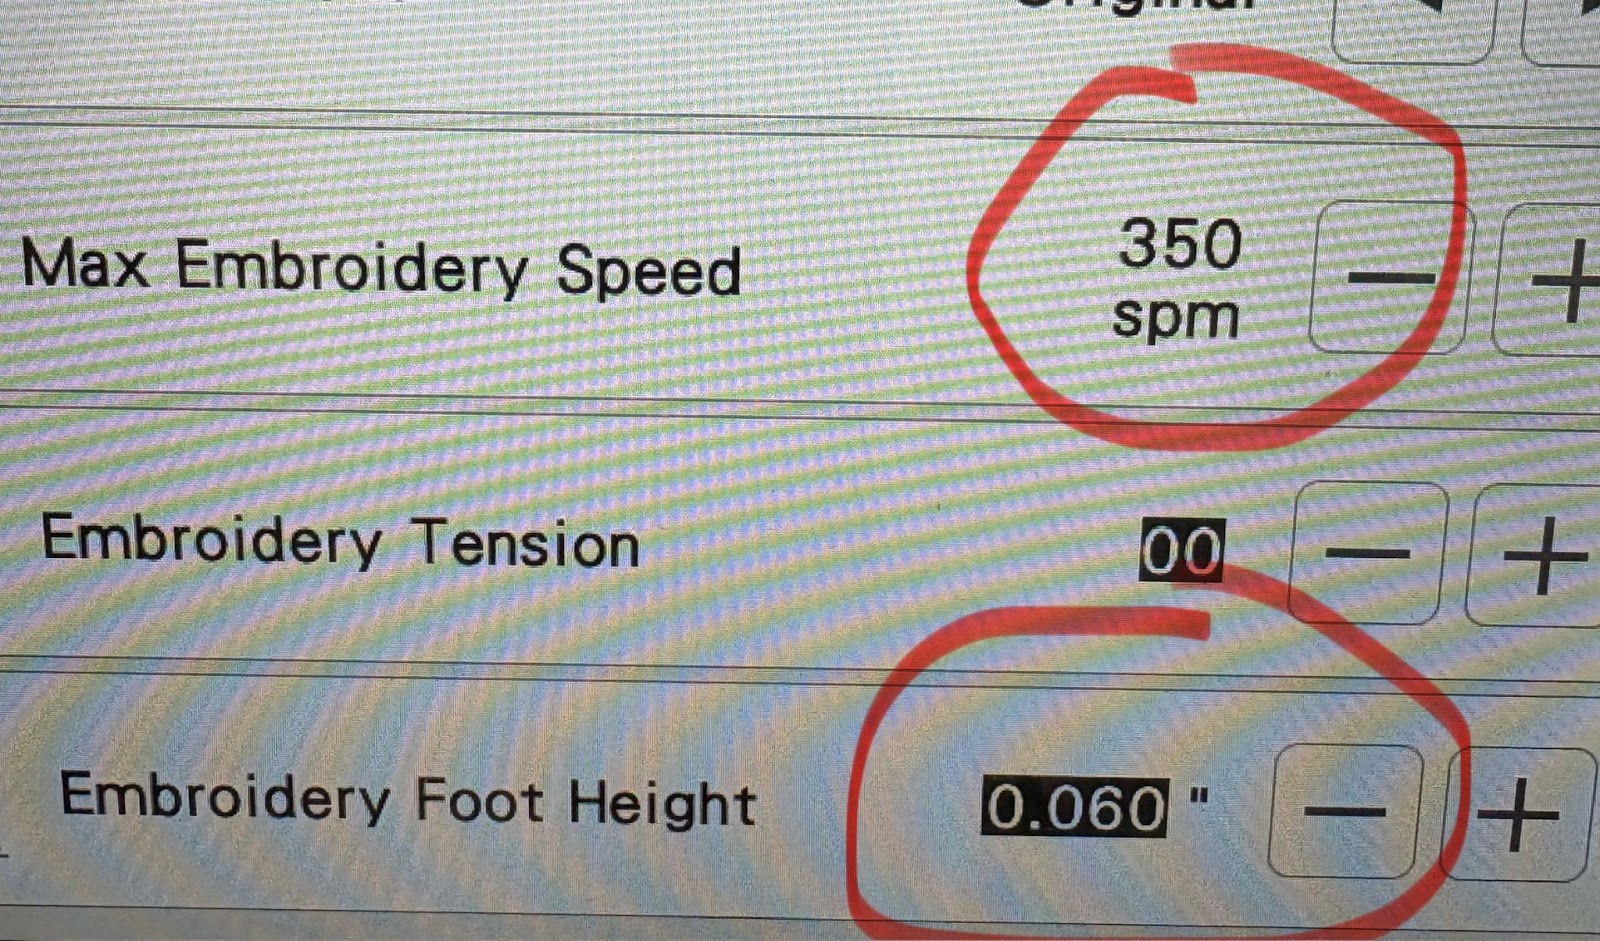
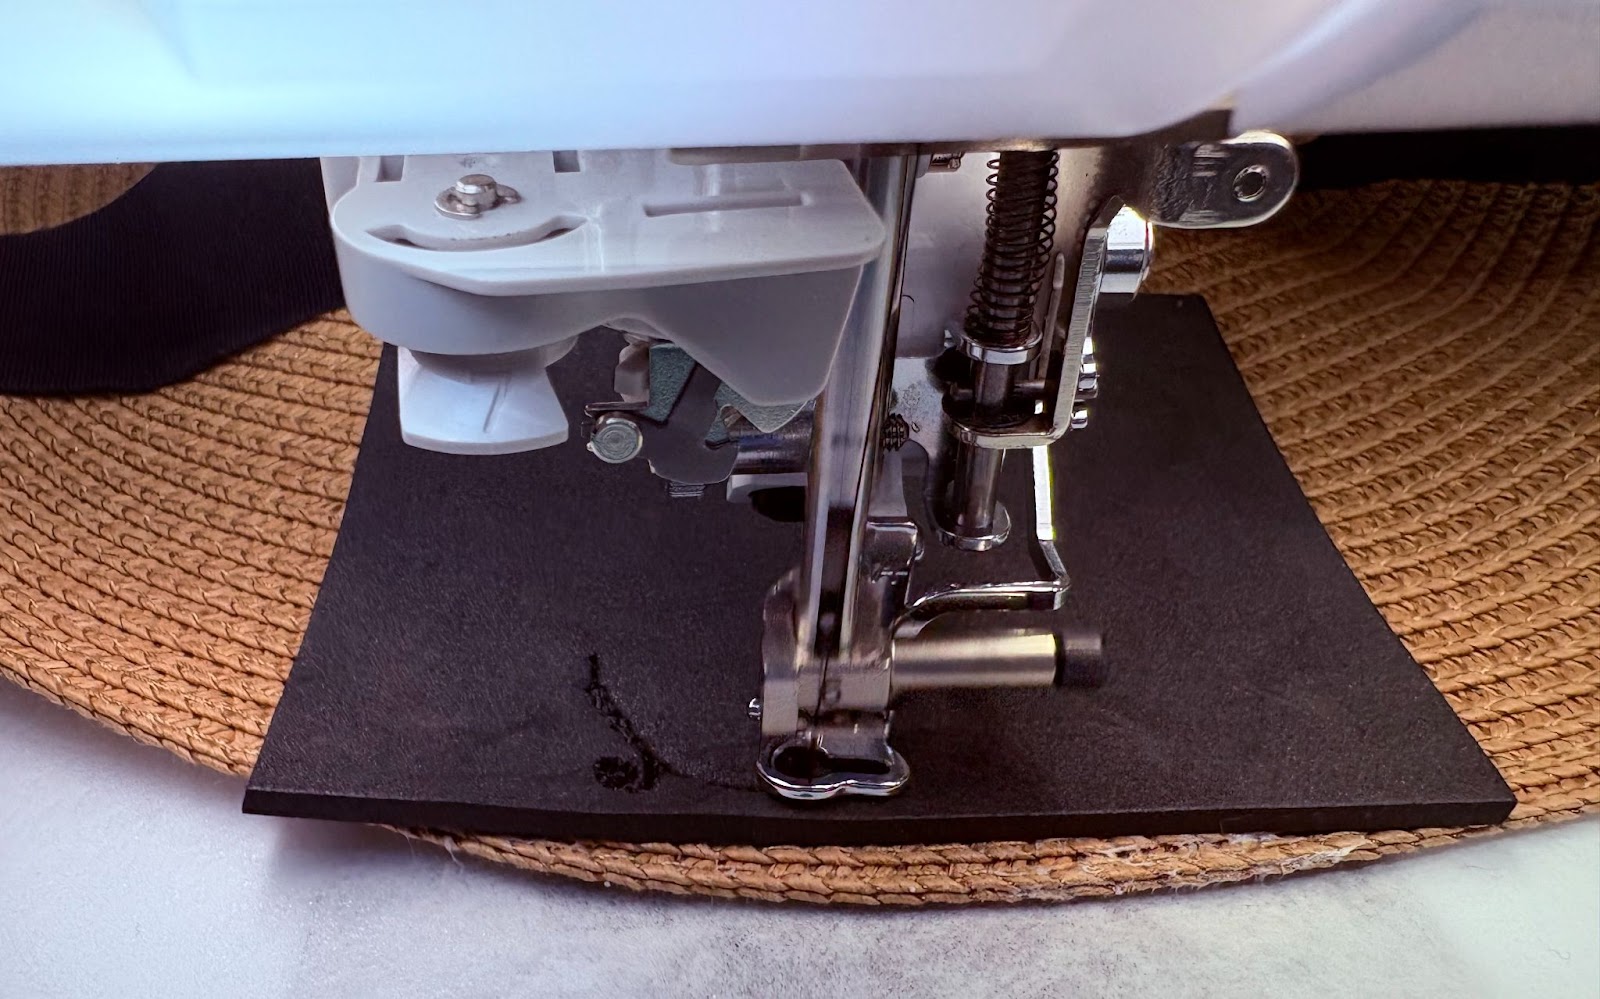
Before stitching, lower the speed of your machine to 350 spm and, if necessary, adjust the embroidery foot height. You do not want the foot to drag across the hat. My machine is a Brother Stellaire; your screen may look different. If you are unsure where to find these settings, check your manual. For best results I recommend a 100/16 needle.
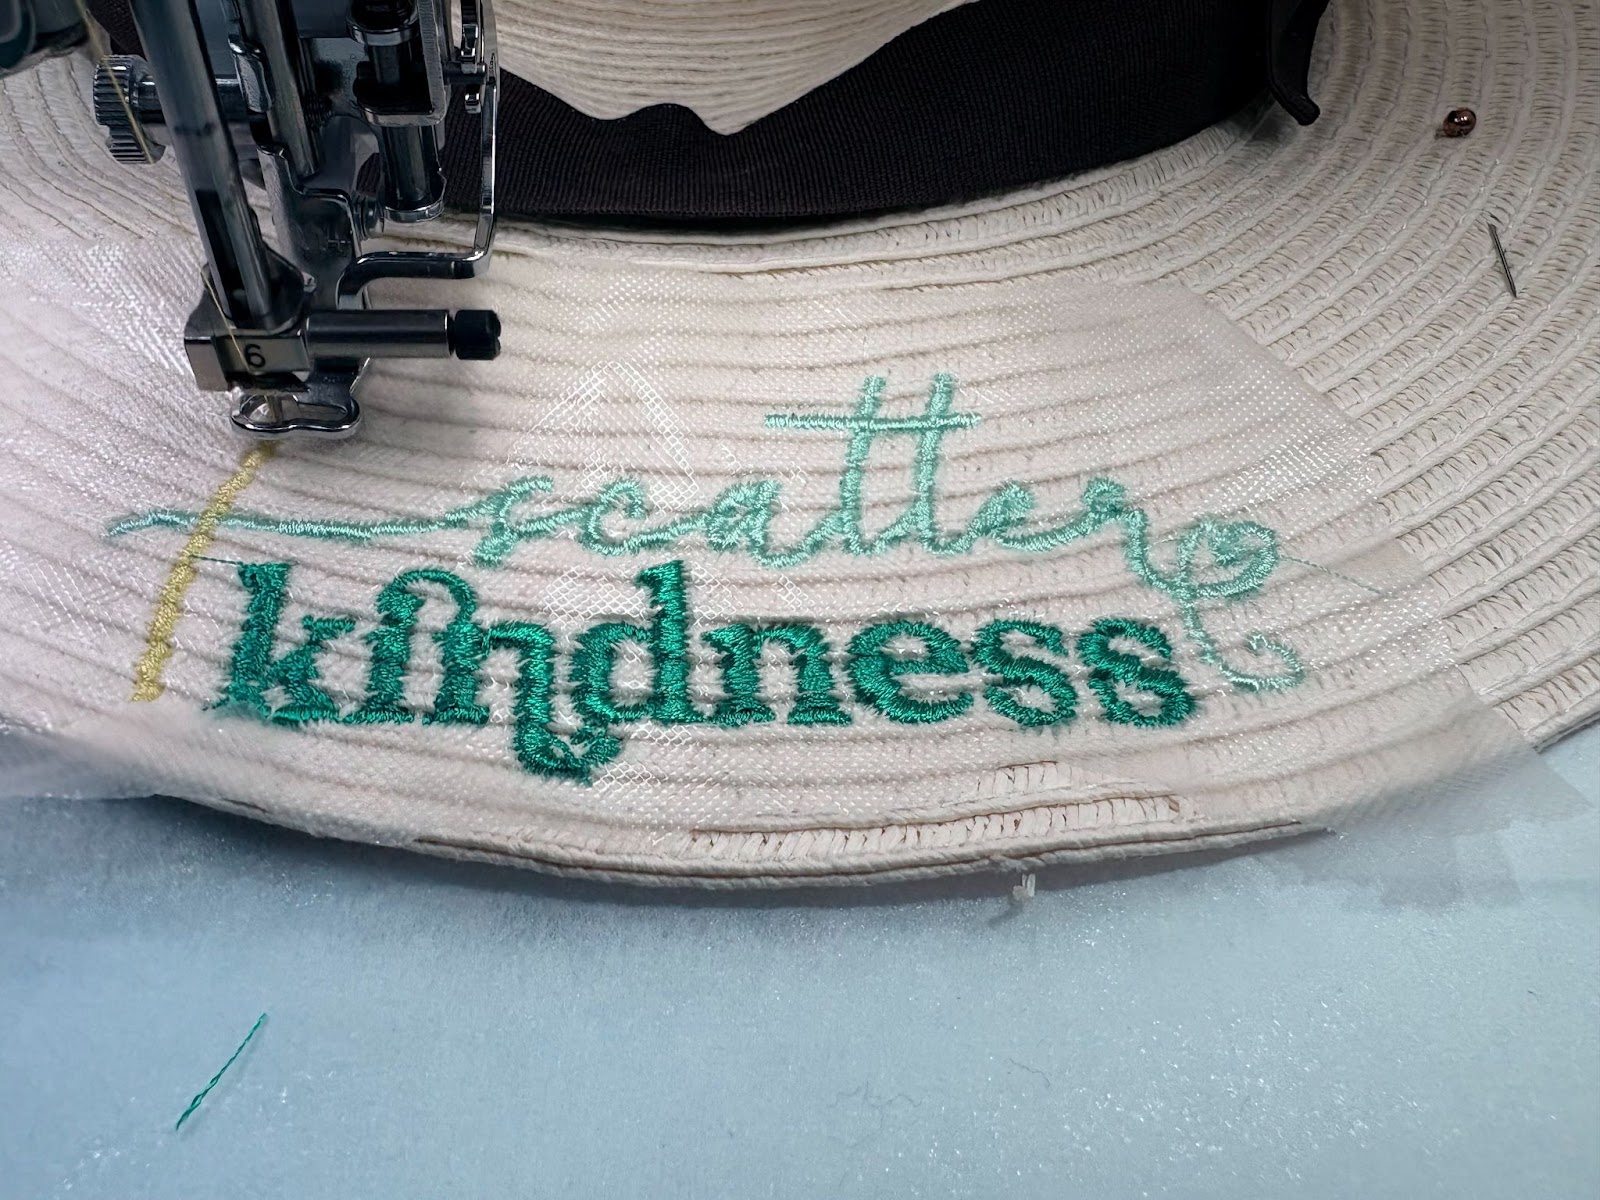
You are now ready to begin stitching. I recommend keeping a careful eye on the hat in the beginning to assure it doesn’t move. Once it starts to embroider the hat will stabilize in place. Using spray adhesive I had no problems with my hat moving. But when starting, you may want to lightly hold in place. Always be aware of where the needle is and keep fingers at a distance.
When the design is finished, remove the hoop from the machine and the hat from the hoop. Tear away the film topper. If needed, use a damp cloth or cotton swab and water to remove all the topper.
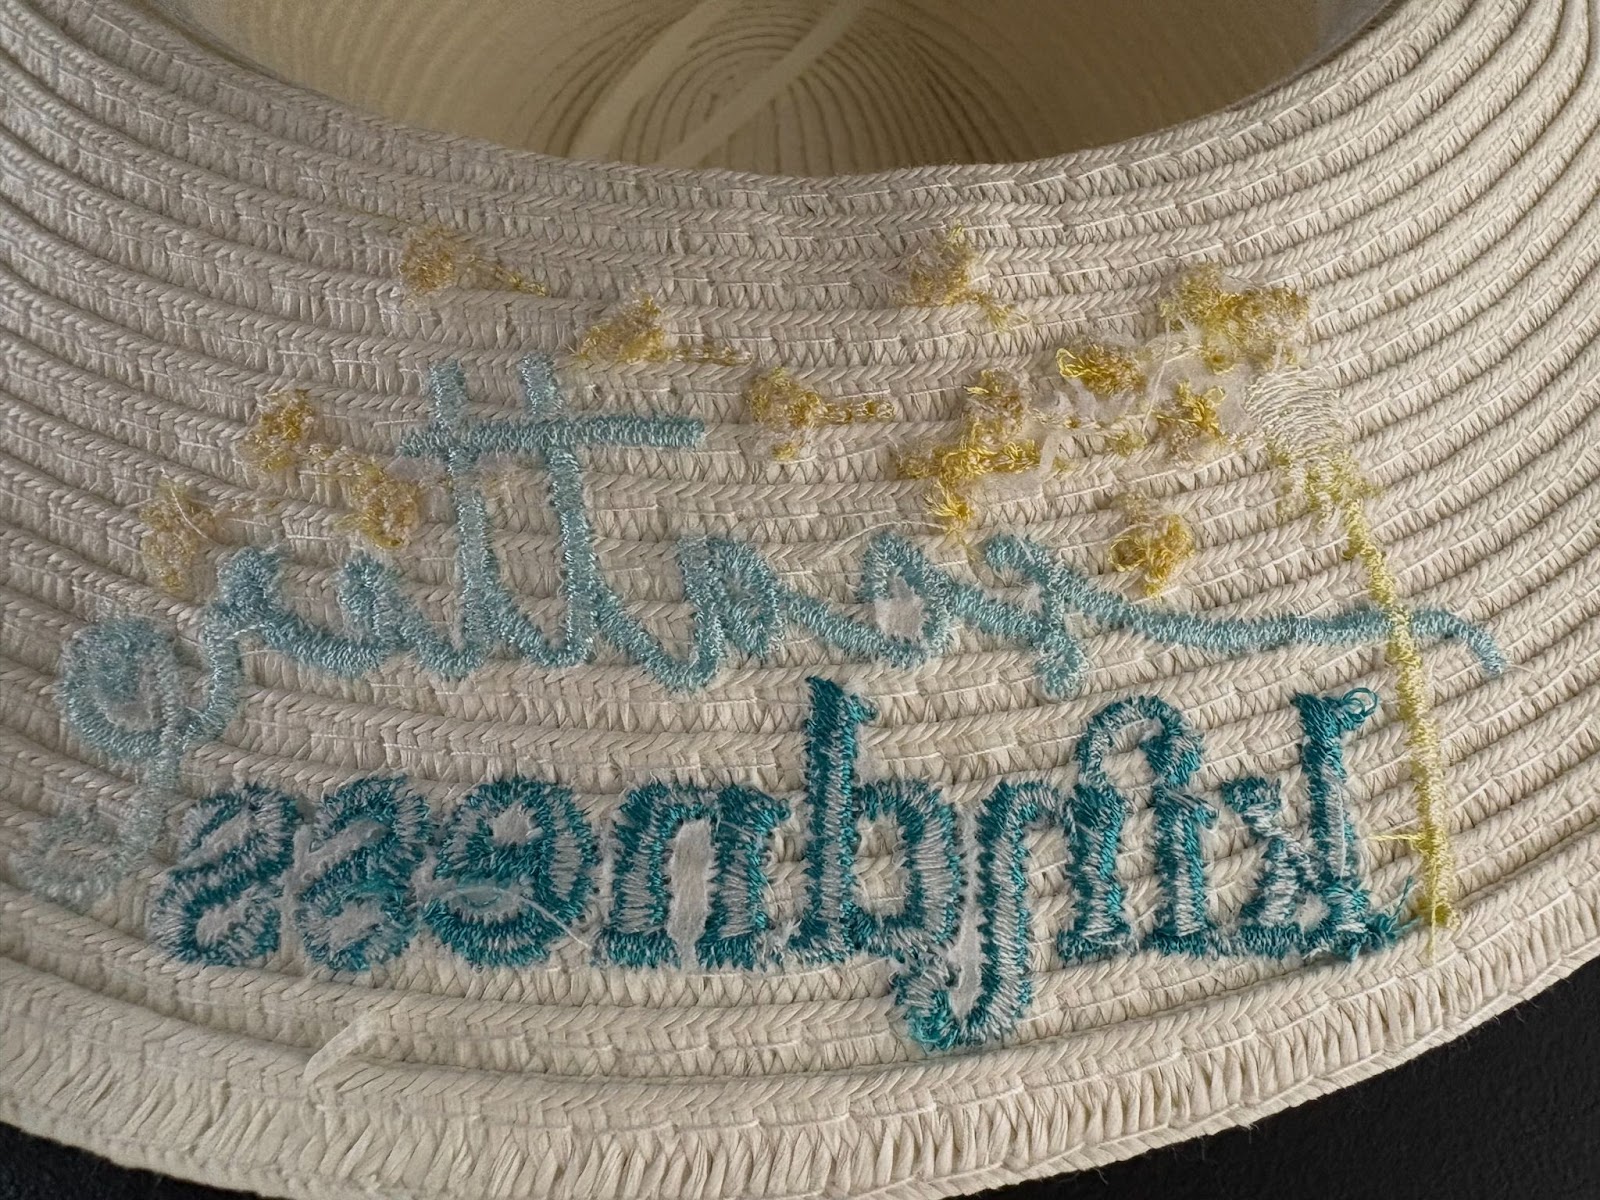
Tear away the stabilizer from the back and snip any threads.

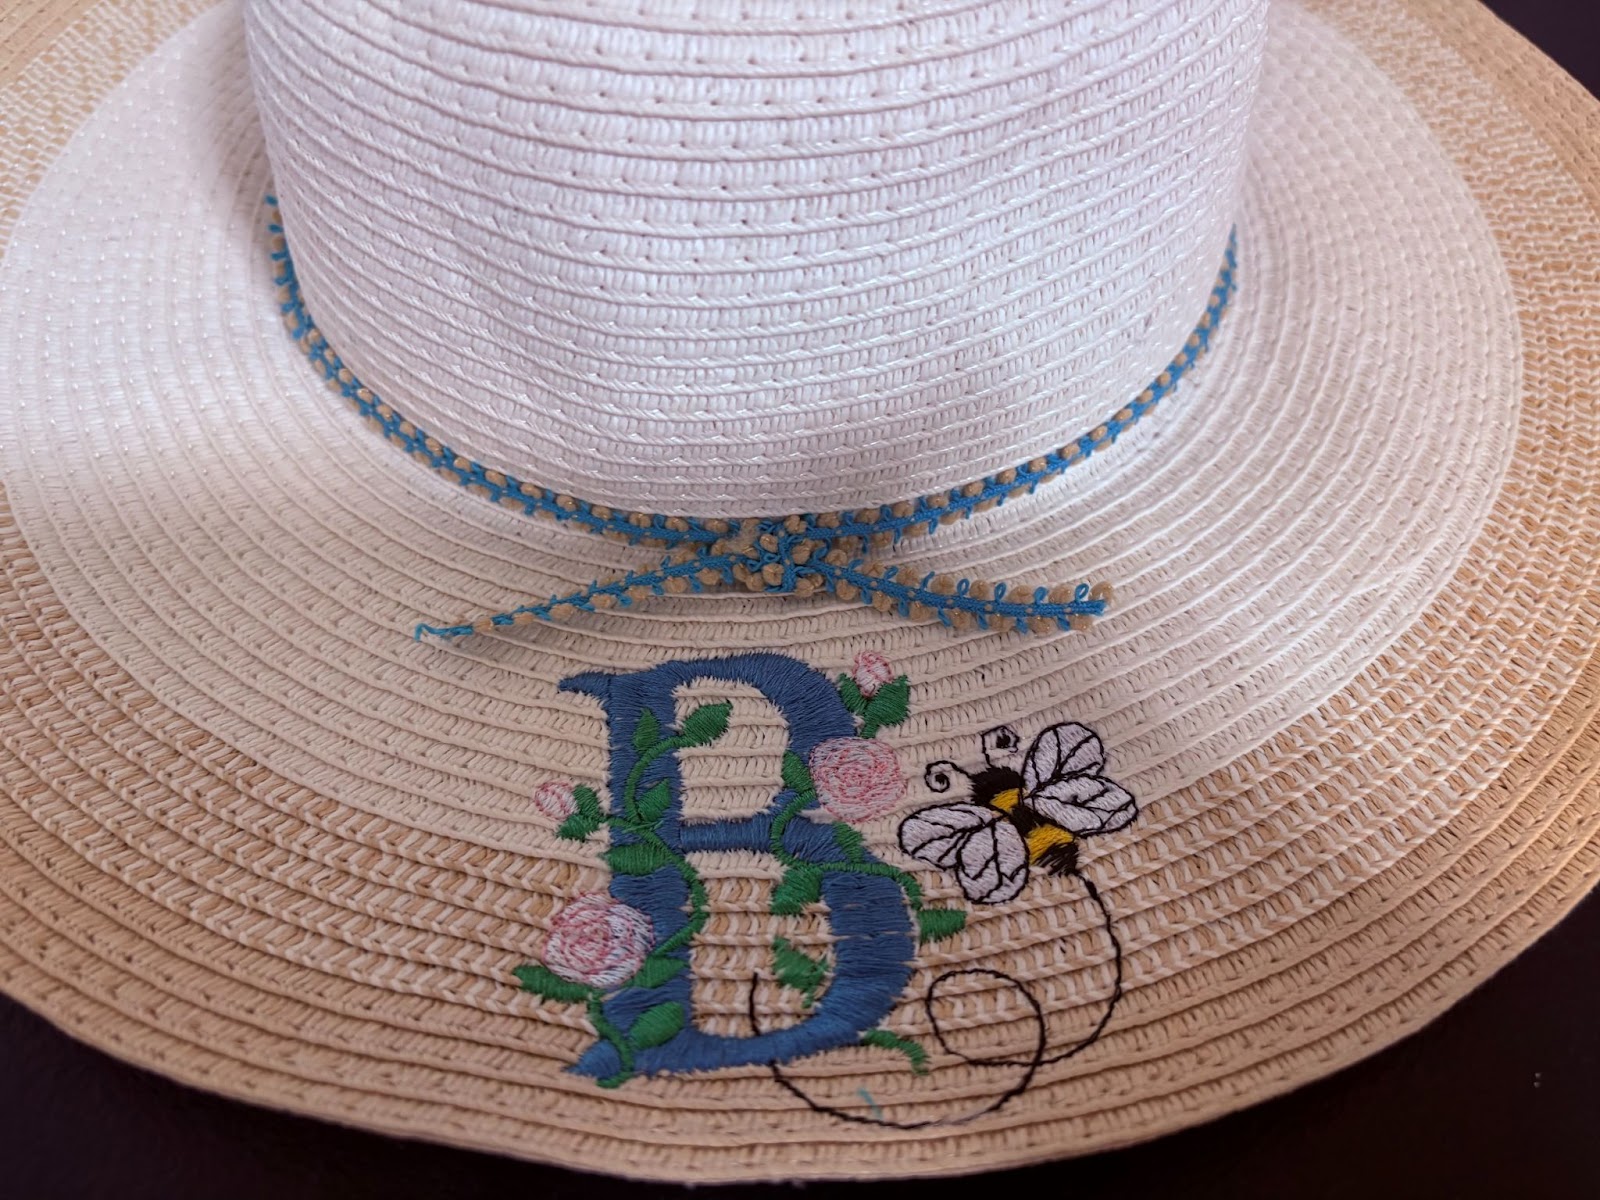
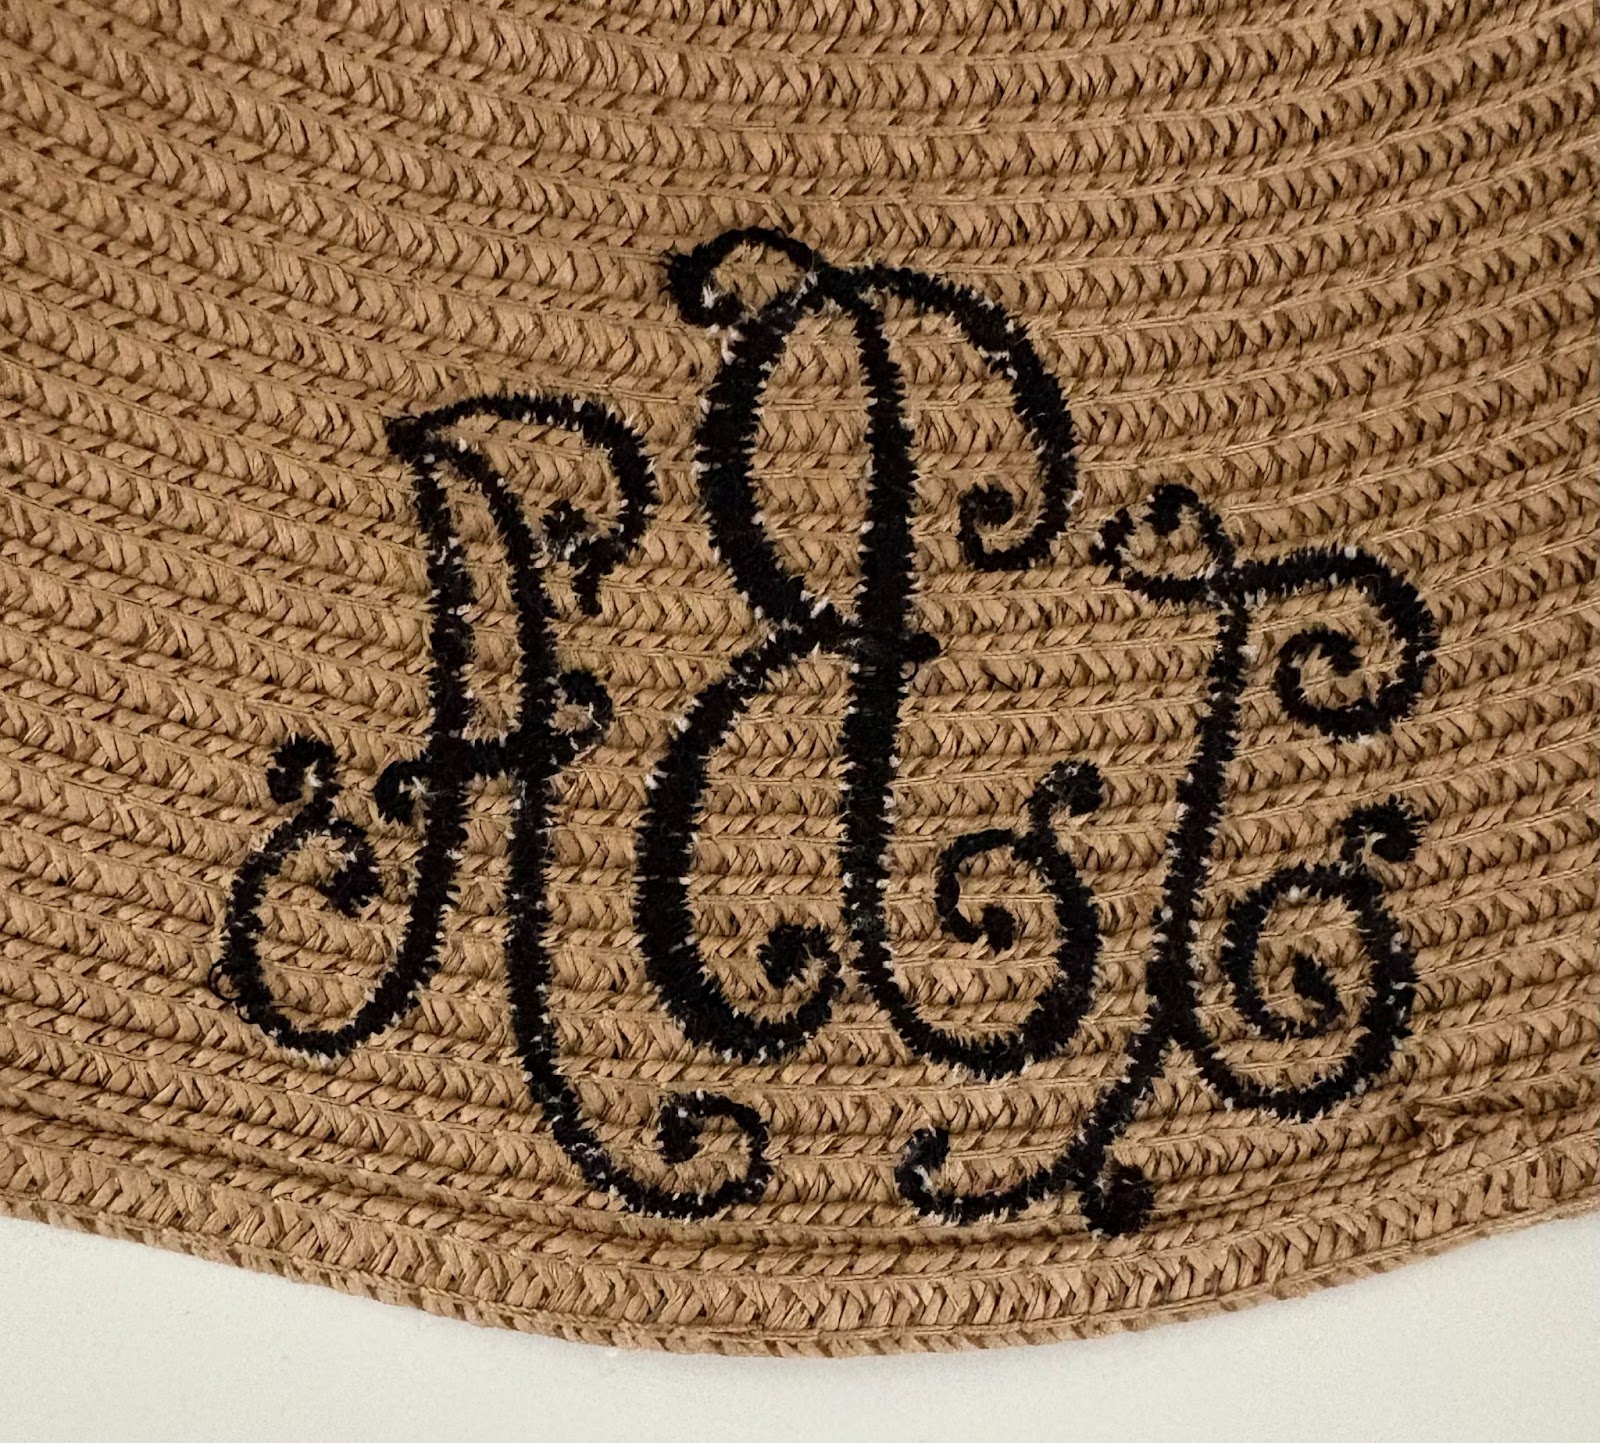
This monogram was done following the same steps.
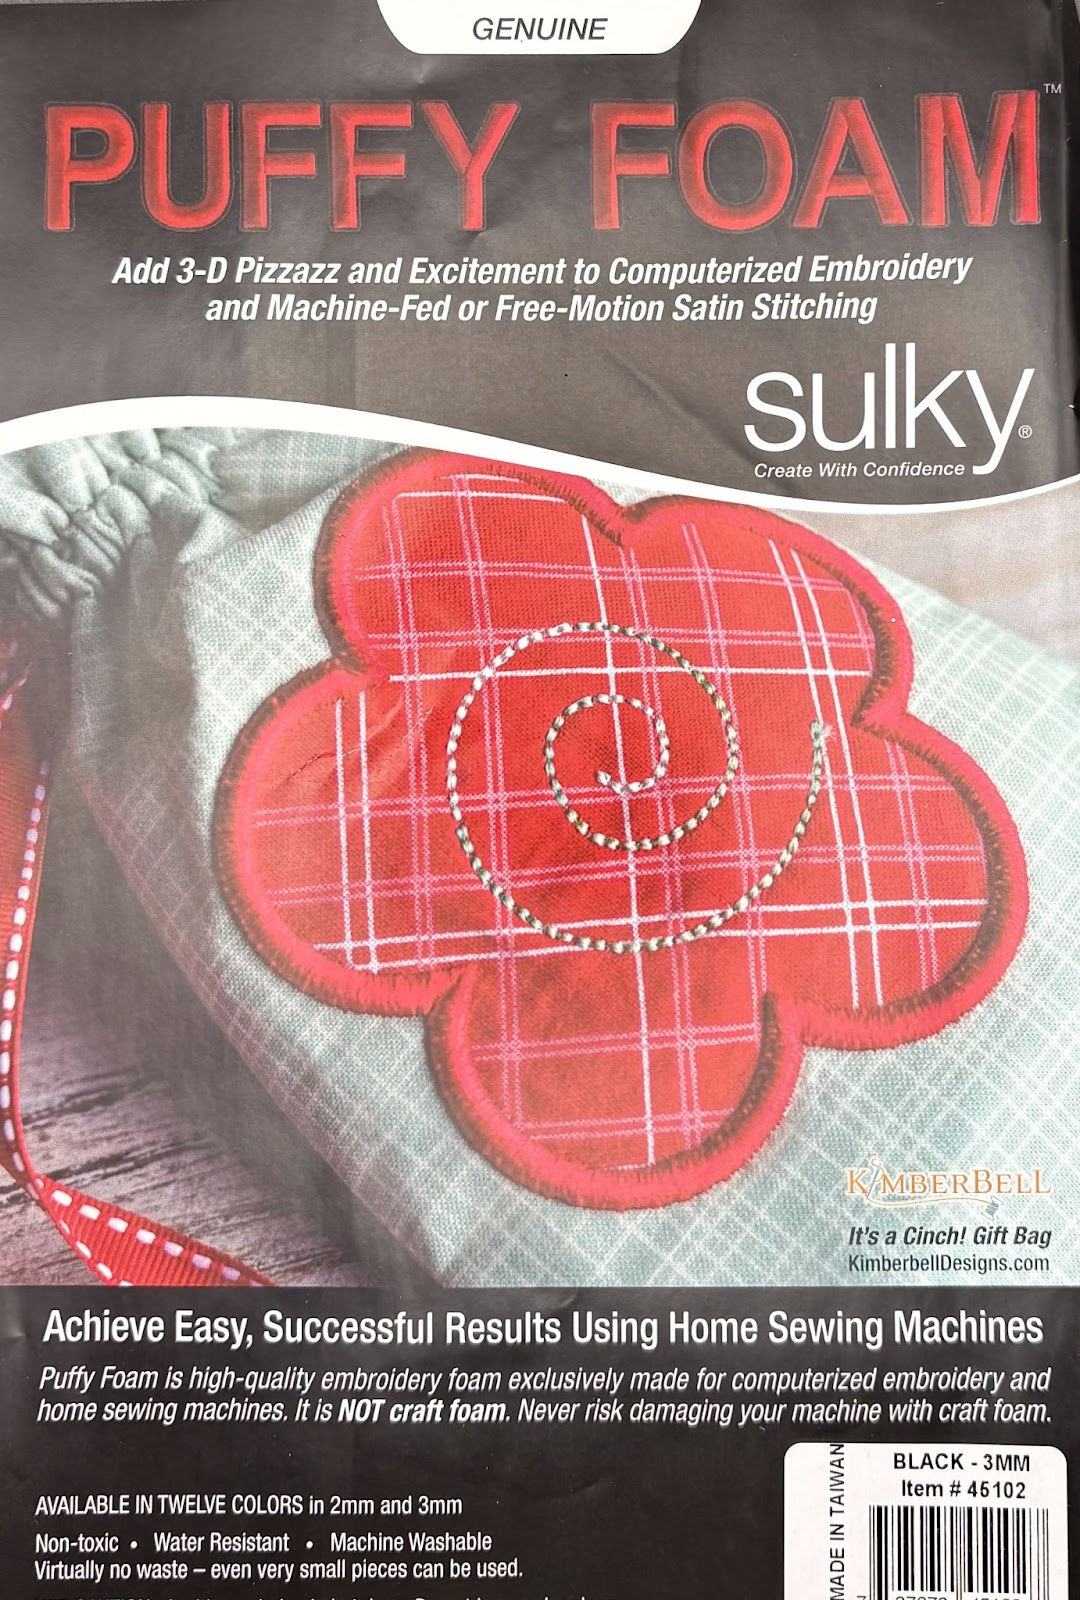
If you have never tried puffy foam, you are going to be amazed and delighted by how easy it is to work with. Puffy foam gives you a 3D look that will elevate your monogram to the next level. Your friends and family will think you got your personalized hat at a stylish boutique.
To get started, make sure you are using puffy foam for embroidery and NOT craft foam. Puffy foam is specifically designed for machine embroidery and is a higher quality. If you did not use a 100/16 needle with the previous steps, you will definitely want to when using puffy foam.
The previous steps will remain the same with the exception that you do not use a film topper. Hoop tear-away stabilizer and spray with a fabric adhesive. Machine settings remain the same, taking extra precaution to assure the foot does not drag or touch the foam.
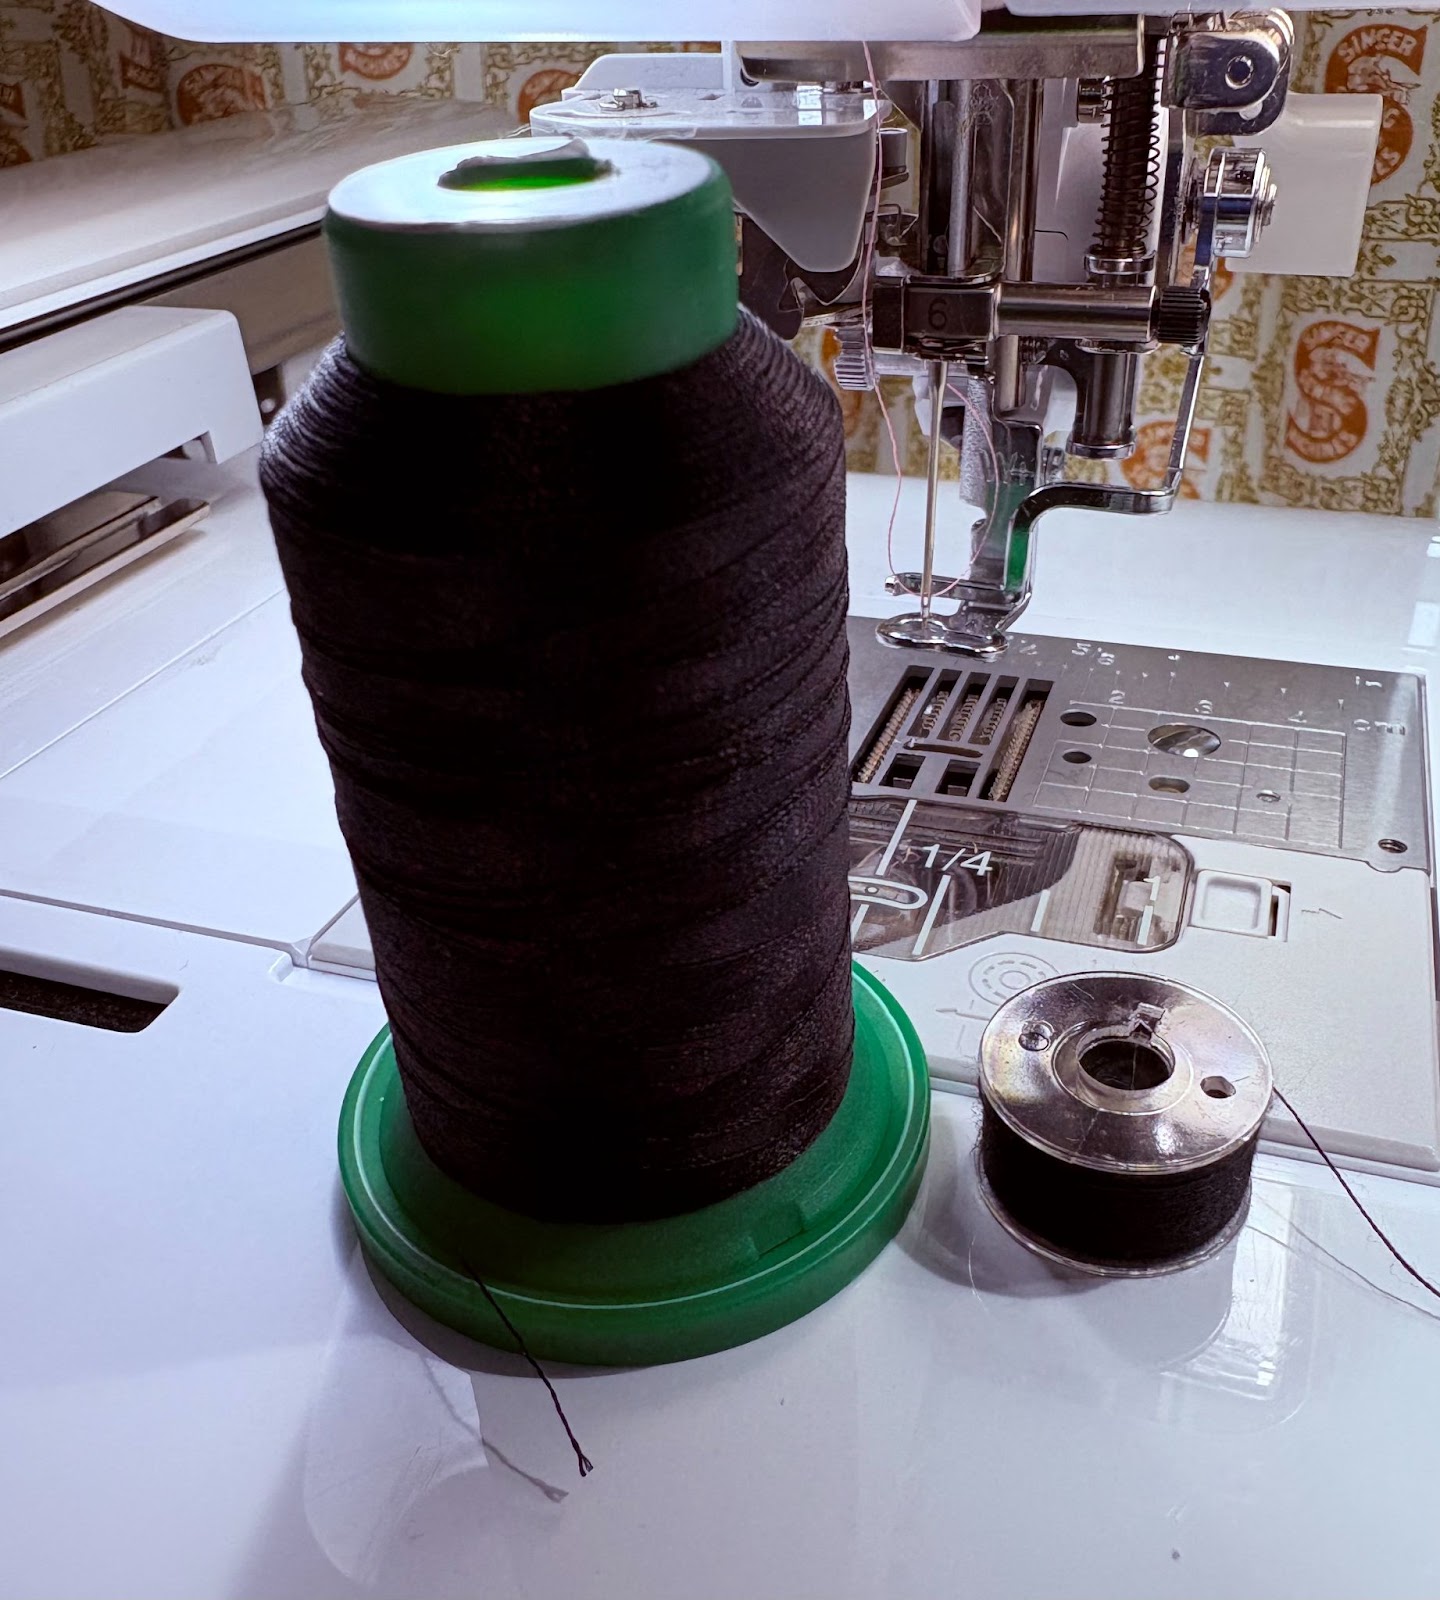
For best results use matching top and bobbin threads. This will give you a nice, clean underside.
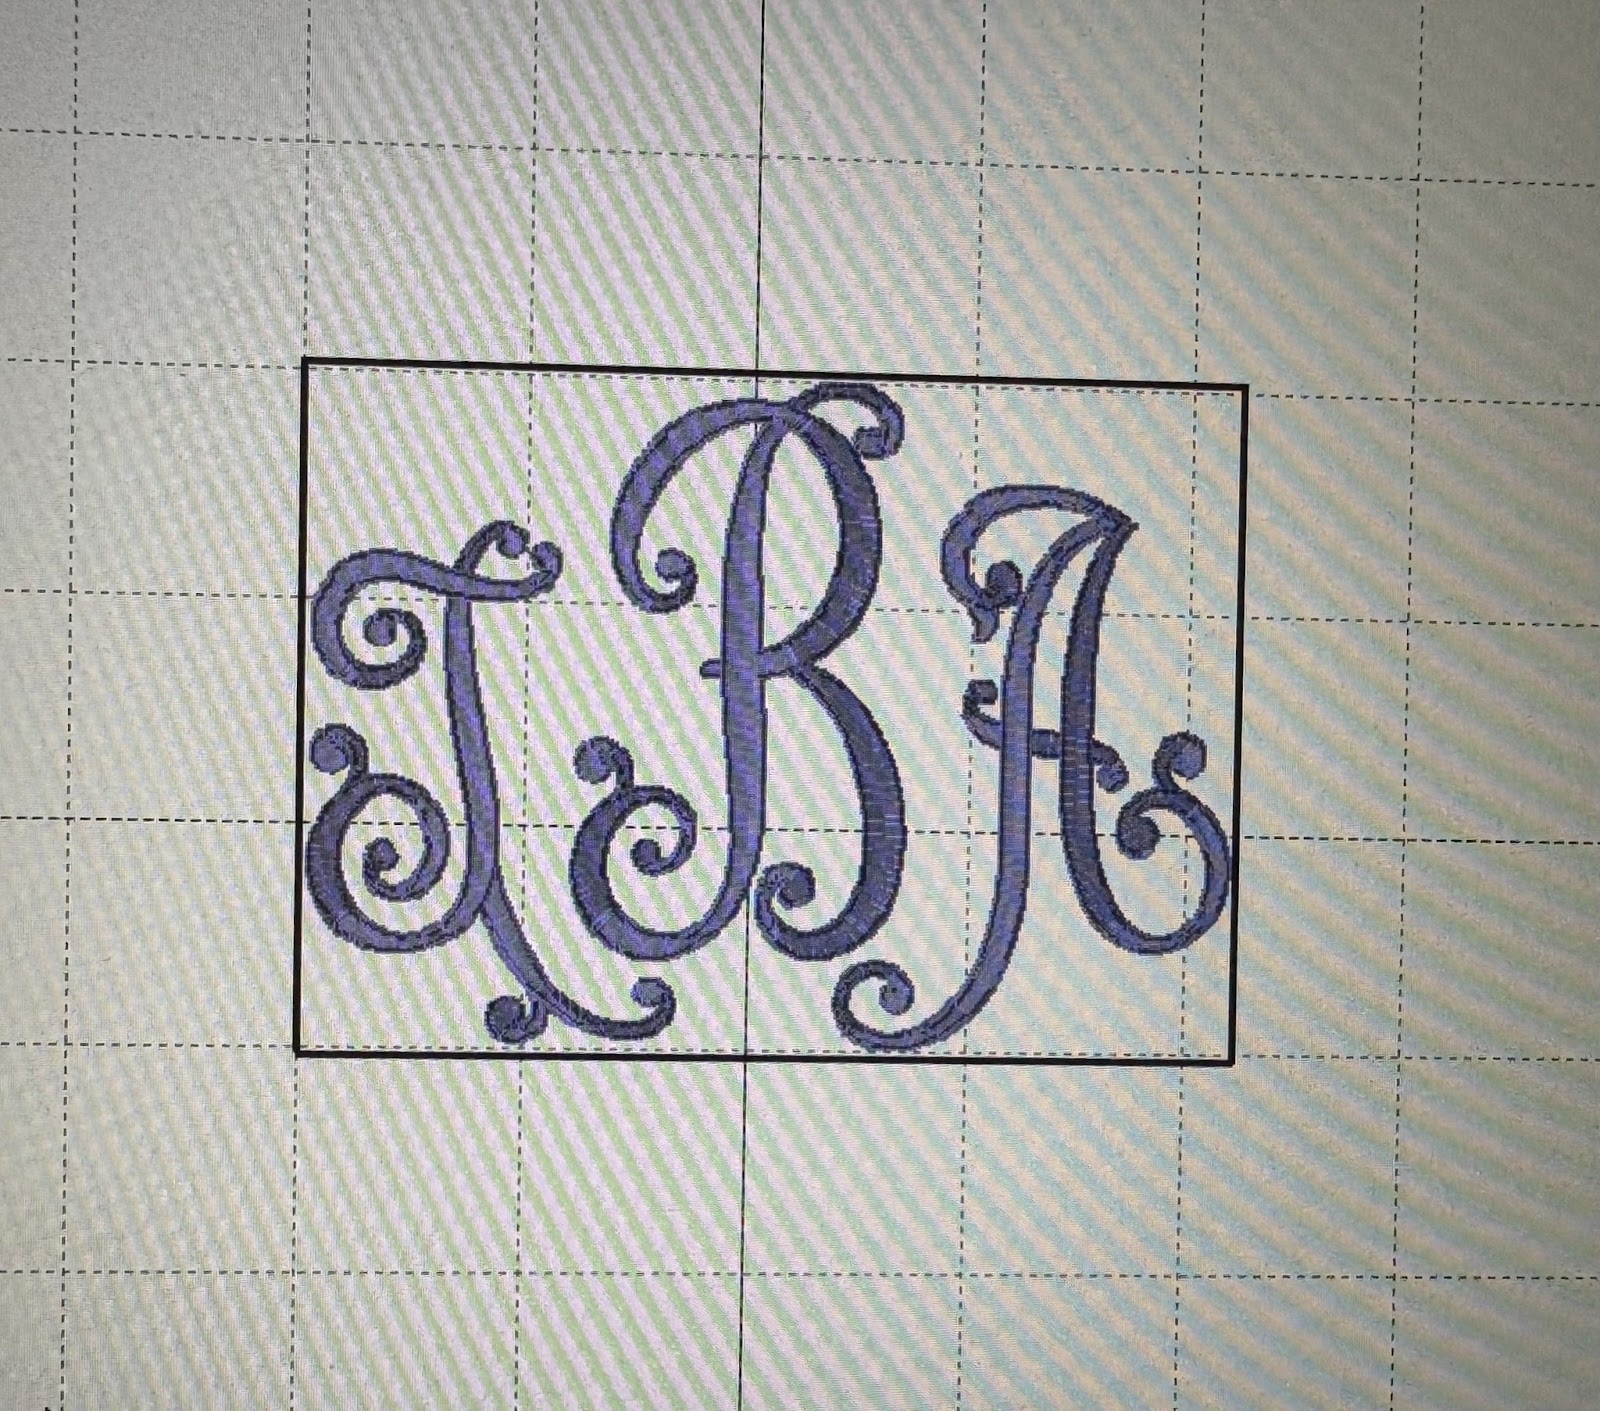
Designs by JuJu makes it simple to create a perfect 3-letter monogram. Each monogram has a left, right, and center letter. If using software, create your monogram. Print out the design to use as a template.
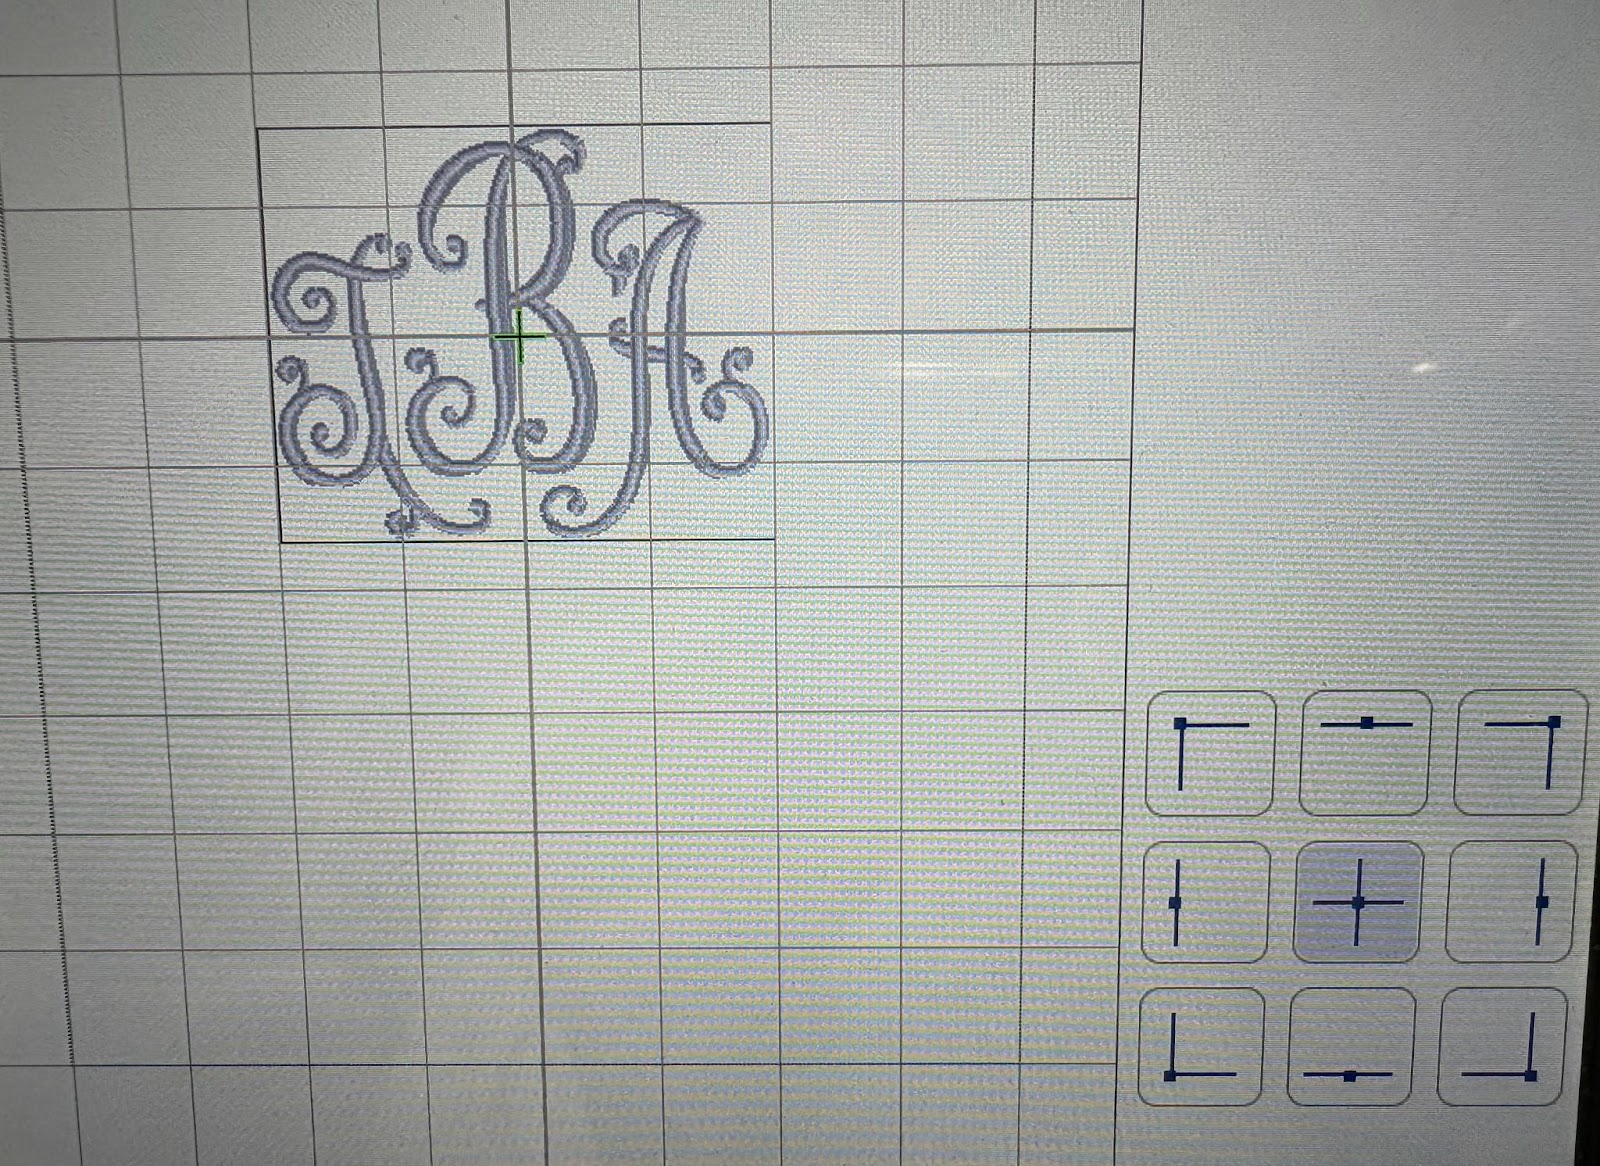
Load your design onto your machine. If not using software, load each letter using the add button. Make sure to load the correct left, center, and right letters. Using the grid on your machine, line up your letters. With the Trial key, find the center. Cut a template the size of the design.

Cut a piece of puffy foam slightly larger than your template.
Attach the prepared hoop. Center the template onto the hat brim. Lay your hat onto the stabilizer and press to adhere to the adhesive. Pin or clip in place. Use the needle down button to make sure your design is centered with the template, and the crosshairs are straight. If necessary, make adjustments to the design with the Move button.
Spray the back of the foam piece with the fabric adhesive. Replace the template with the foam, and press the foam down onto the hat brim. Begin to stitch out the design. Keep an eye on the hat so that it doesn’t move. Always be aware of the needle and keep fingers at a distance.
When finished, carefully tear away the foam.
Tear away the stabilizer from the back and trim any threads. Using matching top and bobbin threads really gives you a clean, professional finish.
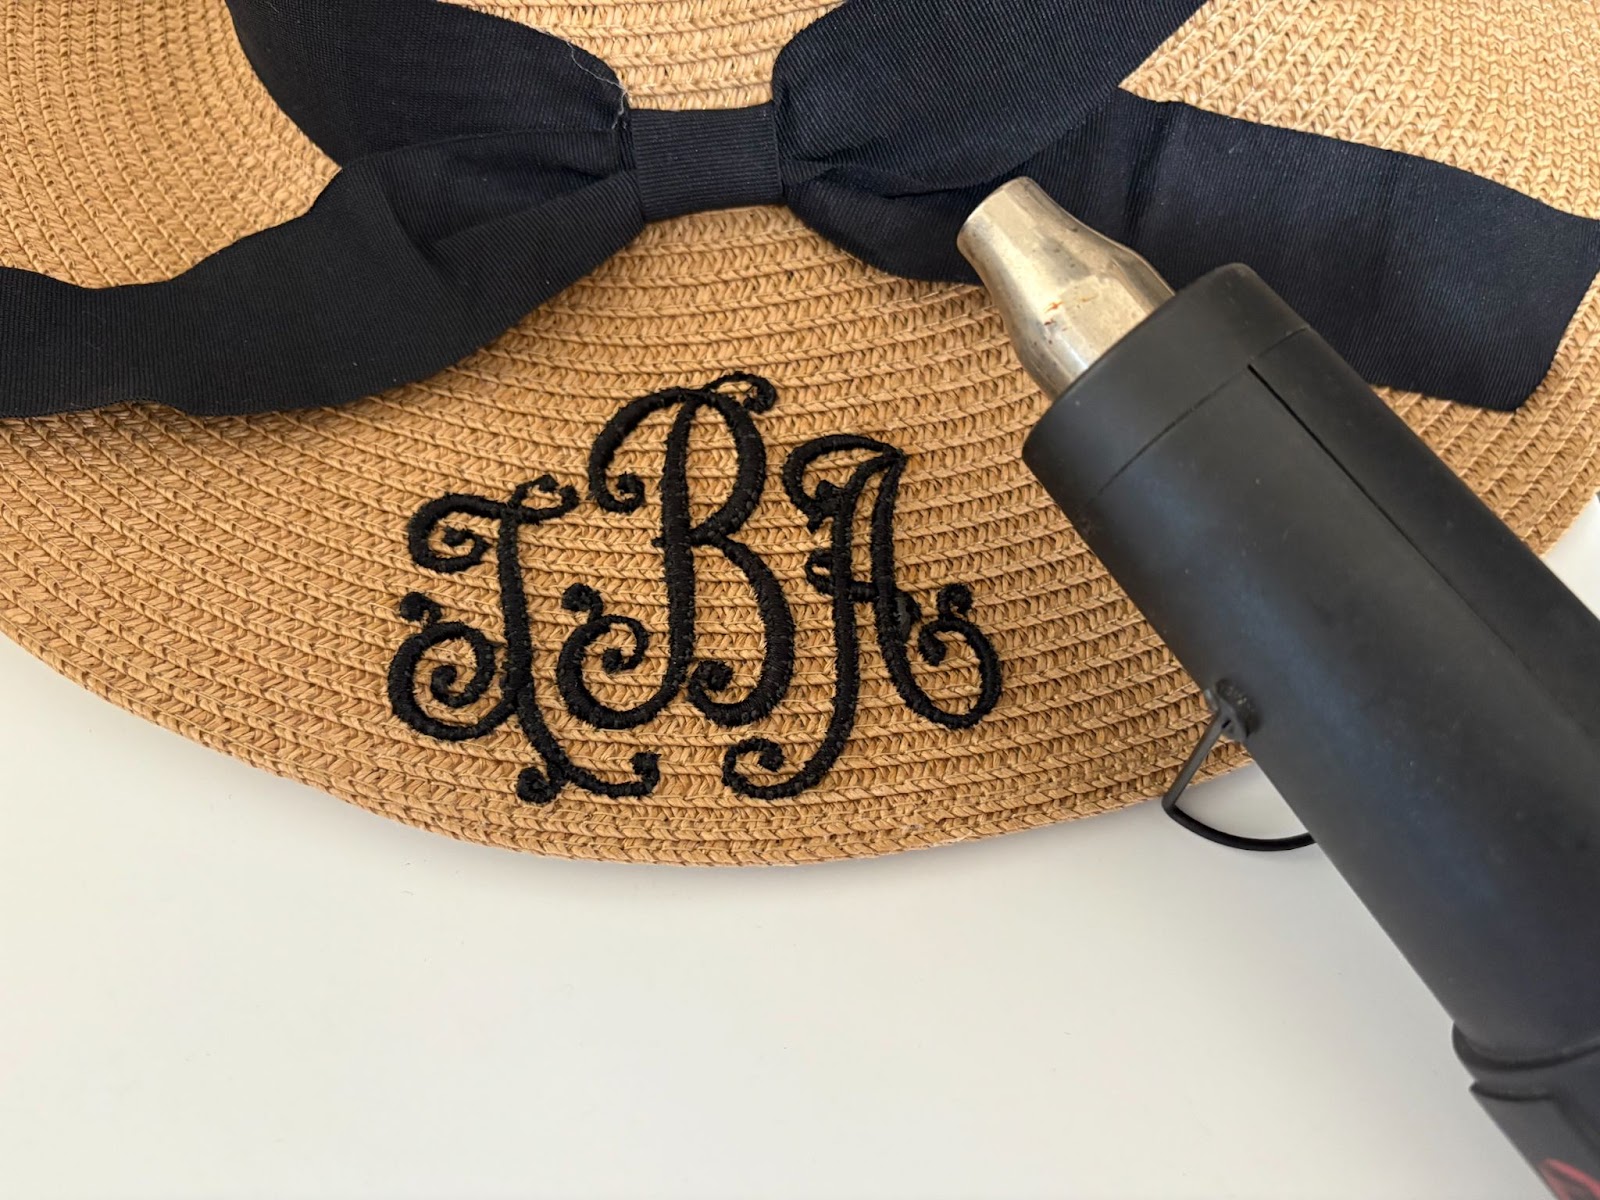
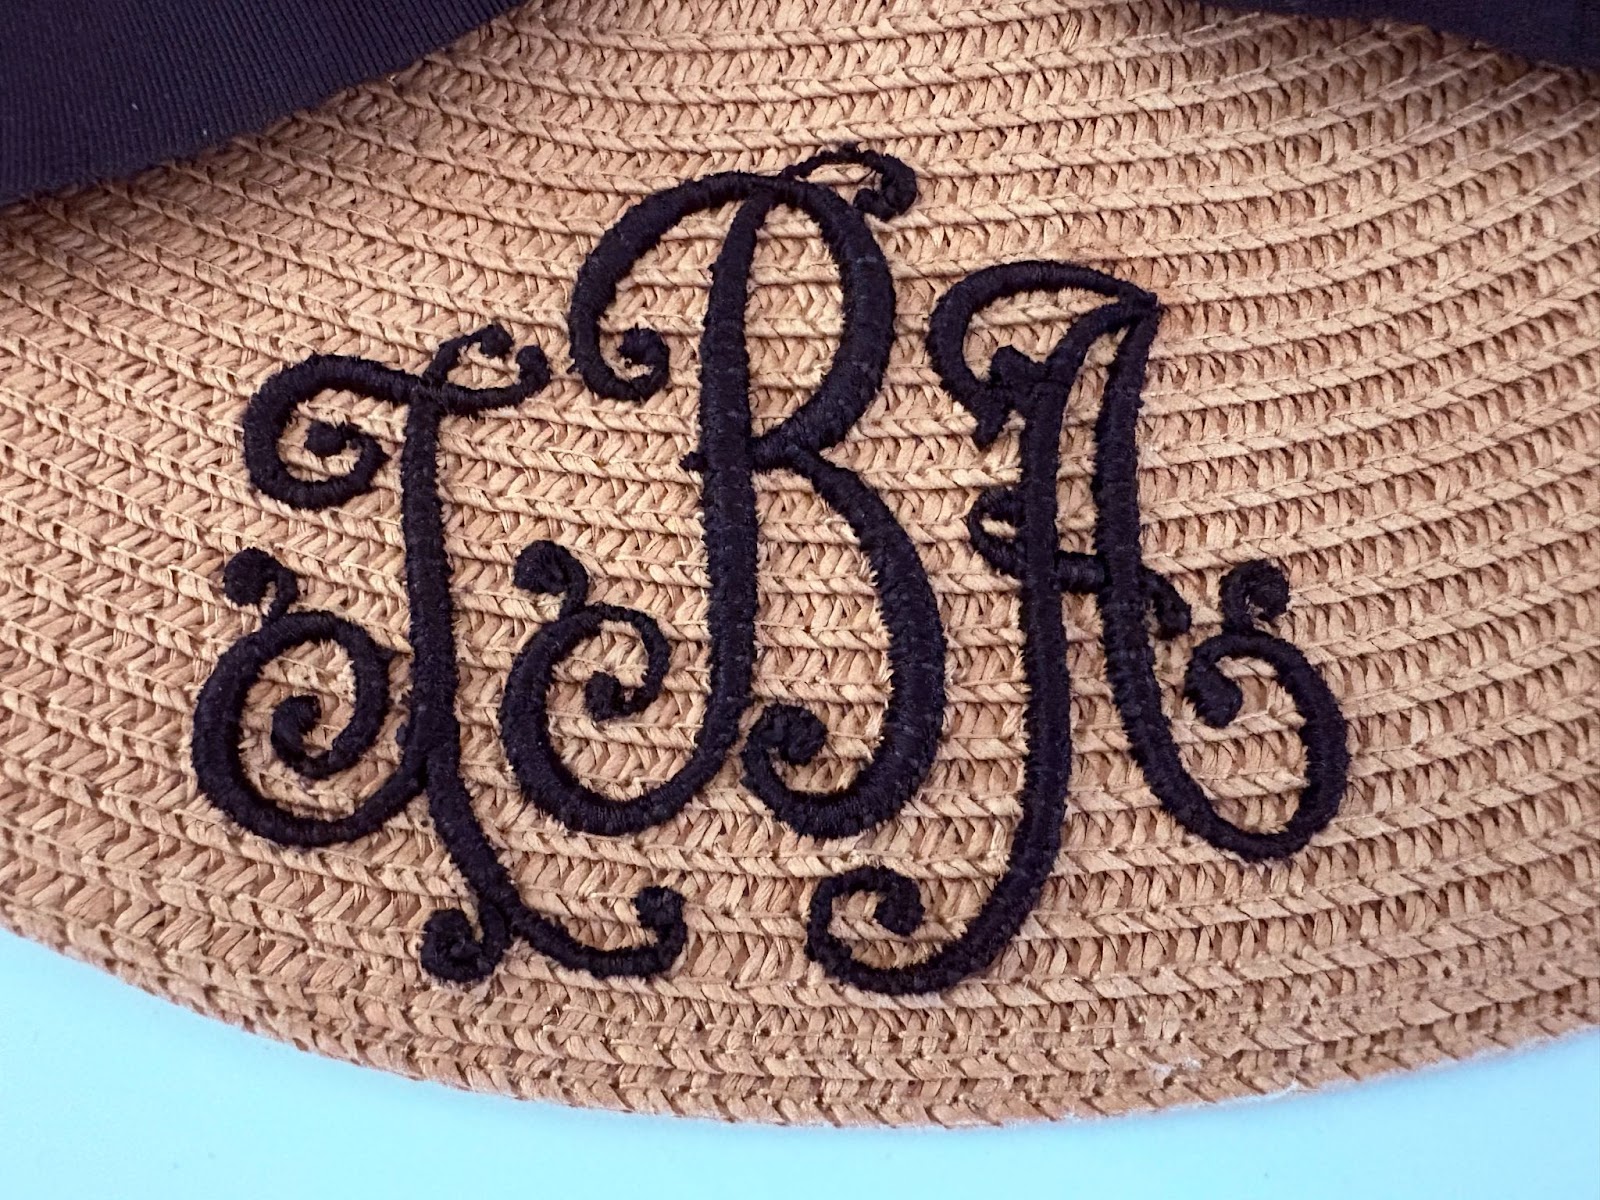
To melt and shrink down any small, protruding pieces of foam (I call them fuzzies), use a heat gun or blow dryer. Always use a low heat setting and keep it moving to avoid burning the foam.

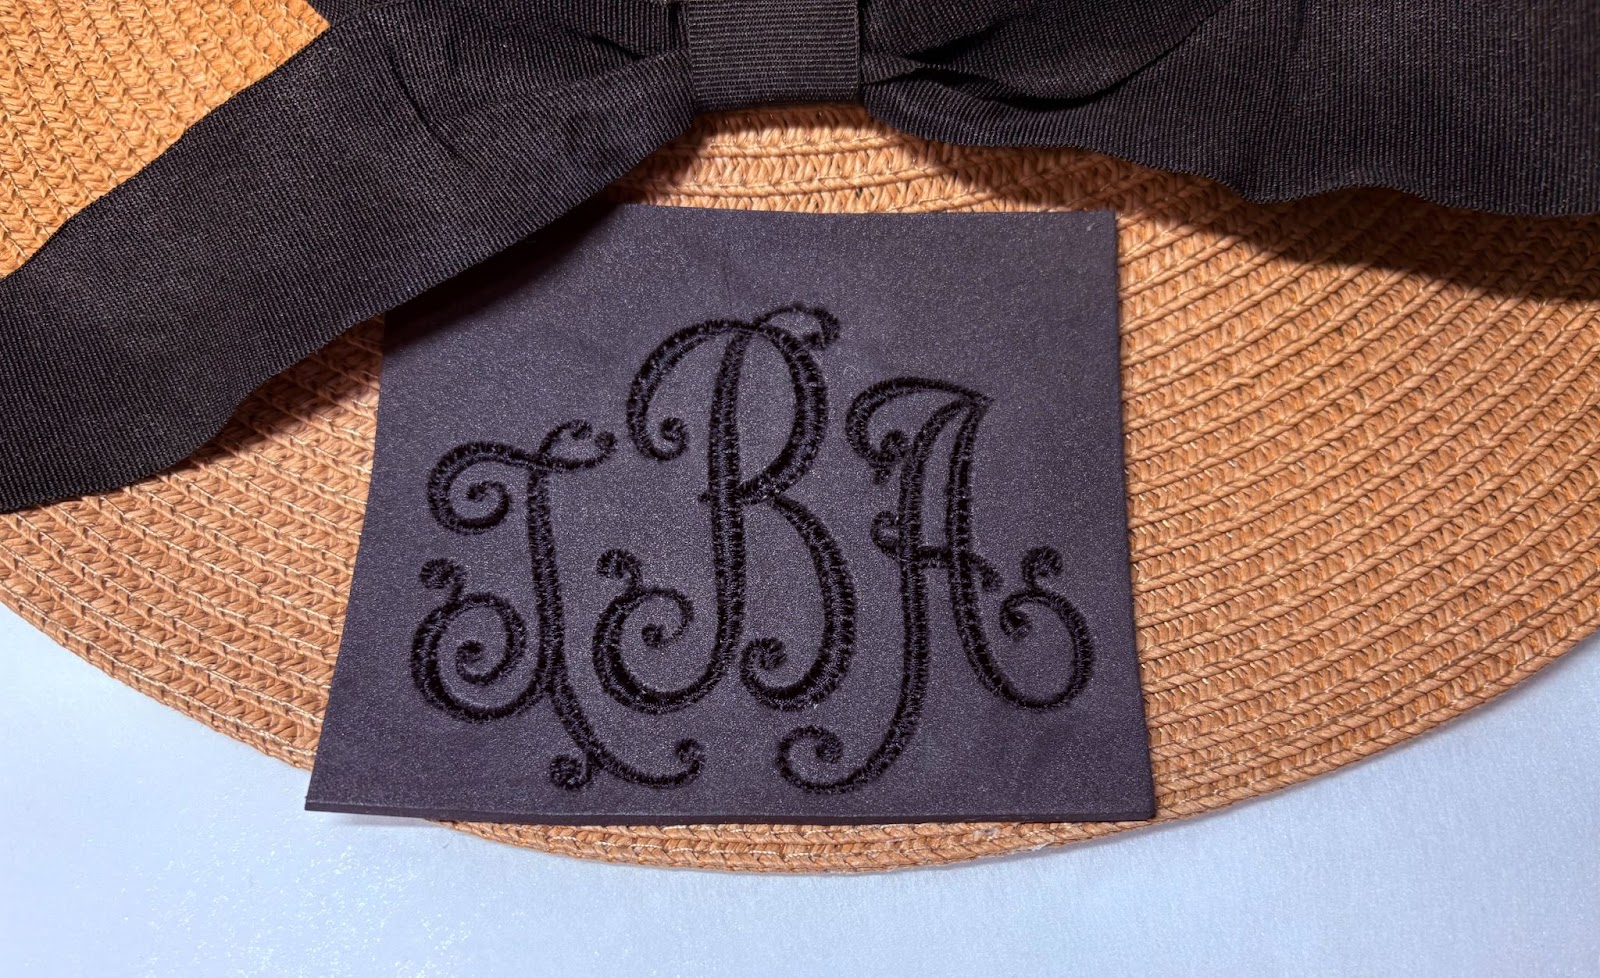
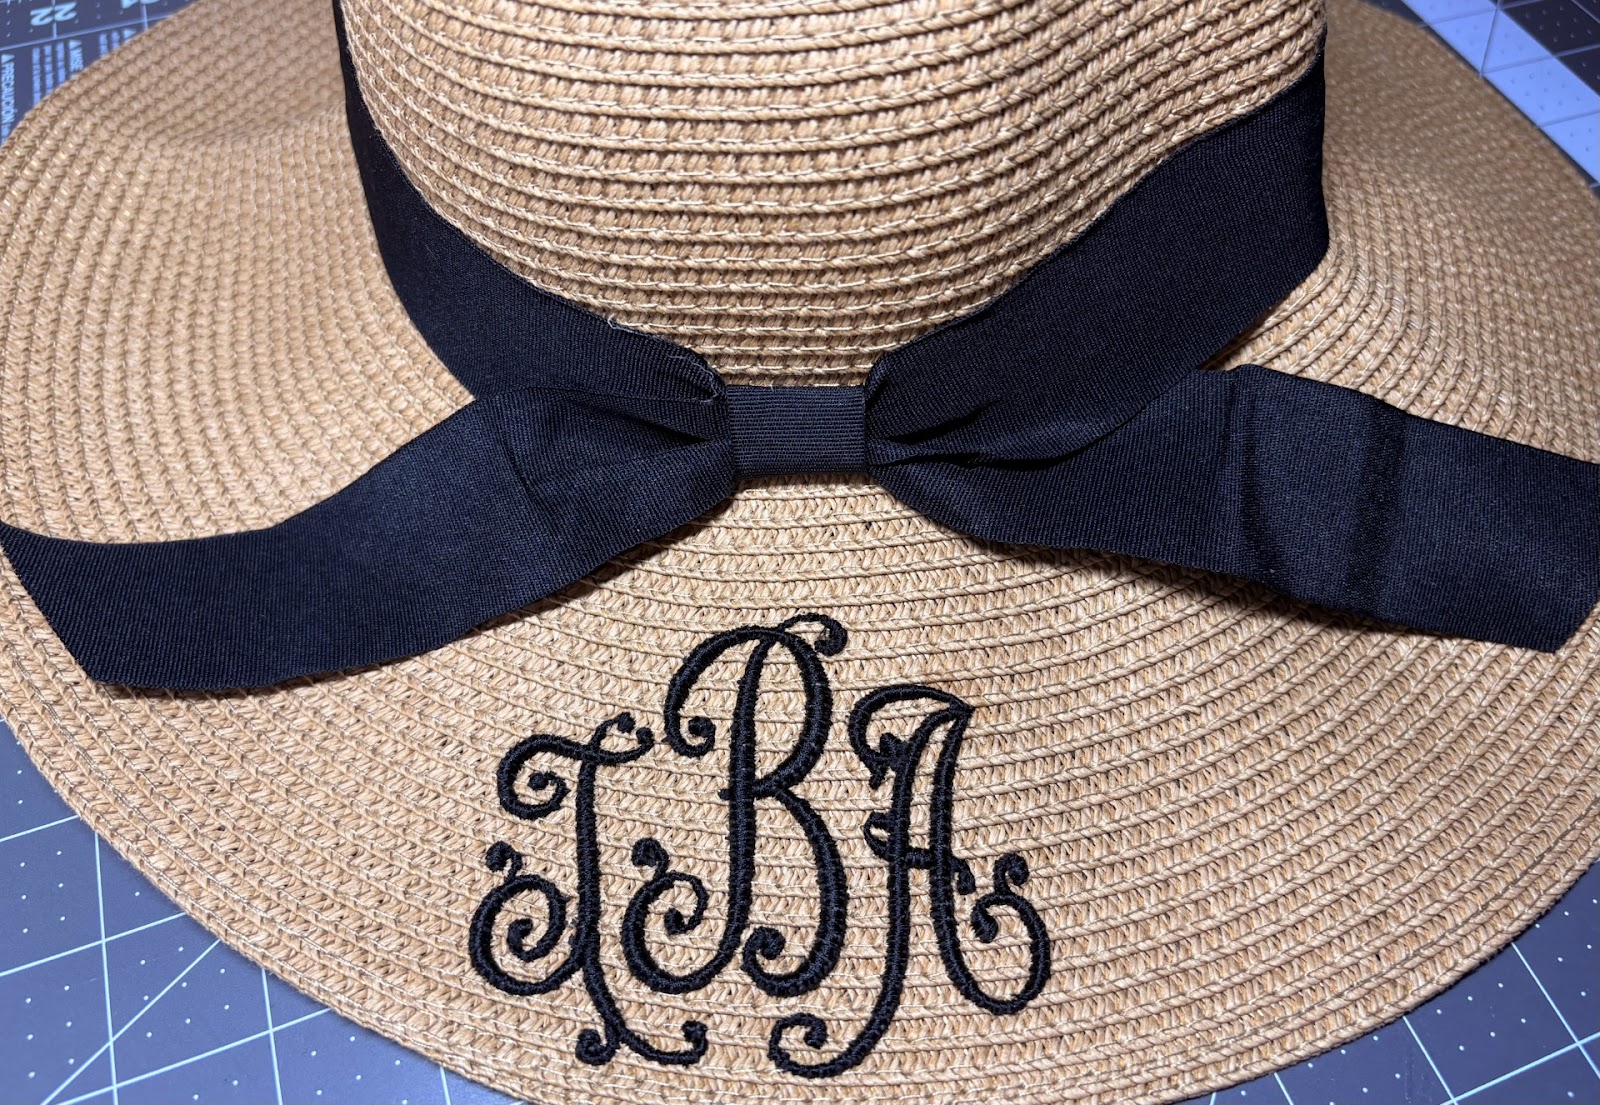
Look at how adding foam for a 3D look creates this stunning monogram.
Embroidered monograms are always trendy and stylish.They are a fun way to add a personal touch that never goes out of fashion, making them a must-have accessory.
Please share your creations with friends and fellow crafters in the Designs by JuJu Embroidery Blessings Group on Facebook, or anywhere on social media using the hashtag #designsbyjuju. We’d love to see what you create!
