Toggle Nav
 Inspire.
Create.
Stitch.
Inspire.
Create.
Stitch.
Search
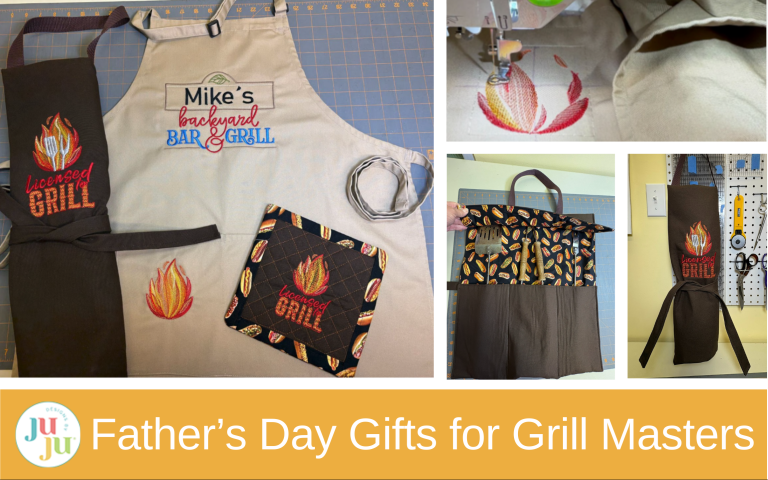
Dads don’t want more ties—they want time with loved ones! Stitch an apron, barbecue tool holder, and pot holder!
Check out the DBJJ team’s favorite supplies in the Designs by JuJu Amazon store. For stabilizers and batting, Designs by JuJu+ has everything you need.
When I asked my husband about making an apron with this Customizable Family Sign design for a nephew-in-law, his answer was, “Yes, I would use that.” Turns out, my husband was telling me HE wanted the apron! That’s a good endorsement of this as a gift for a griller in your life.
Since this apron will be washed—probably frequently—I washed and dried it before embroidering to eliminate future shrinking.
I used the Bar & Grill design for the bib front of the apron.One of the first things I had to determine was the size of the embroidery. I cut out a 5x7 rectangle and a 6x10 one and laid them on top of the apron, 4” from the top edge. Because the larger size looked more appropriate for the space, that’s the size I chose.

Recommended placement from the top of an apron is 4”, so that’s where I set the top of the design to start. However, afterwards I wish I had moved it up a bit so that the top of the rectangle was at the 4” mark. If you look at the photo below, you can see the area with the leaf is about an inch tall. It pushes the main part of the design down to the 5” mark, which is where I think your eye falls when you’re looking at the apron. It’s not a huge difference, just me being picky. Speaking of which, I asked three friends what color I should embroider the name and got three different answers. The options I gave them were black, brown, or blue. I went with black but I think the brown would have been a good choice as well.


Because grilling can be a messy sport, I used tear-away stabilizer so the design will hold its shape after multiple washings.
I wanted to use only the flames from the Licensed to Grill design on one of the pockets. I don’t have a printer but, wanting to get the flames the right size, a friend took a screenshot of the design and printed out a couple of sizes. I liked the larger size better. I have a couple of the Embrilliance modules so I was able to delete the words from the design. I reduced the size of the flames so they were 3 1/2” tall x 2 11/16” wide. If you want to stitch out only the flames as I did and you only have the Essentials module, reduce the size of the overall design to 83.7% and only stitch the flames, making sure the top of the design is 1” below the pocket seam or however low you want it placed. If you don’t have software, play with your machine’s setting to reduce the design and check the sewing area.

Before I unstitched the side of the pocket from the apron I marked the placement of the design on the pocket. I added a basting box to the design, and I strongly recommend it. Without it, I think the apron will shift around too much. While I thought I’d have to include the fork and knife in the design, when the flames were stitching out I liked the look of them without the utensils so I skipped those steps.

Once the pocket was embroidered, I found a thread close to the original thread color to sew the pocket back on.

My husband has been keeping the barbecue tools hanging from several nails. Since he is getting the apron, I thought that a BBQ tool organizer would be a great companion gift and a nice surprise for him.
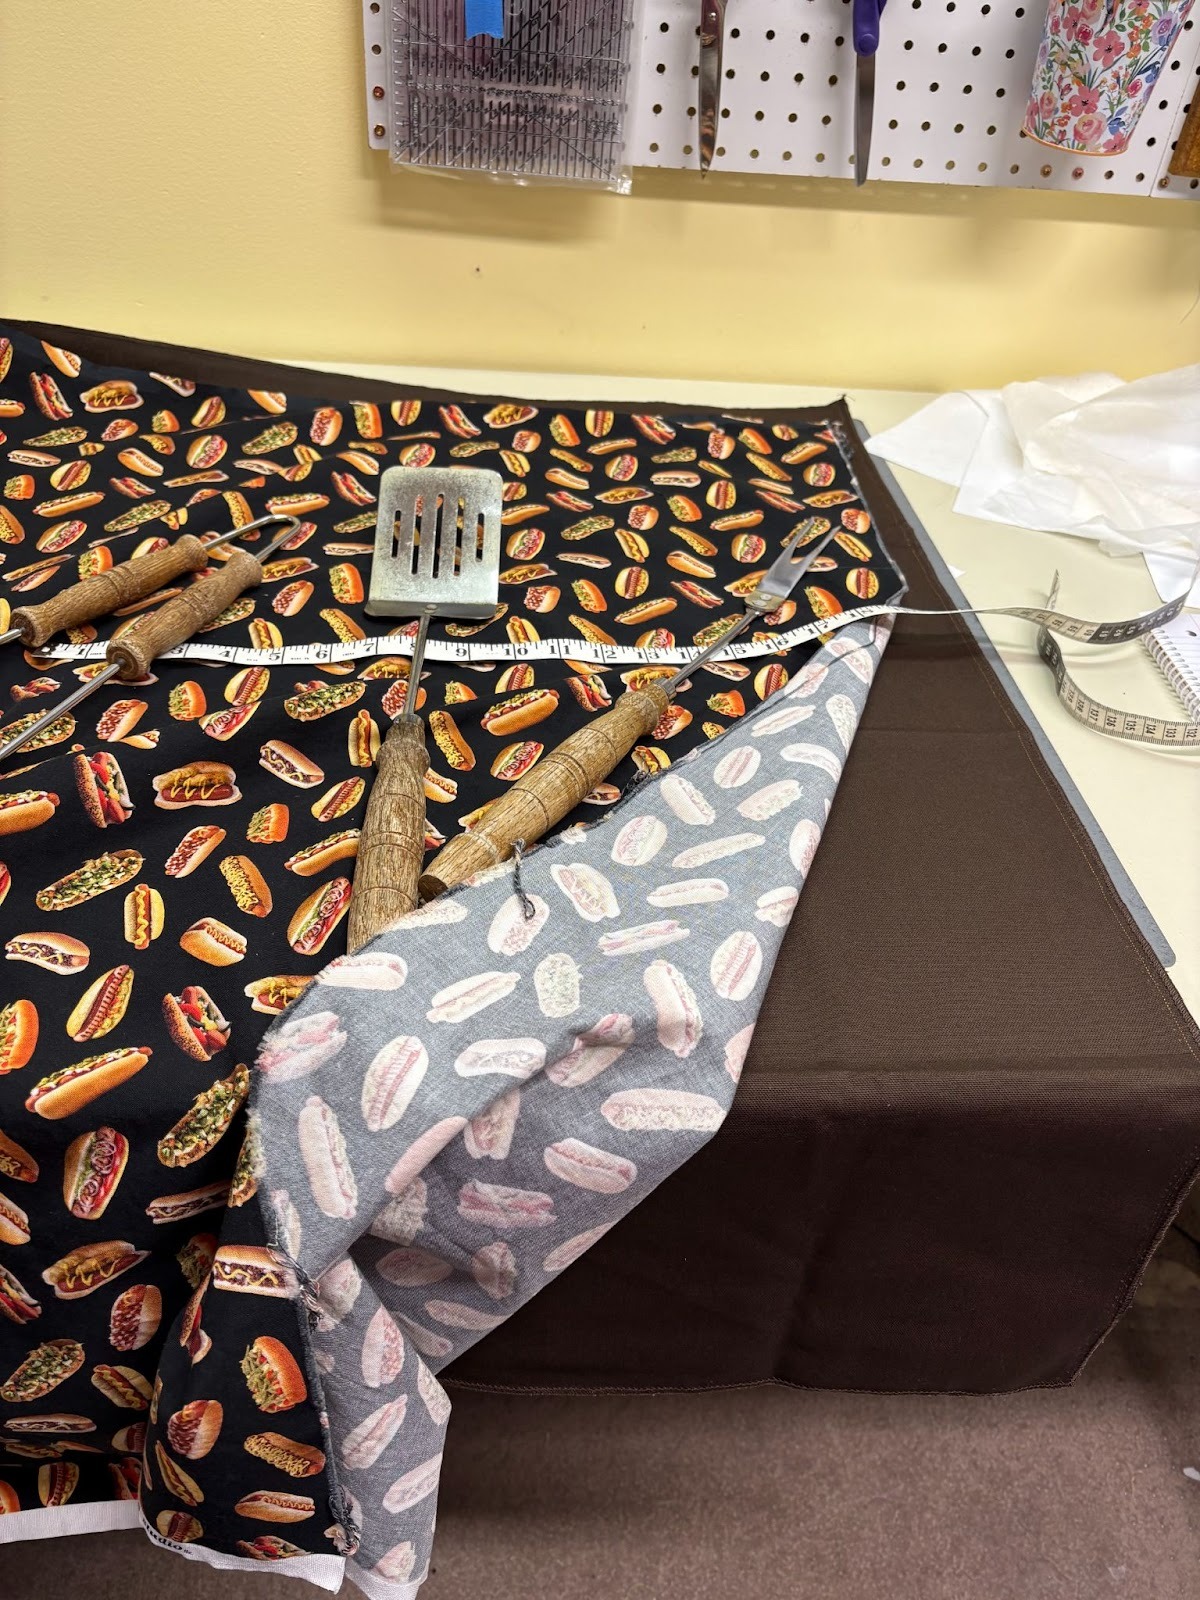
To take advantage of the amount of canvas that I had and make less cutting work for myself, I decided to make deep pockets and an overlapping top which would hold the tools more securely. I cut out a rectangle 36” x 19”, which meant I only made one cut of the canvas. Next, I cut a 35” x 18” rectangle from fusible fleece and fused it to the wrong side of the fabric.

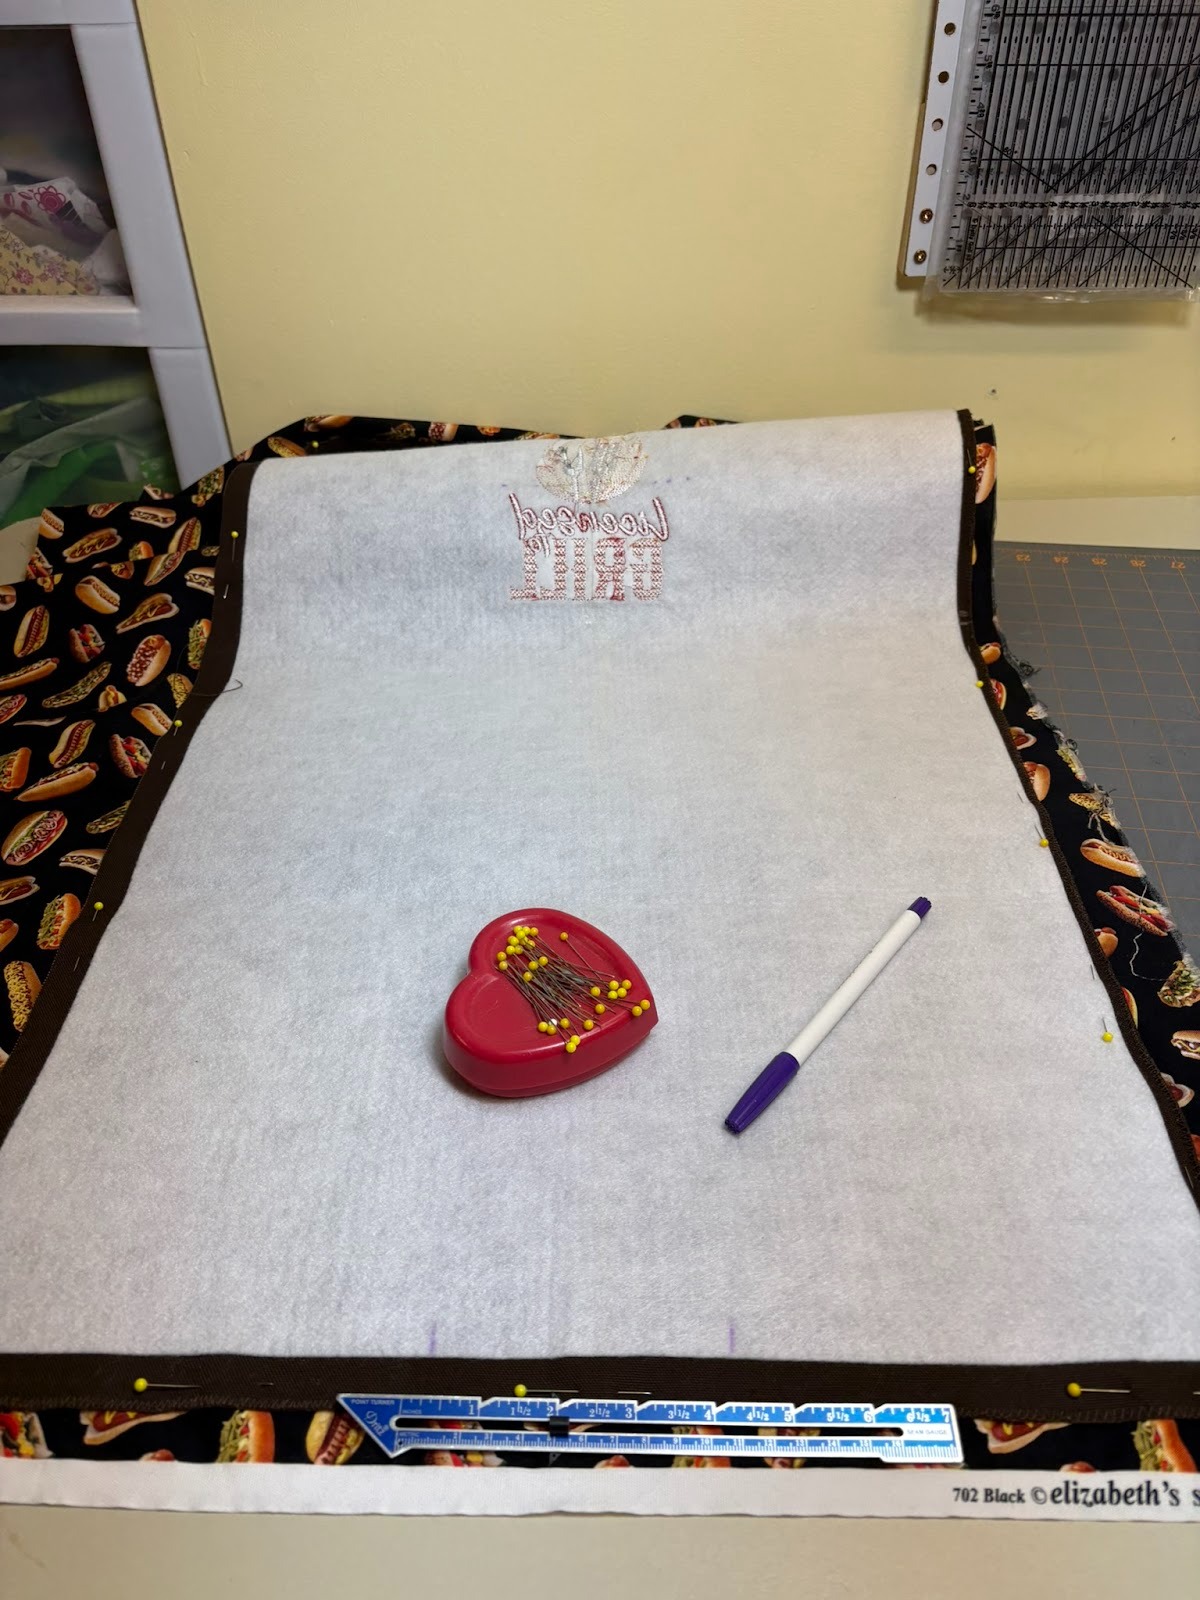
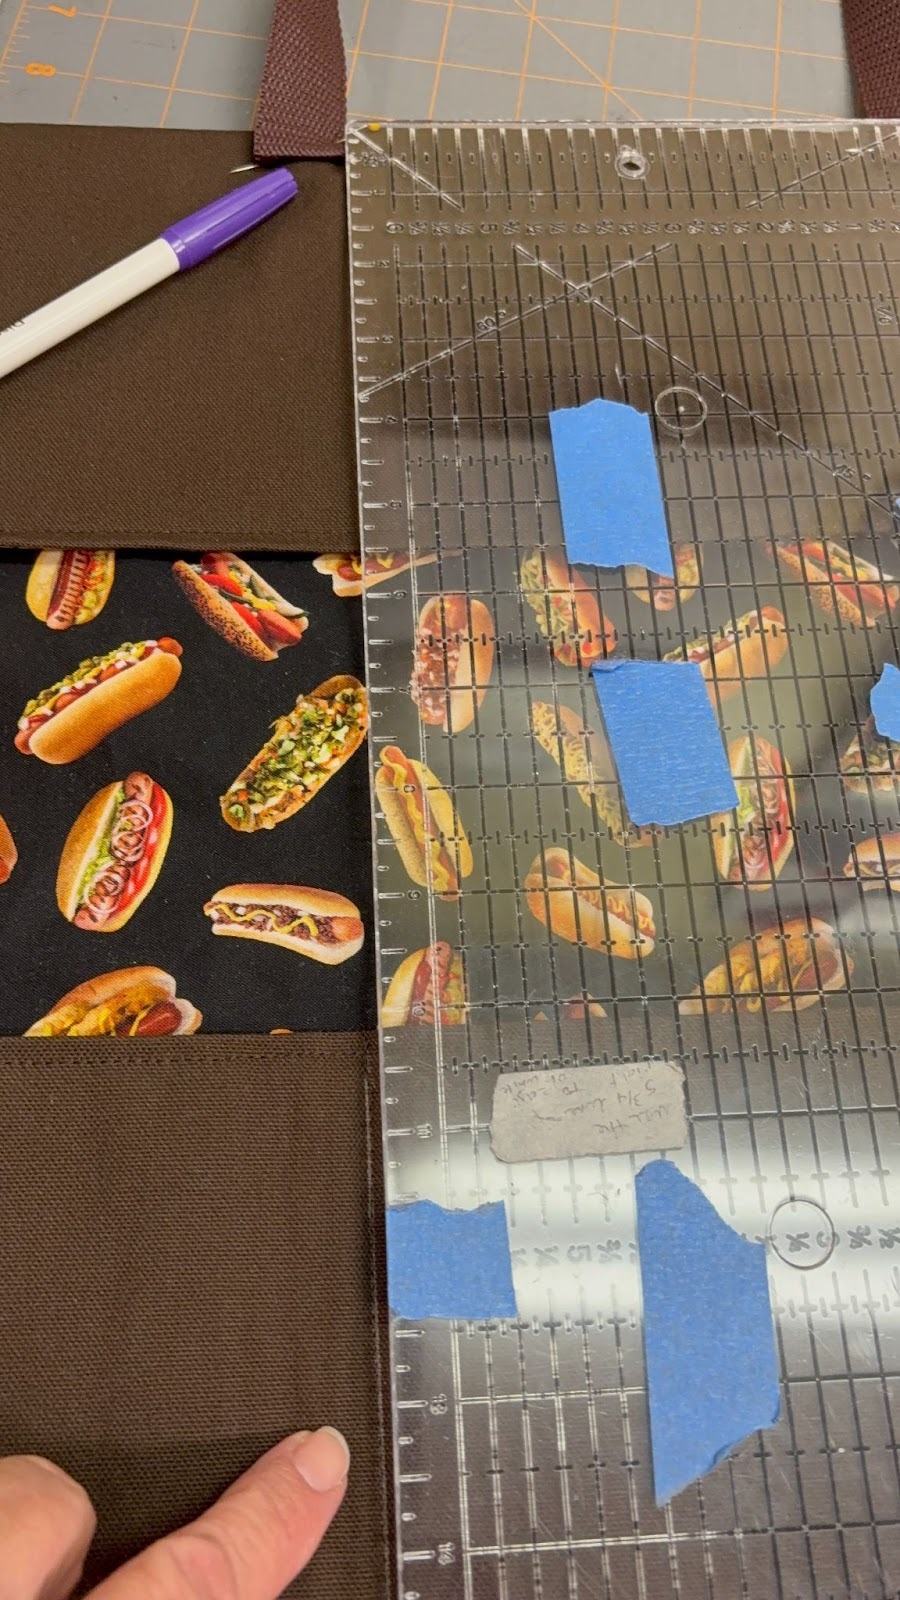
Wanting to coordinate everything, I needed to figure out where I was going to embroider the Licensed to Grill design, because that needed to be embroidered before the lining was added. The organizer will be in thirds when closed, like a kitchen towel when you display it from the oven handle. I folded up the bottom part of the organizer 9½” inches.The pockets will be 9” after the lining is added. I also folded the top down.
Then I measured down 2” from the top fold of the organizer. I used the 5x7 design reduced to 4” x 6” and centered the design between that mark and where the top of the pockets will be. It was also centered between the left and right sides of the organizer. When the organizer is closed it will be folded into thirds and I want the design to show on the side opposite the flap. I stitched out the whole design; the utensils look great and are super for a barbecue tool organizer!

The photo on the right shows the organizer folded in thirds, with the middle section the front.
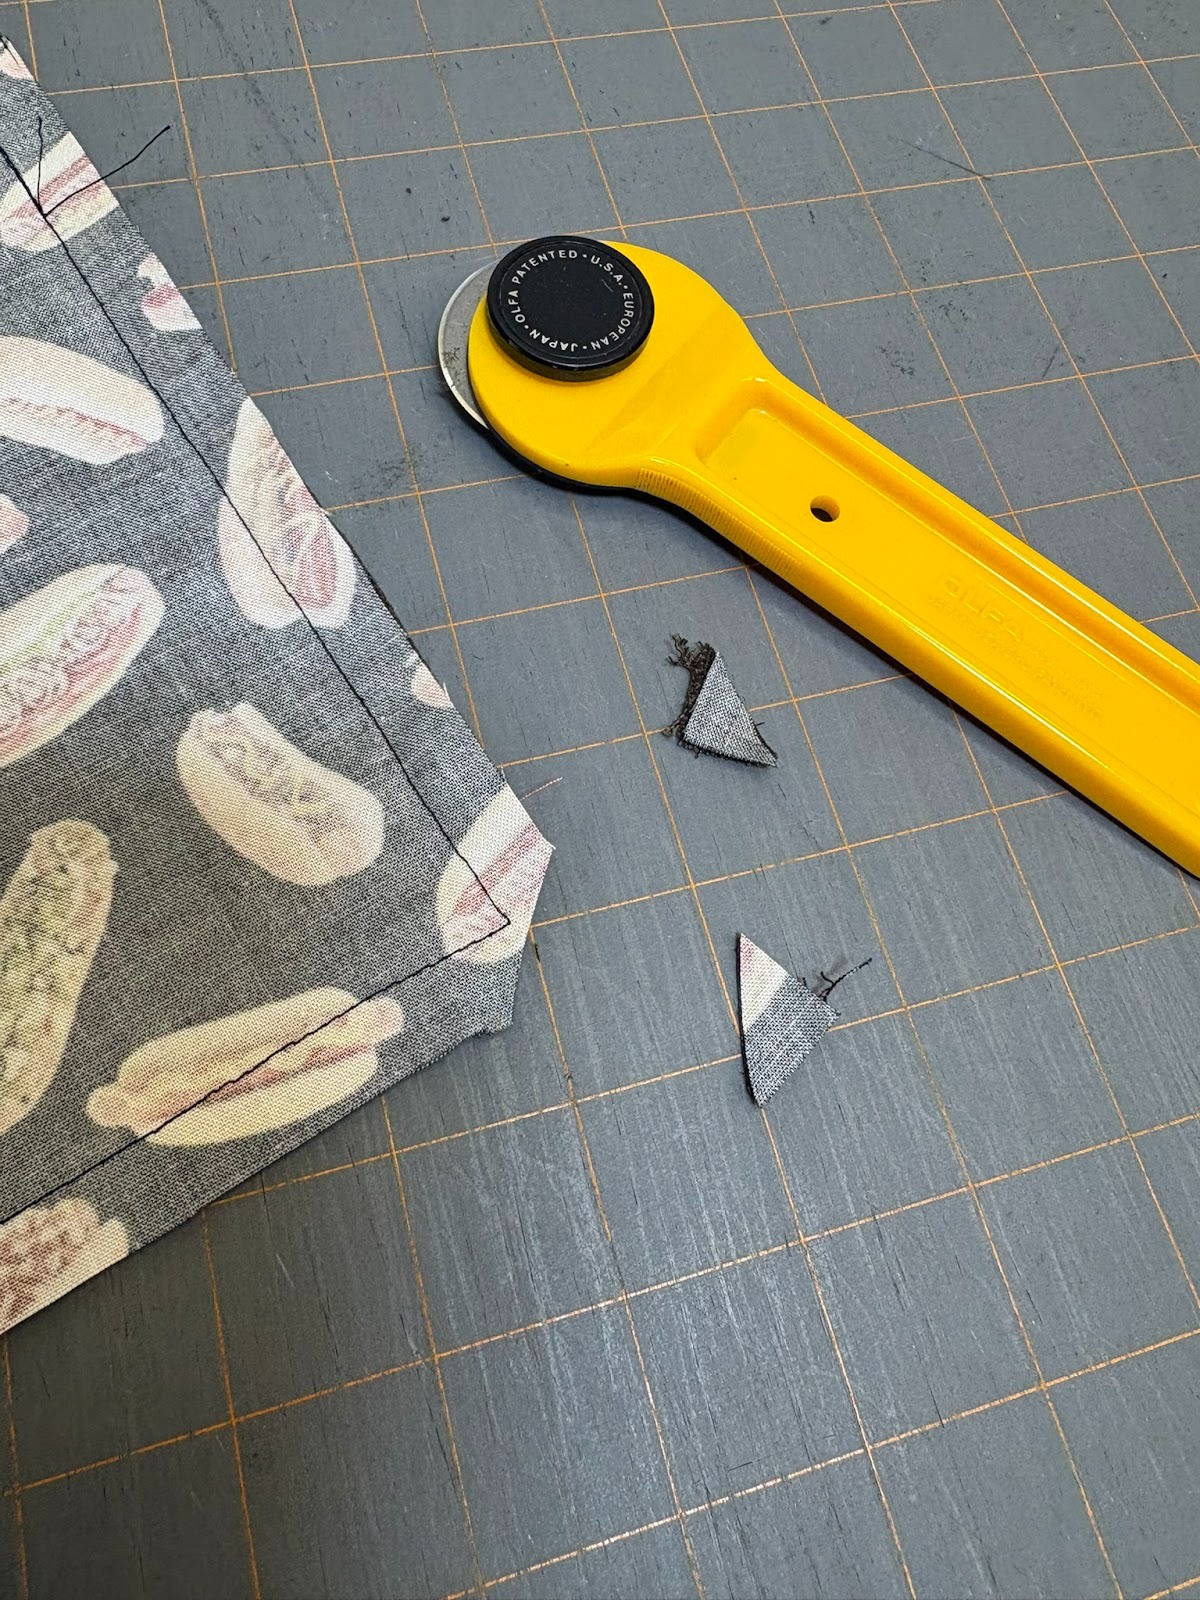
Now that the embroidery was done it was time for the lining. I re-measured my organizer and cut out the lining with the exact same measurements. With right sides together, the lining and the organizer were sewn at a ½” seam allowance, leaving an opening so it could be turned right side out. My original opening was 4”, but it was too small and I ripped out a few stitches, making the opening about 6”.
I trimmed the corners before turning.
I gave the organizer a good press after it was turned and the corners poked out. I made sure the opening had the seam allowance tucked in, then topstitched all around the edges, ensuring the opening was stitched closed.

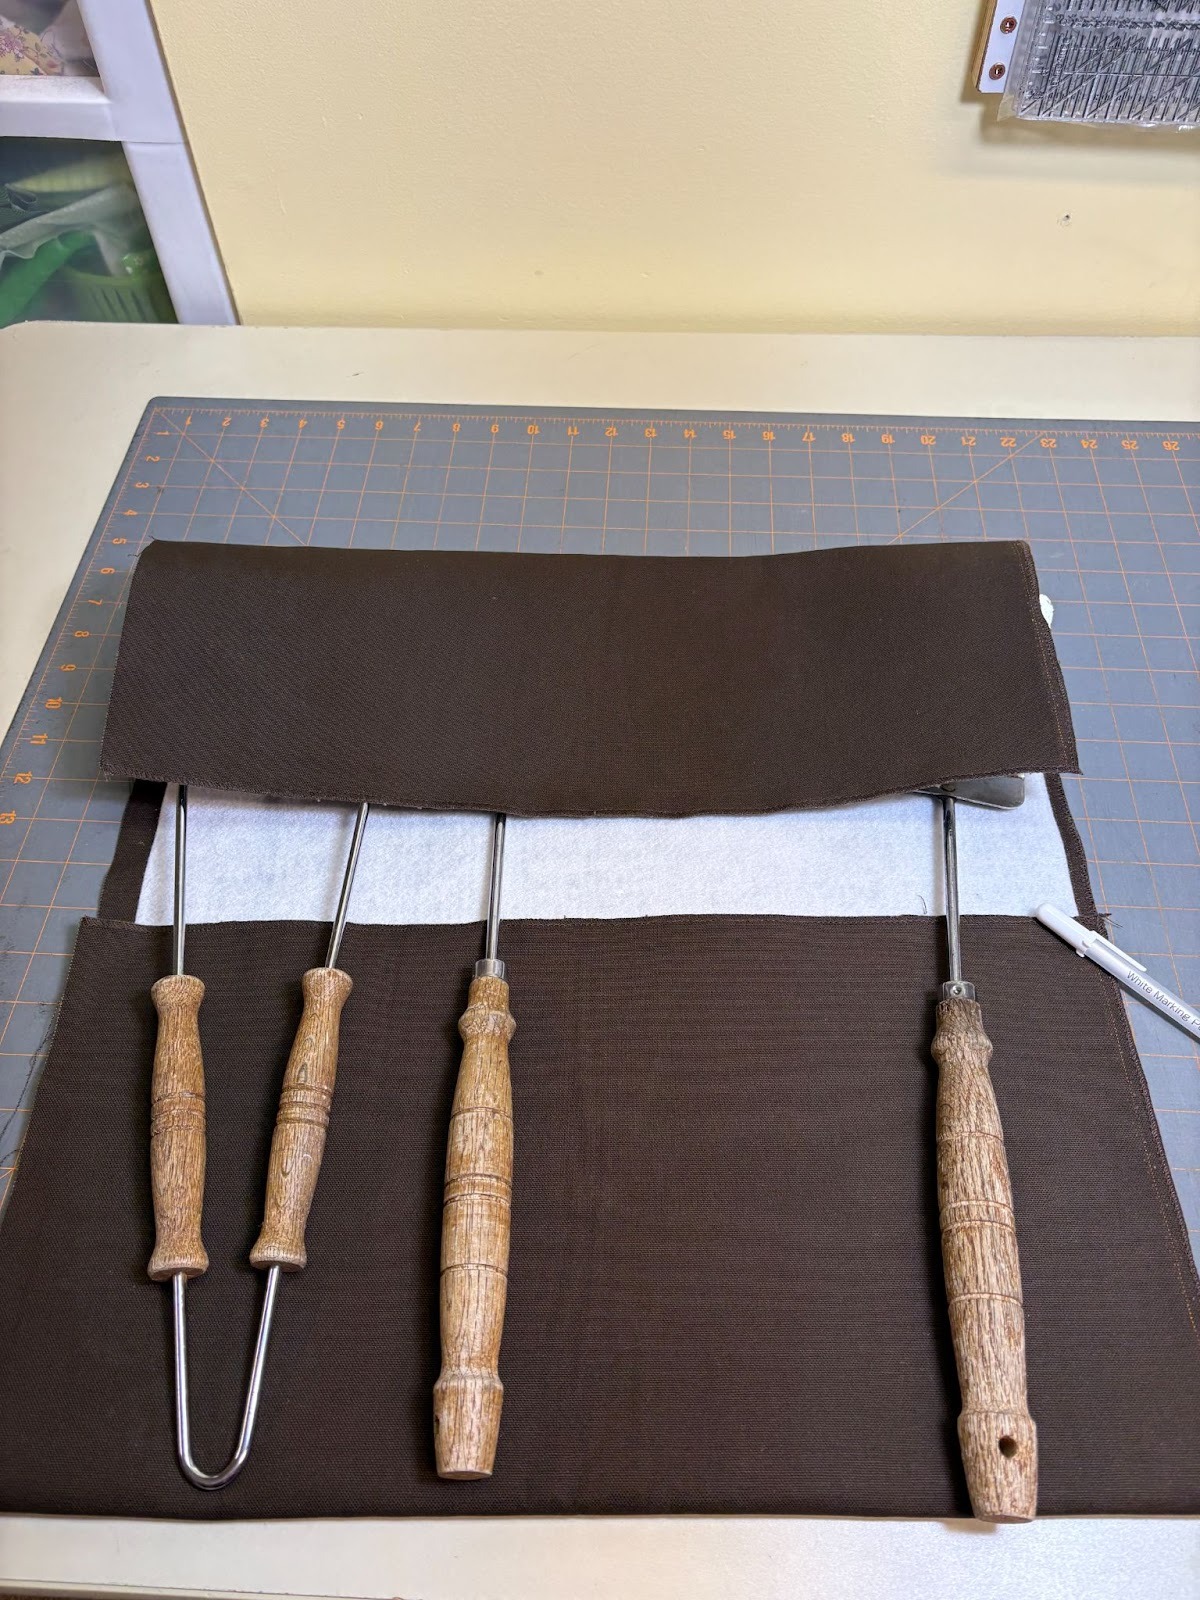
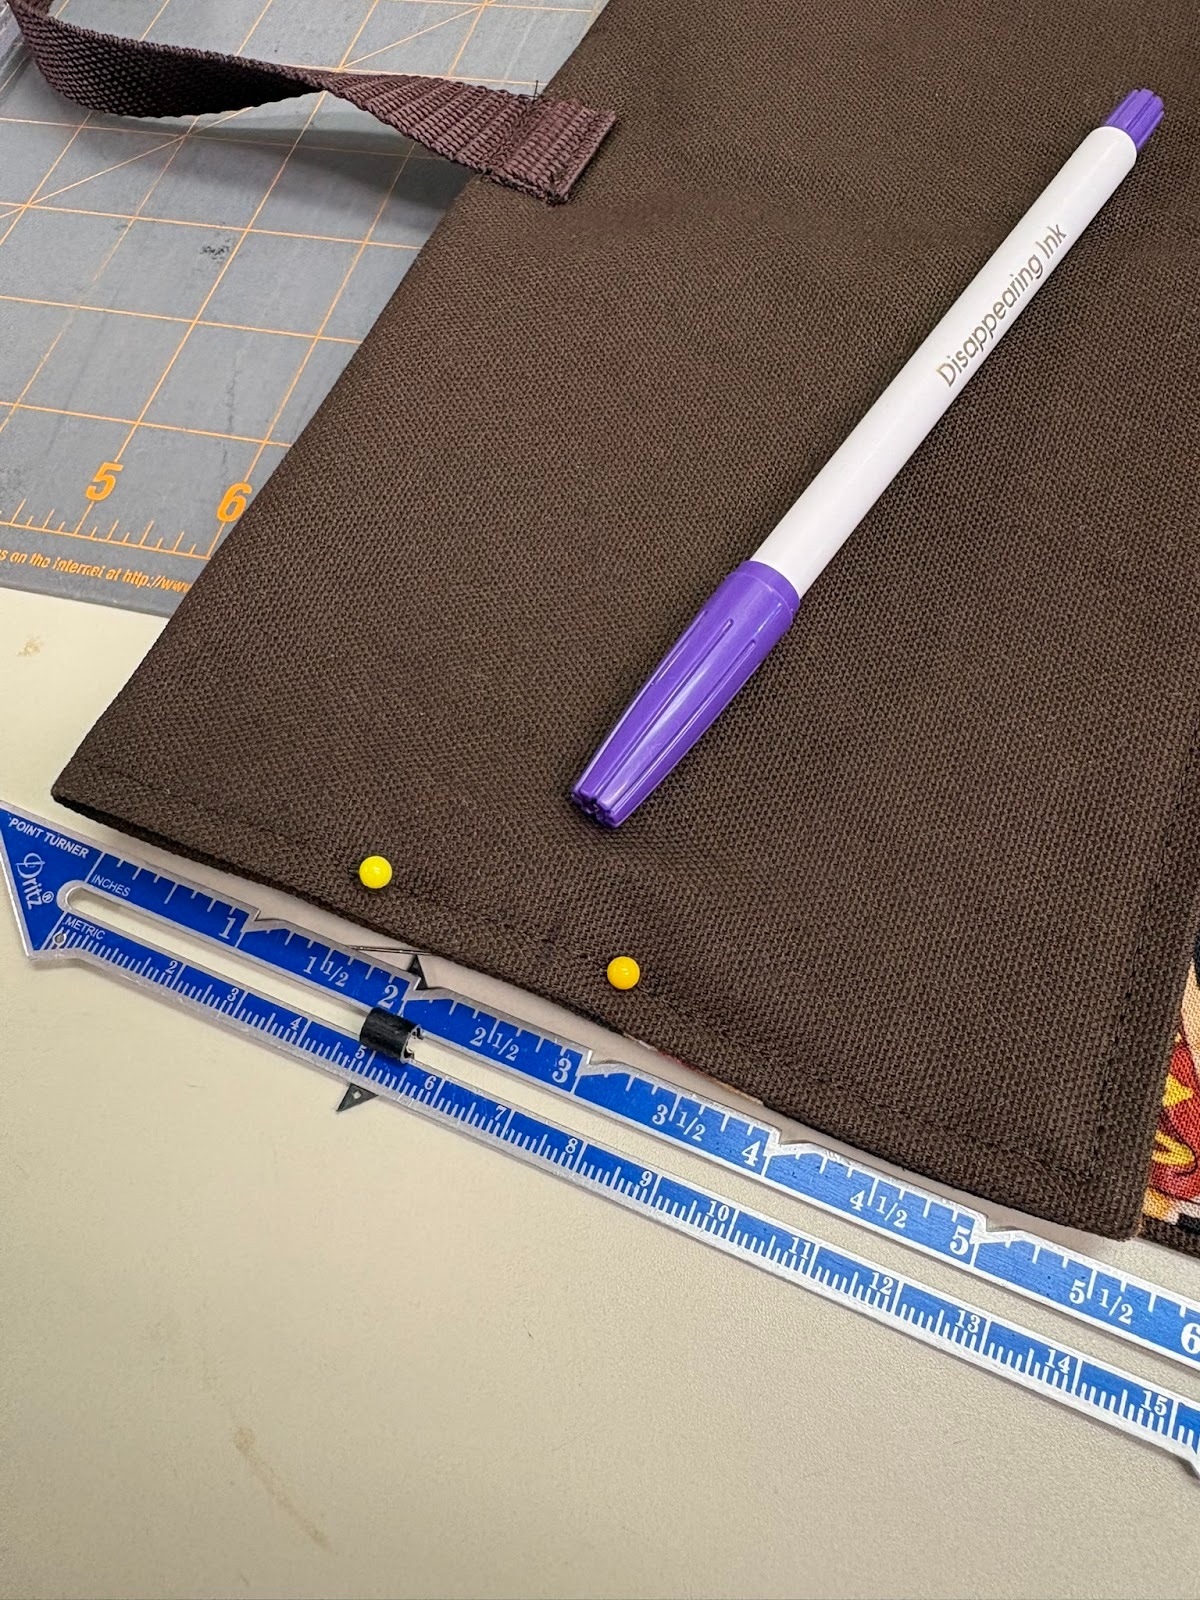
Now it was time to make the pockets. I folded up the bottom part of the organizer 9”, and pinned and topstitched the sides, stitching right on top of the previous topstitching. I made sure to backstitch at the beginning and end. Next I divided the organizer into three pockets. I used one of my large rulers as a right angle ruler to draw straight lines down to follow for stitching. The pockets are pretty big, especially for two of the barbeque tools. You might have noticed that the tools in the photos are not the shiniest things anymore. I asked my husband if he wanted new ones, but he said no. I might surprise him with new ones anyway when Father’s Day really does arrive. If I decide to do that, I’ll probably go back and subdivide one or two of the pockets, depending on the tool set I purchase.


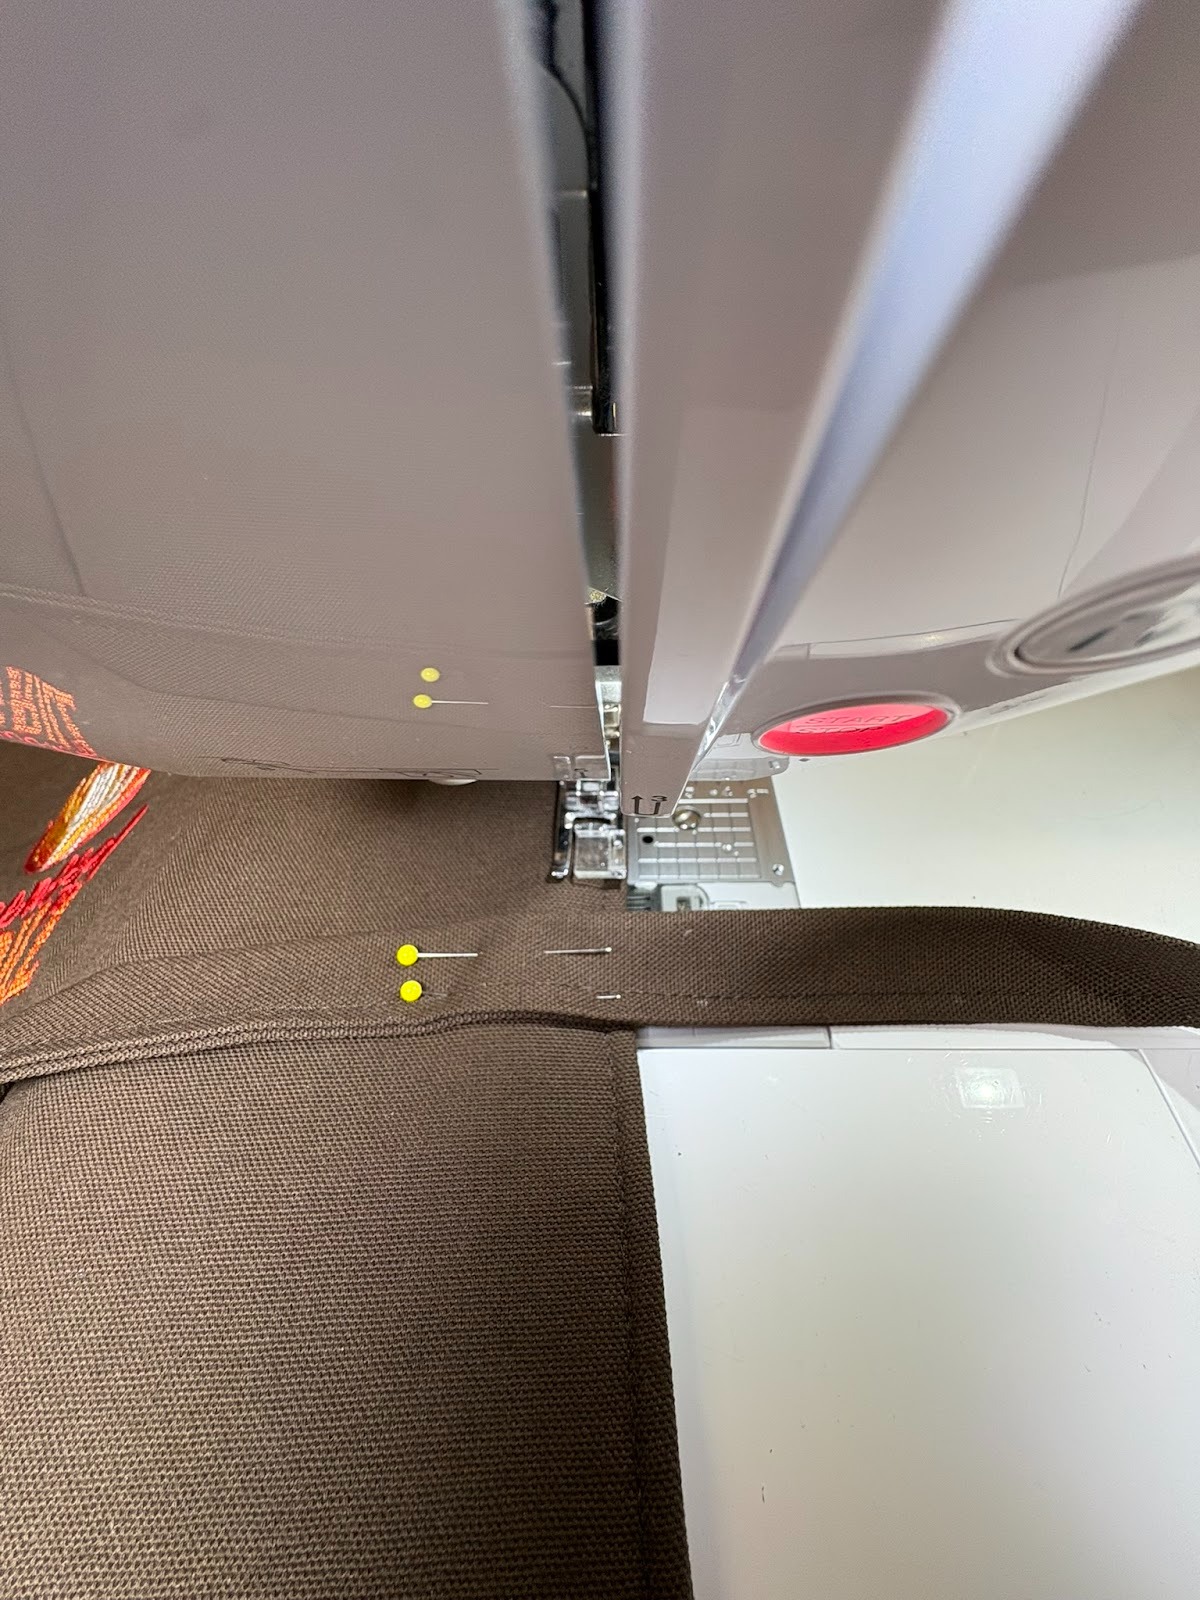
When you make a project, you don’t want to trade one problem for another. As I shared earlier, our barbecue tools were hanging from three different nails. I didn’t want to solve that problem but create a new one, which would be, “Where is this barbeque tool organizer going to be stored?” I decided after folding down the top to add a carrying handle, which could also be used for hanging the organizer on one of the nails already in the wall! I centered the ends of the strap, turned under the edges ½”, and sewed them to the organizer. I stitched two lines for each turned-under edge. You can see that stitching in the photo below.
While the strap stitching gave some structure to the top of the organizer, helping keep the tools covered while stored, I didn’t like the way the top shifted when I closed the organizer, so I topstitched the sides closed about half-way down. I didn’t want to sew the sides all the way closed as it would make getting the tools out a little harder.

The last step was to make a tie to keep the organizer closed. I folded the organizer in thirds along the pocket lines, then tied my tape measure around the closed organizer to see how long it should be. Next, I cut a rectangle 2½” x 32” After folding and pressing each long edge in ¼”, I folded and pressed the whole tie in half and topstitched it. Since the embroidered side is the front of the organizer, I wanted the tie to be secured from the back. I folded the organizer closed and turned it so the front was facing me. Then I laid the tie underneath (almost like I was getting ready to wrap a present). Carefully keeping the organizer folded and the tie exactly where it was, I flipped the organizer over and pinned the tie in place. The very last step was to machine sew the tie at the outer edges of the organizer. I made two lines of stitching to keep it in place.

You can read about ITH pot holders in my Game Day Ready blog. Because they’re quick and easy to make, I wanted to add one to the early Father’s Day gift my husband is getting.
When I made this Father’s Day pot holder, I skipped the utensils part of the design but included the words Licensed to Grill. I made the center of the pot holder with the same duck cloth I used for the barbecue tool holder. Make sure to follow the suggestions for changing thread colors. My pot holder pulled more than I’ve seen before; I think this was because I was using a scrap of batting that was on the thin side. Lesson learned and a heads-up for other embroiderers.


Please be sure to share your projects in the Designs by JuJu Embroidery Blessings Facebook Group, or use the hashtag #designsbyjuju anywhere on social media. We all love to see what you create!