Toggle Nav
 Inspire.
Create.
Stitch.
Inspire.
Create.
Stitch.
Search
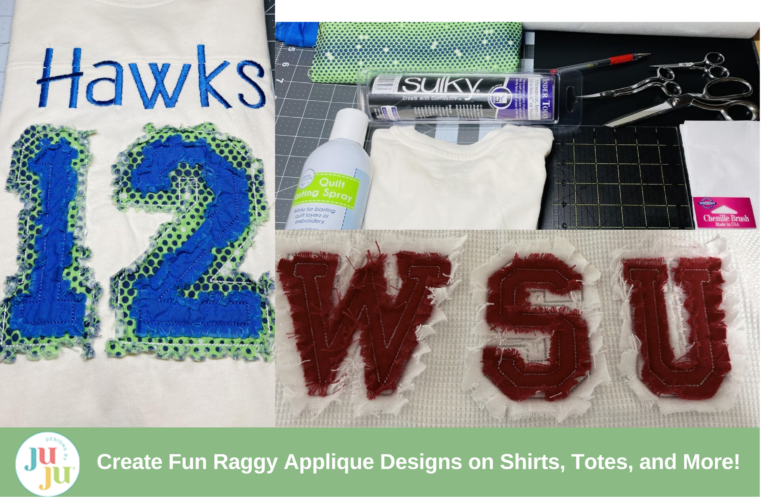
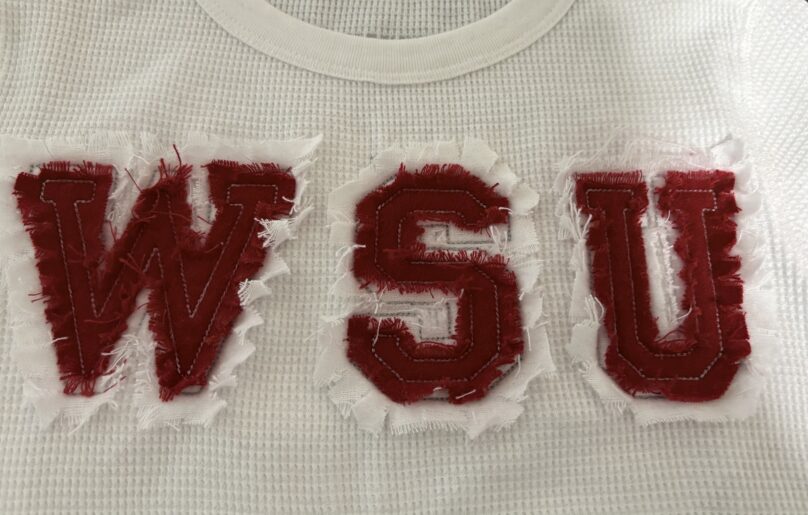
Whether you’ve heard this style called raggy applique, shabby chic, or frayed edge designs, raggy applique letters and numbers are a trendy and fun way to add a unique, handmade touch to your projects. In this step-by-step tutorial, I’ll guide you through the process of creating this charming look, perfect for personalizing shirts, tote bags, pillows, towels, and more! You’ll learn the basics of working with these designs, and I’ll also show you how to apply them to a child’s shirt for a creative and custom finish. Once you’ve mastered the techniques, the possibilities for your DIY embroidery projects are endless! Let’s get started!
Check out the DBJJ team’s favorite supplies in the Designs by JuJu's Amazon Page.
Before we begin our project, let's get familiar with how to assemble the fonts. These letters and numbers are finished with a bean stitch and are meant to have a raw edge that will fray. When choosing fabrics, you will want to keep that in mind. Cotton and flannel are the best options for achieving this look.
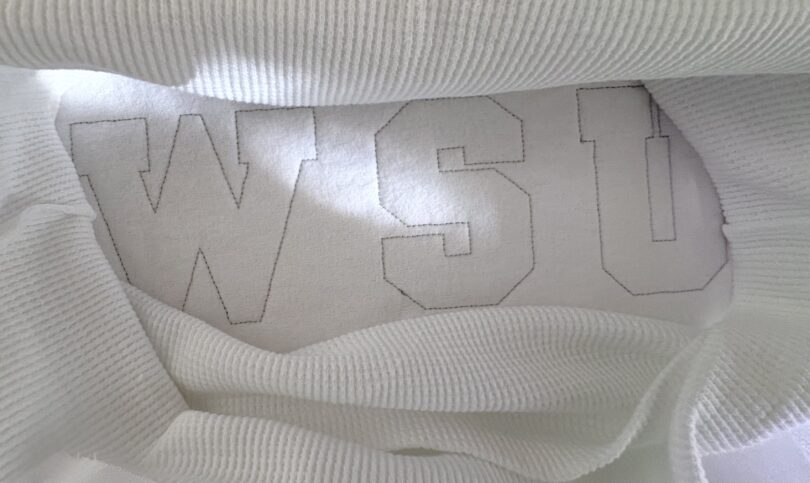
Step 1: Prepare your hoop with cut-away stabilizer.

Step 2: Run the first stitch. This will be the placement for the first layer of fabric.

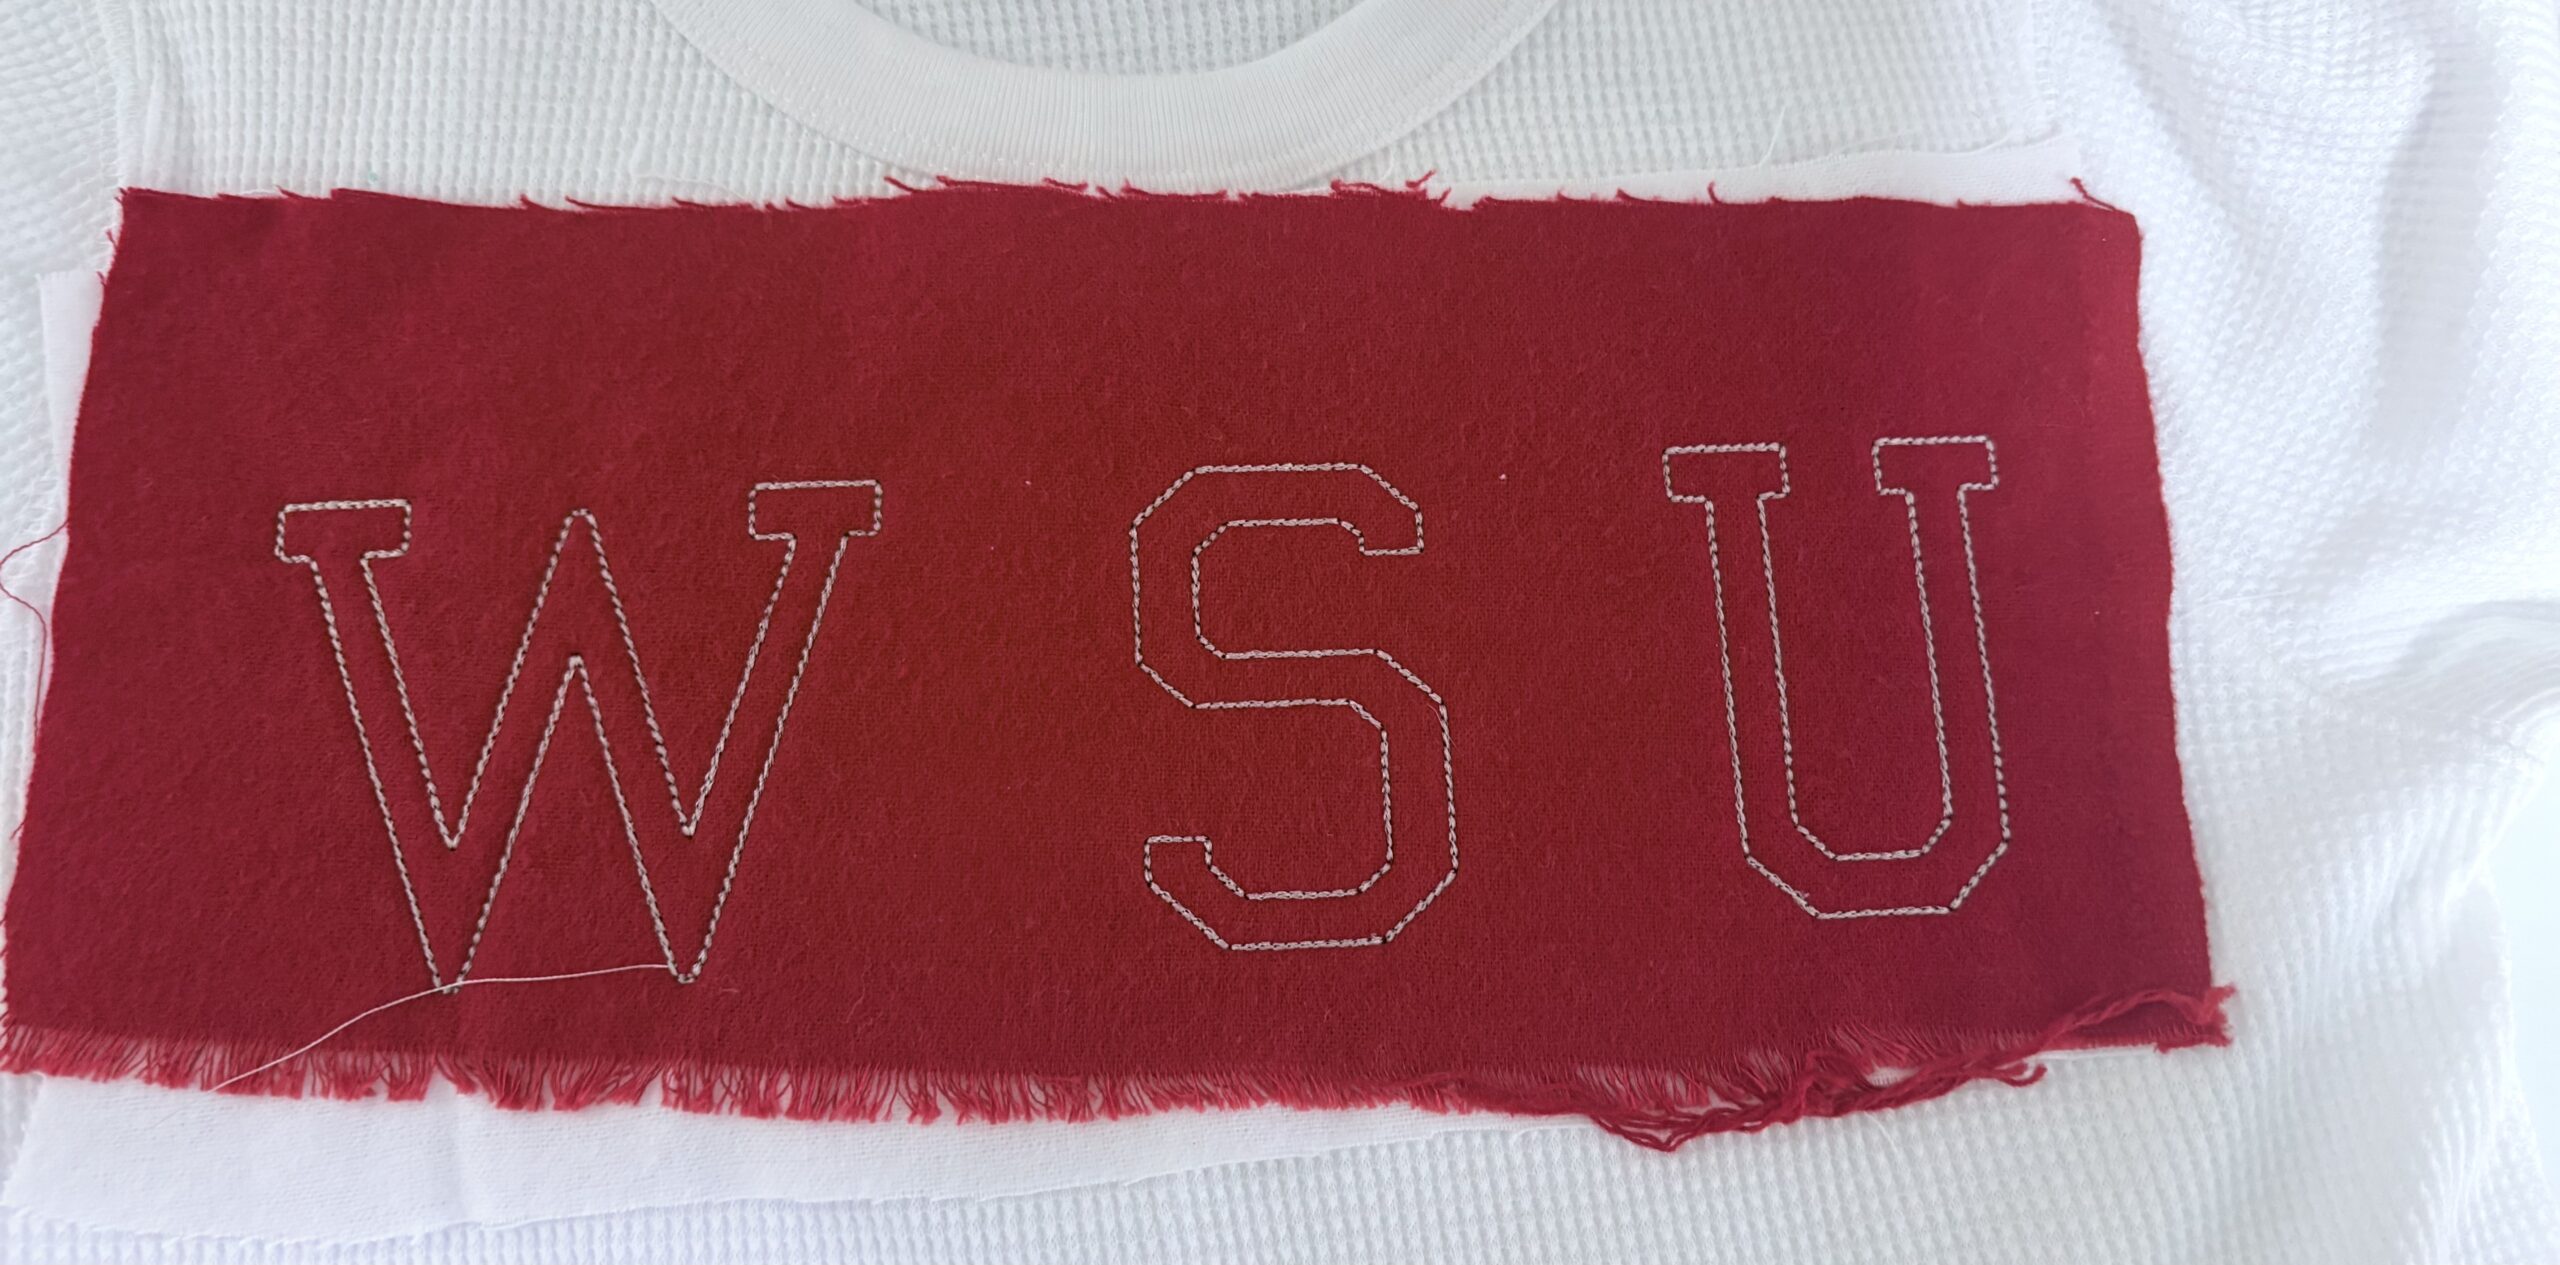
Step 3: Cover the design completely with your first fabric, making sure to leave at least ½” to 1” all around.

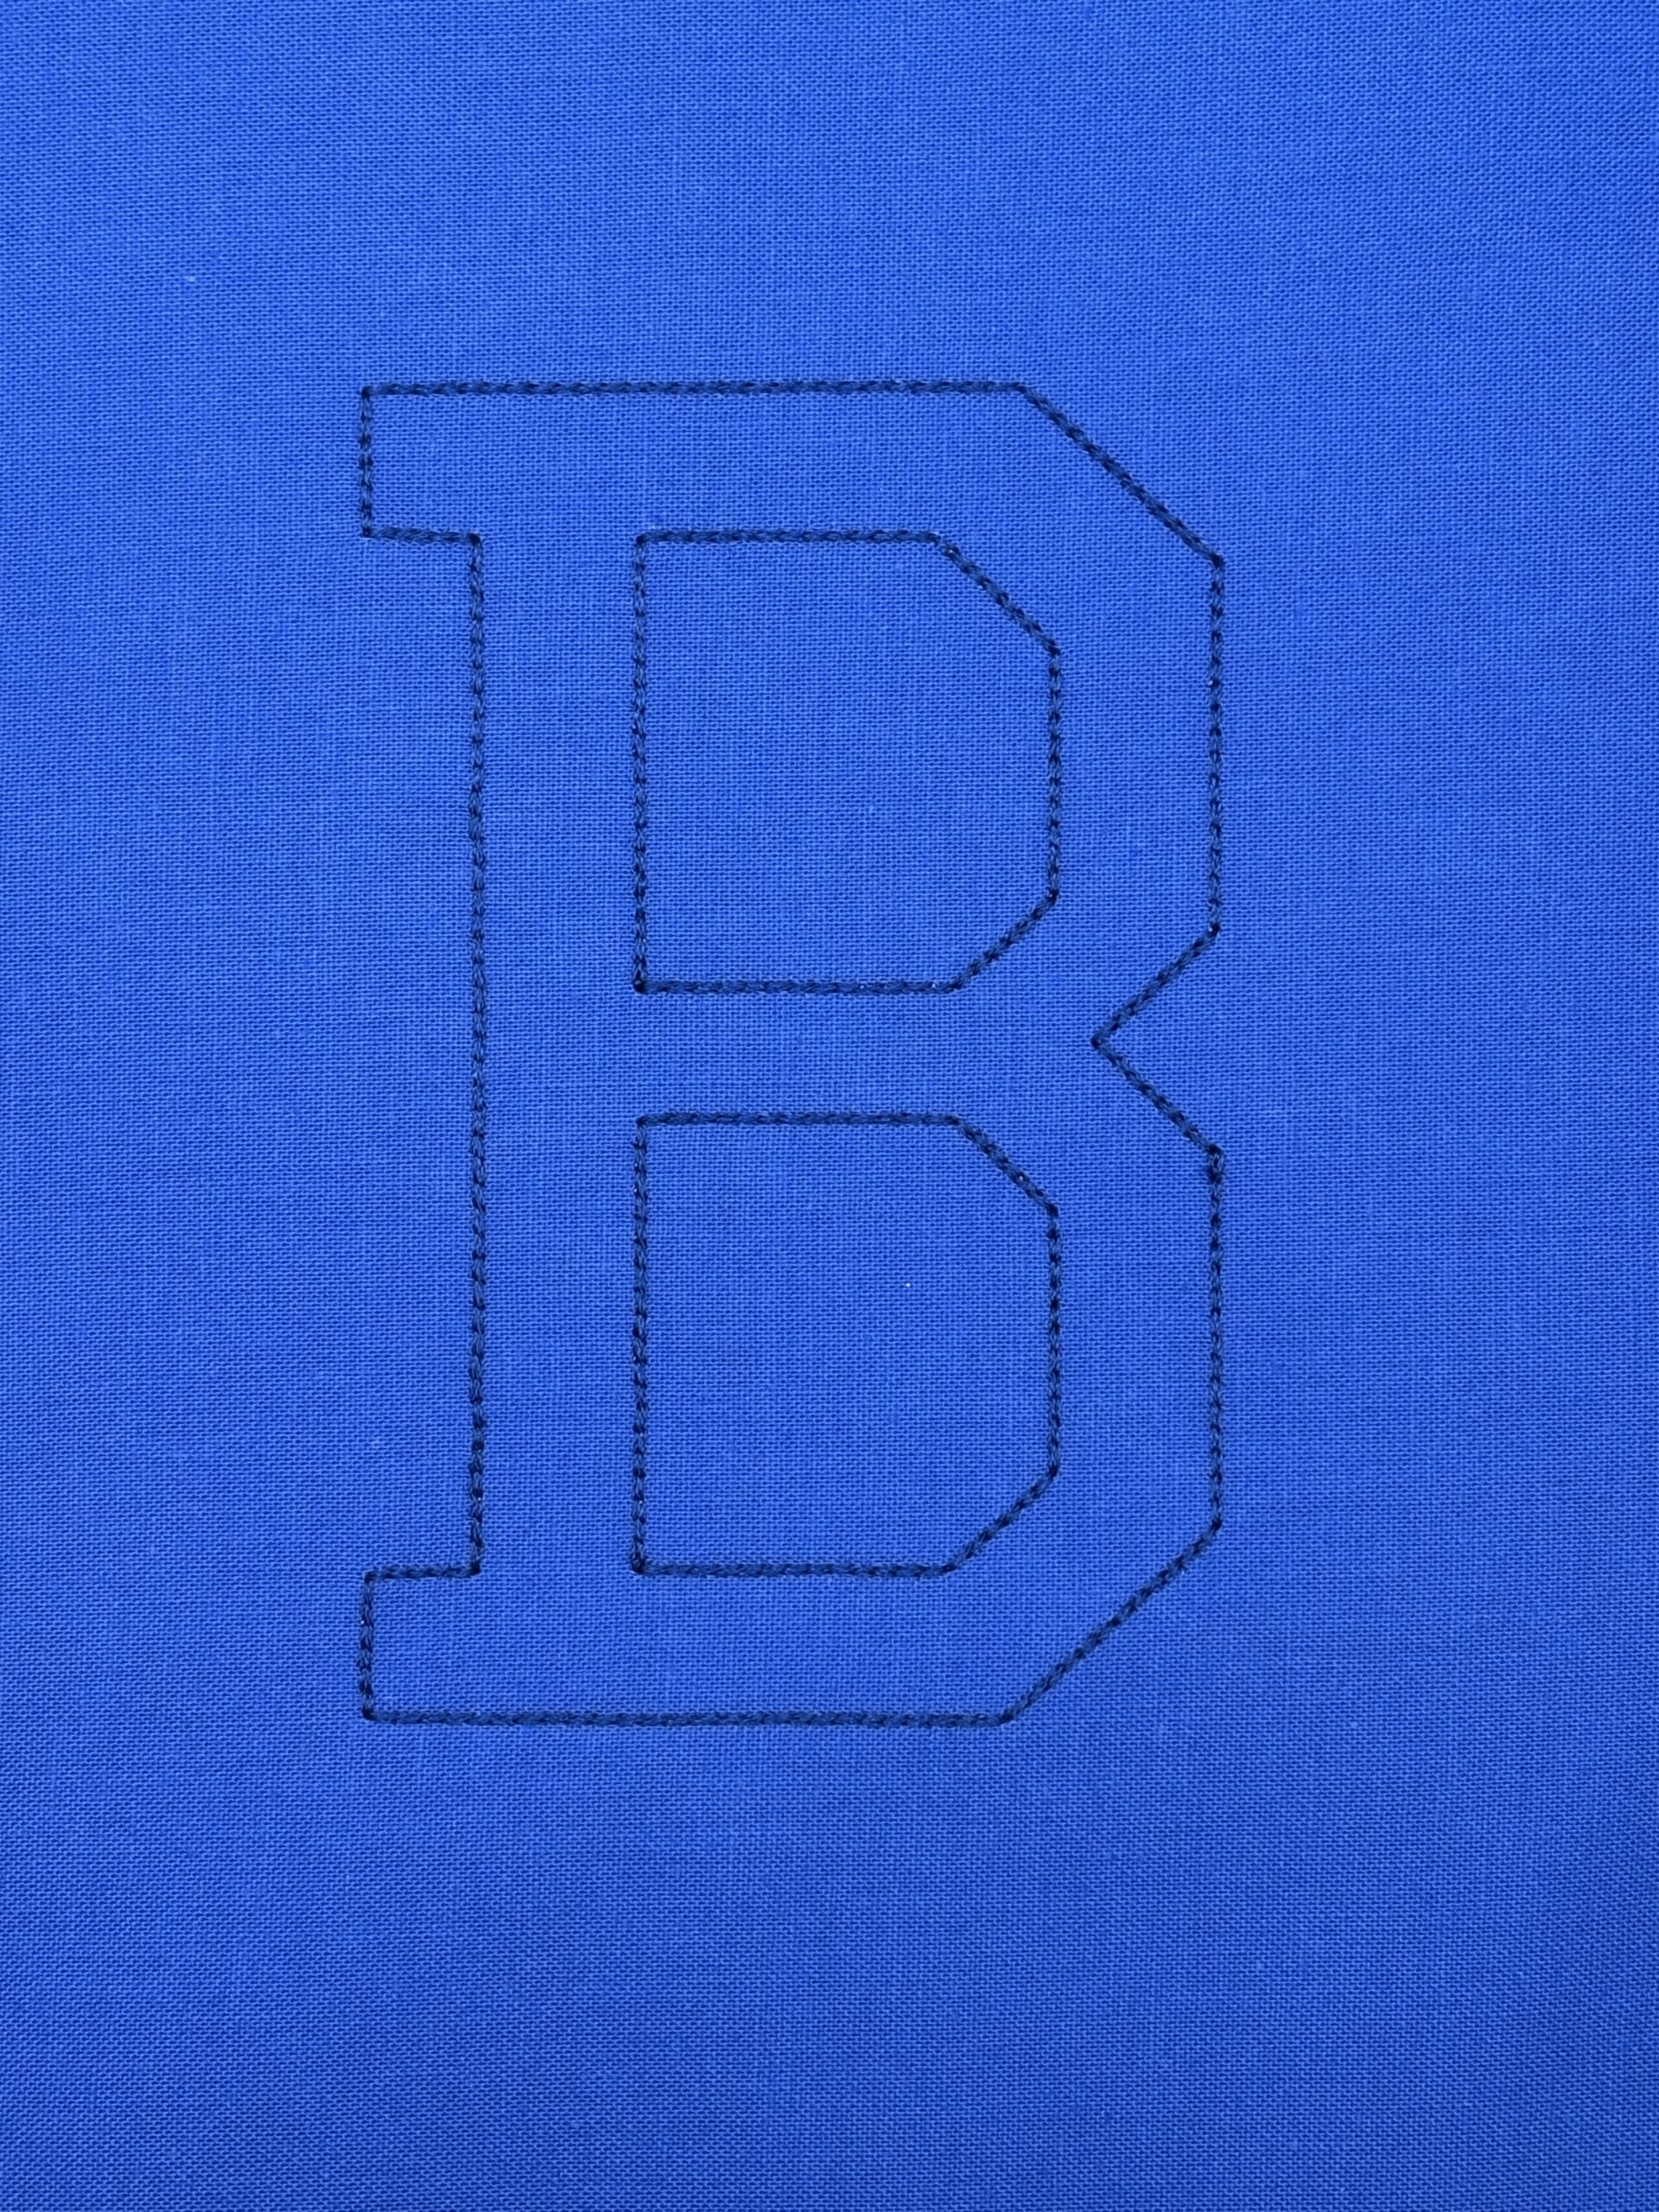
Step 4: Stitch the bean stitch. This allows you to trim the fabric and achieve the raw edge.
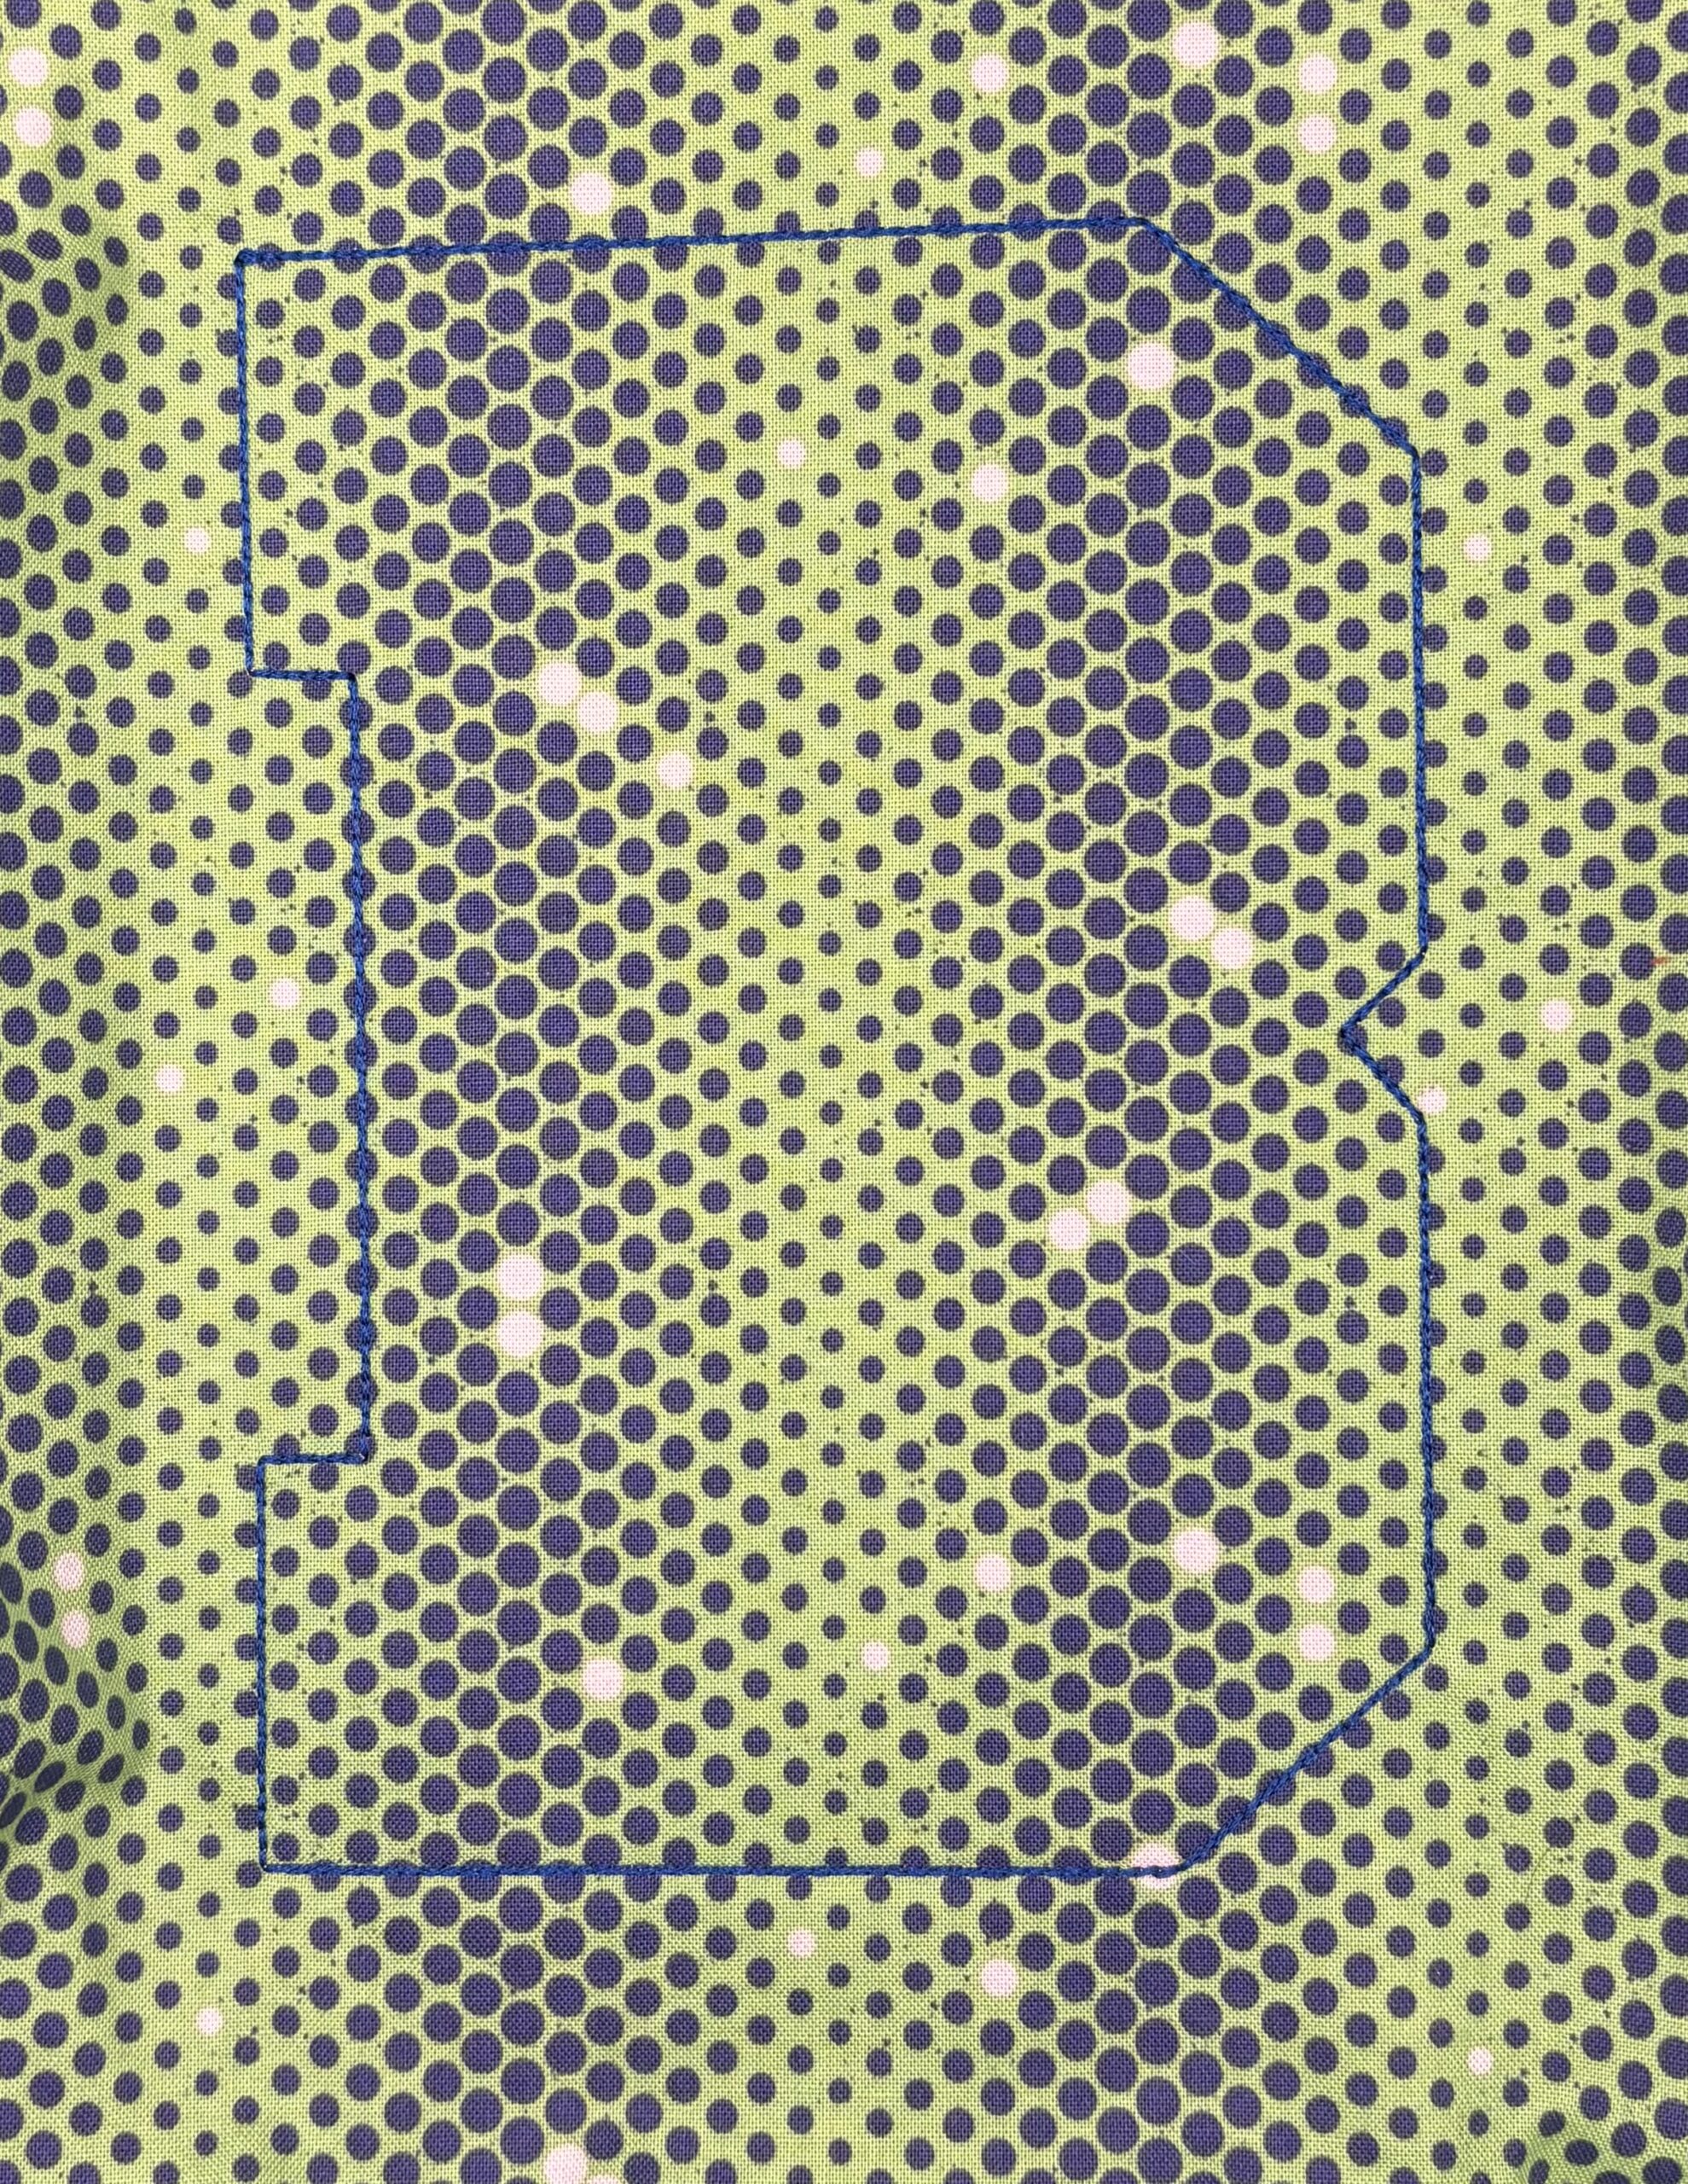
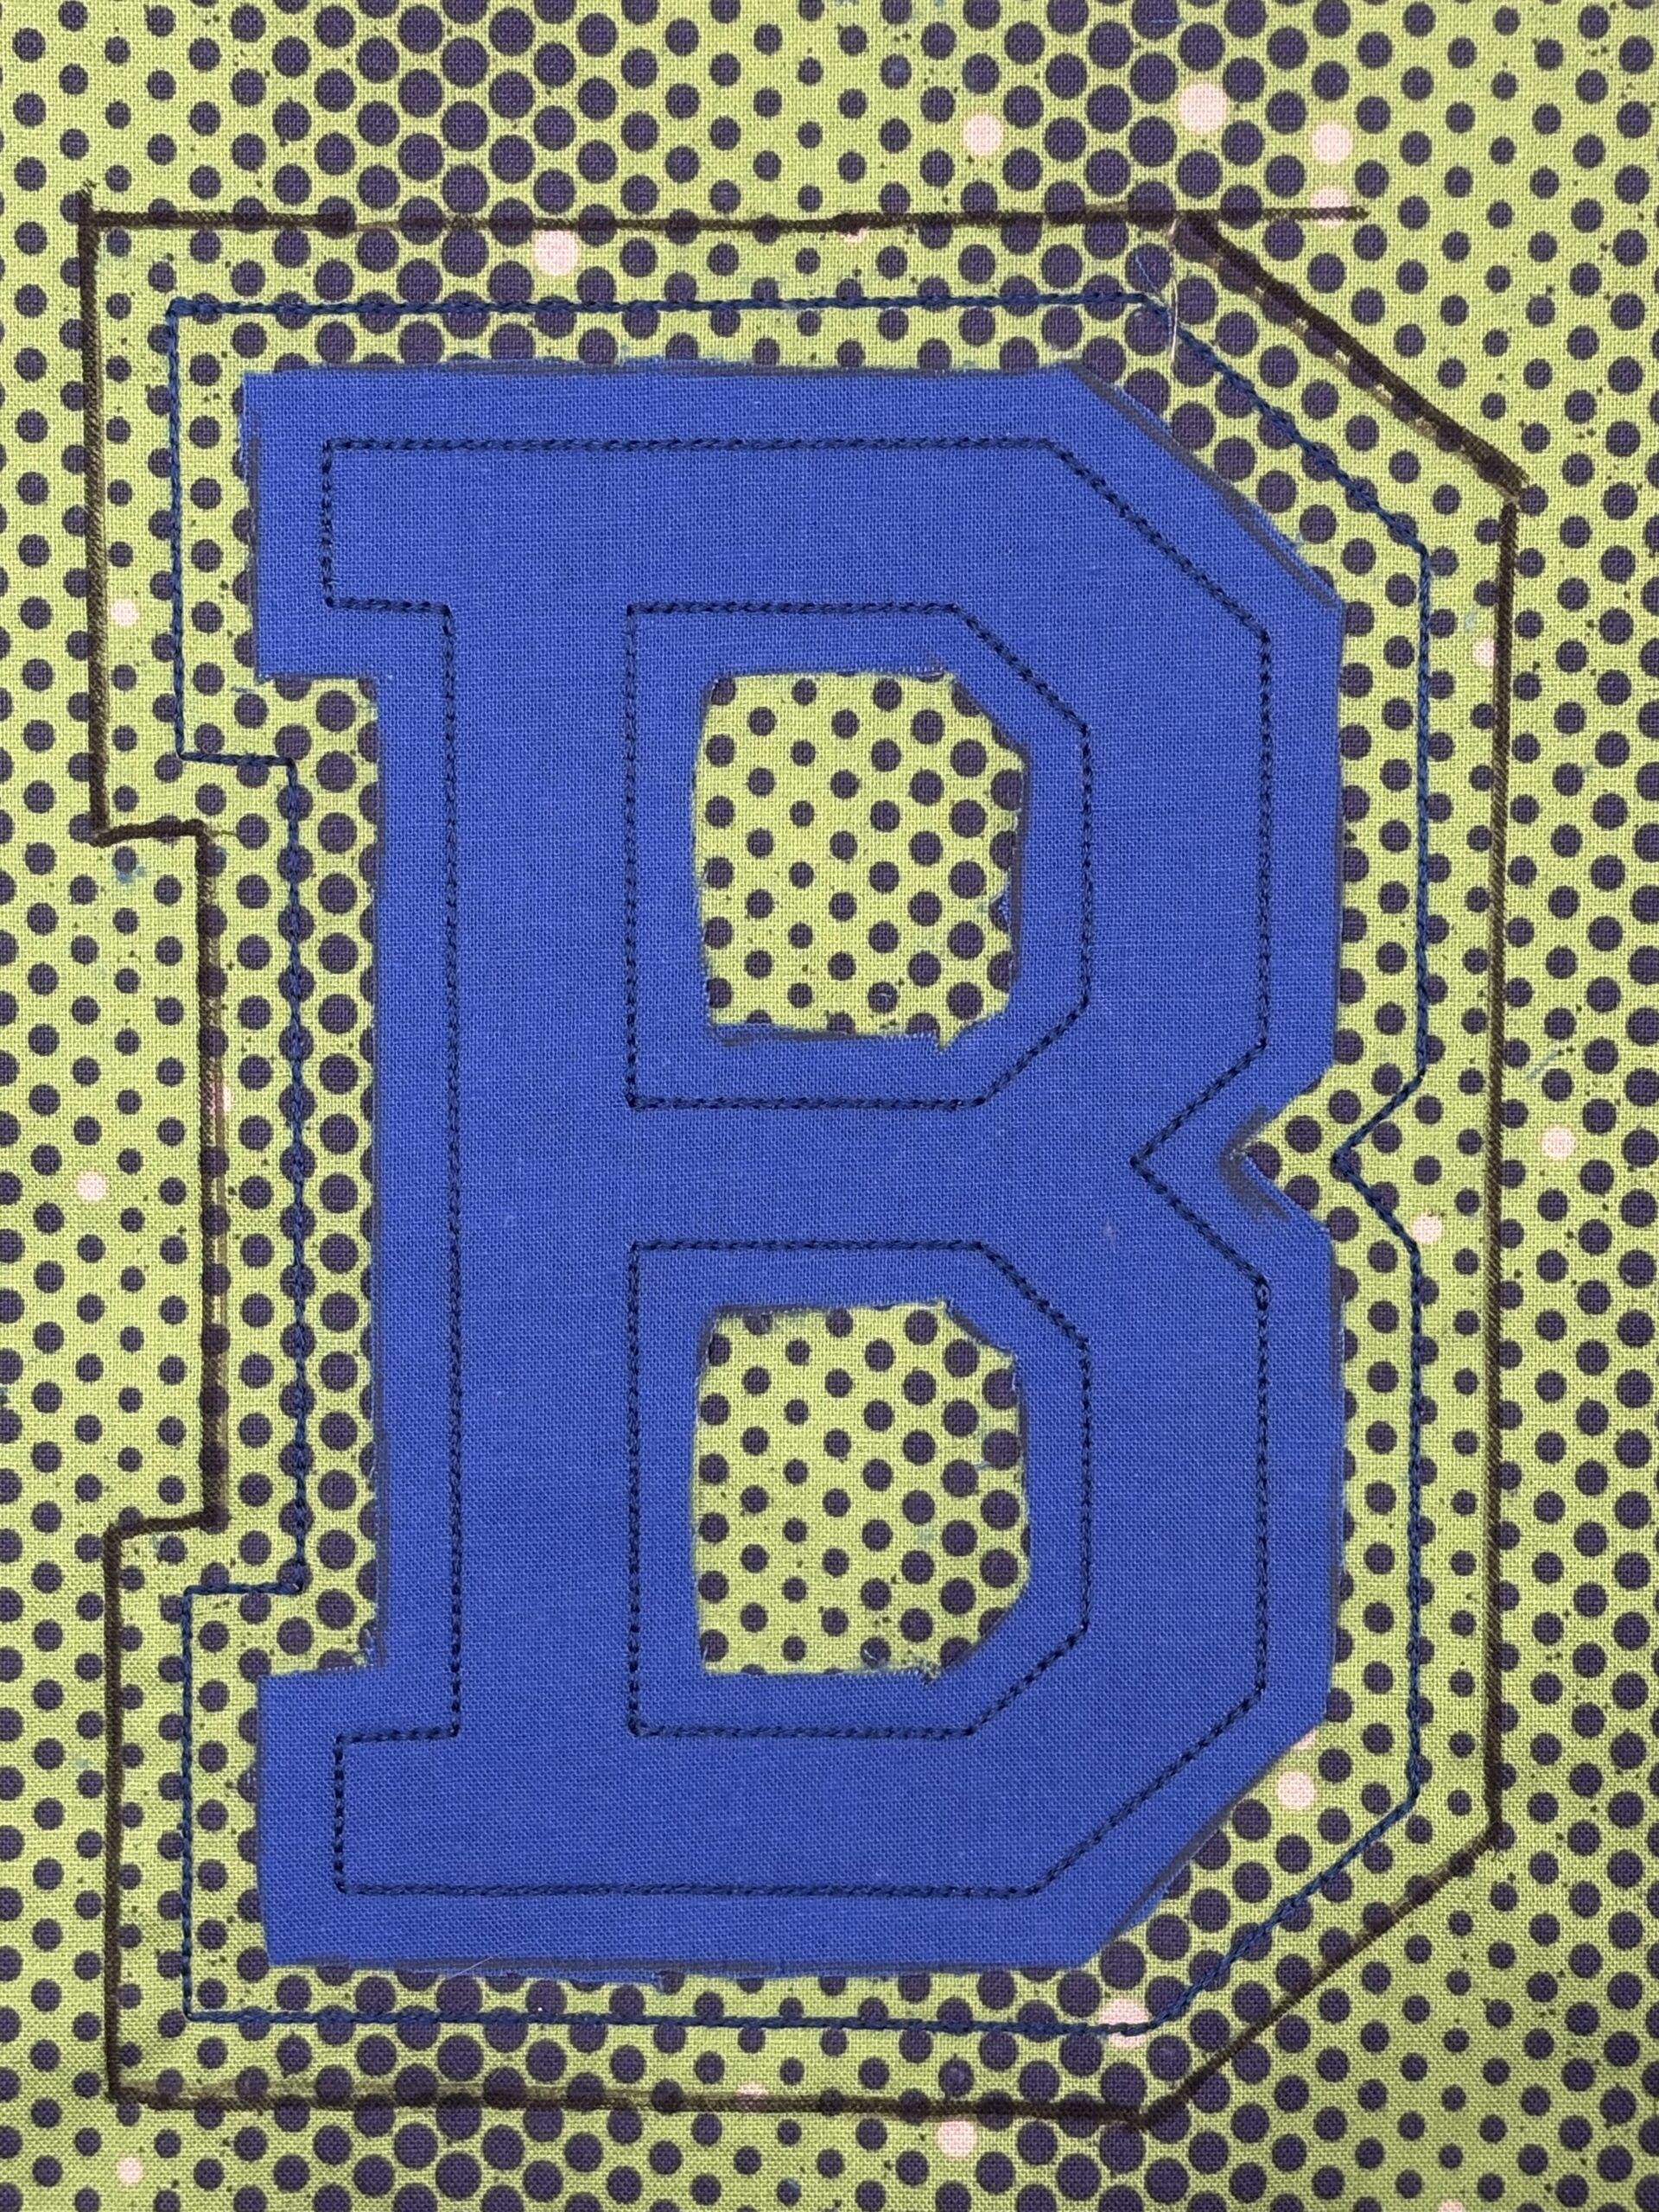
Step 5: Next will be the placement stitch for the top layer.

Step 6: Lay your second fabric over the placement stitch, making sure to cover completely, again leaving enough fabric for trimming. You always want at least ½” to 1” outside the placement stitch.

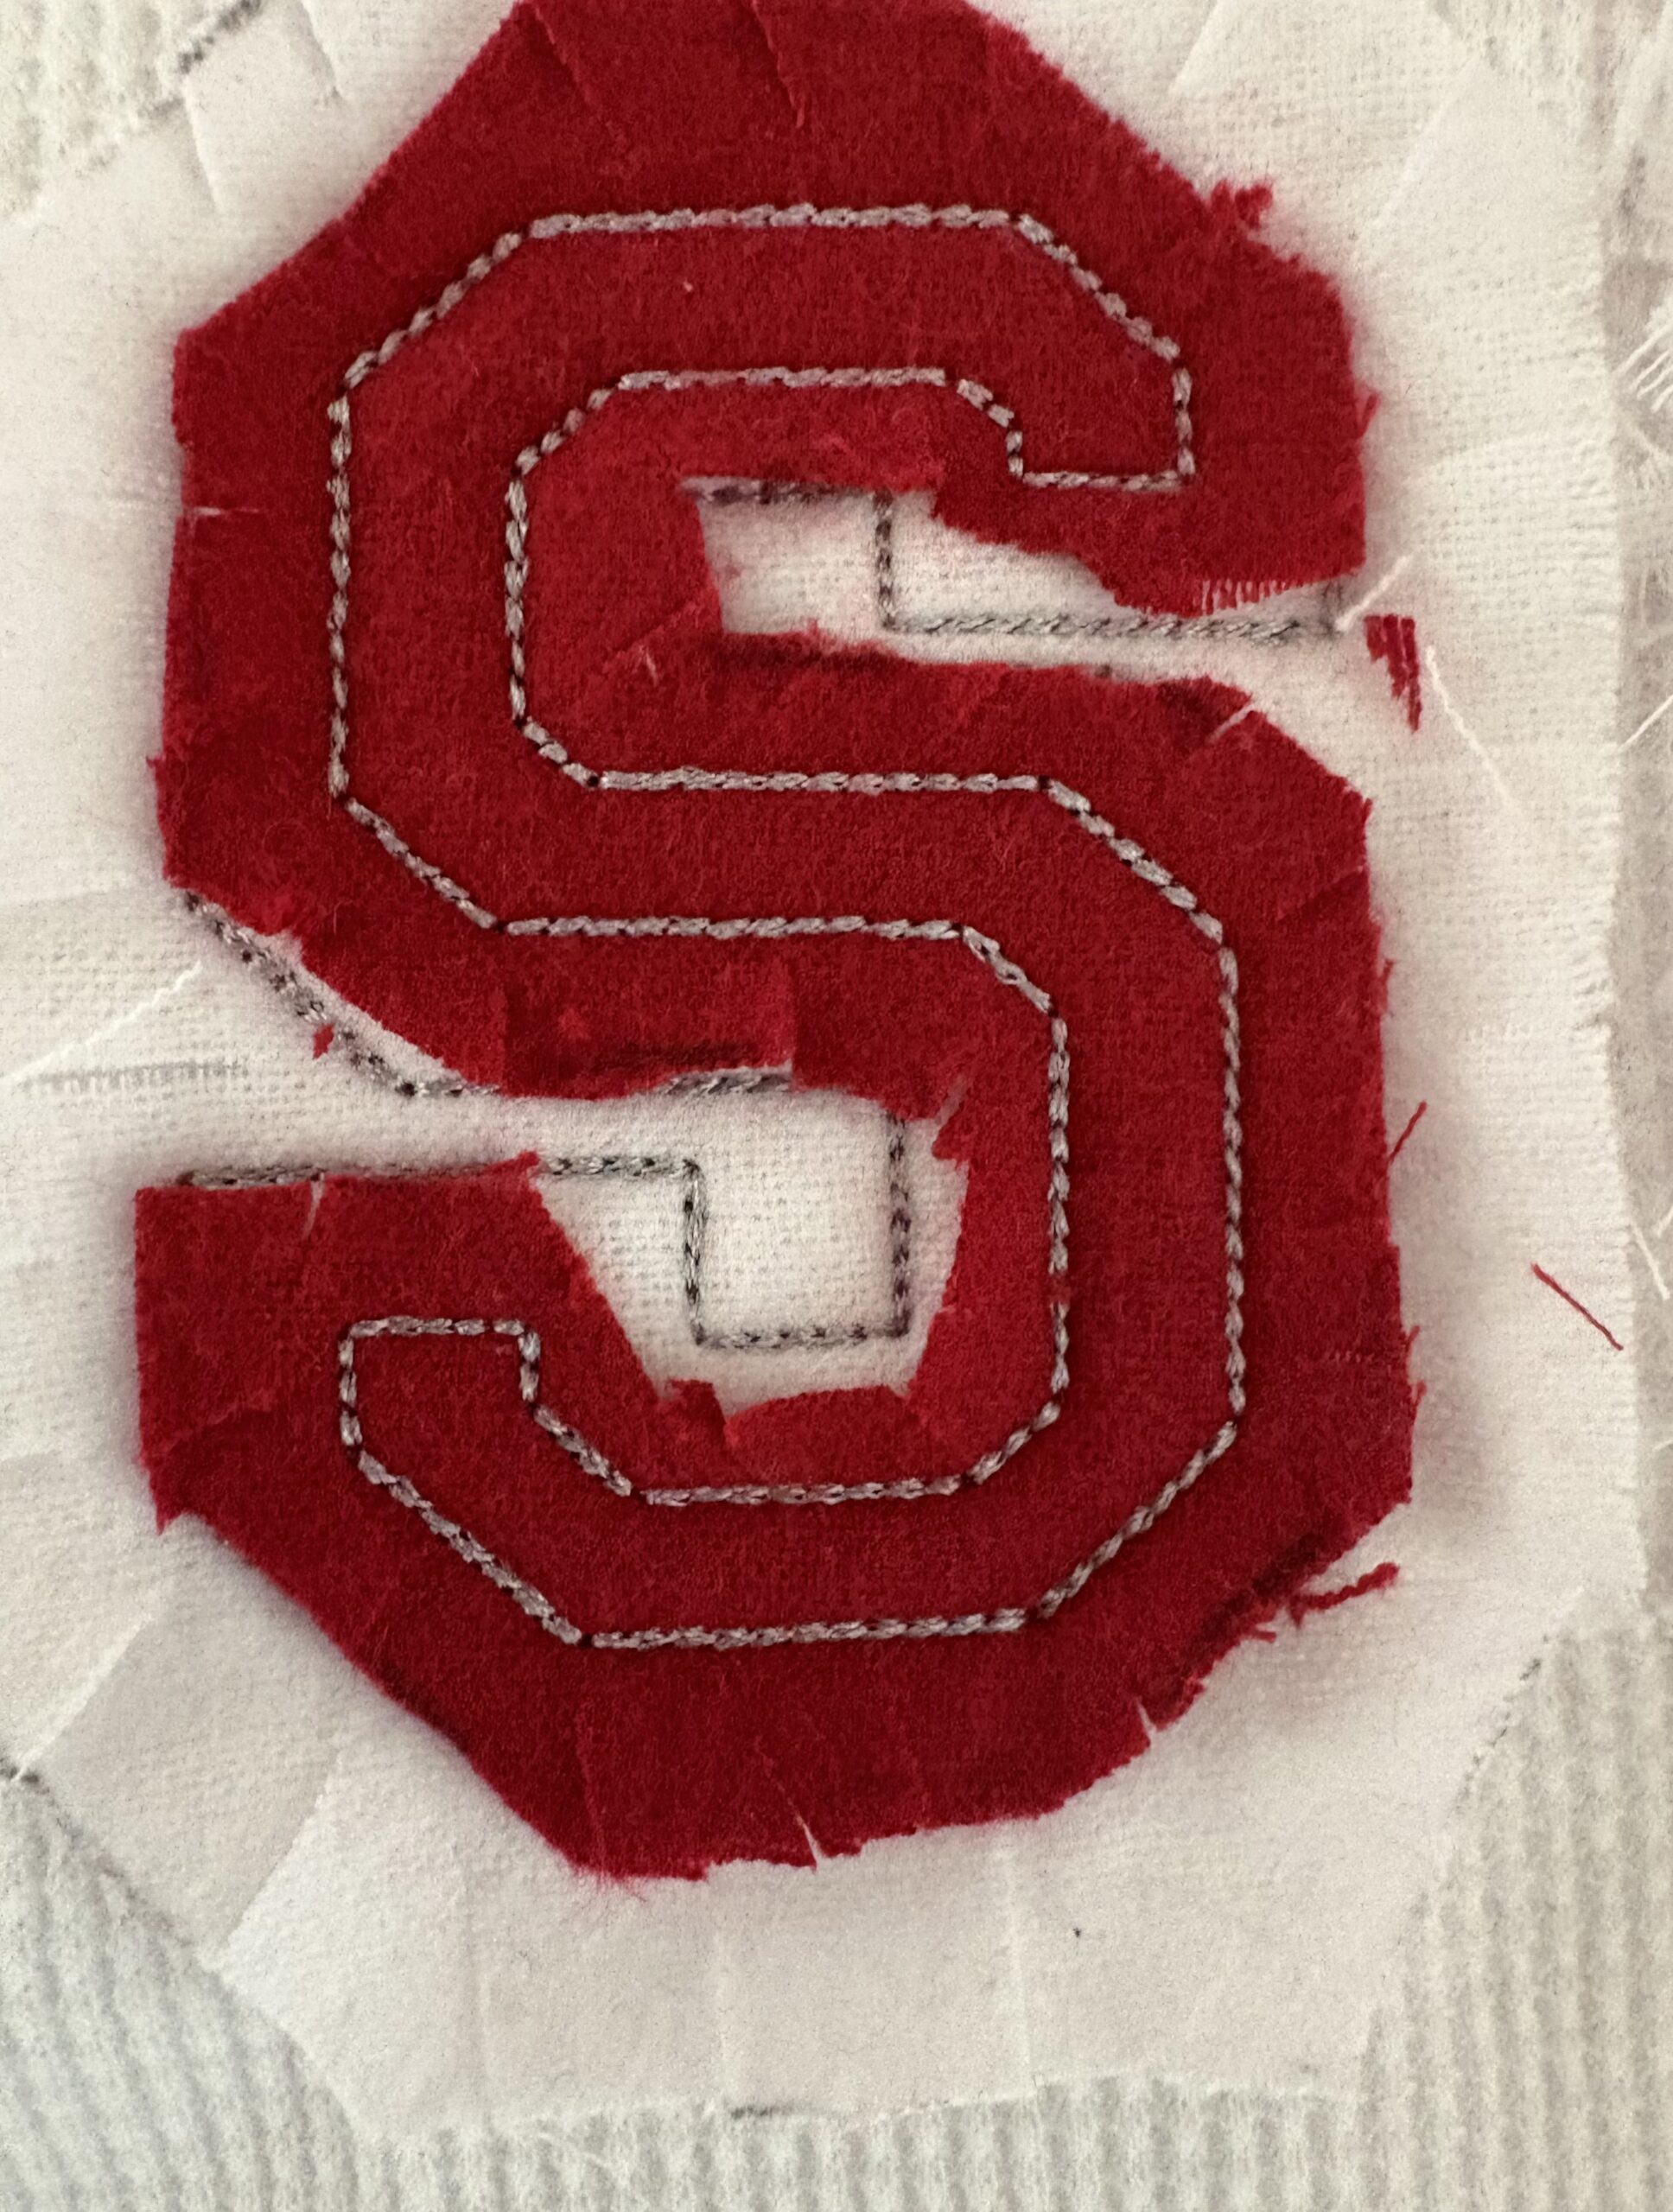
Step 7: Run the final bean stitch. This completes the letter and it is now ready to fray.

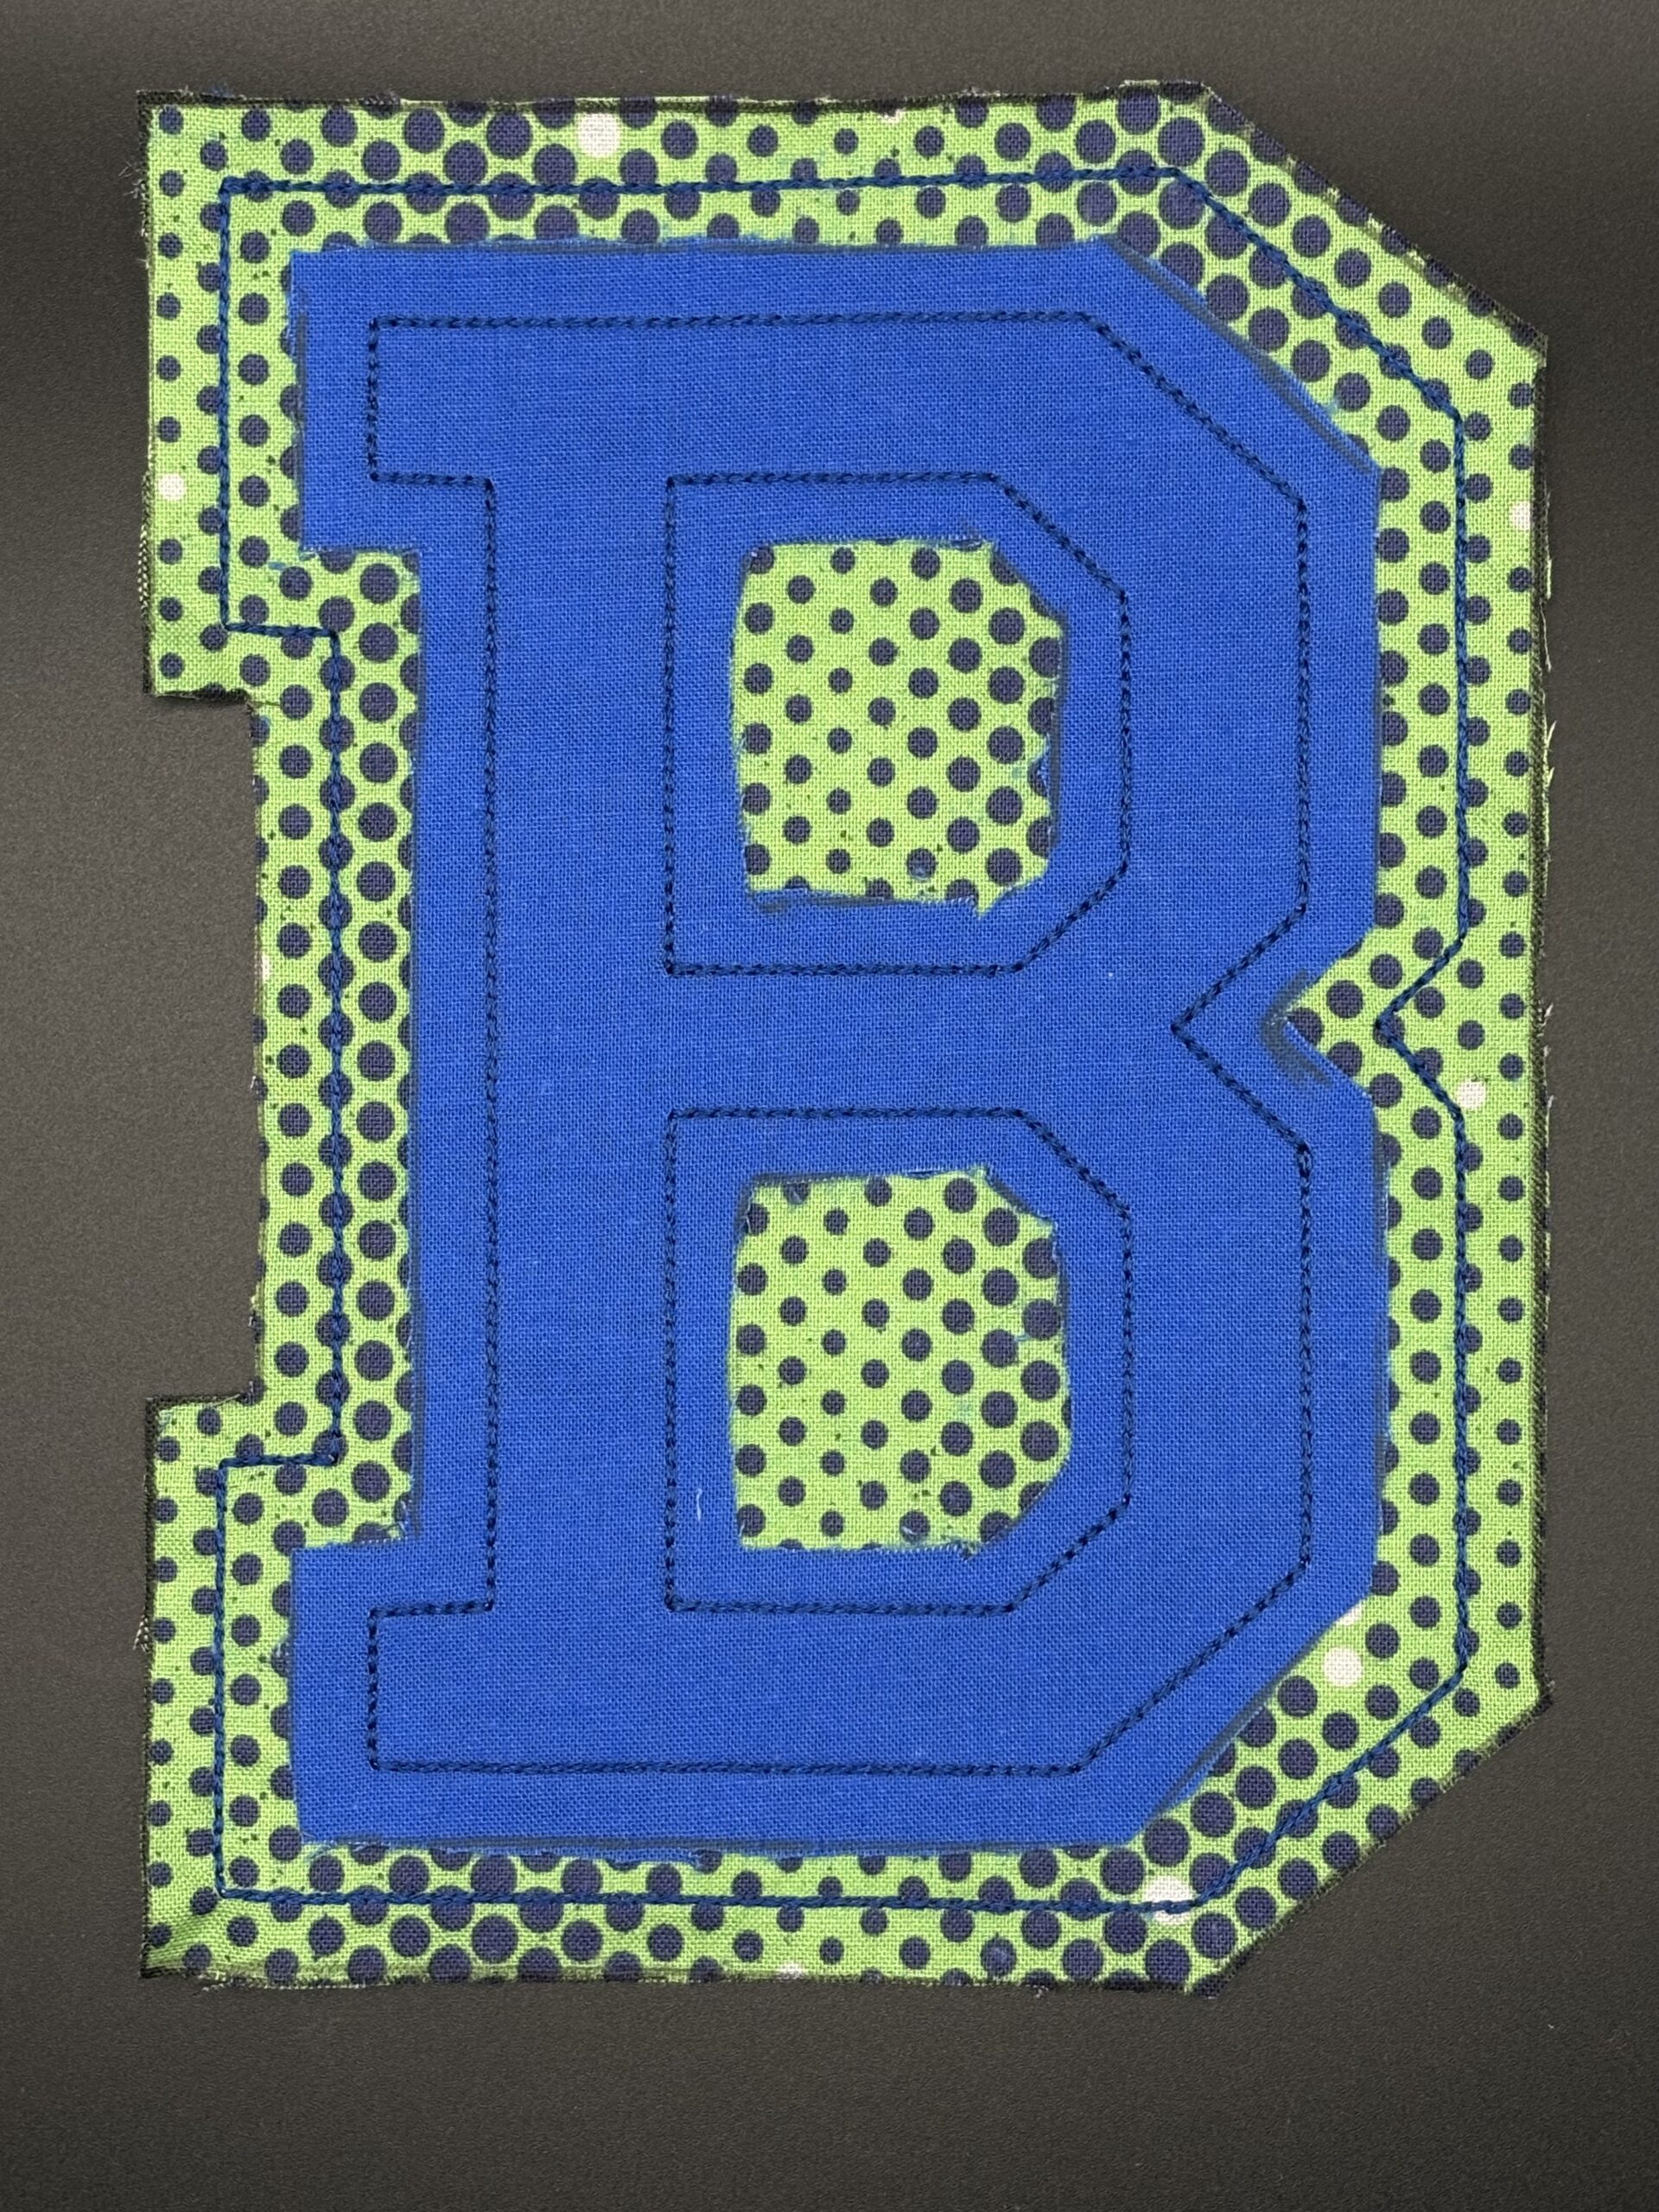
Trim the stabilizer away from the back.
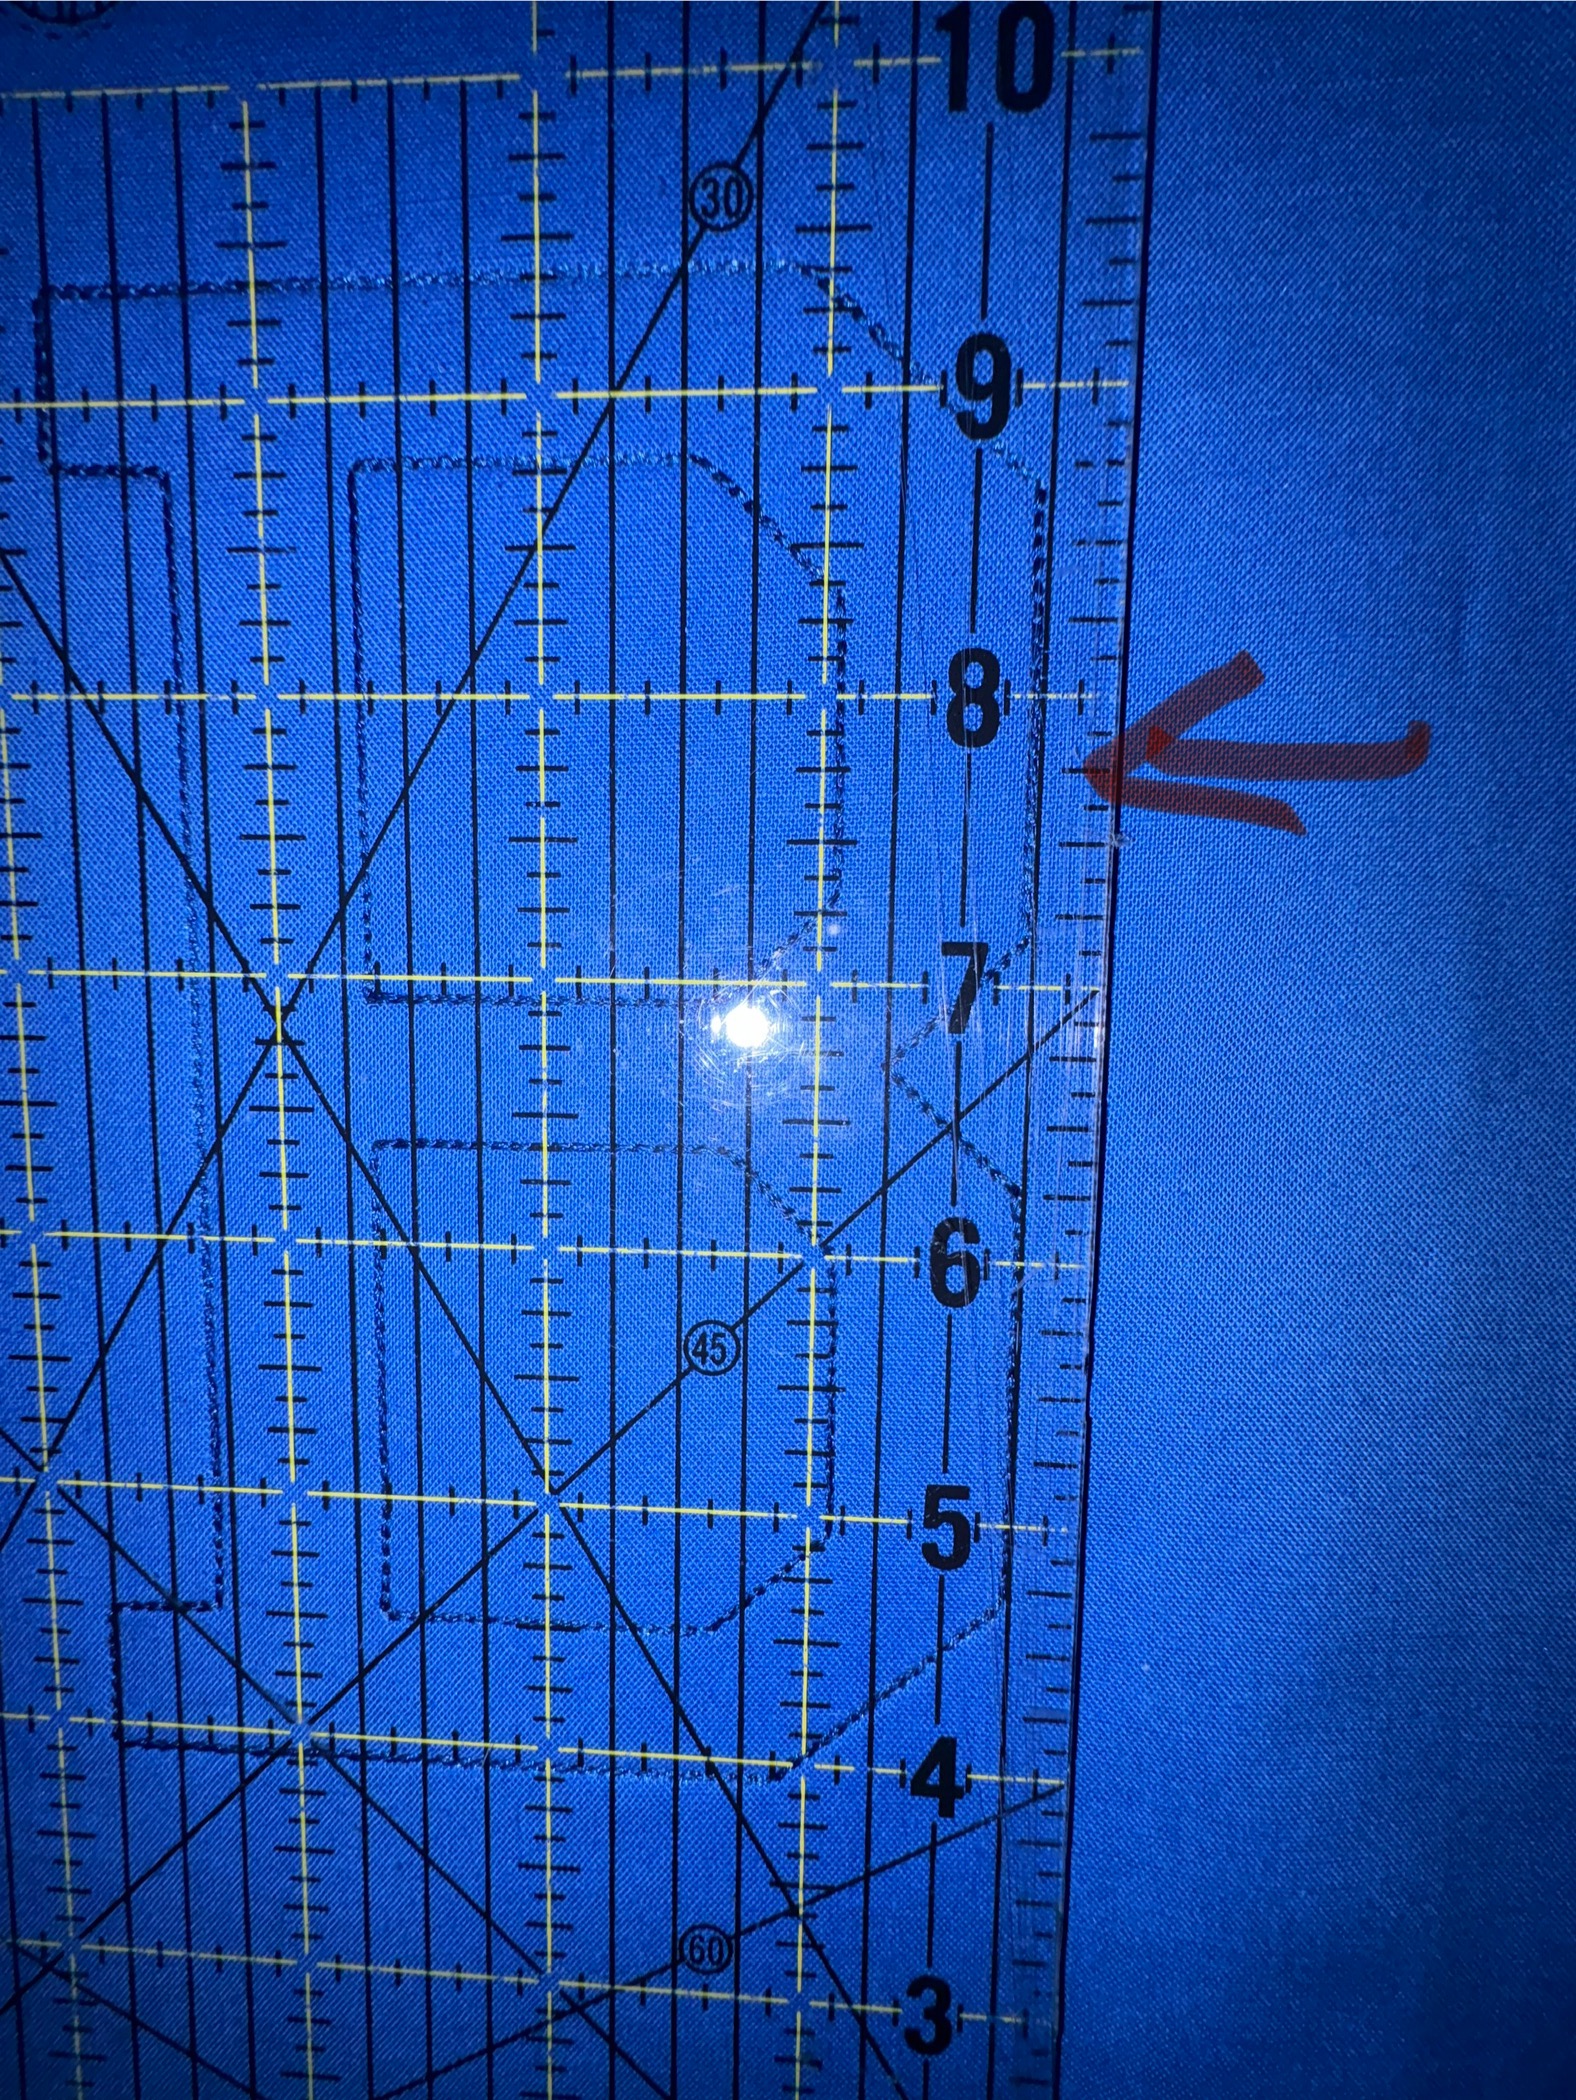
Trim around the top layer ¼” to ½”. This is a personal preference. I trimmed mine ¼” all around. To help keep an even cut, lay a ruler at the edge of all lines and corners. Measure out ¼” to ½” around the letter and mark with an erasable pen.

This will give an even cutting line all around the letter.
Repeat with the bottom layer.
After the letter is trimmed, it is ready to fray.
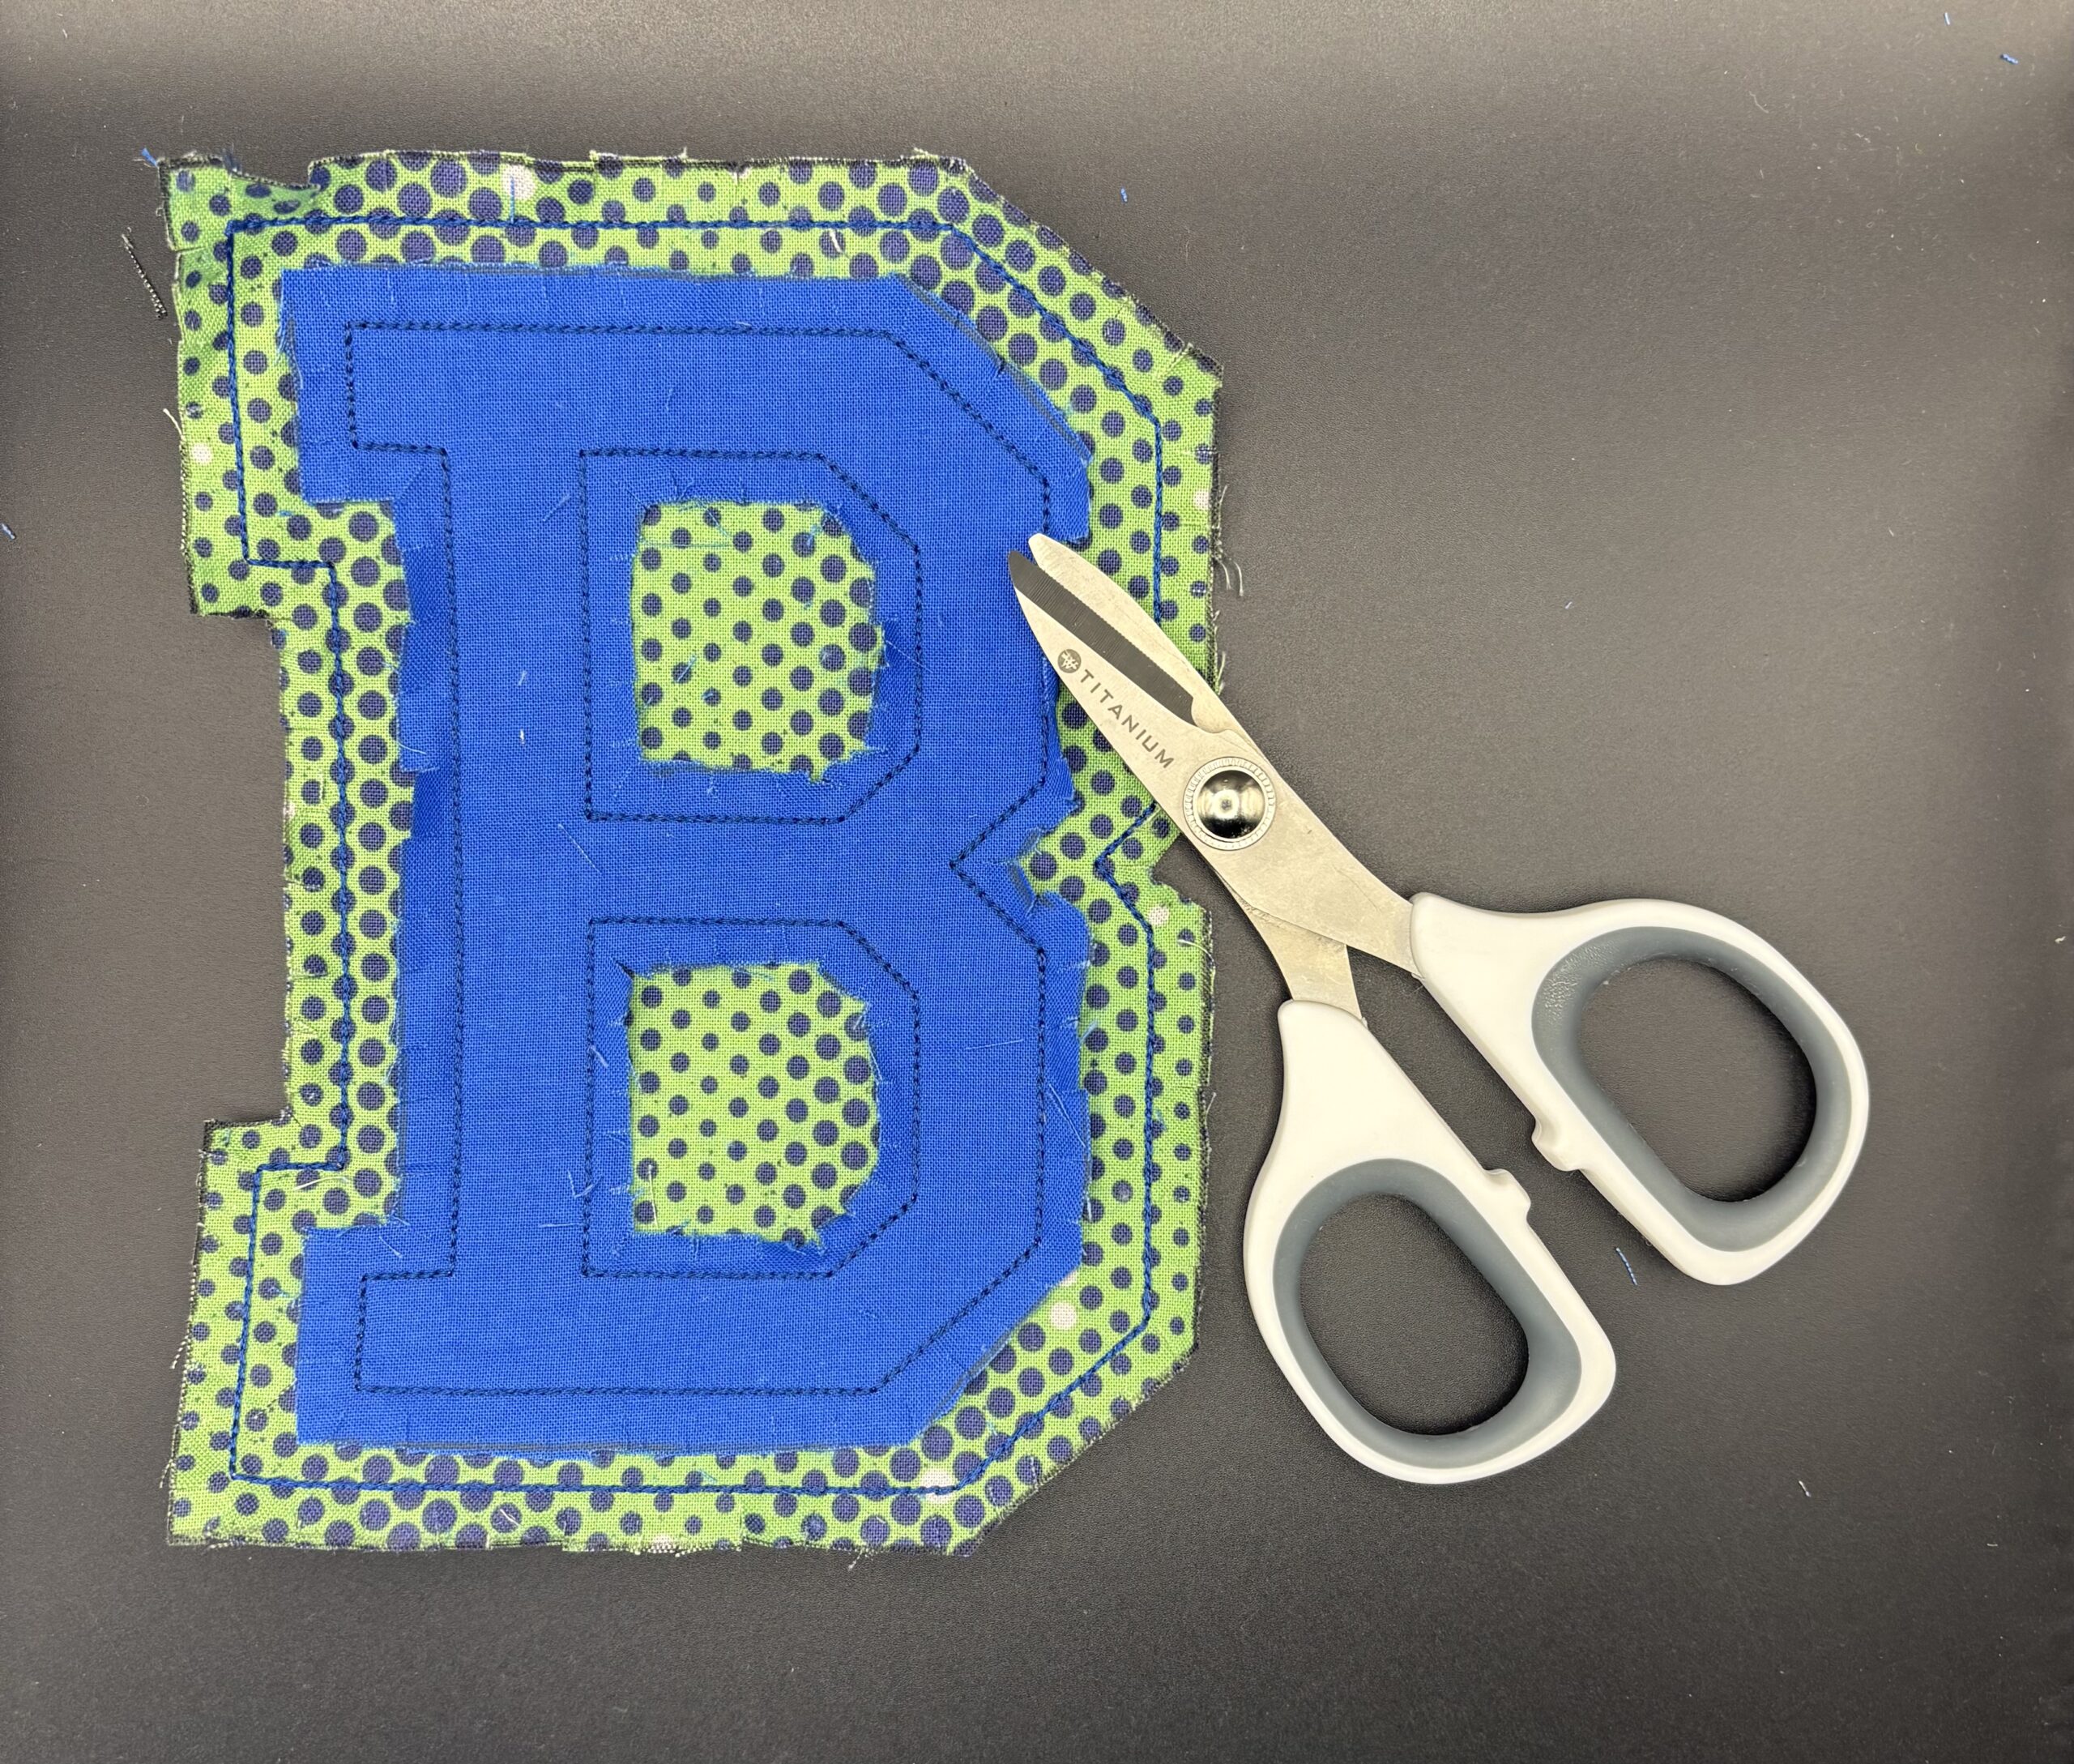
Snip all the way around at approximately ¼” intervals on each layer of fabric, being careful not to cut the stitching.
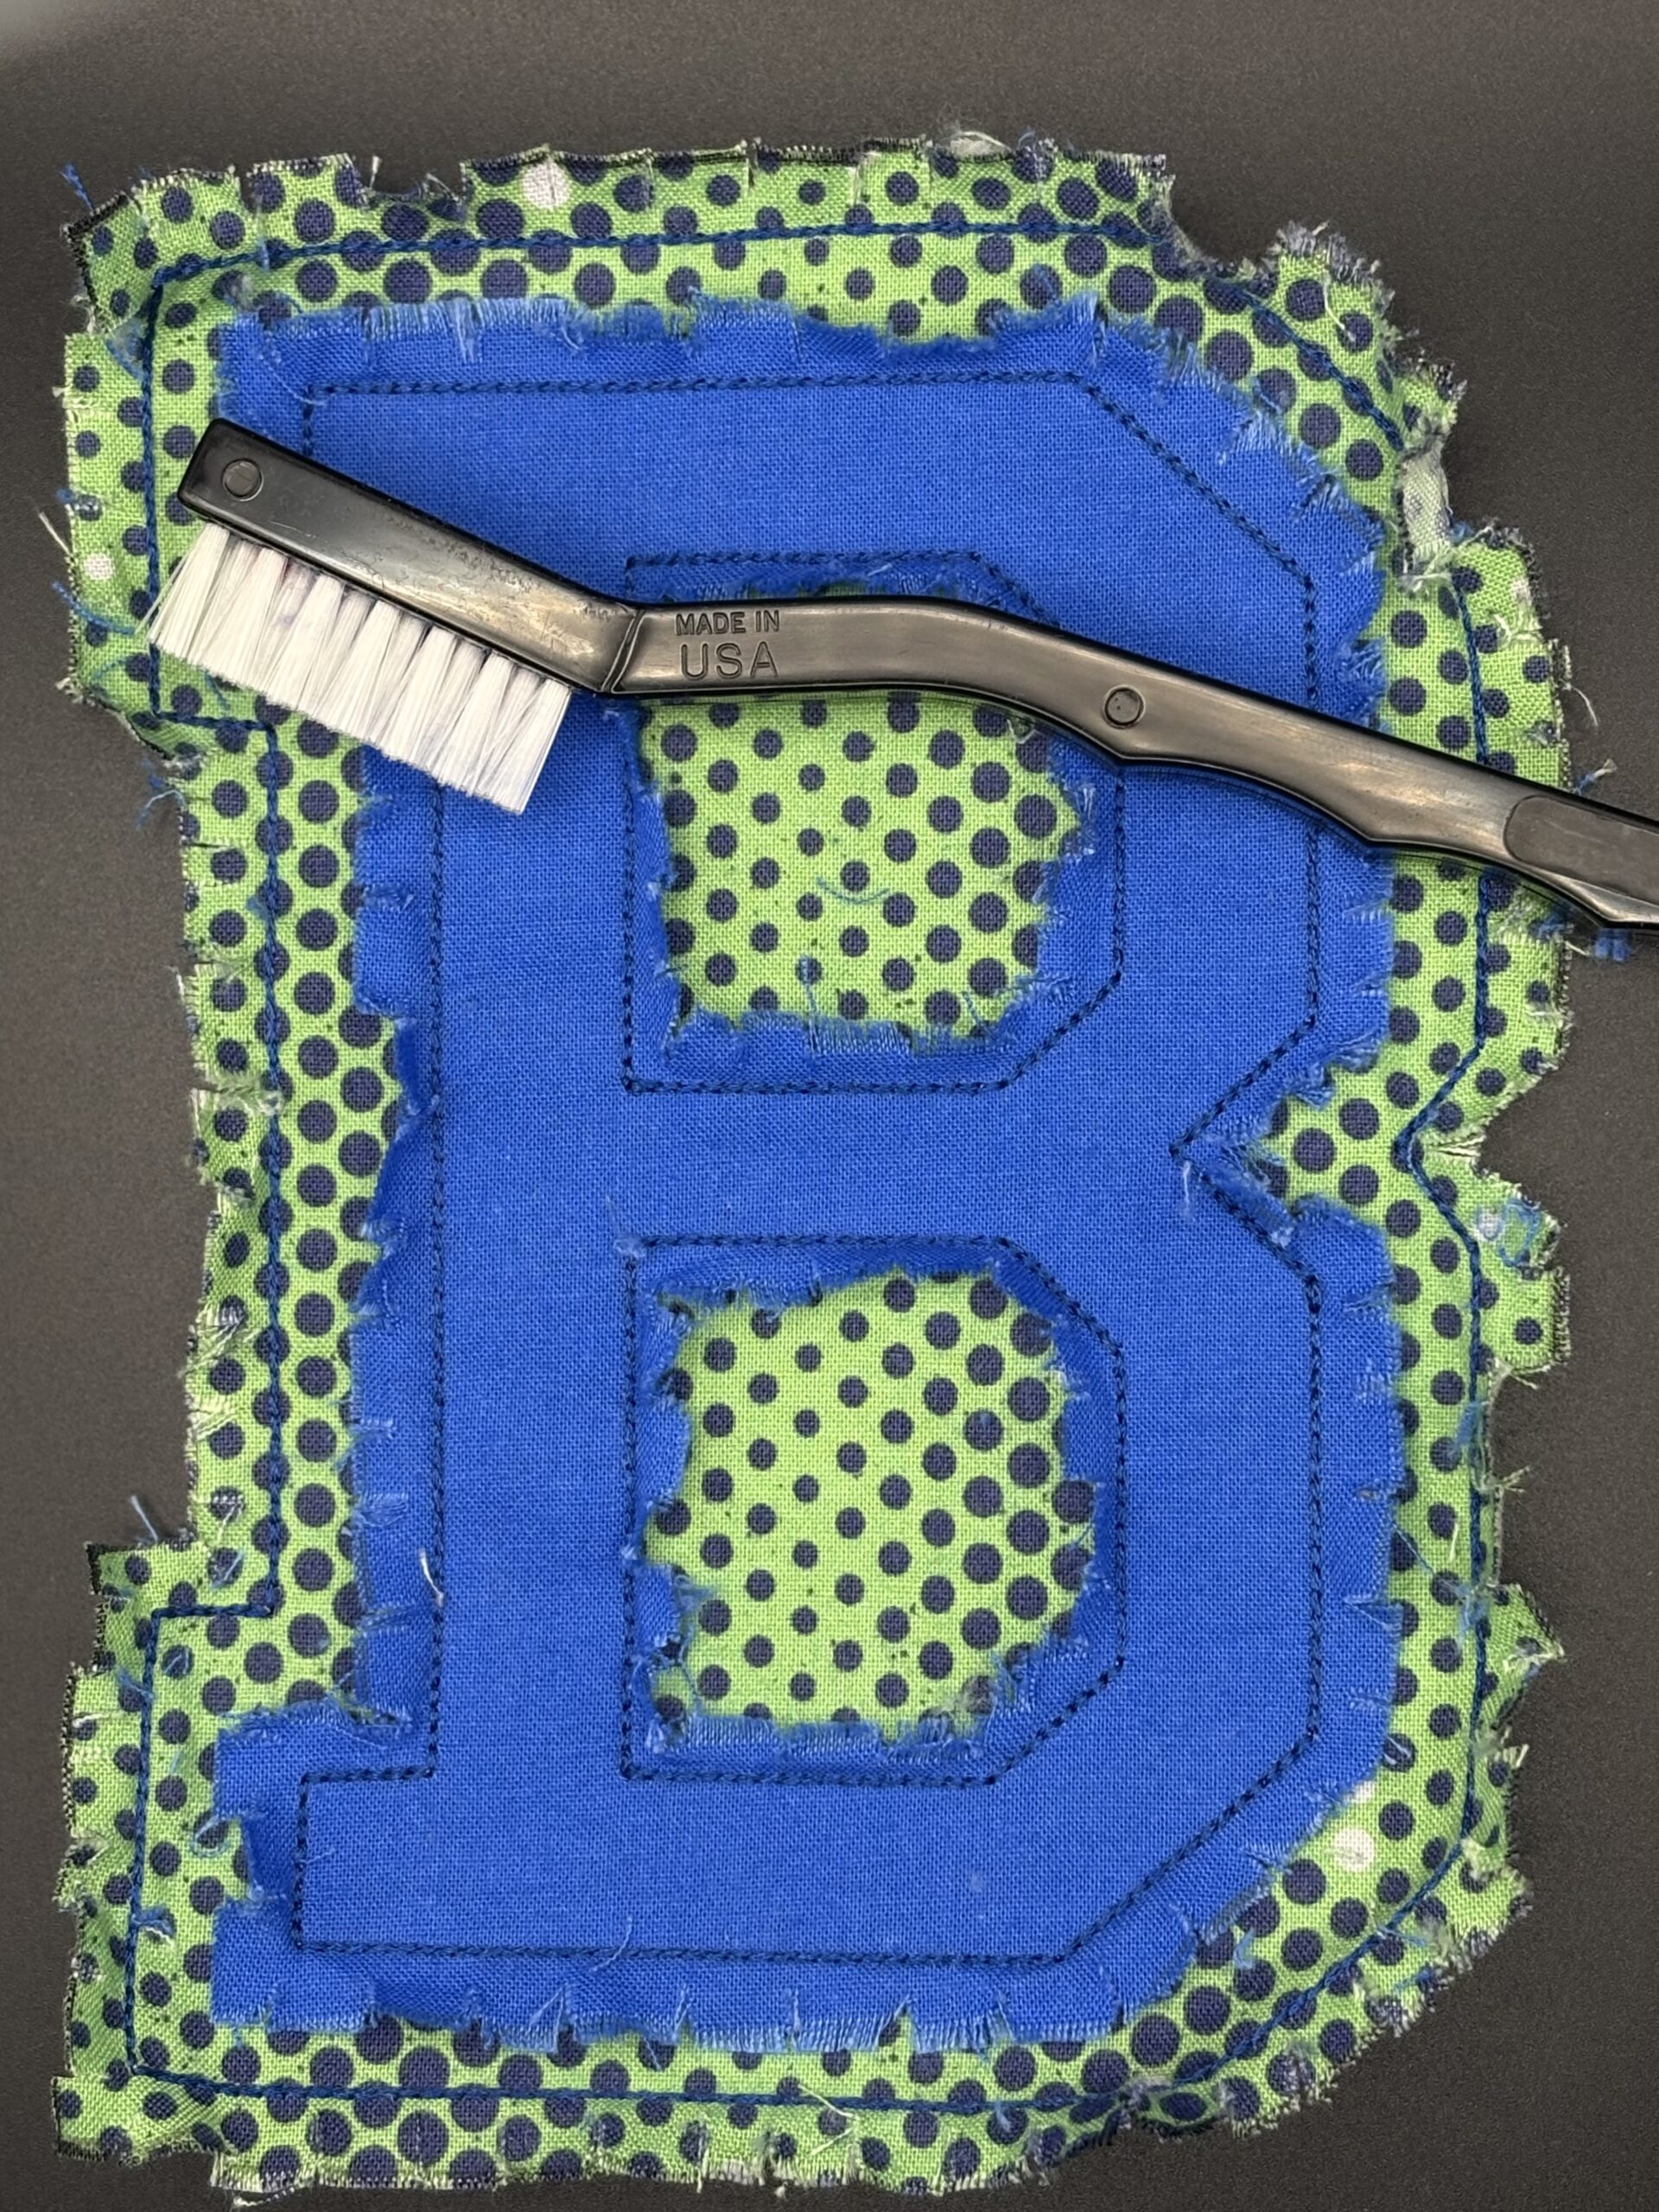
For easy fraying use a chenille or grout brush. To prevent the fabric from tearing, only use a brush with plastic bristles, never metal. If you don’t have a brush, you can fray with your fingernails.

Isn’t that cute? Now that we know the steps, let's make a shirt.

Prepare your shirt by pre-washing and drying to prevent future shrinkage. Iron out all wrinkles and apply SF101 to the back. This gives extra support to the fabric. Measure the width of the shirt to determine how big you want the letters to be. For example, I have 11” of space to work with and I want to embroider 5 letters. I will divide 11 by 5 and know that I can fit 2” letters across the front.

Download and open Raggy Double Varsity Applique Font and choose the size that will work for you. Add the letters to your screen, or, if you are working with software, you can create your design there.
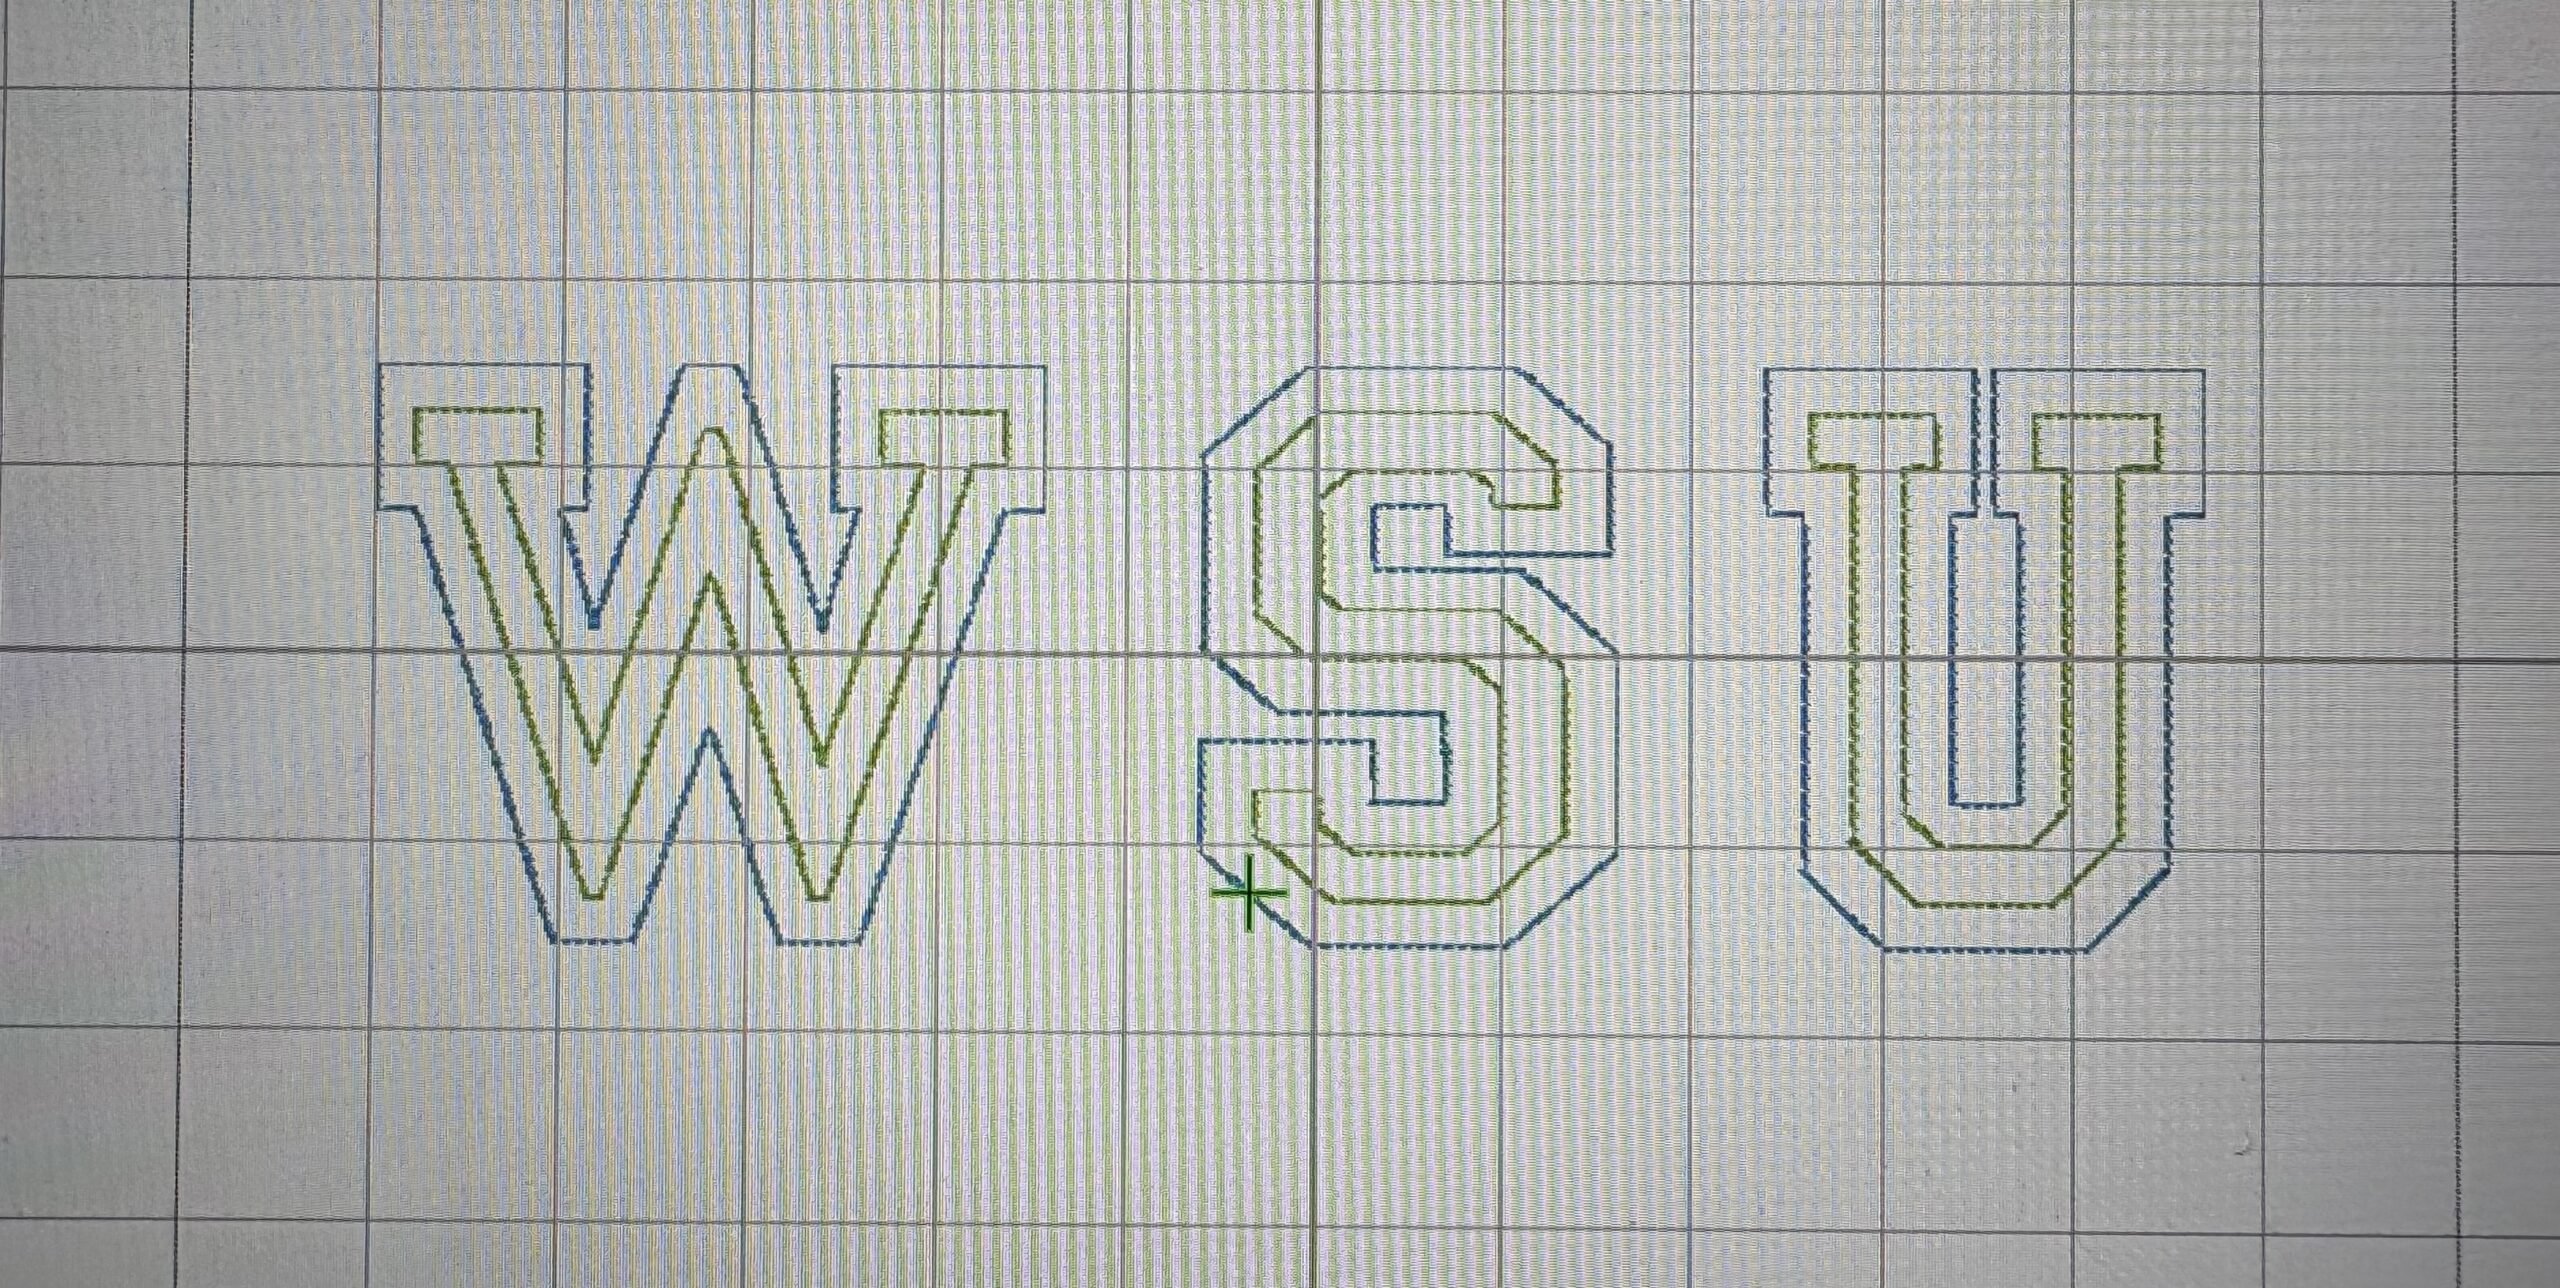
For those who are not working with software, use the frame grid on your machine and space your letters ½” apart if you are going to trim them to ¼”, or 1” apart if you are going to trim to ½” when finished.
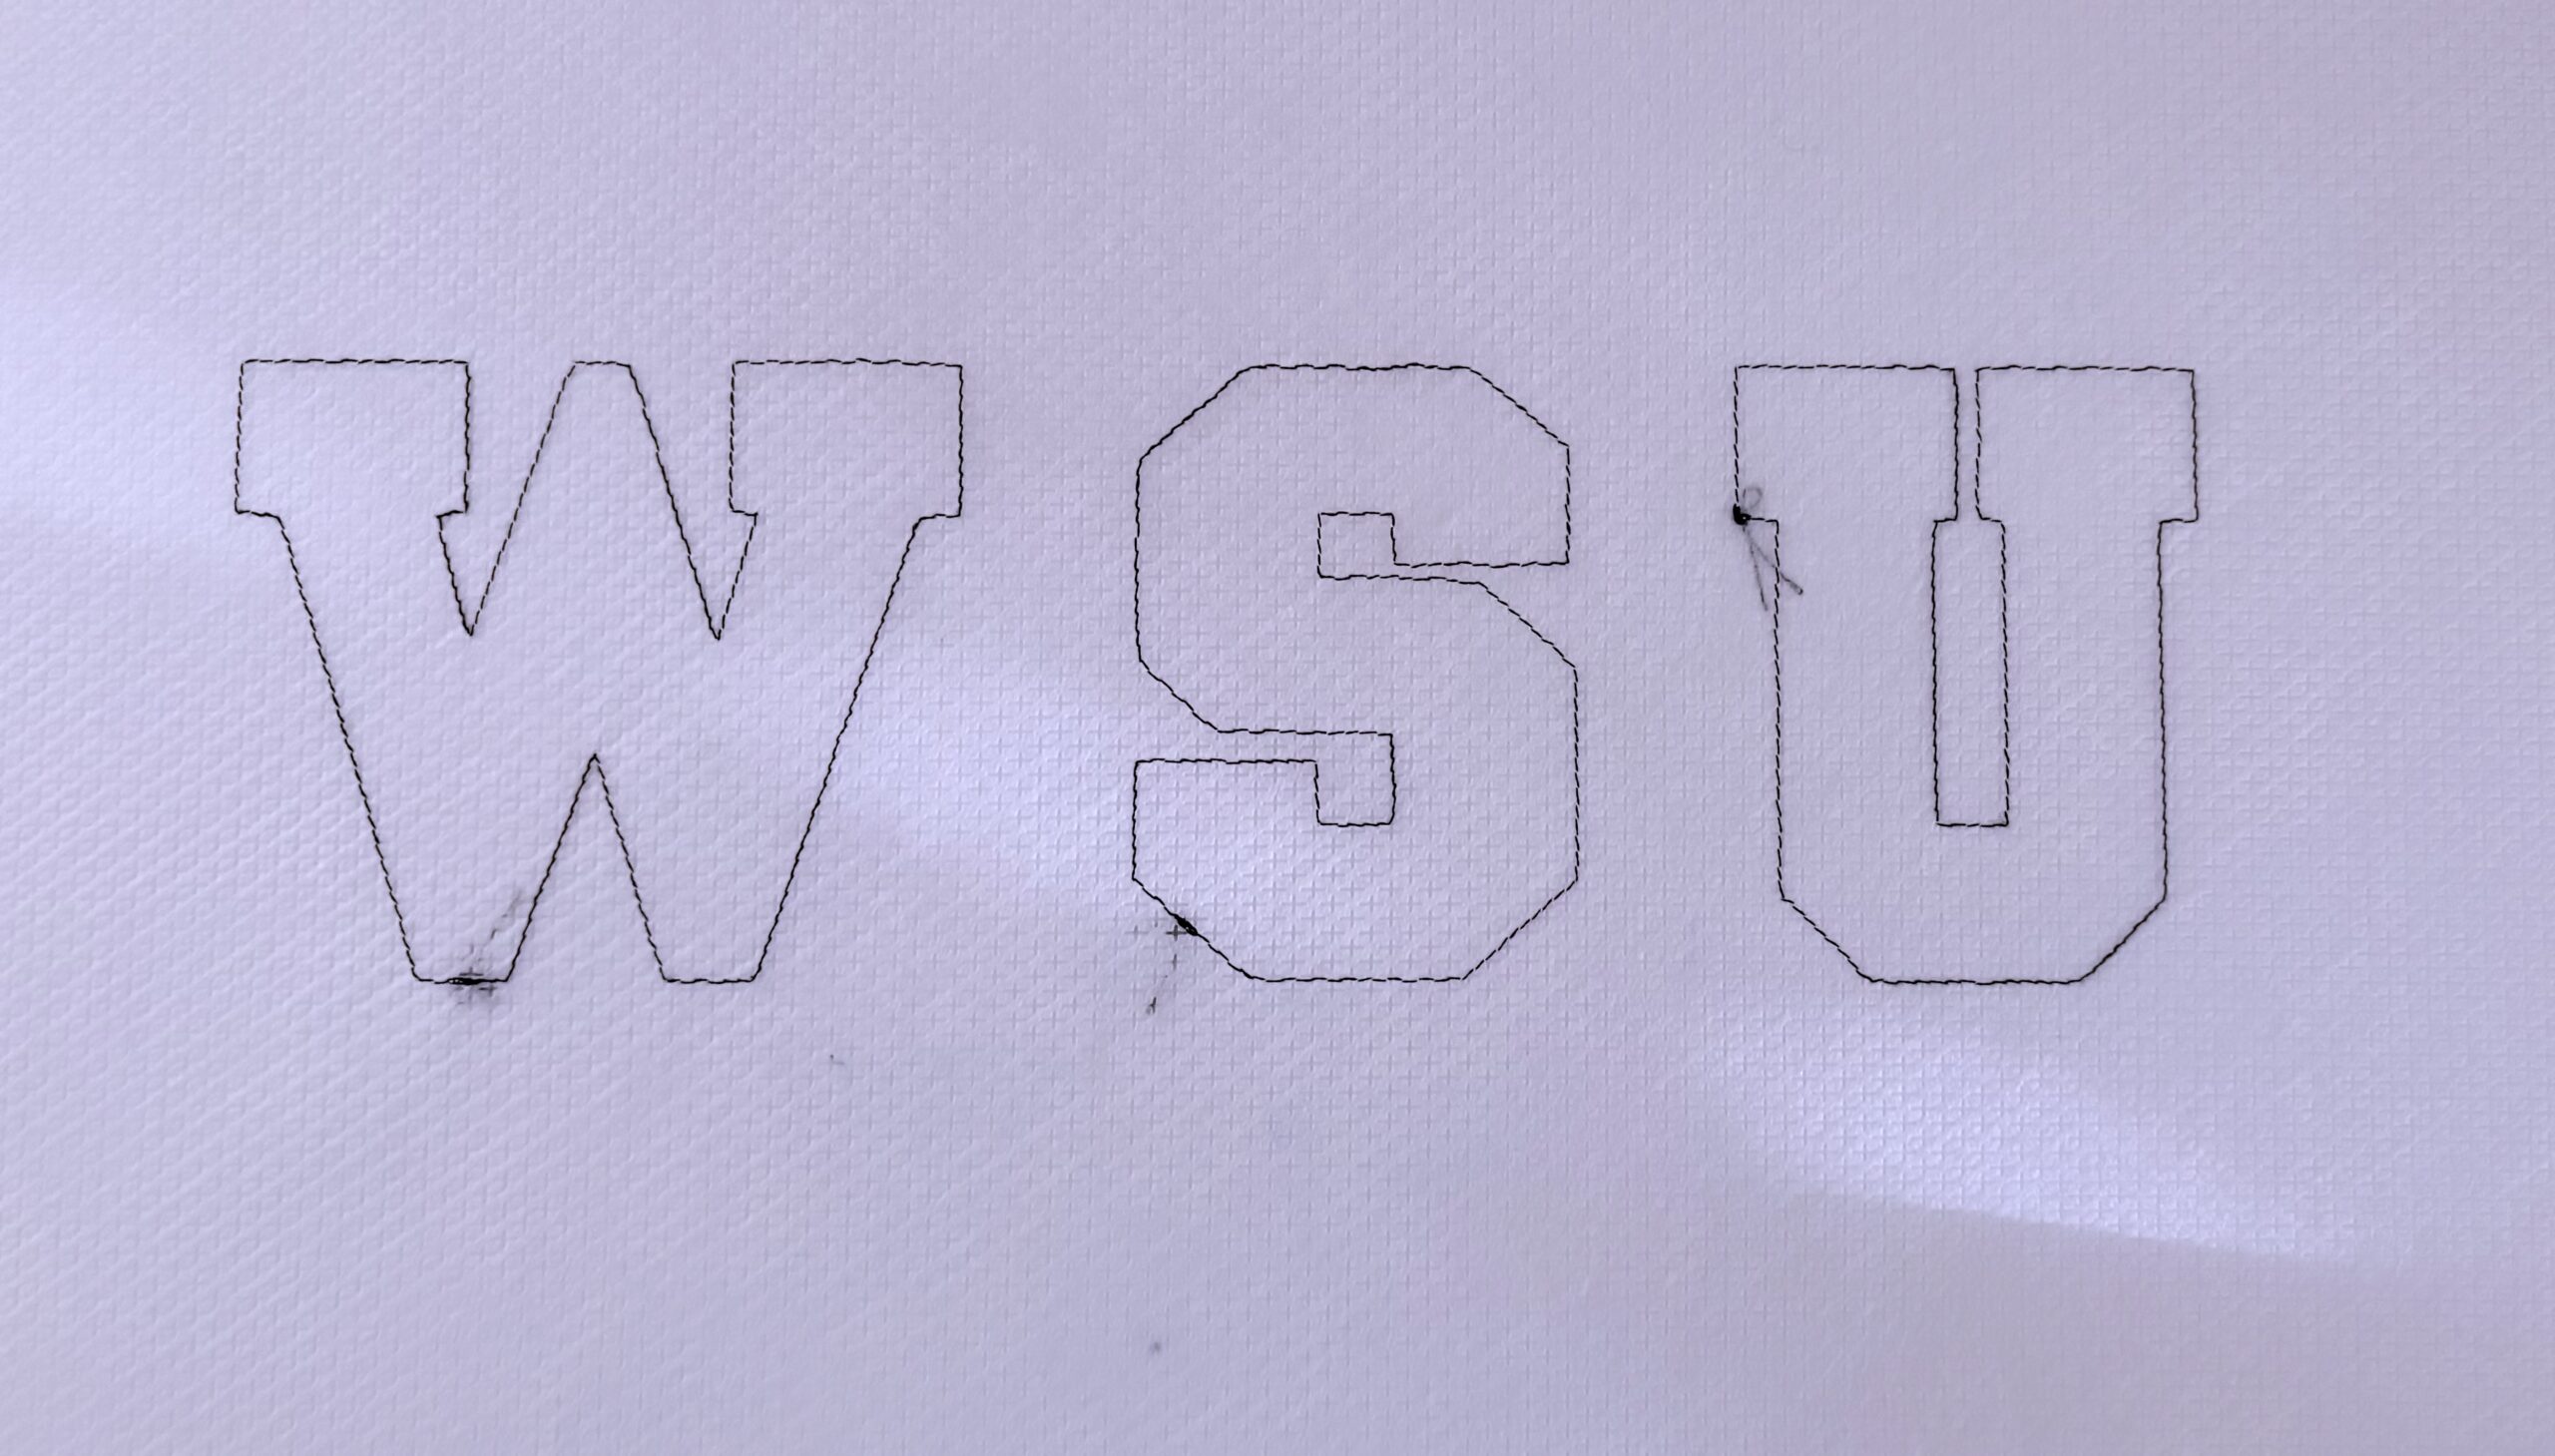
If you are unsure of your measurements, run the first stitch of each letter onto your stabilizer. This will allow you to make any adjustments if needed before you begin. Once you are satisfied with how your letters look, you are ready to start.

I recommend slowing your machine down to at most 350 stitches per minute. I do this for a number of reasons: slowing your machine down reduces the tension and allows for less puckering and thread breakage; it also allows me to better control keeping the fabric stable and flat.

Mark the center of your shirt with an erasable pen.

Using the arrows on your machine, find the center of your design. My machine is a Brother 8500 so your screen may look different.
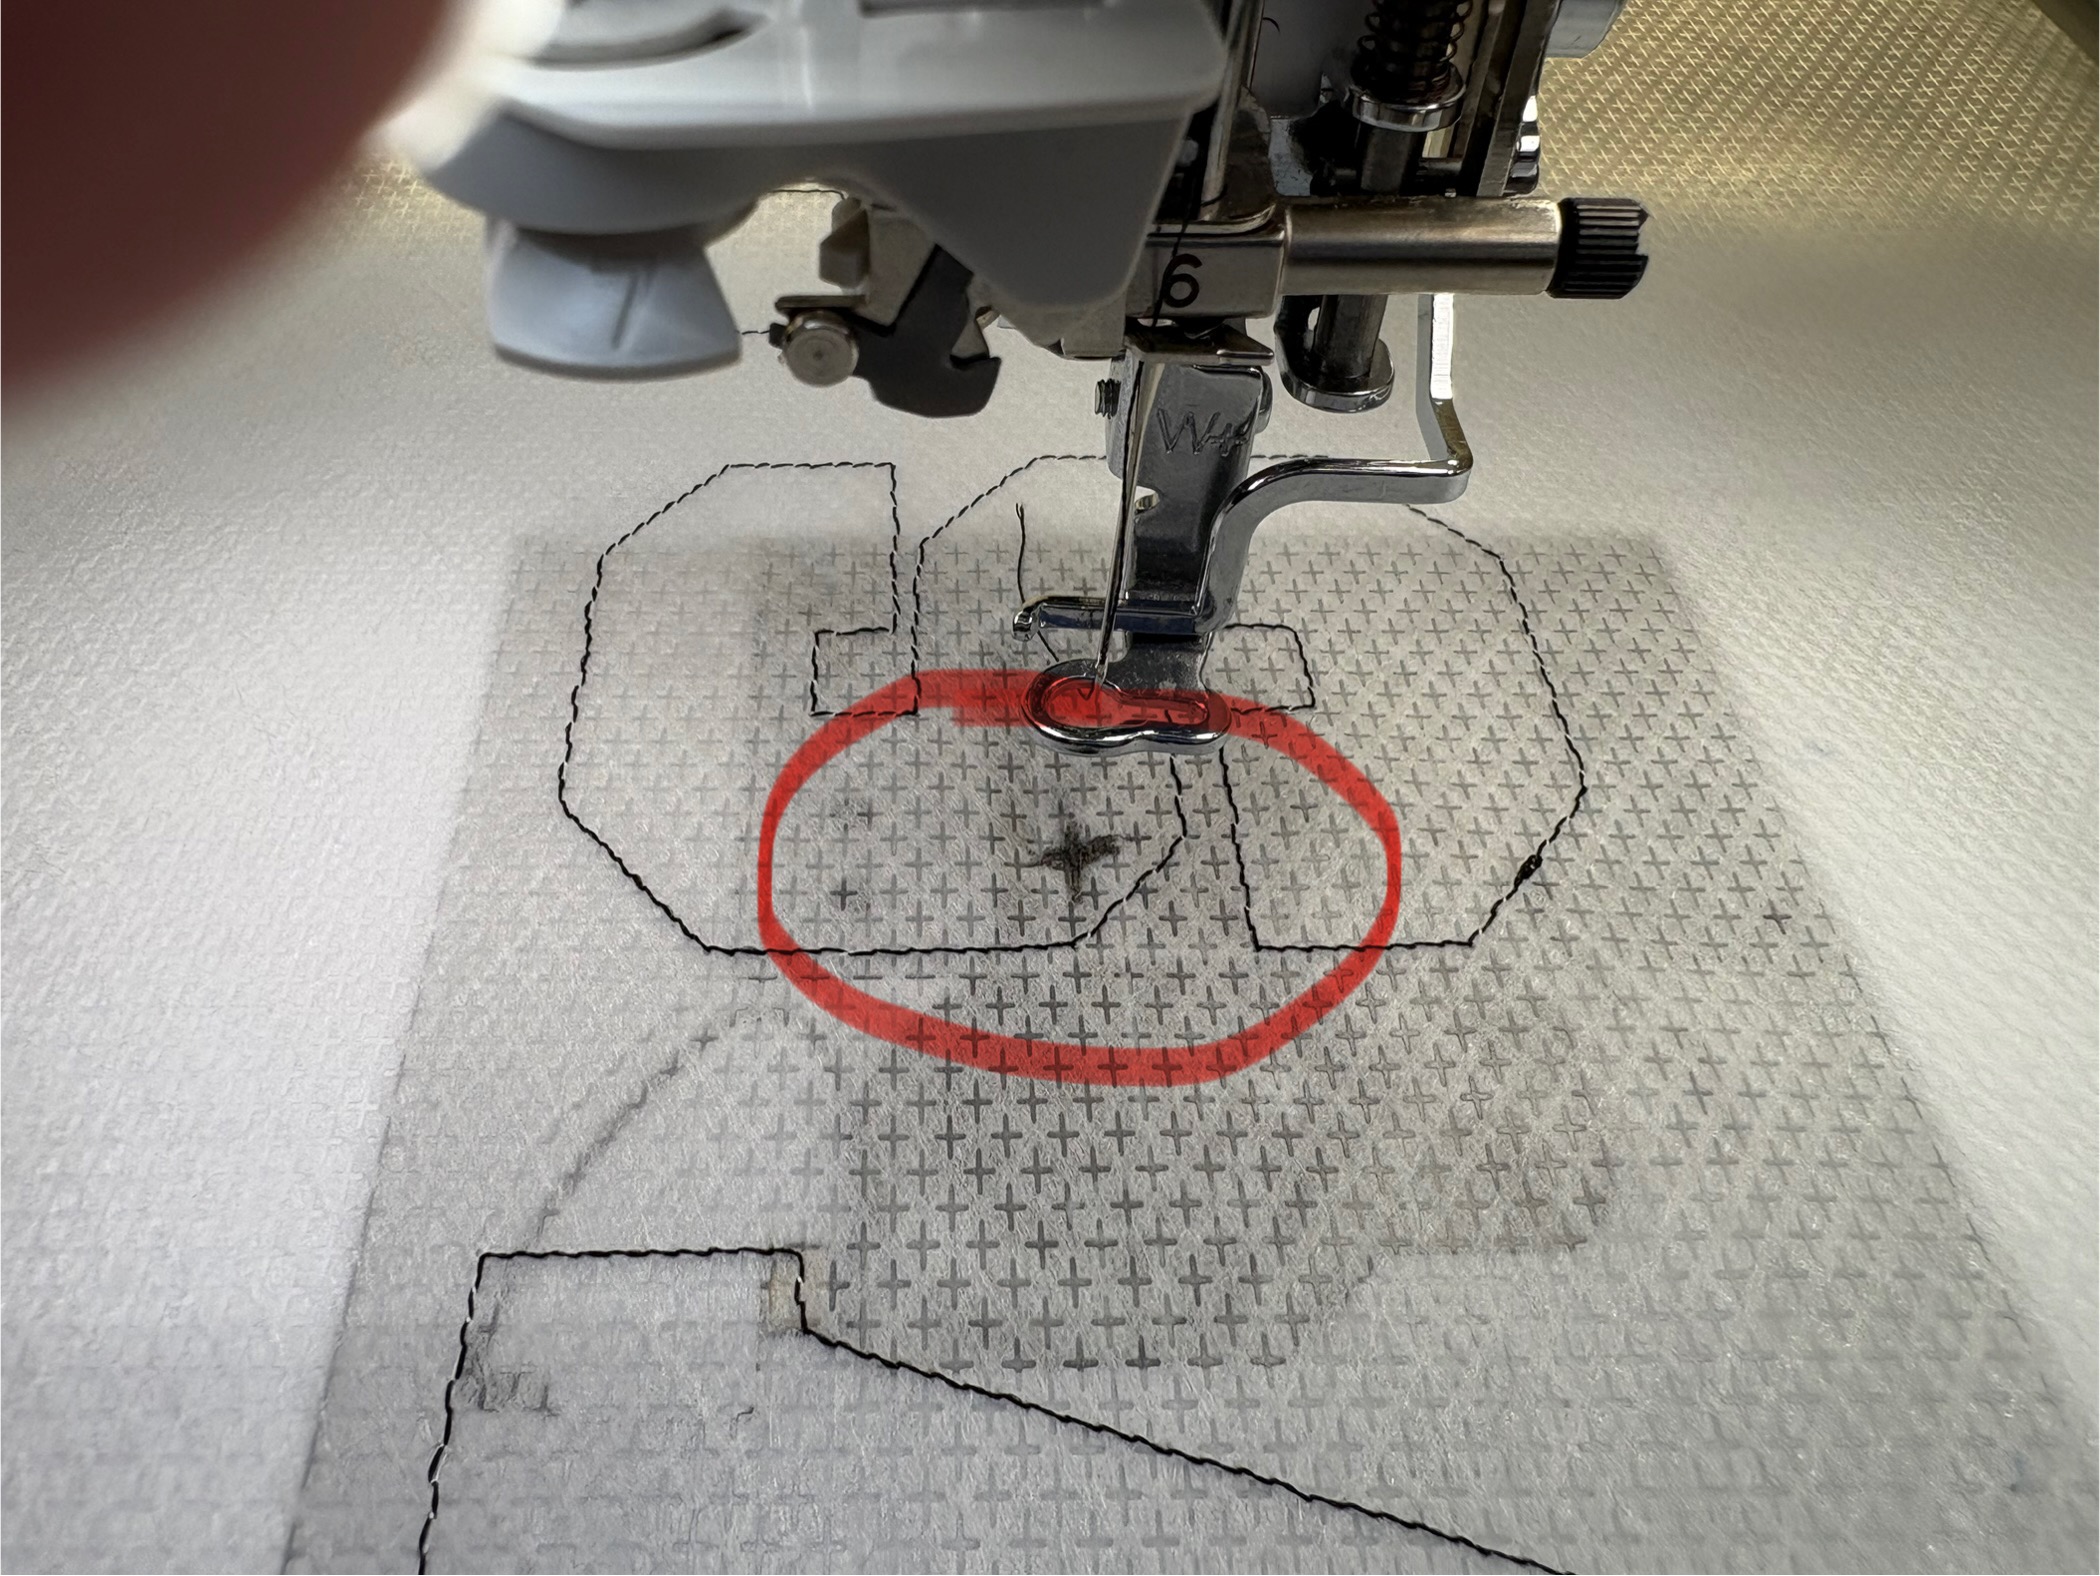
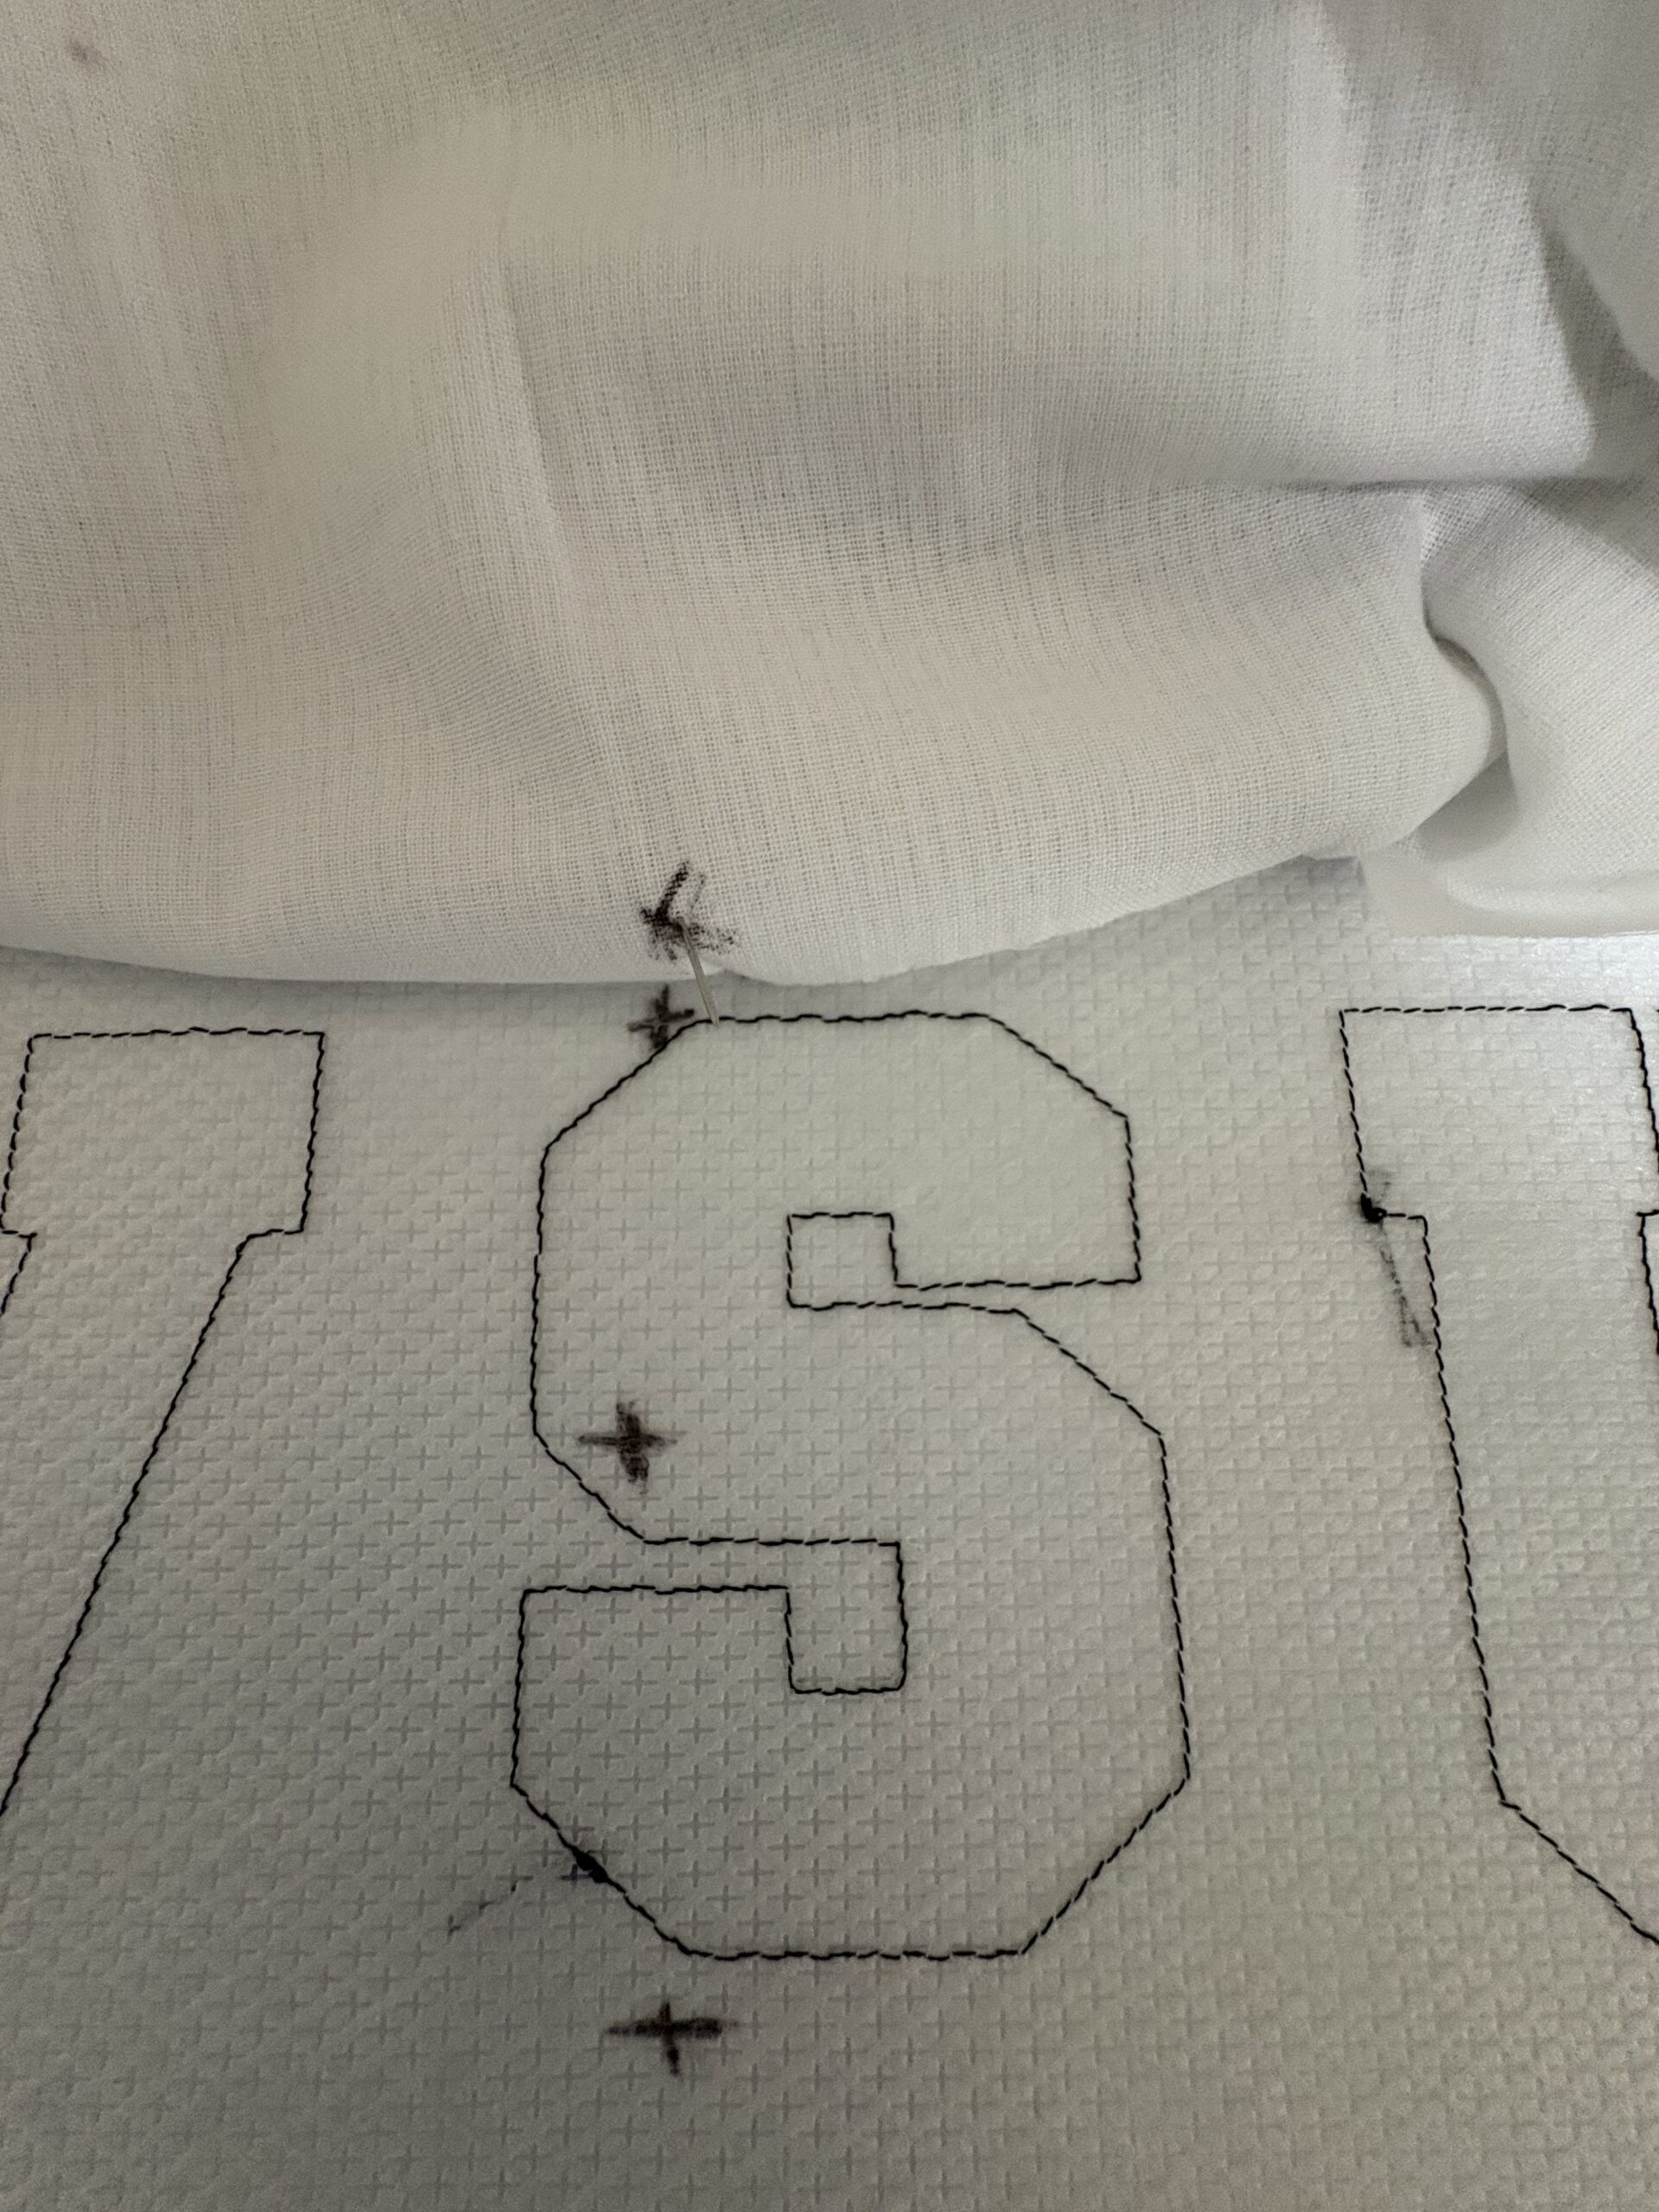
Using the needle-down button, mark the design center onto the stabilizer with an erasable pen. As you can see, I did not get my letters correct the first time.
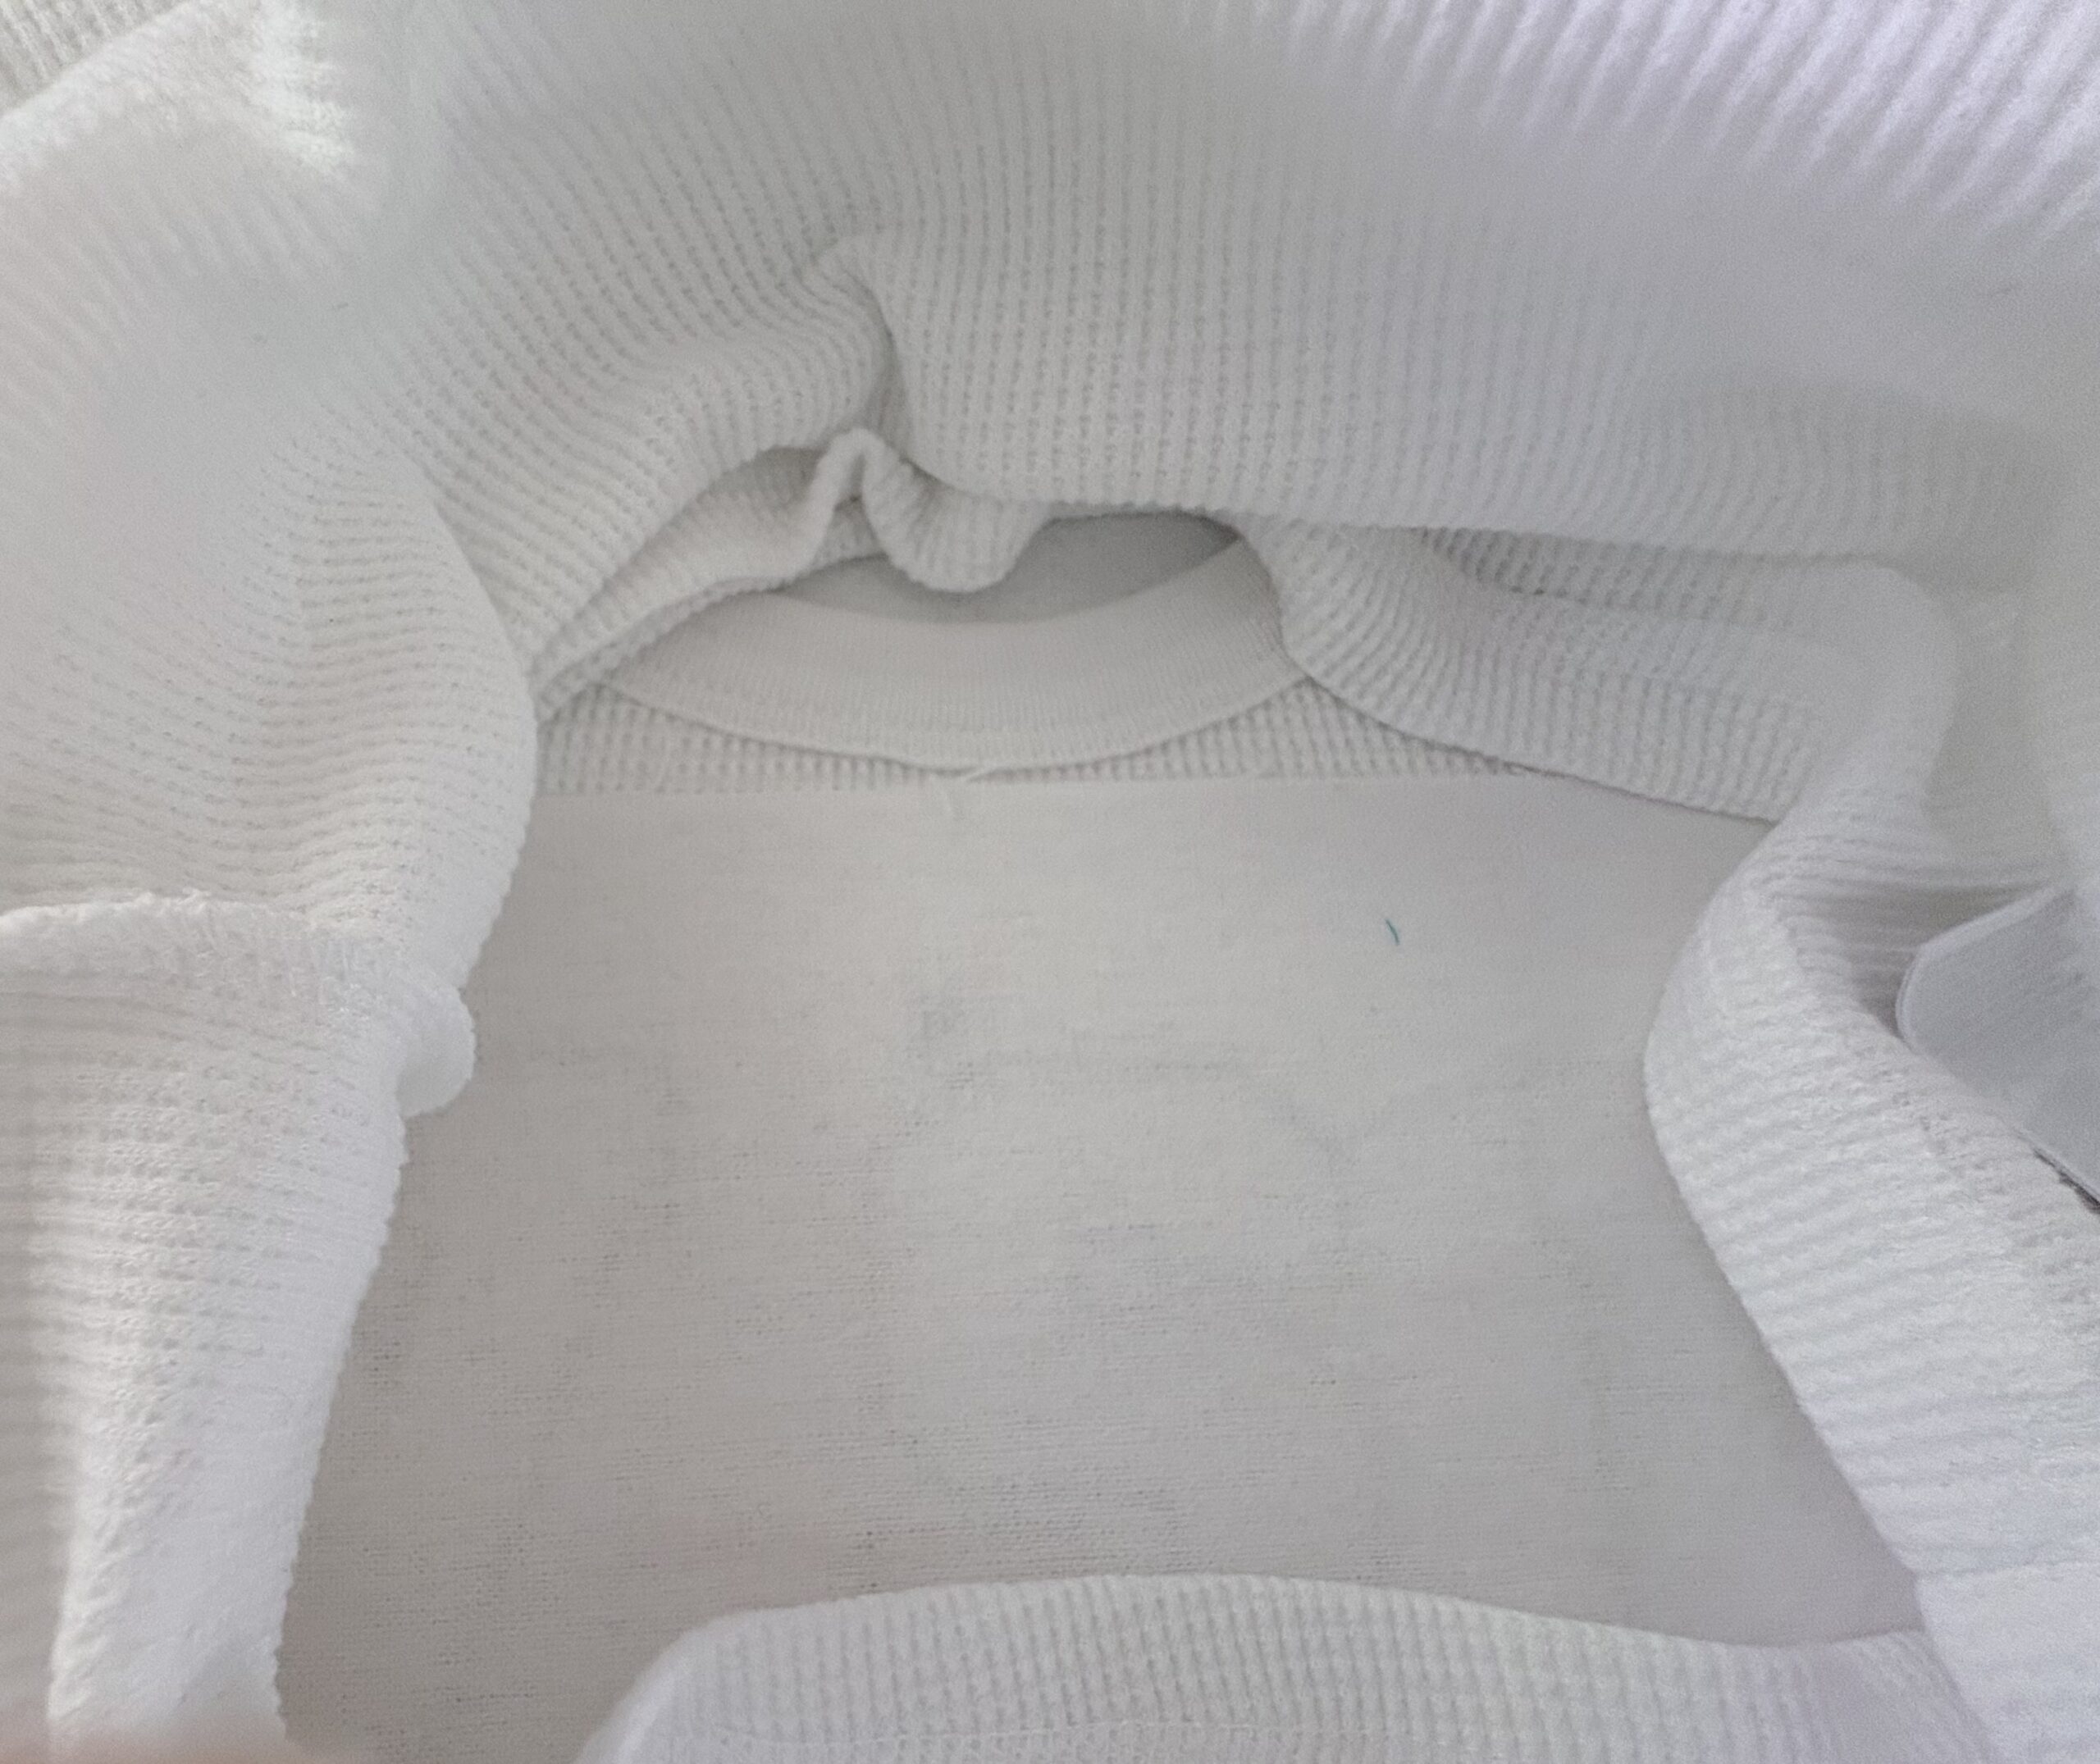
Spray the stabilizer with adhesive spray and line up the center of the shirt with the center mark on the stabilizer.

Finger smooth the material flat. If your fabric has a stretch to it, take care not to distort it by pulling on it. Gently smooth it across the stabilizer. If you wish, you can choose to pin the shirt to the stabilizer or clip to the sides of the hoop. Return the hoop to your machine.
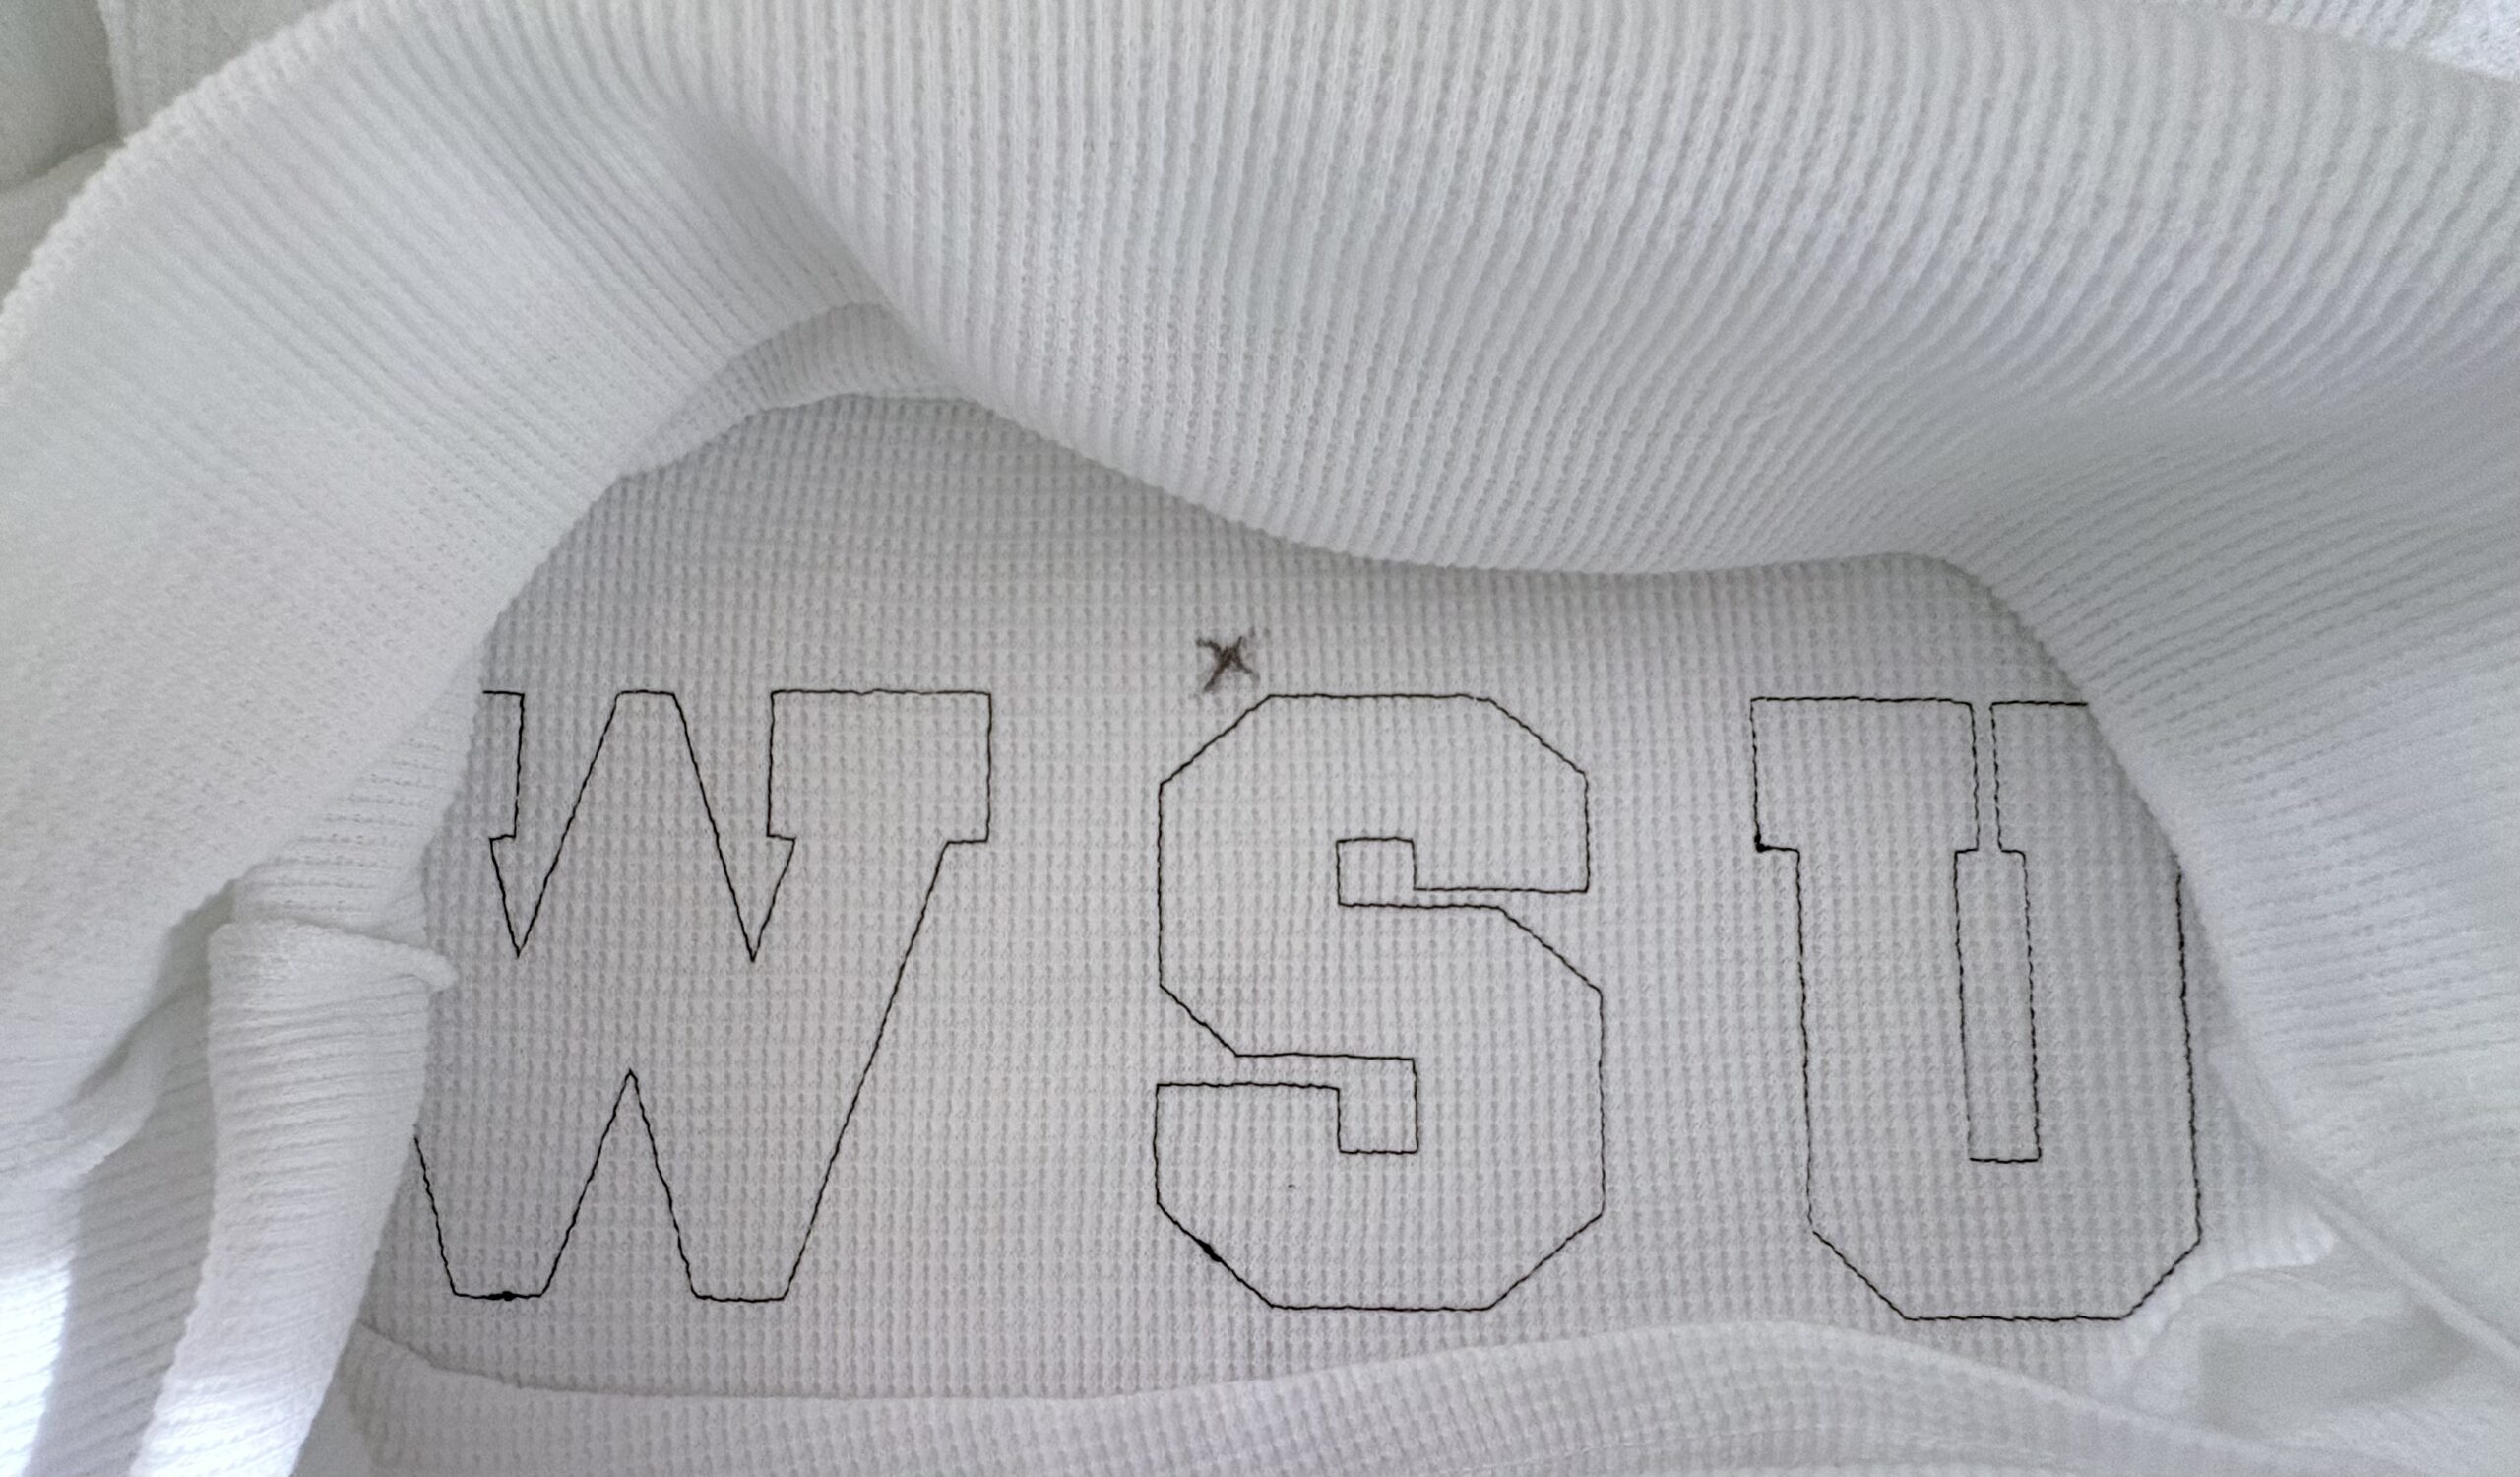
I don't want to remove my hoop multiple times to trim each letter and risk moving my shirt around, so I am going to stitch out the placement stitch of every letter. To do this, I stitch the first step of each letter, skipping steps 2, 3, and 4. I also find by doing this it stabilizes my shirt, kind of like having a basting box. This is where having your machine slowed down helps. You will have more control to keep the fabric smooth and the rest of the shirt out of the way. Always remember to keep fingers safely away from the needle.
Once all the letter placement stitches are complete, lay the first fabric down, making sure all letters are covered with enough room around to trim. Smooth it flat and run Step 2 (the bean stitch on the bottom layer) and Step 3 (the top layer placement stitch) for each letter.
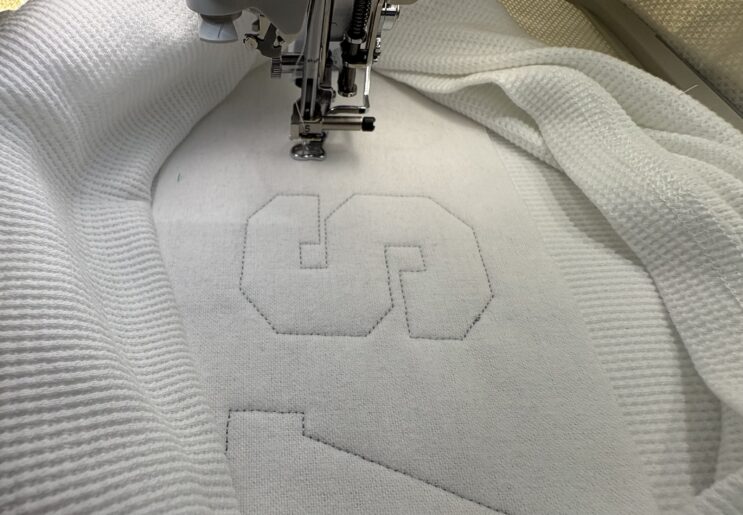
Lay the top layer of fabric down and complete each letter with its final bean stitch.

When completed, your design will look like this. Remove from the hoop. With the ruler, mark the cutting lines on the top layer.

Trim the top layer, then mark the bottom layer and trim it as well.
Snip around the top and bottom layers, being careful not to cut the stitches.
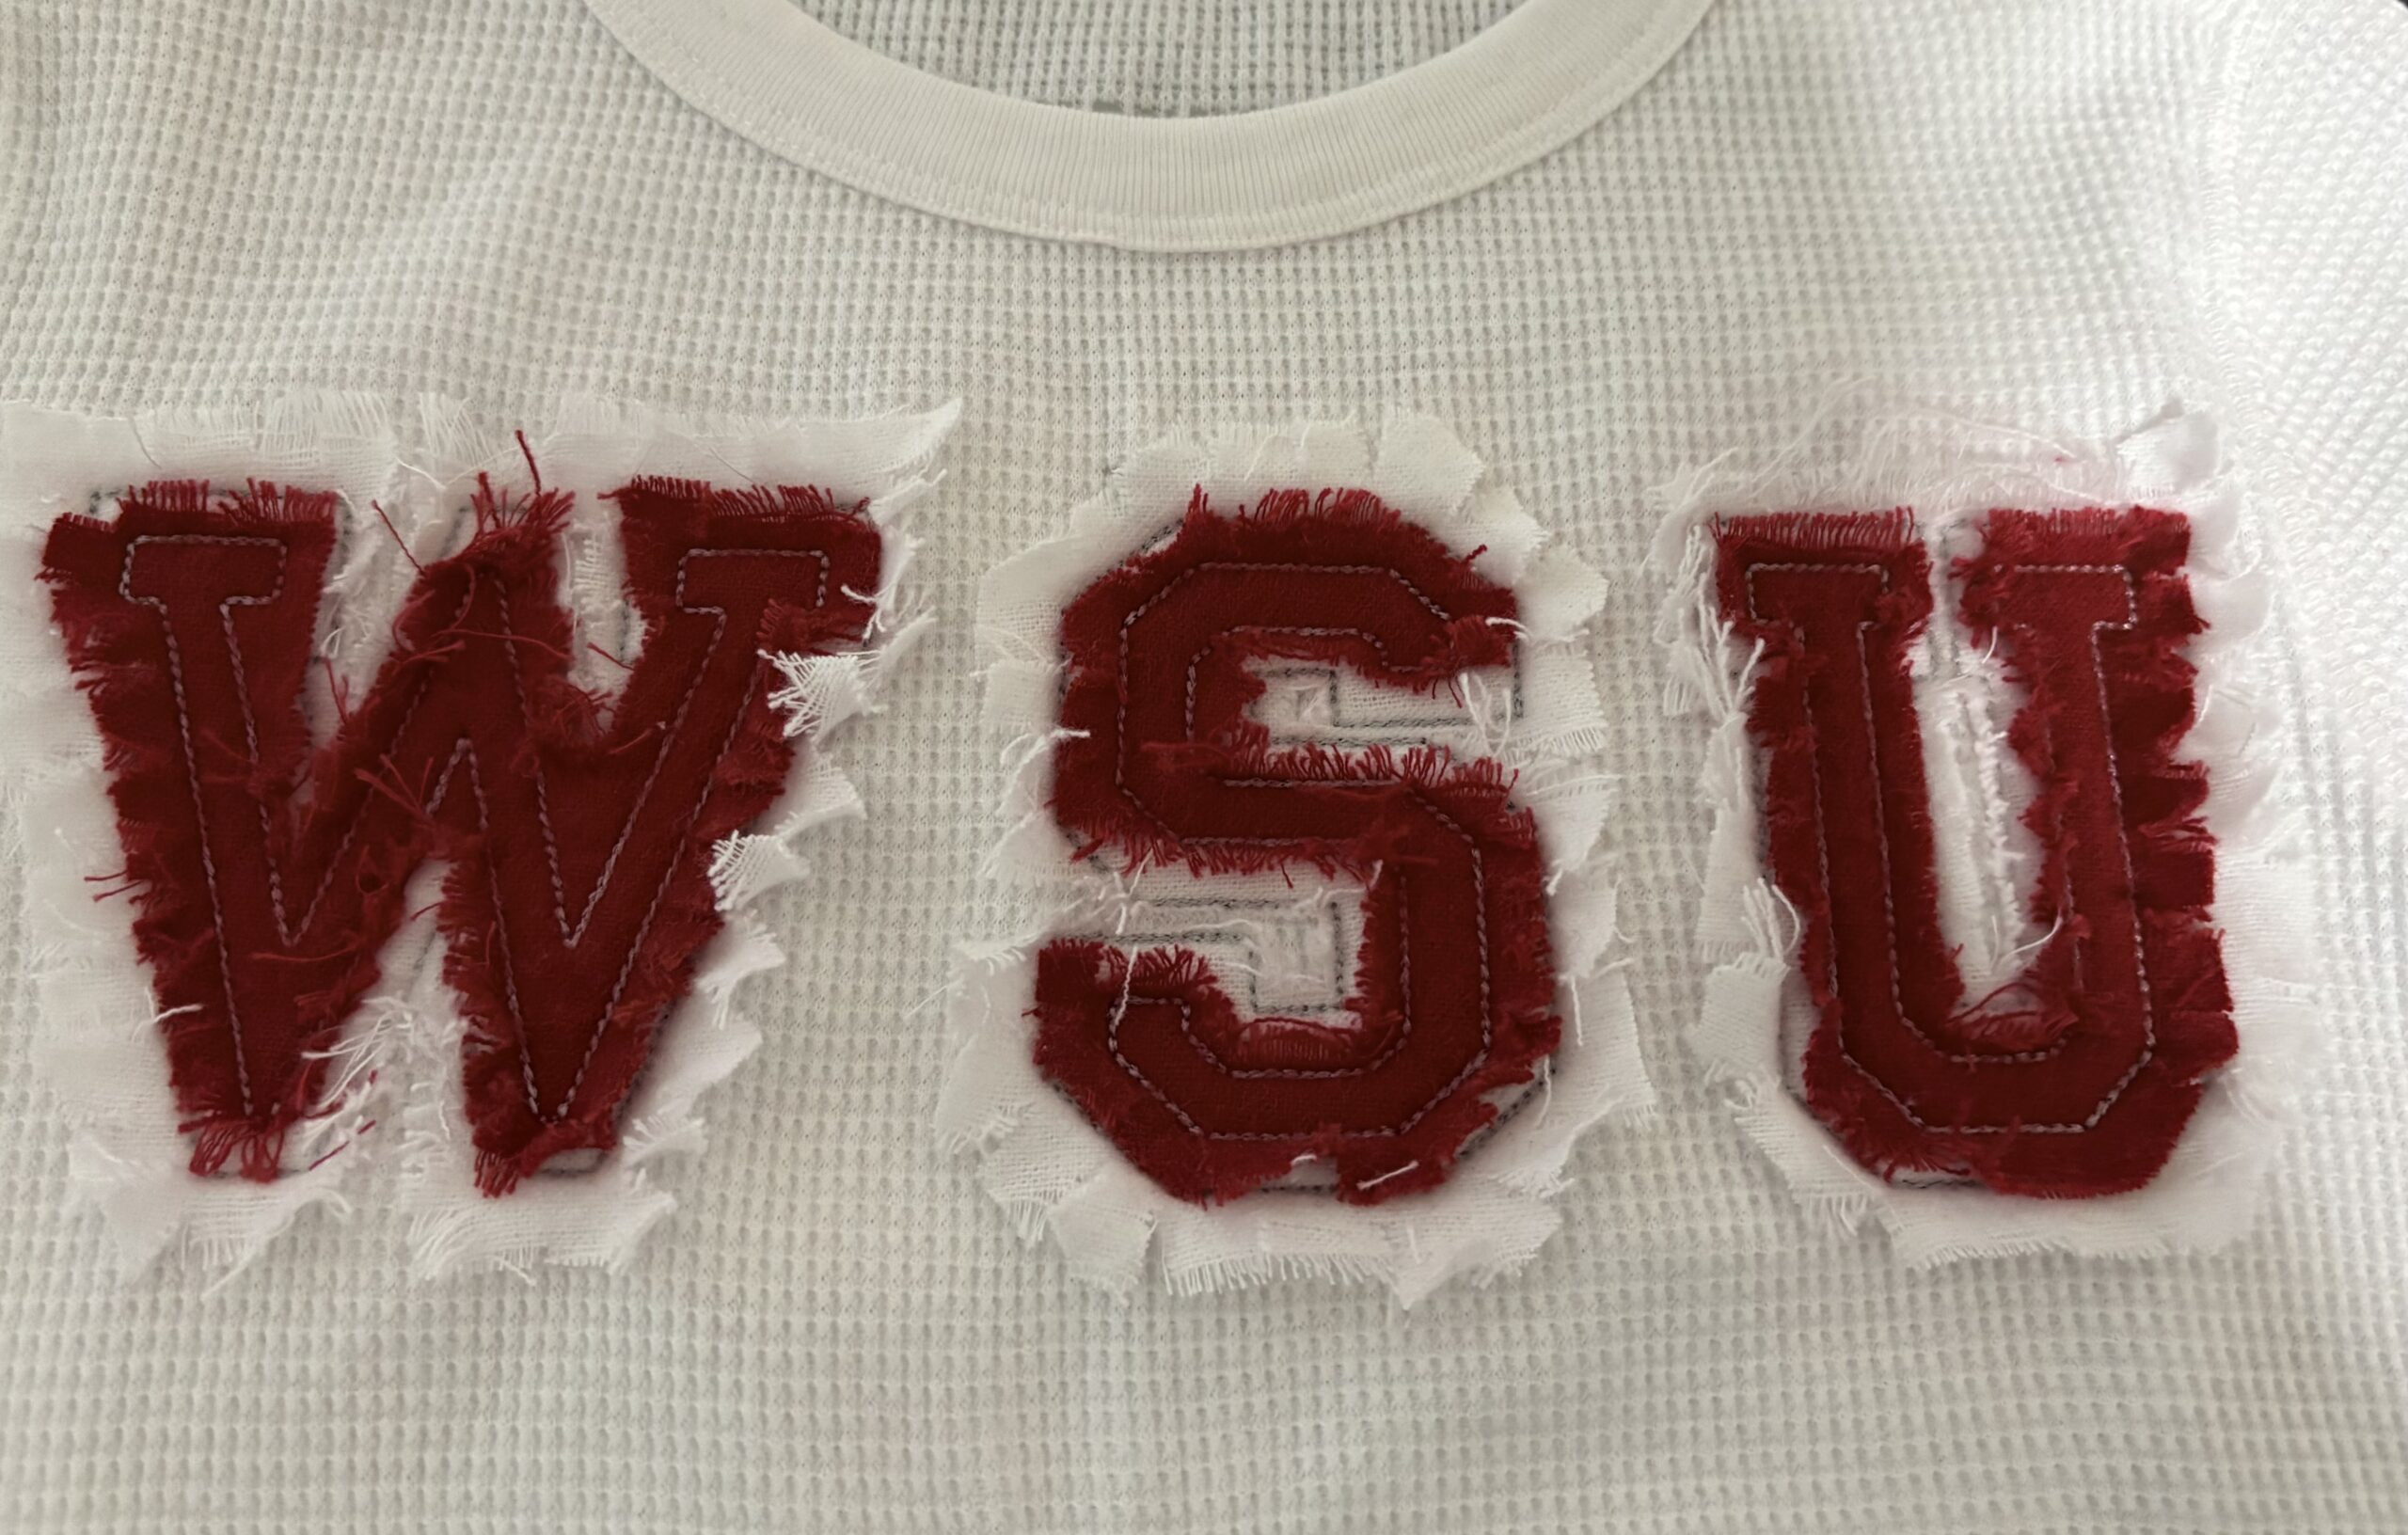
Fray with the brush or your nails and your letters are complete.

Using the same steps as above, I created a football-style jersey with JuJu’s Raggy Double Varsity Applique Numbers Font.
Use these sets to create shirts, pillows, tote bags, towels, blankets, and more. You are only limited by your imagination, so let it go wild!
Be sure to share your projects on the Designs by JuJu Embroidery Blessings Group Facebook page, or anywhere on social media using the hashtag #designsbyjuju. We’d love to see what you create!
