Toggle Nav
 Inspire.
Create.
Stitch.
Inspire.
Create.
Stitch.
Search
If you’ve ever been unsure about which stabilizer to use for your embroidery project—or wondered what stabilizer even is—you’re not alone! Whether you’re just starting out or ready to branch into more advanced techniques like in-the-hoop or freestanding lace, understanding stabilizers is key to embroidery success. In this post, I’ll walk you through the three main types—tear-away, cut-away, and wash-away—so you can confidently choose the right one for every stitch. Let’s stabilize your skills!
Are you new to machine embroidery and confused by the word “stabilizer” everyone keeps using? I remember being new to the embroidery world and not sure how to get started. With no exaggeration, my new machine and I held a staring contest for SEVEN months. Or maybe you’ve managed to get your toes wet, embroidered a towel perhaps, and want to try your hand on a piece of clothing or an in-the-hoop design. This post will help improve your success rate by making sure you’re using the correct stabilizer.
Why do we use stabilizers? Because they do exactly that, they stabilize—hold steady—your fabric in the machine and they hold your stitches steady. If you have your project properly stabilized in or floated on the hoop, it shouldn’t move while you’re embroidering. When the project is complete, you shouldn’t see puckering or stretching of the fabric. Some stabilizers will permanently remain to help the design keep its shape through multiple wearings and washings.
Now that we know why we’re using a stabilizer, it’s important to choose the right one. Essentially there are three types of stabilizer: tear-away, cut-away, and wash-away. What you use for each project will depend on the type of fabric you use and the density of your embroidery design.
Check out the DBJJ team’s favorite supplies in the Designs by JuJu Amazon store, where you’ll find all the different types of stabilizers you need.
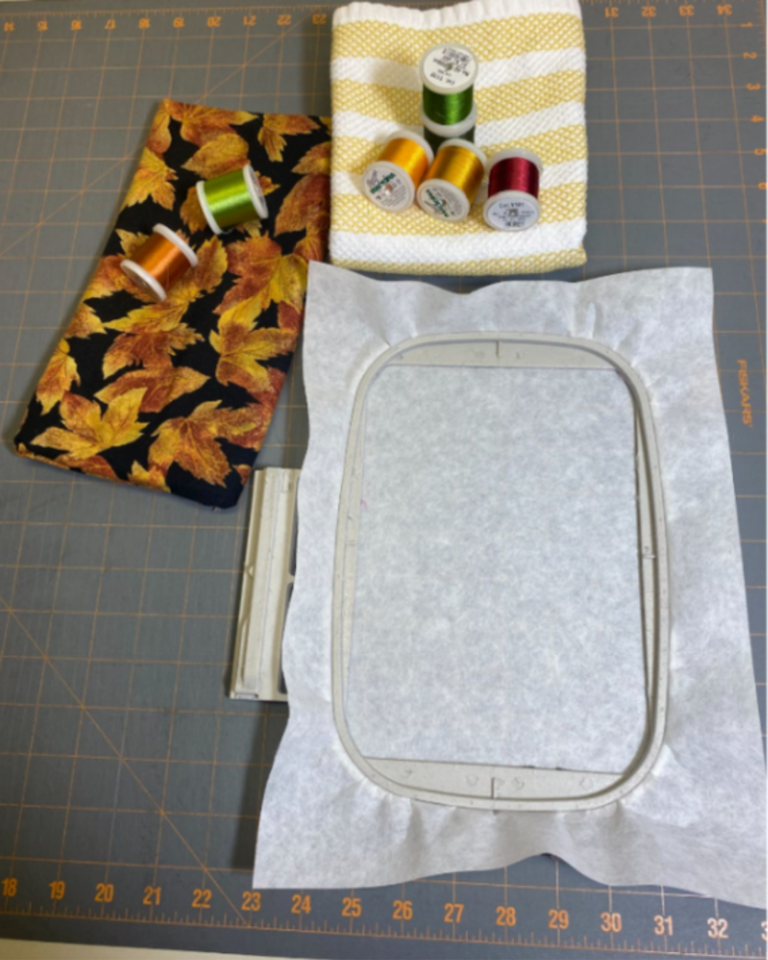
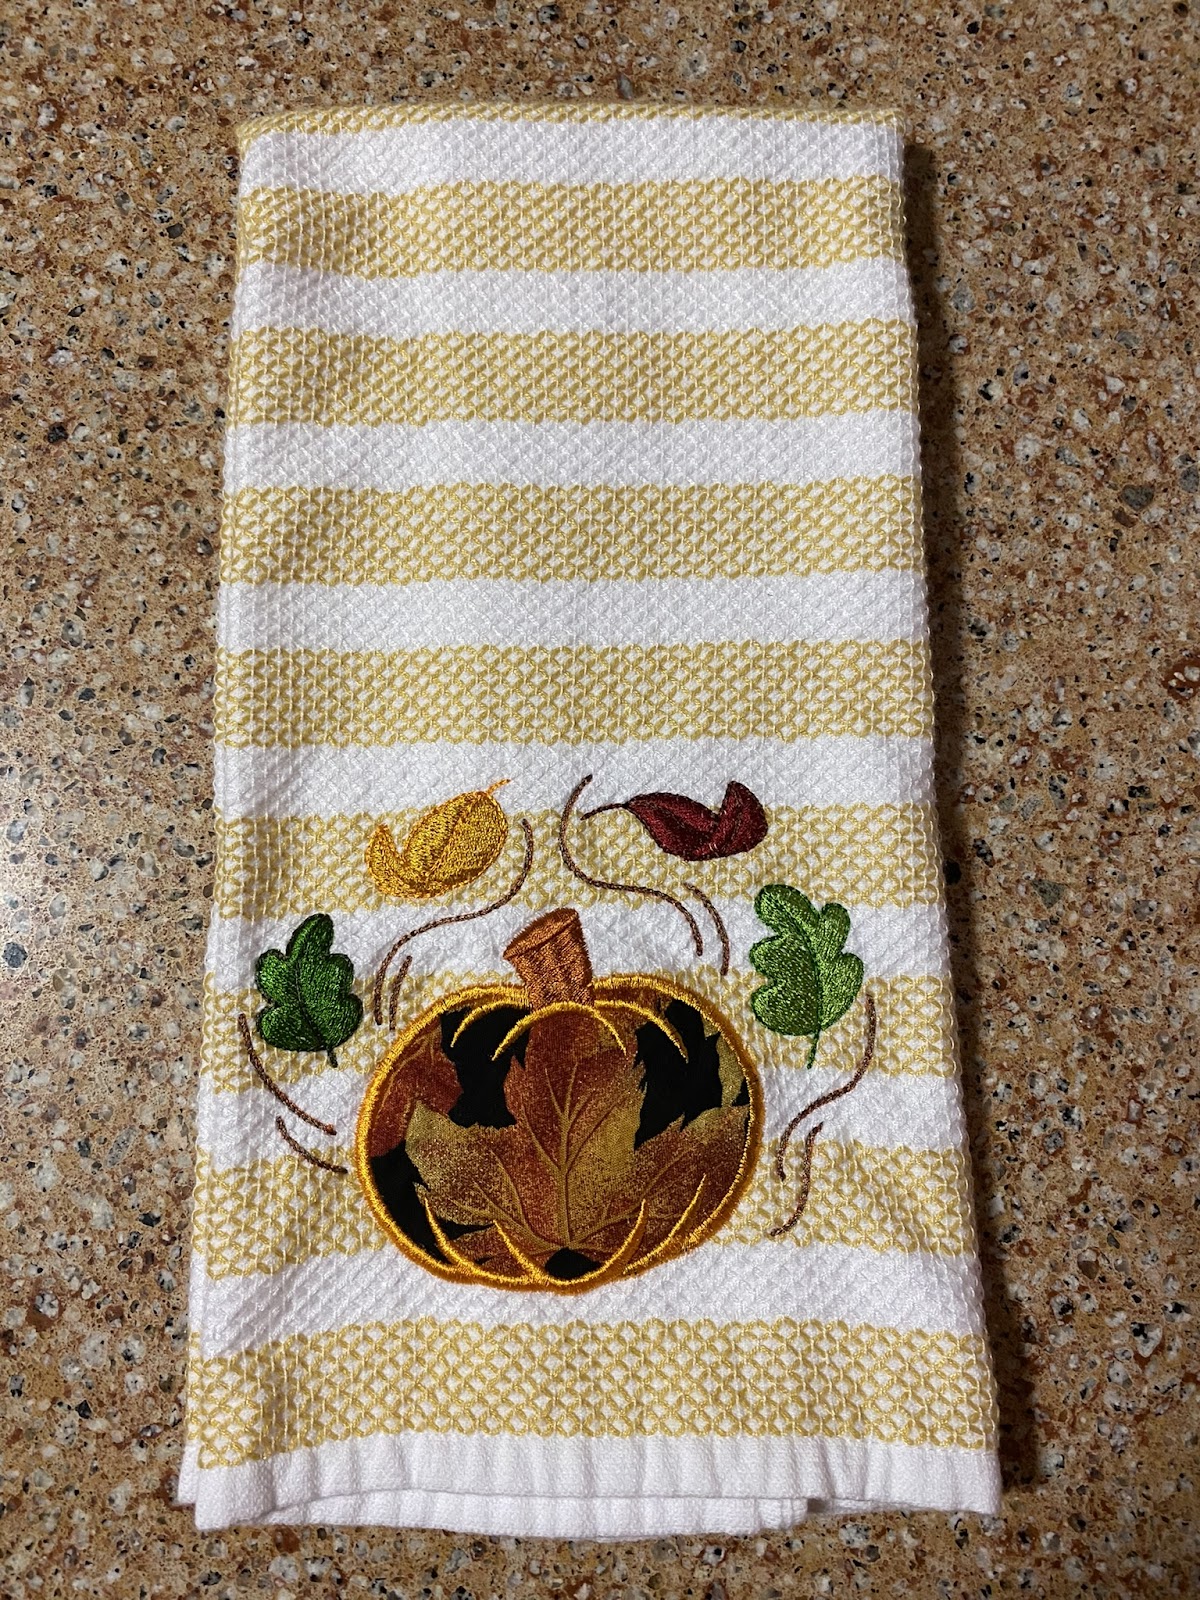
Tear-away stabilizers are used with woven fabrics (fabrics that won’t stretch). Tear-aways are great for items like tote bags and towels where you want a clean-looking back when the project is completed. In the photos below, I have tear-away stabilizer hooped ready to embroider a towel.

One of the advantages of stabilizer is that while it’s a strong embroidery foundation, it’s generally thin enough that you can place a grid underneath and mark placement lines on it to help position your fabrics.

Once your design is completely embroidered, you’ll gently tear away all the stabilizer. Don’t worry about little pieces; they will wash out over time.
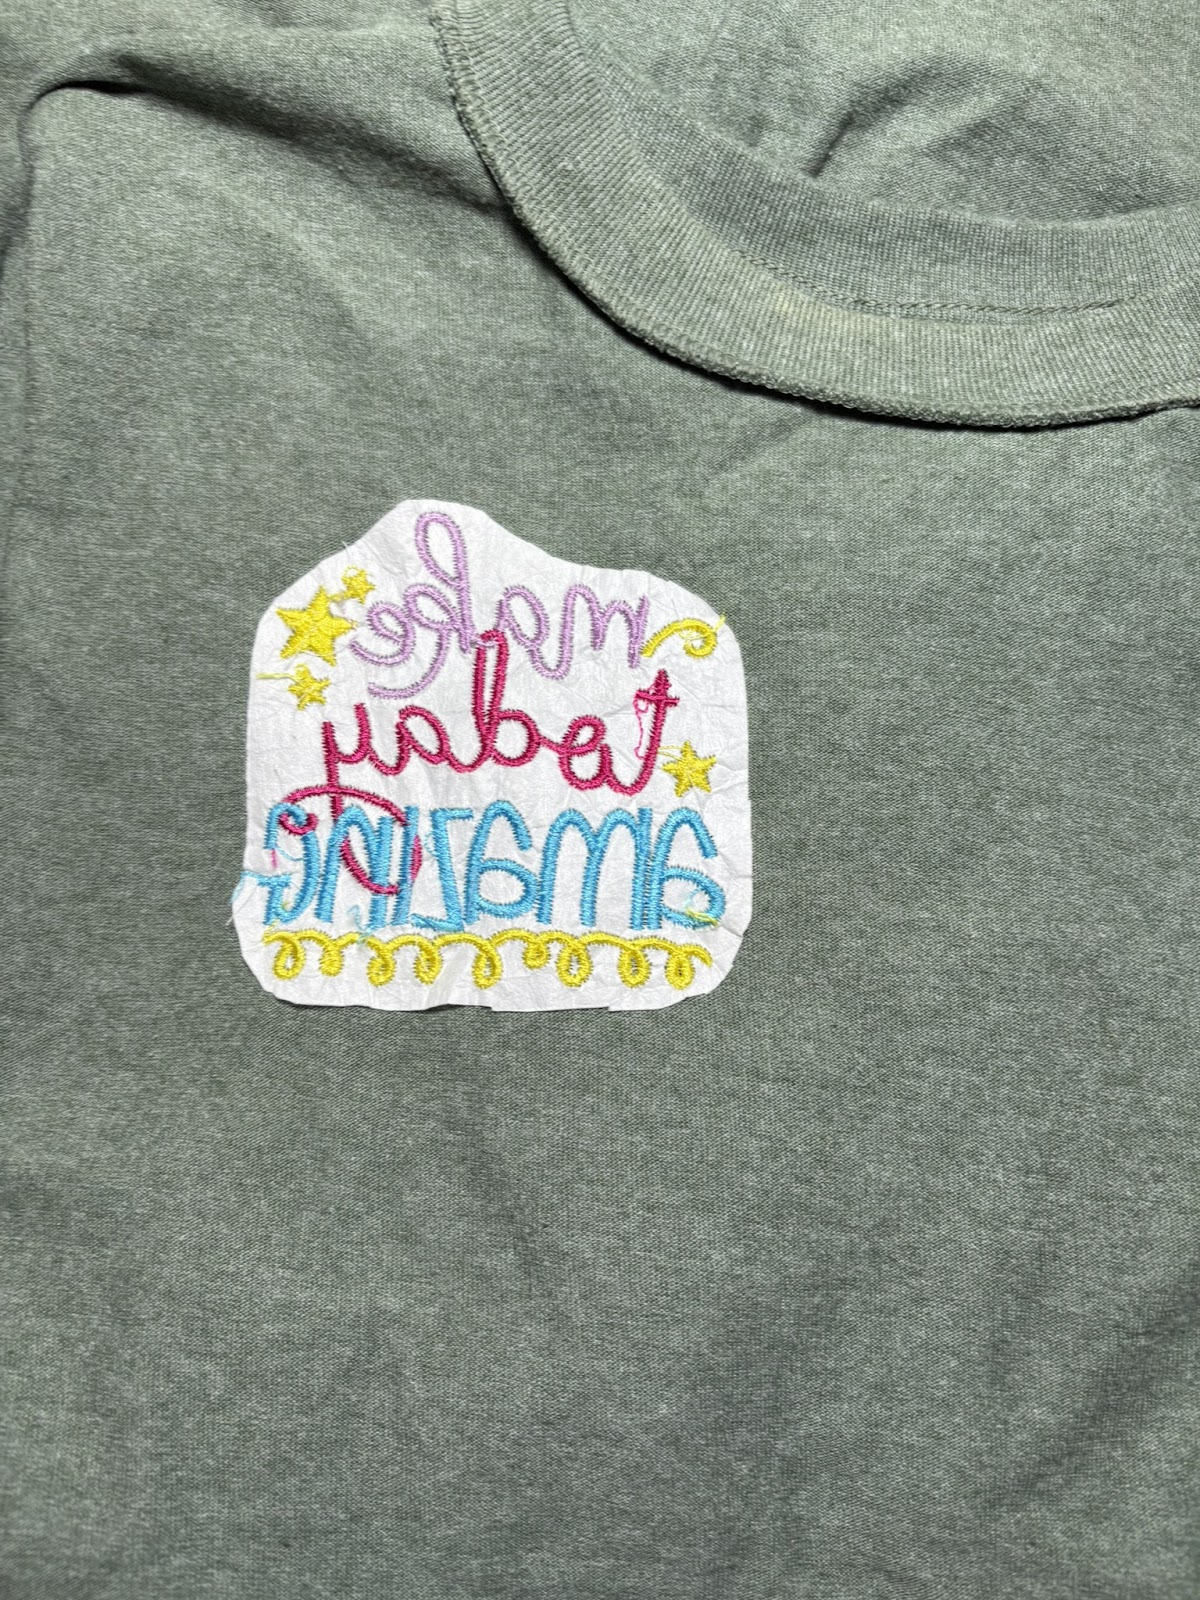
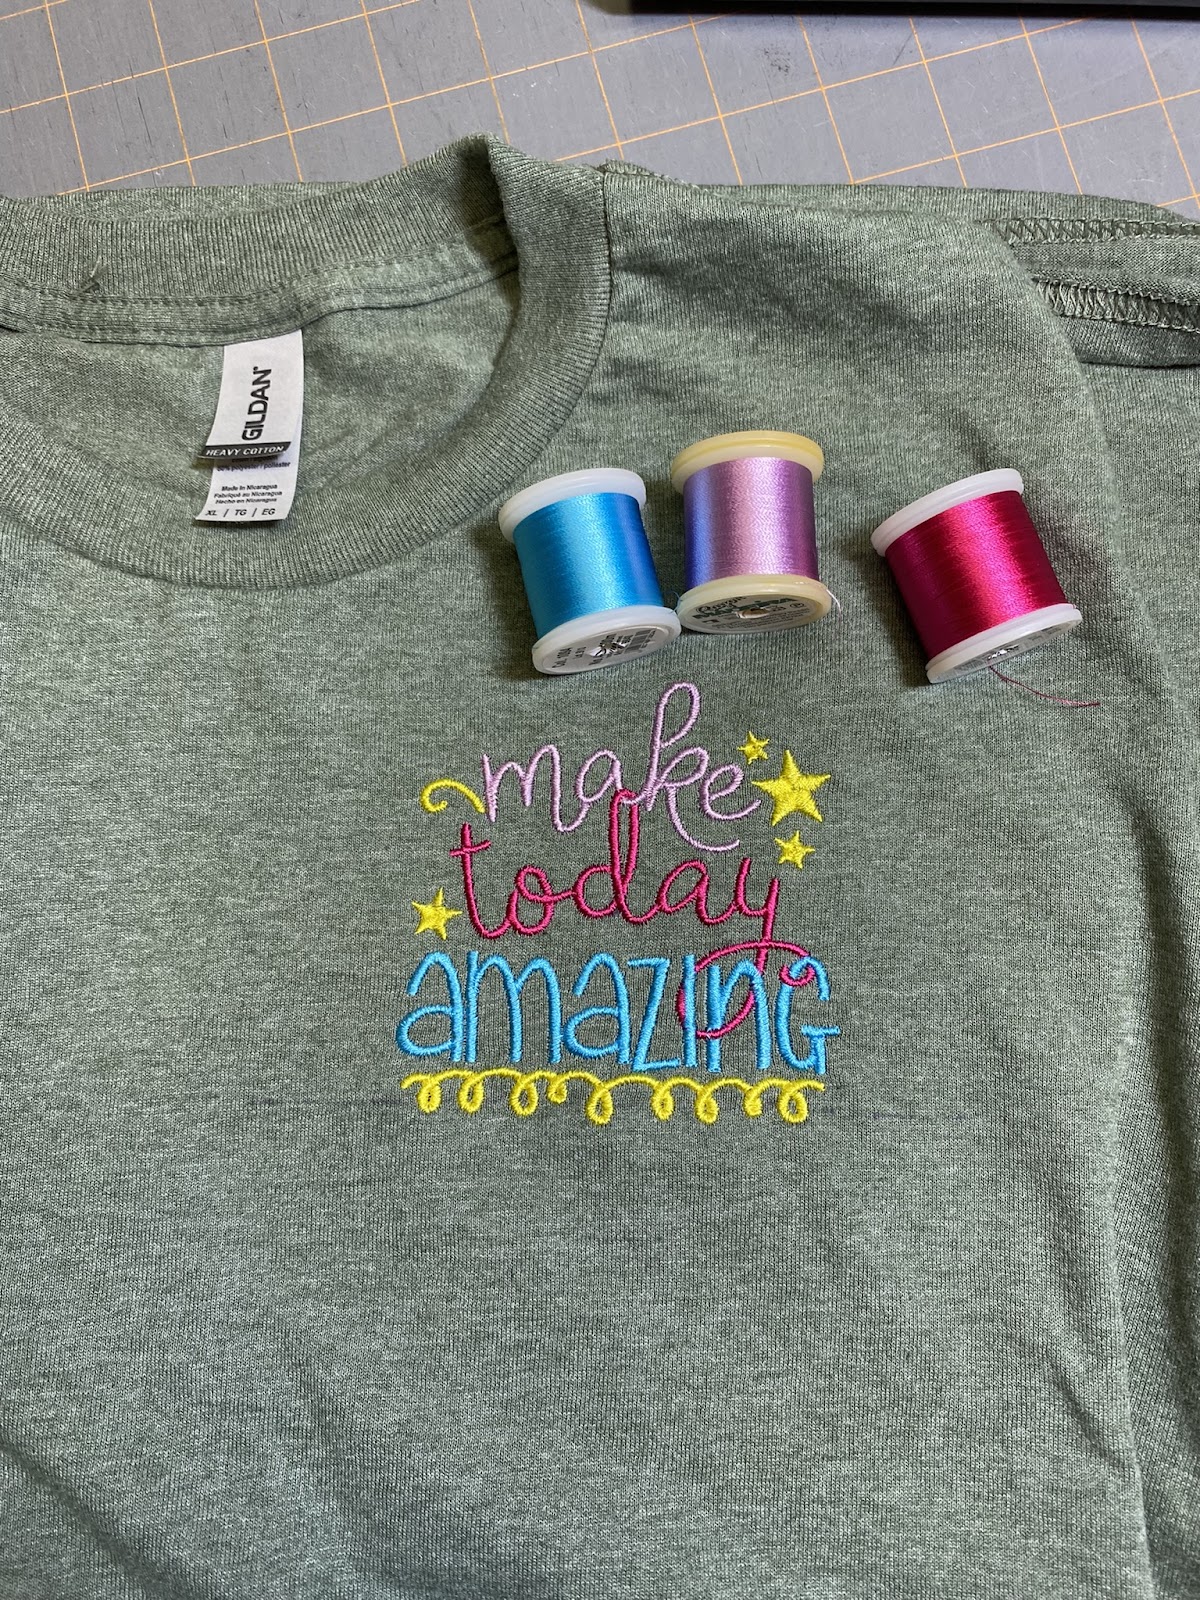
If you've read my bio note on my posts, you know that I’m a teacher. Using catchy phrases to help students remember things is one of my favorite teaching strategies. I even use them for myself. That’s why I love, “If you wear it, don’t tear it!” I didn’t come up with that phrase, but I sure do use it. What it means is that when you’re embroidering any type of clothing, you should use a cut-away stabilizer. This type of stabilizer remains in the clothing to give support to the embroidered design through numerous washings and wearings. Especially if the fabric is stretchy, as with shirts and sweatshirts, stabilizing the project is important if you want it to hold up over a long time.
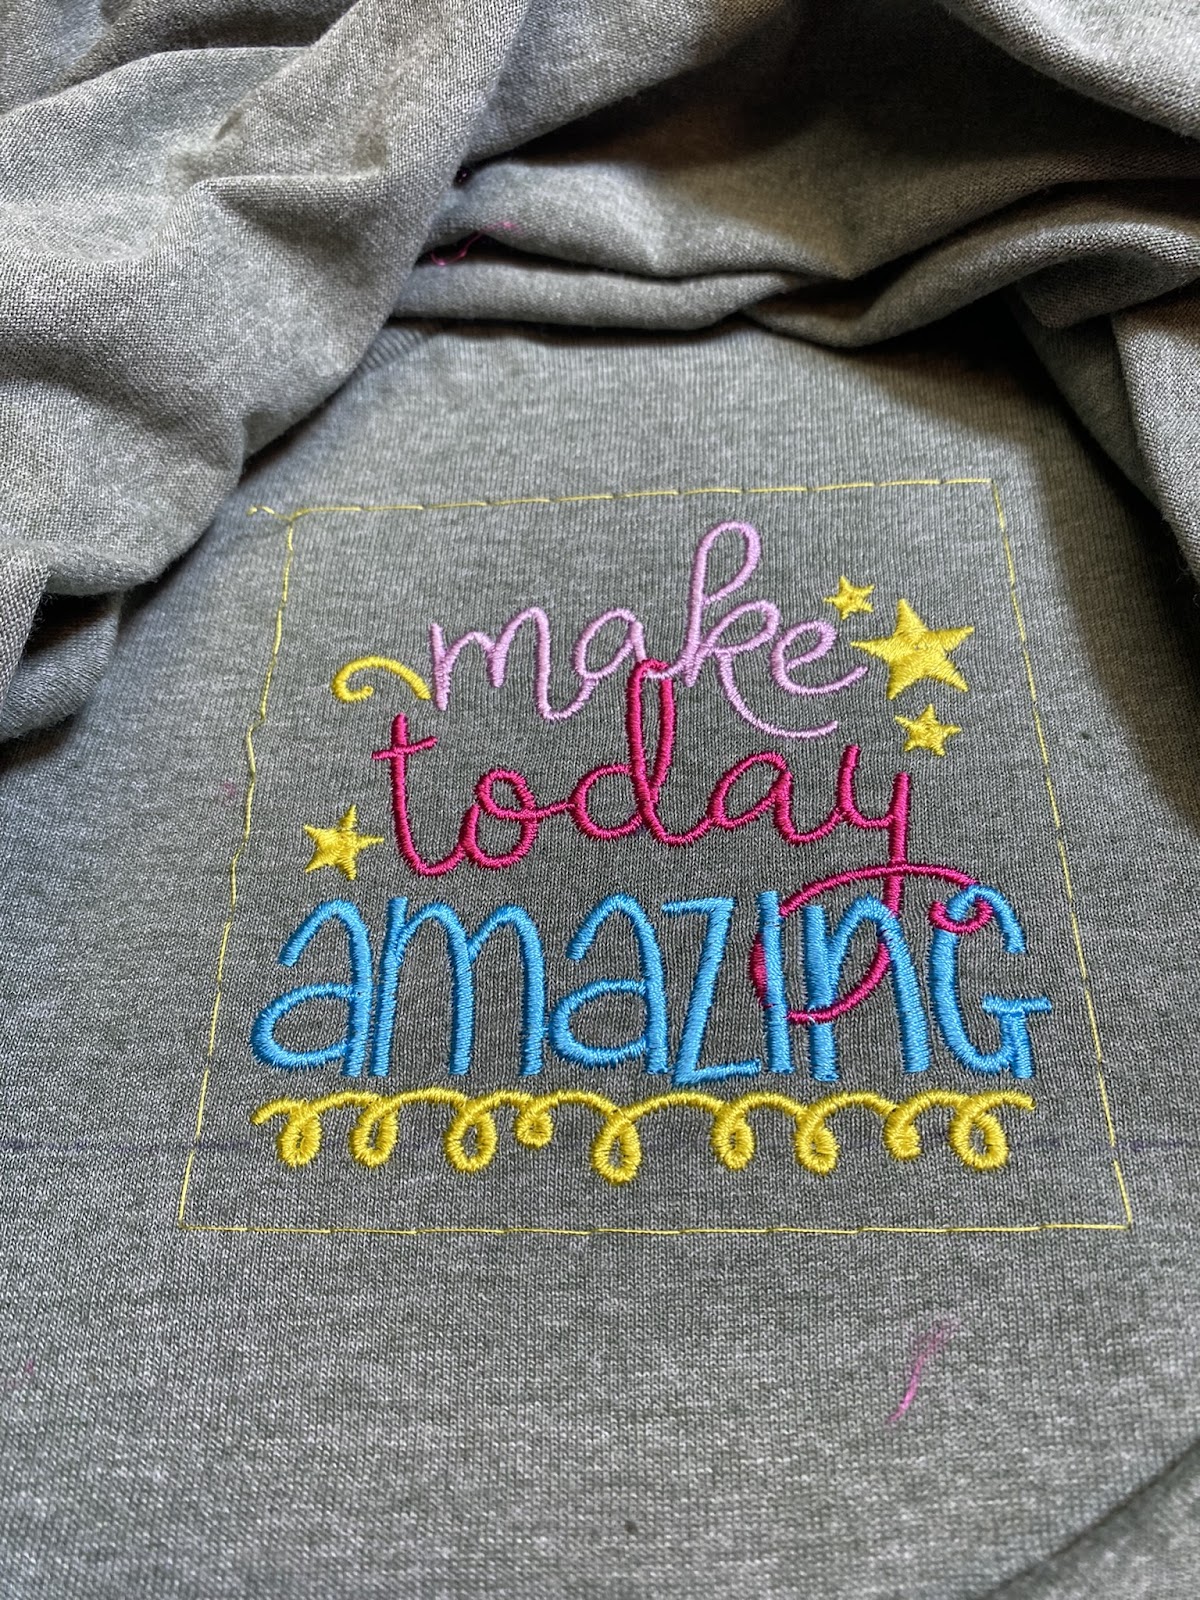
When your design is completely stitched out, carefully trim the stabilizer away, leaving about ¼” all around the design. It’s better to leave a little more if the design has a lot of curves going in and out so you don’t risk cutting into the design or the clothing item. The stabilizer softens up pretty quickly after just a couple of washings.
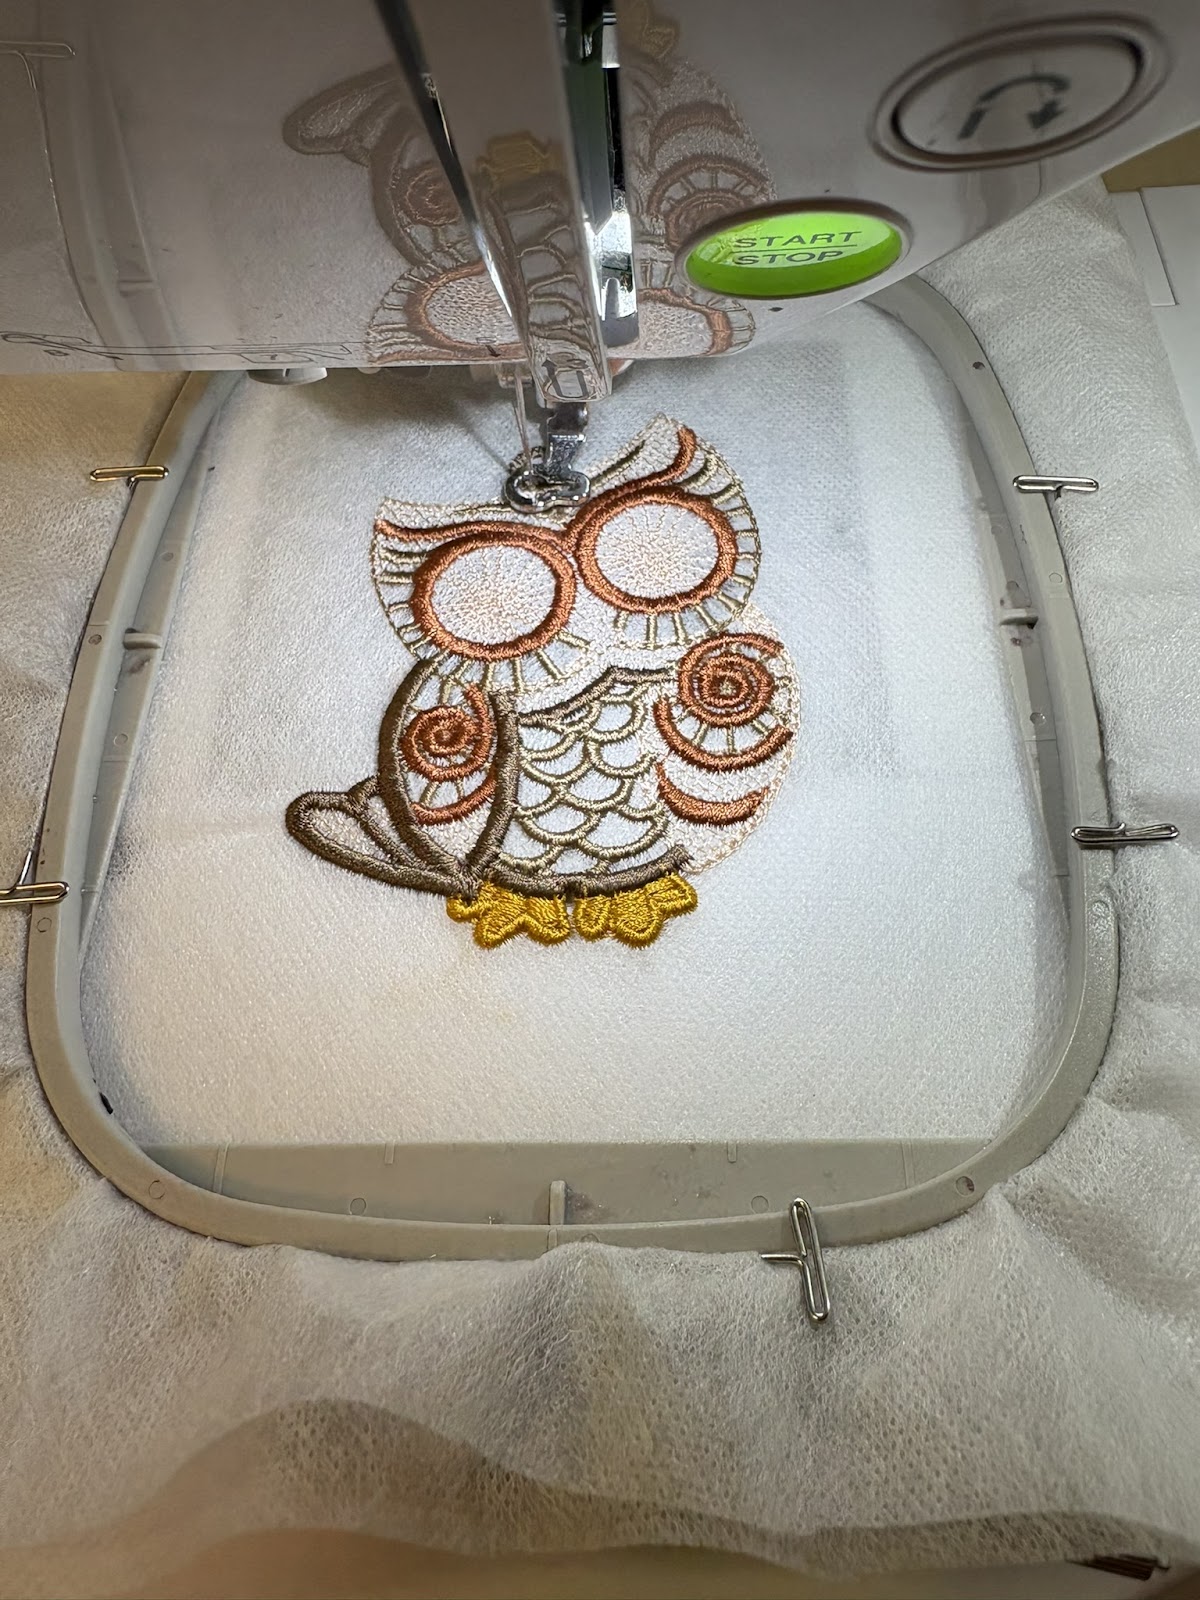
Wash-away stabilizers are used for sheer fabrics, some in-the hoop projects like this banner, and for free-standing lace designs. Wash-away stabilizers will quickly dissolve when treated with water. Follow the directions specific to the project you’re making and the brand of wash-away stabilizer you're using. For example, on the football banner I made, I just used a damp cloth along the edges of each banner piece.

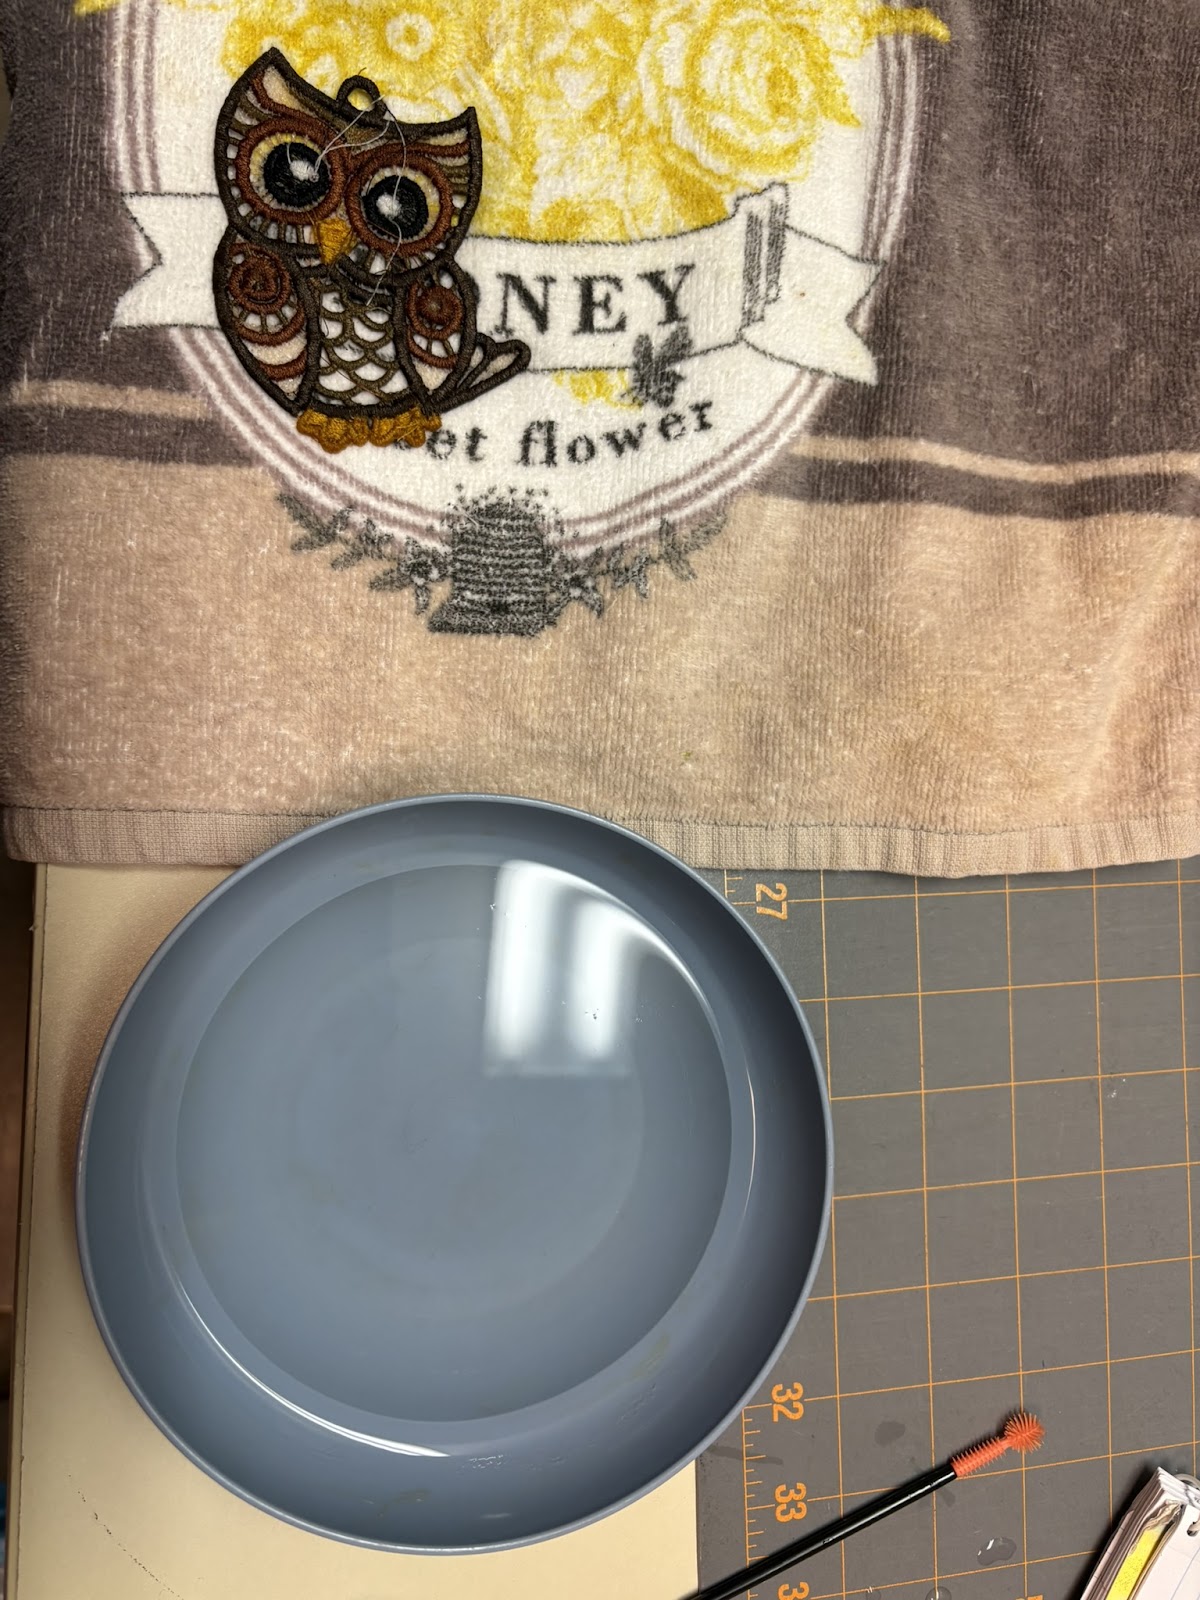
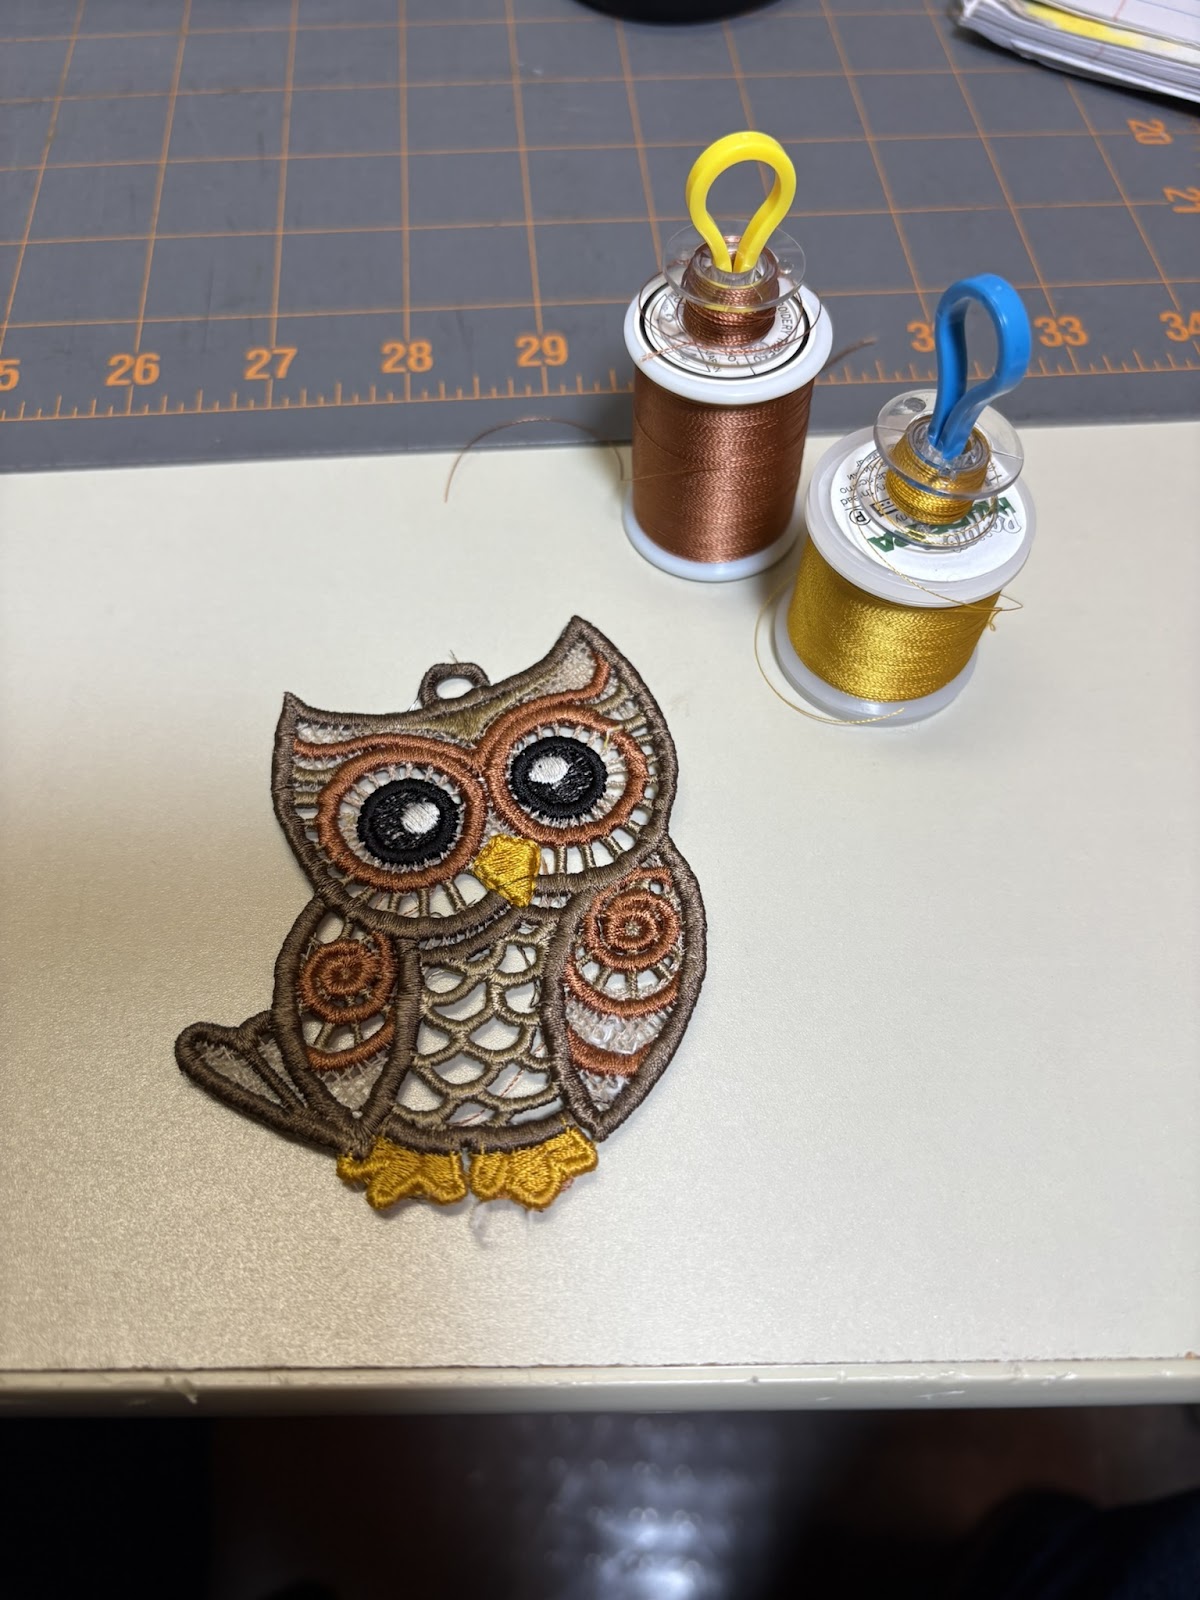
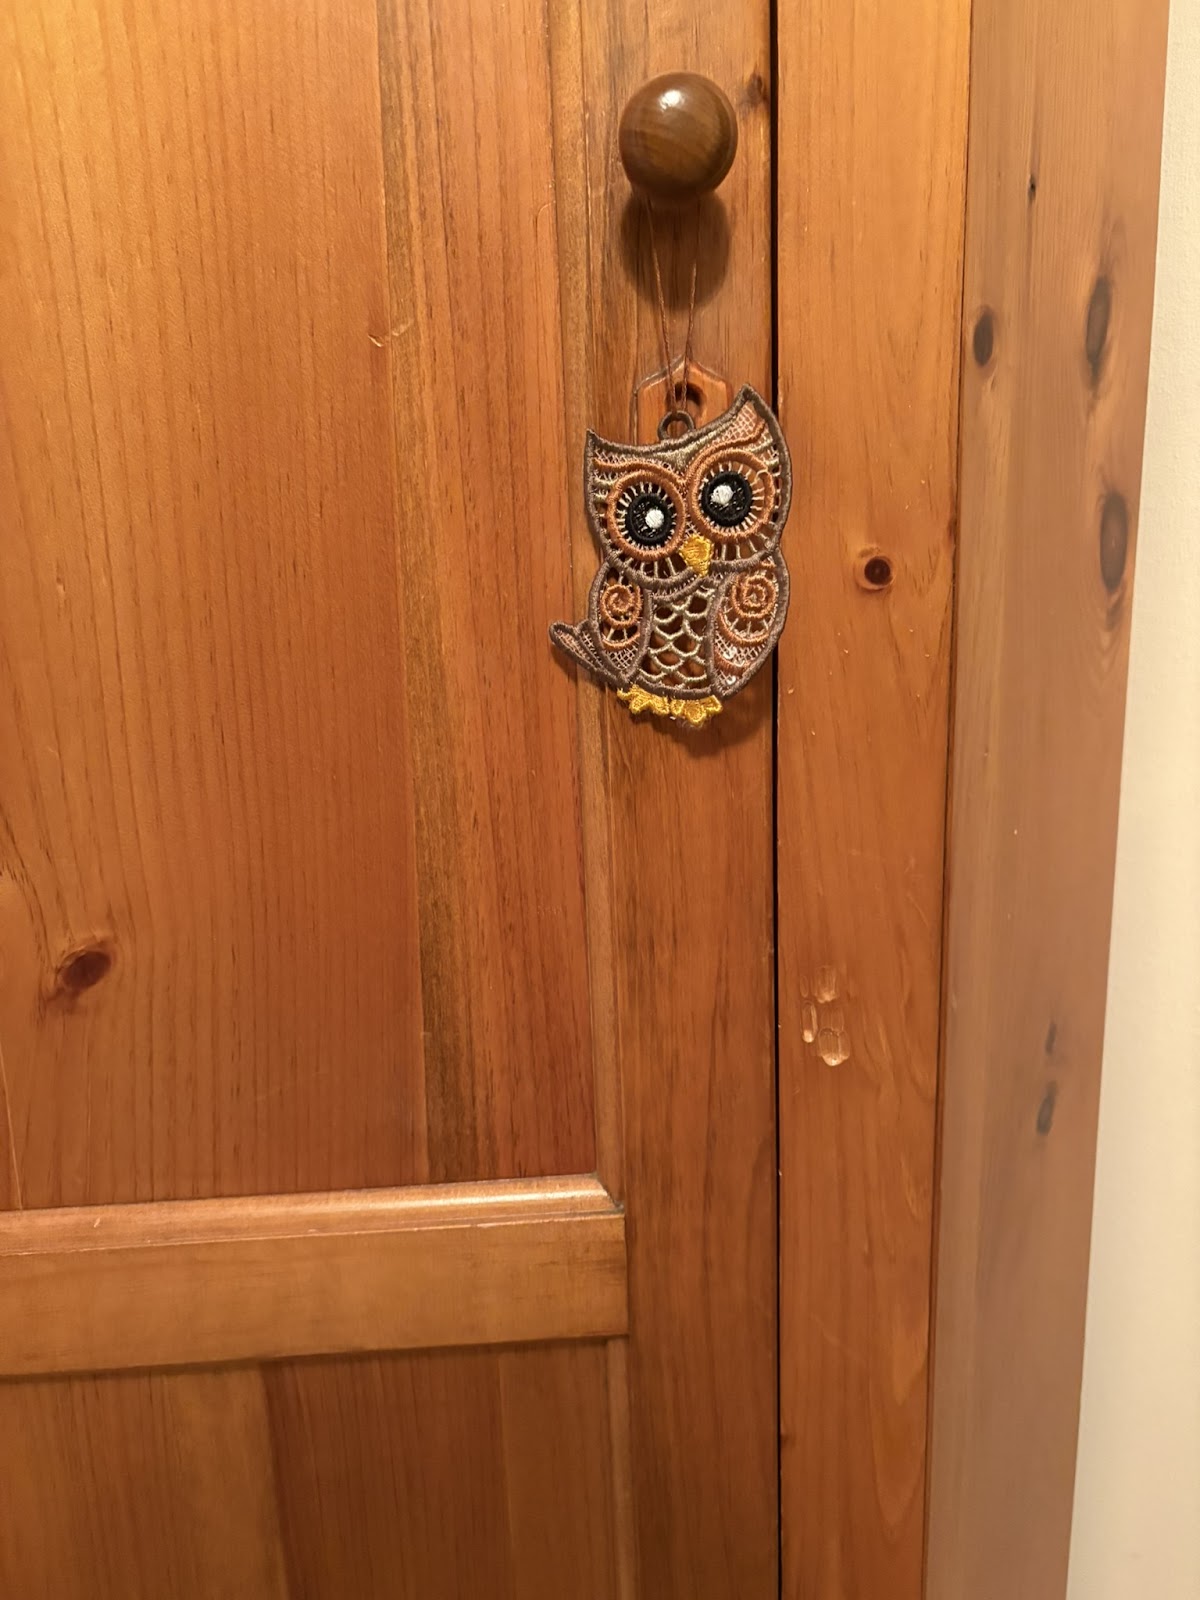
In the photos below you see the free-standing lace owl I made. Once she was completely embroidered, I trimmed away some of the excess wash-away and then dipped the owl into a bowl of warm water. Free-standing lace ornaments are one of the easiest designs to make because you don’t need to center or make sure your design is straight. Becky from Power Tools with Thread has a wonderful free-standing lace video tutorial—watch it!

Soon after I started buying stabilizers and embroidering things, I realized that I needed to be better organized—probably around the time I had to go into my local quilt shop one day with random lengths and pieces of stabilizer and ask for help re-identifying them. That’s why I pointed out the labeled bag in one of the photos. Now, if the stabilizer isn’t on bolts, I usually try to keep it in labeled gallon bags so at a glance I know what stabilizer is what. Here are a couple of photos showing how I stay organized.

If you’d like some further reading about stabilizers, check out this Embroidery Stabilizer Guide blog post.
Please share your projects in the Designs by JuJu Embroidery Blessings Facebook Group or anywhere on social media using the hashtag #designsbyjuju. We love to see what you create!