Toggle Nav
 Inspire.
Create.
Stitch.
Inspire.
Create.
Stitch.
Search
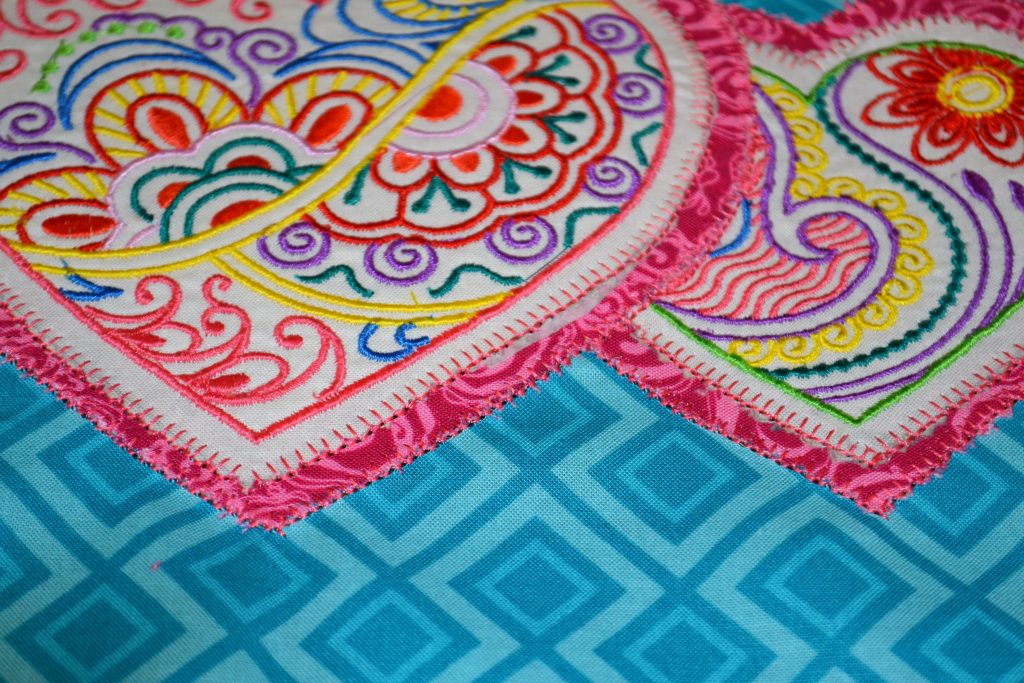
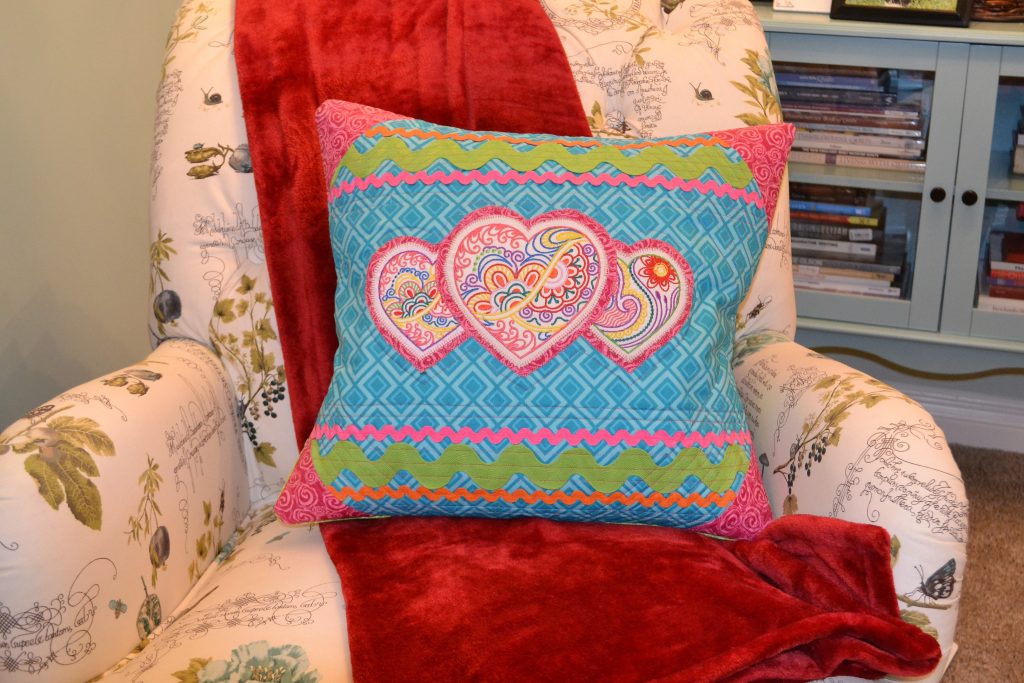
 Welcome everyone. Ever since Julie released her super sweet Mehndi Heart Design collection, I’ve been longing to use them for a project. Now, finally, I have! Here is a quick and easy pillow project you can easily make over a weekend. There are ten different Mehndi Heart designs available; your challenge is to choose just three. Begin by gathering together a few fabrics, some colourful rickrack and your favourite embroidery threads and let’s get started.
Hope you LOVE your new TRIPLE MEHNDI HEART pillow.
Please be sure and read through all the instructions prior to commencing.
Finished Size: 17"x19" – pillow cover
Welcome everyone. Ever since Julie released her super sweet Mehndi Heart Design collection, I’ve been longing to use them for a project. Now, finally, I have! Here is a quick and easy pillow project you can easily make over a weekend. There are ten different Mehndi Heart designs available; your challenge is to choose just three. Begin by gathering together a few fabrics, some colourful rickrack and your favourite embroidery threads and let’s get started.
Hope you LOVE your new TRIPLE MEHNDI HEART pillow.
Please be sure and read through all the instructions prior to commencing.
Finished Size: 17"x19" – pillow cover
Shopping List: Designs by JuJu Mehndi Hearts designs DBJJ799 – choose three, one large and two small Fabrics (Shown on pillow cover – Lila Tueller’s Fantine Collection, Riley Blake) White for embroidery 8"x10", two pieces 8"x8" Blue for pillow top front and backing Two Fat Quarters Pink for backing to Mehndi hearts and for Pillow corners Fat Quarter cut 7"x7½" and two pieces 6"x6½" and four pieces 6"x8" Green for pillow back Two pieces 12"x21" and two pieces 13"x21" Quilt batt 19" x 21", 12"x21" and 13"x21" Lightweight fusible web Three sheets 8"x11" Tearaway stabilizer 1 yard 20" wide Pillow form 18"x18" Small Pink rickrack 44" Small Orange rickrack 44" Large Green rickrack 44" Embroidery thread, embroidery needles, scissors, pinking shears Regular and white pencil, omnigrid ruler, rotary cutter Temporary Spray Fabric Adhesive *I use Brother Embroidery thread for all my projects
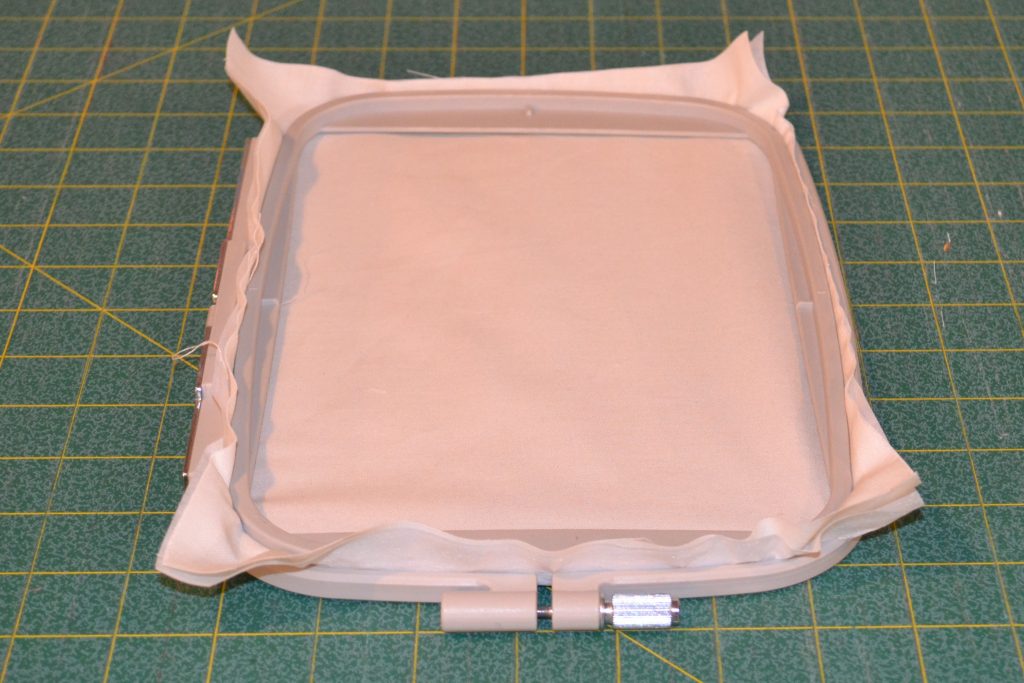 3. Stitch out the first heart design, being mindful to clip jump threads as you go. Repeat for two small heart designs - medium hoop 8" x 8" white fabric and corresponding stabilizer.
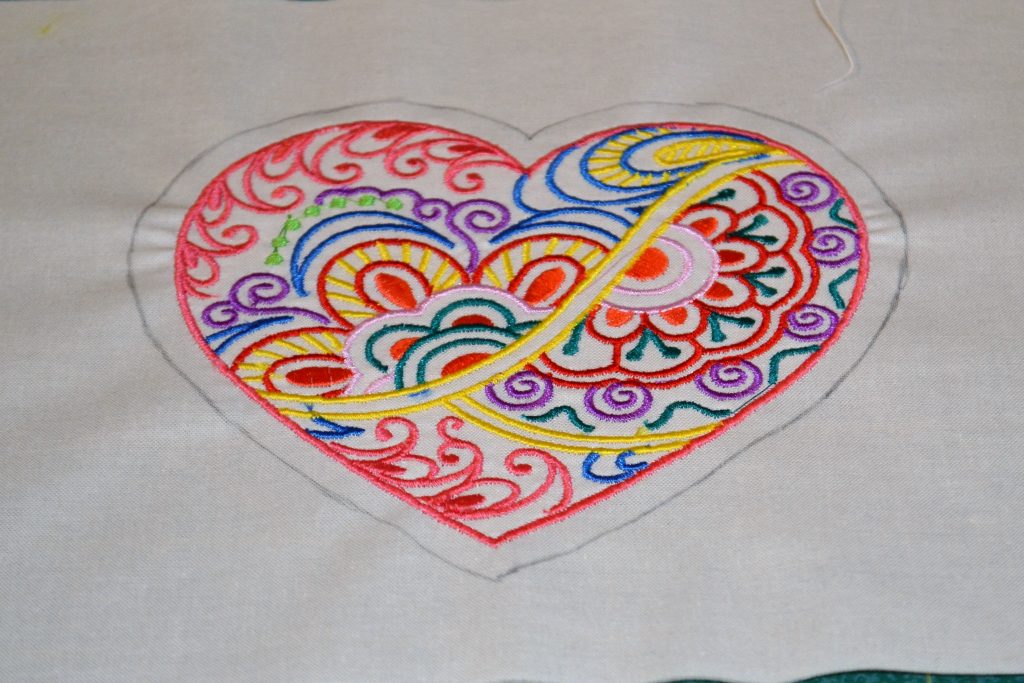 6. Using fusible web manufacturer’s instructions center and fuse the large heart to the 7"x7½" piece of pink fabric. Repeat using the 6"x6½" pieces of pink fabric for the two small hearts.
7. Using the white pencil, draw a line around the perimeter of the embroidered heart, ½" from the edge of the finished design.
6. Using fusible web manufacturer’s instructions center and fuse the large heart to the 7"x7½" piece of pink fabric. Repeat using the 6"x6½" pieces of pink fabric for the two small hearts.
7. Using the white pencil, draw a line around the perimeter of the embroidered heart, ½" from the edge of the finished design.
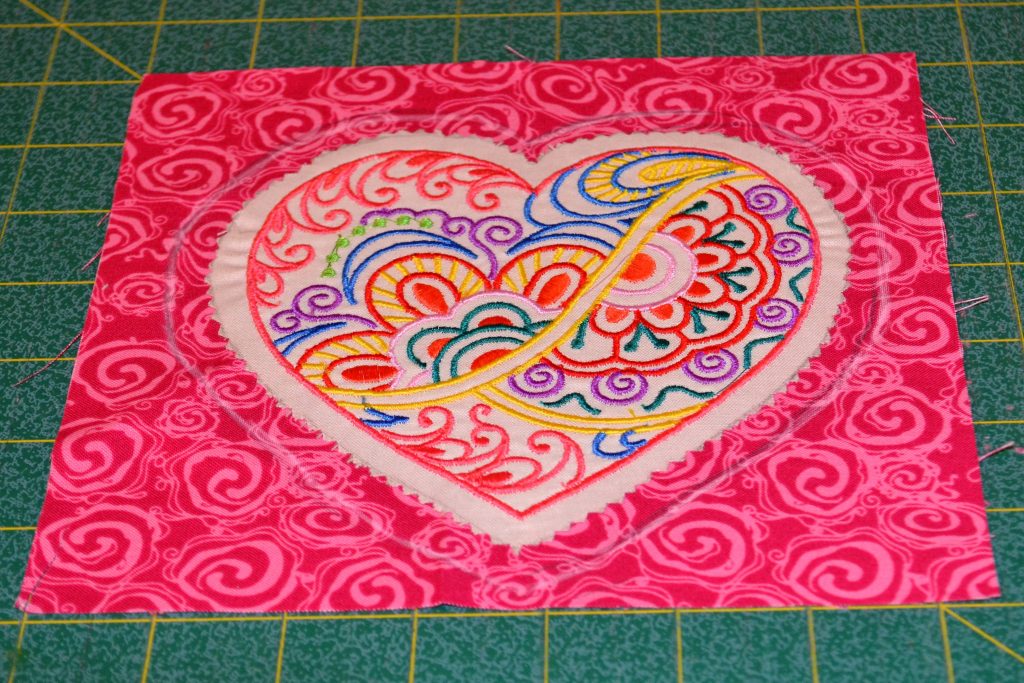 8. Using pinking shears, cut around the pencil line. Repeat for two small heart designs.
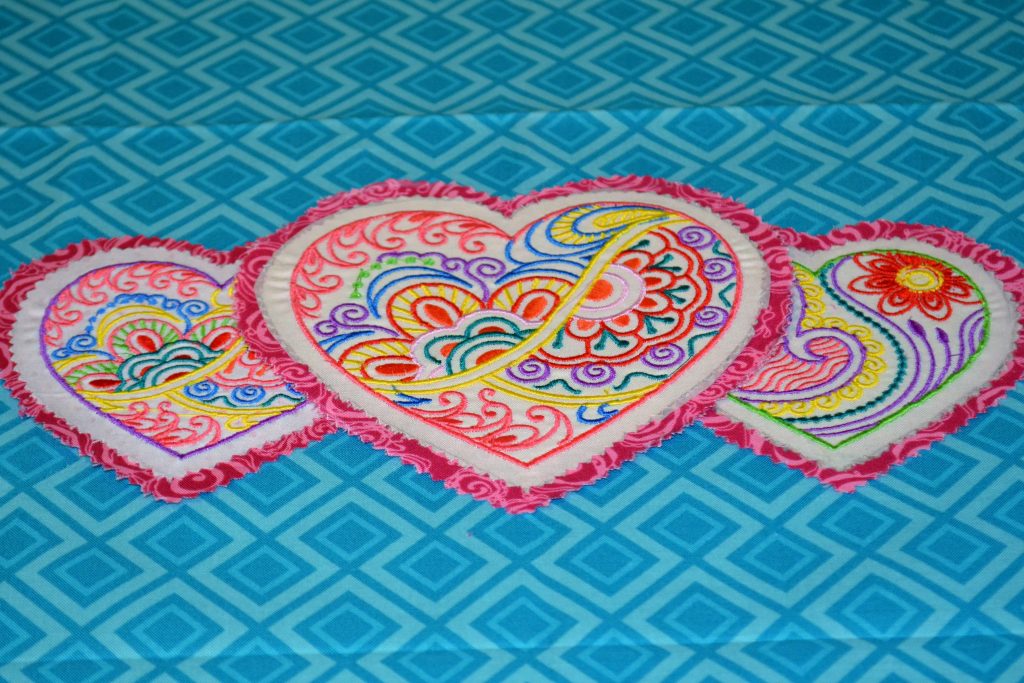
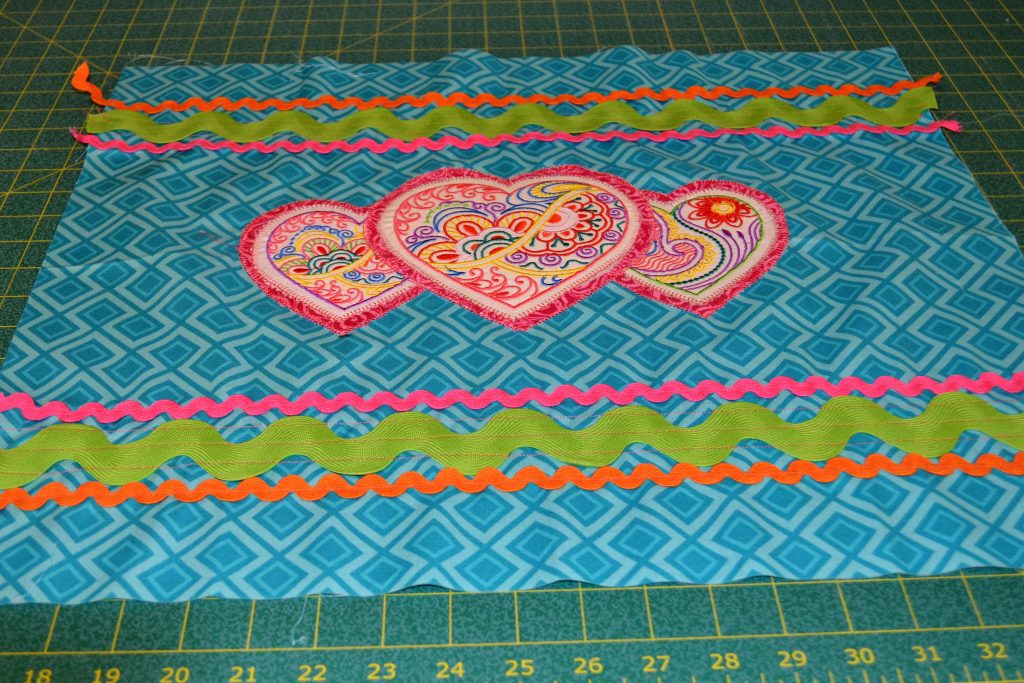
9. Fold one blue fat quarter in half lengthwise and press and widthwise and press again to find the natural center. Center all three hearts as shown in the photo, being mindful to line up bottom point on each heart and fuse in place. (Fuse the small hearts first, then the large one).
8. Using pinking shears, cut around the pencil line. Repeat for two small heart designs.
9. Fold one blue fat quarter in half lengthwise and press and widthwise and press again to find the natural center. Center all three hearts as shown in the photo, being mindful to line up bottom point on each heart and fuse in place. (Fuse the small hearts first, then the large one).
 10. Machine applique stitch around the embroidered heart and the pink fabric heart.
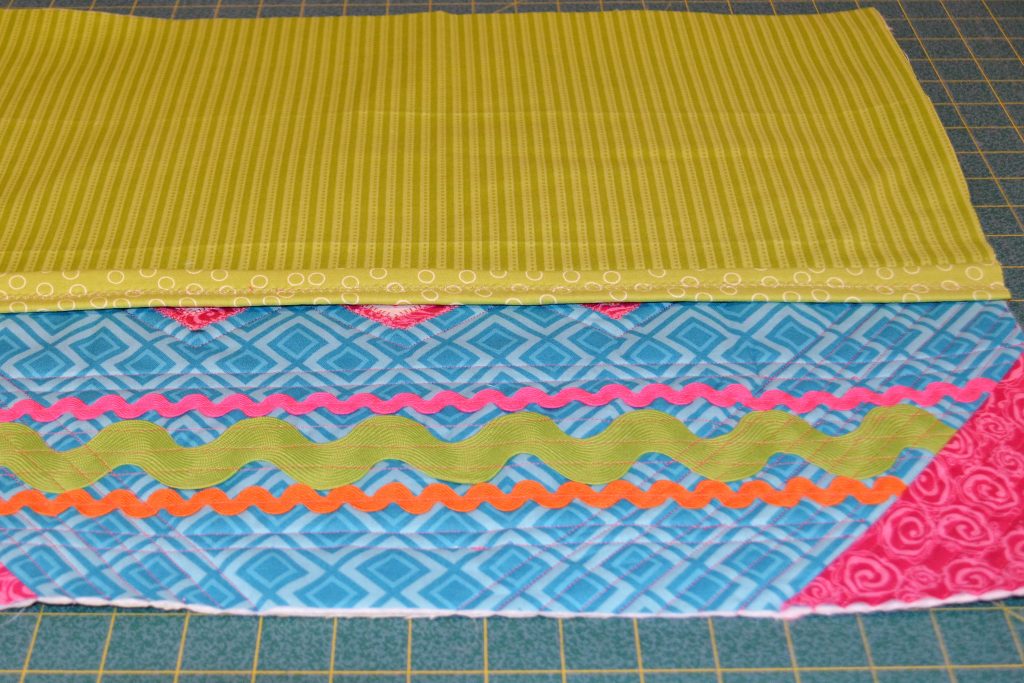
 11. Measure 1¾" from bottom of heart tips and with the white pencil, draw a straight line widthwise across the pillow top. Center 20" strip of pink rickrack on pencil line, pin and stitch. Pin and stitch 20" strip of green rickrack in place directly under the pink rickrack. Pin and stitch 20" strip of orange rickrack in place directly until the green rickrack. Repeat these steps for top of pillow. Trim to even.
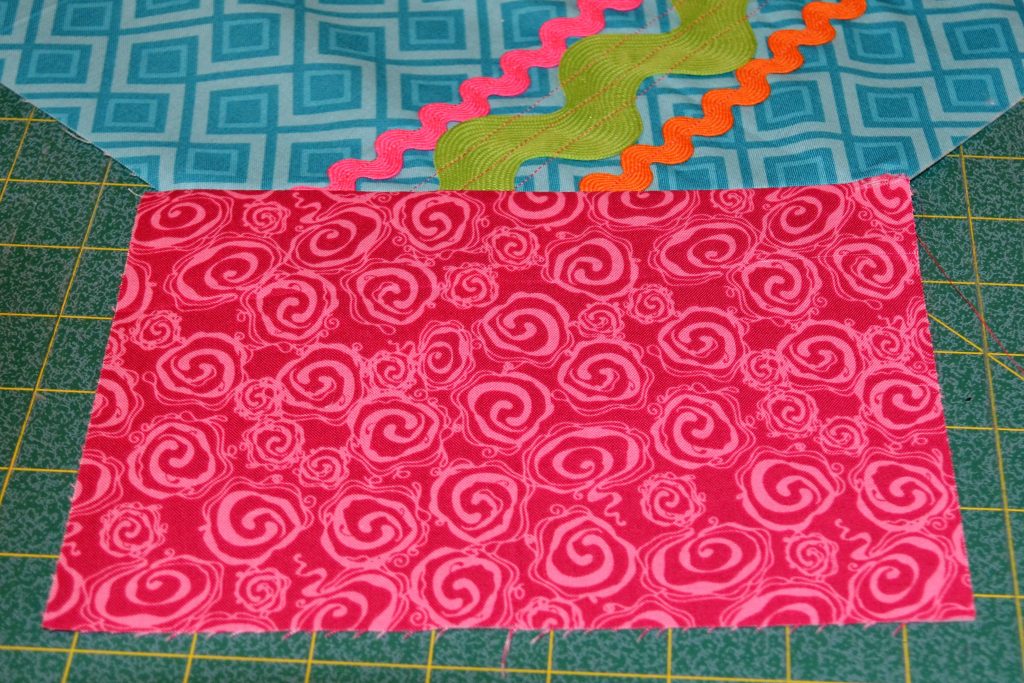
 12. For pillow corners, see diagram #1.
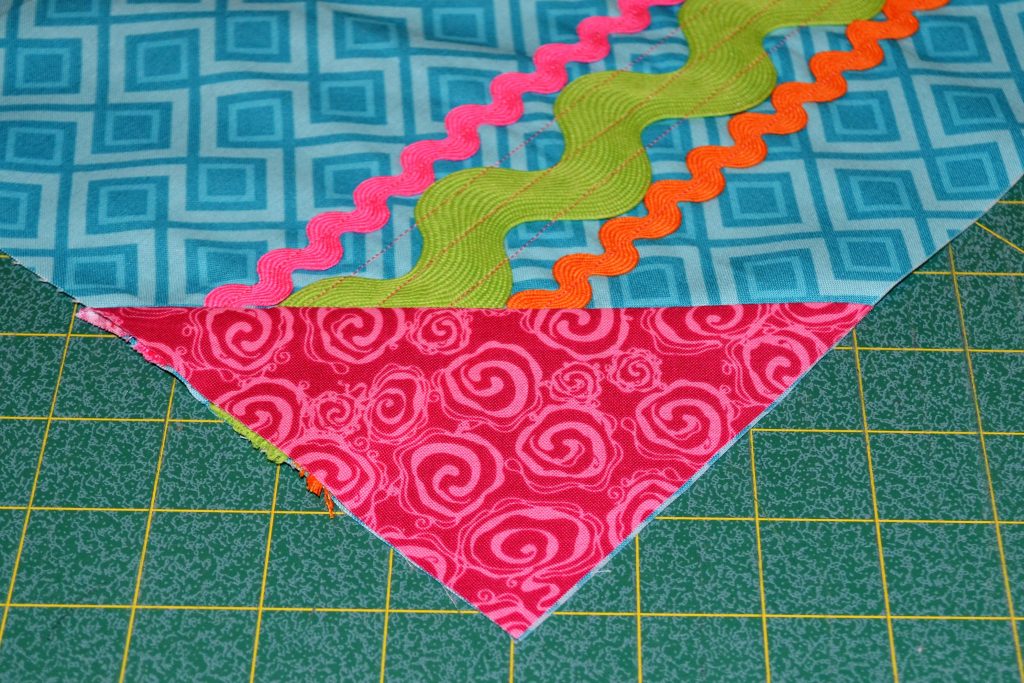
13. After stitching, fold over pink fabric and press. Trim pink fabric to mimic corner of the pillow. Repeat for three other corners of the pillow top.
12. For pillow corners, see diagram #1.
13. After stitching, fold over pink fabric and press. Trim pink fabric to mimic corner of the pillow. Repeat for three other corners of the pillow top.


 Thank you so much for joining me here. If you have any comments or questions, please email me directly at km.hanson@shaw.ca.
Thanks!
Kim
Thank you so much for joining me here. If you have any comments or questions, please email me directly at km.hanson@shaw.ca.
Thanks!
Kim