Learn Machine Embroidery - Embroidery 101
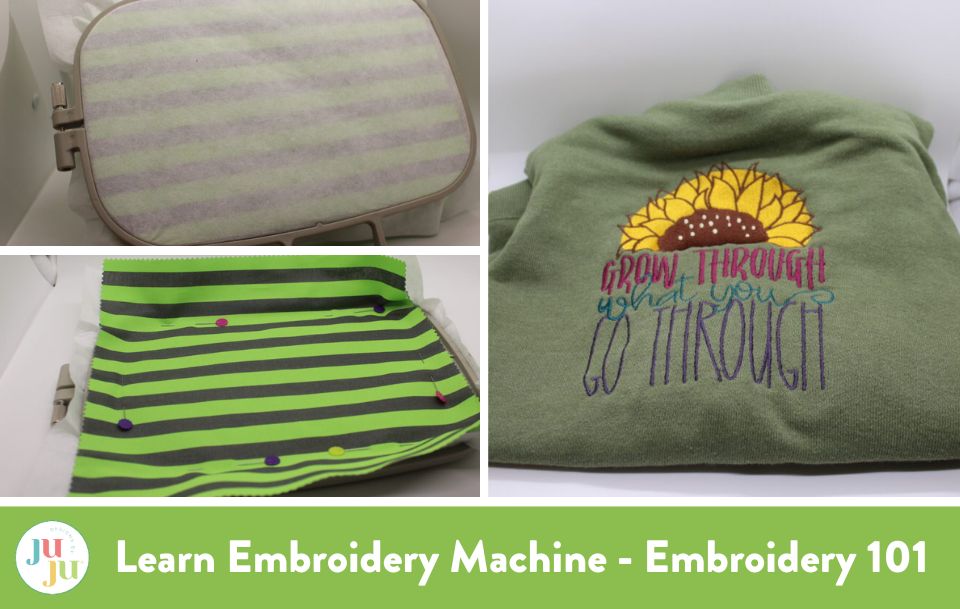
It can be overwhelming when you first dive into machine embroidery—navigating the how and why of stabilizers, tools, hooping, and designs doesn’t have to be daunting. In today’s blog post, I will break down machine embroidery basics and share some of my favorite and helpful trade tricks.
Stabilizers:
First, let’s take a look at stabilizers. Every successful embroidery project starts with the correct stabilizer. Think of the stabilizer as the foundation for your project. Your project can pucker, bunch, or cause other stitching issues without the proper stabilizer. Choosing the correct stabilizer can be a bit of a personal preference, and most stabilizers can be used for various materials and projects. Below, I have outlined my most commonly used stabilizers and the projects/materials I prefer to stitch with each.
| Stabilizer Type: | Recommended Project/Material Use: |
| Cut Away (light, medium, heavyweight, and mesh) | Stretch clothing/fabric, bags/totes, mug rugs, cards, large stitch count designs |
| Tear Away (light, medium, heavyweight, and sticky back) | Keychains, faux leather (vinyl) projects, woven fabrics |
| Wash Away Mesh | Freestanding lace designs (FSL), hand towels, sheer fabrics |
| Wash Away Water Soluble Topper or Heat Away Topper | Used as a topper for nap or raised fabrics such as towels, sherpa, fleece, etc. |
As a seasoned embroiderer, I have a large selection and variety of stabilizers in my stash. If you are just beginning to explore this hobby (that will soon become an addiction), I recommend starting with a Medium Weight Cut Away, a Medium Weight Tear Away, a Medium Weight Wash Away Mesh, and a Wash Away Water Soluble Topper.
Hoop Basics:
Once you decide on the stabilizer that best fits your project needs, it is time to get out your hoops and begin prepping your materials. Again, there are various styles and types of hoops available for purchase, but the hoops that come with your machine will work just fine as you explore your embroidery machine's capabilities.
The two most common methods for hooping your materials are directly into the hoop or floating your material onto your stabilizer. Hooping selection, like stabilizer selection, can vary from project to project. You will find what works best for you based on the materials you are working with and the project you are trying to make.
The most common hooping method is to hoop the project or material directly on top of the stabilizer in the hoop.
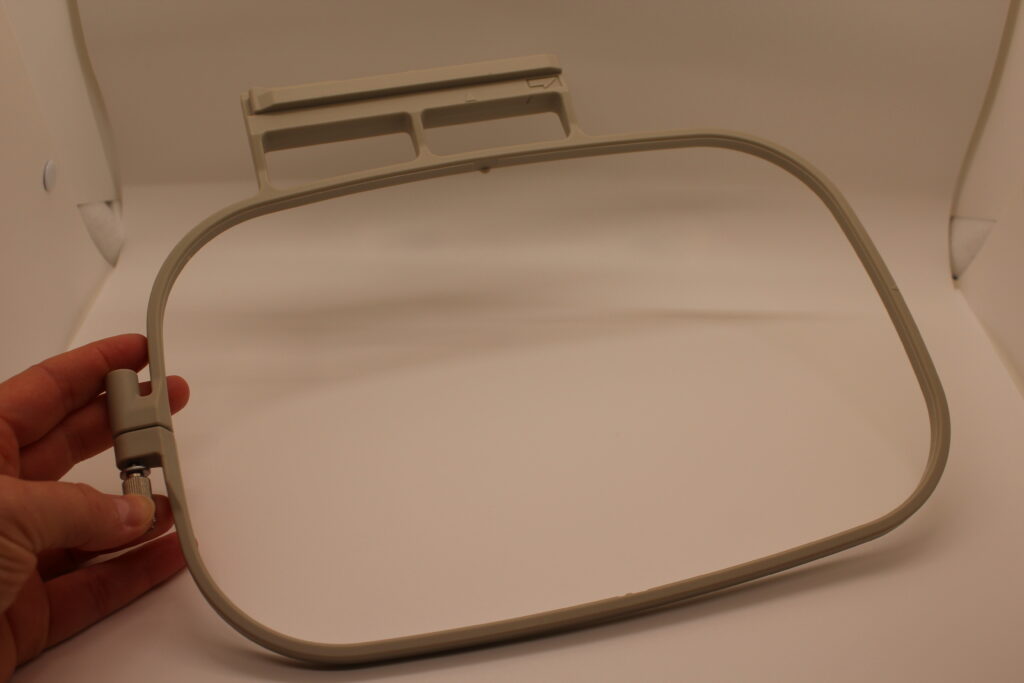
First, loosen the screw located on your embroidery hoop. You want to loosen it enough that you can successfully hoop your stabilizer and material but not too loose that the screw comes completely off.
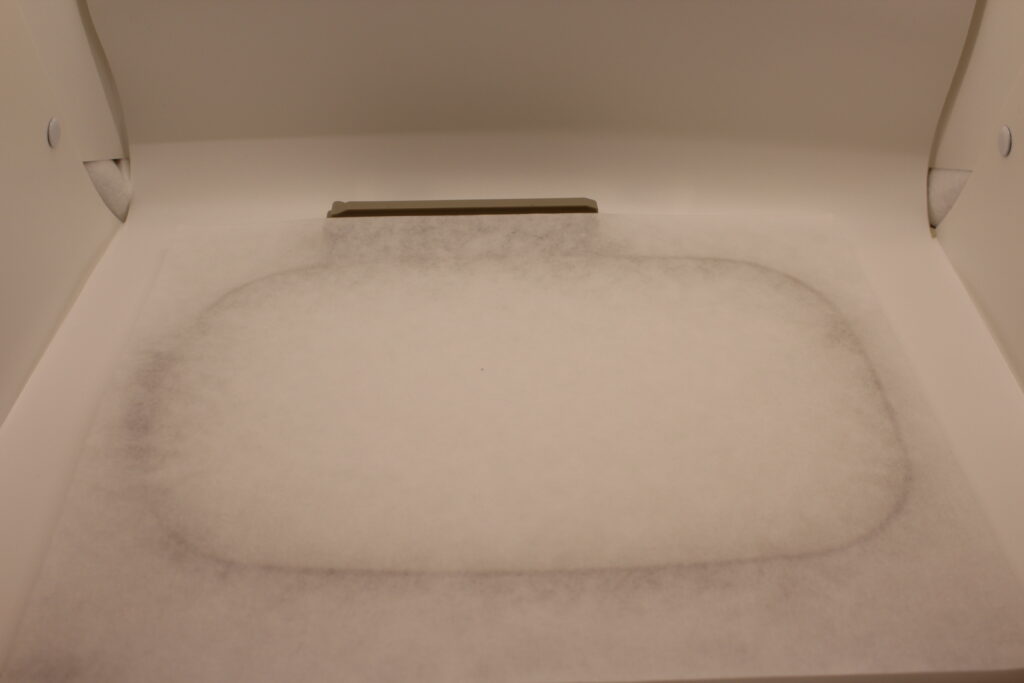
Next, lay your choice of stabilizer flat in your hoop. Make sure you have cut a piece of stabilizer that is big enough to hang over the edges of your hoop. A large enough portion of the stabilizer will allow you some wiggle room to pull the edges nice and tight. You do not want your stabilizer loose or creased in the hoop, or it can cause puckering and other project complications.
It is time to lay your material/project on top of the stabilizer. If you have chosen a fusible stabilizer, you may iron it to the back of your material/project to keep it nice and tight. You can also purchase a spray-on adhesive that is machine embroidery-safe to adhere your fabric to the stabilizer. You may lay your fabric on top without adhesion as you become more confident.
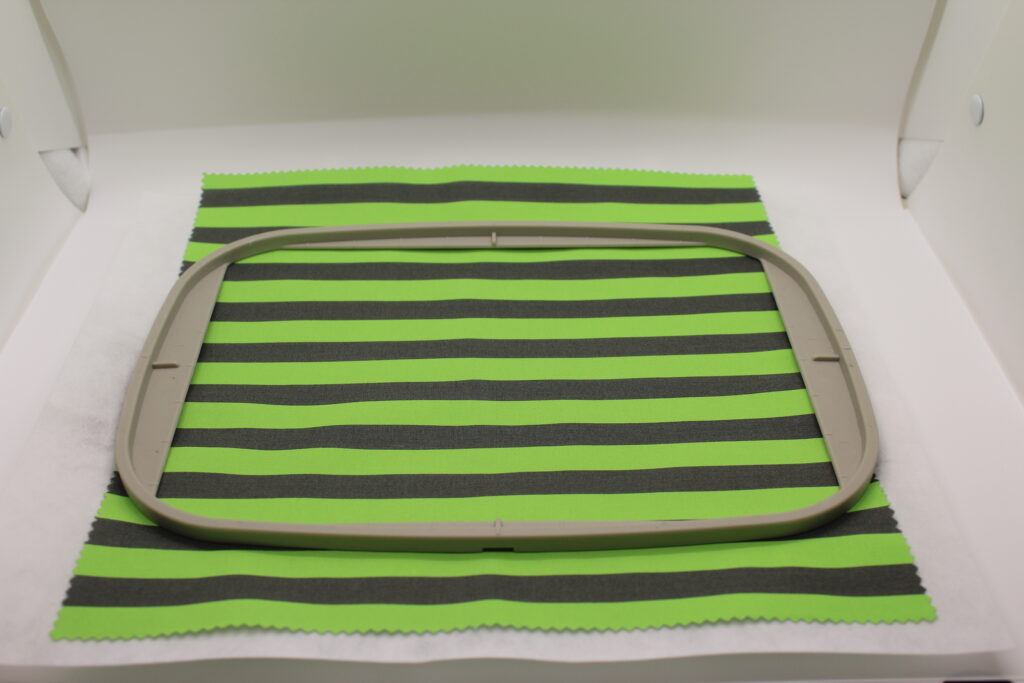
Finally, it is time to secure your stabilizer and material using the top part of your hoop. Place the top hoop piece directly onto your project and the bottom hoop and smooth your fabric and stabilizer below. Now, firmly push on the hoop to lock it into place. If you are struggling to get the top hoop securely into the bottom hoop, loosen your screw and try again. You can gently tug around the edges to smooth the material and stabilizer. Next, tighten the screw. Remember, your stabilizer and fabric must be smooth in your hoop before you begin embroidering.
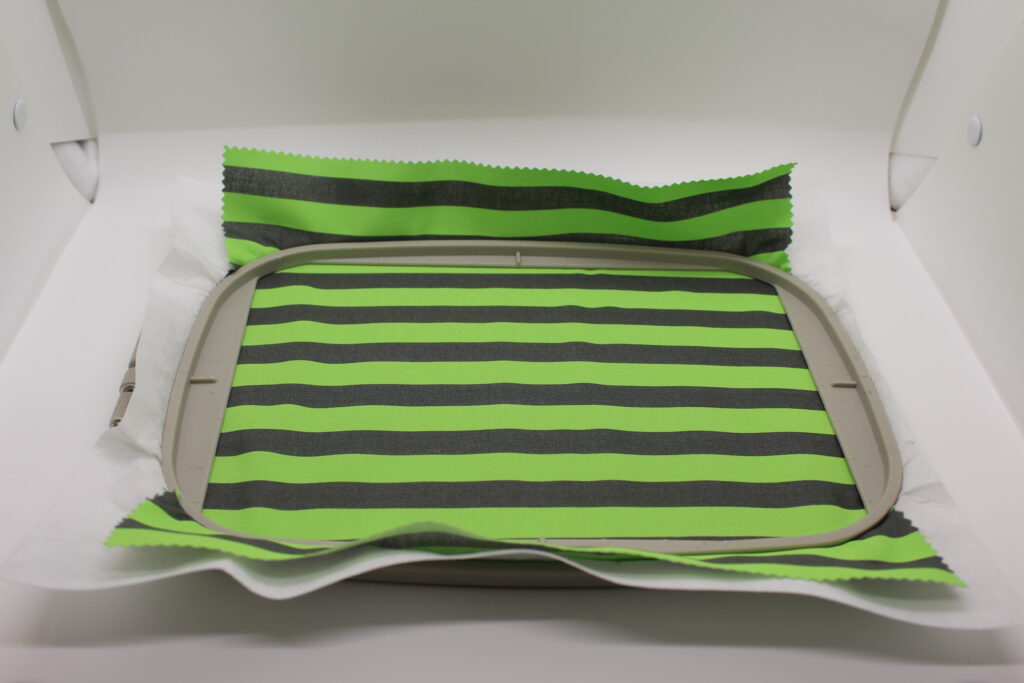
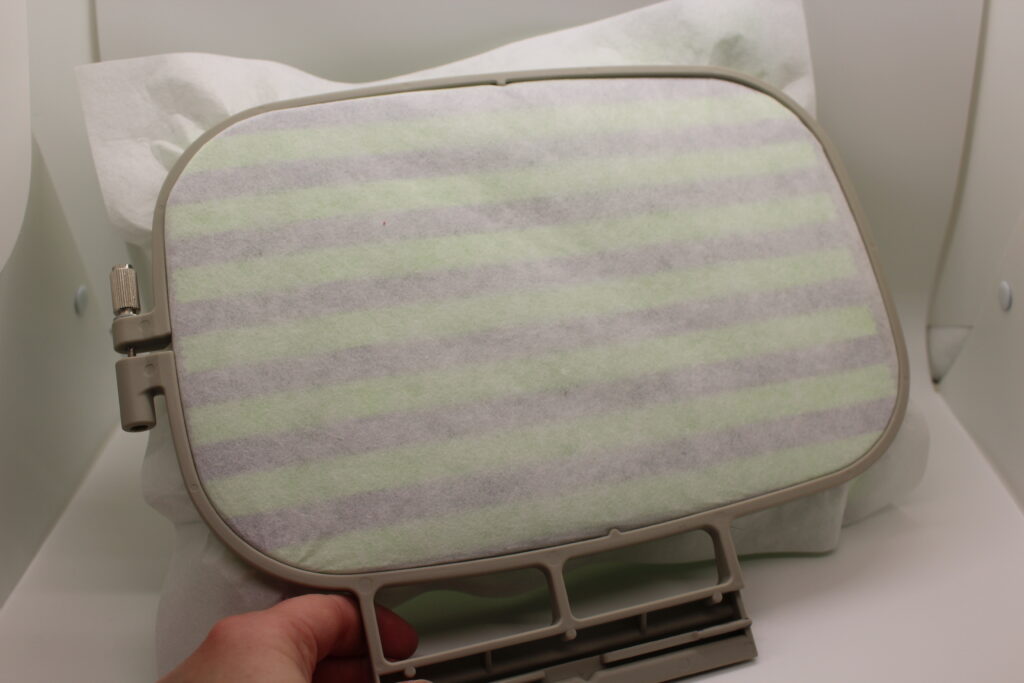
The second hooping method involves “floating” the material on top of your desired stabilizer.
Just like with traditional hooping, the first steps remain the same. Once you have your stabilizer cut and the material placed on the bottom hoop, place the top hoop on the stabilizer.
Rather than hooping your material with the stabilizer, you will place it directly on it.
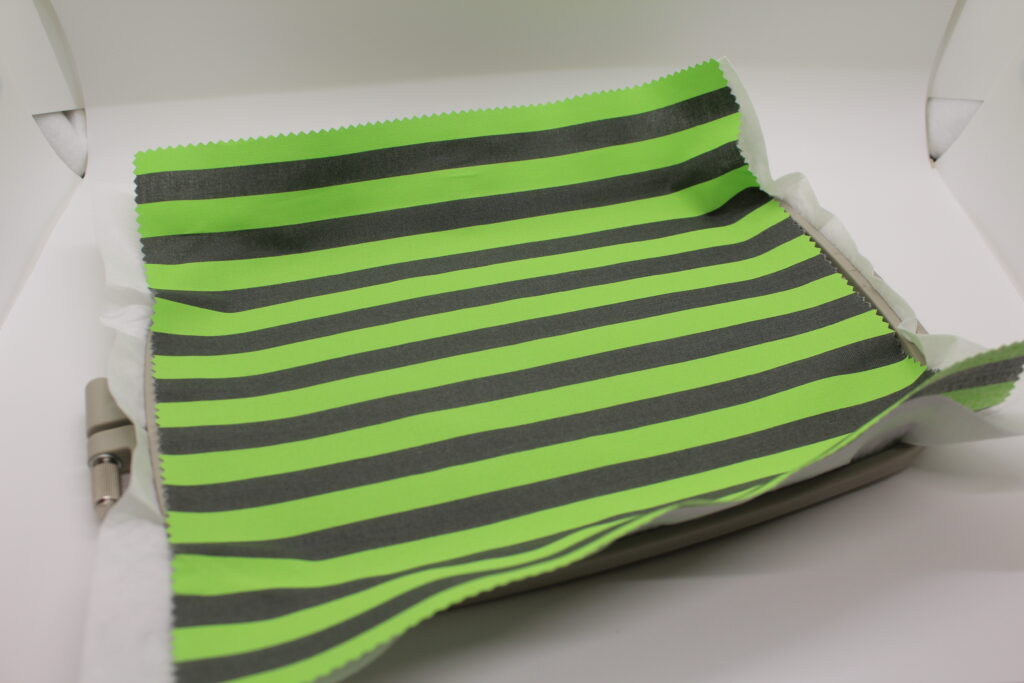
You can utilize a few different methods to help your material stay in place once you begin stitching. If you choose a fusible stabilizer, you can iron the fabric. The same is true if you have selected a sticky-backed stabilizer; tear the backing away and stick your fabric right to it.
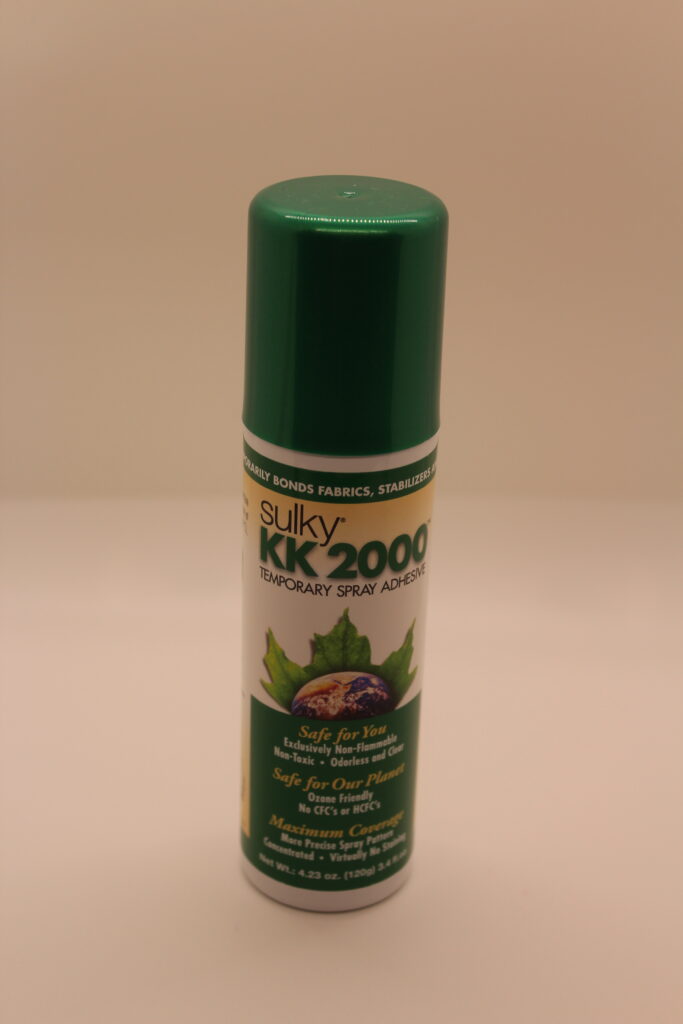
Some products, such as Sulky KK 2000 Temporary Spray Adhesive, are safe for embroidery and sewing. Follow the directions for the product you purchase. Just make sure to spray it away from your embroidery machine and that it is safe for sewing.
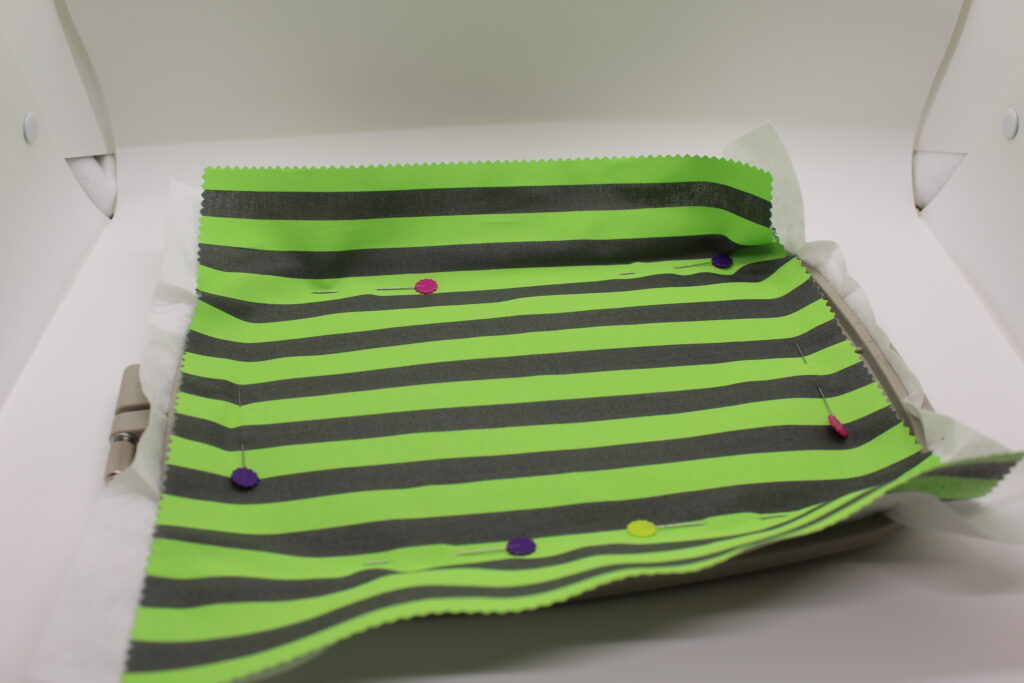
If you prefer old-school methods, I use sewing pins to adhere my materials to my stabilizer. Sewing pins are a quick and easy way to float hand towels, allowing me to center them much more quickly than if I tried to hoop them directly into my embroidery hoop. If you try this method, make sure your pins are out of the path of your stitch area before you begin sewing.
Types of Embroidery Designs:
There are a variety of embroidery designs and files available for purchase from many fabulous digitizers. I have a massive collection of files from Designs by JuJu that I have purchased over the years. When purchasing files, you want to make sure that you are selecting files from a reputable digitizer. This will ensure that your files are of the best quality possible and stitch out seamlessly. You do not want to begin a project only to have it ruined because the file was poorly digitized. Do your research and shop wisely. All of my designs from Designs by JuJu have always worked perfectly.
Once you have a project in mind, you can start searching for the design type that is right for you. Each embroidery machine has a specific embroidery design file it can accept. Make sure you understand what the capabilities of your machine are so you purchase the correct file. Many digitizers will give you all file types and sizes to fit your machine. Files designed for a 6x10 hoop will NOT work on a machine with a maximum hoop size 4x4. Please read your user manual thoroughly and play around with the built-in designs before purchasing more. This will give you a better idea of how files stitch and what you may look for in a design.
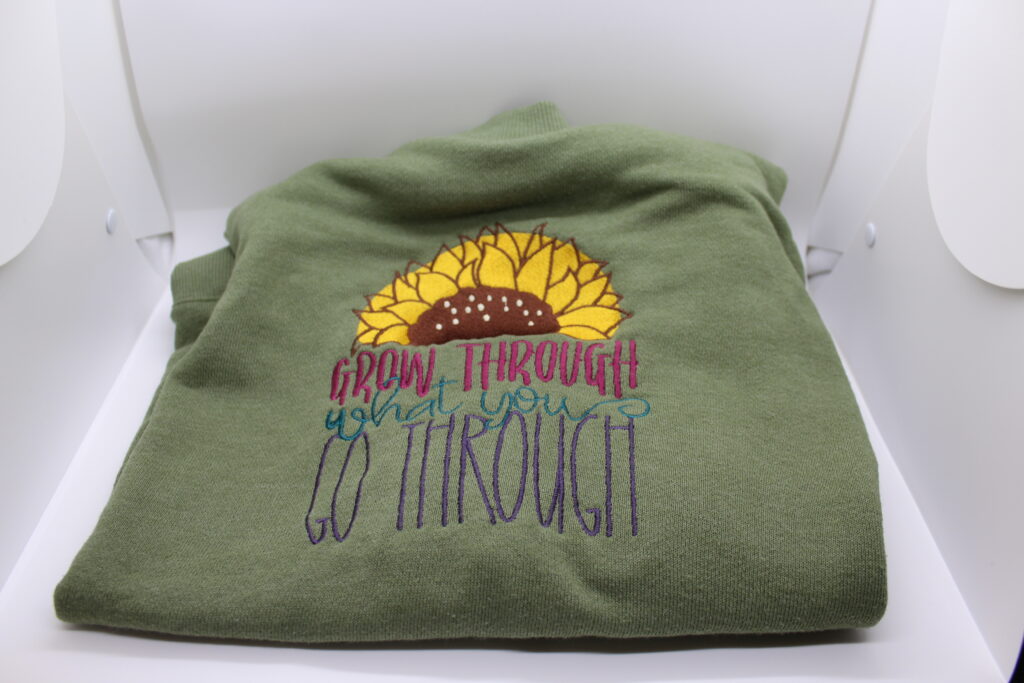
As you peruse the Designs by JuJu website, you will notice various embroidery designs available for purchase. Filled, Redwork, Sketch, Quilt Blocks, Embossed, and Free Standing Lace are all designs used with thread only. These designs range from very few stitches to thousands of stitches per design. Choosing a Filled design that is very dense in stitch count will require a different stabilizer than a Redwork design. Practicing your desired design file before you start stitching on your project is always a good idea.
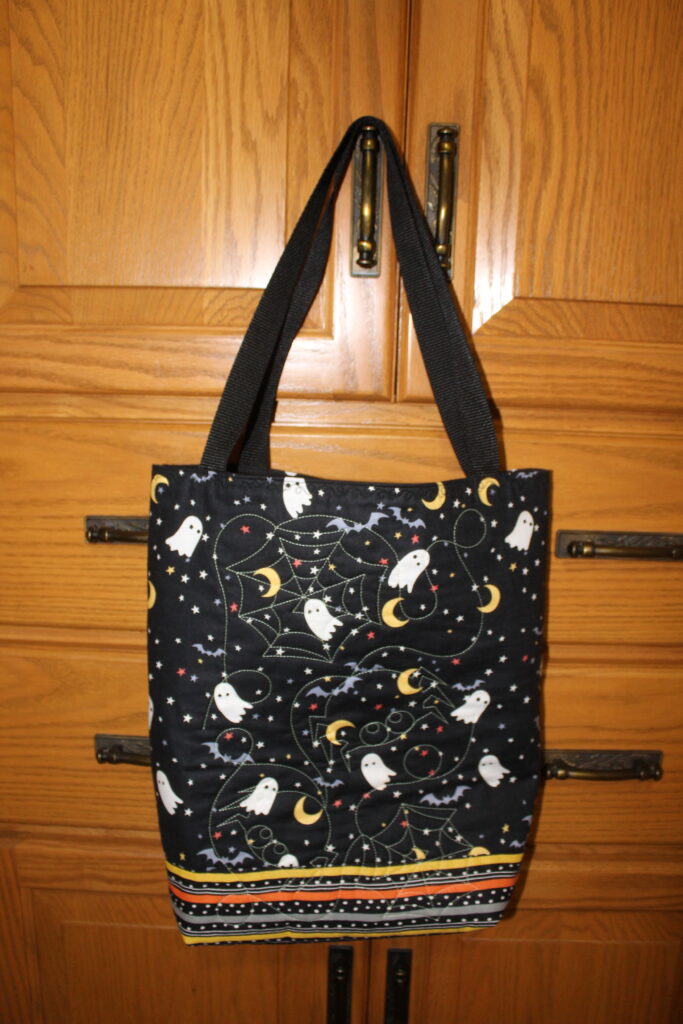
End-to-end quilting designs are stitched with thread, allowing you to create continuous line quilting on your projects and quilts. I am not a quilt maker, but use these designs on my totes and more extensive projects to add dimension.
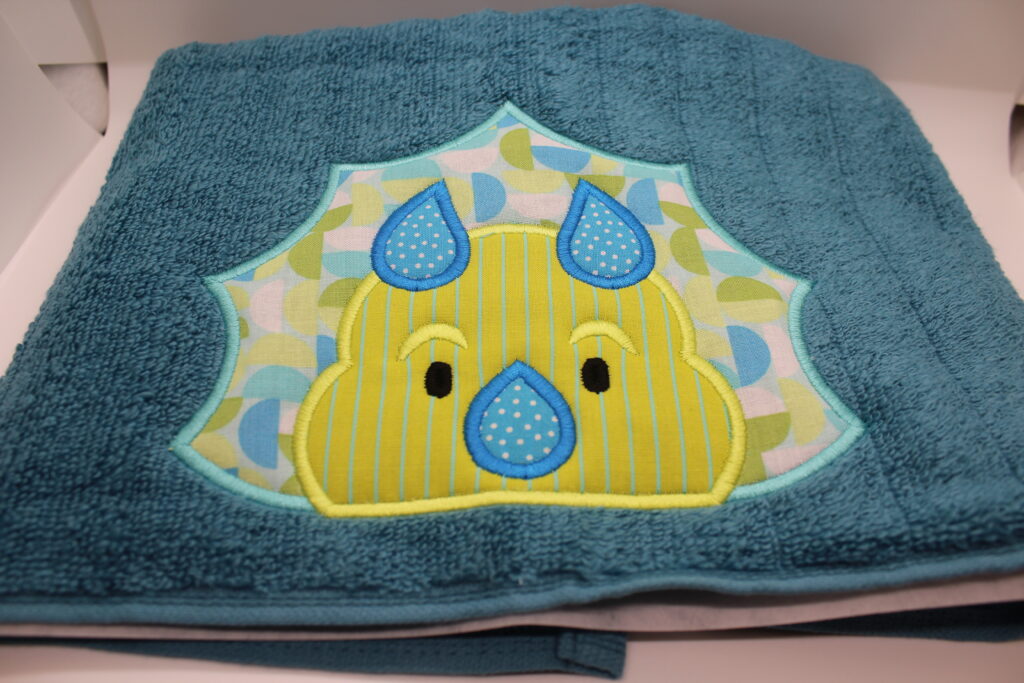
Applique Designs are another design type available. These designs mix thread and fabric to create a colorful and textured image. With applique designs, numerous materials are sewn, cut, and stitched down.
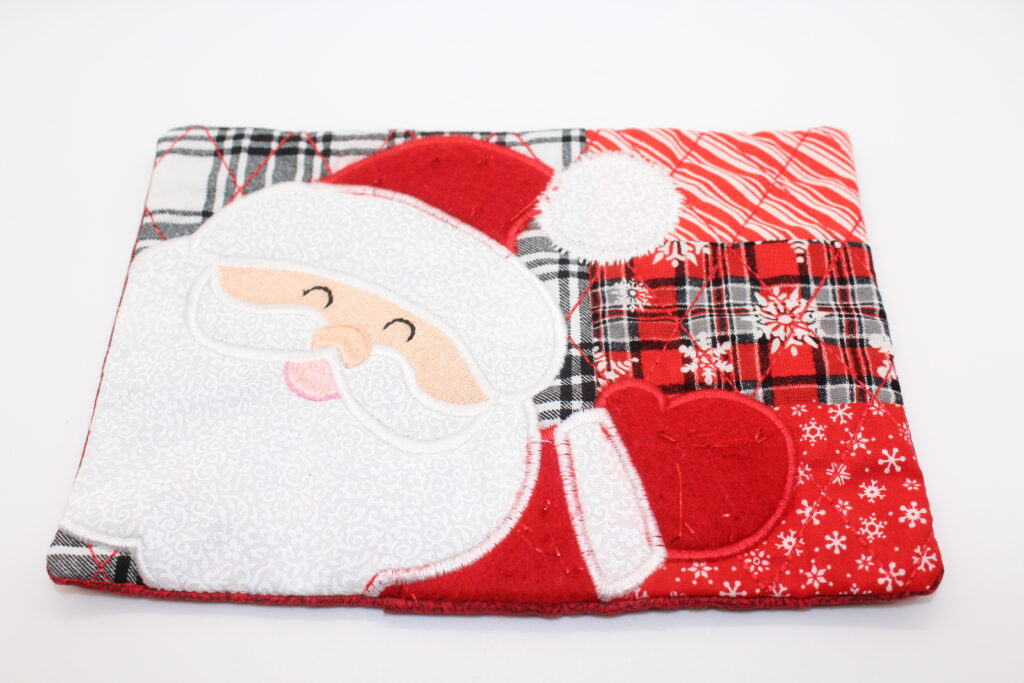
The final design type is In The Hoop (ITH). ITH projects are typically more advanced and may require more than one hooping. Examples of ITH projects include bags, mug rugs, coasters, placemats, tablecloths, tree skirts, and so much more. As you become more comfortable with your machine and embroidery designs, try an ITH project! They are very addictive.
Top Tools for Beginners (and everyone else!):
Over the years, I have tested numerous tools on my embroidery journey. Below, I have outlined some of my must-haves for beginners!
First, let’s talk about scissors. Every sewing enthusiast has their favorite pair of fabric scissors. You will want to purchase one (or multiple) pairs designated strictly for fabric and materials. This will help maintain the longevity of your scissors and ensure that your cuts are nice and smooth. Shop around and pick a pair that works best for you. I have multiple pairs from Fiskars and Wescott that I love.
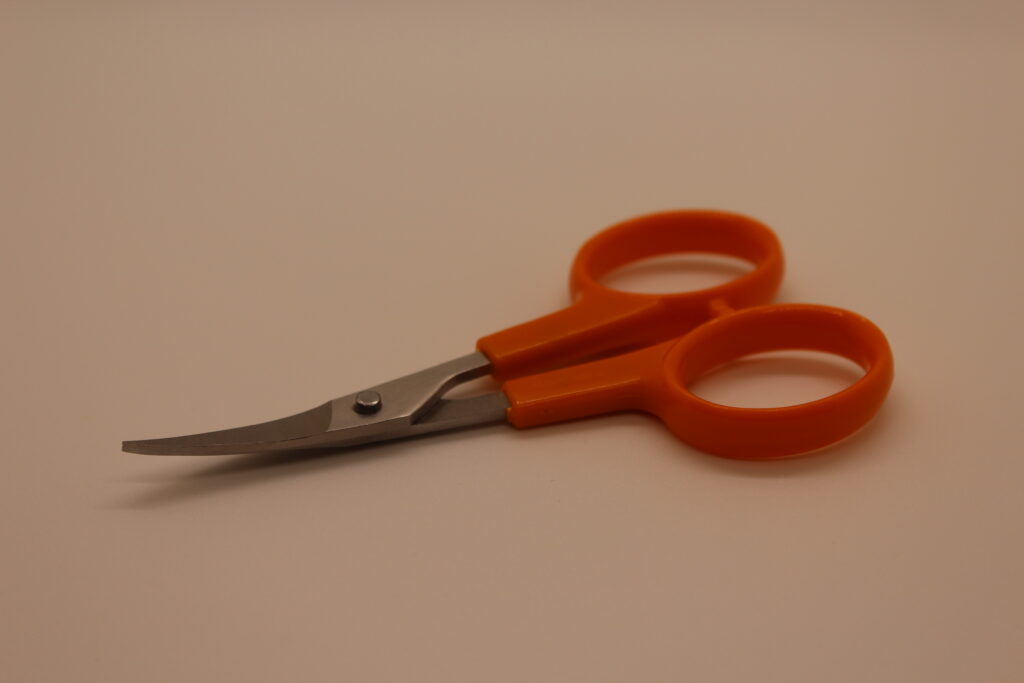
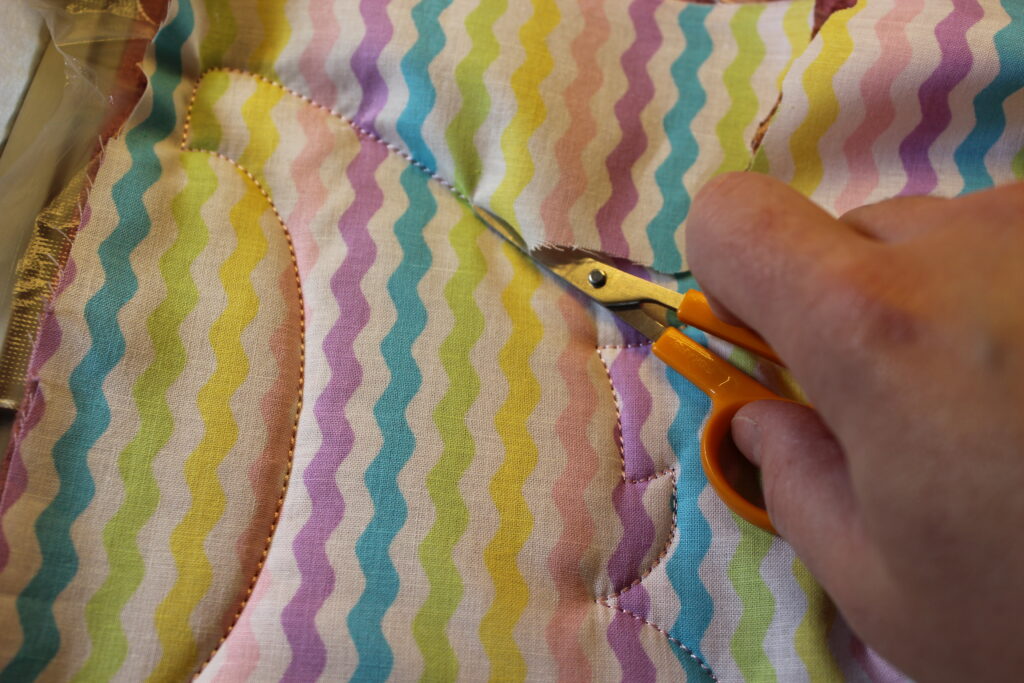
You will also want to invest in specialty scissors if you dabble in applique. Most embroiderers prefer curved-tip scissors because they allow you to get close to the fabric without snipping the stitches. My favorite pair are from Fiskars, but there are many options available.
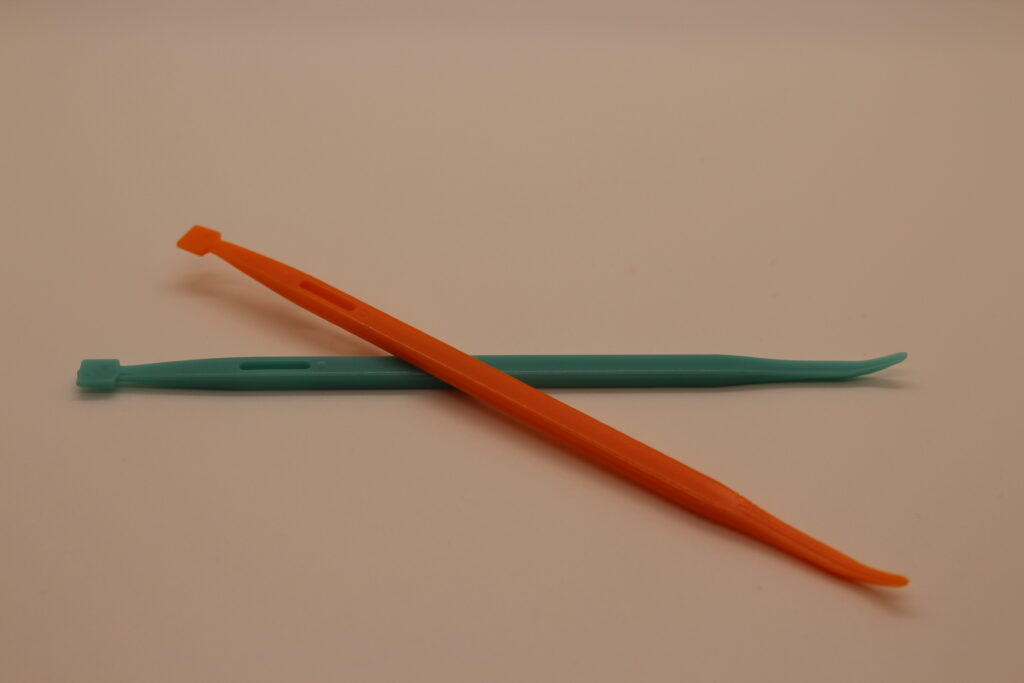
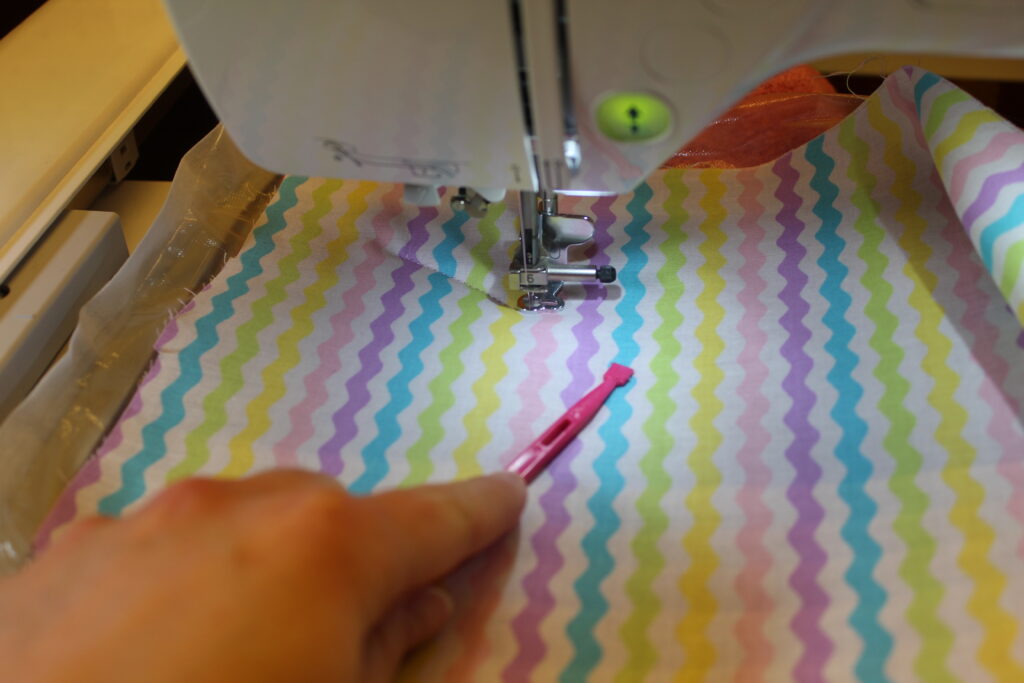
An absolute must-have is the “That Purple Thang” Multifunctional Sewing Tool. This tool helps keep your fabric flat and smooth while stitching; more importantly, it keeps your hands and fingers safe. I use many of these lying around my sewing room whenever I embroider.
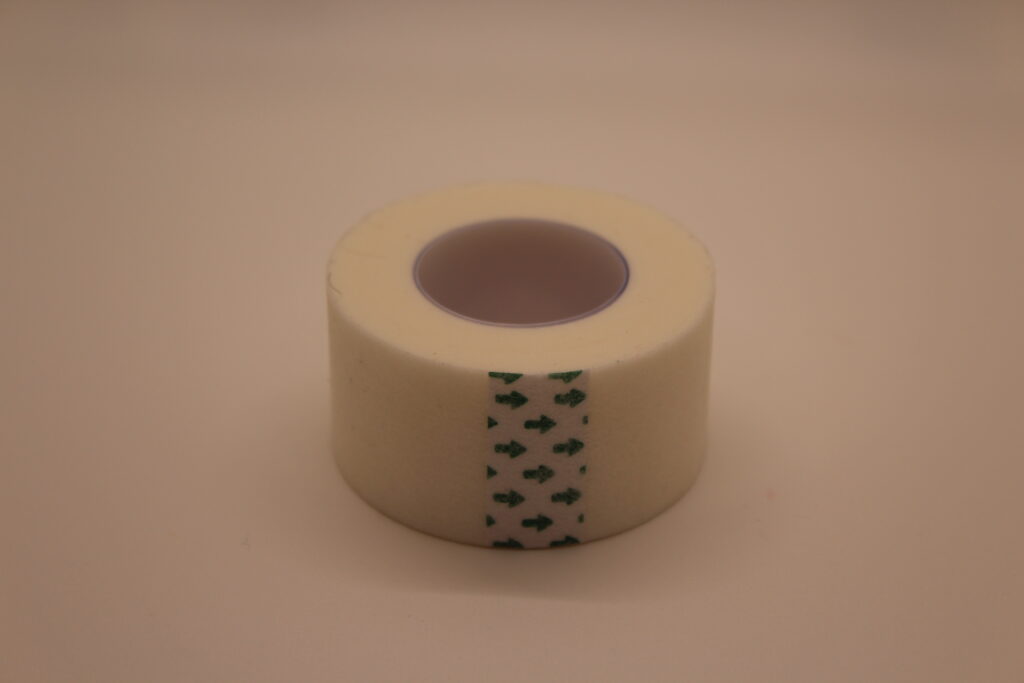
Another frequently used item in my sewing room is medical paper tape. While that may seem odd to have on hand, sewing tape is inexpensive and safe for sewing. I use sewing tape to hold down material, push back edges, and secure fabric to the back of my hoop. It is easily removed, doesn’t leave a residue, and can be stitched over, if needed, without damaging your needle.
Some of my other honorable mention tools/supplies include:
- A mini iron - to iron my applique pieces or a fusible stabilizer
- Heat ‘n Bond Lite - you can use this to fuse your applique pieces onto your project; just make sure you purchase LITE
- Thread Spool Savers - keeps your thread wrapped around your spool and prevents tangles
- Mini Sewing Clips - great to have on hand for miscellaneous sewing and quilting needs
Embroidery is such a wonderful hobby. Not only can you create projects for yourself, but you can share your talent with others by making gifts and keepsakes. We’ve covered many topics, including stabilizers, hooping, design types, and tools. Educating yourself on the capabilities of your machine and investing in some quality designs and tools will open the door to an excellent creative outlet. Grab the essentials and jump on in!

