Toggle Nav
 Inspire.
Create.
Stitch.
Inspire.
Create.
Stitch.
Search
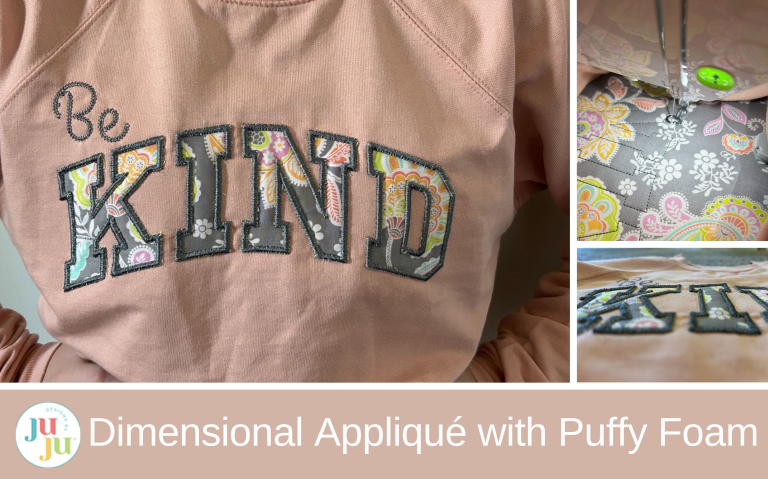
Add bold dimension to your applique letters with puffy foam! This simple trick makes your edges rise, pop, and shine.
I’ve always loved the dimension that puffy foam adds to embroidery, so I couldn’t resist experimenting with it under the cover stitch of my applique letters. The result was a pleasant surprise! While the foam doesn’t rise quite as high as it does with designs specifically digitized for puffy stitching, it still adds a beautiful bit of lift and texture, and I love the finished look. It’s a fun, creative twist that works perfectly for certain projects. I hope you’ll find a place to try this technique in your own stitching adventures.
Check out the DBJJ team’s favorite supplies in the Designs by JuJu Amazon store.

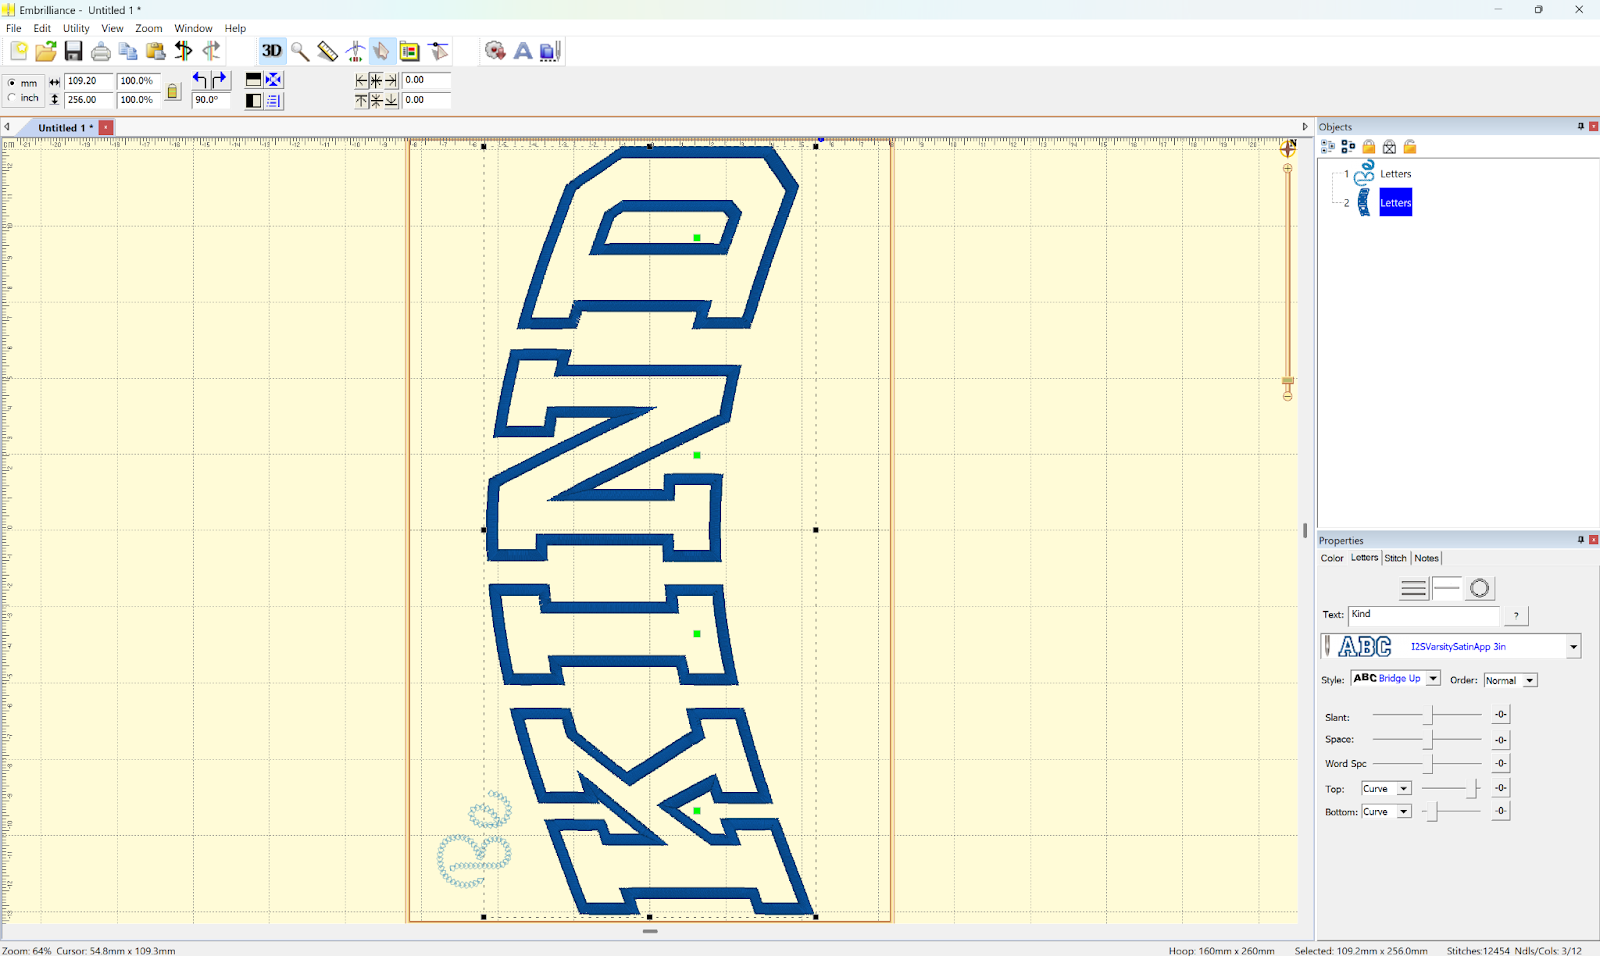
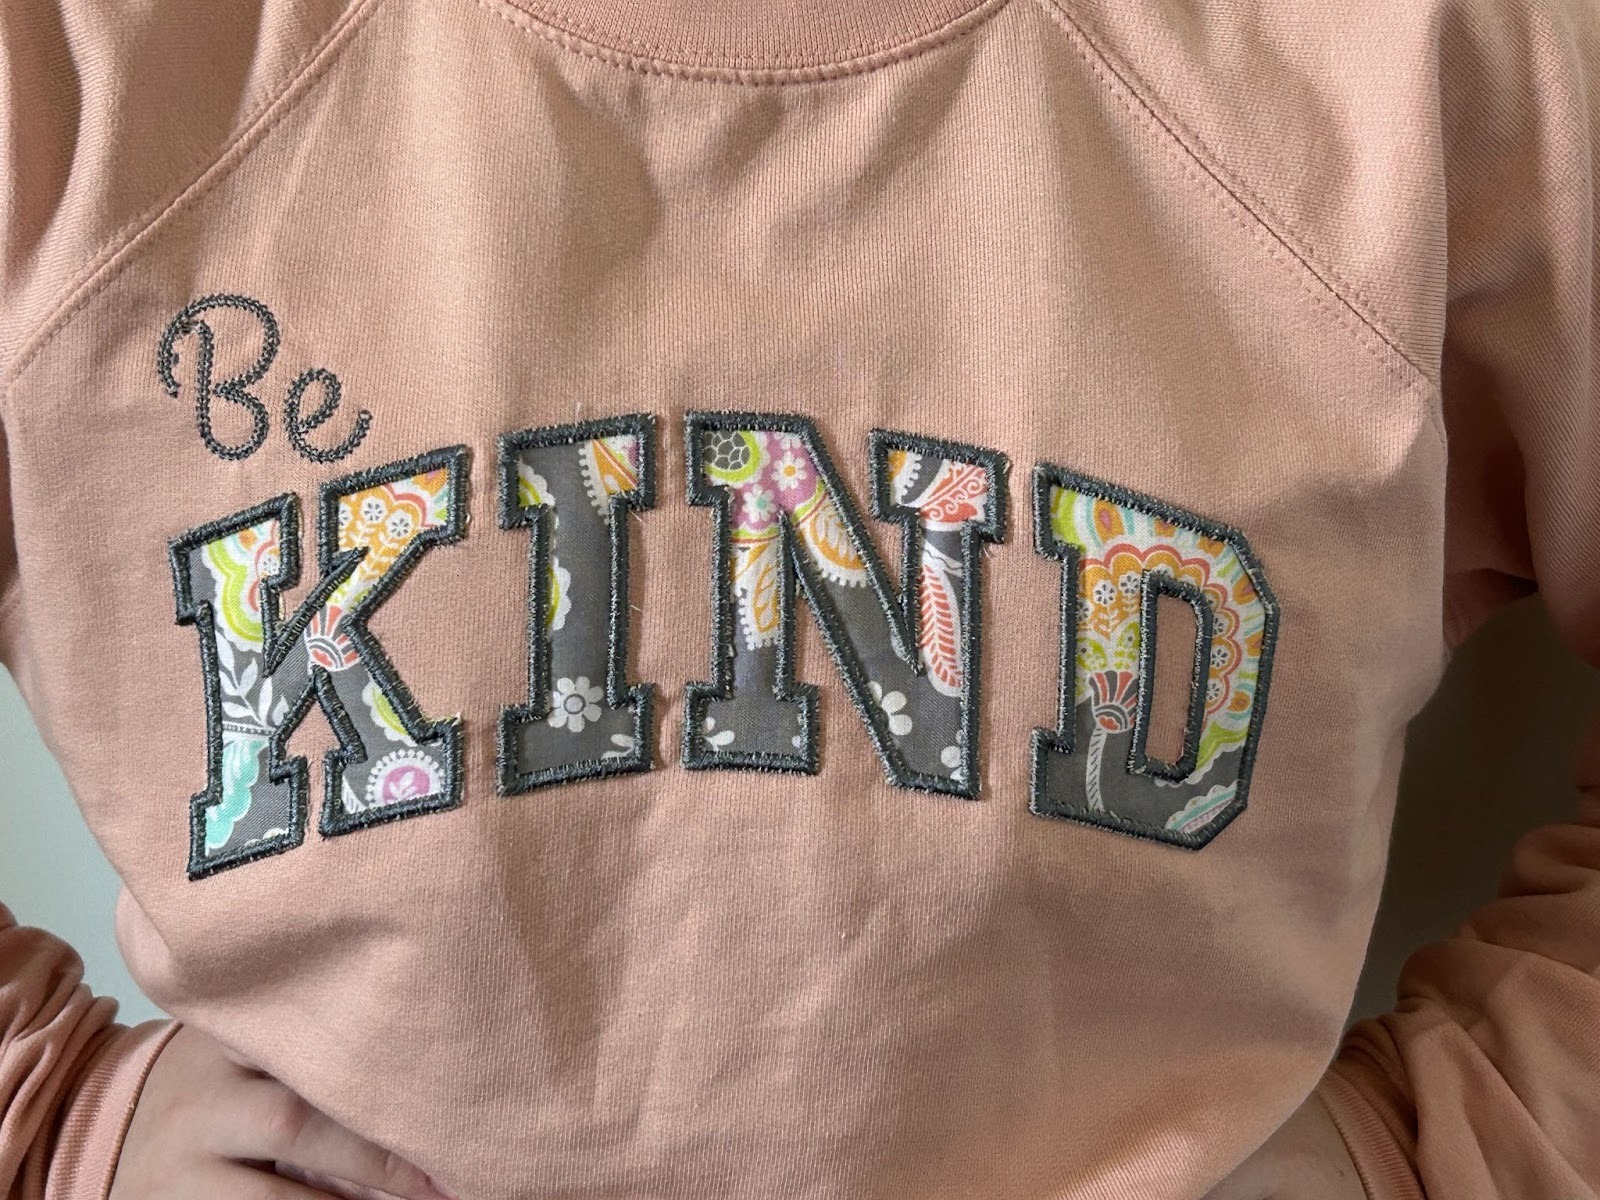
I started in Embrilliance and typed in the words I wanted for my shirt. I used the Graceful Chain Stitch Font for the word “be” and the Varsity Applique Alphabet (satin edge) for the word “kind”.
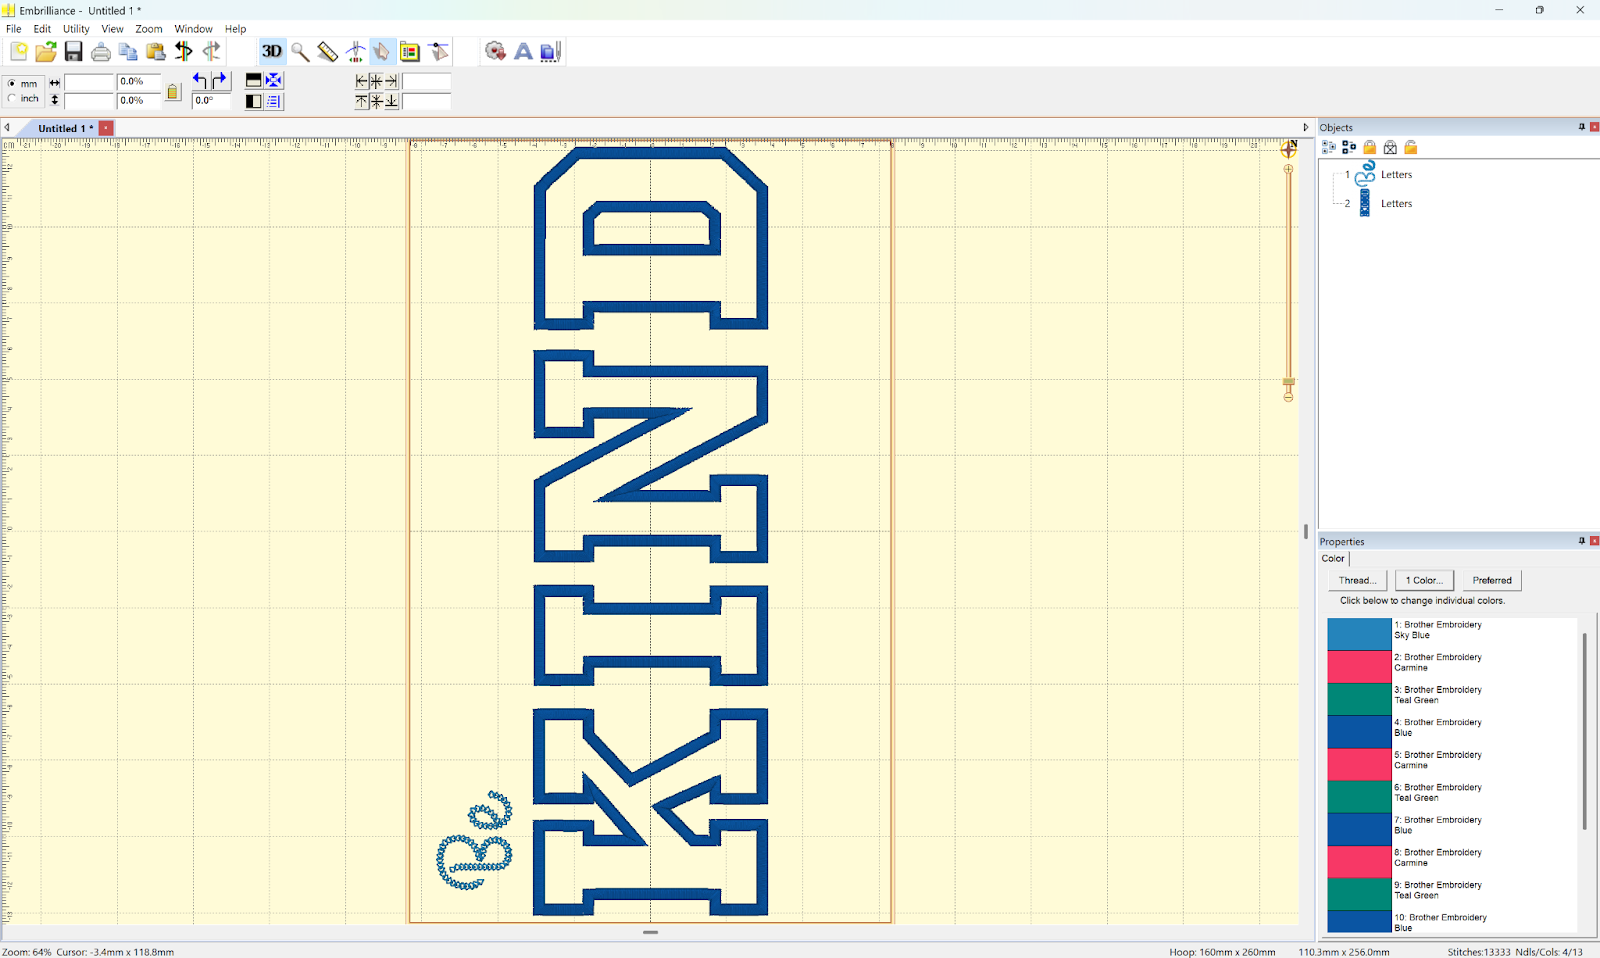
I played around with the letters in “kind” and decided I liked them to arch a bit. Check out our post on using Embrilliance for your text projects. When you’re happy with how it looks, save it and transfer it to your machine.
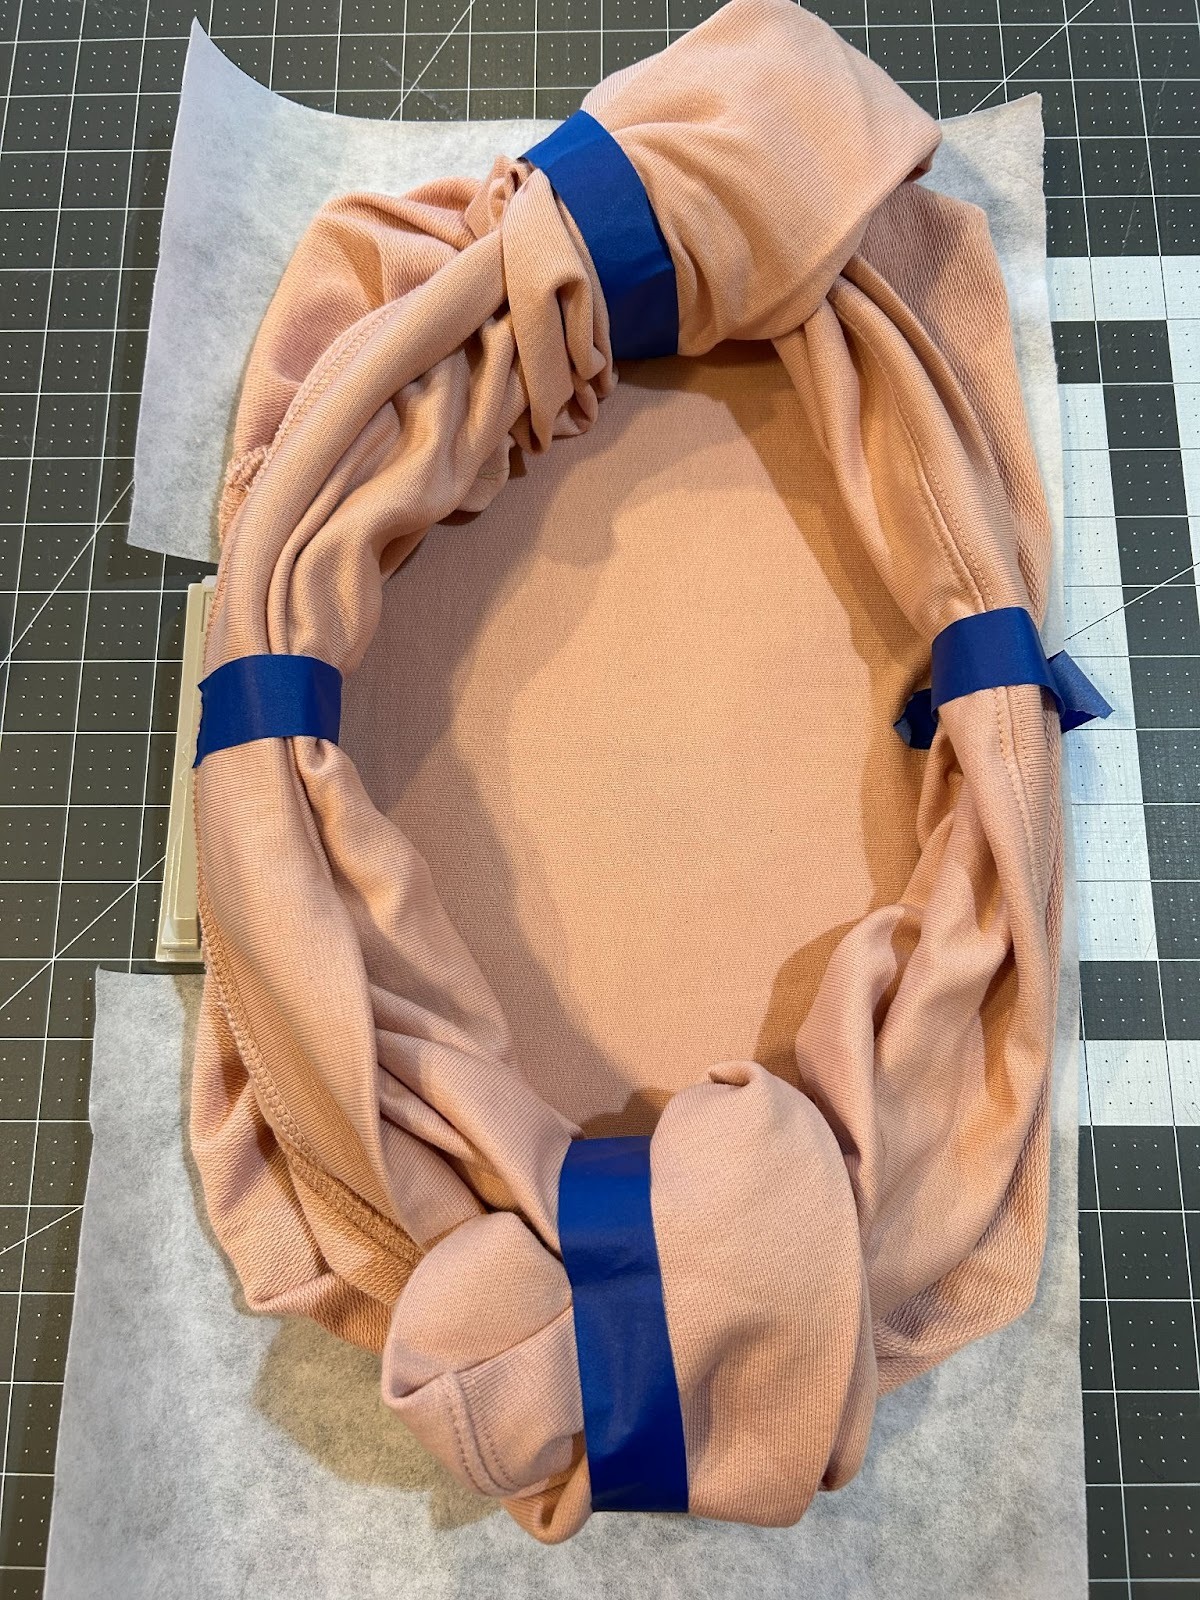
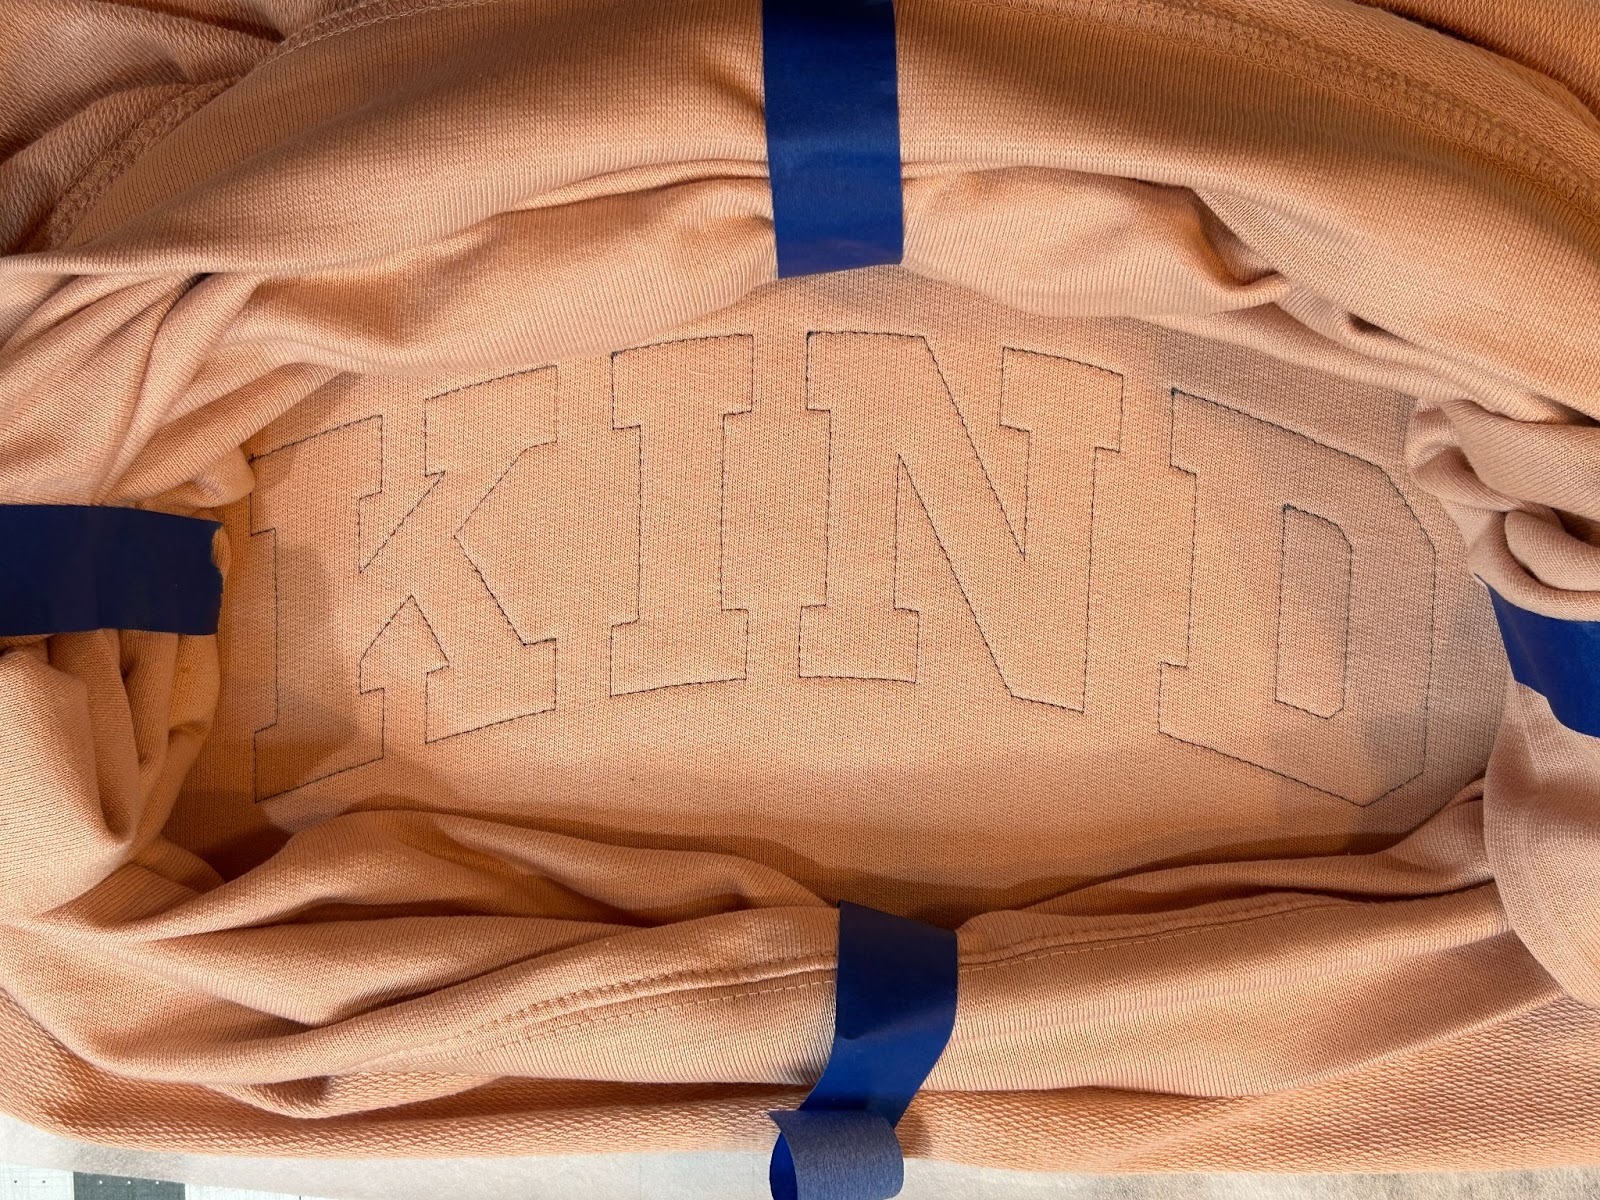
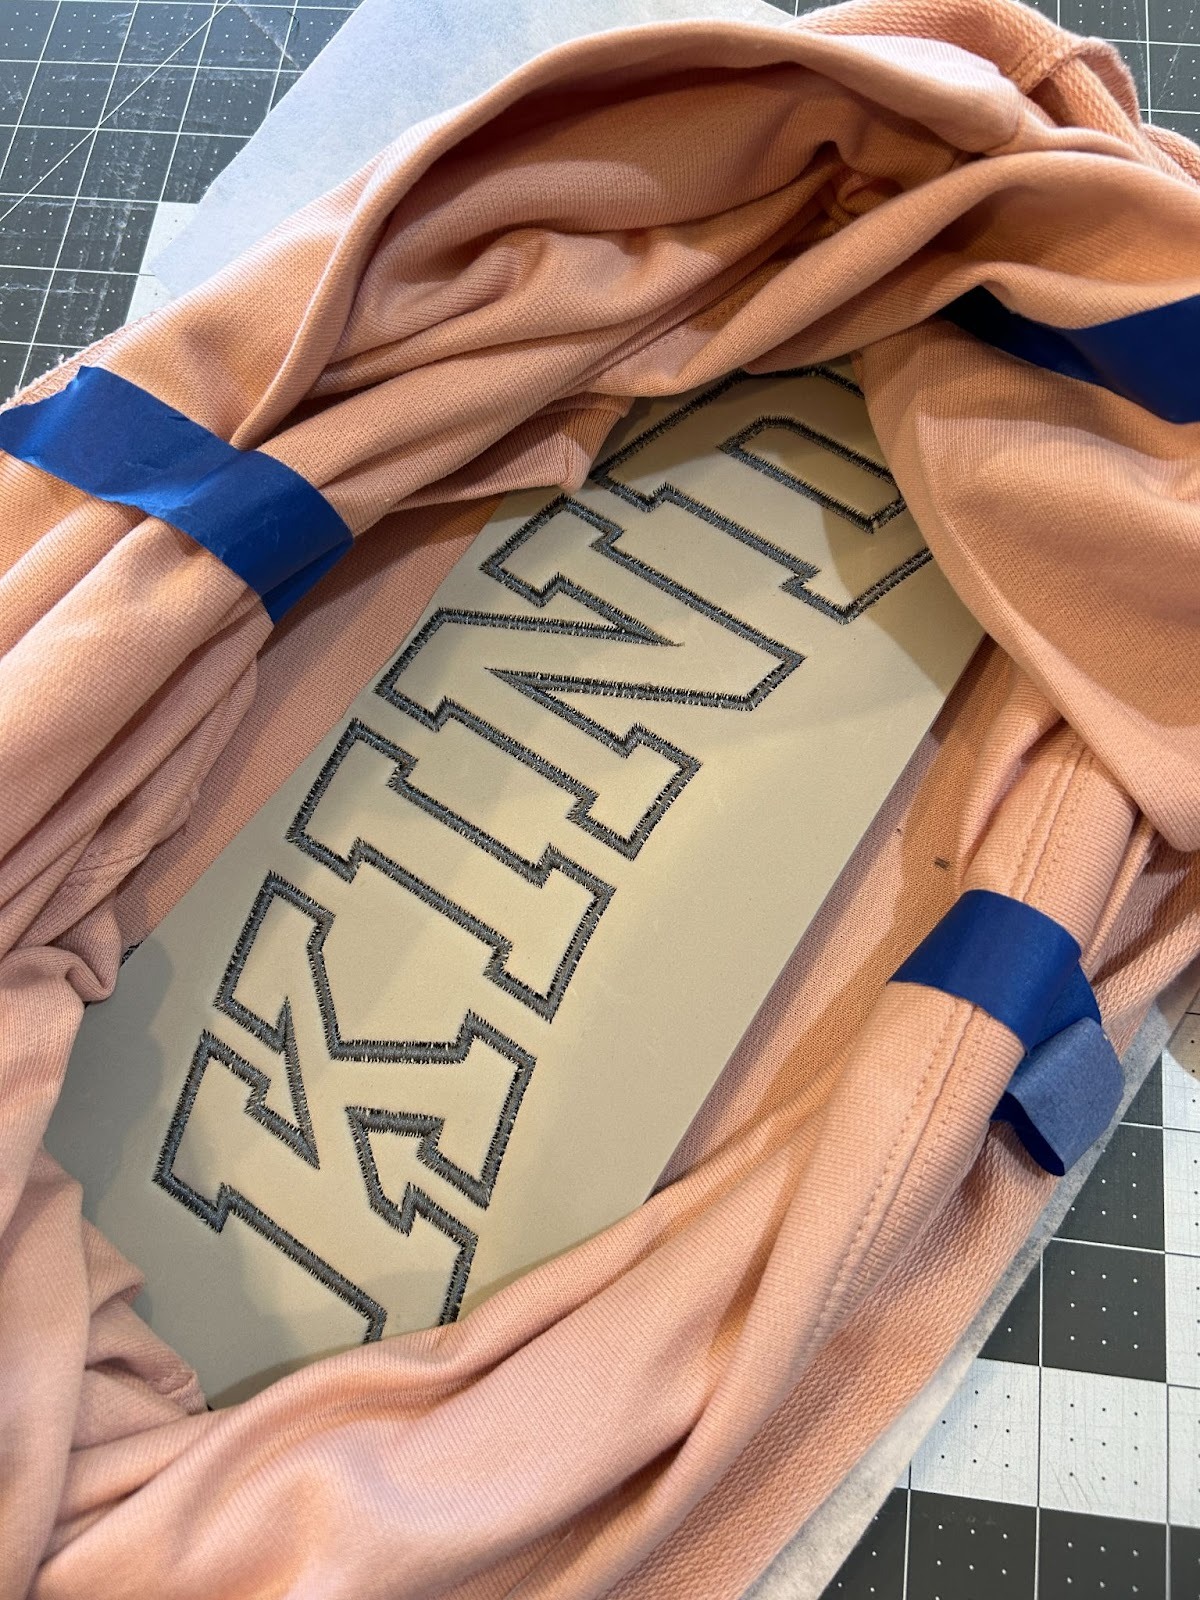
Hoop the stabilizer and fabric for your project. I always get excited to do shirts and then when I go to hoop them I realize how much I dislike that part! For me, it takes a lot of centering and painters tape to make it work. I used my magnetic hoop and cut-away stabilizer for this project.
Stitch out your placement stitches.
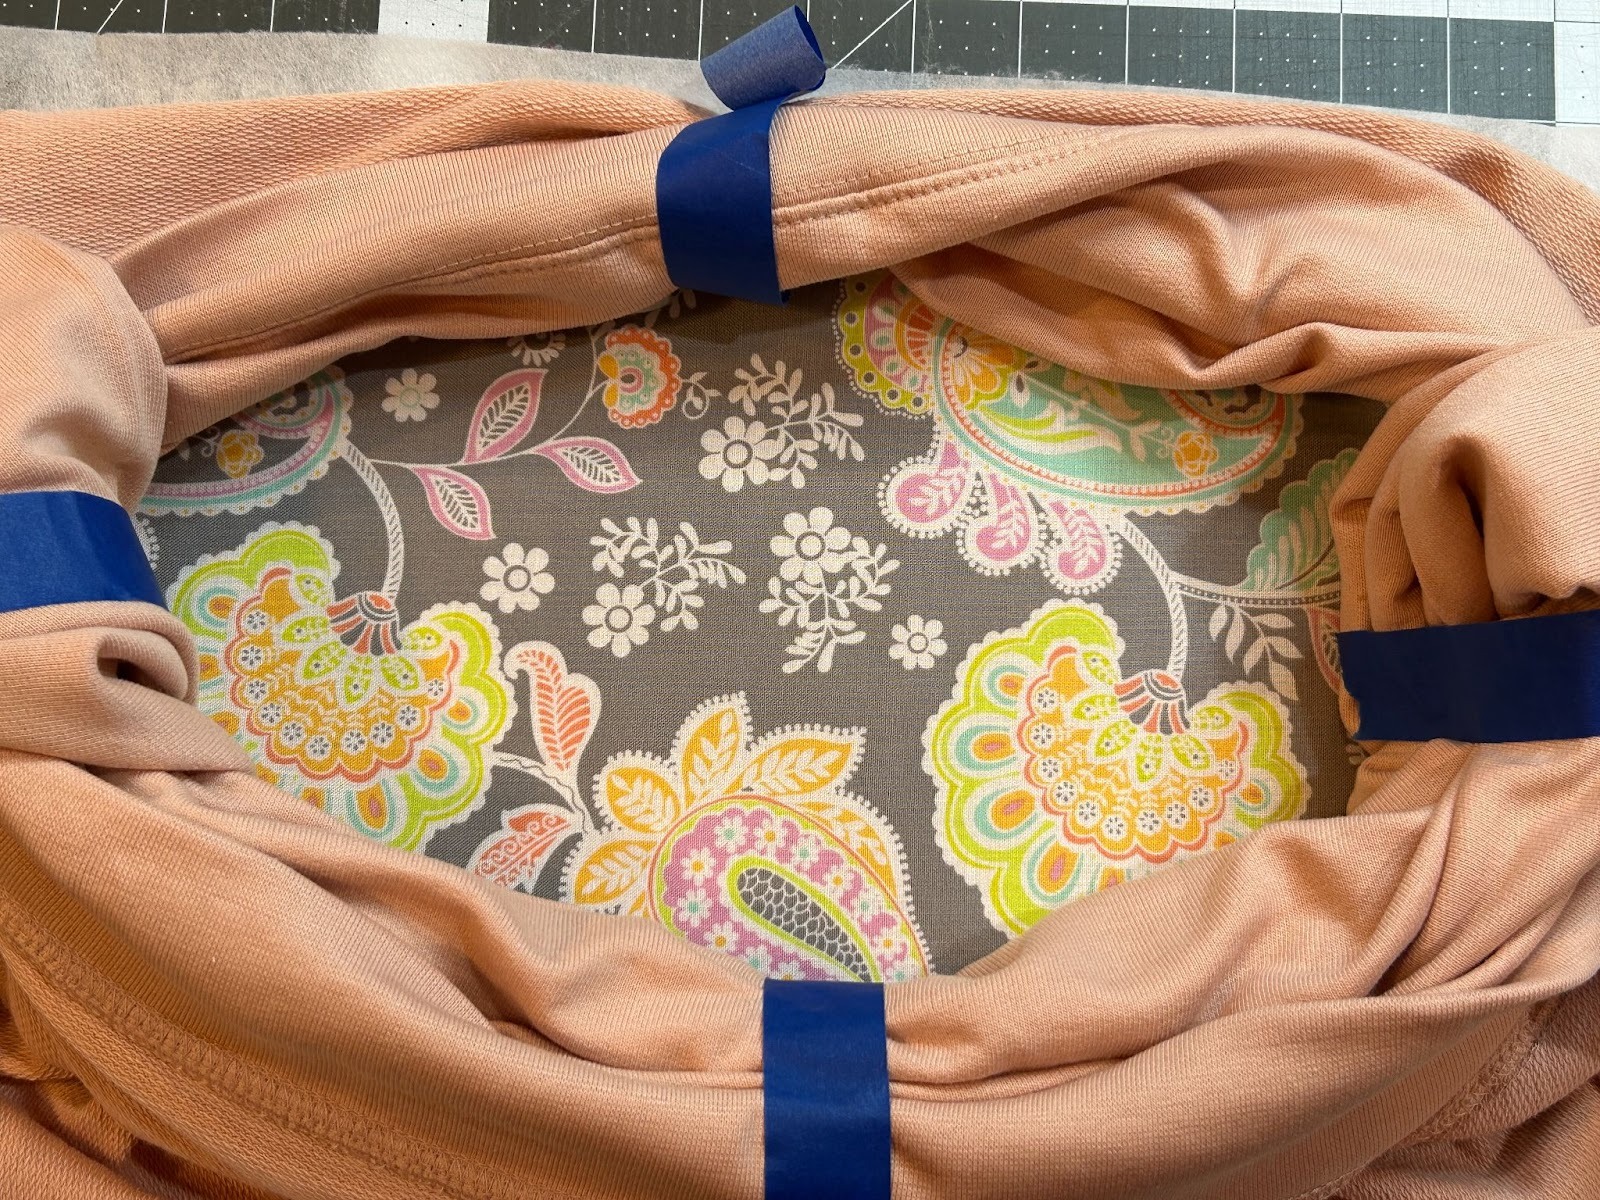
Completely cover the stitches with your chosen fabric.
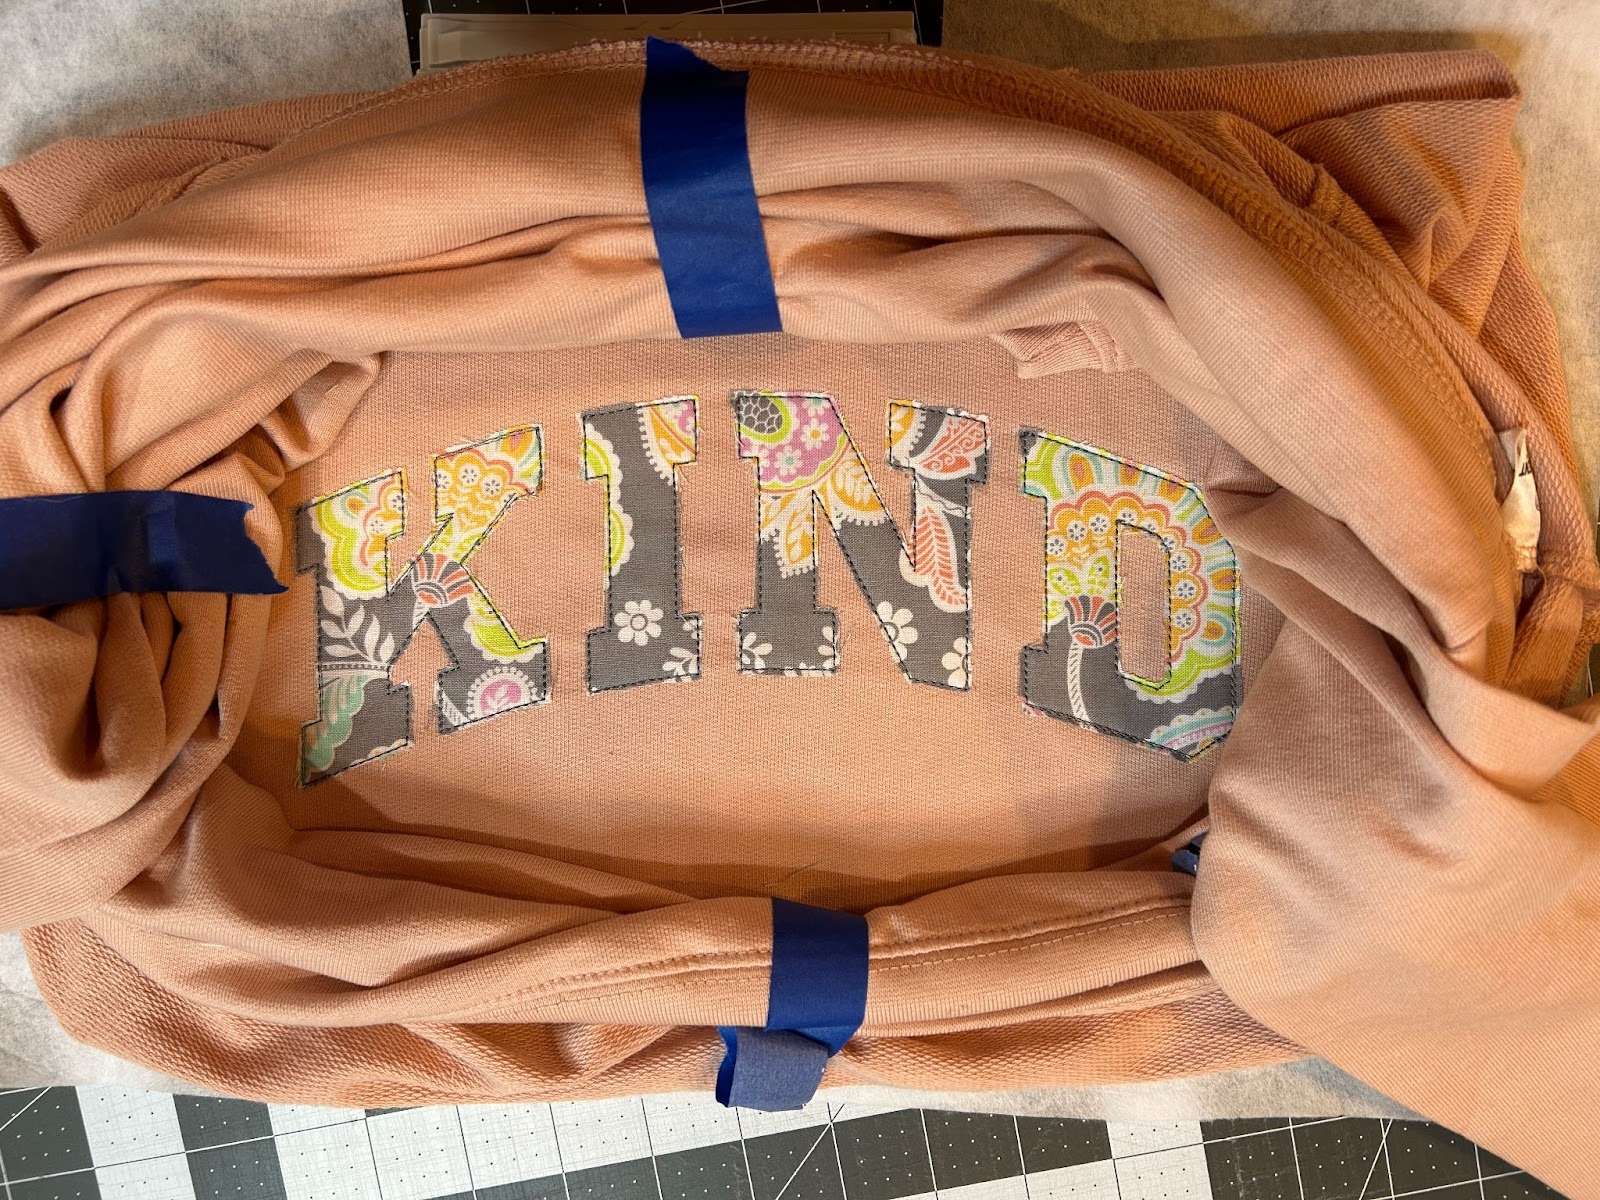
And stitch the tack-down stitches.

Take the hoop out of the machine and trim around the letters close to the stitches.
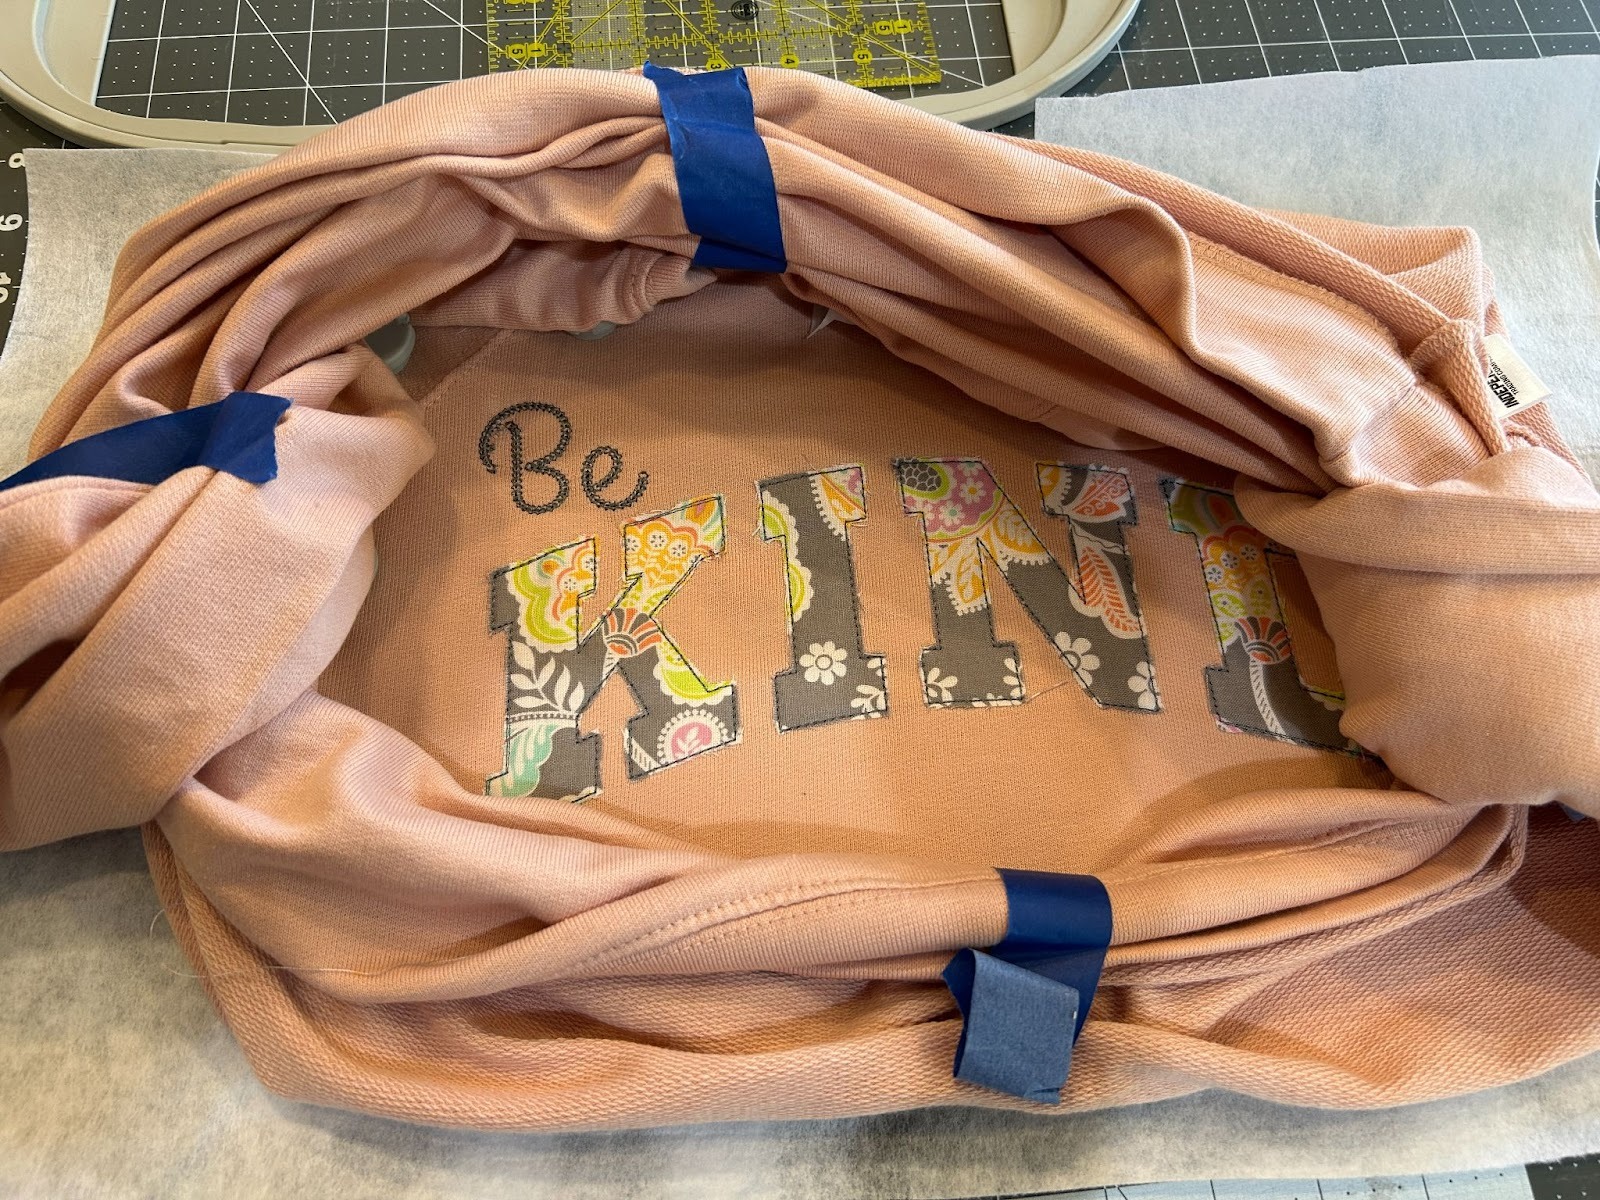
I chose to stitch out the word “be” before I did the puffy foam.
Cover the letters completely with the puffy foam.

I did raise the foot on my machine to accommodate the puffy foam. I started at 3mm because my foam was 3mm, but ended up lowering it to 2mm later as it felt more secure on my machine. You’ll have to play with it for your machine and puffy foam height.

Then stitch out the cover stitches for your letters.

When it’s done, remove it from the machine.
Remove it from the hoop and trim up any threads on the back.
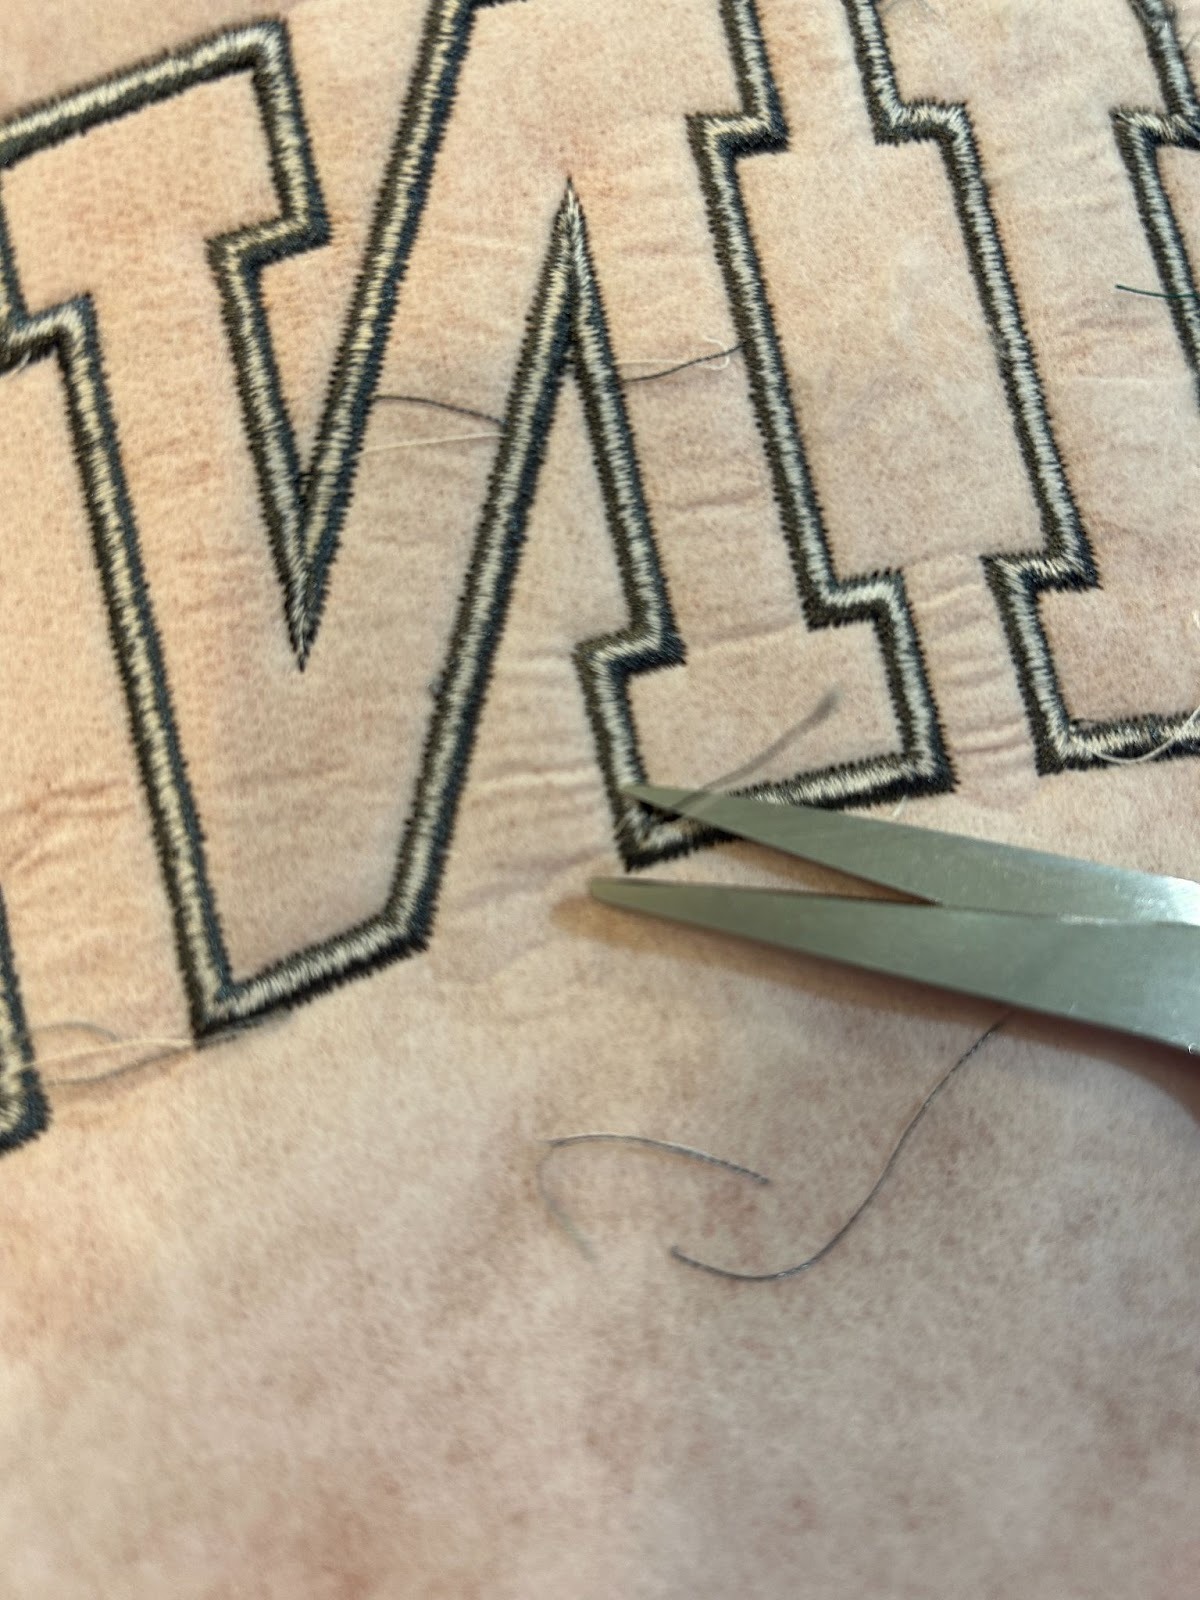
And trim the stabilizer (or tear it away if you used that kind).
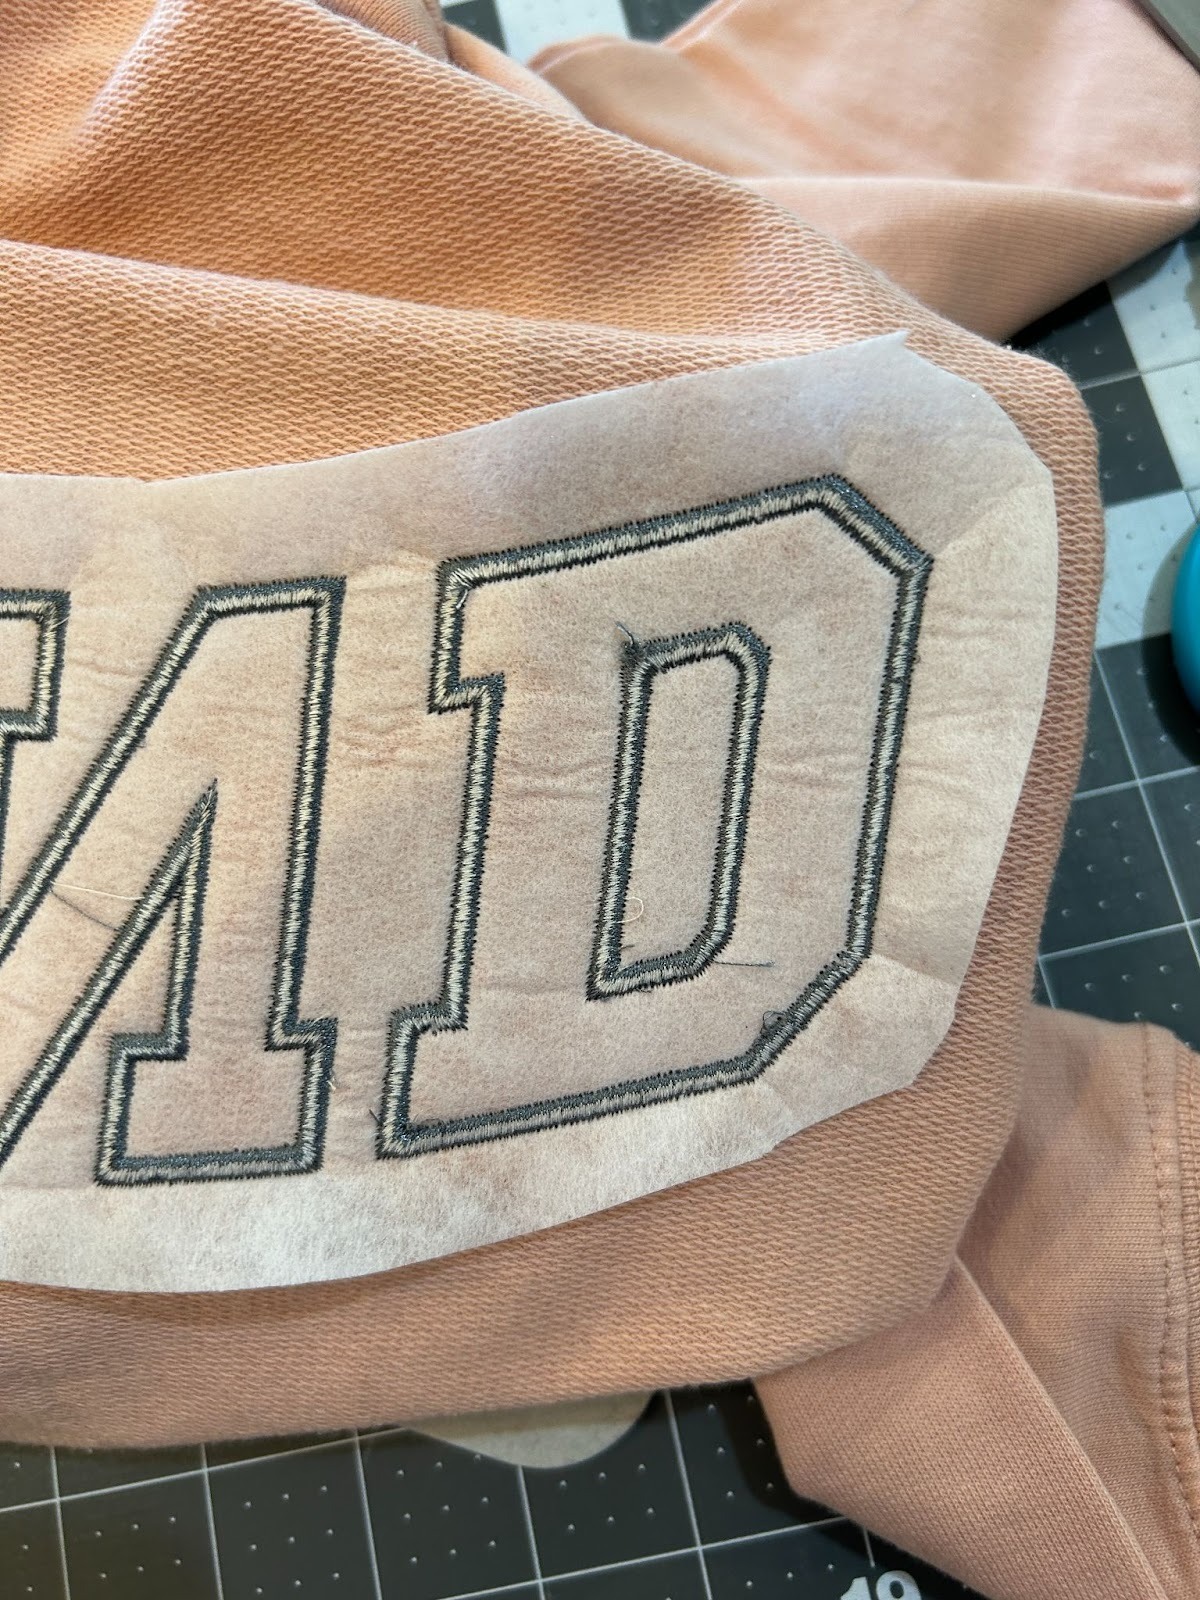
Now it’s time to remove the puffy foam. Carefully tear it away from the outside of the letters.
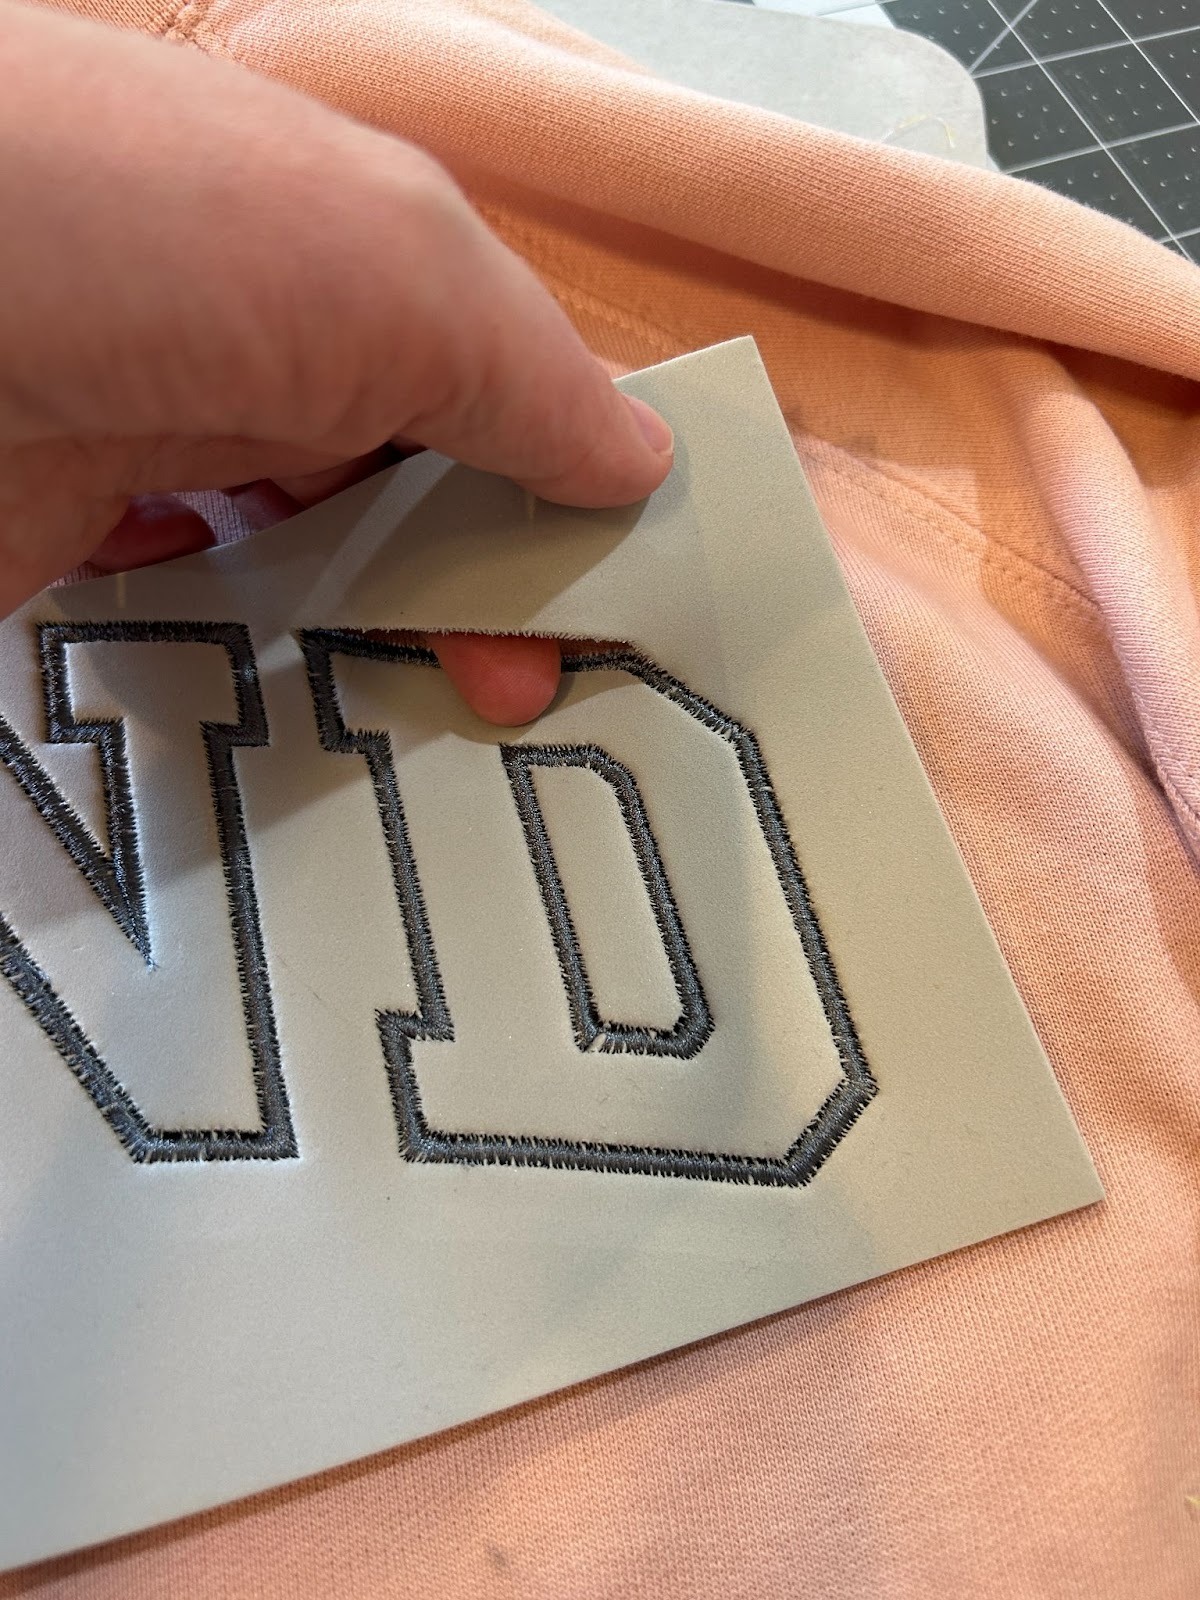
And then the inside of the letters. In some of the tight corners I ended up using a pin to coax it out of the small, tight areas. This is where I started to see some of the foam through my threads and wished I had matched the foam to my threads better.

If you have small pieces of foam still showing you can use a blow dryer on a hot setting to help shrink the foam away from the edges.
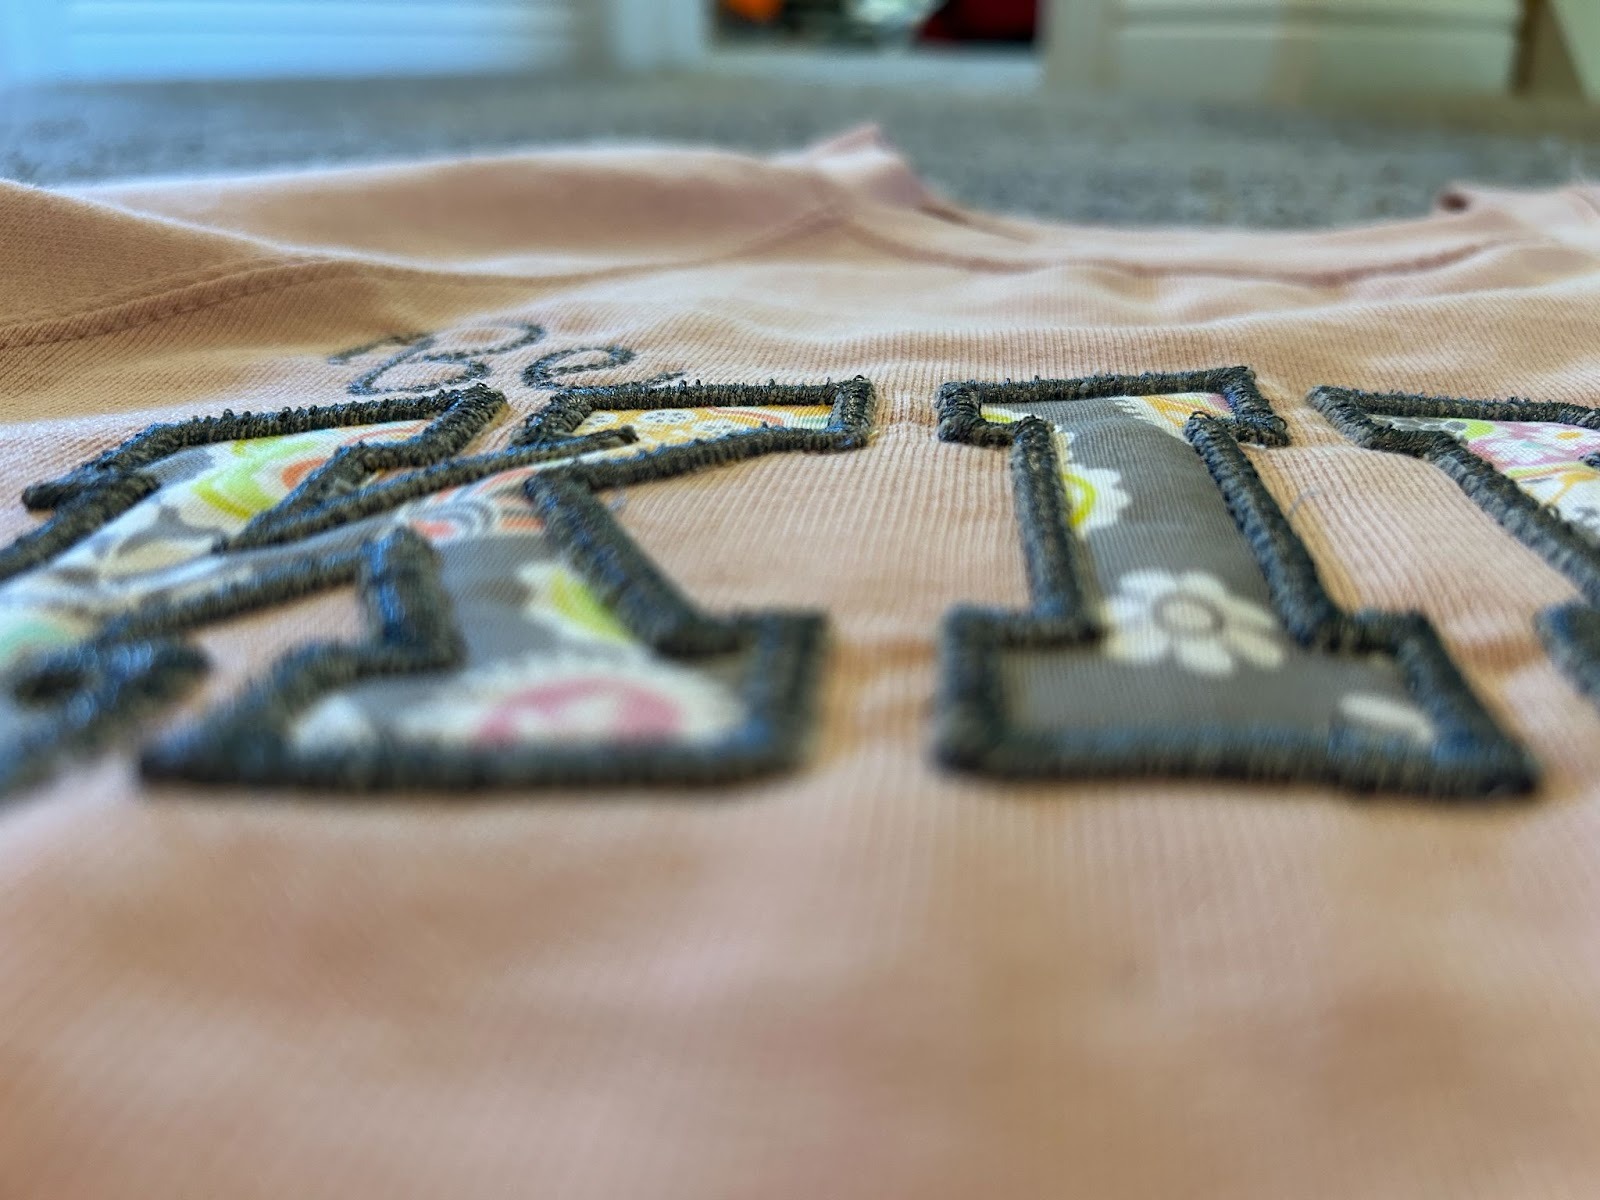
Here’s a close-up view of the raised edges. They don’t stand up dramatically but enough that it adds some texture to the letters. I love how it turned out and am excited to have another way to use up my puffy foam!
If you give this technique a try, I want to see what you make with it! Post your pictures in the Designs by JuJu Embroidery Blessings Facebook Group or anywhere on social media using the hashtag #designsbyjuju and show us your project. I always love to see what everyone shares and it helps inspire me for more projects to do!
