Toggle Nav
 Inspire.
Create.
Stitch.
Inspire.
Create.
Stitch.
Search
Designs by JuJu® is thrilled to introduce a new offering for January 2021!
End-to-End-Quilting™ Embroidery Designs

Above sample projects made by my AMAZING tester, Margie Bourlet!

Above music and flamingo photos courtesy of Becky Thompson, Power Tools With Thread.
Each of our End-to-End Quilting™ embroidery designs is an originally created design available in a large variety of block sizes. Every block is one continuous single-run line running end-to-end beginning on the left and exiting on the right. There is NO backtracking or double stitching. Each size block has been engineered and manually digitized by our team for EXACT end-to-end precision so that when they are aligned properly in your hoop, you cannot tell where one block ends and the next one begins! ADDITIONALLY, the art has been created for each size so that when the rows are stacked on top of each other, it provides a practically seamless, professional, allover quilting effect that mimics edge-to-edge (E2E) pantograph quilting!
Please read this document in its entirety as there is a lot of pertinent info. We also have a few recommended products you may wish to check out listed below. Product links may contain DBJJ affiliate links. DBJJ receives a small commission from qualifying purchases.
Becky Thompson of Power Tools With Thread has put together an outstanding, comprehensive educational VIDEO with tips and tricks for using our End-to-End Quilting™ embroidery deisgns. Topics included in her video are: Anatomy of the Designs, Project Preparation, Choosing Design Size, Printing Templates, Creating Your Own Template, Alignment using a Camera System Machine, and Alignment and Hooping for a NON Camera System Machine. (Generally only the higher end machines have camera systems)
VIEW EDUCATIONAL YOUTUBE VIDEO HERE:

This PDF does not go into the step-by-step of preparing your project, alignment etc. It is ALL covered in the comprehensive video. It is MUCH easier to SEE it in process. Be sure to SUBSCRIBE to the Power Tools With Thread Youtube Channel as Becky has numerous educational videos on a variety of topics including MANY of our In-The-Hoop projects!

Wall hanging quilt photos above courtesy of BeckyThompson, https://powertoolswiththread.com Becky finished these projects using our End-to-End Quilting™ Embroidery Designs! Be CERTAIN to watch her video!
Every one of our End-to-End Quilting™ Embroidery Designs comes in 13 sizes. There are 7 square block sizes:

Square blocks: 4x4, 5x5, 6x6, 7x7, 8x8, 9x9, 10x10
**Please note that 4x4, 5x5, and 6x6 will have fewer motifs than the other sizes due to the smaller size of those hoops. PLEASE refer to your Thumbnails PDF included in your download to view each block as artwork will vary slightly depending upon the size and orientation.
AND there are 6 rectangle block sizes. For every rectangle block there are TWO orientations included: Example 6x10 block:

Rectangle block sizes (each includes a horizontal orientation file and a vertical orientation file) 5x7, 6x10, 7x12, 8x12, 9x14 and 10x16
NOTE: Please be sure to view each block size in the Thumbnails PDF that is included in your download as the art varies slightly depending upon the block size and orientation. They have all been worked separately to ensure a beautiful finished look to your project!
EXACT FILE SIZES OF EACH BLOCK ARE AS FOLLOWS:

REGARDING THE HORIZONTAL AND VERTICAL ORIENTATIONS:
We provide both orientations so you will have maximum versatility with regard to size when planning your projects. Each block connects end-to-end in ROWS and mimics edge-to-edge pantograph style quilting. Choose which block you will be using after doing a little math to determine the height and width of your project and how many across you’ll need, and how many rows. For denser quilting, use smaller designs.
TAKING INTO CONSIDERATION HOW YOUR MACHINE ROTATES DESIGNS:
Single needle machines have vertical hoops, while multi needle machines have horizontal hoops. You CAN use both the vertical and horizontal files on either machine, but be advised that IF you are using a horizontal block on your single needle, it has been already manually rotated and it will START at the TOP and END on the BOTTOM. You will need to know your machine to hoop your project accordingly.
Because the VAST majority of our customers have single needle machines, ALL of the horizontal files have been manually rotated. If you have a MULTI NEEDLE machine, it will likely need to be rotated by you for your hoop. This is very easily accomplished right in your embroidery machine. PAY ATTENTION if your machine automatically rotates the design that it didn’t rotate it to UPSIDE DOWN. If this happens, simply manually rotate it right-side up. Remember: the designs enter on the left and exit on the right. (or top/bottom if your hoop is rotated correctly)
DECIDING WHICH SIZE BLOCK TO CHOOSE
Each of our End-to-End Quilting™ embroidery designs comes in the above mentioned hoop sizes. What if you have a large hoop but would like smaller motifs and a more “dense” quilting look? You can accomplish this easily within your embroidery editing software. We highly recommend Embrilliance Essentials.
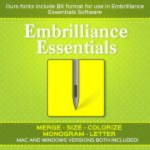
Becky Thompson from Power Tools With Thread has a great video to demonstrate this here: https://www.youtube.com/watch?v=y-GNIhcJjuE
For example:
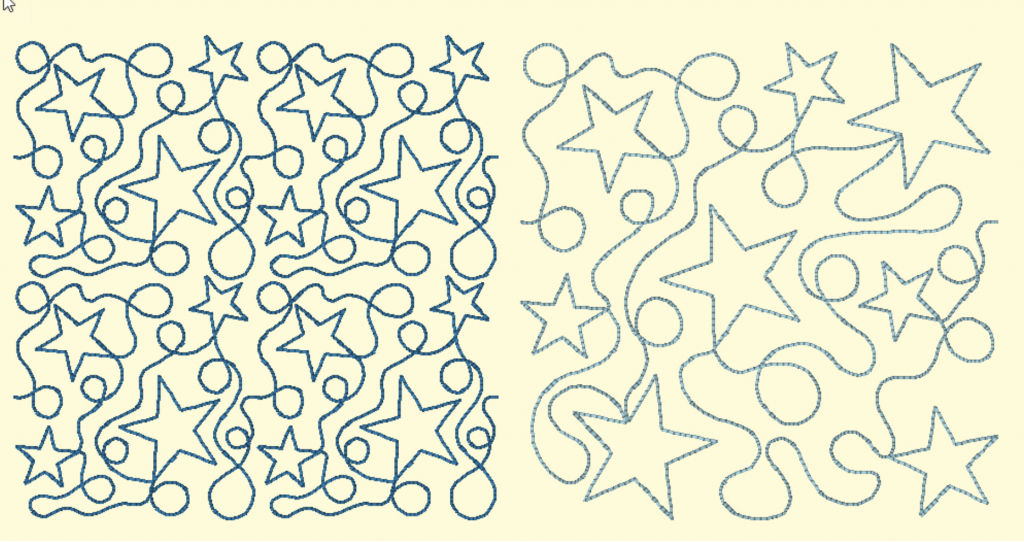
Let’s say you want to use your 8x8 hoop, but you would like a more dense quilting look. You can use an 8x8 design (RIGHT) OR using Embrilliance Essentials, you can open the 4x4 file, duplicate it and align it horizontally, then group. Then, you will copy and paste and align it vertically. (LEFT) Save as your stitch file. Now you have two entirely different options for your 8x8 hoop.
LEFT: (4) 4x4 files RIGHT: (1) 8X8 file. This is what we mean by a more “dense” design.
The following image represents one 9x14 size on the RIGHT, and on the LEFT there are (4) 5x7 files put together to fit within the 9x14 hoop. BOTH designs will fit in the 9x14 hoop.
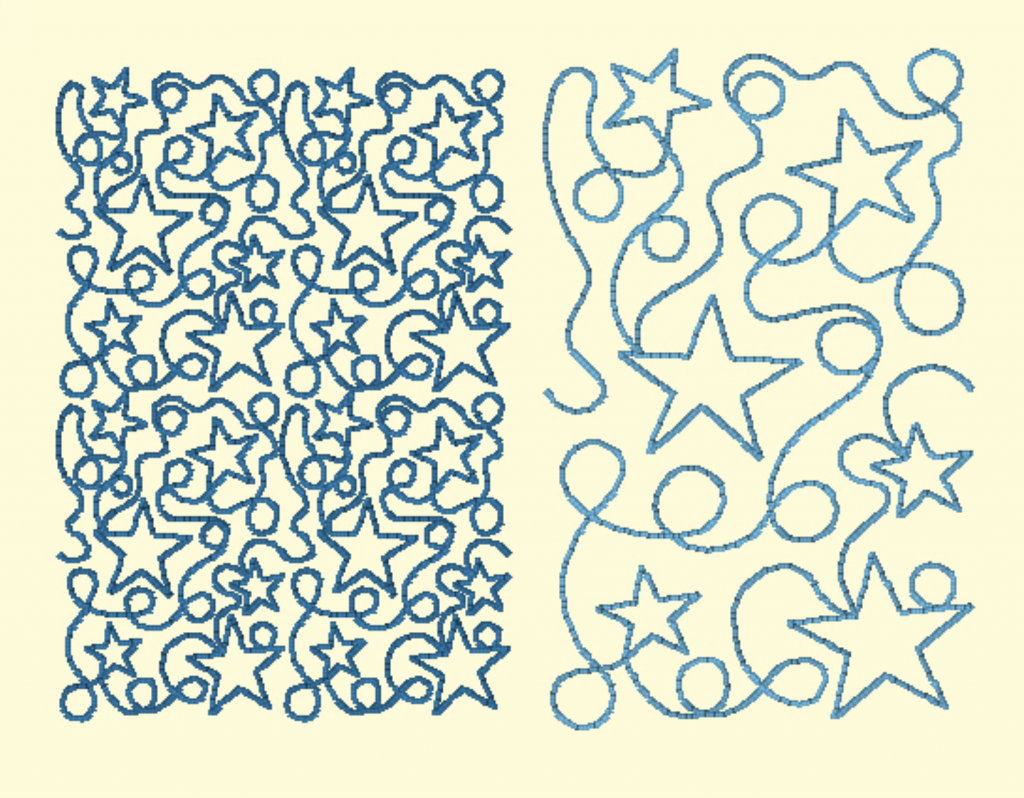
These files can be created in Embrilliance Essentials using the “align and distribute” feature. You do not have to have Embrilliance Essentials. All embroidery editing software programs should have alignment tools. The concept is the same. Please note that this will NOT work in the free version of Embrilliance.
CREATING A TEMPLATE
Aligning your blocks end-to-end is key to obtaining a seamless quilting effect. Therefore, you will want to take advantage of PRINTING A DESIGN TEMPLATE using your embroidery software program.
ALL embroidery software programs allow you to print out a design template. If you don’t own embroidery editing software, you can use the FREE Embrilliance Express version to accomplish this.
ALTERNATELY, you can create your own template by stitching the design out onto a piece of cutaway stabilizer as you’ll be using the template repeatedly. Becky shows you how in her YouTube video.
1) Hoop a piece of cutaway stabilizer (I prefer to use a no show mesh as it’s see through)
2) Stitch out your chosen design onto the stabilizer in a nice dark color.
3) Remove hoop from machine but do NOT unhoop your stabilizer yet. With a pen or marker, draw your cross hatch marks and mark the exact center of the design.
4) Unhoop. Using a ruler, connect your vertical and horizontal centers to make a nice visible cross mark.
5) Cut out your template and now you have a perfect, reusable template to use for your project. Becky demonstrates using the template in her video (linked on page 1 of this document)
OTHER TIPS FOR CONSIDERATION
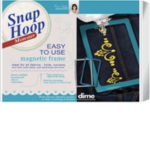
You may also wish to consider a MAGNETIC HOOP which is absolutely invaluable when doing end-to-end continuous line quilting on your embroidery machine! You CAN do it with the hoops that came with your machine, but give the MAGNETIC hoop a try and you’ll quickly see HOW. MUCH. EASIER alignment can be! DIME (Designs in Machine Embroidery) makes the Snap Hoop magnetic hoops in numerous sizes and for different machine manufacturers.
Also mentioned in Becky's videos:
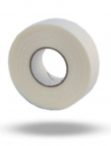
OESD Tape for Embroidery Washaway
OESD Tape for Embroidery Tearaway
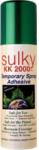
For creating your quilt sandwich and basting your layers together, we love and recommend Sulky KK2000 Adhesive Spray
Designs by JuJu’s End-to-End Quilting™ machine embroidery designs can be used in a multitude of ways!
Stay tuned for MORE YouTube Tutorials, tips, tricks and software info for more ways to use these new designs! SUBSCRIBE to Designs by JuJu YouTube Channel HERE by hitting the SUBSCRIBE button on our YouTube page.