Toggle Nav
 Inspire.
Create.
Stitch.
Inspire.
Create.
Stitch.
Search
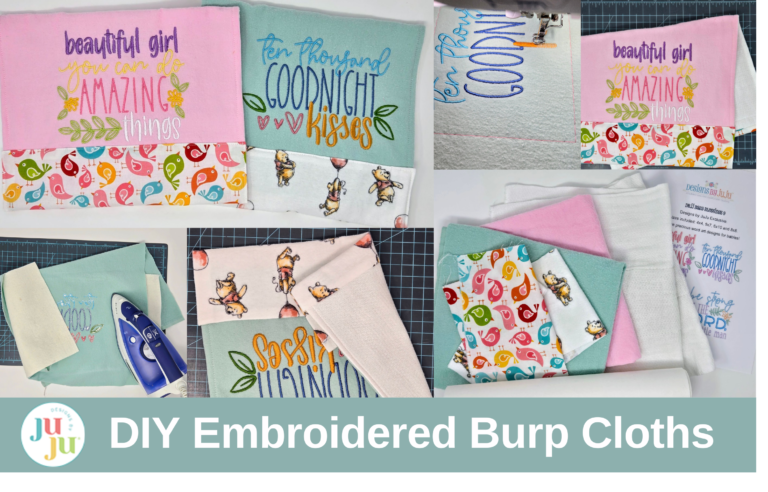
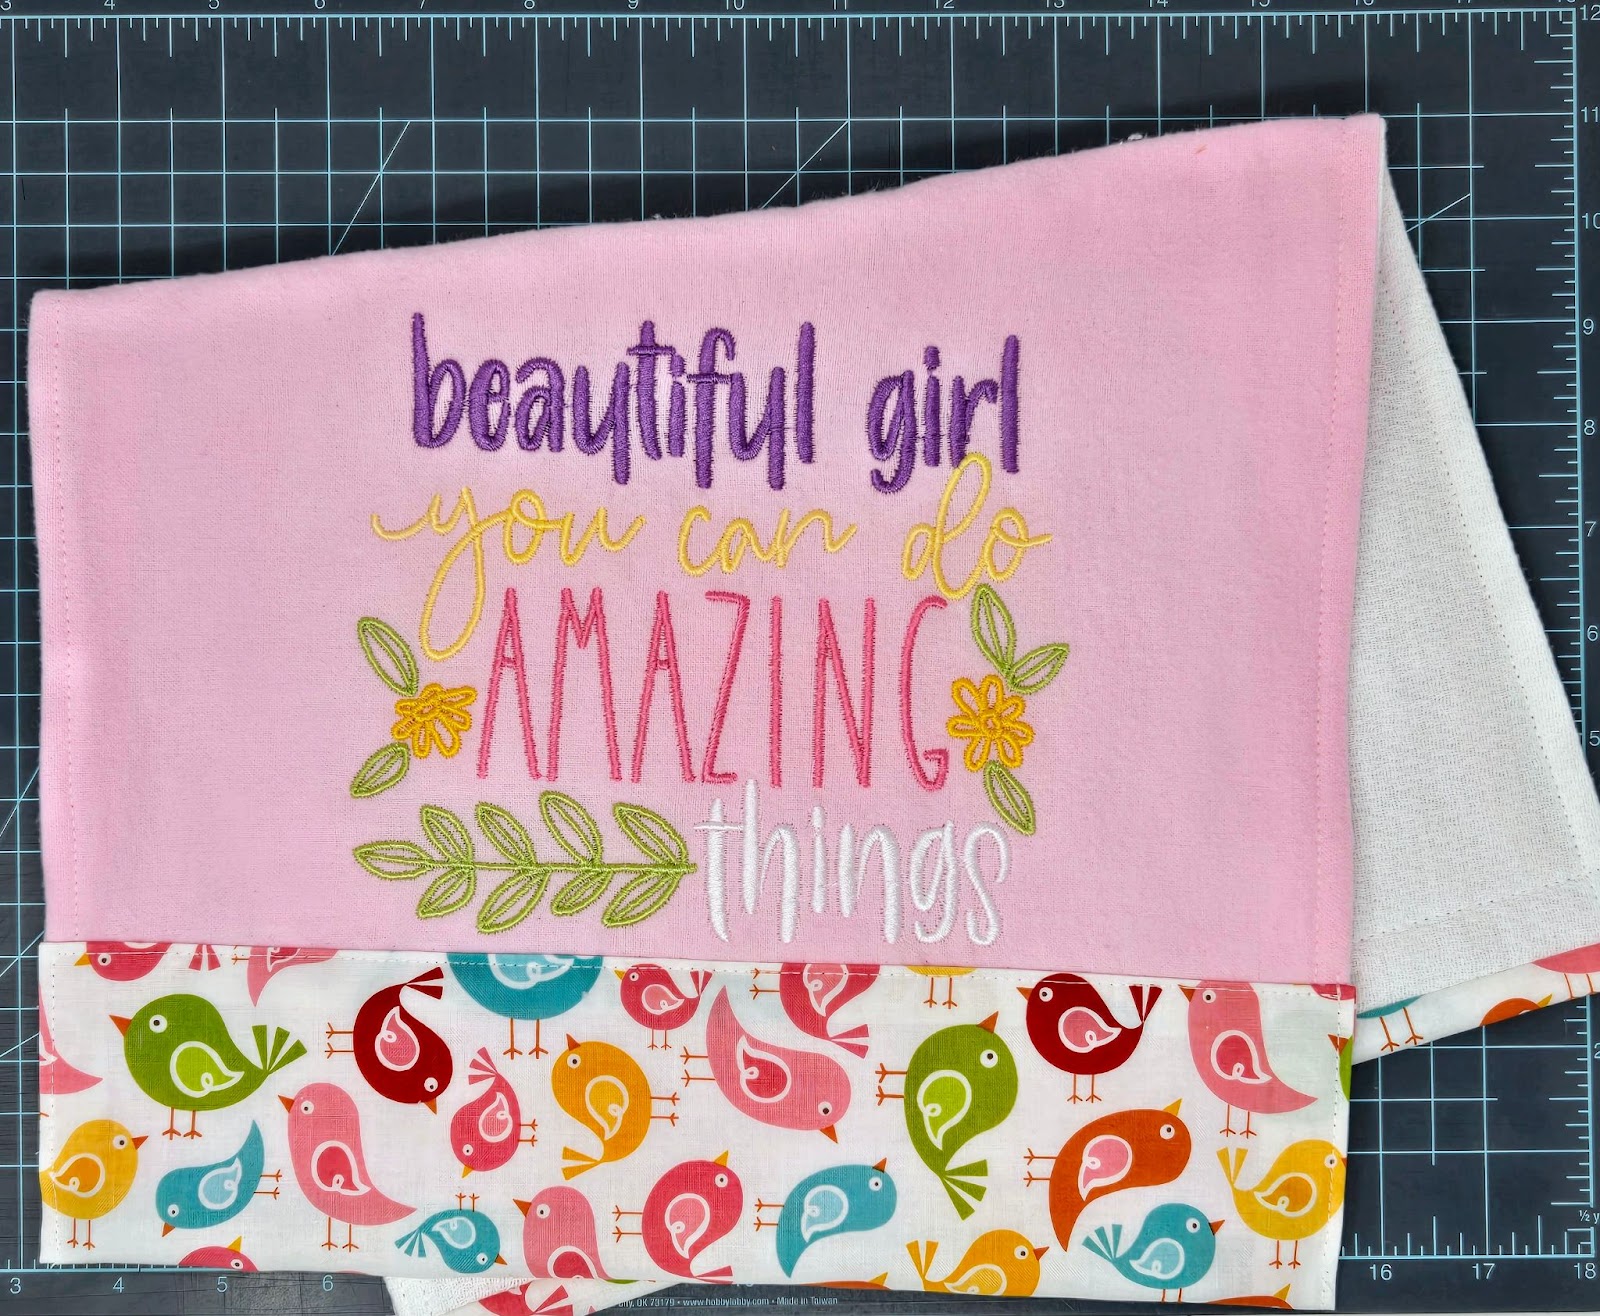
One of my favorite gifts for new moms is burp cloths. They are so fun to make, easy, and so appreciated! Let's face it—babies spit up, and when their teeth start to come in, they drool. Why not give a gift that can be washed and used over and over, and be really cute too? I have made many variations of the cloth diaper burp cloth, but my daughter always asks for this style where the embroidery is on the flannel, not the diaper. Very few supplies are needed, so let’s get started!
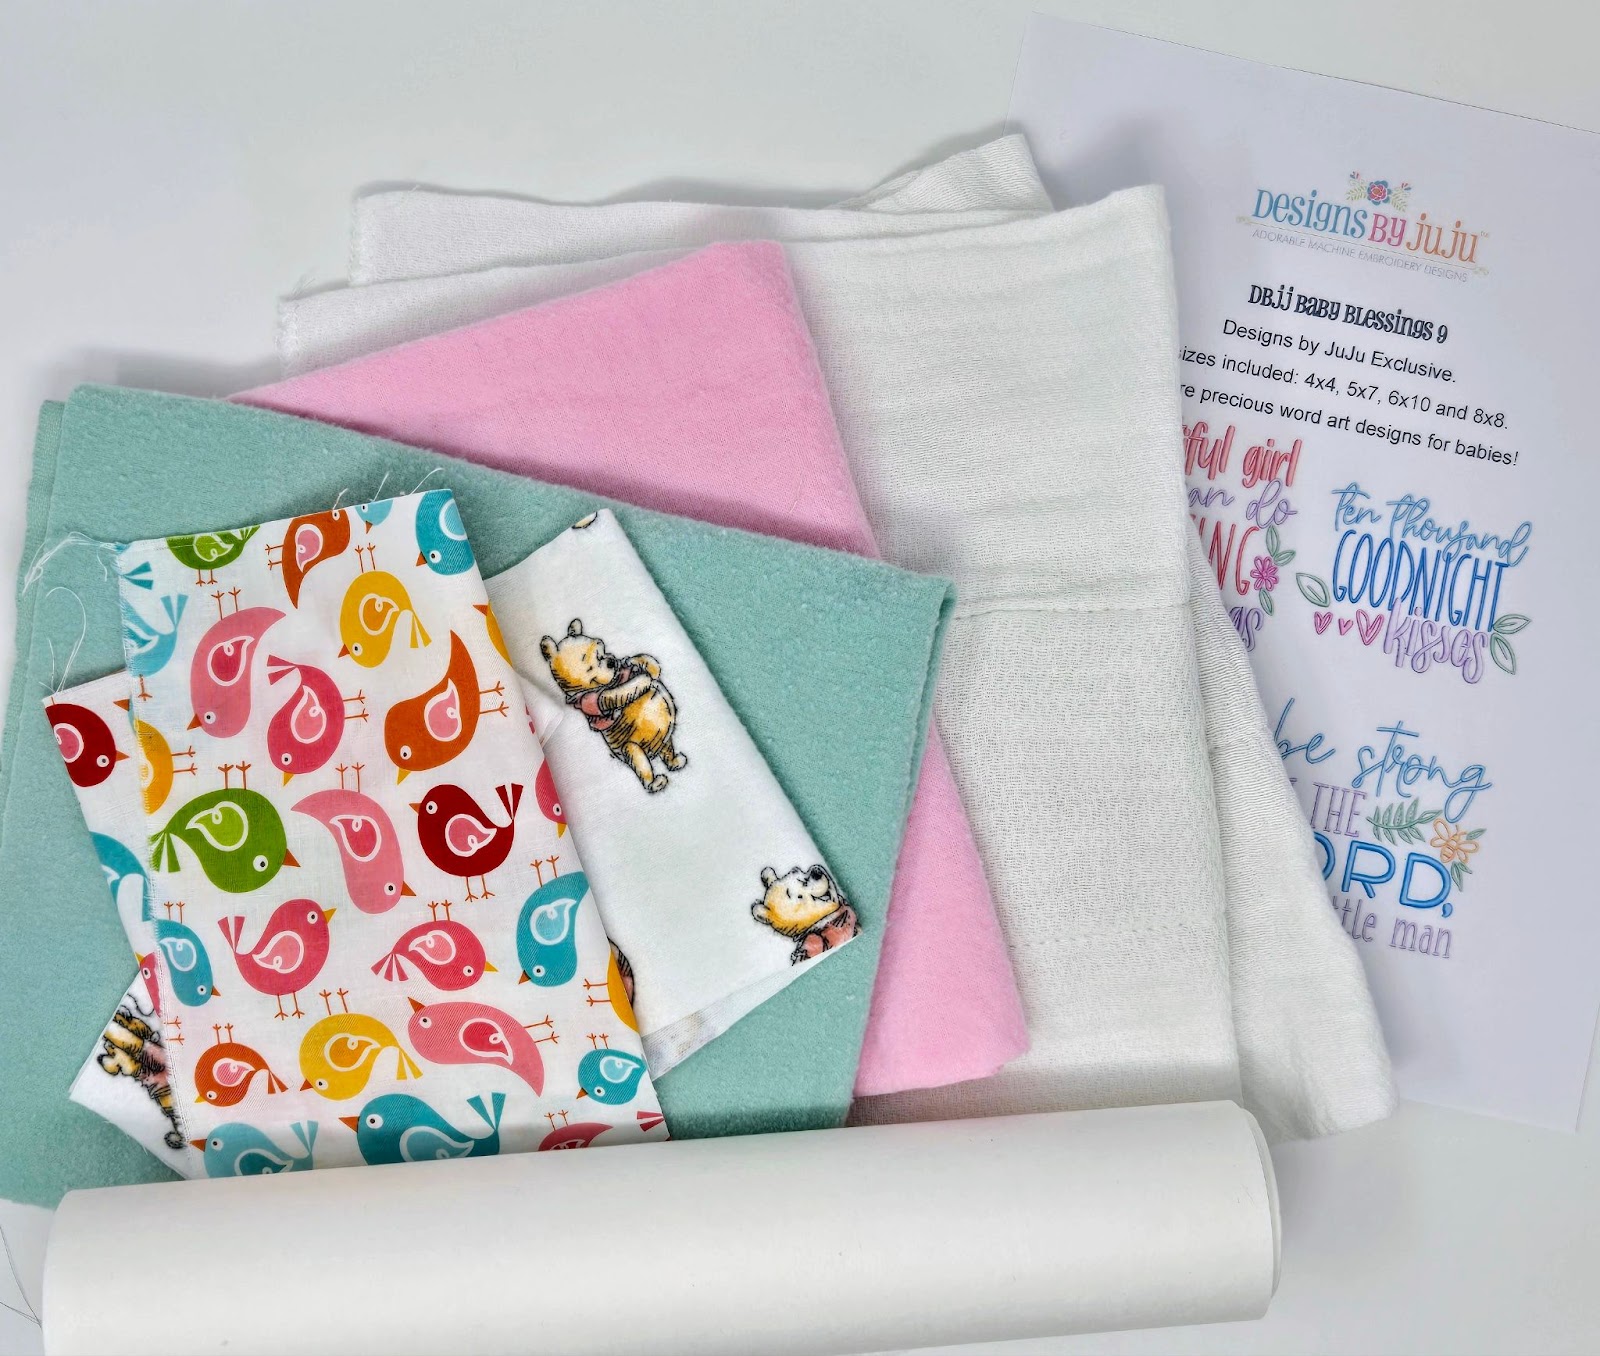
Check out the Designs by JuJu team’s favorite supplies in the Designs by JuJu Amazon store.
Pro-Tip: Always pre-wash your flannel and your diapers. I run my serger along both cut ends of the flannel to help prevent fraying. If you don’t have a serger, do a zigzag stitch with your sewing machine. I wash them in hot water and dry them all in the dryer.They will shrink. Remember, these items will be used a lot, so they need to be prepared for multiple washings.
Give your diaper and your flannel a good press. I like to use a starch when pressing the flannel to give it a bit of a stiffer feel for the embroidery.
Load your chosen designs onto your USB flash drive and insert into your embroidery machine. I do not add designs to software before putting them on my USB drive. I don’t plan to change anything so my downloaded design goes directly on my USB drive, then to my embroidery machine.
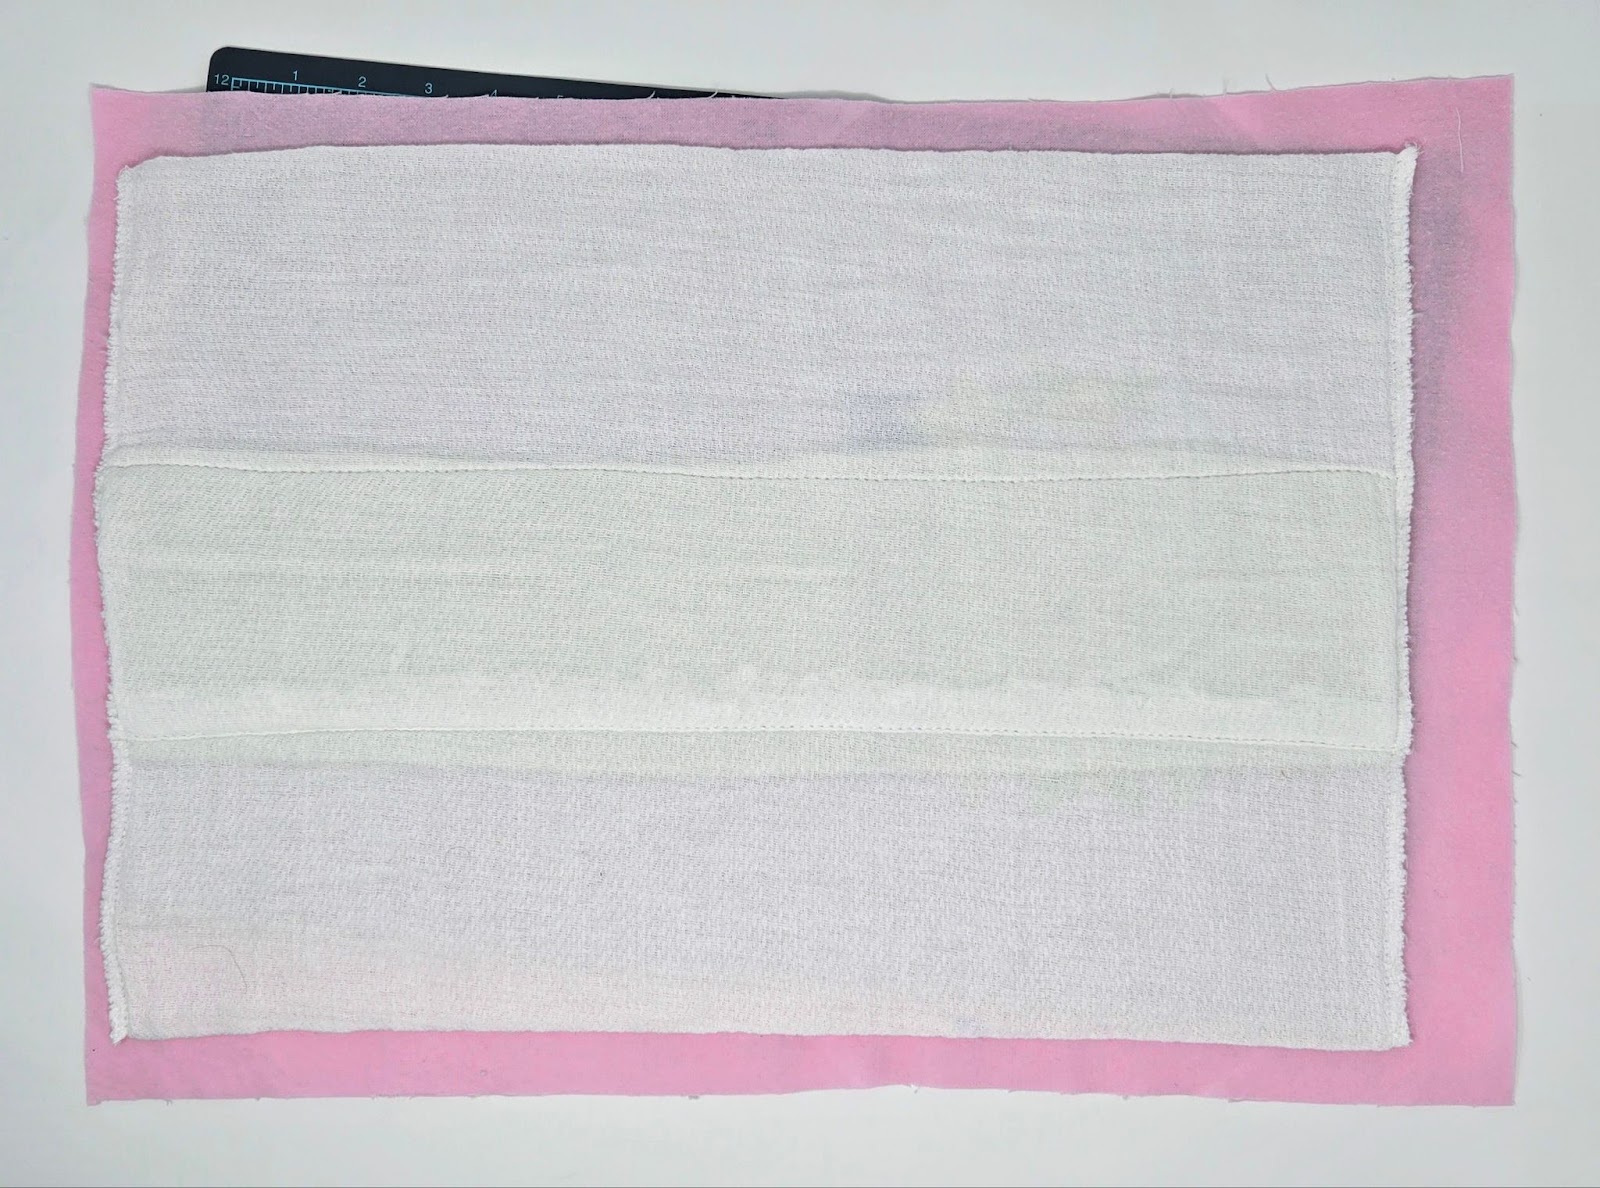
Cut your flannel 1” wider and longer than your diaper on all sides. Diapers vary in size, even in the same package, so I do this every time I make a burp cloth. I usually don’t measure, but just lay the diaper on top and trim. You can eyeball this step, just make sure it is an inch wider or more.
Hoop the tear-away stabilizer and flannel rectangle, with the flannel centered top to bottom of the hoop, and with a short edge hanging approximately 4” over the side of the hoop. This is the bottom for the finished burp cloth and we want the design to be nearest the bottom. In my case, the design is turned at a 90º angle and the bottom of the design is the right side of my hoop.
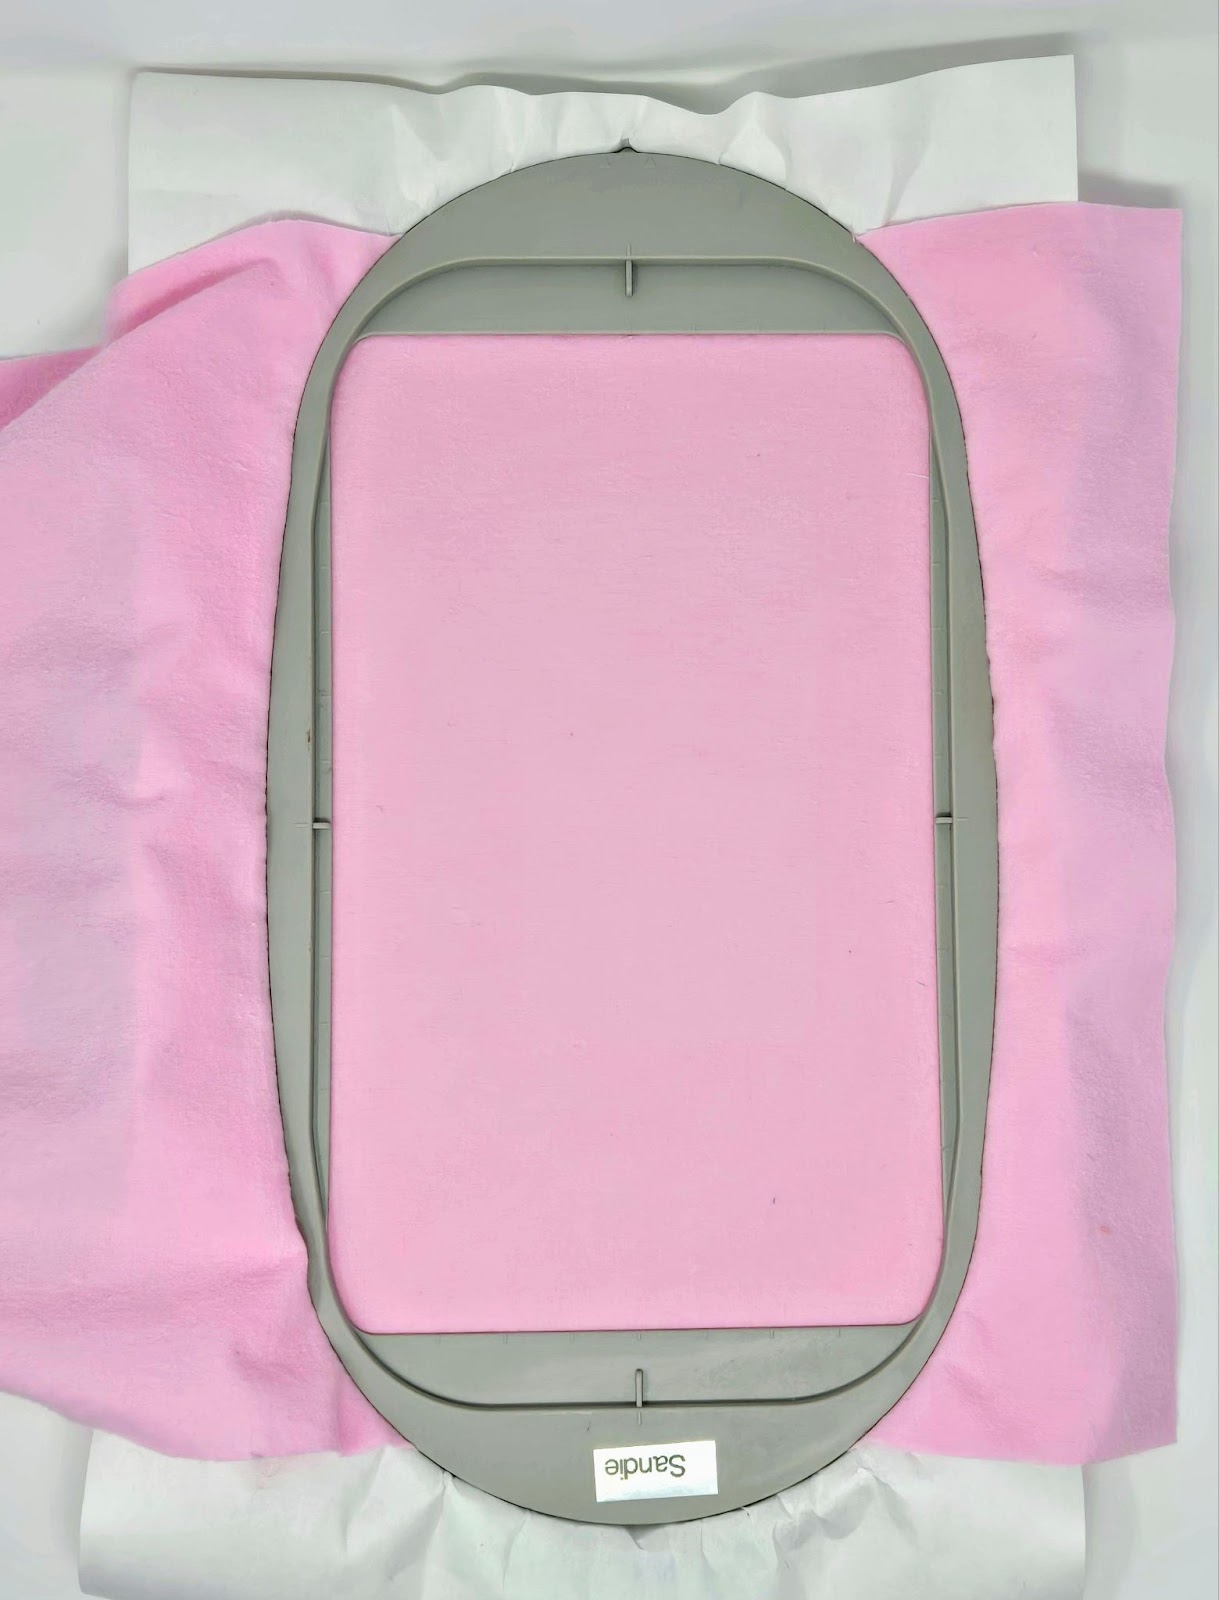
If possible, add a basting box around your design to help stabilize the flannel.
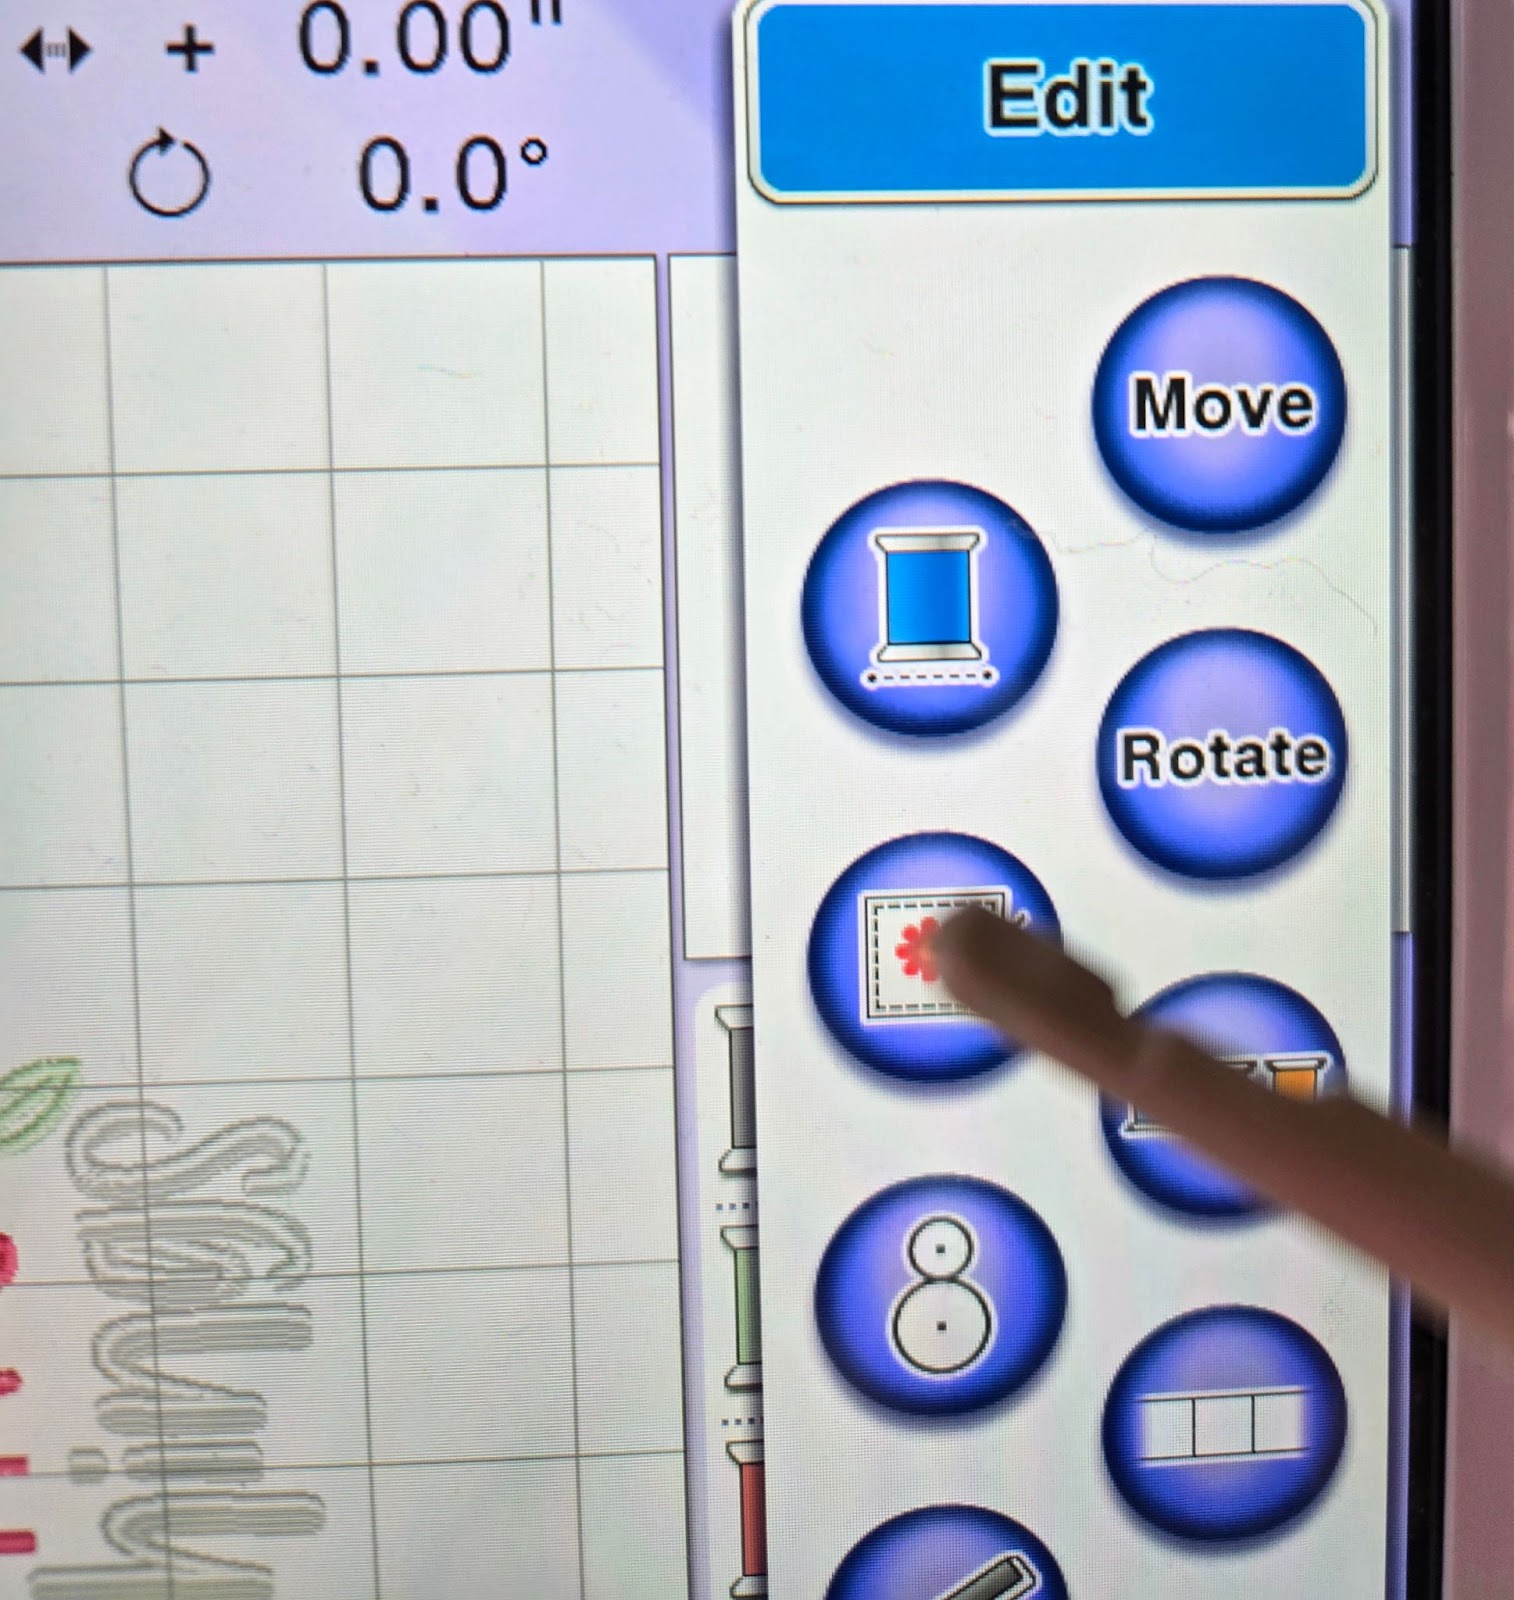
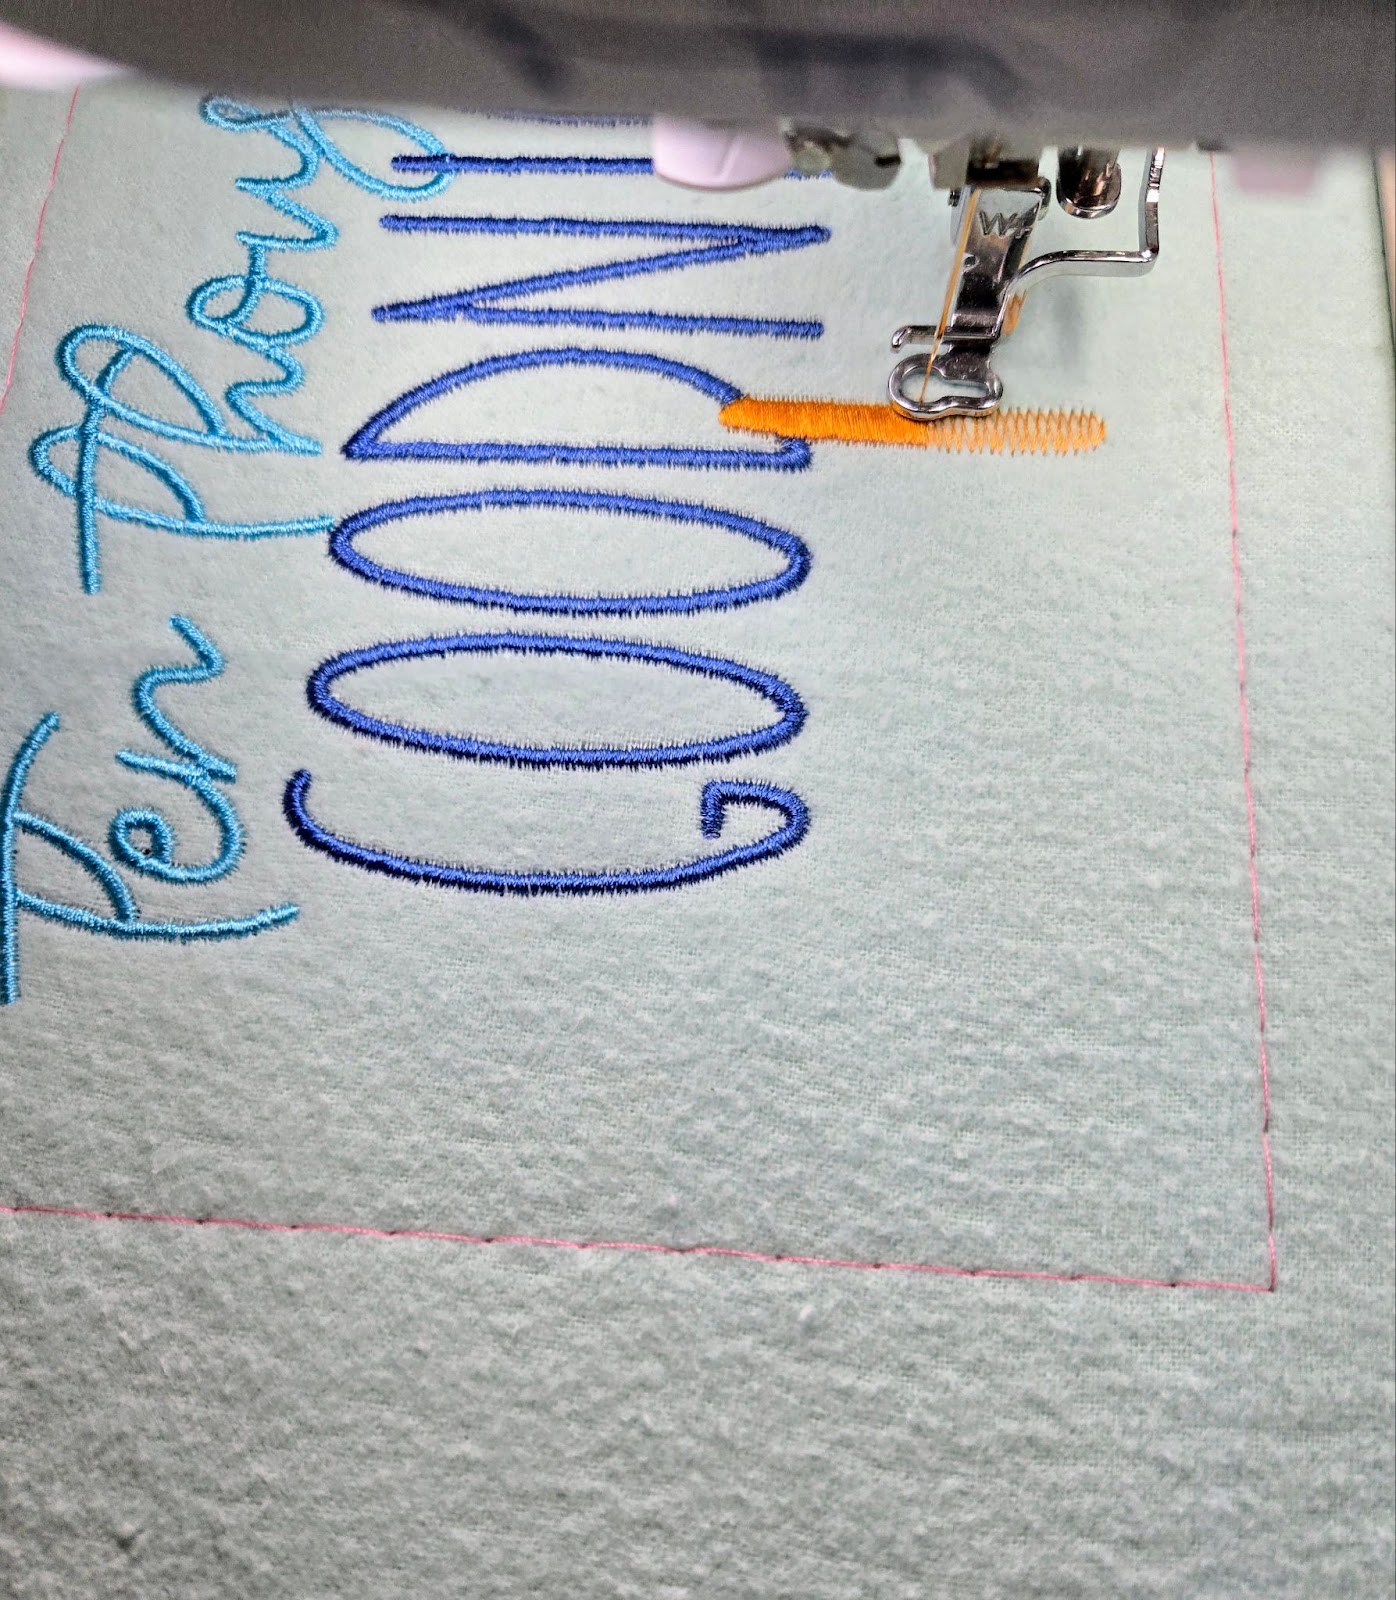
Embroider your design.
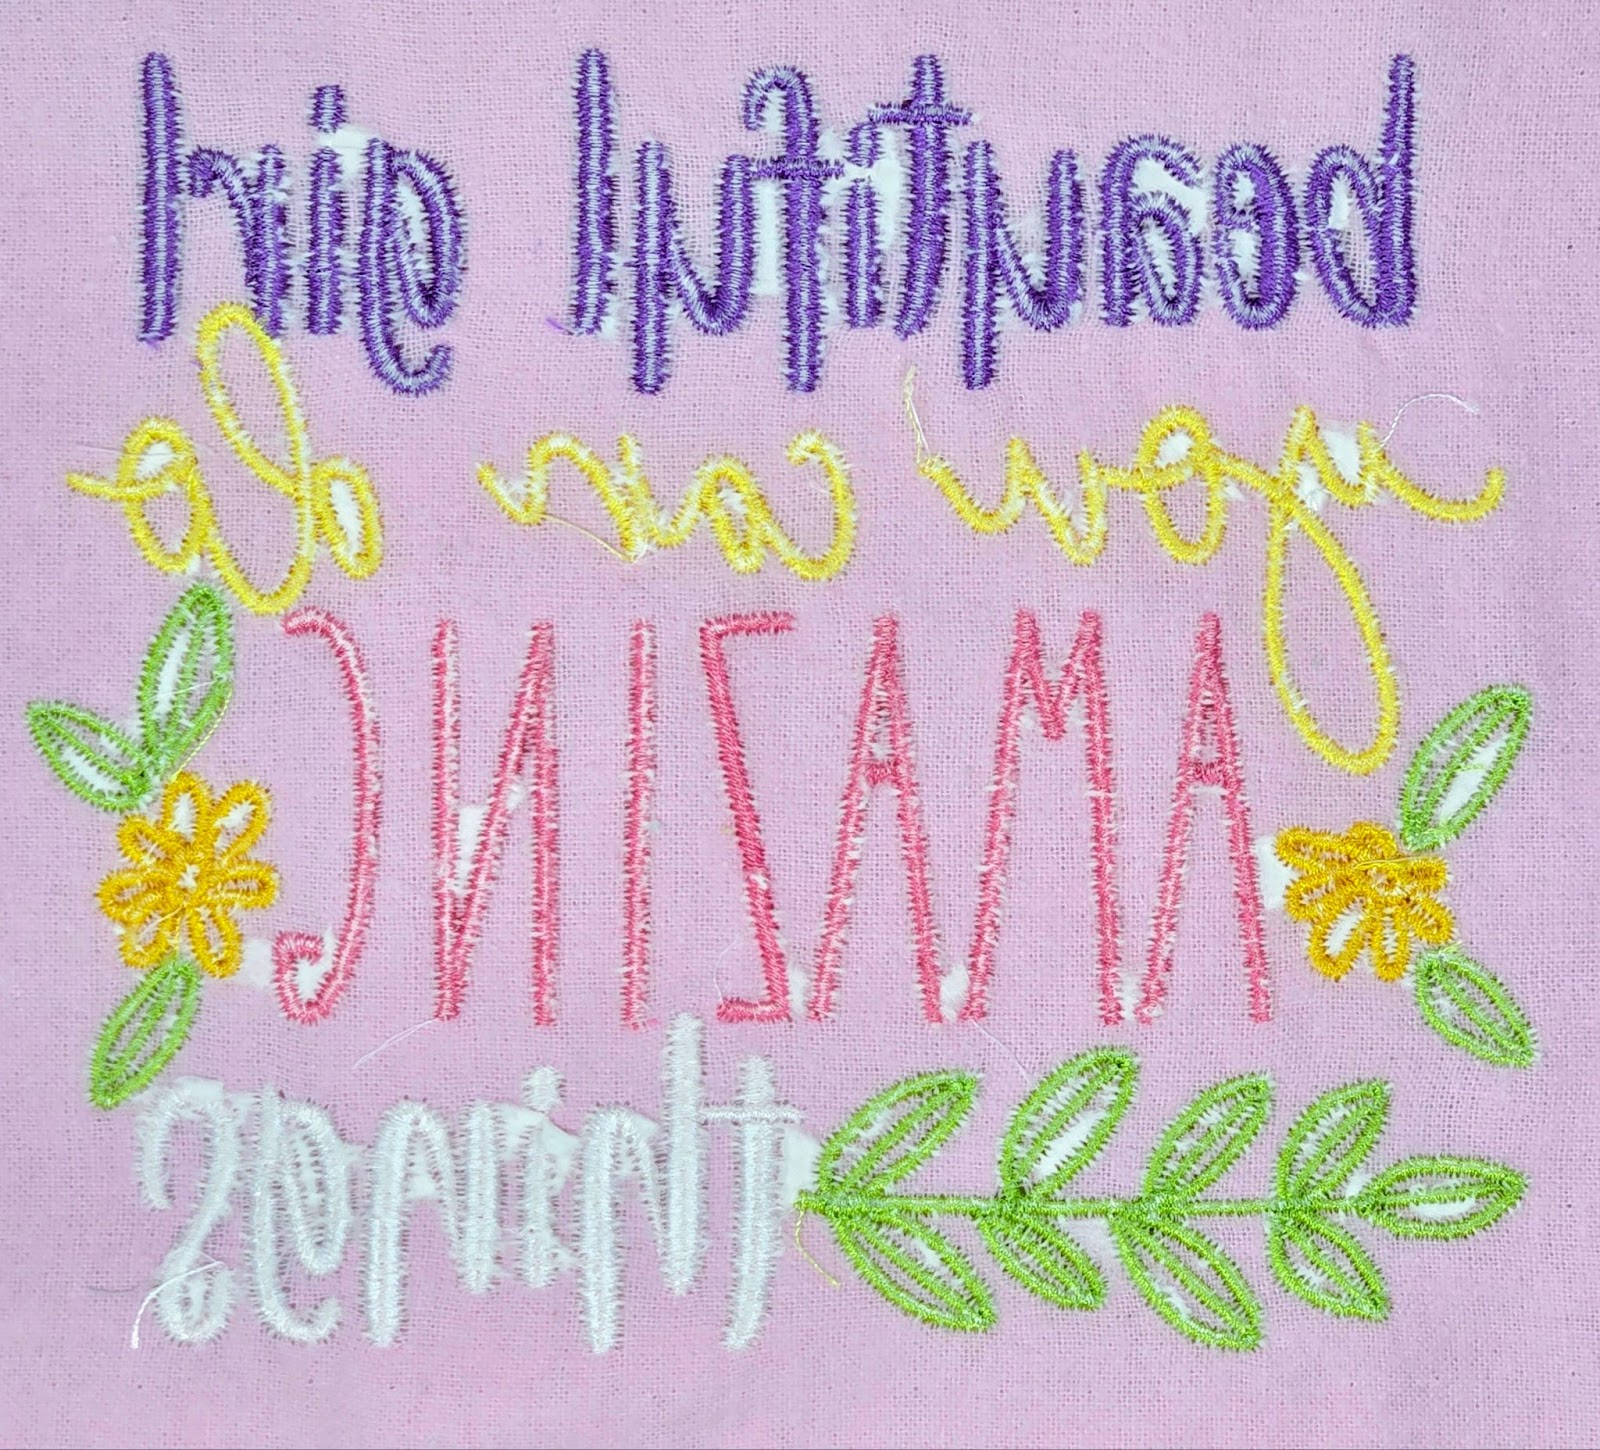
When the embroidery is finished, trim threads and remove the basting box and the stabilizer. I do not worry about getting the stabilizer out of the tiny areas; chances are I would damage my flannel or stitching.
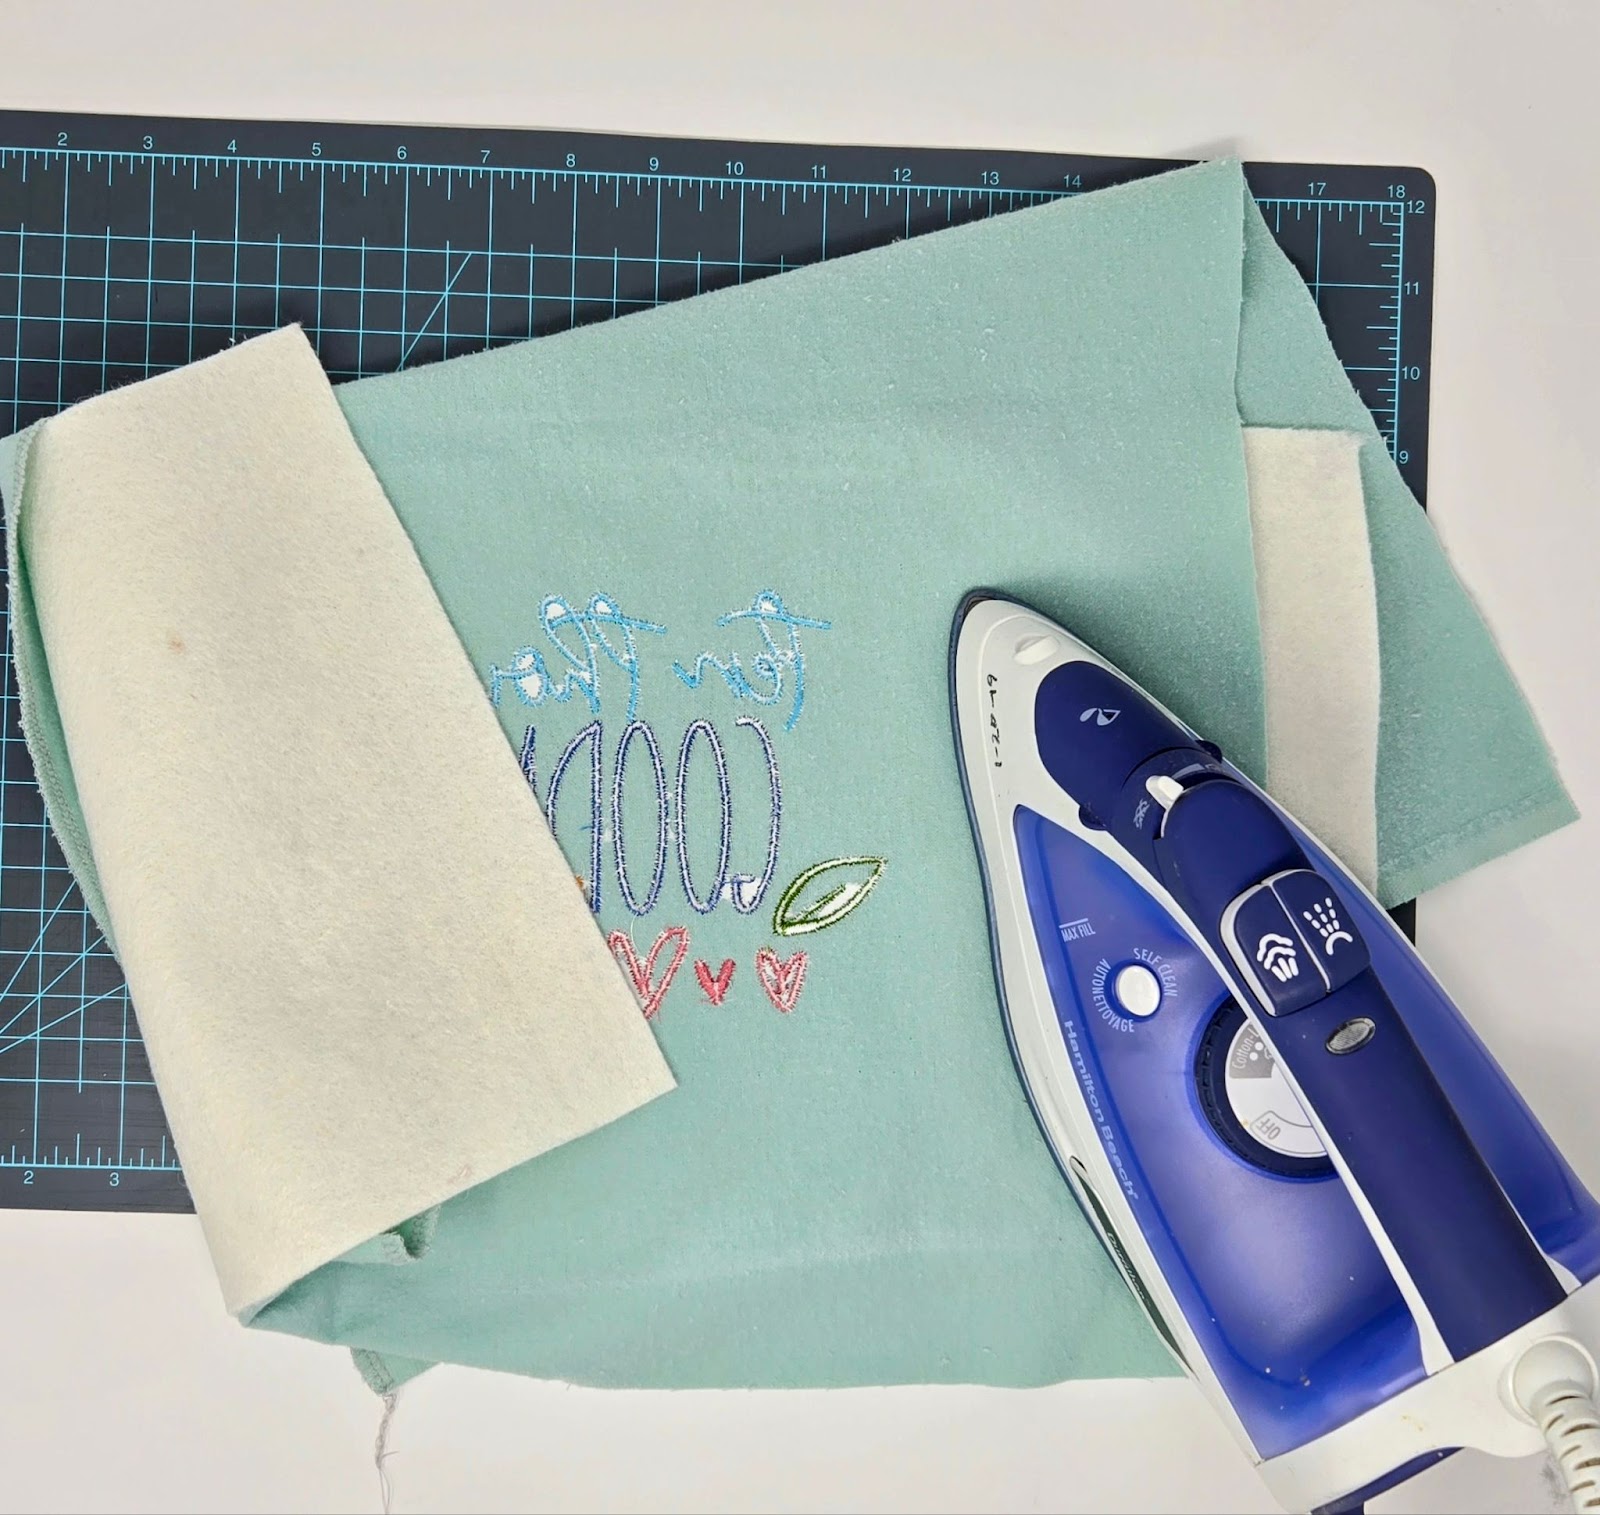
Give your design a press from the back side. I like to use a thicker press cloth designed for machine embroidery and I cut it in half to fit my ironing board.(I did not press on my cutting mat; I was hoping to show you the thickness of the press cloth.)
Find the right side of your diaper. For me, that is the side without the seam in the center. I don’t like the idea of that seam rubbing a baby’s tender skin.
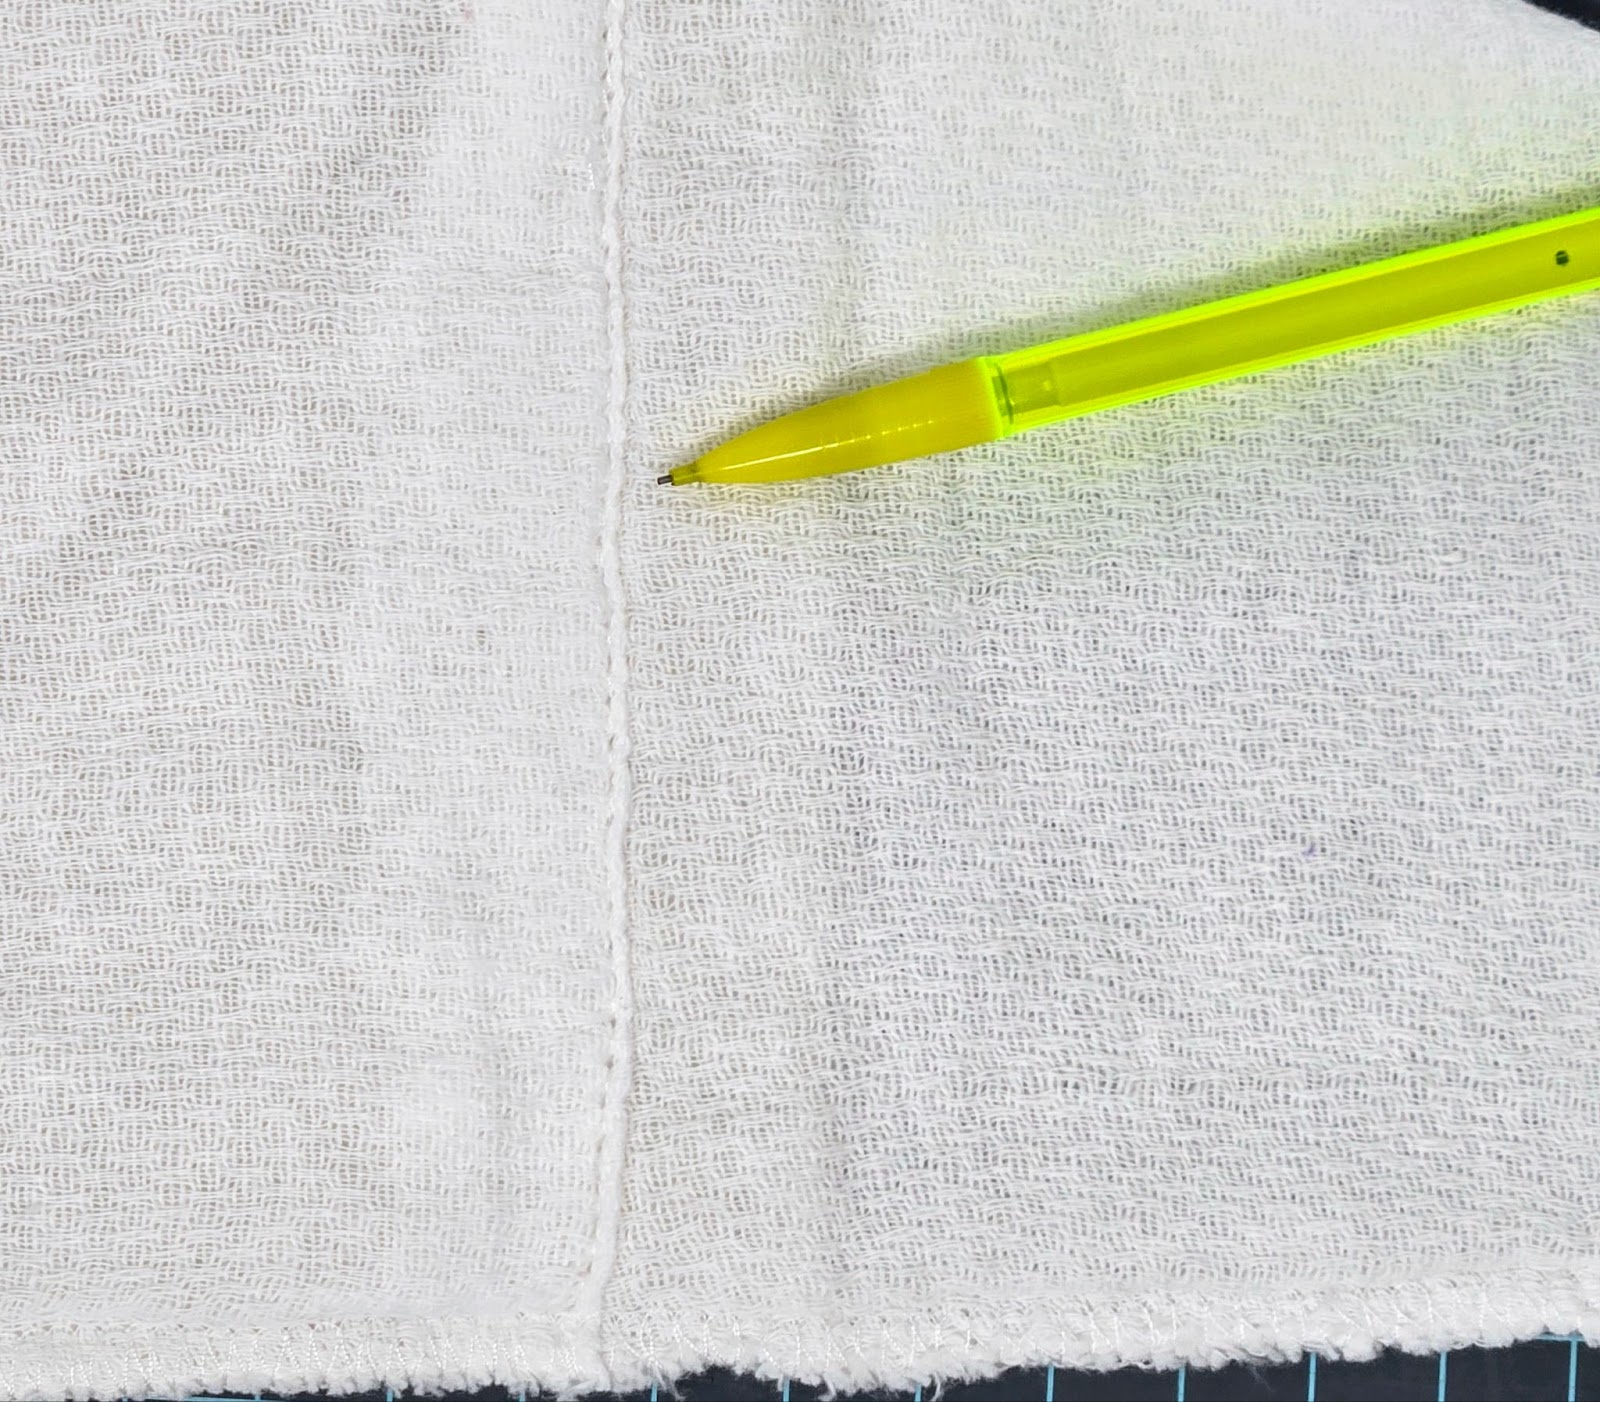
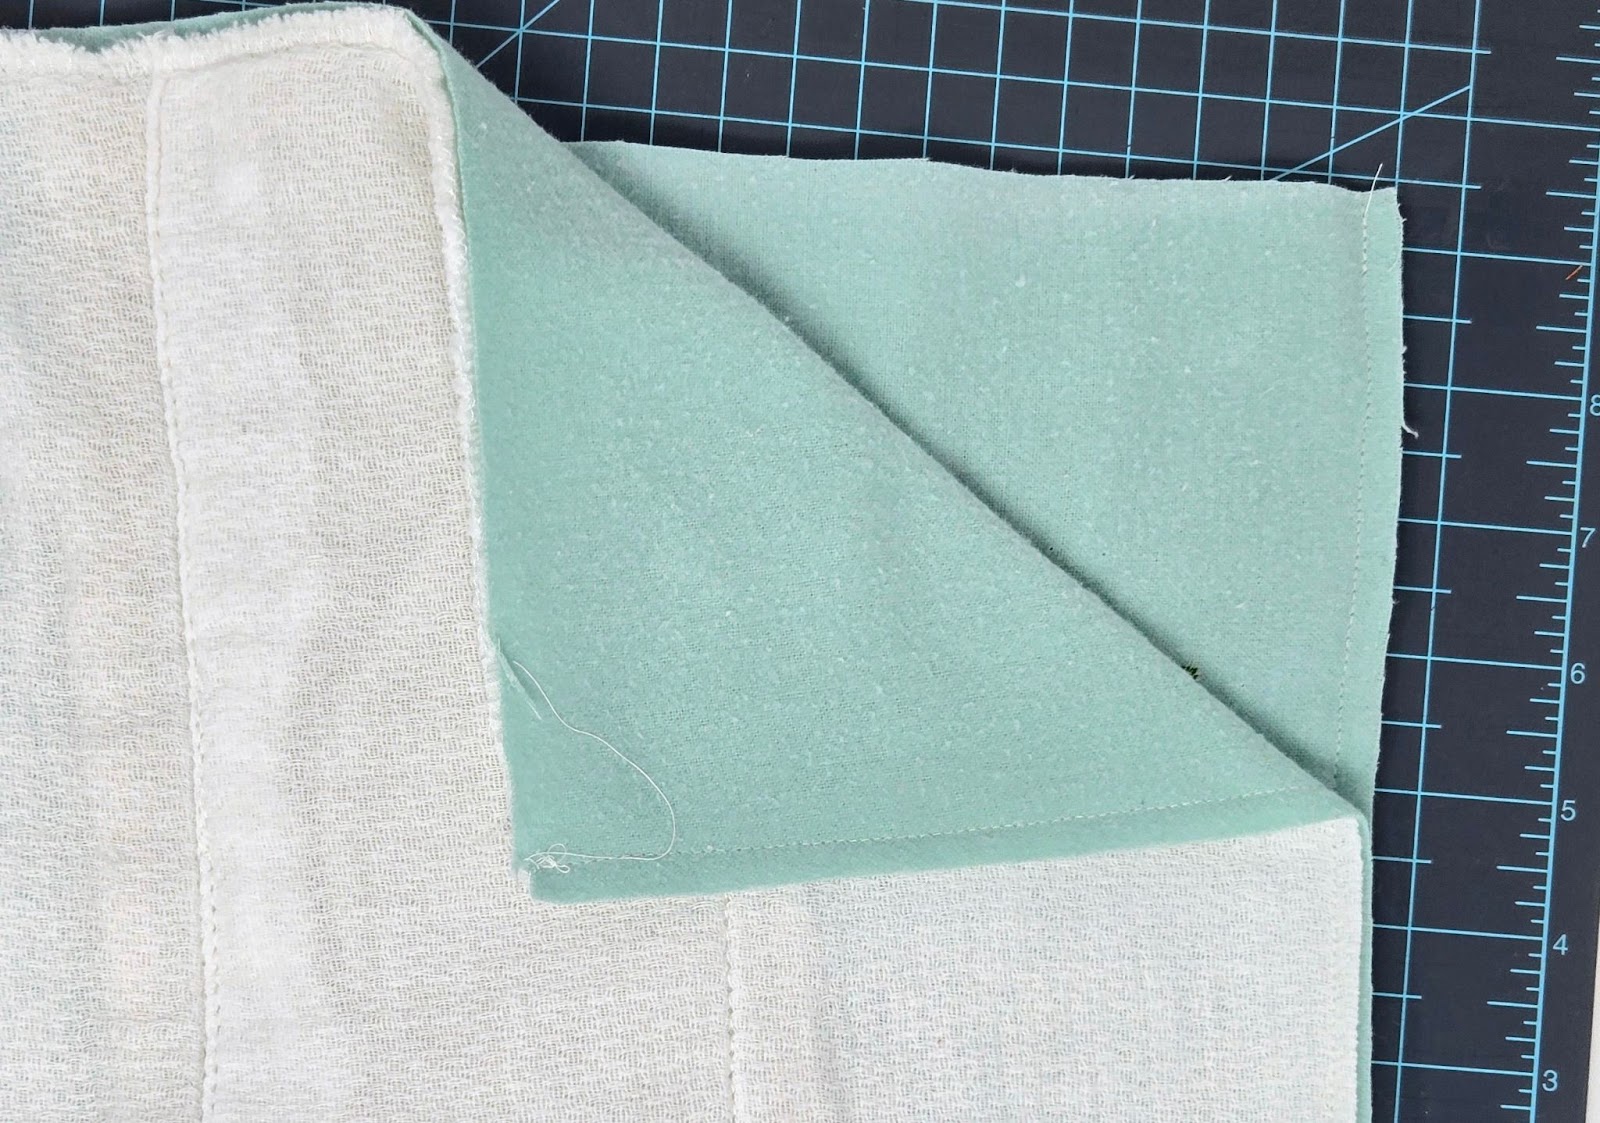
Position your diaper on top of the embroidered flannel with the right sides facing each other. Trim off the extra flannel, making sure your design is centered and about three inches from the bottom of the diaper. Some diapers are wonky, no matter how hard you try to press them straight. If you got a wonky one, straighten the edge as you trim. It is okay to cut off a bit here or there as the edges will be encased in seams.
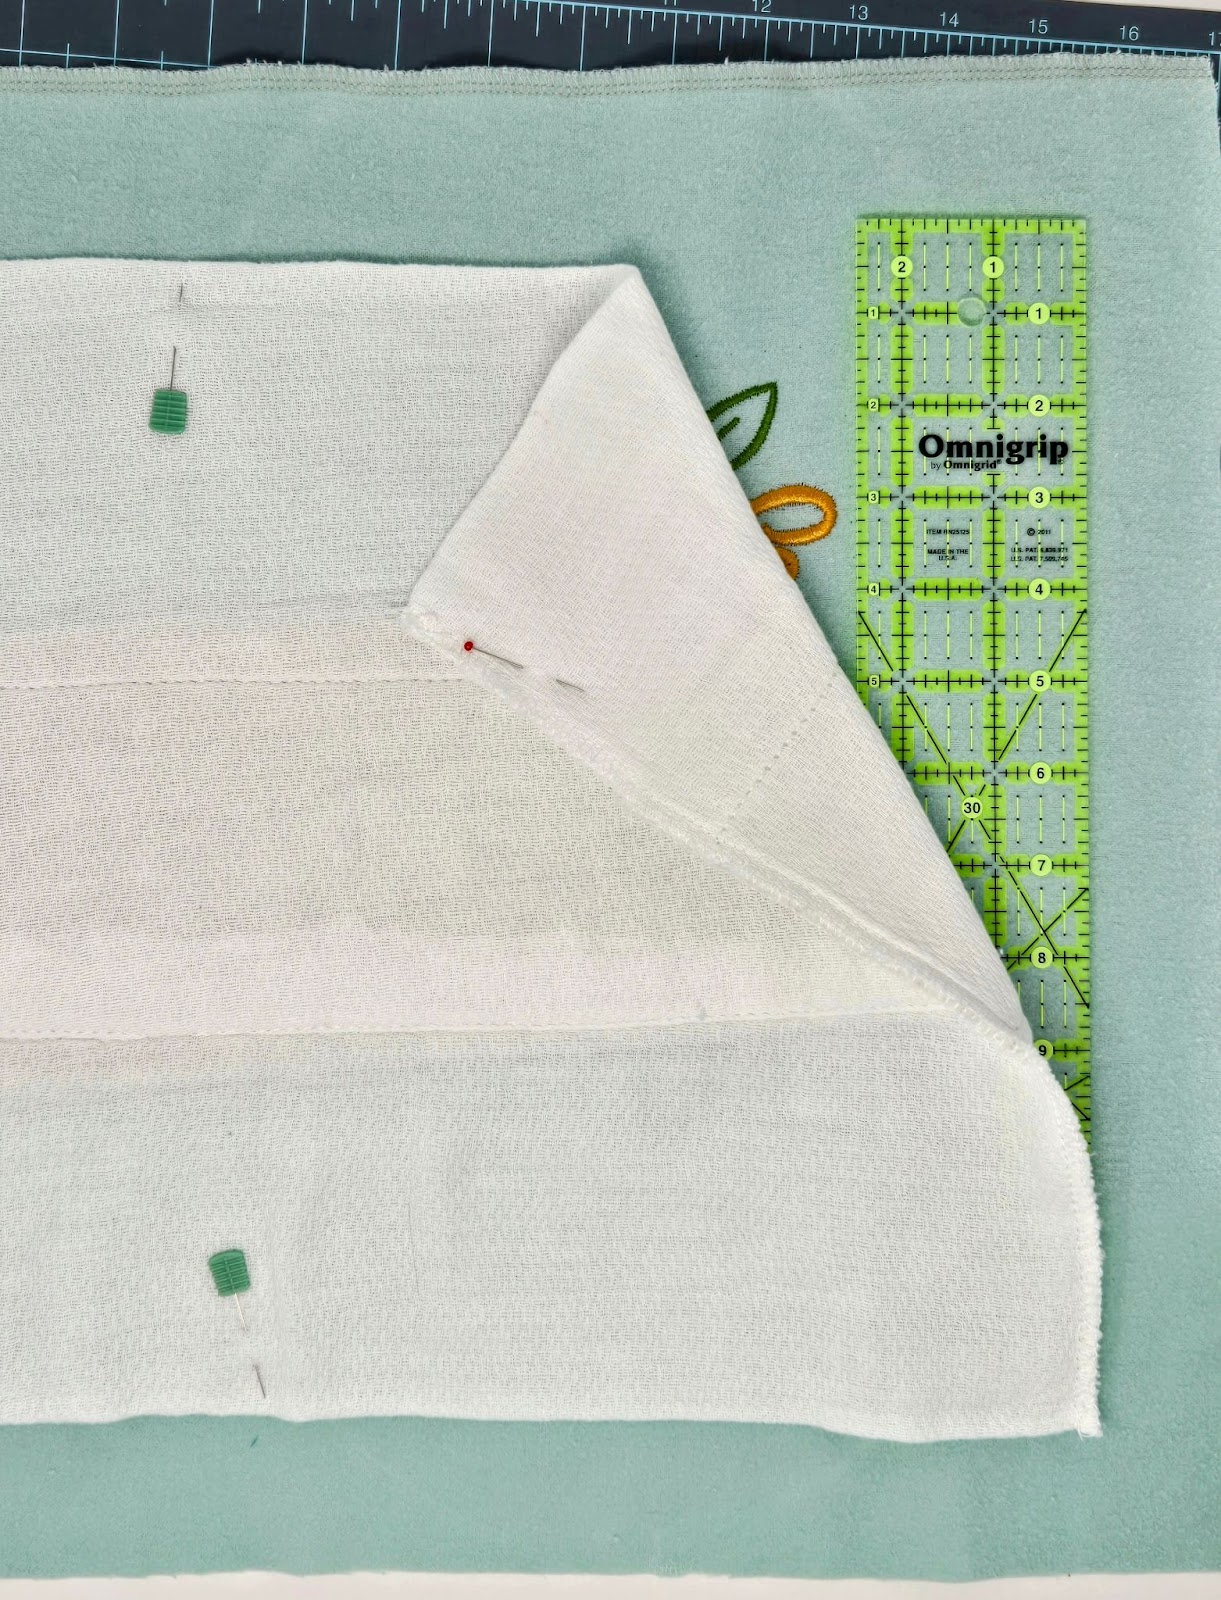
Pin along the long sides of your flannel/diaper to hold the seam together. Sew ¼” along each long side, backstitching at the top and bottom of the seam. Press your seams and then turn the piece right side out through the top or bottom opening.
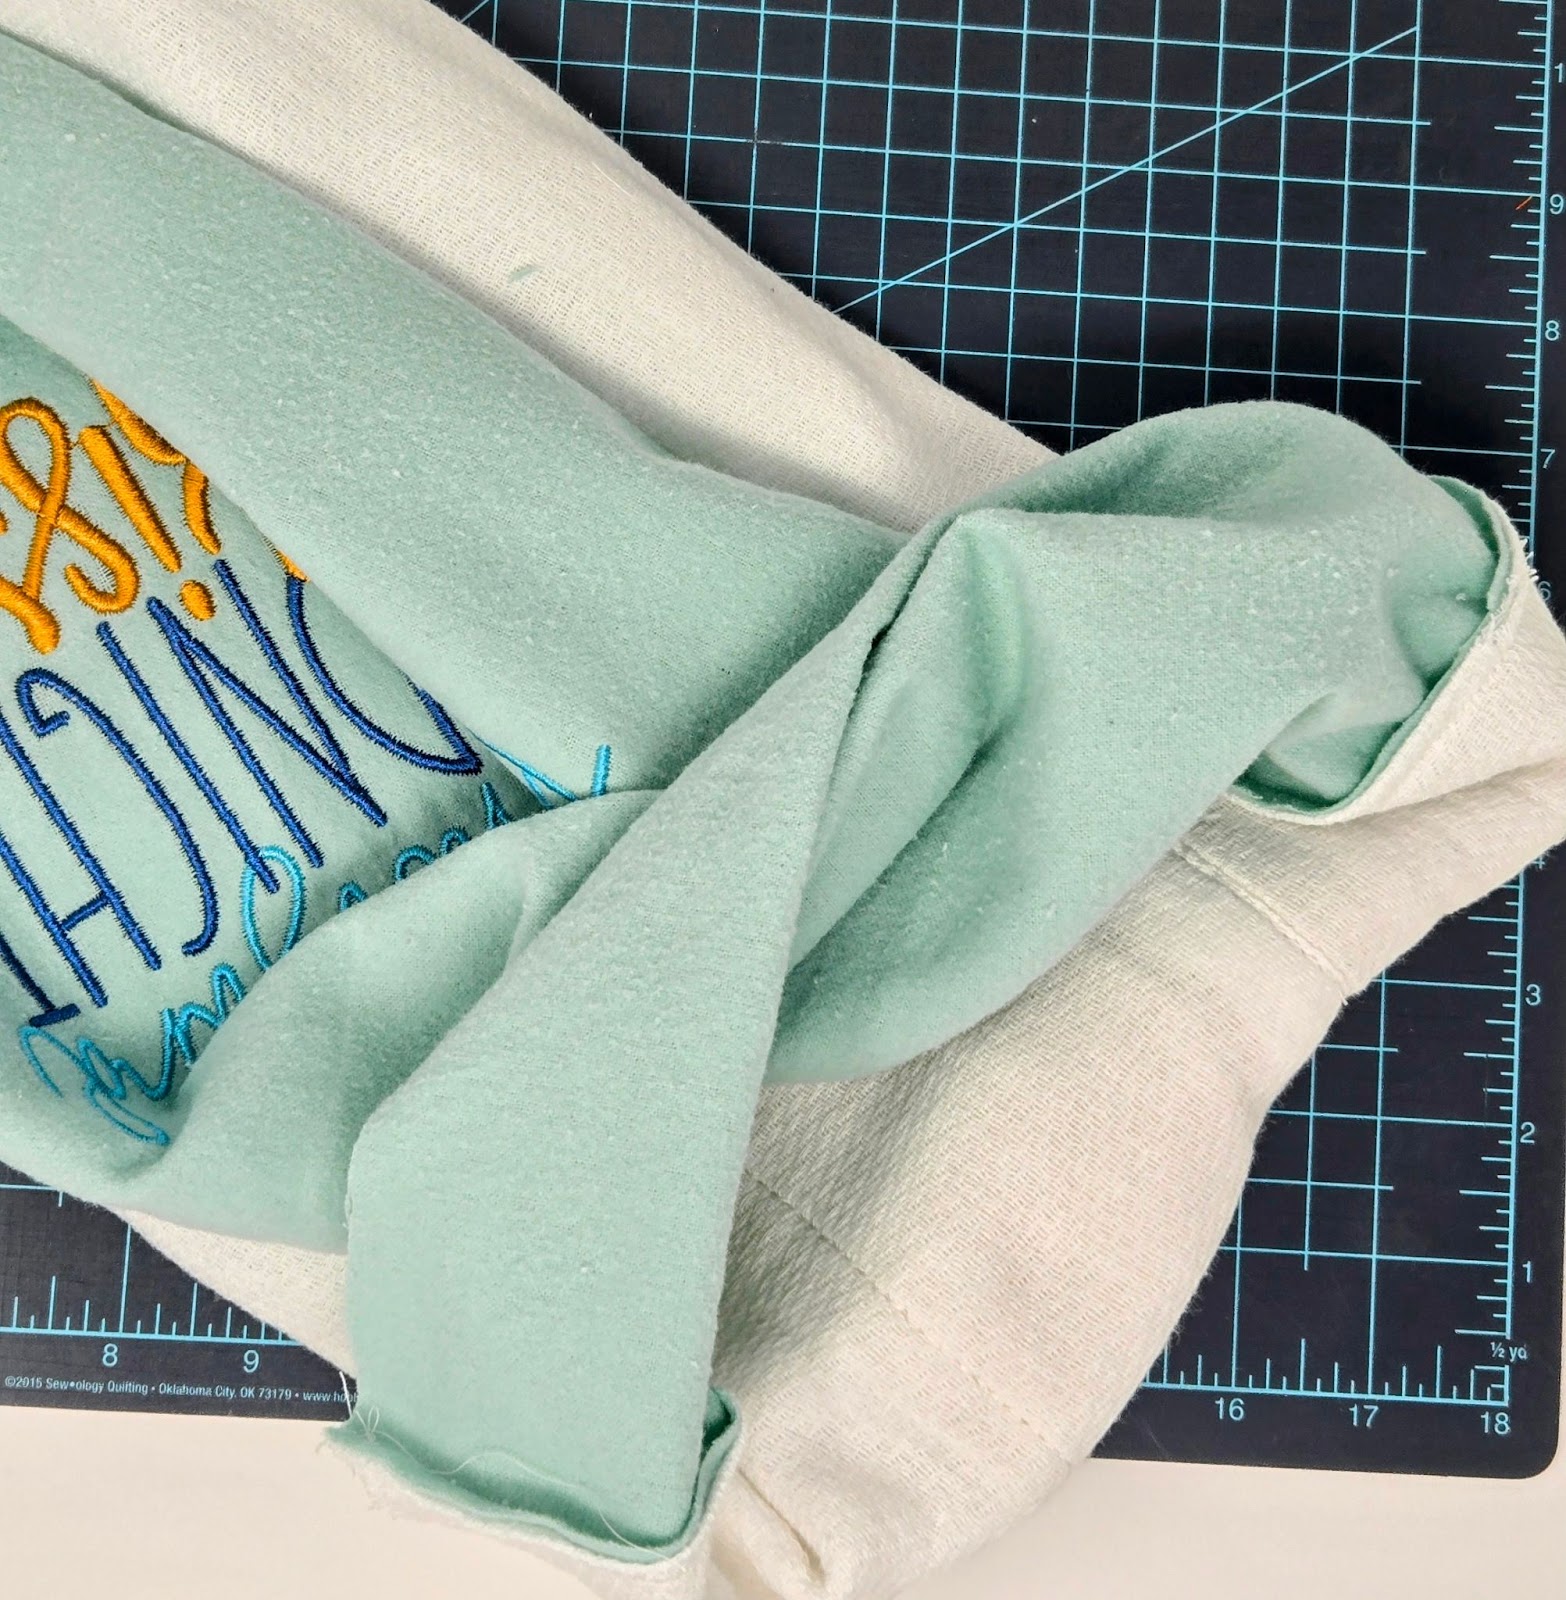
Press the sides and stitch the top and bottom openings closed with a scant ¼” seam. Then sew ¼” in along each long edge to topstitch. I like to set my stitch length to 3.0 mm for topstitching. We will now refer to this piece as our burp cloth as we add the top and bottom trim.
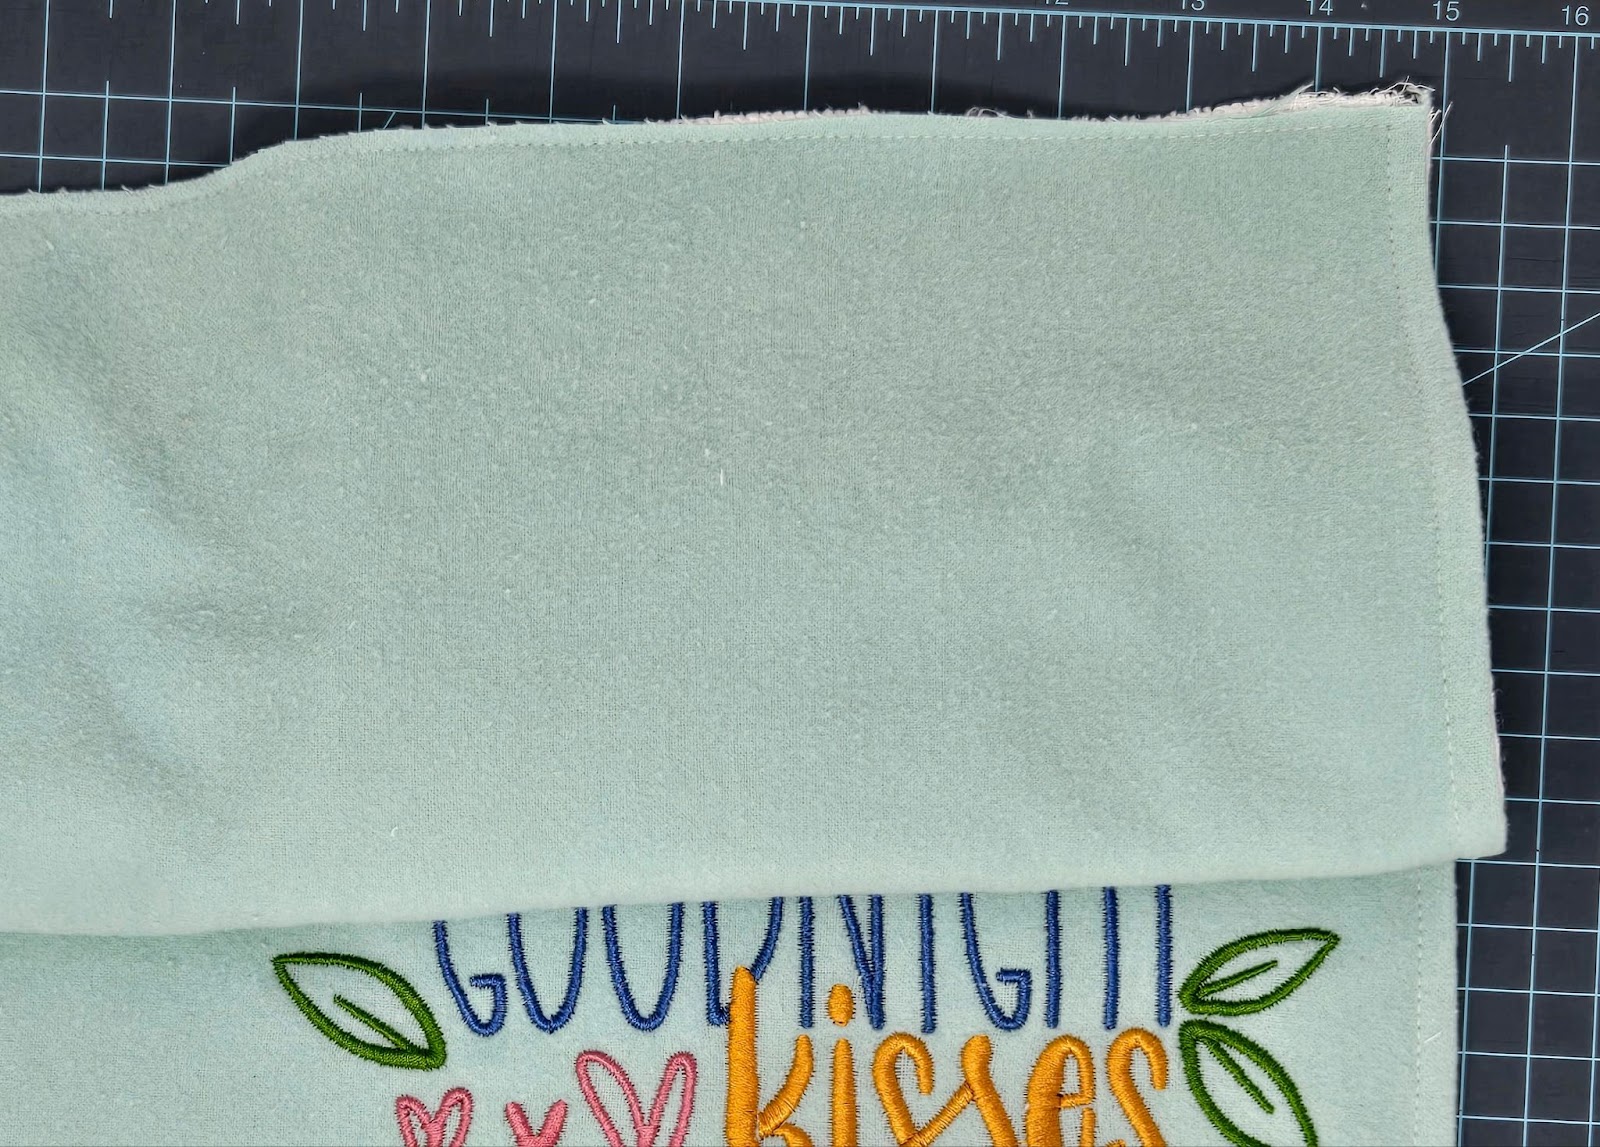
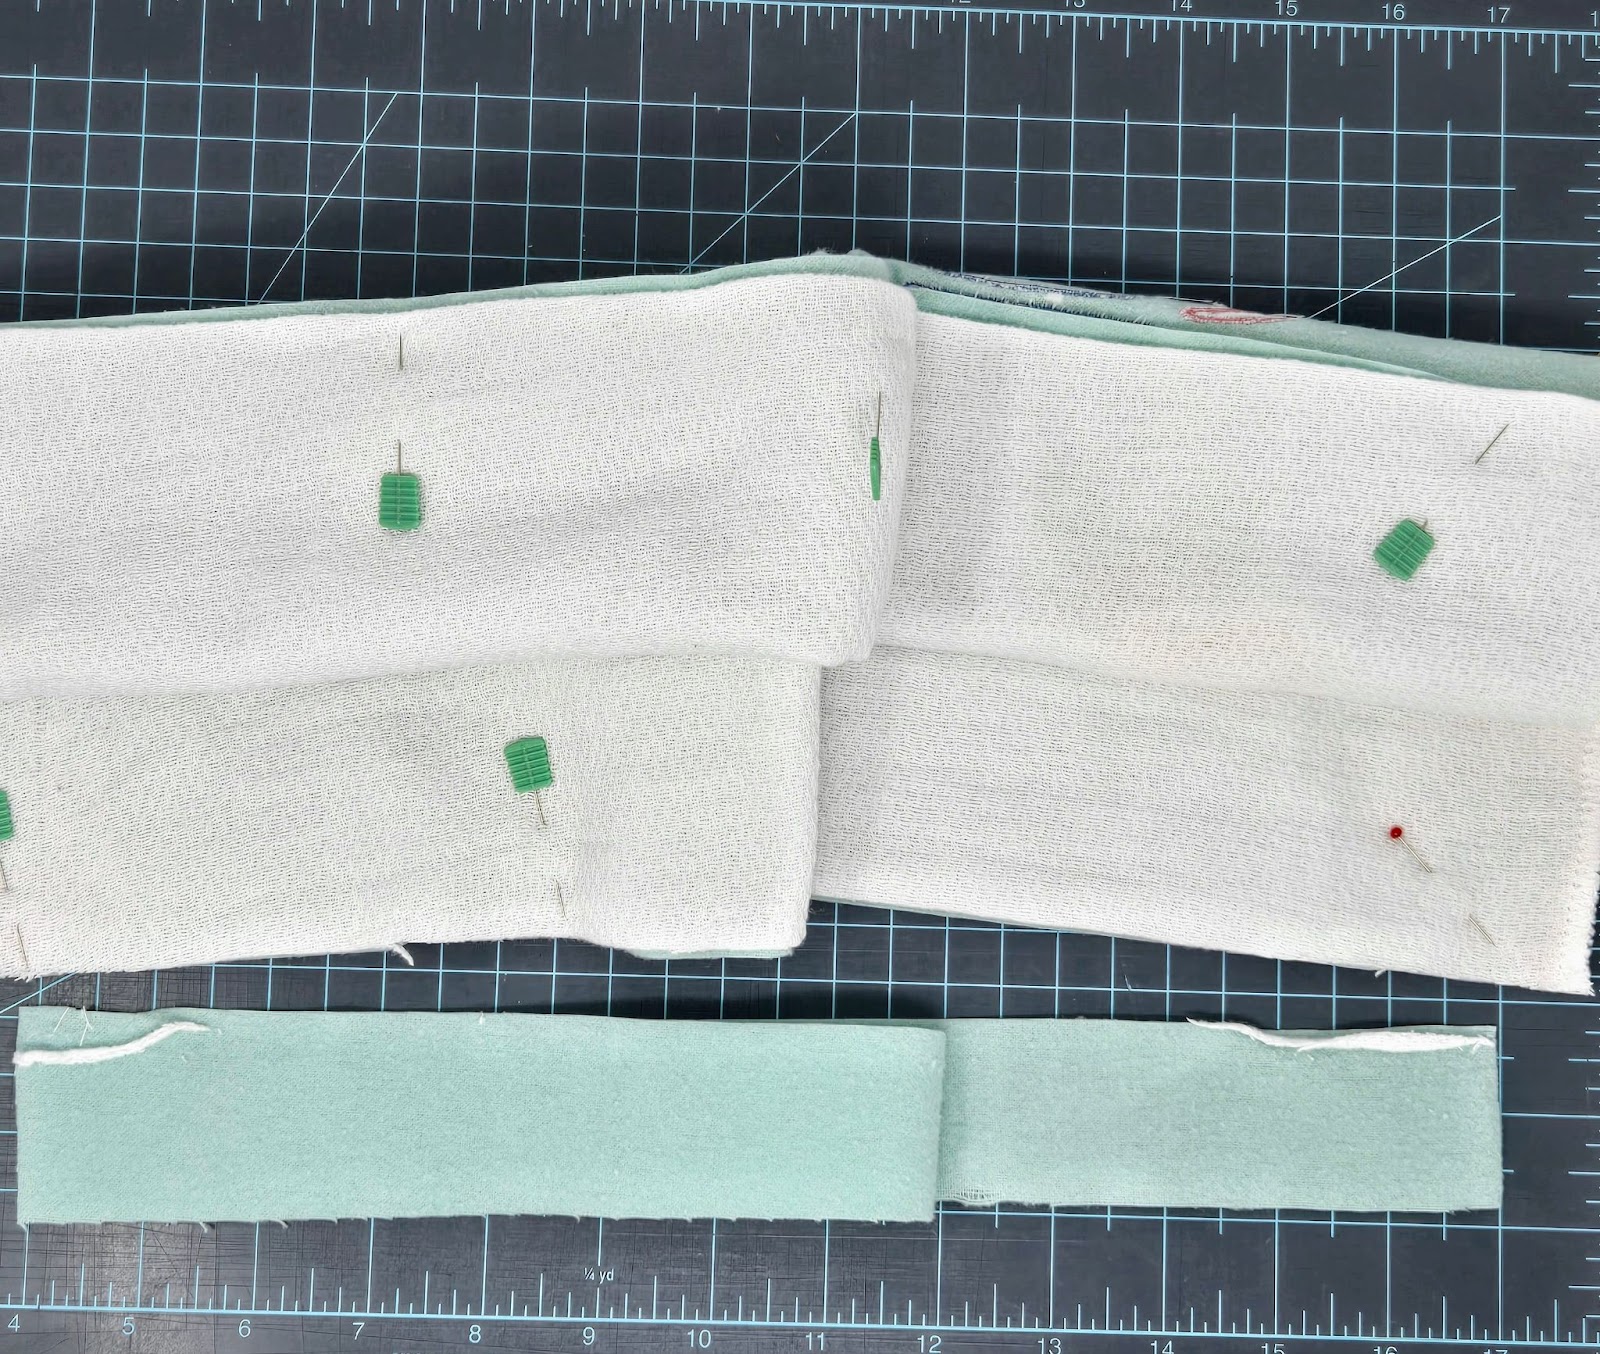
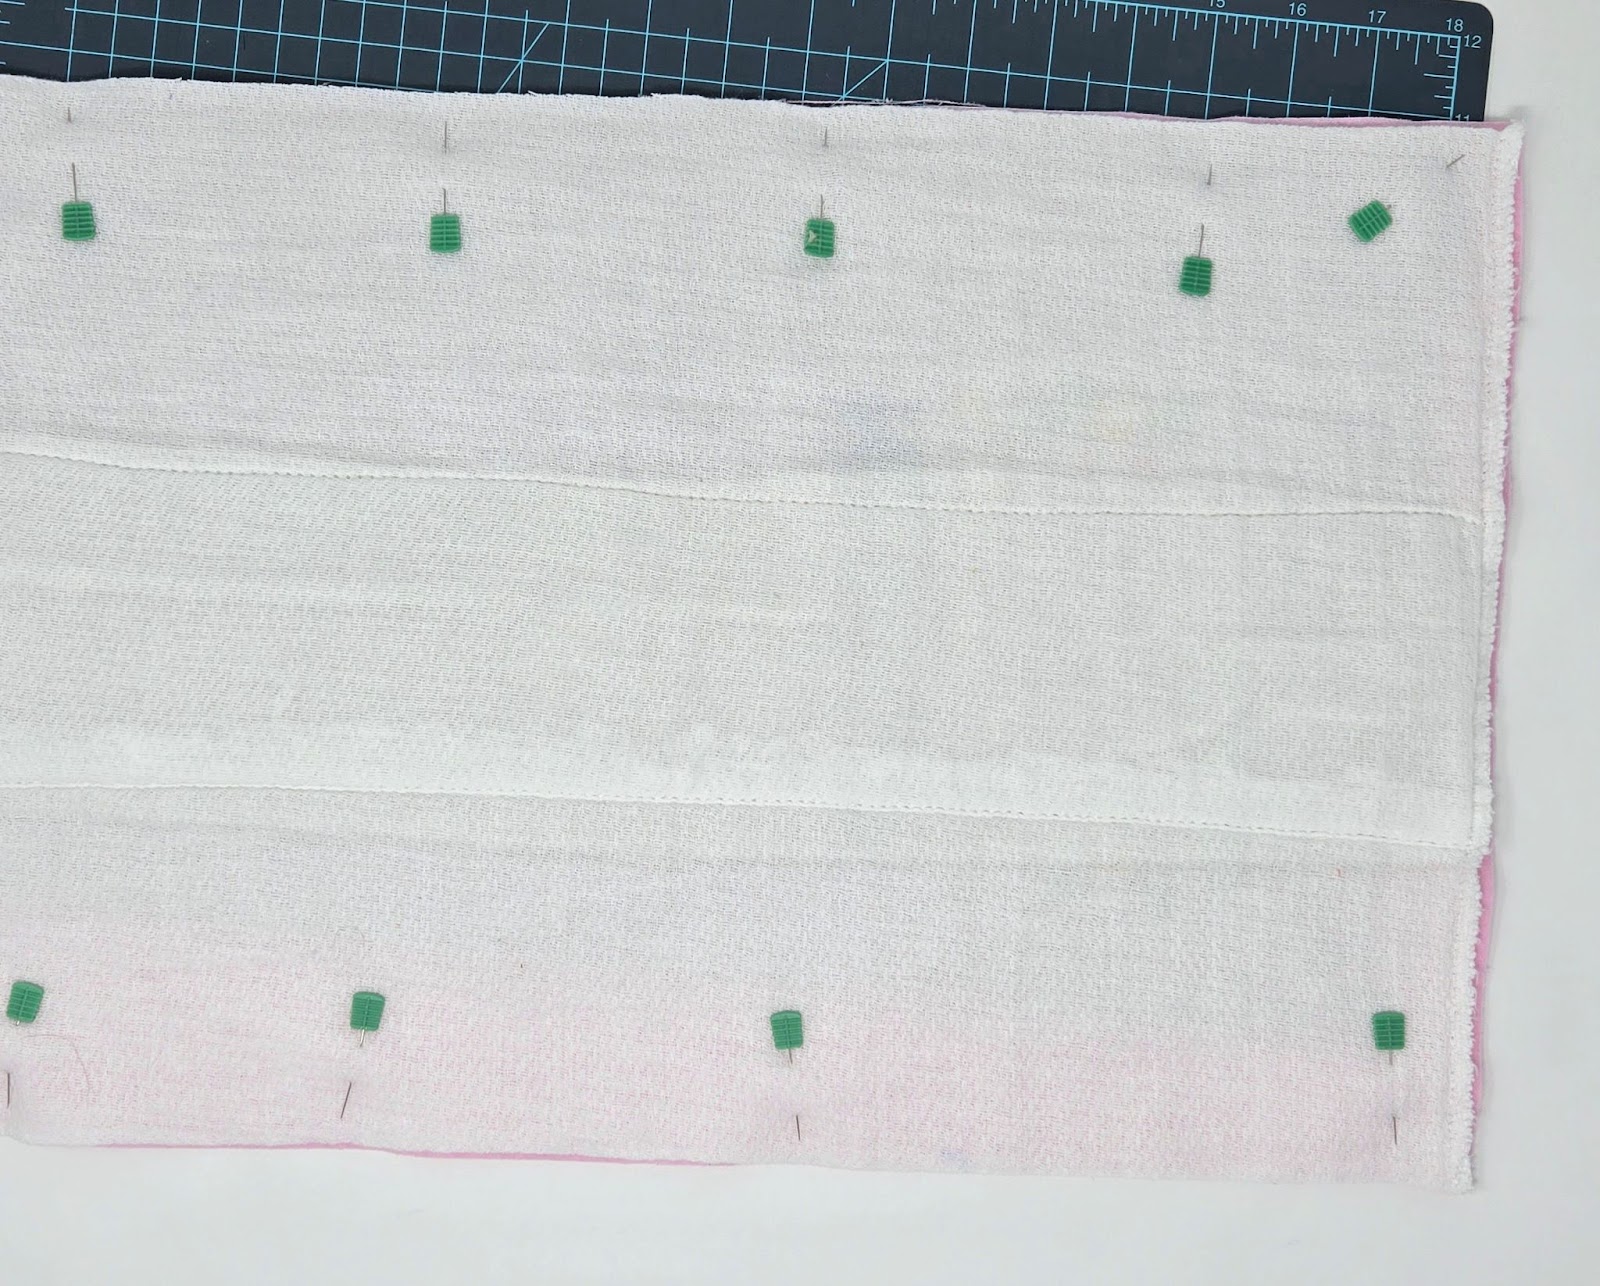
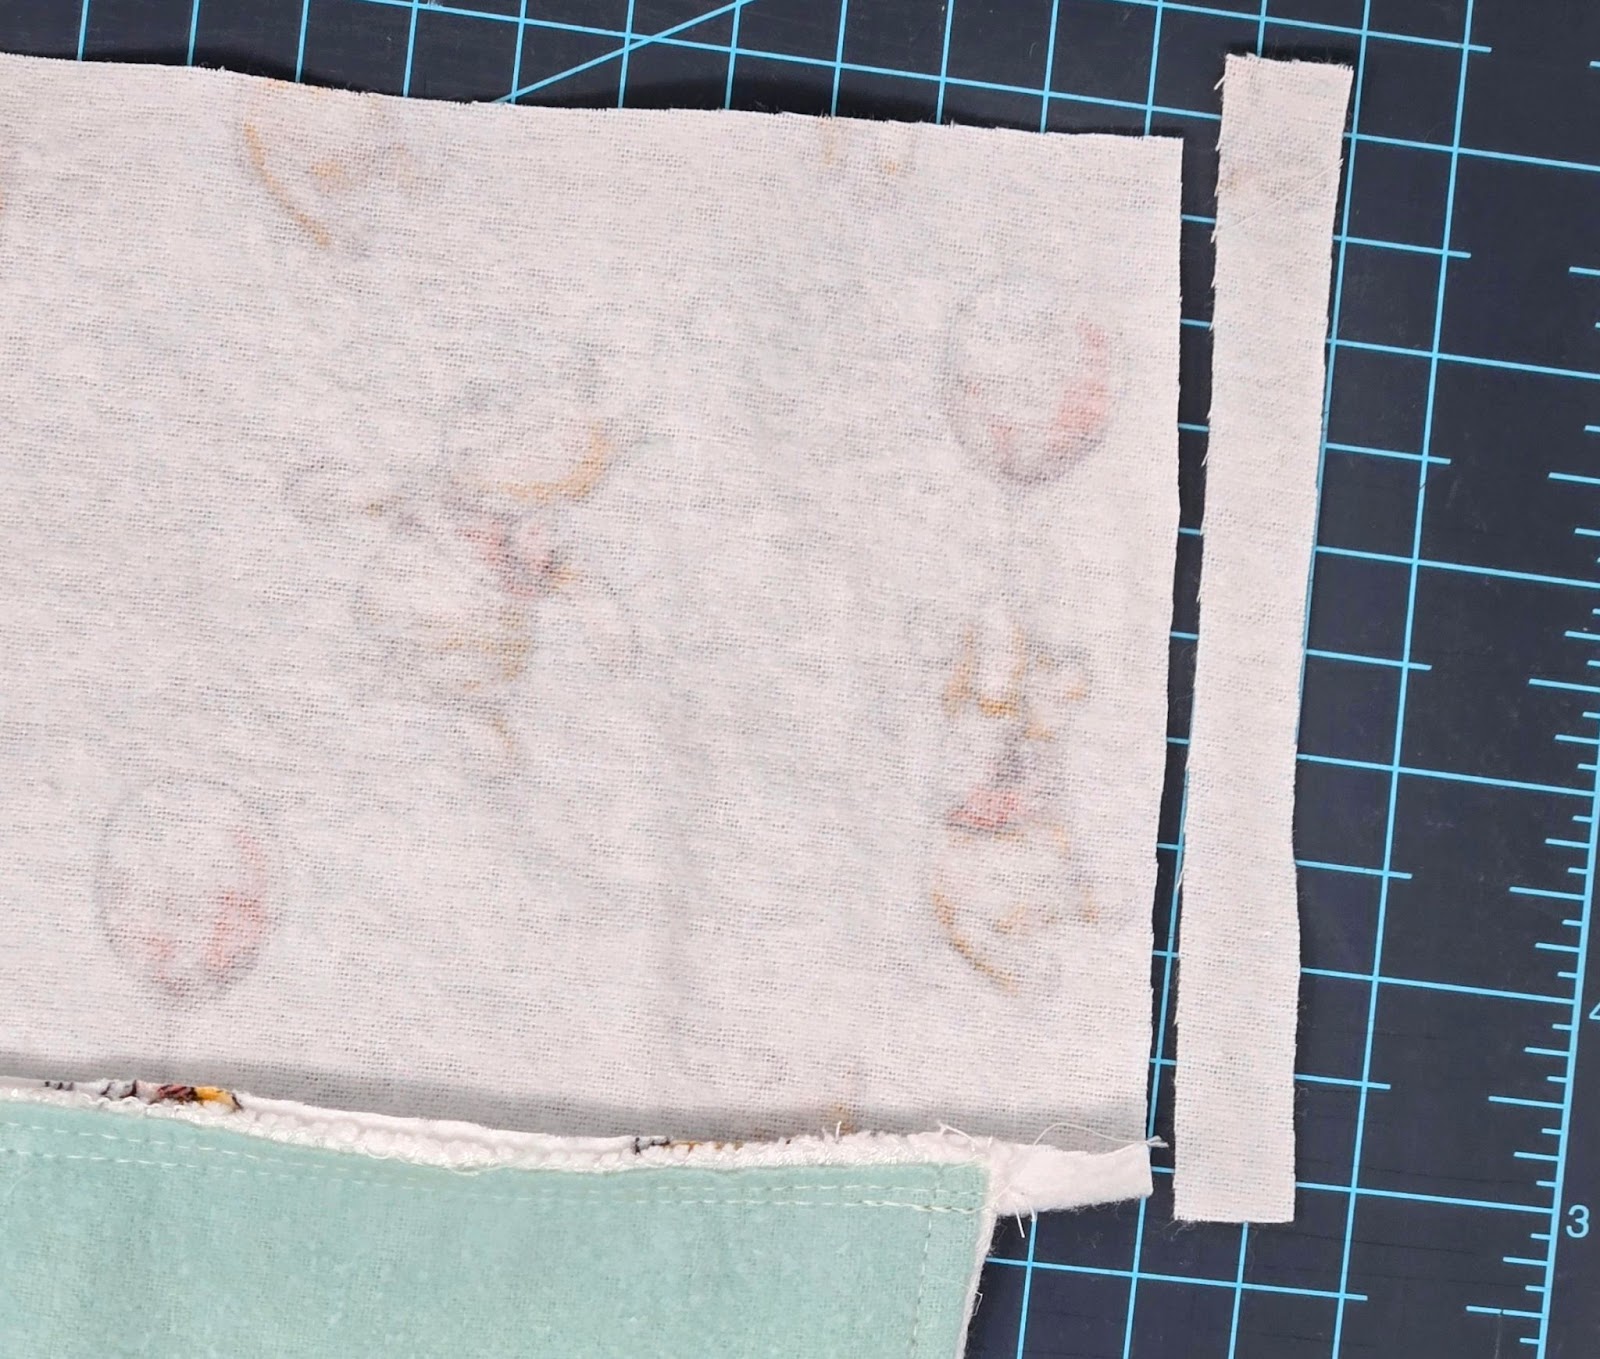
Take your 5” trim piece (either flannel or cotton) and pin it to the bottom of your burp cloth with the right side of your trim against the diaper side of your burp cloth and the raw edges aligned.
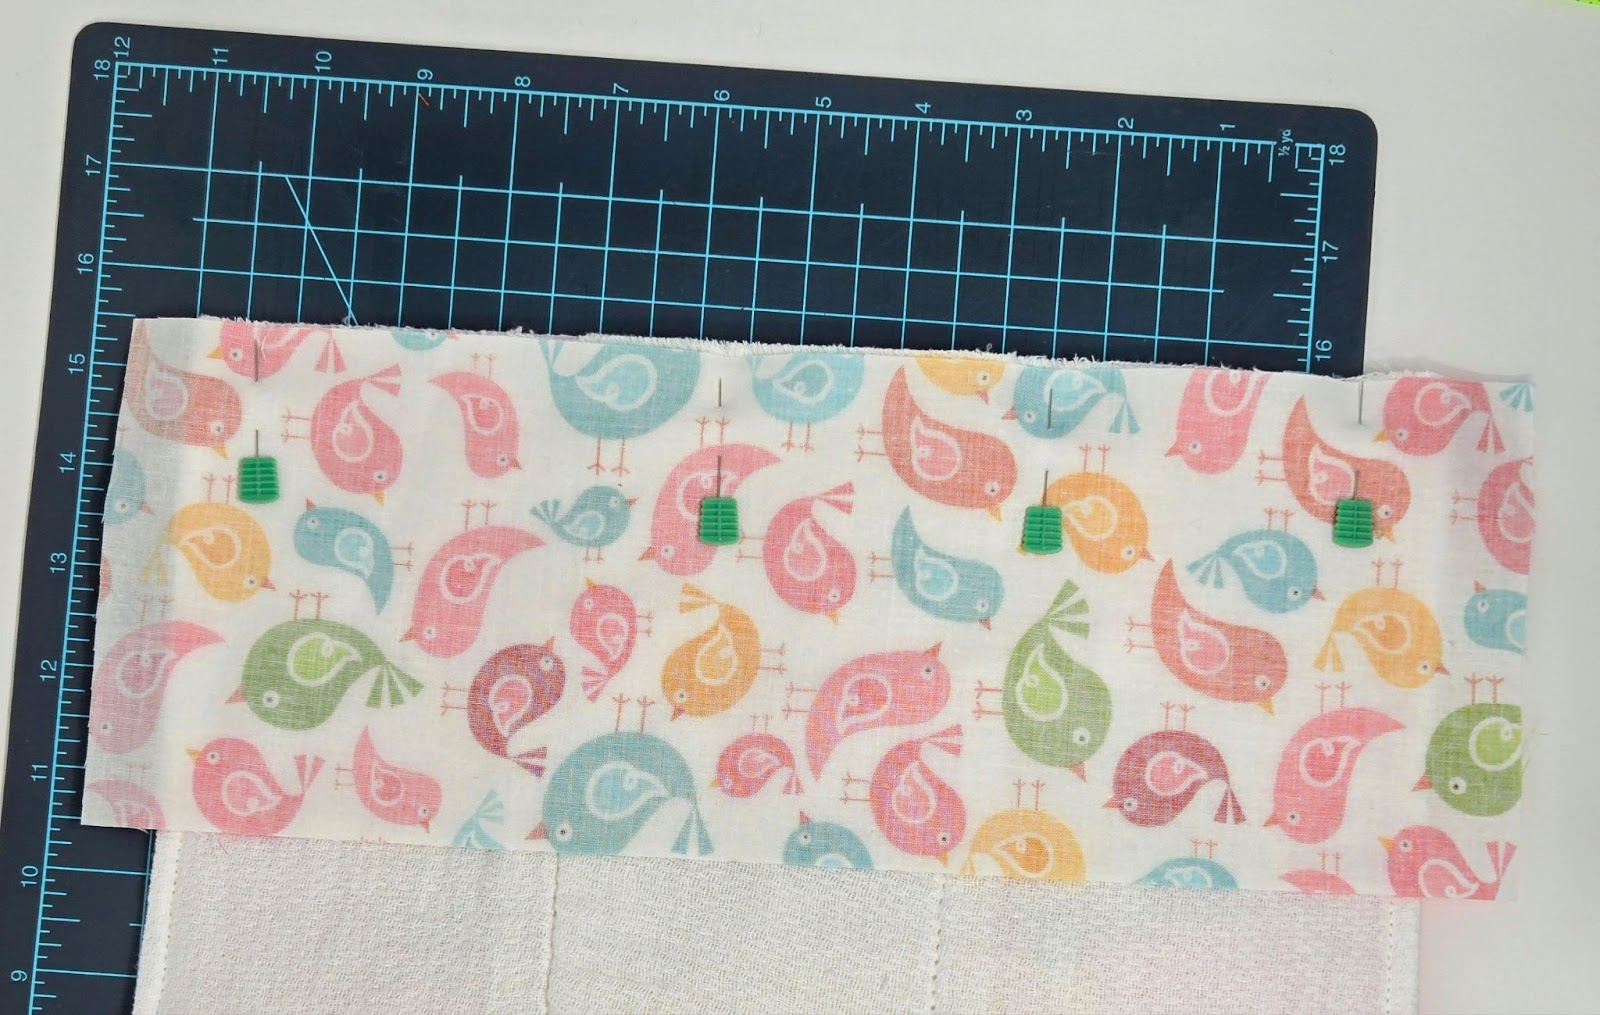
Sew ¼” seam, backstitching on both ends. Press the seam toward the trim. Trim the sides, leaving about ¾” over the edges of the burp cloth on each side.
Press under both of the side edges of the trim to line up with the burp cloth edges. Next press under ½” on the long edge of the trim.
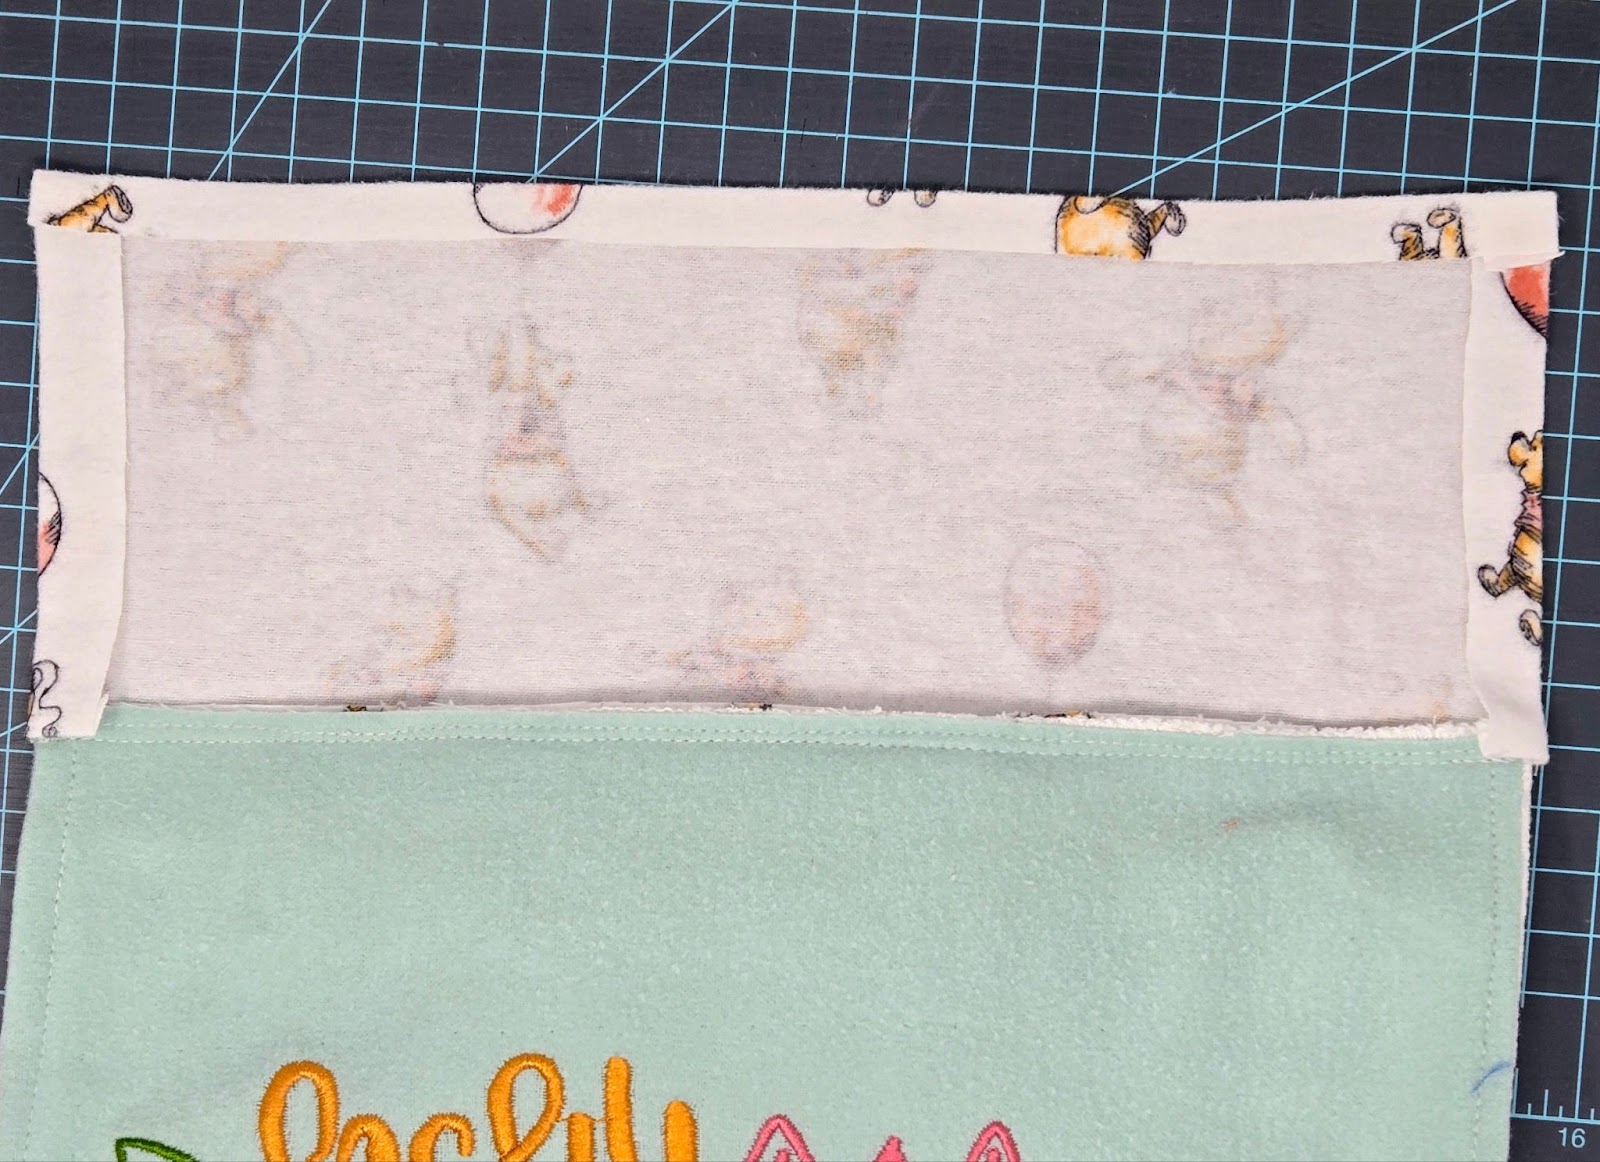
Now flip the piece to the front of the diaper. Position it so the trim is about ½” below your embroidery. Topstitch close to the side edges and along the long edge. Remember to backstitch when you start and stop.
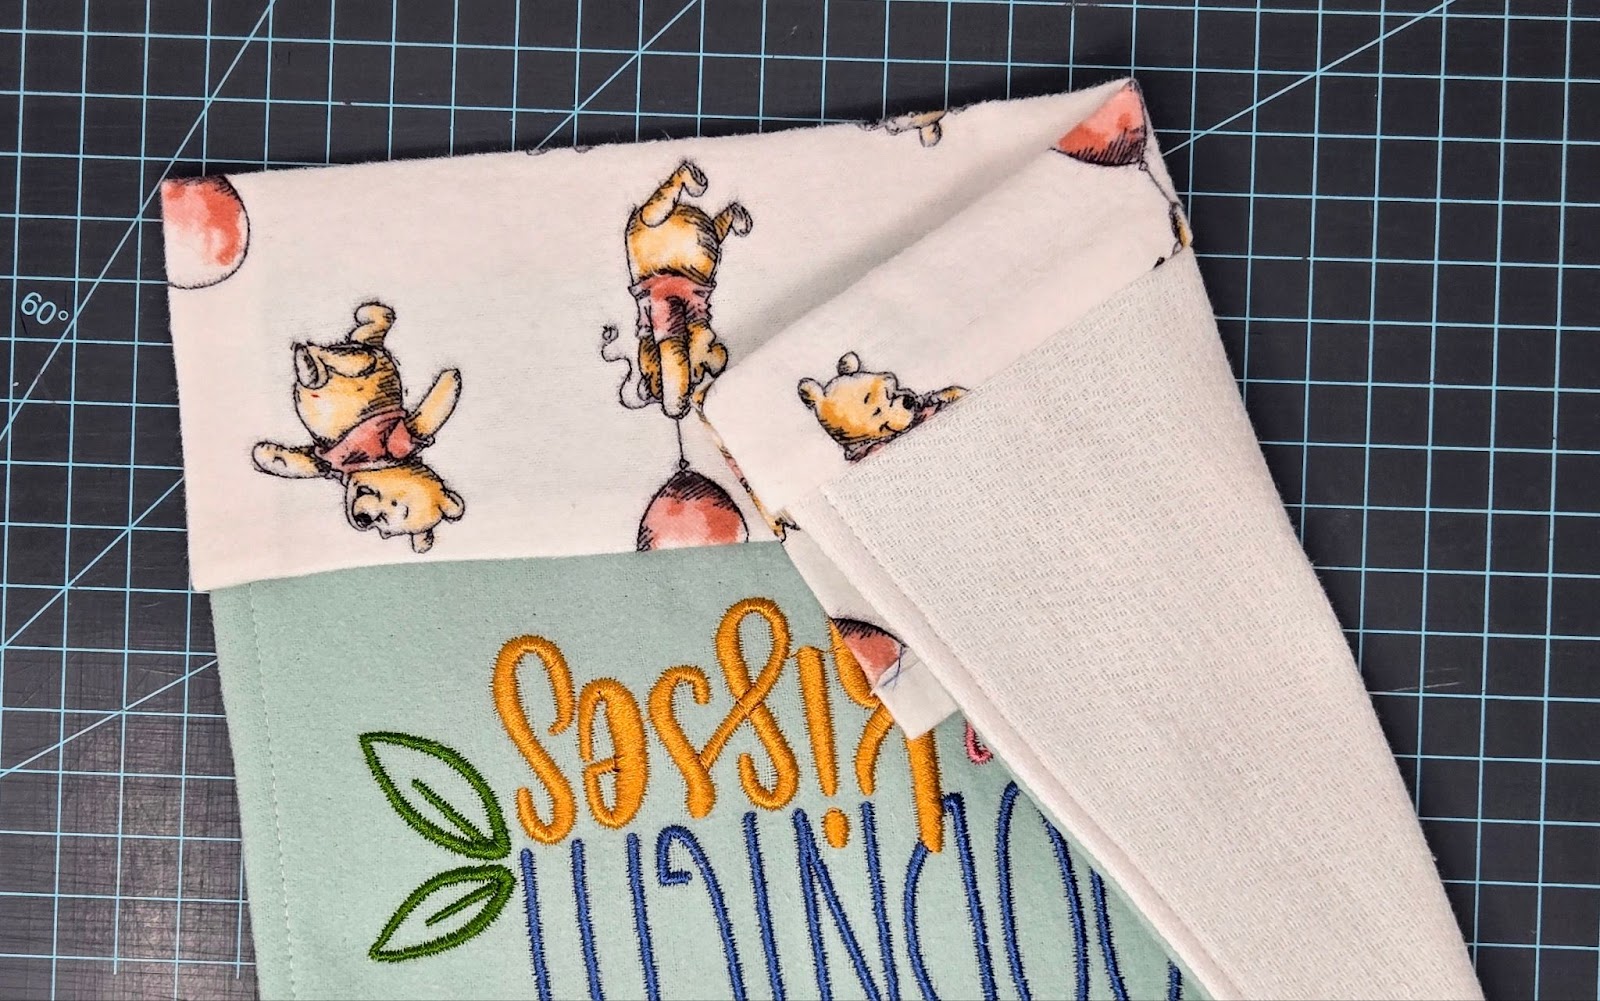
Repeat the same steps for the top of your burp cloth and the 2½” piece of trim.
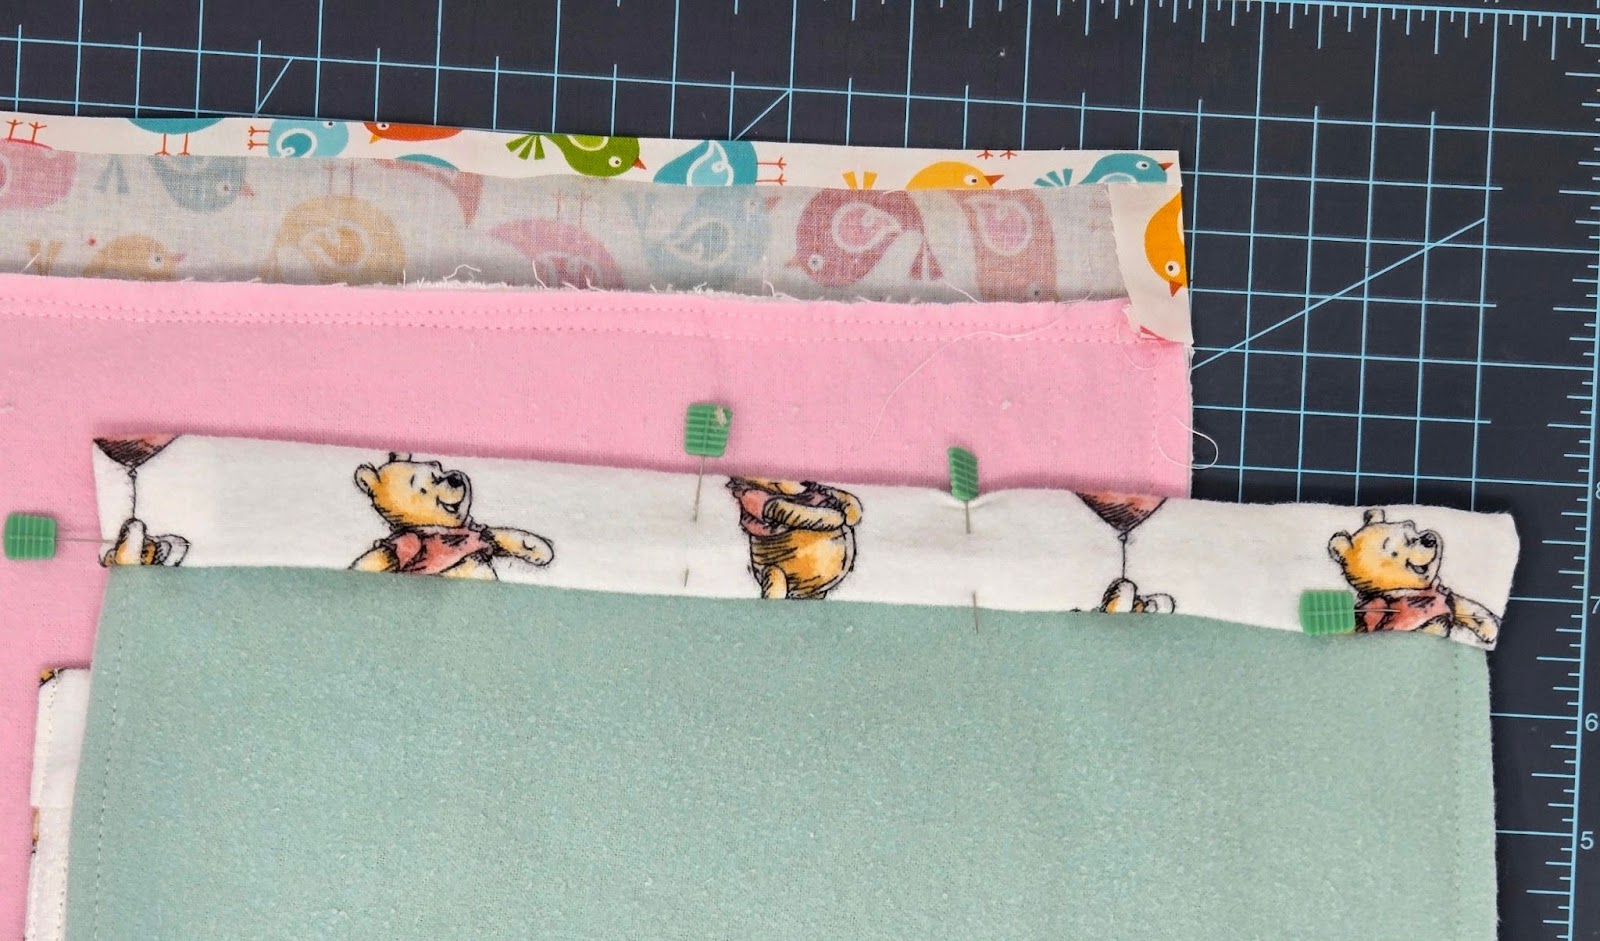
Congratulations! You’ve made your first of (I hope) many burp cloths!
Please be sure to share your projects in the Designs by JuJu Embroidery Blessings Facebook Group, or use the hashtag #designsbyjuju anywhere on social media. We love to see what you create!
