Toggle Nav
 Inspire.
Create.
Stitch.
Inspire.
Create.
Stitch.
Search

Give your embroidery a plush twist with this easy method. Turn a standard design into a cute, soft, gift-ready keepsake!
I thought it would be fun to take an applique design and add some text and arms to create a one-of-a-kind Valentine plushie. It was very easy and I love how the finished product is great for gifting for my valentine. You could use this technique with any design you find. I chose an applique, but a stitched design would work too. Let me show you how to do it.
Check out the DBJJ team’s favorite supplies in the Designs by JuJu Amazon store.

I started my design by using Embrilliance to add the words “I love you this much” to the front of my heart. You can add a name to your plushie or any other sentiment that would be special for your valentine. I opened the design and typed the words. I closed the spacing between letters and the lines and positioned it so I was happy with the design. If you're new to Embrilliance you can check out our post on it here.

For the first step for our plushie we are going to stitch the legs from the Cute Bear Softie pattern. Even though we will be using them as arms, they are a bit longer than the arms for the bear and I wanted them to look like they stretched out wide. This is the only file we will be using from the bear softie design. (From now on we will call them arms and if you don’t want them to be as wide as mine, the arms from the pattern work exactly the same way.)
Hoop your stabilizer and stitch out the placement stitch. In this case, it’s a basting box to hold the fleece in place.
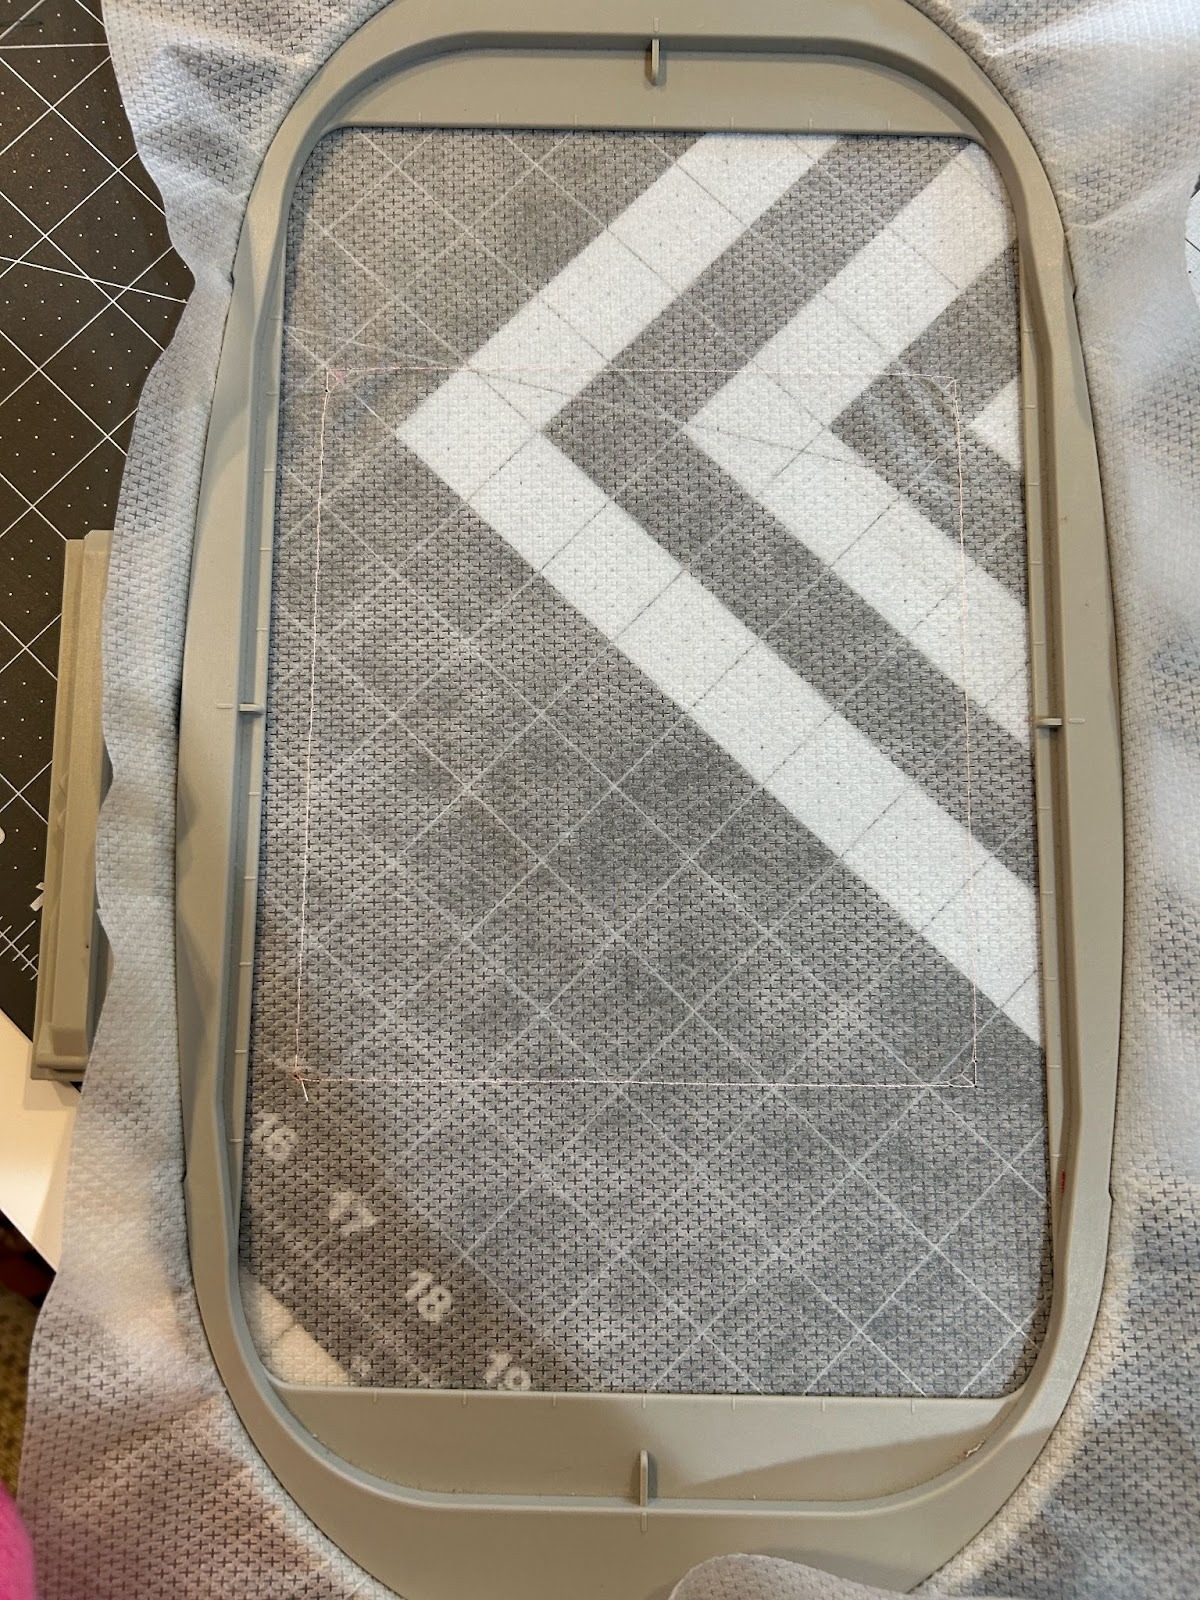
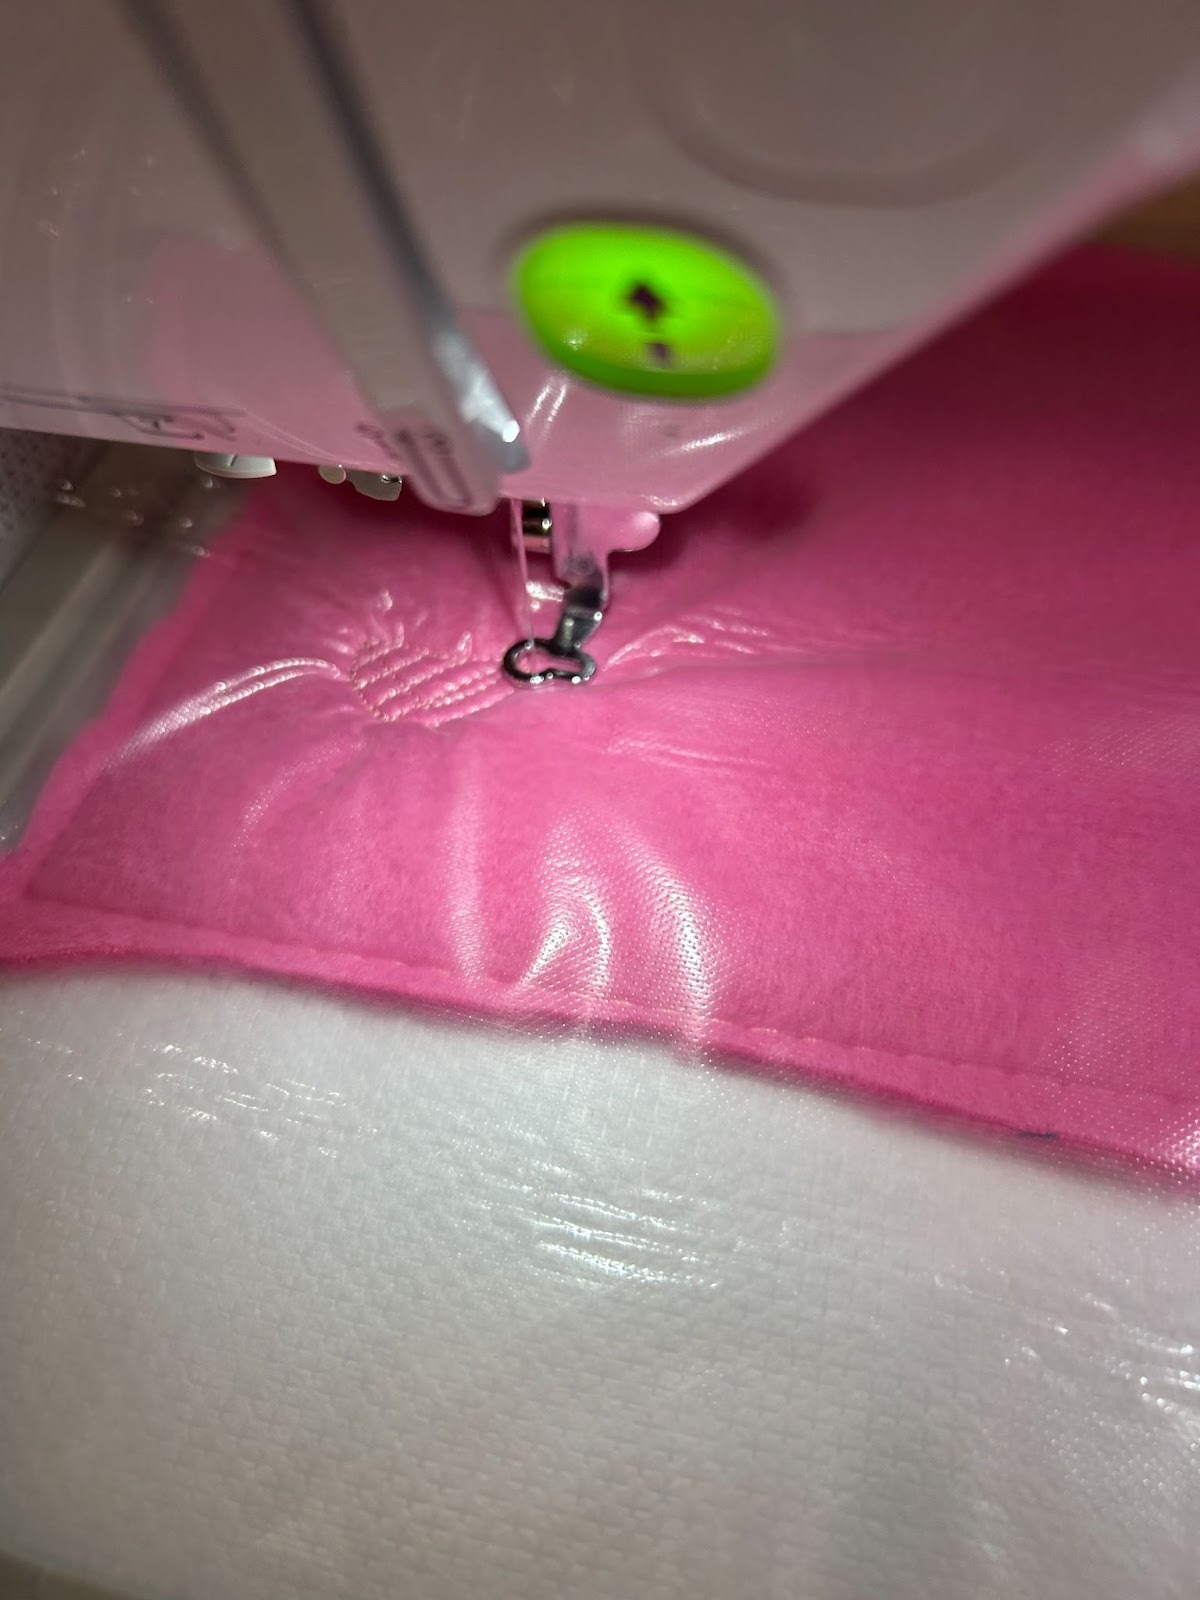
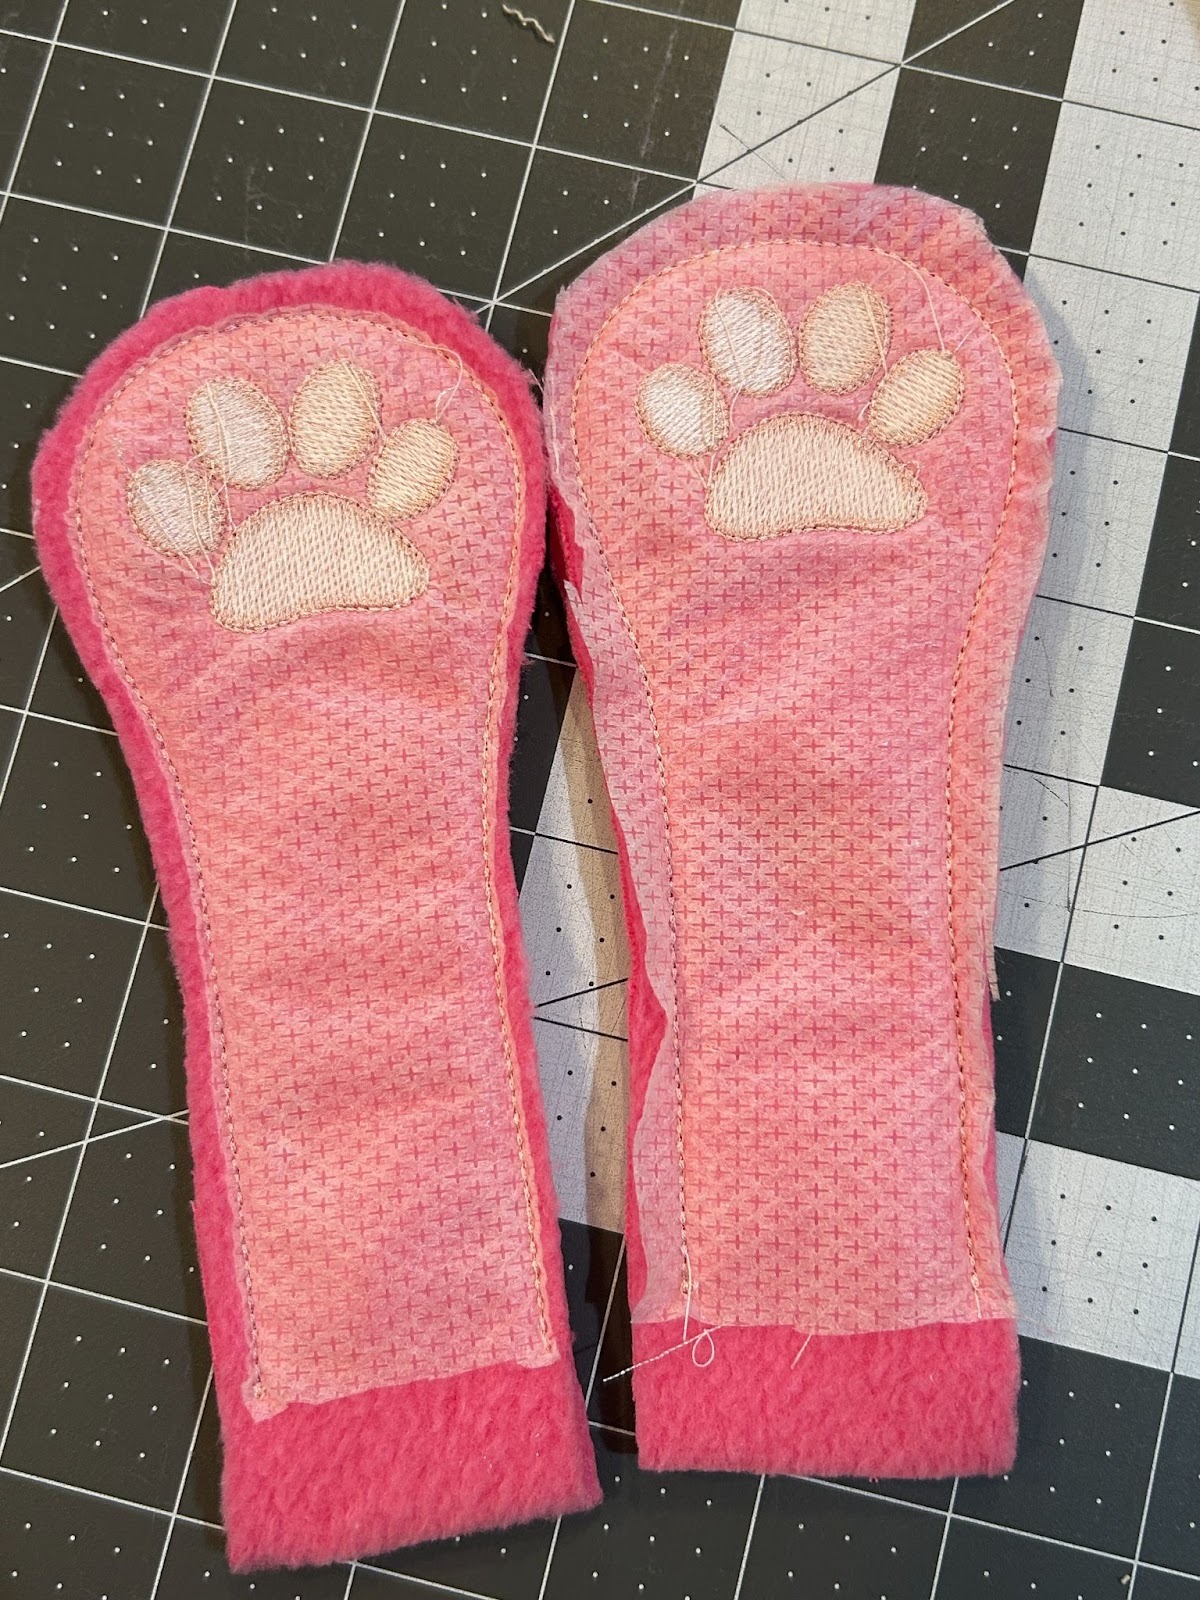
Place your fleece on top of the stitches and cover with a water-soluble topper. This is the one that looks like clear plastic. It will help keep our stitches from sinking too deeply in the fleece fabric. I tried to float my topper but it kept shifting, and I realized I should have just tacked it down with the fleece. So now that you have both ready to go, run the tack-down stitch. Then stitch out the decorative paws on your fleece.
After your paws are stitched out. Remove your hoop from the machine and tear off the topper.
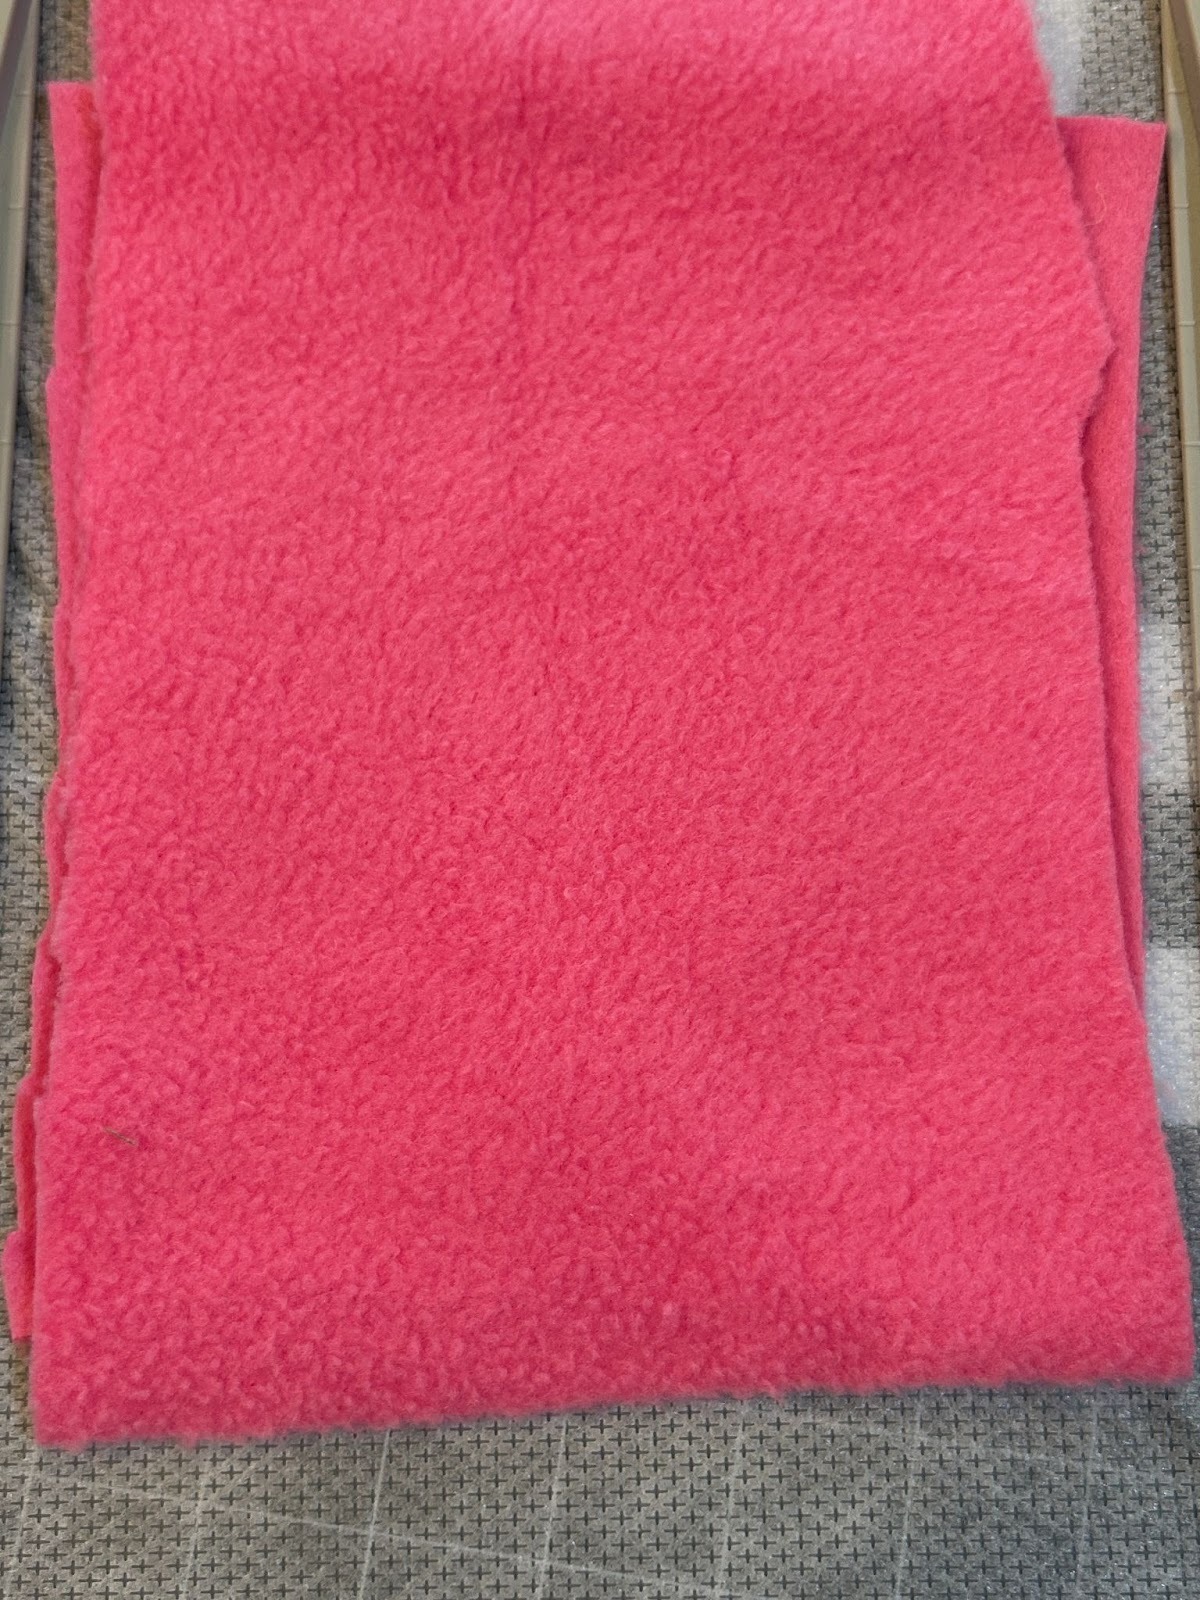
Cover the design completely with more fleece. You want to make sure that your “right sides” are together. With fleece it can be hard to tell, but often one side is smoother than the other. I chose to use the smooth side of the fleece as my right side, so I will put my backing piece with the smooth side to the inside.
Run the next step, which will stitch the pieces together. After it’s finished, remove it from the machine and remove your design from the hoop. Trim up around the stitches. I like to cut it with a generous ¼” seam allowance. For the bottoms I cut across about ½” from the stitches to allow a little “give” for turning.
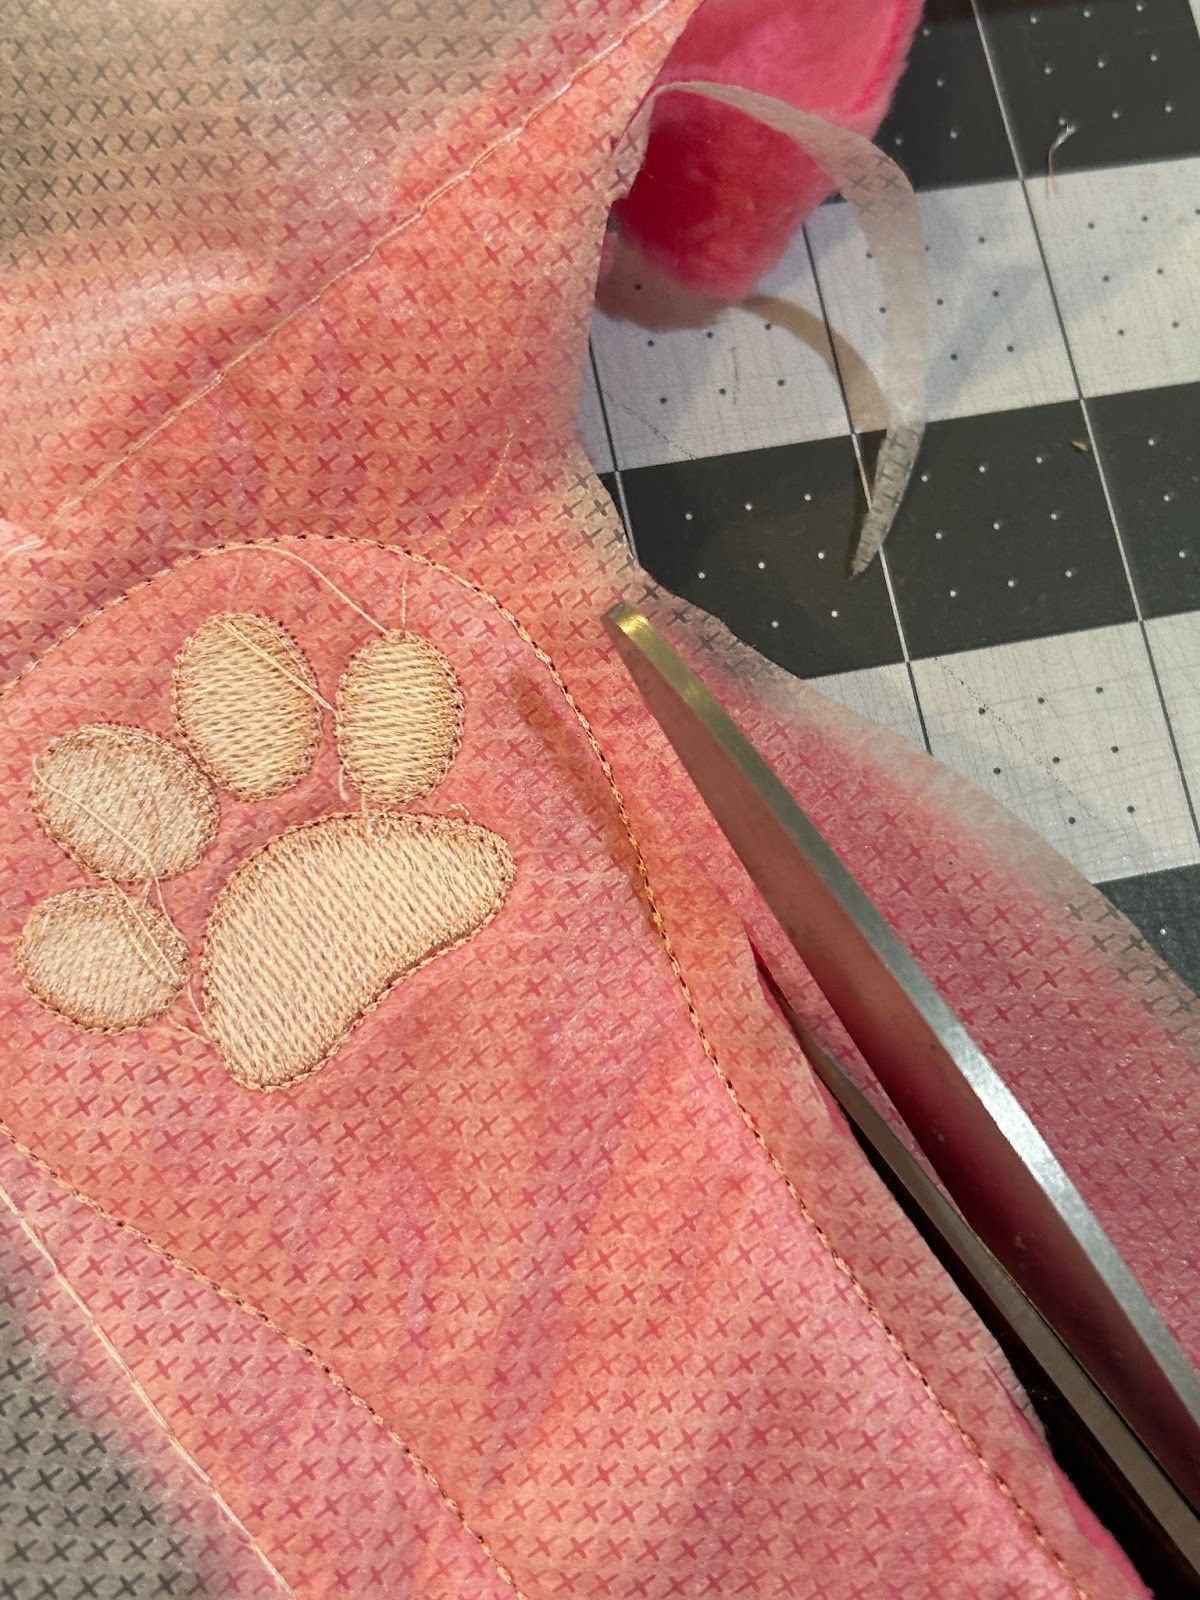
It’s your preference if you cut the stabilizer close to the stitches or not. I did one each way and couldn’t tell the difference in the finished arms. The no-show mesh stabilizer is so thin that it doesn’t add bulk when you turn the design.
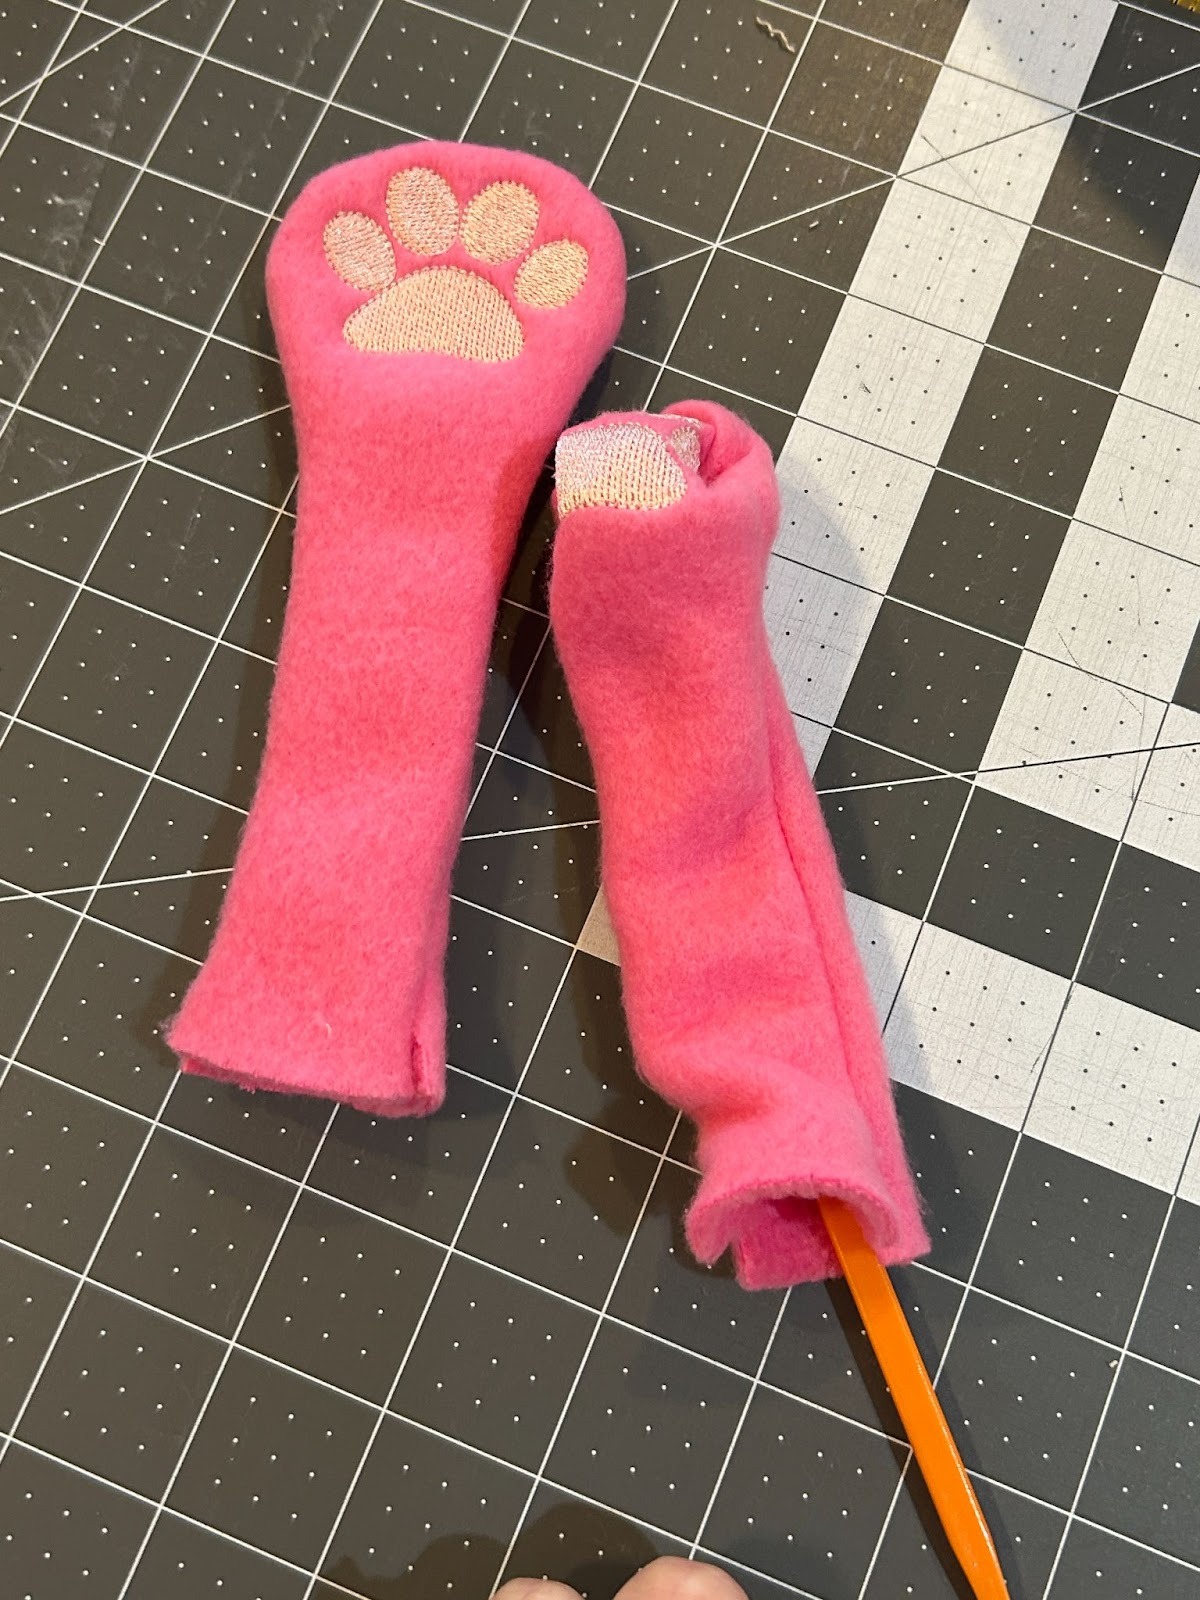
Now we are going to turn the arms right side out. I use a turning tool to make sure the fabric is all lying flat and even when I’m finished.
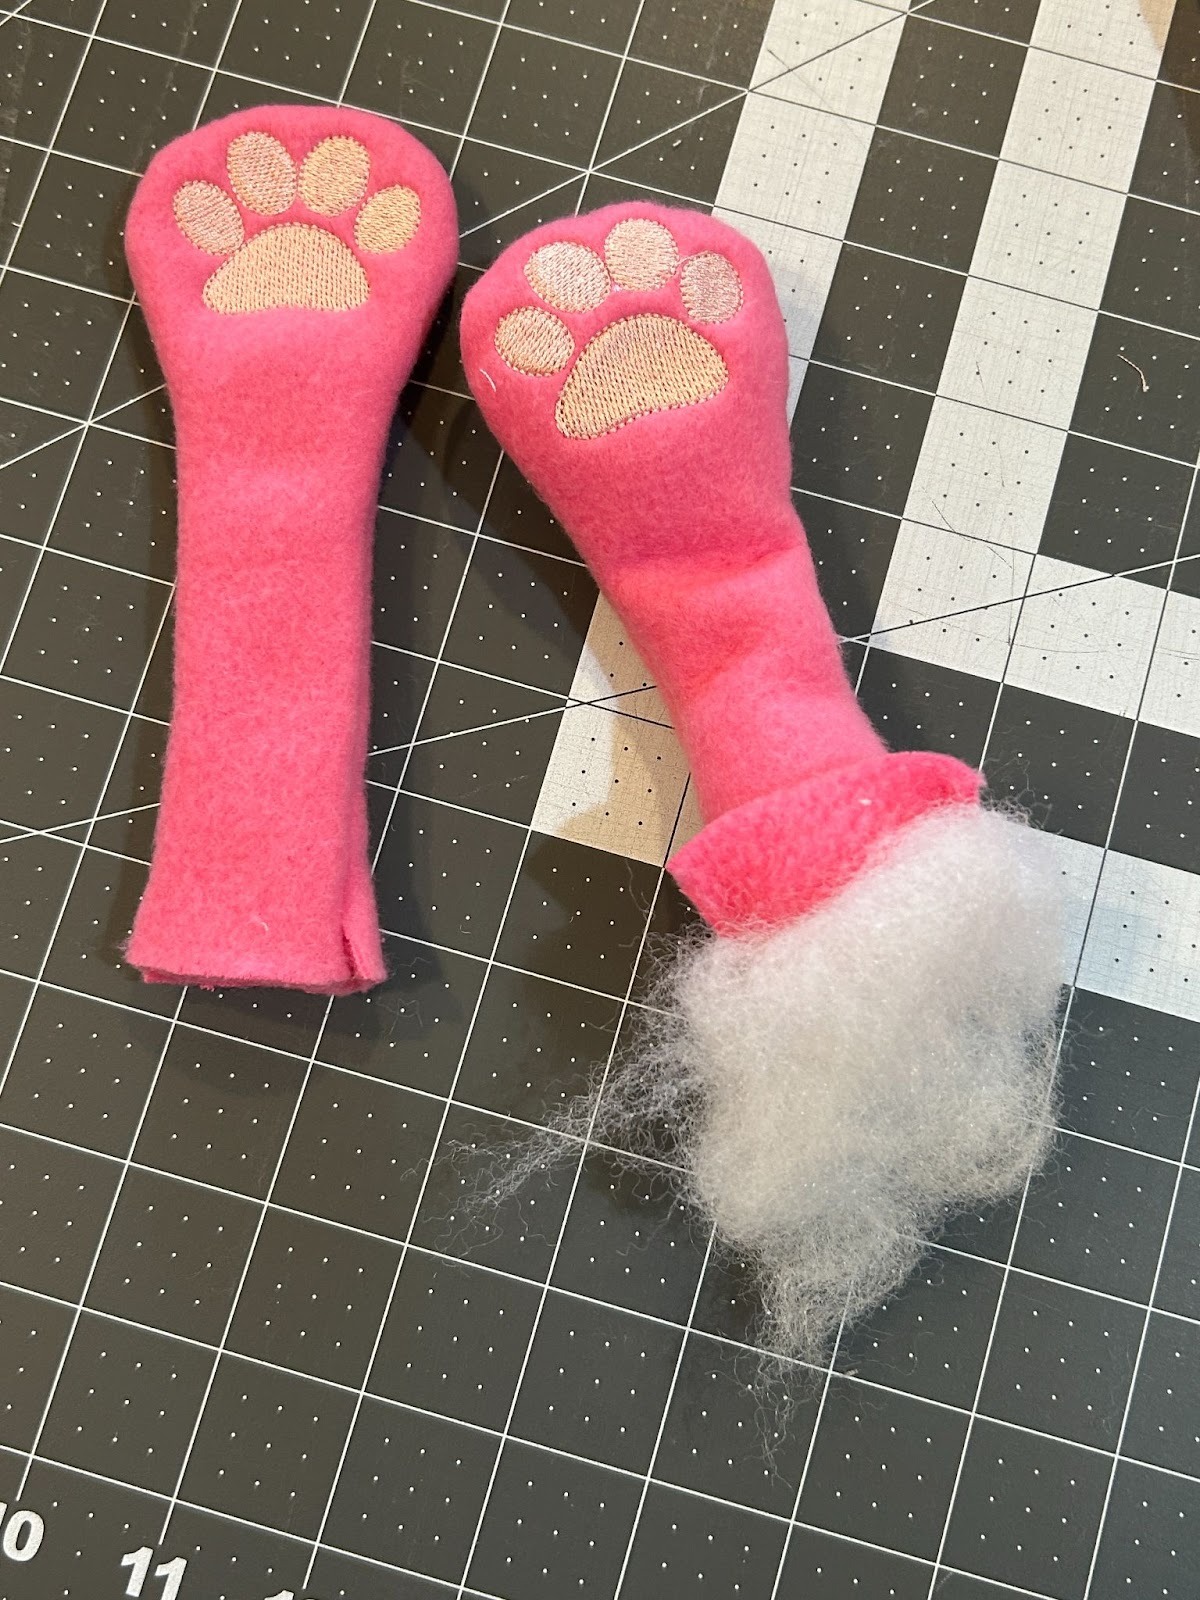
And then stuff them with a little stuffing. You can make them as full or as floppy as you like for your project.
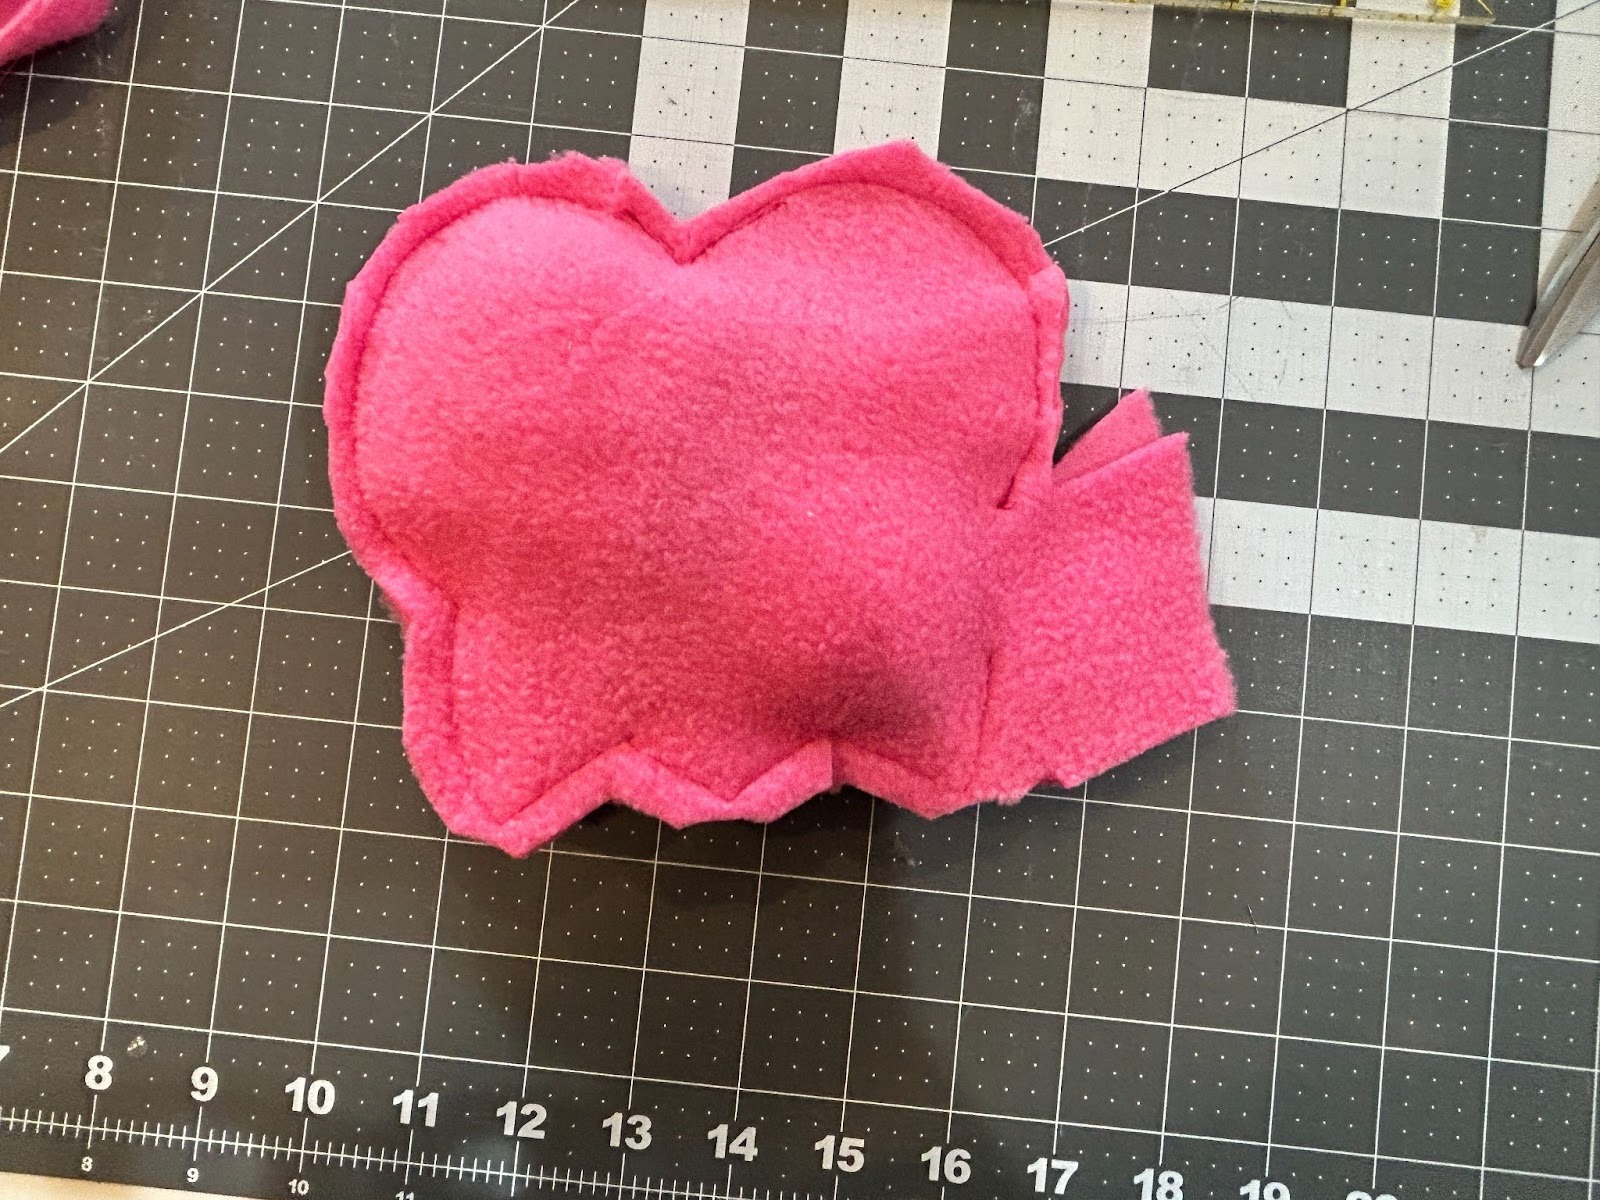
Set your arms aside and load the file for the heart design in your machine. Hoop some no-show mesh and stitch out the placement stitch. (If you aren’t doing an applique design, hoop your stabilizer and fabric together to stitch out your stitched design.)
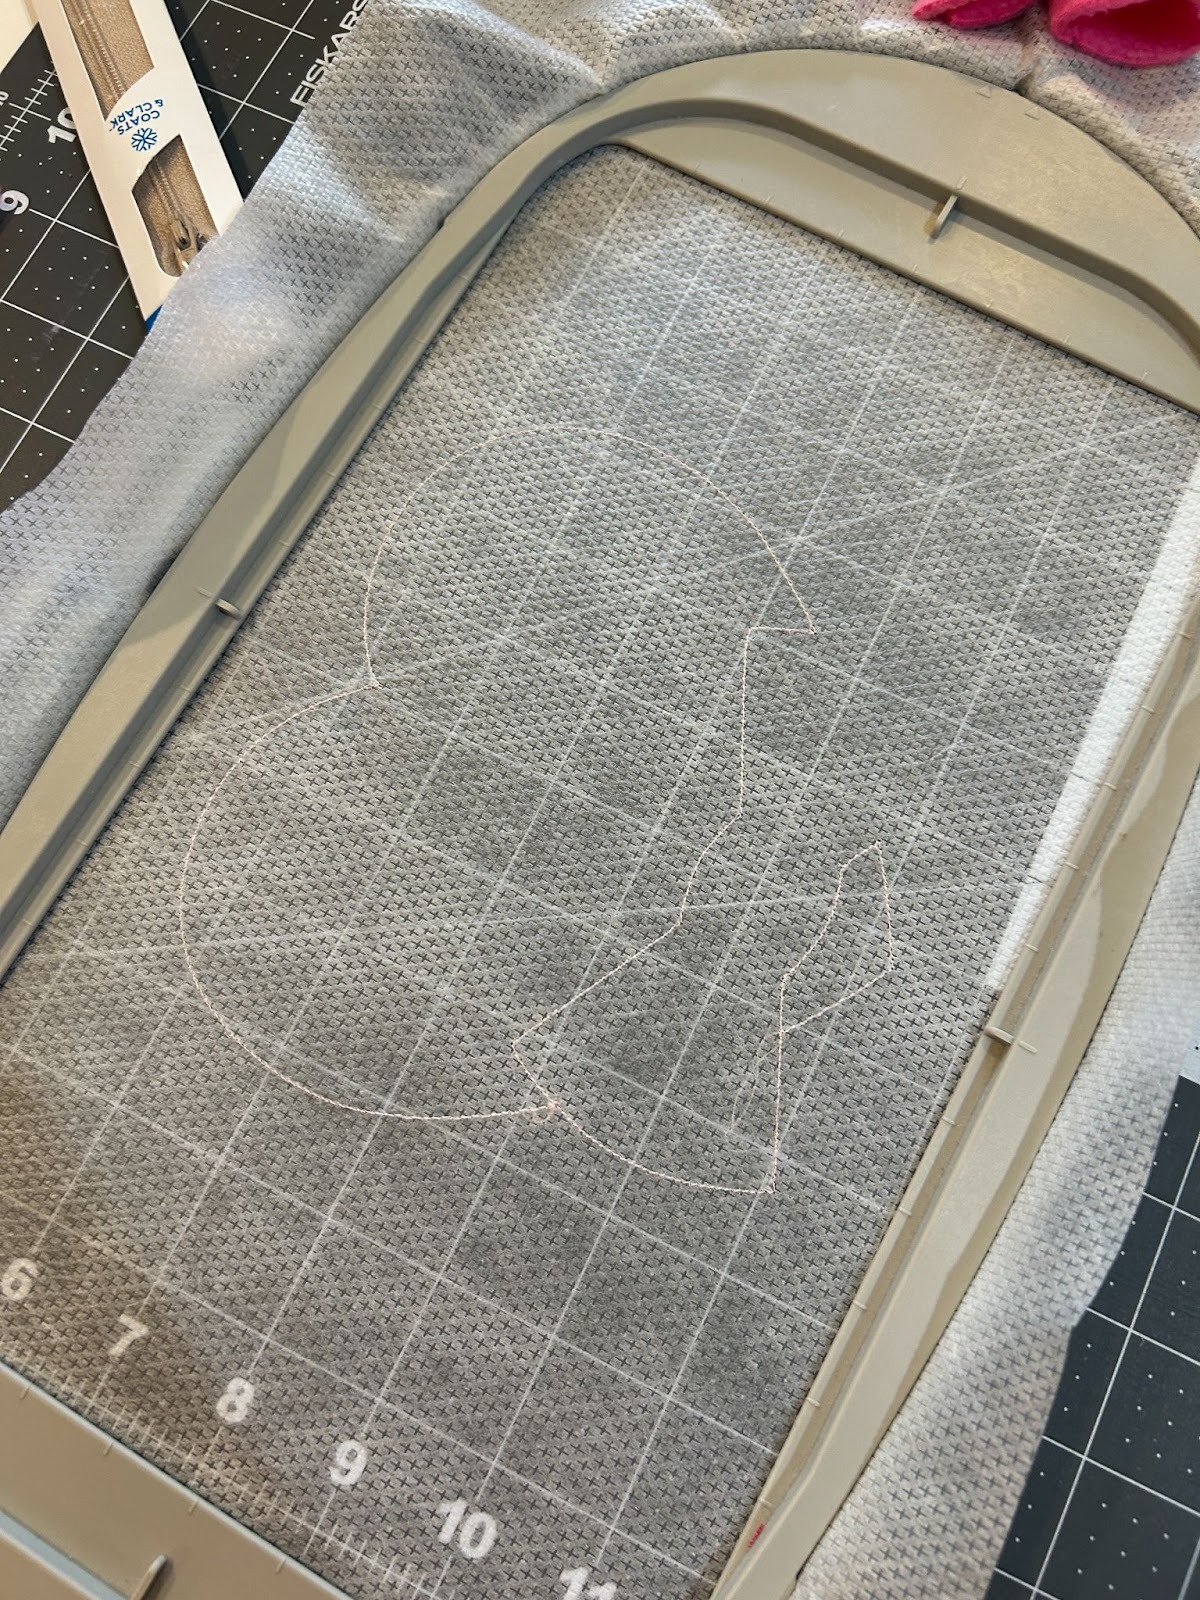
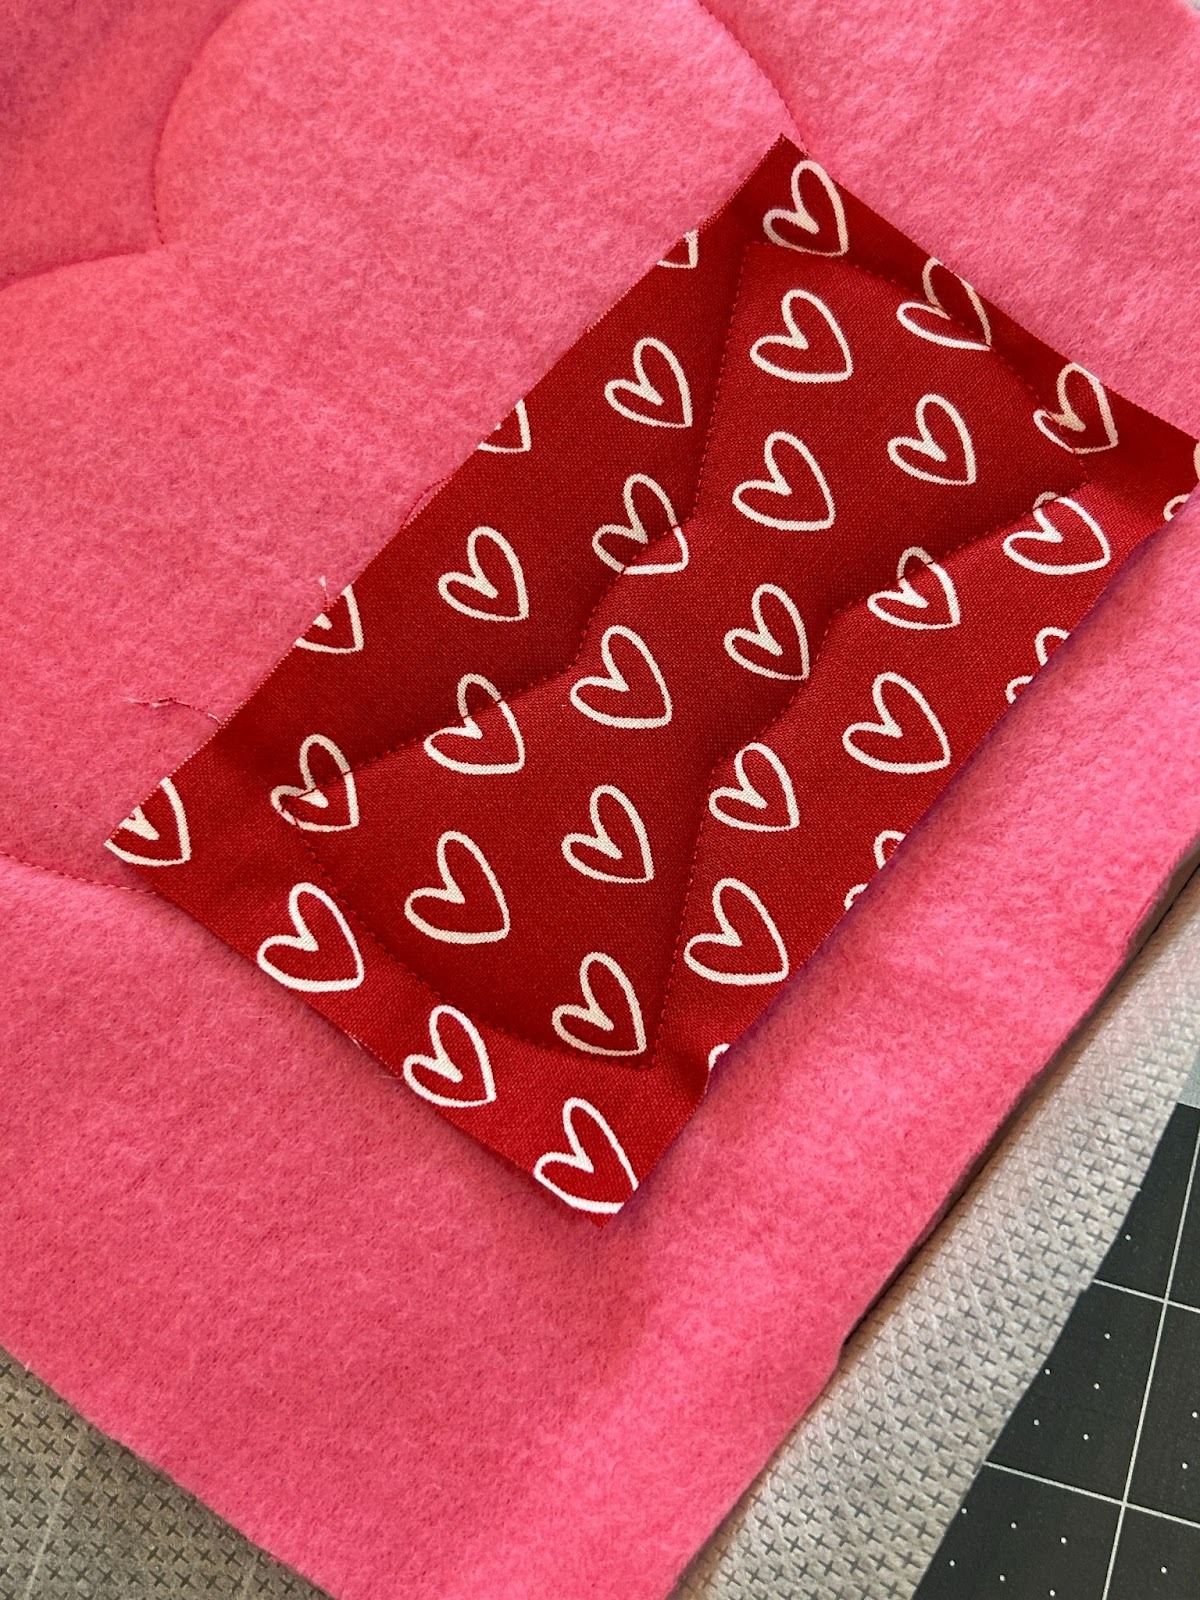
Now we will cover the stitches with our fabric. We want to be a bit generous with covering the stitches, because we will also be using this to sew our fabric together.

Take back to your machine and stitch out the tack-down stitches.

In normal applique we would trim the fleece close to the stitches at this step. But for this stuffy, we are not going to do that. The next step is to tack down the bowtie, so cover those stitches with fabric.

And run the tack-down stitches.
Remove from the machine. We will now trim up the fabric around the bow tie close to the stitches. Be careful not to cut into your fleece fabric underneath.
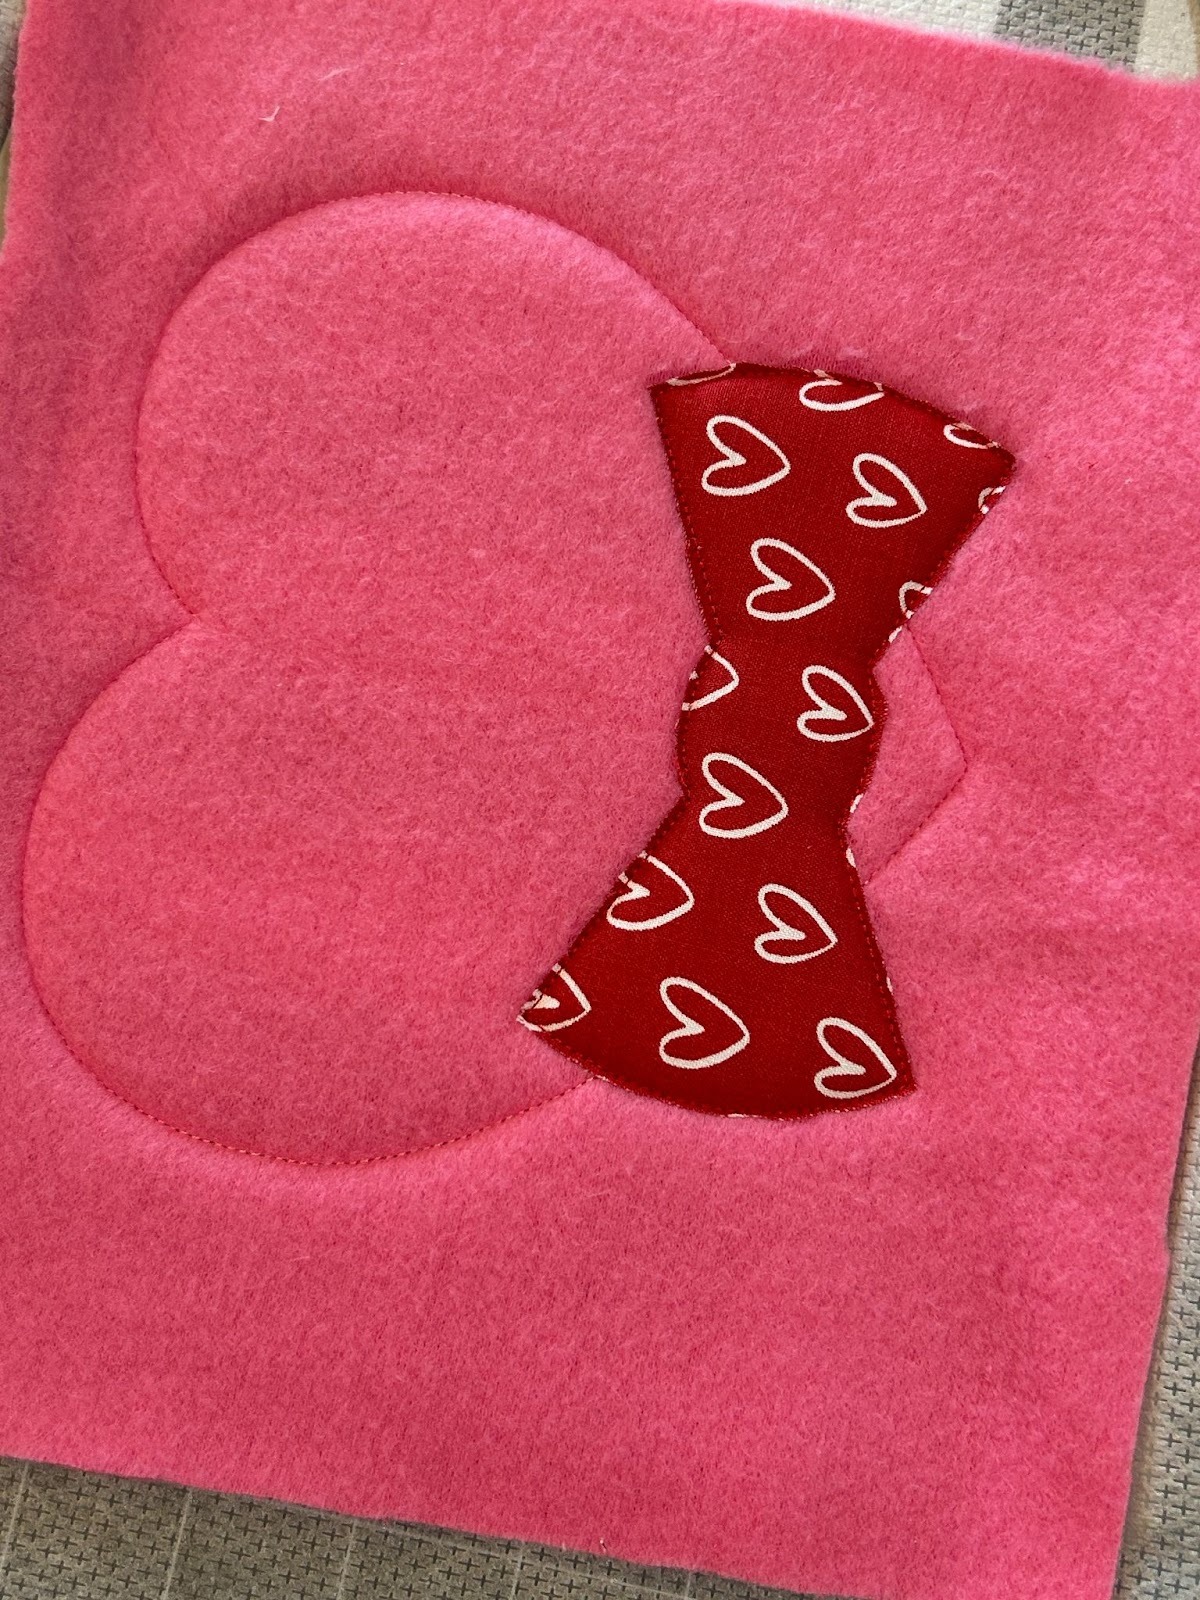
Now we will finish the cover stitches around the heart. This one has a satin stitch and a decorative stitch after. It kind of feels funny to do the cover stitches with the edges not being trimmed, but it’s part of the process.
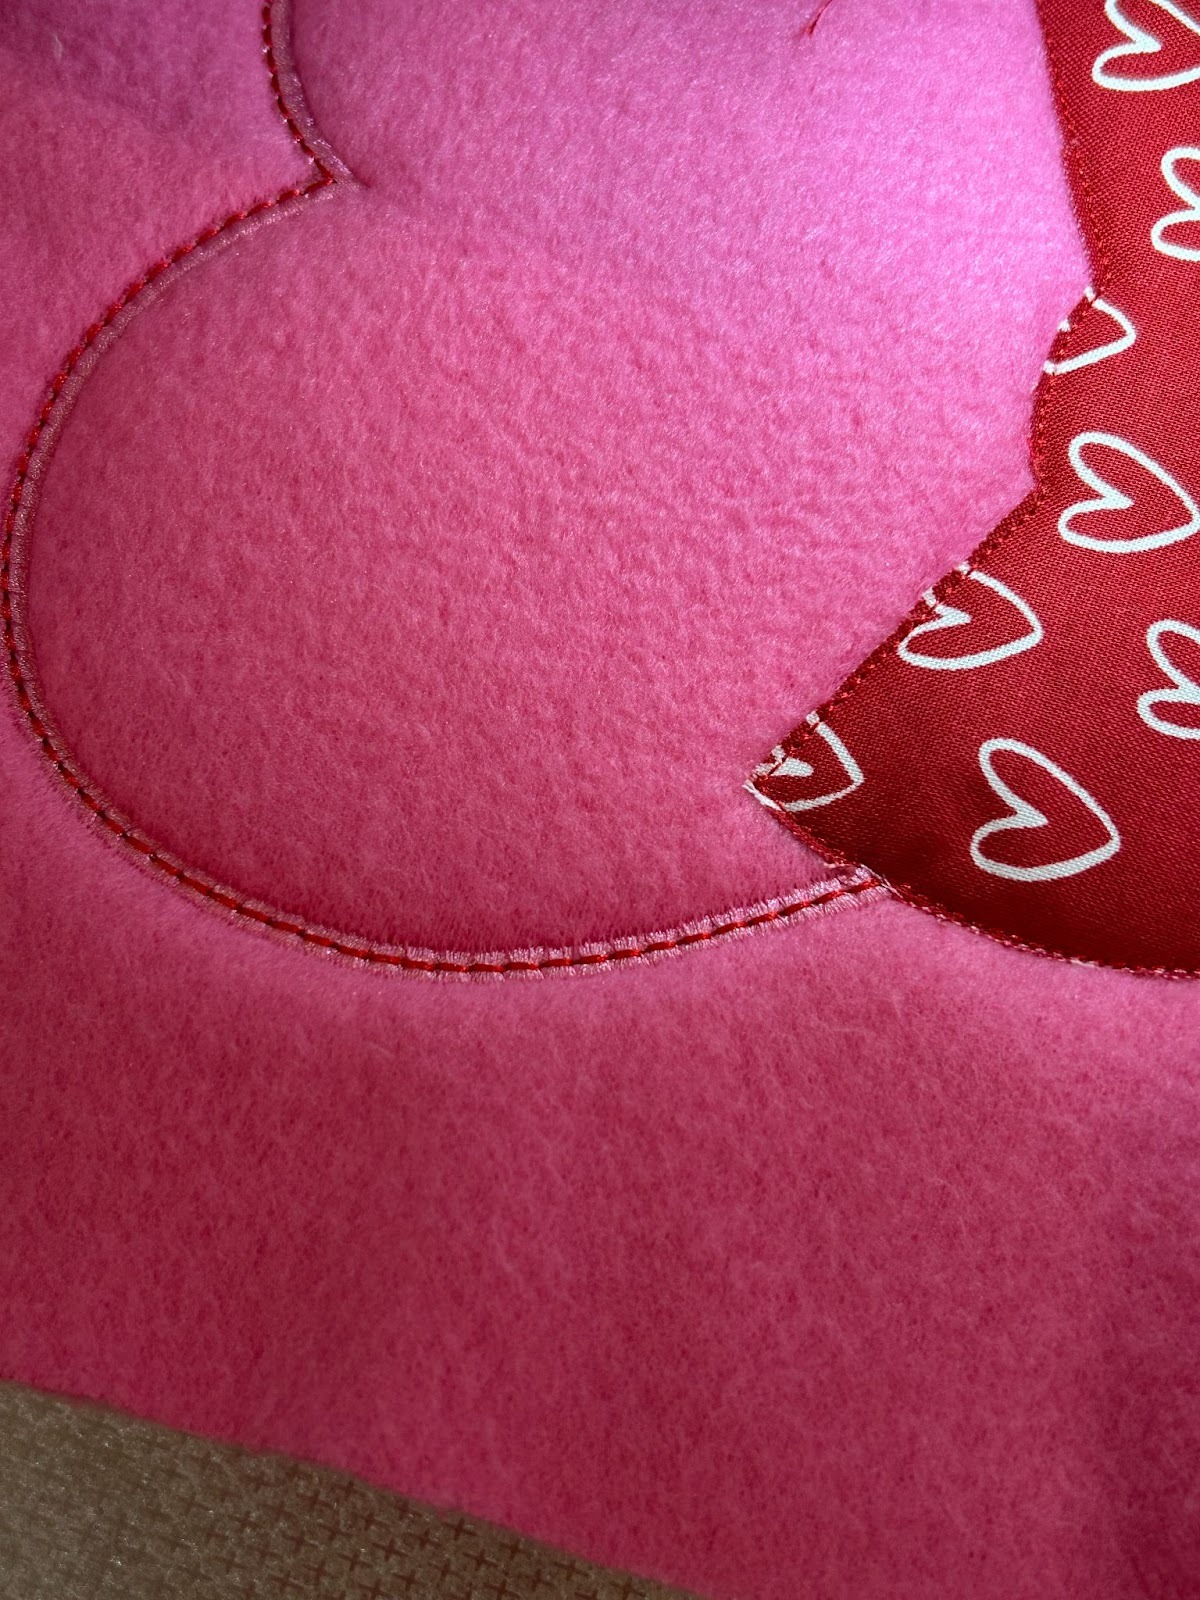
And the cover stitches for the bow tie.

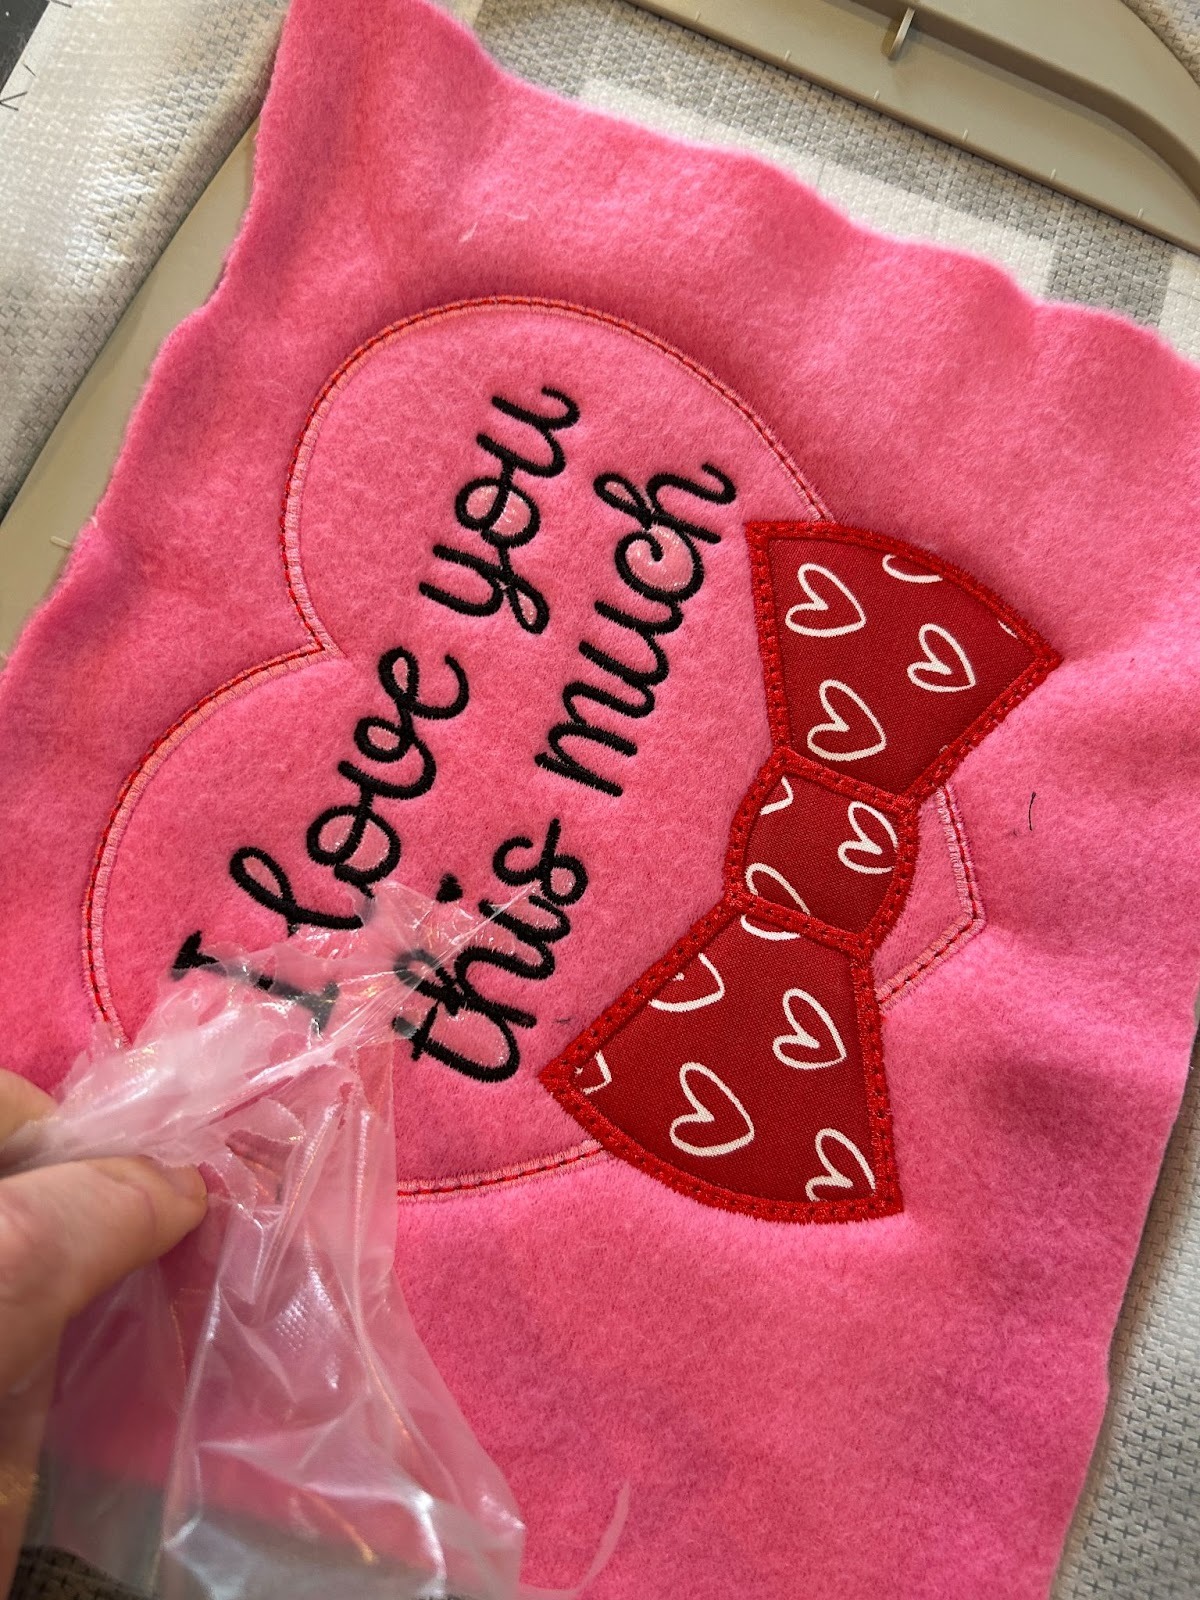
Now I’m going to stitch the words inside the heart. I’ll first cover the design with a water-soluble topper. I pinned it in place so it wouldn’t slip around.

And stitch out your words.
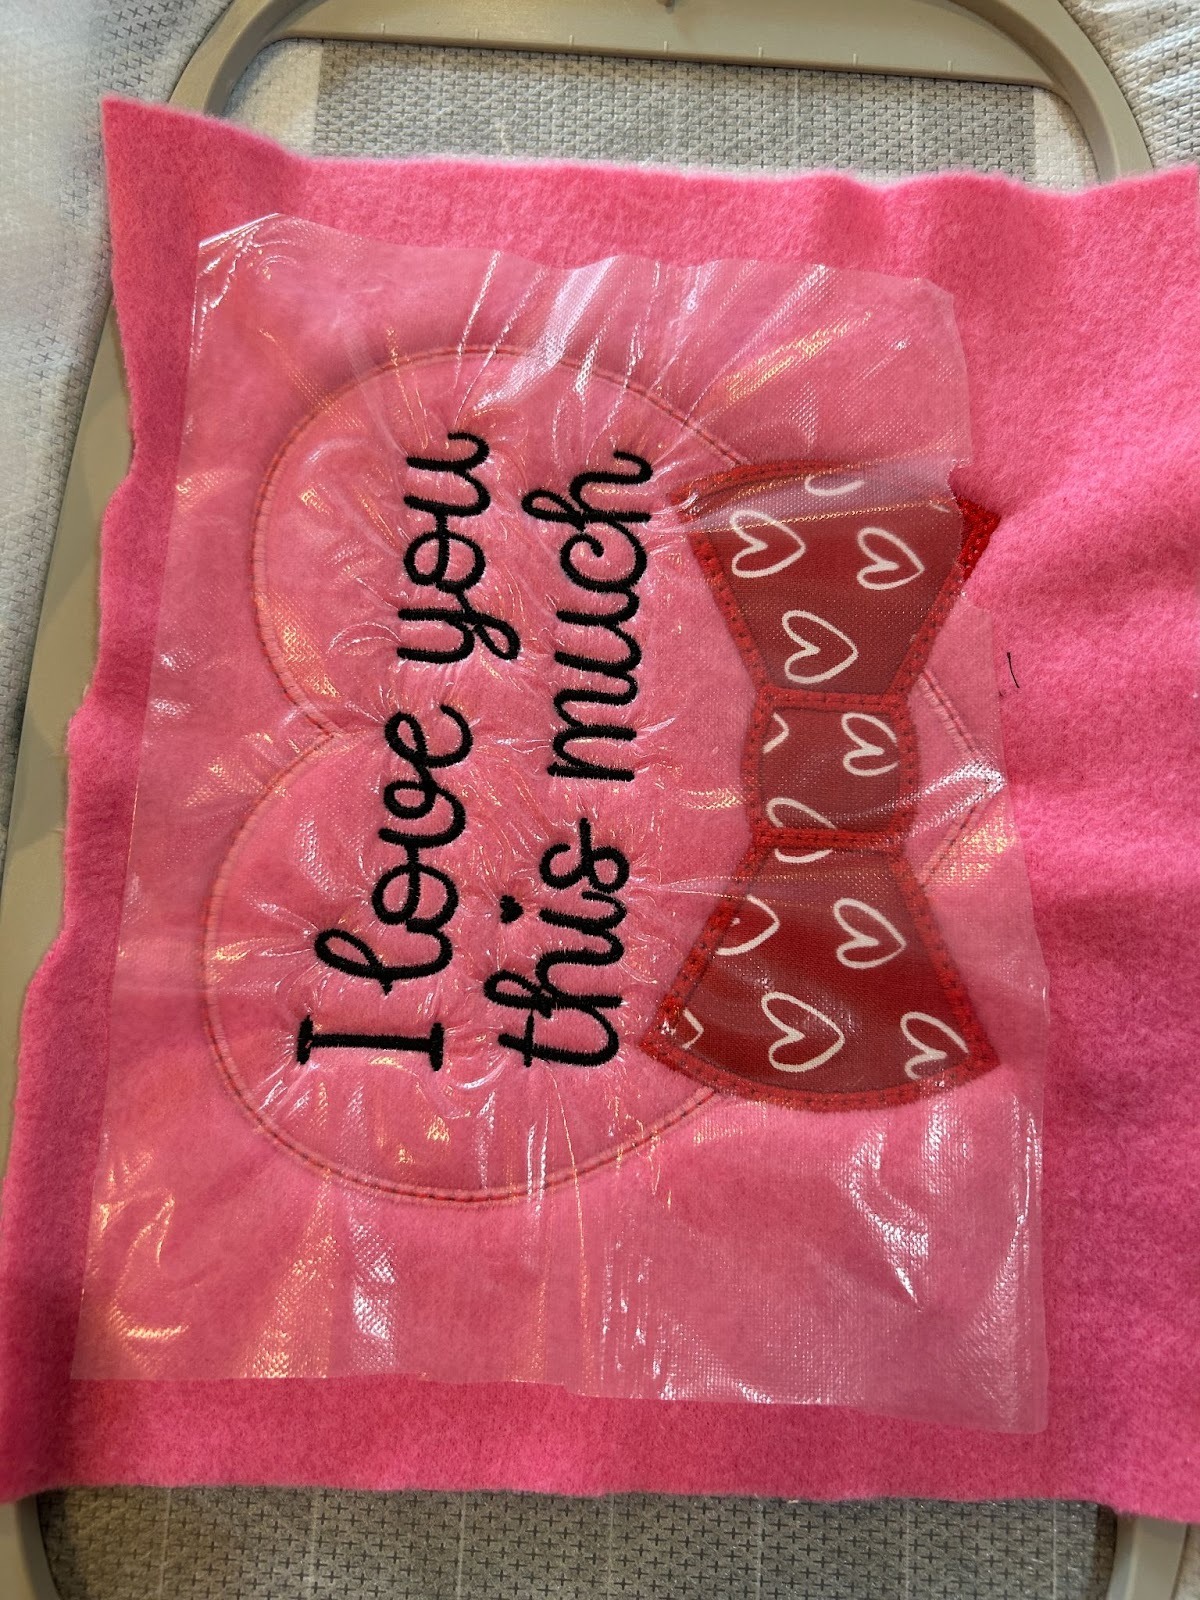
Remove your hoop from the machine and remove that topper.
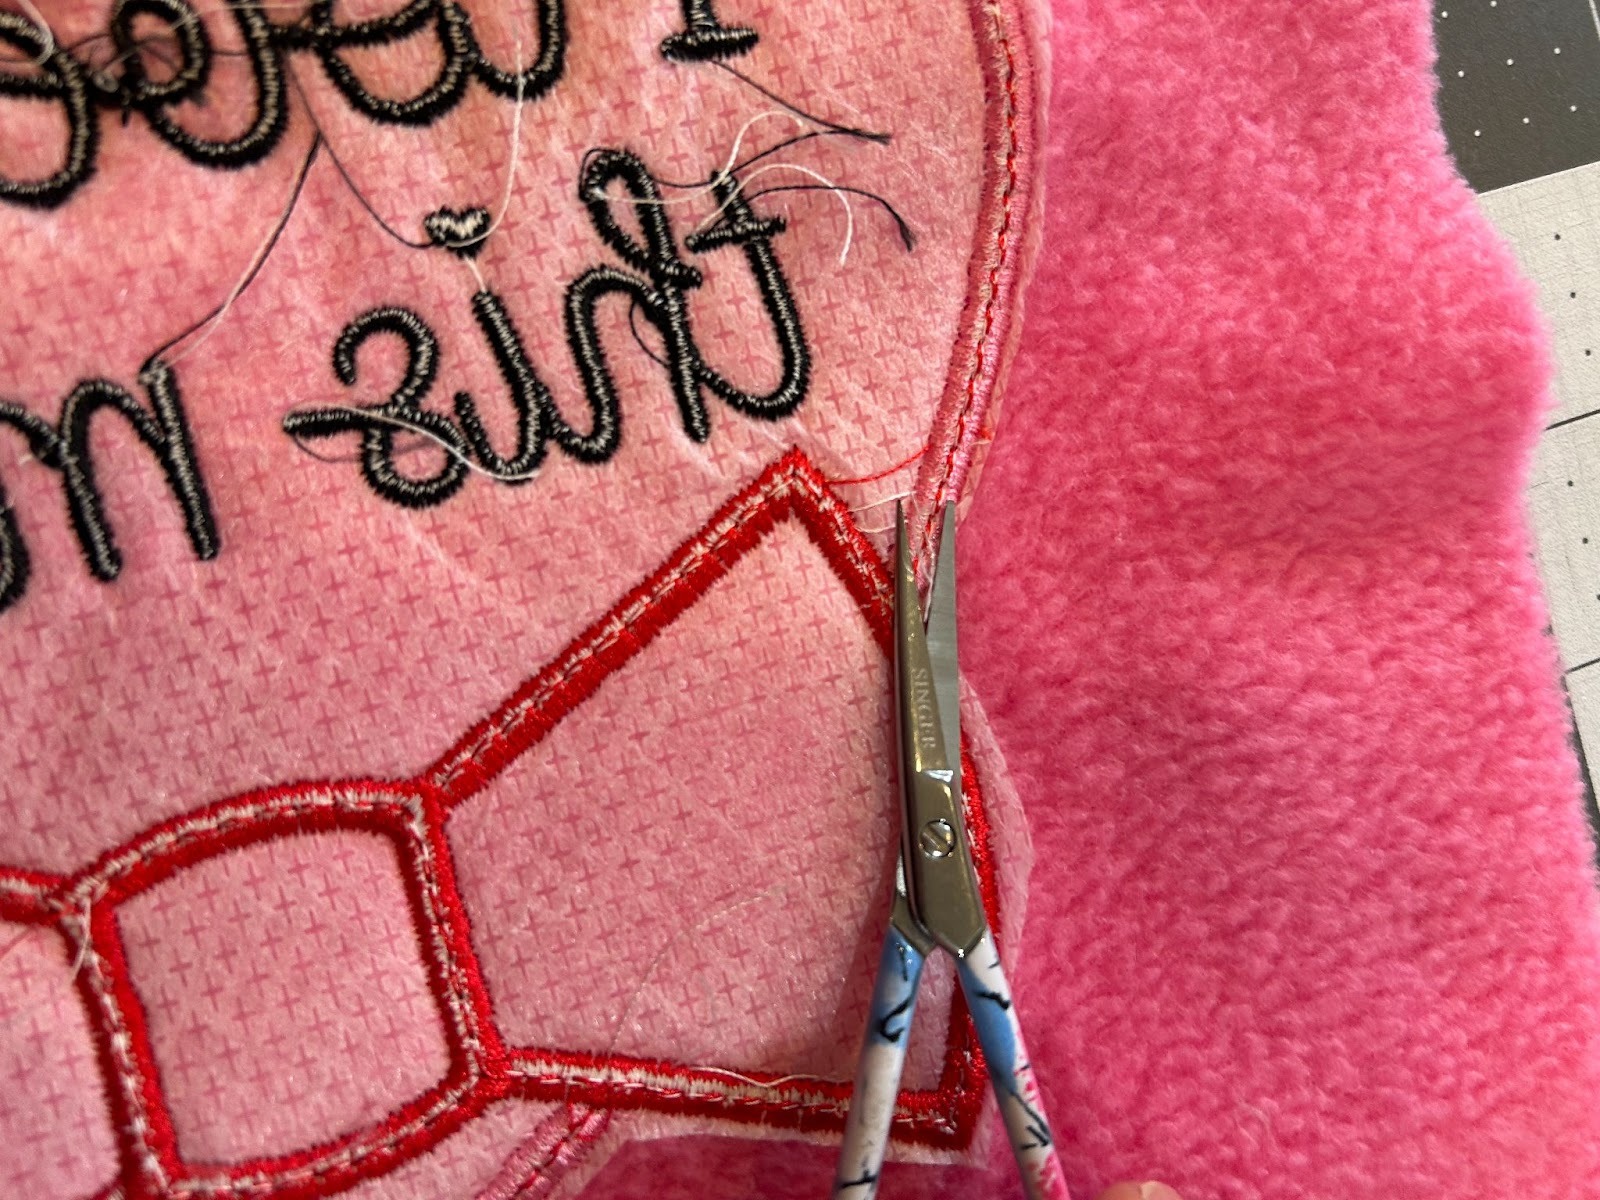
Take it out of the hoop and cut away the stabilizer close to the edge stitches.

Trim up any threads that are close to the edges. Most of them won’t be in our way but I never want one to end up poking out from the edge of the finished stuffie.
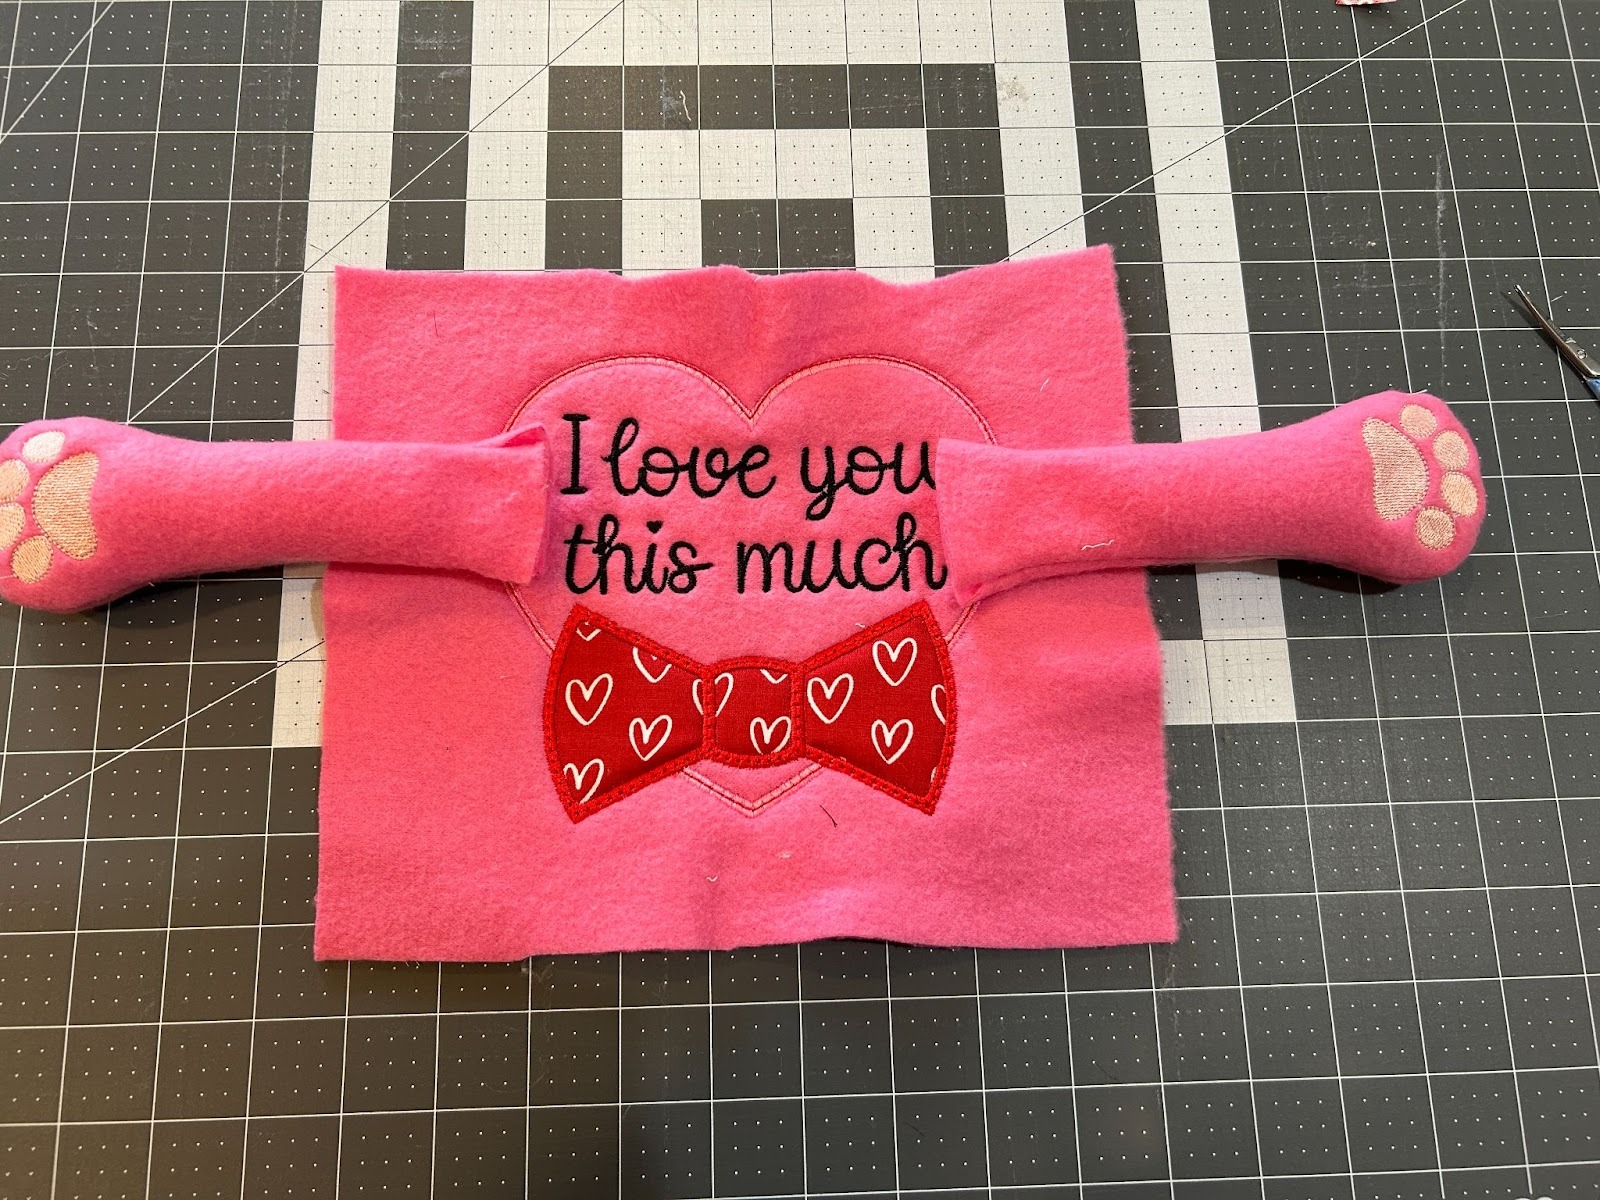
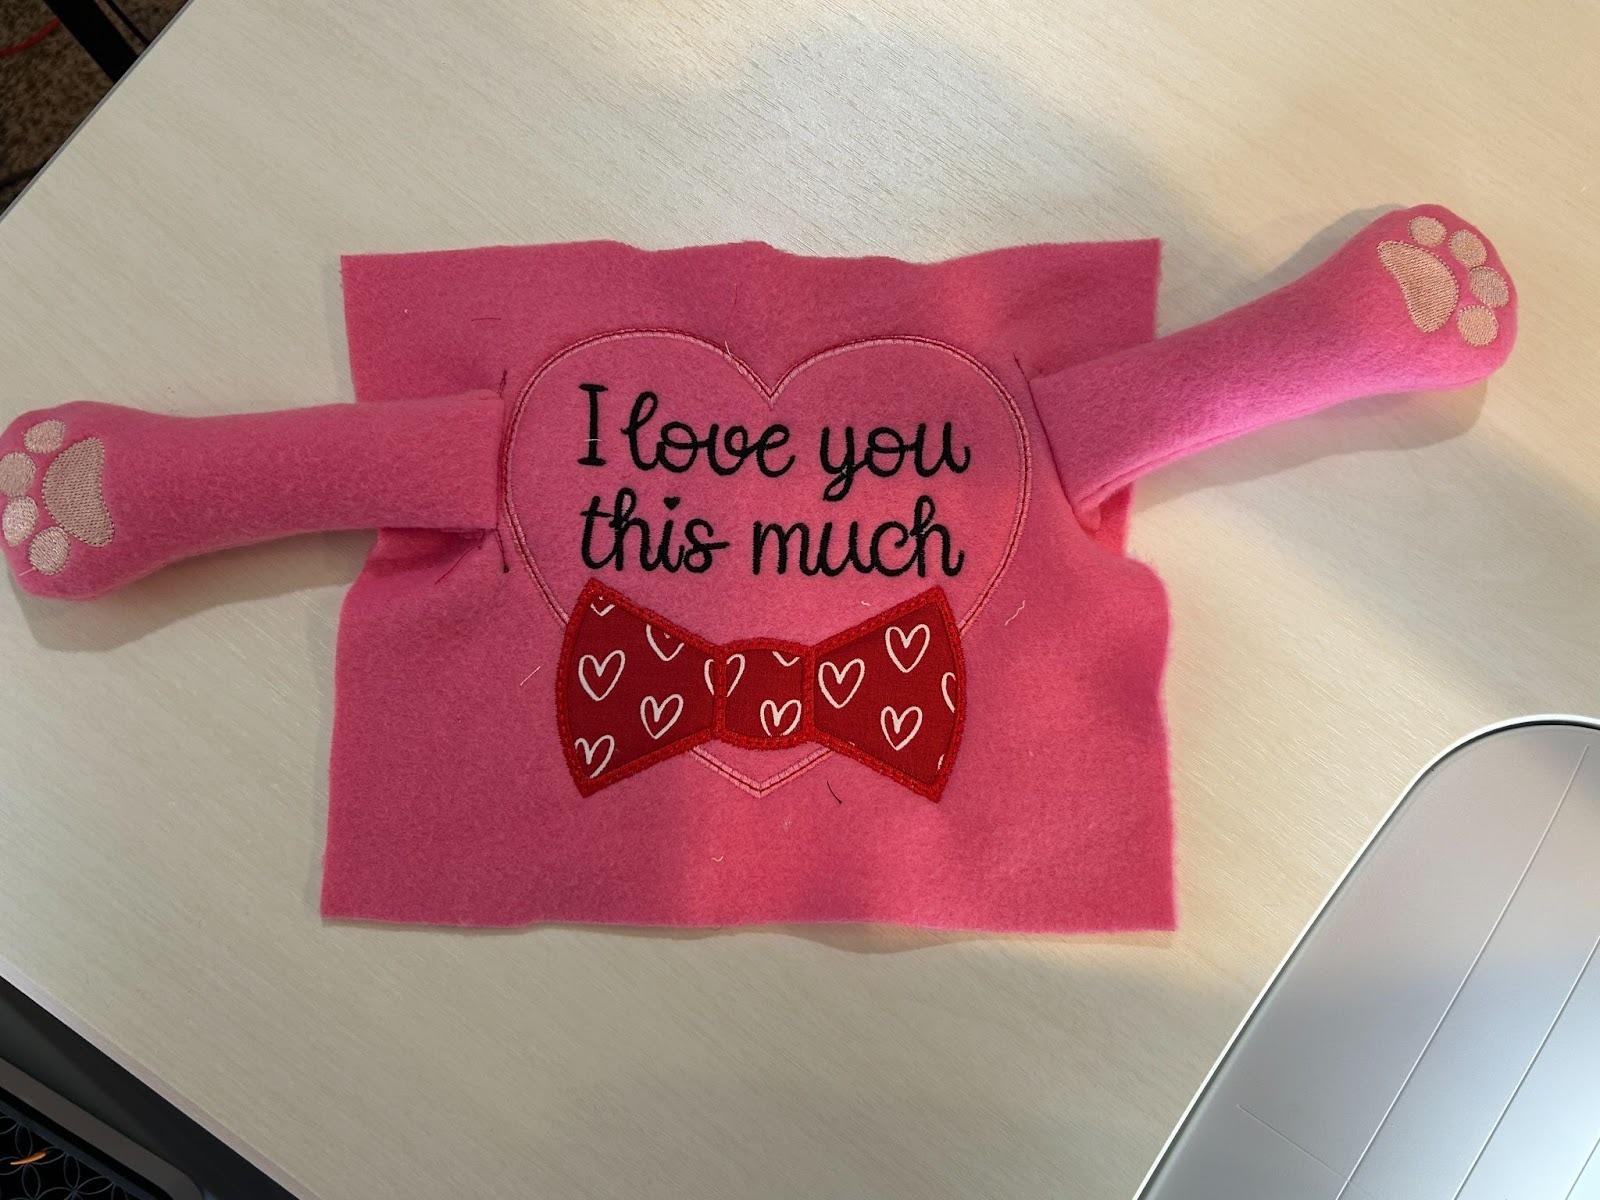
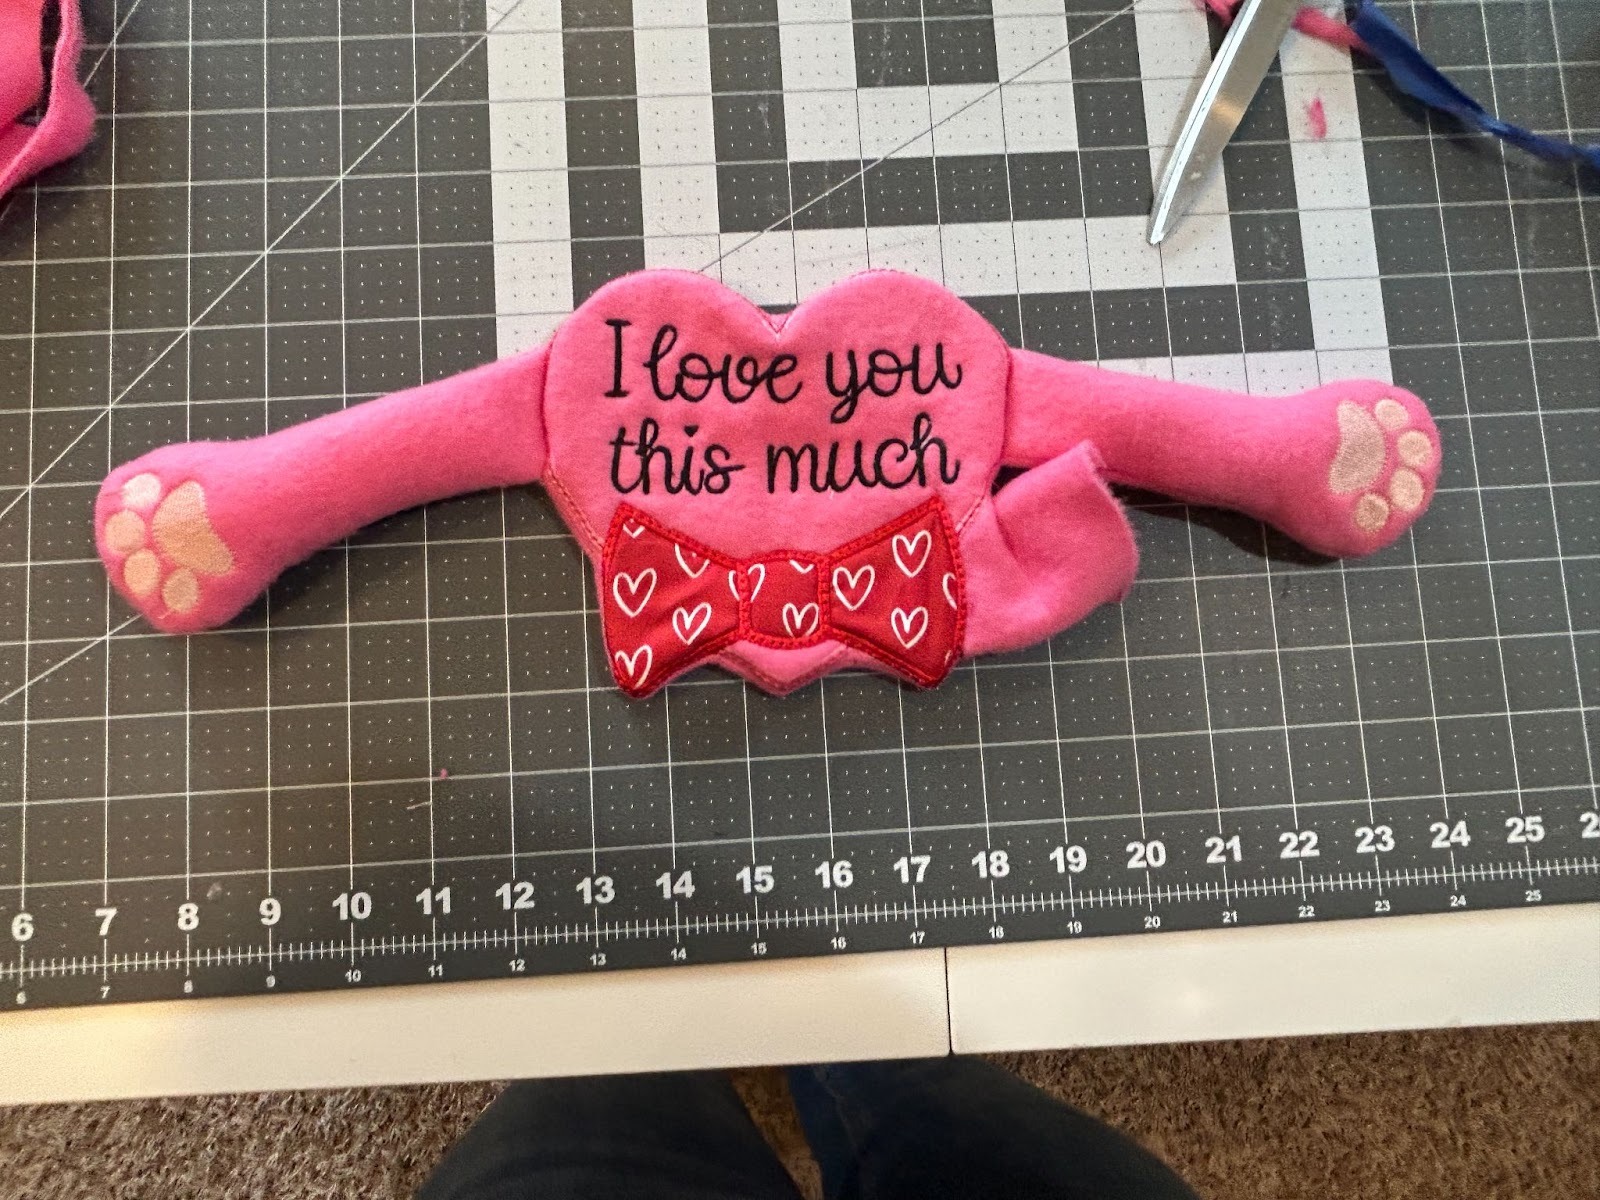
Now it’s time to add our arms. Take your heart piece and place it on your workspace. Add your arms to it and try to figure out where you'd like them positioned.
Carefully flip the arms so that they are right sides together. This will now make them look like they are crossing their arms across the center of the design. Pin them in place.
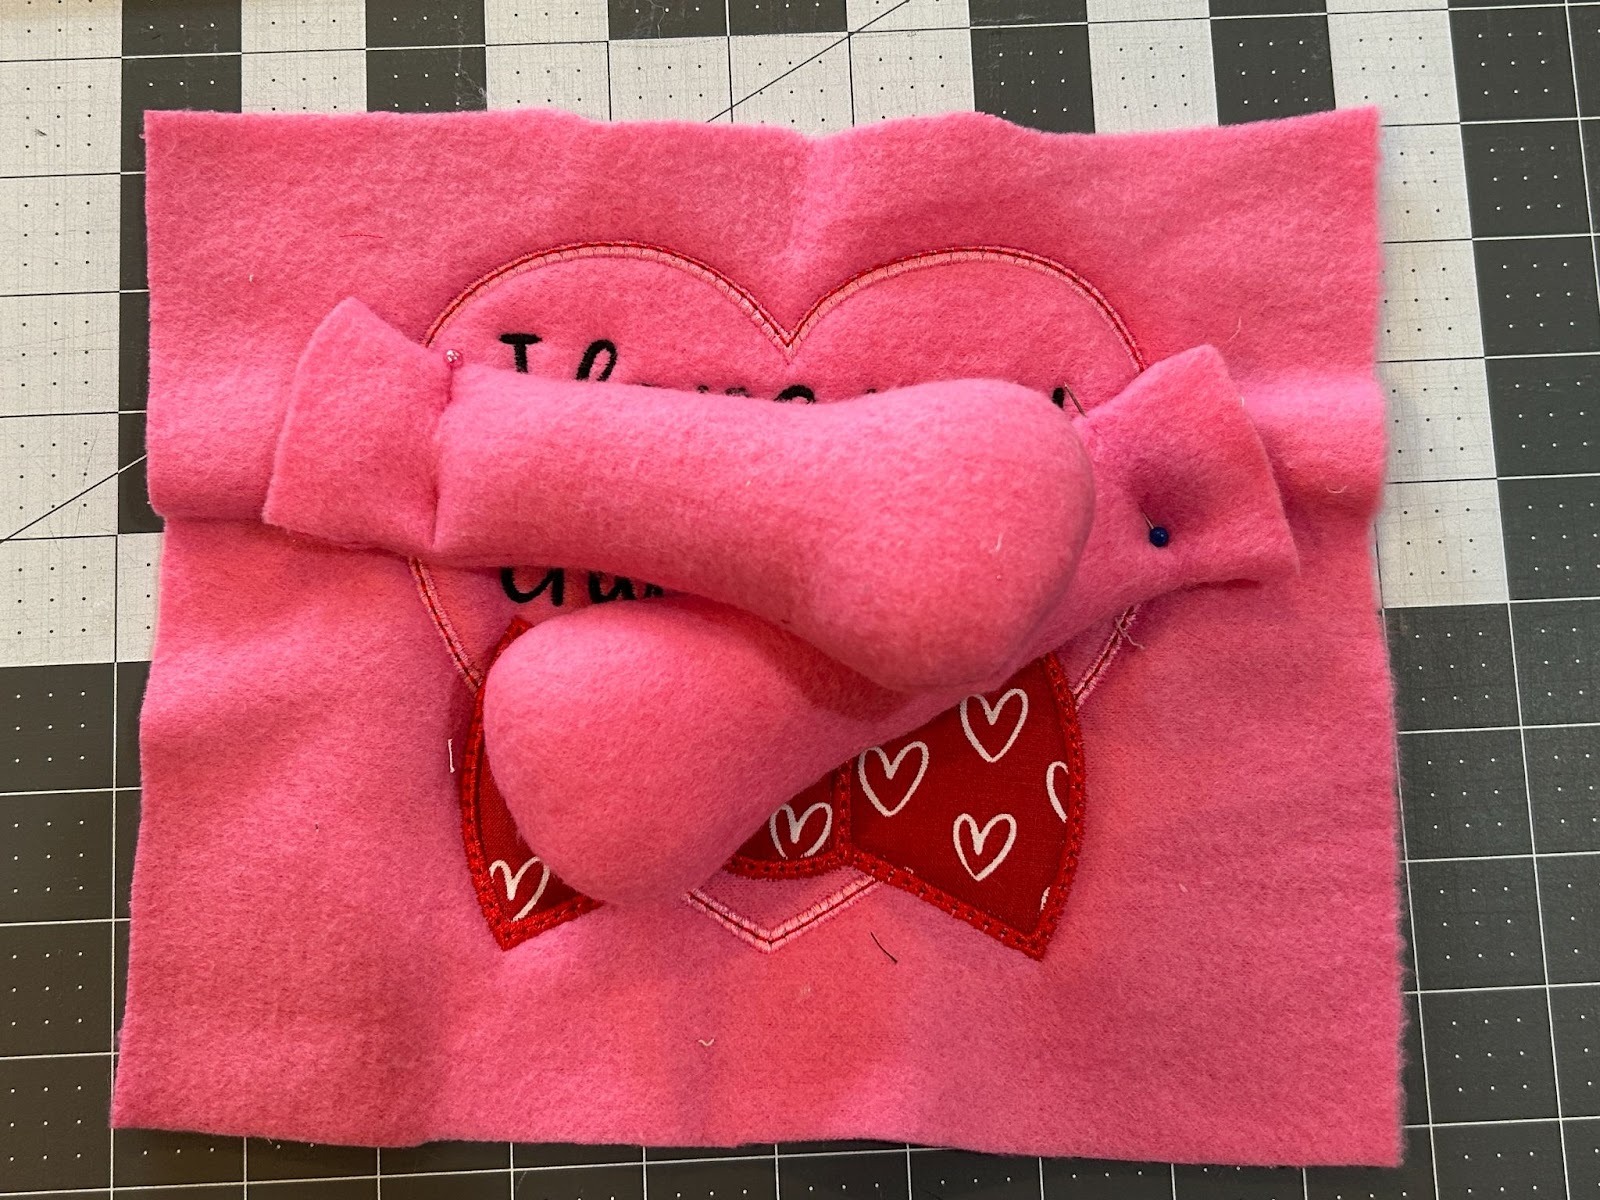
Take them to your sewing machine and just baste them in place. You can do this off the edge a bit so you don’t have to worry about the basting stitches showing later.

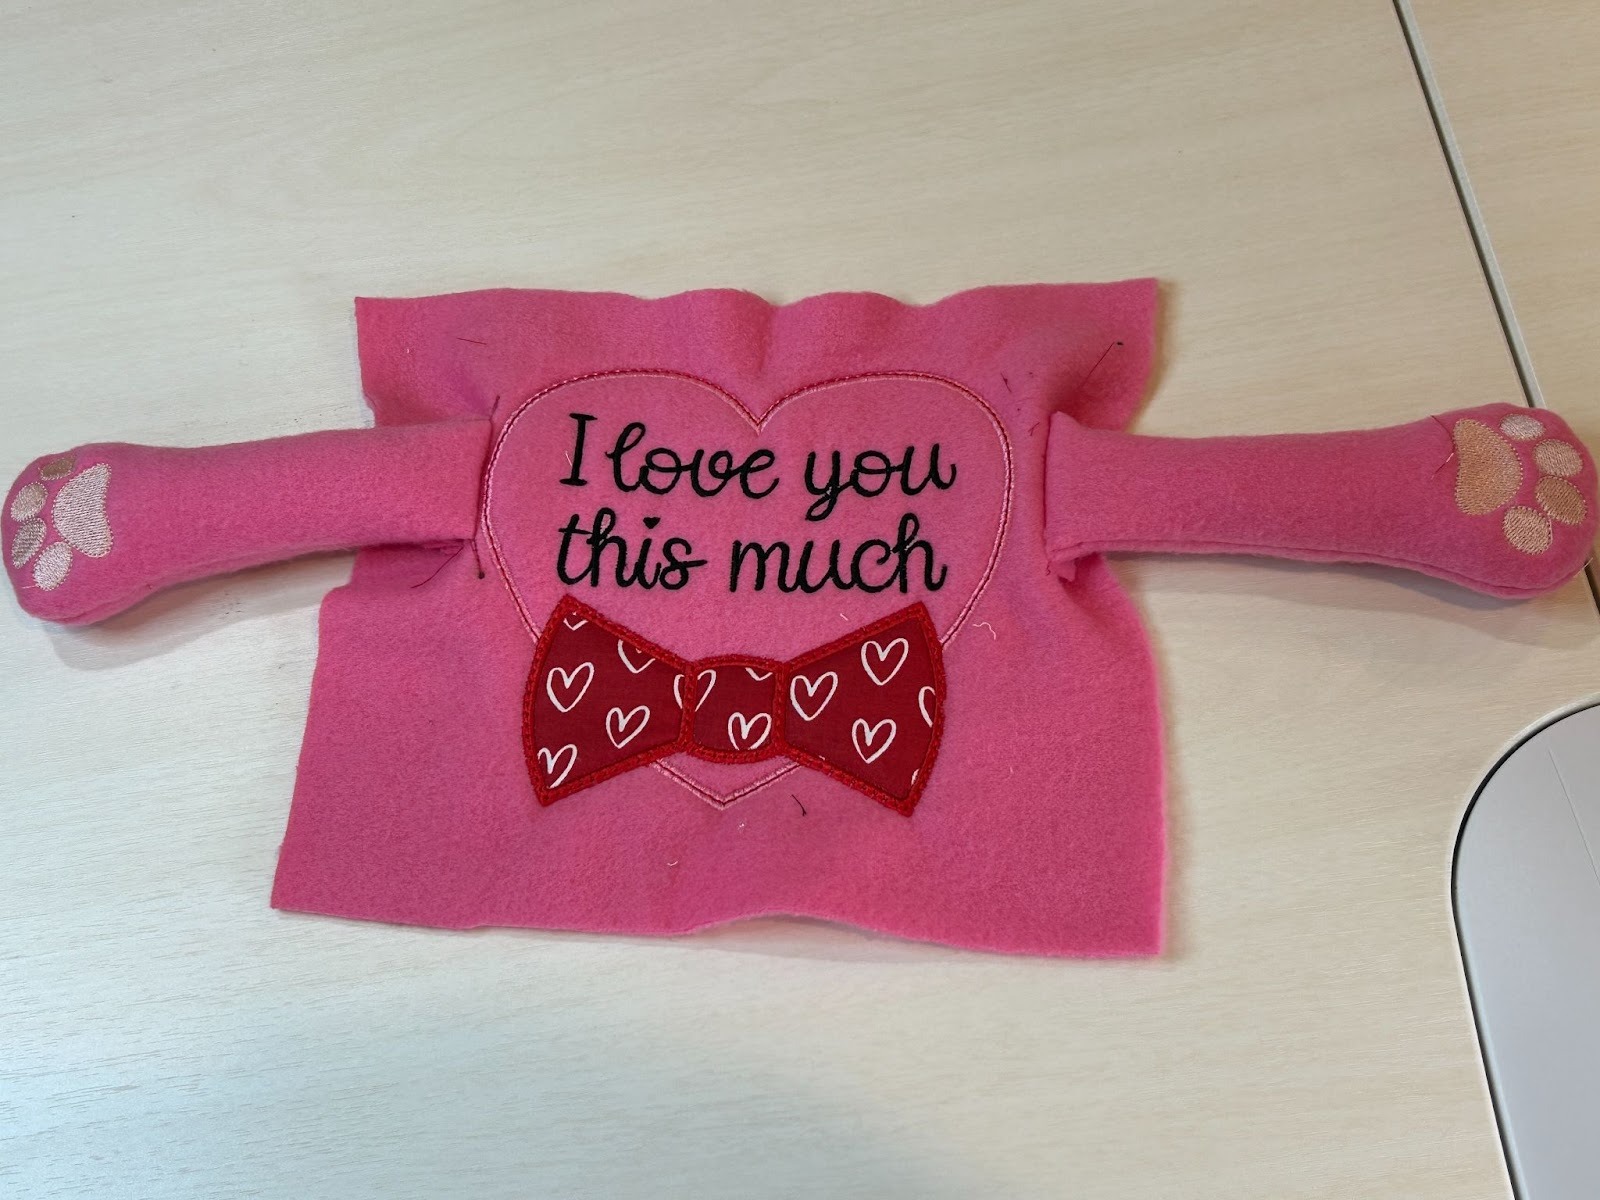
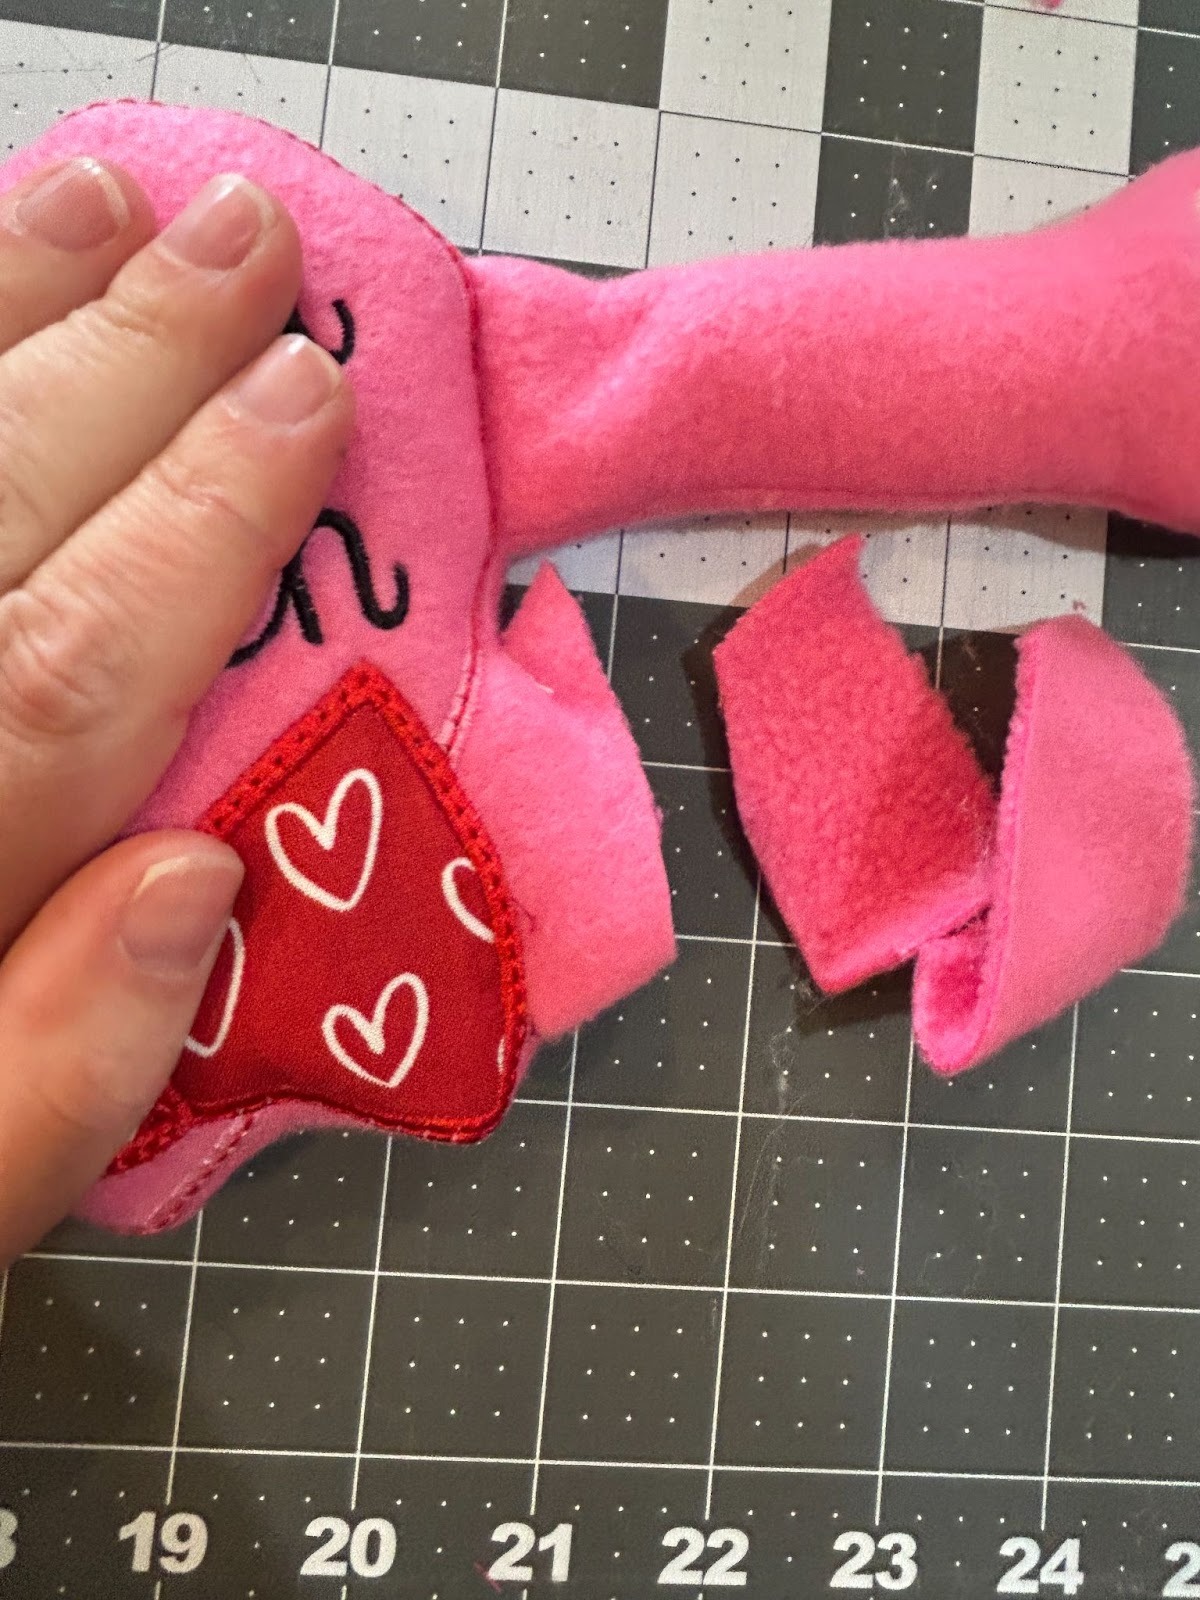
Now go back to your work space and flip the arms out and check their placement. Obviously the heart’s left arm is higher than the right. I wanted them to be more out and down a bit so I removed the basting stitches on that arm using a seam ripper and repositioned it.
I reattached the arm and tried again and thought they looked much better this time.
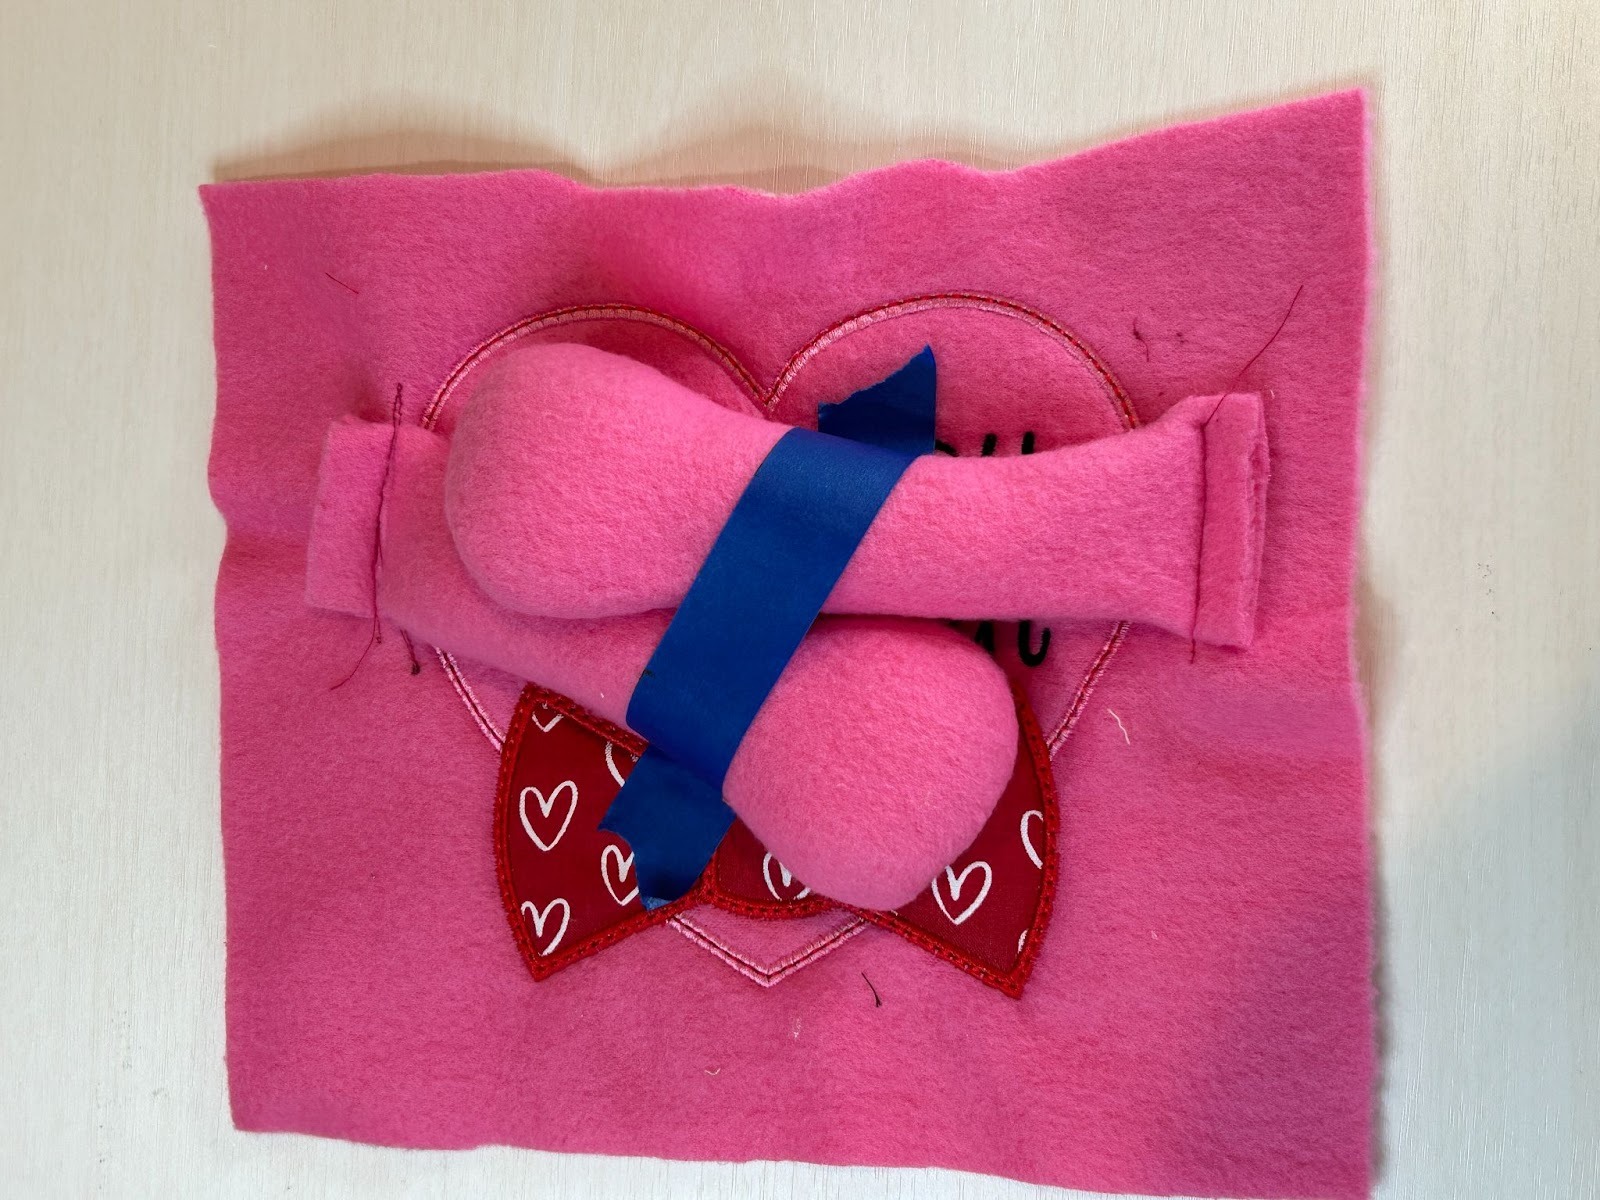
Fold the arms back into the center of the design. We will now be adding the back to the stuffie so we want the arms to be as far from the edges of our design as possible. I used a little painters tape to hold them in place and out of the way.
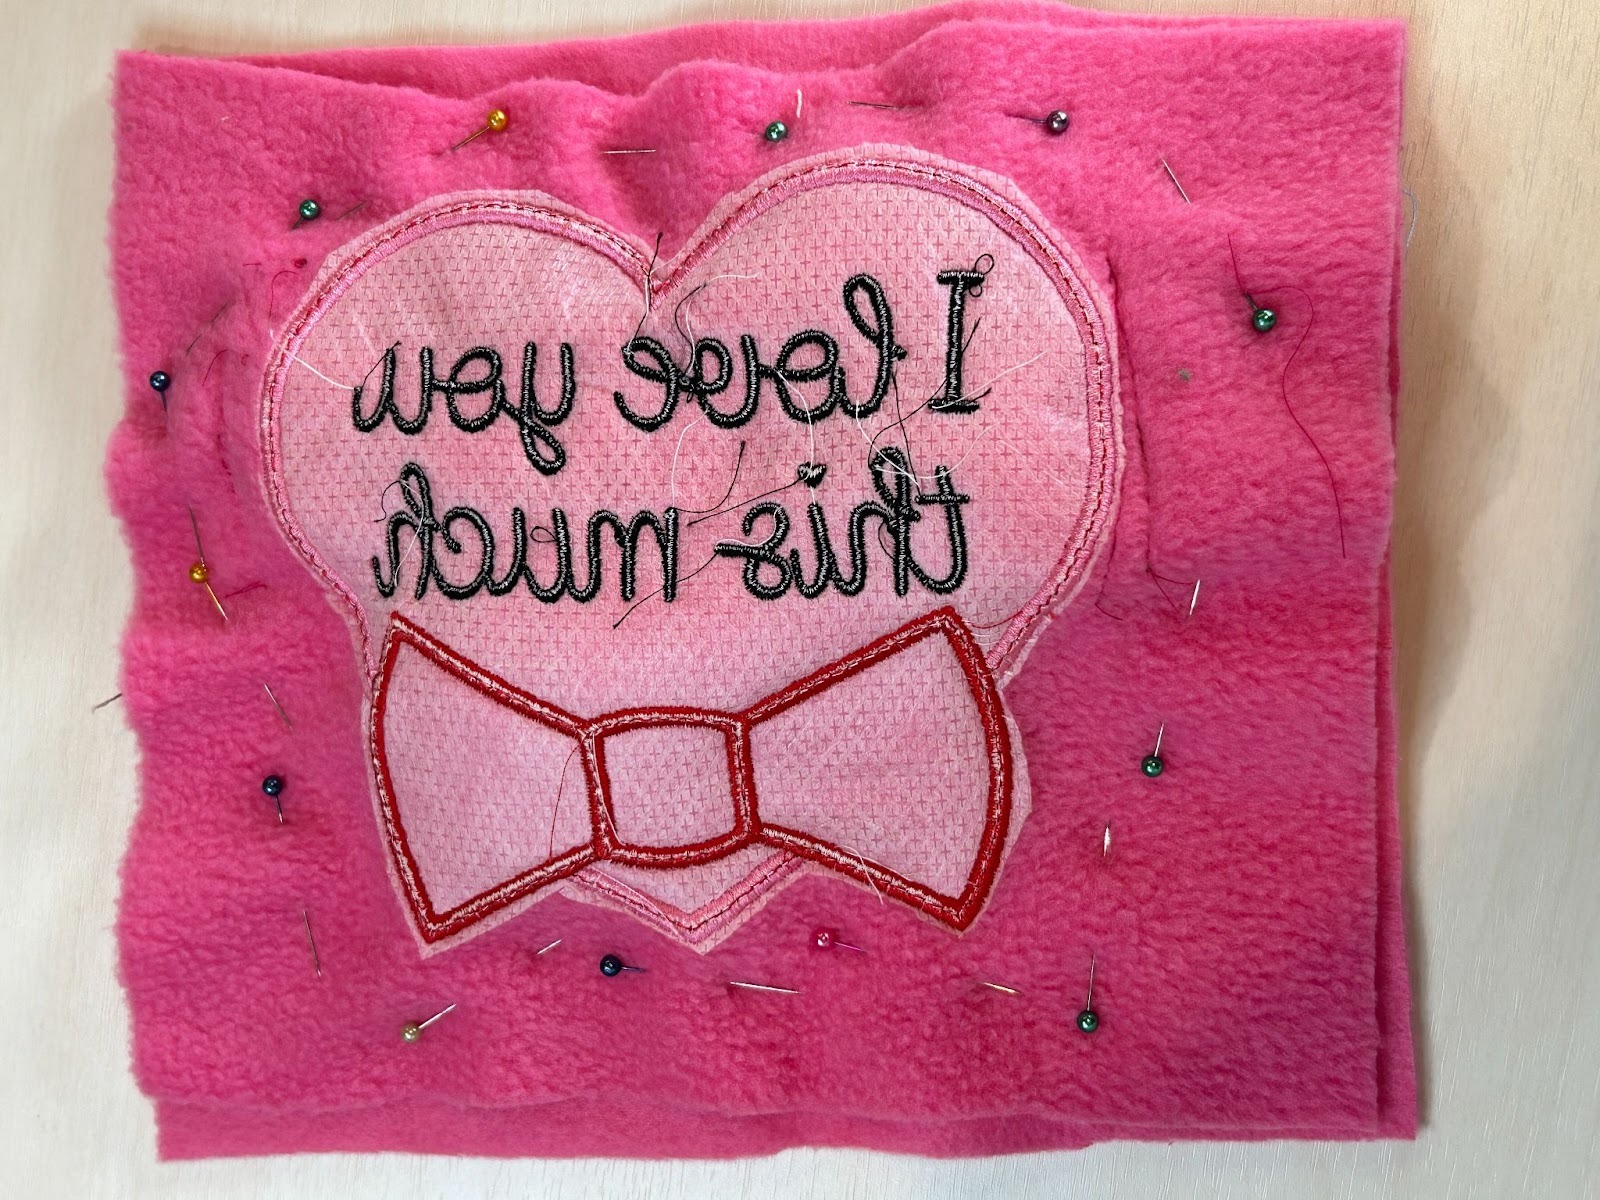
Cover the design with another piece of fleece (right sides together) and pin it in place. I like to pin from the side with the applique because that’s the side I’ll be seeing when I sew them together. Make sure you leave an opening for turning. I try to find a fairly straight area away from the arms to turn. Don’t sew through your turning area.
Using your sewing machine, stitch around the design. Take it slow and keep an even distance from the cover stitches. I tried to do about ¼”. At the top of the heart where it goes down into the point I had to stitch from both directions to get it to work. It’s okay to go back and fix any place you got “off” a little bit.
Trim around the edges of the stitches. I do a generous ½ ” again. If you have any sharp turns or curves you can clip into those to add a bit of ease. I leave a couple inches around the opening for turning. It helps to have more fabric to hand stitch closed.
Now turn the design inside out! Reach through the opening and pull it right side out.
I like to use a plastic tool to push out the edges of the design and get it all ready for the stuffing.
Add stuffing through the opening until the plushie is as full as you’d like it to be.

If you left too many inches around the opening you can trim them at this point. I like about an inch from the stitches.
Tuck the fabric in and stitch the opening closed. I like to use a ladder stitch, but if you have a different favorite closing stitch you can use that one instead.

And there you have your own custom Valentine plushie. It’s bound to put a smile on anyone's face when they see the special message you have for them and all the love you put into the project!
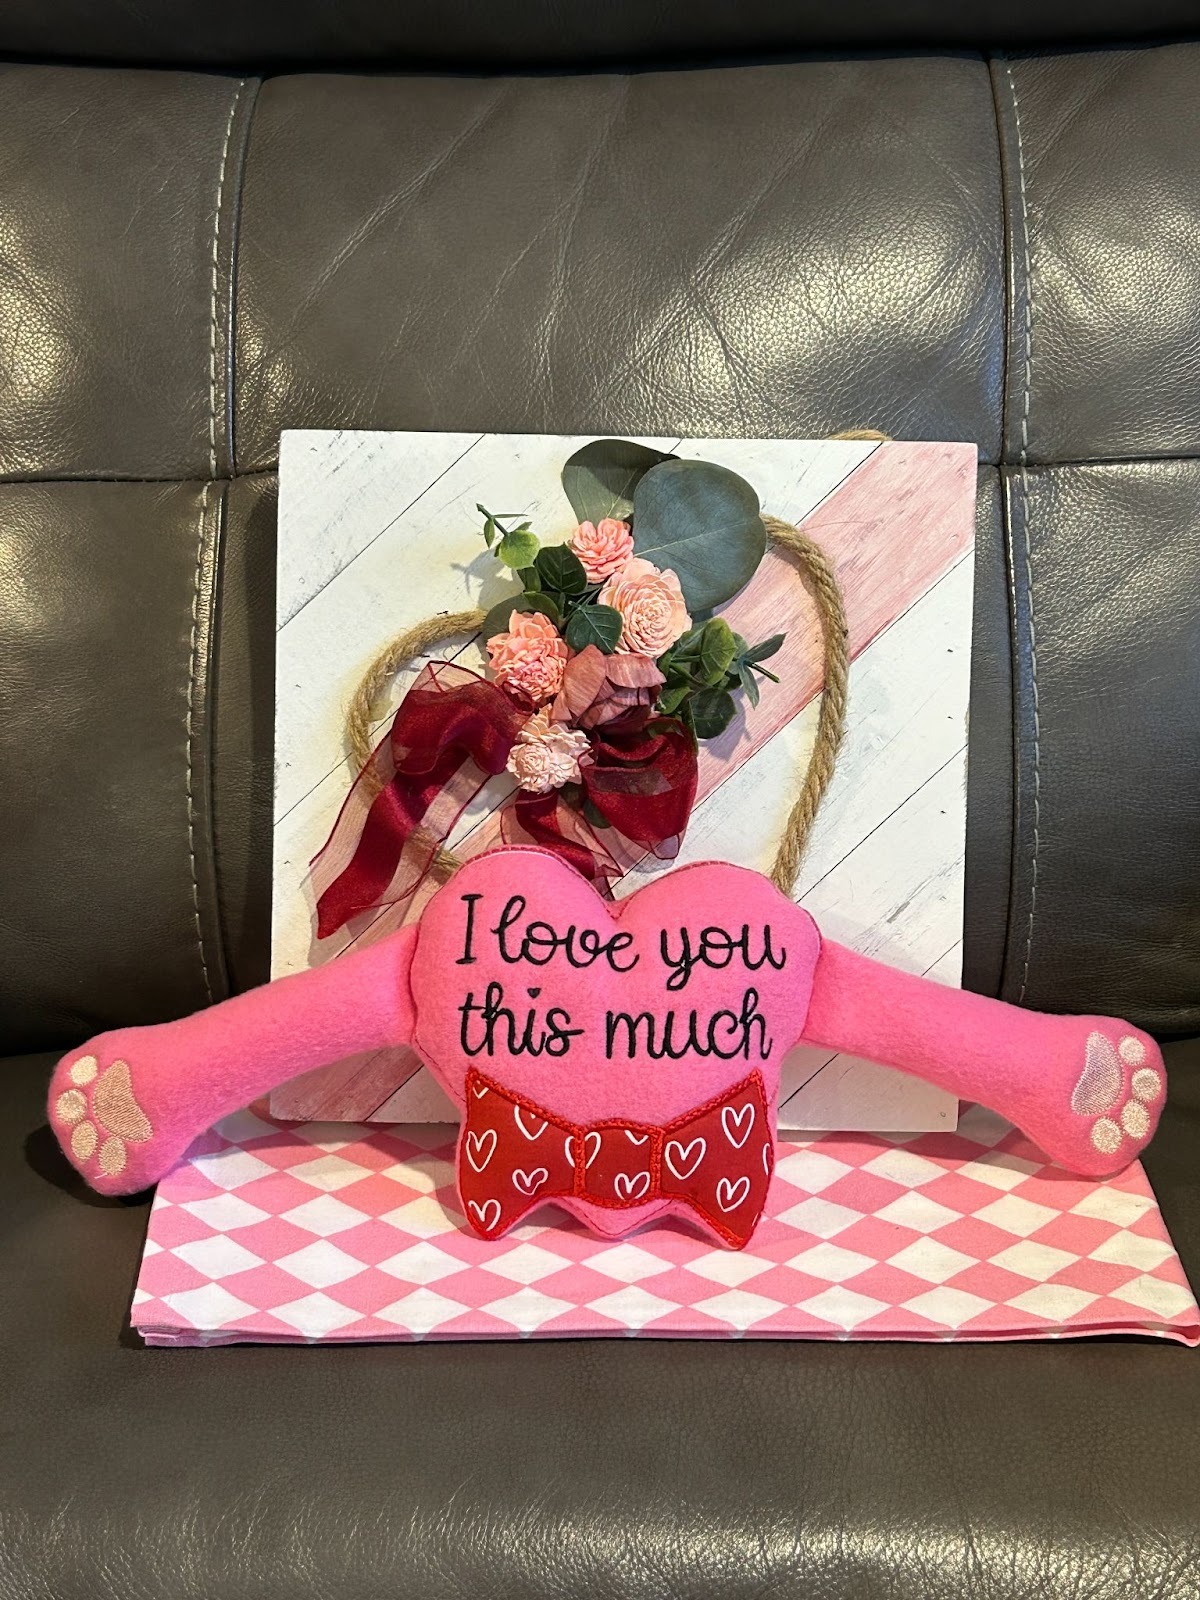
I’d love to see projects like this done with some of the other heart designs JuJu has, like the Mehndi Hearts or the Flowering Hearts. You can also use one of the cute heart faces and leave the arms off like the Heart Penguin Face Applique or the Heart Fox Face Applique. Or you could add arms and legs to your heart stuffie!
If you try one of these we’d love to see what you do in the Designs by JuJu Embroidery Blessings Facebook Group, or anywhere on social media using the hashtag #designsbyjuju. Share your design there and inspire us all!
