Toggle Nav
 Inspire.
Create.
Stitch.
Inspire.
Create.
Stitch.
Search
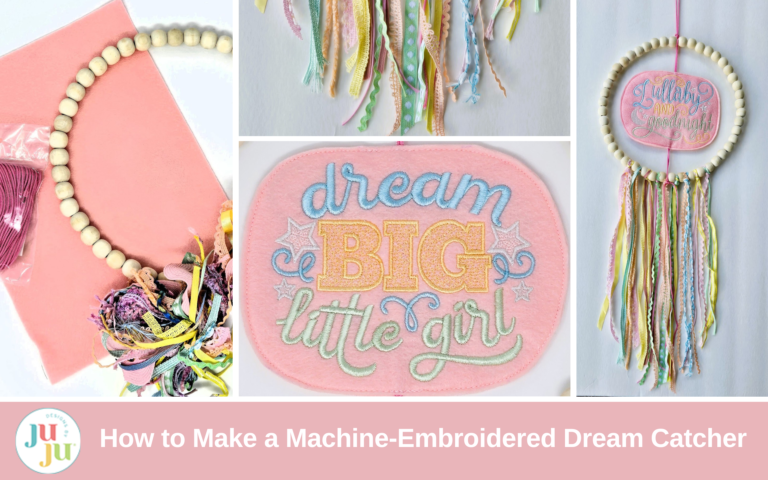
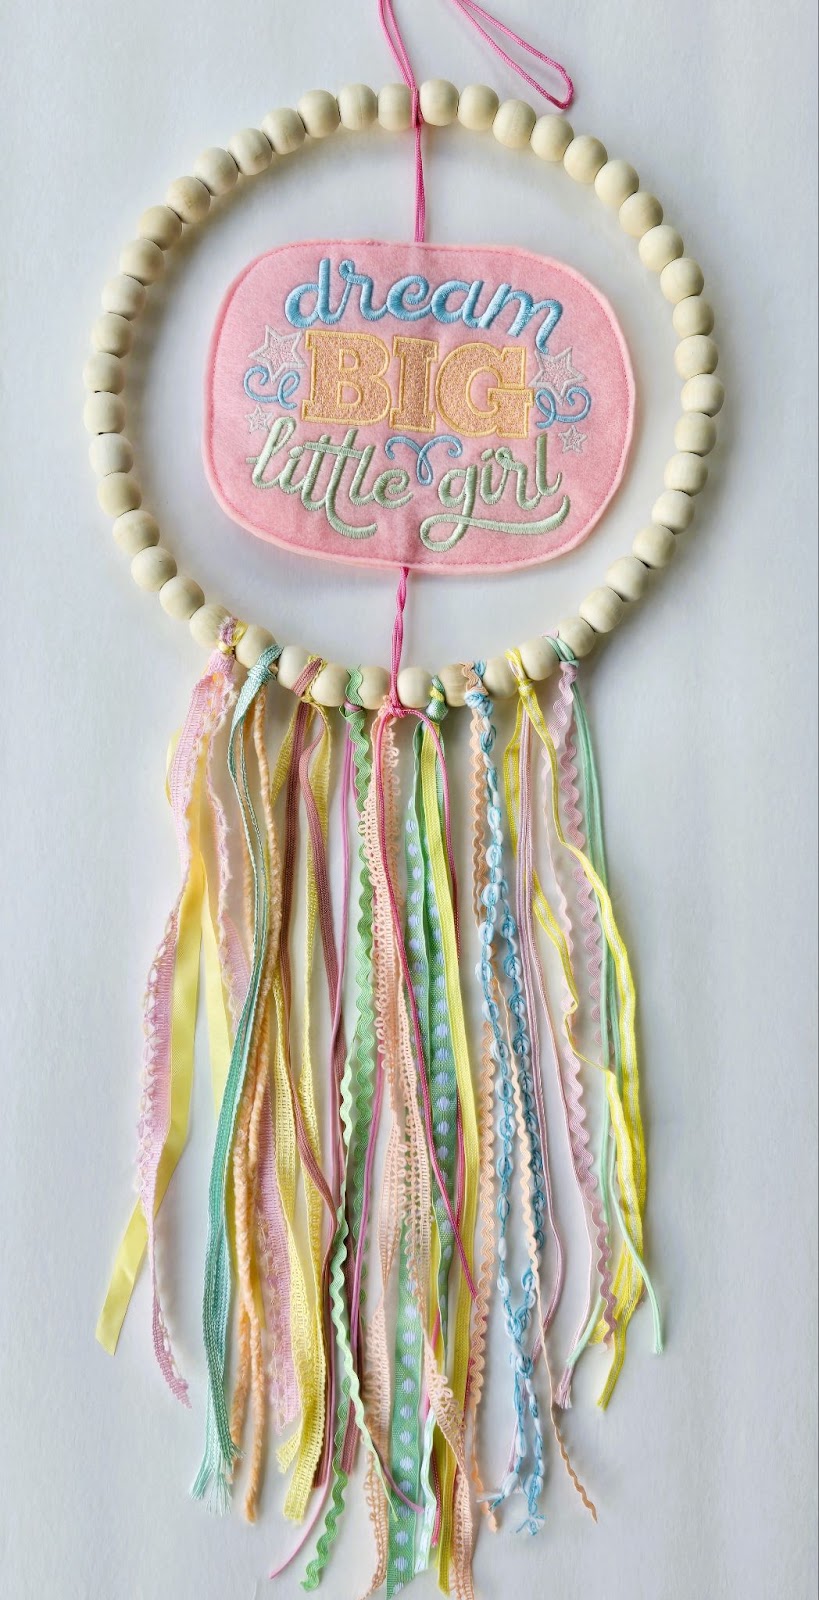
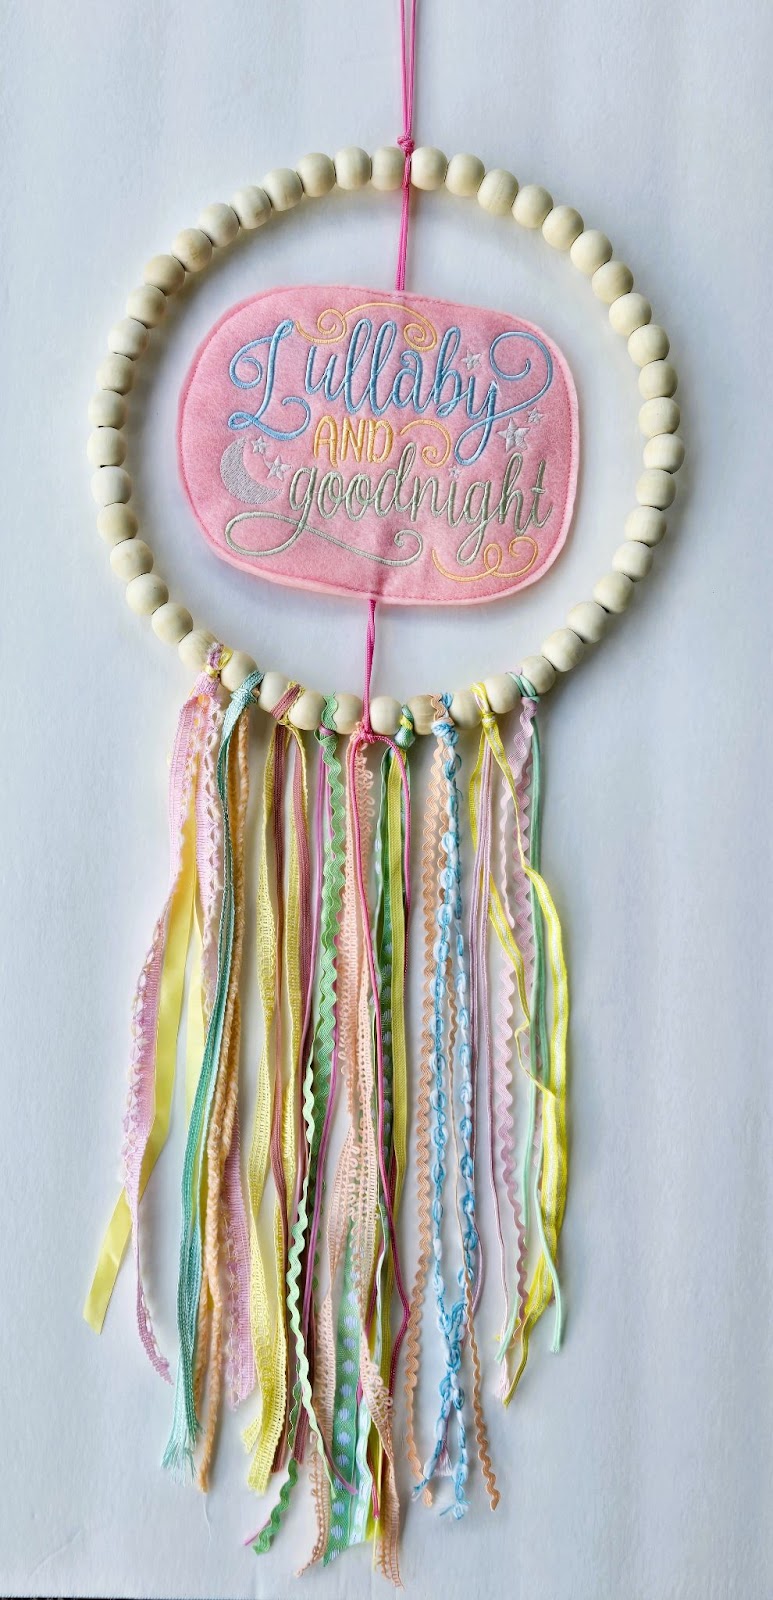
An embroidered dream catcher is so quick and fun to make and adds a spark of creativity to a child’s room. Although my grandchildren do not live near me, a dream catcher lets them know every night that I am thinking of them.
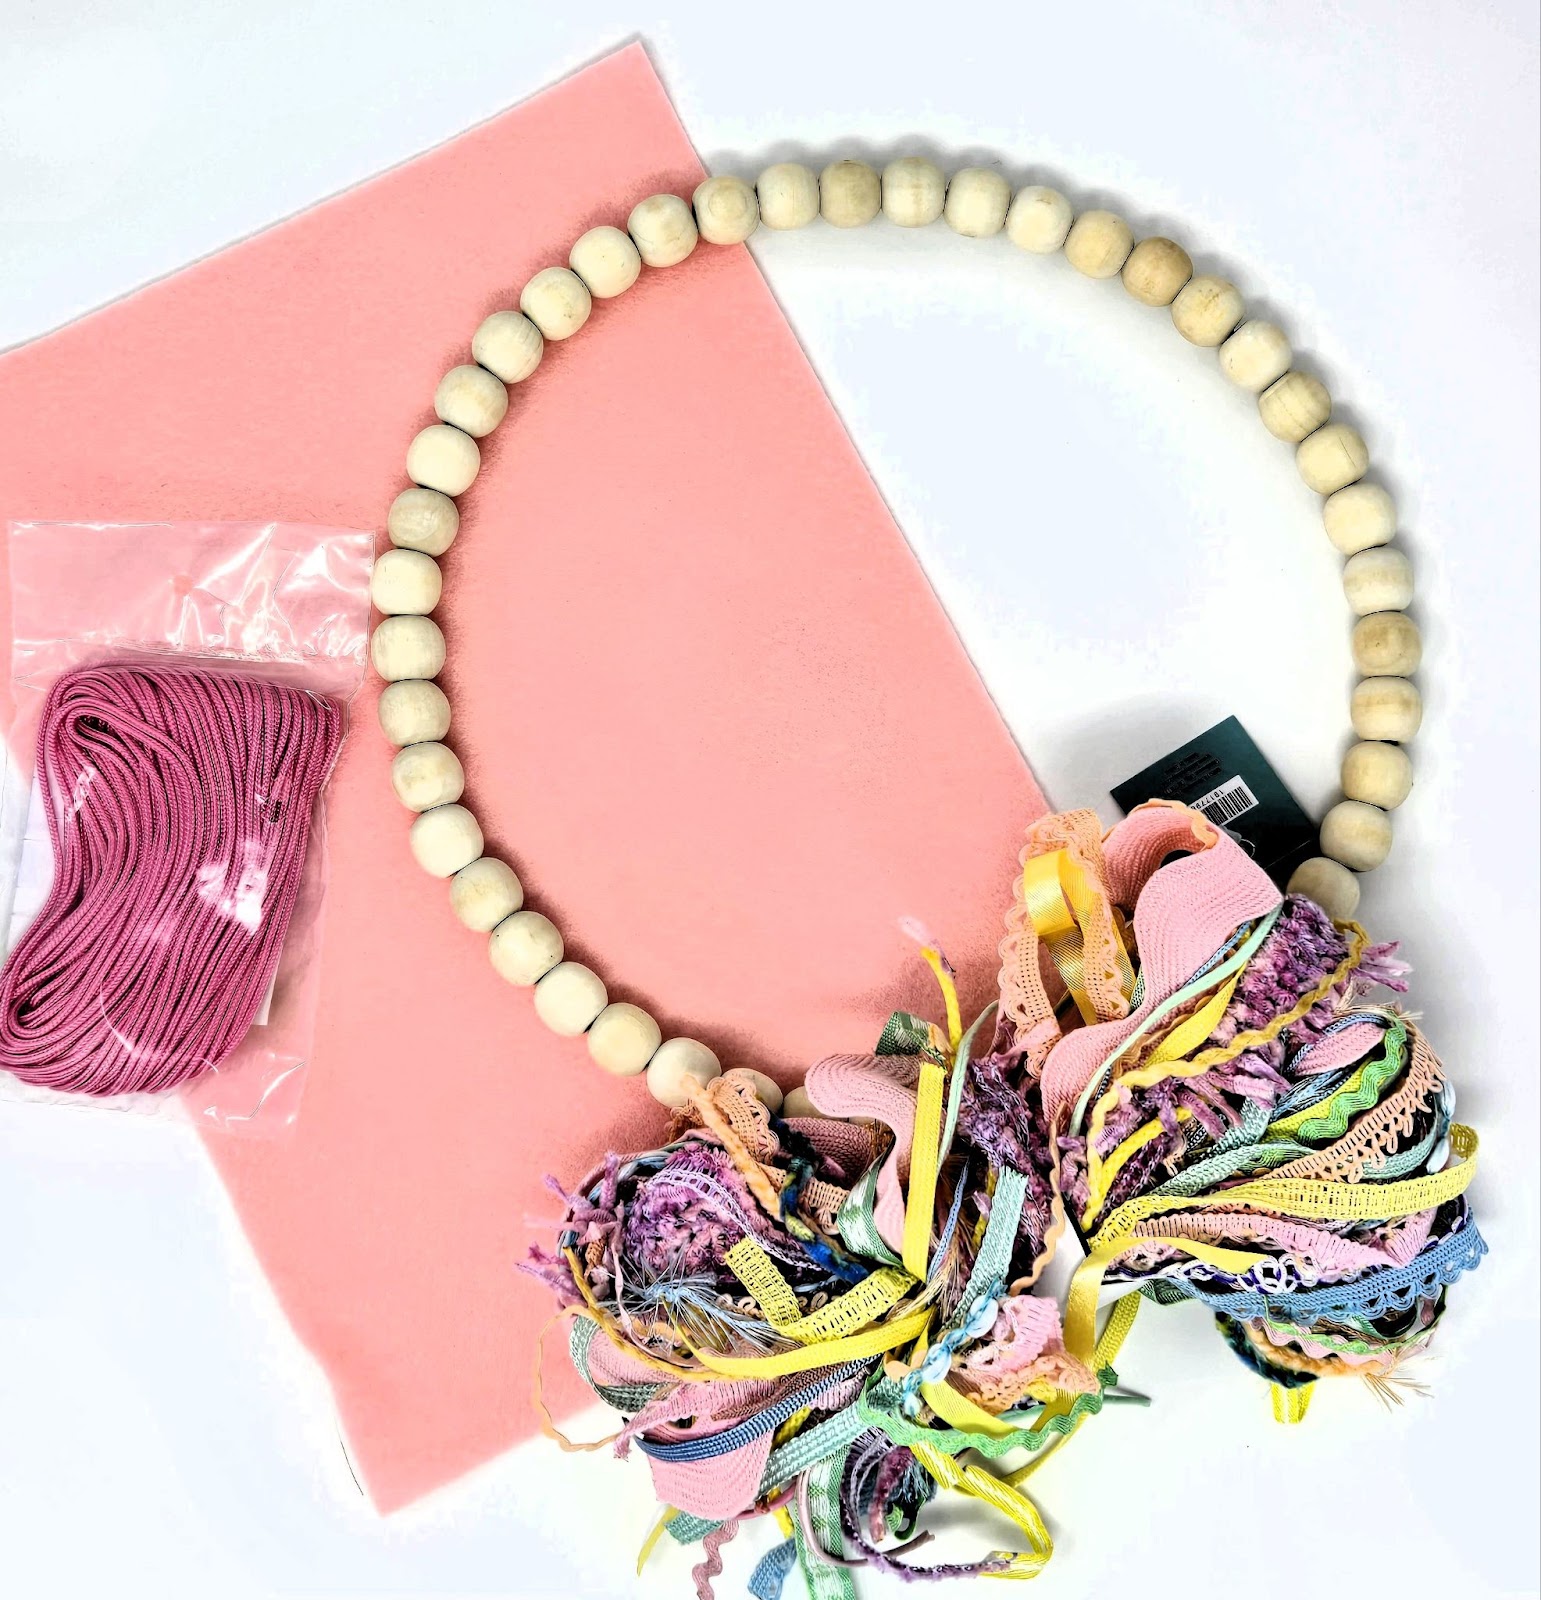
Check out the DBJJ team’s favorite supplies in the Designs By Juju Amazon Store.
I found everything pictured at my local hobby store.
PLEASE NOTE: This is not intended to be a toy. Please hang high enough that it is out of the reach of babies and small children.
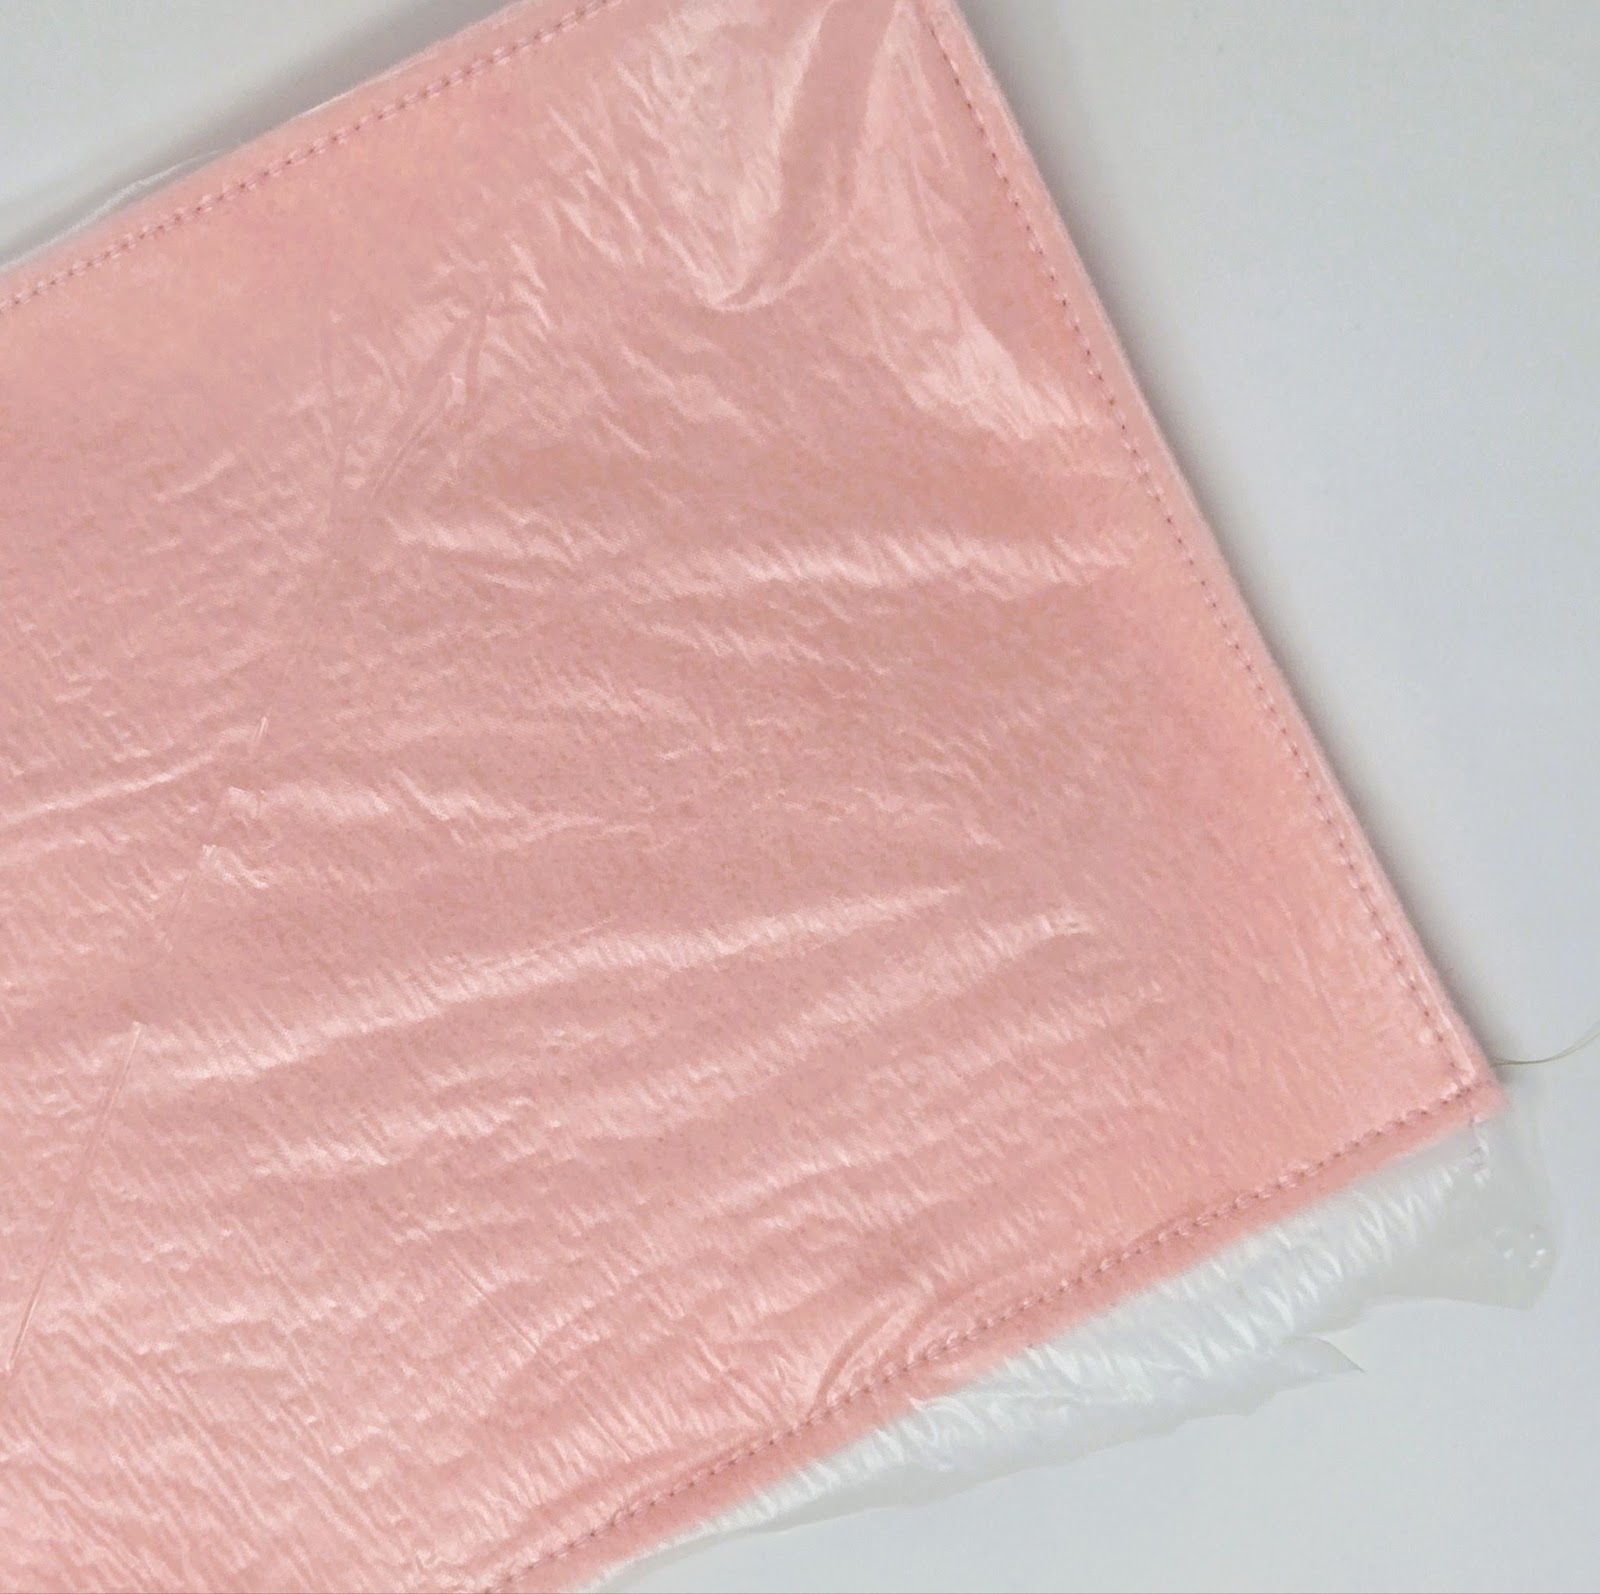
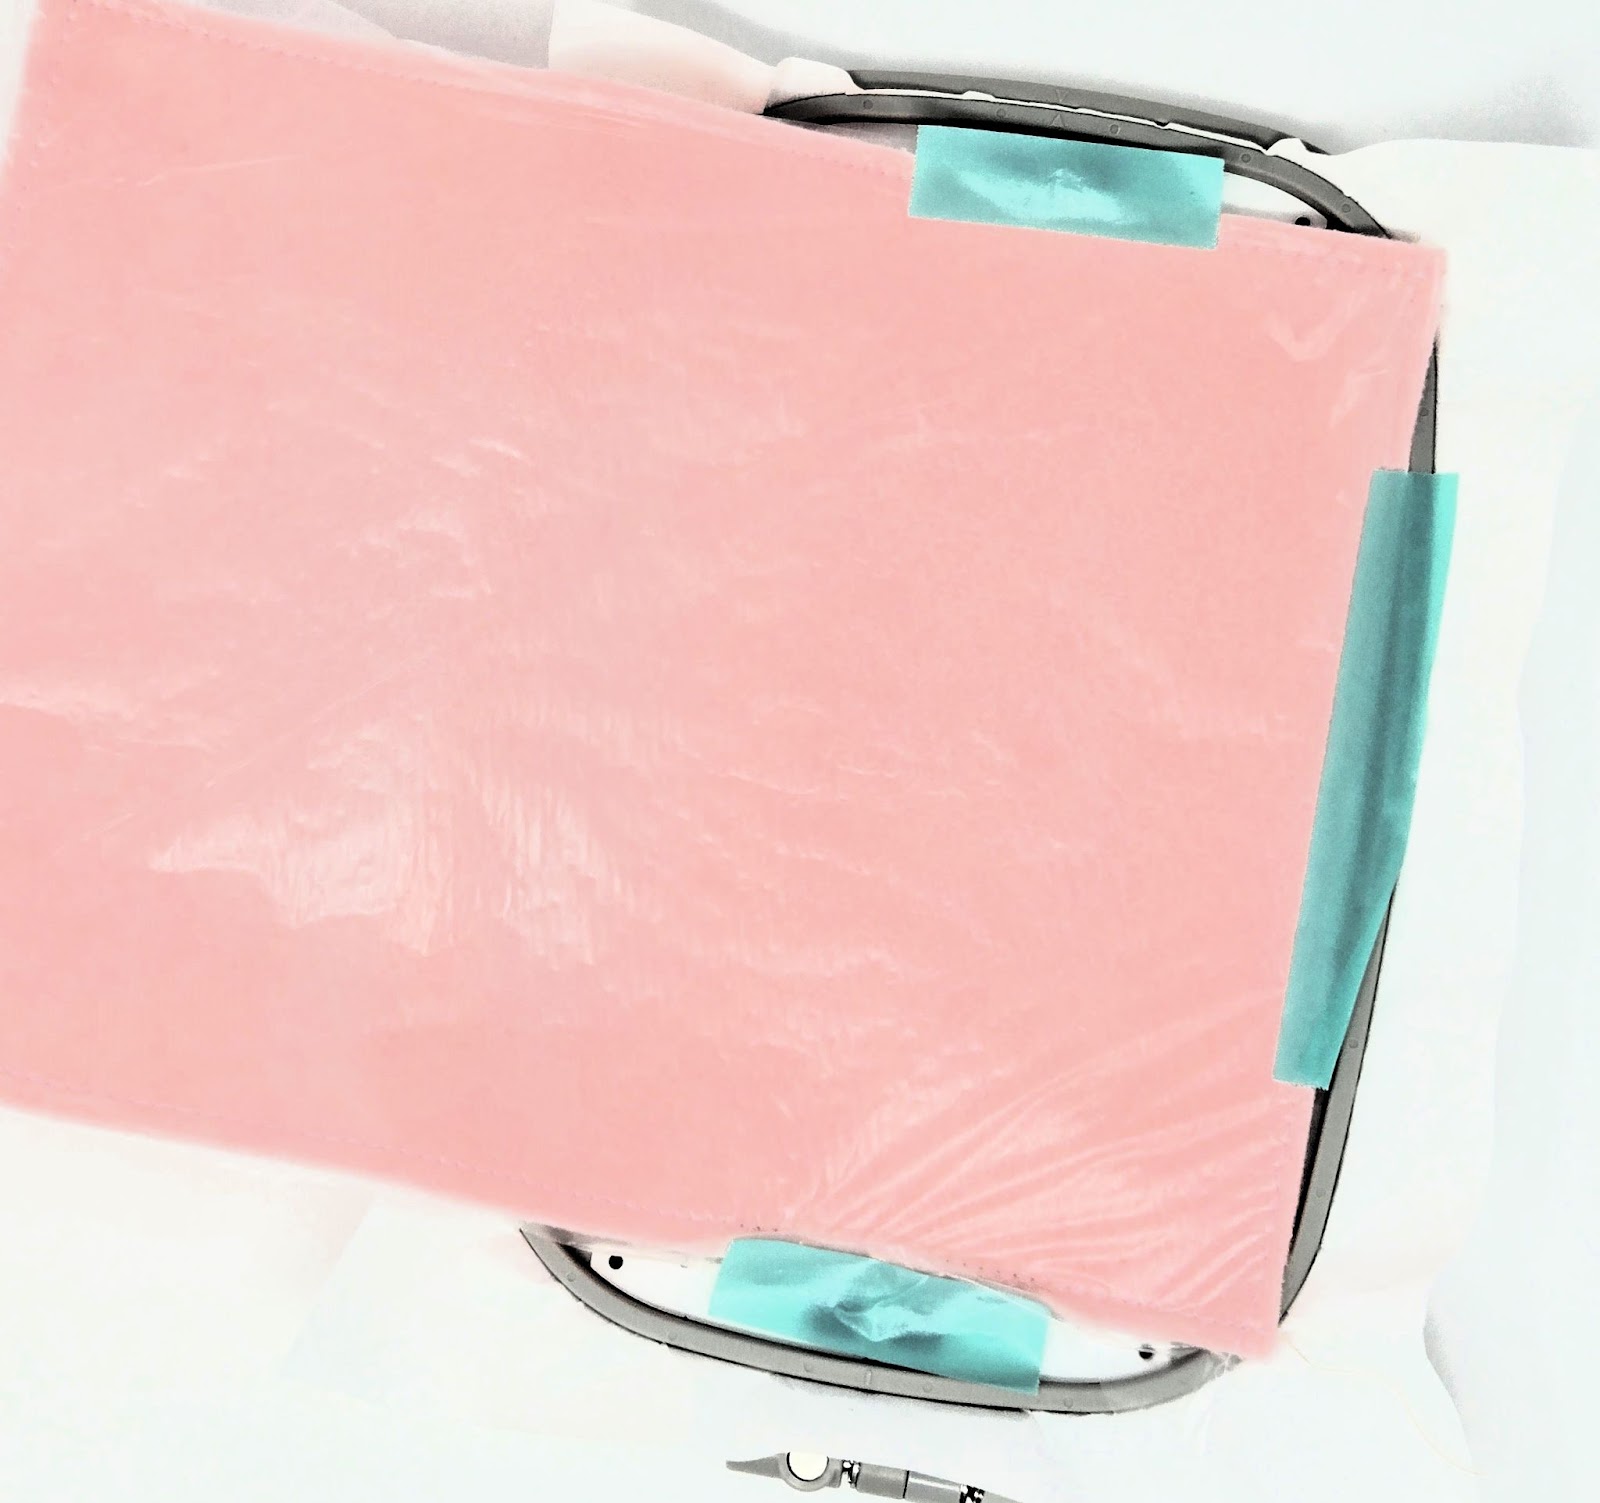
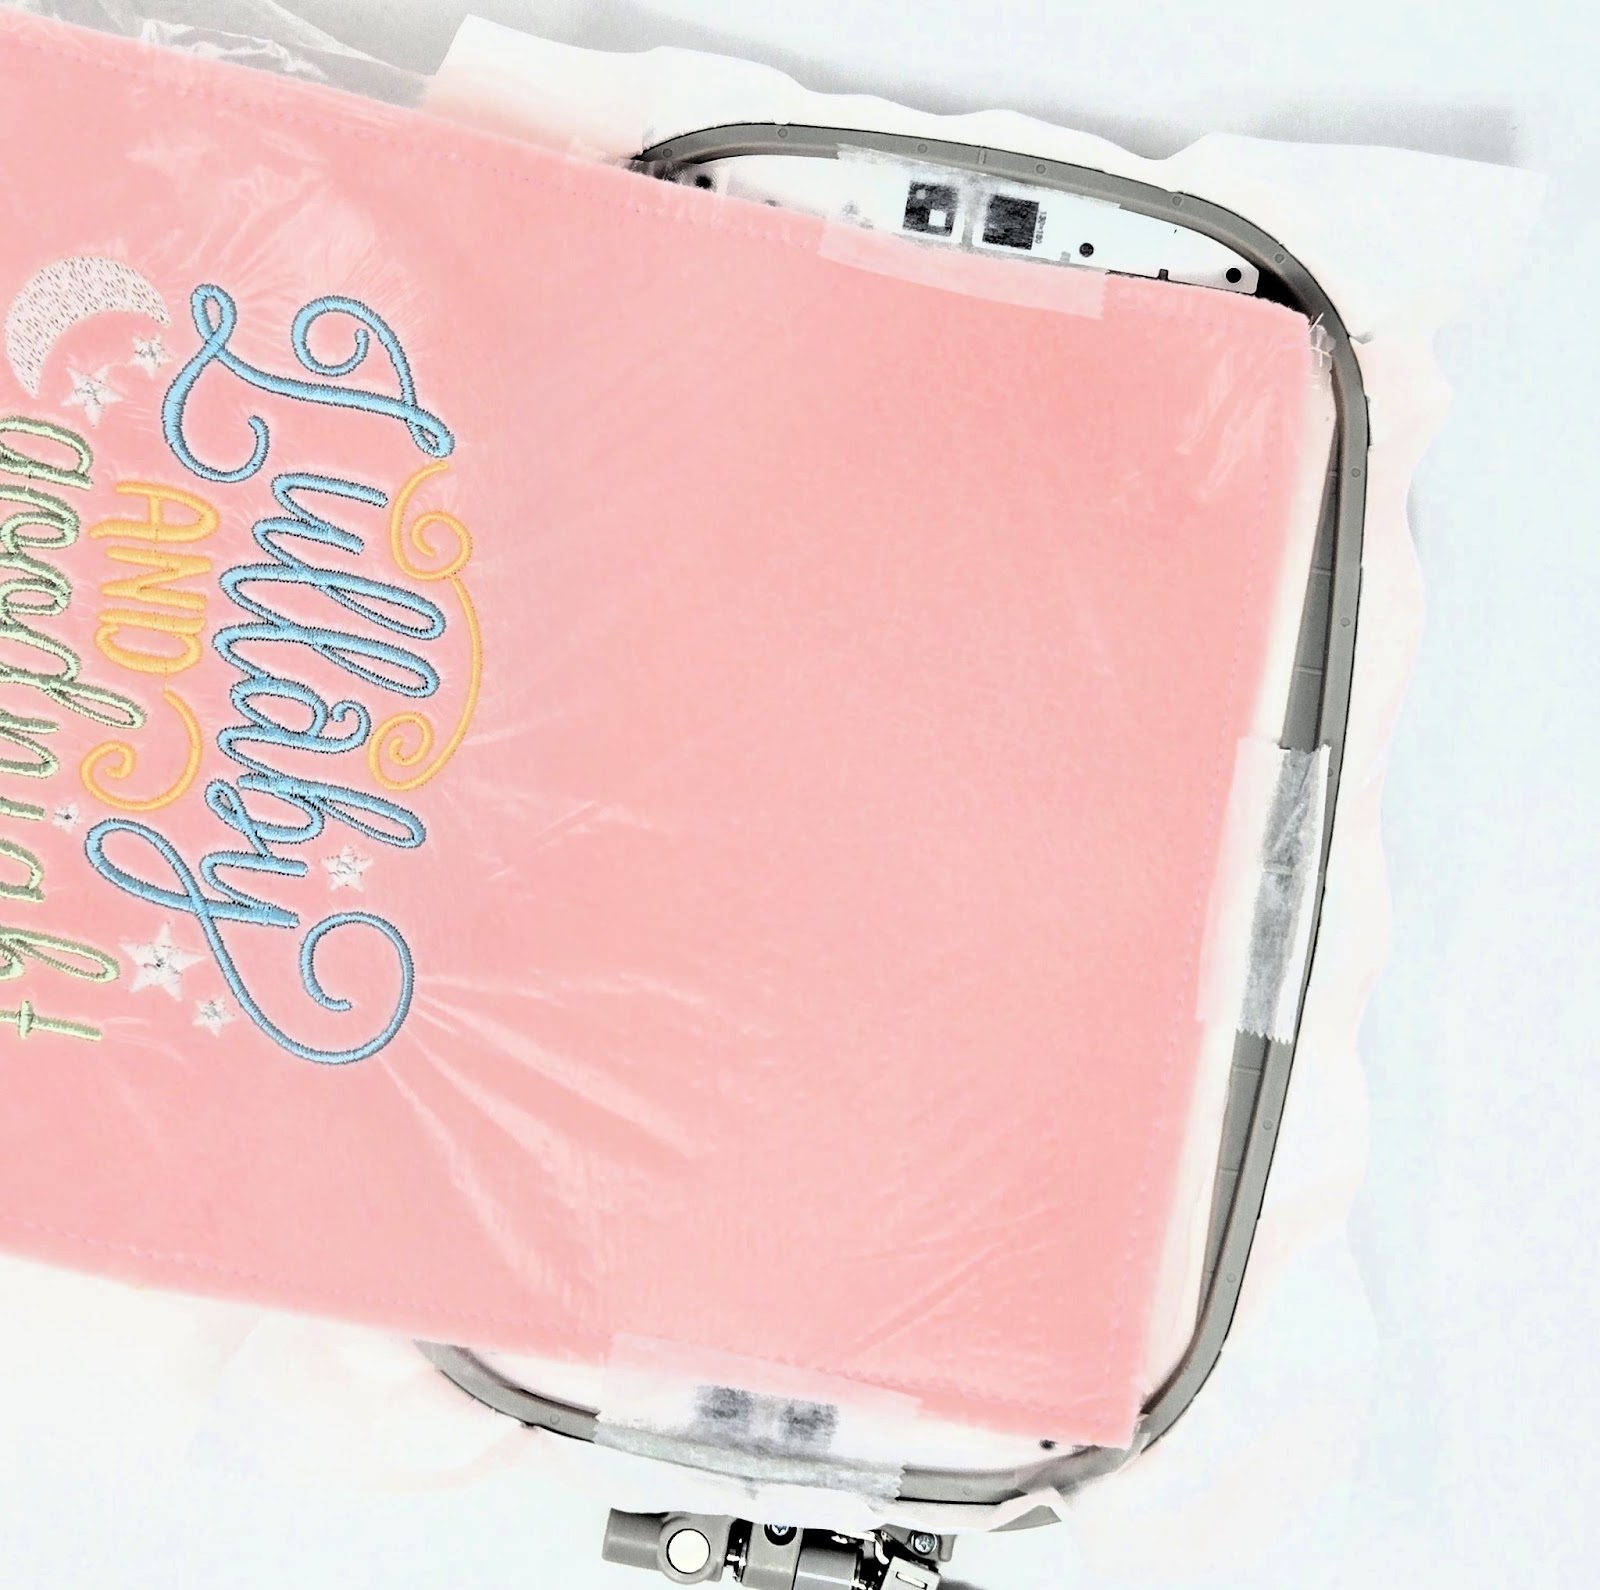
Step 1: Cut a rectangle of wash-away topper to fit the felt piece. I like using the topper because my stitches don’t sink into the felt, thus adding a bit of dimension to the embroidery. I used my sewing machine to attach the topper to my entire felt piece by basting ¼” around the outside edges. (I did it this way because when I added a basting box with my machine, I needed to switch to a larger hoop. I wanted to use the 5” x 7” hoop for all the embroidery enthusiasts who don’t have a hoop larger than 5” x 7”. This worked great. The topper did not bunch or come loose when embroidering.)
Step 2: Hoop a piece of tear-away stabilizer. Float the felt/wash-away topper piece and tape down. You will be embroidering a separate design on each end of the felt.
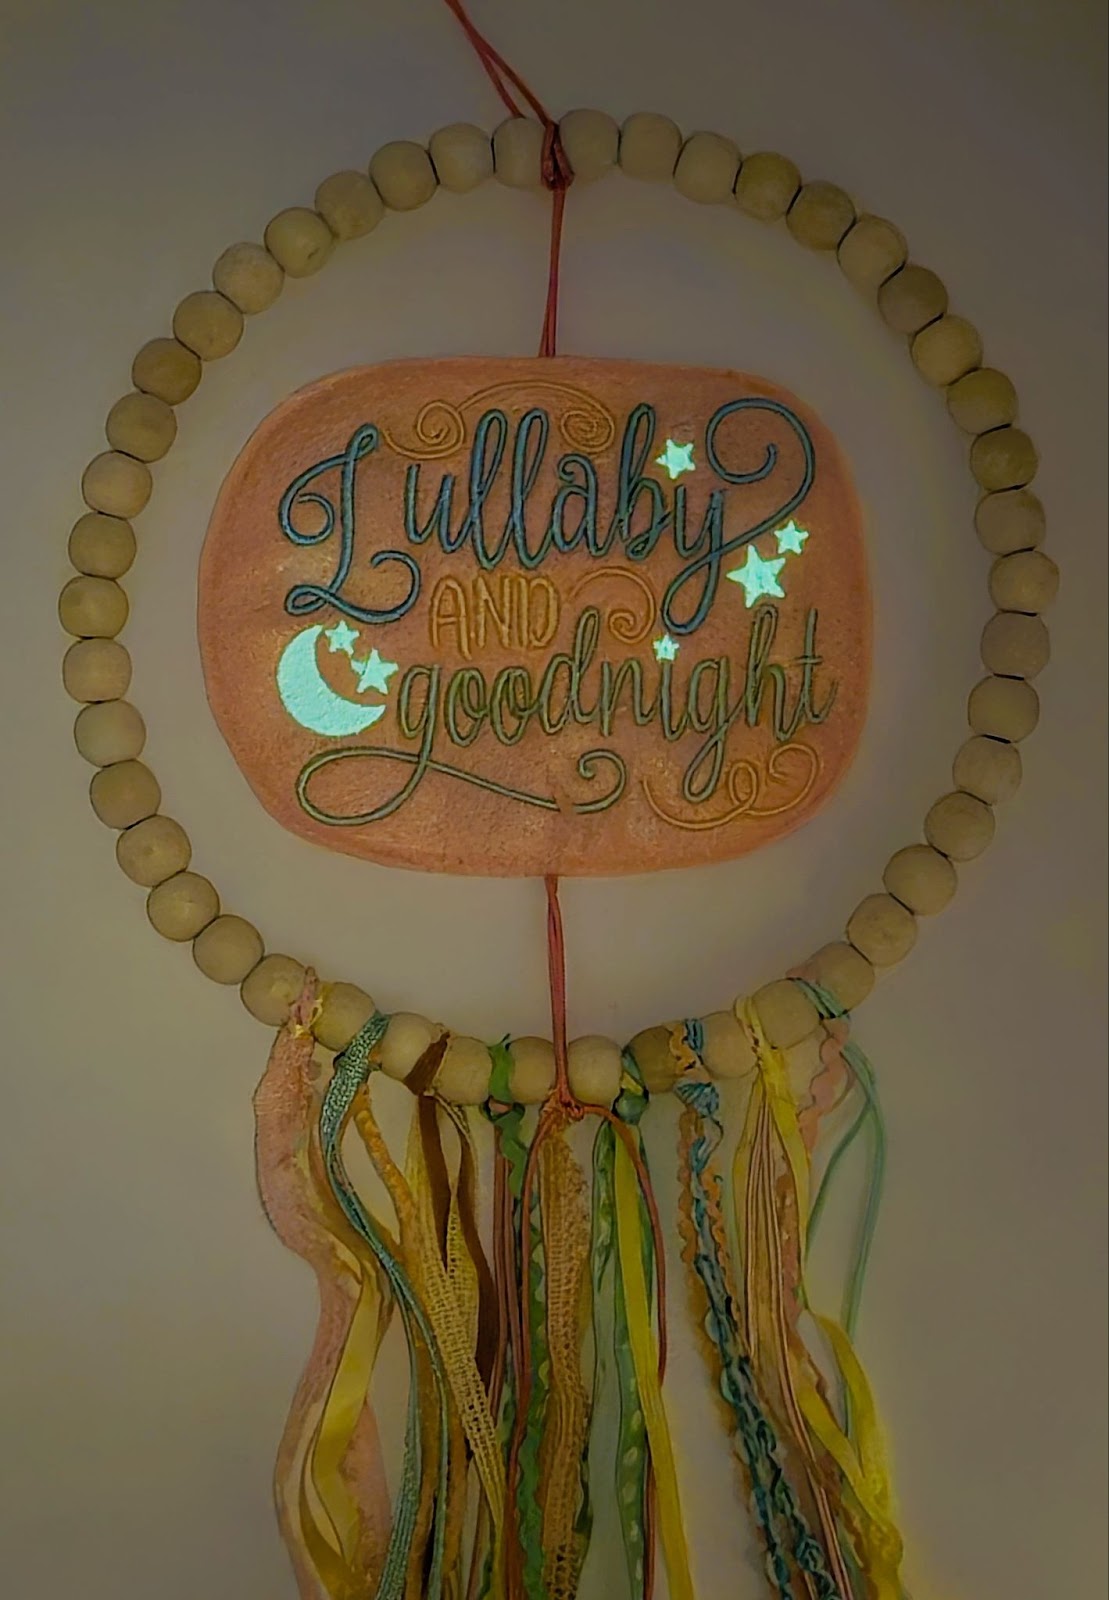
Load the design into your machine and embroider. I did use glow-in-the-dark thread for the stars and moon to add a bit of fun to my dream catcher.
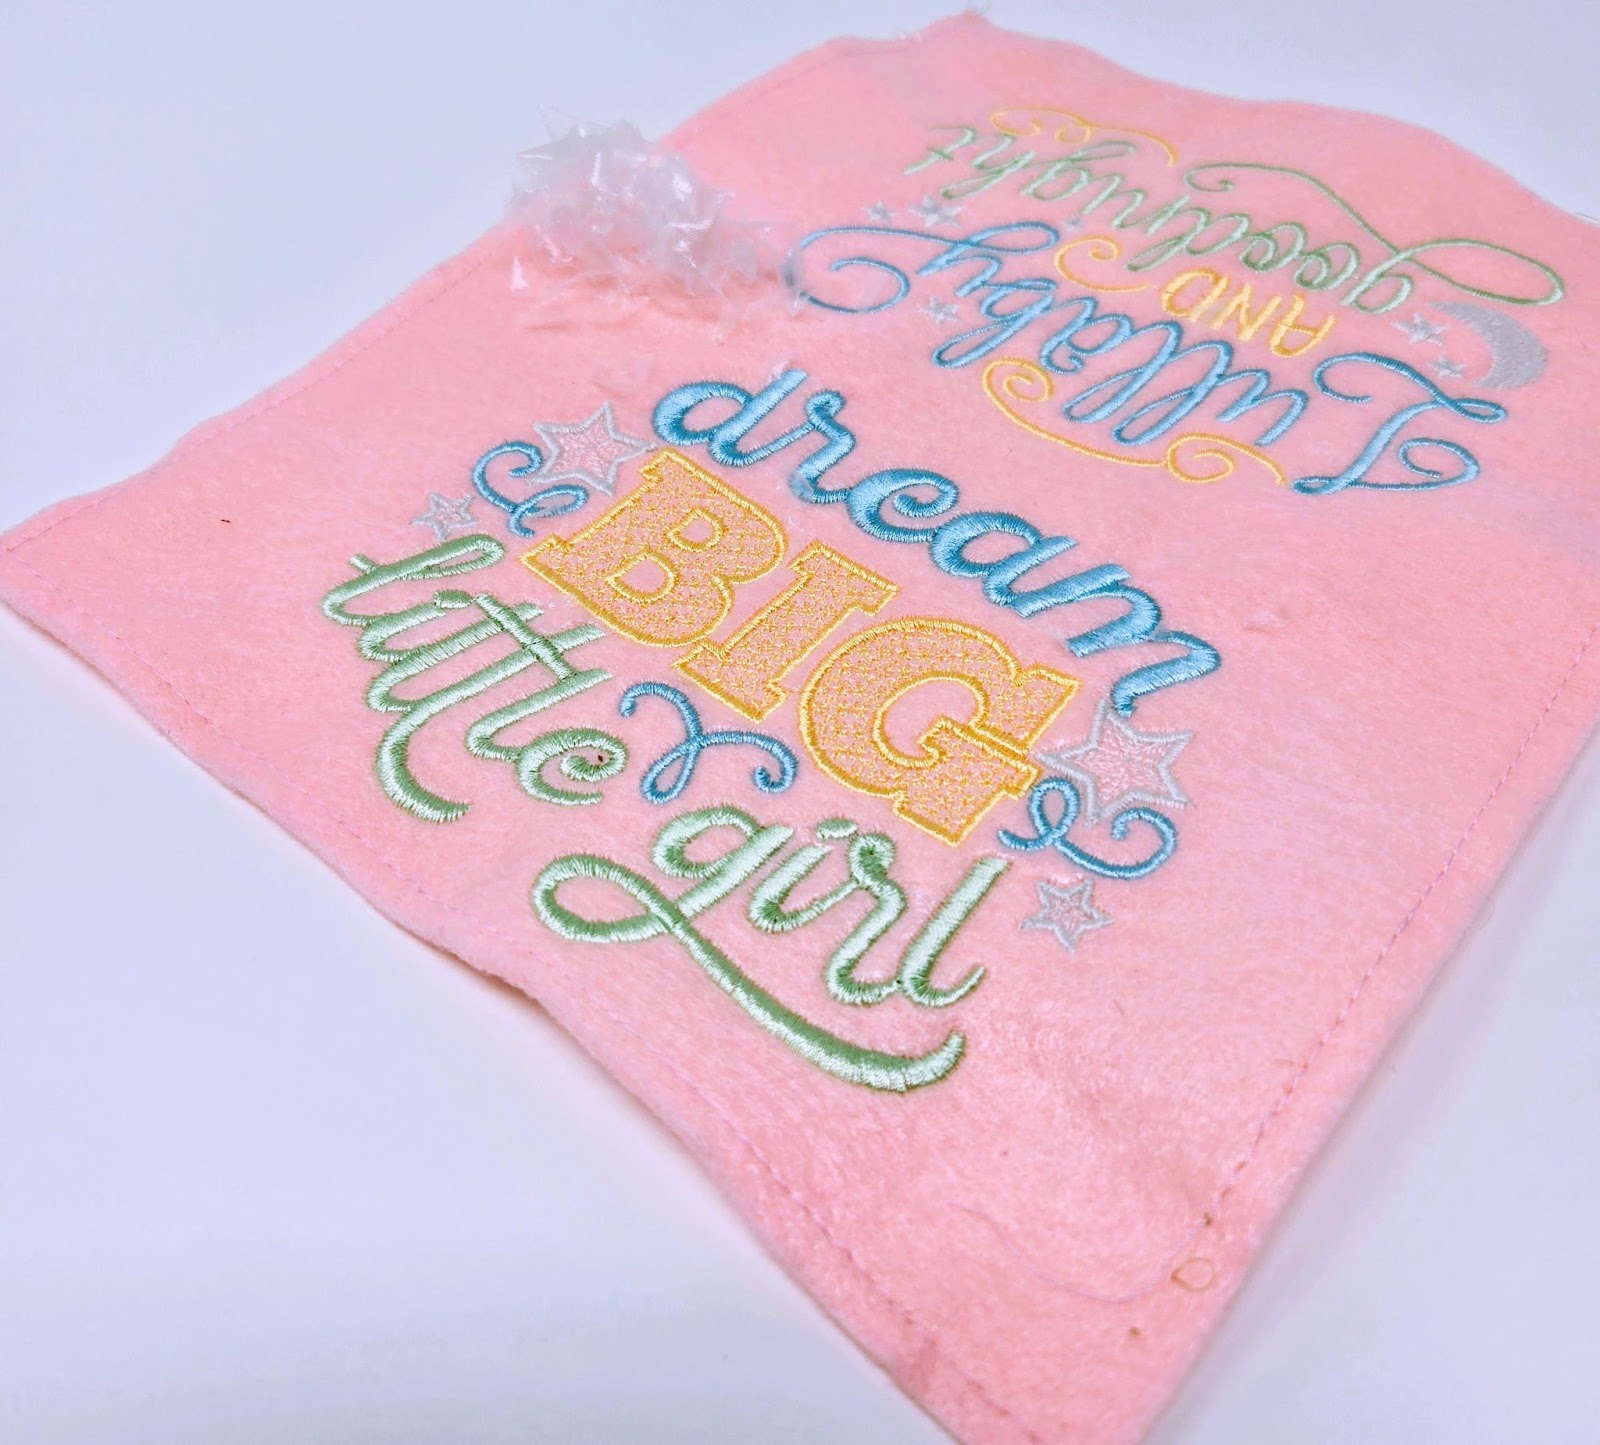
Remove felt/topper from tear-away stabilizer when finished embroidering. Hoop another piece of tear-away stabilizer and float opposite end of felt, taping in place. Embroider second design. Remove felt from the hoop and gently tear the stabilizer from the back of the design. There is no need to remove all of the stabilizer from every nook and cranny, since the backs won’t be seen when the dream catcher is finished.
Step 3: Gently remove the wash-away topper from the front of your embroidered felt piece. Use a small brush or cotton swab dipped in water to get the topper out of the small areas.
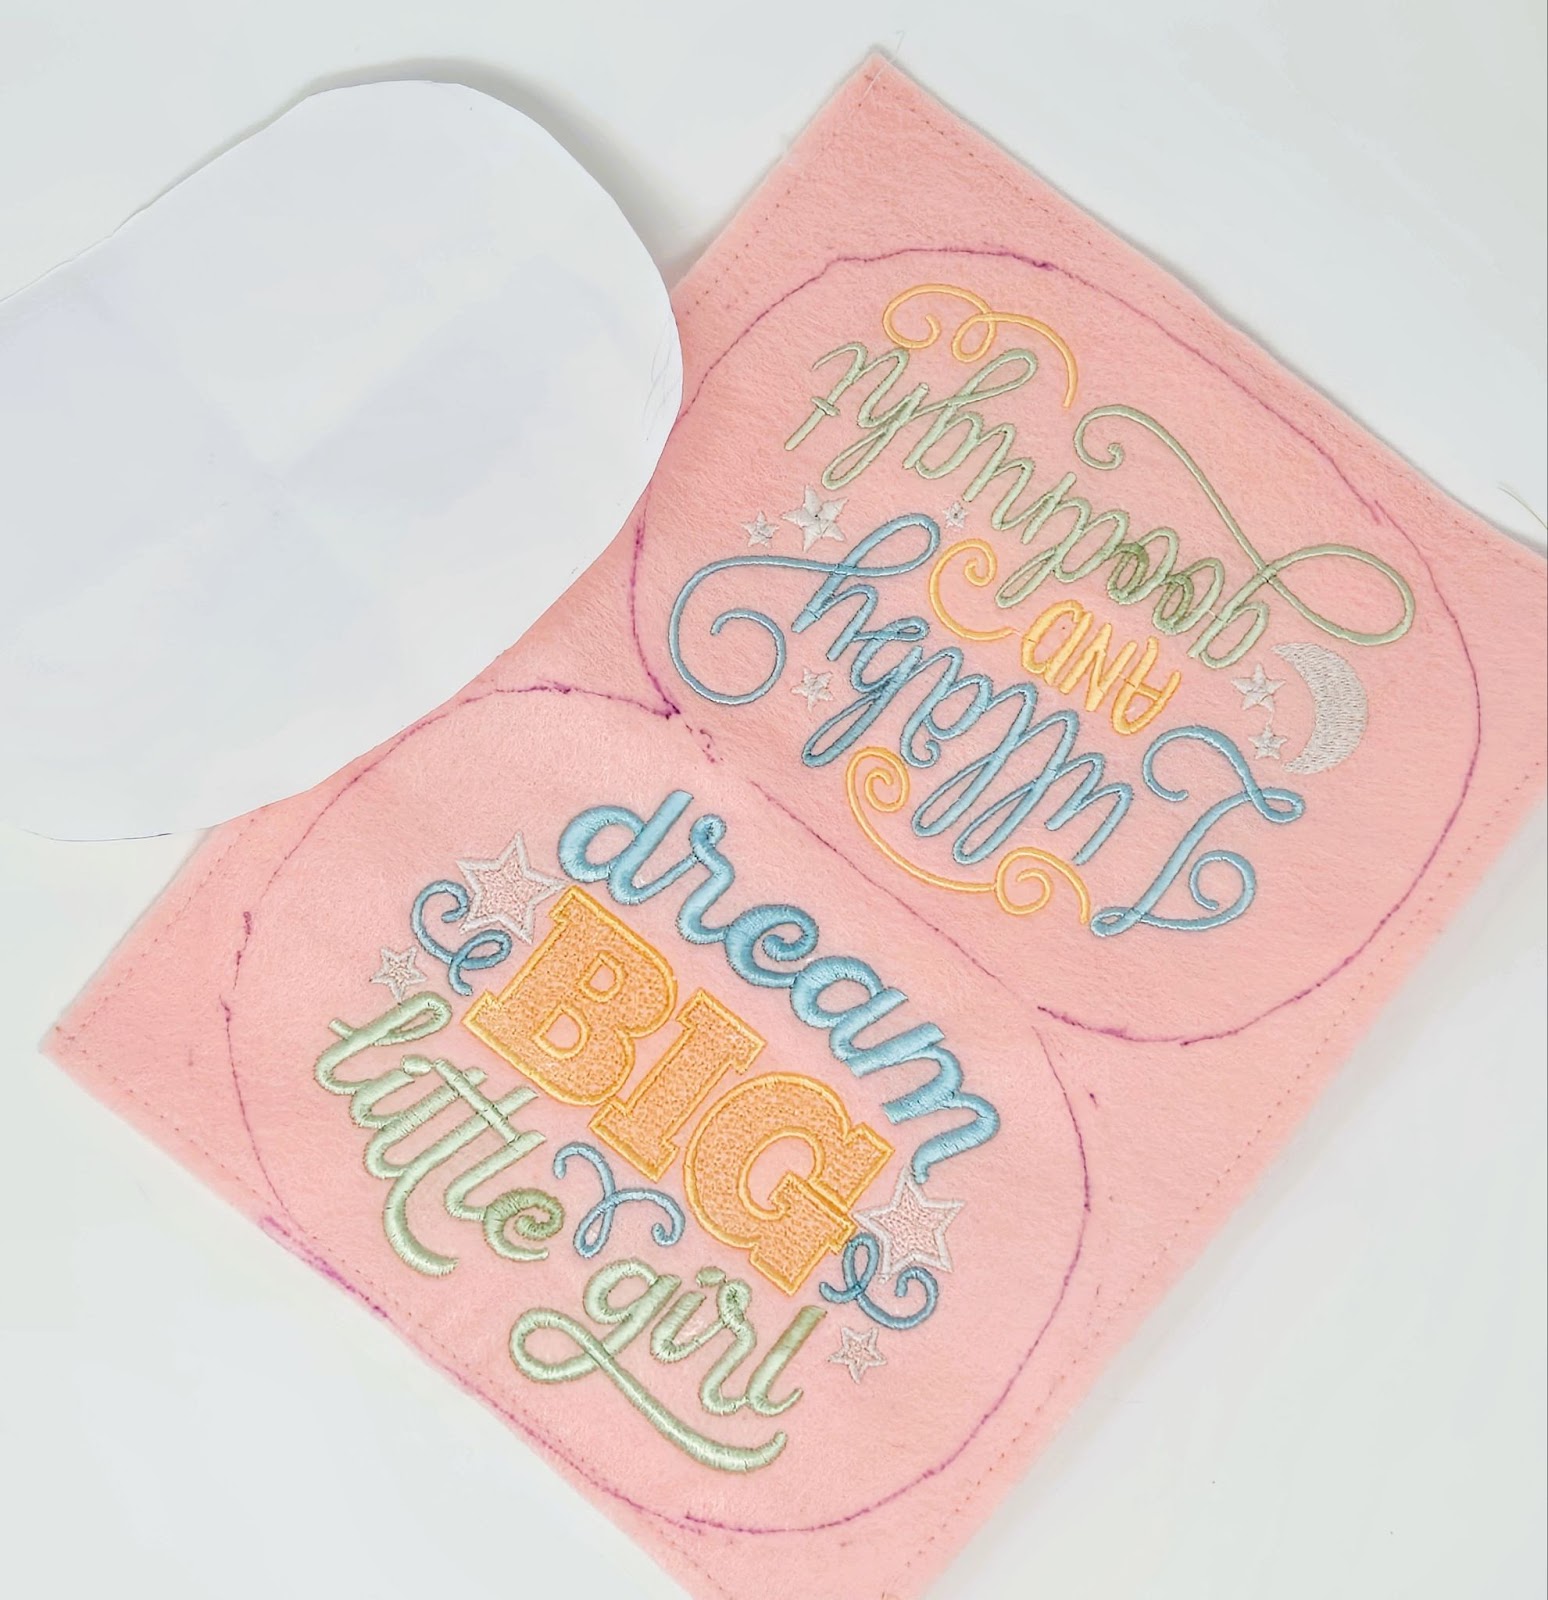
Step 4: Make a paper template from half a sheet of paper, approx. 6” x 8½”. I folded the paper in half and gently rounded the four corners. My finished rectangle measured 5½” x 7½”. Using a water-soluble pen, trace around your template on the felt, centering the design. If you don’t get it quite centered, just erase your marks with water and try again. You might notice I had to do just that. Cut into two separate pieces when you are happy with your placement.
Step 5: Now get your two felt ovals and your piece of paracord. Place the ovals wrong sides together. Fold the paracord in half and center it between the ovals. The folded end is at the top and approx. 17” extends below the felt ovals. Pin the paracord in place and sew ⅛” around your oval “sandwich.” I backstitched over the paracord on the top and bottom for extra security.

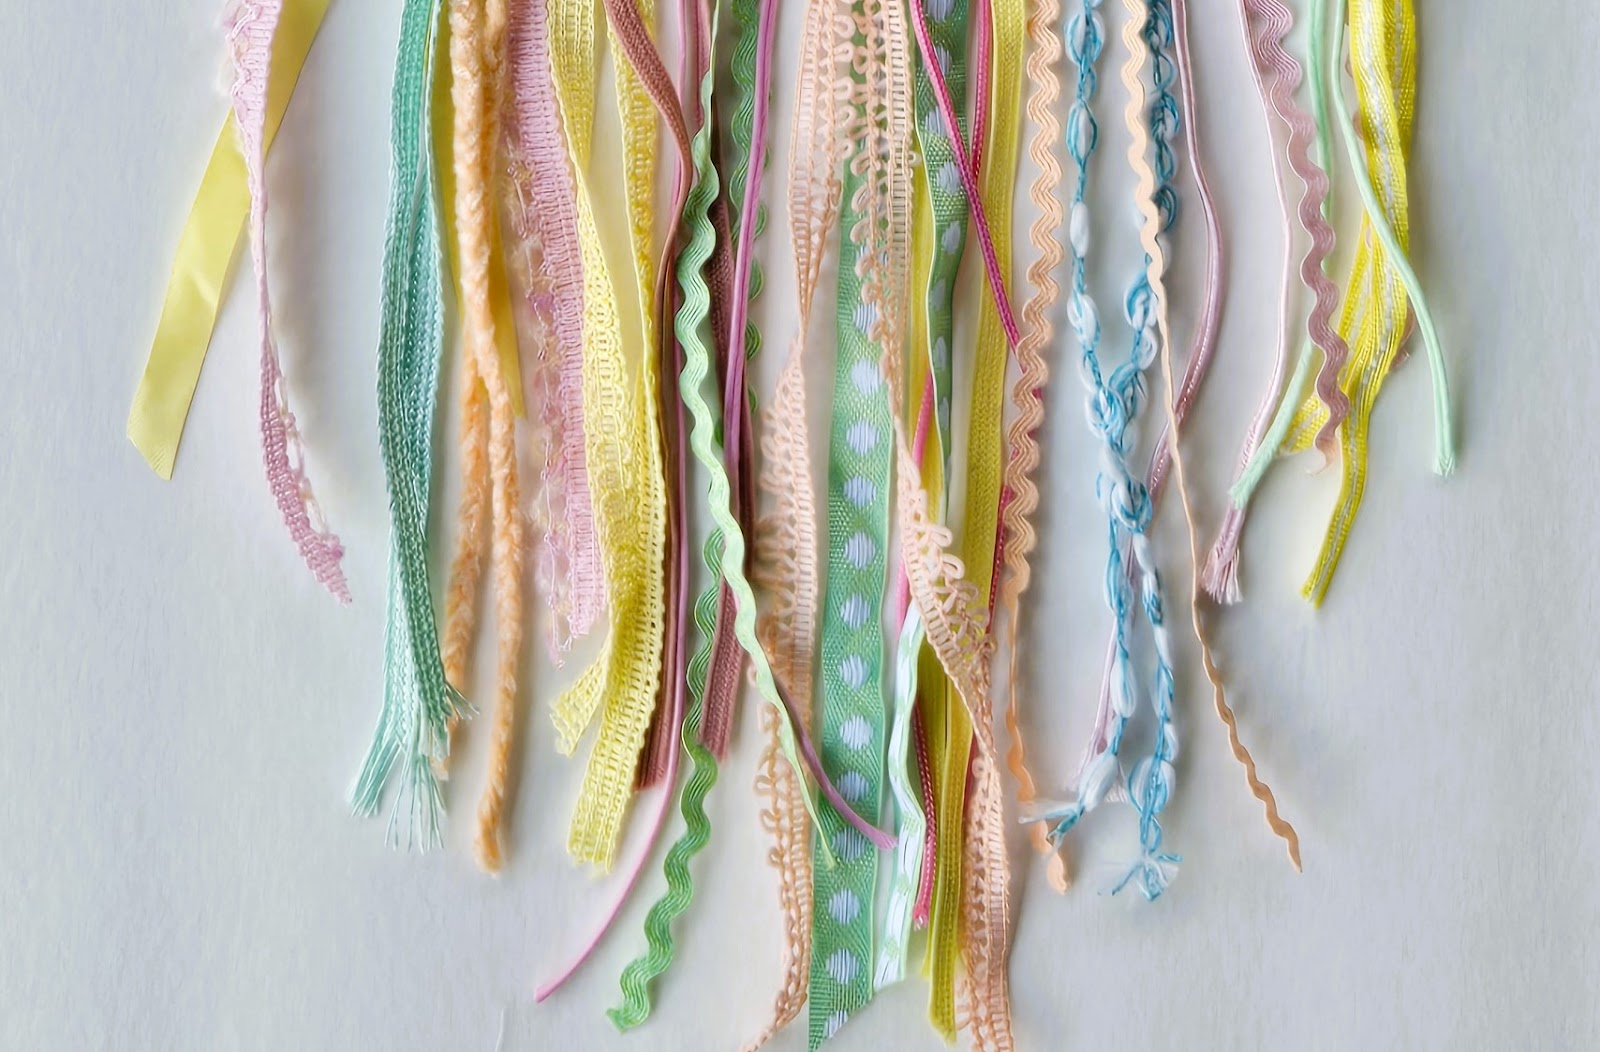
Step 6: We are almost finished! Grab your 1-yard lengths of ribbons and trims and separate them. I paired two together, and folded them in half. Then just loop the folded end around your beaded hoop to secure them, as shown. I did nine sets of two trims.

Step 7: Finally, take your finished embroidery with paracord and loop it in the center of the beaded hoop. I looped it to the top first, then tied an overhand knot in the paracord above the hoop to leave a loop for hanging. At the bottom I just tied it to the center and let the ends hang. I laid out all the ribbons on my cutting mat and cut them into a wide V-shape at the bottom.
Thank you so much for joining me today! I hope you enjoy embroidering a dream catcher as much as I did. Please share your projects in the Designs by Juju Embroidery Blessings Facebook Group or anywhere on social media using the hashtag #designsbyjuju. We can’t wait to see what you make.
