Toggle Nav
 Inspire.
Create.
Stitch.
Inspire.
Create.
Stitch.
Search
Are you ready to take your embroidery projects to the next level? Choosing the right appliqué fabric can make all the difference in achieving that flawless finish and eye-catching design. Whether you're a seasoned stitcher or a curious newbie, navigating the world of fabrics can feel overwhelming. But fear not! In this guide, we'll explore the best types of appliqué fabric for embroidery, tips for selecting materials that suit your project, and fun ideas to inspire your next creation. Get ready to unleash your creativity and elevate your embroidery game—let's dive in!
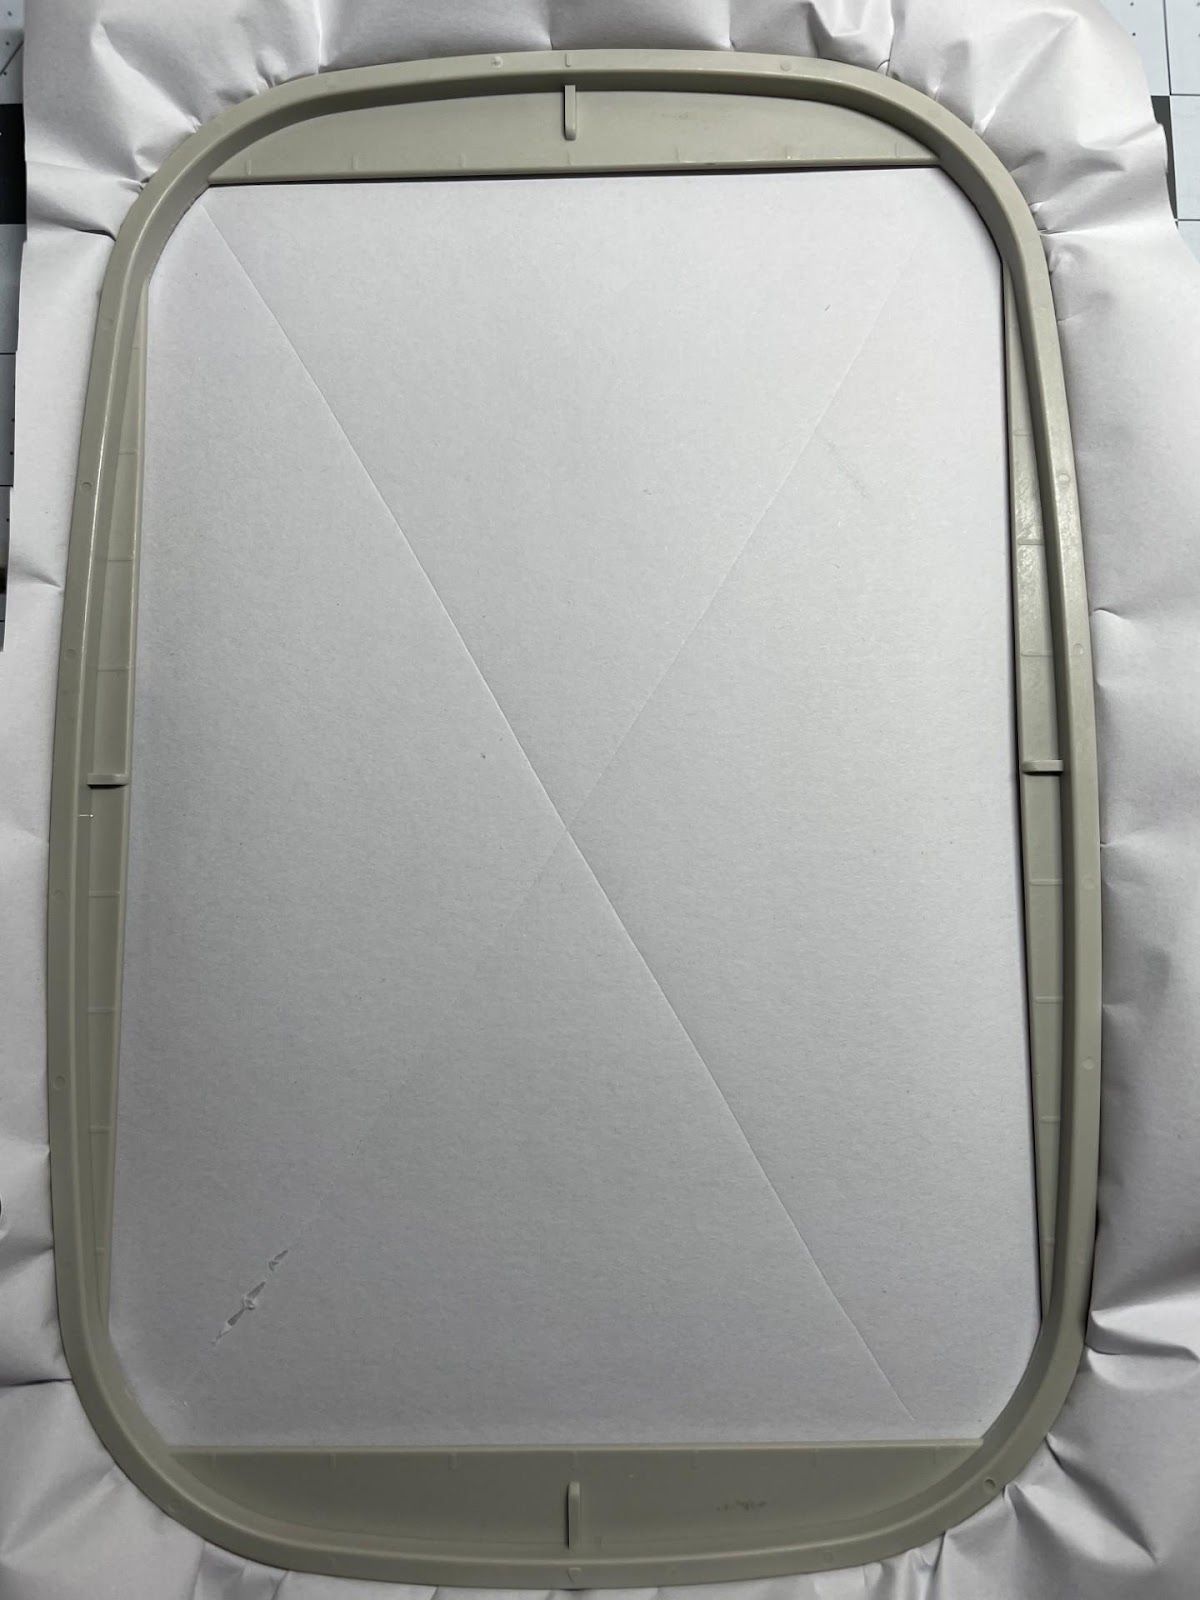
There are many fabrics suitable for appliqué. A collection of fabric scraps is the best way to get started. Scraps can be in sizes ranging from 12" x 12" down to 2" x 2". Basically if it’s smaller than a fat quarter, I consider it a scrap. In this tutorial I will share a variety of fabrics and show how to prepare them to get the best results.
Cotton fabrics are probably the most used for machine appliqué. For best results use small prints, solids, and batiks. There is no need to prewash any fabric smaller than a fat quarter, since washing may cause them to unravel. A stabilizer ironed to the back of these fabrics will give you a smooth finish and prevent puckers that pull at the foundation. If the fabric is thin, adding a stabilizer will also prevent the foundation color from showing through. I recommend SF101 Shape-Flex® by Pellon®. Always use a pressing cloth when ironing on fusible interfacing. Your interfacing will adhere faster and more evenly and it will protect the sole of your iron and prevent any adhesive from sticking to it.
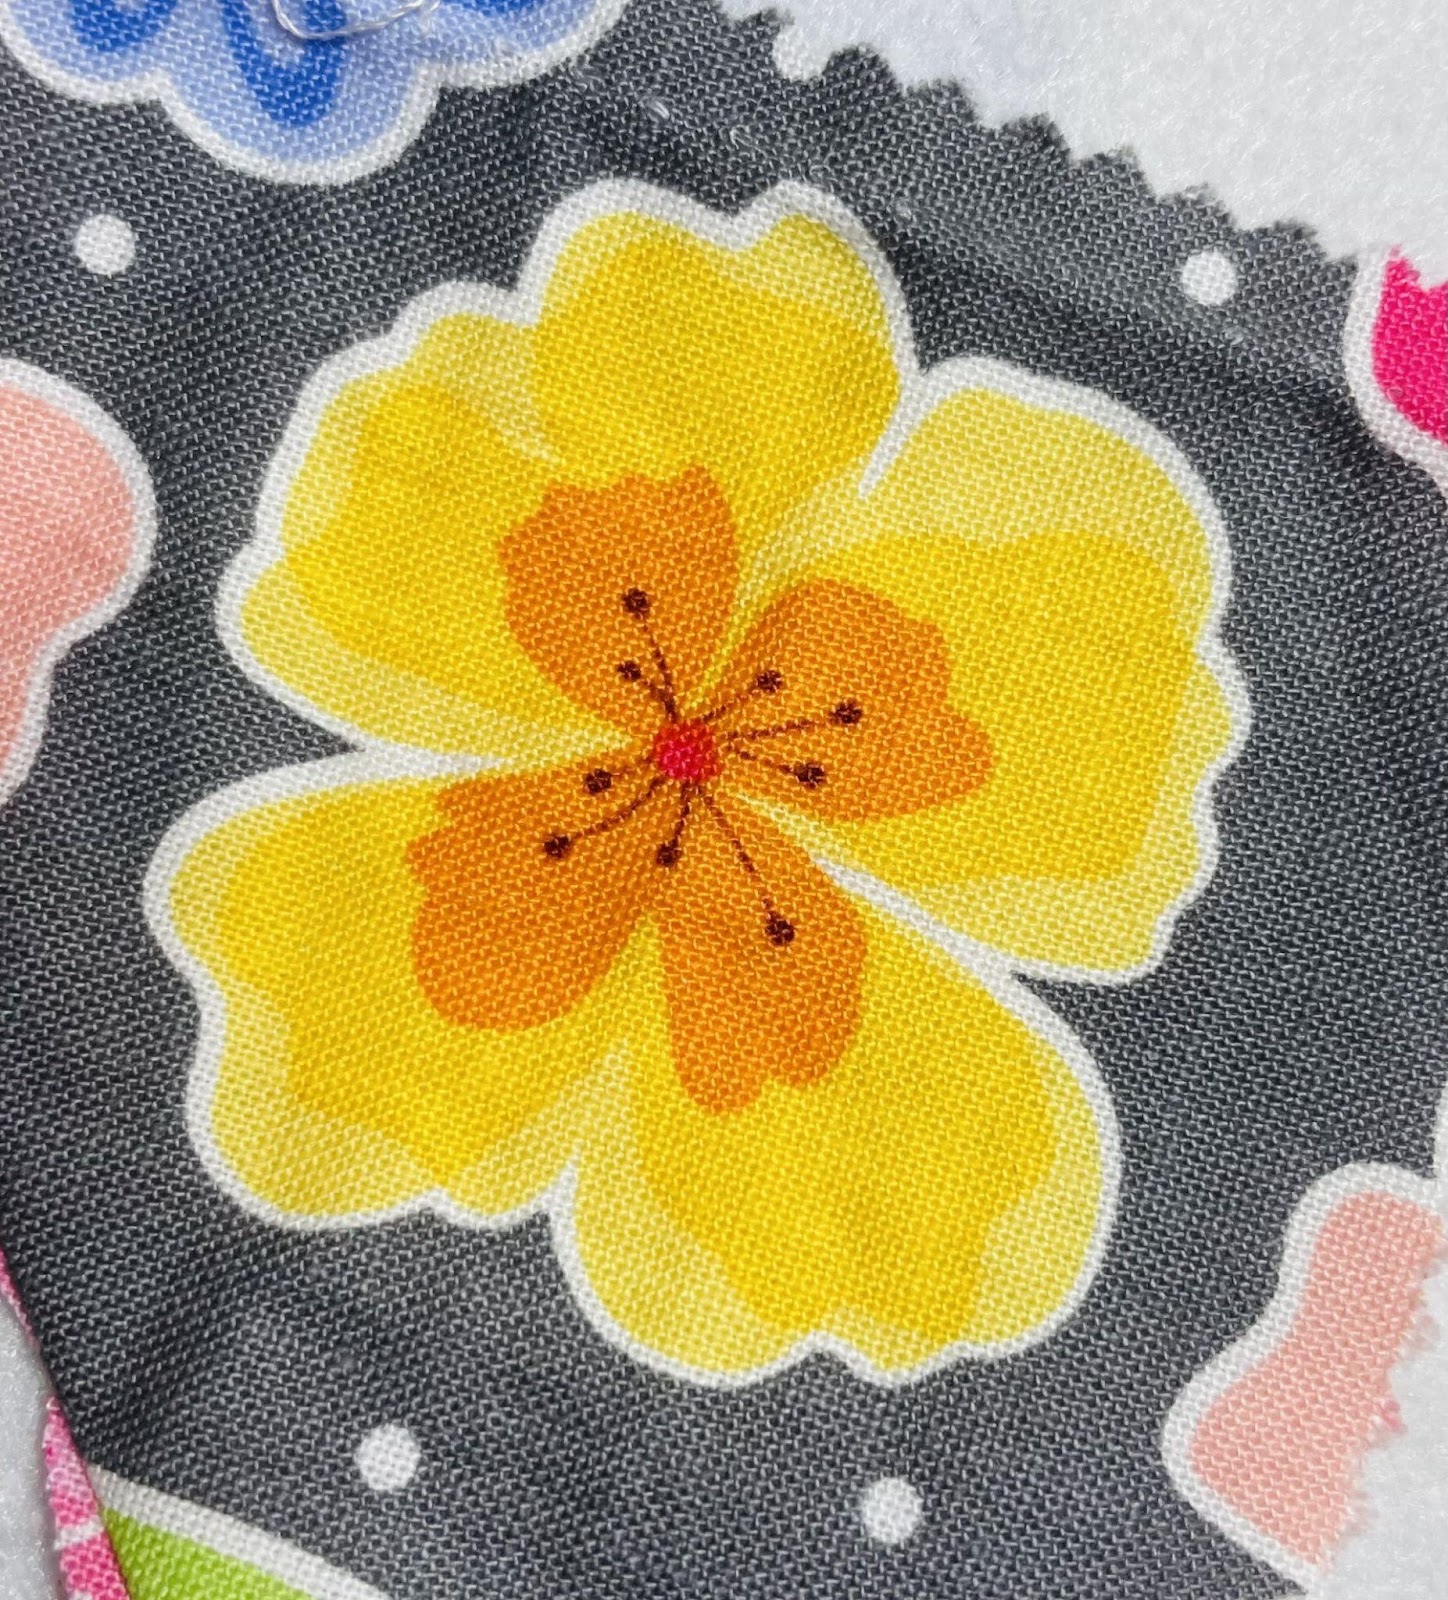
If you have a large print of cotton that has a flower, animal, or geometric design you love and want to include it in your project, you can use a technique called "fussy cutting." This refers to cutting out the desired image or pattern and highlighting it in your appliqué.
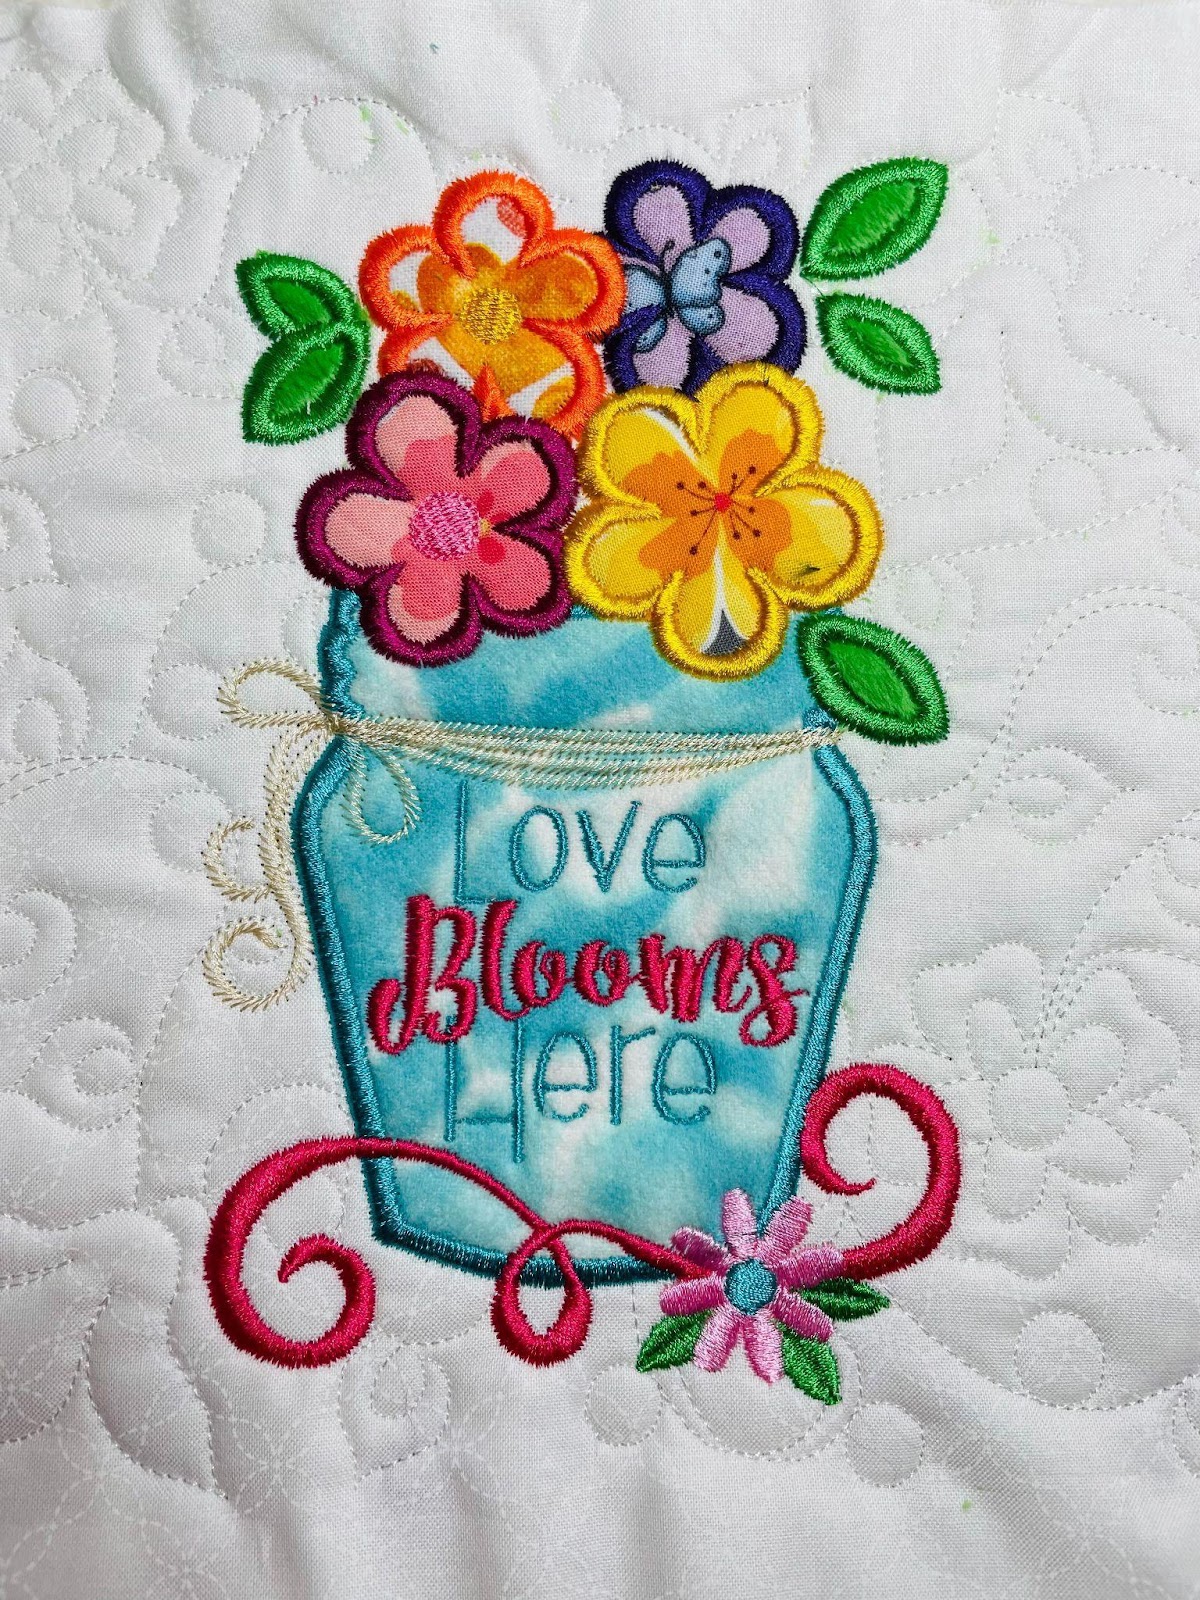
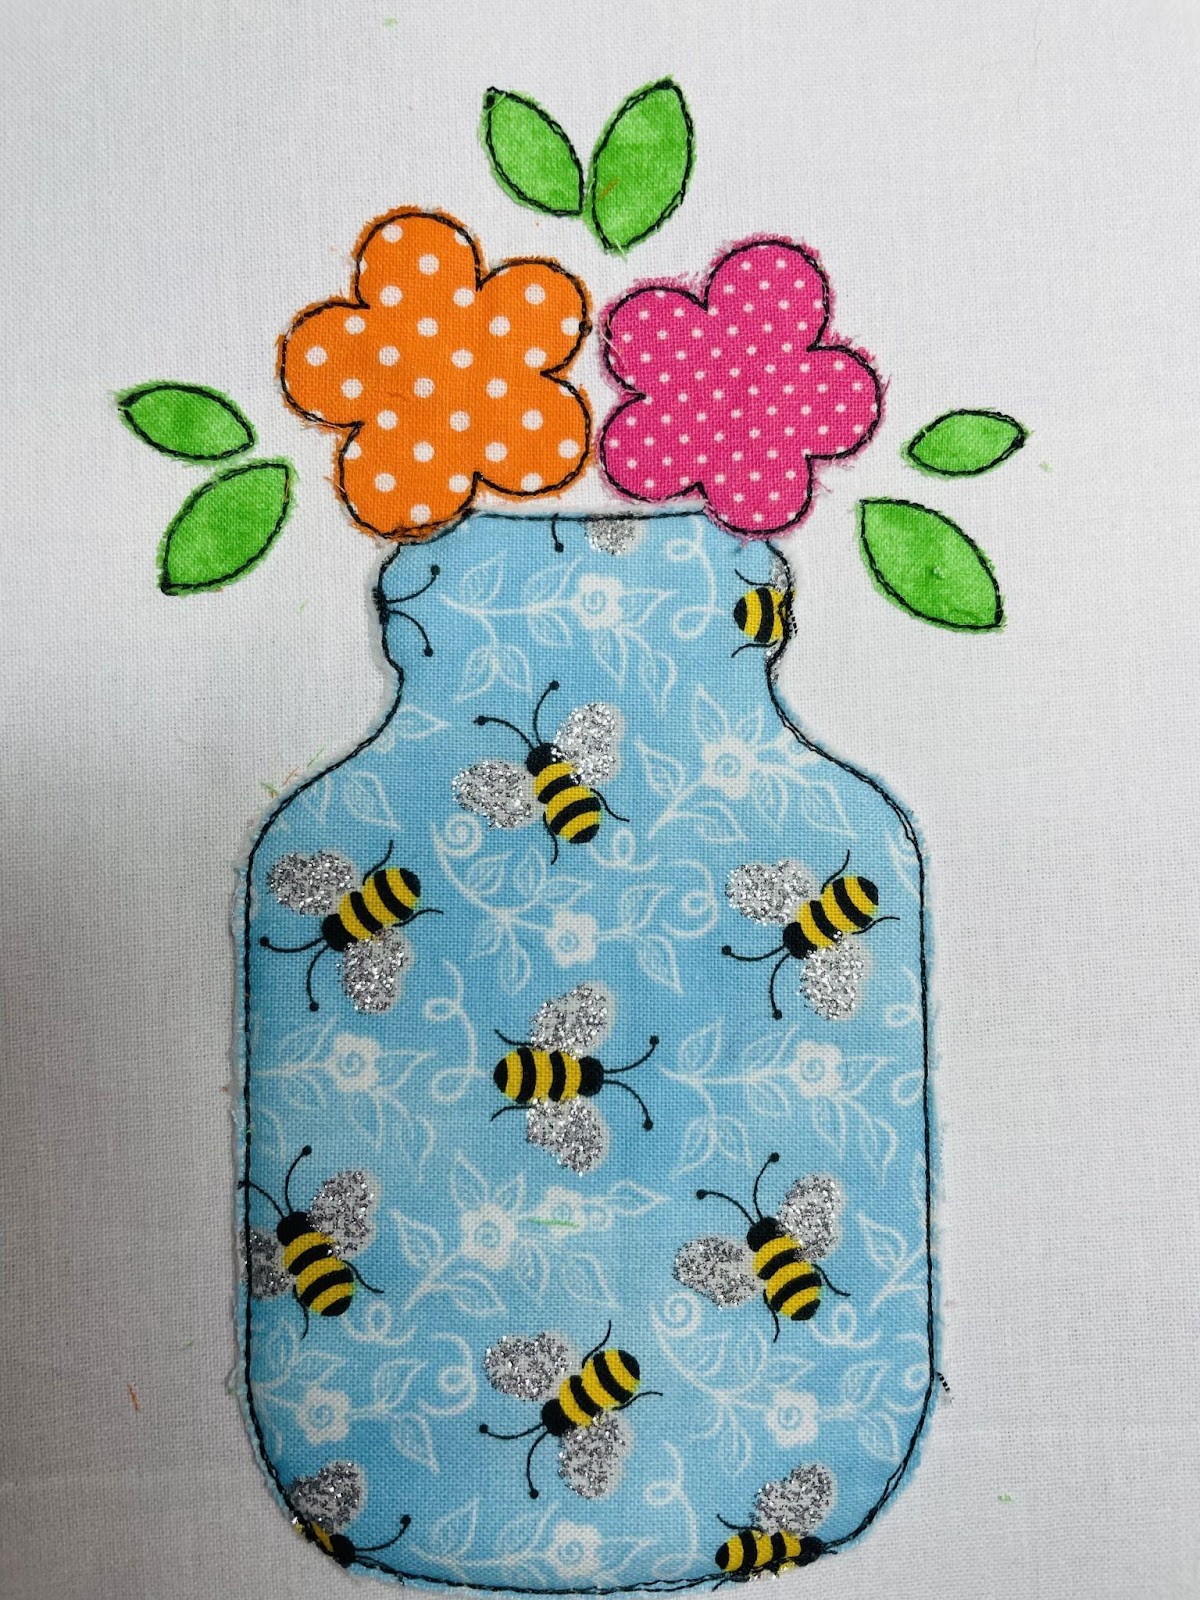
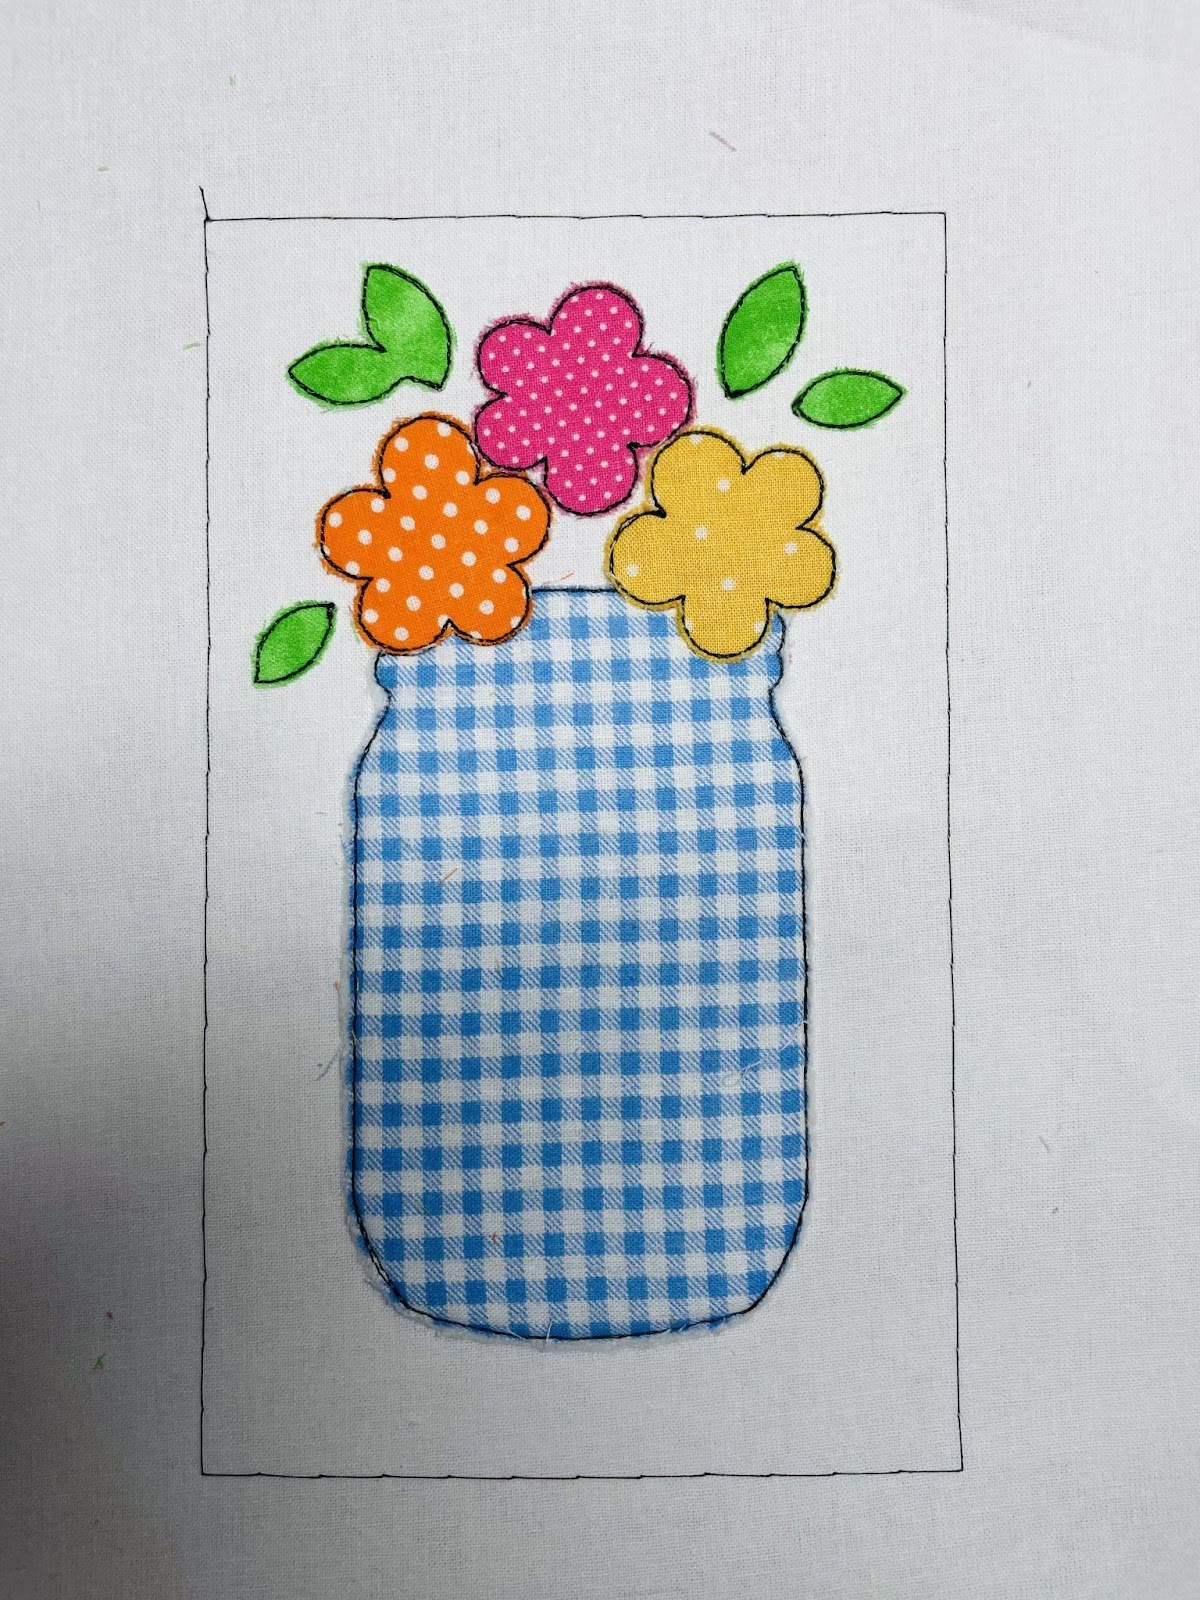
The flowers from this Live Simply Appliqué were created using the fussy cut method. The leaves are fleece and the vase a watercolor flannel. Combining multiple types of fabrics gives it a unique look and feel.
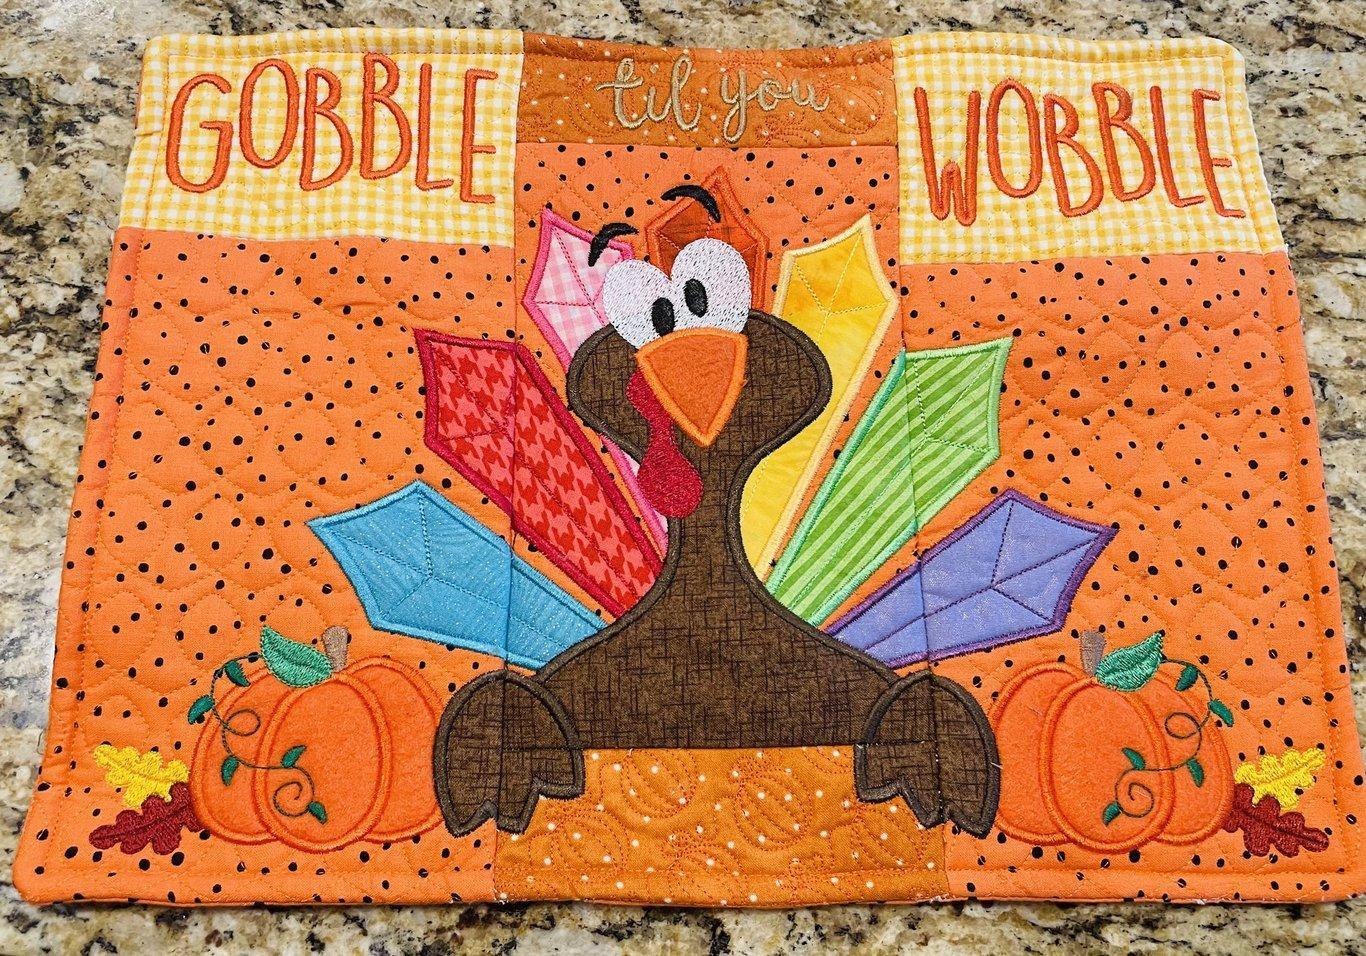
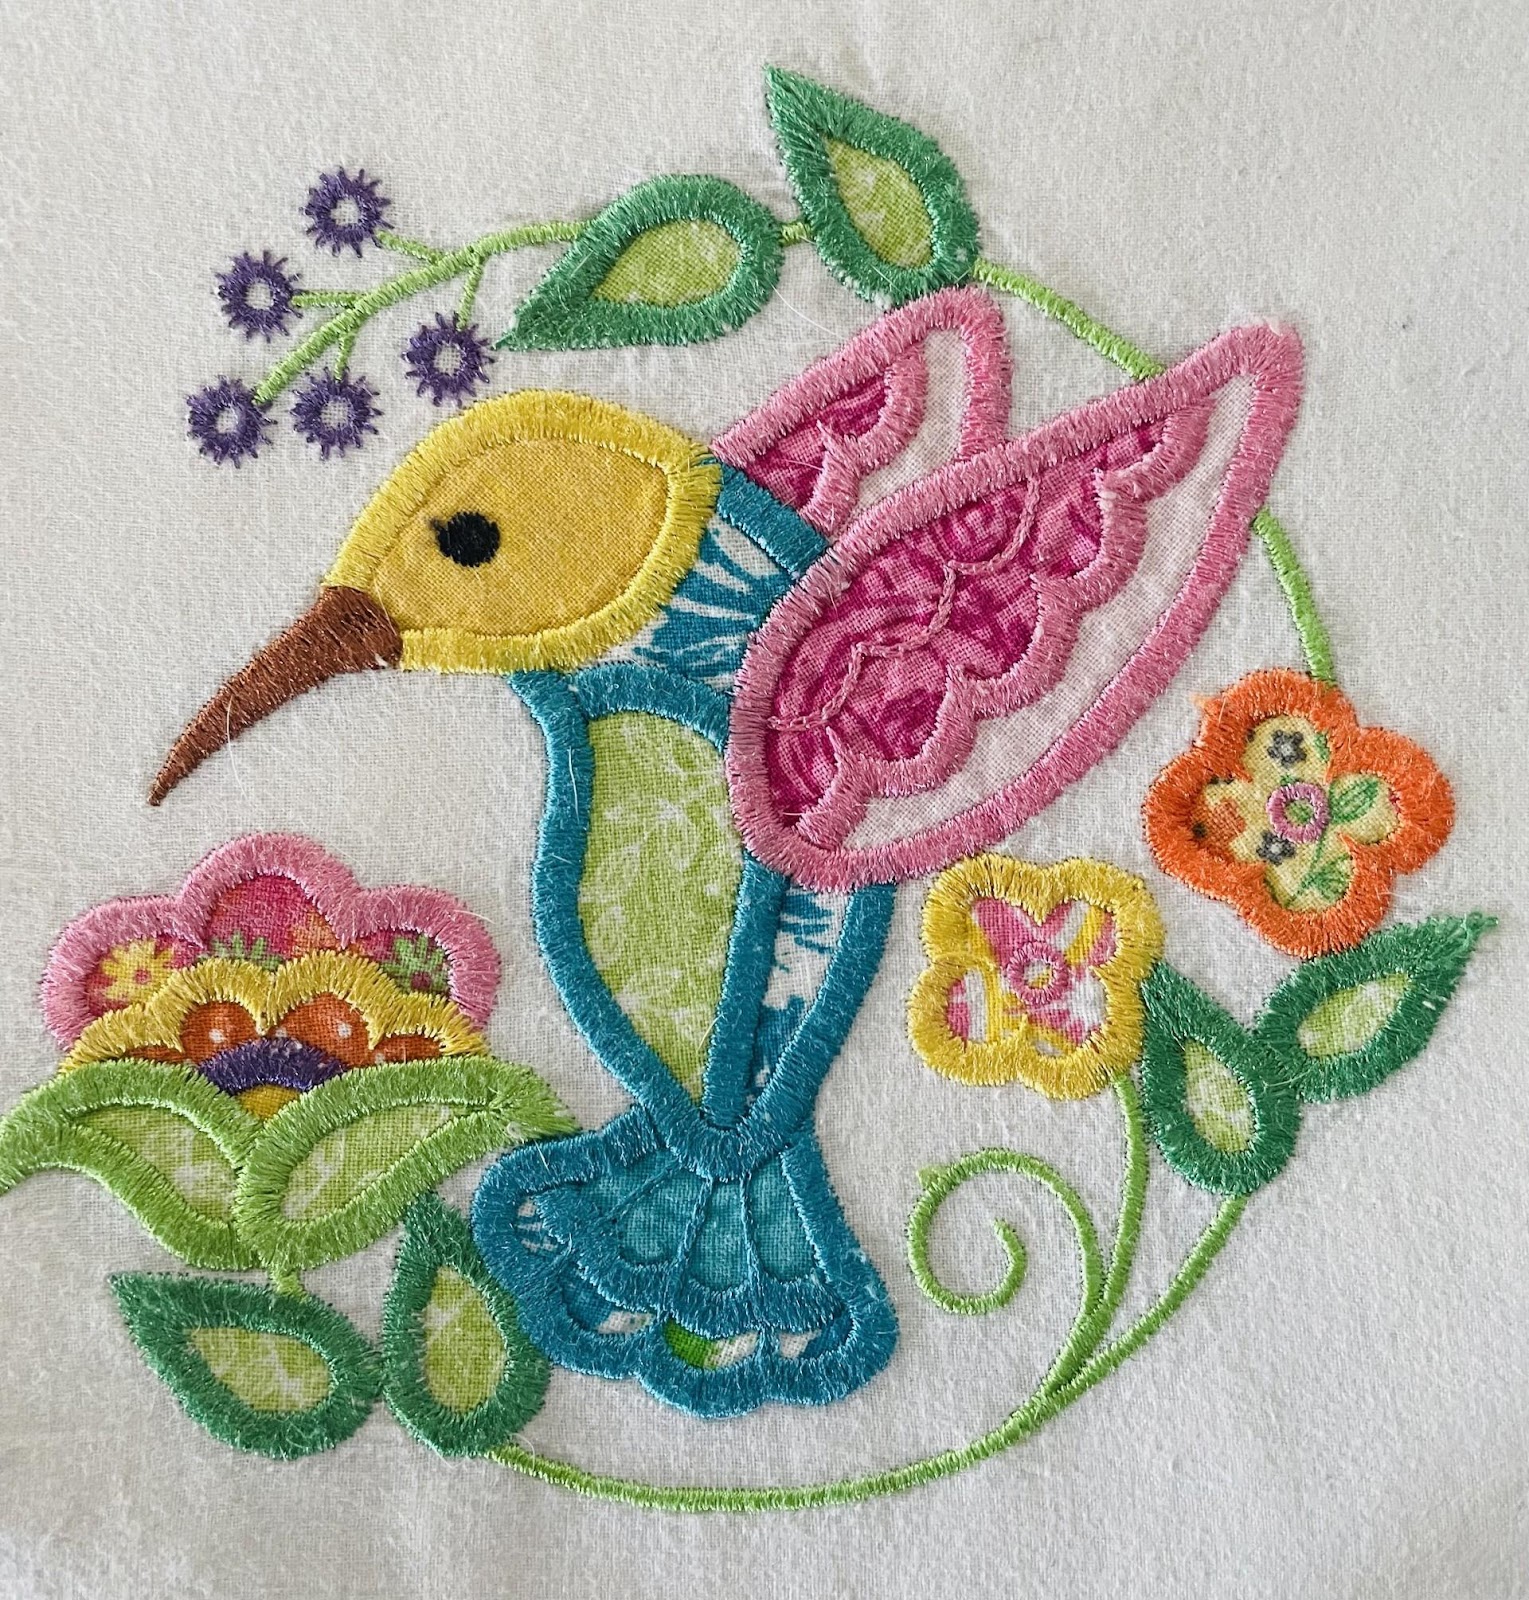
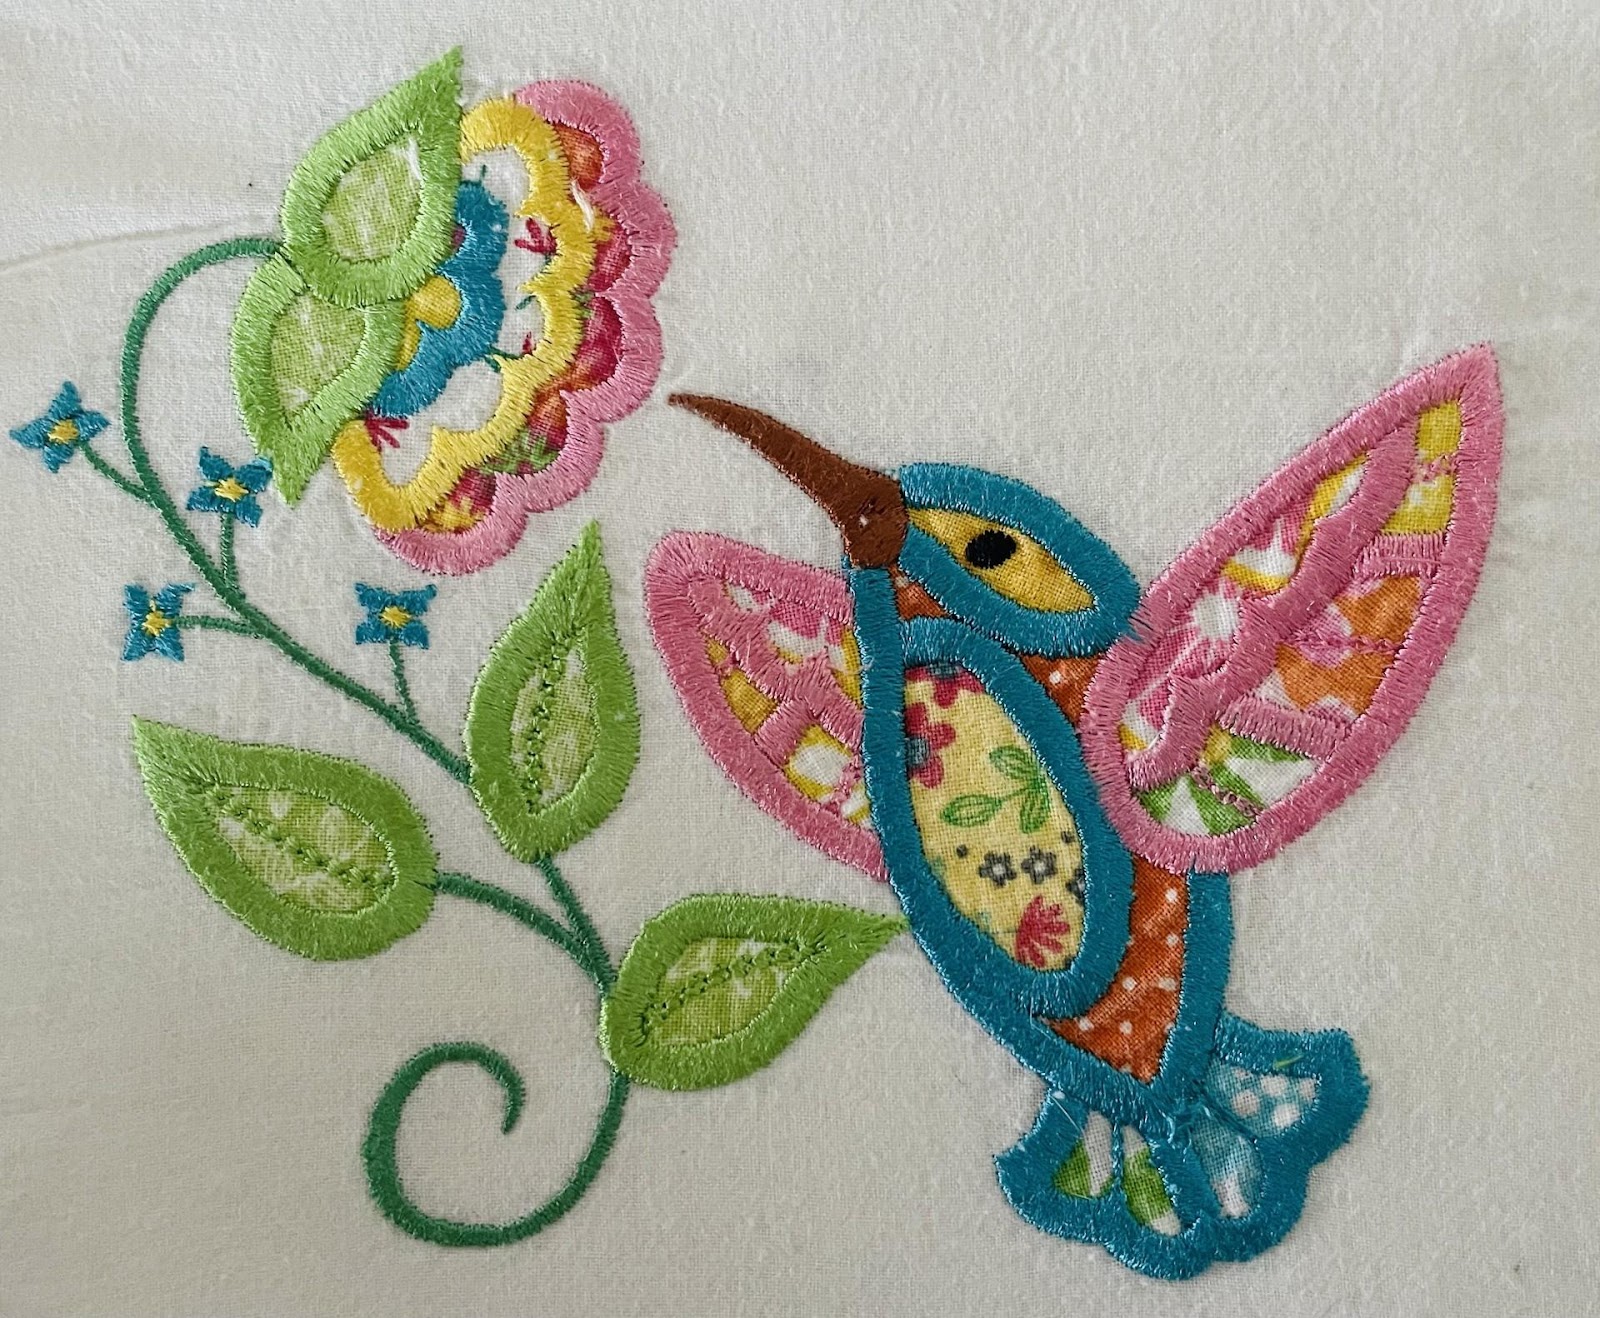
These are two appliqués from Jumbo Jacobean Hummingbirds Appliqué using small-print cottons and batiks.
More examples of creating a picture using scraps:
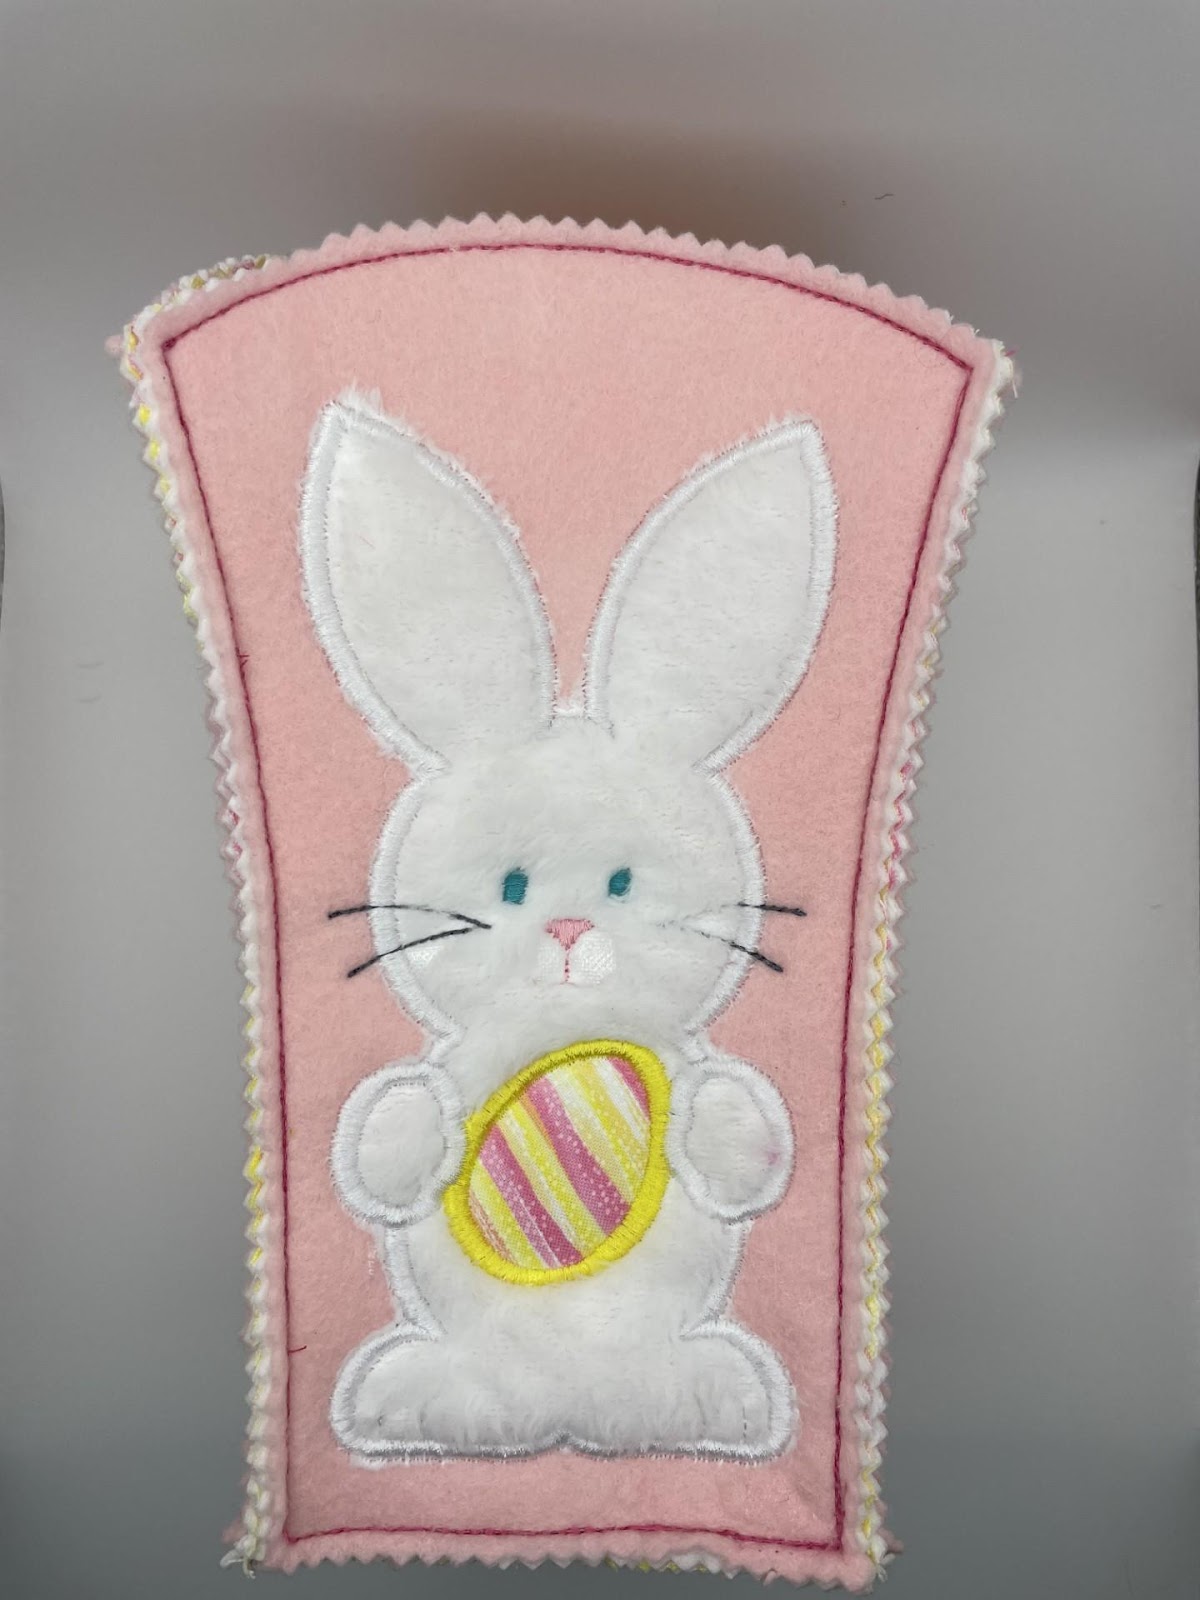
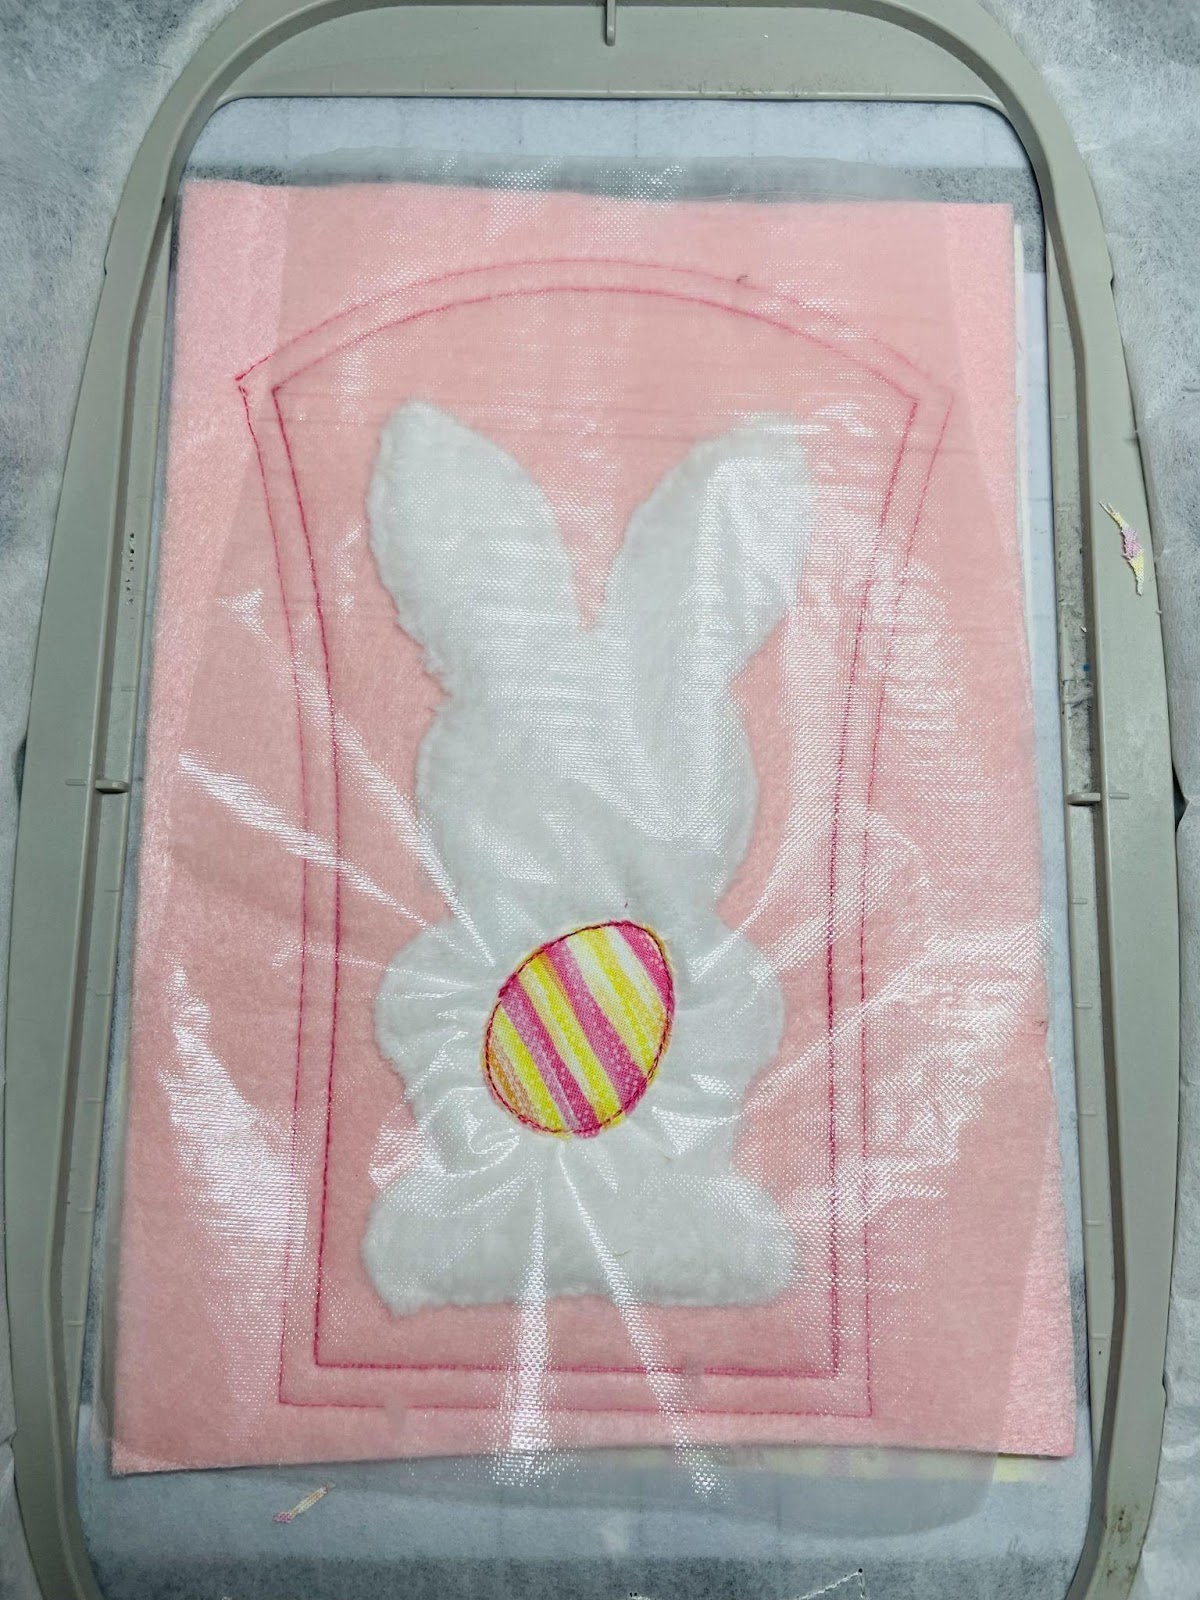
Specialty fabrics like felt, flannel, fleece, velvet and faux fur are my favorite to play with, especially when making something for a baby or toddler. They create a baby-friendly, touch-and-feel project since they are all high-pile or nap fabrics. They require no stabilizer on the back, but for best results I recommend a water-soluble film floated on top before embroidery. I use New Brothread Light Weight Clear Wash Away. This will keep your stitches on top of the fabric instead of allowing them to sink into the nap.
This bunny design was created using faux fur with the water-soluble topper film.
Don’t shy away from delicate fabrics like silk, satin, organza, and lace. With the correct preparation, these all work well. These fabrics are all heat sensitive, so how do you prepare without heat? A pressing cloth! Always use a pressing cloth when ironing on silk, satin, organza, and lace. I recommend Steam-A-Seam2® Double Stick Fusible Web. This will also give the fabric more stability and prevent fraying. Iron this to the back using a pressing cloth and following manufacturer instructions.
Dupioni silk is best for appliqué. This is a stable, crisp fabric. Silk lets you obtain a rich and intense color that isn’t found in cotton. Satin, another good choice, gives you a smooth, shiny finish. Organza and lace on top of a colored fabric add a little sheen and a unique decorative element to your project. With these fine, lightweight fabrics, use a 70/10 needle.
If you are looking for a rustic, warm, farmhouse look, burlap is a good choice. Steam-A-Steam2® applied with a pressing cloth and a water-soluble film floated on top are recommended.
Vinyl is easy to work with, requires no stabilizer on the back, and can be found in multiple colors. I recommend embroidery vinyl or marine vinyl. An 80/12 sharp or 90/14 needle and slowing your machine down are the best strategies when working with vinyl.
It is best to avoid knits and stretchy fabrics for machine appliqué.
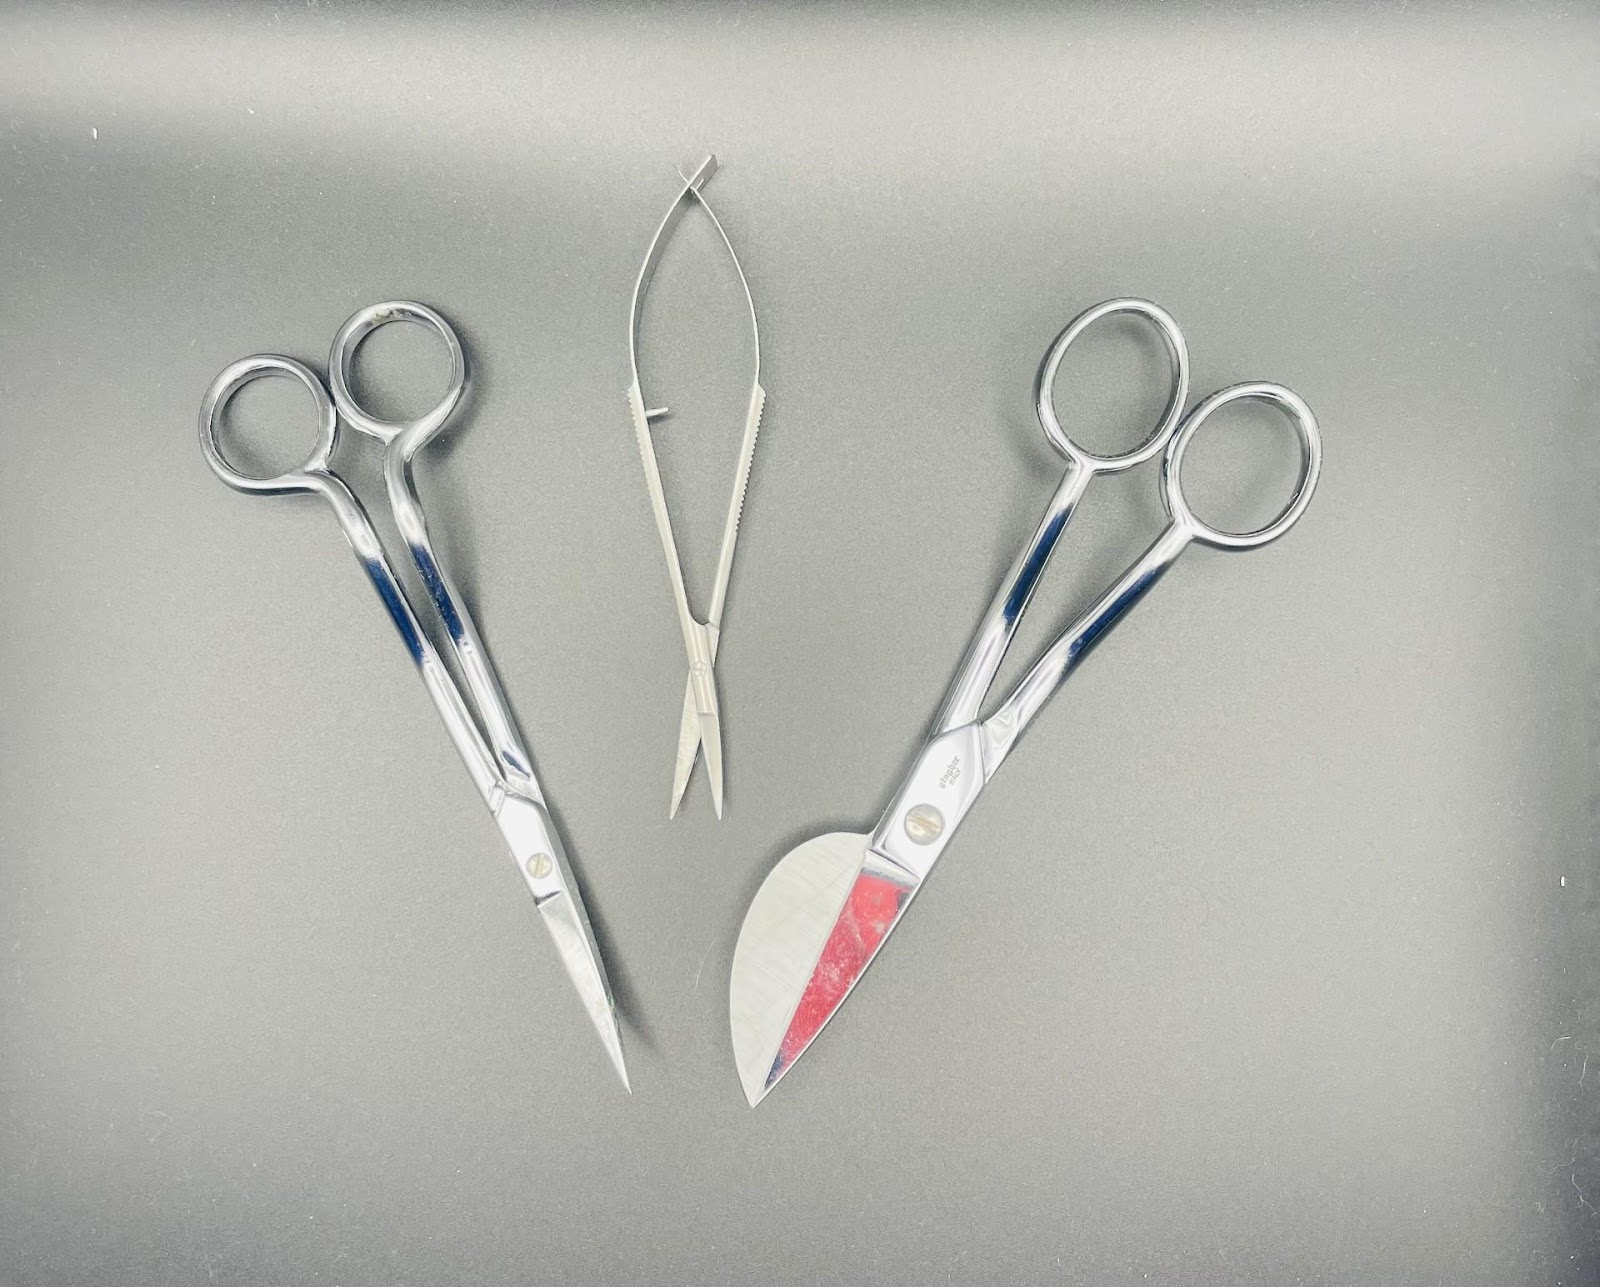
Now let's talk about needle sizes and scissors. To set yourself up for success you will want to have the proper tools.
There are a variety of needle types and sizes. Most packaging will tell you what type of fabric the needles are good for. It is always best to have multiple types and sizes of needles on hand.
A good pair of appliqué scissors is essential.
These will allow you to trim closely and achieve a clean finish.
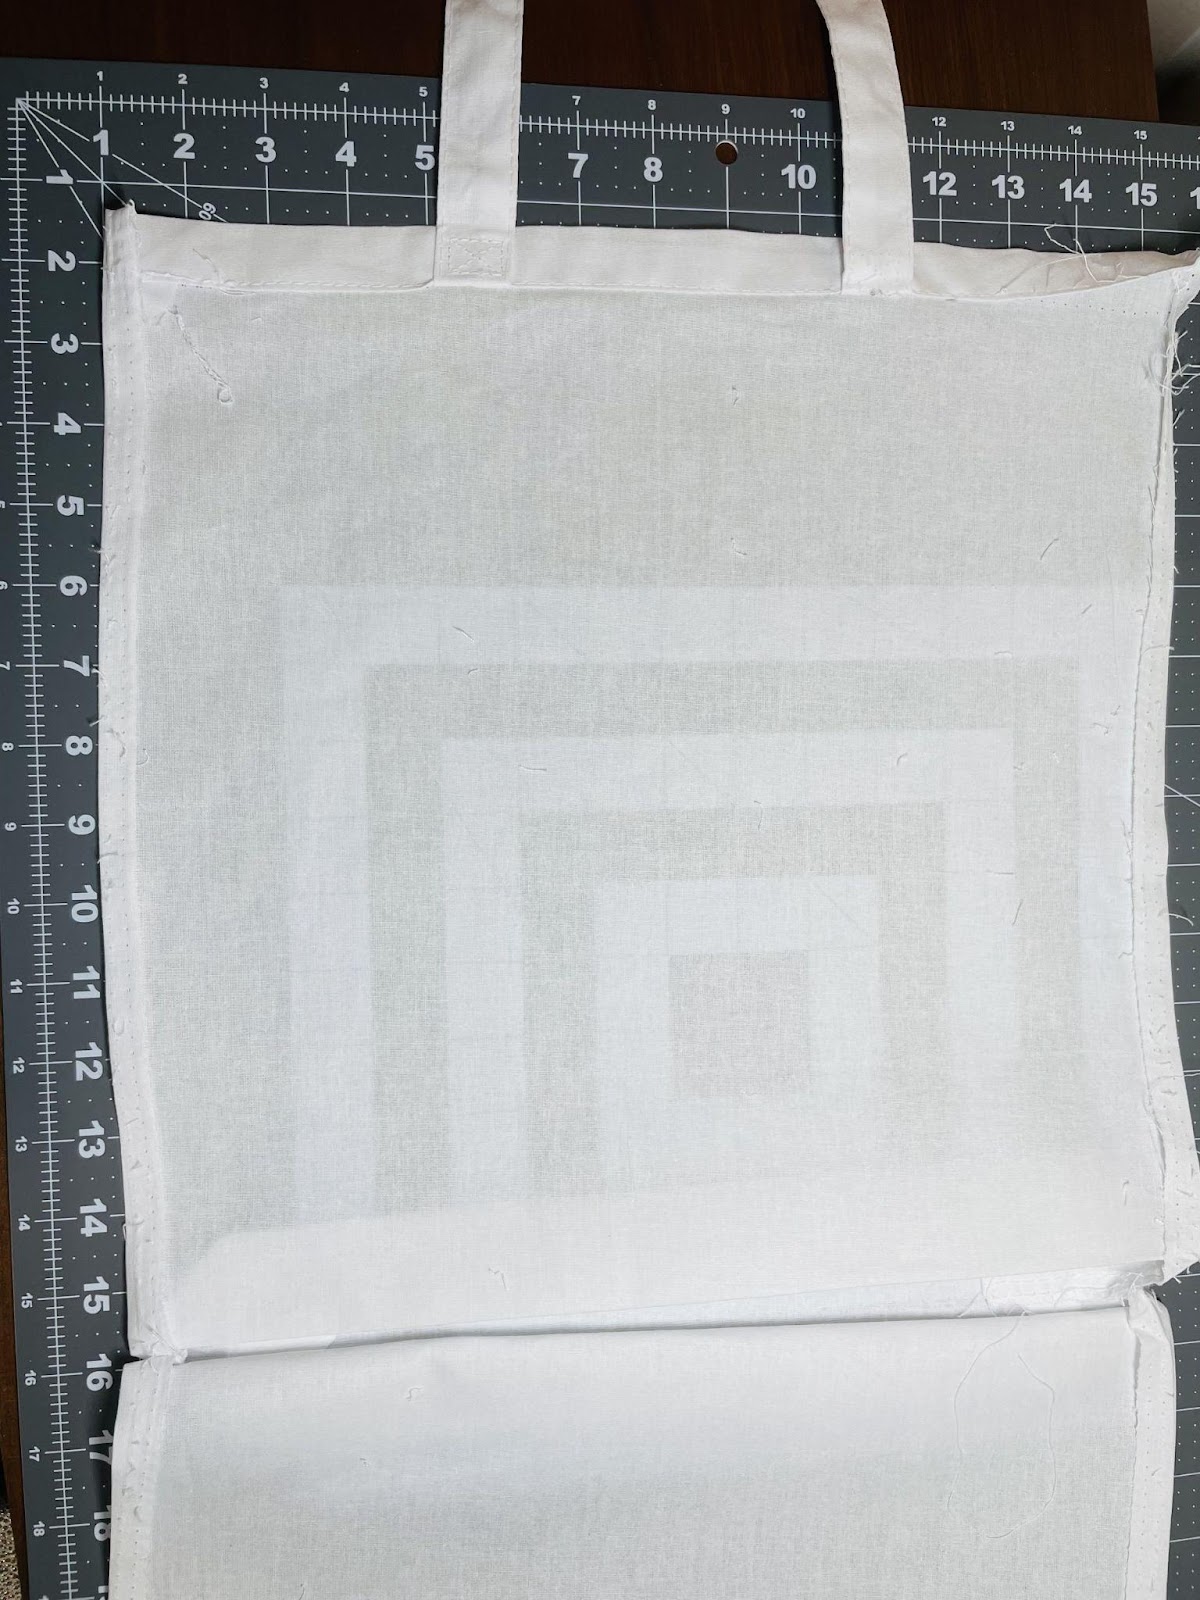
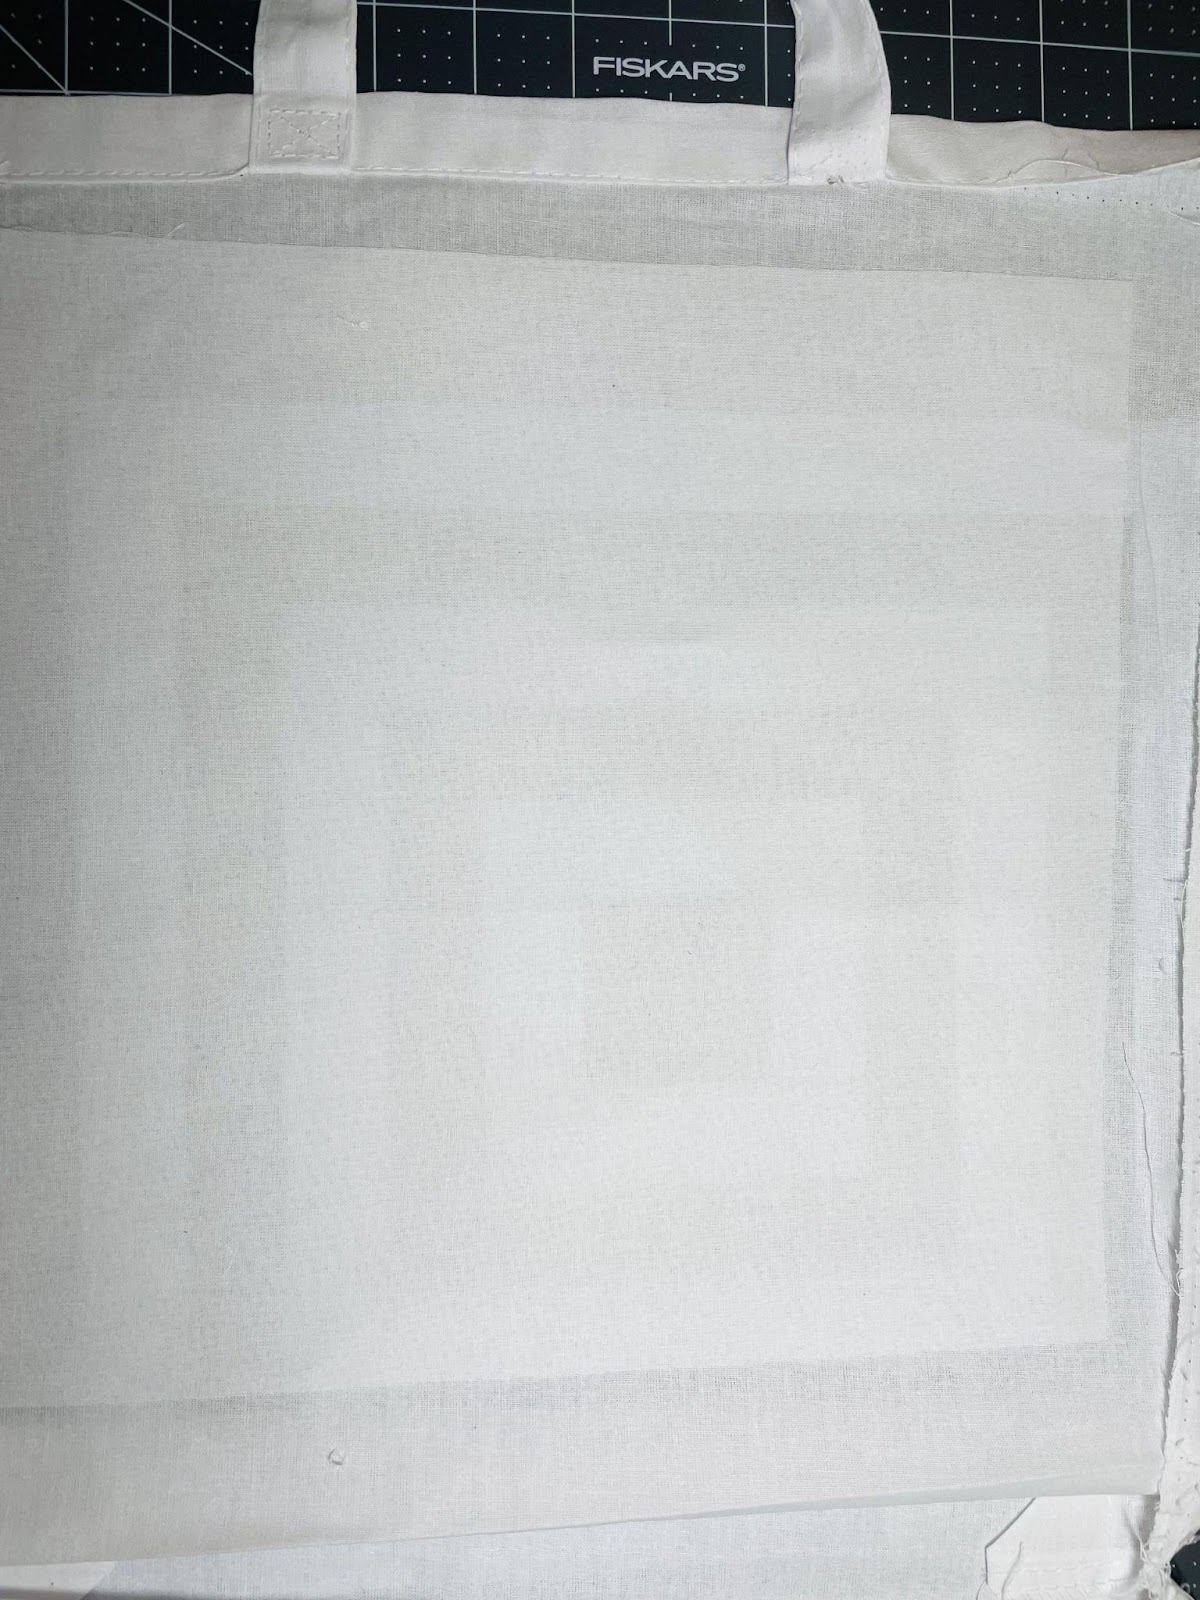
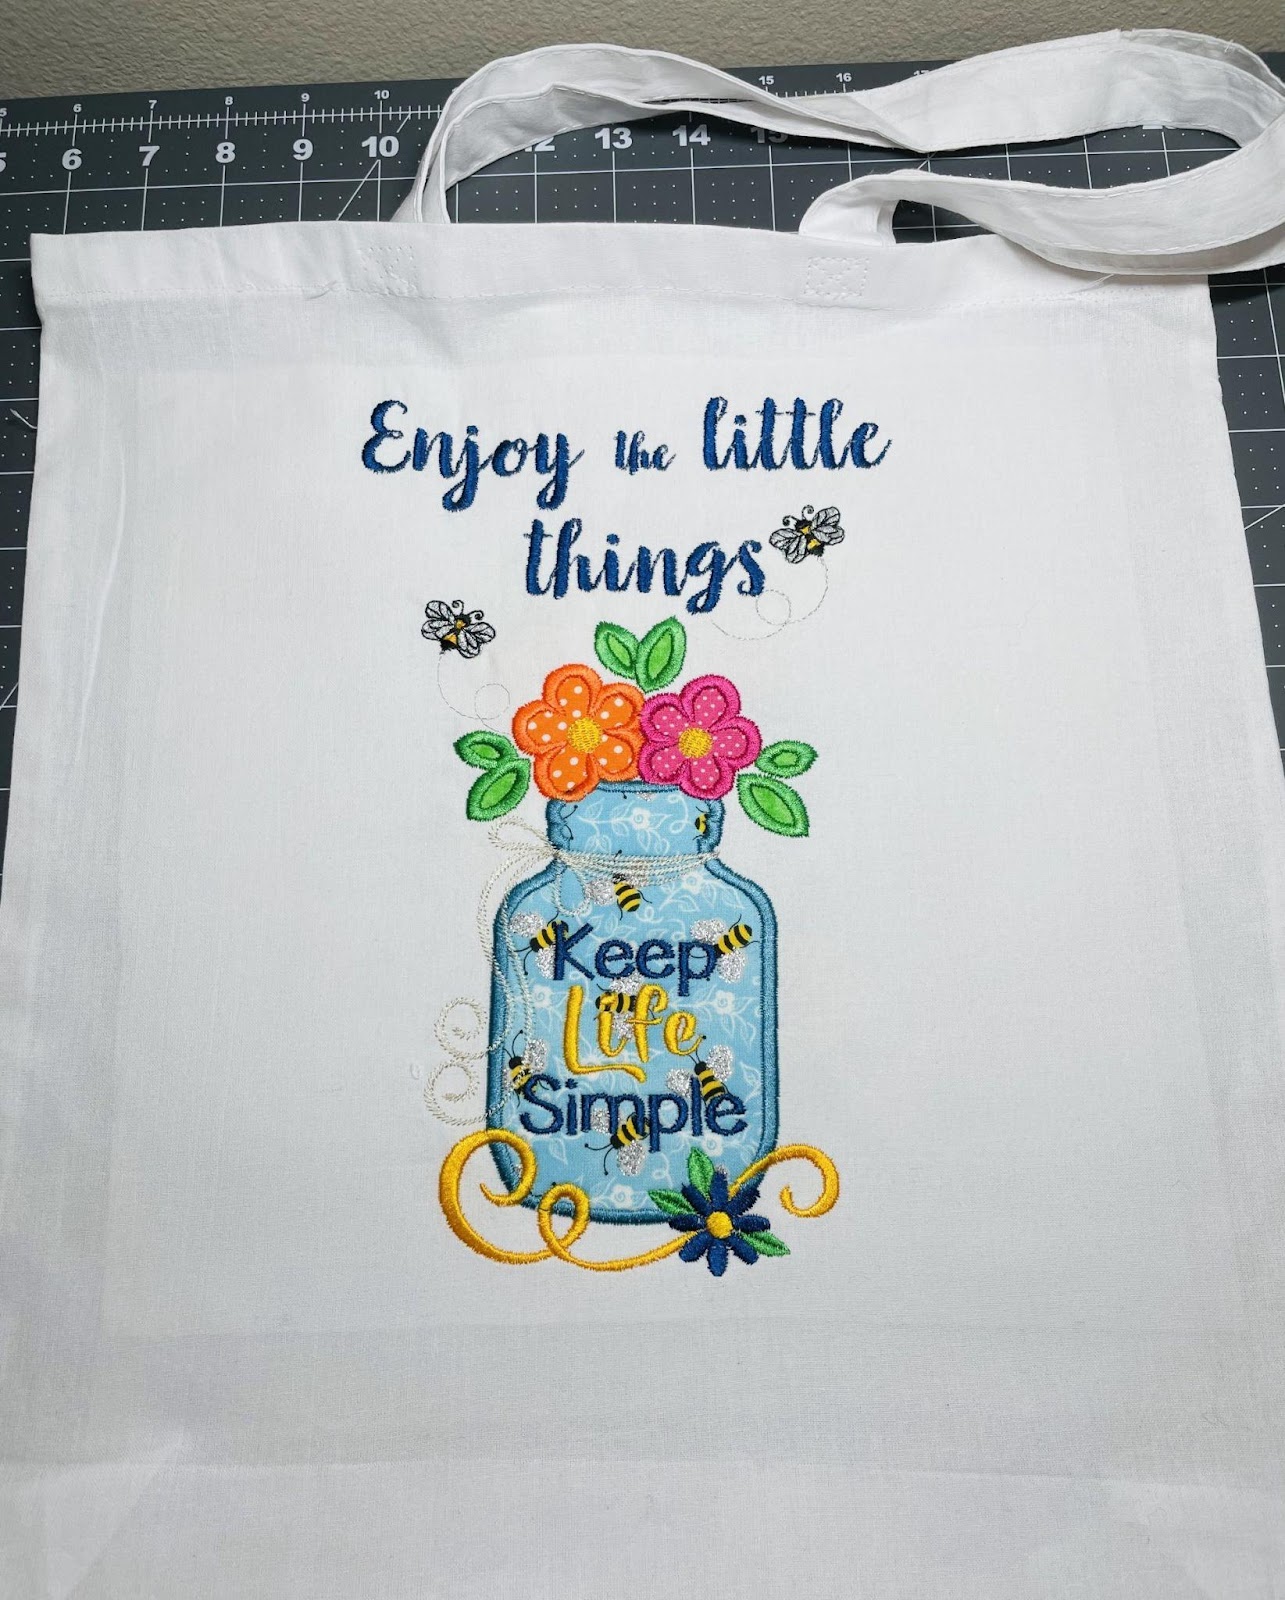
Ready to appliqué? Let's try a simple and fun project. This is a cute little tote or shopping bag made using Live Simply Appliqué.


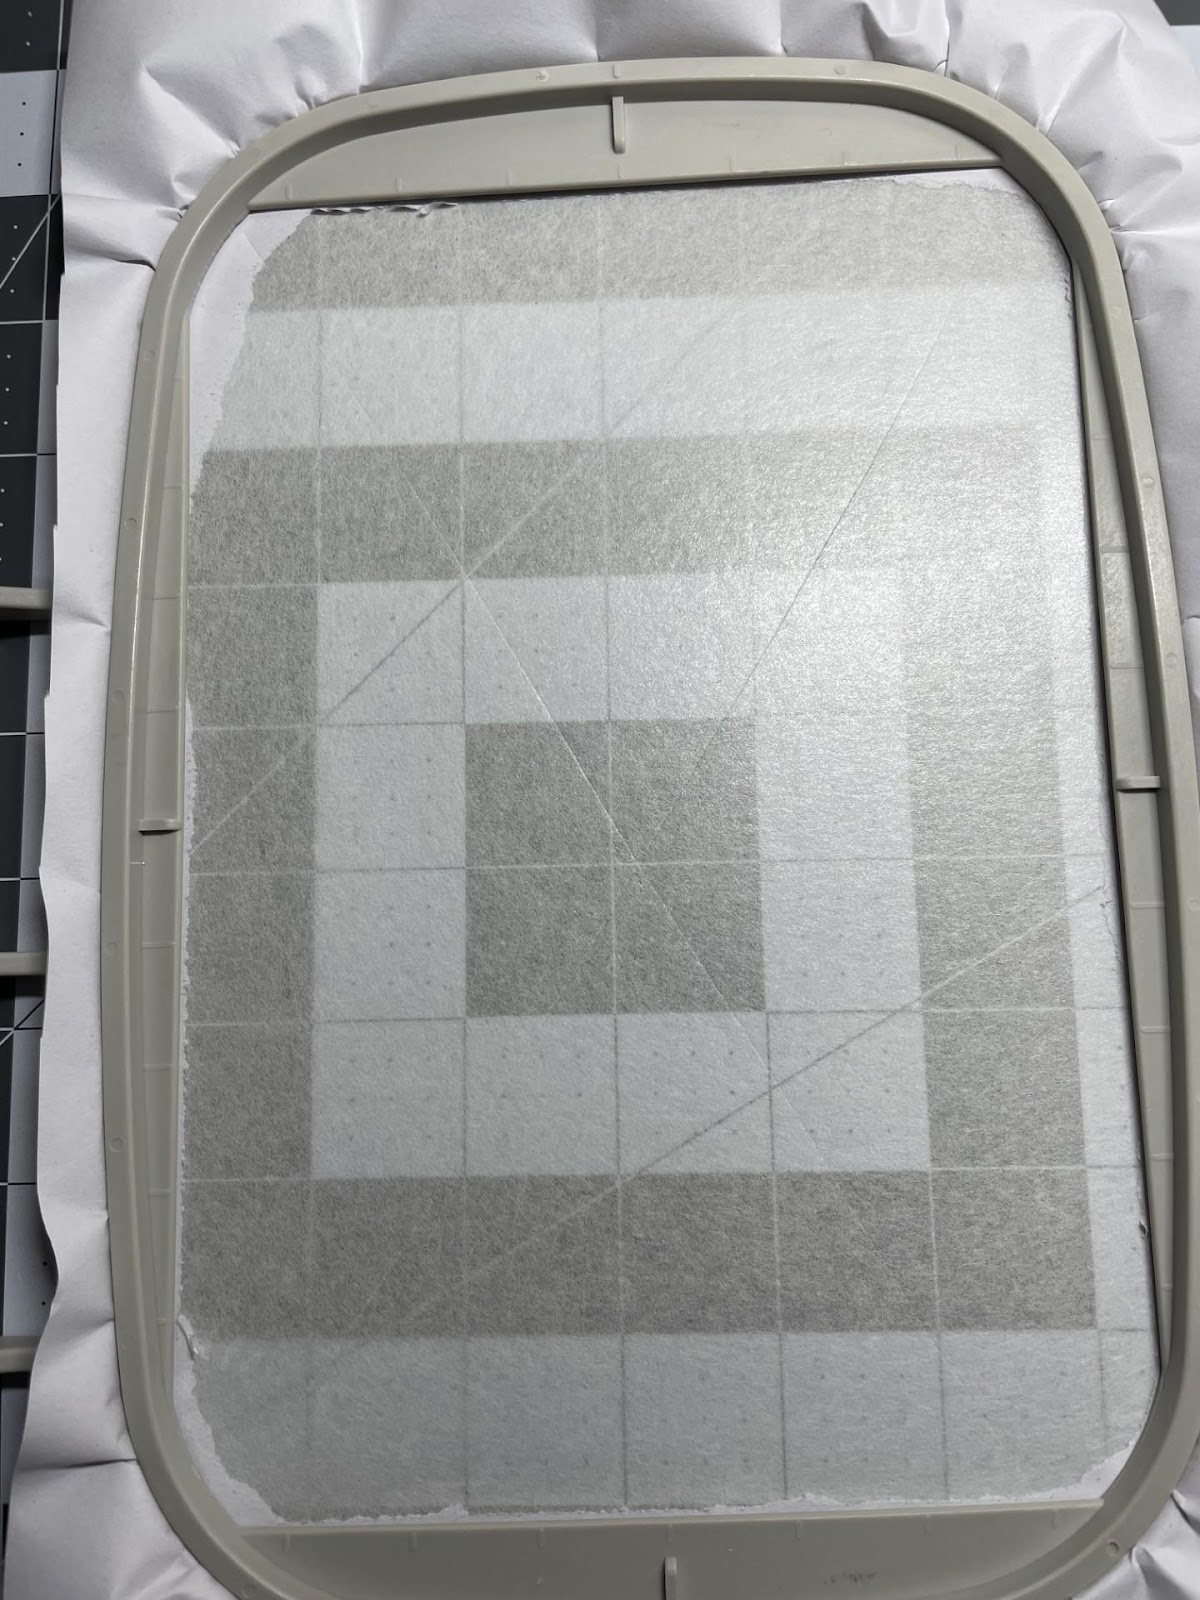
To make hooping easy I took the side seams out of my tote and floated it so it would lay flat. Add SF101 to the inside of the tote. Give it a good press making sure all the wrinkles are removed.
I choose to put an additional saying on the top of my bag using, the Designs by Juju Barbie Font. This is optional.
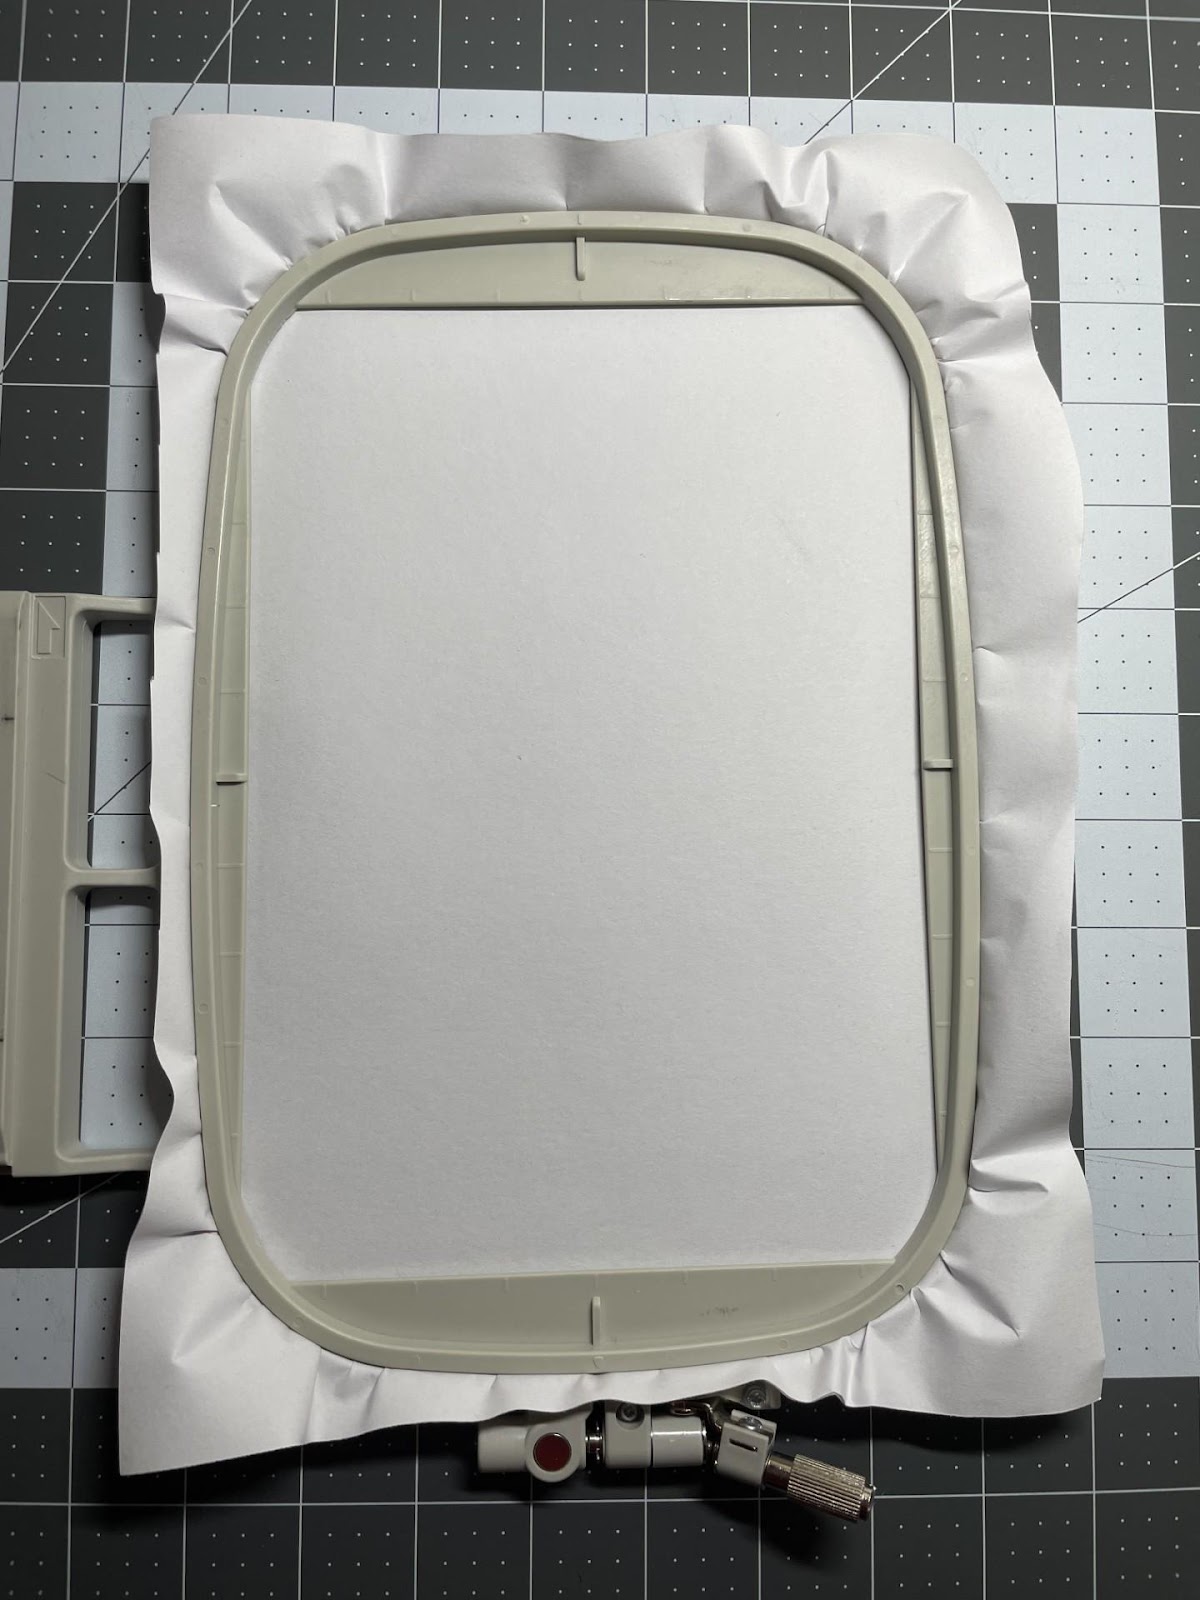
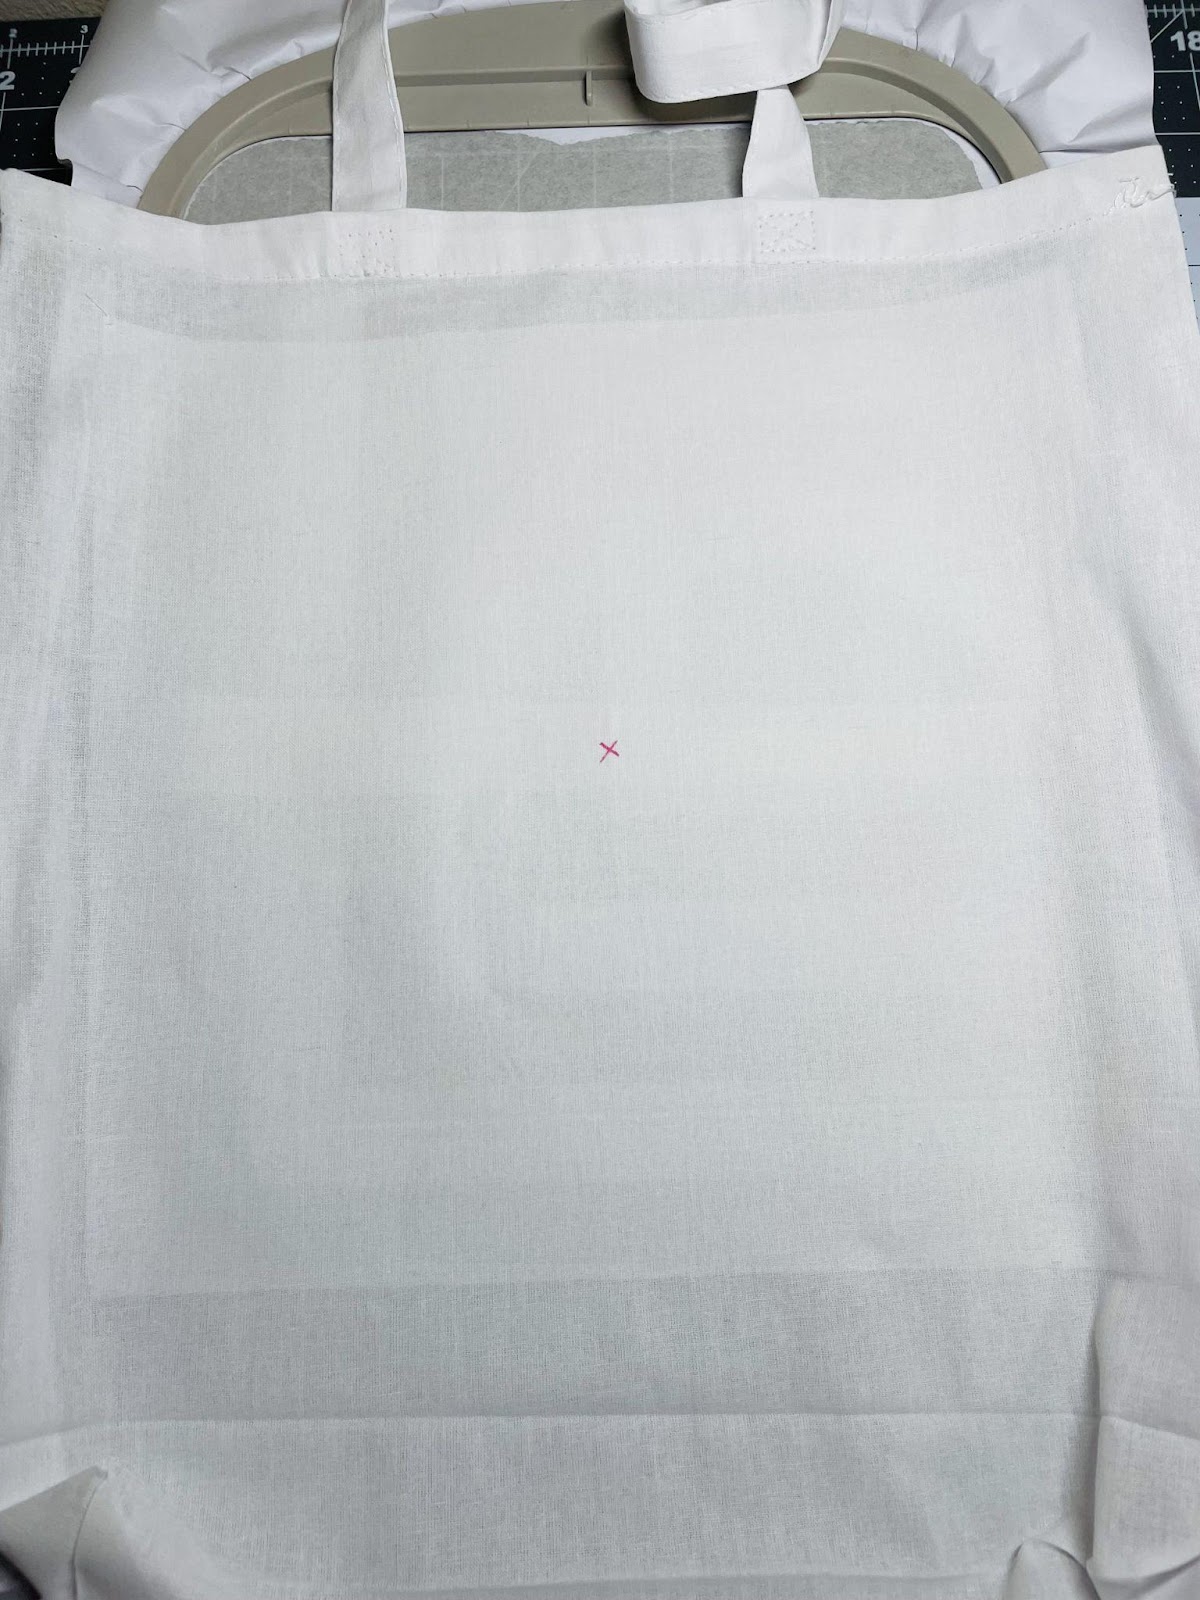
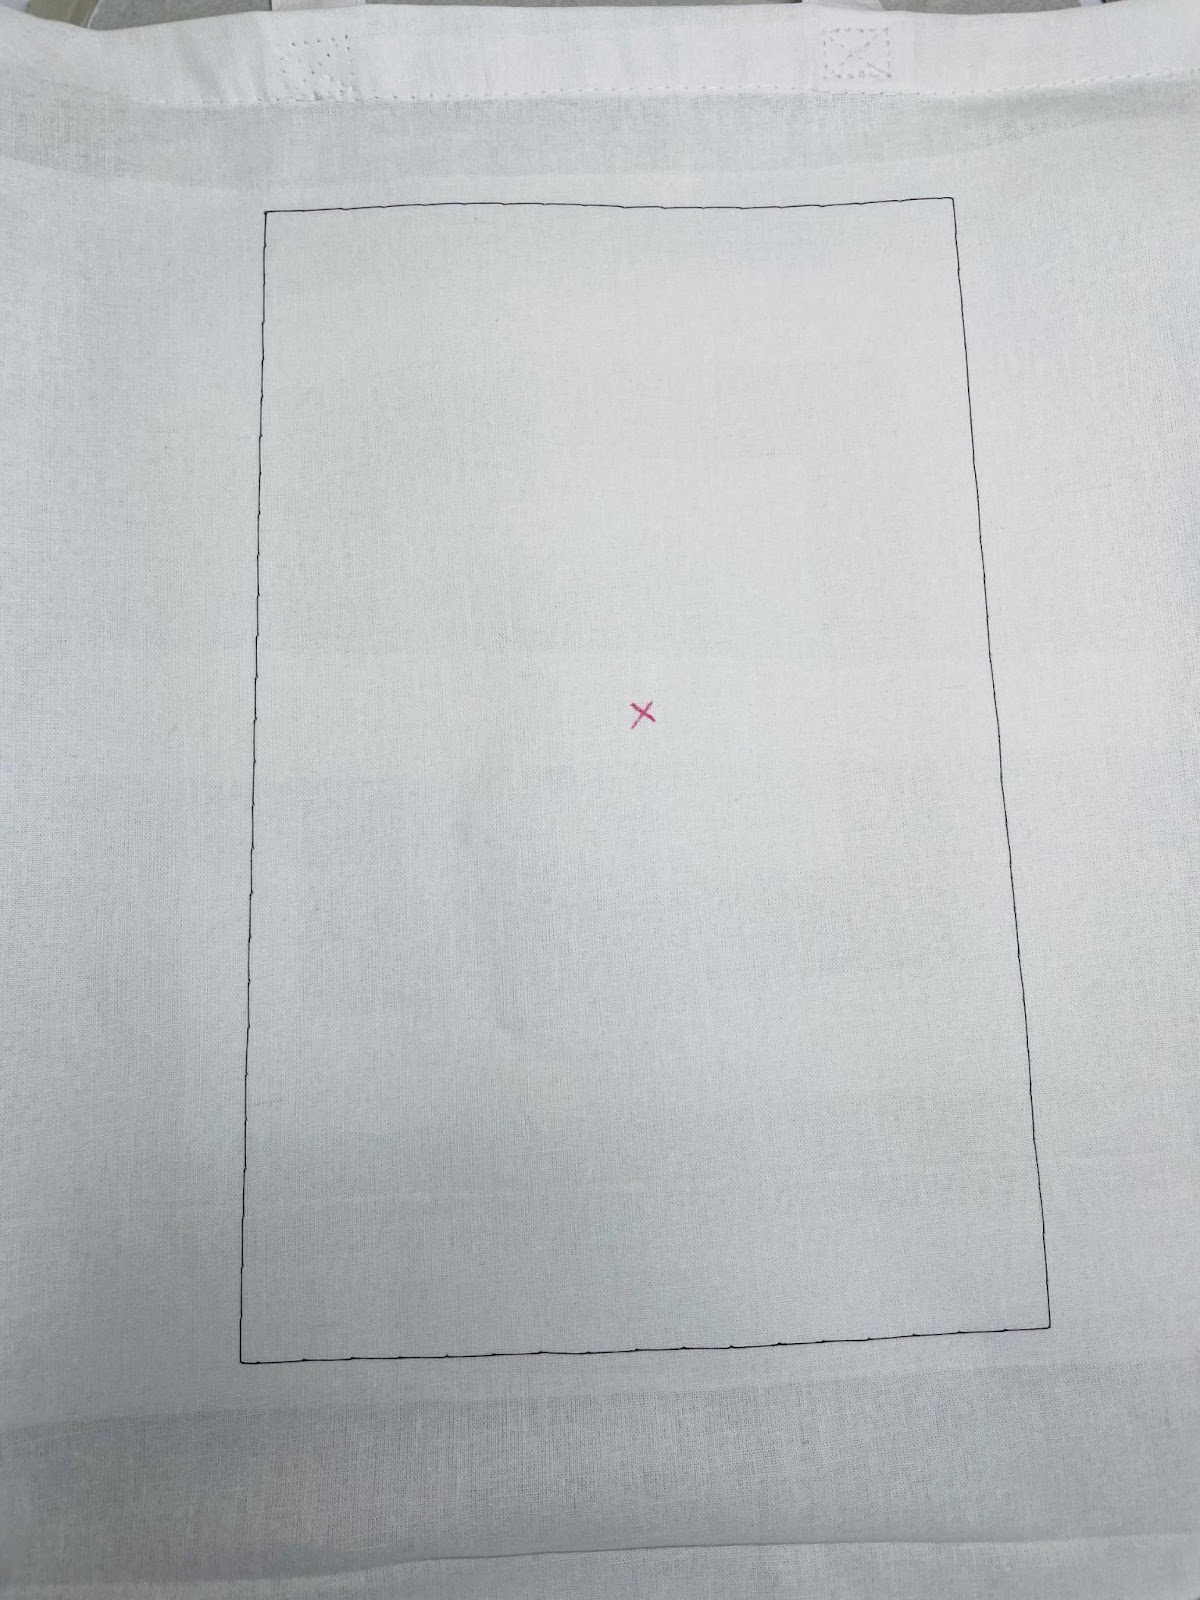
Upload the design of your choice to your machine, I chose the largest design size. If adding a font hit Add and upload your saying, centering it above your design. If you have a 9 x 14 hoop, you can do this in one hooping. If you are using a smaller hoop then multiple hoopings will be required for the font. Leave approximately 4.5 inches for a saying with a second hooping. Center the Live Simply design below the 4.5 inches. If no saying is wanted then mark the center of the entire tote.

Hoop sticky stabilizer, score and remove paper backing, and float your tote on top. Finger press down to get a smooth surface.
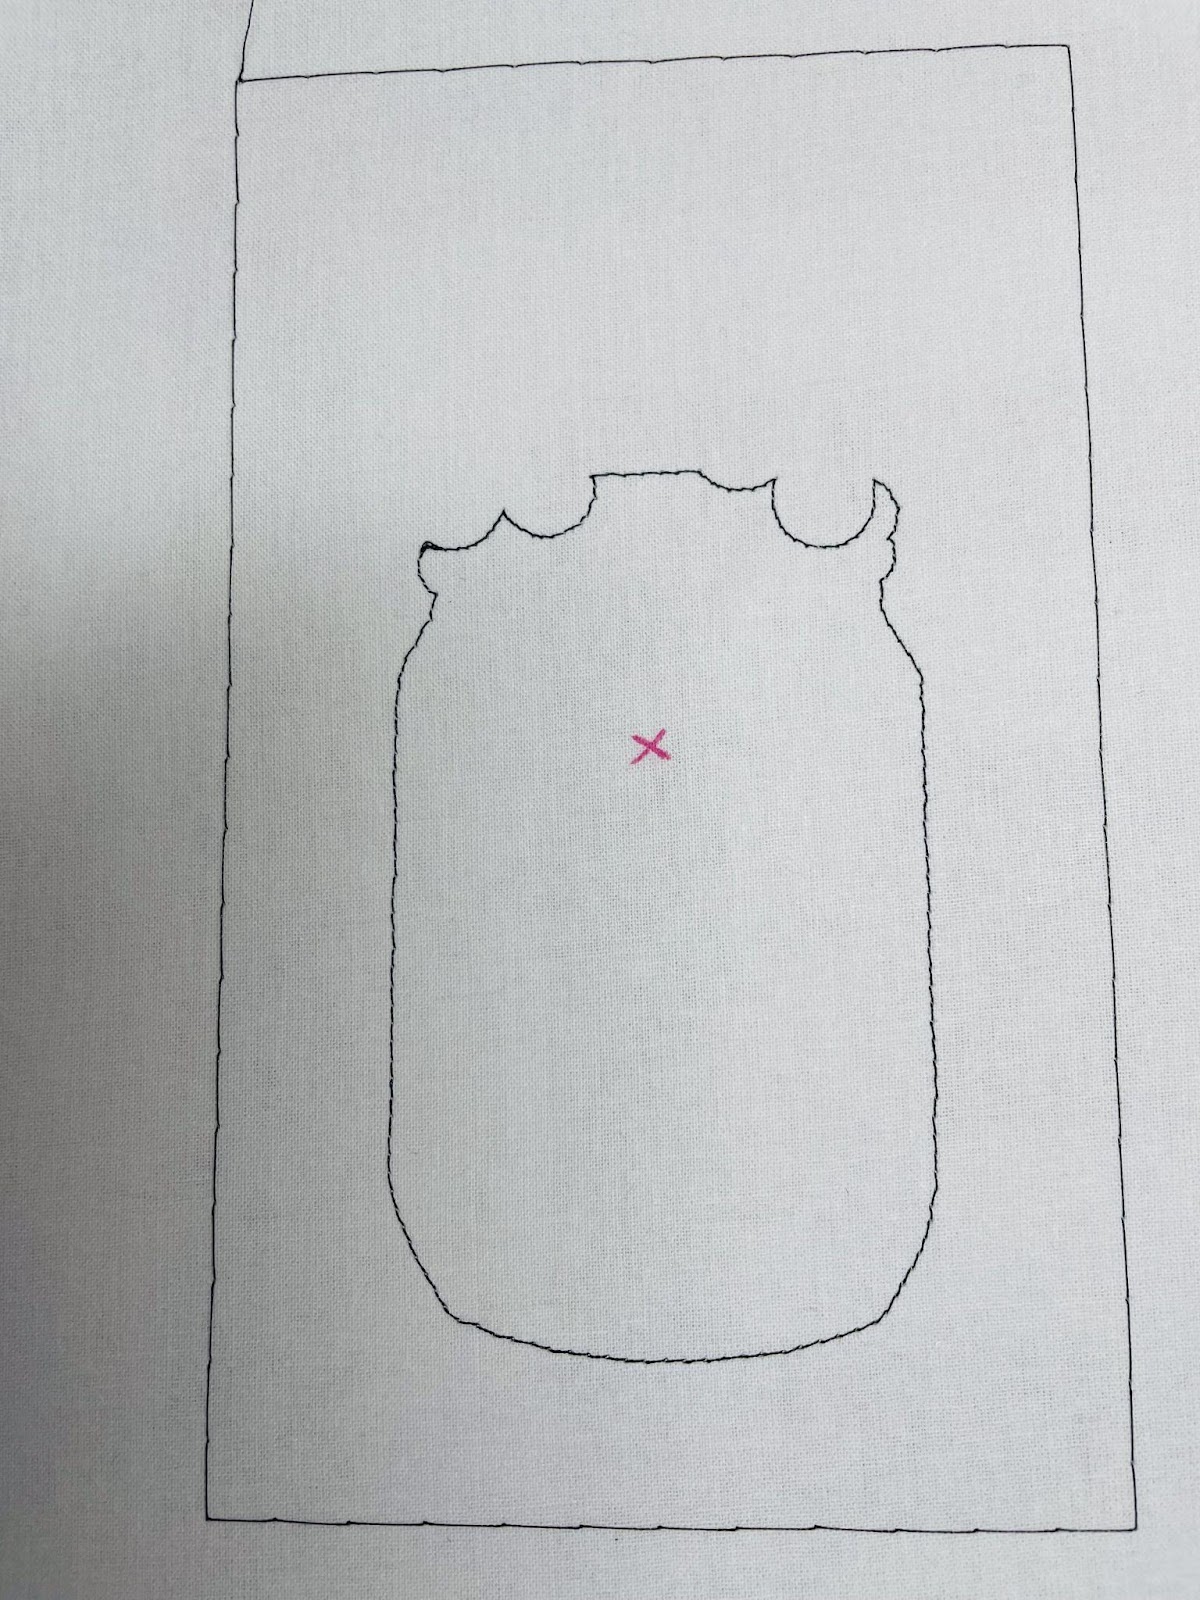
Take your hoop to the machine and if using a basting box (highly recommended) run the first stitch, remove and check your placement. Once satisfied, begin your design.
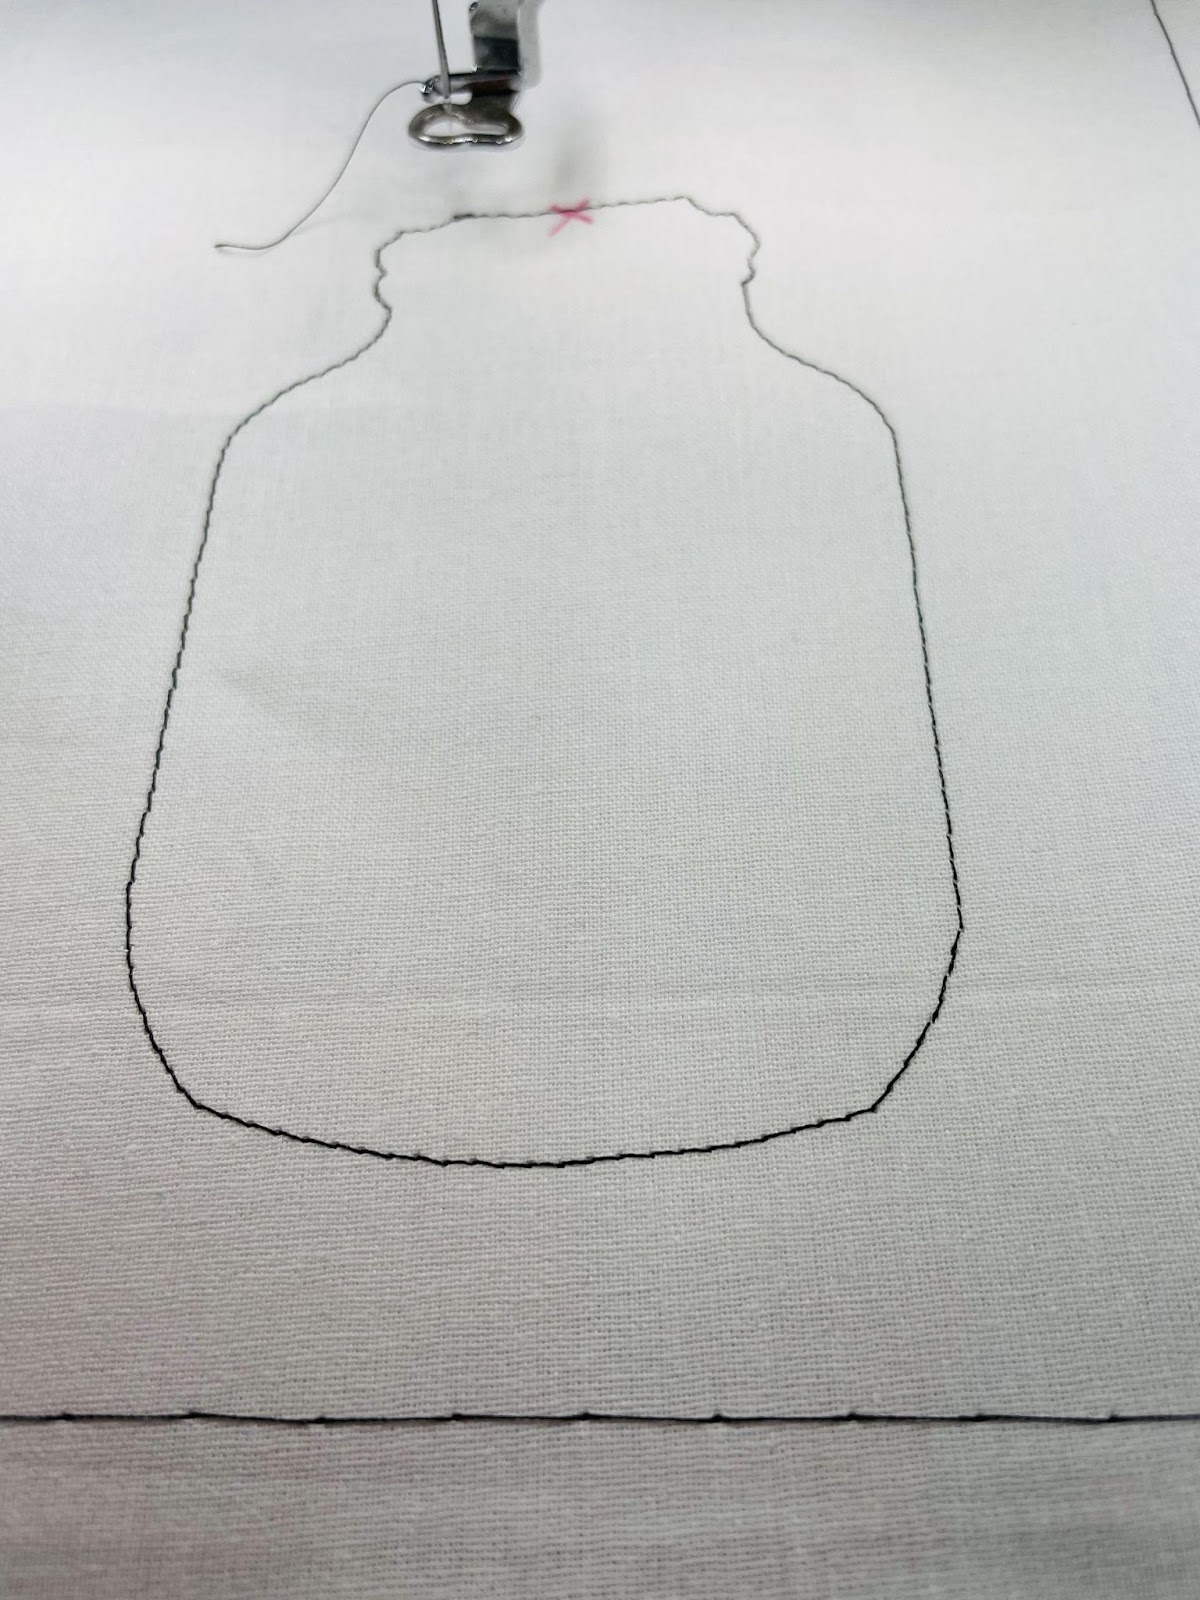
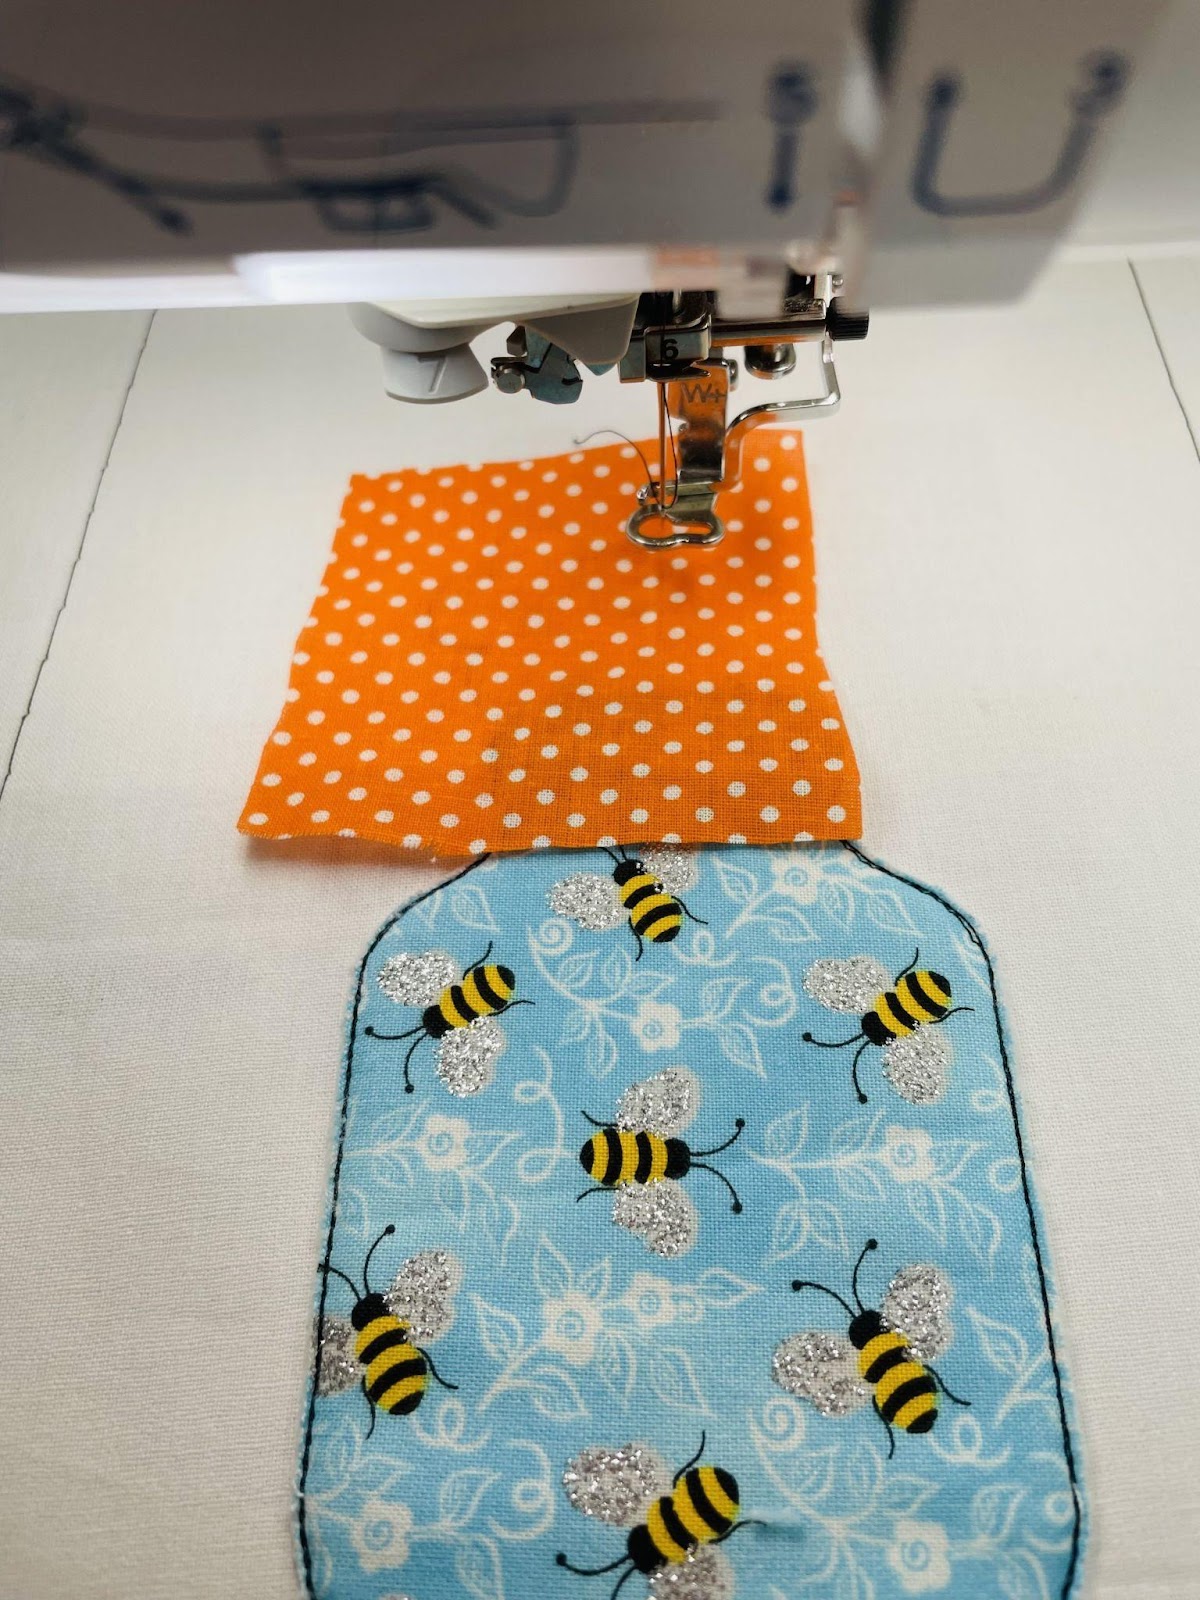
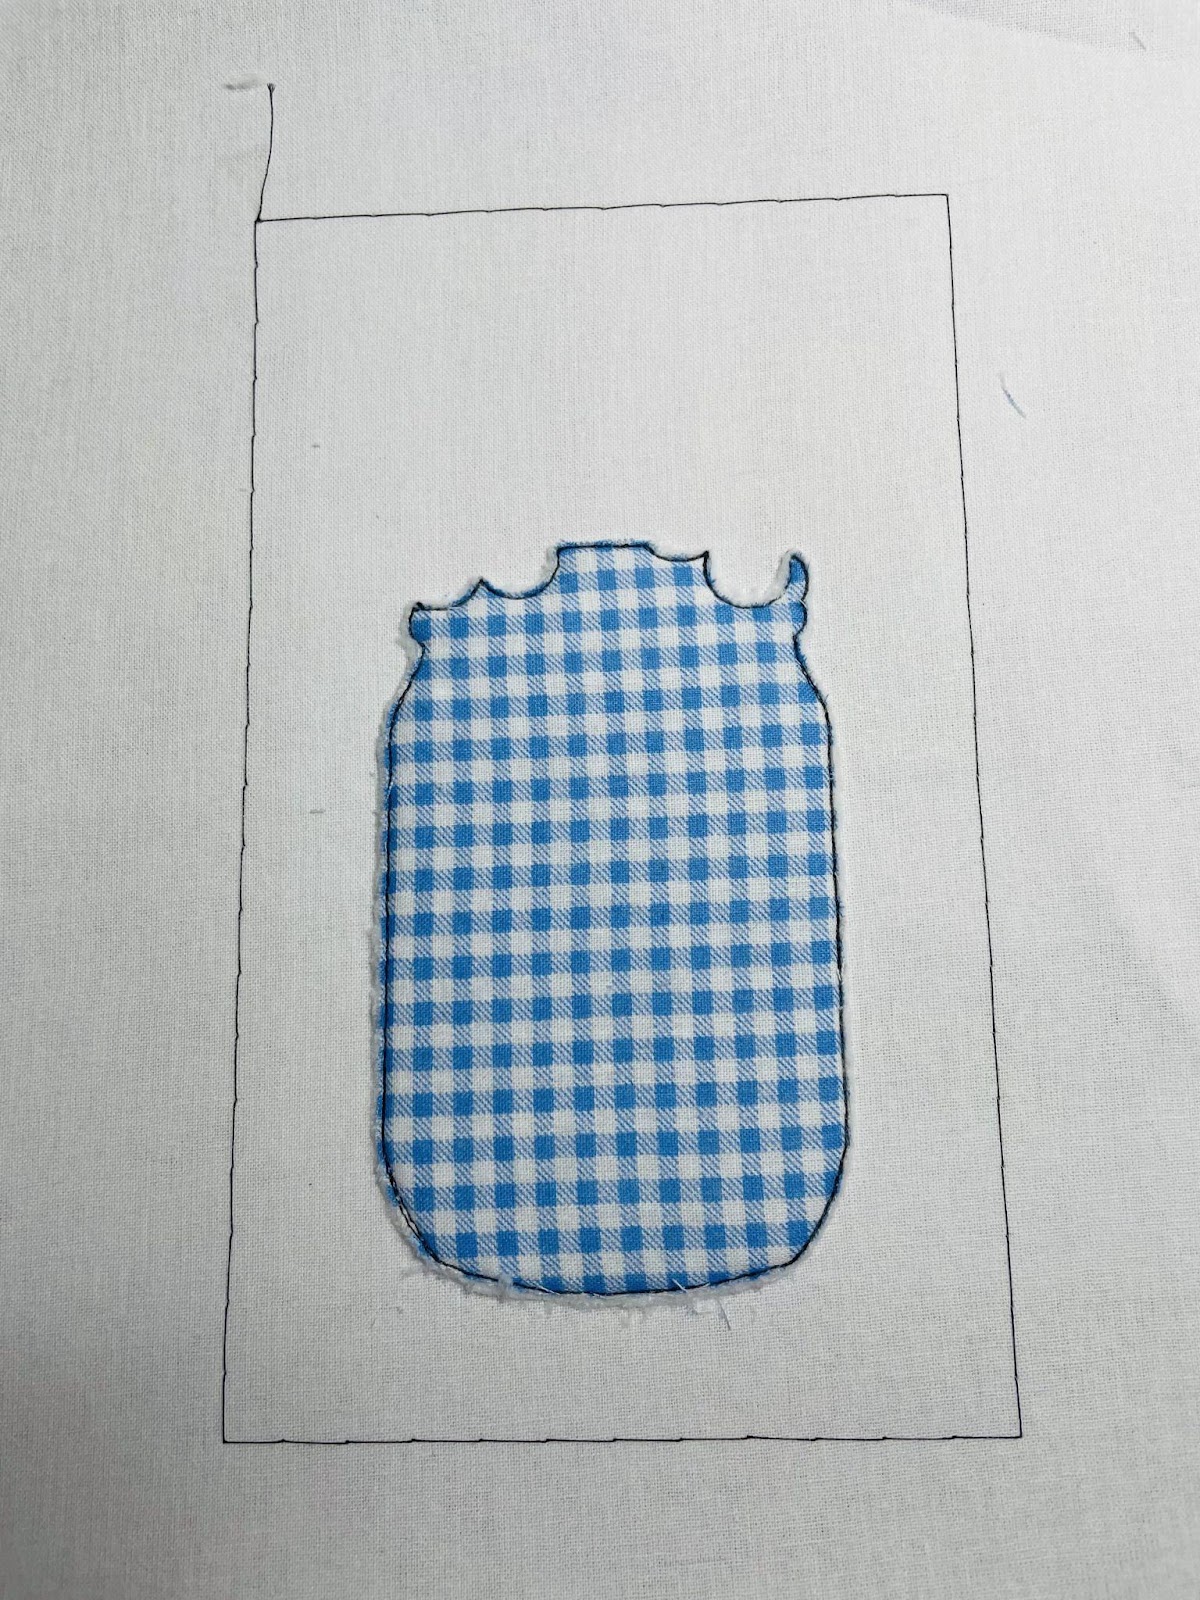
The second stitch after the basting box, or first stitch if no basting box is used, is the placement stitch for your jar.
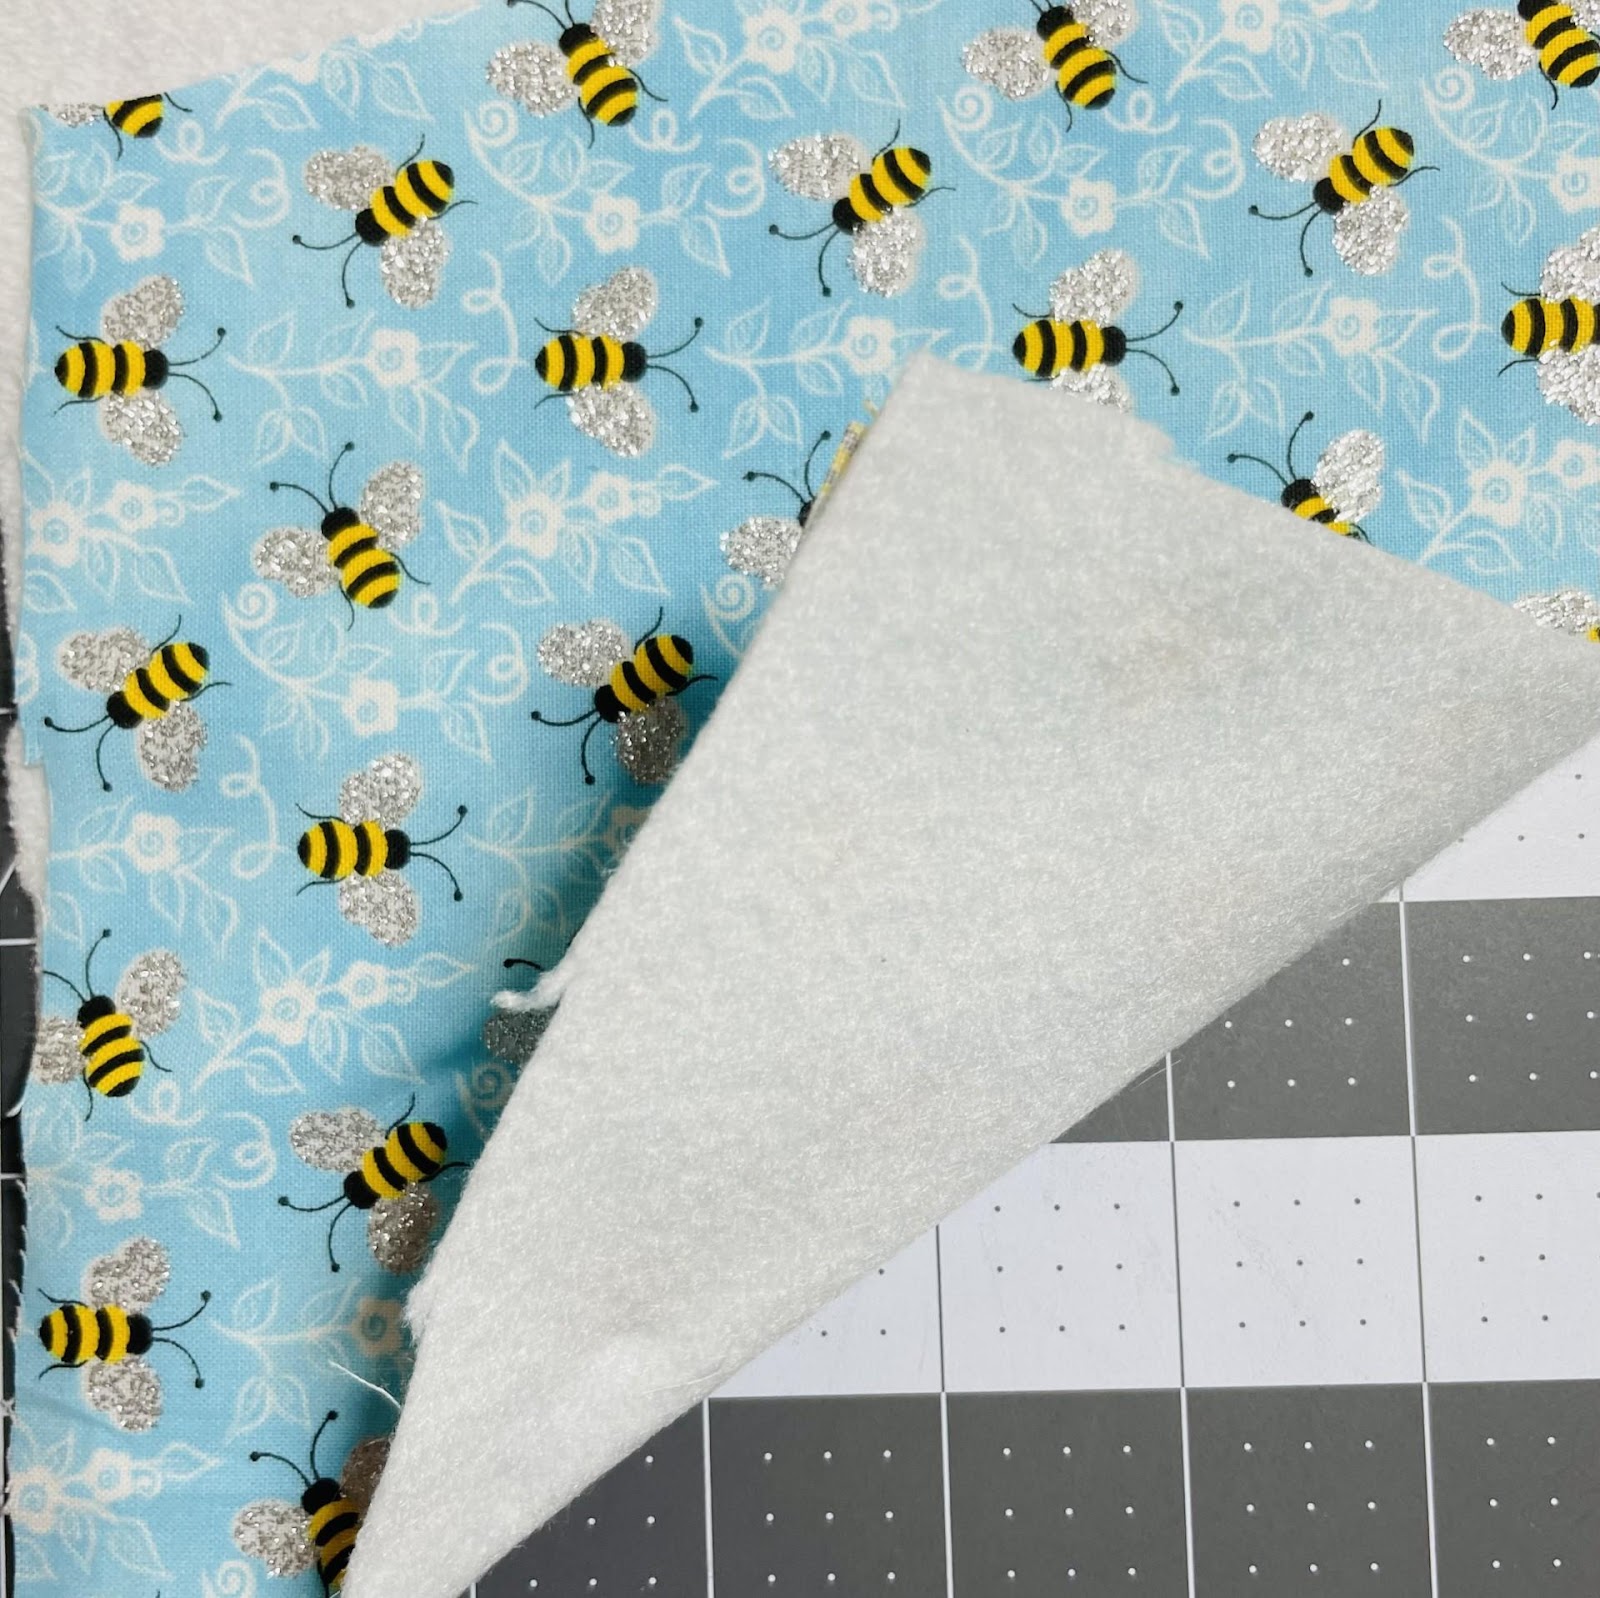
This is where you can get creative with your fabric choices. I wanted bees in my jar, and I wanted a little dimension so I added some fusible fleece to the back of my fabric. Adding foam to the underside of the fabric is another option or even batting. Take the hoop back to the machine and run the tack down stitch
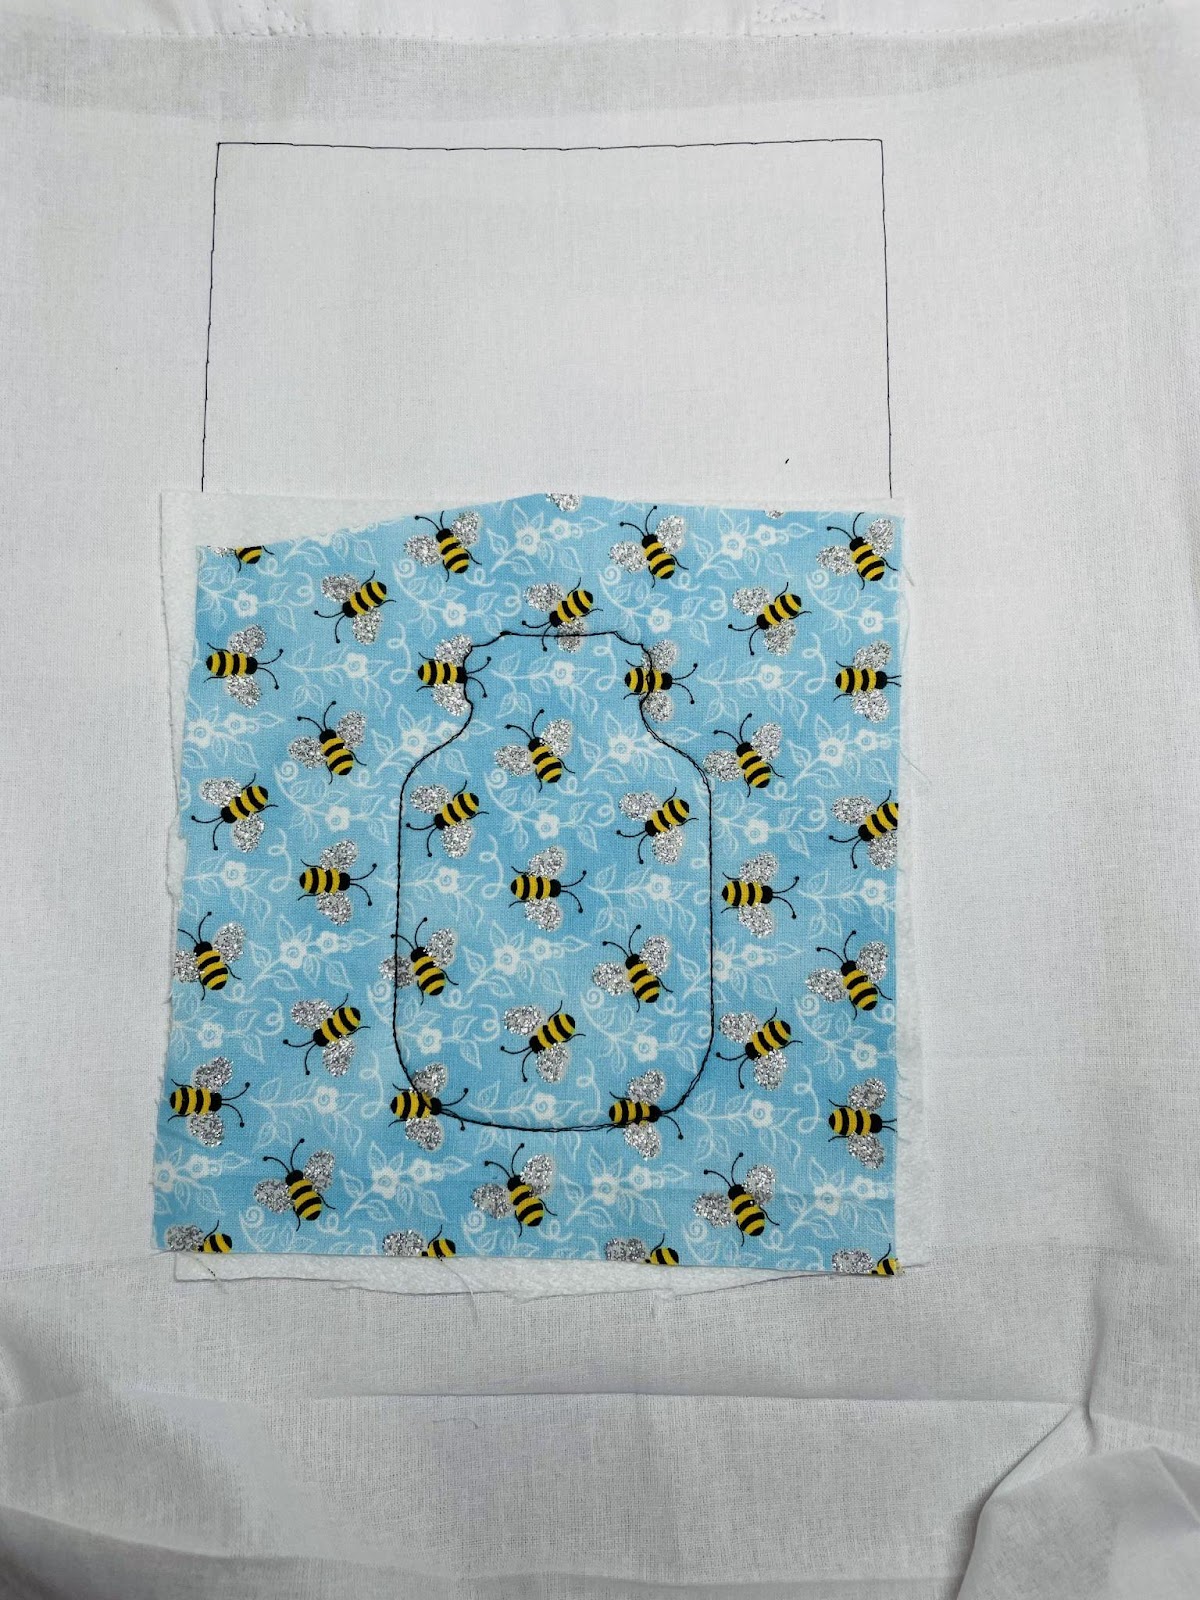
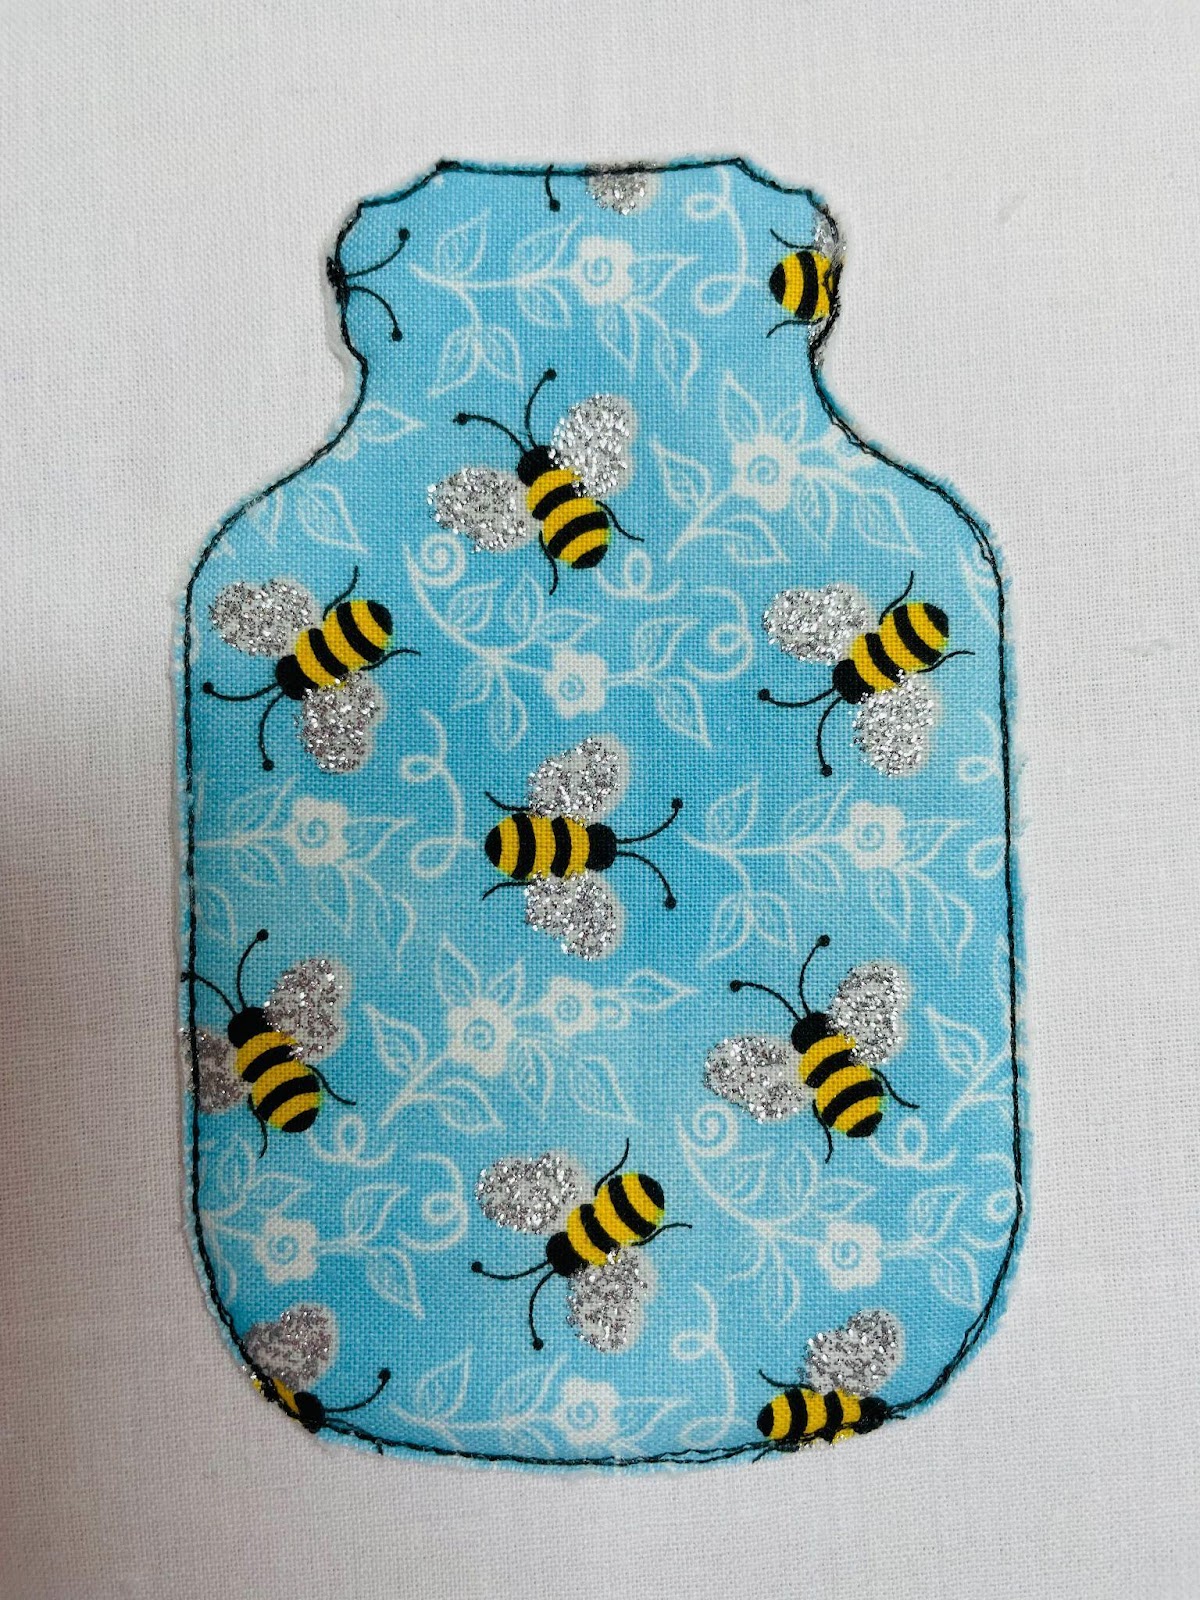
Remove hoop, place on a flat surface and trim fabric. This is where good appliqué scissors will give you the best results.
Return to the machine and run the next stitch. This will be a placement stitch for your first flower.
Lay your desired fabric down, making sure to always cover the outline. It would be really cute if you wanted to fussy cut a flower to fit in the flower shapes. Using felt, a batik, or even satin would provide interesting dimension and/or texture for the leaves.
Run the tack down stitch. Remove the hoop from the machine and trim. Continue to do this until all your appliqués are done.
The rest of the stitches will be the decorative and satin stitching. When finished you can continue on with a saying or unhoop and begin the back.
The back of the tote is done the same as the front.
When completed, stitch up the sides of your bag, give it a good press and admire your new tote!
I hope this guide has demystified fabric selection for machine appliqué for you, whether you're an embroidery newbie, or an experienced crafter looking to brush up on your skills. Don't be afraid to experiment and find what works best for you. Now that we've covered a variety of fabrics that can be successfully used in appliqué, dig into your fabric stash, you're ready to get rolling with appliqué!
Don't forget to share your creations with us on social media using the hashtag #designsbyjuju!