Toggle Nav
 Inspire.
Create.
Stitch.
Inspire.
Create.
Stitch.
Search
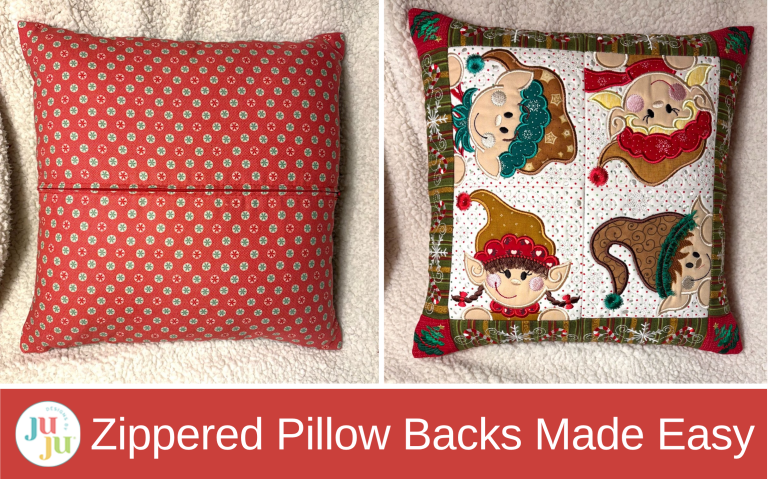
Want to add a zippered back to your DBJJ pillow but feel nervous about sewing in a zipper?
It’s a lot easier than you think! I’ll even show you that it’s not an issue if the only zippers the store has are longer than you need. Follow along as I sew a zippered back for JuJu’s cute new Elf Patchy Pillow.
Check out the DBJJ team’s favorite supplies in the Designs by JuJu Amazon store.
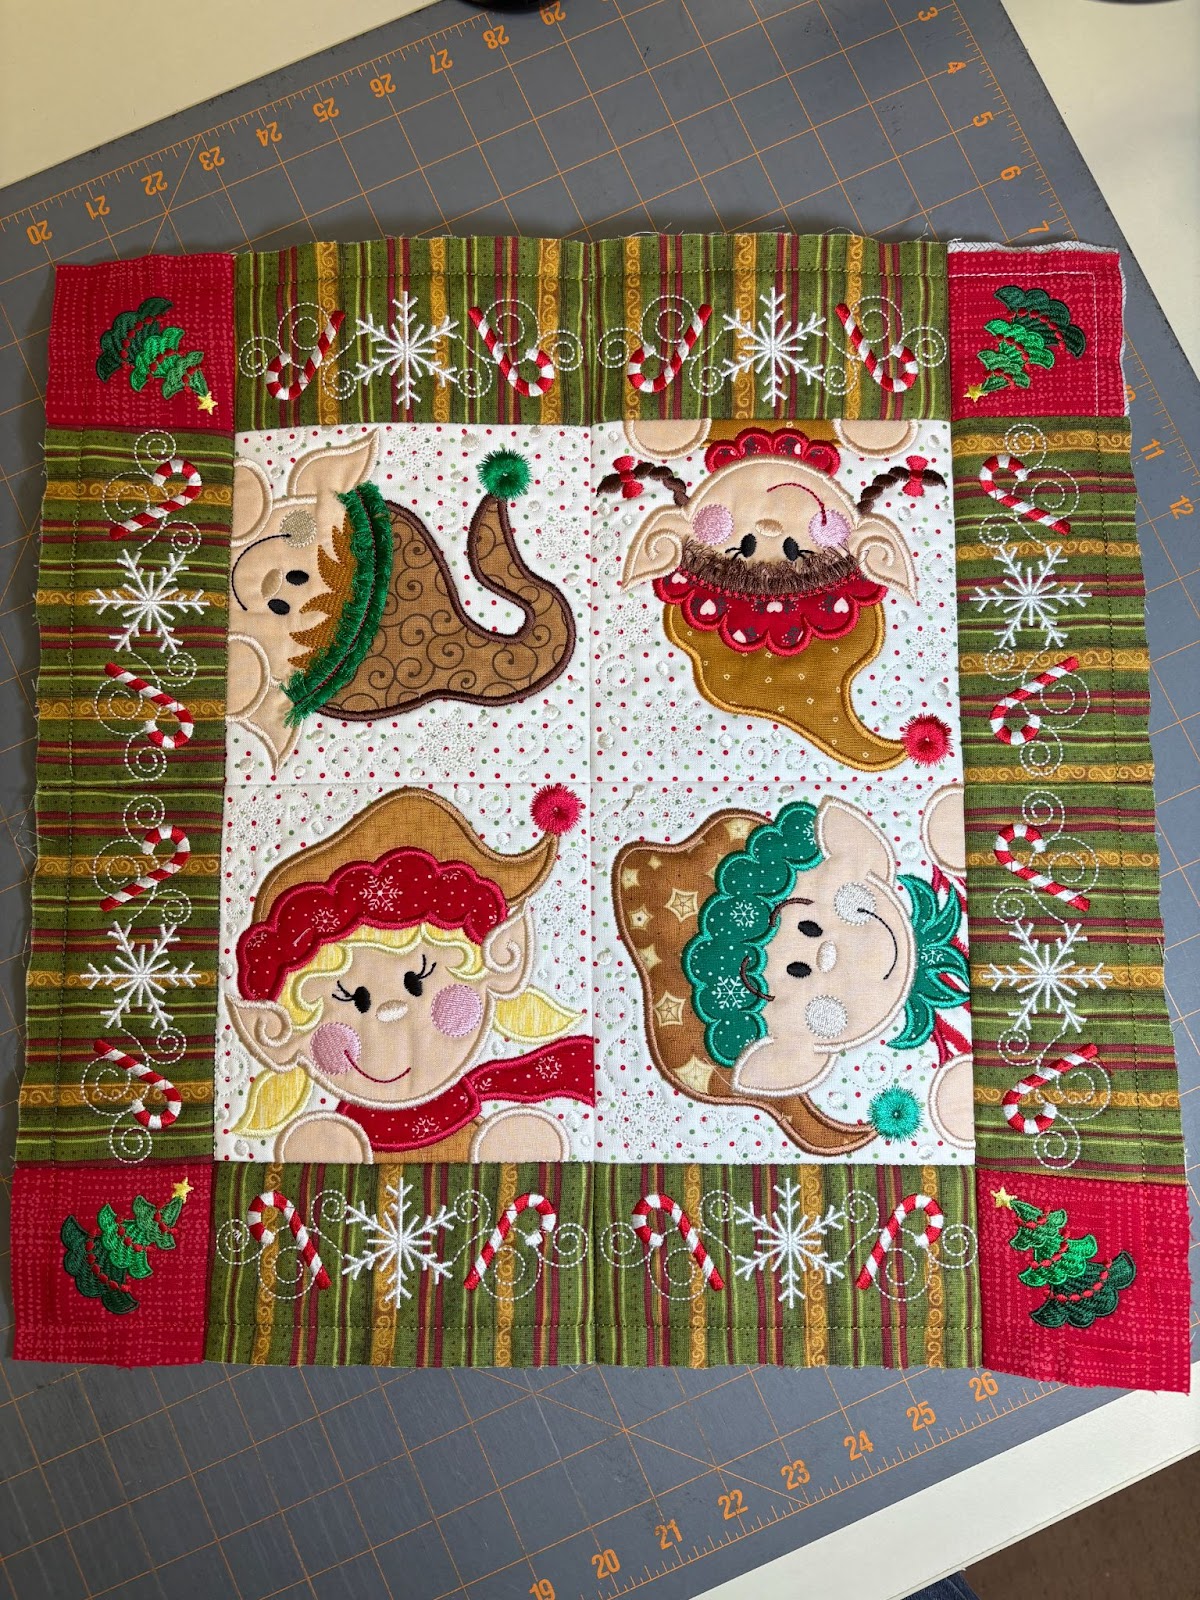
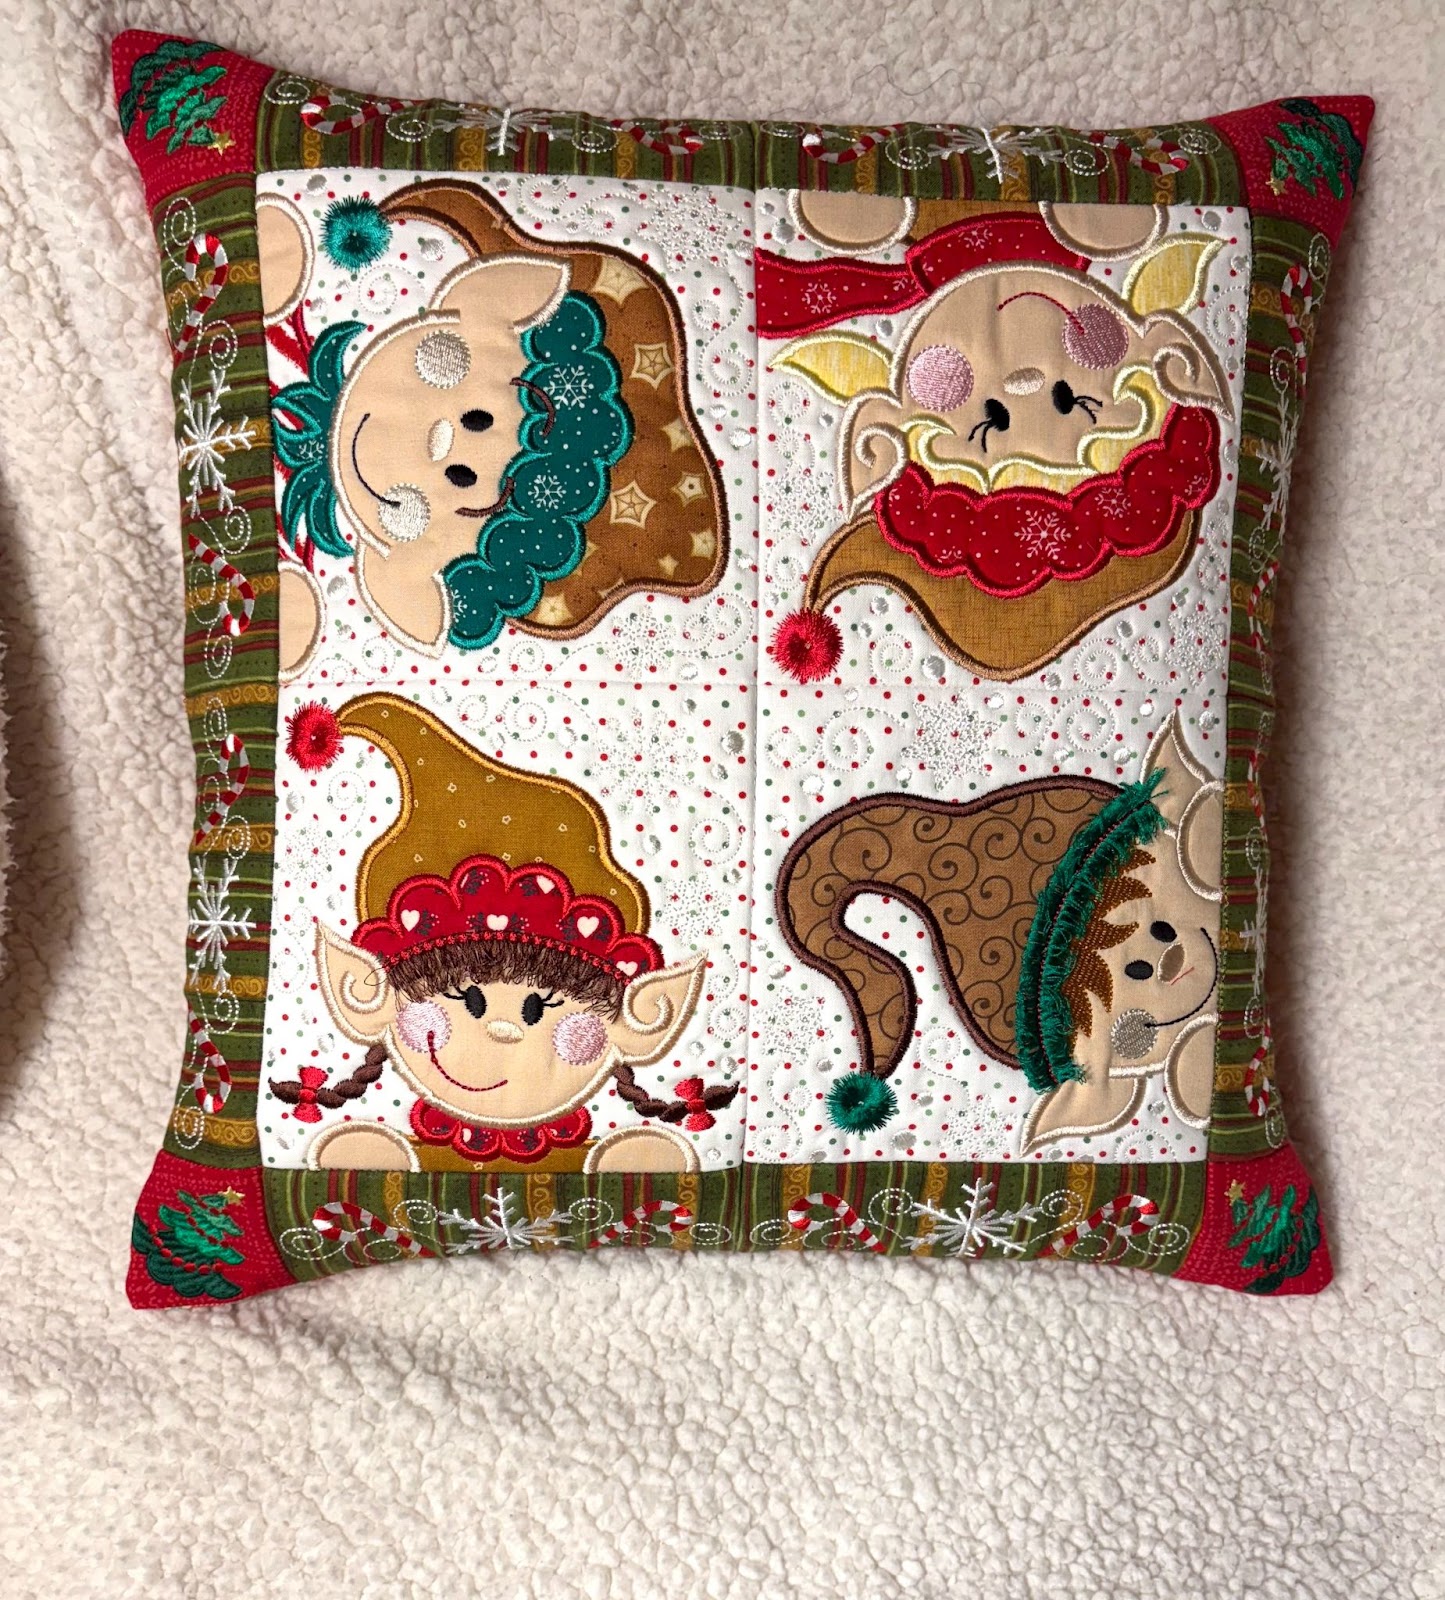
Here’s my Elf Patchy Pillow top. Before we begin, I’d like to share some techniques that I used when making it.
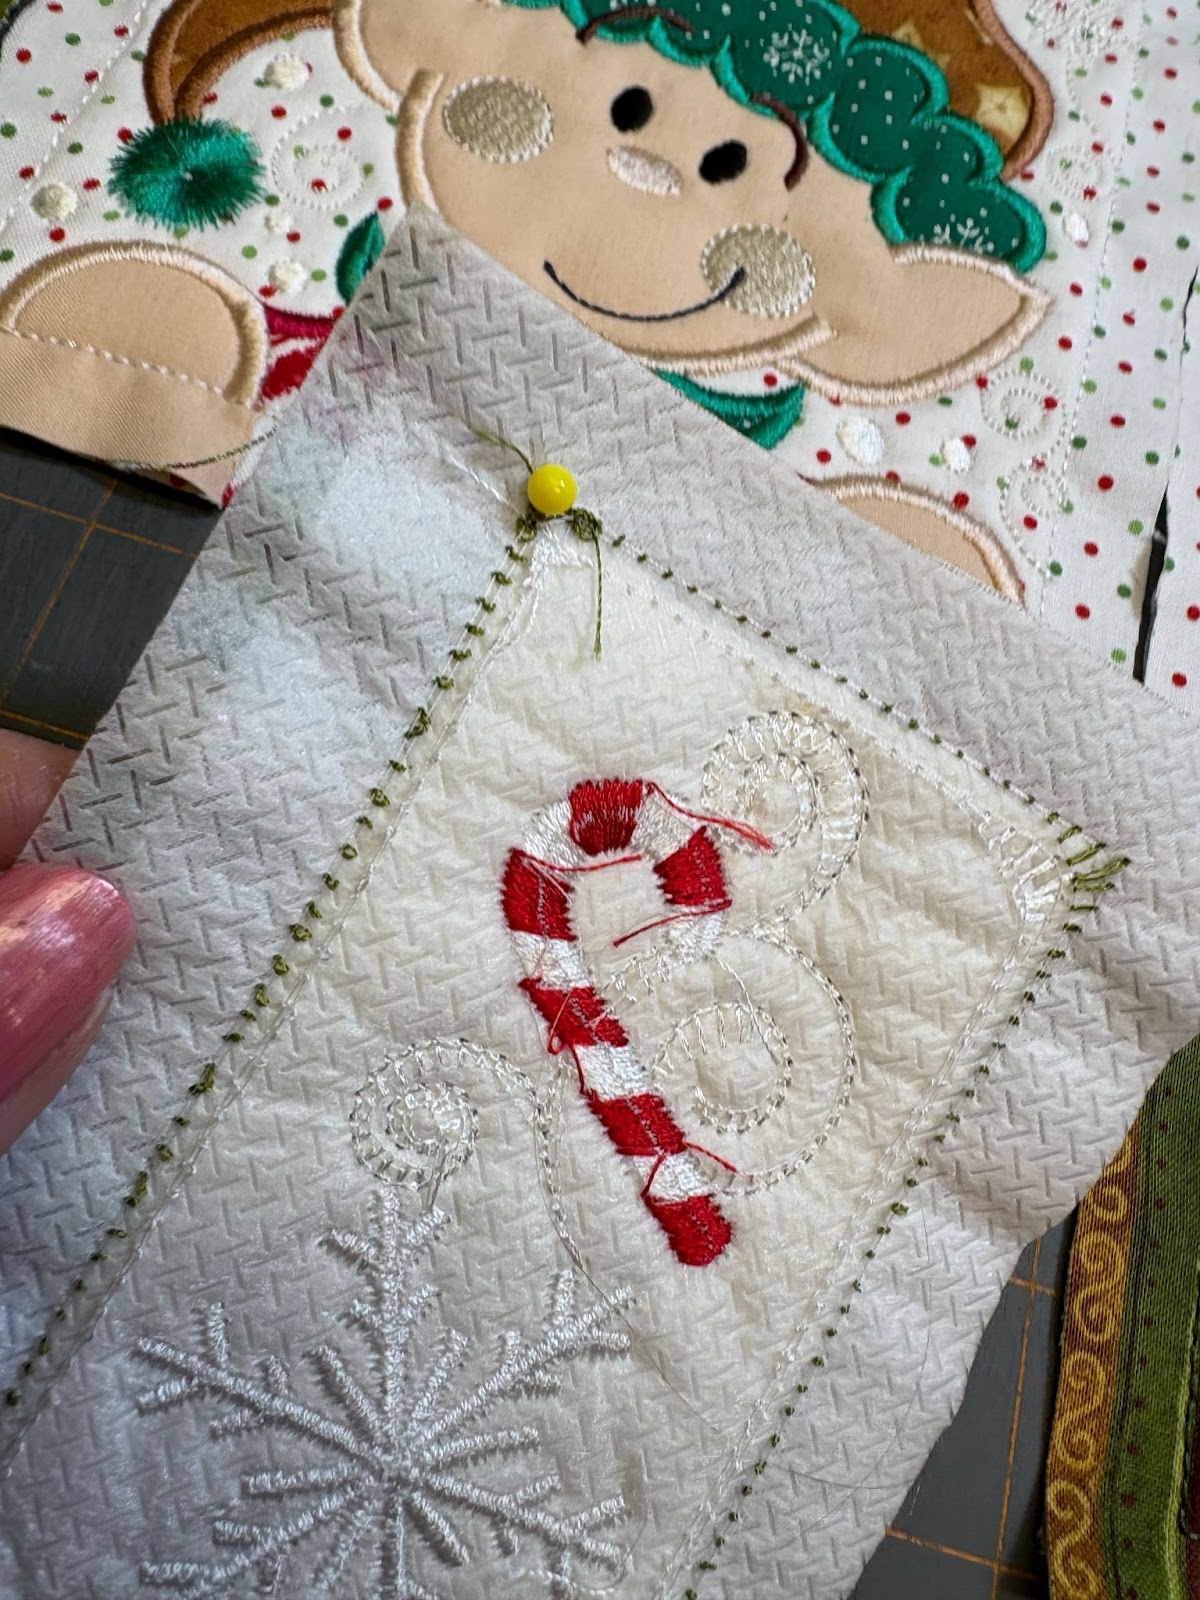
First, I like to use pins in the corners when sewing the different sections together. I position the two different pieces together, put a pin through the corner of the top piece, and check that it’s on the corner of the back piece. I’m a stickler about matching seams and doing this means I rarely have to use my stitch ripper and restitch.
Second, sometimes I use a clapper (also known as a tailor’s clapper) to flatten my seams. This is a piece of wood which is laid down on the seam right after you press it open. It helps hold the heat a bit longer so the seam really stays flat. I DO NOT USE STEAM when I do this. That’s in capital letters because if you read about clappers online they usually mention steam. I don’t put water in my iron or use the steam setting because I’ve not only read about but also have first-hand experience with a leaky iron staining my fabric. Using the clapper with a dry iron works successfully with helping press open my seams. I use a narrow clapper because I don’t want to flatten my embroidery stitches.
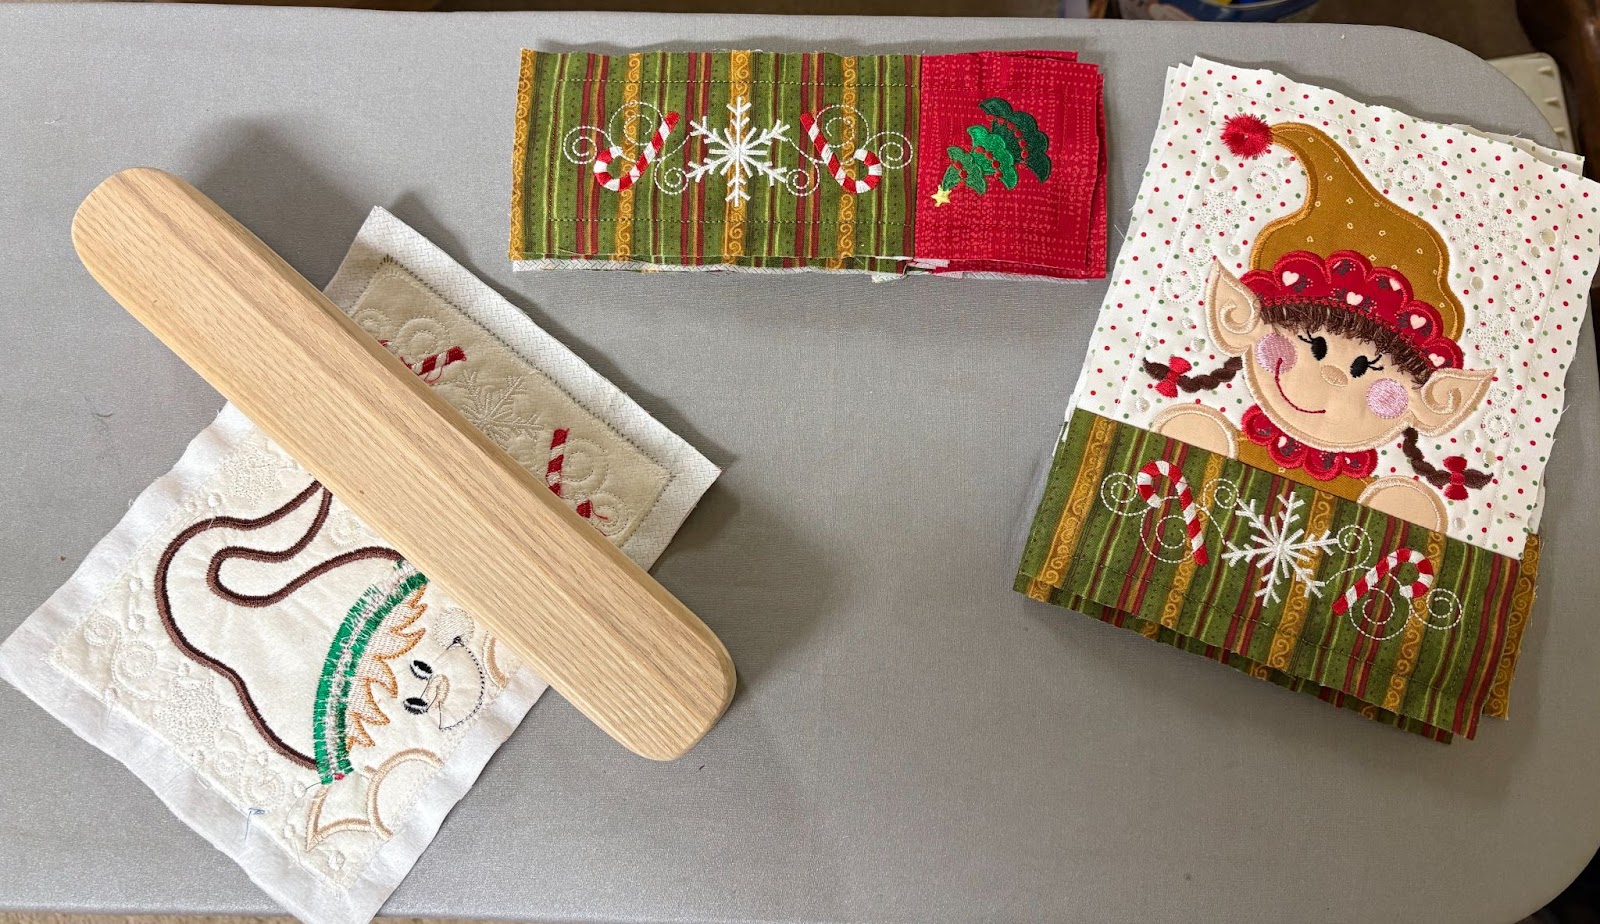
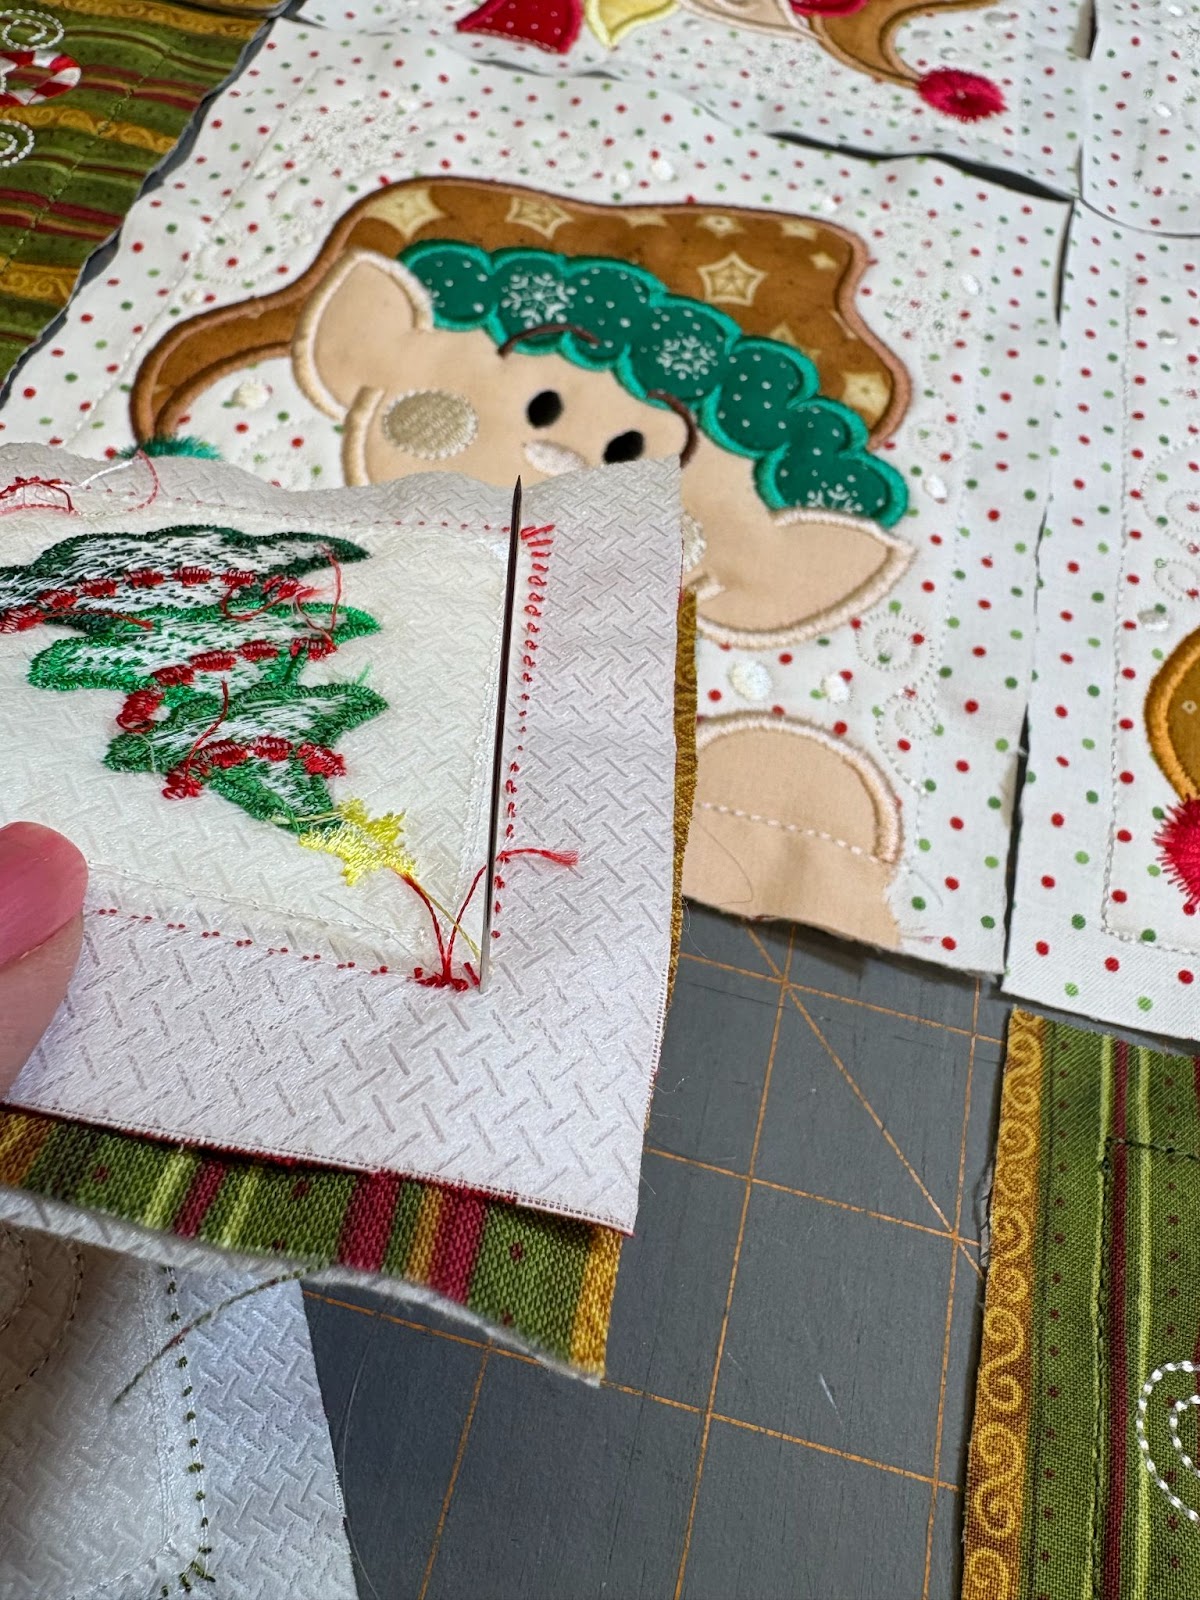
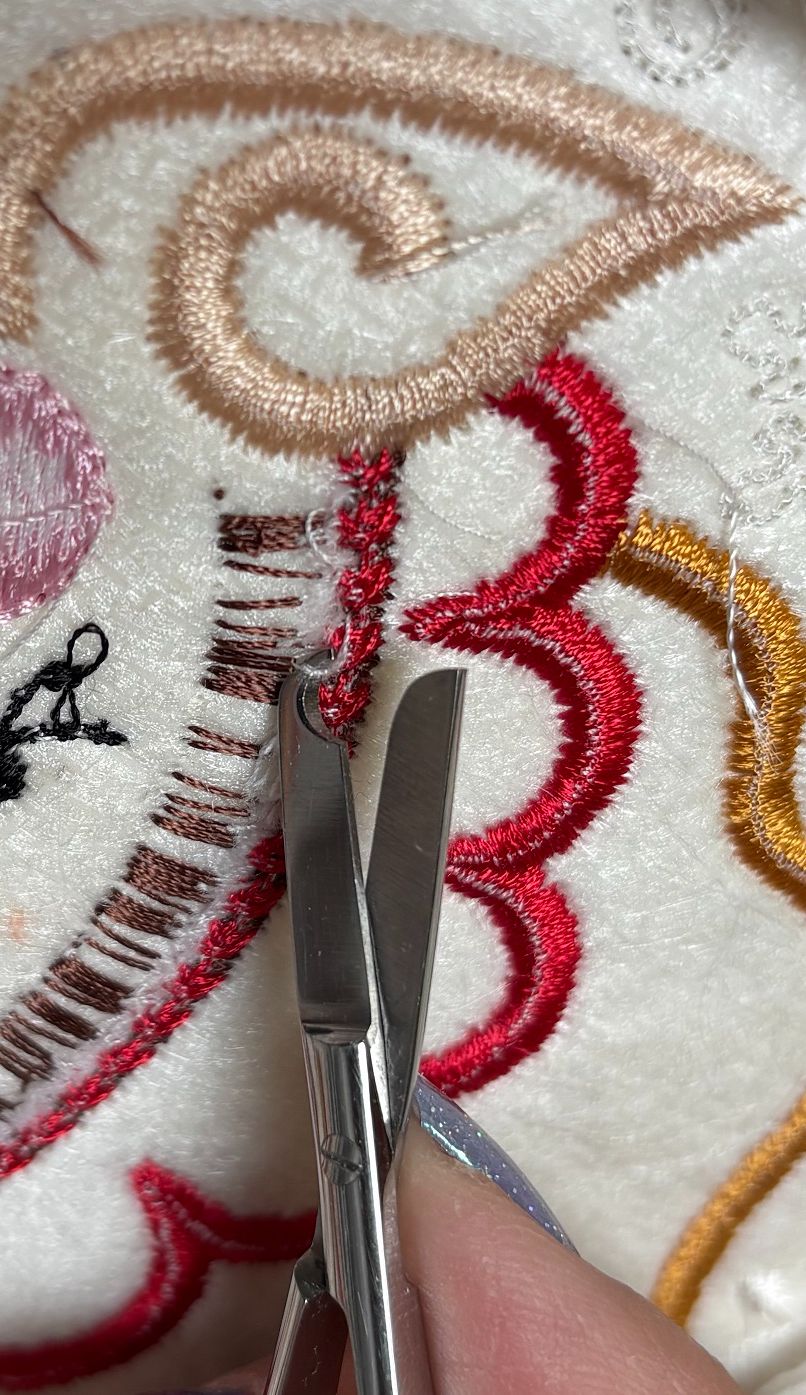
Third, I strongly second (or third?) the suggestions made by Janay in her fringe tutorial. The Havel's® Snip-a-Stitch scissors is a great tool for trimming the bobbin threads on the fringed areas. It was a lot easier for me to accomplish once I purchased these scissors.
Once the pillow top is assembled, measure the width across. I took measurements from a couple different places to make sure I didn’t have any wonkiness and that the back piece was going to be big enough all around. What’s that old saying? Measure twice, cut once.
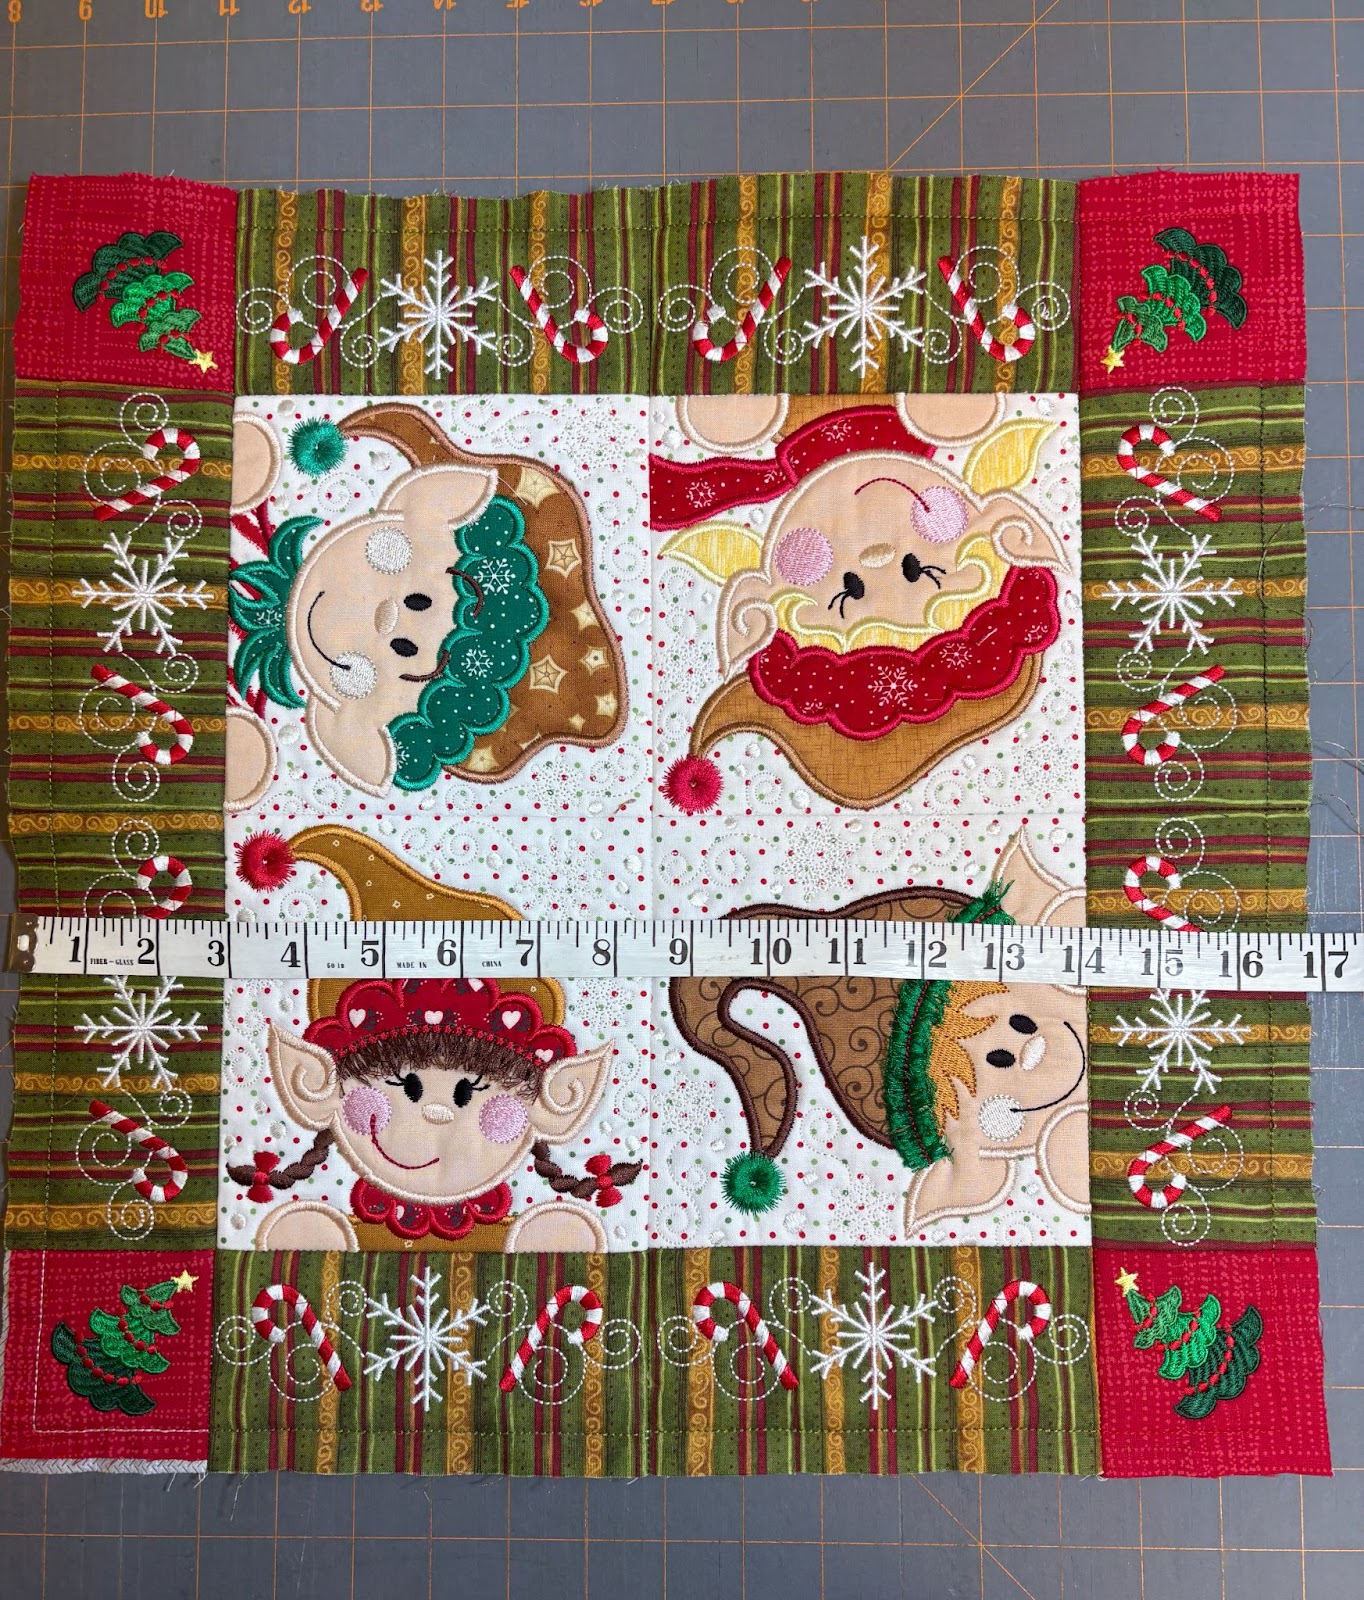
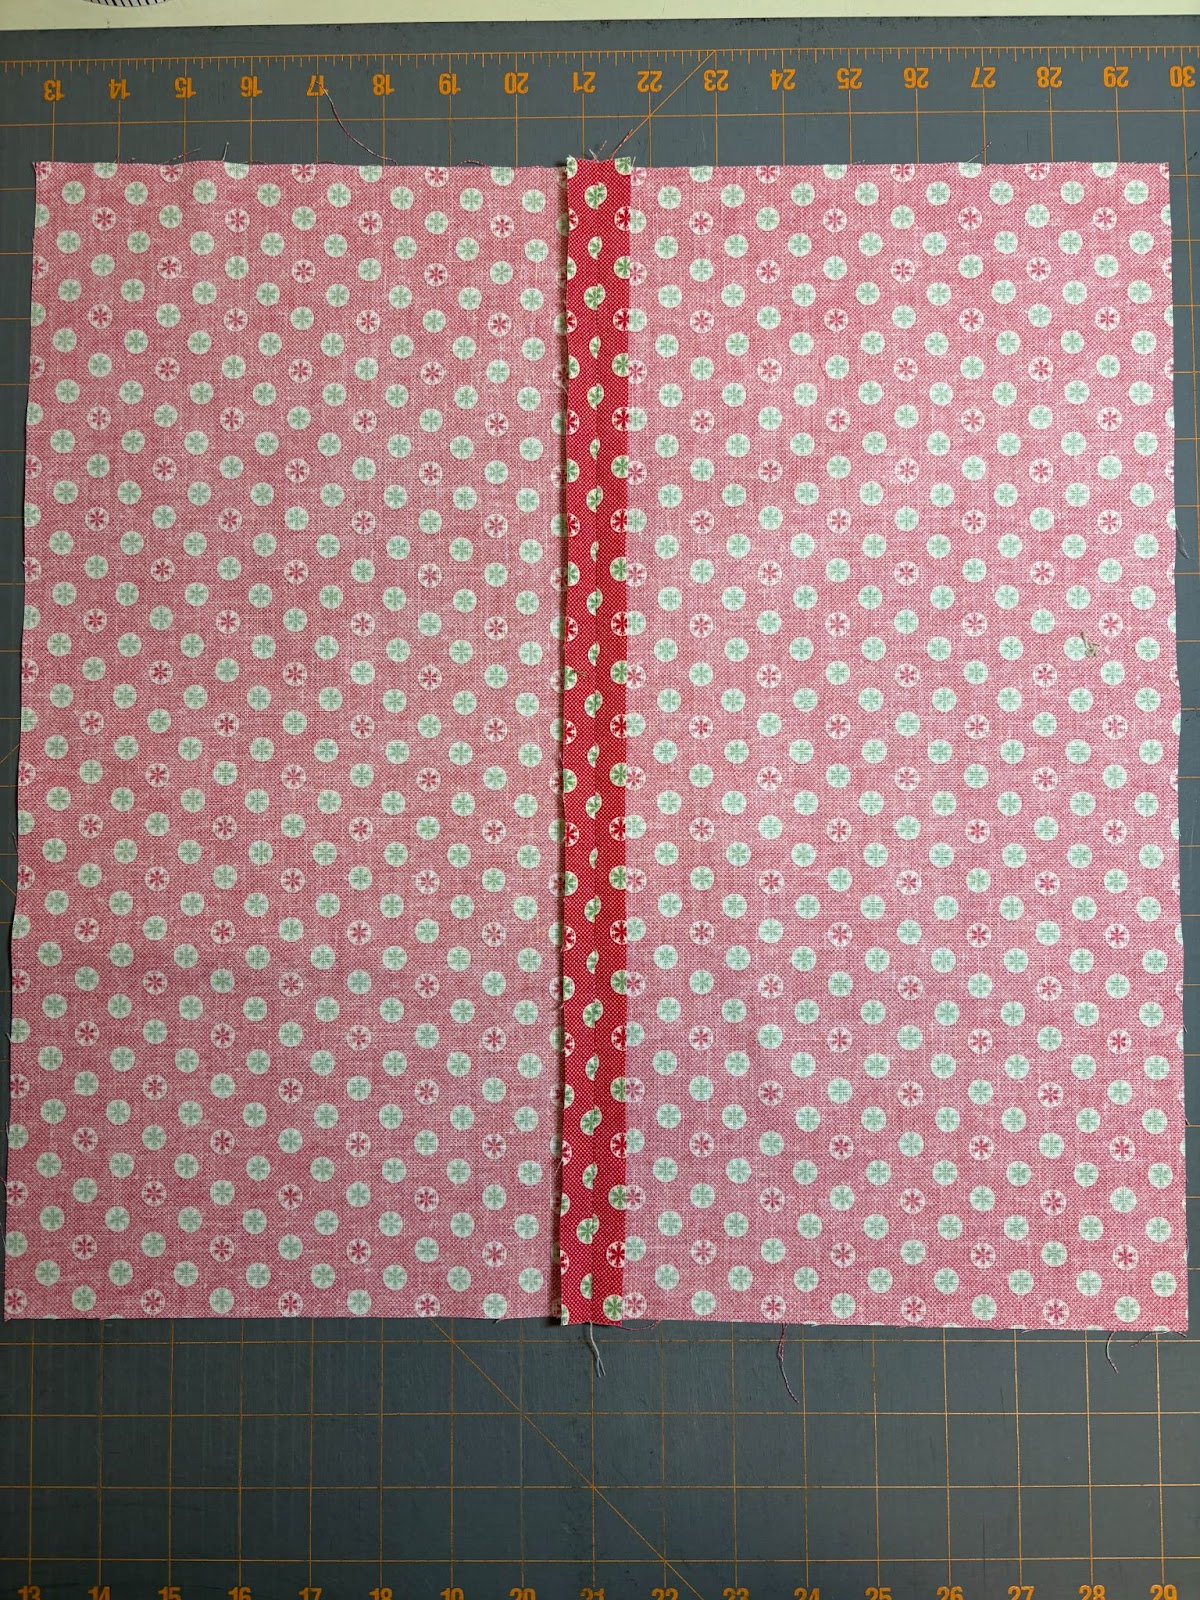
Use this formula to cut out your backing fabric: width by width + 1”. My pillow is 17” square, so I cut out a rectangle that is 17” x 18”. Next, cut the longer measurement in half. My longer measurement is 18” so I ended up with two backing pieces that are 17” x 9” each.
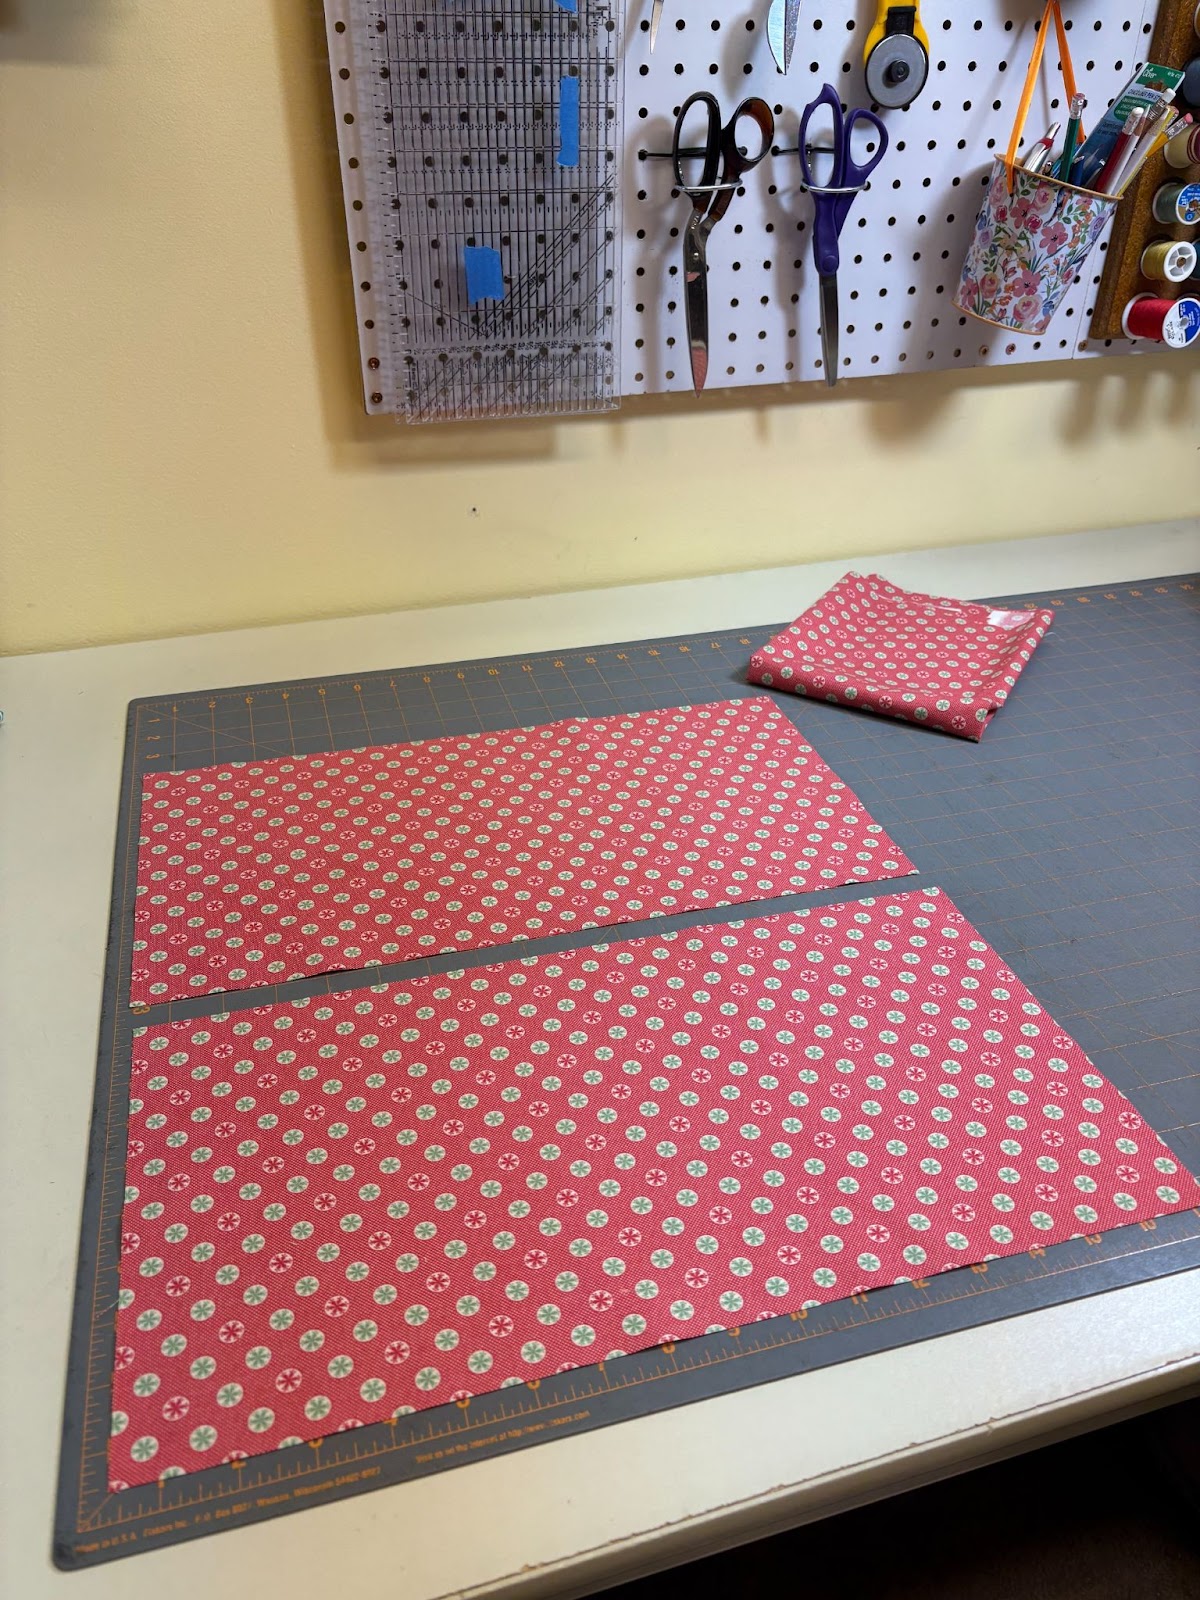
Baste the two pieces back together with a ½” seam allowance. I find that if I put those same pieces right back together where they were cut, the finished pillow back looks neater no matter the fabric print. Press the seam open.
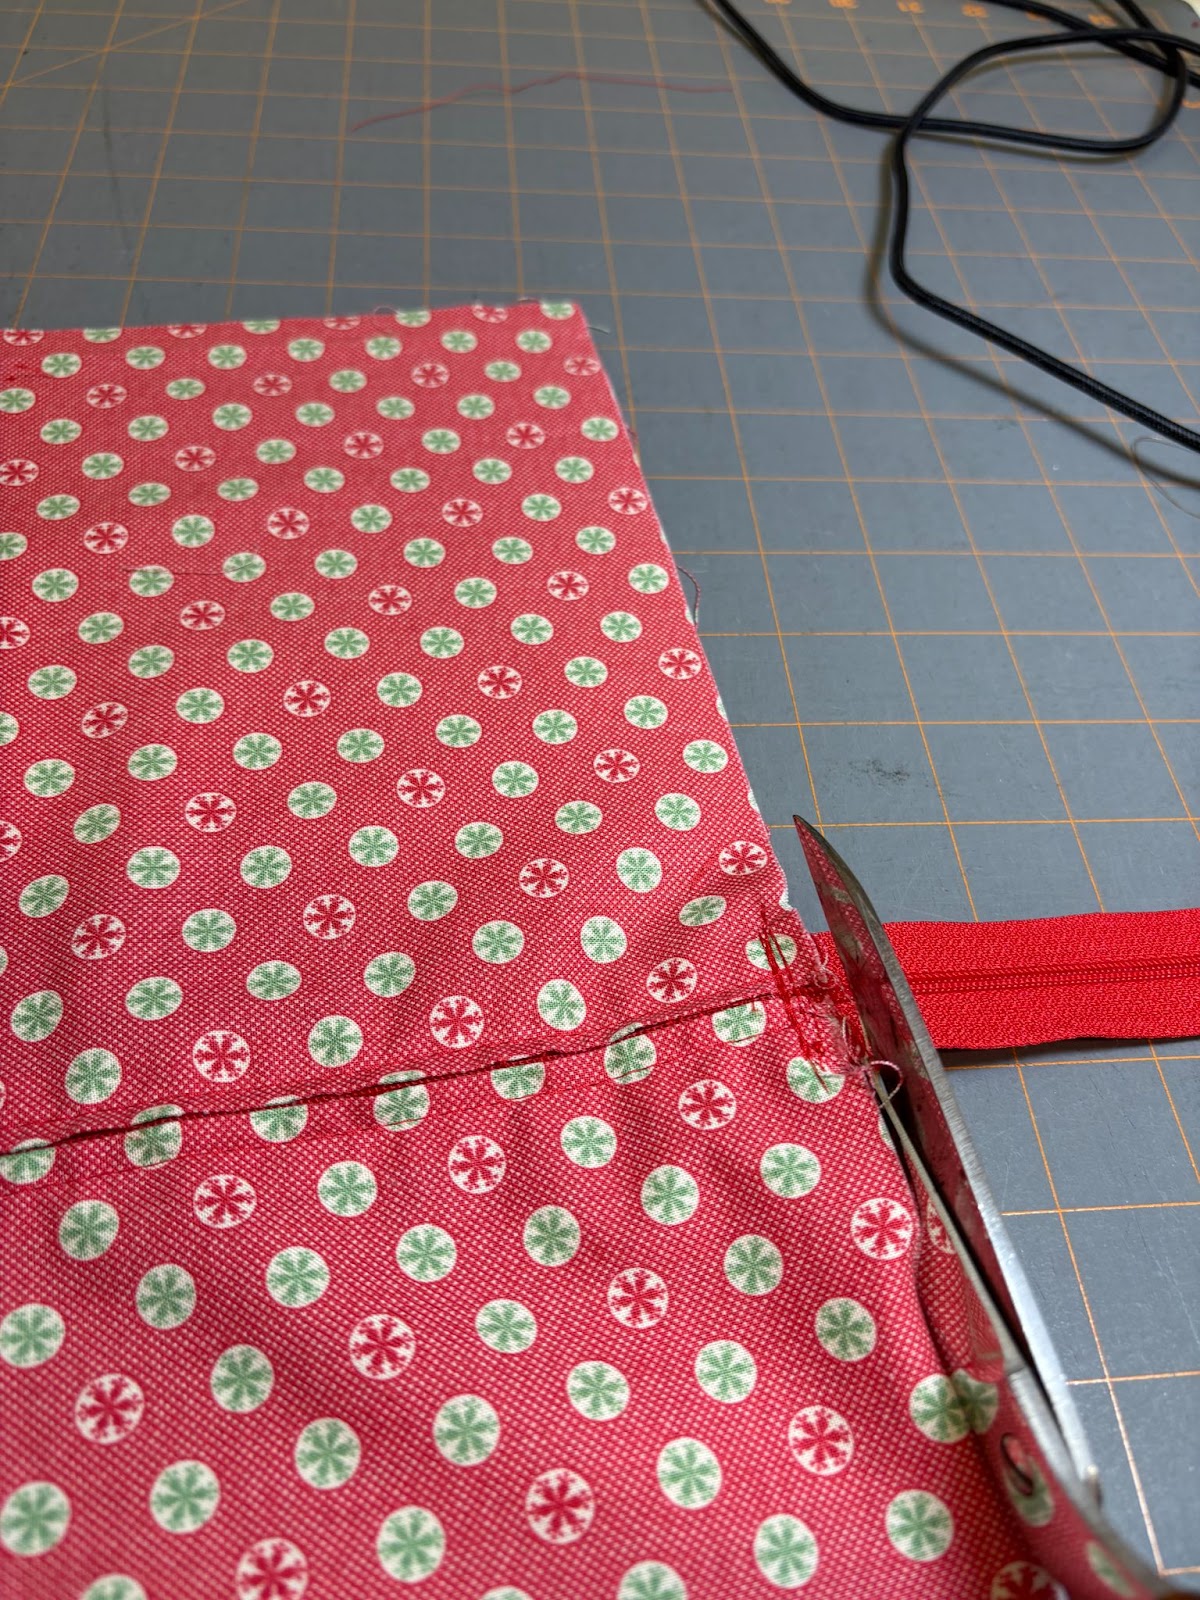
When I was purchasing supplies for this project, I hadn’t decided what size I was going to make my pillow. It didn’t help that the store didn’t have a lot of zippers; there weren’t many options for colors and lengths. If you find yourself in the same boat someday, it’s okay to purchase a longer zipper than you might need. As long as the zipper is polyester, it can be cut shorter when you make your project—just don’t cut it before doing the step that will lock the zipper in place! I’m using a 20” zipper for this 16” pillow.
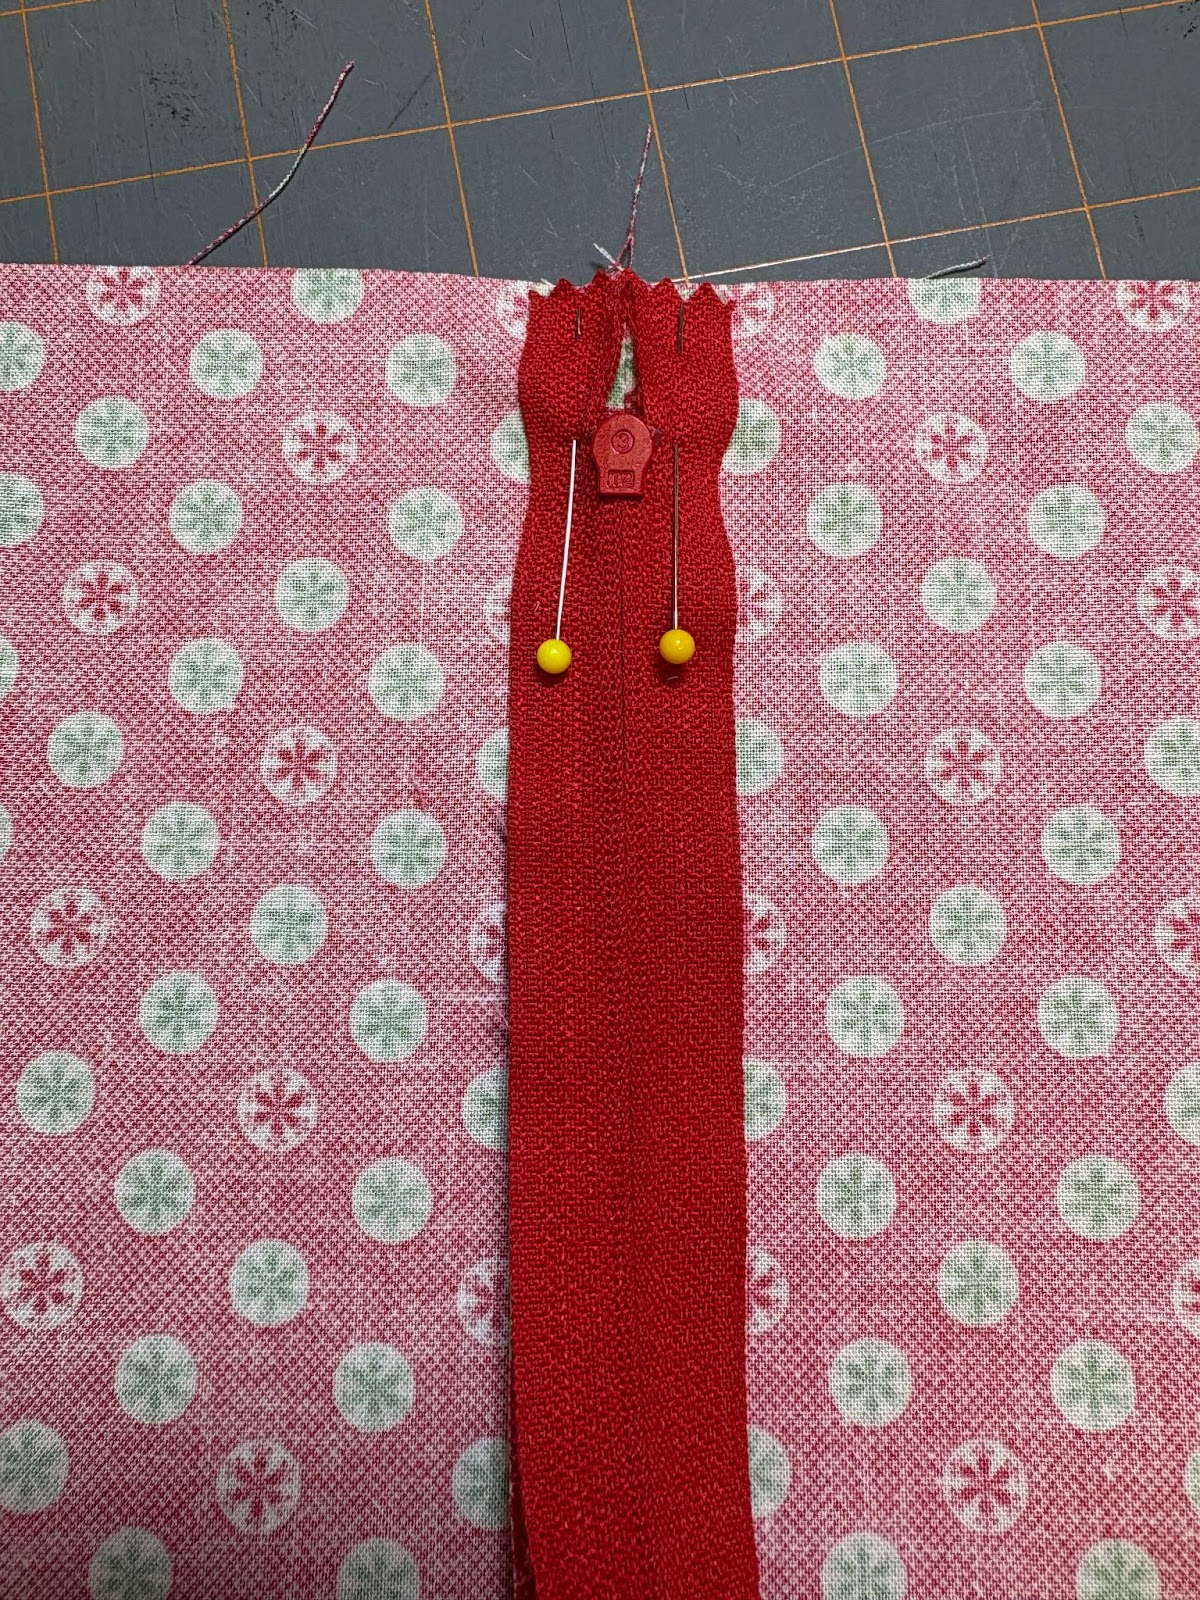
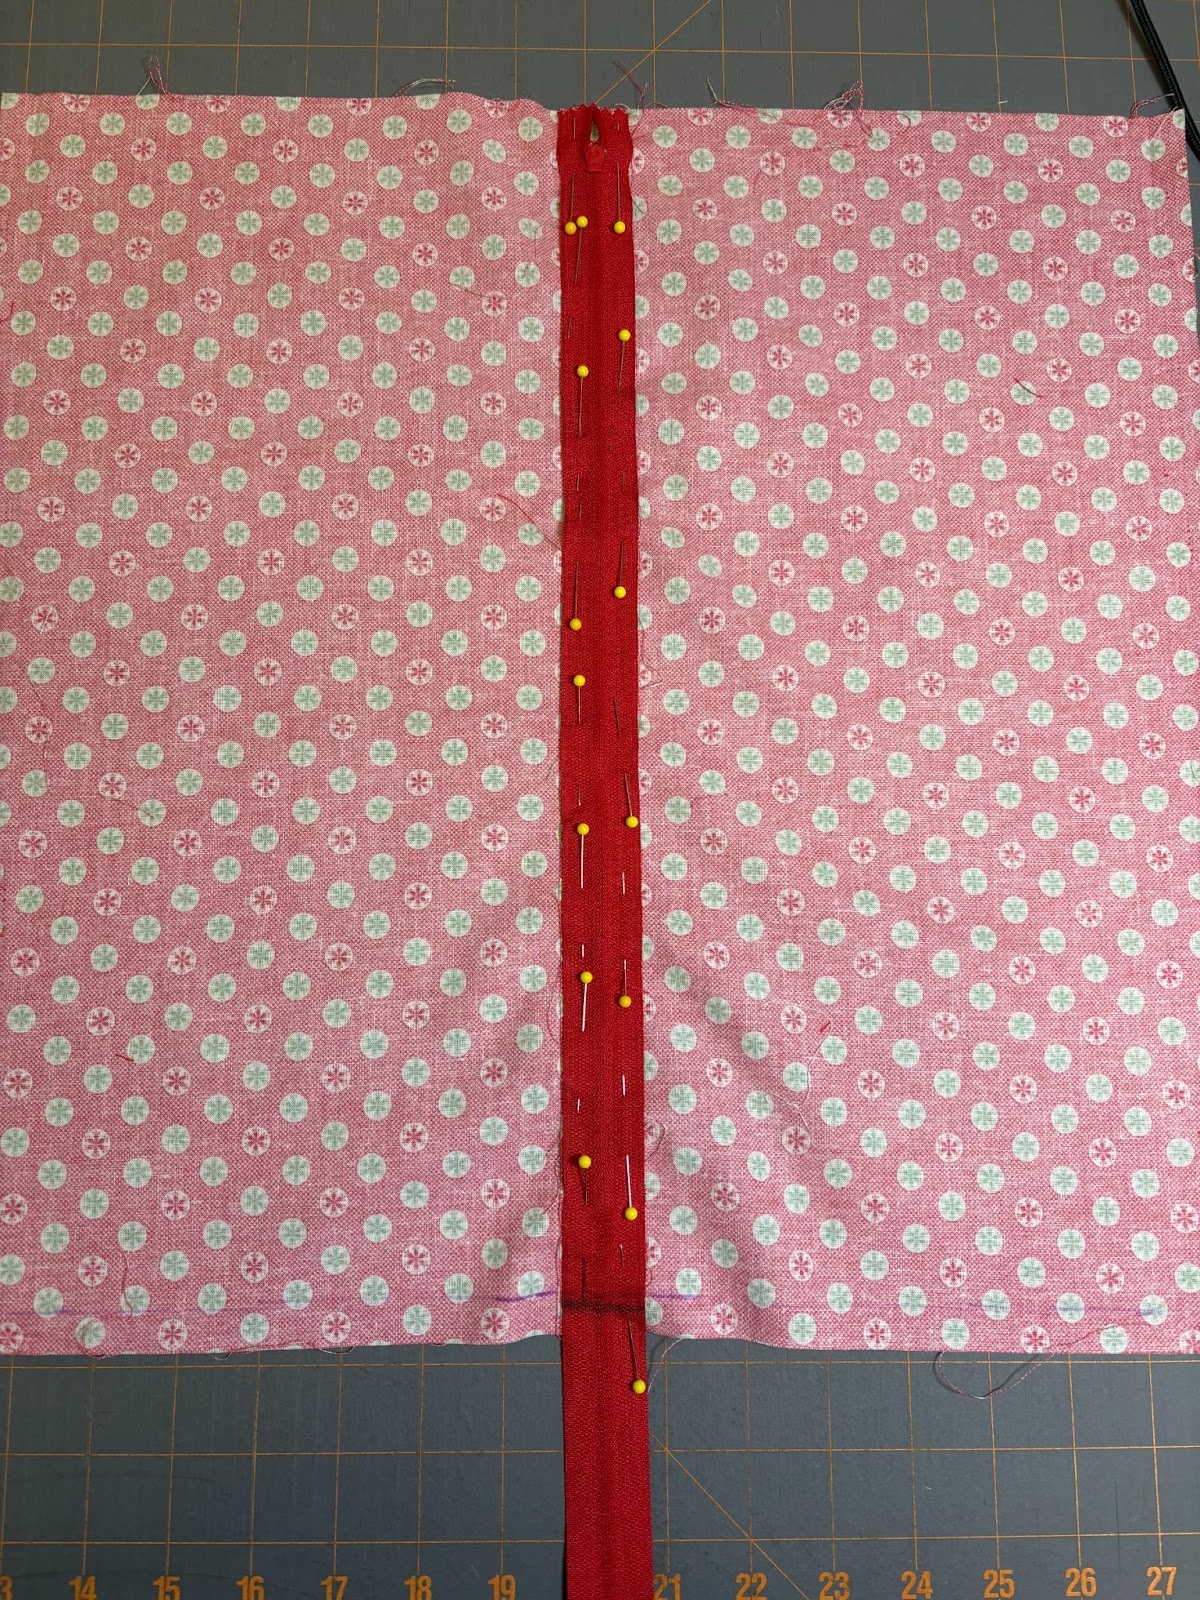
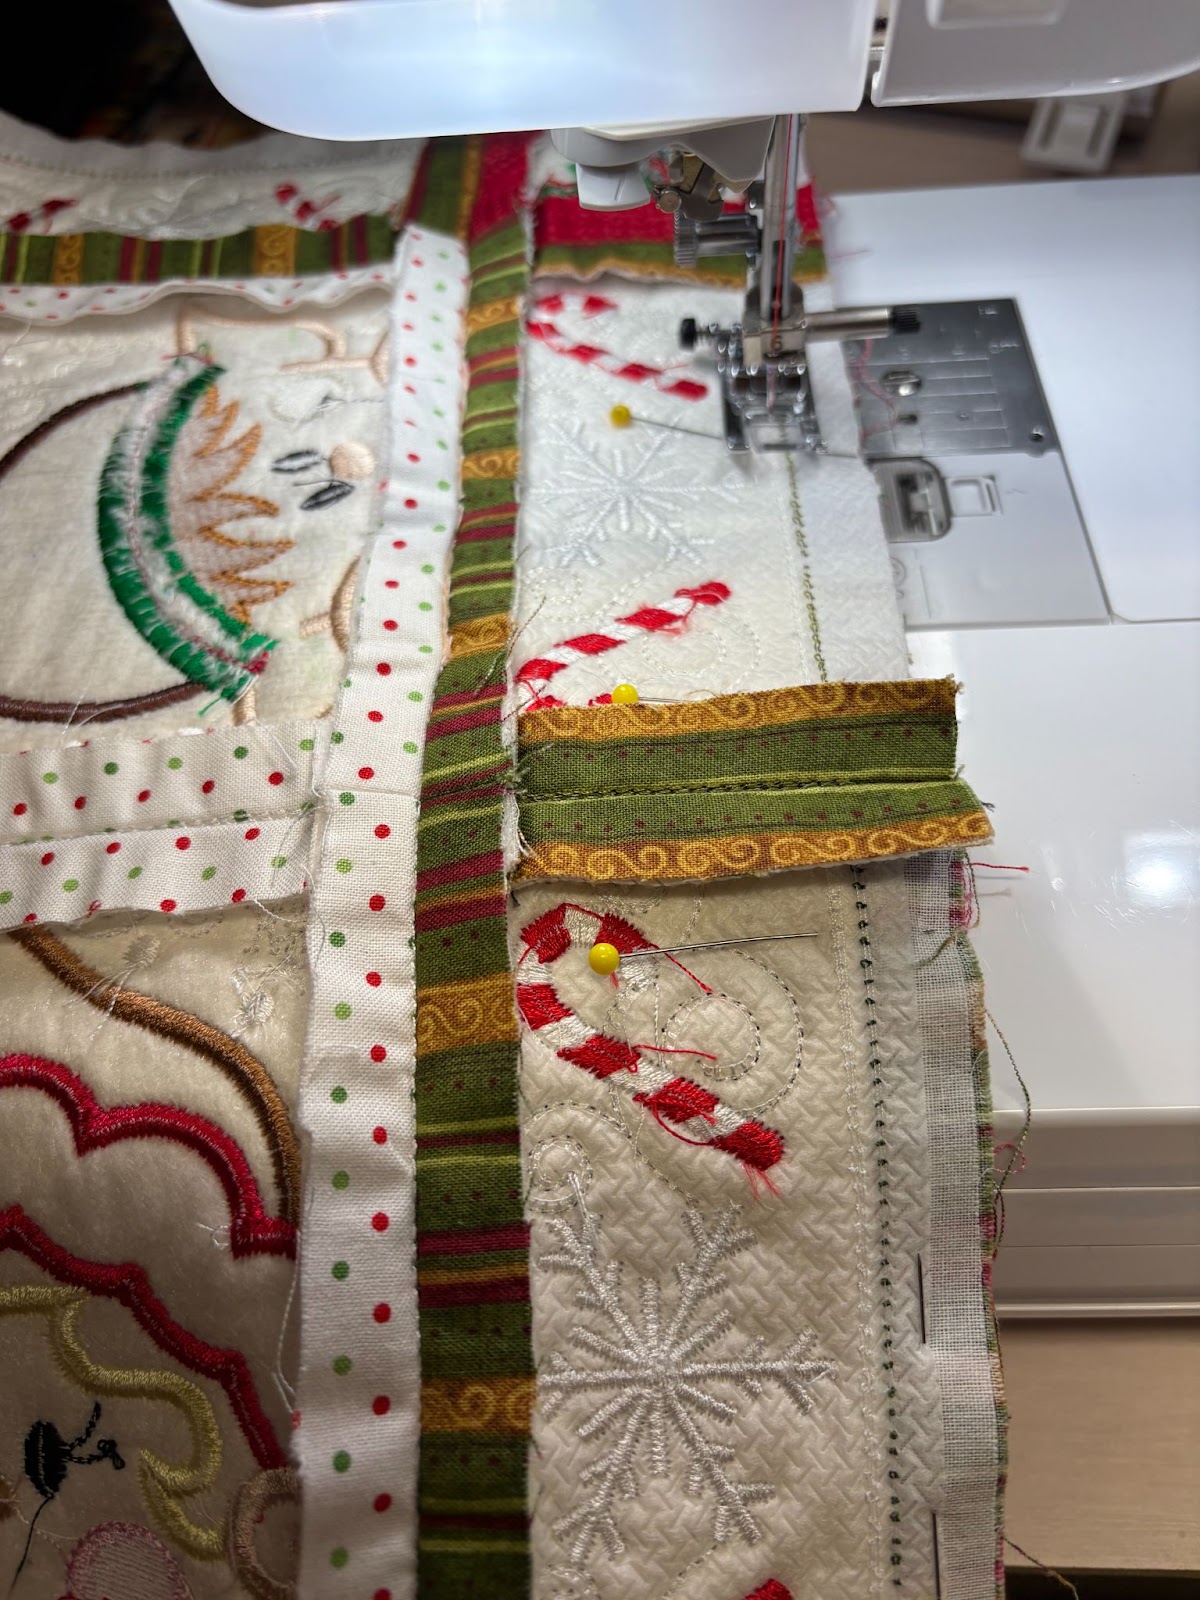
Position the zipper face down centered exactly over the pressed seam with the top of the zipper lined up with the edges of the fabric. Pin down. Mark the bottom of the zipper to show where the ½” seam allowance will be. I usually make a second line inside the seam allowance to remind myself that I need to go back and forth a few times to lock the zipper down.
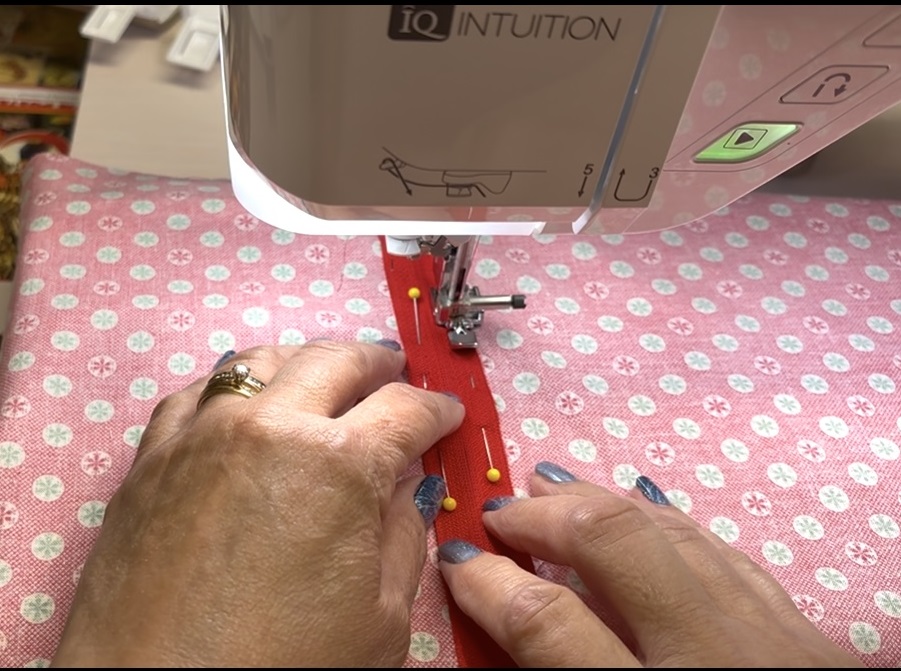
Use a zipper foot to sew the zipper in place. Starting at the top, sew the zipper down one side. When you get to the seam line you marked, go a little into the seam allowance and sew back and forth across the marked line a few times to lock the zipper down securely. Then continue sewing up the other side of the zipper. When I started to sew, the zipper tab was up and I began sewing slightly below the tab. I went up the second side ending a little below the zipper tab. I then removed the pillow back from the machine, pushed the zipper tab down, and sewed each side of the zipper all the way to the top. In case it would be helpful, I made a short video to show this.
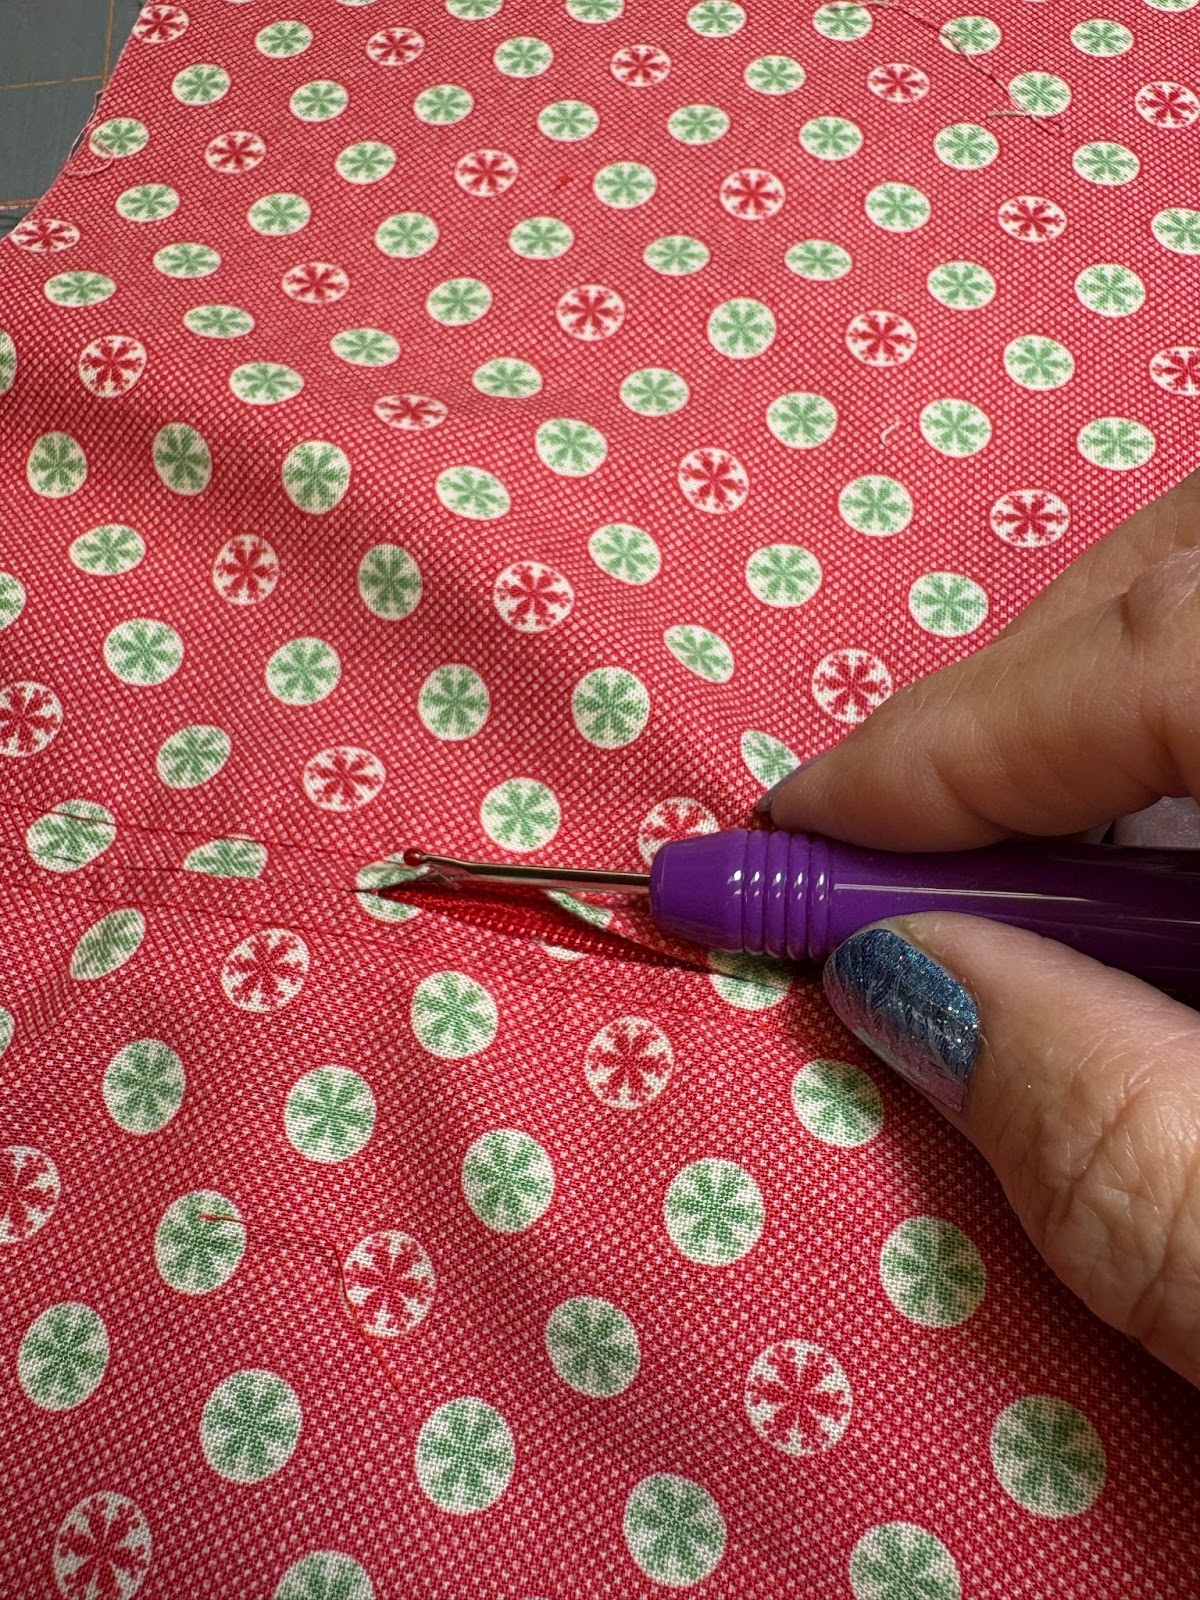
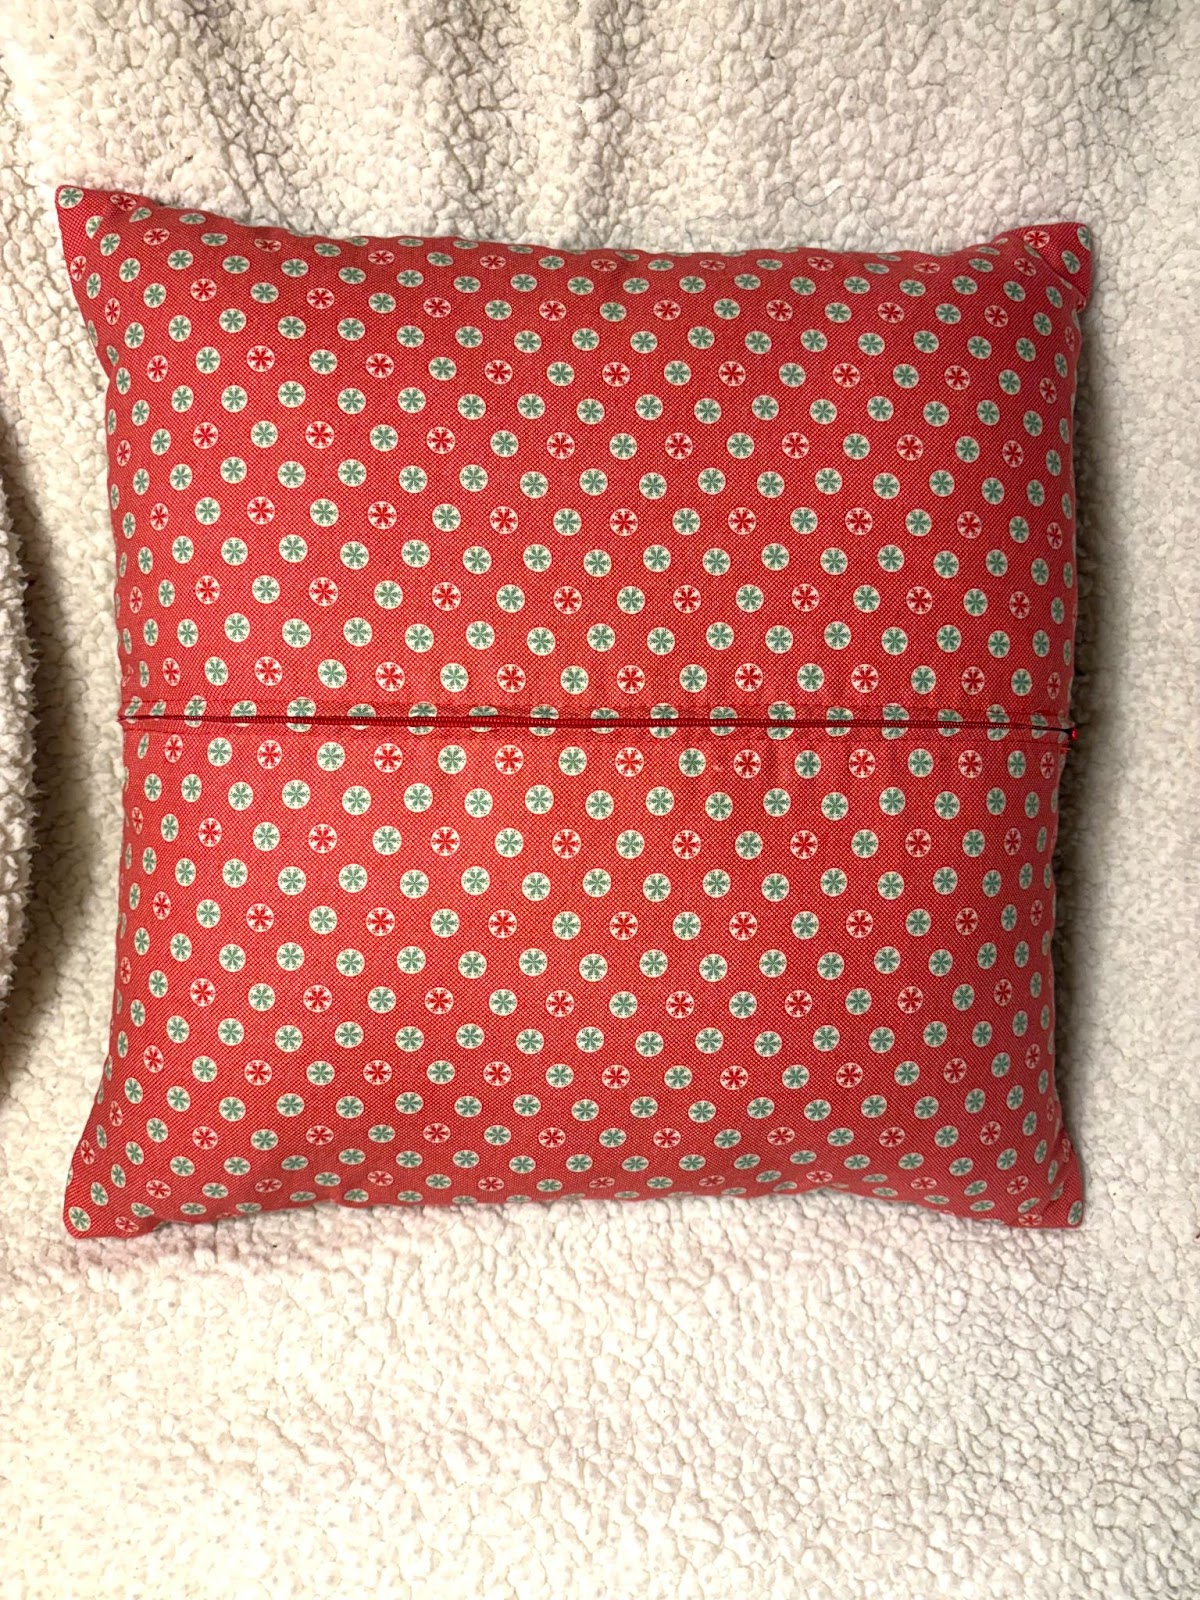
Carefully remove the basting stitches. The zipper should be nice and centered. Once you’re happy with how it looks, you can trim the excess zipper length off at the bottom, being careful to leave a little extra extending into the seam allowance below your locking stitches.
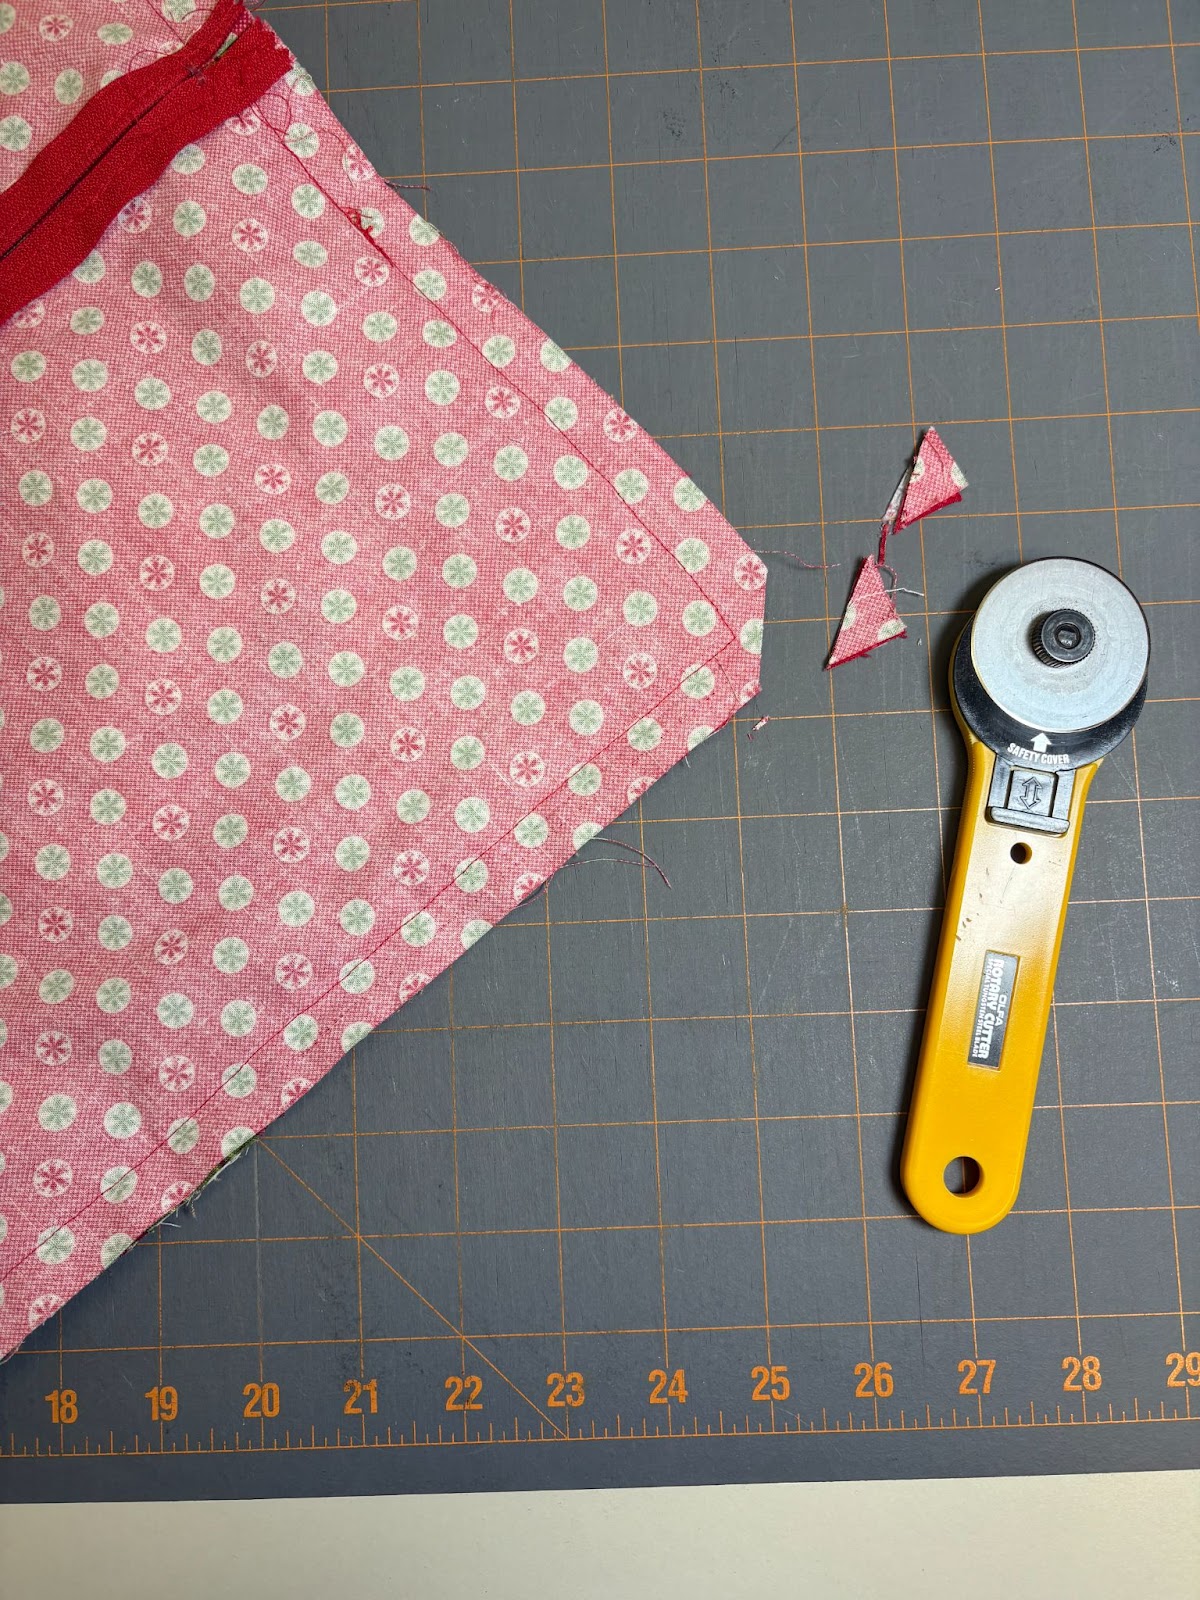
Place the pillow top and pillow back right sides together and pin or clip well. If you pin, pin with the pillow top on the top so you can see the tack-down lines. Sew all the way around the pillow just inside the tack-down lines. Make sure you have the zipper tab down so you don’t run into it and break your needle.
Trim the four corners of the pillow.
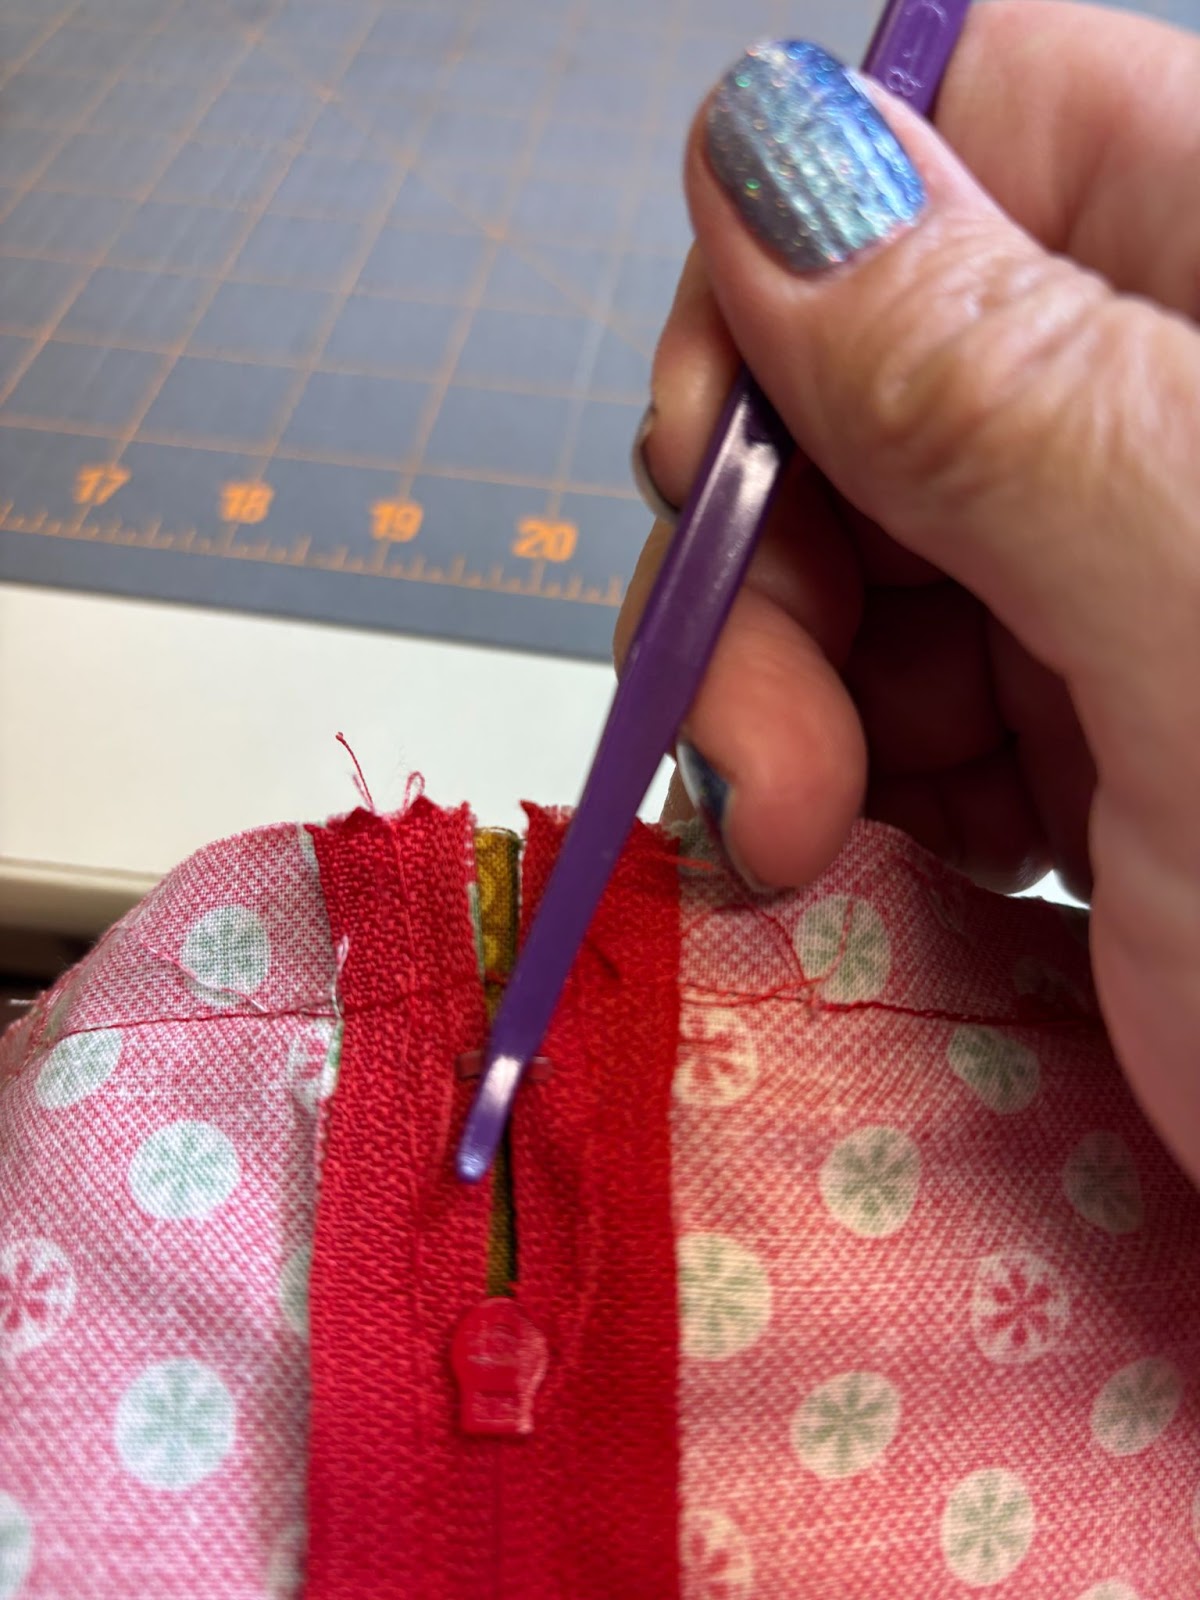
You can use your finger to push the zipper down until you can reach in and unzip the pillow. I actually had a little trouble doing this and discovered that the Purple Thang works brilliantly for this step! The curved end slipped right into the hole in the zipper tab and pulled it down. The more things I make, the more uses I find for that tool! Turn the pillow cover right side out and gently push out the corners using your fingers or a blunt object. Don’t use a sharp instrument that could make a hole.
Insert your pillow form. I used a 16” pillow form from Walmart.
I hope you try a zipper closure for your next DBJJ pillow. If you do, please share it with us in the Designs by JuJu Embroidery Blessings Group on Facebook, or anywhere on social media using the hashtag #designsbyjuju. We love to see what you create!