Toggle Nav
 Inspire.
Create.
Stitch.
Inspire.
Create.
Stitch.
Search
Fonts can transform any project with creativity, personality, and style!
I love fonts! They bring projects to life with fun and imagination. The right font can add a touch of whimsy and playfulness, while an elegant script creates a timeless, sophisticated feel. Today, we’re going to explore the wonderful world of fonts and how they elevate every design.
Have you ever looked at all the fonts on JuJu’s website? The last time I looked there were 977 embroidery fonts, and another 291 monograms—and more are being added all the time! As I was looking for winter ideas, I admit, I got distracted more than once. It is like taking a trip down the rabbit’s hole to Wonderland!
Be sure to check out the DBJJ Amazon store for some of our favorite products and blanks.
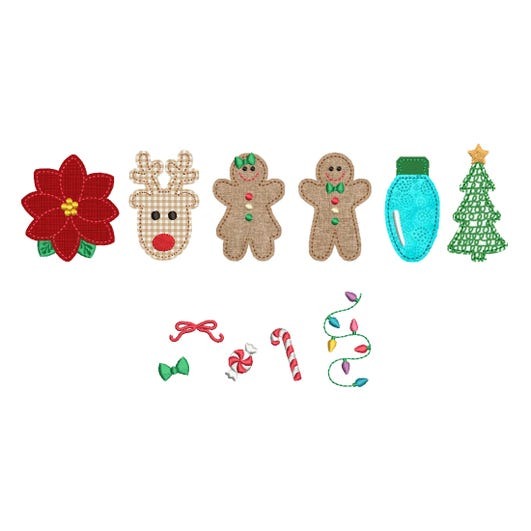
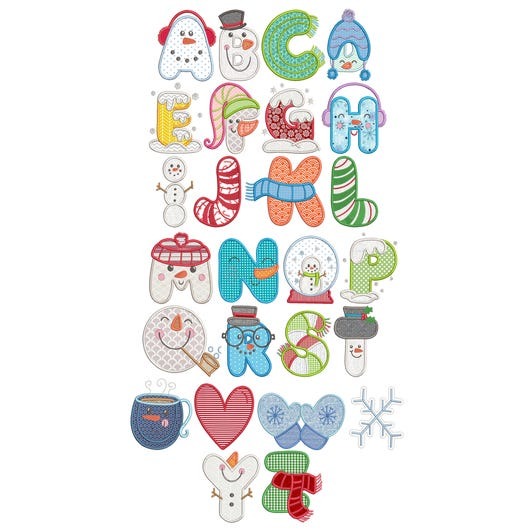
Some of my all-time favorite fonts are the Daisy Doodle Bean Stitch Applique, which Carolyn used to make personalized holiday PJs in this post, along with the cute Christmas Alphabet Embellishments Kit 1. And if it is labelled “Kit 1,” it means there are more fun designs in the same theme. There is also a Winter Alphabet Embellishment Kit. Using these embellishment kits makes it super fast to decorate a shirt or apron or anything you want!
But there are so many more!! I love Janay Bean Stitch Applique Script. It could be used for names or special words on pillows, or sweatshirts, or aprons, or pillowcases! Oh my!

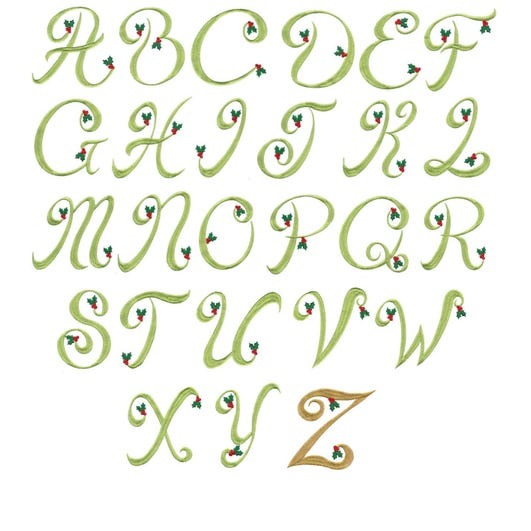
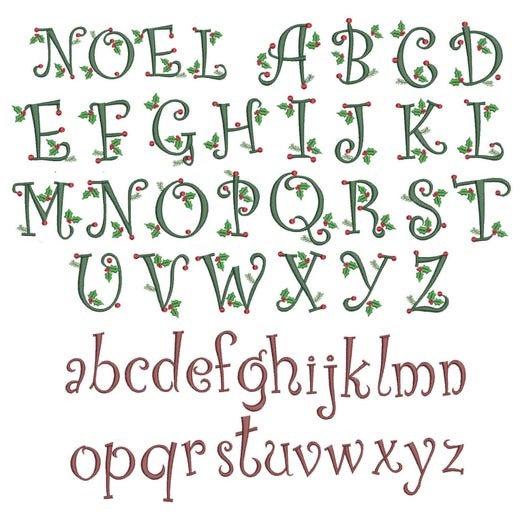
If you are looking for something a little more “holiday sophisticated,” Elegant Christmas Holly Monogram Alphabet is lovely.
Here is Curly Christmas Alphabet. I love that it comes with lower case letters too.
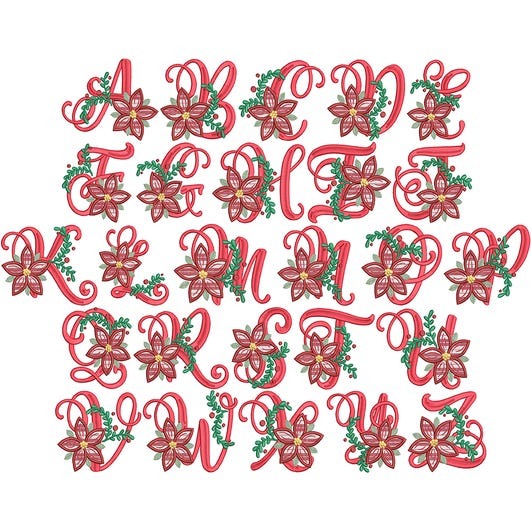
Christmas Poinsettia Alphabet is very festive! I am thinking about monogramming my guest bath hand towels since it comes in 3”, 4”, and 5” sizes. A monogrammed hand towel and a bar of fancy soap would also make a great hostess gift.
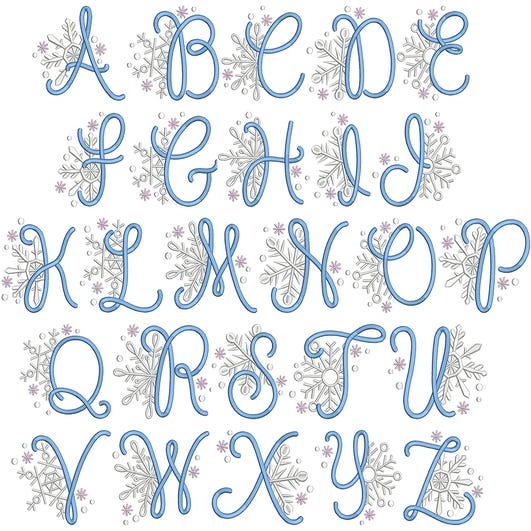
Check out this Snowflake Alphabet. Can’t you just feel the chilly winter days?
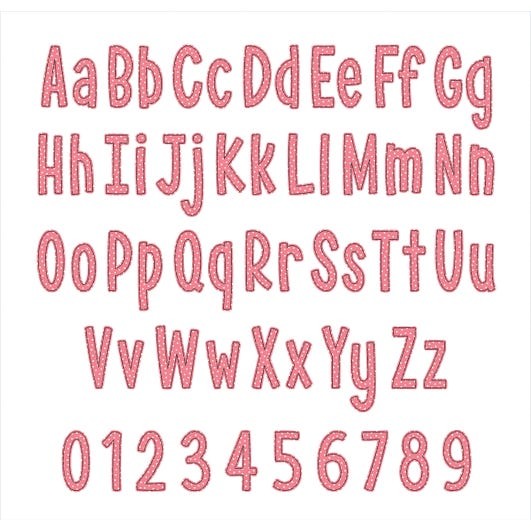
And just think what would happen if I combined it with the playful Elsie Embroidery Font? I really like the fun mix of upper and lower case letters.
Or how fun is this Elfed Embroidery Font?

The Shadow Step Embroidery Font is also a favorite of mine because the letters come in multiple sizes and are so clear to read.

Oh! There are so many fun fonts! Give yourself some time to view them all and choose your favorites.
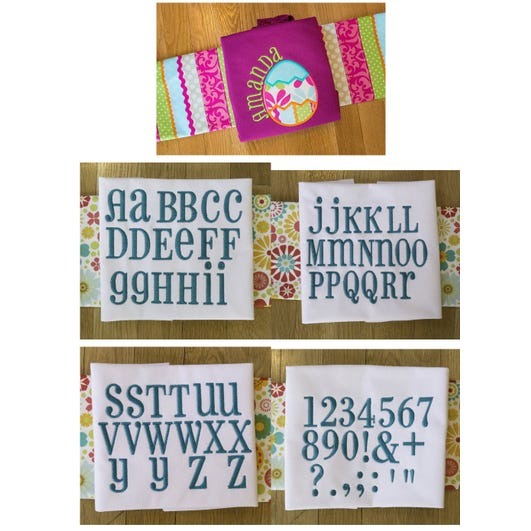
Ok, one more. Amorette Bean Applique Alphabet is bold and fun, and it comes in nine sizes.

Well, two more! I love these two snowman fonts: Snowman Applique Alphabet and Sweet Snowmen Applique Alphabet.

With all these fun fonts, I just had to make something. My problem was deciding what to do first. There are so many festive words you could make, the possibilities are limitless. I need to take a breath and settle myself down!
Let’s start with a supplies list.
(Note: I am highly allergic to sprays so I need to use a fusible mesh product. But in Carolyn’s blog post (link above), she explains using the DBJJ+ magicMesh and a spray adhesive. Use whichever method you are comfortable with; both give great results.)
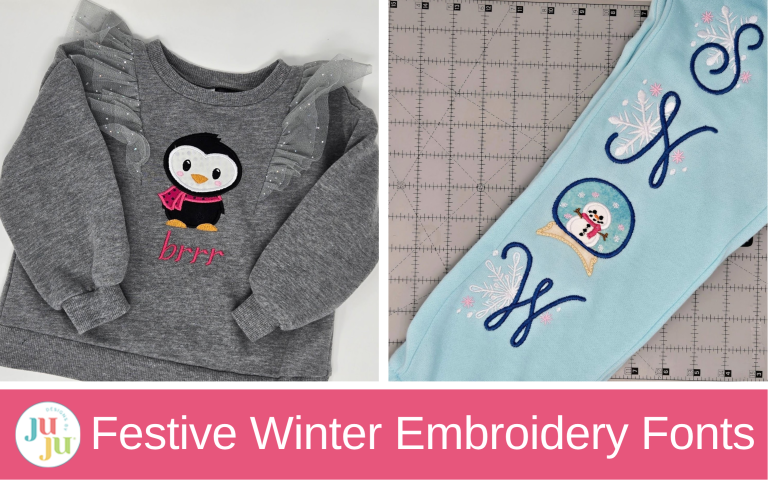
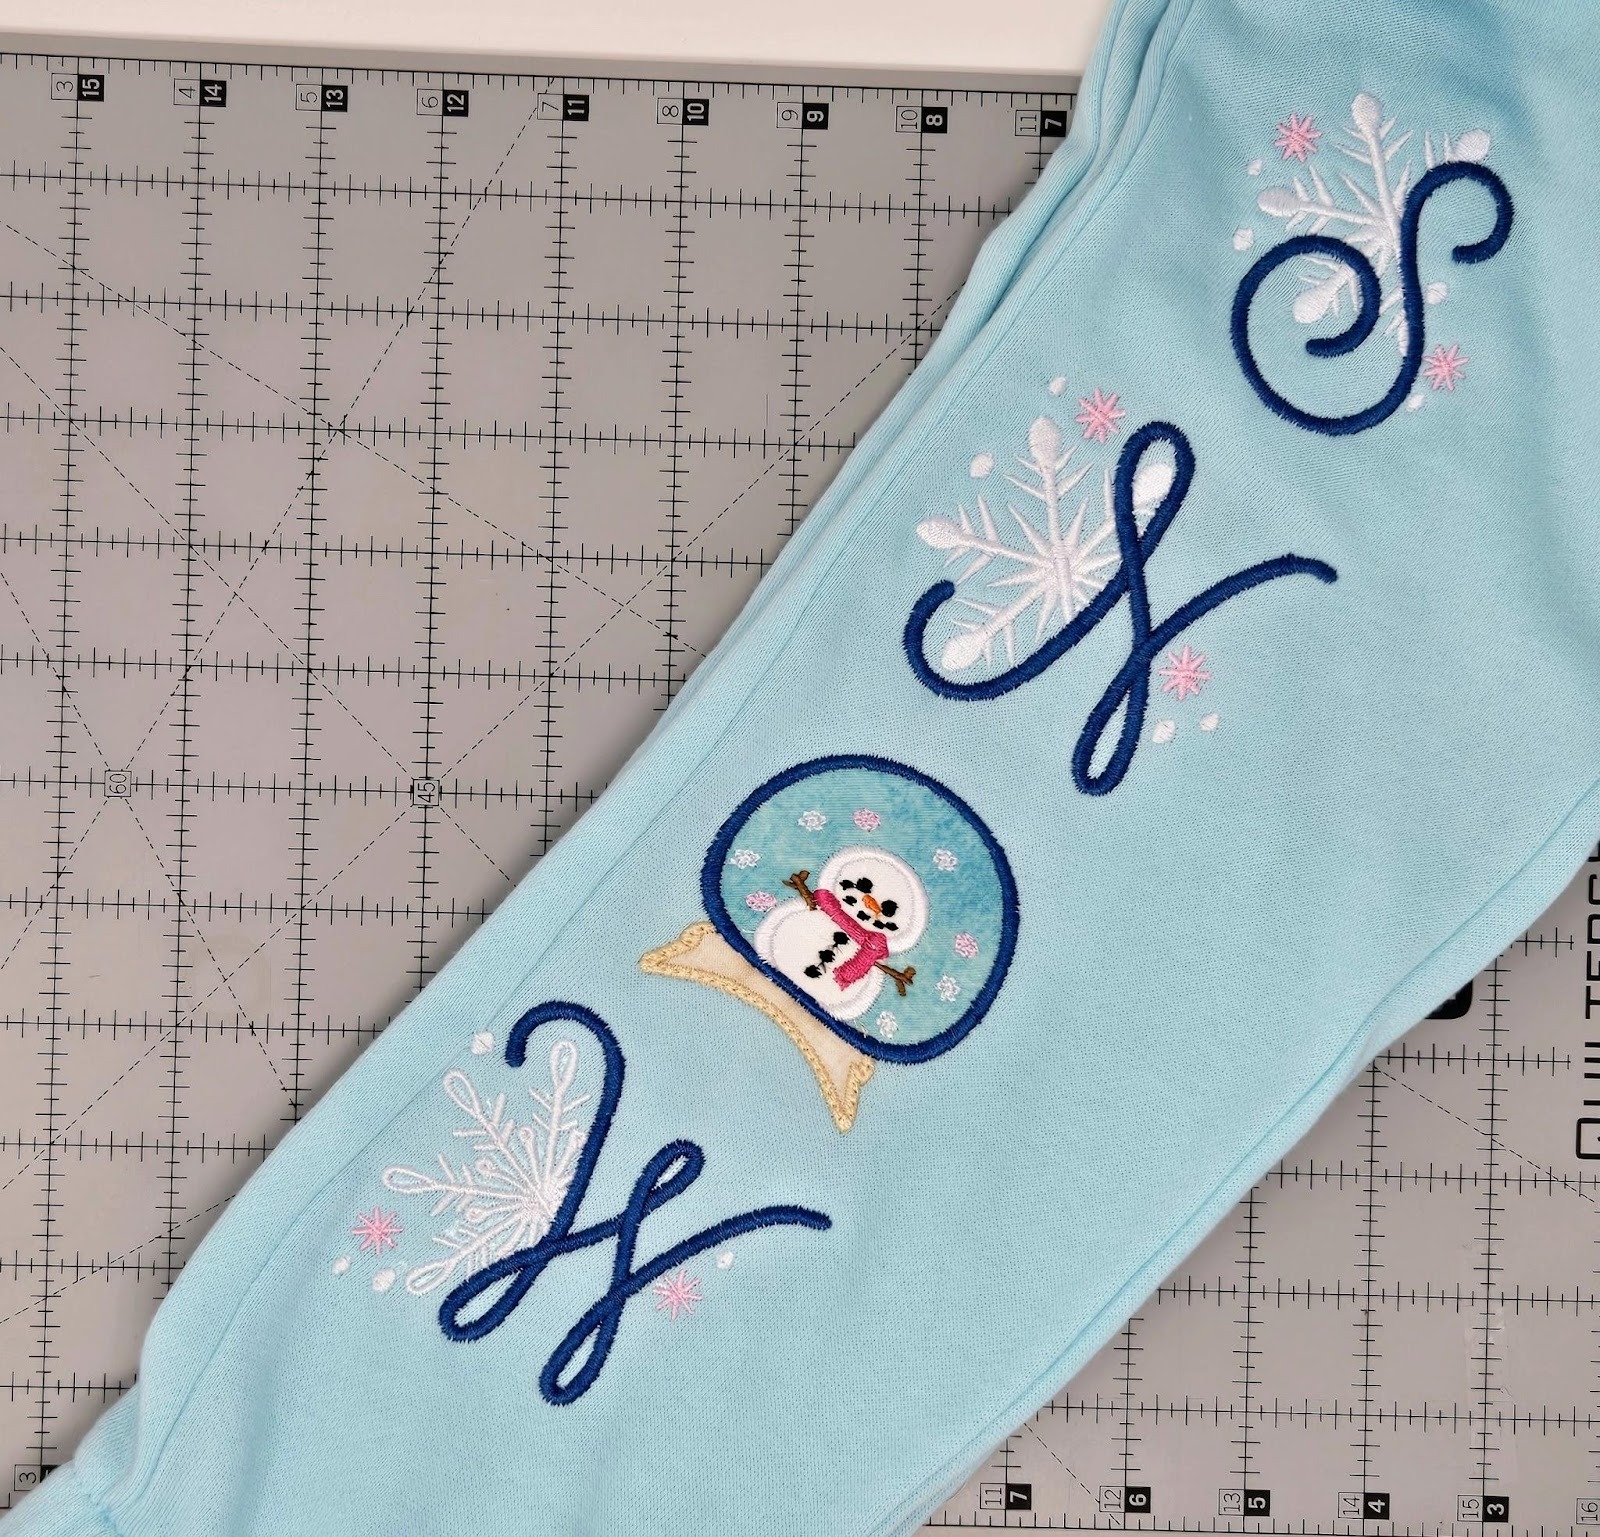
I used Embrilliance software to spell out the word SNOW with the snowglobe as the O. If you don’t own Embrilliance, this can probably be done right on your machine. I am trying to learn Embrilliance, so it was a slower process for me but worth the time.
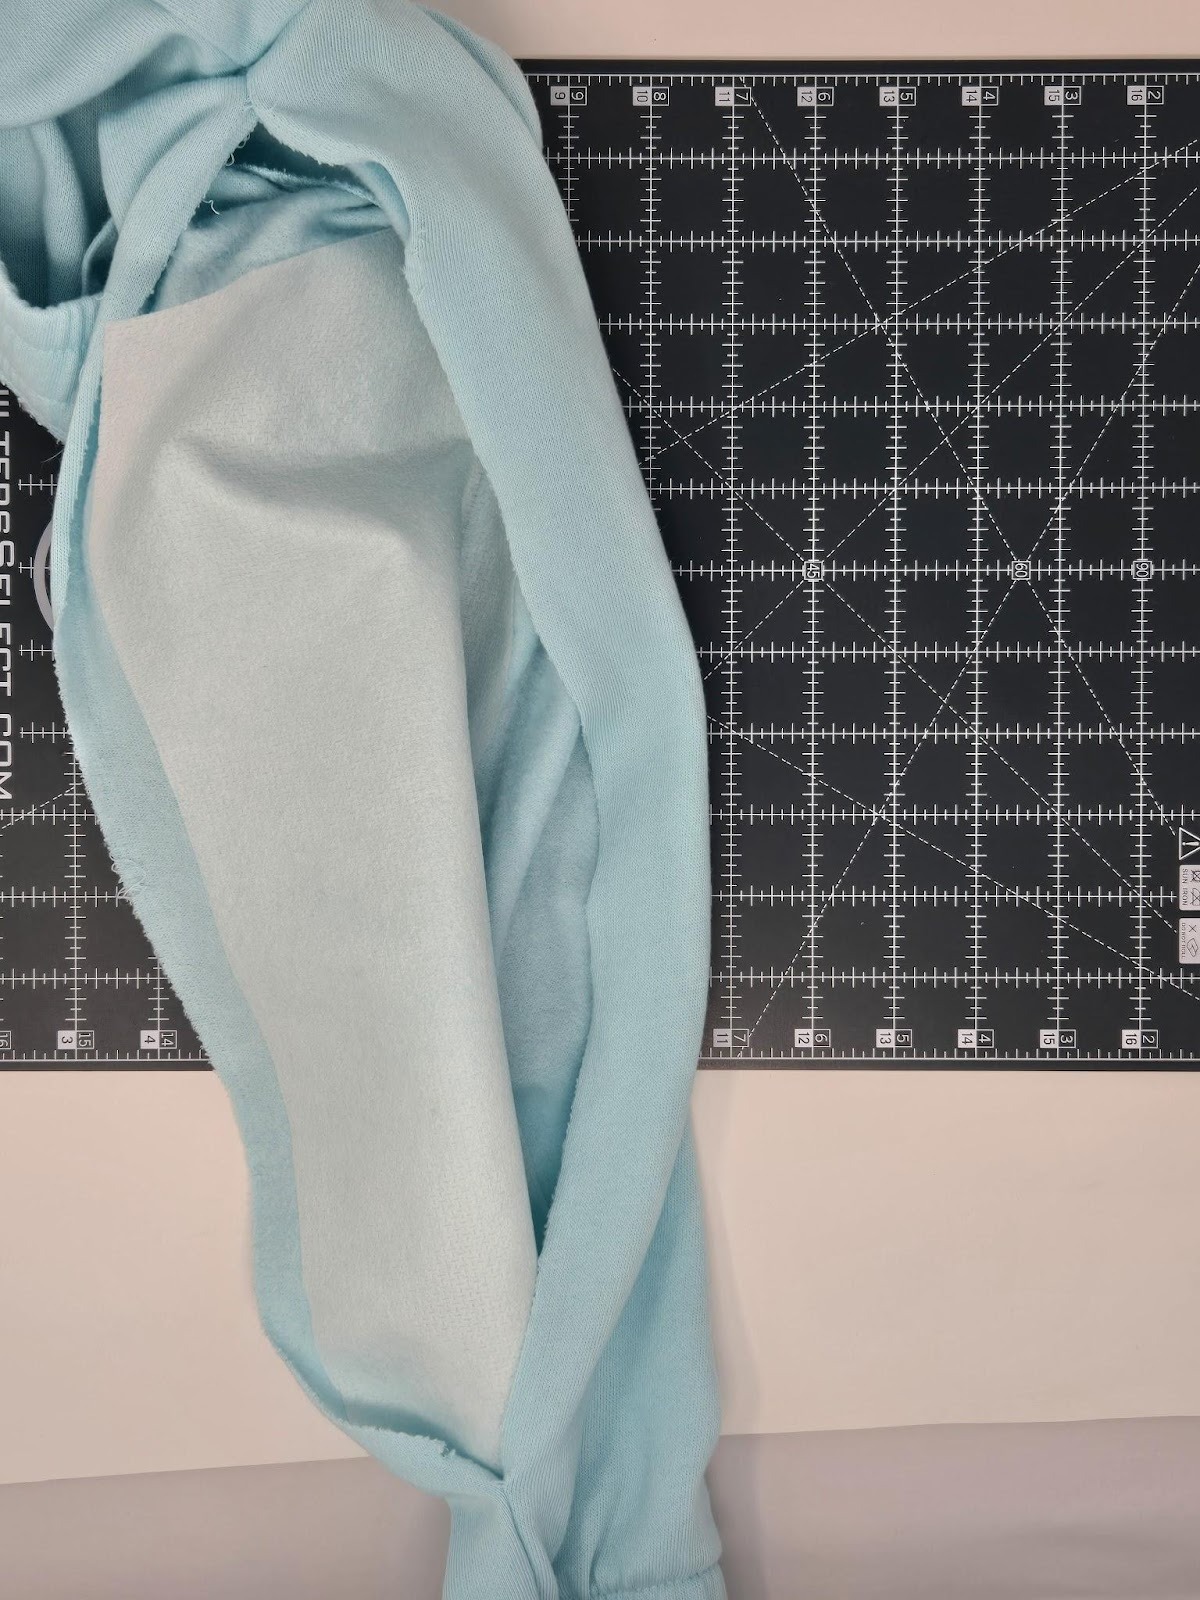
The next thing I did was take out the right inseam in the sweatpants.
Then I pressed my fusible cut-away mesh to the area where I wanted to add my lettering. I used the 3” letters, so I needed about 13¾” of space down the leg.
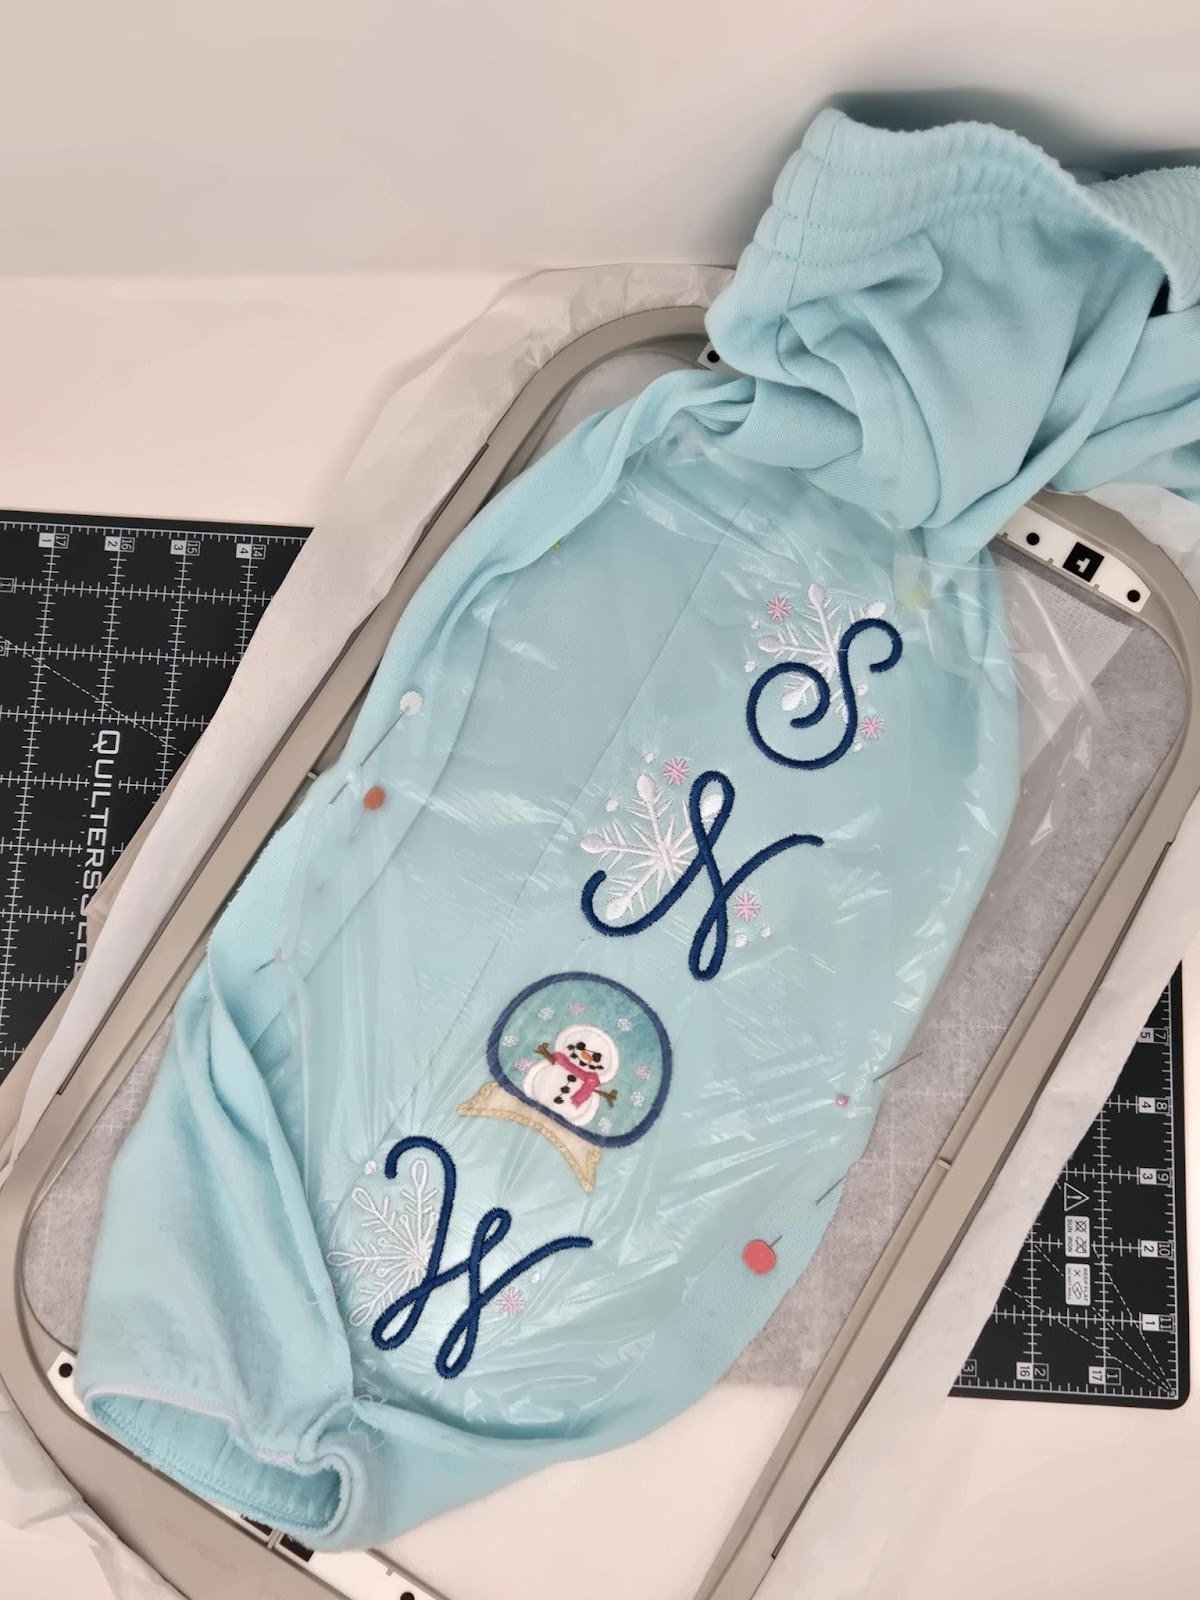
I hooped my tear-away stabilizer.
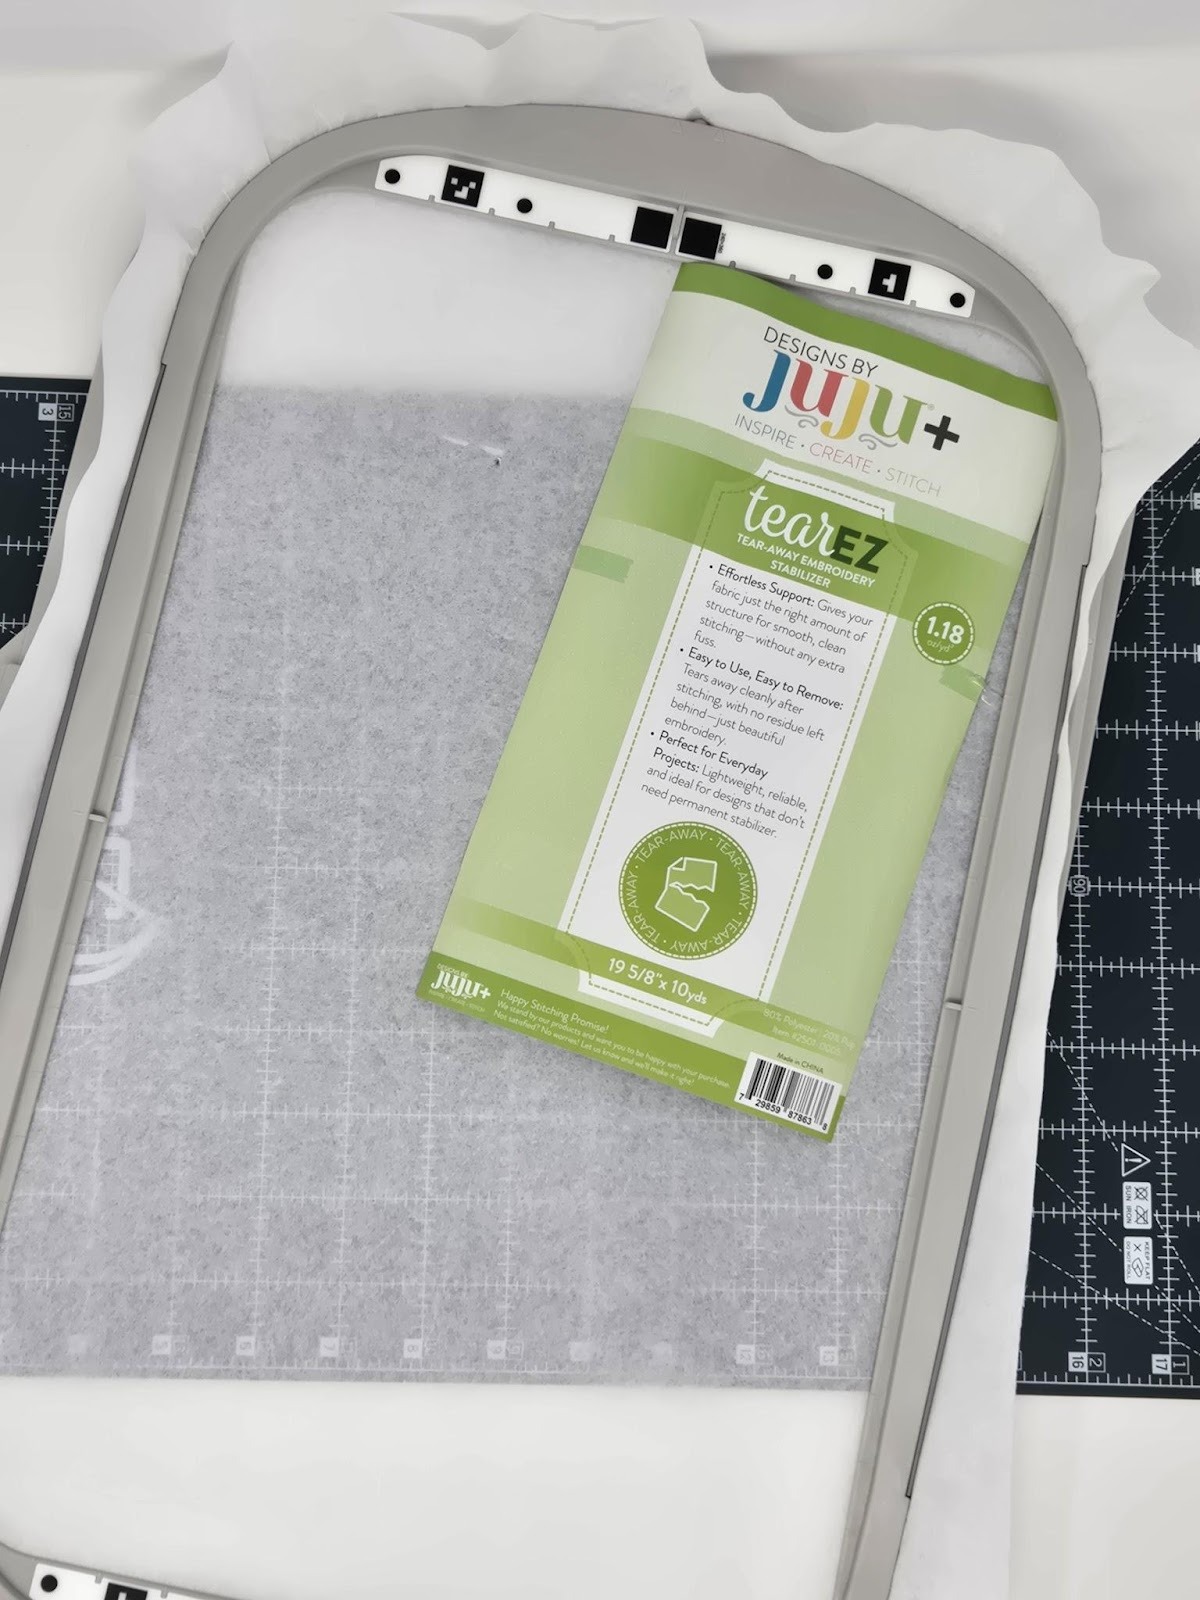
I pinned my pant leg to the tear-away around the edges of the hoop. Then I pinned a topper on top of that. (Sorry, I forgot to take a photo, but you can see below when I finished embroidering.)
Next, I wanted the letters next to the side seam, but not on it, so I did not center the letters in the hoop. I used the buttons on my machine to get the letters right where I wanted them.
As I was embroidering along, I had to remember to lift back the topper to do the applique snowglobe. I did put SF101 behind the snowman and HnB Feather Lite behind the appliques so I could press them to the pant leg. I also slid an extra piece of tear-away stabilizer under my hoop for the appliqued area.
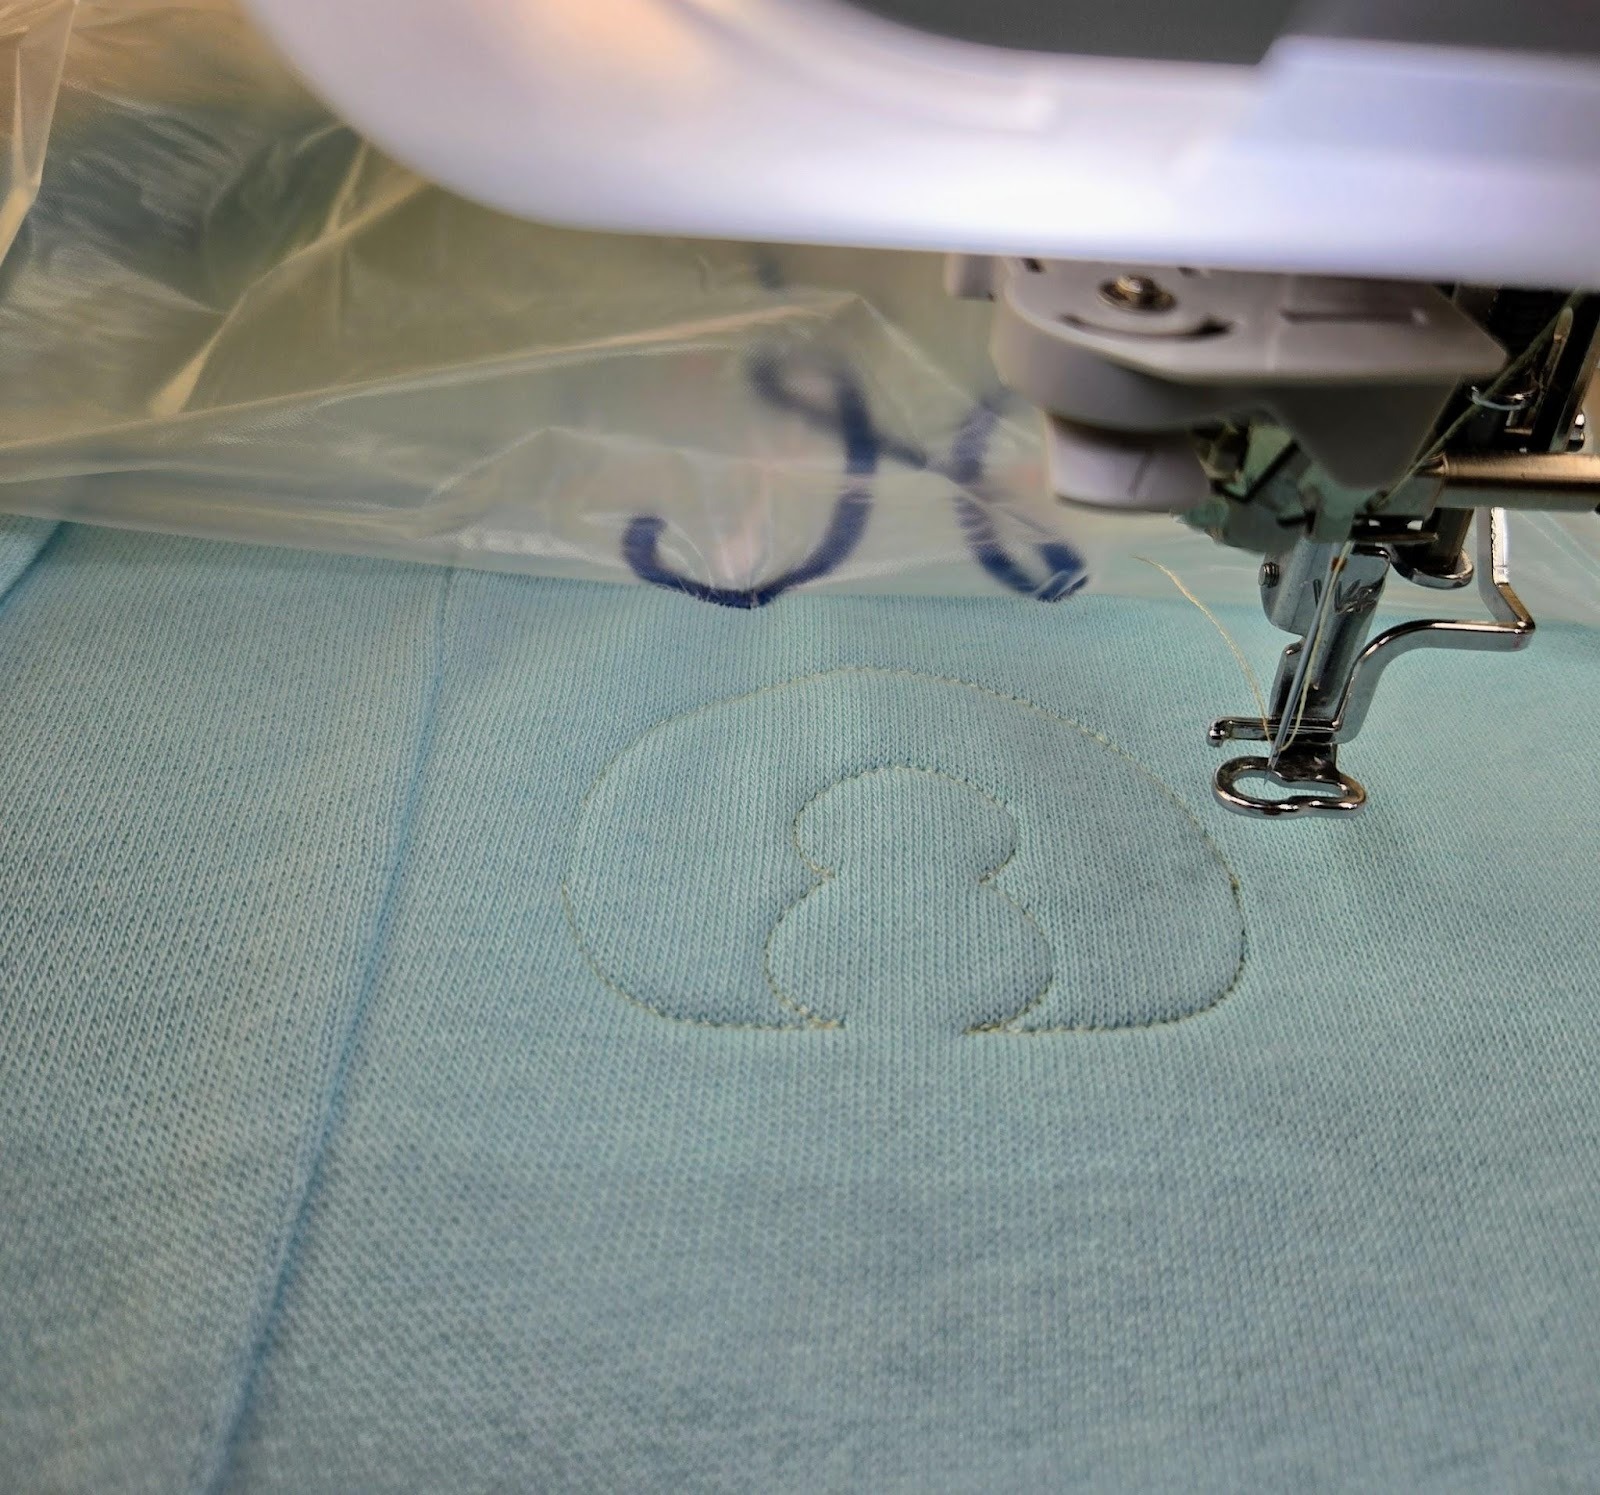
Then I pinned the topper back in place and finished the W. I had just enough room! I did need to hold the cuff out of the way a little bit.
Remove the garment from the hoop. Then remove the tear-away, trim your threads, and then gently lift the cut-away to trim around the letters. Also remove as much wash-away topper from the front as you can.
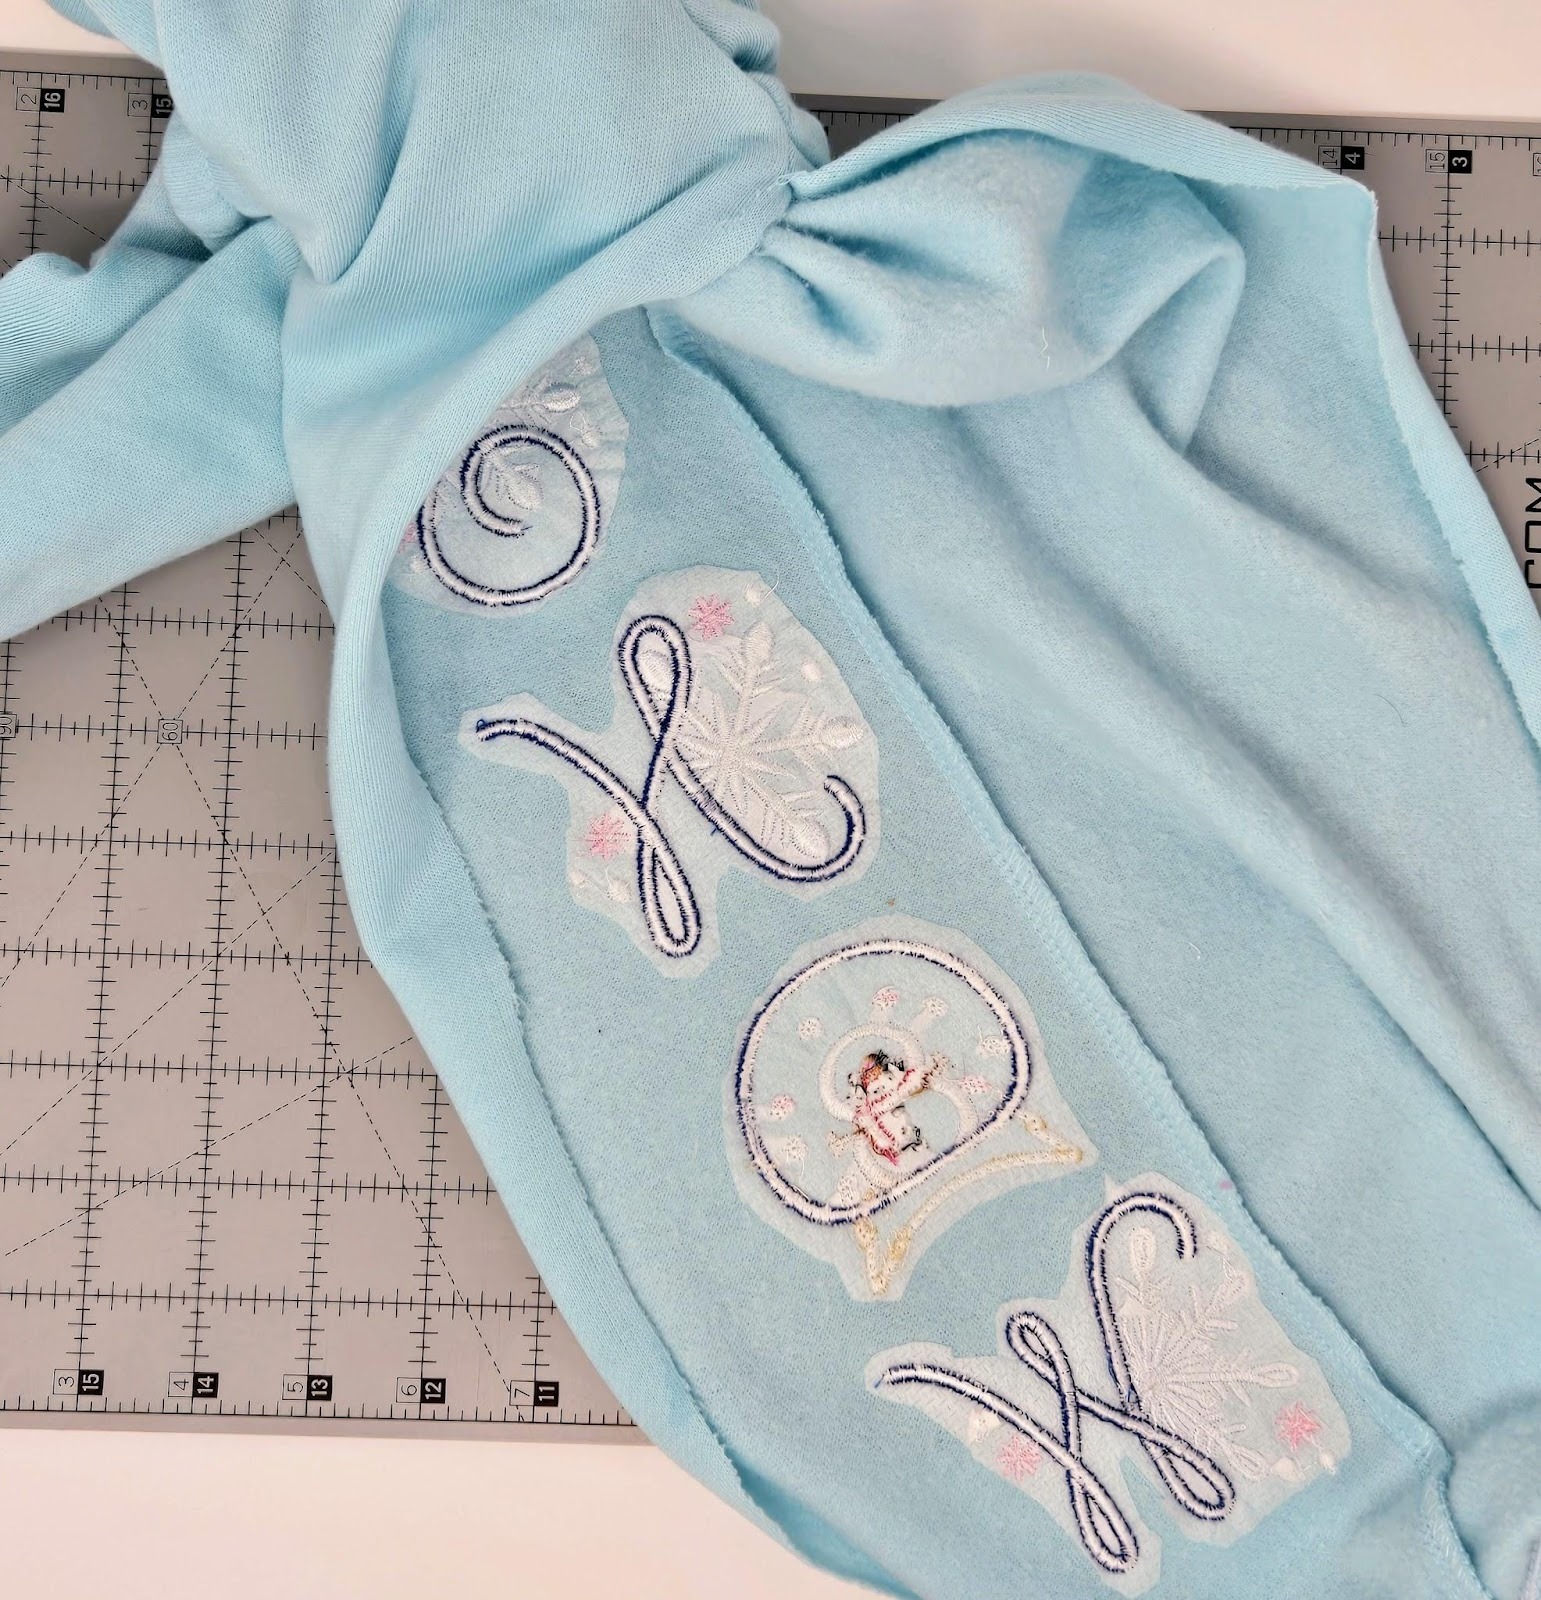
Finally, sew the pant leg back together. I used my serger, but you could also use a stitch on your sewing machine. My sewing machine has a stitch that mimics a serged edge, or a zigzag works too.
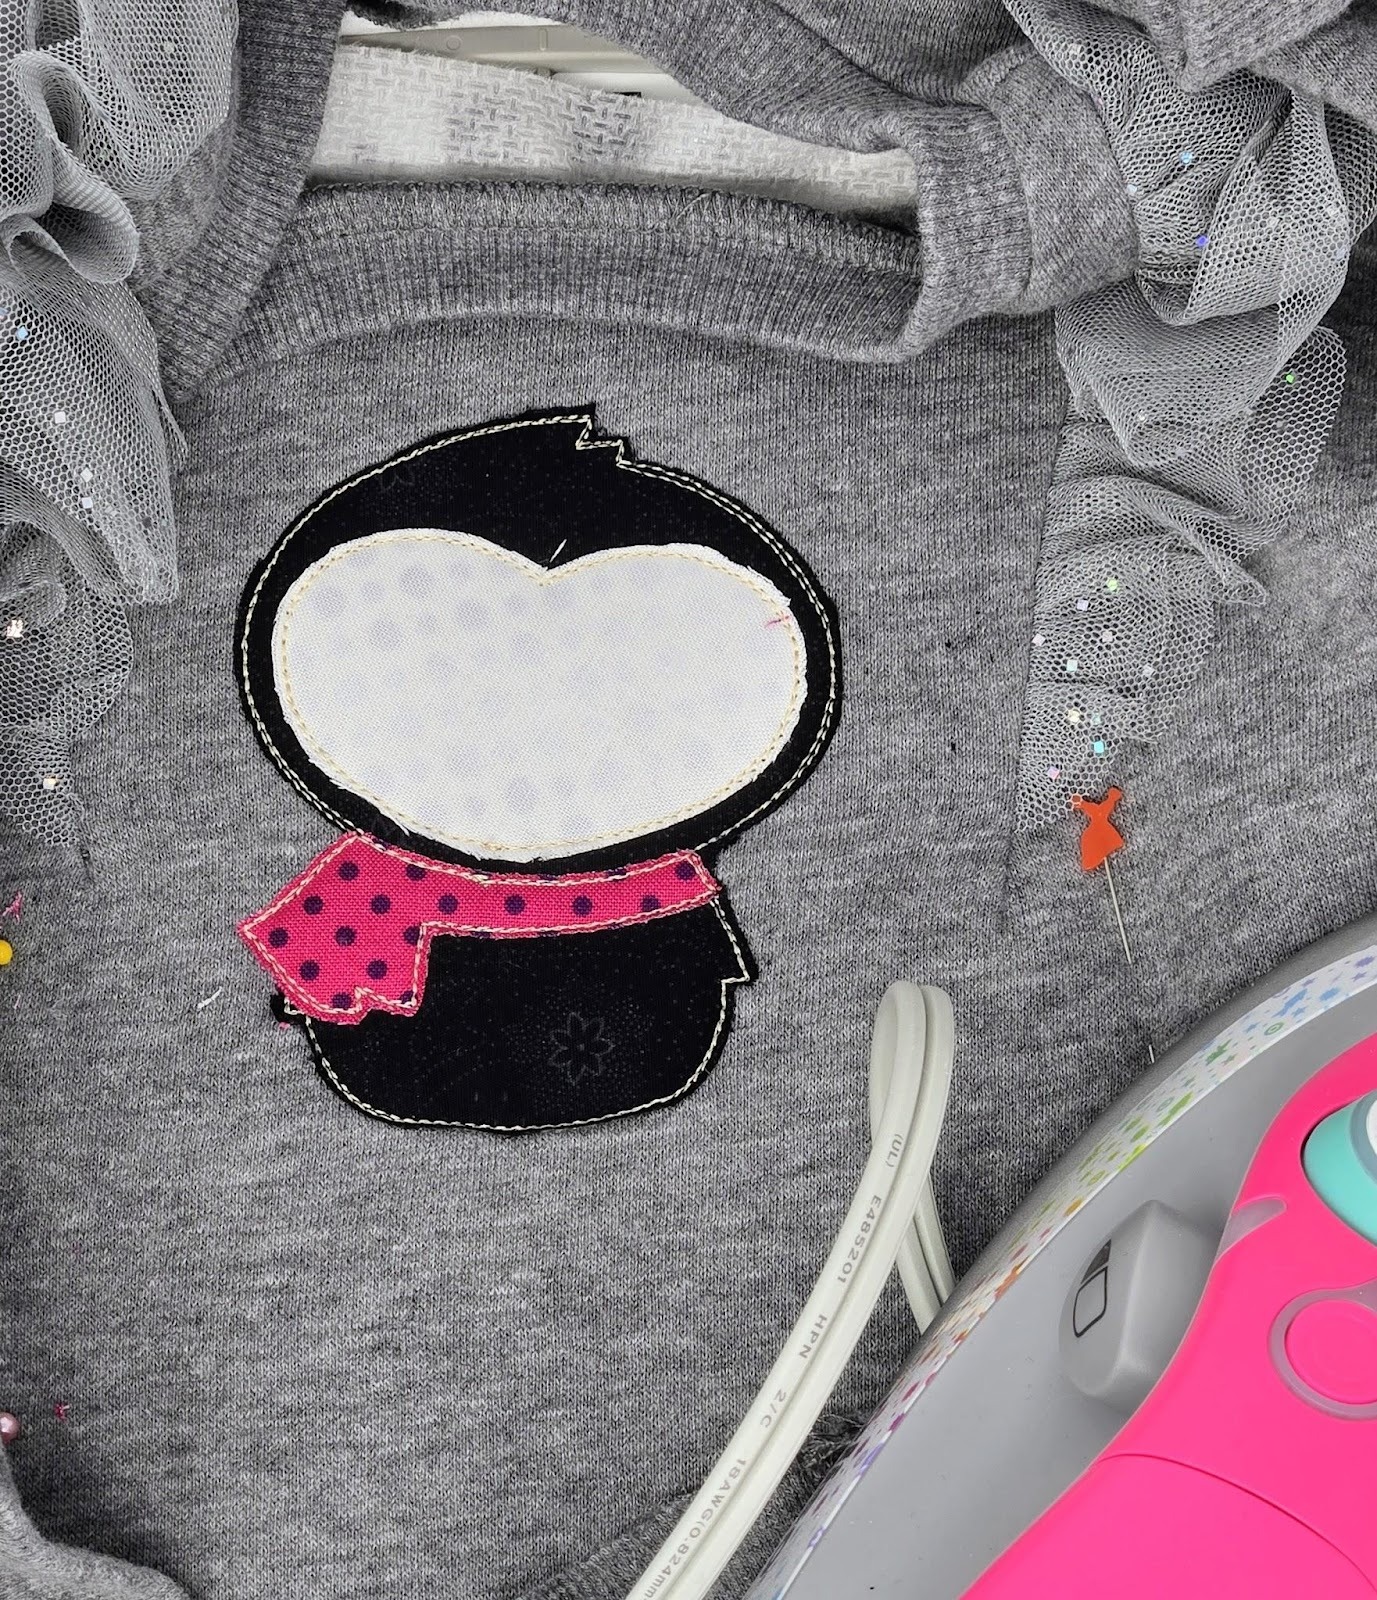
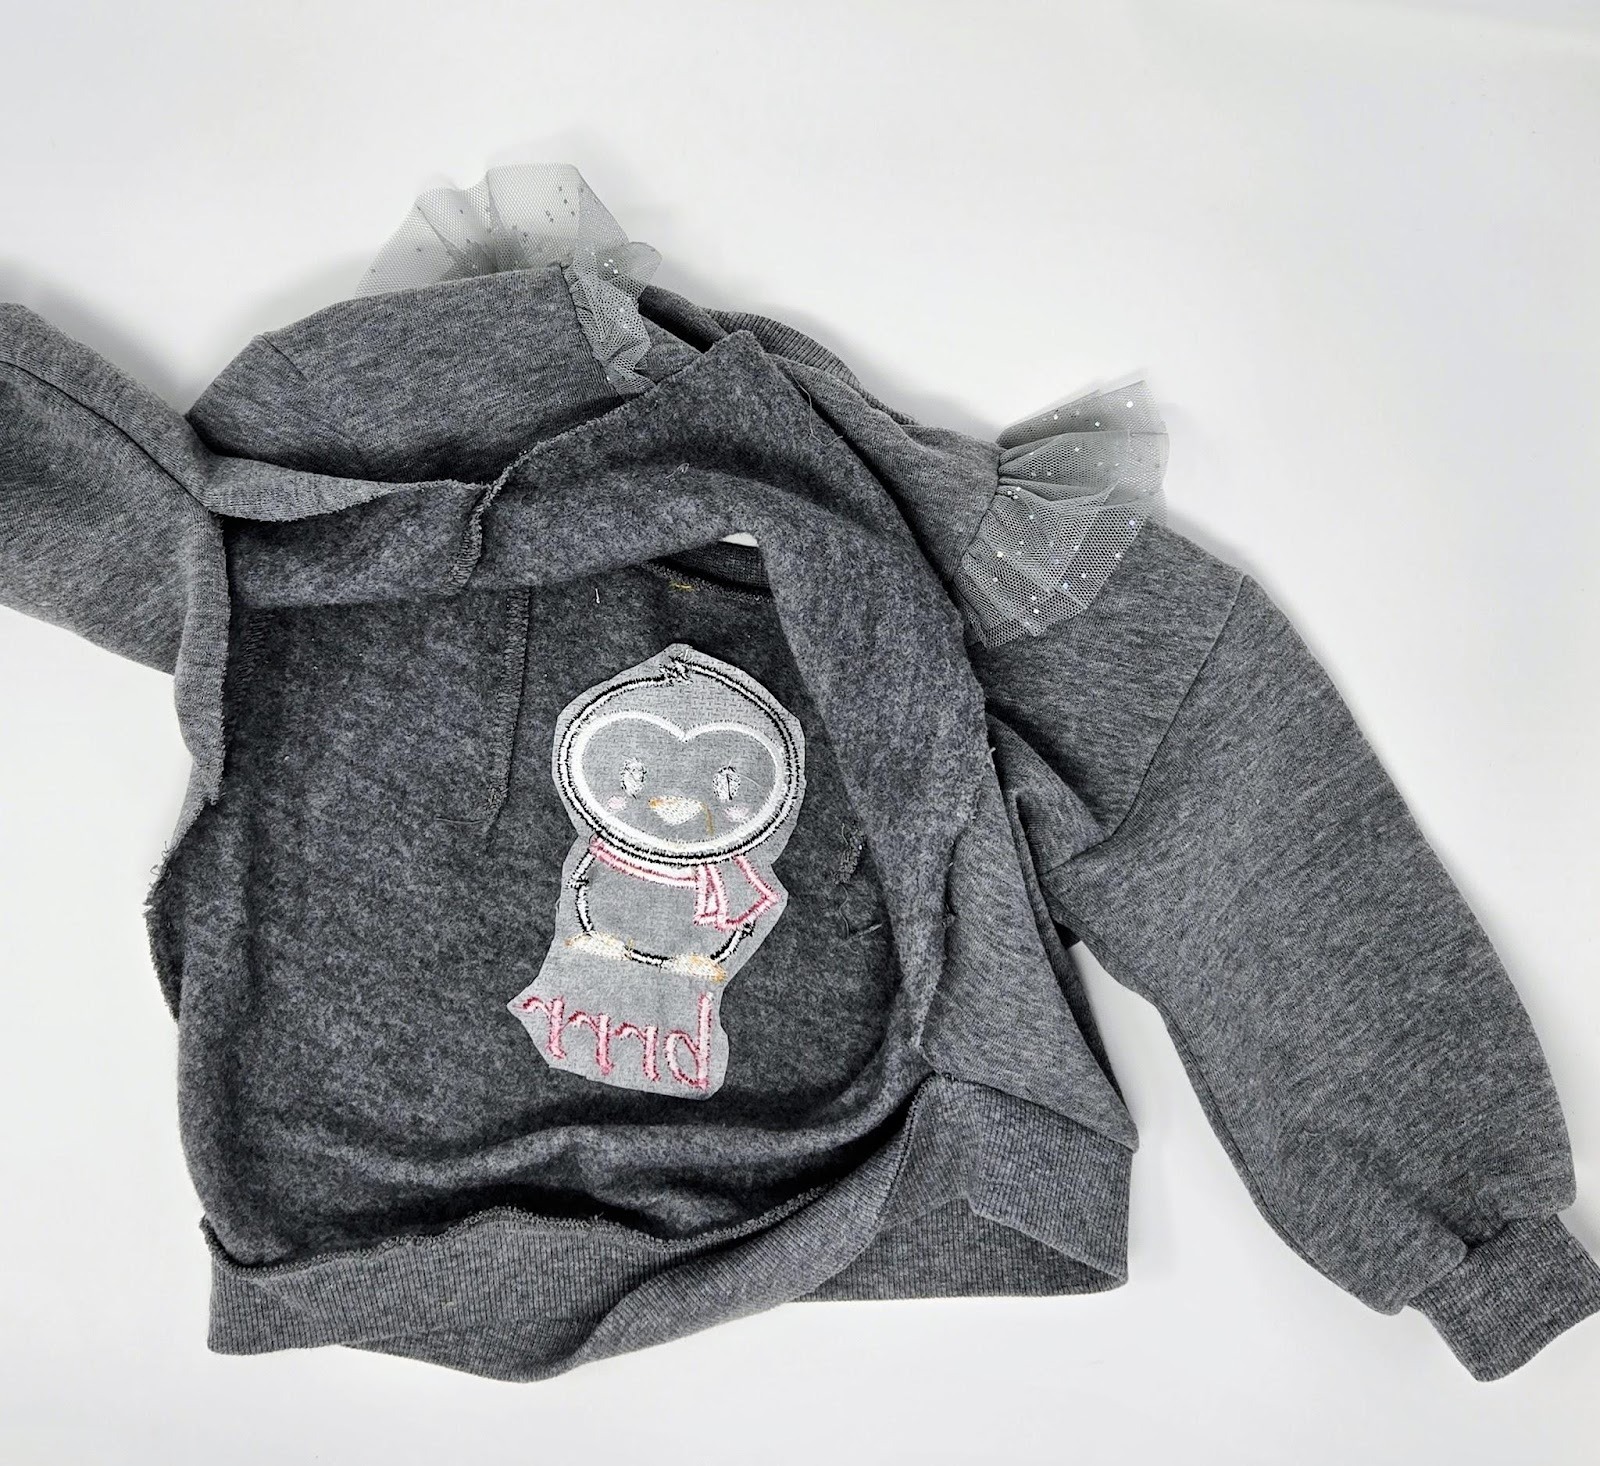
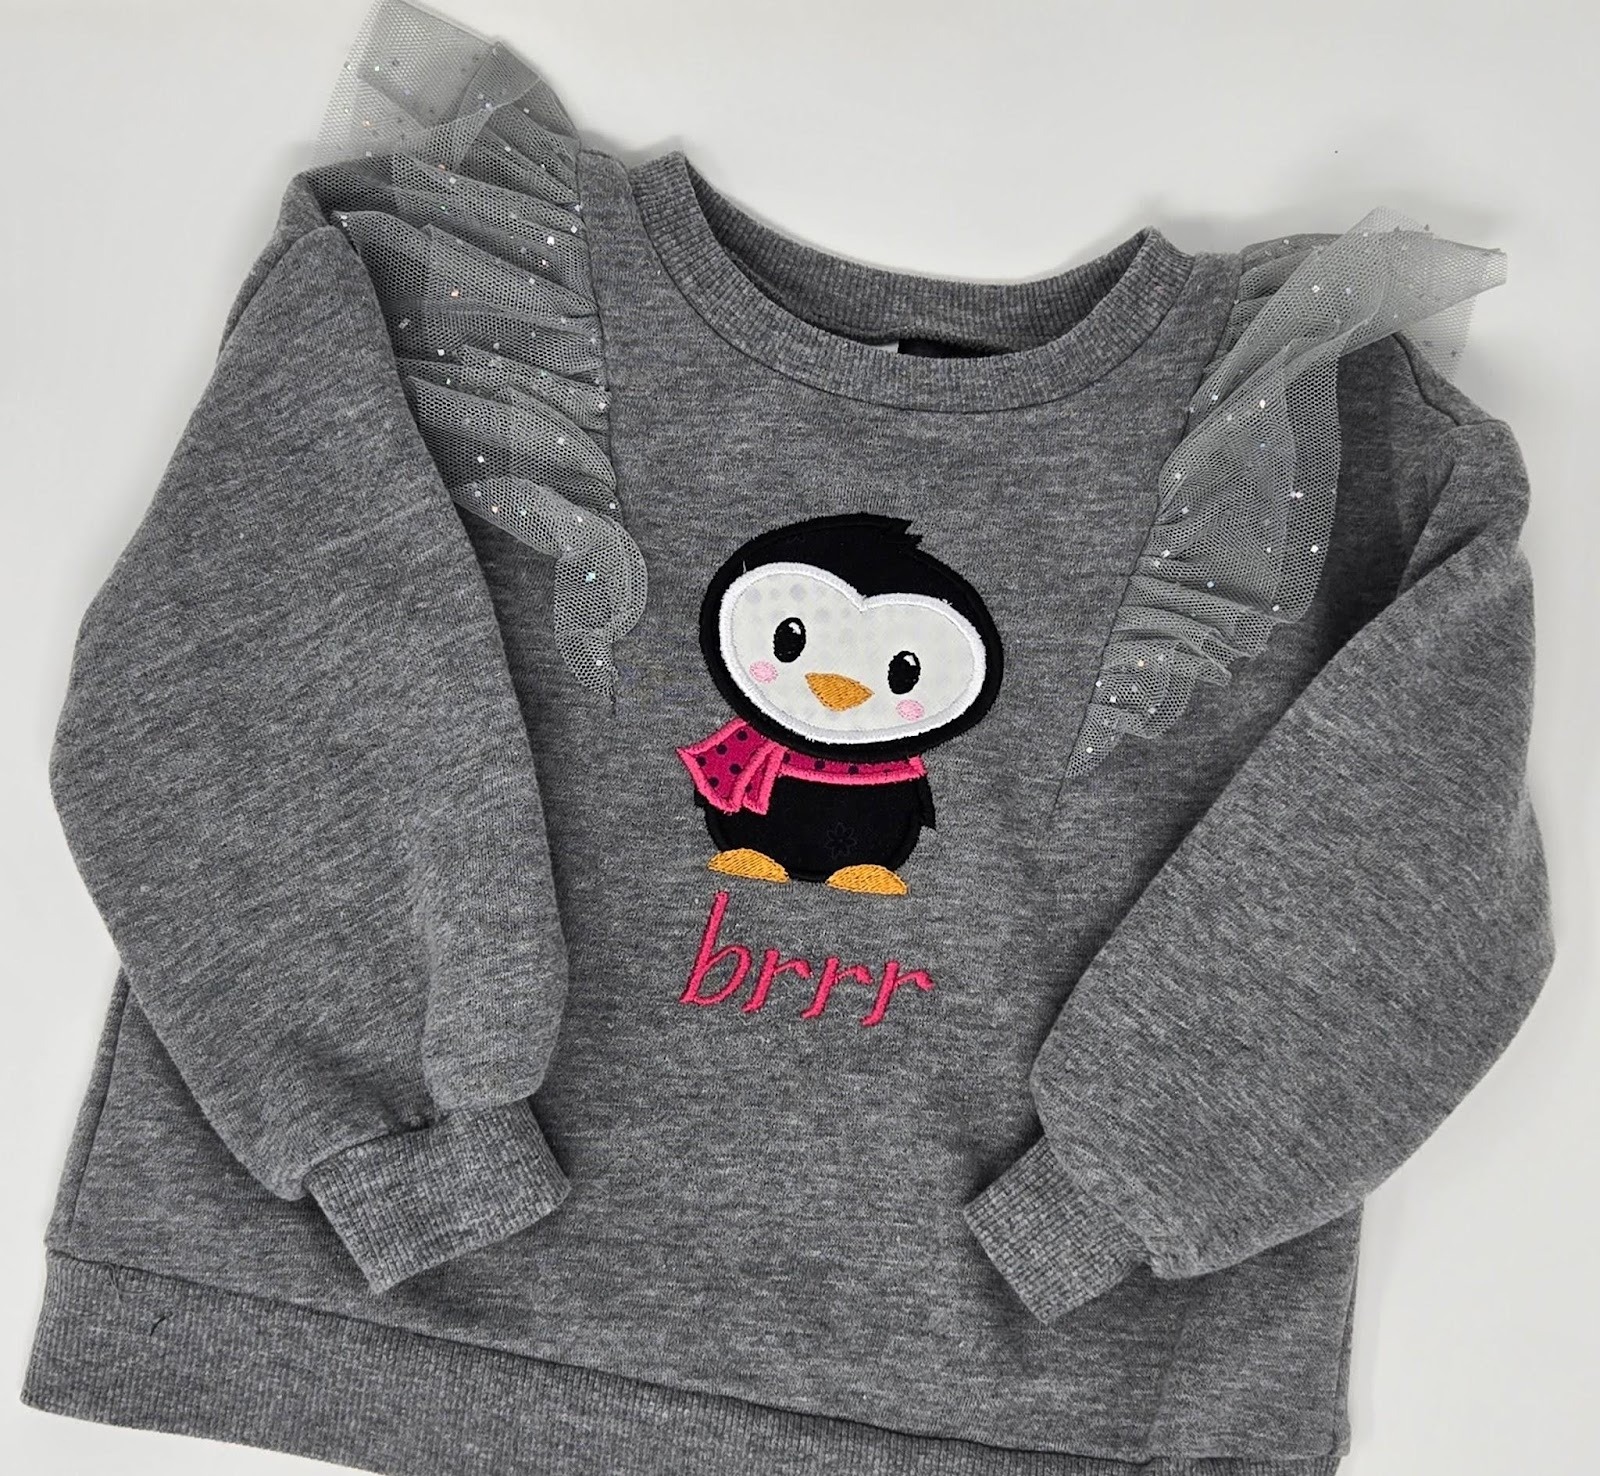
I had so much fun that I kept embroidering and did a shirt for my youngest granddaughter. I followed all the above steps. Since her shirt was so small, I not only took out a side seam, but also took the ribbing off of the bottom of the back. I just don’t have a lot of luck folding a small shirt around a hoop, but if you do, go for it!
This is the Winter Penguin 2 Applique and the Shadow Step Font. My letters are the 1¼” size. I did use the HnB Feather Lite on the penguin plus a little SF101 behind the face fabric so the black would not shadow through to the front. Same stabilizers as above, and it stitched out so quickly!
Now it's your turn! Go have some fun with all the festive fonts and little applique designs. Be sure to share your projects in the Designs by JuJu Embroidery Blessings Facebook Group, or use the hashtag #designsbyjuju anywhere on social media. We all love to see what you create!
