Toggle Nav
 Inspire.
Create.
Stitch.
Inspire.
Create.
Stitch.
Search
I love the holidays, especially the ones that bring family and friends together, and Thanksgiving is one of my favorites. Nothing is more inviting than a beautiful table with a bountiful meal and a crisp embroidered Thanksgiving napkin on your lap.
To get started, pre-wash and iron your napkins before embroidering on them. This allows for any shrinkage that might occur. Iron them to remove all the wrinkles; this will also help prevent puckering.
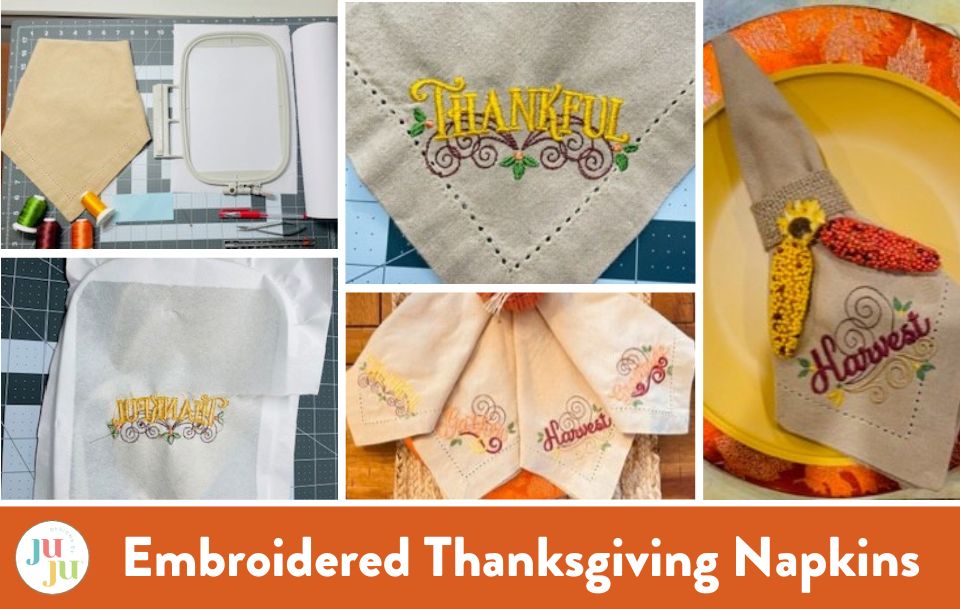
Supplies needed:
- Cloth napkins, pre-washed and ironed Palisa cloth
- Sticky self-adhesive tear away stabilizer Brothread sticky back
- Non-permanent fabric marker, (I use one that irons off) Madame sew heat
- 5x7 hoop
- Small scissors to clip your threads
- Ruler
- Two straight pins
- Small piece of paper to make a template
- Embroidery thread, colors of your choosing
Don’t limit your embroidery designs to just the colors that are shown. Machine embroidery allows you the creative freedom to step outside the box and make it your own by choosing colors that coordinate with your home or the home of a family or friend. Have fun with your colors and make your project original and unique, unlike anything others may have.
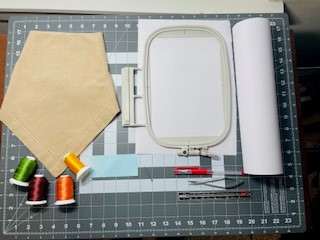
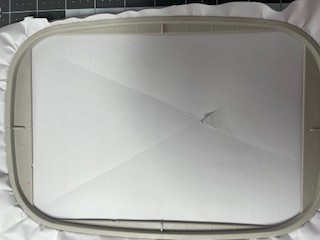
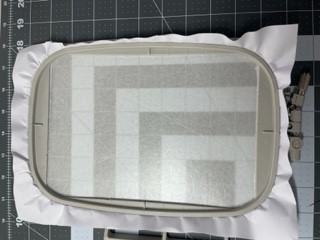
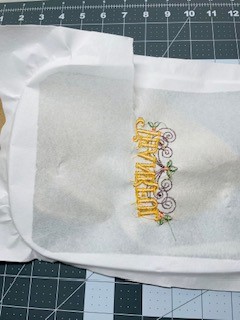
Cut a piece of stabilizer a little larger than the hoop. Do not remove the backing. Hoop stabilizer only and tighten your hoop. Make sure the sticky adhesive is facing up. With the sharp edge of a pin or scissors, lightly score the top paper of your stabilizer from corner to corner. Be careful not to press down too hard. Peel back your paper and tear it off so you have a flat, sticky surface to lay your napkin on.
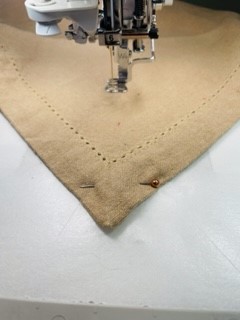
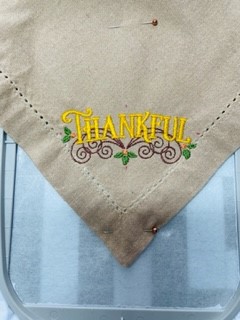
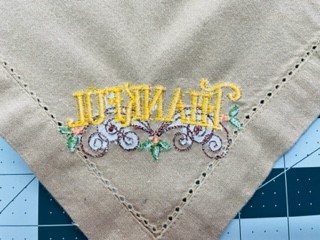
Design placement on the napkin is your choice. When folded, the stitching should be prominently displayed. I chose to place mine in the corner. I am using Swirly blessing for my Thanksgiving napkins. Whatever design you choose, make sure you are not just thinking of the napkin as a flat item but imagine it when folded. Once you load your design onto your machine, it will tell you the size of your design. This is where we will use our scrap paper to make a template. Cut your paper to the size of your design; you may want to round up the size if it's easier. Fold the paper in half lengthwise and widthwise.
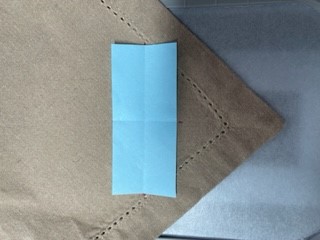
Notice how the design fit within the markings just where I had planned. Label and save your template for future use.
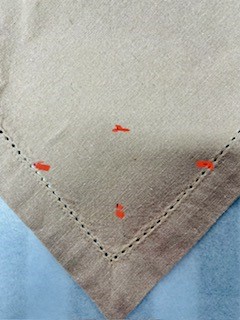
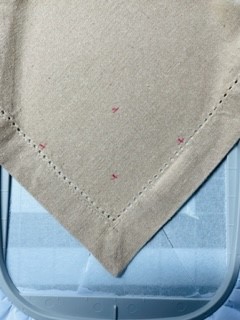
Once you’ve completed your design, remove the hoop from your machine and remove the napkin and stabilizer from your hoop. Carefully tear away the stabilizer.
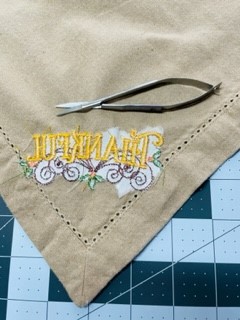
Use little snippers or small scissors to get under the smaller pieces, but do not compromise the front stitches by roughly pulling on the back. You could ruin your design. Get it as clean as you can and cut your tail threads, taking care not to cut the knots.
Give it a nice press with an iron, and your napkin is complete.

Now that you have completed your first napkin, use these same steps to complete your set.
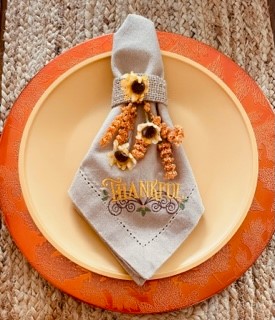
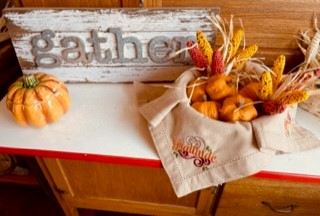
Your beautiful embroidered Thanksgiving napkins are ready to fold and decorate with napkin rings, faux fall foliage, and flowers.
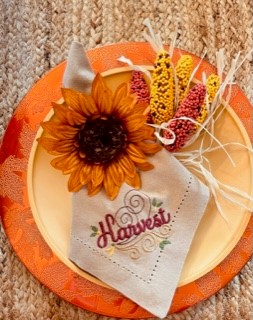
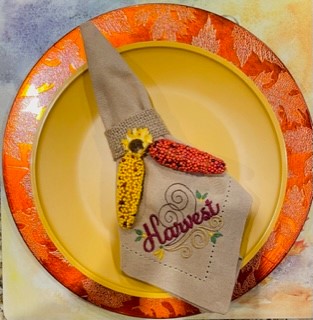
Drape them over a bowl with bread, pumpkins, and corn to create an inviting centerpiece.
Your family and friends will be amazed at your beautiful Embroidered Thanksgiving Napkins!
Happy Thanksgiving!
