Embroidered Reading Pillow Tutorial
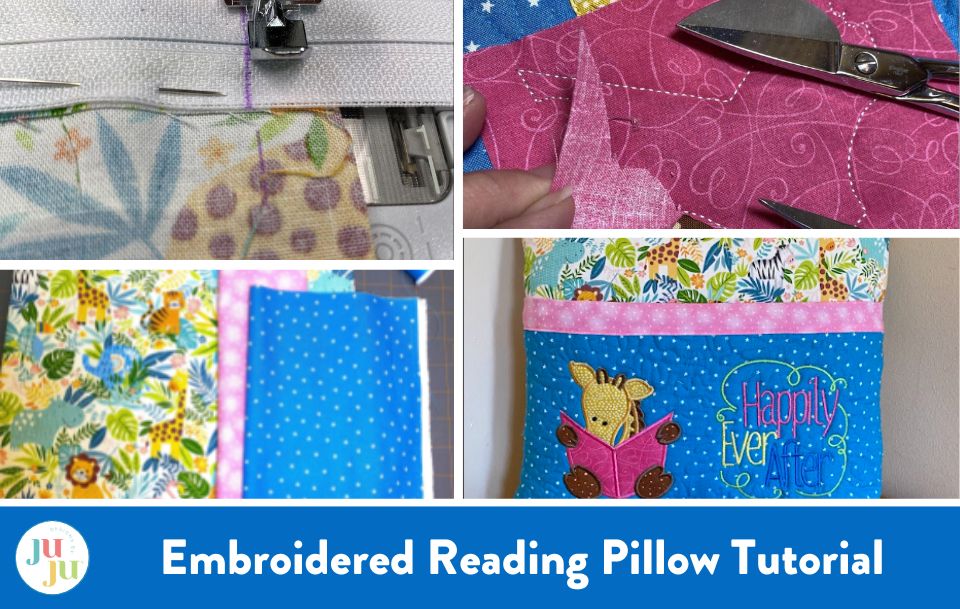
Here's a great project that allows you to infuse a love for literature into cozy crafting! Reading pillows are not only a charming addition to any book nook, but also serve as a comforting companion for literary adventures. In this step-by-step guide, I'll show you how to create your own, personalized, reading haven, complete with delightful embroidery that adds a touch of whimsy and warmth. Whether you're a seasoned embroiderer or a novice crafter, this project promises to inspire relaxation and creativity as you stitch your way to a cozy reading retreat.
Fabric Selection
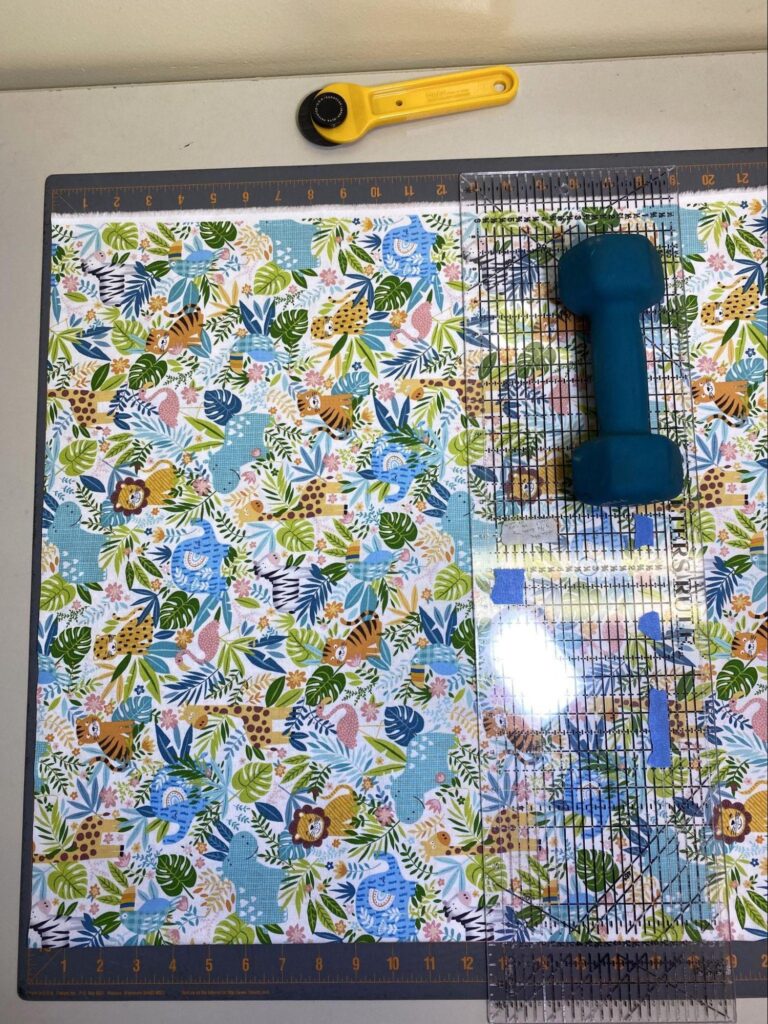
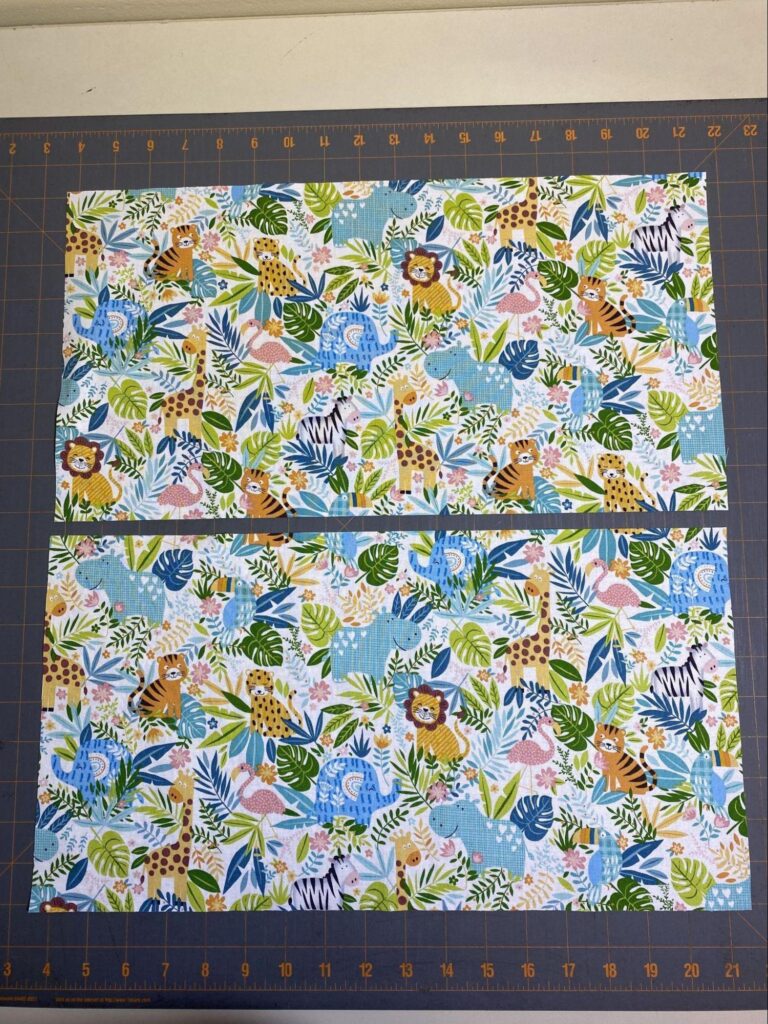
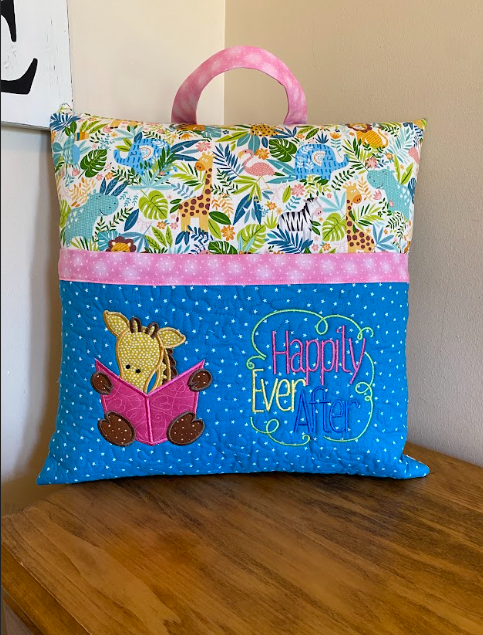
Let’s start by talking about fabric selection. You’ll probably have an idea of the aesthetic you’re going for, whether it’s the embroidery design you want to use, or an adorable print you found. For the person receiving the embroidered reading pillow I made for my project, it had to include either giraffes or flamingoes. I wanted to use JuJu’s Reading Critters Applique giraffe, so I went shopping for giraffe fabric. Look at how lucky I got . . . this print has both animals!
Once you have the main print, choose a fabric for the front pocket. This will be the background for your embroidery designs, so I recommend a simple, consistent print. Small-scale repeating prints, monotone prints, or solid colors work great!
The last fabric you need to choose will be for the binding and handle. Again, I’m choosing a simple fabric for this section. On my pillow, I wanted to bring out the pink shade from the feature print.
To see if your fabric choices look cohesive, place your fabrics next to each other, stand back or take a photo. Alter your fabrics as needed! Notice, I layered the pink fabric so that just a tad was showing because that is comparable to the ratio of the fabrics in the completed reading pillow.
For more fabric ideas, I’m including a photo of my selections for a future embroidered reading pillow I’m planning to make using JuJu’s Vintage Sketch Mermaids.
Tools and Supplies
Check out Embroidery Supplies JuJu Uses for our favorite supplies.
Tools
Machine feet: zipper, sewing, embroidery
Machine needles: embroidery, universal
Iron
Scissors or rotary cutter and cutting mat
Ruler
Fabric marker (I love Dritz Disappearing markers)
Supplies
5/8” fabric for front and back
5/8” fabric for pocket binding & lining, and handle (optional)
5/8" fabric for front pocket
Batting for pocket
Fusible interfacing for handle (optional)
20” zipper
Batting
Embroidery stabilizer
Temporary adhesive spray
18” pillow form
Thread
JuJu’s Reading Critters Applique and Reading Word Art Set 1 design files
Fabric Preparation
Wash, dry, and iron fabrics then cut:
18” X 18” for front
13” x 18” for pocket binding and lining
3” x 12” for handle
11” x 18” front pocket
Two 9 ½ “ x 18” pieces for the back (I cut a 19” x 18” piece and then halved it)
10” x 17” batting
2 ½ “ x 11 ½” interfacing
We’re all set to make our embroidered reading pillow with an added pocket. All seams will be ½”.
Pocket Front
- Adhere the batting to the backside of the fabric for your pocket front. I use Odif 505.
- Decide how you’ll quilt this section. Designs by JuJu has a large variety of fun quilting designs! You can choose from a simple stipple design, a checkerboard grid, or one that coordinates with your reading pillow’s theme! Go to Designs by JuJu Embroidery Blessings Facebook group and search using the term “reading pillow." If you're not a member, join; you will get so many ideas!
- Quilt the pocket front.
- Decide on the size of your designs. I’m using JuJu’s Reading Critters Applique and Reading Word Art Set 1. I usually use the 5''' x 7" sizes as a starting point and enlarge or reduce as needed. For this embroidered reading pillow I needed to enlarge the size of my word art.
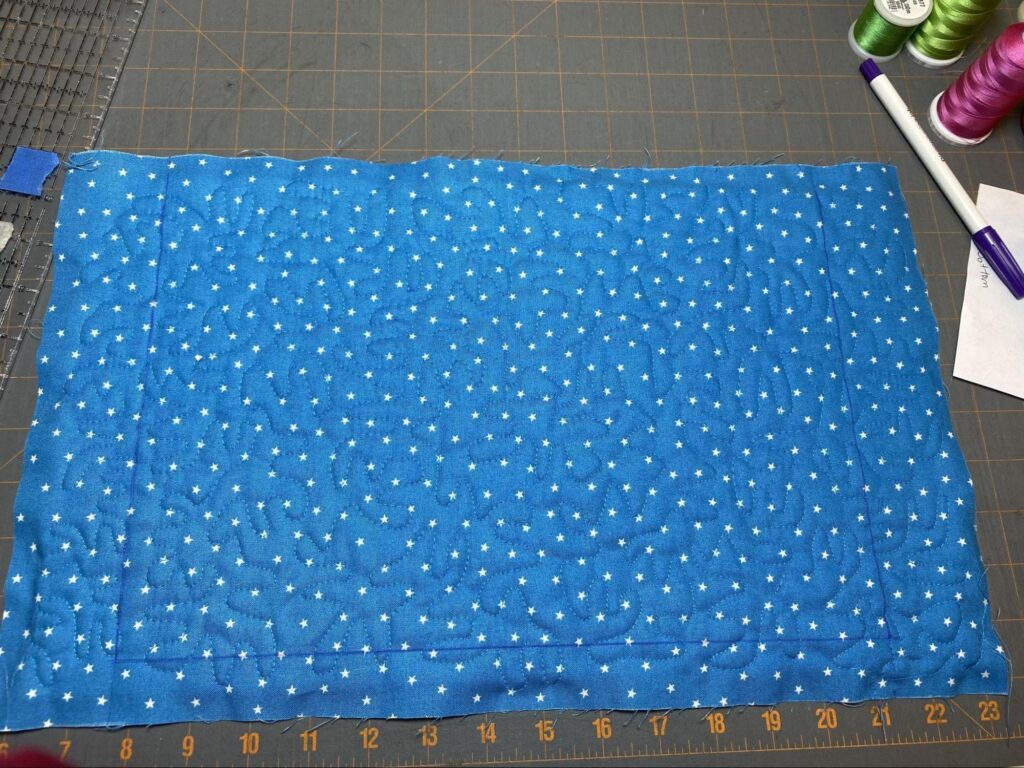
5. Mark 2” from the bottom and the sides. This will be your sewing area. I often add a dot in the center to use as a guide.
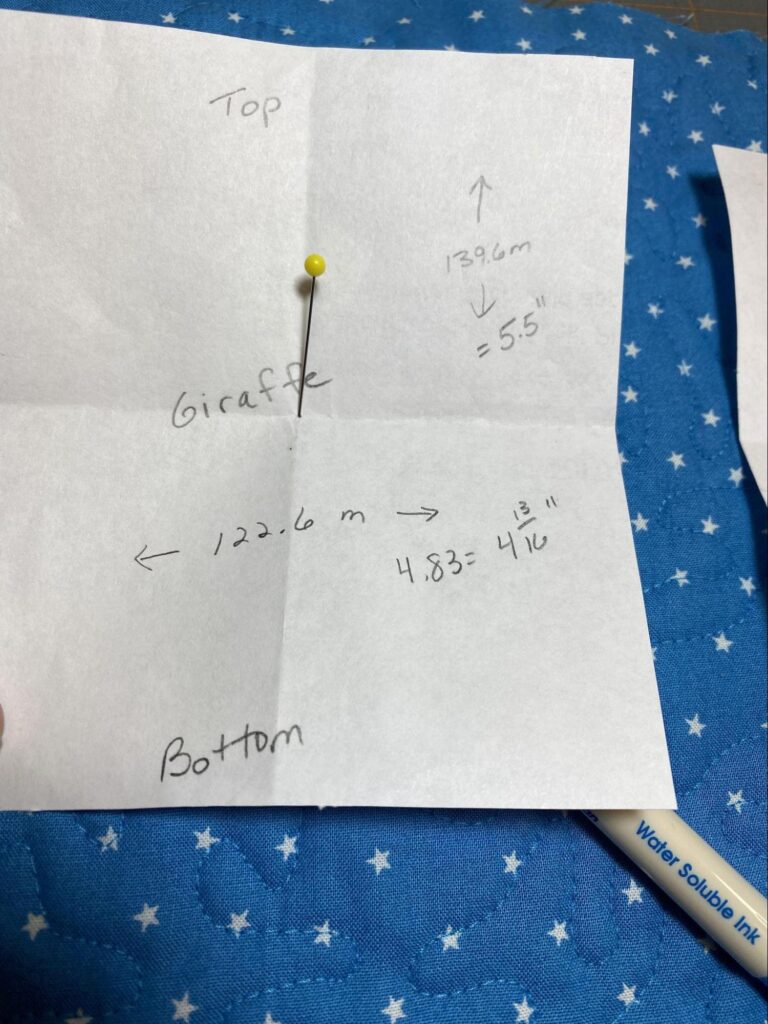
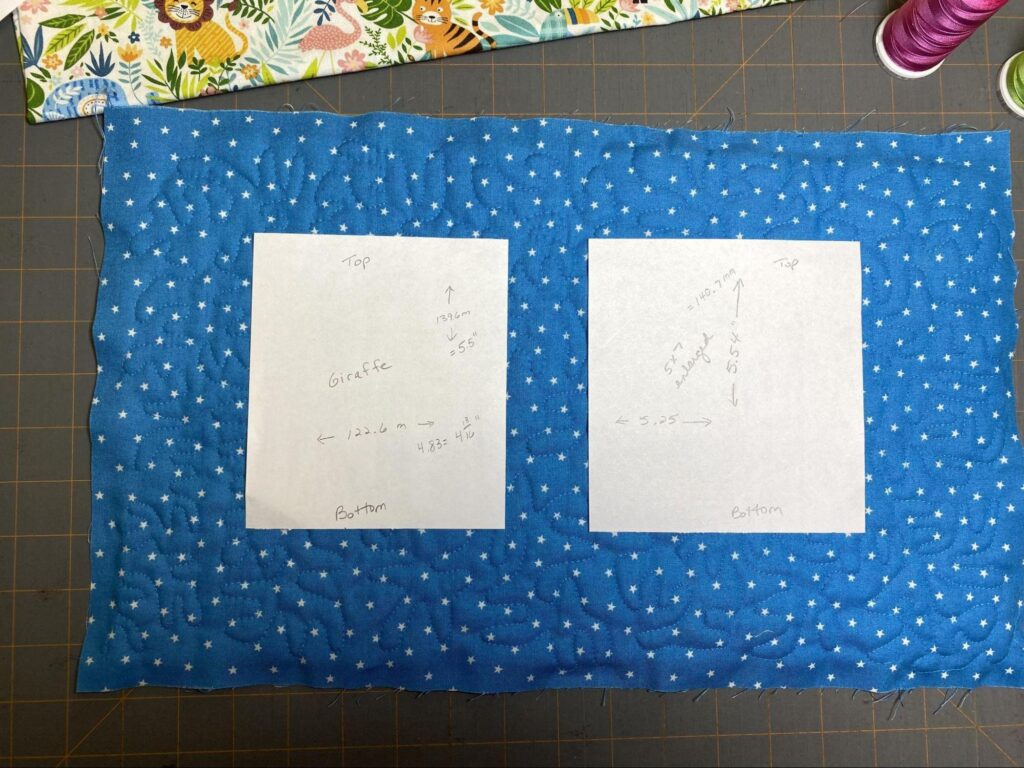
6. Print (actual size) and cut out the designs on paper. Fold and crease the papers into fourths, then lay the papers on the pocket front. I was able to evenly space my designs between the sides and the center, but if your designs don’t perfectly align, my preference is for the designs to be “too close” rather than “too wide,” if evenly spacing leaves too much blank space.
7. Once you’re pleased with the spacing, stick a pin through the center of the paper and mark this spot. I use a Dritz disappearing marker.
I also marked a straight line for the bottom of the design. This will help me correctly line up my project on the hoop.
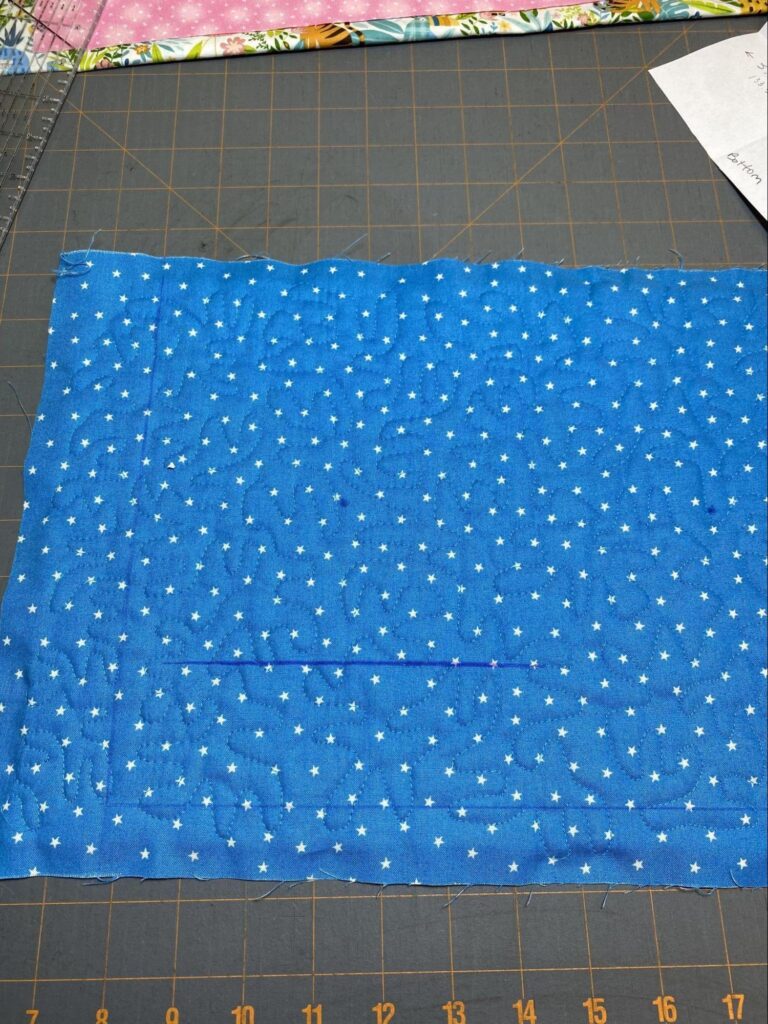
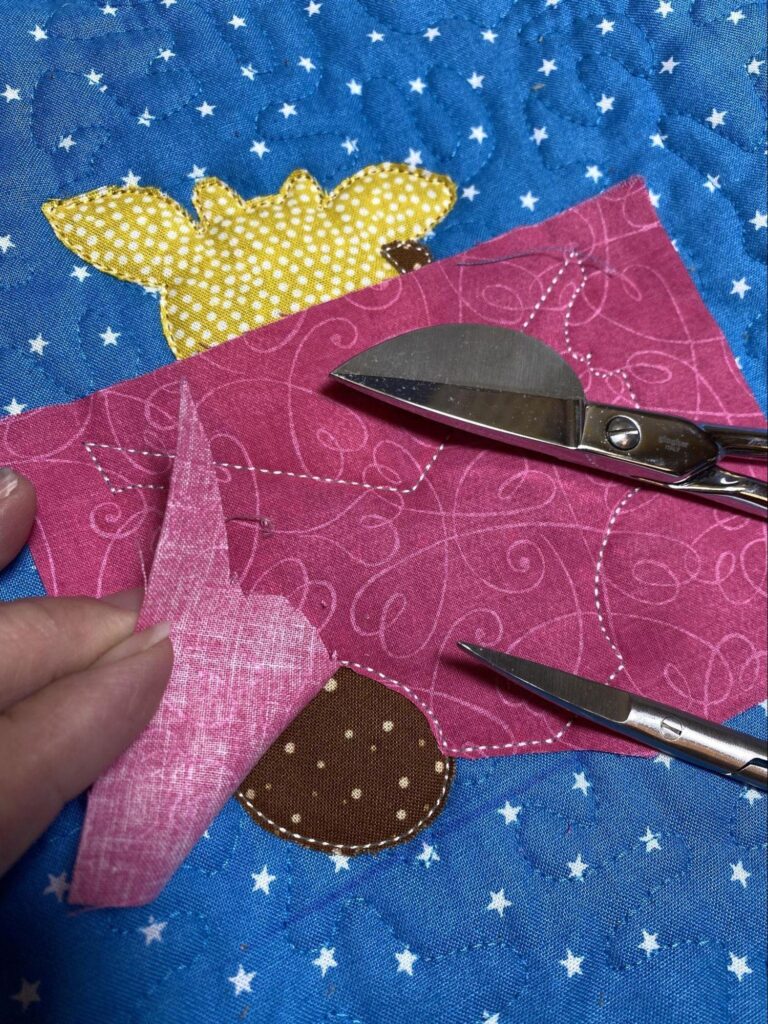
8. Embroider your designs.
Choosing Thread Colors for the Happily Ever After
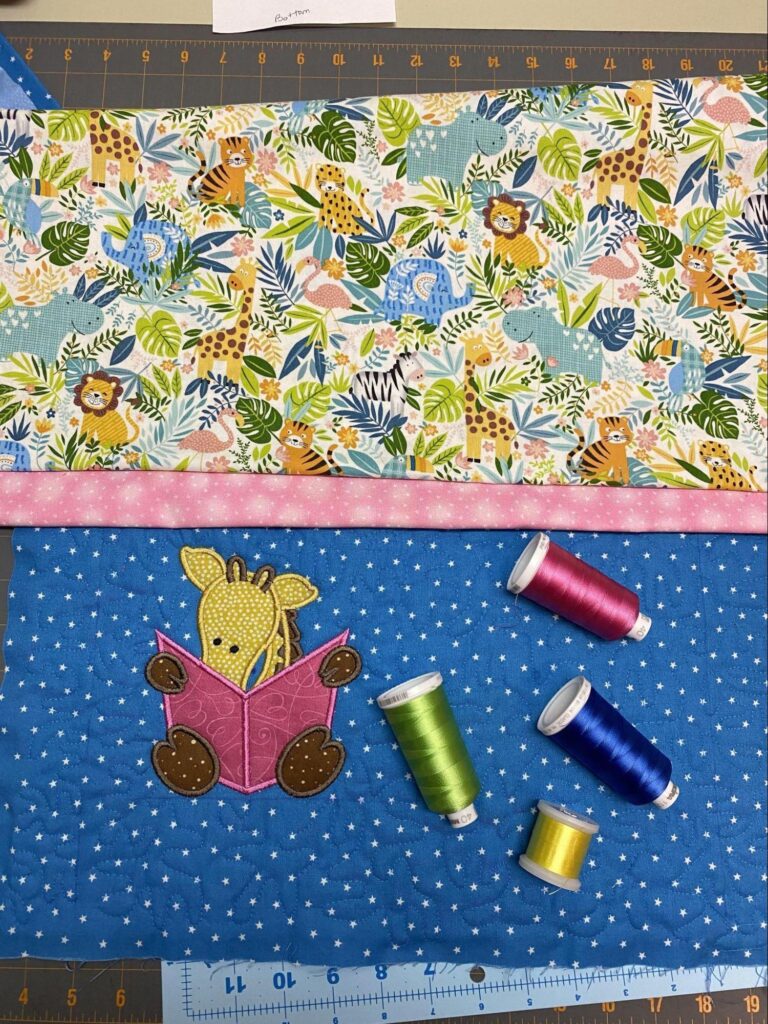
Back
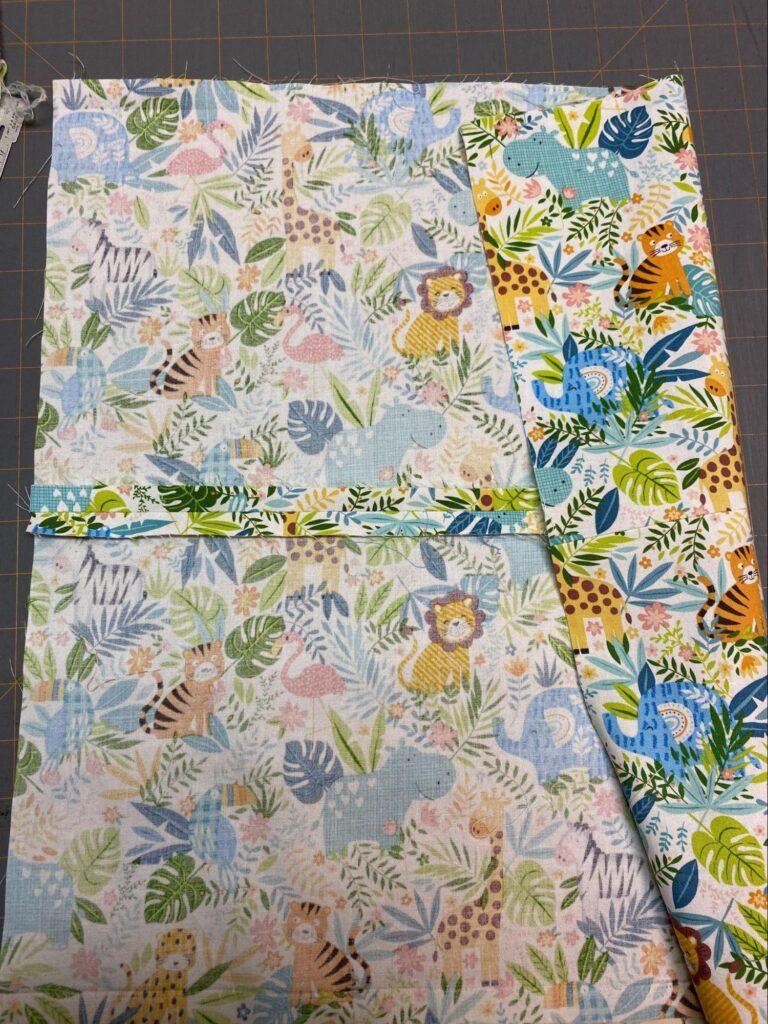
- Baste the top and bottom pieces of the back together and double-check the direction of the print. Press the seam open.
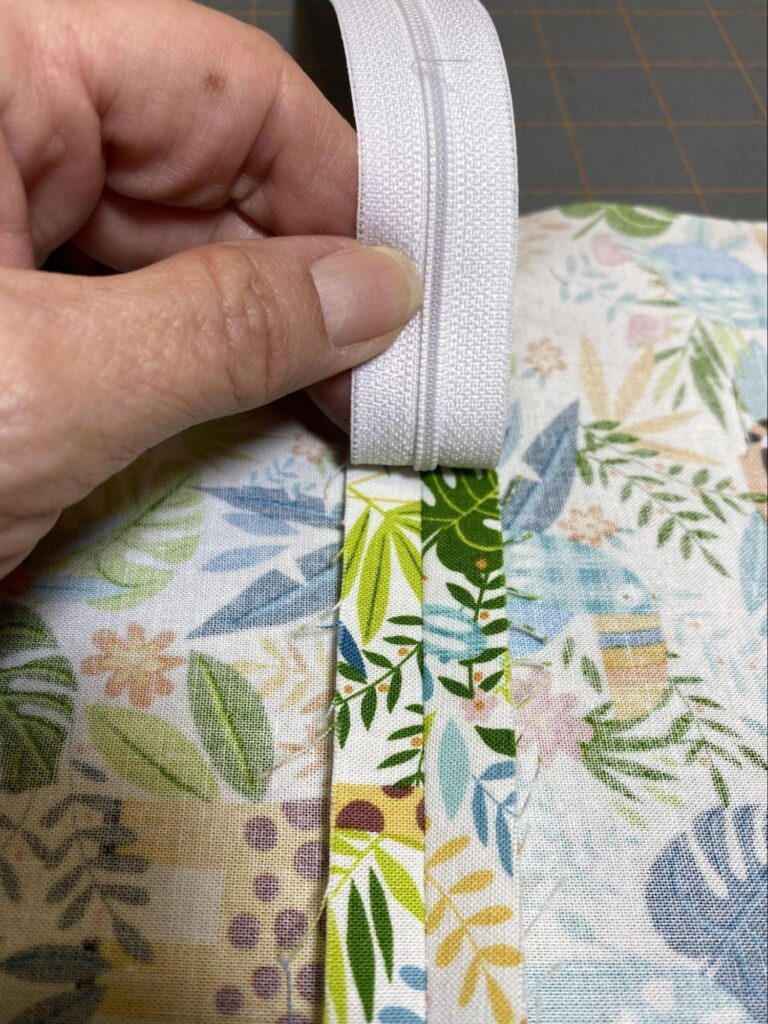
- Lay the zipper face-down, exactly on the back center of the basted seam and pin.
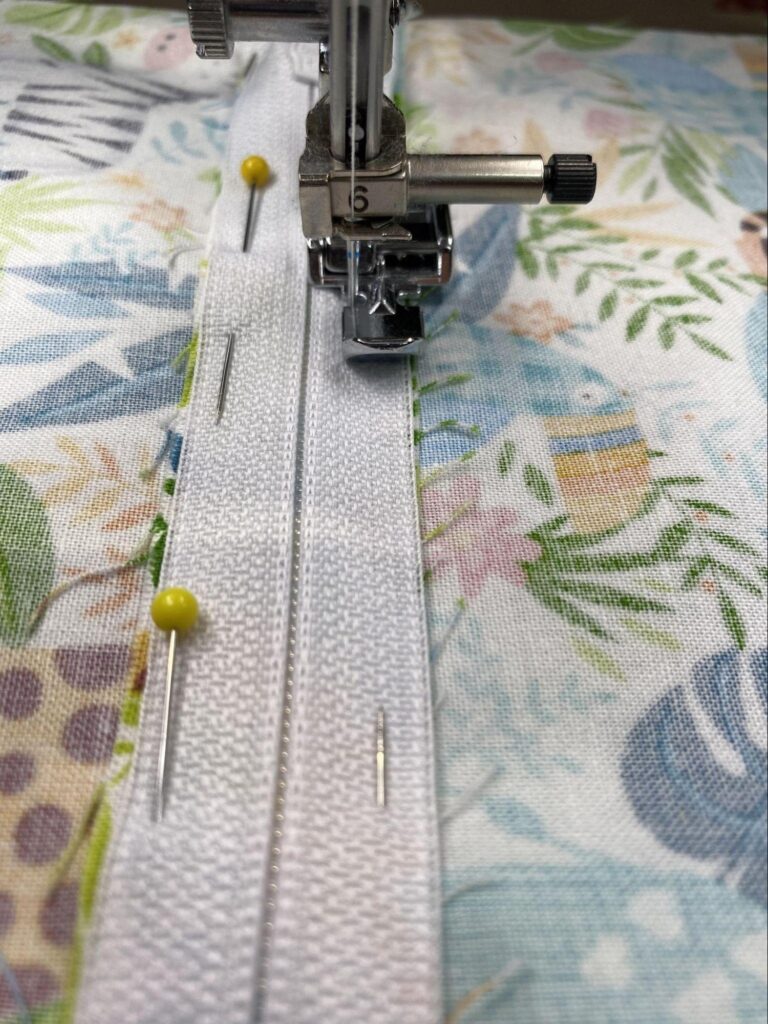
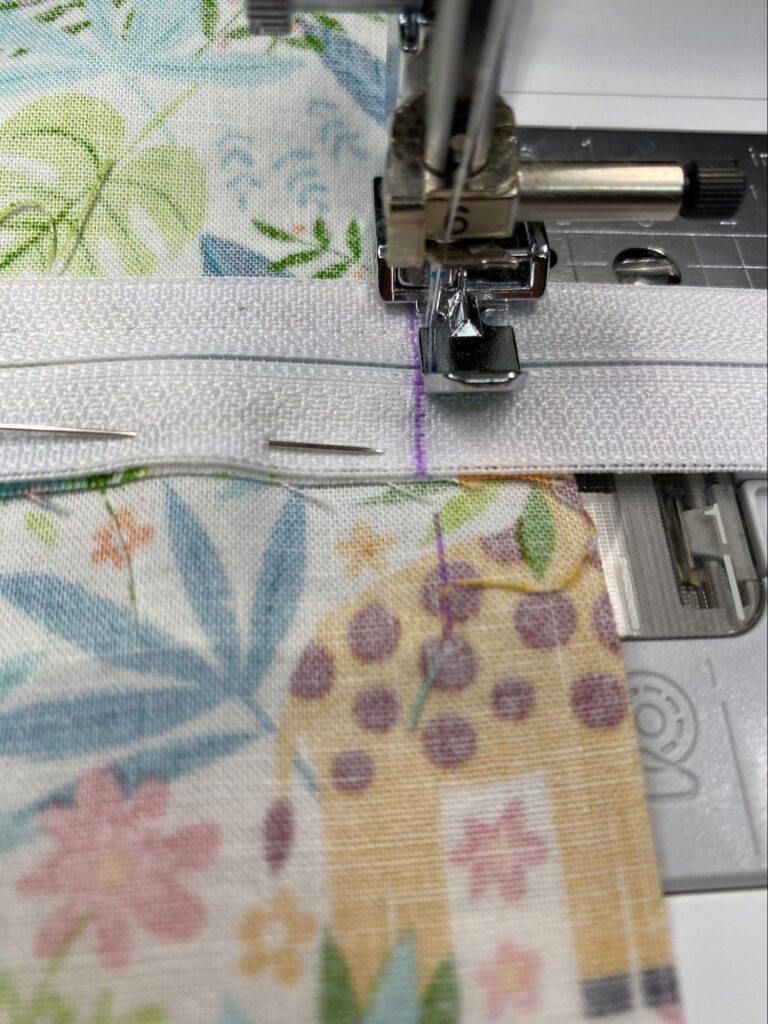
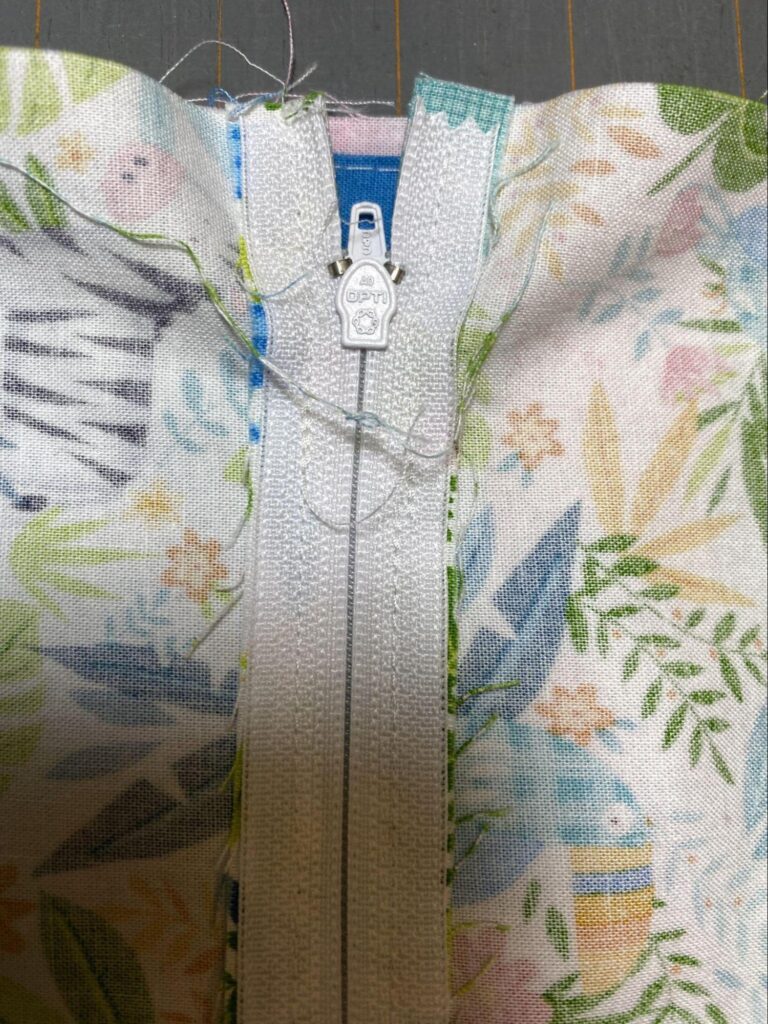
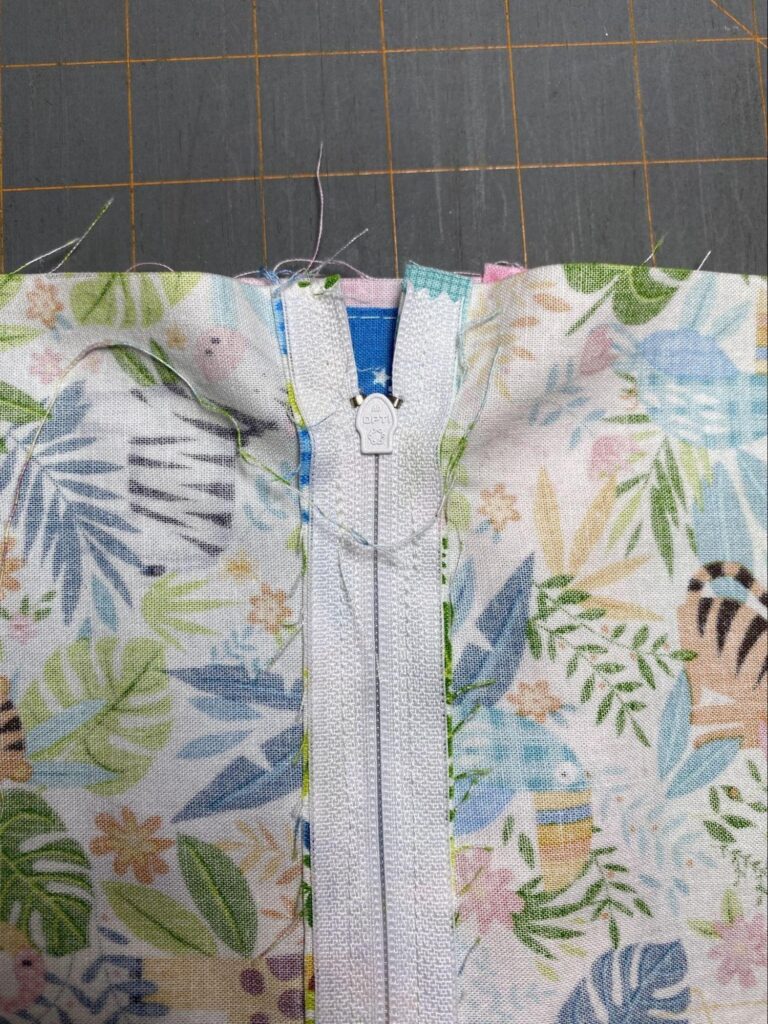
3. Sew the zipper onto your project using your zipper foot. When you come to the bottom of the zipper, sew slightly inside the seam line. Sew that line a couple of times to reinforce. I started sewing on the zipper below the zipper pull, sewed the zipper, then went back after pulling the zipper tab down, and sewed the top.
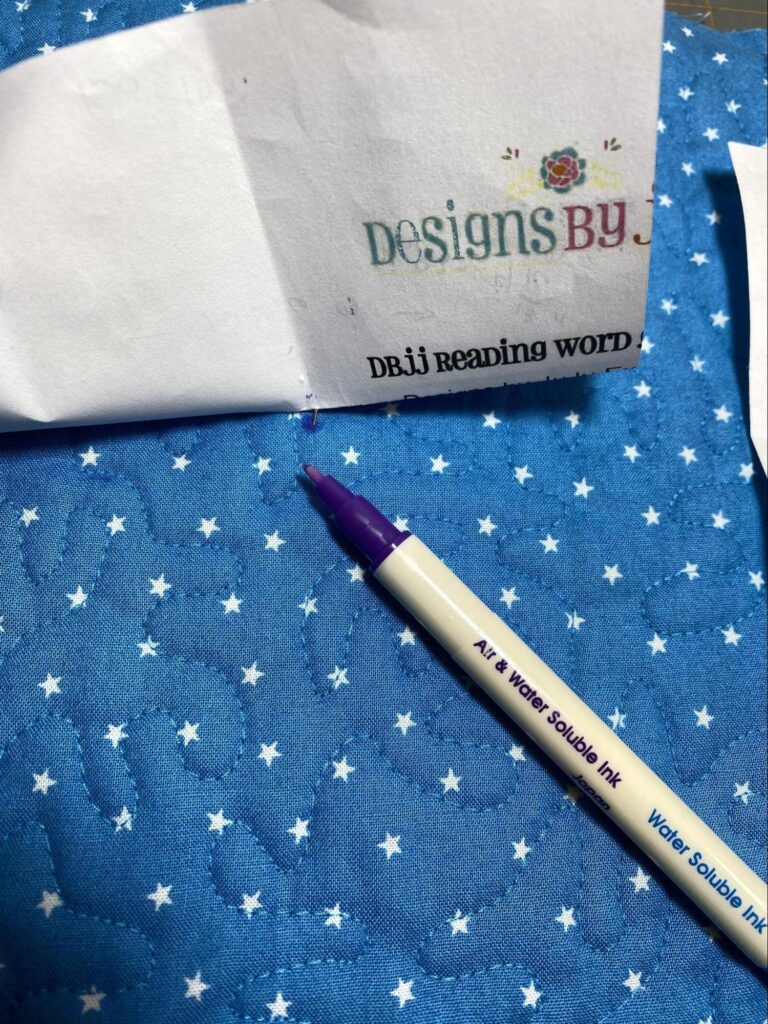
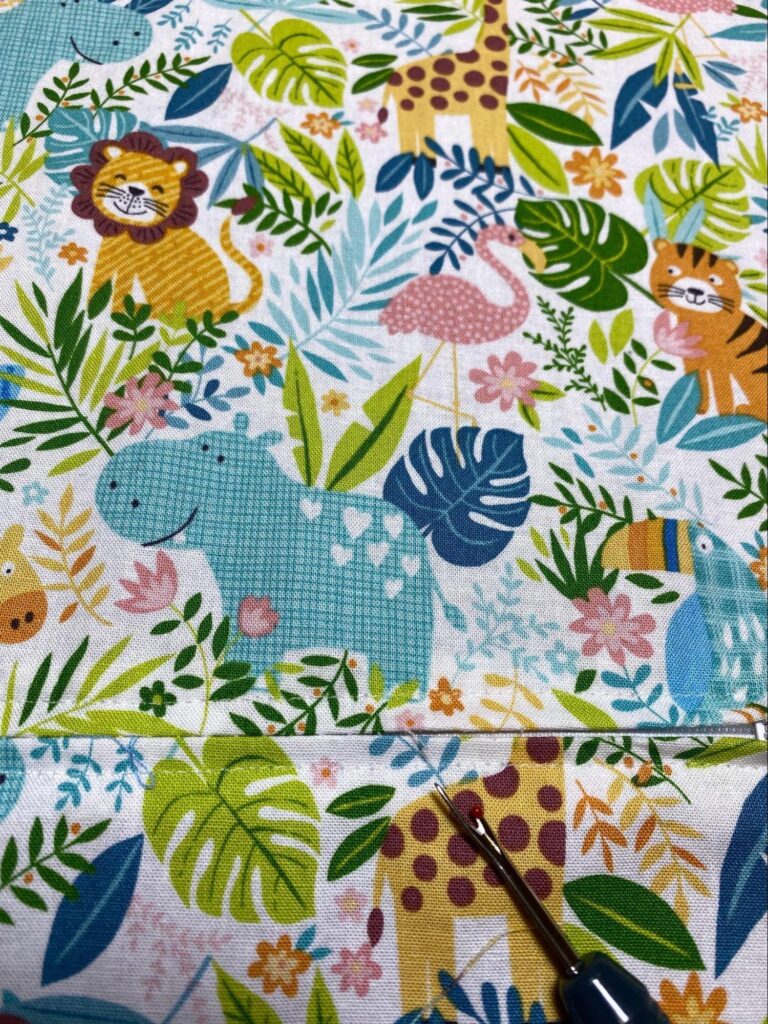
Stitch inside the seam line a couple of times on the bottom to reinforce it. I drew a purple line to remind myself to do this!
4. Remove your basting stitches. The zipper should be perfectly centered. Now, trim off the extra zipper length at the bottom.
Pocket Binding and Lining
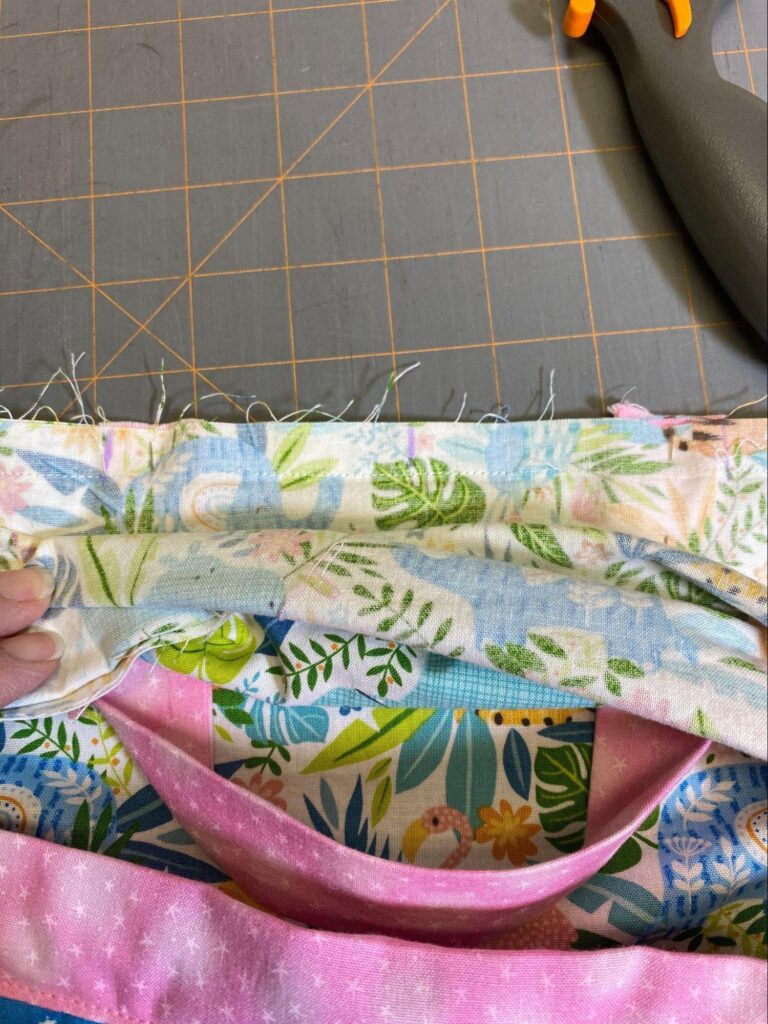
- Turn the top edge of the pocket lining under ¼” and press.
- Turn the folded edge under 1¼” and press again.
- Snug the top of the pocket into the folded edge.
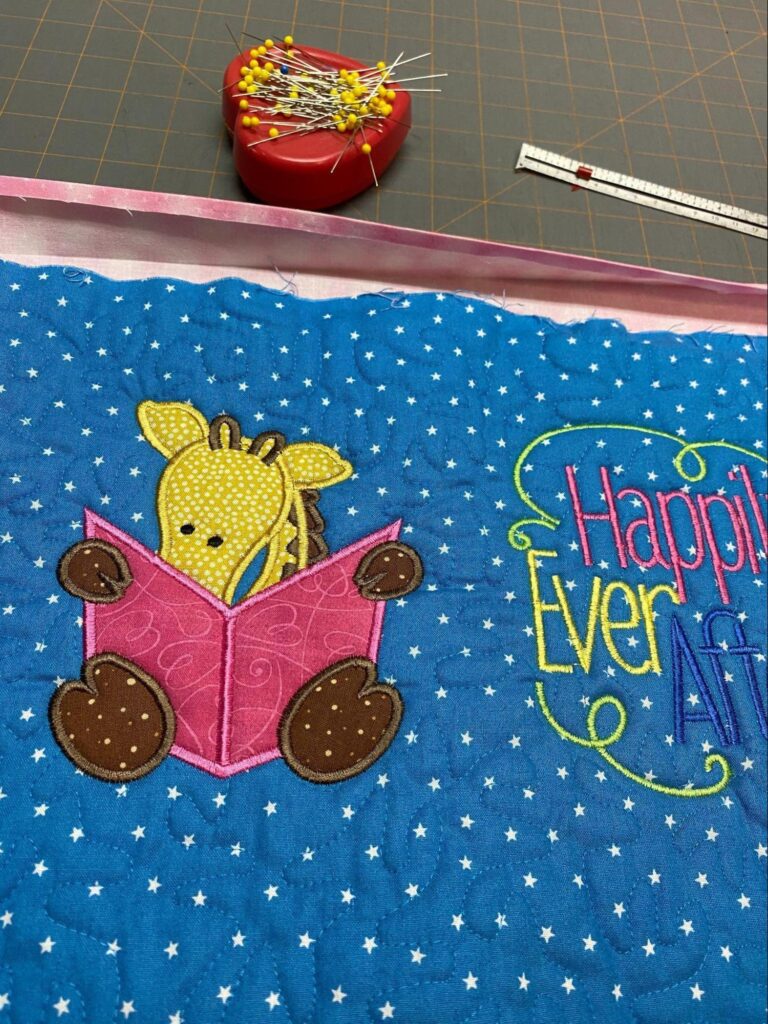
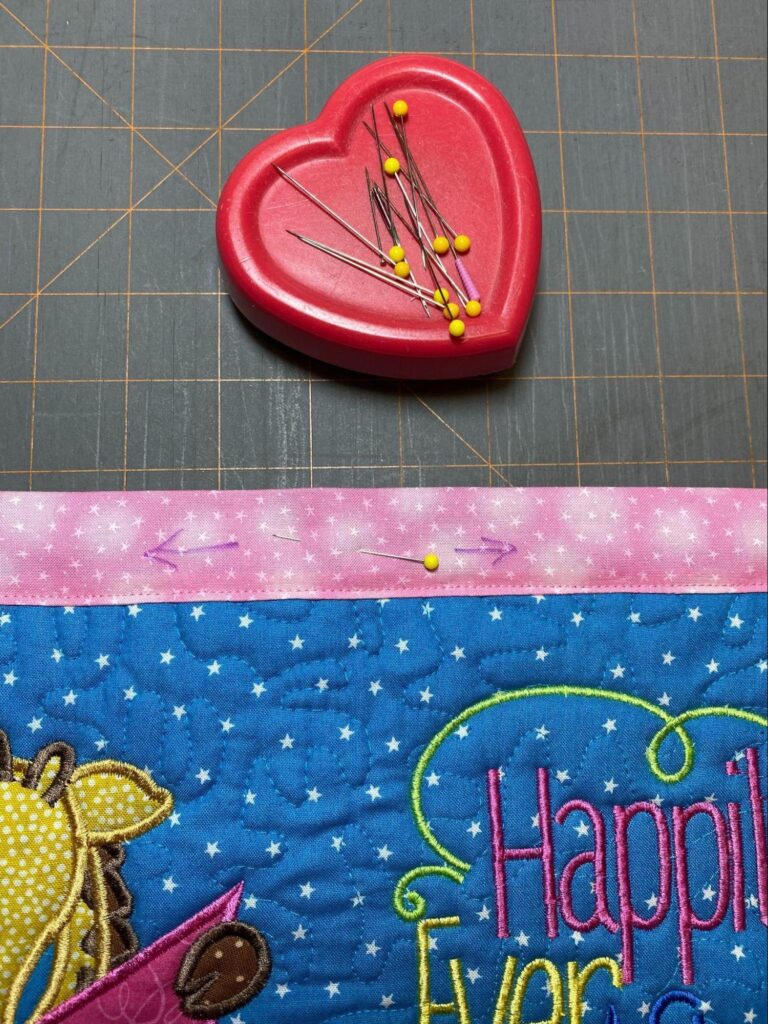
- Starting from the center and working out to each side, pin the binding to the pocket top. This will help prevent rippling when you sew.
- Top stitch close to your finished edge.
Pocket and Front
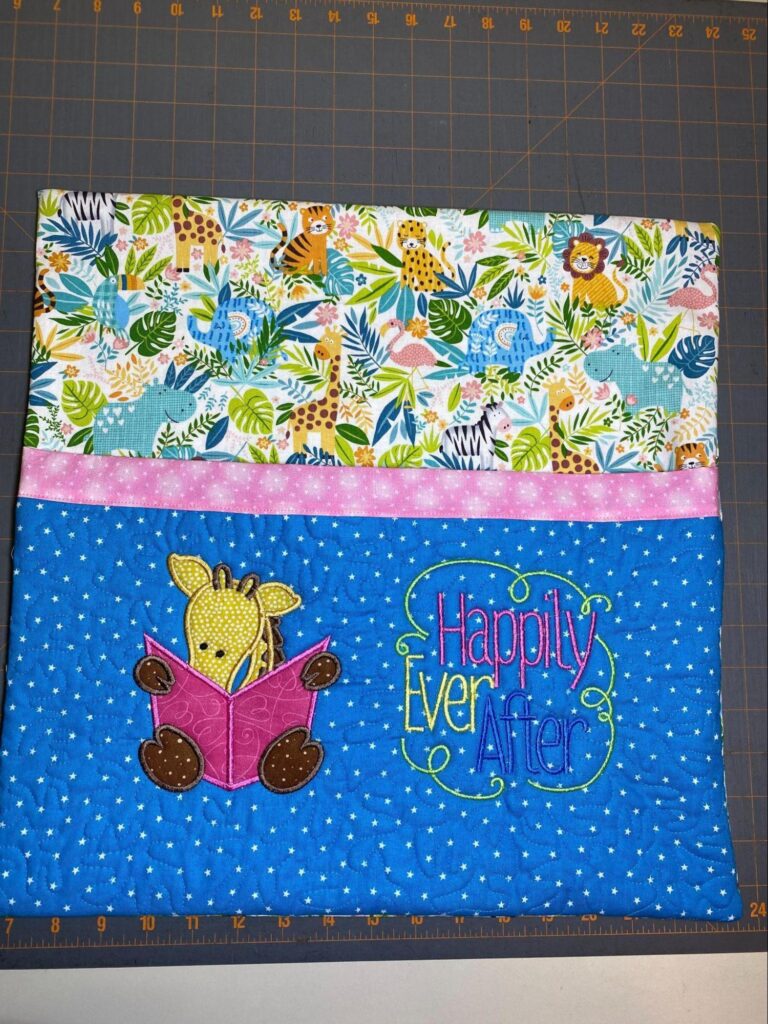
- Pin the pocket front to the pillow front, having both face up. The pocket may have shrunk slightly during quilting, so smooth it and stretch it a bit as needed. Check your side seams. You want to make sure you have enough pocket front on each side to be sewed into the ½" seam allowance.
- Baste just inside the seam allowance so that you won’t have any basting stitches visible on your finished project.
Handle (optional & with optional methods)
- Iron the fusible interfacing onto the wrong side of the handle fabric.
- Option 1 - Fold both sides of the long edges in 1⁄4'' and press. Then fold in half again and press well. With the wrong sides together, topstitch along the folded edges and then down the other long edge.
Option 2 - Fold right sides together, sew ⅜” seam, turn right side out, press.
It’s your choice if you want the seam to be in the middle of the handle or along one edge. - Mark the center of the pillow top, then make a mark 3” on each side of the center mark.
- Pin the raw ends, even with the raw edge of the top, with the handle laying ON the pillow top. The handle will flip out to the top when you turn the pillow right side out at the very end.
- Baste the handle edges just within the seam allowance.
Front and Back
- Pin the front to the back, right sides together. Start by pinning all four corners. Then pin each side. If you find a side where the front and back aren't quite the same size, you’ll need to “ease” the fabric in. Find and mark the middles of the front piece and the back piece. Pin those marks together. Now stretch or ease the fabrics between one corner and middle and pin well. Do the same for the other side. Easing the fabric in like this will help prevent the chance that a pleat occurs during sewing.
- Sew all around the pillow sides. Be sure you have the zipper tab DOWN so you don’t run into it!
3. Trim the corners.
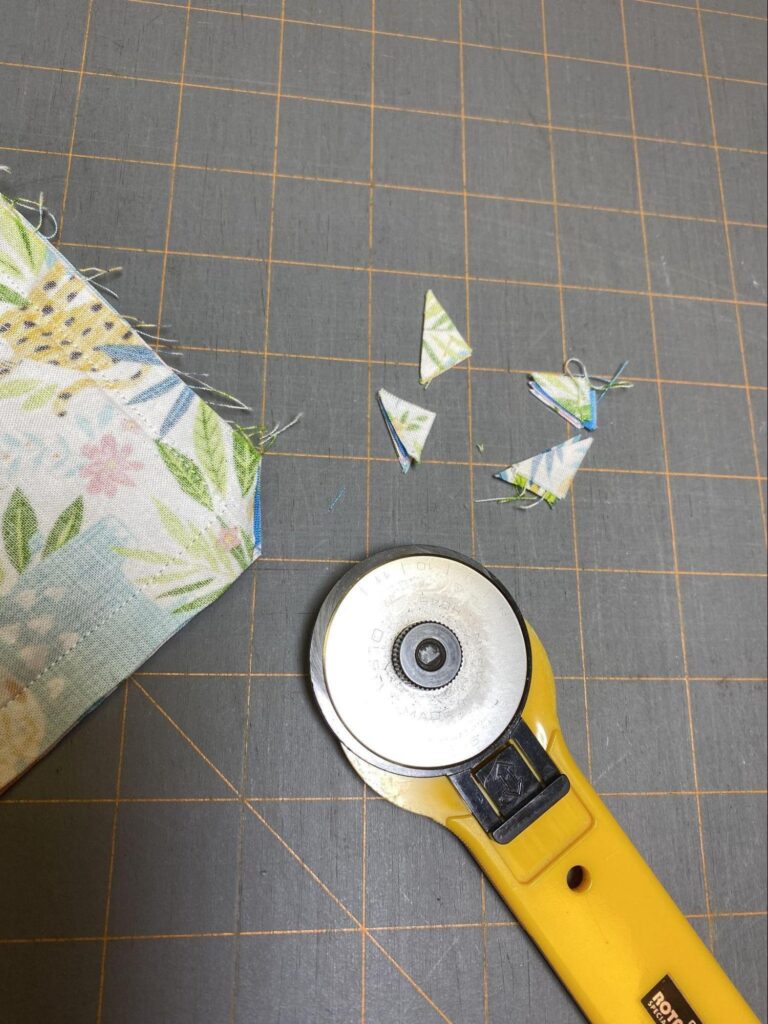
4. Poke the zipper down until you have enough room to reach in and unzip it. Turn your reading pillow right sides out and gently poke out the corners. Fingernails work well for this.
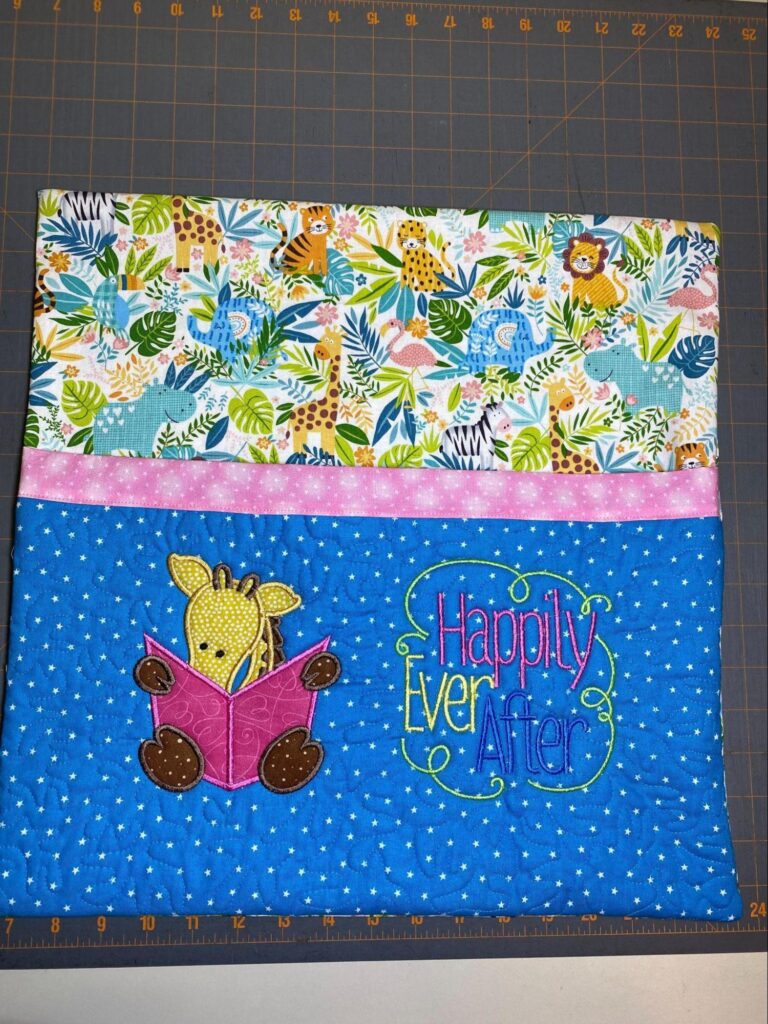
Put your pillow form in, zip it closed, and grin from ear to ear because you’ve made an embroidered reading pillow with a pocket!
Don't forget to share your creations with us on social media (#designsbyjuju).


