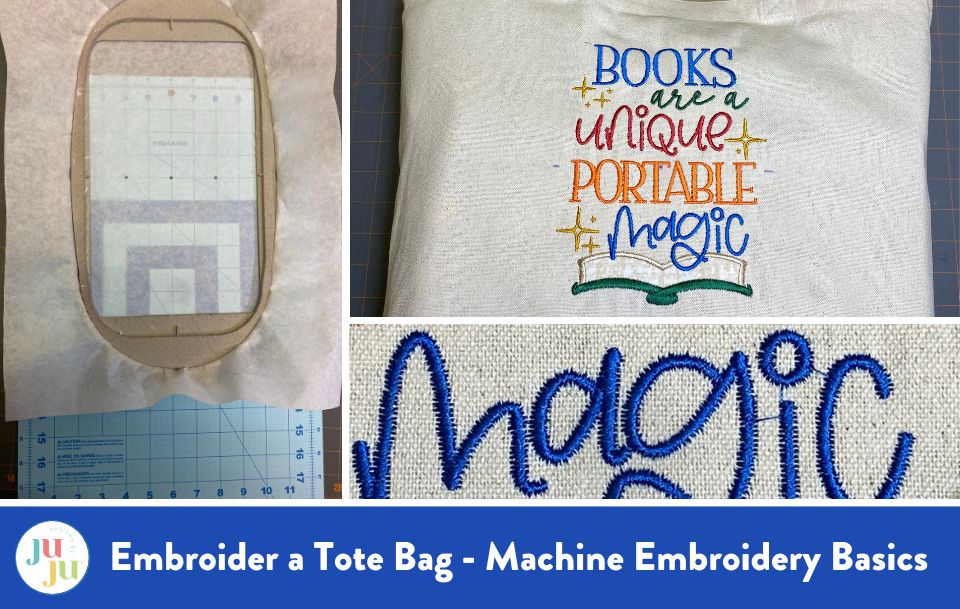
How to Embroider a Tote Bag - Machine Embroidery Basics
Are you looking for your first embroidery project? One that’s fun and useful but won’t be too difficult to make? Consider embroidering a ready-made tote bag! You can find tote bags at popular craft stores near you or on Amazon.

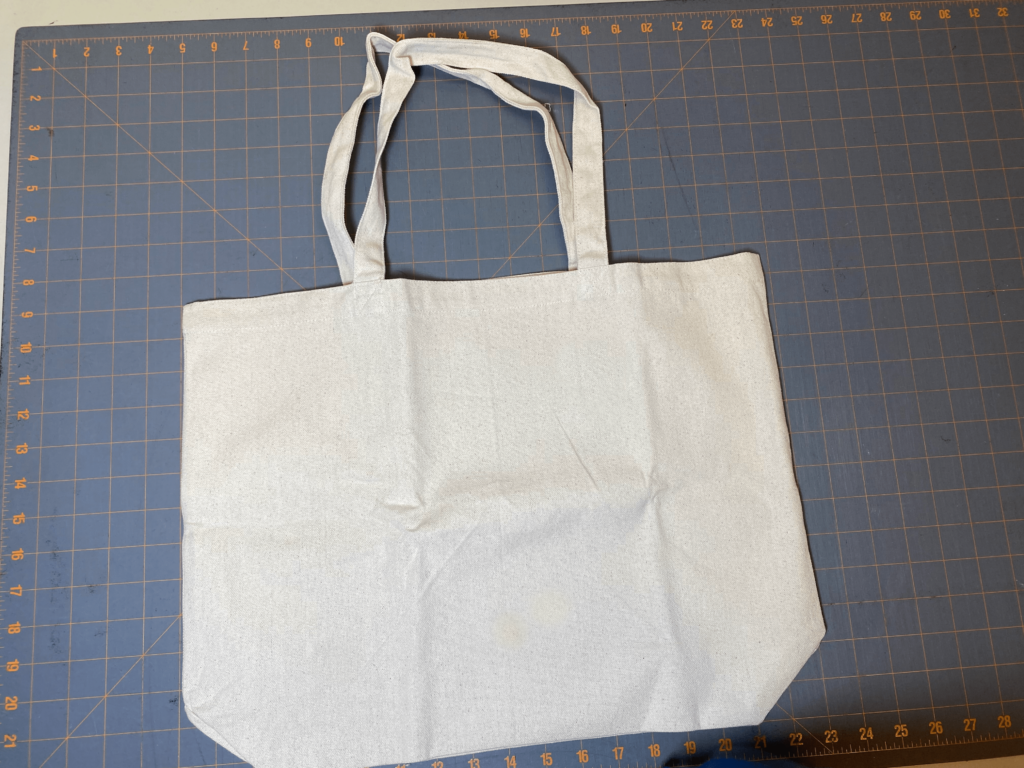
Here is the bag I chose from one of the craft stores. It’s big enough to hold my papers and notebooks for work, and I can tuck my laptop inside.
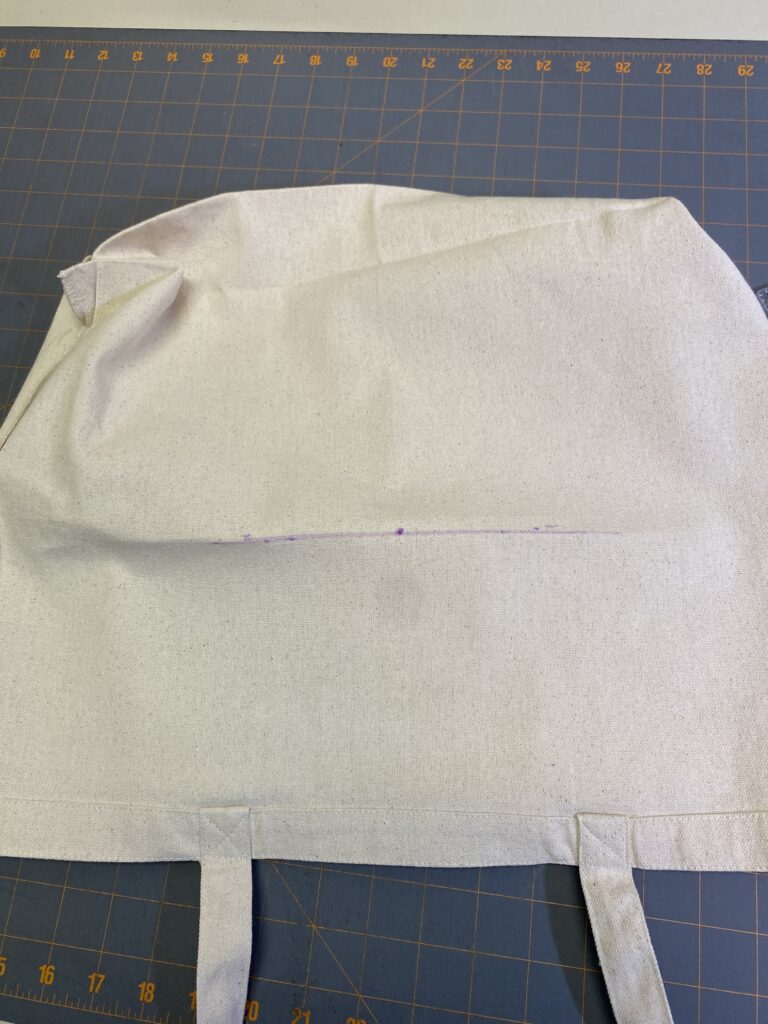
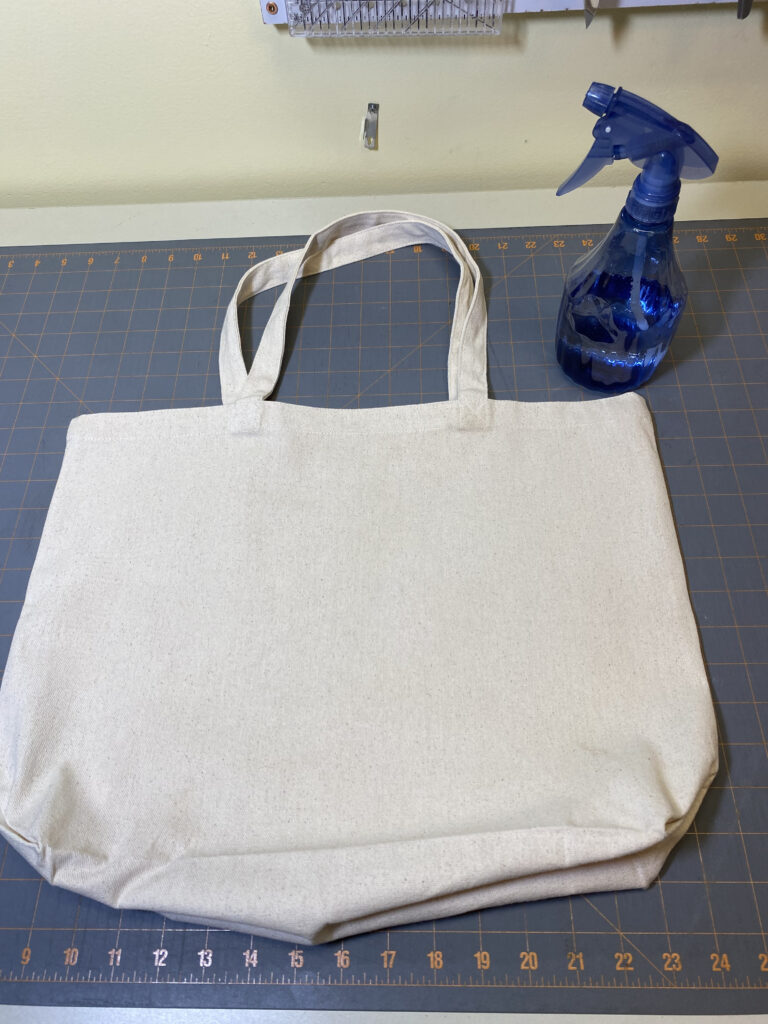
First, you want the bag to lie flat on your hoop so the stitching is smooth and there are no creases in your finished product. Iron your bag first. I used a dry iron on the cotton setting with water using my dollar store bottle. This helps to give you a more even surface to work with.
Next, decide on your design. Because I work with books, I’m one of the designs from JuJu’s Reading Word Art 4 collection.

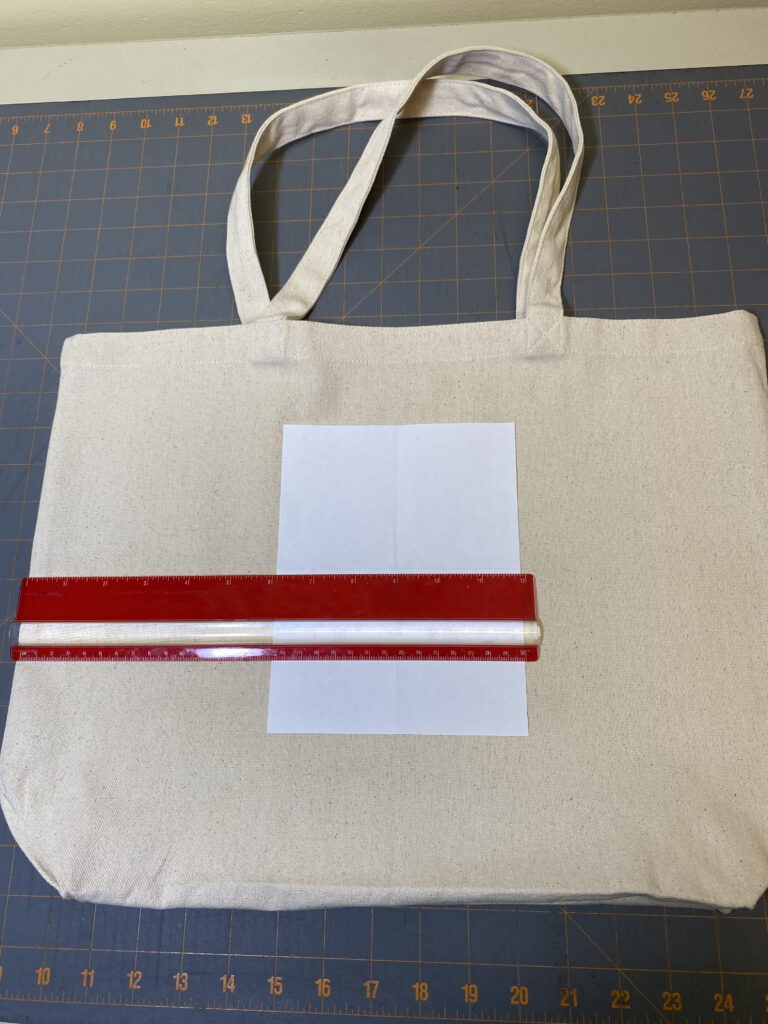
I like to see where the design will be and how the size fits the project. I chose a size and cut the design from printer paper to do this. If the measurements are in inches, I’ll use my cellphone calculator to convert them to millimeters for more accurate measurements.
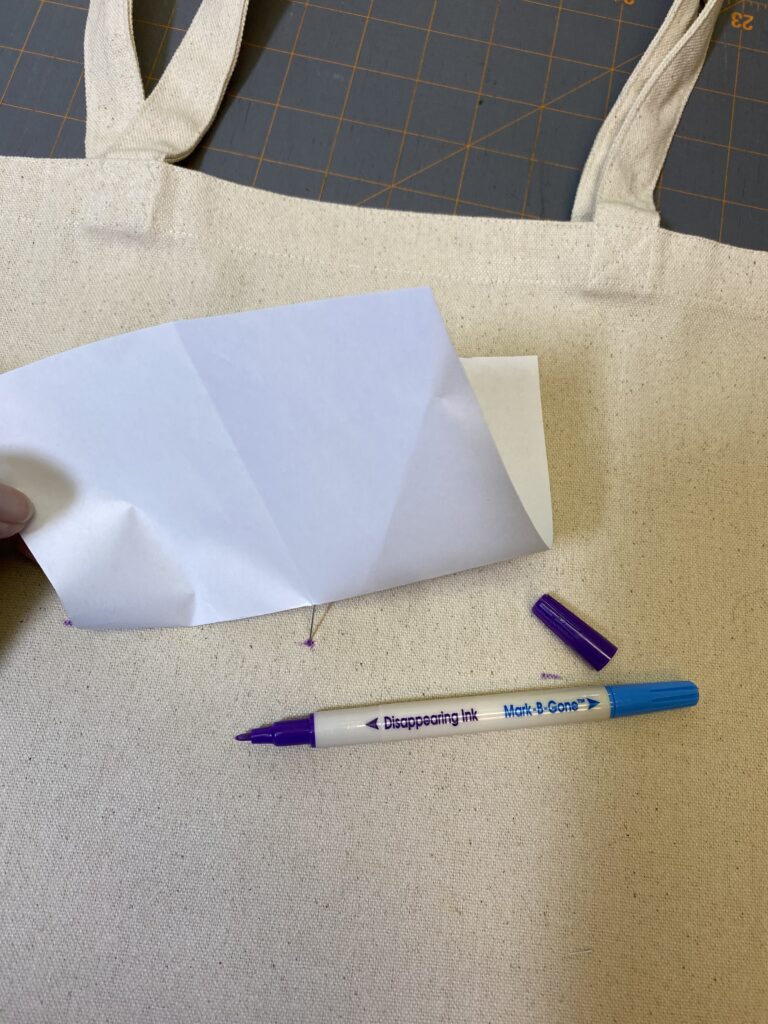
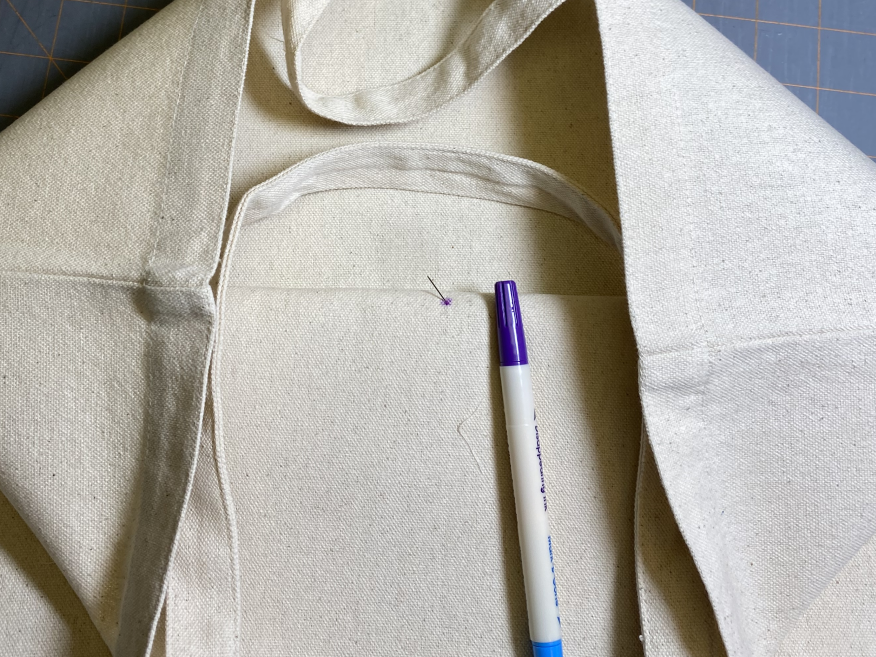
I use a ruler to check that the design is centered. Once I like the placement, I used a pin to poke a hole in the middle of the paper and mark the CENTER spot on the project. I use the purple end of the Mark-B-Gone. I also measured and drew a dot to the left and right of the paper. Those marks will disappear over a few days or immediately with water. However you do it, you need to find the center of the design and where you want the center of your project to be!
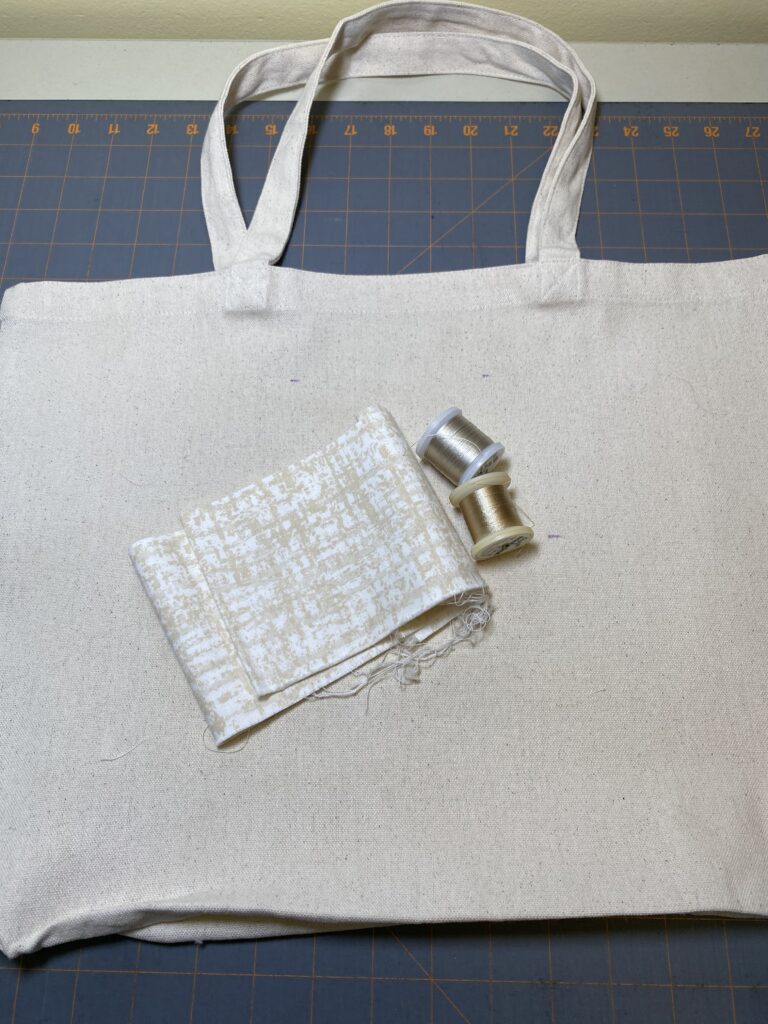
Next, work out the colors you want. Through experience, I’ve learned that I must conscientiously check for contrast in my colors. Look at the two colors of thread I’m considering for the outline of the book pages. The lighter color is lovely, but once stitched out, it will probably be too close to the color of the bag, so I’m going with the darker color. Below is an example where I don’t think the contrast between the thread and fabric was strong enough.
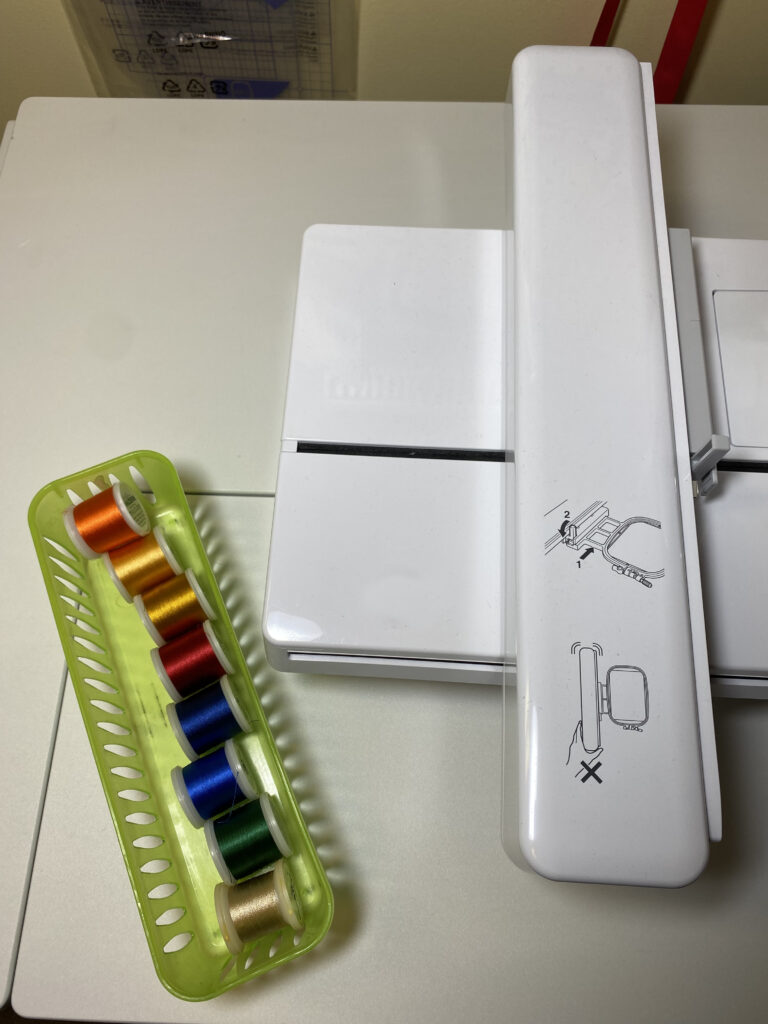
I also set things up to try and prevent mistakes because I’ve made them! We all have to learn along the way. I had many colors out while I found the right bright blue, the perfect green, and red. I put all the colors into this basket once I’ve chosen them. When I started embroidering, I accidentally picked up the wrong color, red (blue or pink), because all the discarded colors were still within reach. I had to do that a few times until I started using the basket!
Speaking of keeping myself organized and using my time more efficiently, I made cheat cards while learning to use my sewing and embroidery combo machine. I still pick this card up to double-check I have everything set up correctly.
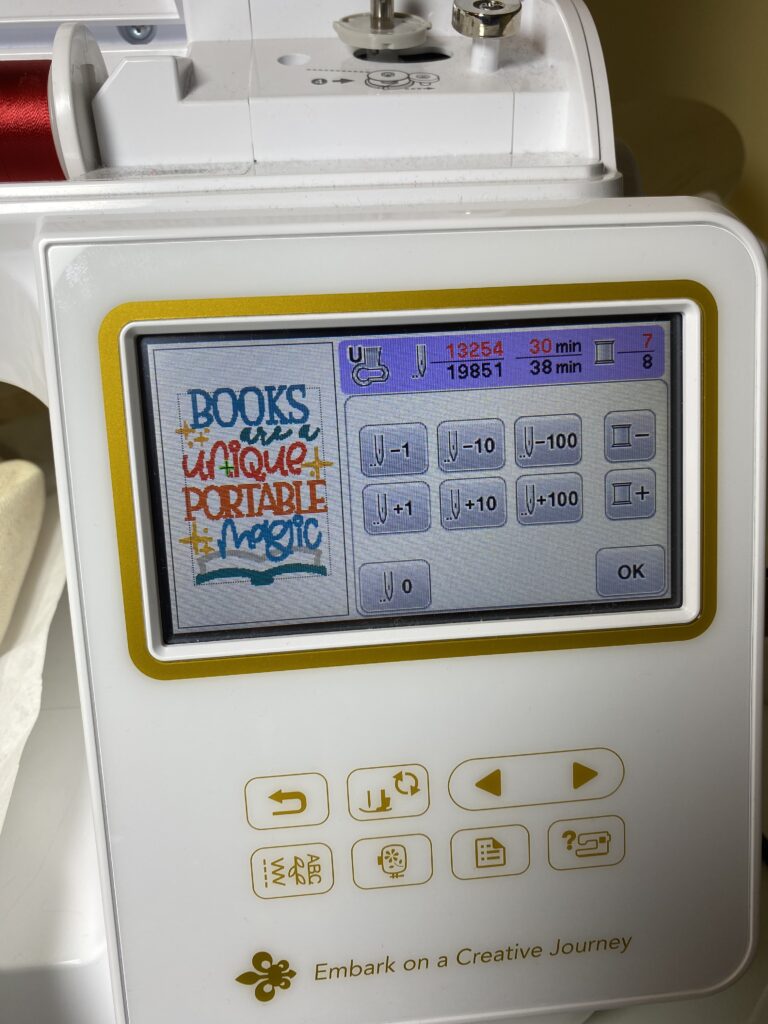
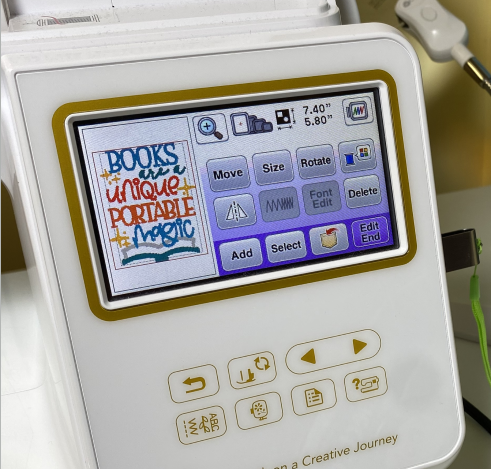
Here’s the design loaded in the machine. It’s essential to look at the frame size and orientation. For this project, the frame size is 6” x 10”. Now, look at the orientation. Be very careful here! The screen shows that this design is going to stitch out top to bottom, so when I have the bag in the hoop, I’ll have it top to bottom. If your design is on its side you’ll need to ensure the tote bag is in the hoop correctly. You won’t be too happy if your design stitches out sideways or upside down!
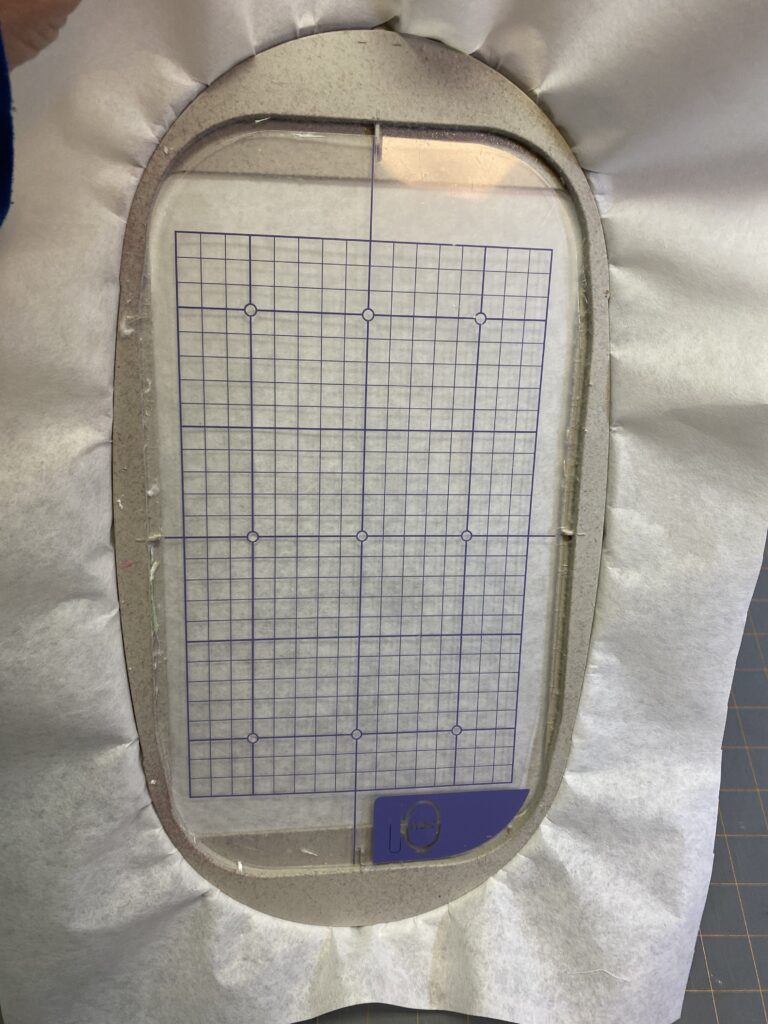
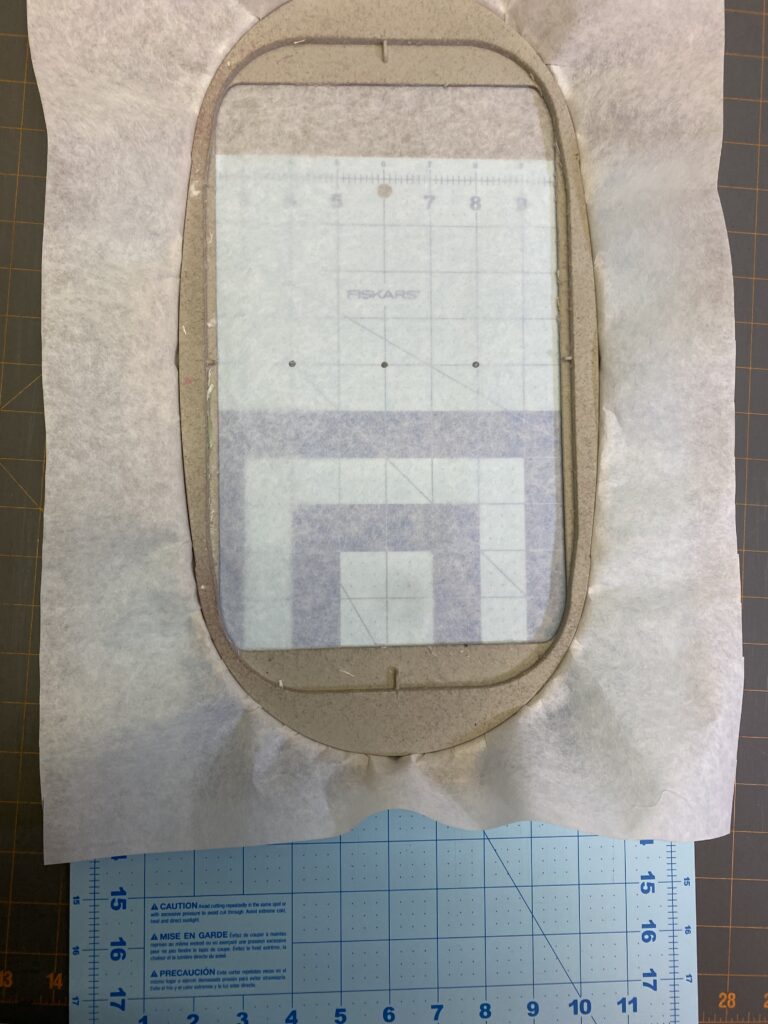
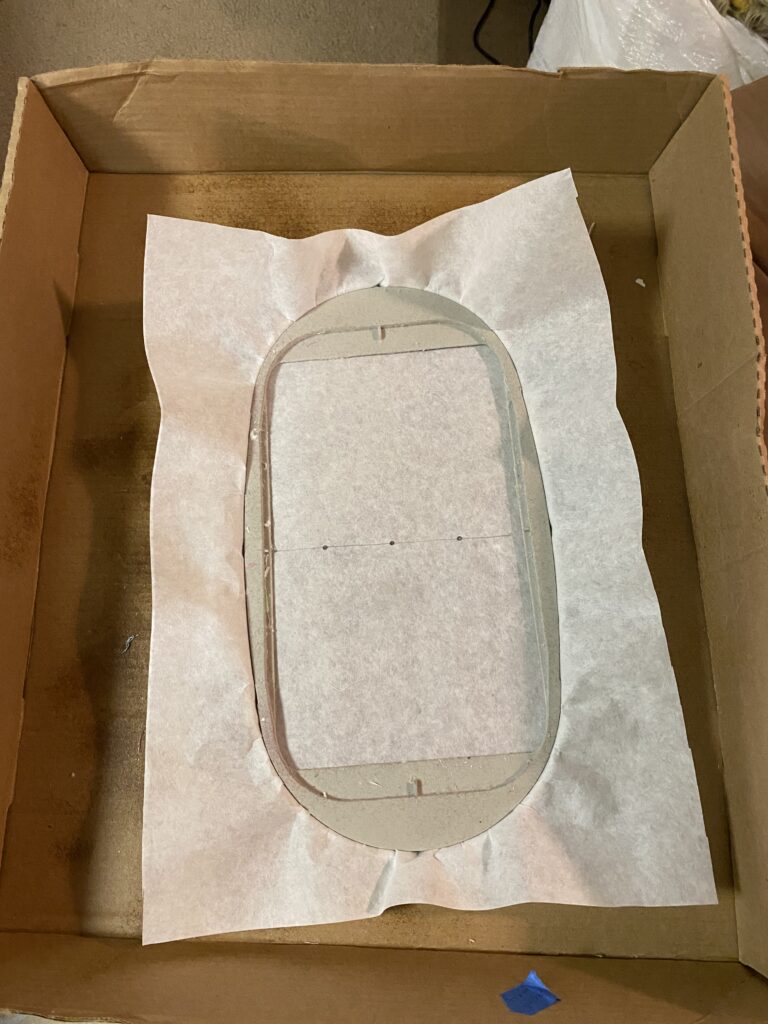
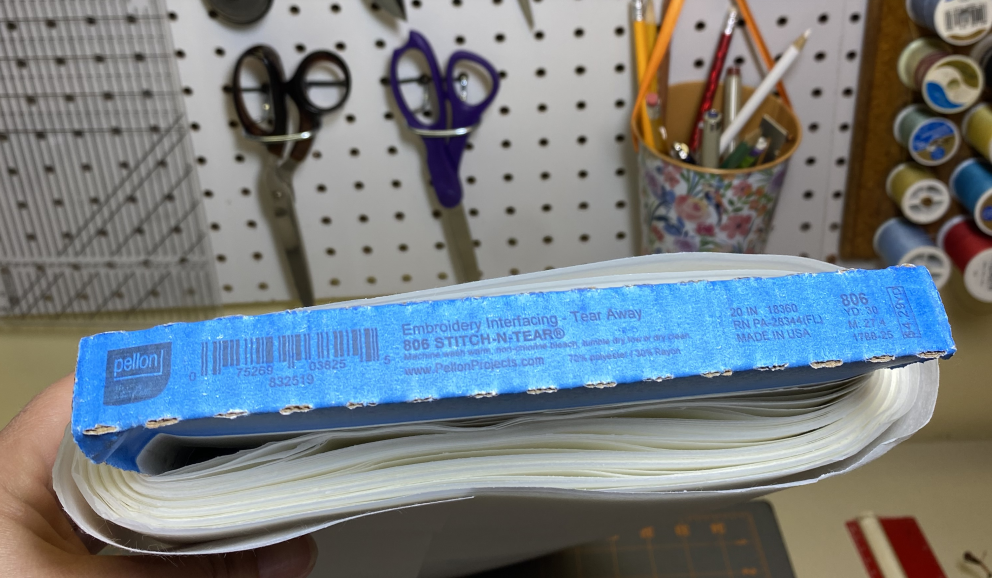
I’m using Pellon tear-away stabilizer for this project. After I had the stabilizer in the hoop, I marked the center and orientation dots using the plastic grid that came with the hoops. Then, because I’m picky about it being straight, I lay a light-colored cutting mat underneath and draw a line.
Turn the tote bag inside out. It’s the only way you’ll be able to keep the extra parts of the bag out of the stitch zone.
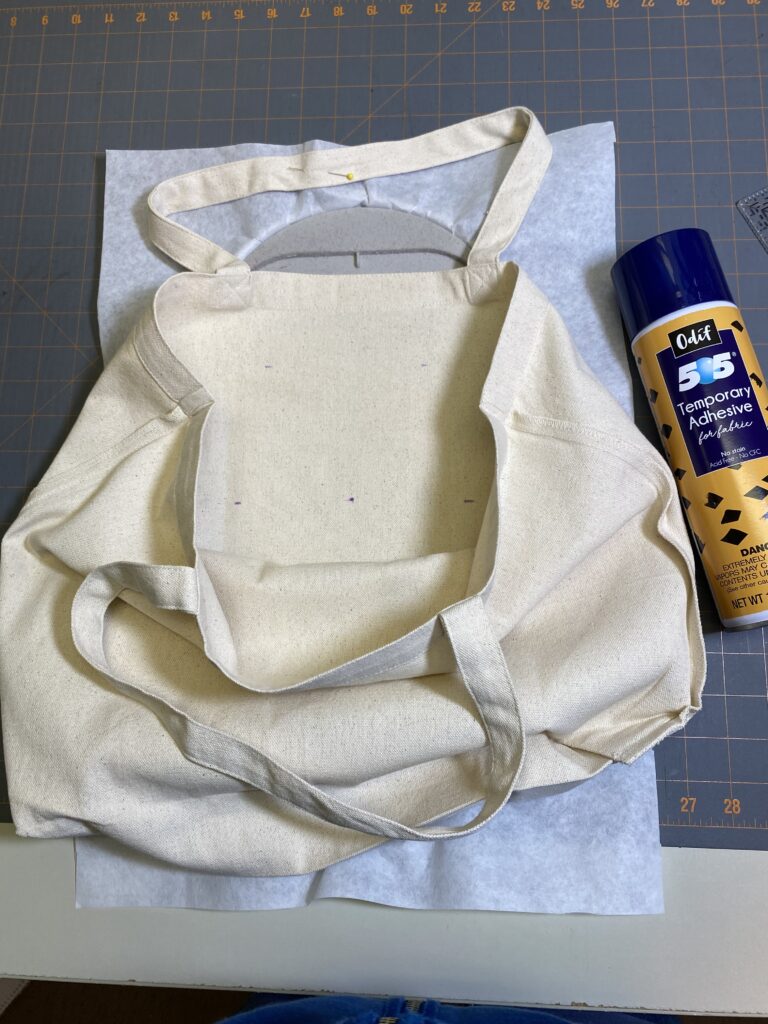
Remember the dots I put on the center and sides with the purple disappearing marker? I take a straight pin and put it through the dots of the bag and make the same dots on the other side. I even go so far as to mark a line from dot to dot lightly. I’m using the purple marker for visibility. Up to this point, I’ve never had a problem with the marks not disappearing.
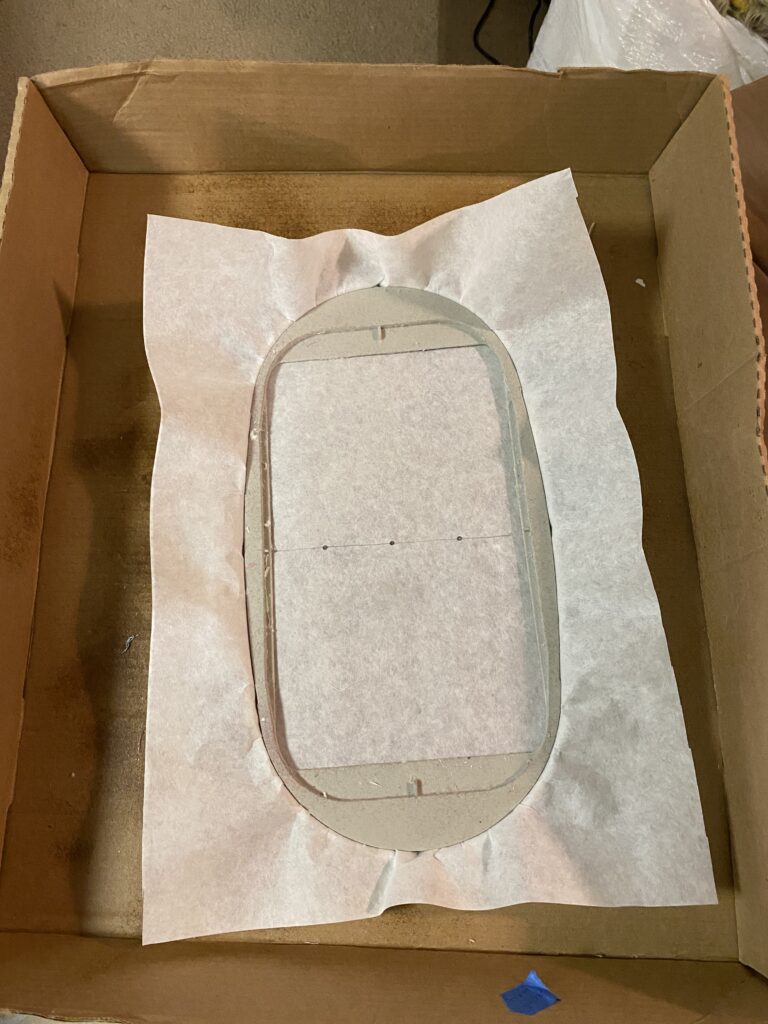
Instead of hooping the tote bag, I’m going to float it. In case you haven’t heard this term yet, I’m putting the stabilizer in the hoop and then using an adhesive spray on it so the tote bag will stay in place.
I have a spray box, a large shallow box I use to contain the overspray when I use the 505 Temporary Adhesive. I spray the stabilizer, match the center dots and lines, and adhere the bag to the stabilizer. I’m going to use a few pins as well for extra stability. I used one pin to keep the top strap out of the way and a couple on the sides lightly pinned to the paper to keep it from moving around.
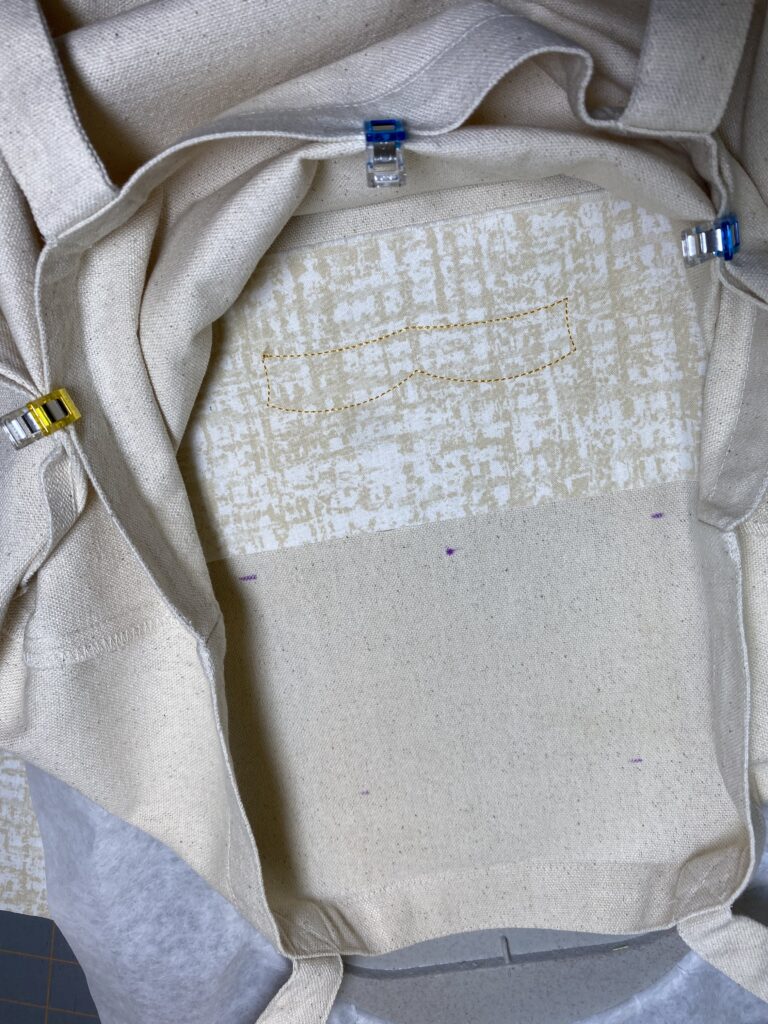
Most machines let you check the embroidery area. I always do this to ensure I have the center correct and all four sides will fit. When I did this for my tote bag, it was immediately apparent that I needed to be careful that the wrong parts of the bag didn’t get caught up by accident. If you’re a beginner, I will strongly suggest your first tote bag project is a large one like mine. The smaller the bag, the more you might struggle with fitting the project on the hoop with enough room to quickly get into the stitching zone.
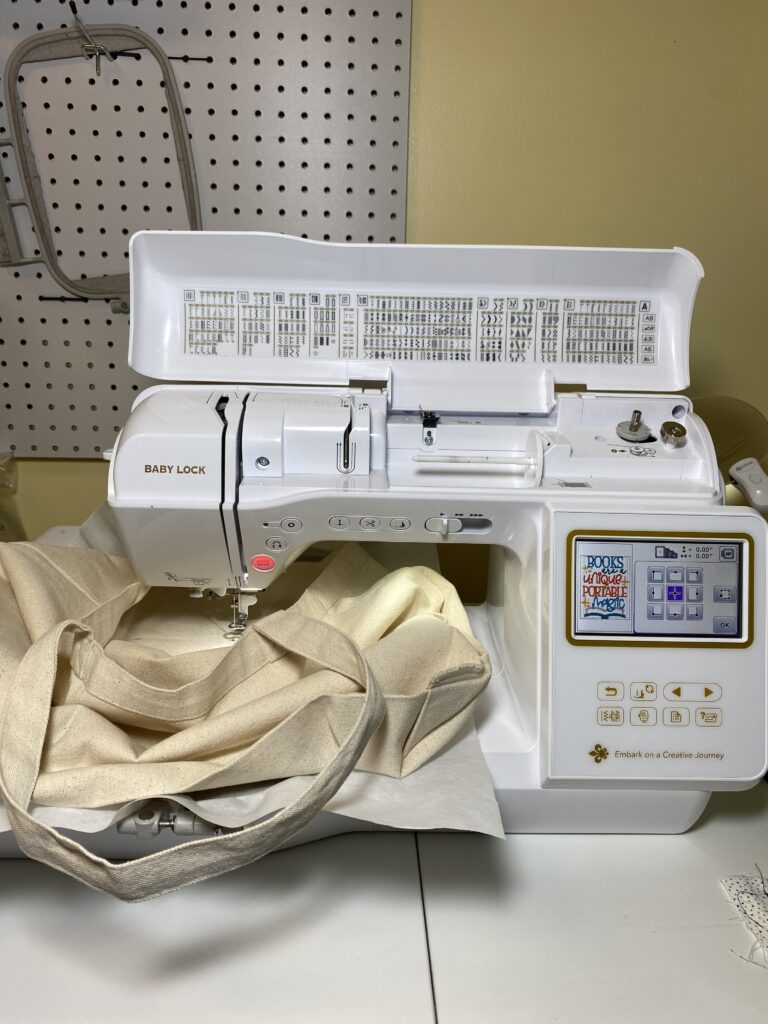
I used quilting clips here to open the stitch area, but little black binder clips also work great. I’ve also used blue painter’s tape. Even though I have the fabric tacked back, I will NOT walk away while this is embroidering! It’s a bit too bulky and close to the edges to not keep a close eye on this. Now, on to the embroidering!

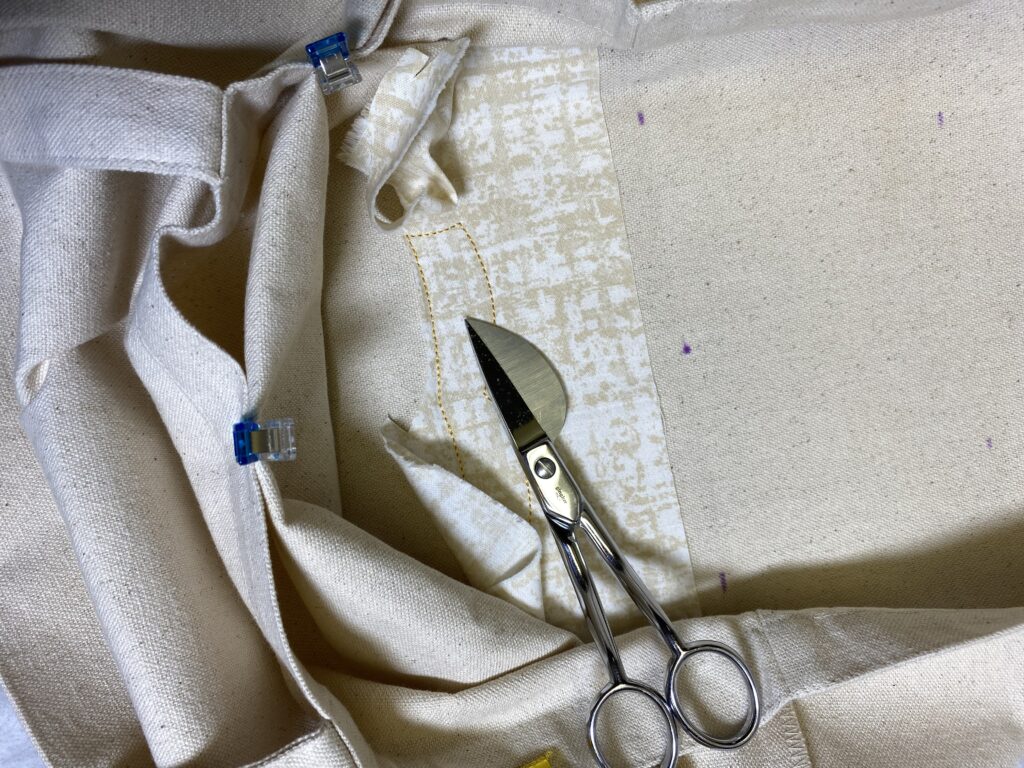
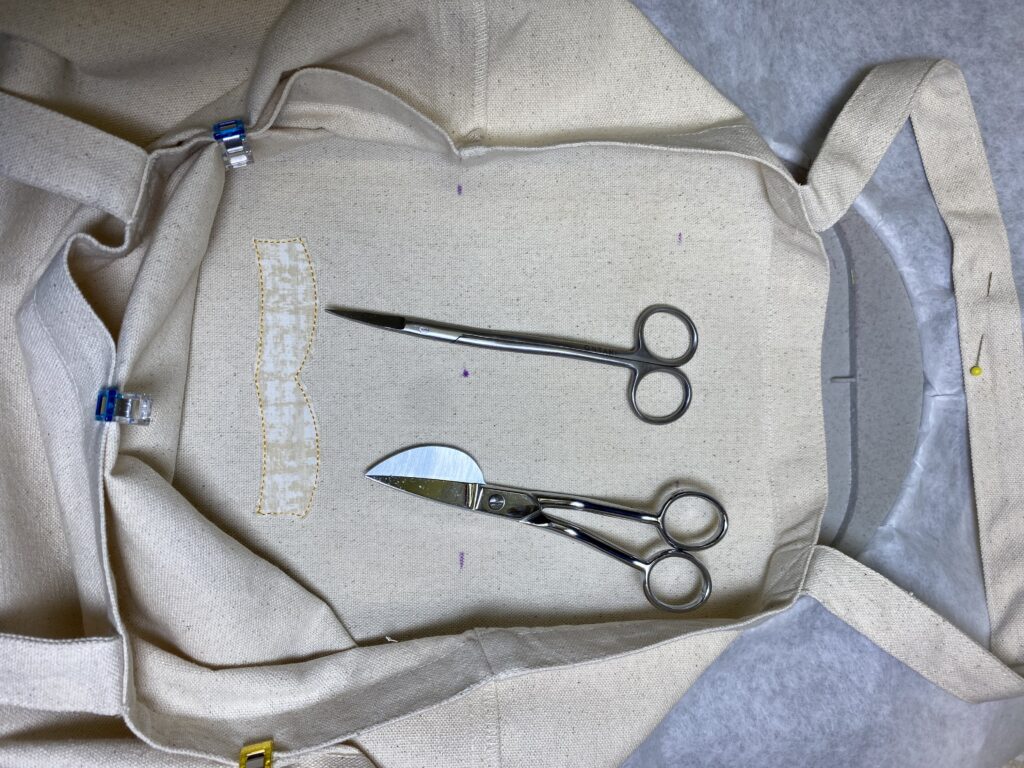
This particular design has an applique piece to it. This means I’ll need to remove the hoop to be able to trim the fabric away. This will take some care. I’m using my largest hoop, 6” x 10”. It might have more flex to it and a chance to come apart. I usually unlock the hoop, carefully push from the top edge, and hold it steady with my other hand. Here are photos of the hoop, the trimmed applique fabric, and the scissors I used. Yes, I used both pairs, as you want to trim close to the outside edge.
Be careful when removing and replacing the hoop on the machine because of the excess fabric. Mine hung up on the locking lever as I took it off the machine. It's good that I did it slowly; otherwise, I’d have pulled the hooping apart!
I stayed with my nose to the machine to ensure nothing got hung up. I needed to nudge the sides back a few times while the machine stitched. I didn’t realize the ecru thread I’d chosen was that low on the spool! Because of that lucky miss, I will make another thread decision. If you noticed in my earlier photo of the threads in the basket, there were two spools of blue. That color is one of my favorites to use! However, one spool is low, and while they are the same Madeira number, the dye lots look different. I think I’ll use the full spool and not take a chance of running out of thread in the middle of a stitch out. (After writing this, I chose an entirely different blue!)
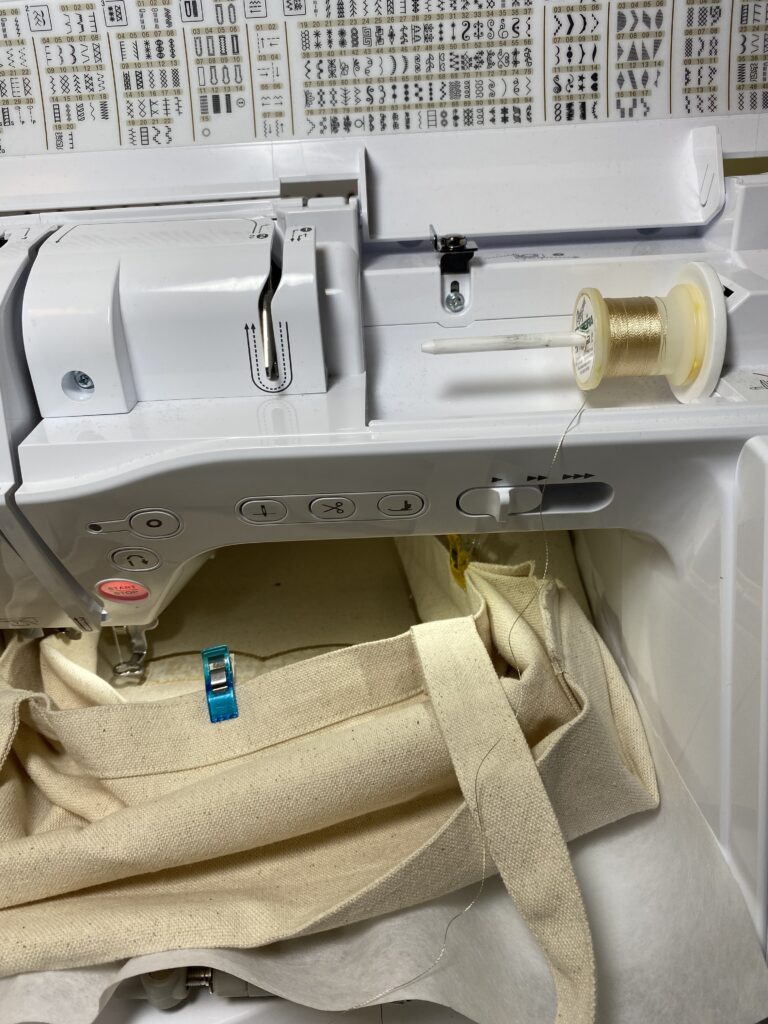
Here, I am working on the book part. One of the brilliant things about how this design stitches out is that the left part stitches, then the right side. This means pushing the sides of the tote bag out of the way is easier, so they don’t get caught in the machine.

If you run out of bobbin thread midway in a section, put a new bobbin in or refill the old one. Then, back up the design to the point where you feel comfortable about how much it overlaps. Do the same if your thread breaks. I started this project with a full bobbin, so I should be good for the entire design, but I’ll check about midway through the steps. (The full bobbin was more than enough for the whole project!)
Now, it’s time to decide which gold to use for the stars.

Clip any thread tails as you go so they don’t get sewn into another part of the design by accident.
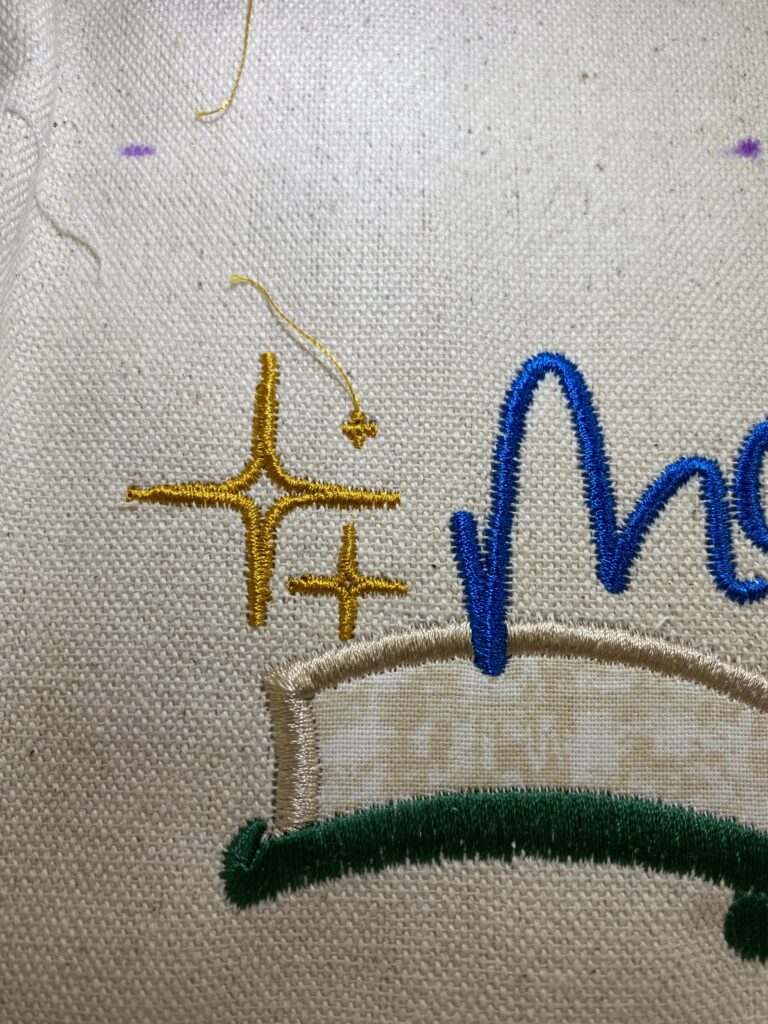
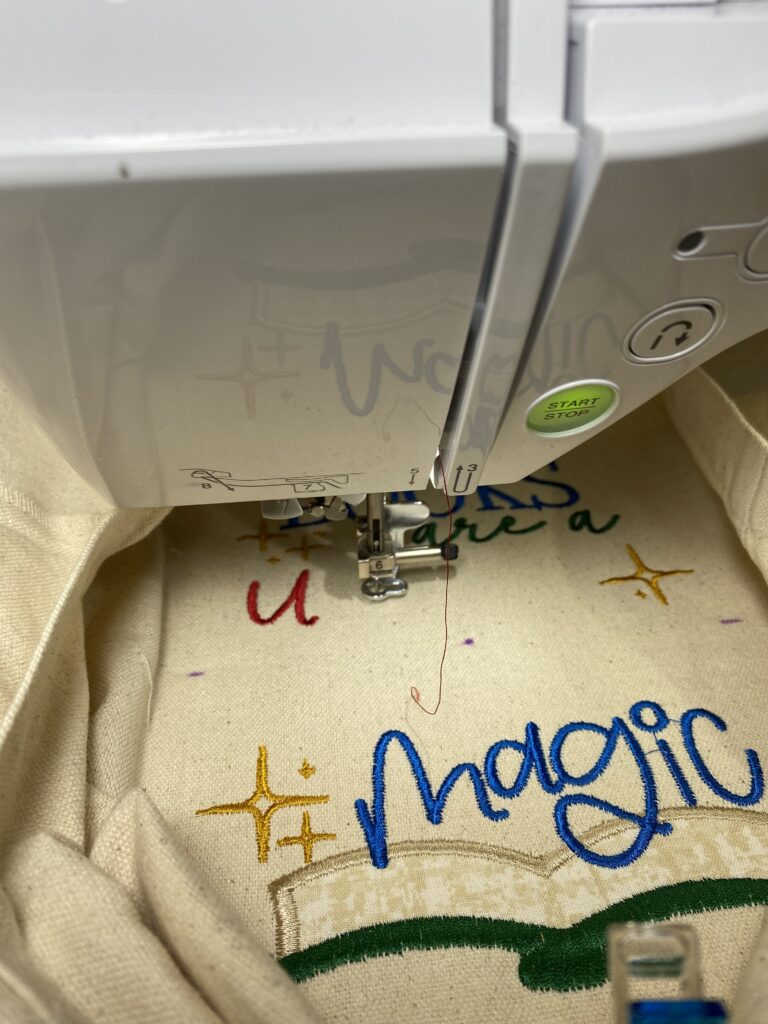
It's good that I talked about backing up the design because the needle lost the thread when moving from the “u” to the “n.” See the icon on my screen with the needle and -/+ sign. (I’m using a photo from an earlier step because the photo I initially took here was blurry.) If I select that icon, I can back up the design. I brought the design back to the “u” and then forward by single stitches until the beginning of the “n.”
We are getting near the finish line!
We are ready to take it off the machine!
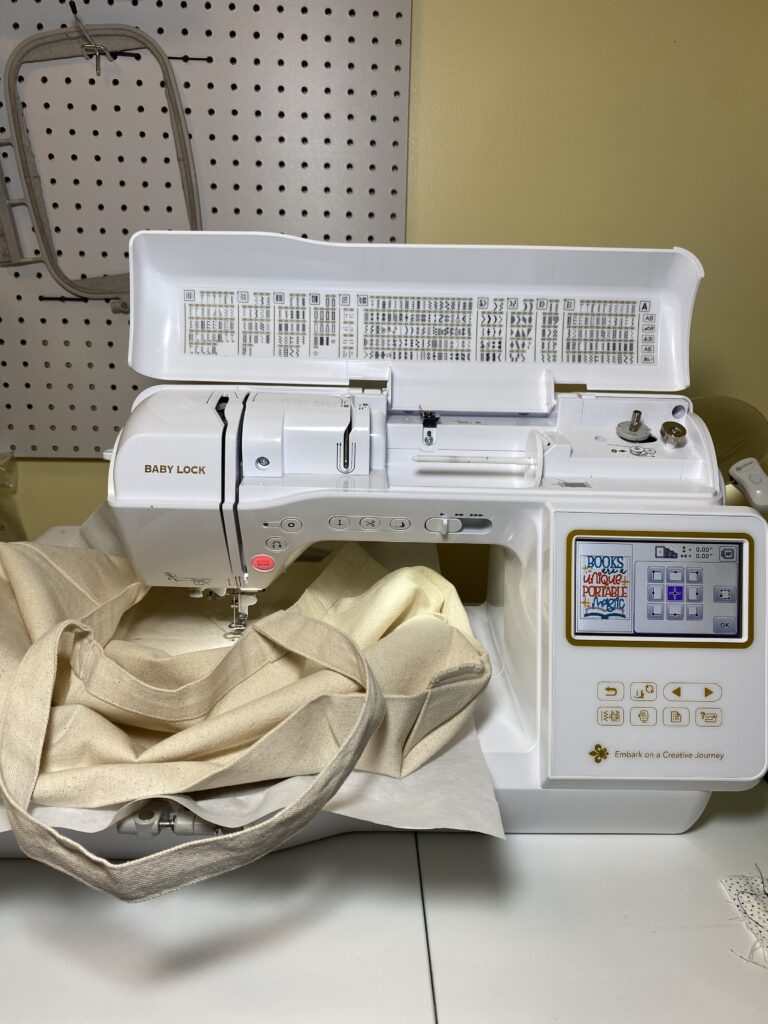
After removing the hooped project from the machine clip, clip any jump stitches. You don’t know what jump stitches are? Some machines move from one point in the design to another with a thread in between. That little travel thread is called a jump stitch. Some machines cut the jump stitch for you. Mine doesn’t. The jump stitches are often found between letters, like in this project. I’ve also seen them in floral designs with lots of little flowers. I like to cut the jump stitches while the project is still hooped and flat. I use a small pair of scissors with a curved blade.
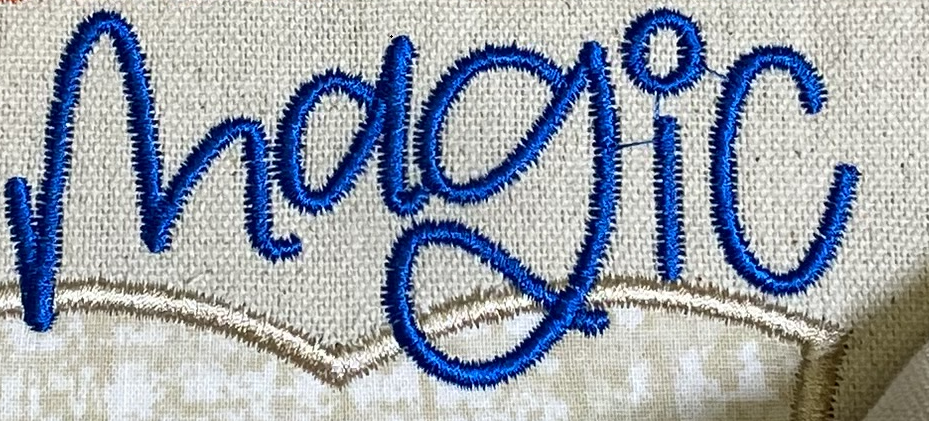
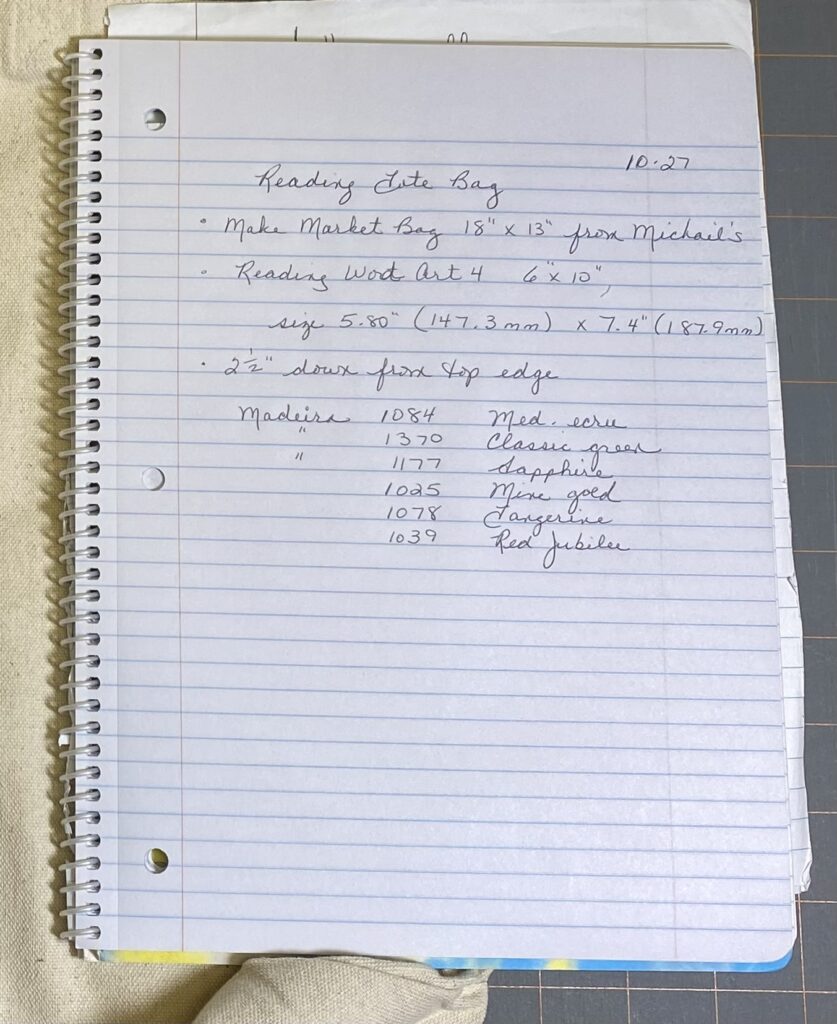
I keep a notebook with all the things I’ve made. I record the design name, the product used (for example, BH & G towels), the size, and the placement. This saves a lot of time when I embroider something similar. Suppose it’s a towel brand I’ve used before. I know how far from the bottom edge I need to be. If I think the design should have been bigger or smaller after making a project, I’ll write that in the notes. I also write the threads I used. Anything I can do to help myself in the future to complete the next embroidery project!
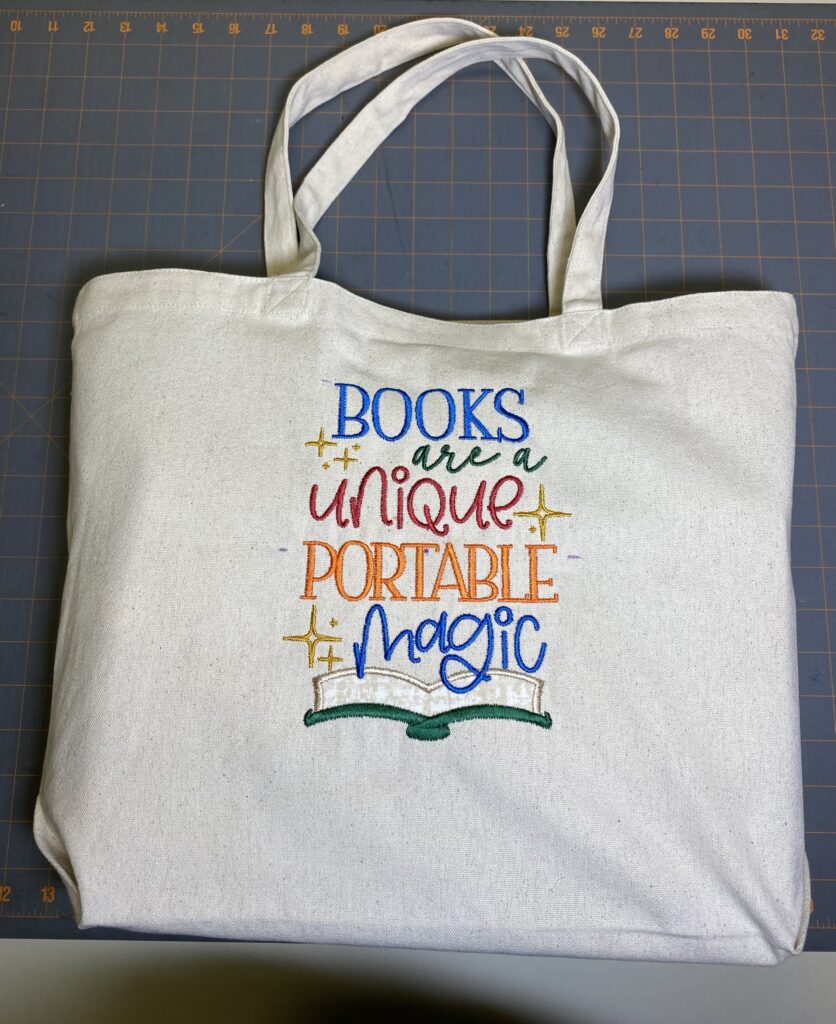
Here is my completed tote bag! I removed the bag from the hoop and carefully tore away the stabilizer. When I go to work, the purple dots will be gone by Monday!
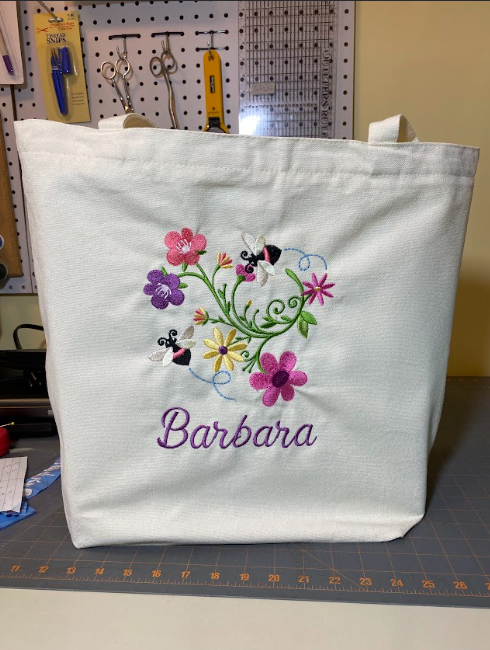
Here’s a tote bag made with JuJu’s Busy Bees Flowers 2. The design is straight; I didn’t have the bag sitting straight!
