Toggle Nav
 Inspire.
Create.
Stitch.
Inspire.
Create.
Stitch.
Search
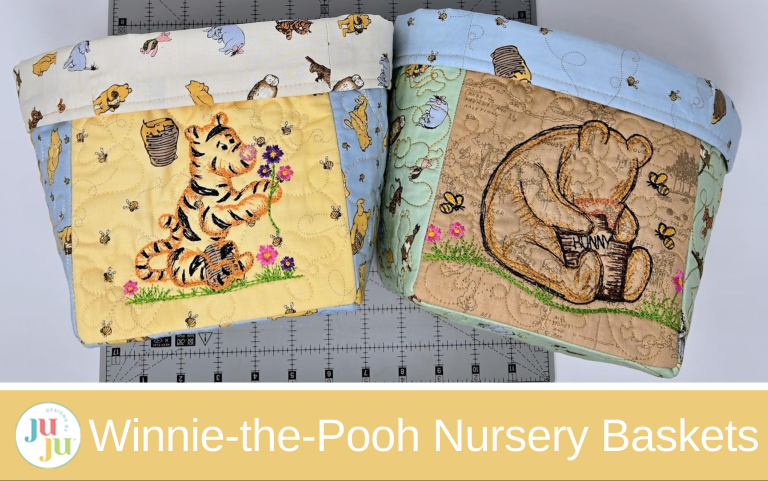
How fun is it to decorate a nursery? Winnie-the-Pooh adds charm and whimsy to a special baby’s room.
Today's nursery baskets are both fun and functional and will grow right along with the baby. Last year in March I made a baby ensemble using Winnie-the-Pooh designs. You can find the blog post I wrote about it HERE. I love Pooh and his friends! So this year, I am going to show you how to make some nursery baskets and, in a later post, a dresser runner. Nursery baskets are the perfect way to hold some of the many supplies you need for baby, and later on they can hold blocks, small toys, or anything your child wishes.
Please be sure to check out the DBJJ team’s favorite supplies in the Designs by JuJu Amazon store.
NOTES:
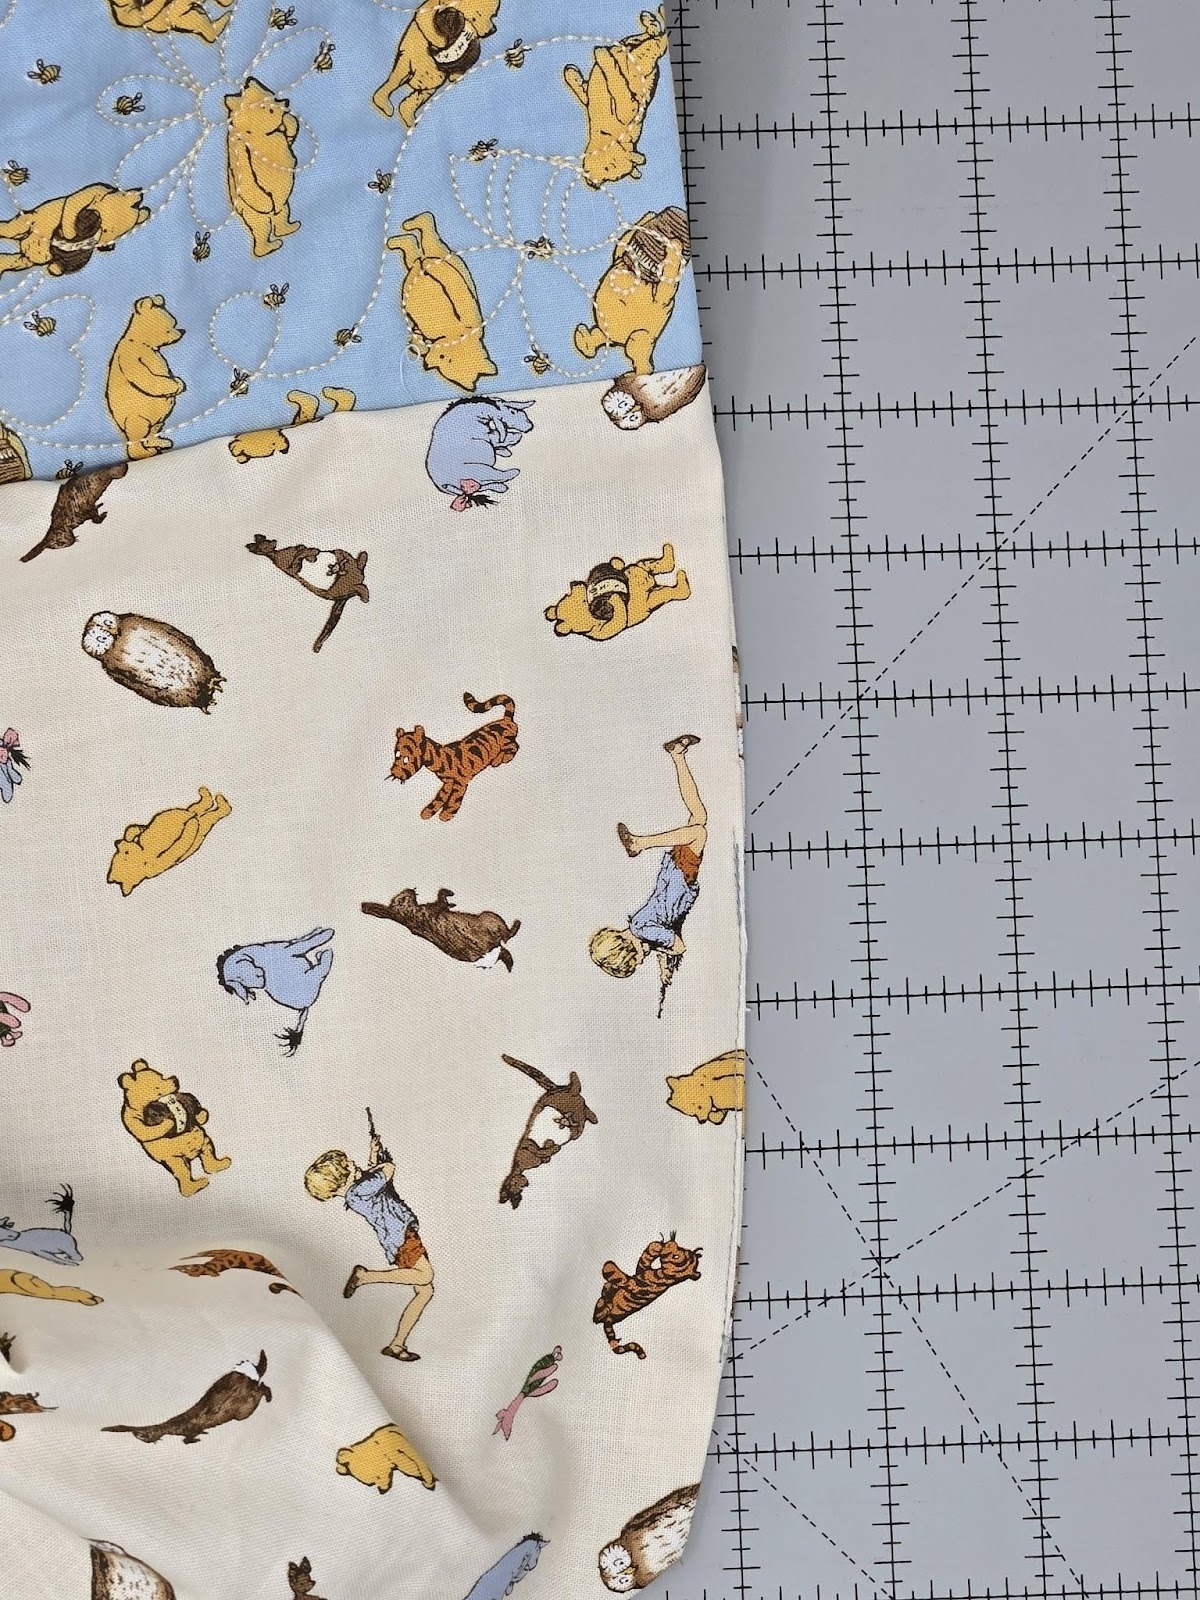
Choose non-directional fabric for the linings or your characters will be standing on their heads when you turn the cuff down.
You might wonder why I chose cutEZ Cut-Away Stabilizer over a mesh. I wanted more stability for my baskets. This stabilizer will keep the baskets standing after multiple washings. I did not want them to be soft and cuddly like a quilt.
For the lettering and finer details, like the bee outlines in the 4x4 size, I like to use 100 wt thread. It is a much thinner thread, so you can really see the finer details. The designs were digitized to use your regular 40 wt threads, so feel free to use those if you wish.
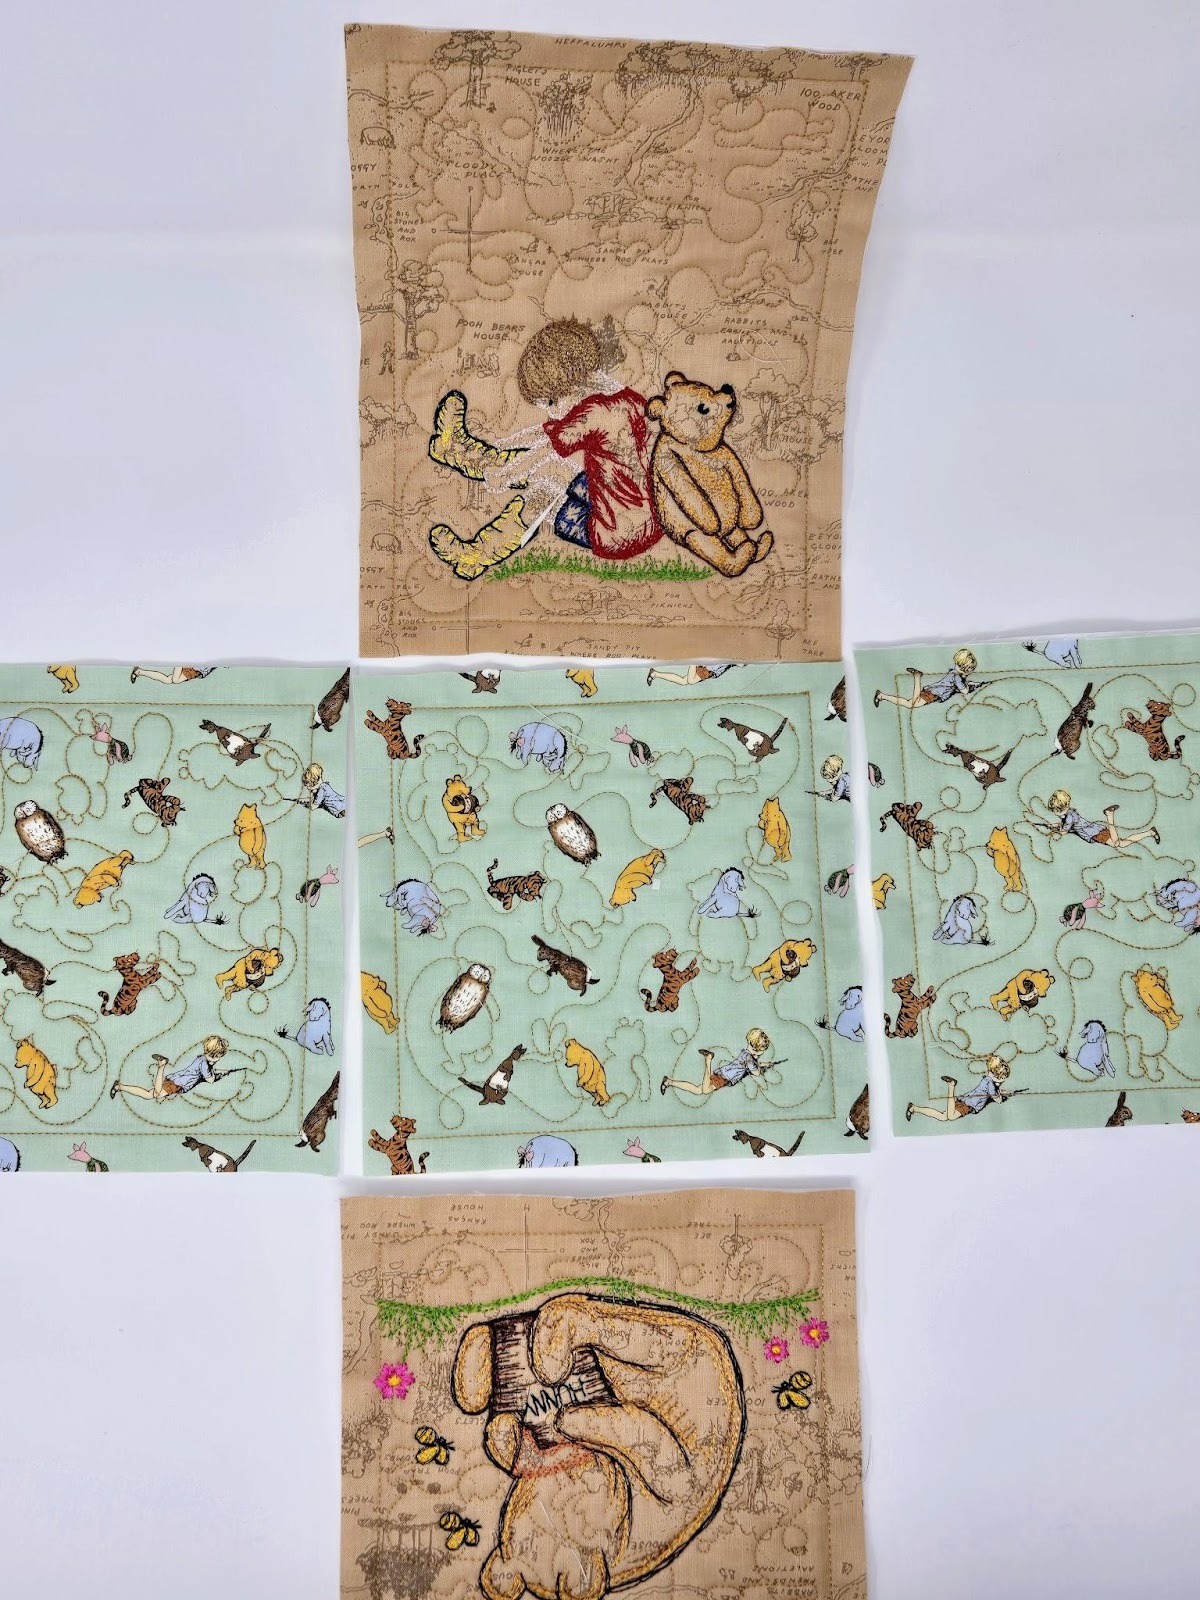
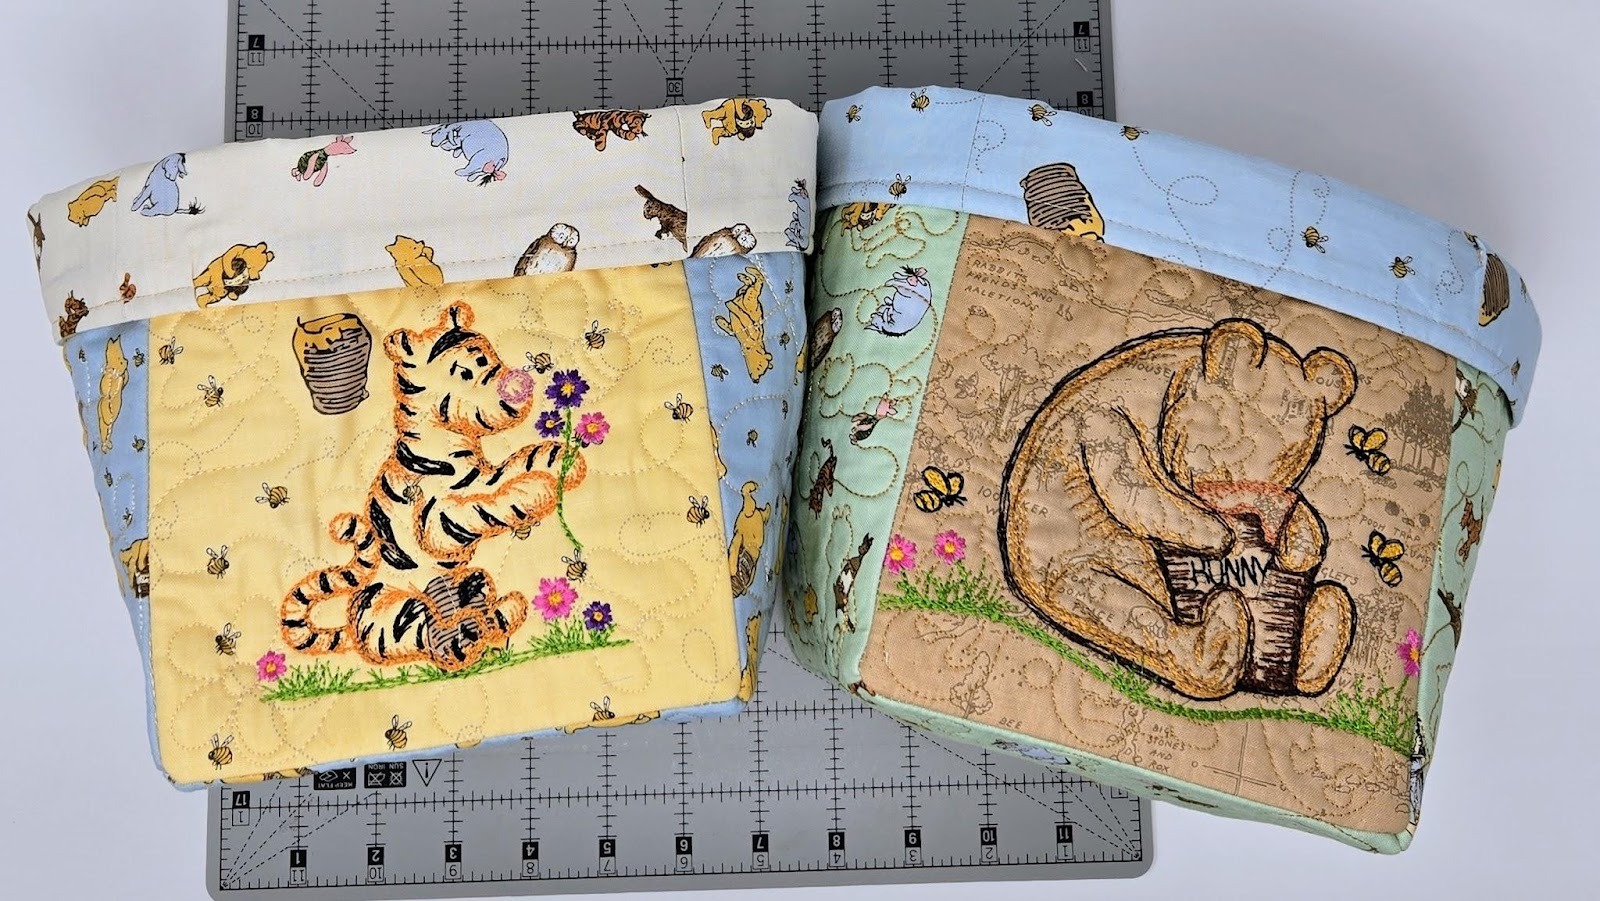
First, you will need to decide what size baskets you want. My daughter told me “bigger is better” to hold diapers and the big bottles of lotions and powders. Smaller might be cute, but it is not as functional. I chose 6” baskets. Six inches square for the bottoms, but I wanted the sides to be taller so I could fold down a cuff. For the sides I went with 6x8 Quilting Backdrops (QB). I only did quilting on two sides, and quilted and added embroidery designs to the other two sides.
Download your designs and QB files. Gather your fabrics and stabilizers. I only printed one design, but all are loaded on my USB.

Hoop the cutEZ, and embroider your chosen designs.
Here’s the process: You will embroider a placement line for the batting, tack it down and trim it, then place your fabric over the top and tack that down. Then, I ran the QB. I chose a vertical design so Winnie-the-Pooh would be standing upright. Without removing the design from my hoop, I went back and loaded the character design I wanted.
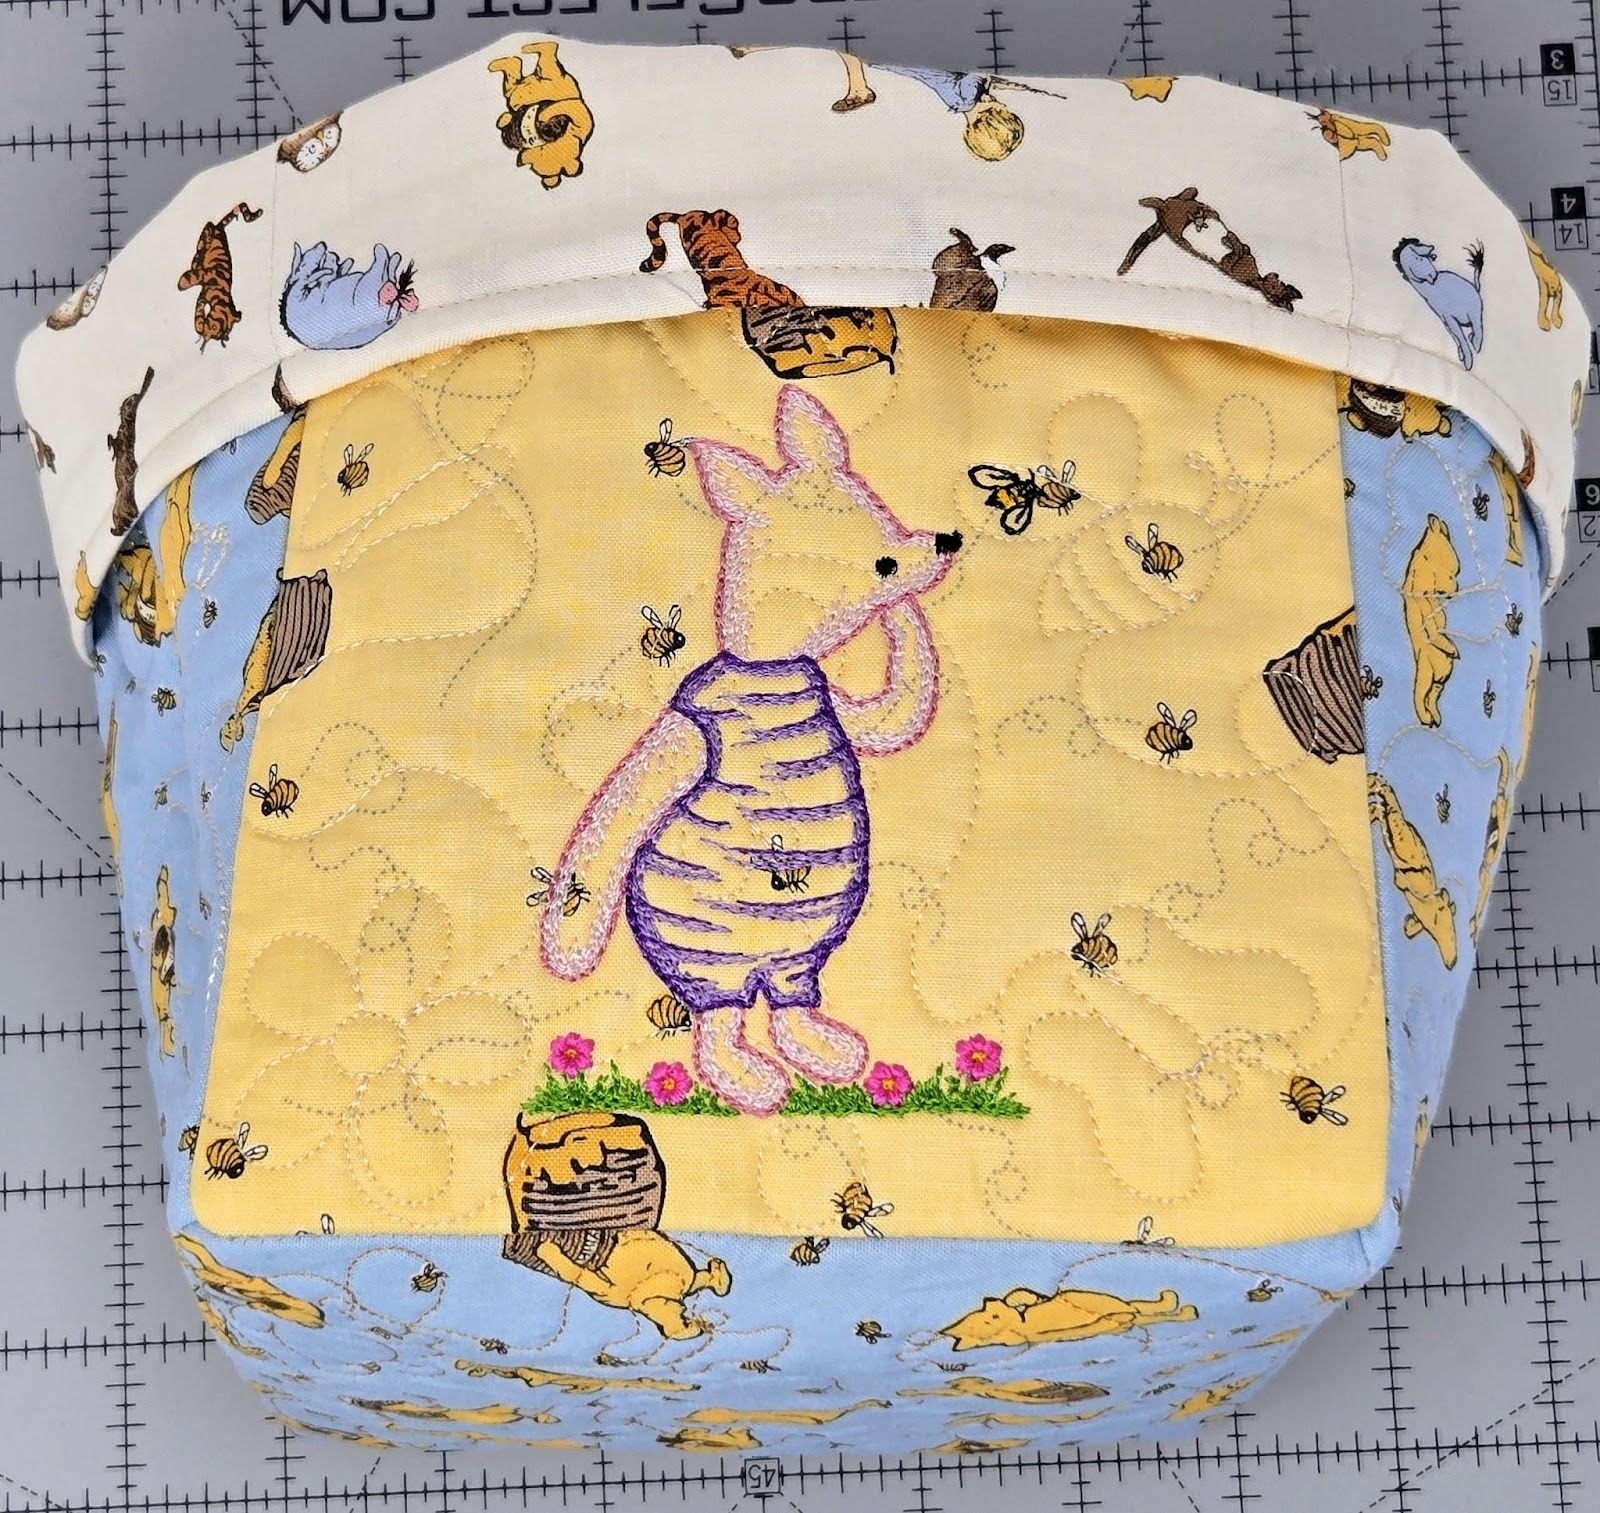
I started by using 6” designs for the characters, but as you can see below, Pooh was a bit too big. I will lose a bit of each flower when I sew the sides together. I still really like it, but I need to remember when a design is standing upright, like Piglet, to use the 4x4 designs.
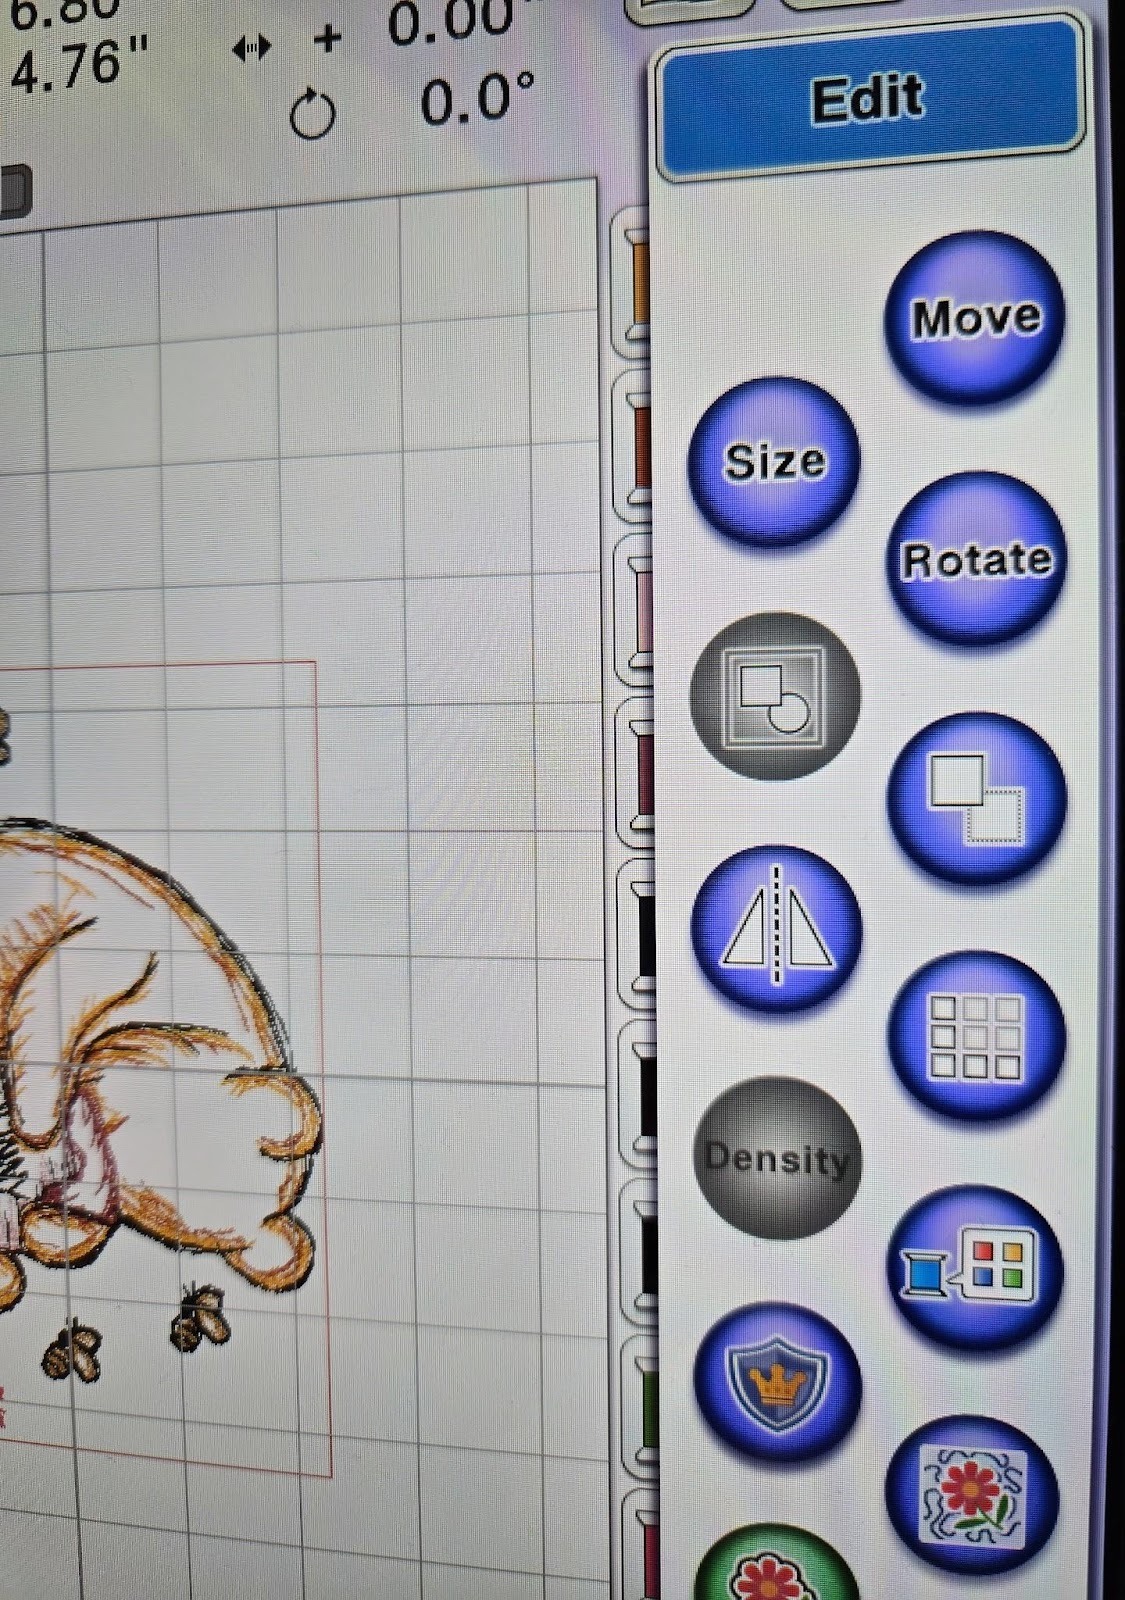
I used my Edit keys on my machine to rotate Pooh and I shrank him by 3 clicks. I should have done 4 or 5 to avoid losing part of the flowers. I also moved him down to about an inch from the bottom of the QB. This allows for the cuff to fold down at the top.

For the other two sides of the baskets and the bottom, I used cutEZ, batting, and the QB. I quilted the QB once on the bottom using the 6x6 square design, but twice for the two sides that only have the quilting. It's very easy to do this—simply back up a step and run the quilting a second time. Now it looks like you used a heavier thread without using a heavier thread. And the quilting really stands out more. Can you see the difference in the photo below? Look for Pooh.

Position everything the way it will be sewn together. This is how we will assemble them.
Flip over the bottom square and one side rectangle. Make a mark in the center of the seam between the placement and tack-down stitches at each corner. I used a pencil so you can see it.

We are going to sew from dot to dot, but not all the way to the edge of the fabric. Easy peasy, right? Start by placing your two pieces with right sides together, then insert a pin from the front dot to the back dot. Take a second pin to pin the two fabrics together. (If you rotate the pin marking the centers, they will slide a bit and be off; that is why a second pin is needed.)

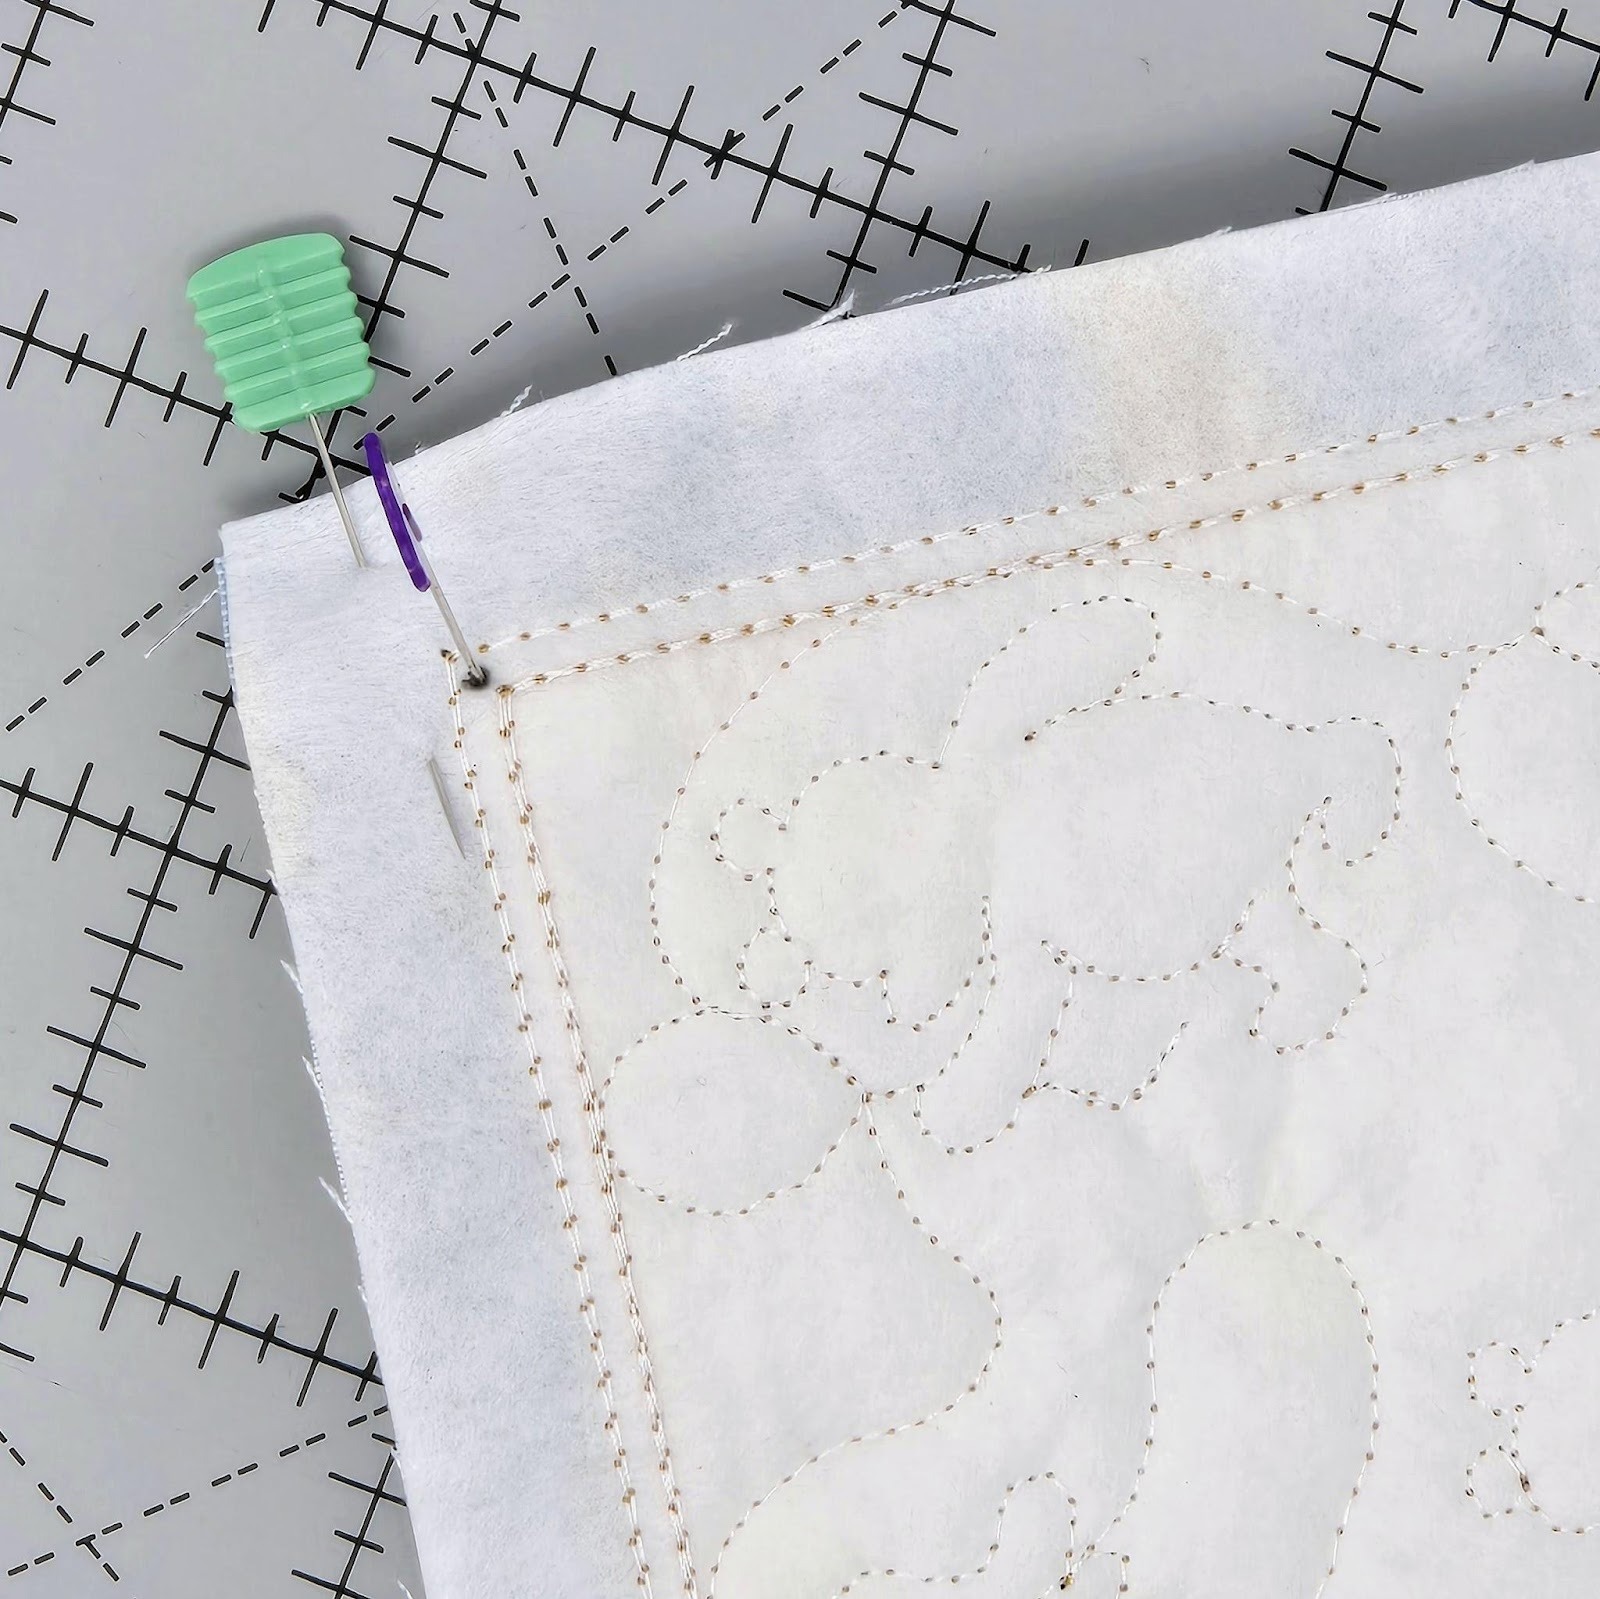
Mark the other corner the same way, then sew between the placement and tack-down lines from dot to dot. Backstitch at both ends.

Repeat this process to attach the other three sides to the bottom. Remember to only sew between the dots, not to the edge of your fabric. Press the seams open. I did not cut the stabilizer out of the seam allowances because I felt it would give the basket extra stability at the sides.

Now we are going to cut our lining. Press your lining fabric well. I really like to use Magic® Quilting & Crafting Fabric Fresh to get the wrinkles and fold lines out of my fabric. Give the fabric a light spray, let it sit a minute, and then press. The wrinkles start to disappear before you even start pressing!

Next, position your prepared basket on top of your lining fabric, right sides together, and cut around the basket, cutting out the corner squares. I pinned before cutting.
Ready to cut lining fabric. Notice my lining is not a directional fabric.

We will sew our lining together first, so set your outside basket part to the side. Mark a 4” opening, as below, in the seam allowance.

Then place the two sides with right sides together and sew with a ⅝” seam allowance. Sew from the top to the mark, then pivot and sew to the fabric edge. Backstitch when starting and stopping. Sew in ⅝” at the other mark and sew to the bottom. It will look like this:

Sew the remaining three sides without leaving an opening. Remember to backstitch at the beginning and end. Press all seams open. You will not be able to press the seam open for the side with the opening in the lining; press only the top part open. I do not like to clip to the stitching as this will weaken the seam and you run the risk of the fabric tearing when turning the basket right side out. At the bottom of the lining seams, make little “points” when pressing.

Next we will sew our basket outside together, so set the lining aside. We are going to gently pivot the seam so the two side seams line up. The seam allowance on the bottom is open and we want to keep it that way. Fold it out of the way and pin into the dots again from front dot to back dot.
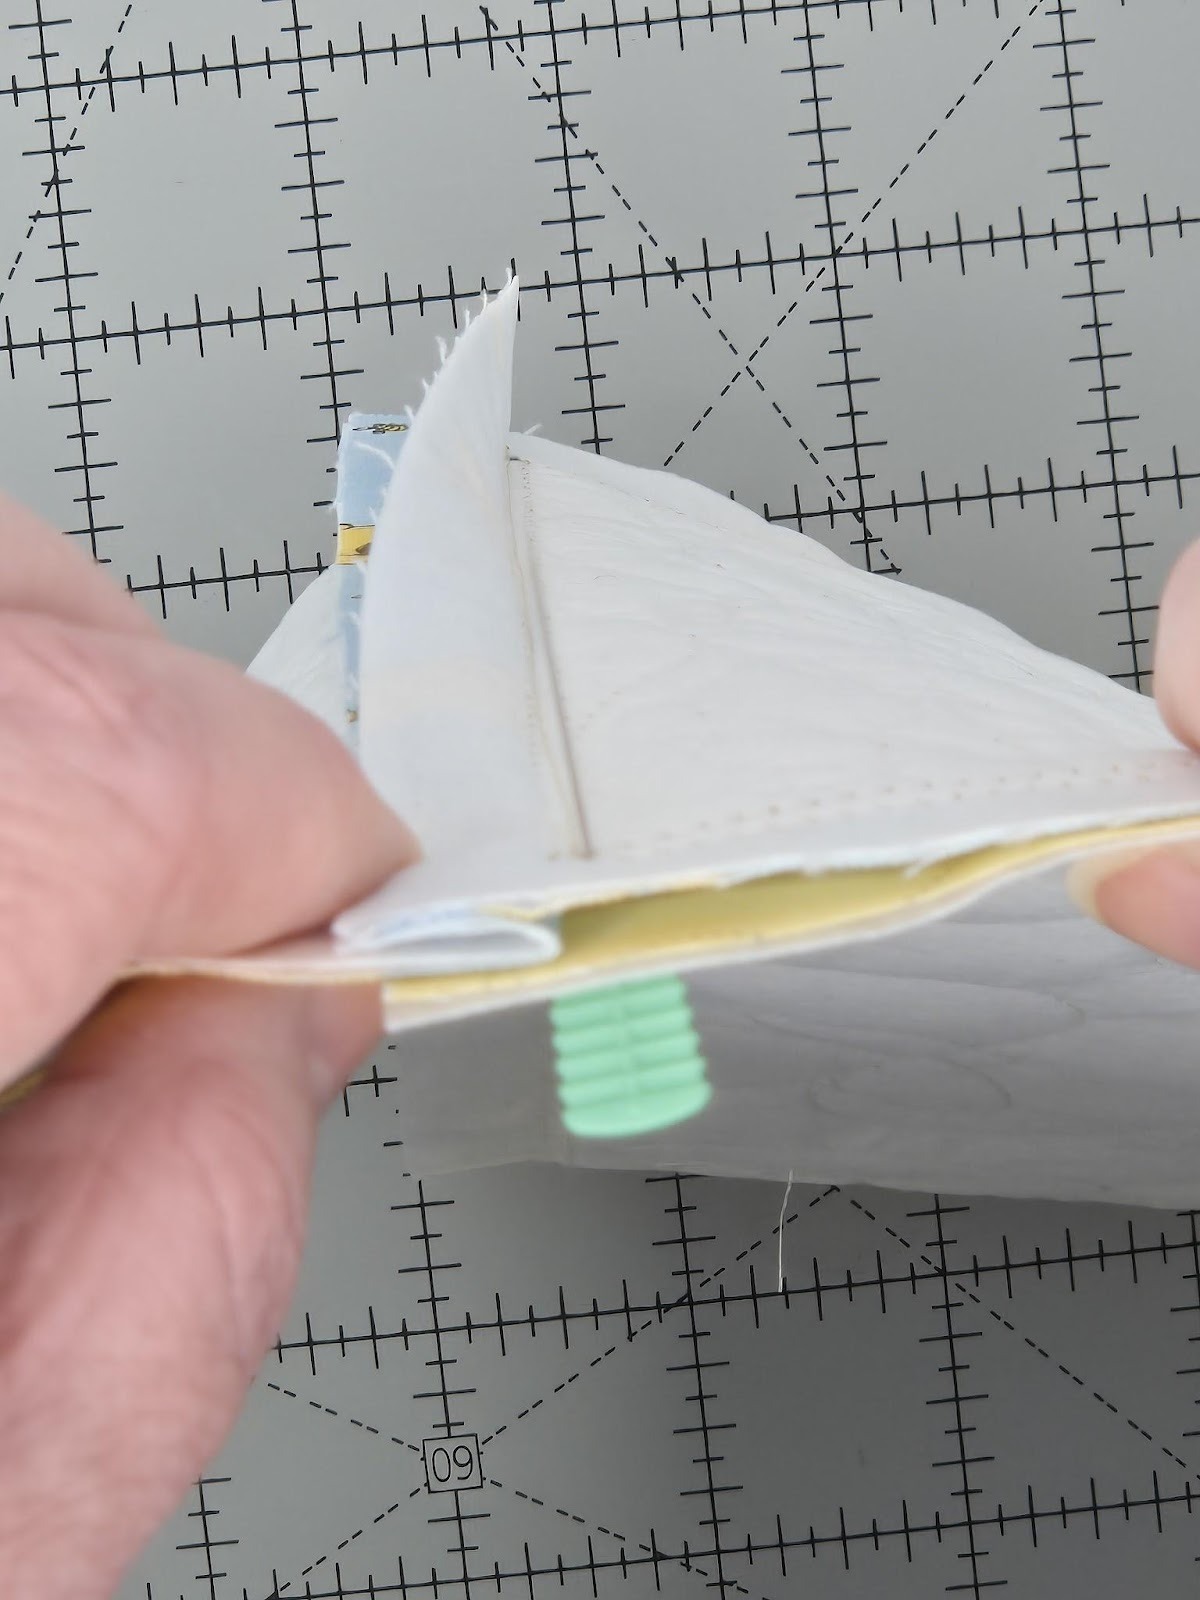

Sew from your dot to the top of the basket, backstitching at the start and finish.
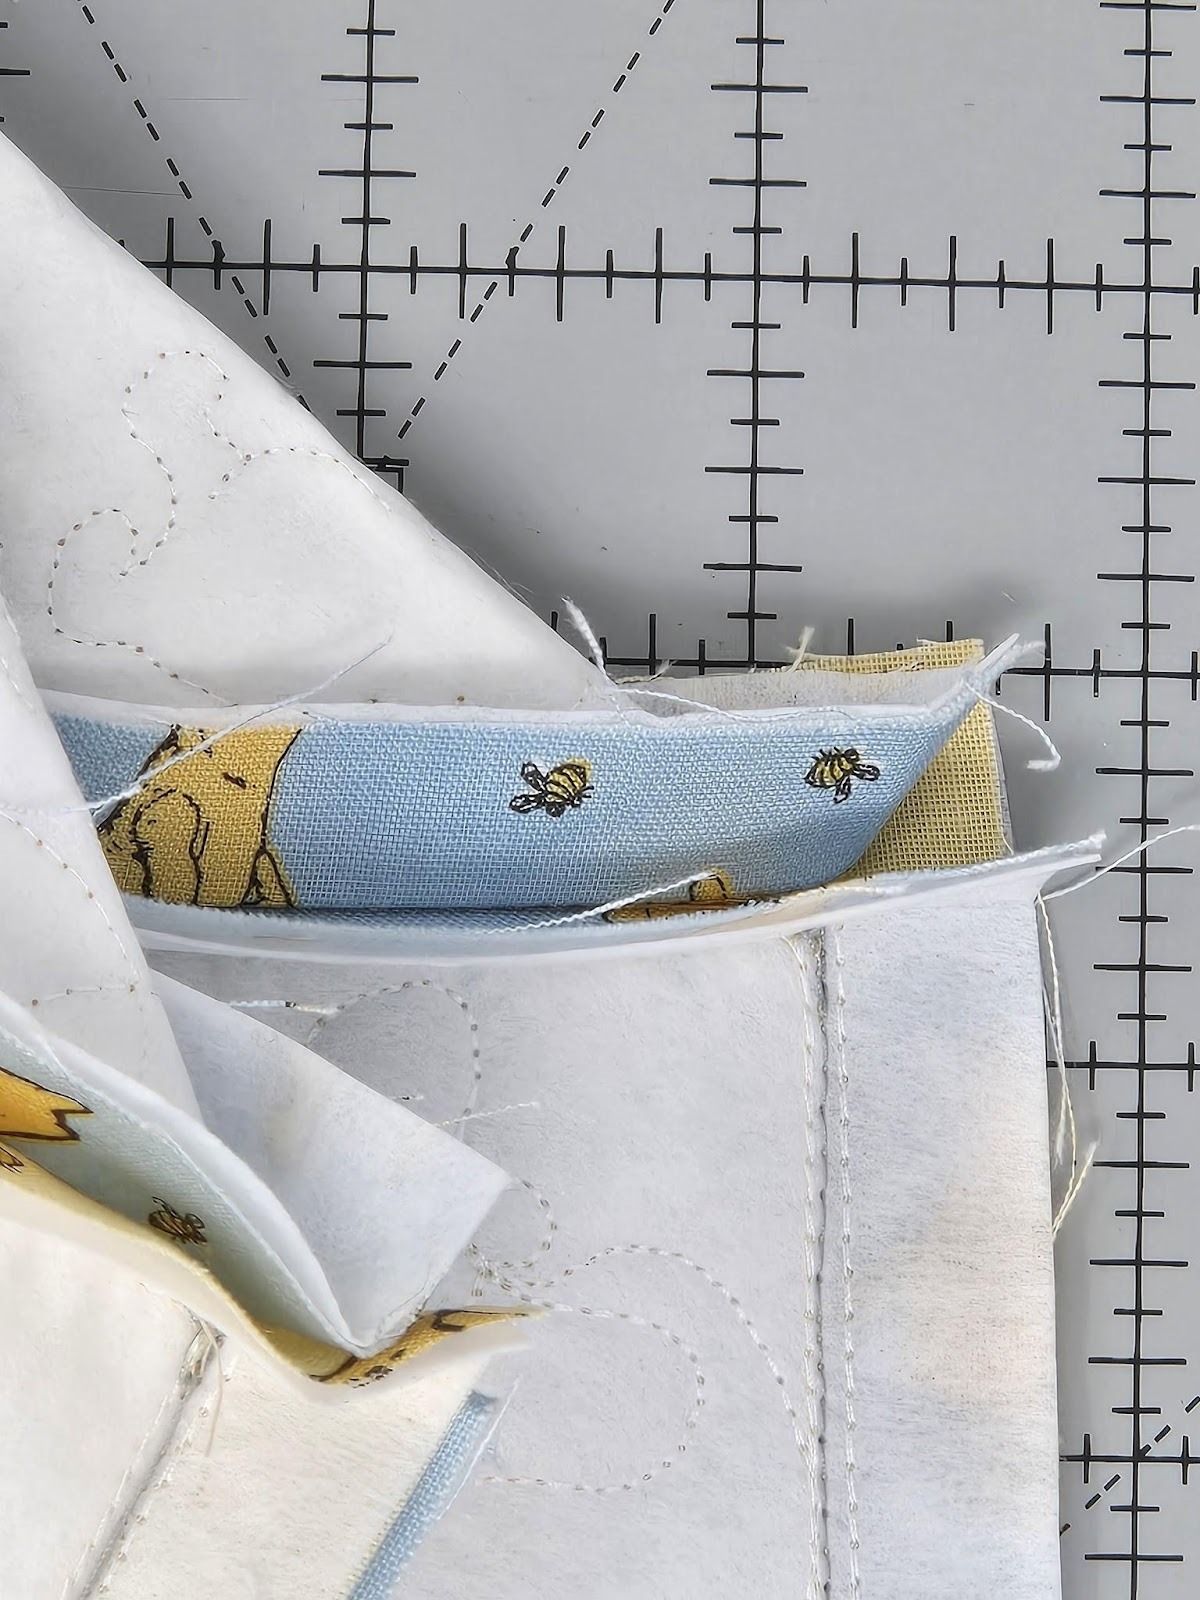

Repeat for the remaining three sides and then press the seams open. Turn your basket right side out. With the lining inside out, pull it up over the outside of the basket, matching the seams.
Sew all the way around the top between the placement and tack-down lines on your basket. Press the lining fabric away from the seam and trim the outside (basket) fabric to ¼”.
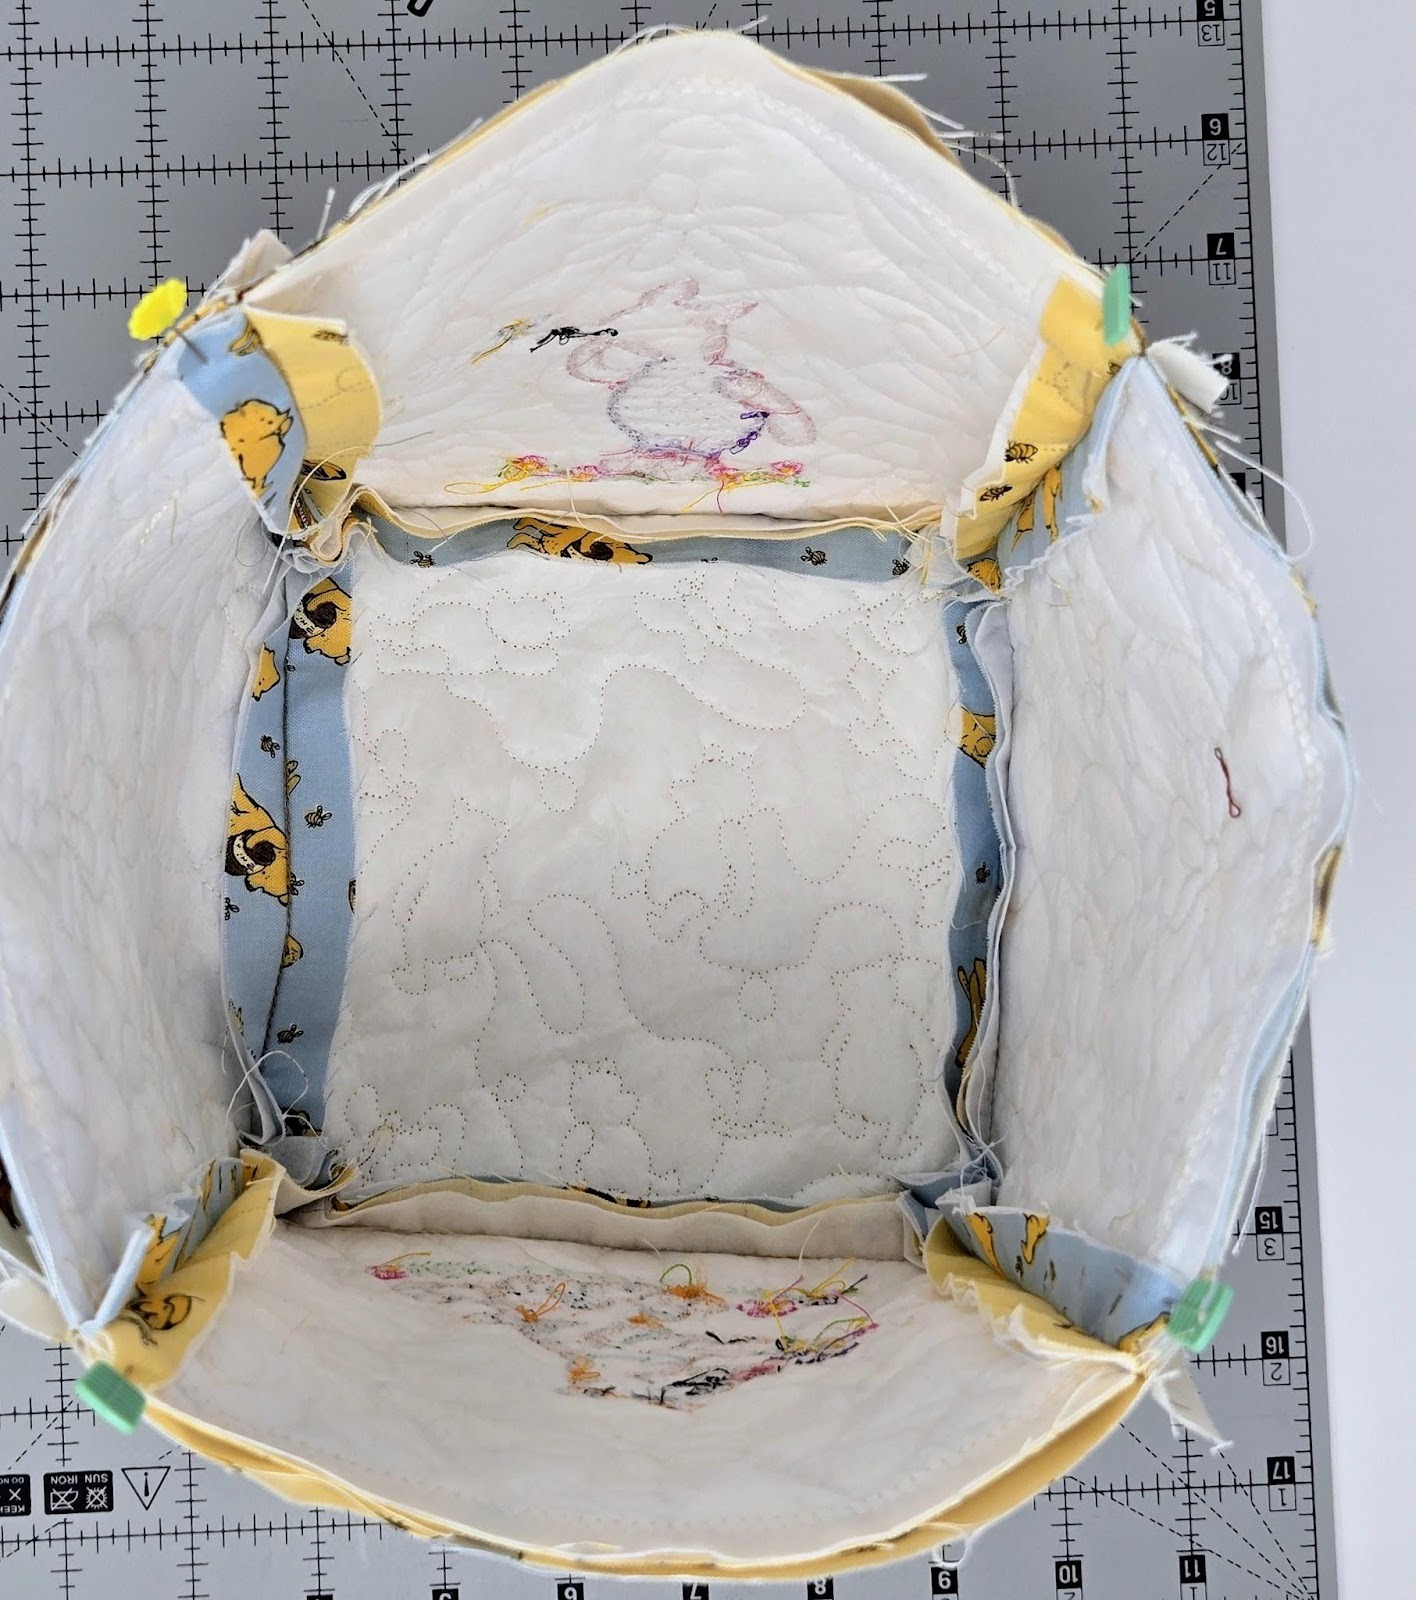
Gently turn your basket right side out through the opening you left in the lining. The seam allowances will fold to the inside and you can sew the opening closed by hand or machine. Normally, I would use a matching thread for this, but I wanted you to see how close I sewed it to the edge.
Push your lining inside your basket and give the edge a good press. Once more, go back to your machine and sew about ¼” around the top of your basket. Fold the cuff down and, voilà, you finished a basket!


For my second basket I used the 4” designs. I didn’t have to resize anything, but remember to move the design to about an inch from the bottom of your quilting. Go ahead—make a second one while everything is fresh in your mind! For the second basket I used the Honey Bees, Butterflies and Flowers QB. It is also a directional design so be sure to choose the vertical 6x8 QB. Again, I ran the quilting twice for the side panels without characters on them.
I hope you enjoyed this tutorial and will go have some fun with your JuJu Quilting Backdrops and Winnie-the-Pooh designs. Please be sure to share your projects in the Designs by JuJu Embroidery Blessings Facebook Group, or use the hashtag #designsbyjuju anywhere on social media. I love to see what you create—we all do!
