Toggle Nav
 Inspire.
Create.
Stitch.
Inspire.
Create.
Stitch.
Search
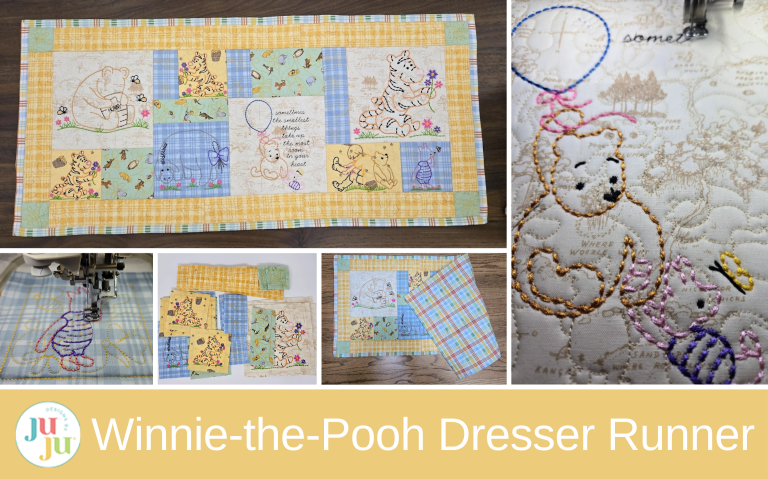
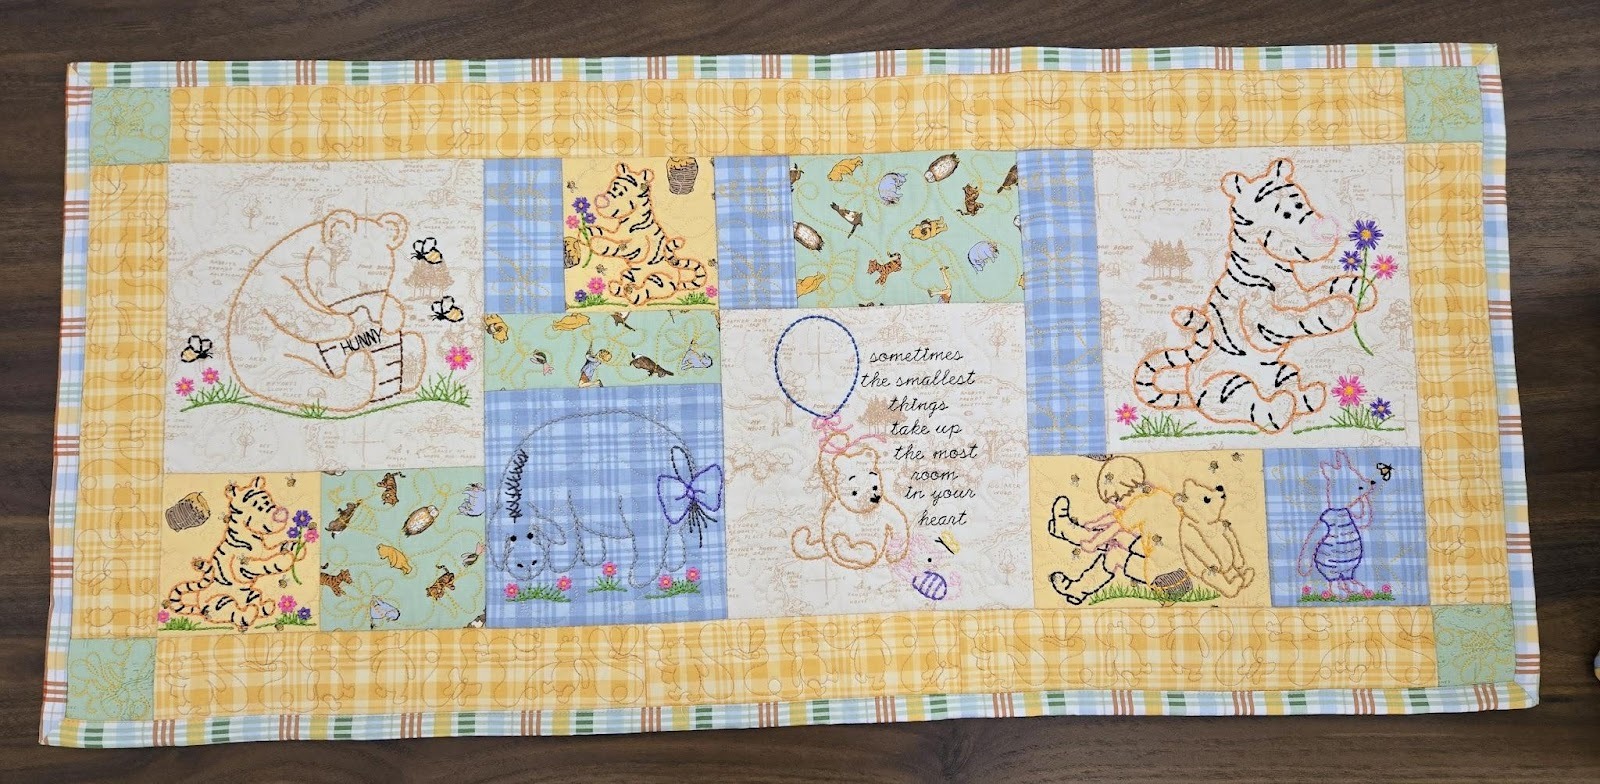
This Winnie-the-Pooh Dresser Runner will add timeless charm to any nursery.
Pooh and his friends are classics and when paired with this nursery ensemble I made in March, plus the baskets from a more recent post, your nursery will be adorably Pooh!
Please be sure to check out the DBJJ team’s favorite supplies in the Designs by JuJu Amazon store.
NOTES:
Flannel shrinks! Wash it and dry it in the dryer before using. I serge or zigzag the edges to keep it from unraveling.
You might wonder why I chose cutEZ Cut-Away Stabilizer over magicMESH Cut-Away Stabilizer. It’s because I wanted more stability for my runner. This stabilizer will keep the runner nice and flat after multiple washings. I did not want it to be soft and cuddly like a quilt. If you prefer the “cuddle factor,” use magicMESH stabilizer in your hoop.
For the lettering and finer details, like the bee outlines in the 4x4 size, I like to use 100 wt thread. It is a much thinner thread, so you can really see the finer details. The designs were digitized to use your regular 40 wt threads, so feel free to use those if you wish.
I drew out the runner design using graph paper and figured everything on a 1-square = 1-inch grid. This made it easy to fit the blocks and other segments together to make the runner. By adding a 2” finished outer border, the runner measures 16” x 36”. I started drawing from the outside first, drawing the size I wanted and borders. Then I added the biggest blocks (8” x 8”), fitting the others in around them. Remember, these are finished sizes, so pieces must be cut bigger!
You can do the same thing and make it uniquely yours.

Once you have your design drawn, gather your stabilizers, hoops, and fabric, and load the designs you want to use on a USB.
I cut my fabric 2” larger than the squares and rectangles in my runner diagram. If I was careful placing them, I would have about an inch on each side of the design. If I missed the mark, I had extra wiggle room. I cut the batting about an inch larger because it will get trimmed to the tack-down line.
So for my runner I cut from various fabrics:
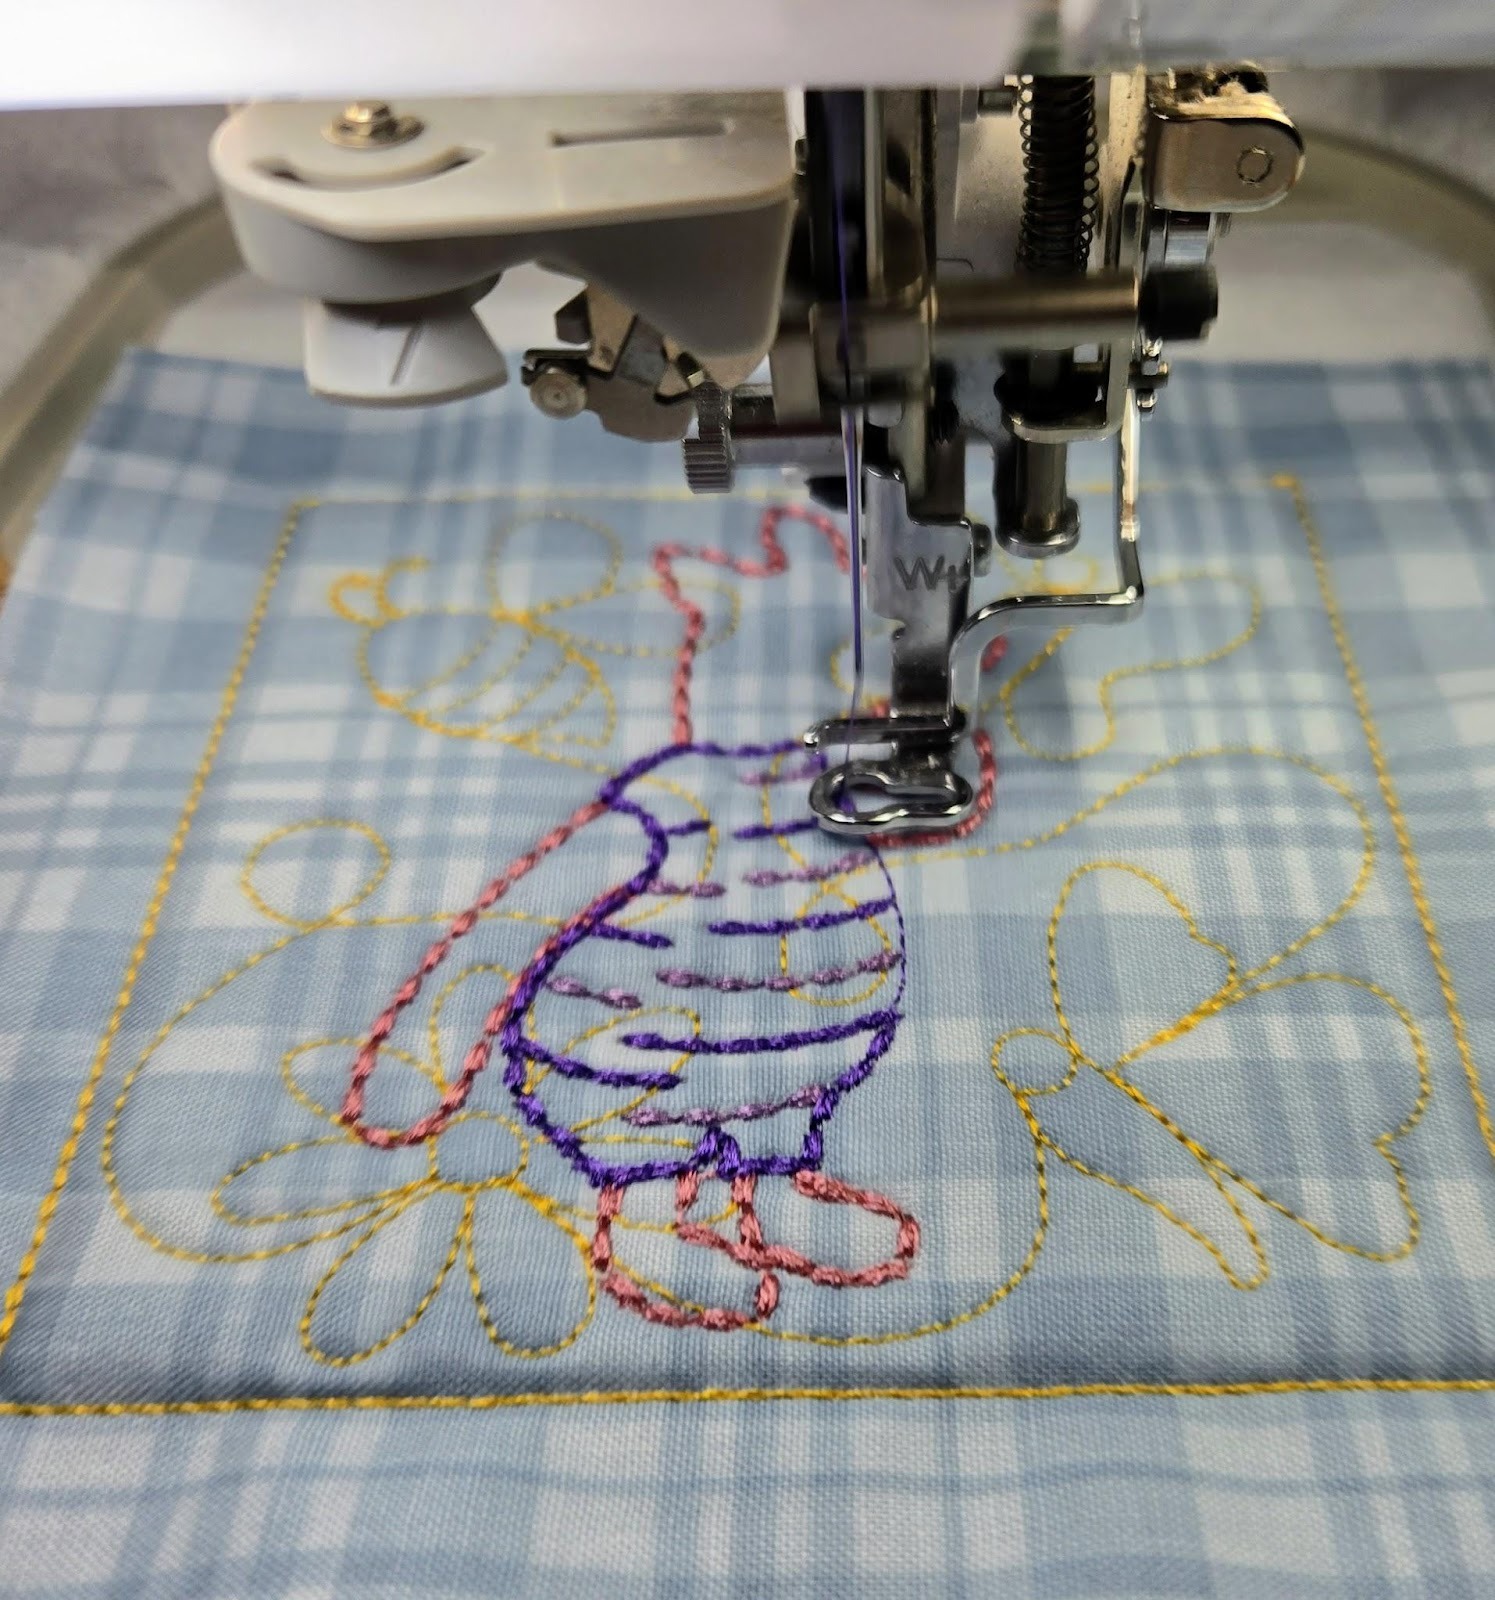
I chose the Winnie-the-Pooh Quilting Backdrops (QB) for my largest squares. First I did the quilting, then, leaving the quilted fabric hooped, I added the embroidery design on top. This way I didn’t need to take anything into any software; I could do it all right at my machine. And I only had the QB loaded to my USB once, rather than three times with different embroidery designs on each.
Below you see Piglet being embroidered on top of the Honey Bees, Butterflies & Flowers QB in one of the 4x4 squares.
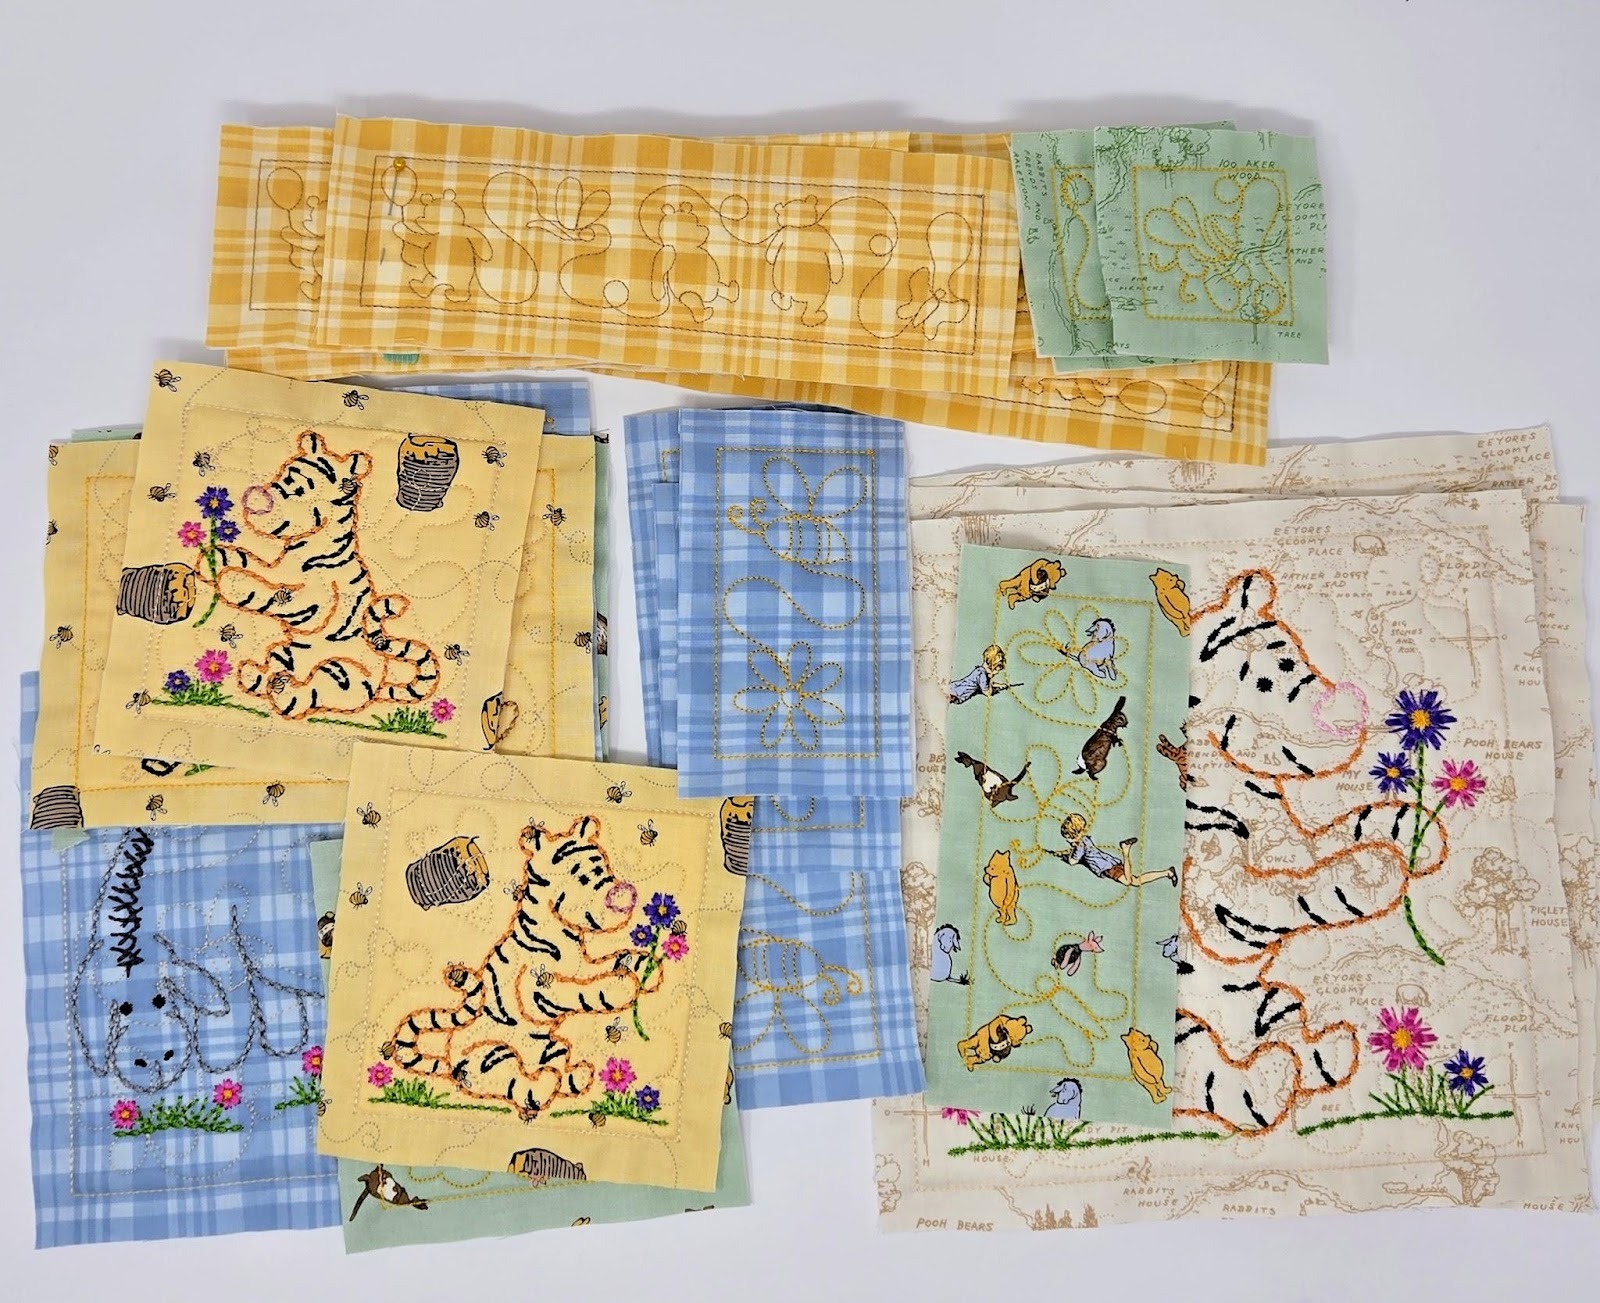
I chose the largest designs that would fit in my hoops and the Quilting Backdrops according to the finished sizes in my drawing above. *Remember to choose horizontal or vertical QBs for each piece as appropriate.


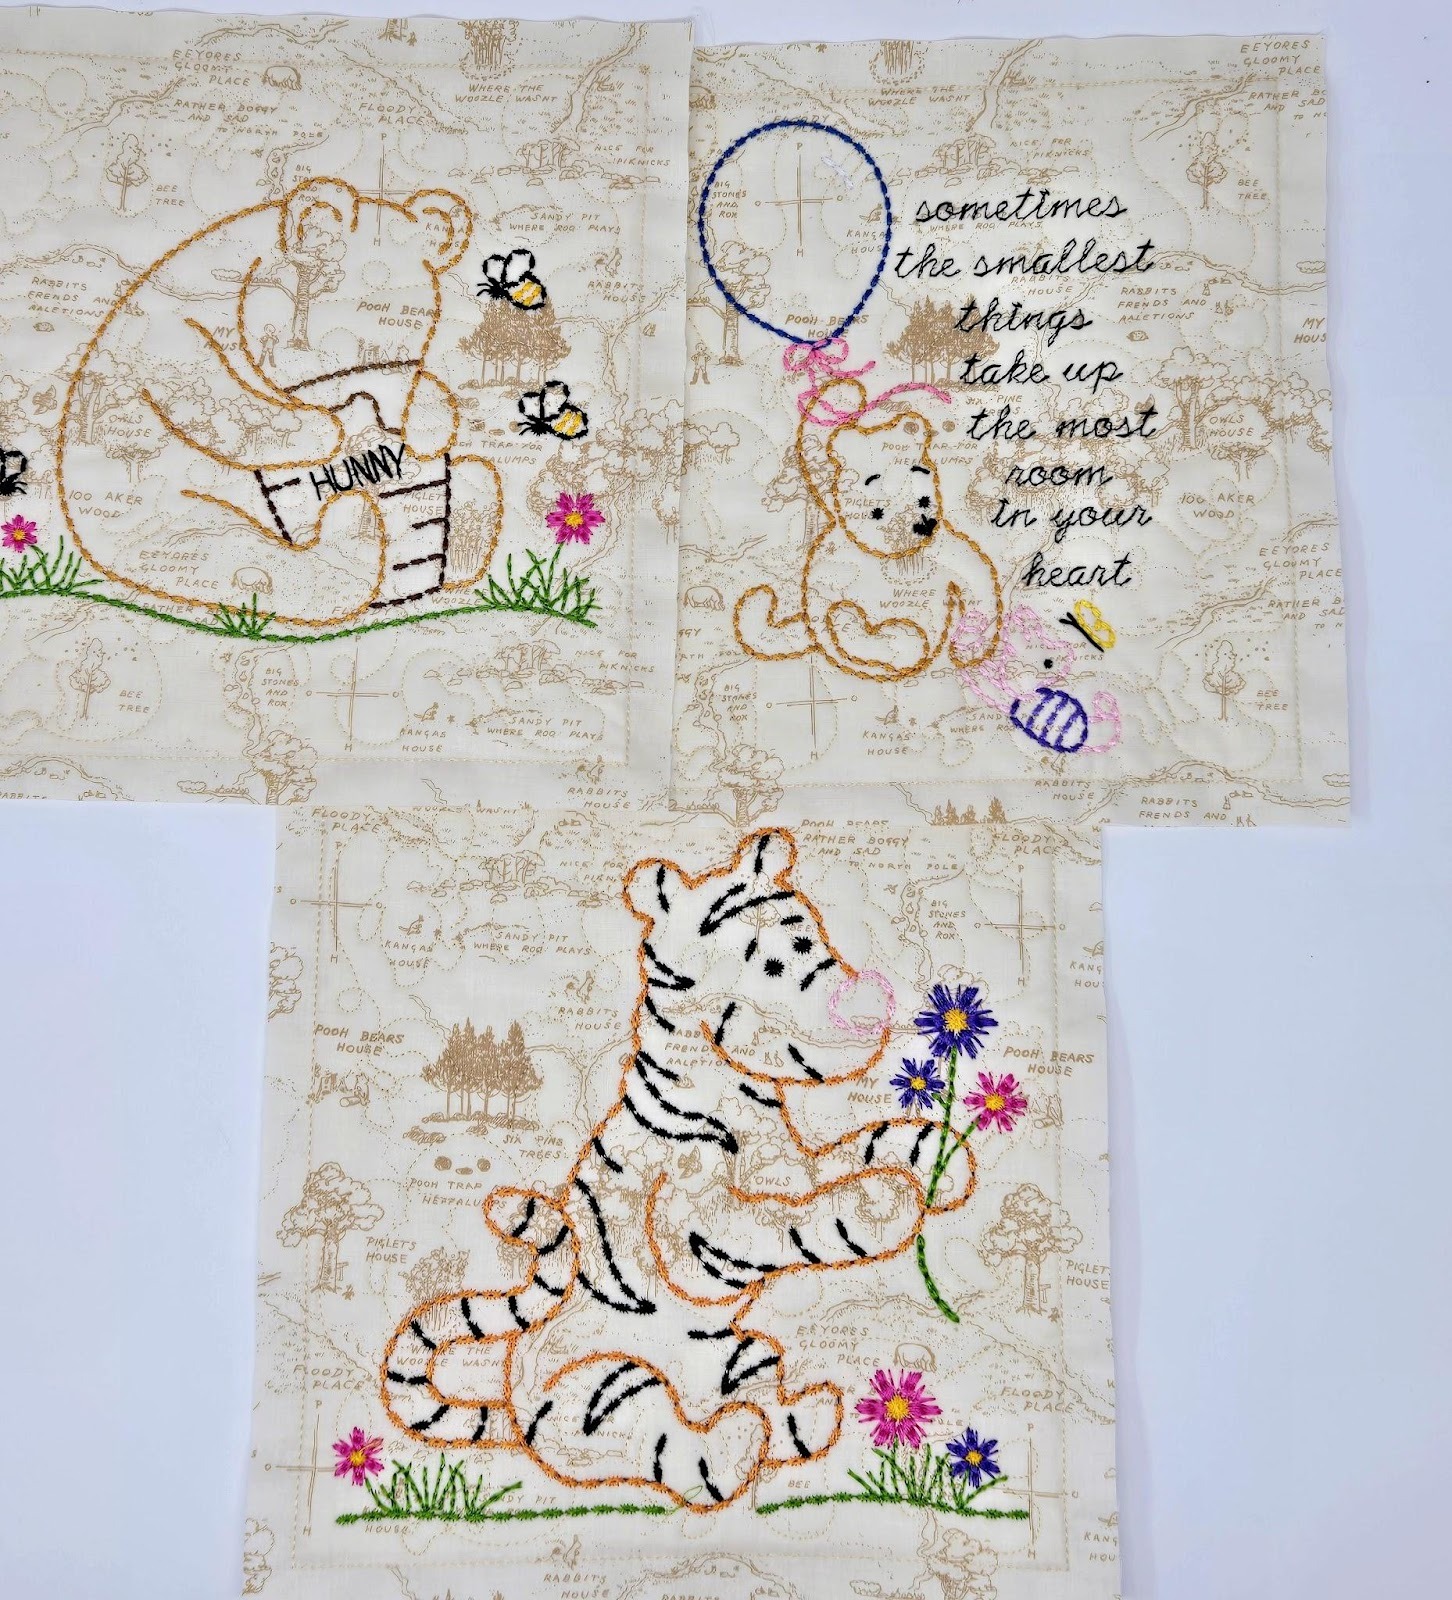
Continue embroidering until you have all your inside runner parts finished and trimmed, leaving a ½” seam allowance around each. Some of the parts only have a QB in them. In these places I did run the QB design twice, so the quilting would stand out. This would be the same as using a heavier weight thread, like a 20 wt, only much easier. I totally forgot to do that for the borders, but using the darker thread helped a lot.
Notice the smaller Tigger is facing opposite directions? I did that right on my machine by choosing the Mirror Image button. I talk about that more in depth in the blog post I wrote in March last year (link above).
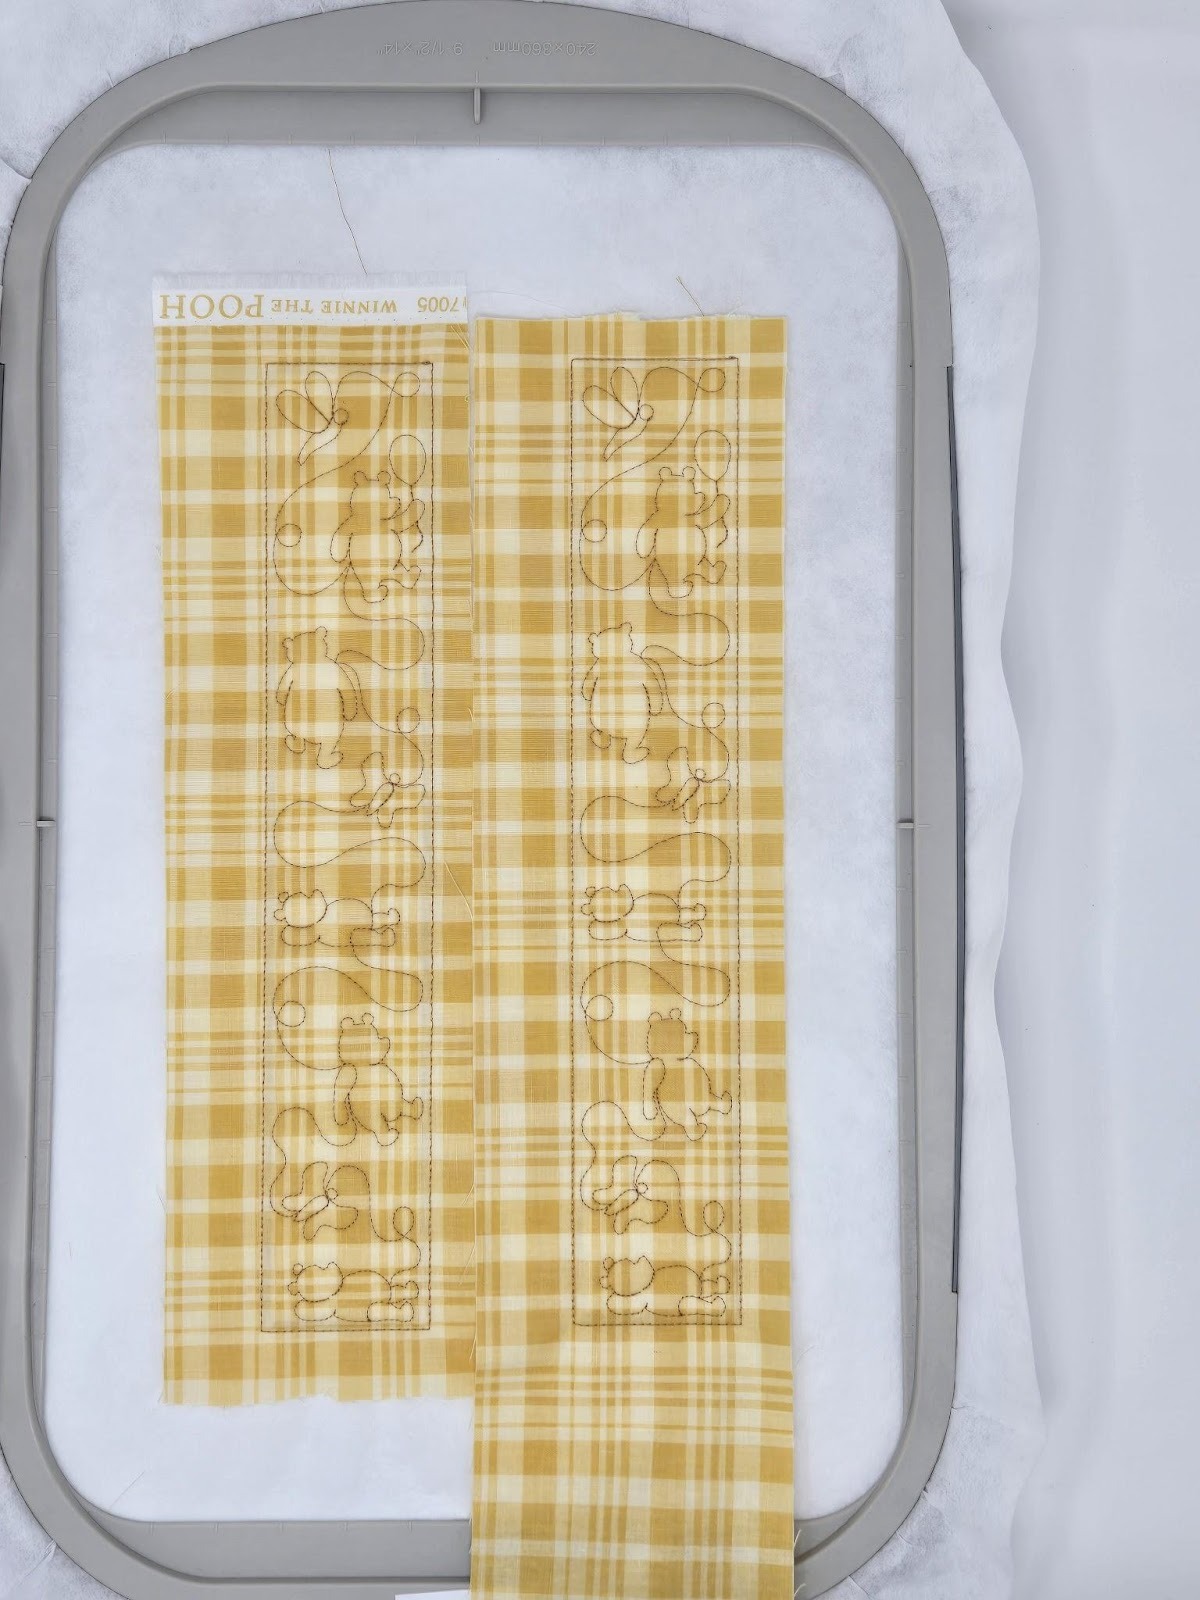
For the borders, I cut the batting an inch larger again, but left the fabric in a long strip. I put two borders in my hoop at once, and after the first was embroidered, I cut off the fabric leaving about ¾” below the tack-down line and used the strip for the second border.
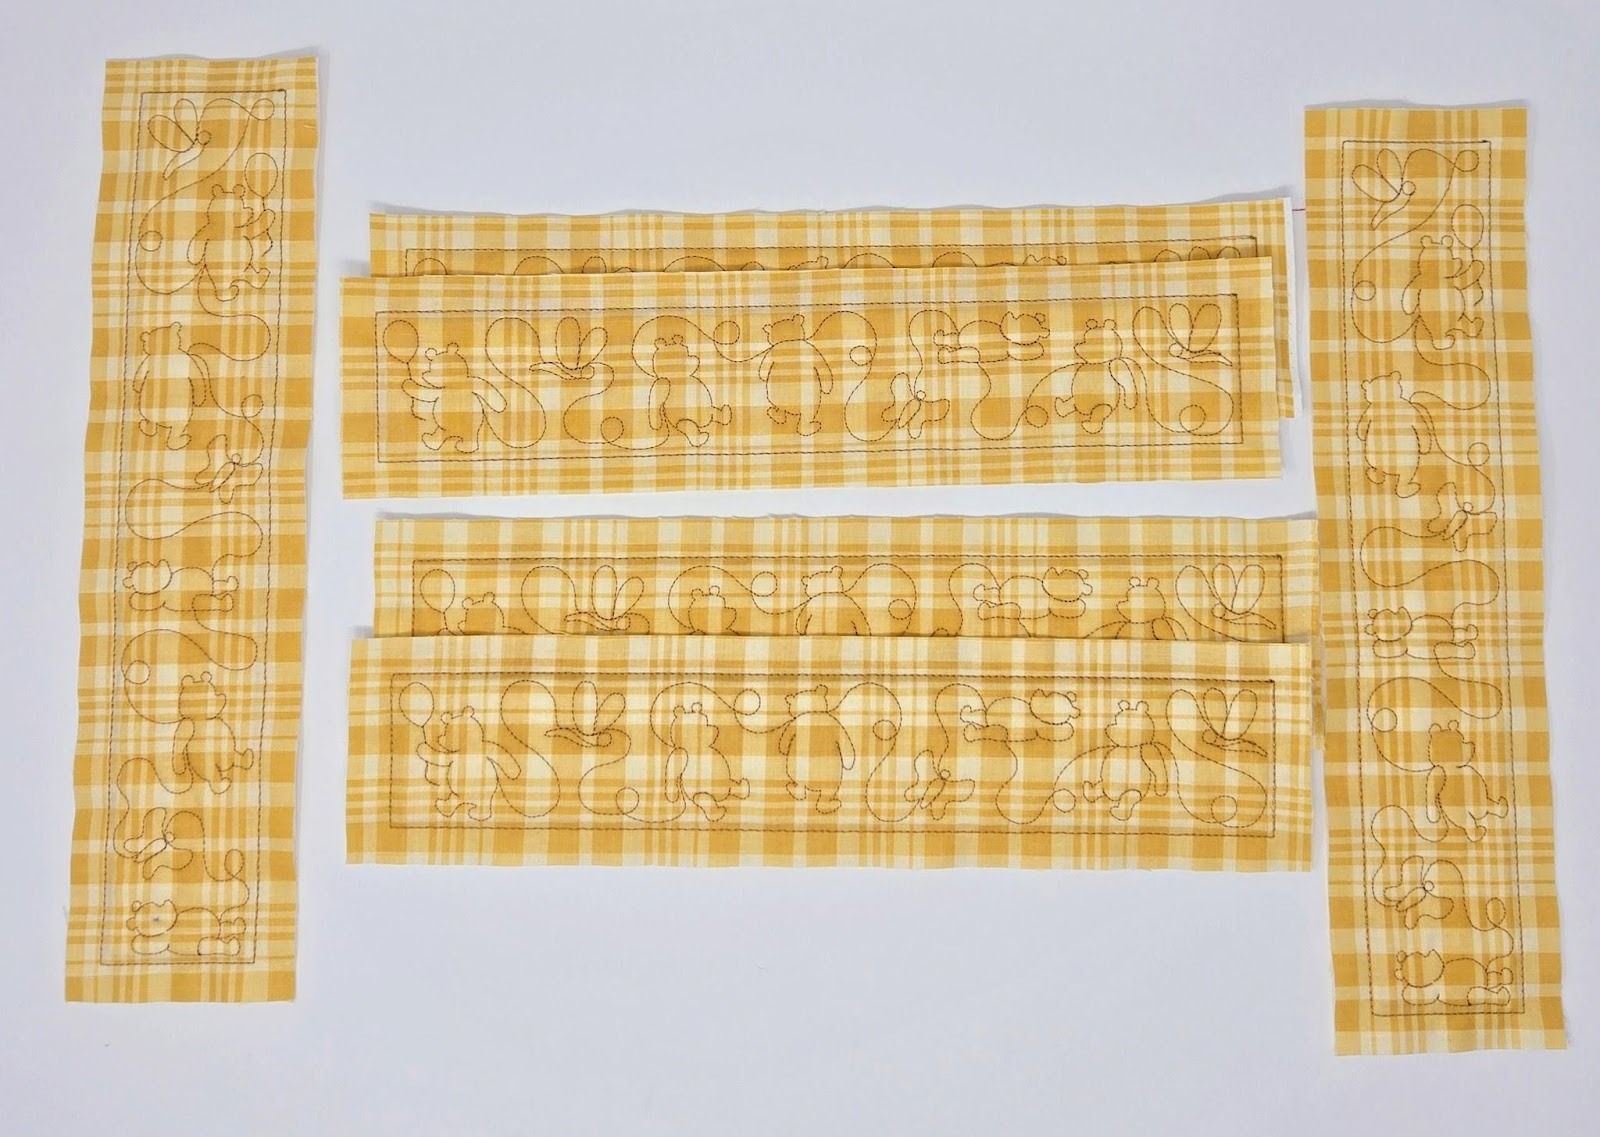
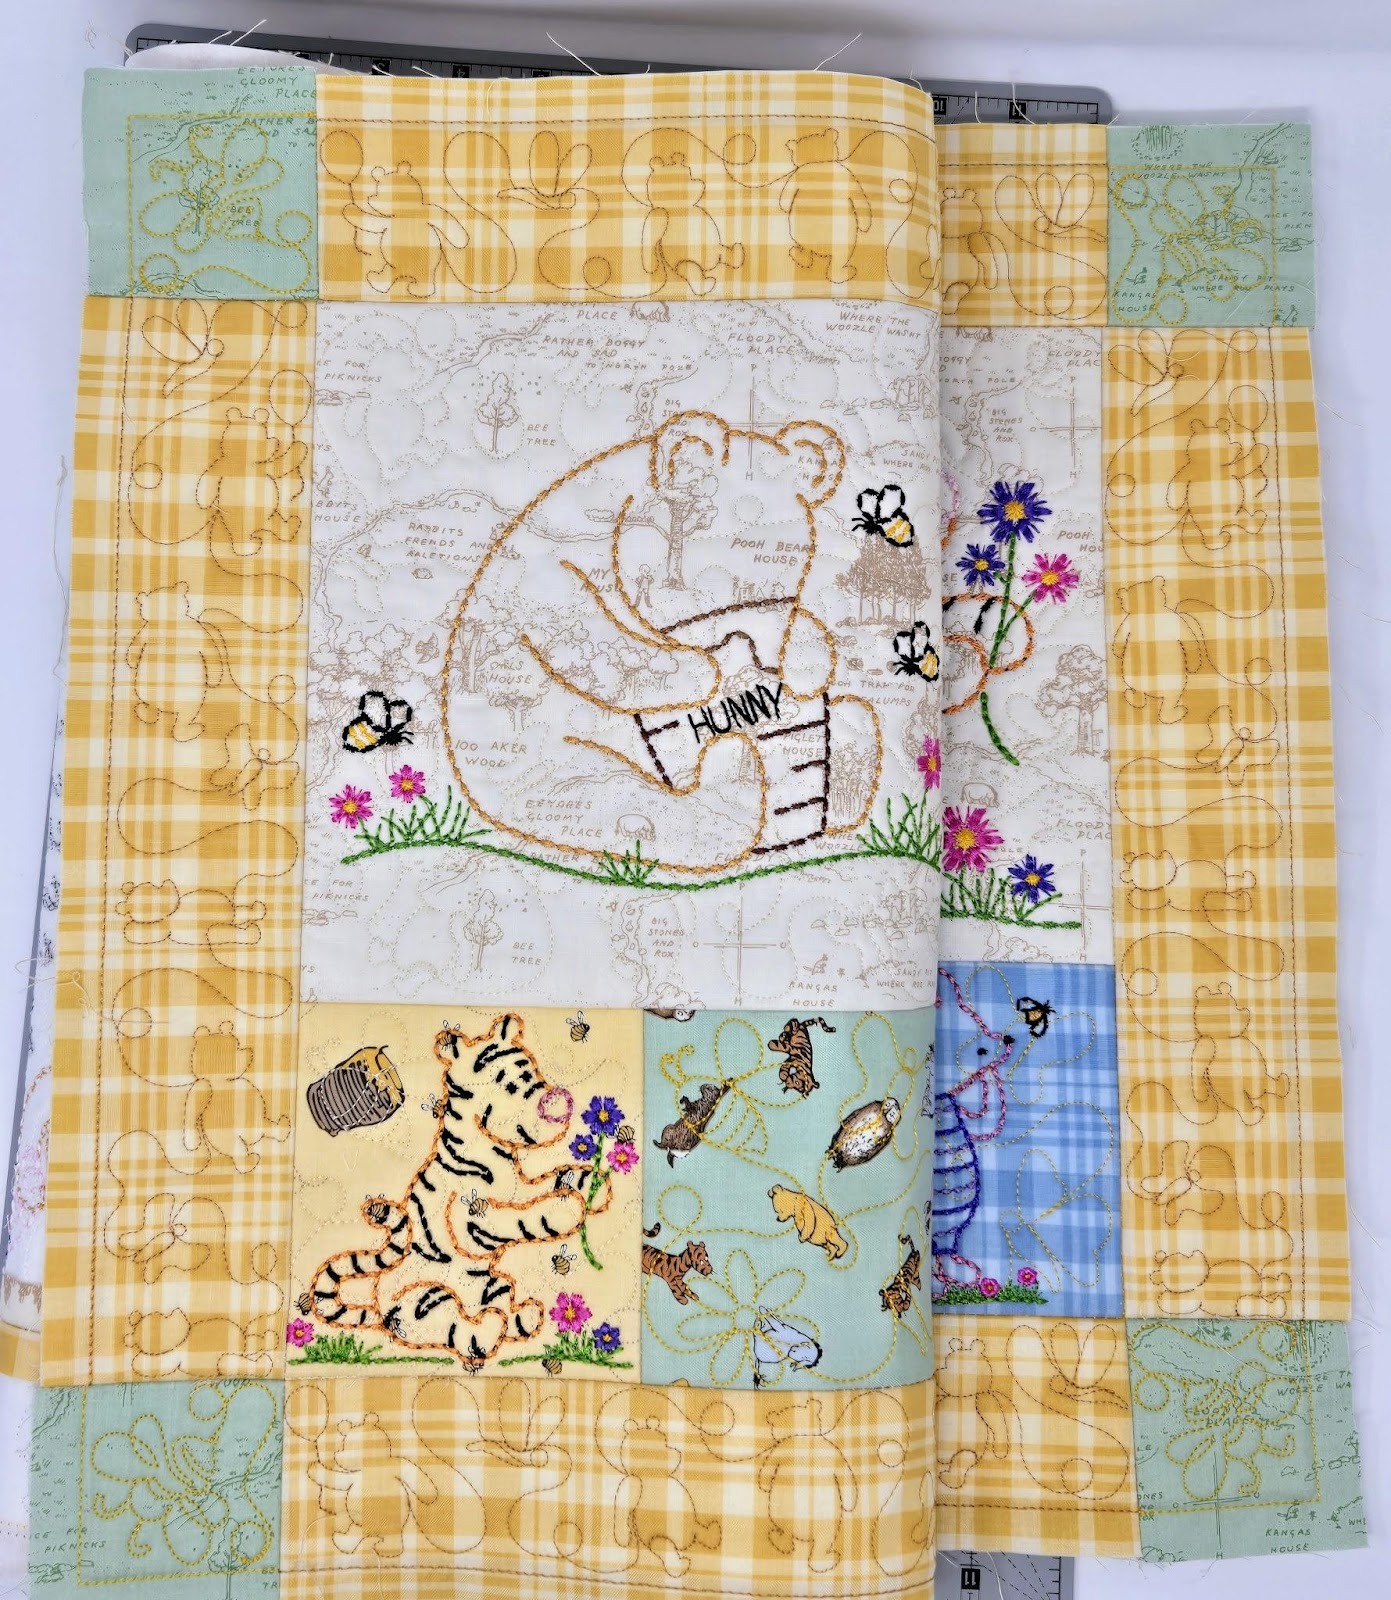
All parts of the runner finished and trimmed below. I did run the QB twice on the units without any character on them (except the yellow border parts).
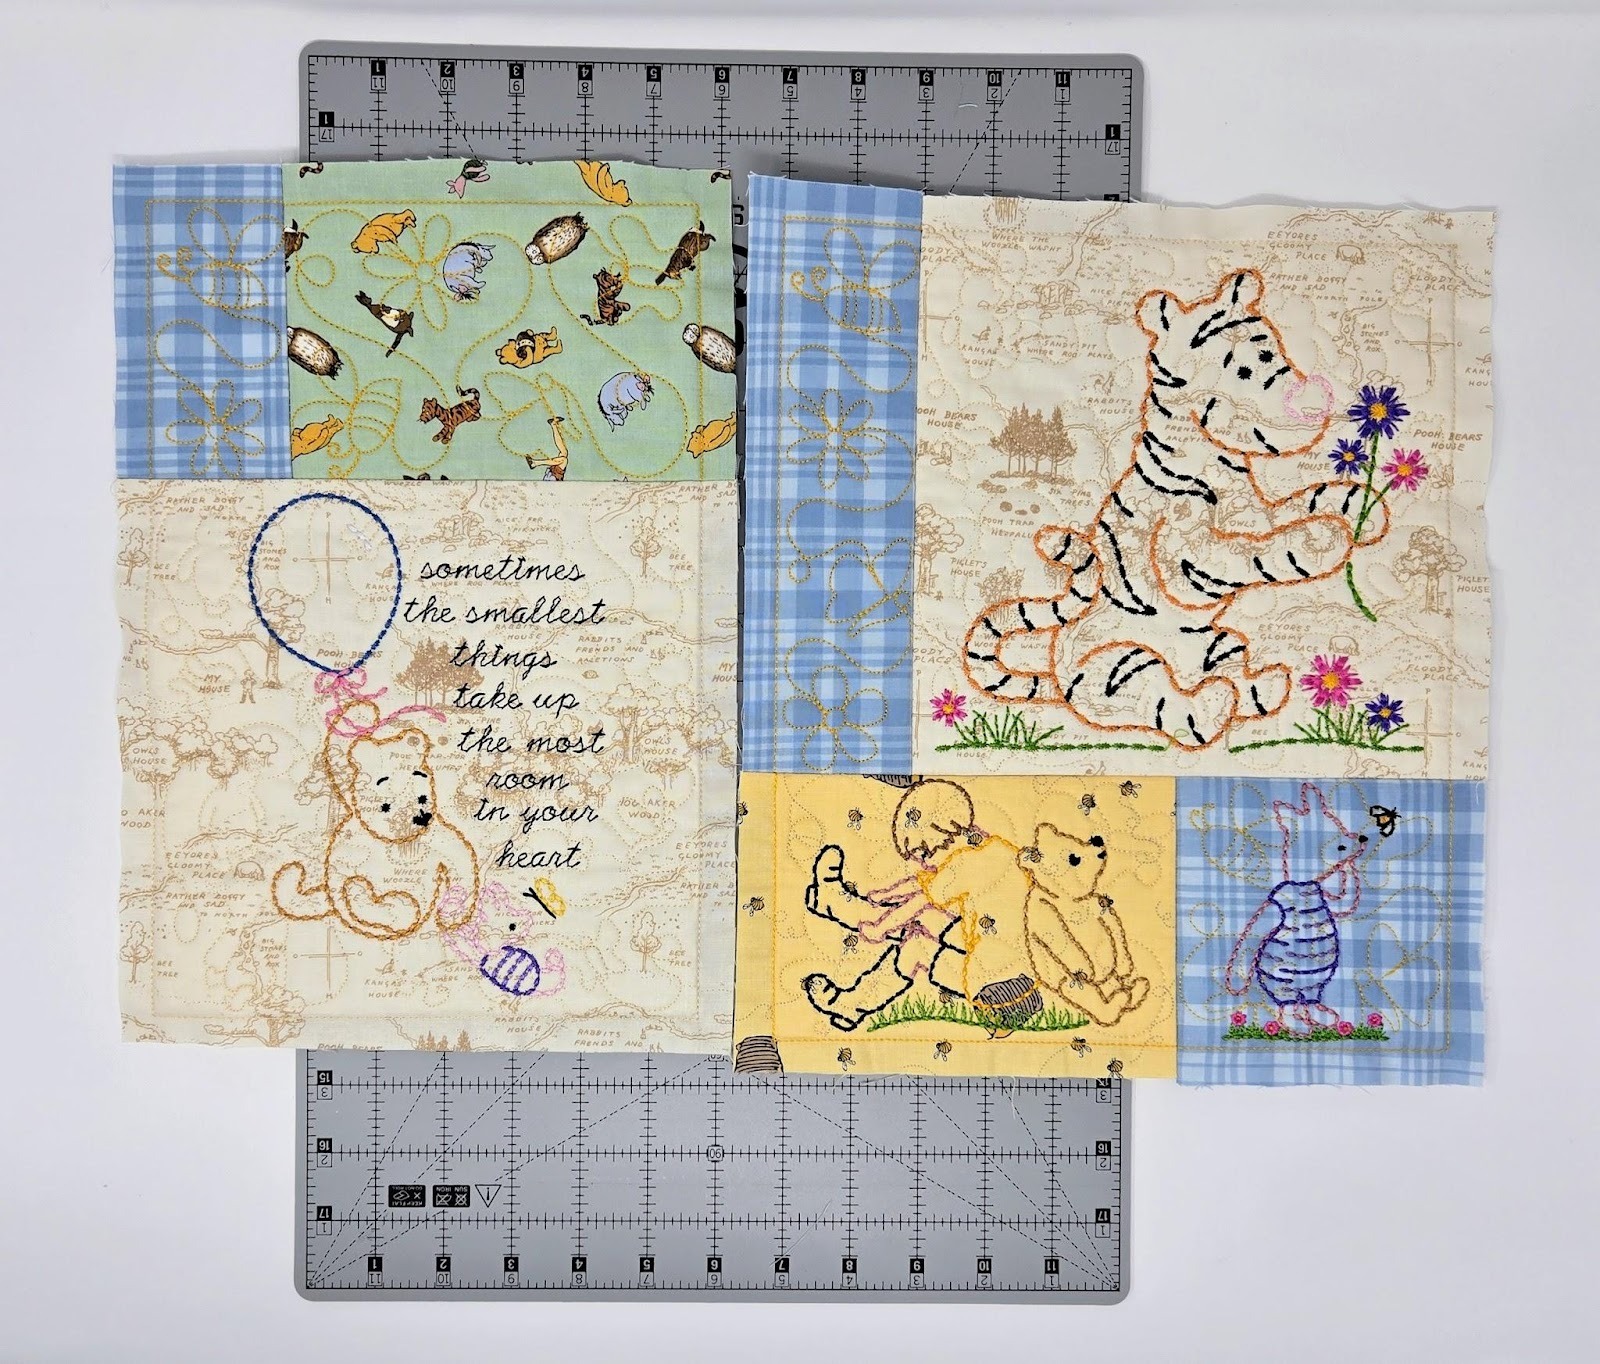
There are three straight lines running from top to bottom in the runner center. Lay out your blocks one section at a time and sew them together.

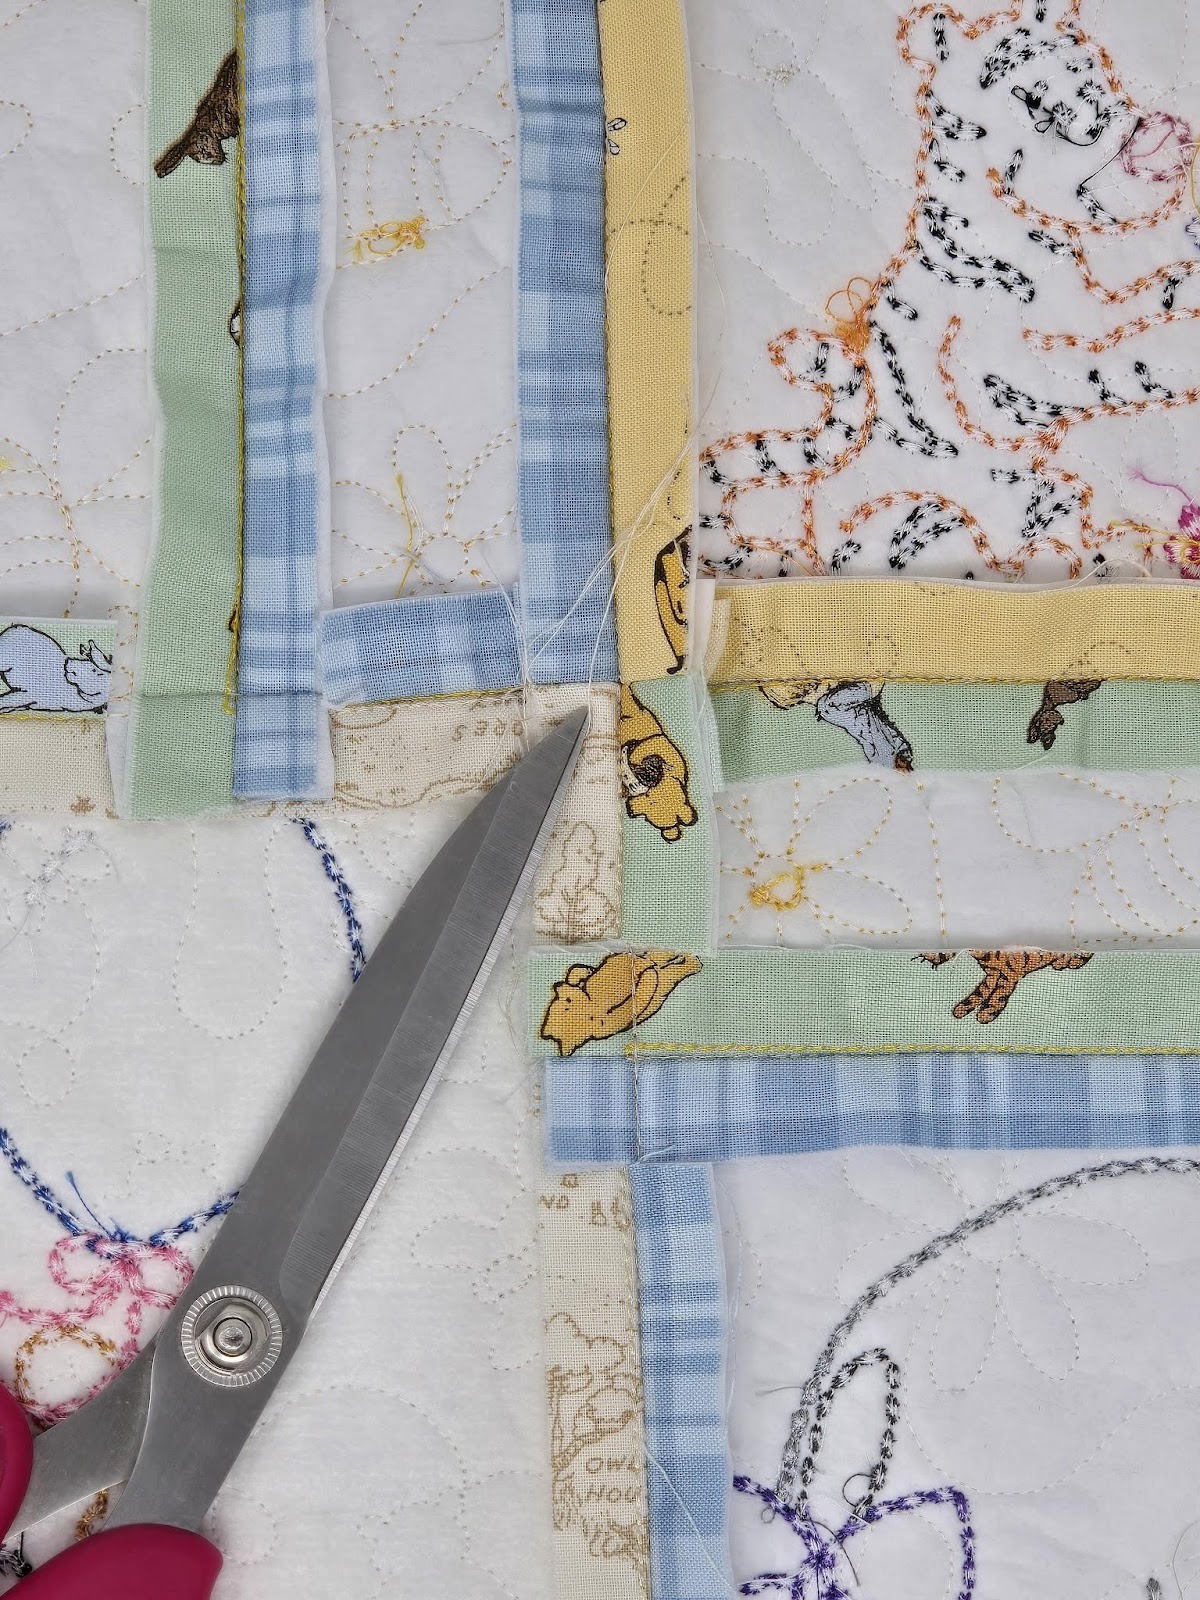
Press all seams open. Where a seam has to fold back on itself, I cut on either side of the seam almost to the stitching line. Then press it the way it would naturally want to lie, avoiding the bump created when it is pressed back on itself.

Sew the sections together and press the seams open. Again, clip to the seam anywhere the seams overlap. There is only one place where the seams need to be matched. For this junction, I pressed the seams back. Trim a little of the stabilizer out of the seam allowance here—very carefully!
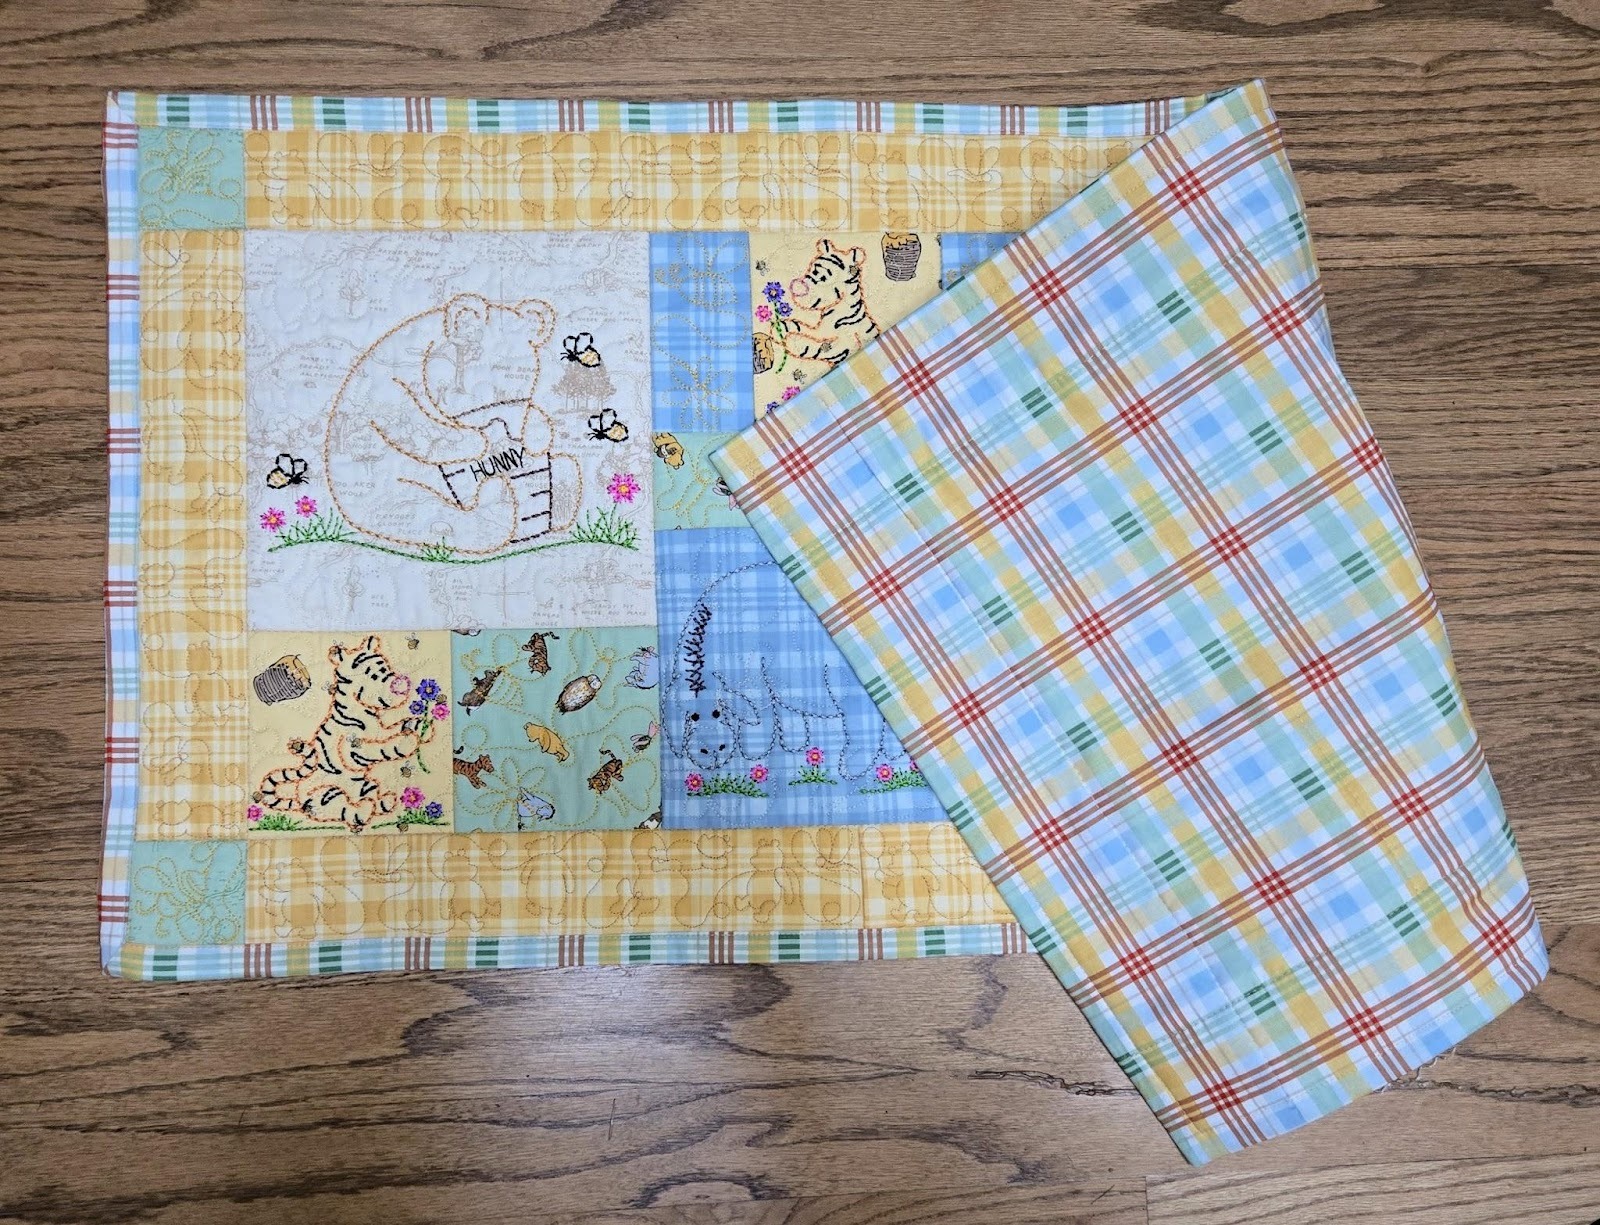
I do not add any stabilizer to my backing fabric. Instead I add a layer of flannel between the back of the runner and the backing. This helps to “absorb” the spots where seams meet so everything will lie nice and flat. If you choose to do the same, place your runner on top of the flannel and cut around it. Then baste it to your runner in the seam allowance, so you won’t have extra pins in your way.

Press your backing fabric to get out the center fold line and any other wrinkles. I used the Magic Premium Quilting & Crafting Spray to help with this. I love this product because it removes all those pesky fold lines.
Leave about 2” of backing fabric around the outside of the runner. We are going to fold this fabric to the front to bind our runner later. Quilt by stitching in the ditch as desired. I used a longer stitch length, 3.0–3.5 mm, and sewed straight lines down the places where the four segments joined, around the borders on the inside, and then a few horizontal lines between the big squares and the little squares. It is enough to hold everything together. Since you really cannot see the quilting, I didn’t bother taking a photo.
Next, trim the backing fabric to 1 3/8th inches from the edge of your runner all the way around.

Press the backing fabric to the front to meet the runner all the way around.

Go back and fold it over a second time to cover the tack-down stitching, all the way around, and press well.

Open out your pressed binding at the corner and position a ruler diagonally at the point of the corner block. You will know the ruler is placed correctly if the line on the ruler runs diagonally through the bottom of the block (pencil pointing to spot).
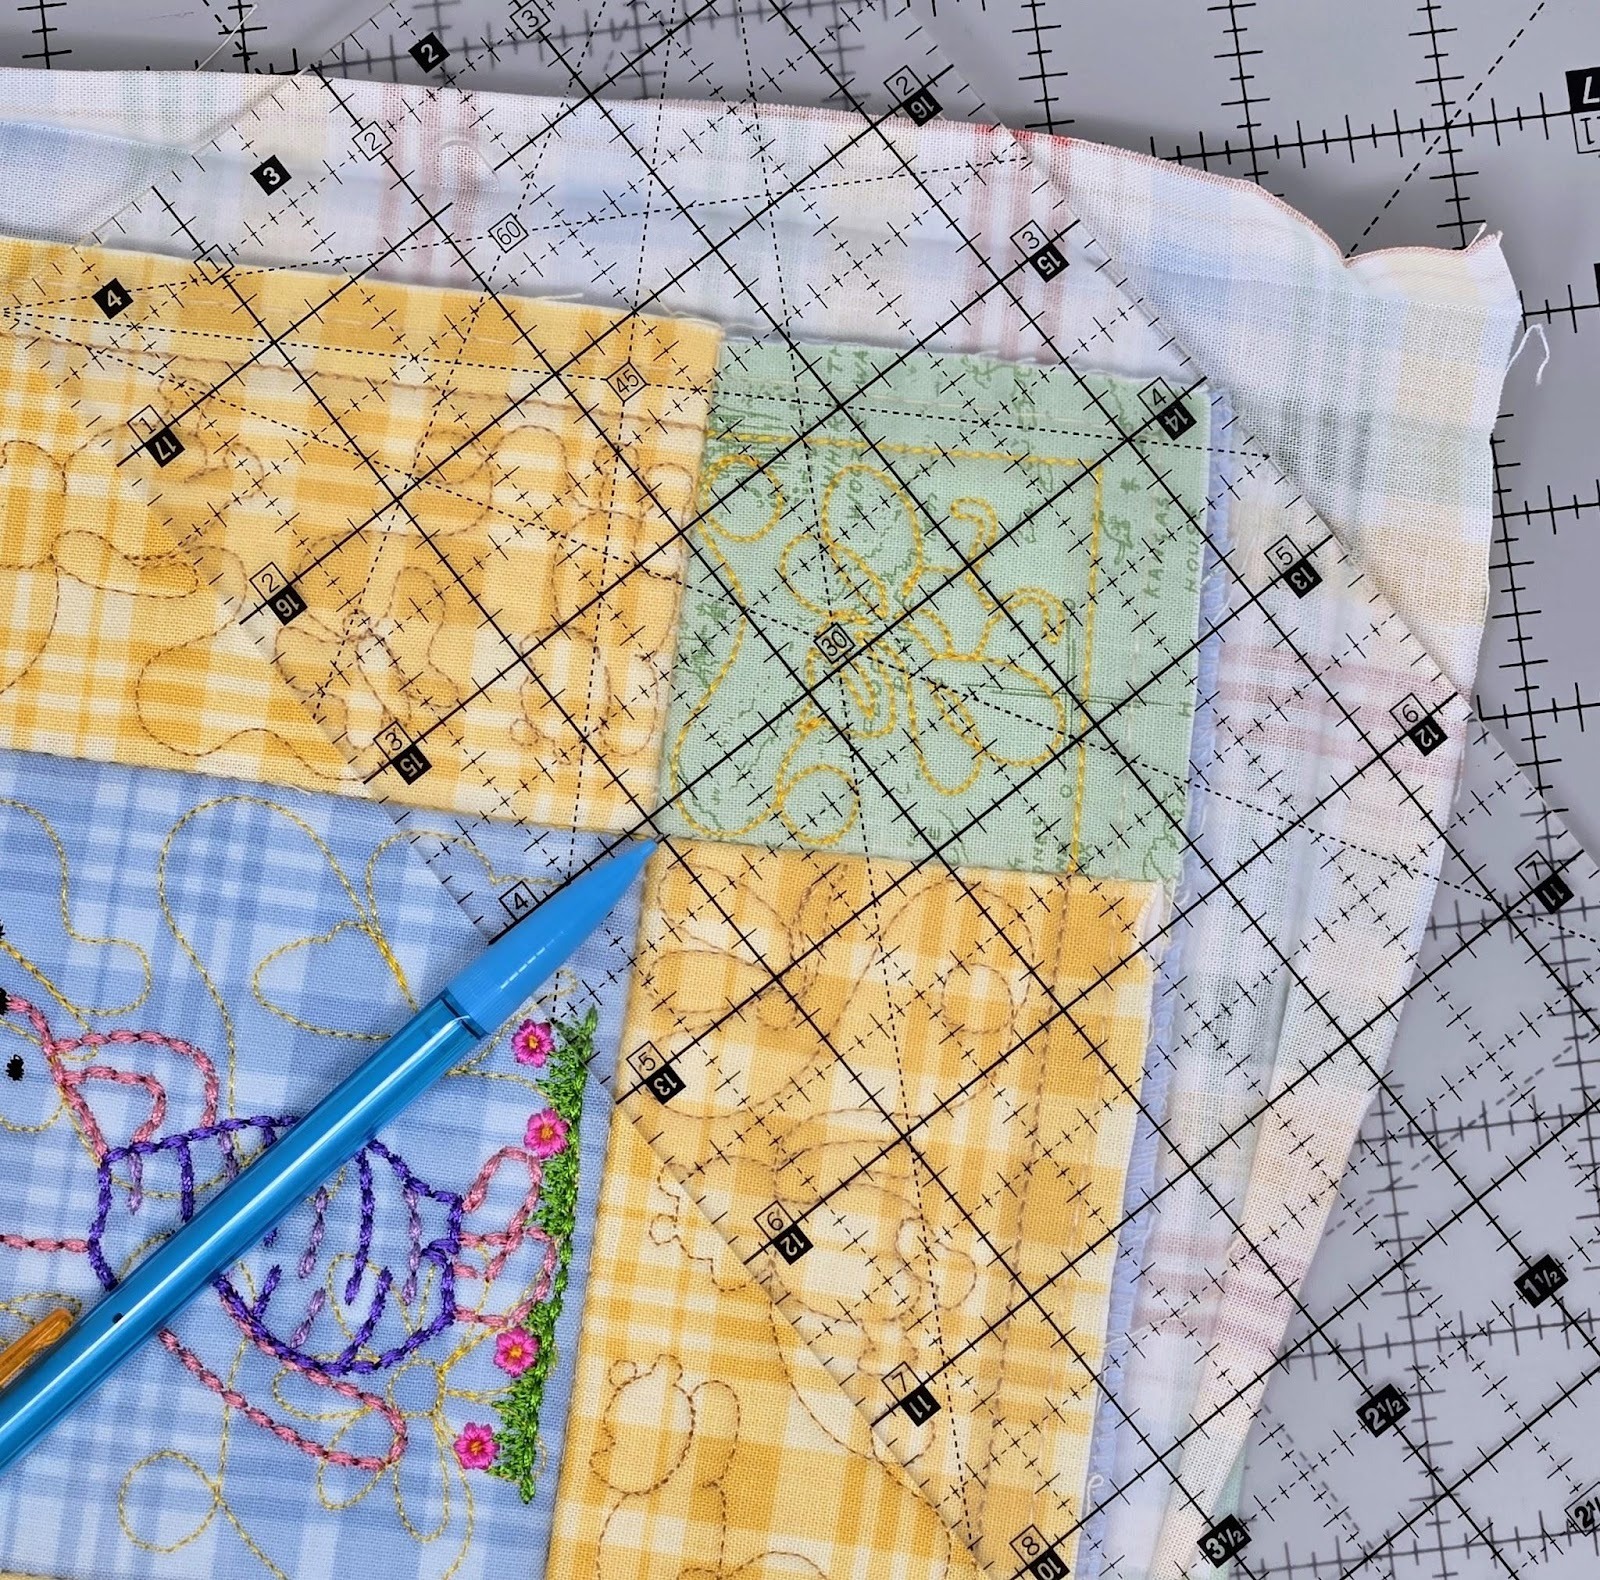
Mark a pencil line across the ruler, on the binding fabric, from the first fold of binding to the other side of the fold. Mark in the fold as well.

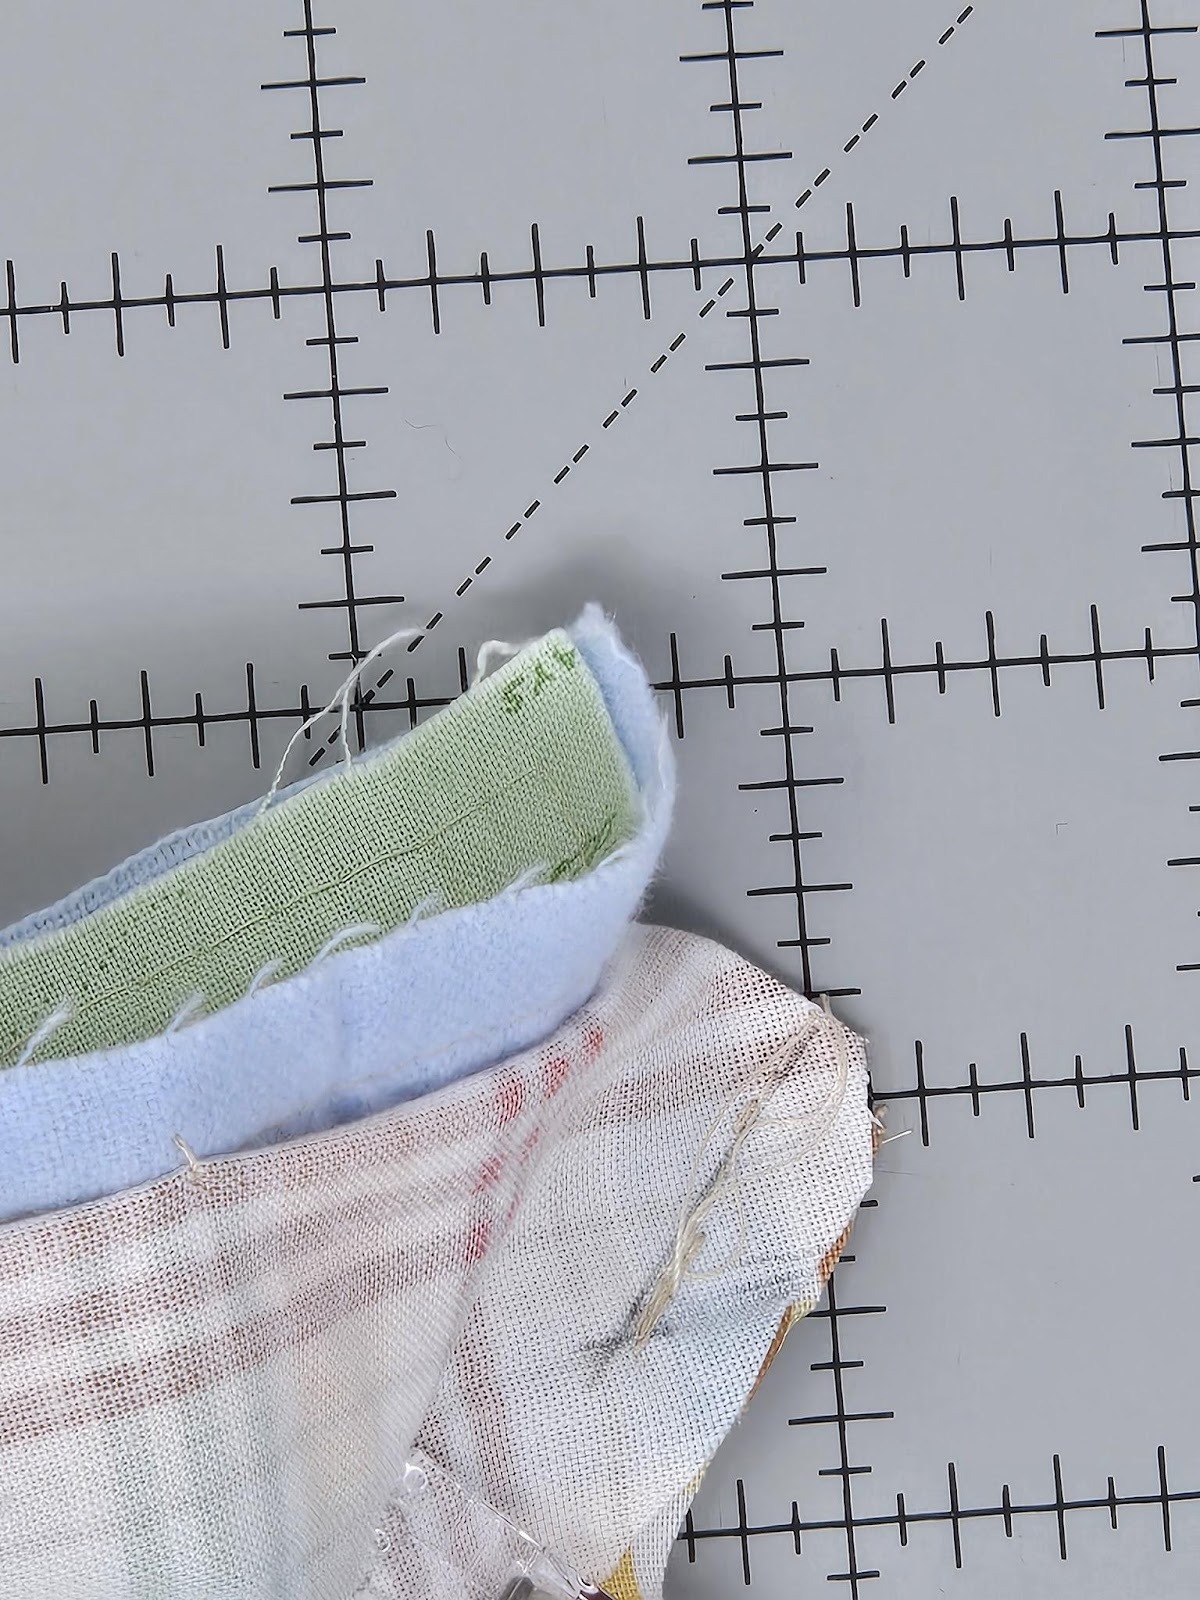
Take a pin and run it through the X where the diagonal line meets the fold line. Fold the point with right sides together and run the pin through the same point on the other side. I like to pin or clip farther down the seam allowance to help hold this together. Once you have the X spots matched up, use a second pin to hold the seam securely.
We are going to sew from the folded edge to the X, NOT all the way to the fabric edge. Backstitch at the beginning and end. If your machine has a tendency to “eat” the folded edge, sew straight down to your X and then backstitch all the way back off the fold.

Trim the point of the binding, leaving a ¼” seam allowance, and cut a little bit off to the point as in the photo above. Gently fold the corner out, and the seam allowances will magically tuck under and you will have a sewn mitered corner! Congratulations! Now repeat for the other three corners.
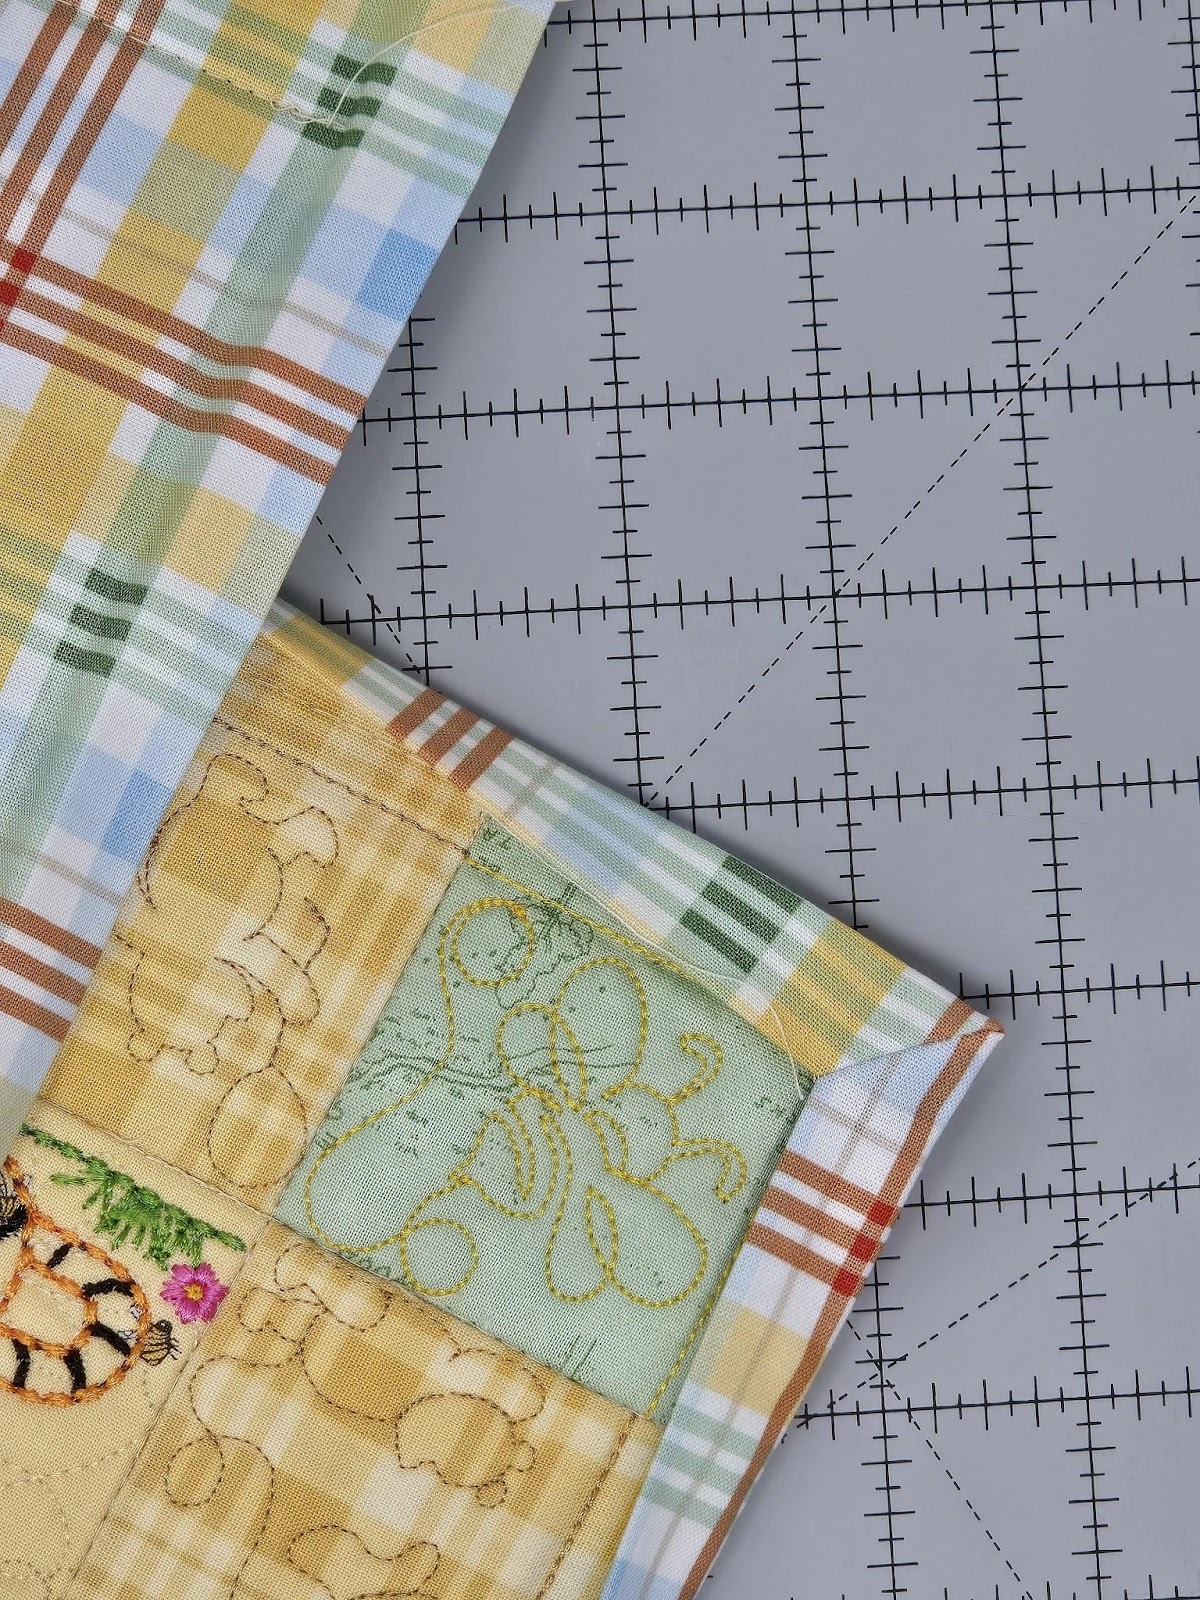
Once you have mitered all four corners, pin your binding in place and sew around your runner. I like to sew close to the edge. Sometimes I use a fancy stitch on my machine. This time I used a straight stitch.
Your runner is finished!
I hope you enjoyed this tutorial and will go have some fun with your JuJu Quilting Backdrops and Winnie-the-Pooh designs!
Please be sure to share your projects in the Designs by JuJu Embroidery Blessings Facebook Group, or use the hashtag #designsbyjuju anywhere on social media. I love to see what you create—we all do!
