Toggle Nav
 Inspire.
Create.
Stitch.
Inspire.
Create.
Stitch.
Search
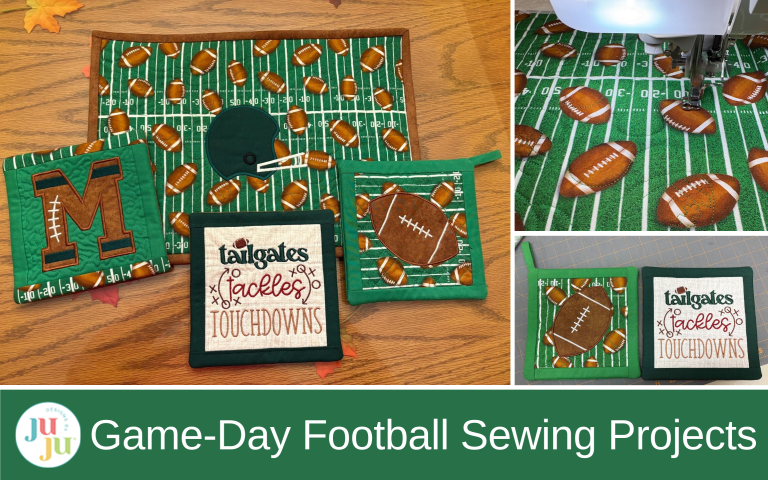
Get game-day ready with easy football-themed projects that bring fun—and team spirit—to your table.
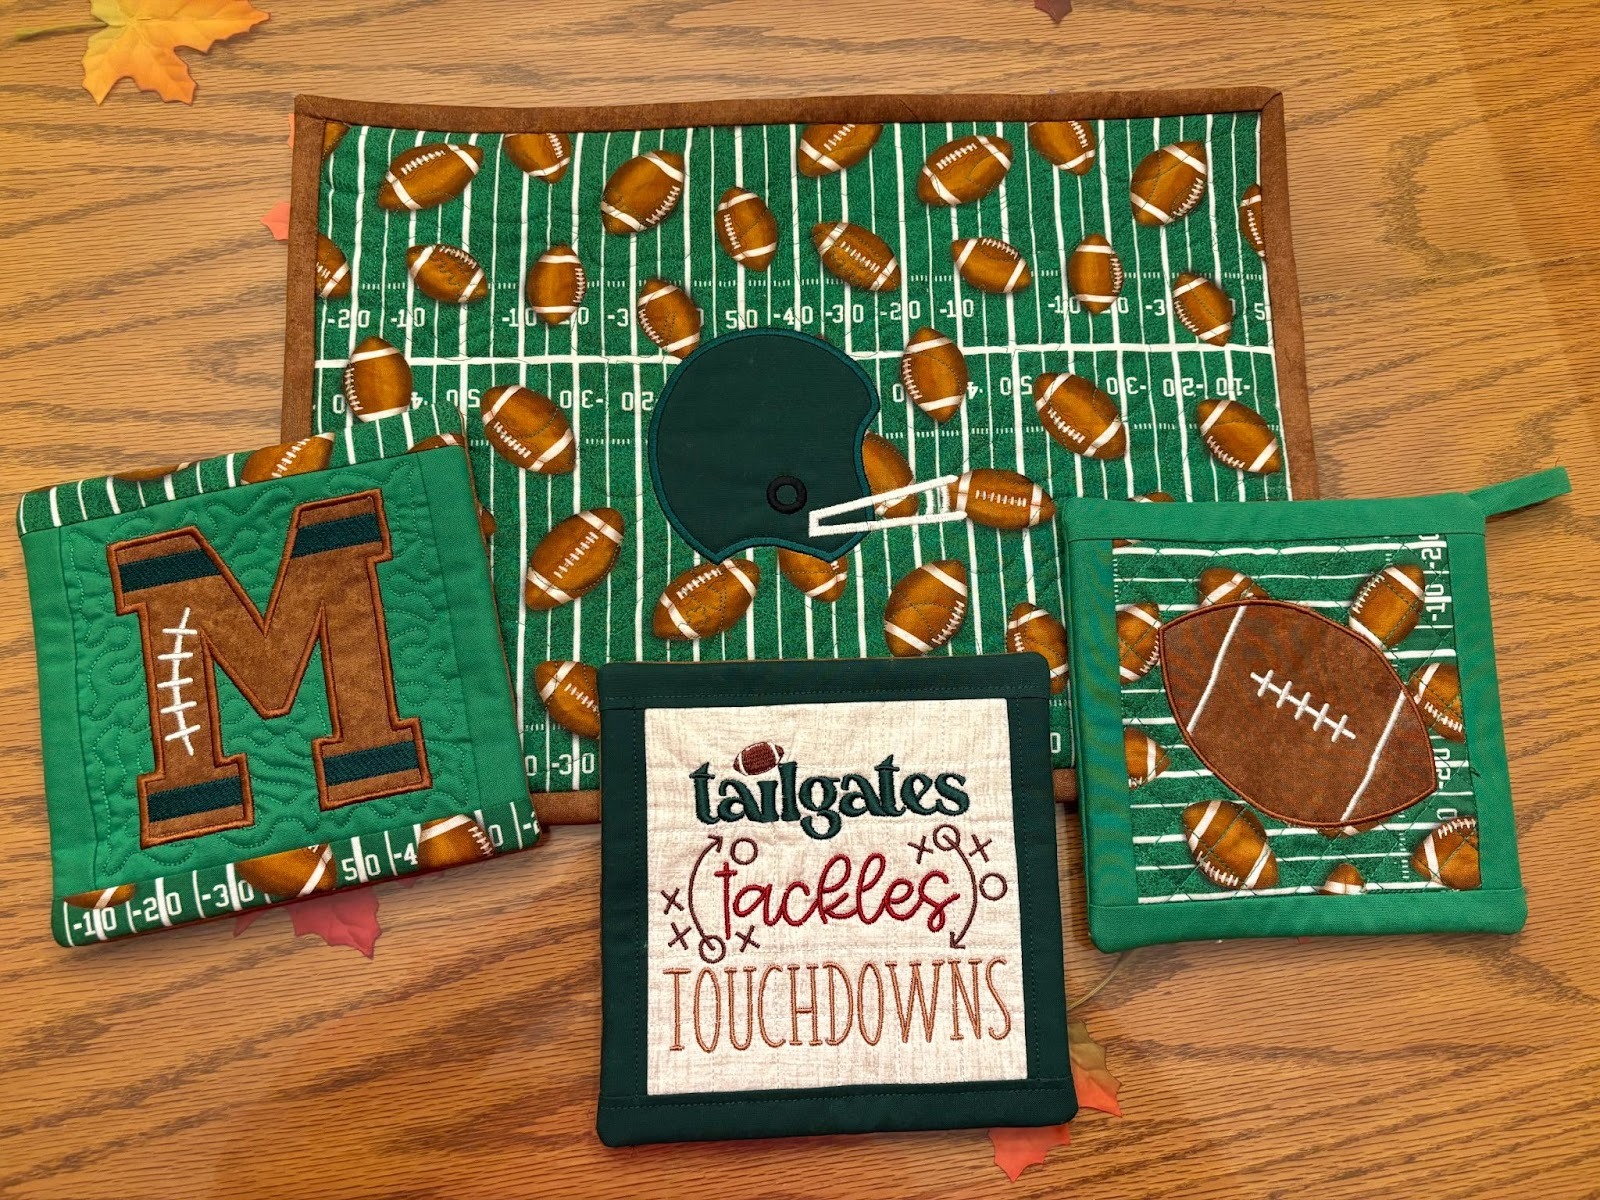
JuJu’s football designs make it so easy to get creative for game day. You can use them to stitch your own football-themed hot pads with the ITH Potholder designs, plus a quilted casserole trivet that’s sure to score a few touchdowns with your friends and family. These projects sew up quickly and make great gifts for the football fans in your life, too!
Check out the DBJJ team’s favorite supplies in the Designs by JuJu Amazon store.
Note: I don’t put my potholders or trivets in the microwave. If you plan to do that, please ensure you use threads, batting, and fabrics that are microwave safe.
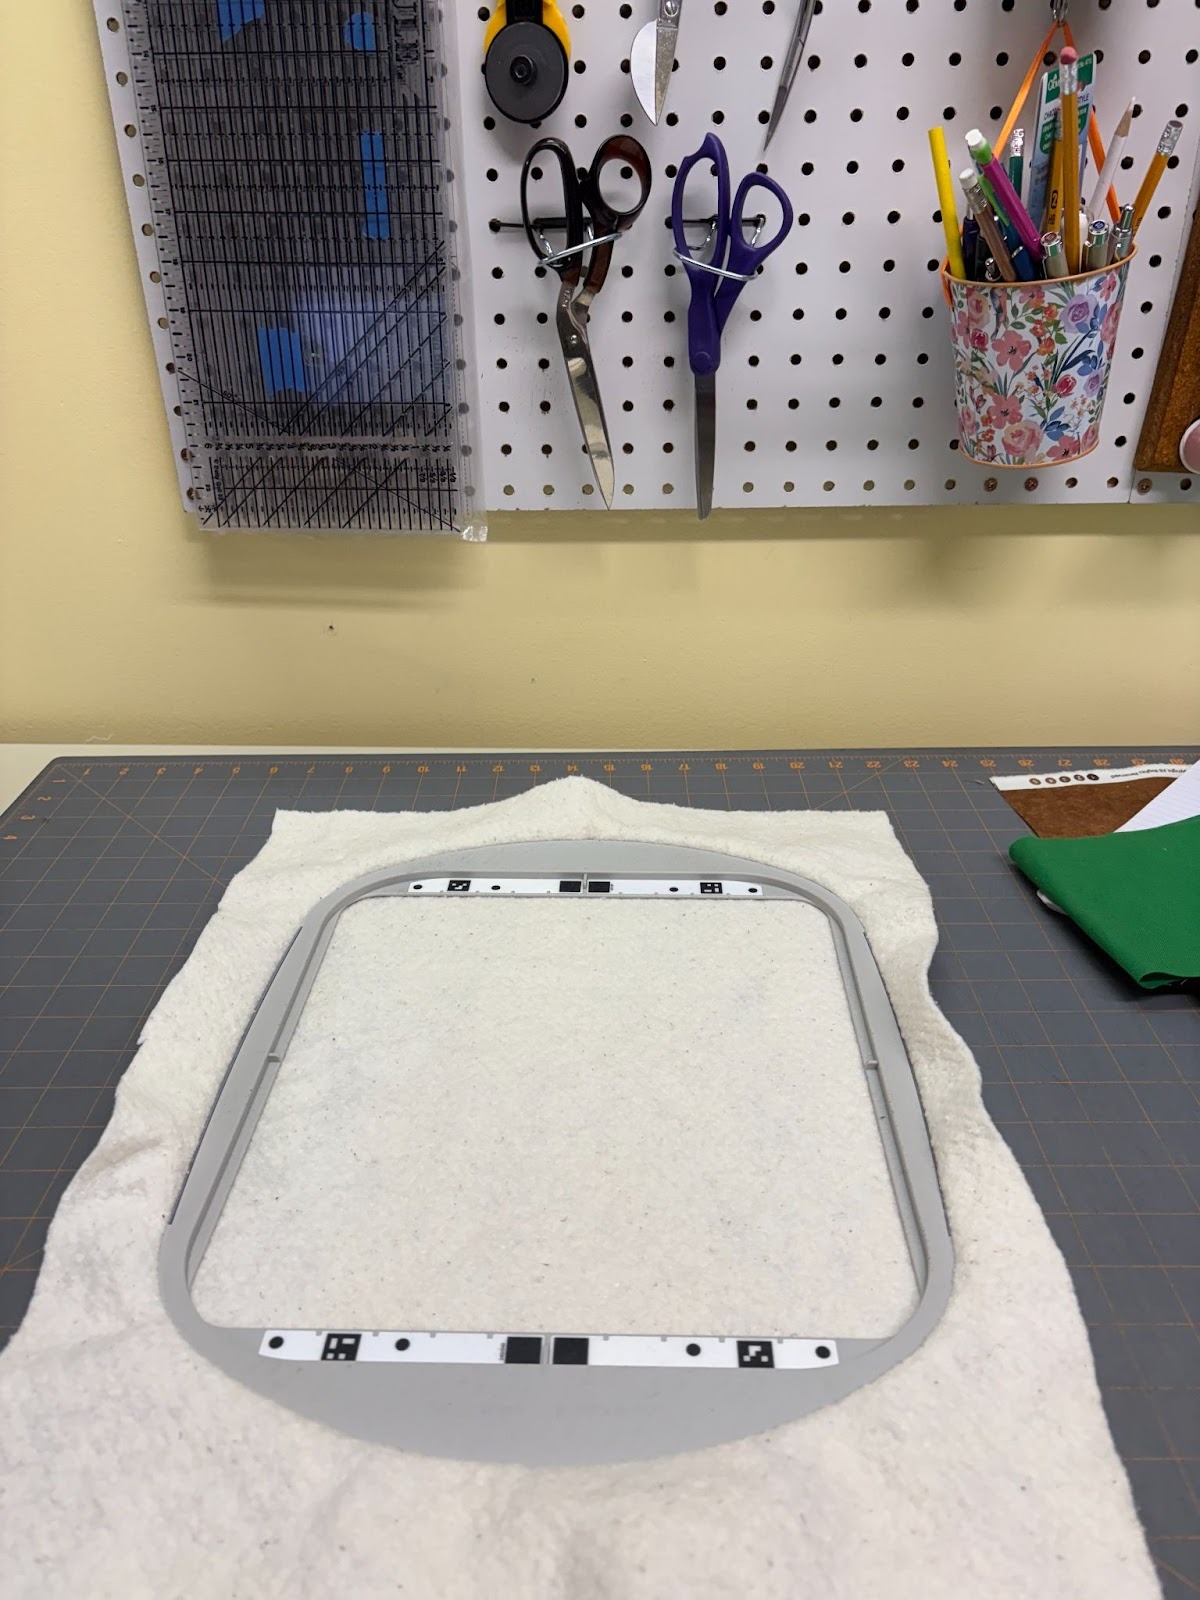
ITH Potholders are easy to make using the step-by-step PDF directions that come with the designs. If you’re a visual learner, you should watch Becky Thompson’s Power Tools tutorial. She does a great job of explaining things. The potholders sew up very quickly, and one feature I appreciate is that there’s no stabilizer needed—you just hoop the batting.
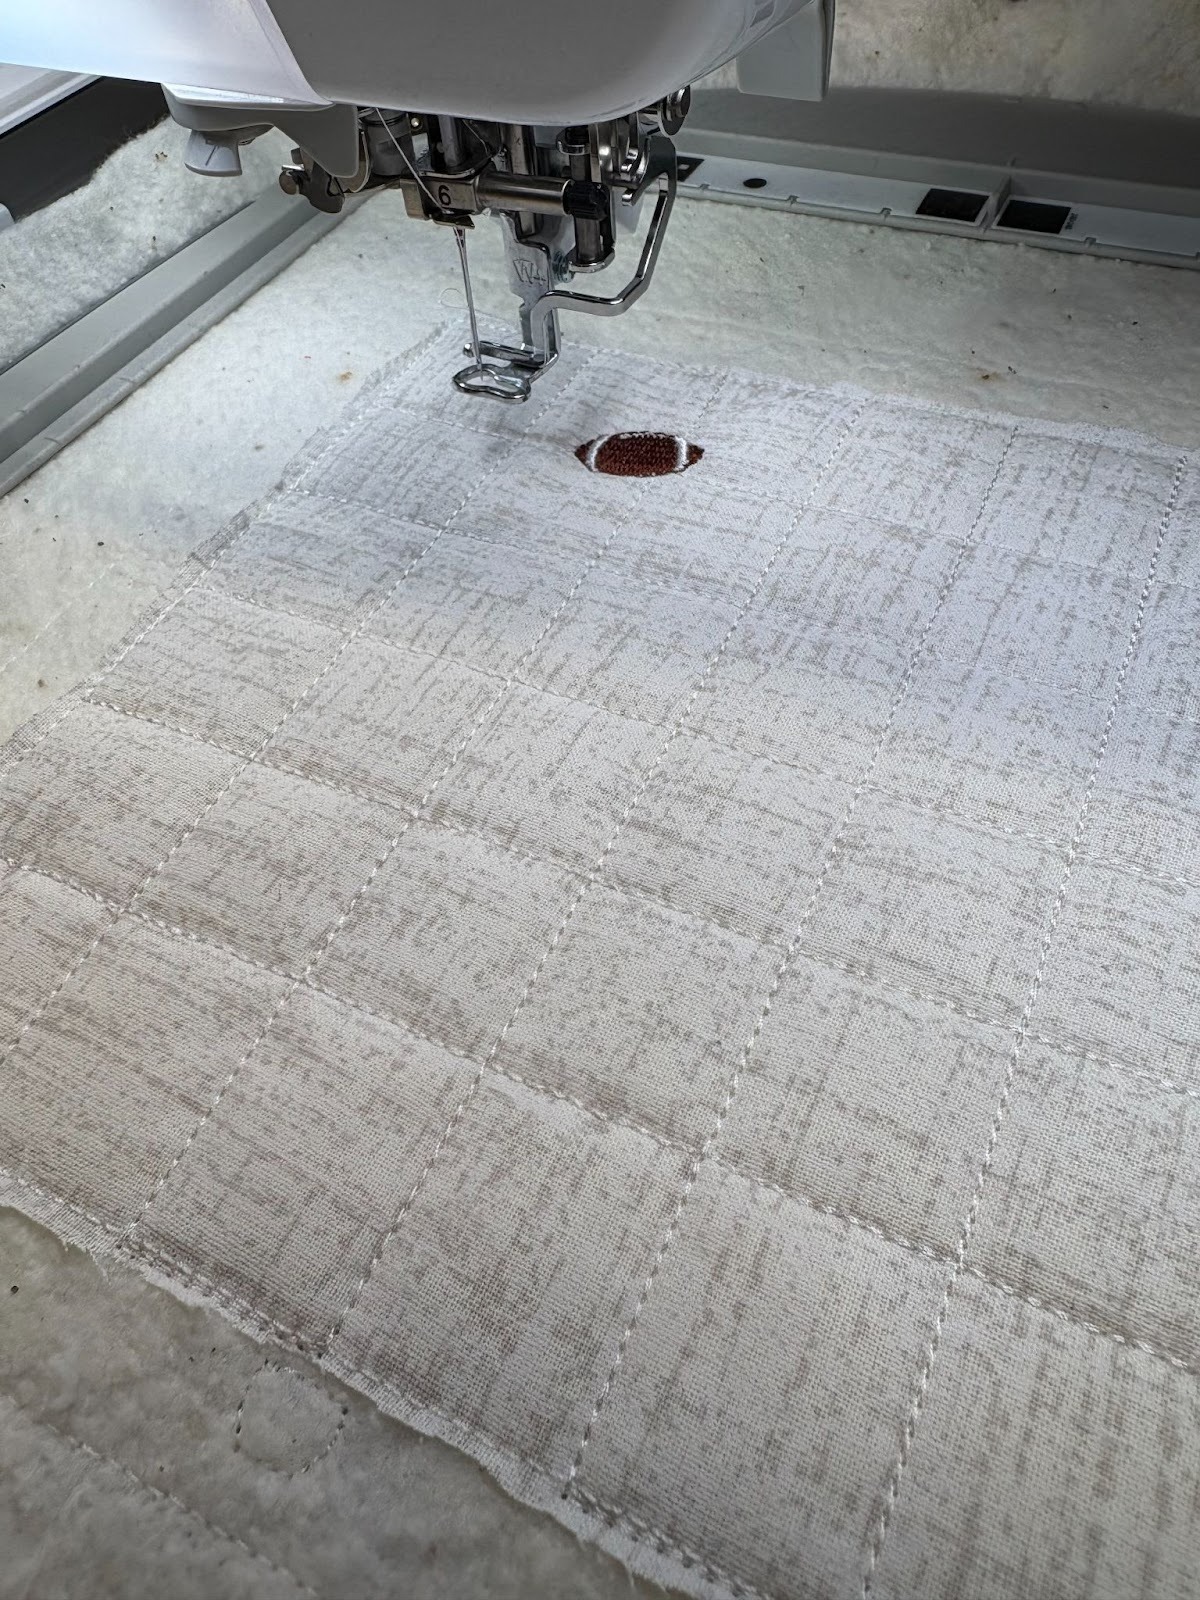
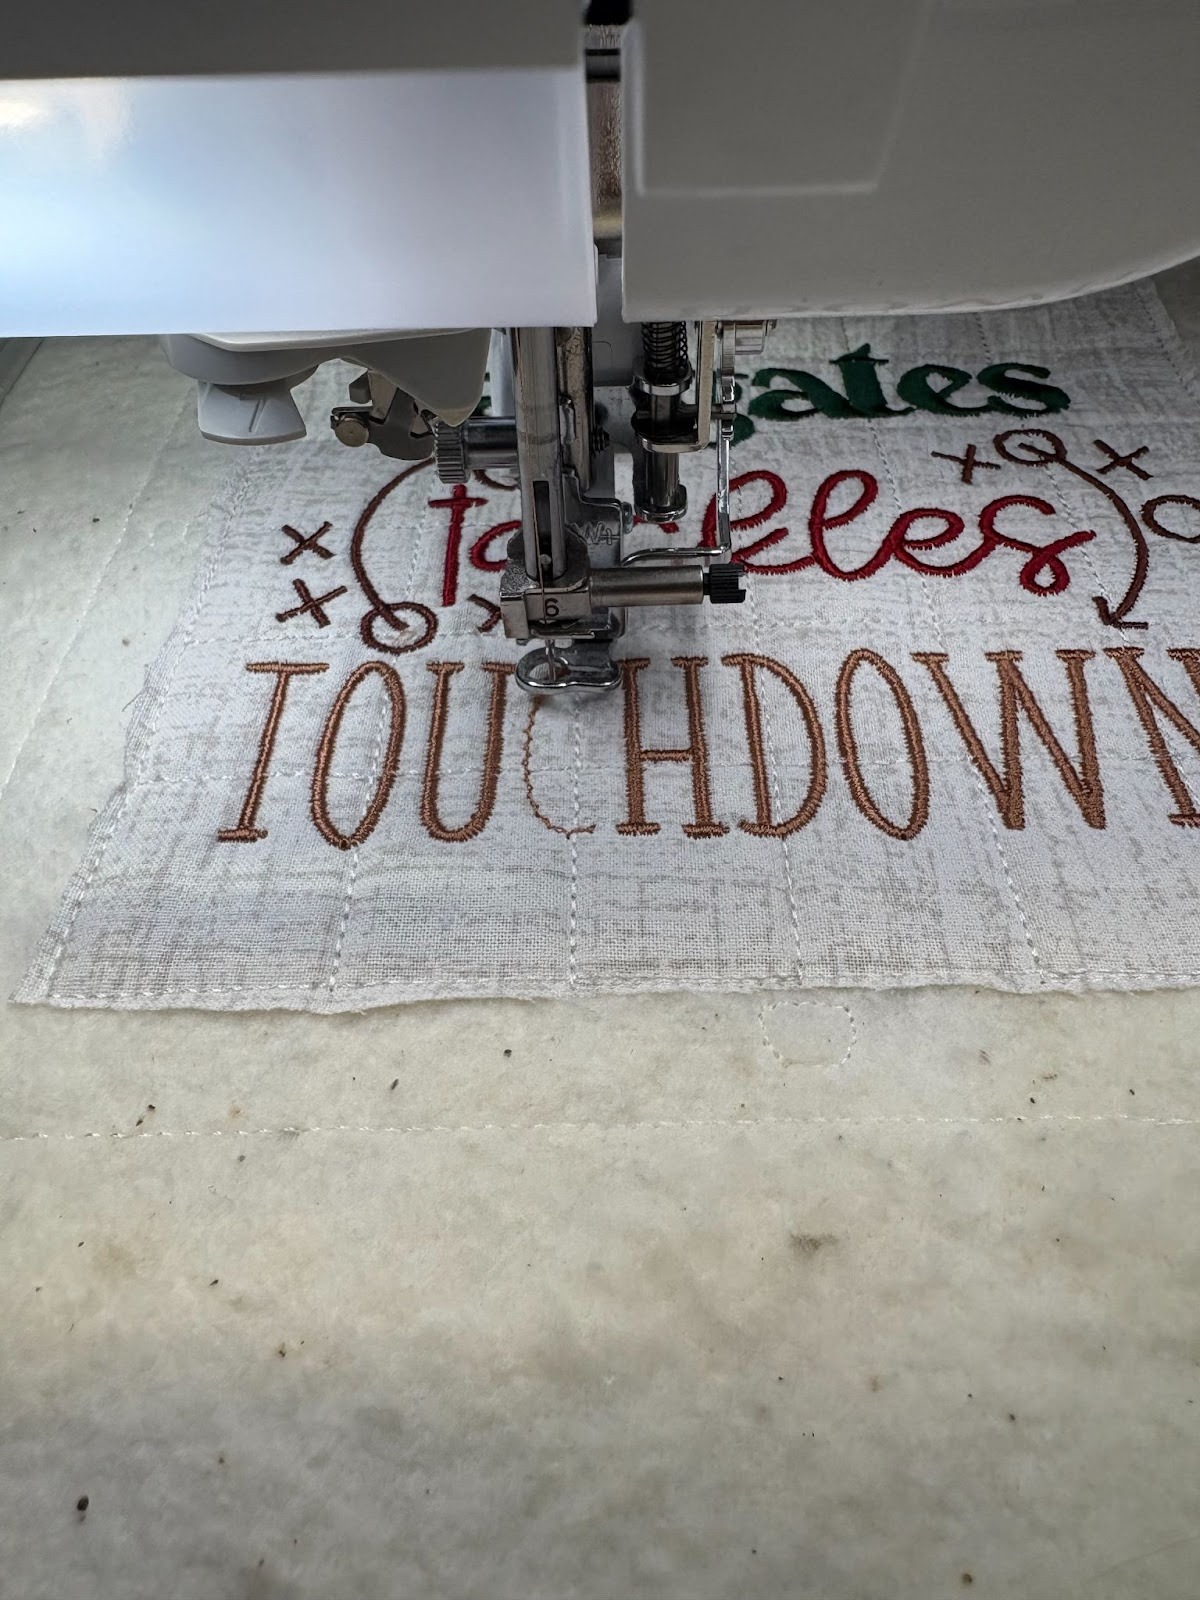
Embellishing the center of the potholders is easy with or without Embrilliance software. However, if you plan on adding a ribbon or loop, if the placement of the loop matters to you, you need to pay attention to where the ABCD edges are on the potholder. If you look at the first photo below with the Football 2 Applique, you’ll see that the A is on the top, which means the loop will be stitched on the top left of the potholder.
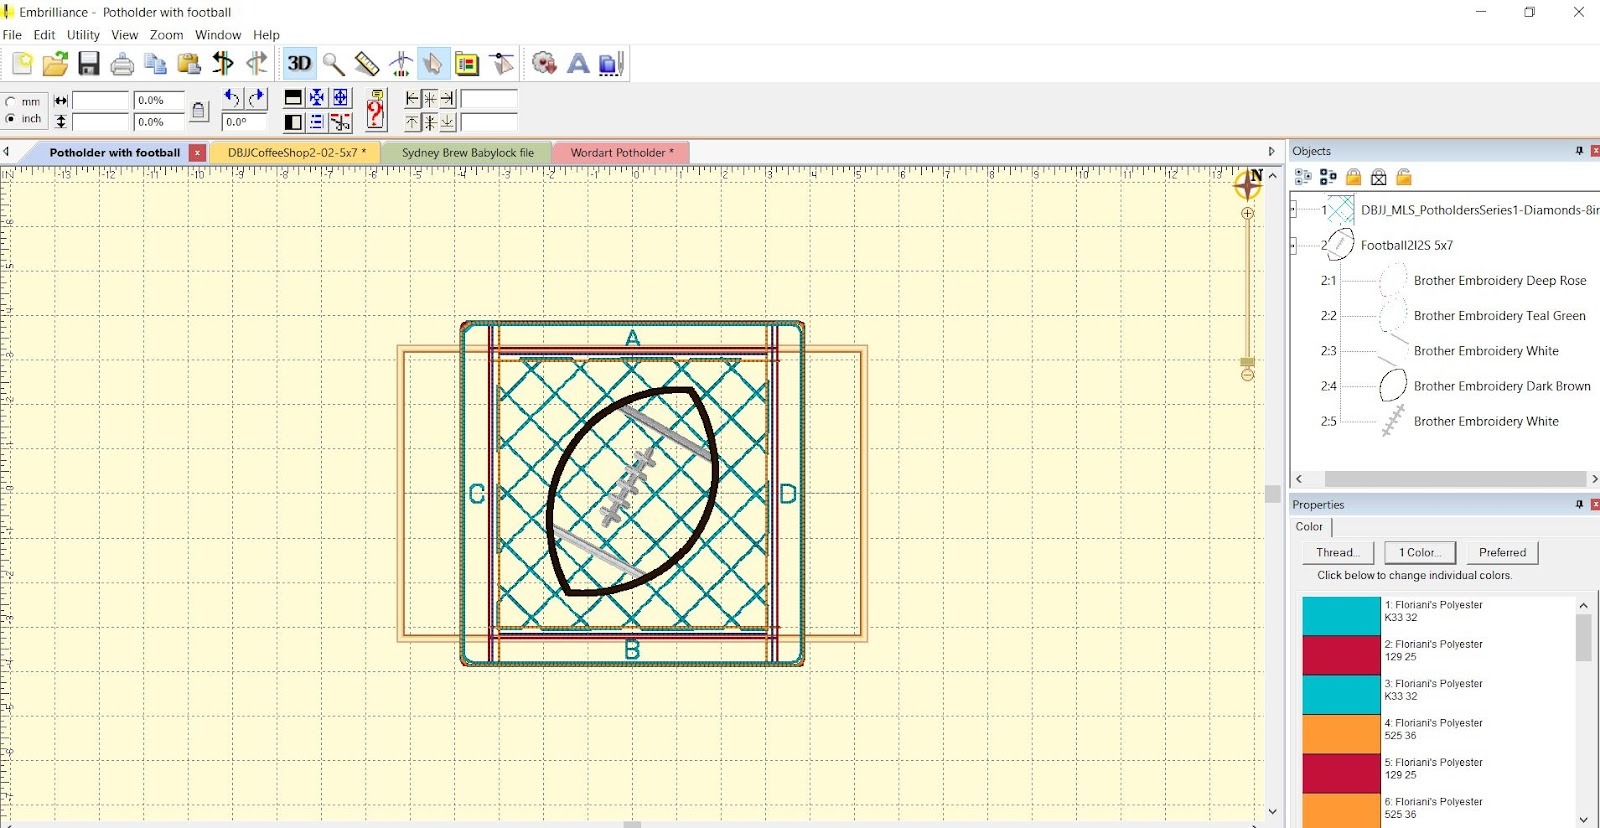
In the photo below with the Football Word Art 3, the A is on the right side, so unless I change something, the loop will be on the top right corner. If the placement is important to you, pick your corner and rotate the inner design you’re adding.

If you don’t have Embrilliance, you can still add designs to your potholders if your machine lets you add an additional design. Copy both your potholder design and the embellishment design onto a thumb drive. Use your thumb drive to open the potholder design on your embroidery machine. Then ADD the additional design you want to embroider in the center of the potholder.
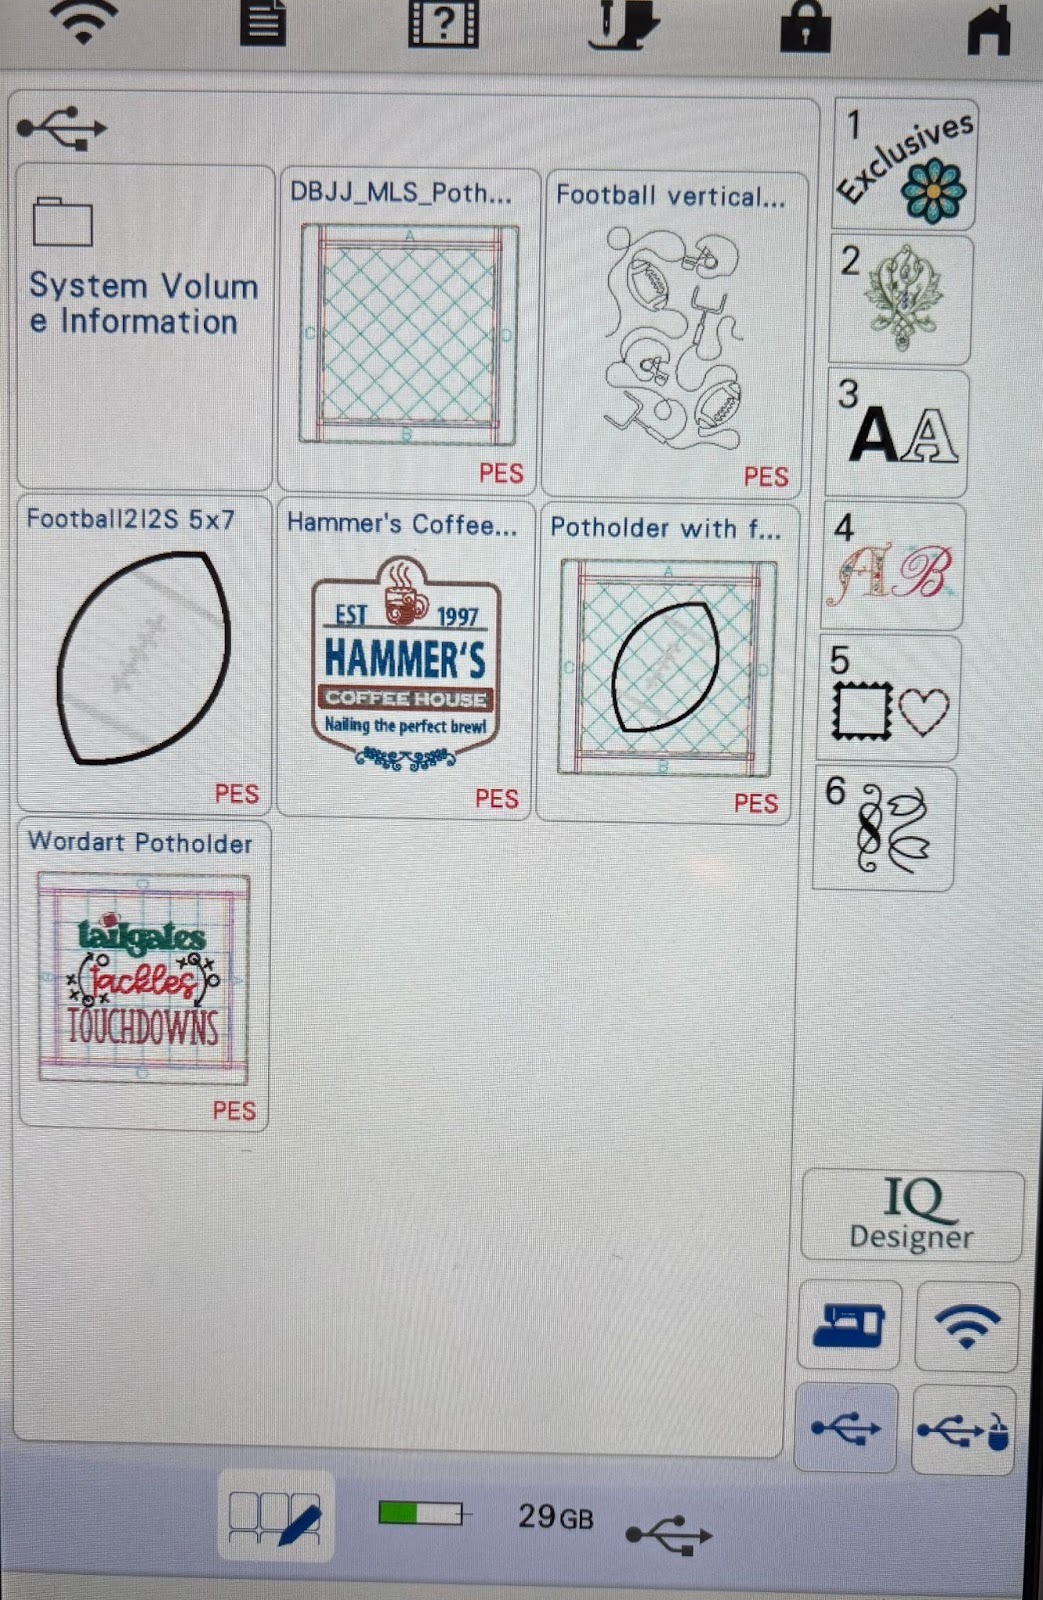
I open the potholder design first and then add the second design because my machine will put them in this order for sewing.
The first steps I need to do are the potholder steps. I embroider steps 1–3. These are the placement steps, tack-down, and the quilting steps on the front of the potholder.
Next I jump to the steps of the design I’m adding. For my potholders this means that after the special quilting stitches were sewn, I jumped to my football designs.
Once the embellishment was stitched out, I returned to making the potholders at Step 4 and started working on the borders. I do a few steps differently when I make my potholders.
First, I stitch steps 4 and 6 together, which sew the seams of borders A and B, then I sew steps 5 and 7 together, which tack the borders down.
I do the same for the other two borders. I sew steps 8 and 10, the seams for borders C and D, then steps 9 and 11 to tack the borders down. This reduces the number of times I need to remove the hoop from the machine.
To make your own potholder loop out of one of the potholder fabrics or a contrasting fabric, cut a 1½” x 6” strip of fabric. Use one of these methods below to complete the loop.
Method A: Fold fabric strip with right sides together and press. Sew a ¼” seam and turn right side out. I have a loop turner, but I find it easier to turn the tube by putting a small safety pin on one end and pushing it through carefully. Press with the seam centered in the back so it won’t show when looped on the potholder.
Method B: Fold in the long edges of fabric strip ¼”. Press. Fold in half and press. Top stitch close to the edge on each long side.
Another option of course is to NOT have a loop for your potholder. I used Method A for the one loop I made. I don’t hang my potholders so I didn't put loops on the others.

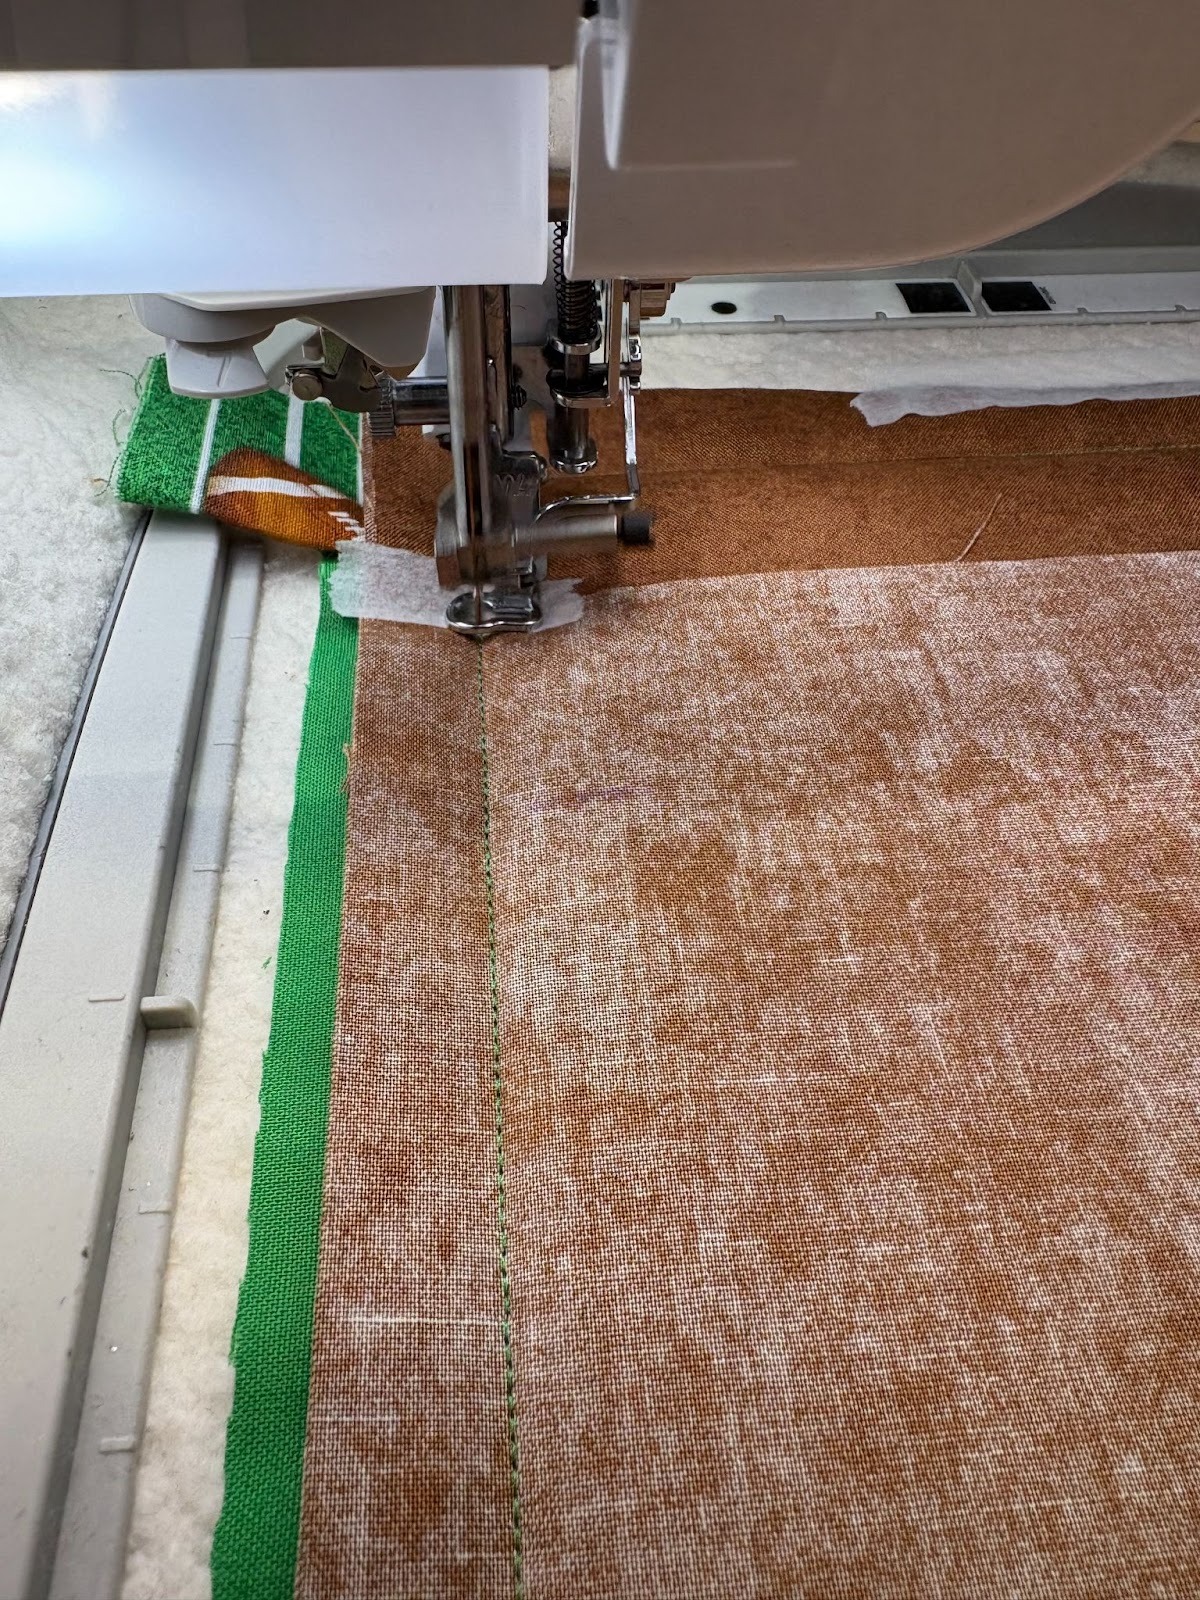
The directions throughout the potholder steps say to use embroidery tape. If you don’t use tape, things are probably going to move on you in ways you won’t like.
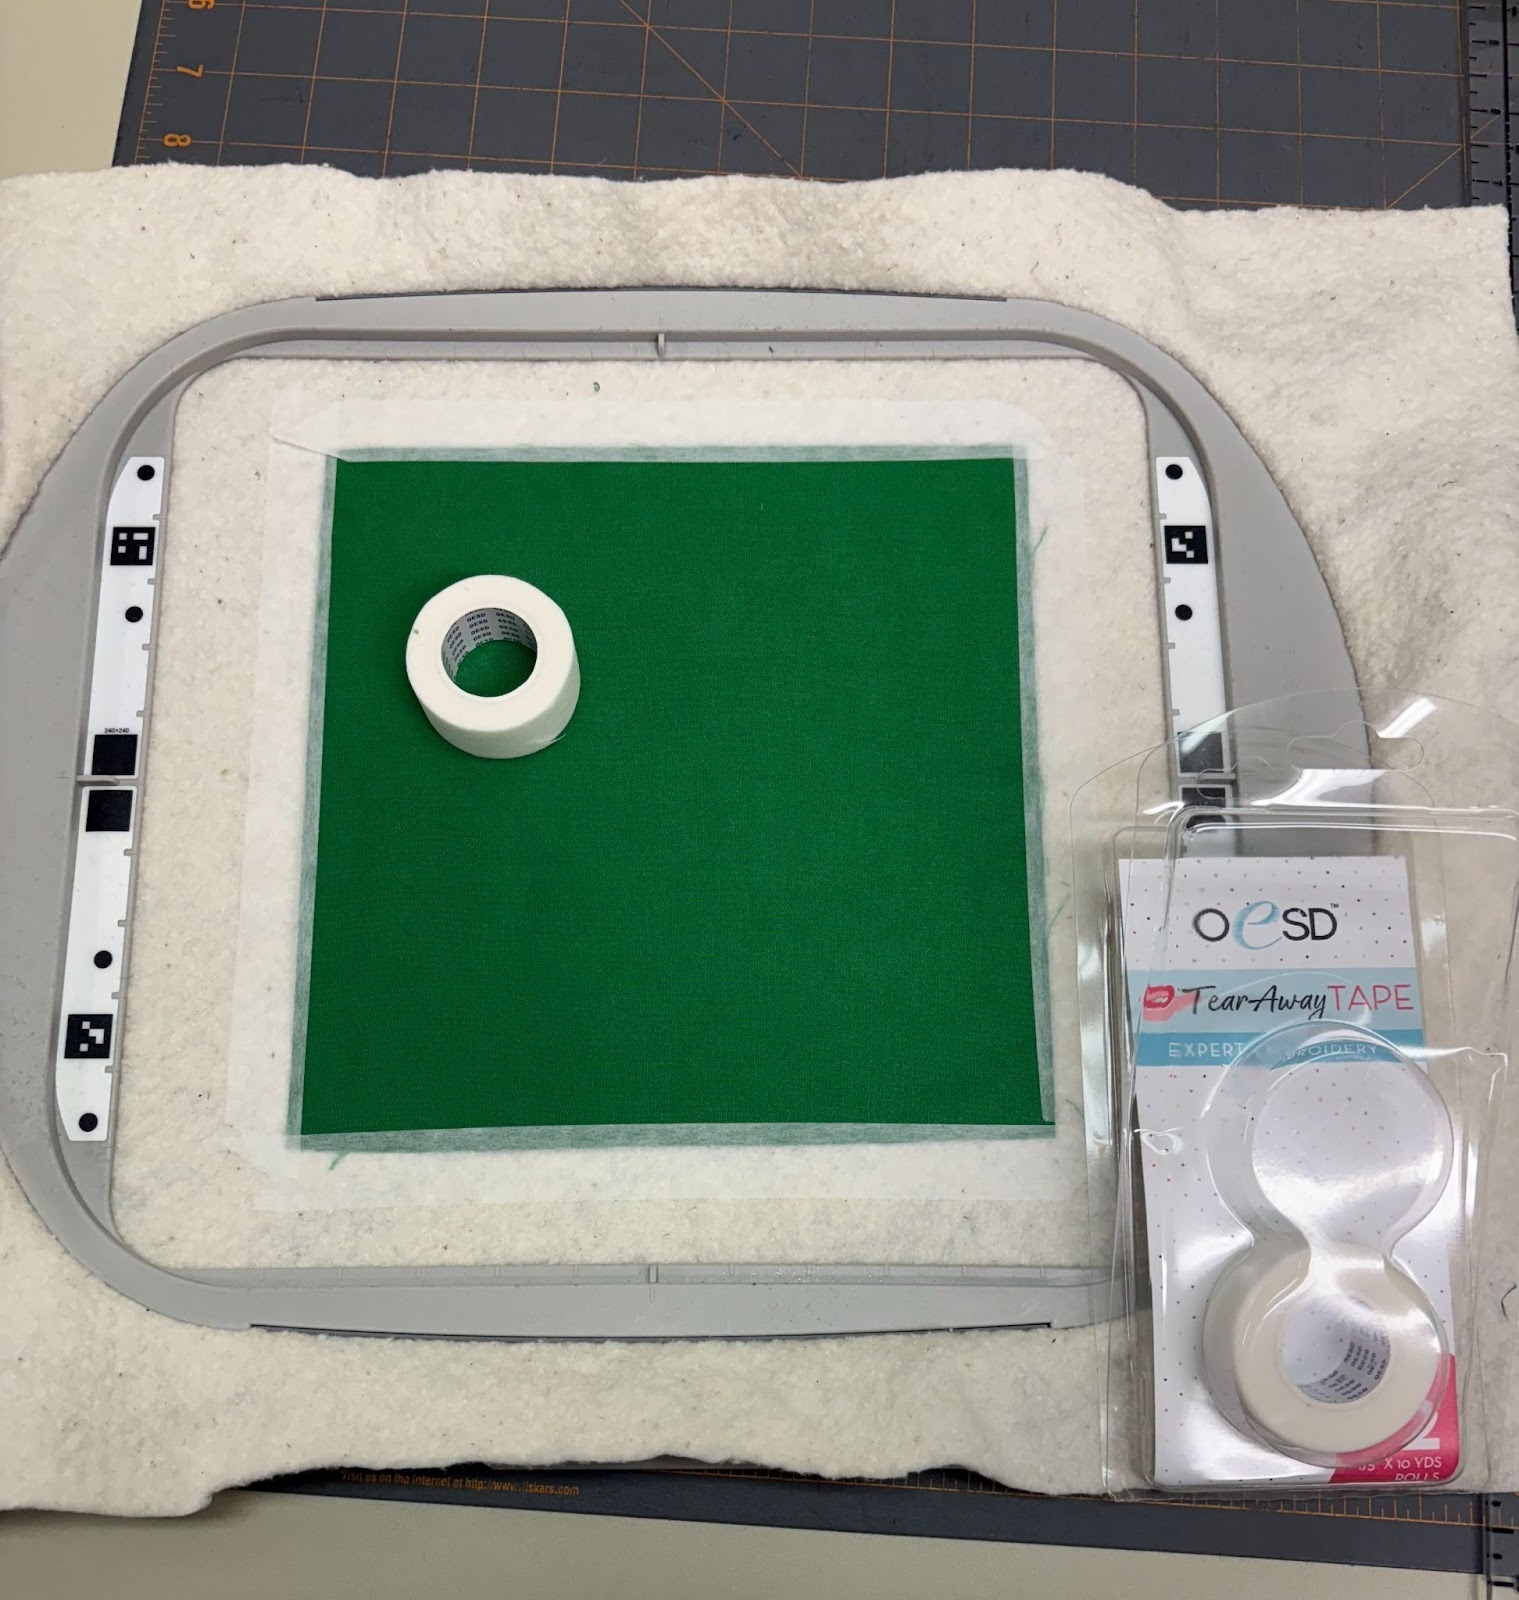
I found it’s especially necessary in Step 16, when the back pieces are stitched on. Take a look at the photos below. See the two pieces of tape I circled? Yes, they are in the path of the stitching, but when I didn’t have tape there, my machine foot caught up the fabric and twice almost resulted in a mess.


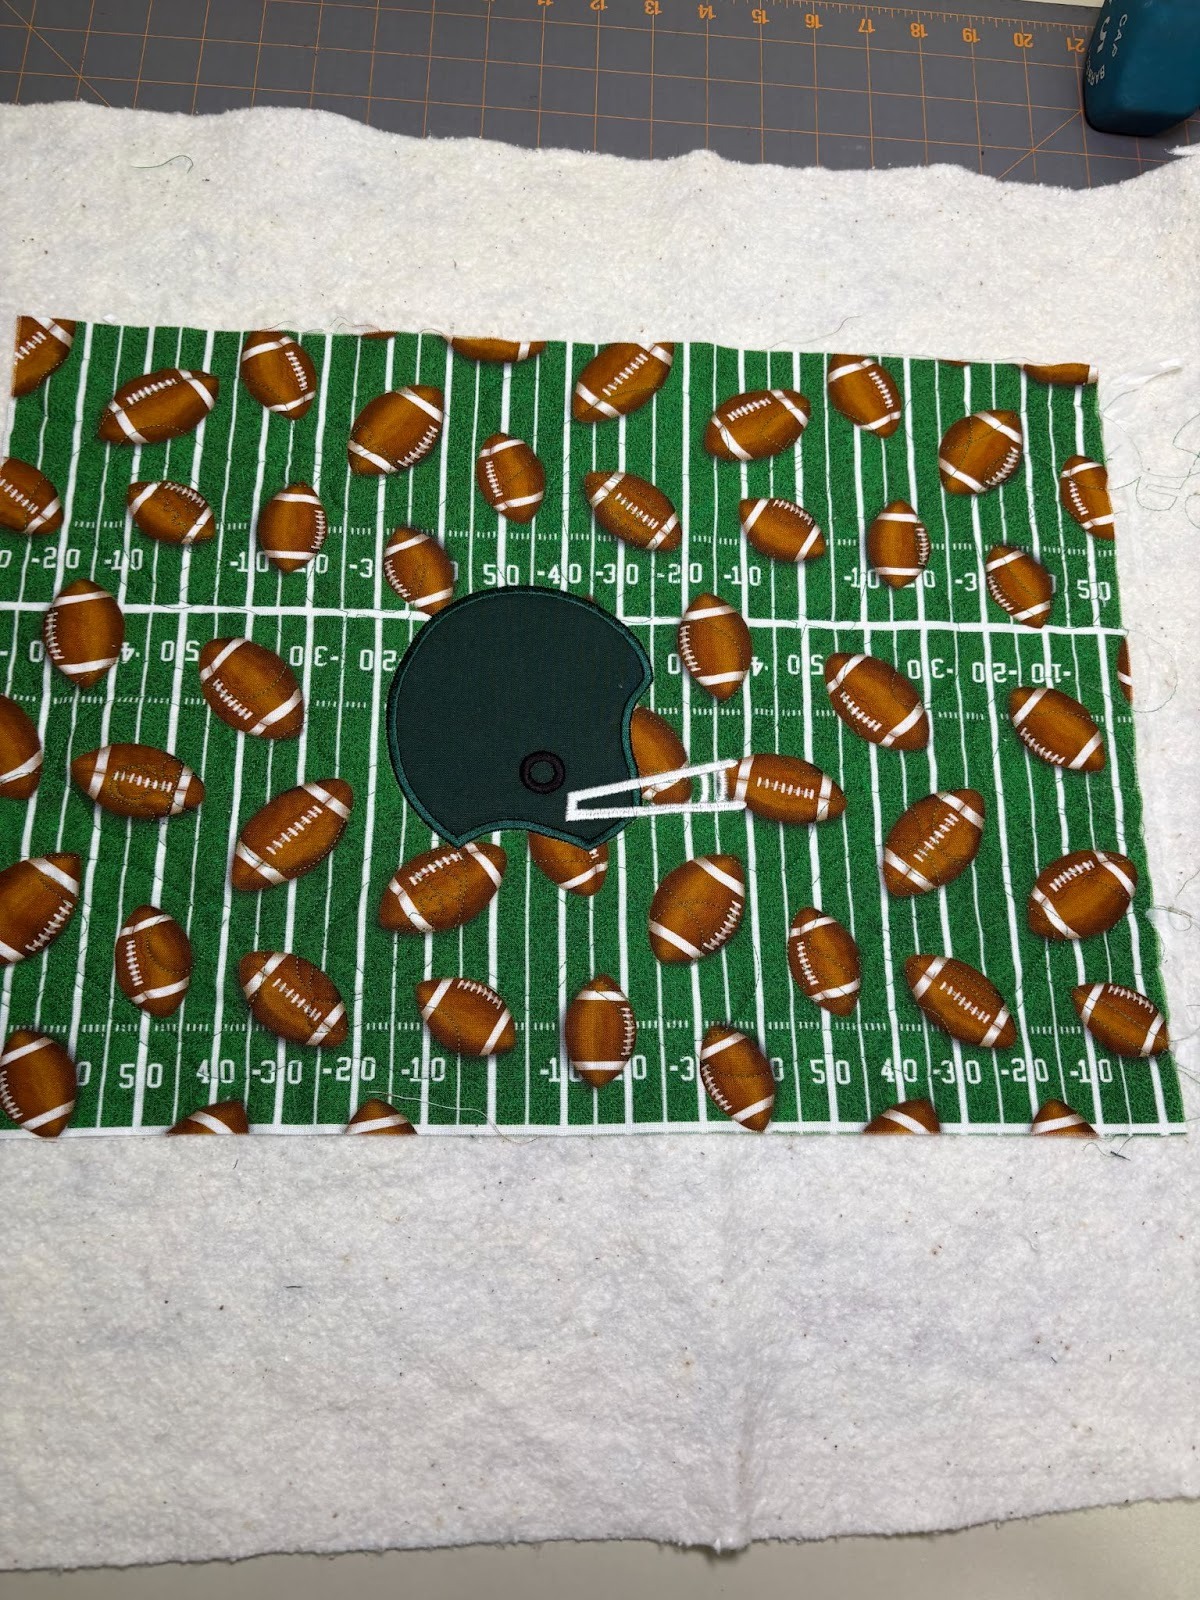
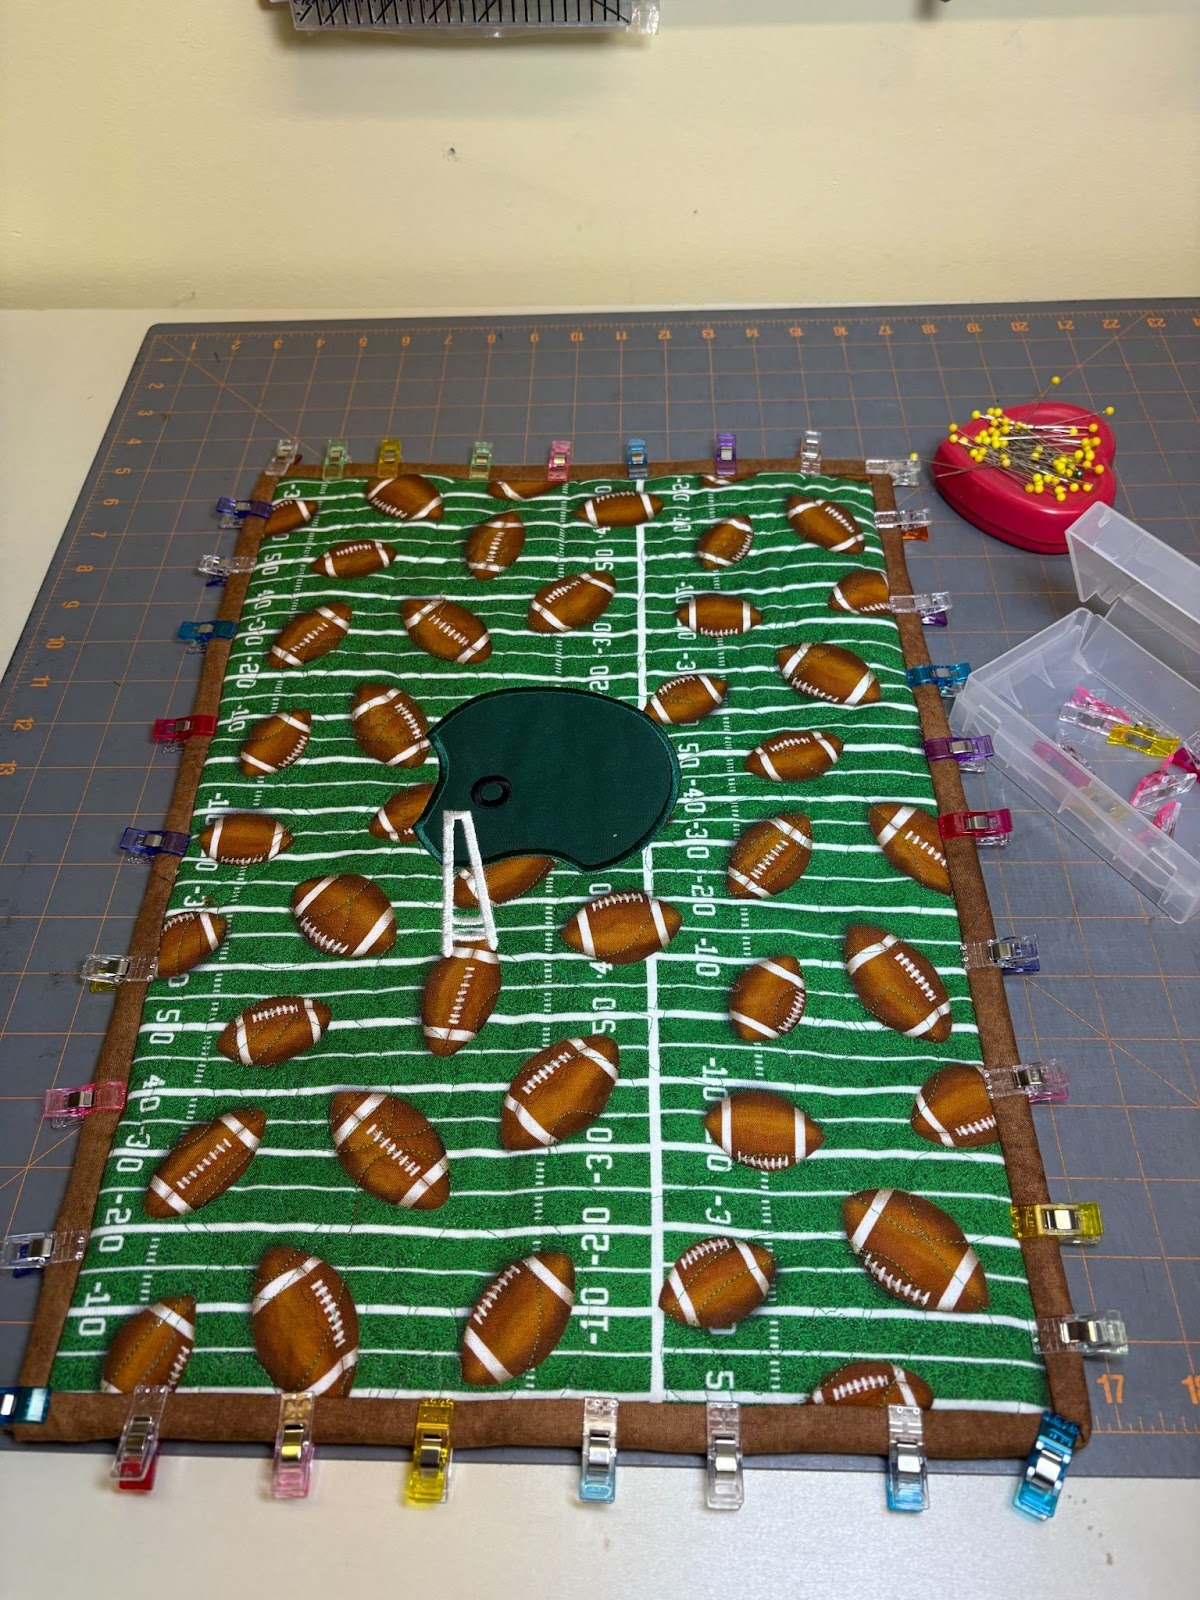
From my trivet top fabric I cut a rectangle 13” x 18”. My fabric has football field stripes and was a little wonky—not straight—at first. I pulled the fabric from opposite corners diagonally until the horizontal and vertical lines were straighter. I also used the grid lines on my cutting mat to make sure the lines were running straight before I cut the fabric.
This was my very first time trying an end-to-end quilting design. If you haven’t used one yet, this is the perfect time to try it because you’re only doing a small project. I watched Becky’s video on end-to end quilting a few times. I have a single-needle machine and only the hoops that came with it.
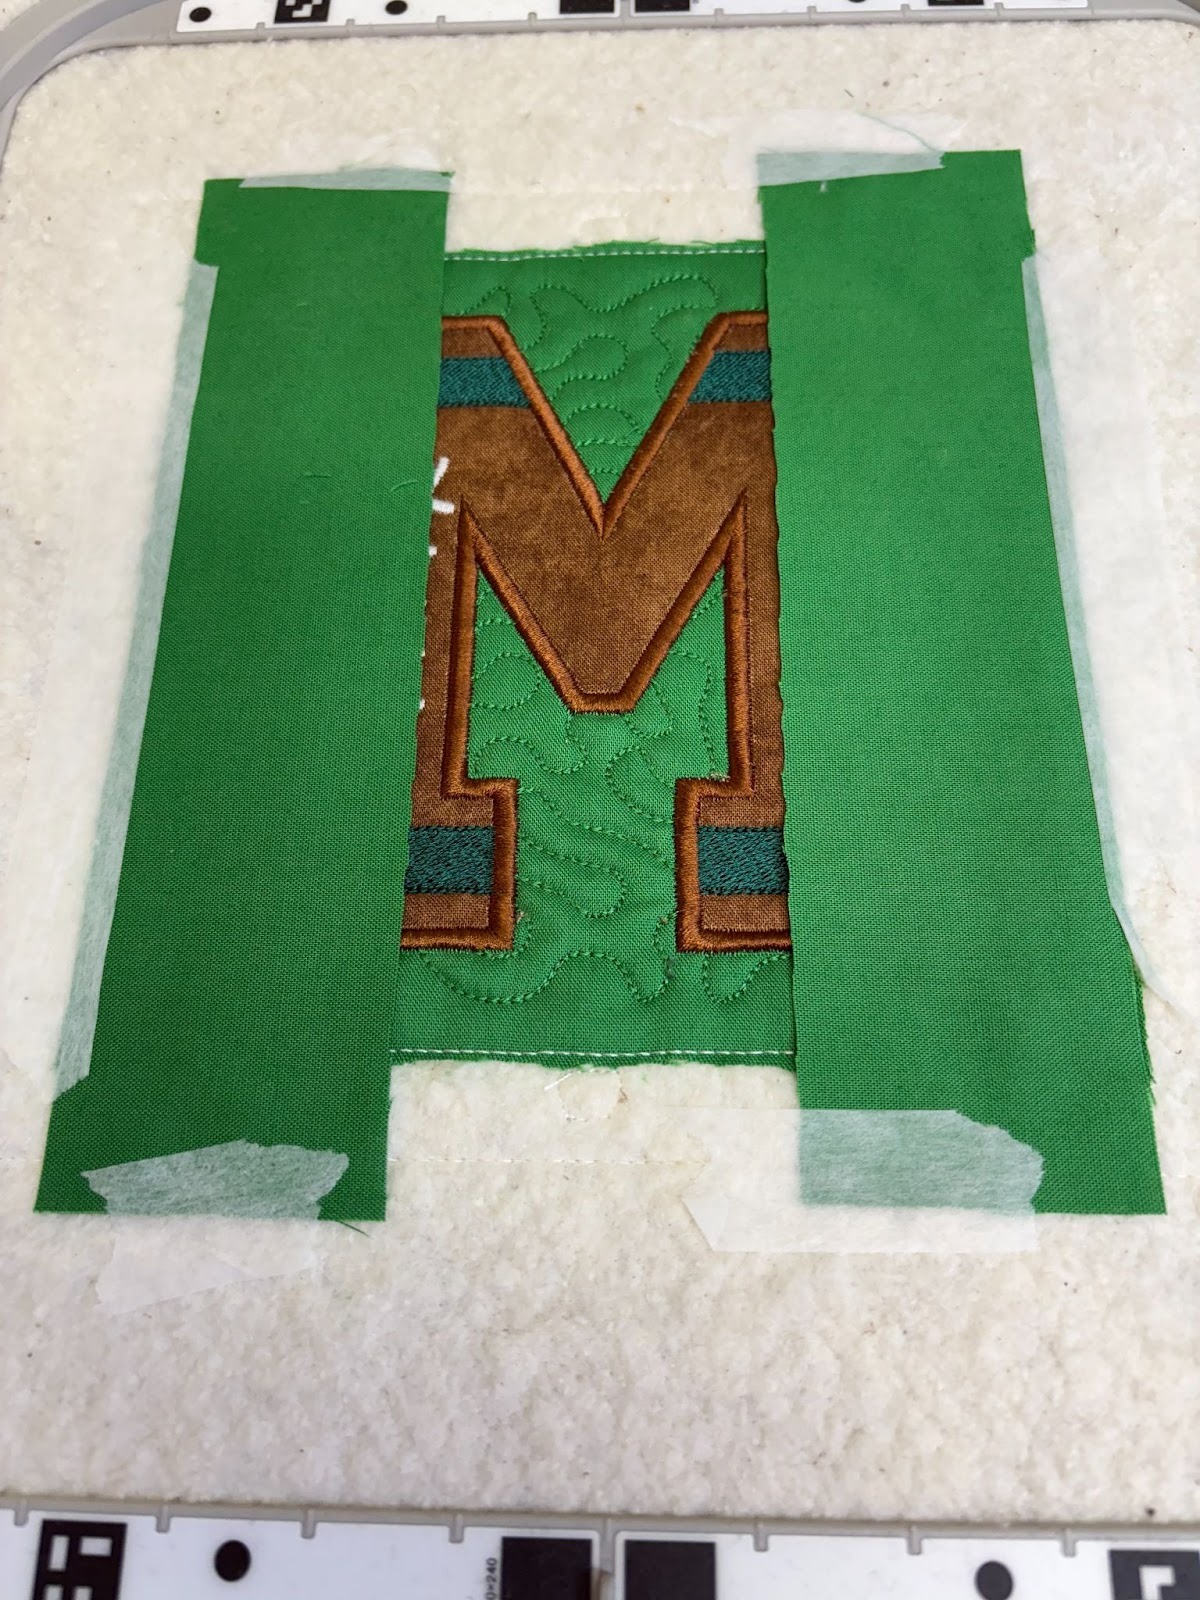
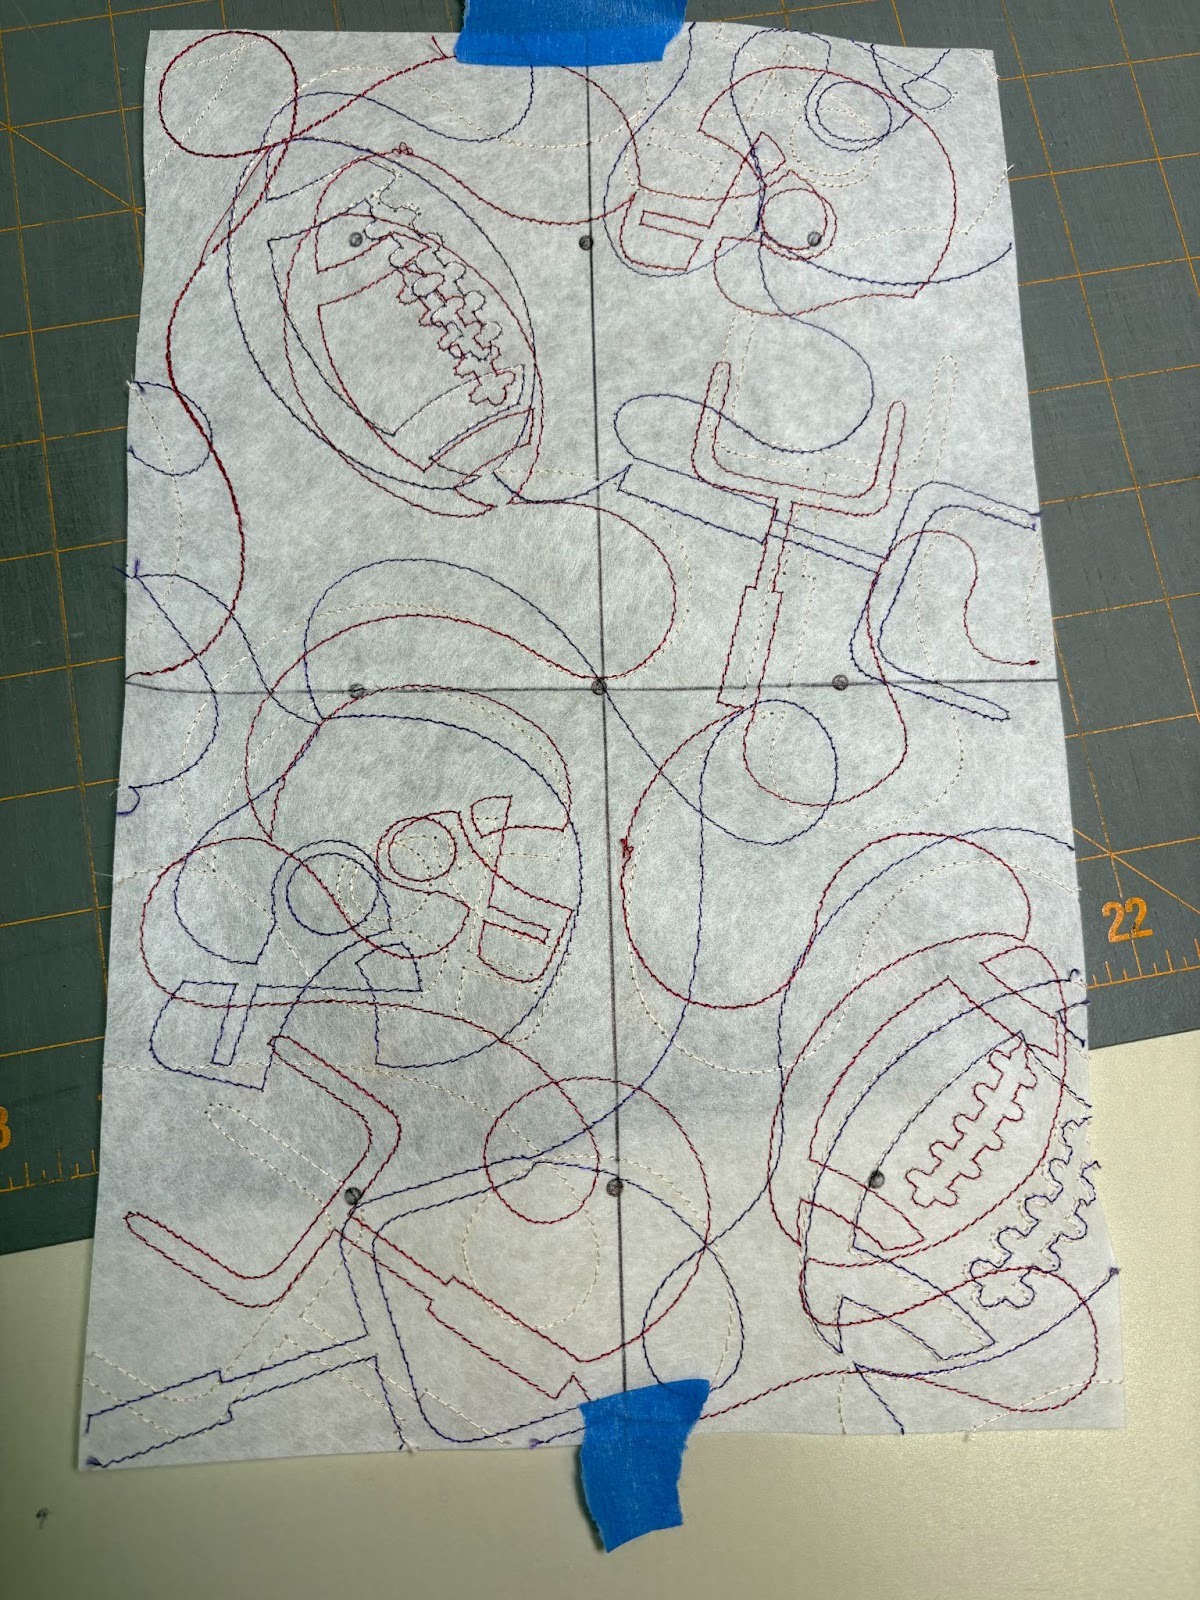
For my football-themed trivet I used the Football End-to End Quilting Design. I don’t own a printer, so I followed the advice to stitch the design out on tear-away stabilizer to use as a template. I chose the 9x14 design size because my largest hoop is 9x14. When I laid the stitched template on top of my rectangle, I realized that if I reduced it a bit I could fit it within the top and bottom of the trivet, leaving room for the seam allowances. The directions say the end-to-end designs can be resized up to 20%, so after playing a little, I reduced the design to 85%. Look at my photo below. Can you see how many different times I stitched out the design to see which orientation I liked and what size worked best? I used a different thread color each time.
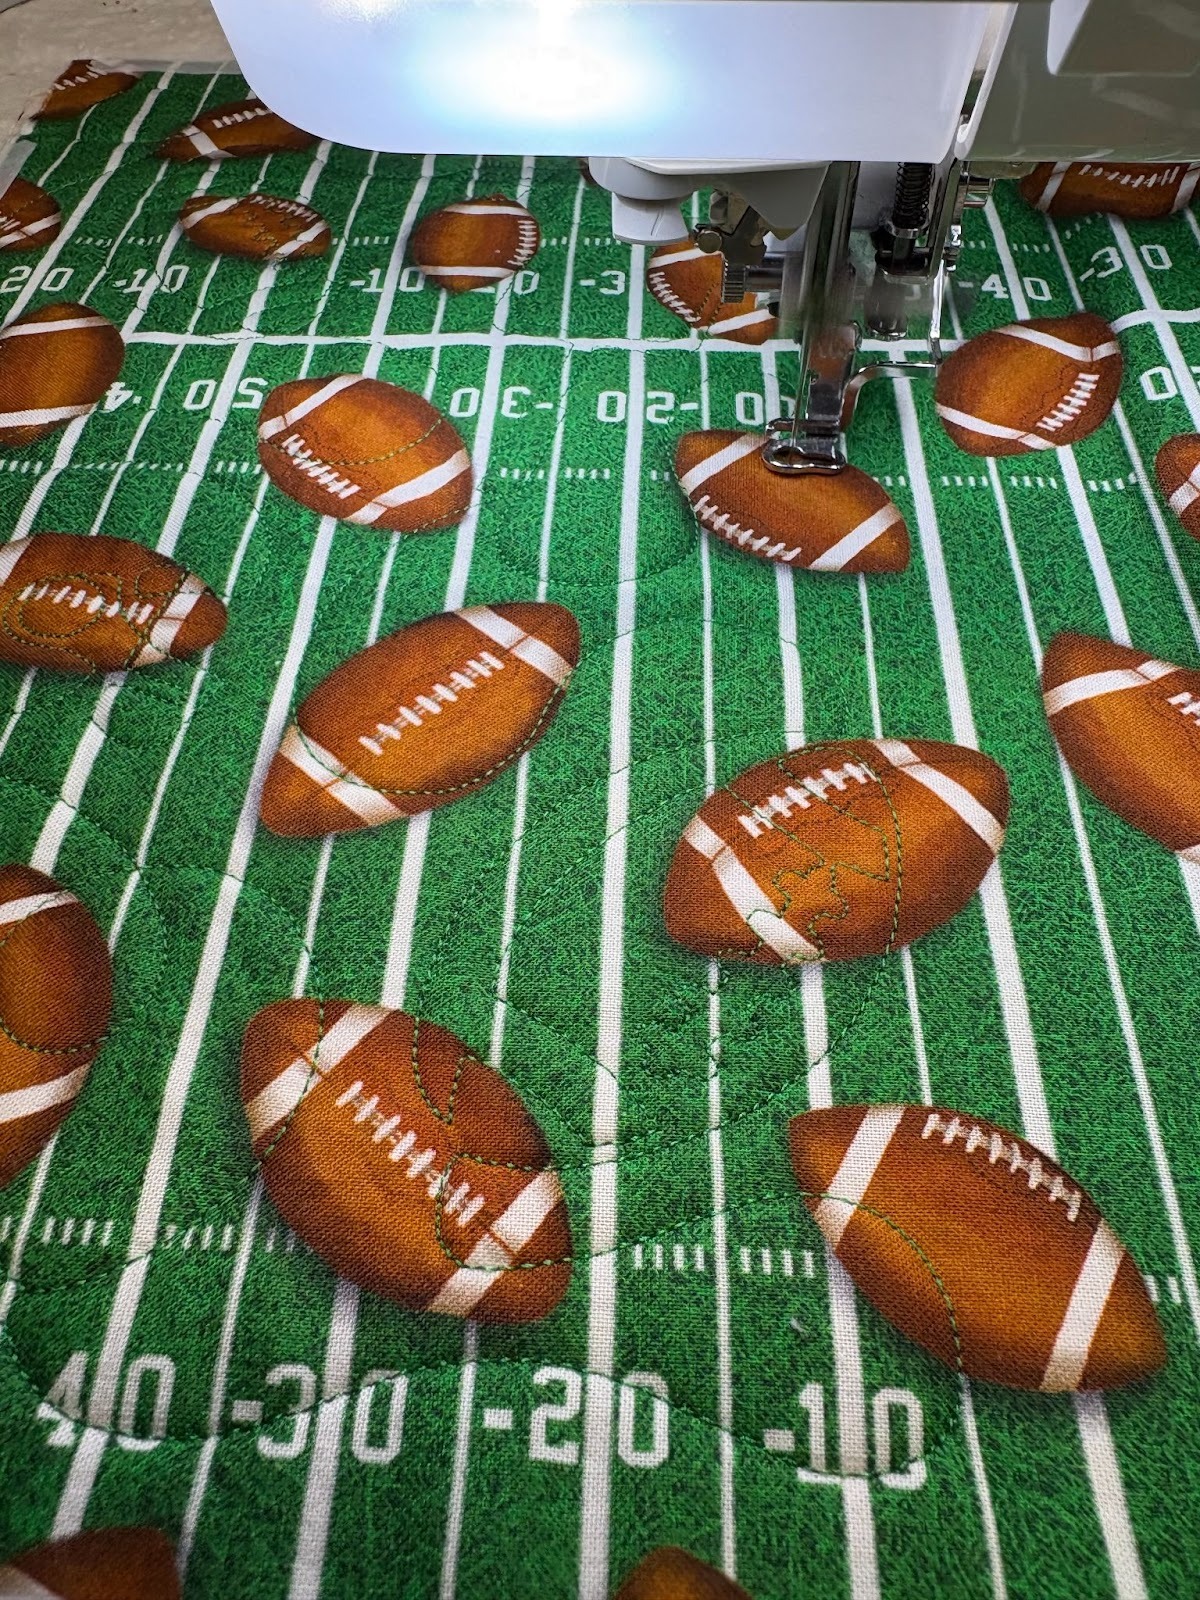
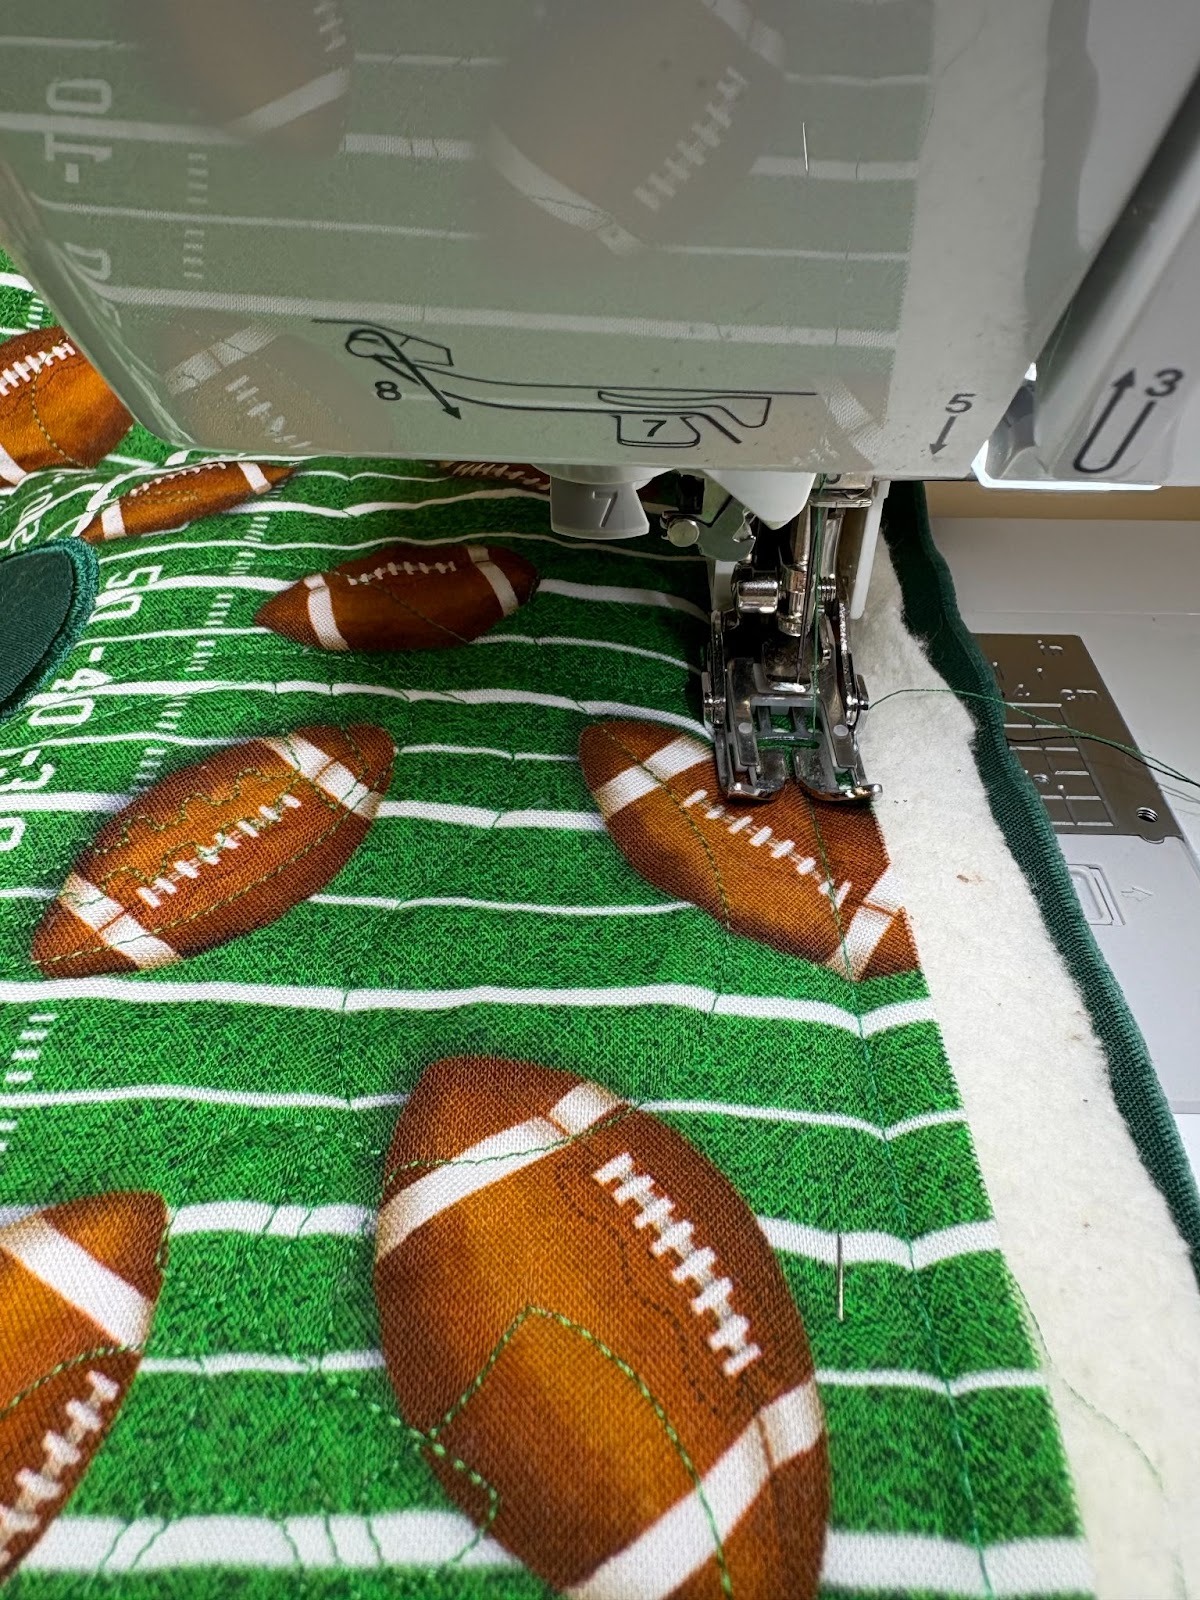
There's no stabilizer needed for end-to-end quilting. I hooped my batting and then, using the template and my hoop grid, I floated the trivet top. Yes, I floated it! It’s what makes this project the perfect opportunity to try end-to-end for the first time. I followed Becky’s directions, replaying the video part about “traditional old-school machines,” and moved the hooped batting along, floating the top each time. The trivet needed just three hoopings from left to right to be completed. My only wish is that I’d used a contrasting thread so it showed up better.
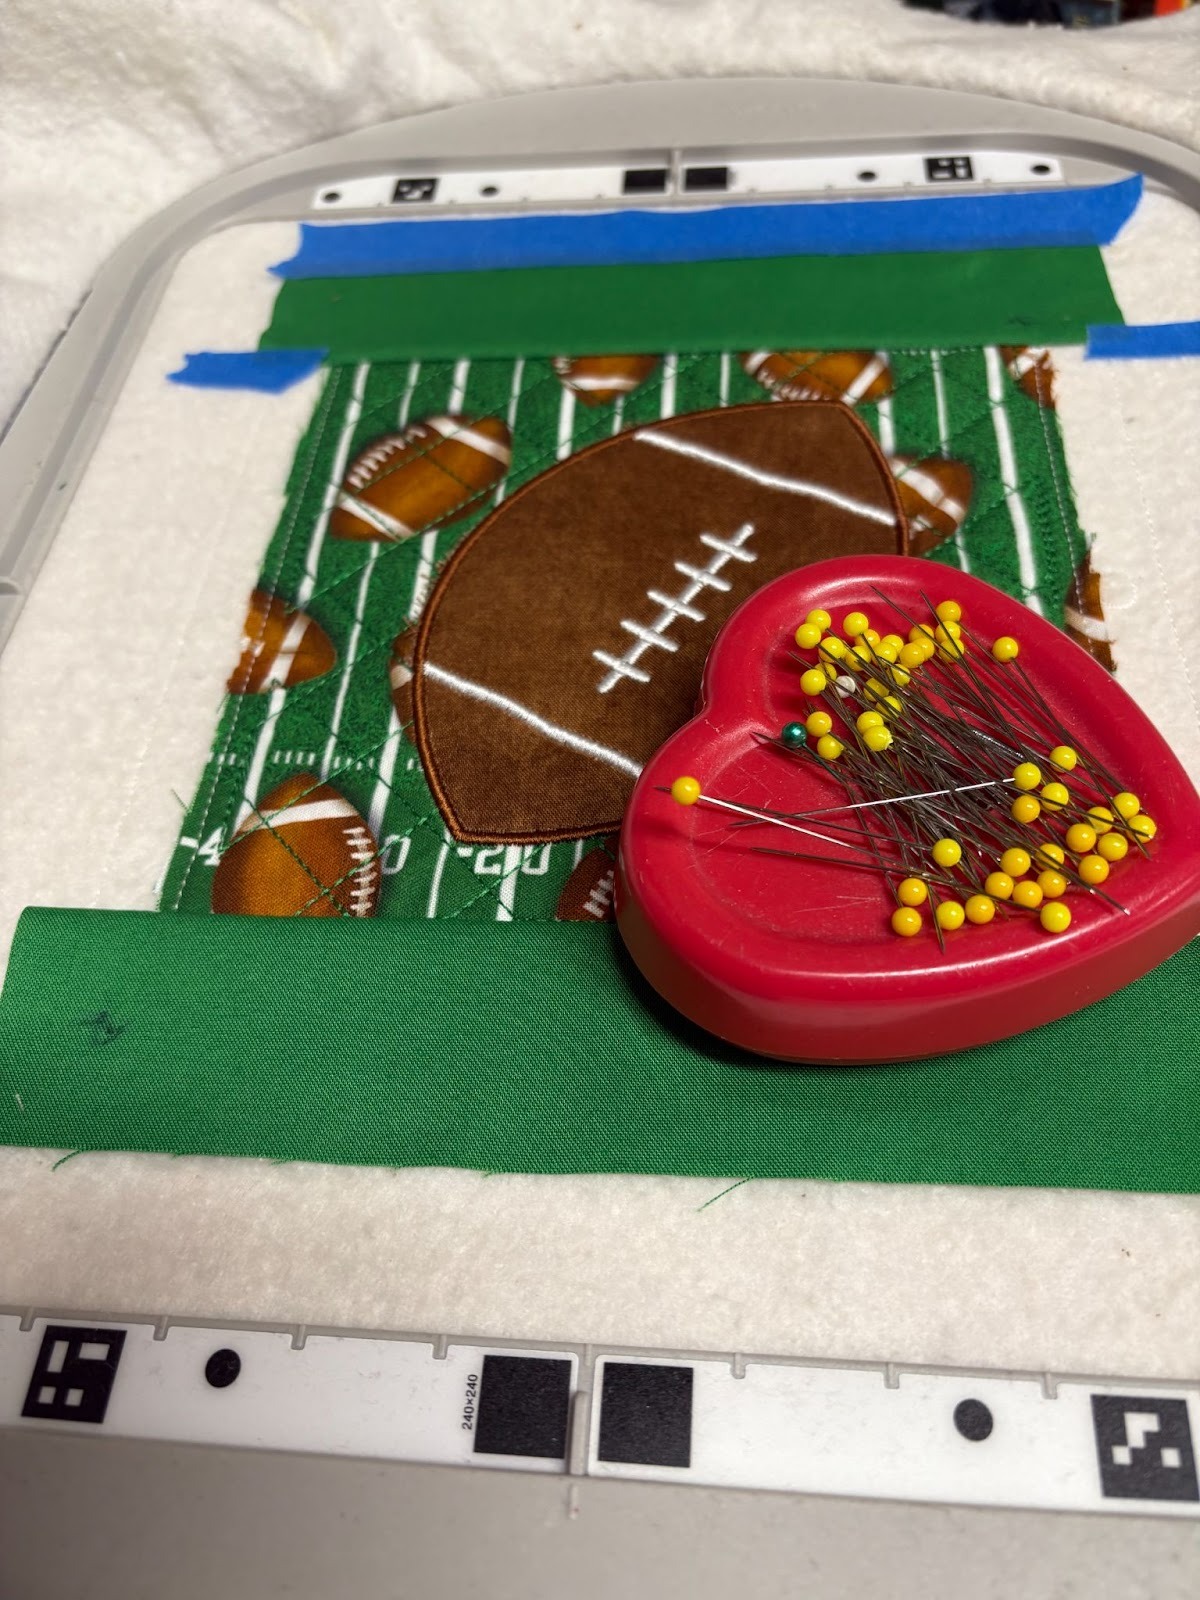
The Football Helmet Applique decorates the center of my trivet. I really wanted to use some of the Eagles fabric I had left over from making this Eagles banner last year. However, after taking some photos and looking at them, and even cutting out the shape of the helmet from the fabric, I decided there wasn’t enough contrast for it to look good. I found the center of my trivet and stitched out the football helmet in a solid dark green.

Next, I cut out a rectangle of Insul-Bright a tad bigger than my trivet. I made it a little bigger in case things shifted while I sewed. I pinned the Insul-Bright to the back of my trivet and basted it ¼” away from the edge of the trivet with a walking foot. When that was done, I trimmed away some of the excess batting that was in my way but did not trim to the edge of the trivet.
After pressing out the wrinkles, I pinned the backing fabric to the back of the trivet with the right side out. Again, I basted with a ¼” seam from the edge of the trivet.
To make the binding I cut two strips 3” wide the width of my fabric. This is more than I needed, but any leftovers will go into a drawer for my appliqued machine embroidery designs. I put the two ends at right angles and drew a line from corner to corner. I then sewed the seam, trimmed it to ¼” and pressed it open. Pressing it open reduces bulk in your finished binding.

After folding the binding in half with right sides together, I pressed it well.
The next step was to sew the binding to the trivet. I left about 5” or so of the binding free before I started sewing.
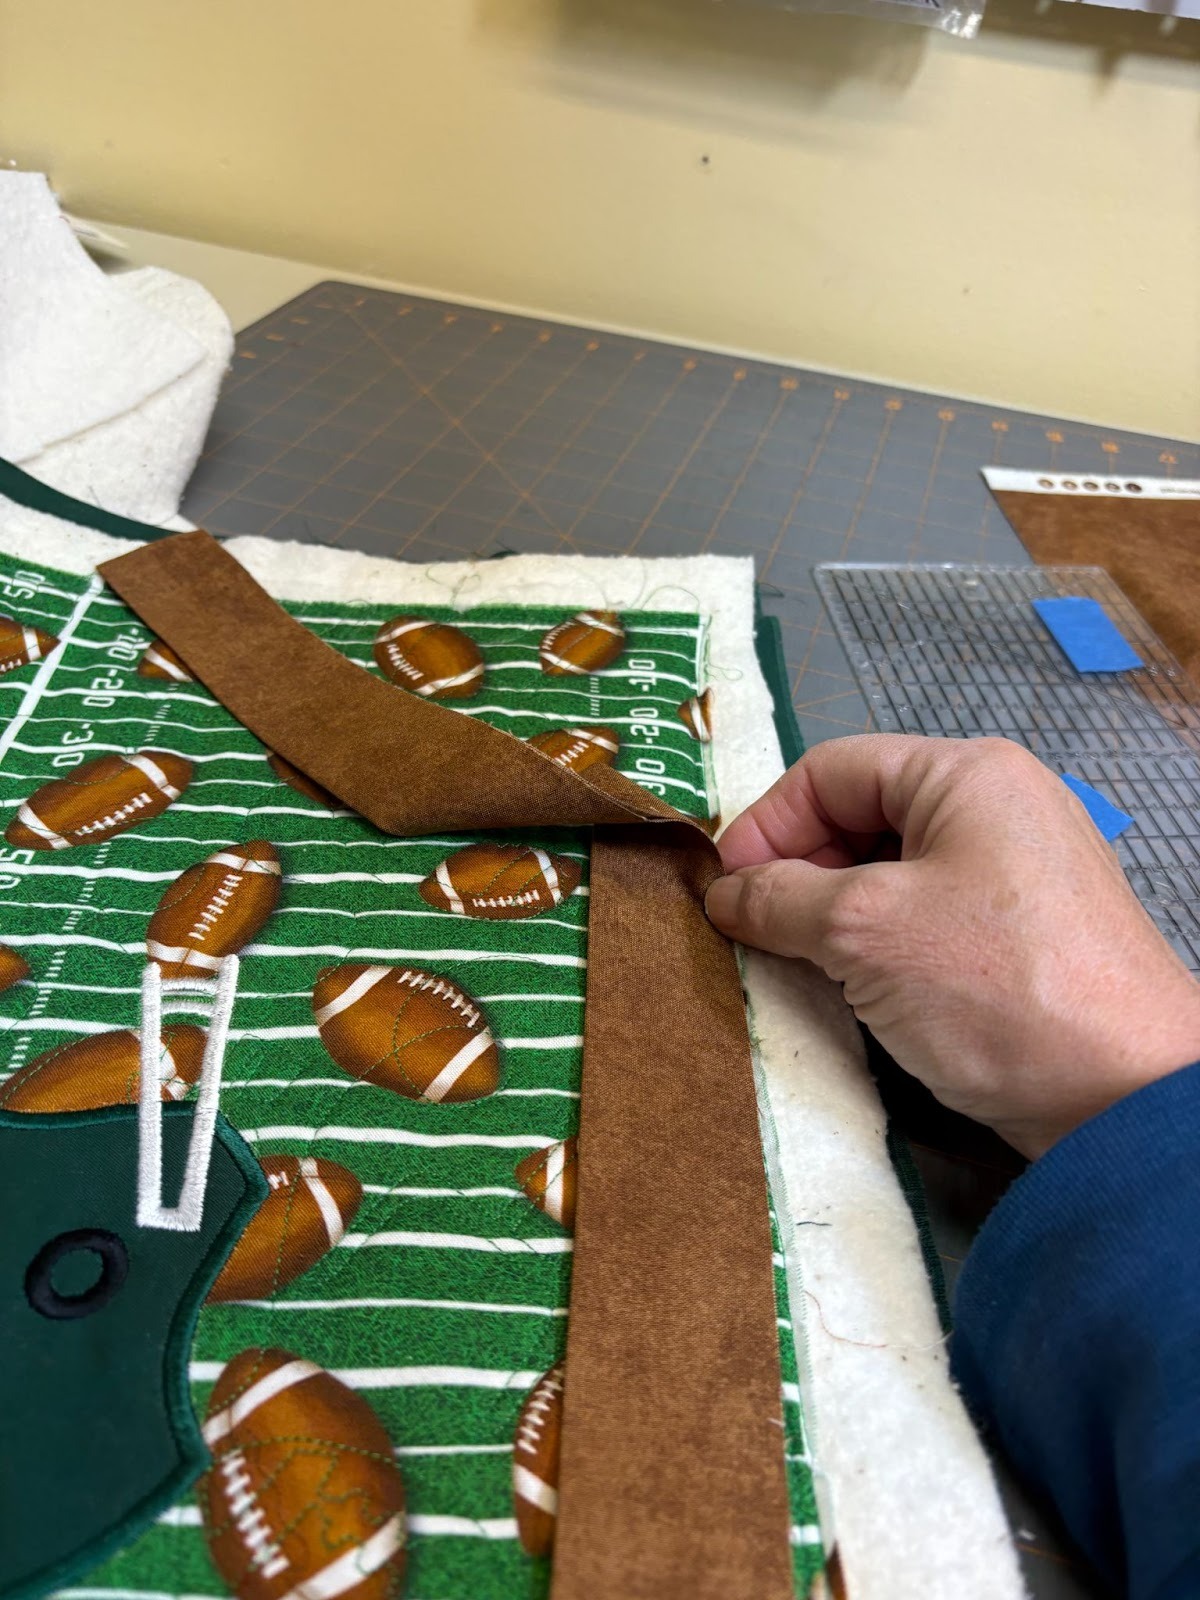
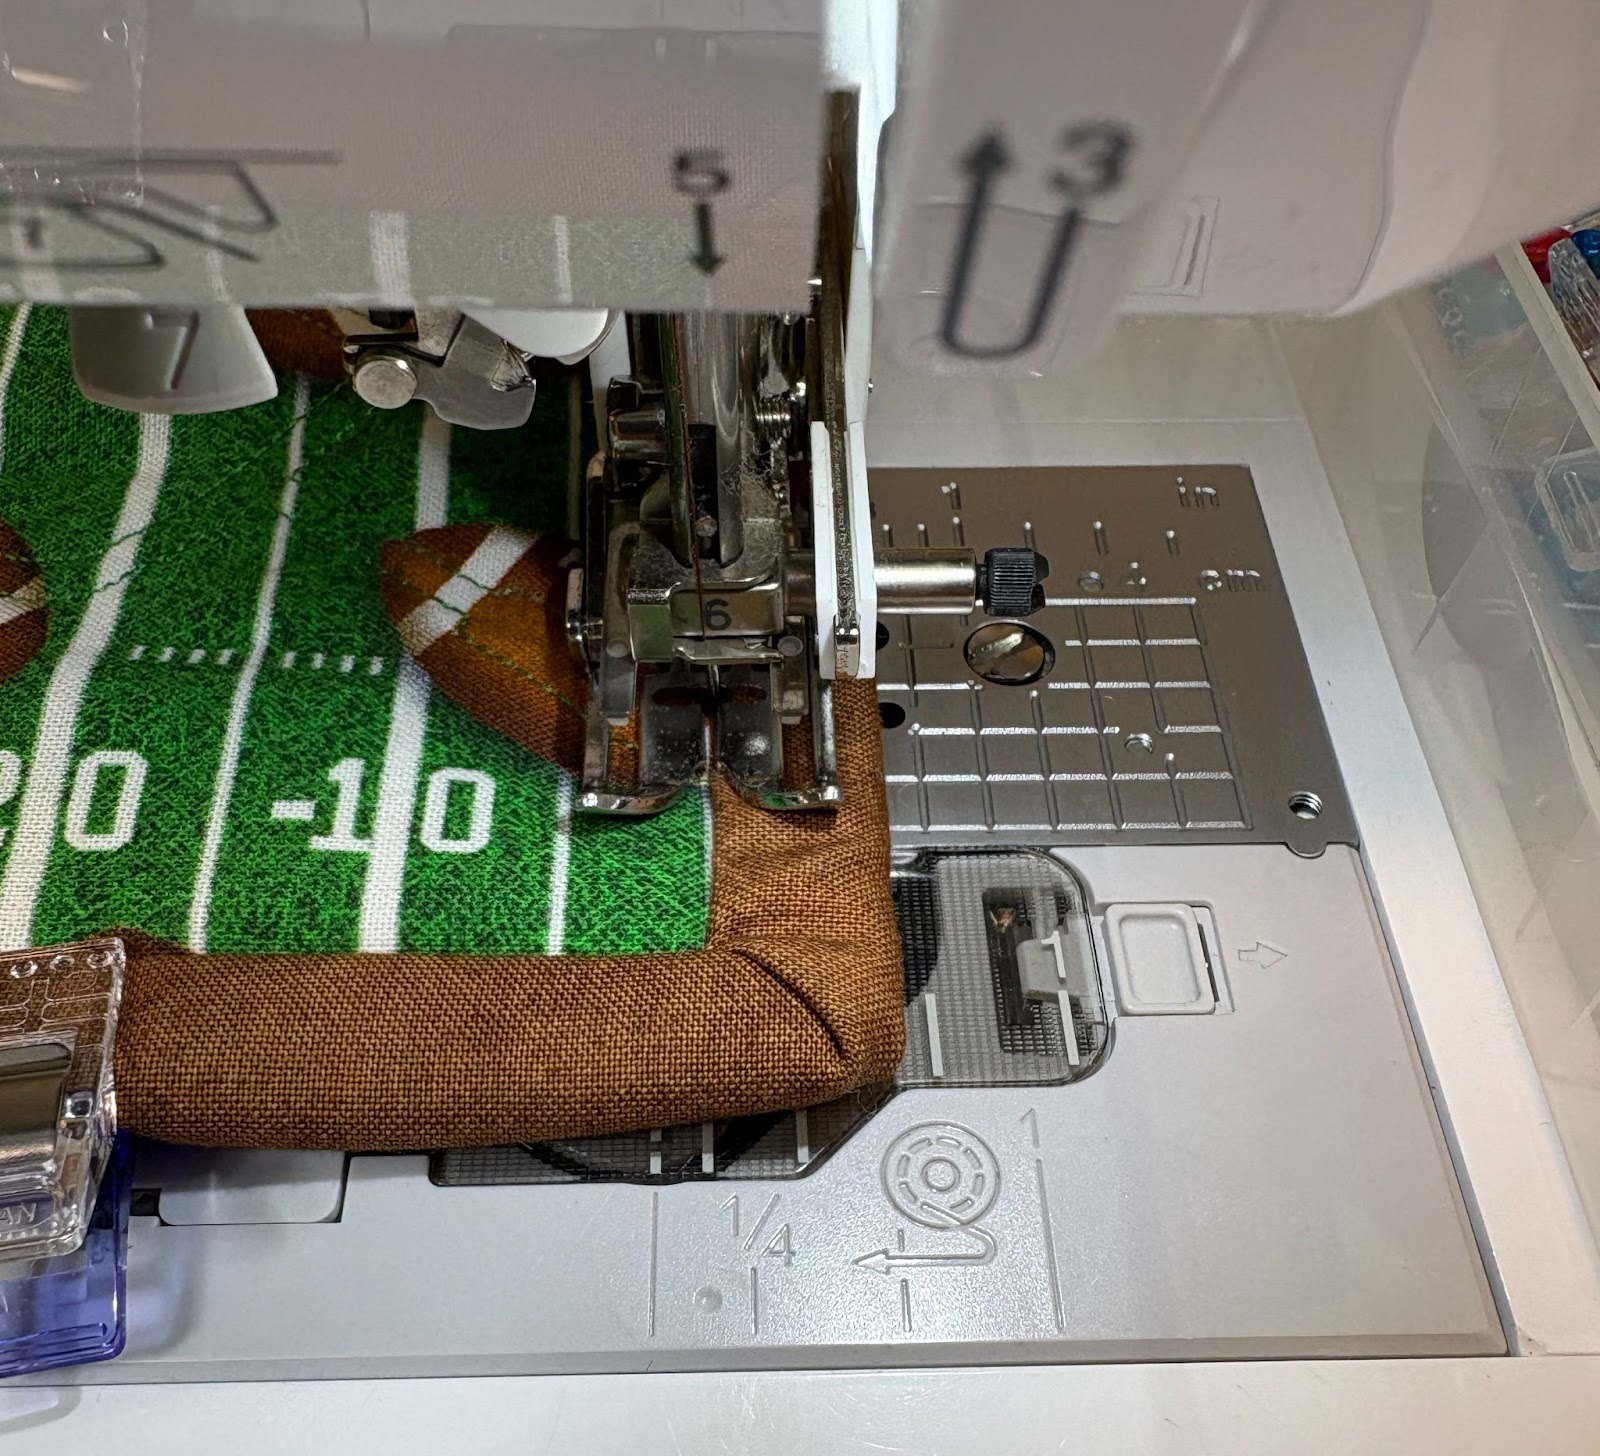
The raw edges of the binding are lined up with the raw edges of the trivet. I used the side of my walking foot as my seam allowance, about a ¼” seam. When I got to a corner, I stopped ¼” from the end, lifted the presser foot, pivoted the fabric, and sewed off the corner. The photo below is from the Glow-in-the-Dark Projects blog I wrote recently where I show how to fold the binding to make a mitered corner.

I don’t have a lot of binding photos for the football trivet because I made a separate video to show you how I sew the binding and make the mitered corners. You can watch the video at your own risk. Isn’t it Julia Child who people like to spoof because she used to toss things around and drop them? I felt like her. I apologize that the video is a little long, but I wanted to show you how I do it. You also get to hear me knock something over and prattle on . . .
When I got back around to the last side of the trivet, I again stopped sewing early, leaving some of the binding free. I overlapped the two ends of the binding by the width of my binding. Since my binding is 3” wide, I overlapped the two by 3”. I attached the two ends at the same right angle I showed earlier for piecing the binding together. I trimmed the seam and finger pressed it open. The last step here is to sew the rest of the binding down.
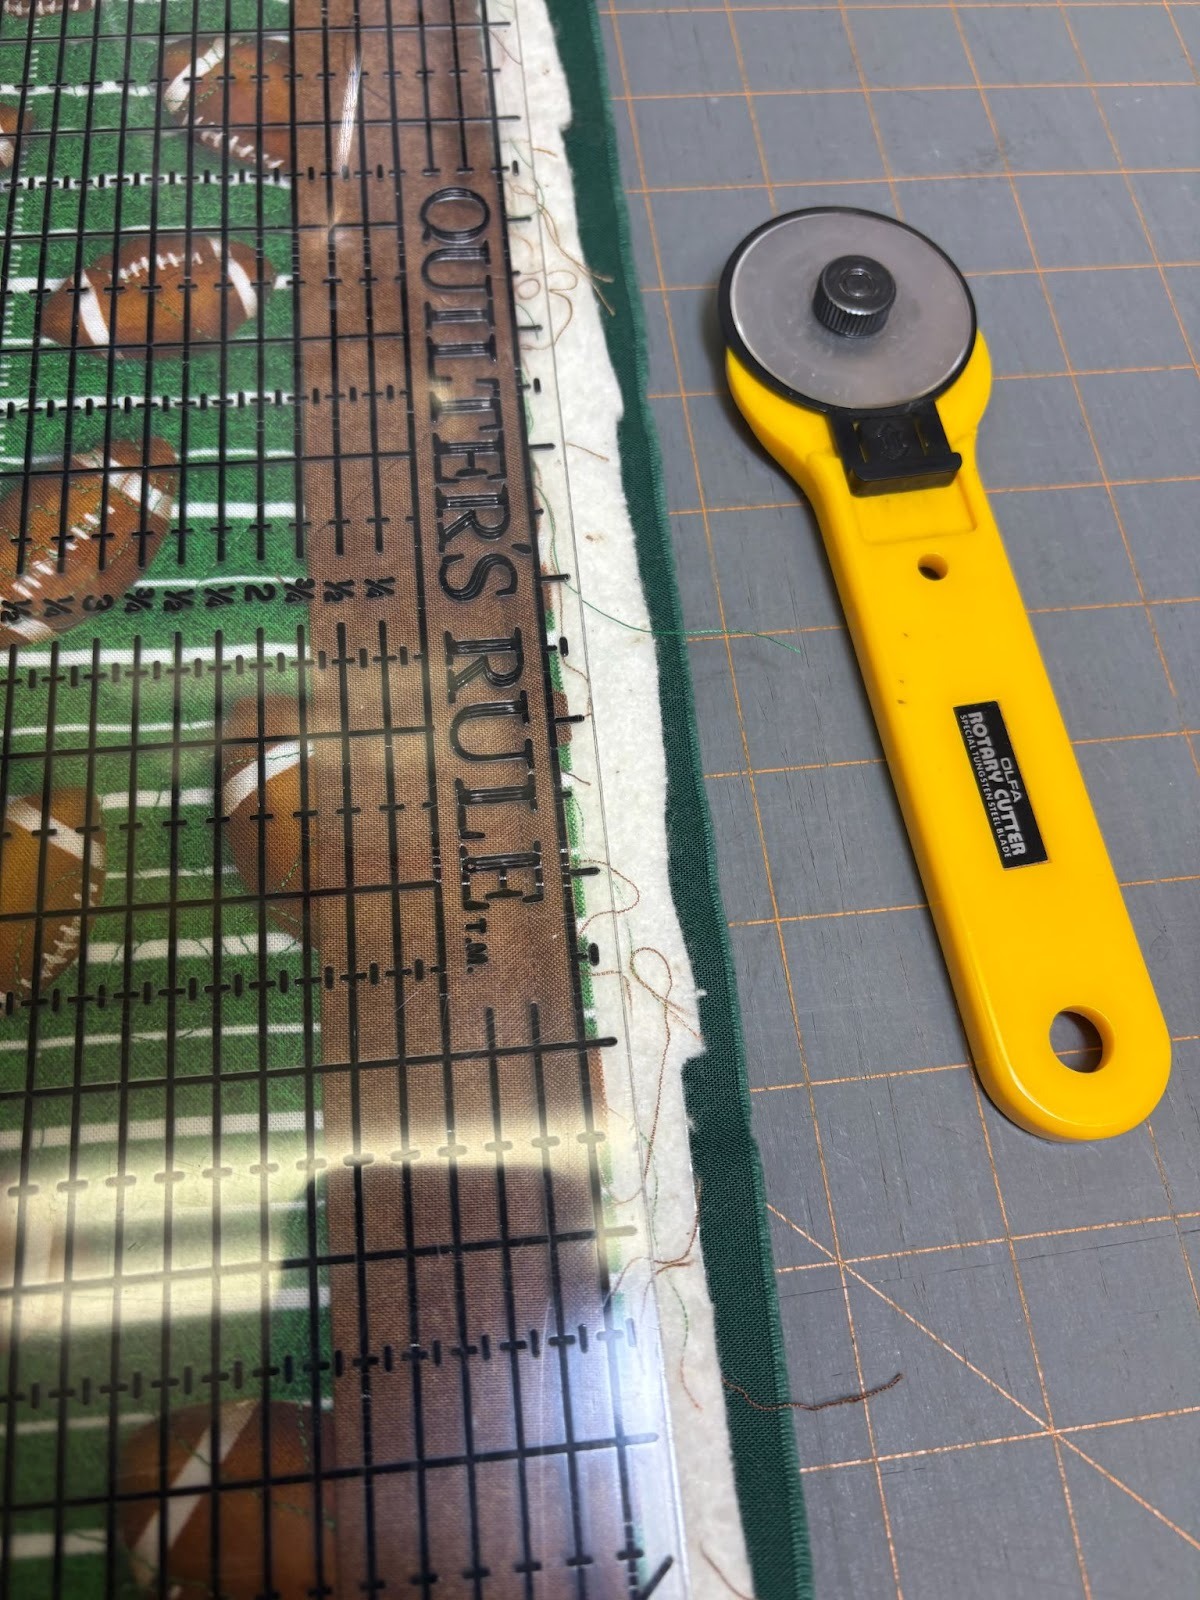
I trimmed the extra batting and backing by positioning my ruler with the ½” mark on the seam I just made and cutting with a rotary cutter.
Wrap the binding to the back and hold with clips. I used to use pins but when working with a large project I’d end up with a lot of scratches. The mini clips are worth the price!
The very last step is to stitch in the ditch all the way around.
And I am game-day ready!!
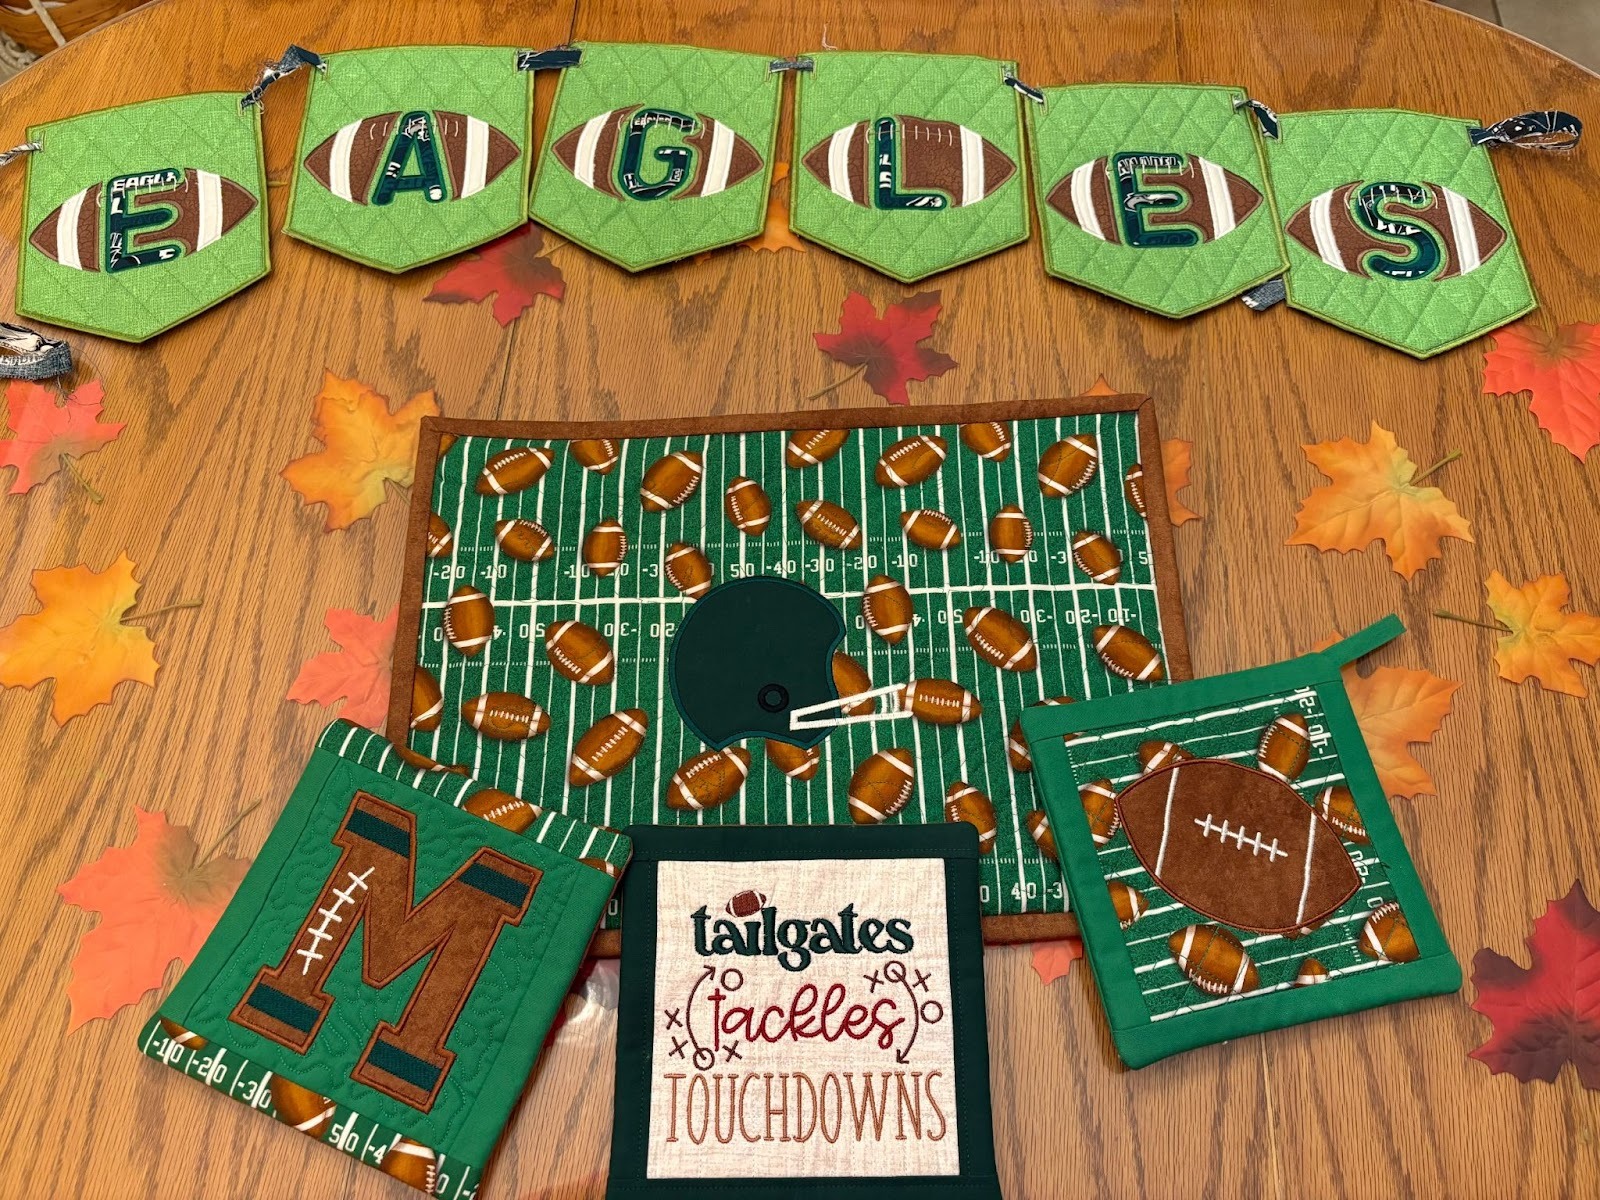
Pair it with a banner.
If you’re not the host of the Super Bowl party this year, these projects would make wonderful host gifts! Bring your food to the party with a football-themed casserole dish carrier by following Teresa’s blog.
Please be sure to share your projects in the Designs by JuJu Embroidery Blessings Facebook Group, or use the hashtag #designsbyjuju anywhere on social media. We all love to see what you create!