Embroidery Project for Beginners - Kitchen Towel
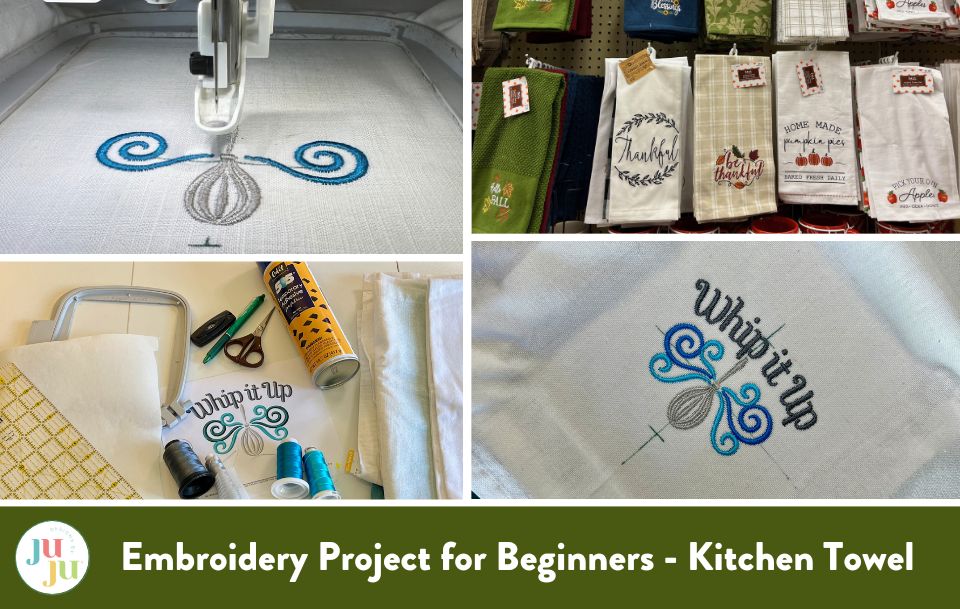
Learn the basics of machine embroidery with this beginner project, where you learn how to embroider a kitchen towel.
Choose Your First Project
Keep it simple with your first project: flat items made from medium-weight, woven fabrics are ideal. Avoid stretchy fabrics for now. I know it’s tempting to grab a onesie but trust me, that won’t be a fun time for your first project.
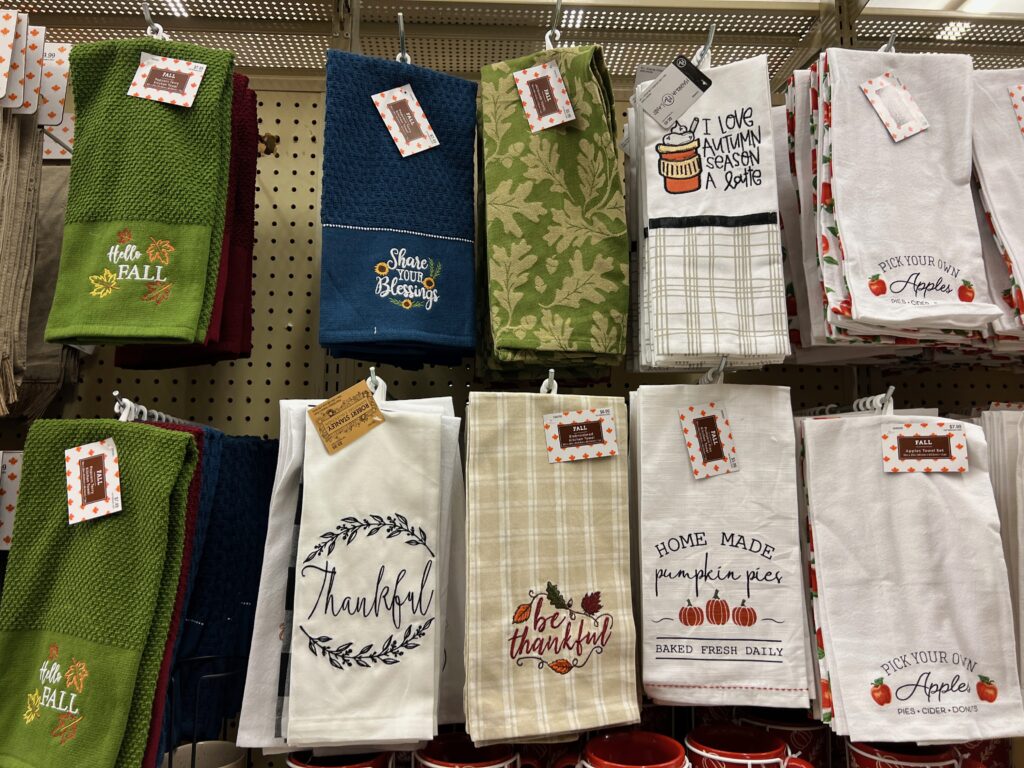
Great ideas are all around you. Check out the seasonal aisles at your local hobby store for inspiration and the latest trends.
Select and Review a Design
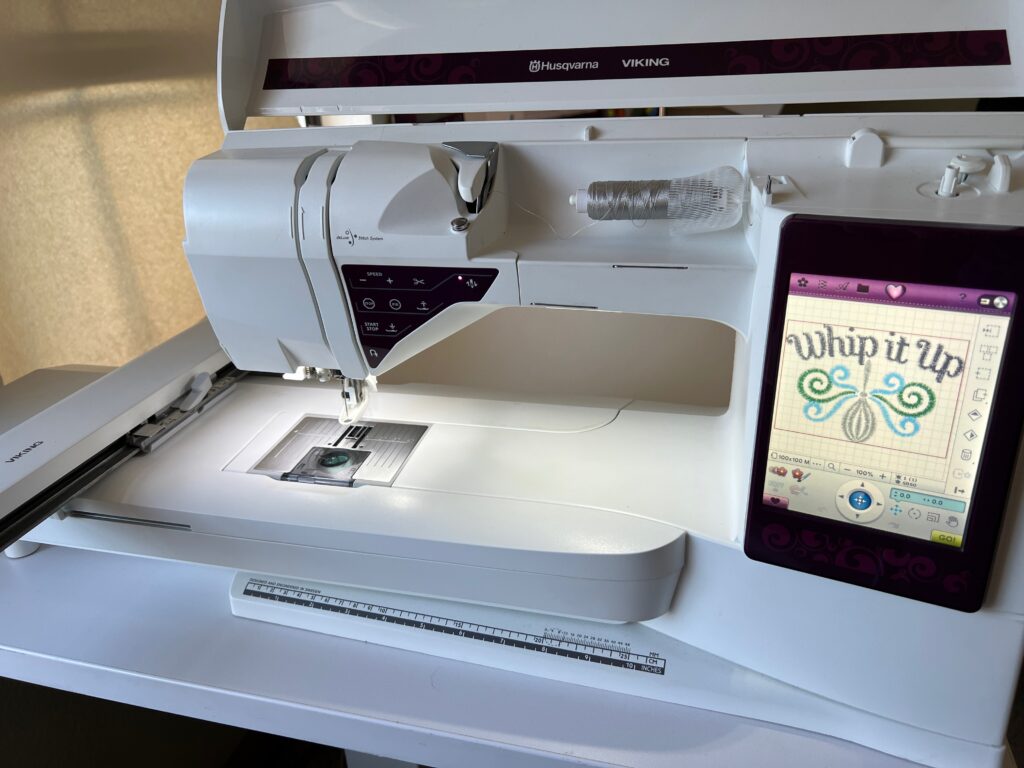
For your first project, it’s best to keep your design simple as well. For this project, I chose Whip It Up from DBJJ’s Fun Kitchen Swirls set. It’s simple but elegant and only requires four color changes.
Once you’ve purchased the design, you’ll download a ZIP file. When you unzip that file, you’ll find everything you need:
• Folder of File Formats – open the folder that’s right for your machine (check your manual if unsure)
-In the folder, you’ll find all the files for each design size in this set in your machine’s format
- Pick the size of the Whip it Up design that fits your hoop and project
-For this example, I used the VP3 file format (used by Husqvarna Viking machines) and 4x4 hoop size
• Copyright PDF – all the legal information, plus some links to handy tutorials
• Design Card PDF – size info and images of all designs in the set
• Color Charts for each design – open Whip it Up to see basic info about the design, color/thread suggestions, and a lovely image of the design
• Thumbnail PDF – summary info for all designs in this set
NOTE: The thumbnail PDF provides essential information as you prepare to use this design. I like to print this and the color chart PDF to capture my notes and lessons learned as I complete the project.
-Stitches – how many stitches are in the design; gives you an idea of how much thread you’ll need and how long it’ll take to stitch out
- Colors – how many thread colors the design requires, and in what order they are to be used
-Size – actual size of the design
-Stops – number of times you’ll need to change thread after the initial threading
What I Used With the Whip It Up Design Info:
• Hoop Size - 4” x 4”
• Design Size – 3.88” x 2.84”
• File Type - VP3 (used by Husqvarna Viking embroidery machines)
• Stitches – 5885
• Colors – 4; Silver Grey, Green Forest, Teal, Heavy Storm (don’t stress about the exact color names; they vary by thread manufacturer and are meant to be an inspiration for you, not a constraint—pick what you like and have available)
• Stops – 3
Practice/Test Sew
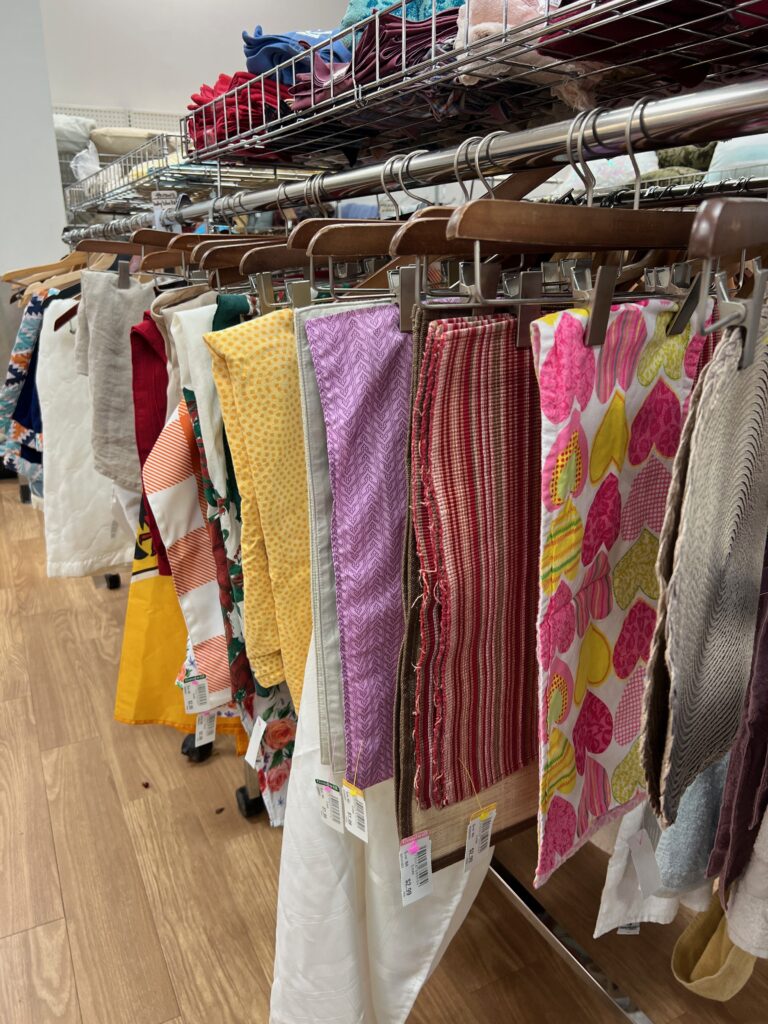
Get some inexpensive woven fabric to practice. I bought a cotton curtain panel at Goodwill for $2. This will provide plenty of practice space.
By using inexpensive but comparable quality practice fabric, you can reduce your anxiety about ruining something expensive while still getting a feel for the project.
Follow the steps below on your practice fabric, making notes as you go, then you’ll be ready to break out the linen kitchen towel for the final project.
Gather Supplies
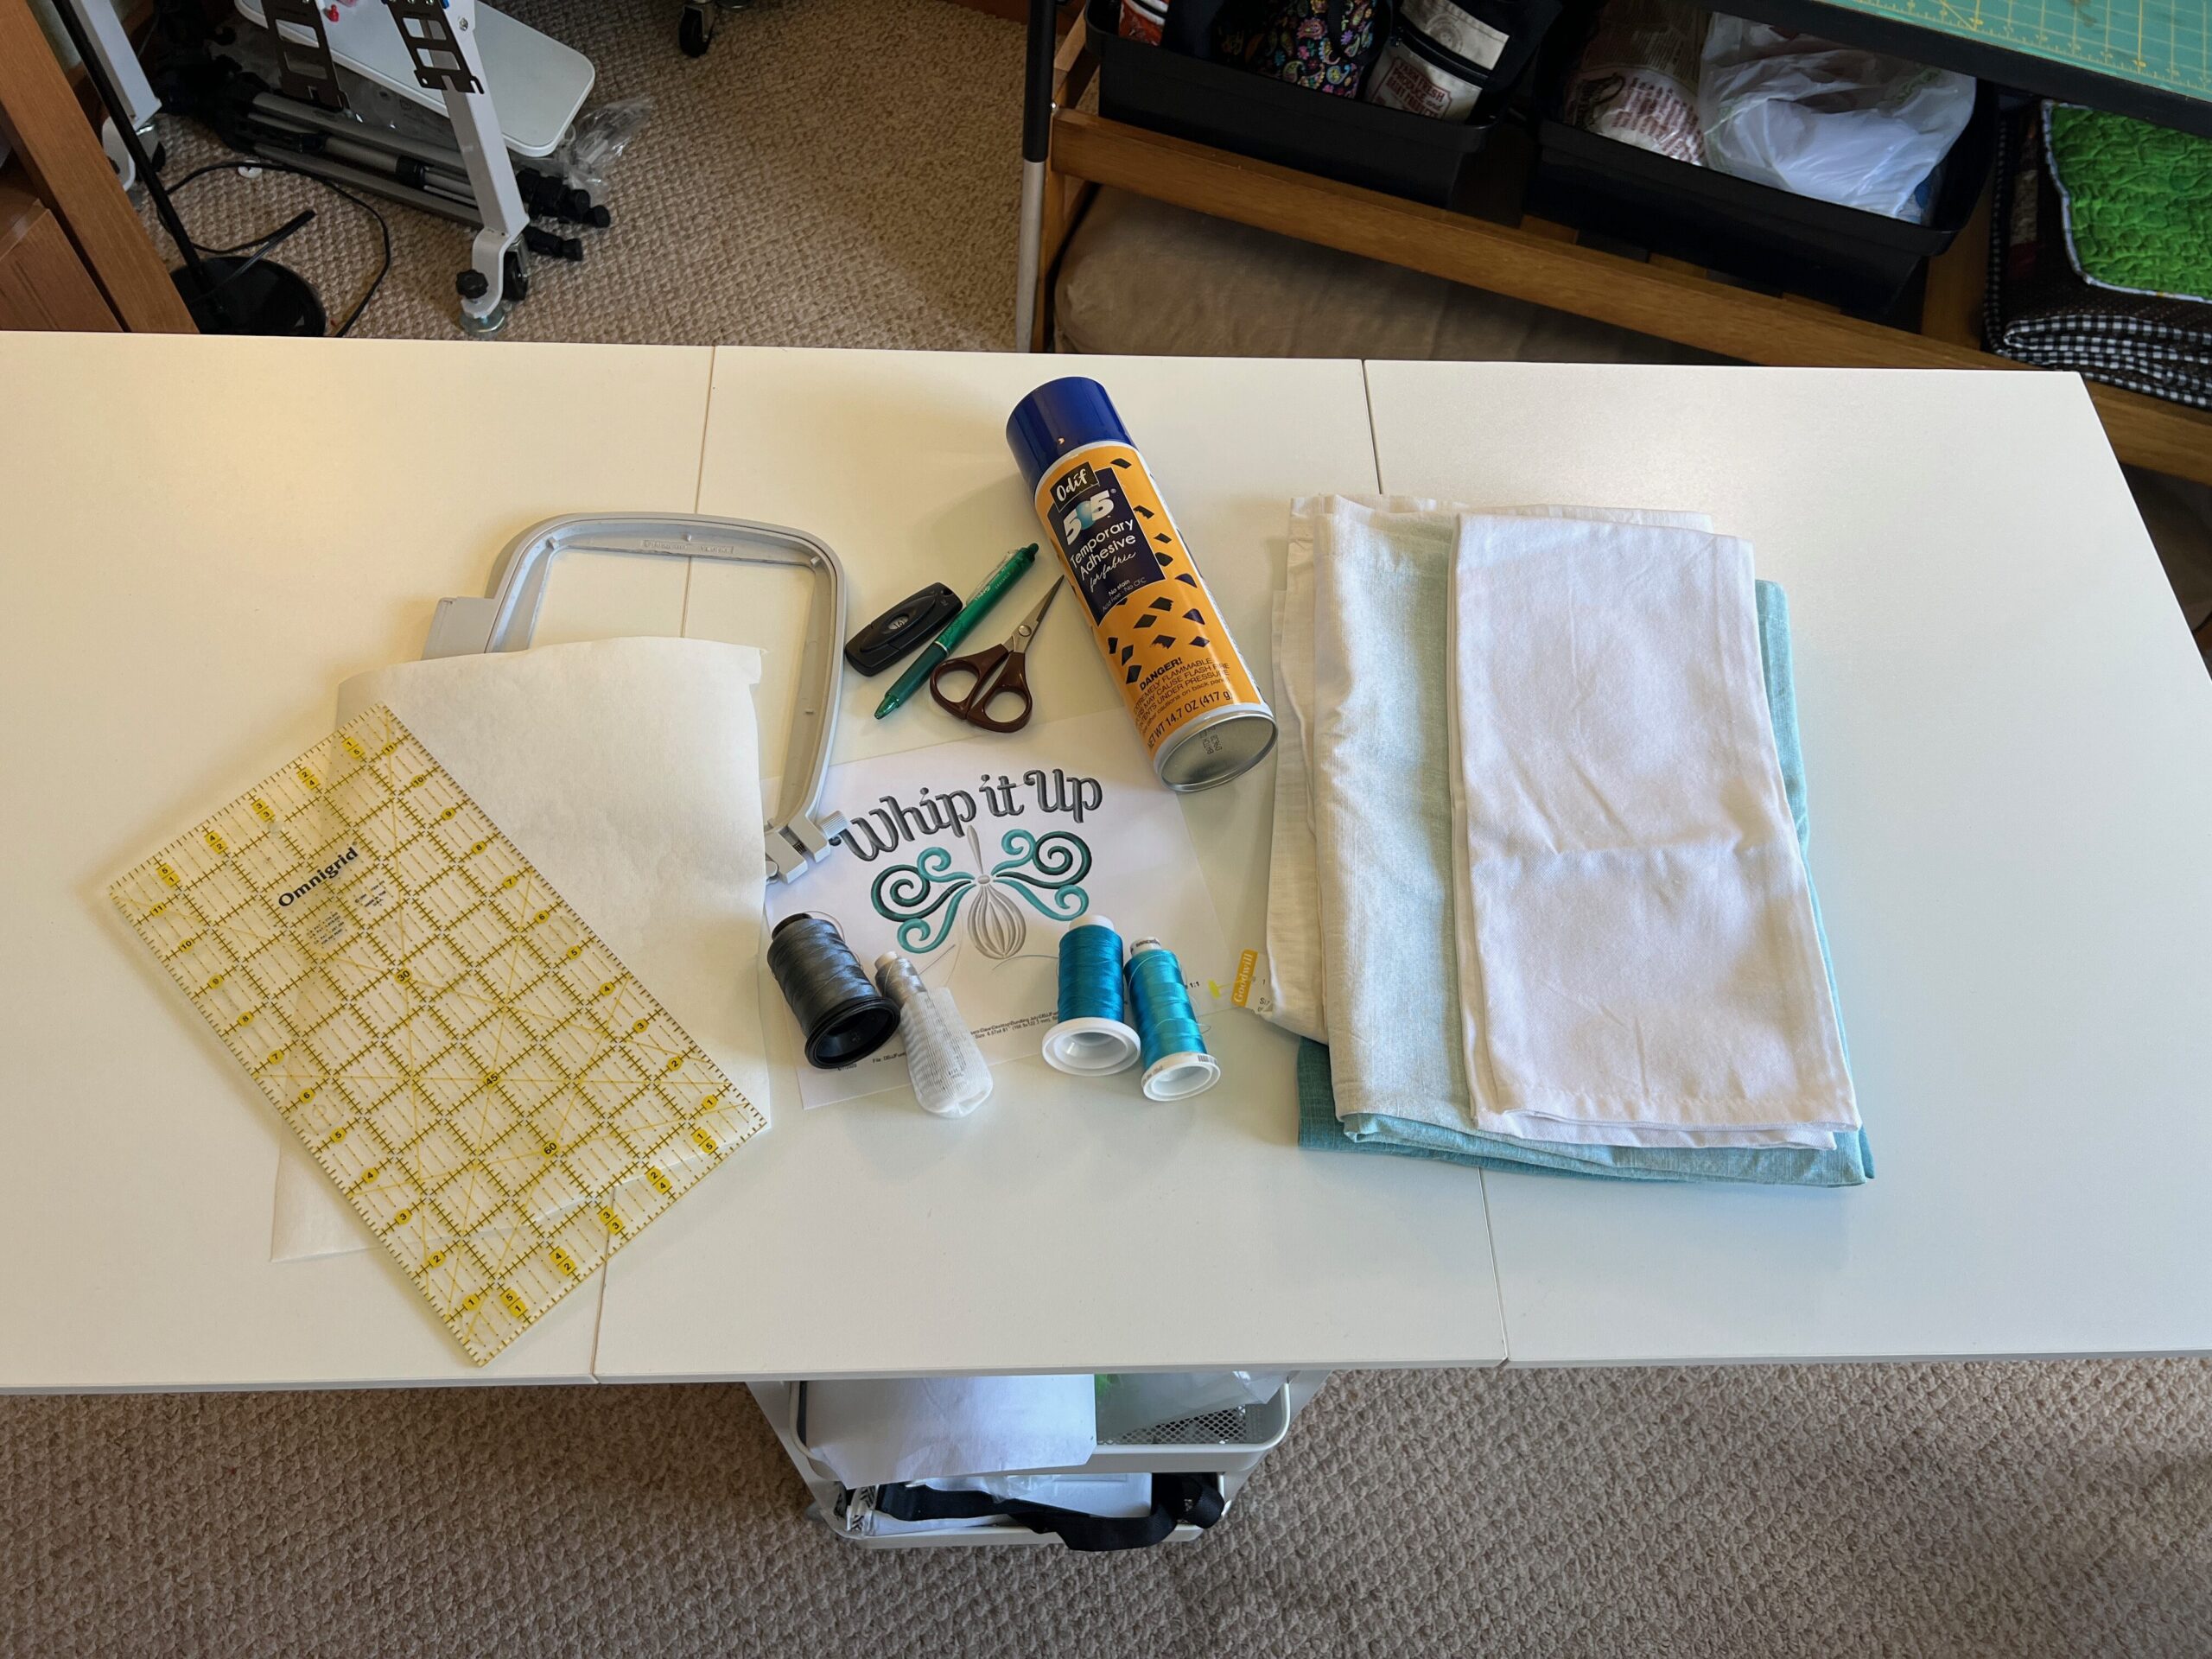
• Embroidery Machine with Hoop
• Embroidery Needle, Size 75/11
• Medium Weight Tearaway Stabilizer
• Polyester Embroidery Thread
-40 wt. for top
-40 wt. or 60 wt. for bobbin
• Fabric (woven cotton panel for practice, linen kitchen towel, canvas for challenge project)
• Spray Adhesive
• Embroidery Design
- DBJJ Fun Kitchen Swirls
• Basic Sewing Supplies (scissors, ruler, removable marking pen, etc.)
• Iron or Heat Press
• Flash/USB Drive/Computer Connection Cable (appropriate to transfer the design to your embroidery machine)
Set Up Your Machine
Get your machine’s manual out for reference as you wind your bobbin, thread your machine, and prepare to embroider for the first time.
According to your machine’s manual:
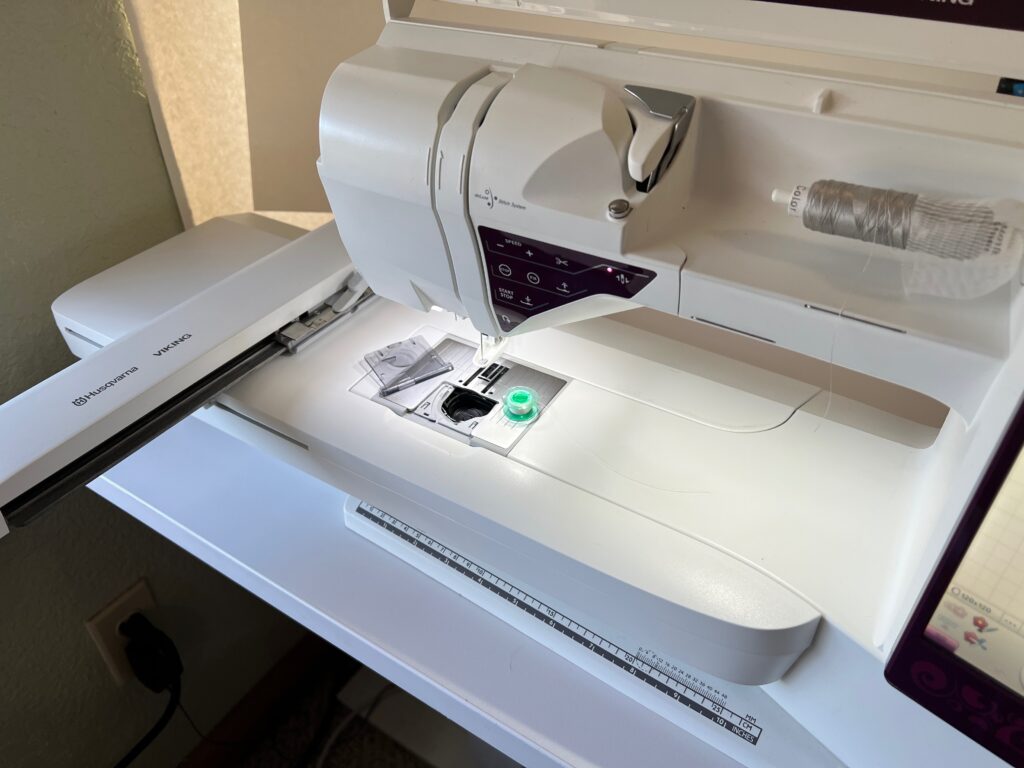
1. Wind and load a bobbin. For this project, we’ll be embroidering on light fabrics. Either wind the bobbin with white bobbin weight (60 wt.) thread or white embroidery weight (40 wt.) thread. Again, use what you have on hand.
2. Install a needle appropriate for the thread and project; a size 75/11 embroidery needle is typically a good choice.
3. Install the embroidery arm and foot appropriate for your machine.
4. Thread your machine with the first color of the design. In this case, a light grey.
5. Transfer the embroidery design file from your computer to your embroidery machine.
NOTE: Ensure you use the file type and size appropriate for your machine and hoop (e.g., I’m using the 4x4 hoop size and the VP3 file format because I’m stitching out on a Husqvarna Viking embroidery machine).
Hoop It Up
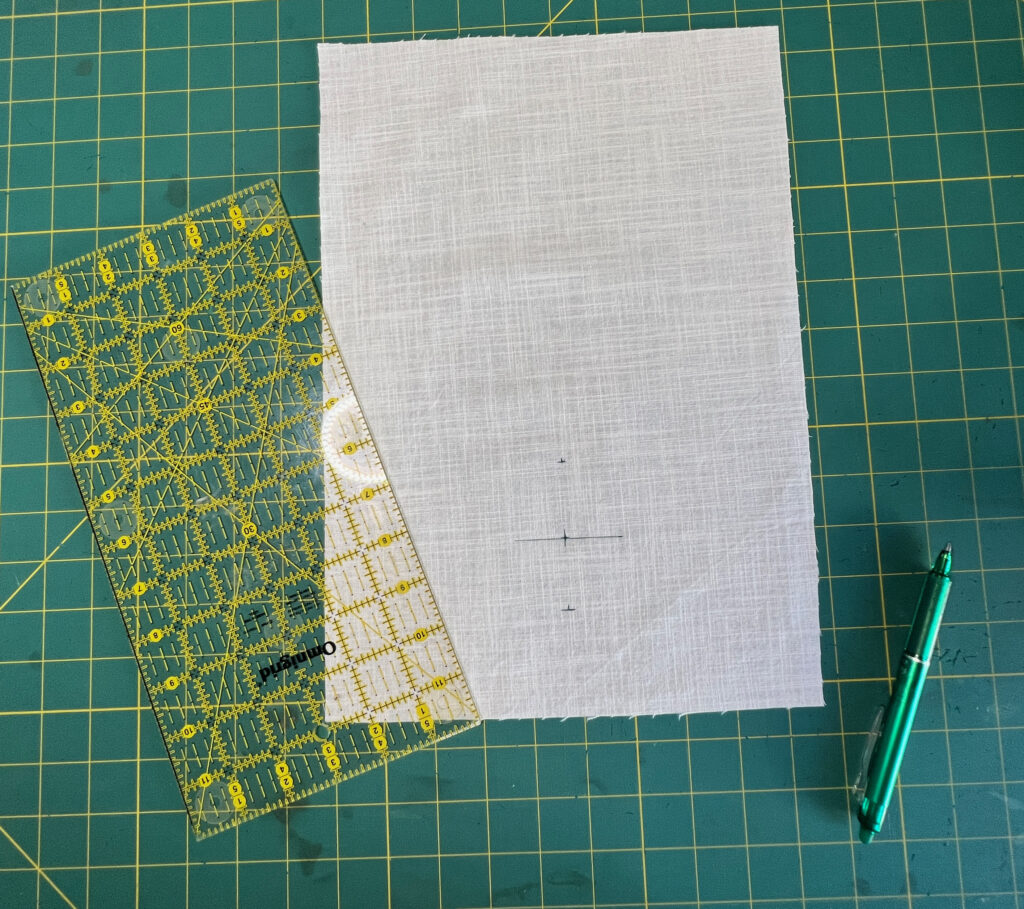
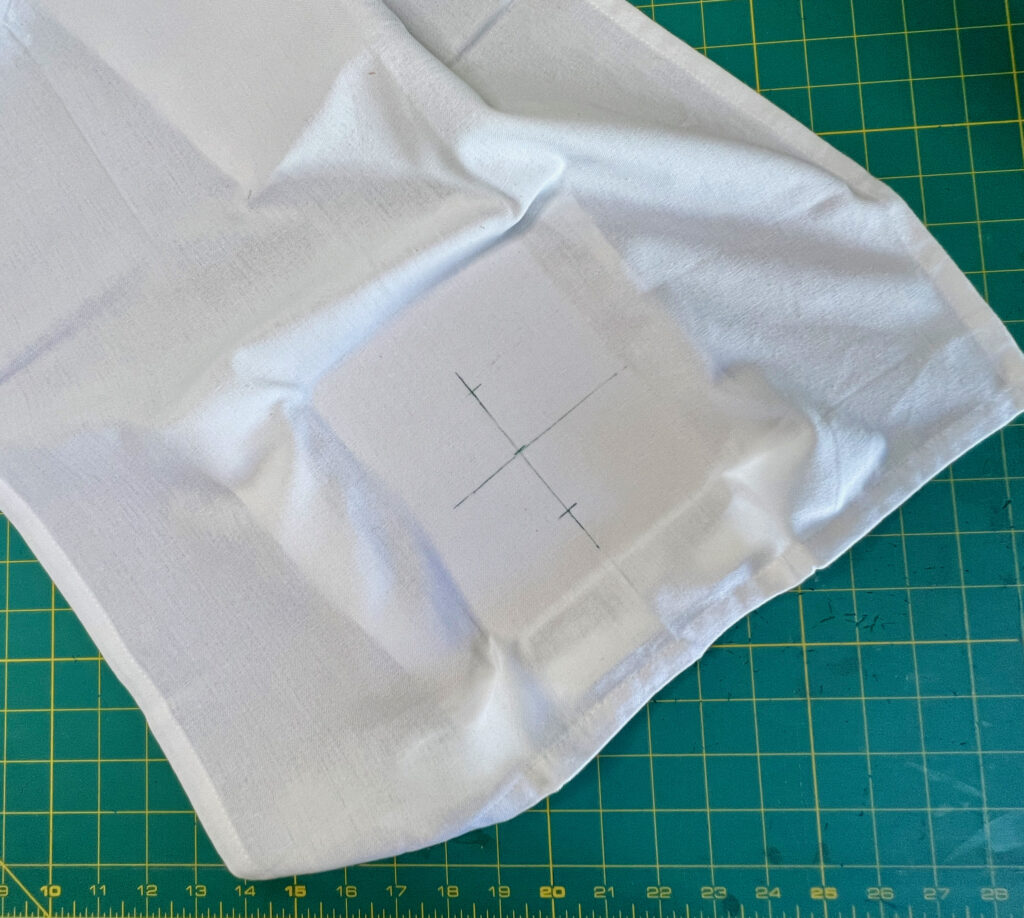
Iron your fabric so that it’s smooth. A little starch can be helpful to ensure a nice, crisp surface on which to embroider.
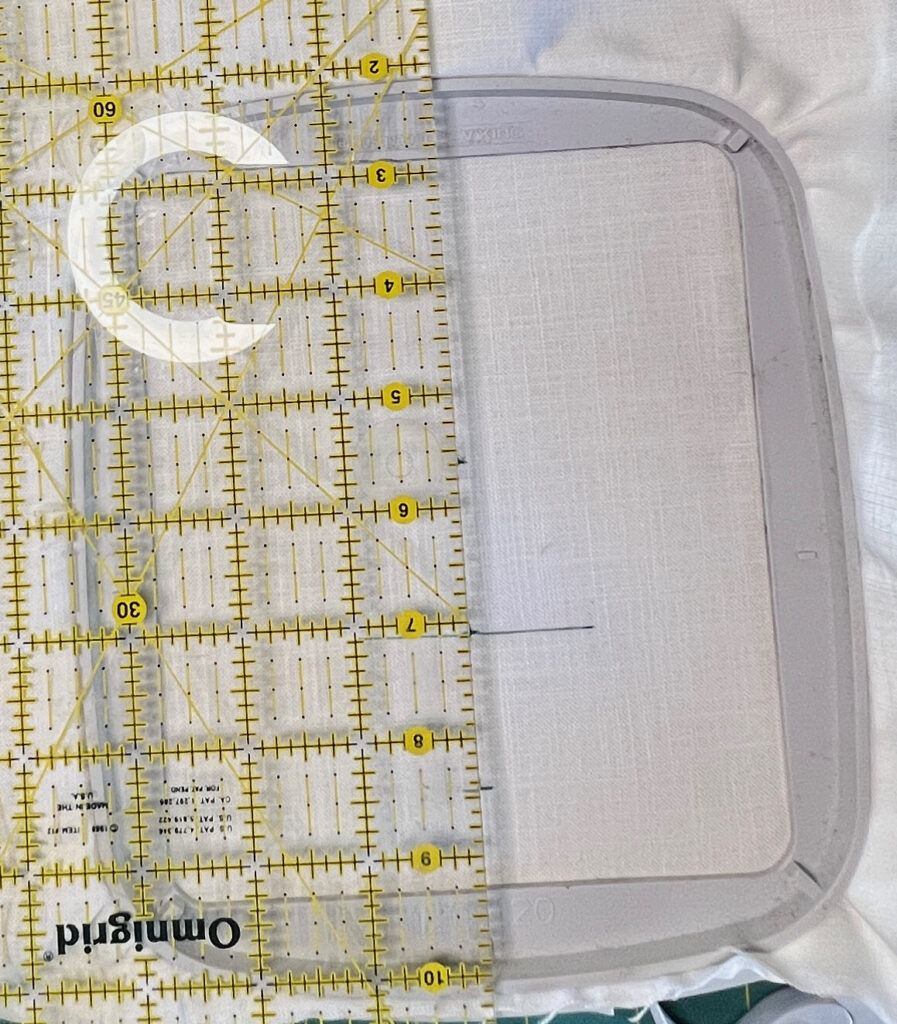
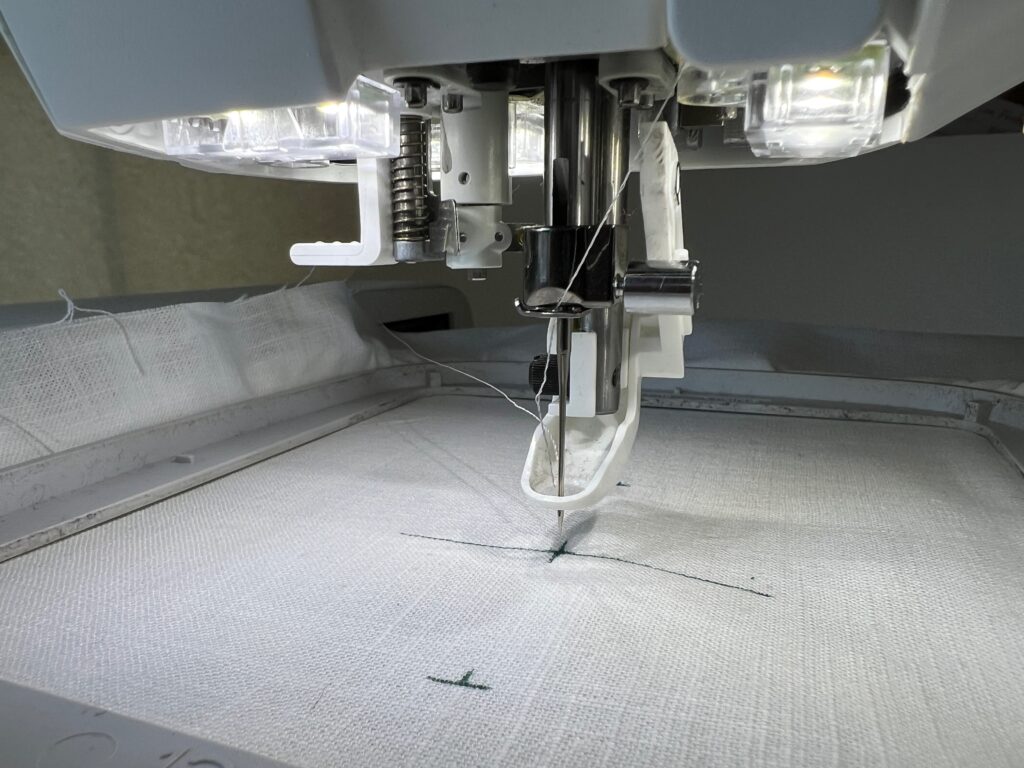
Measure and mark where you’d like to place your design; mark the center, top, and bottom based on the dimensions in the thumbnail PDF.
There are different options for methods of hooping. Choose the one that best suits the material you’re working with.
Option 1 (hooping stabilizer and fabric) – most secure but also challenging with varying material thicknesses and precise placement/alignment.
This is the option I used on my practice stitch out on a fabric scrap.
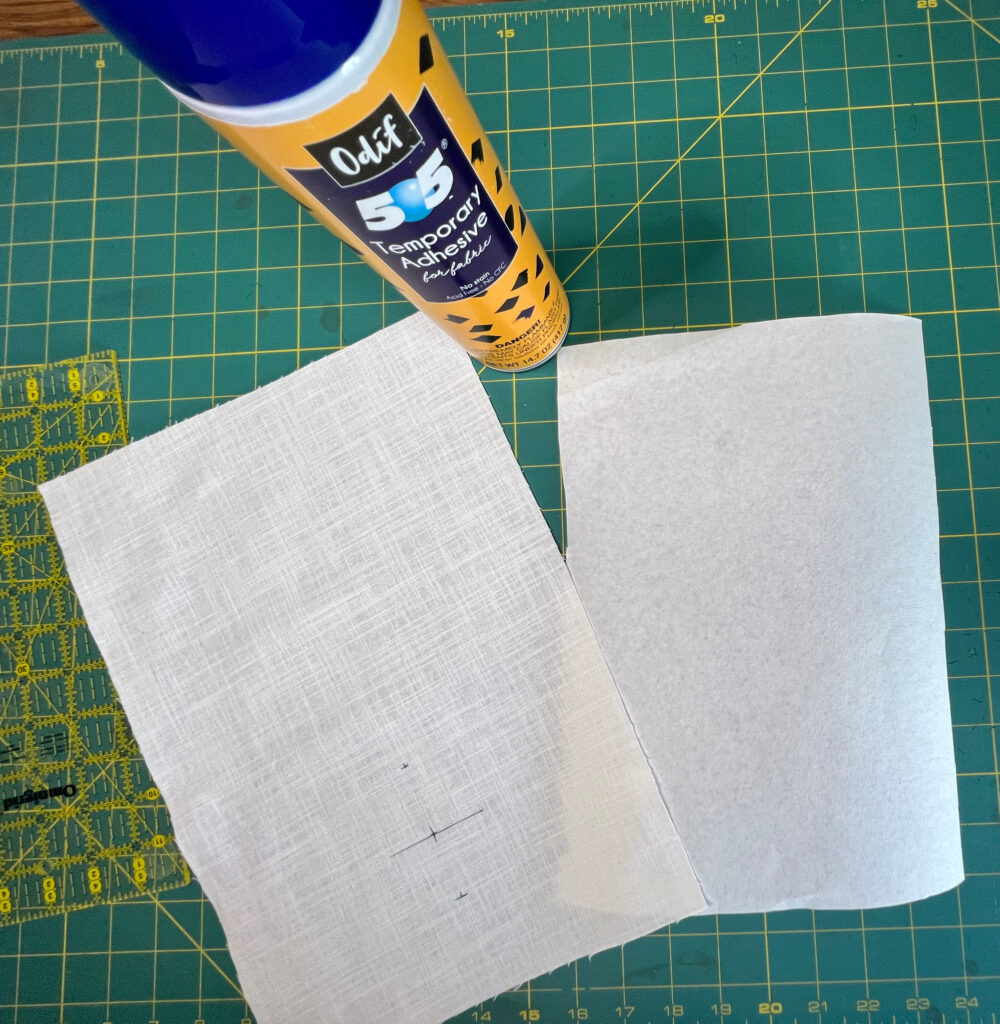
1. Cut a piece of tearaway stabilizer a couple of inches larger than your hoop on all sides.
2. Spray the stabilizer with temporary adhesive spray.
3. Place your fabric on top of the stabilizer, ensuring both layers are smooth while avoiding stretching or distorting the fabric.
4. Separate the two parts of the hoop and loosen the outer ring.
5. Lay the outer ring flat with the stabilizer and fabric on top.
6. Press the inner ring into the outer ring, ensuring the fabric and stabilizer in between remain smooth and taut and the markings on the fabric line up with the markings on the hoop (top and bottom, left and right centers).
NOTE: You’ll see in my practice project that I lined up my markings with the top and bottom center markings in the hoop but not the left and right center markings. This is because I’m simulating the placement on the towel, which I anticipate doing next. If I lined up my markings with the left and right center markings on the hoop, I wouldn’t be able to catch the bottom of my fabric in my hoop, which would be less secure.
7. Tighten the screw(s) on the outer ring so that the fabric is held taut and smooth in the assembled hoop.
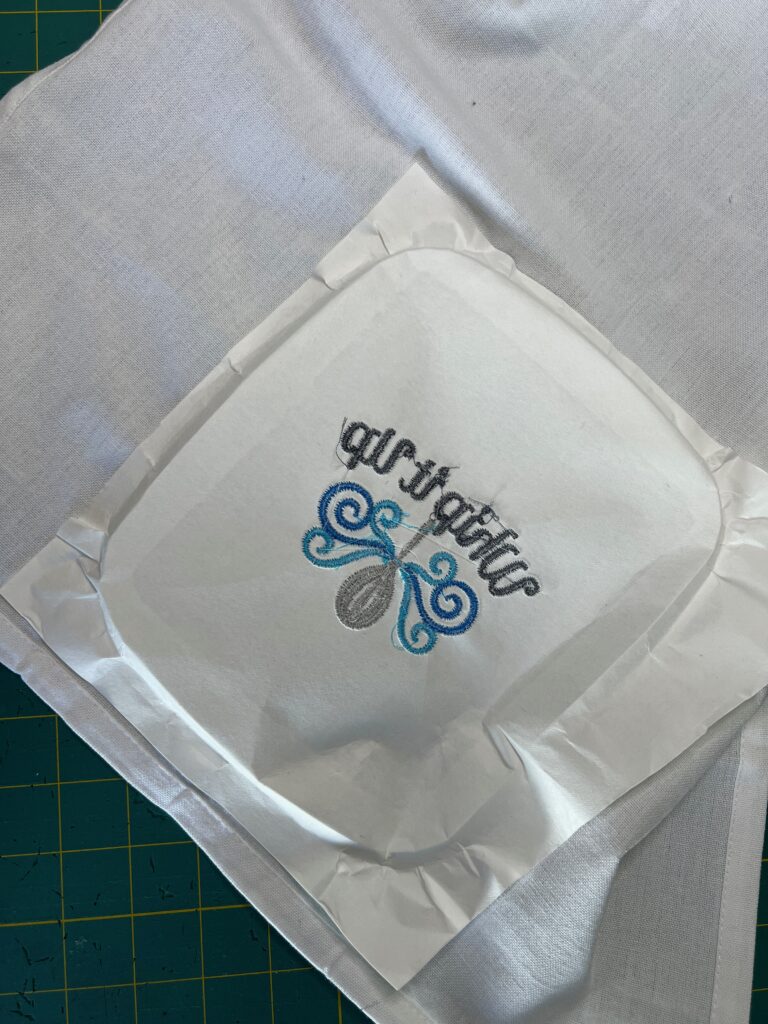
Option 2 (hooping stabilizer and “floating” fabric) – not as secure as Option 1, but easier with bulky or irregular fabric thicknesses; also easier to get precise placement/alignment.
This is the option I used when I stitched out on the linen towel.
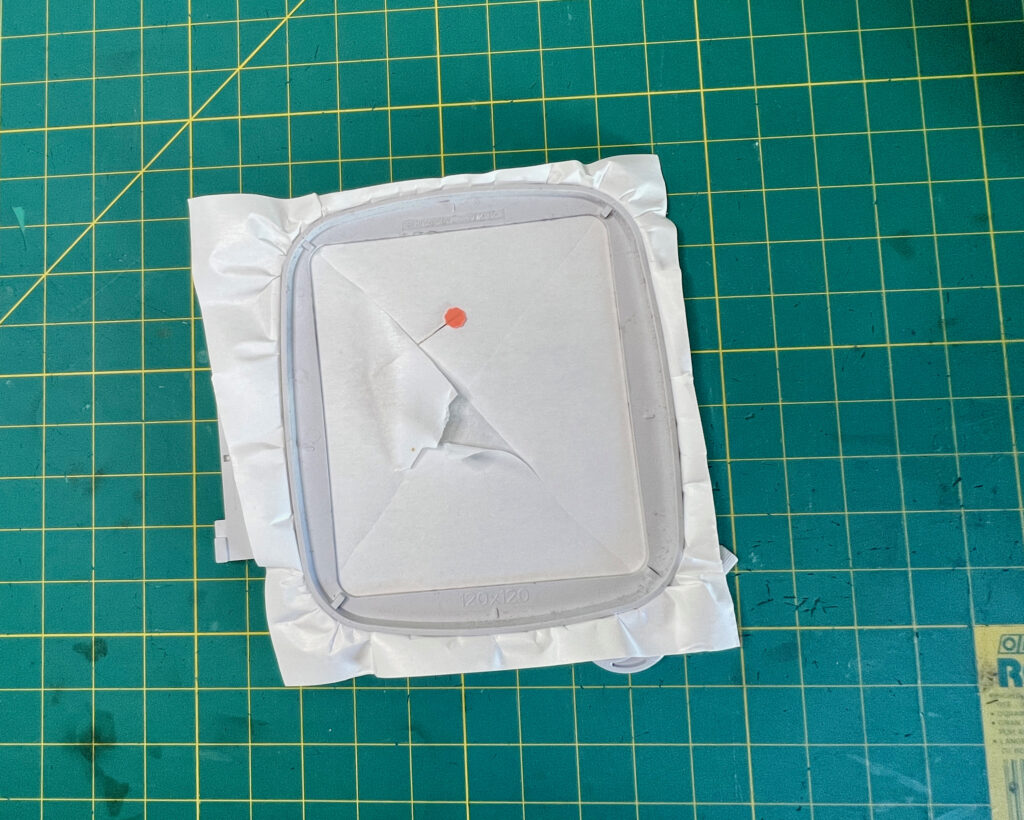
1. Cut a piece of tearaway (or sticky tearaway) stabilizer a couple of inches larger than your hoop on all sides.
2. Separate the two parts of the hoop and loosen the outer ring.
3. Lay the stabilizer on top of the outer ring. 4. Press the inner ring into the outer ring, ensuring the stabilizer in between remains smooth and taut.
5. Tighten the screw(s) on the outer ring so that the stabilizer is held securely in the assembled hoop.
6. Prepare the tearaway stabilizer.
- If using regular tearaway, spray it with temporary adhesive spray.
- If using a sticky tearaway, peel away the protective (non-sticky) layer from within the hoop area, exposing the sticky surface.
7. Place your fabric on top of the stabilizer, lining up markings on the fabric with markings on the hoop, ensuring it adheres well while avoiding stretching or distorting the fabric.
Stitch It Out
1. Load the hoop on the machine (see your manual).
CAUTION
- Ensure you have plenty of clearance in all directions, as the hoop will move during stitching. Unpleasant things will result if your embroidery arm or hoop bumps into something mid-stitching.
- This is also an excellent time to make sure there is nothing under your hoop that you don’t want to be stitched. It’s easy to have some of your fabric get under there without being noticed. This may result in some time spent with your seam ripper, some time spent in therapy or some time trying to figure out how to make this into a happy accident.
2. Adjust placement as desired (see your manual).
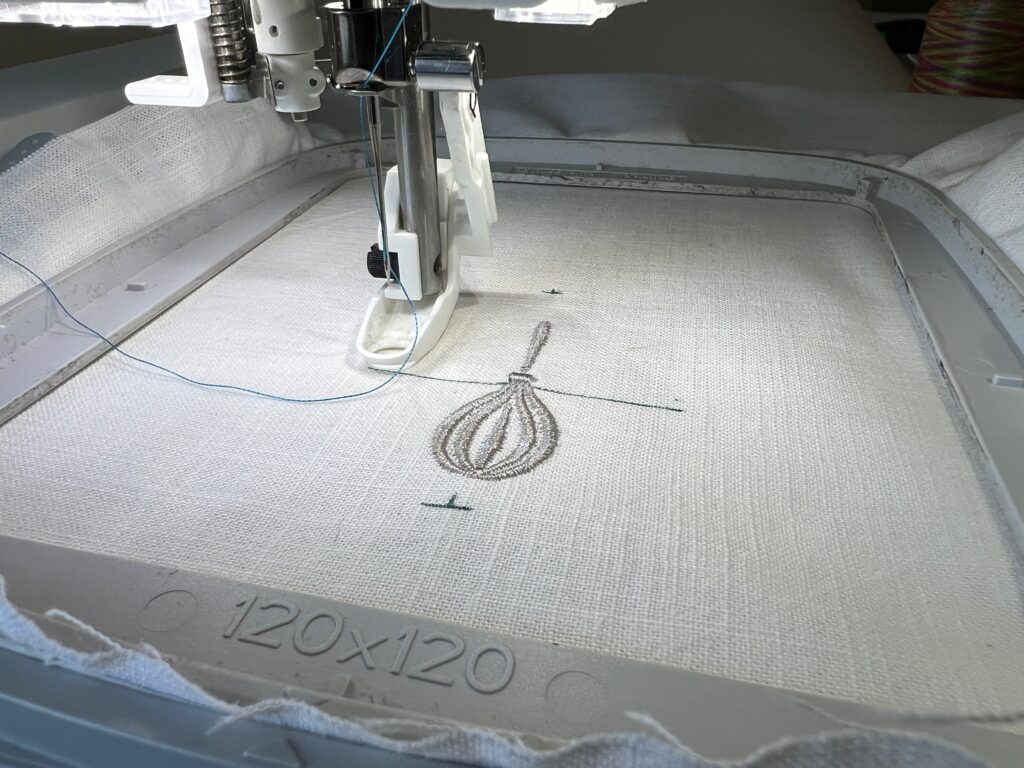
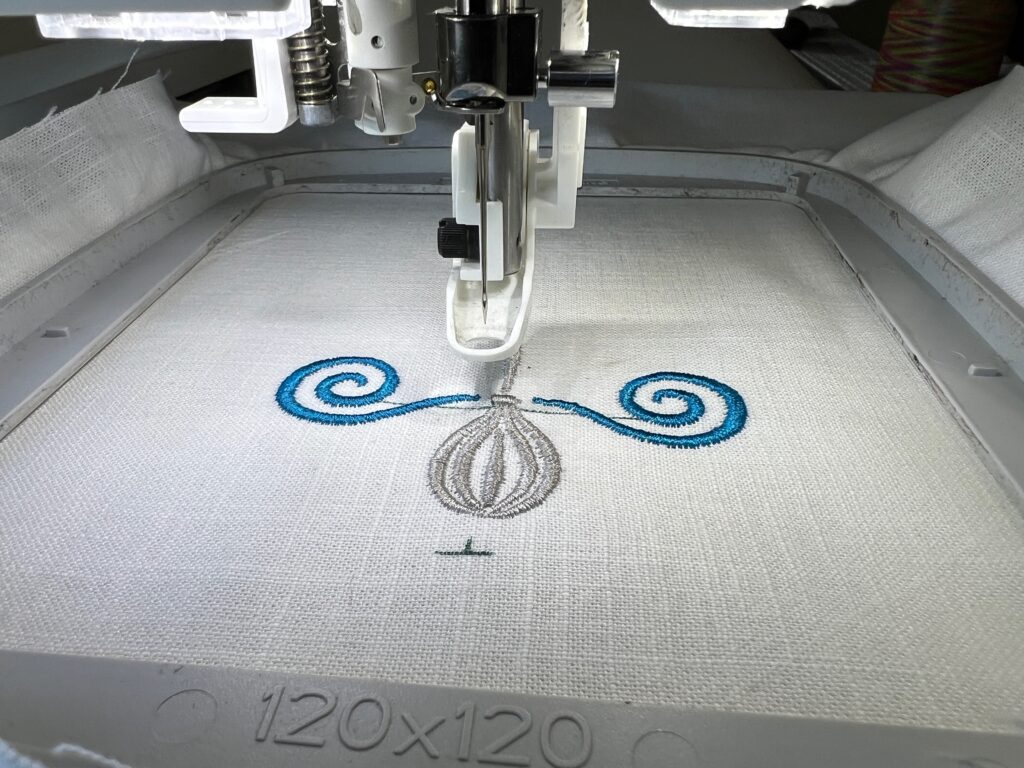
3. Start stitching the first color of the design. NOTE: The Colorchart PDF for the 4x4 Whip It Up design will tell you that the first color is 411 stitches, the second is 292 stitches, the third is 291 stitches, and the final color is 487 stitches. If you’re tempted to step away to do something else while any of these run, I caution you against that. SOMETHING ALWAYS HAPPENS when I walk away. ☺ Also, it’s pretty mesmerizing to watch the machine do its thing.
4. When the first color has finished, the machine will stop to allow you to replace it with the next. Repeat until all colors have been stitched.
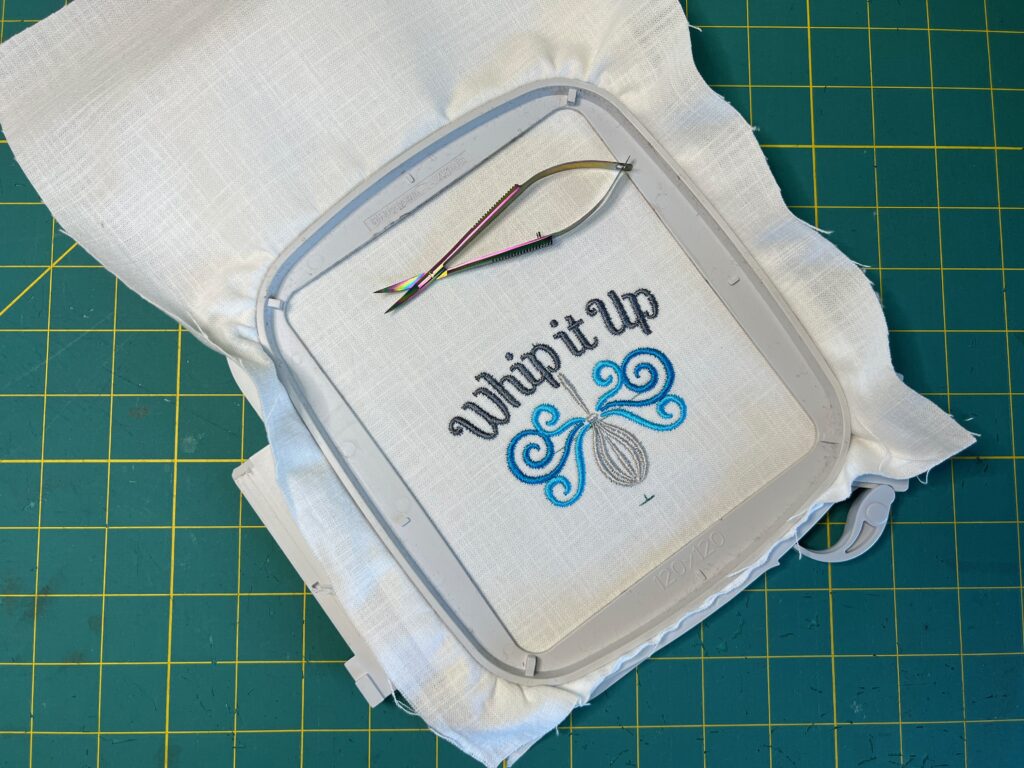
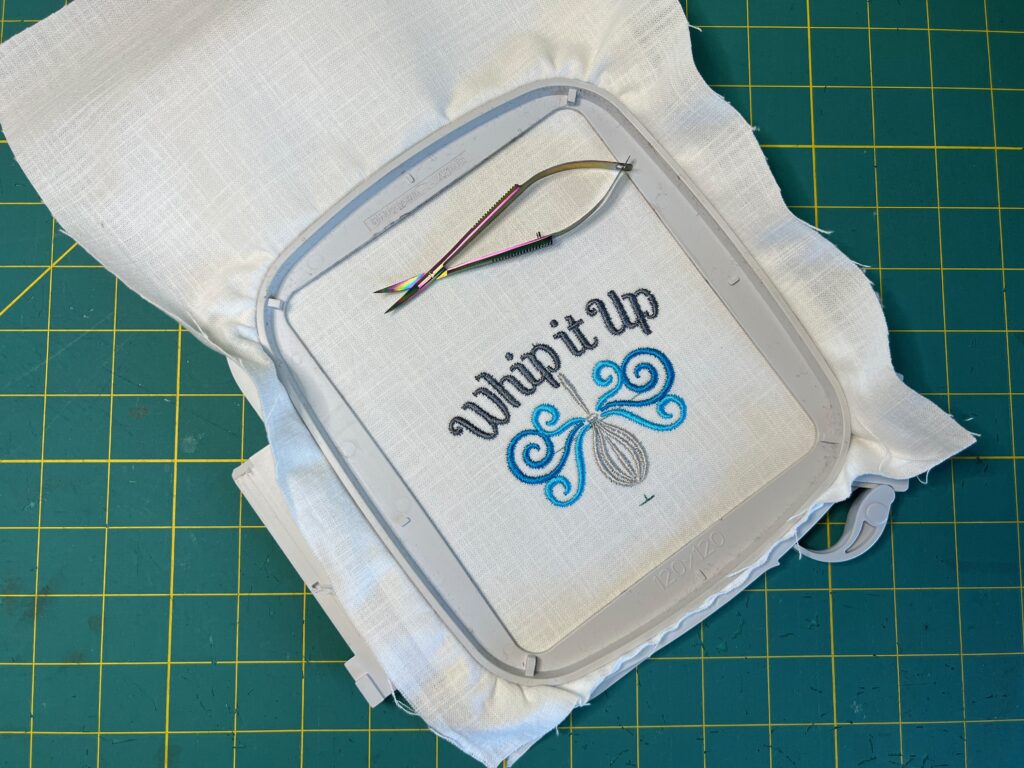
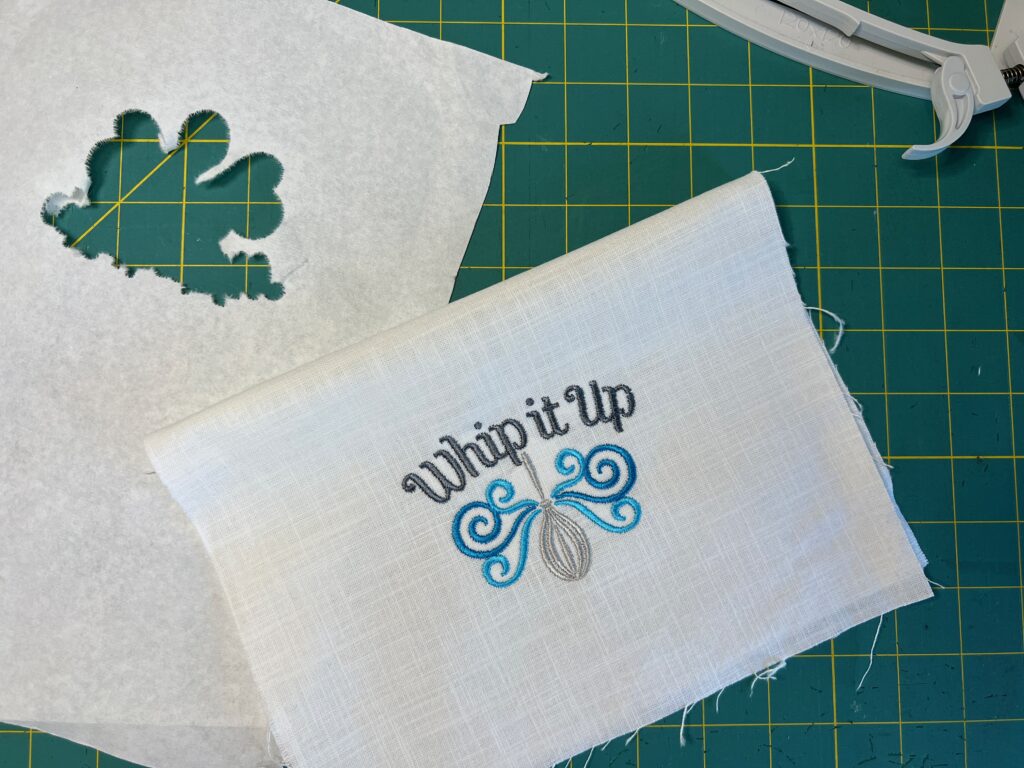
5. Unload the hoop from the machine, trim any jump stitches, and bask in the glory of what you’ve accomplished for a moment.
Finishing Touches
1. Loosen the screws on your hoop and remove the fabric and stabilizer.
2. Tear away the stabilizer from the back of the fabric.
3. Give the fabric a good press to smooth out any creases that have resulted from hooping.
If you’ve used a marking pen that disappears with heat, this will also remove your placement marks.
4. Pat yourself on the back. You just completed your first machine embroidery project!
Evaluate and Modify
Now is an excellent time to make notes of any lessons learned from your practice stitch-out.
Are you happy with your stabilizer and thread choices? I found in my practice stitch that I would like more contrast between my two shades of blue thread colors, so I chose a darker teal for my next stitch out.
The Final Product
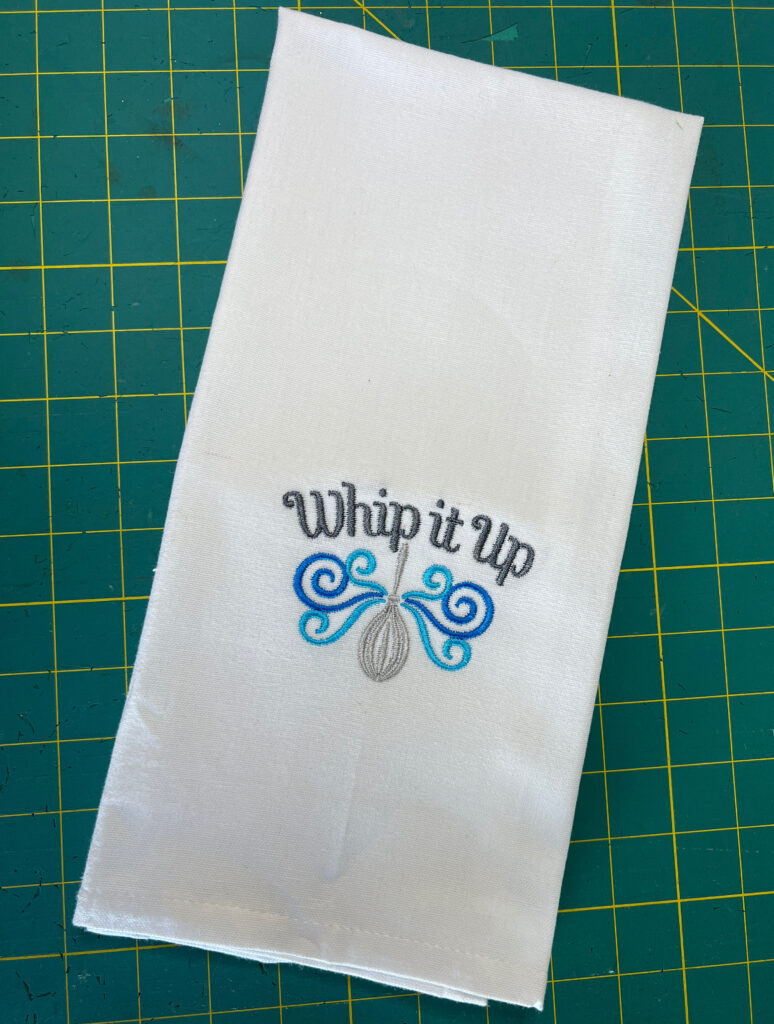
You’ve now practiced hooping and stitching on your practice fabric, made notes of any lessons learned, or adjustments you’d like to make, so now you’re ready to repeat the steps above with a lovely linen kitchen towel instead of your practice fabric.
You’ve got this!
Go back to the Set Up Your Machine step above and repeat all steps with your linen towel.
Challenge: Reverse Canvas Framed Art
Now that you’ve practiced and made an elegant linen kitchen towel, perfect for gift-giving or brightening up your kitchen, you’re an old pro. Are you ready for a new challenge?
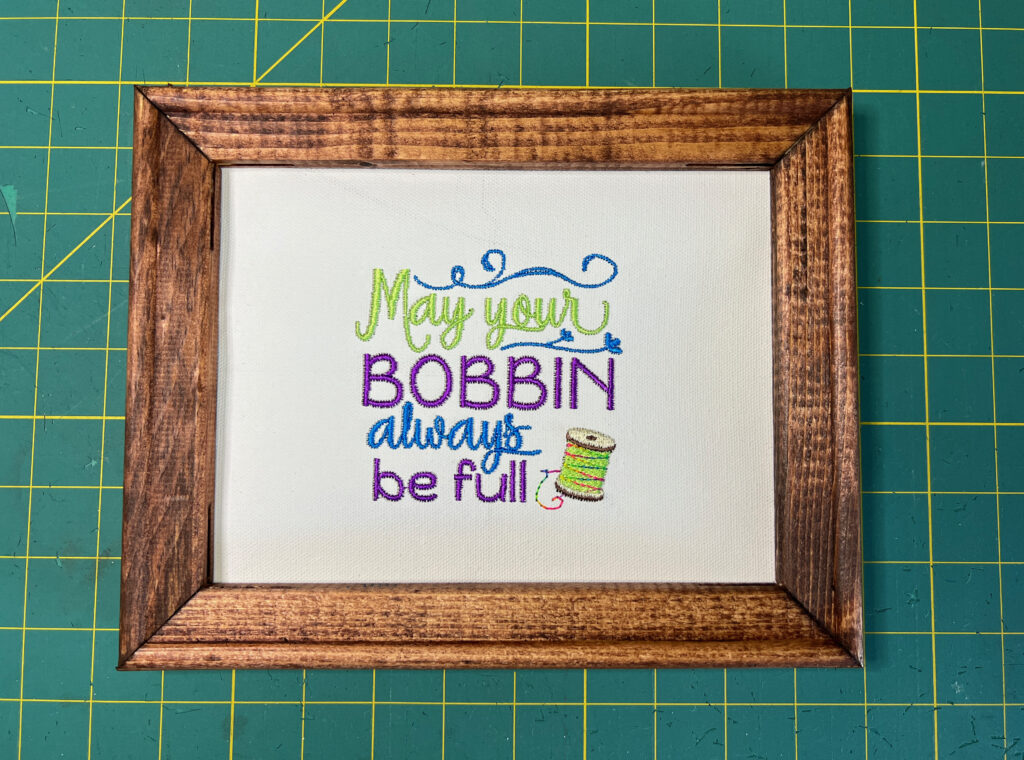
A great next step would be to use the reverse canvas technique, which you may have heard of being used with heat transfer vinyl (HTV). Instead of using HTV to decorate the canvas, embroider a fun design to decorate your crafting space!
Additional Supplies
• 8” x 10” Stretched Canvas
• Sawtooth Frame Hanger
• Do an Internet Search for “What is reverse canvas” to find many tutorials for this technique.
• Embroidery Design (DBJJ Sewing Sayings Set 1)
• Optional: Wood Stain (for frame)
Repeat the steps above, beginning with the Select and Review a Design step. I made some thread color changes on this one to suit my purposes. Have fun with it! Make it your own.
Congratulations! You’ve got the basics down now. The possibilities are endless. Enjoy!
About the Author:
Charlotte McKinney has been learning machine embroidery since 1999. She caught the bug from her mother, and through all the seasons of her life, it’s brought her joy.
Whether squeezing it in late at night after the toddlers went to bed or having more time to devote to it in retirement, embroidery has been a trusted friend and creative outlet.

