Toggle Nav
 Inspire.
Create.
Stitch.
Inspire.
Create.
Stitch.
Search
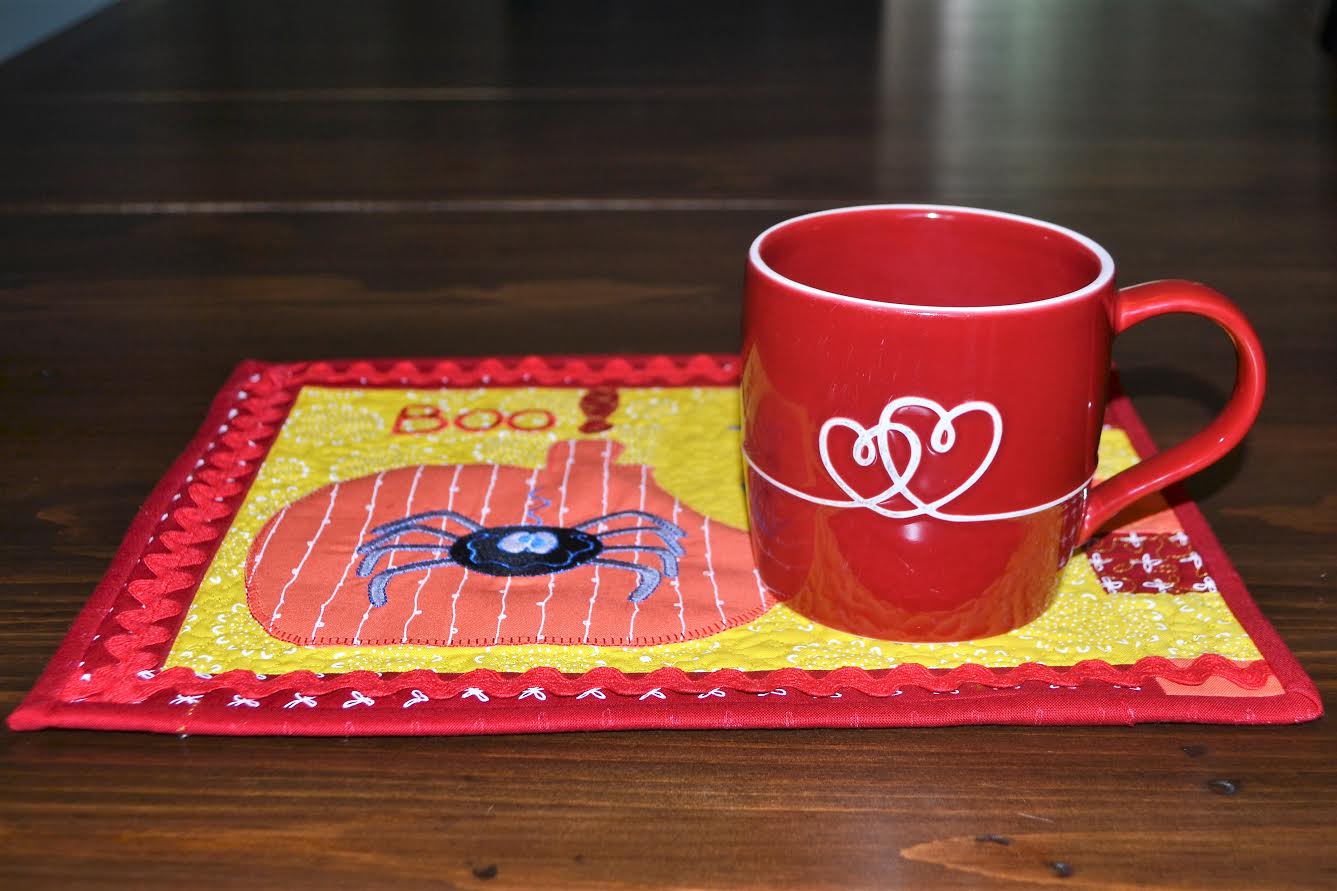
 Welcome everyone. As Halloween approaches, I’m so happy to bring you a quick and easy project to make for Halloween, using Designs by JuJu’s whimsical Halloween filled designs. This little mug rug, which is basically a mini-quilt, can easily be made in a day or two. You can whip one up as a teacher’s gift, or use it to decorate a Halloween table. How about making one just for yourself….to have with your morning coffee? So cute, so simple and so very easy. Let’s get started.
 Please be sure and read through all the instructions prior to commencing.
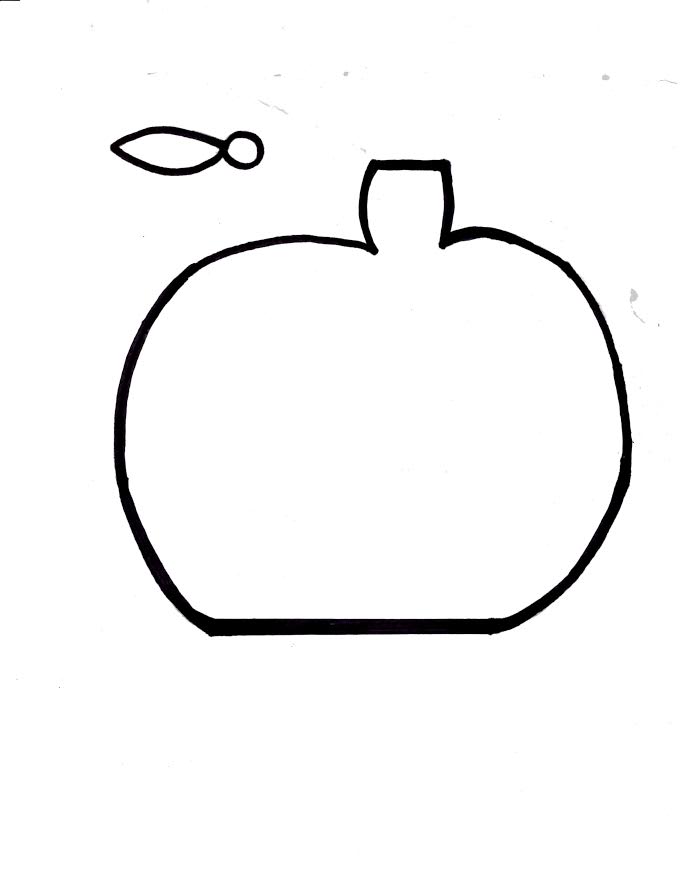
Shopping List: Designs by JuJu DBJJ689 – Halloween Filled Set Three Designs by JuJu DBJJ864 – Simplicity Embroidery Font Yellow for background, witch embroidery and square border Fat Quarter (18" x22") Orange for pumpkin, square border and backing Fat Quarter Red for borders, exclamation point and binding Fat Quarter Red rickrack 30" Medium weight tearaway stabilizer One piece 8"x10" Quilt Batt One piece 12"x14½" Fusible Web One sheet Embroidery thread, embroidery bobbin thread, embroidery needles, embroidery scissors Pencil, omnigrid ruler, rotary cutter Pinking shears Temporary Spray Fabric Adhesive (optional) * I use Brother Embroidery thread for all my projects Click HERE to view Pumpkin Template
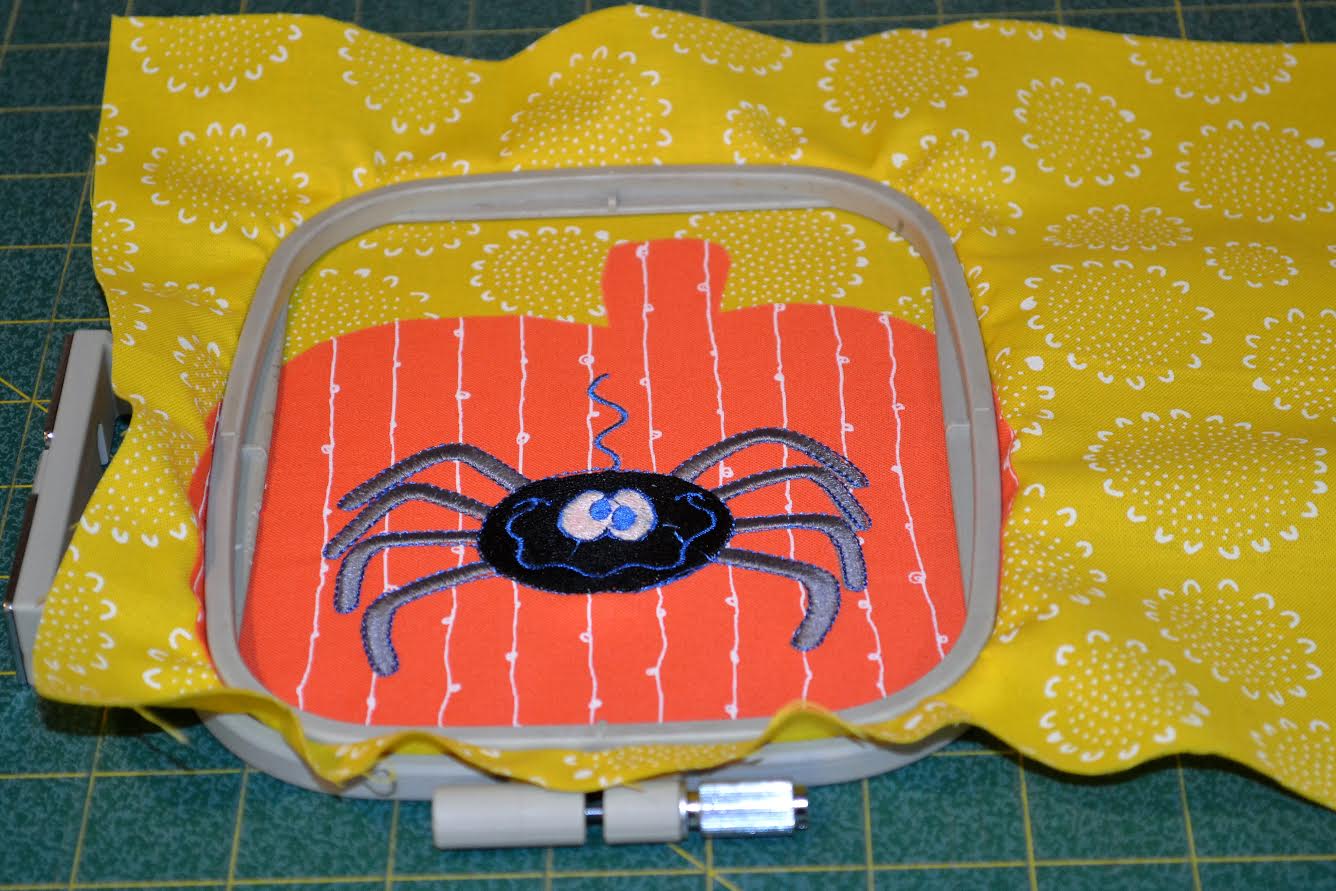
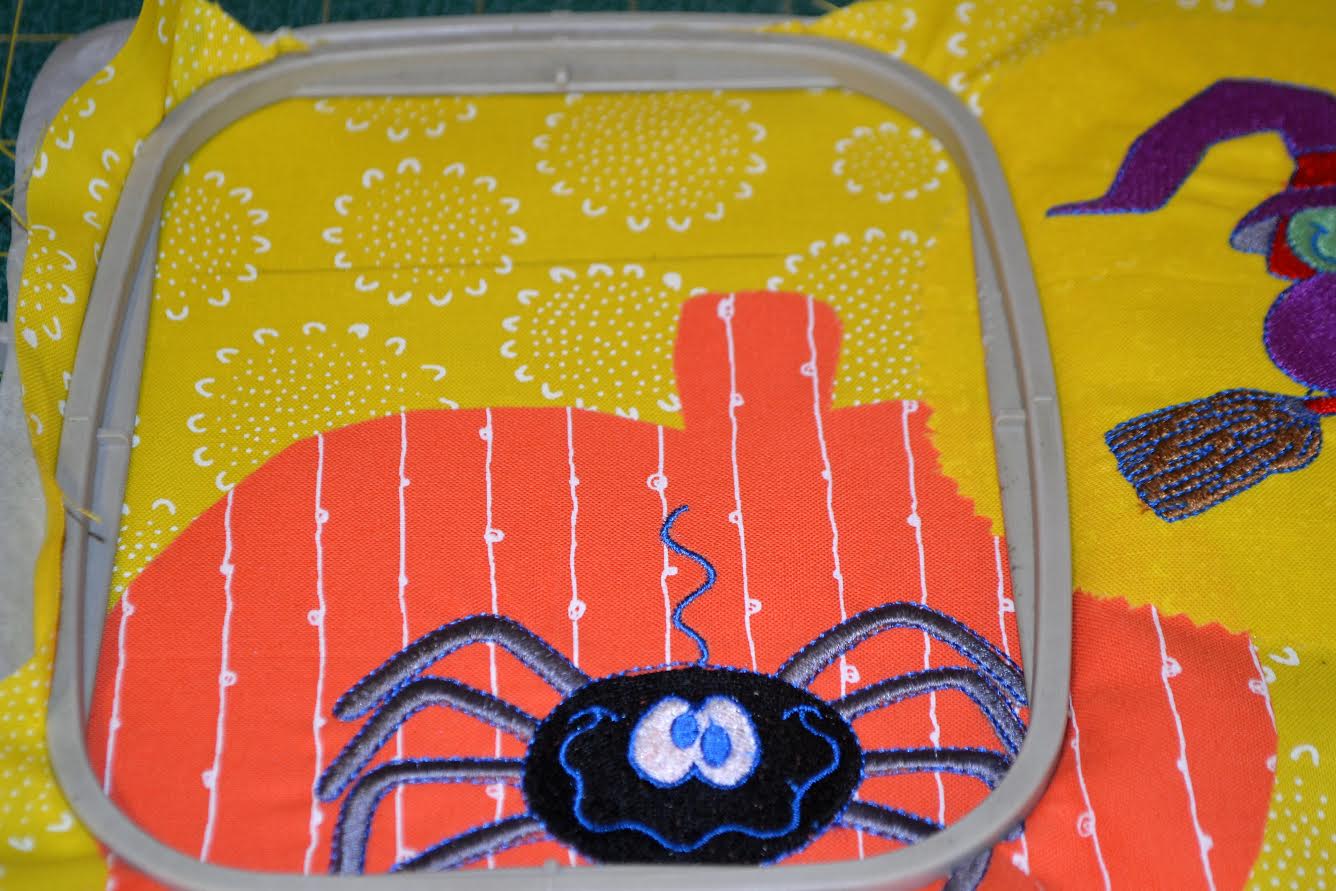
 8. Hoop yellow backing fabric and pumpkin, marking the center of the pumpkin with a pencil. There is no need to use stabilizer for stitching out this design. The double layer of fabric and fusible web is more than sufficient stabilizer.
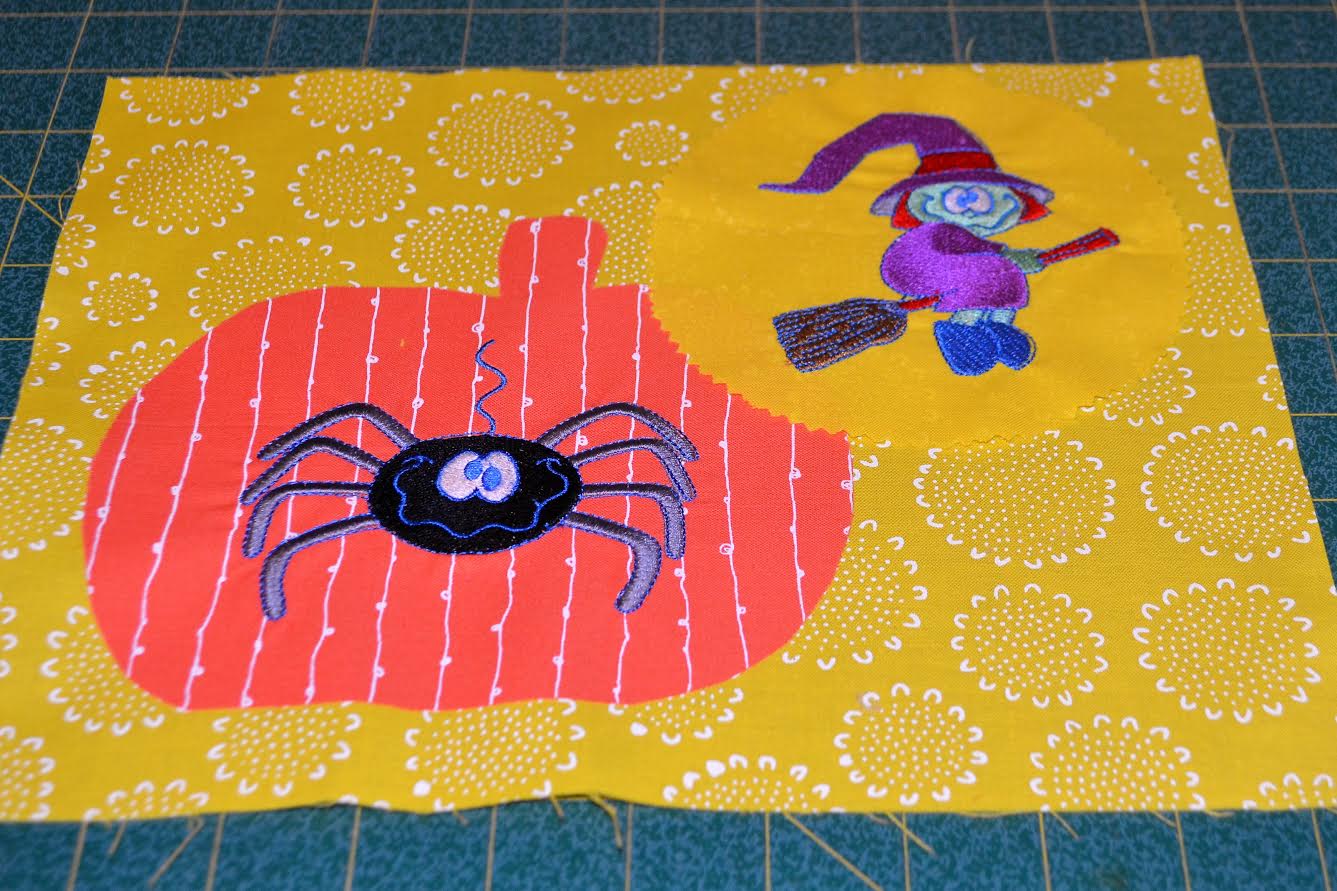
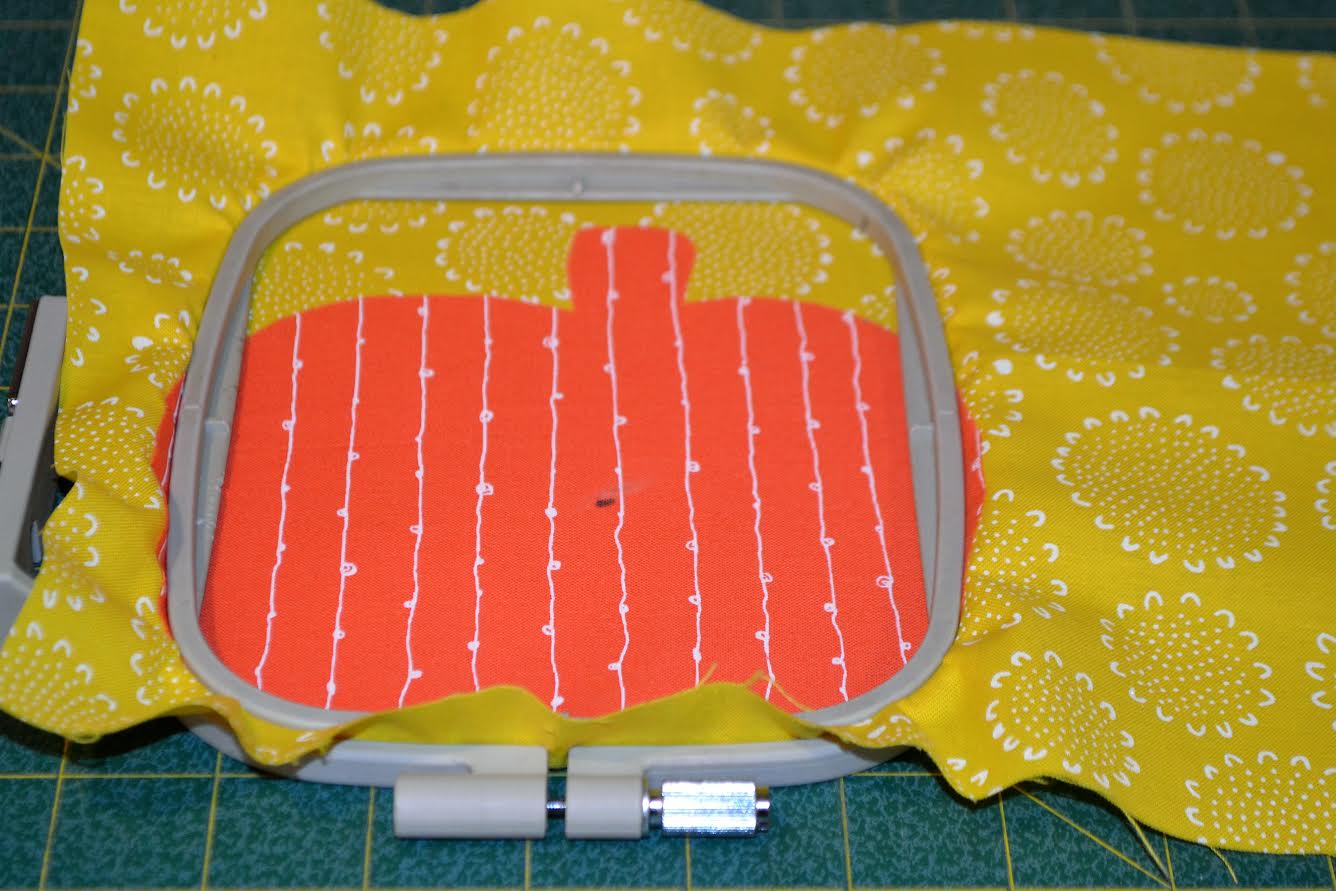 9. Stitch out dangling spider design in center of the pumpkin.
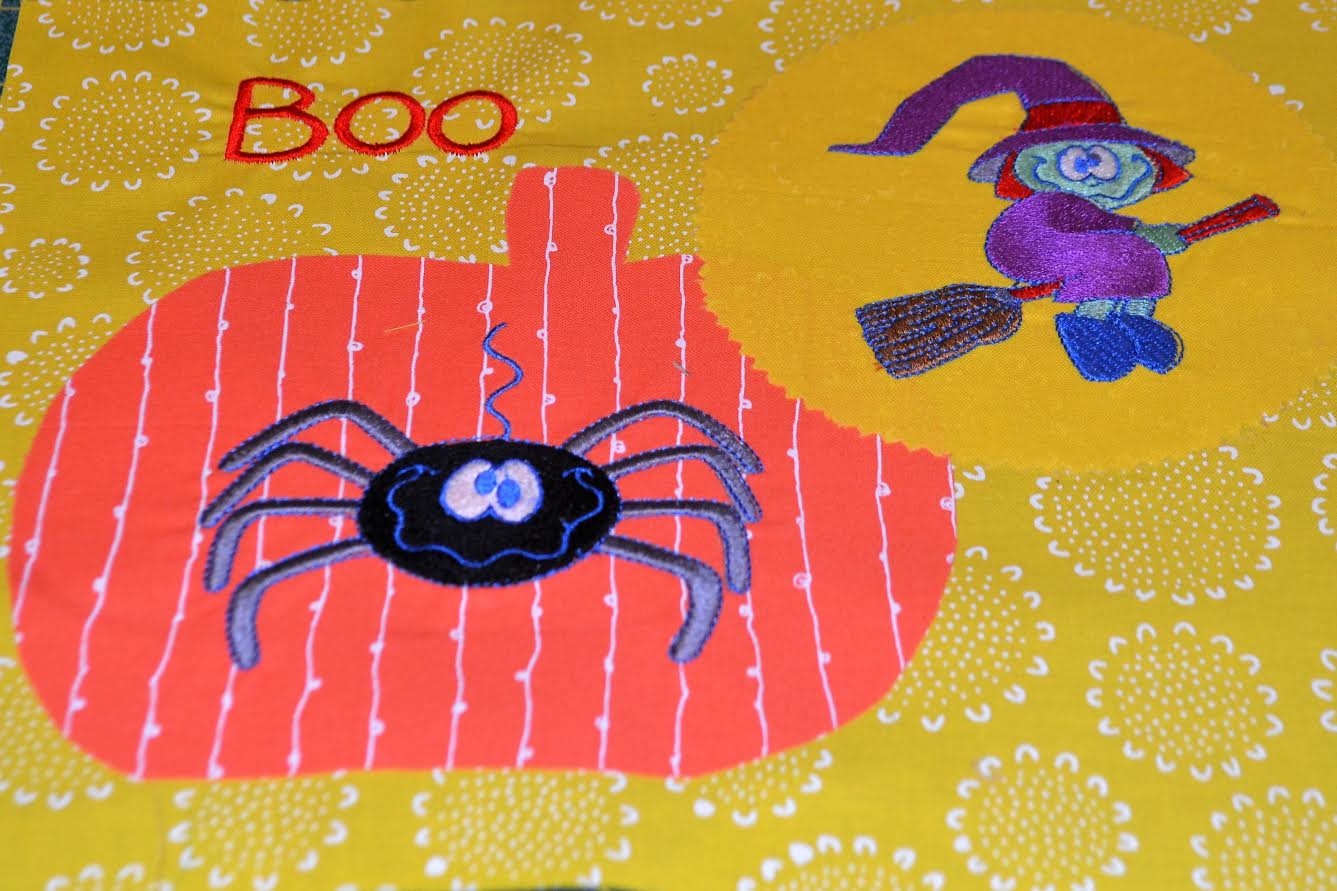
 13. Stitch out the word “Boo” being mindful to line up the bottom of each letter.
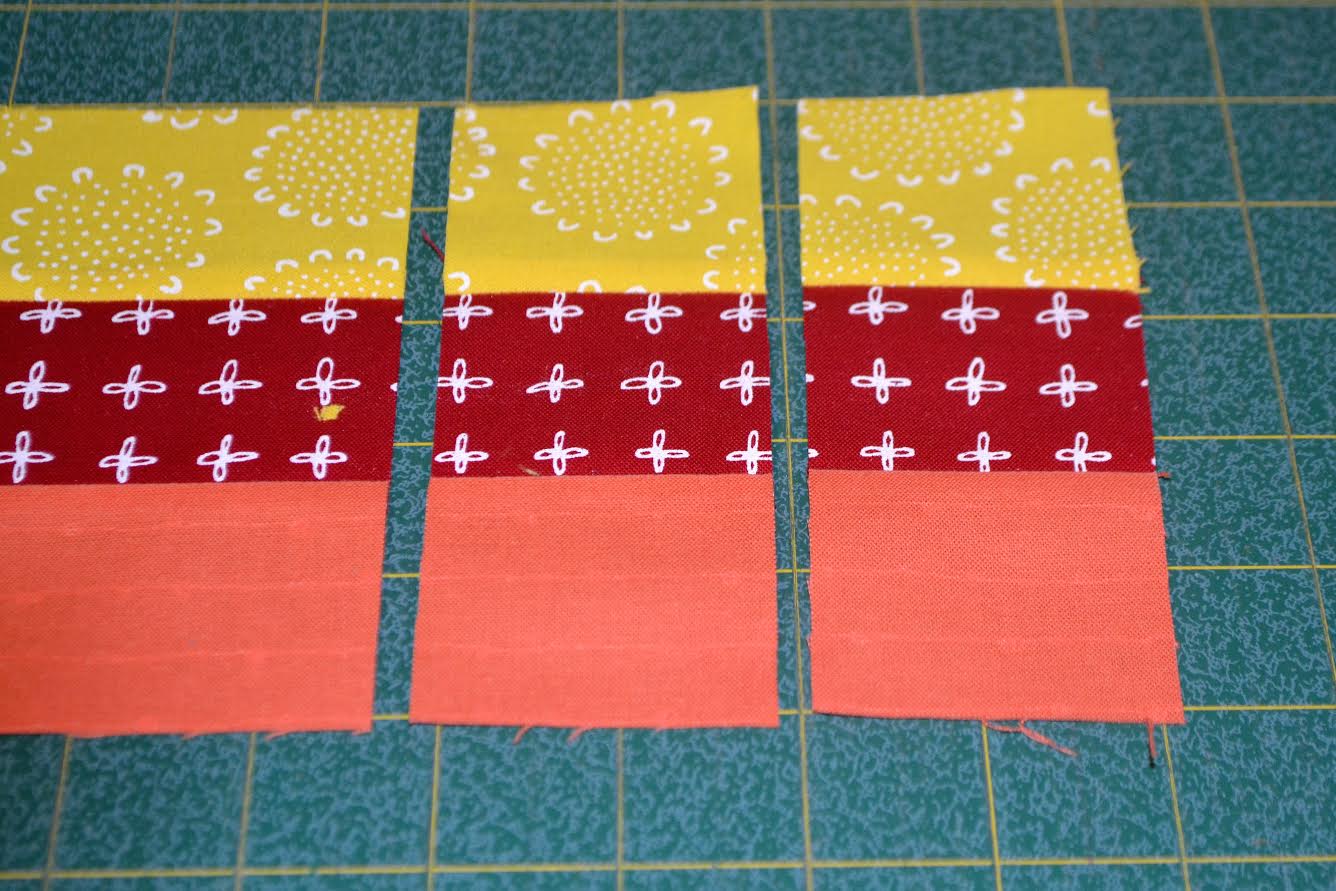
 17. Sub cut at 2" intervals.
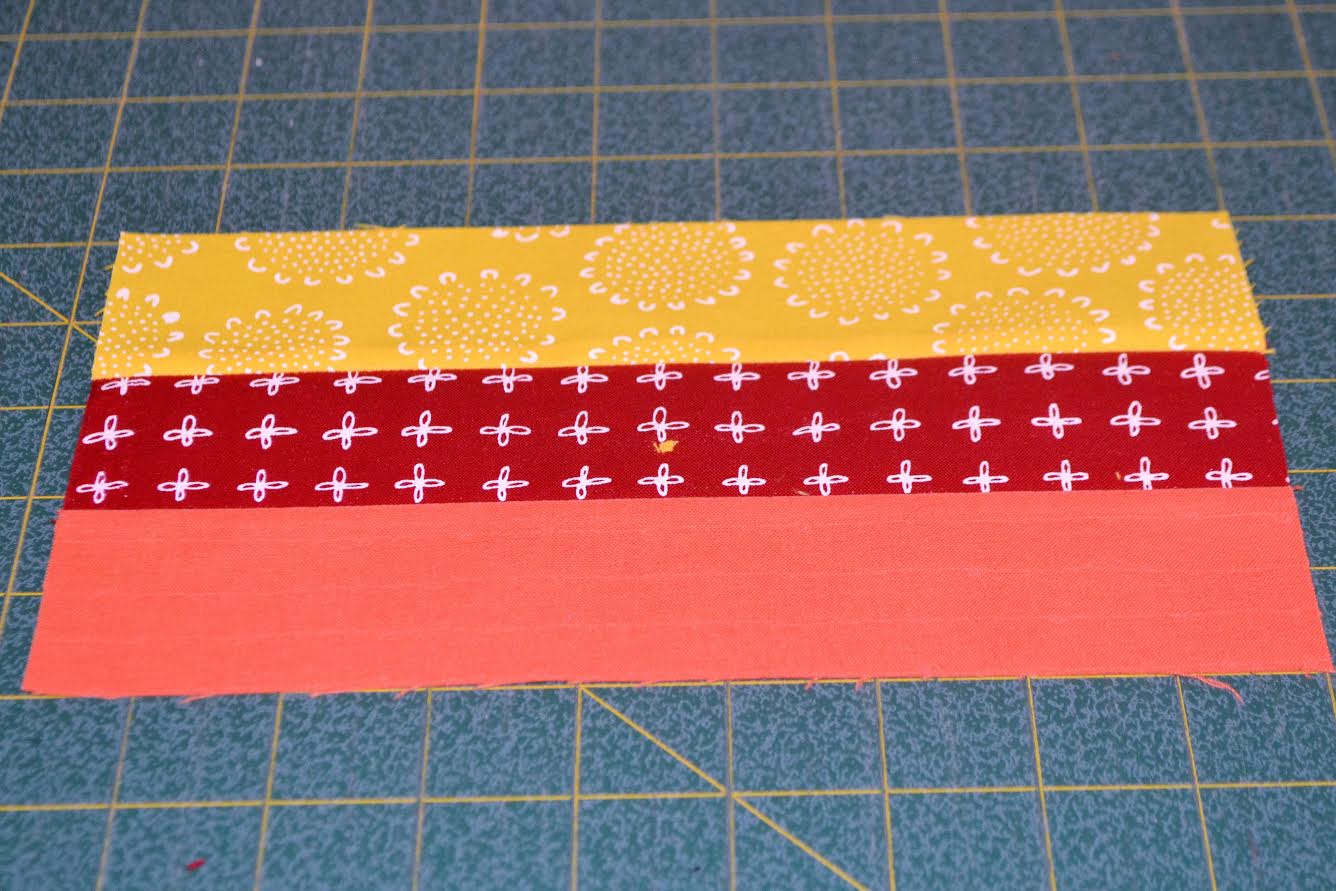
 18. Stitch together one long strip of nine 2" squares. Set aside.
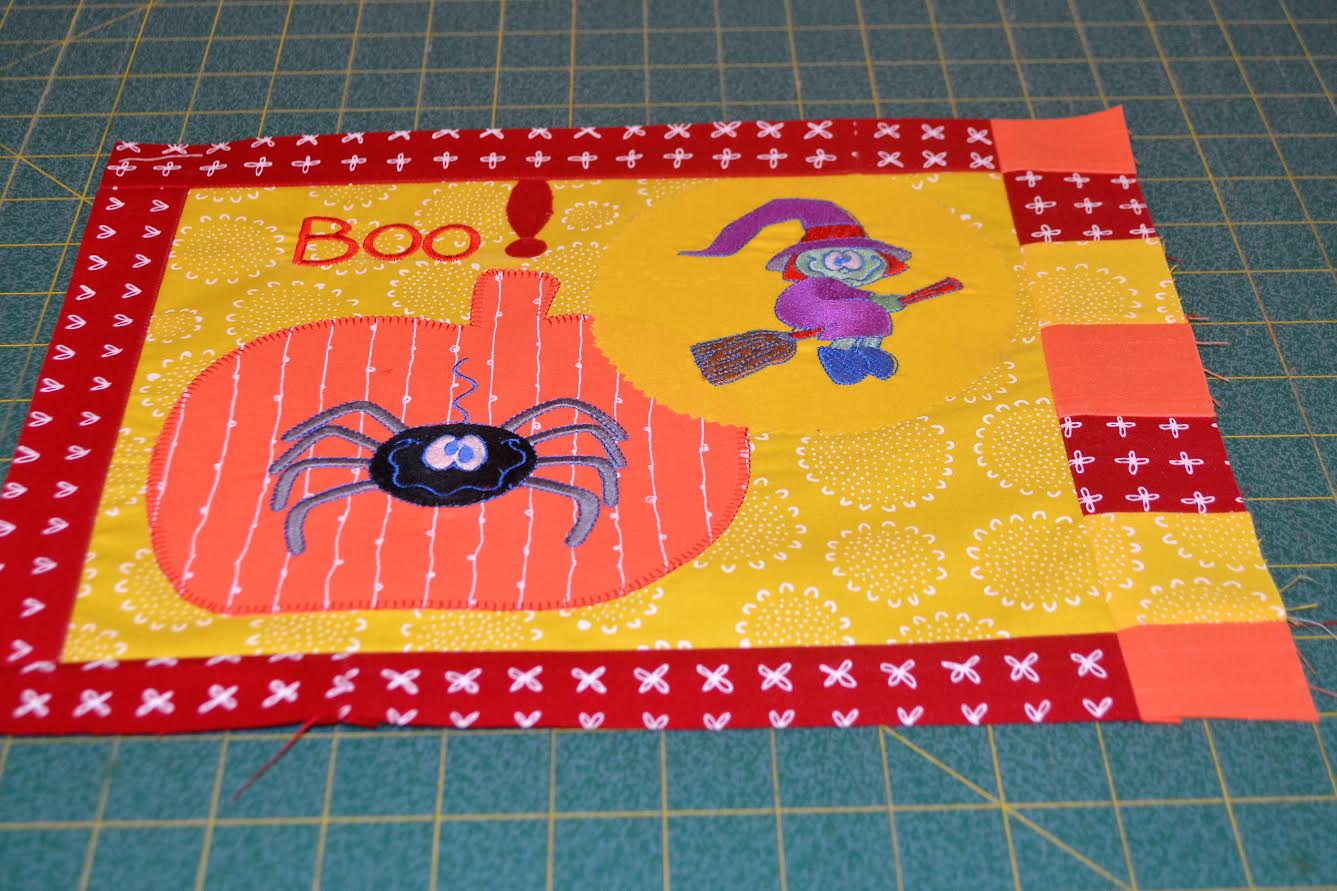
19. Stitch 1½" red border strip to left hand side of mug rug top. Trim to even. Stitch remaining 1½" red strips to both top and bottom of mug rug top. Trim to even and press. Stitch on right hand side border. Be mindful to line up seam intersections. Trim to even and press.
18. Stitch together one long strip of nine 2" squares. Set aside.
19. Stitch 1½" red border strip to left hand side of mug rug top. Trim to even. Stitch remaining 1½" red strips to both top and bottom of mug rug top. Trim to even and press. Stitch on right hand side border. Be mindful to line up seam intersections. Trim to even and press.
 20. Make a quilt sandwich. Right side down, place quilt batt over the orange mug rug backing fabric and smooth. Lightly spray the quilt batt with temporary fabric adhesive and layer on the mug rug top and smooth. Quilt as desired. (Be sure to carefully quilt over the exclamation point so as to firmly secure it. Trim mini quilt to even.
21. Stitch on red rickrack around the three sides as per photo.
22. Using 2" red strips, make binding* and stitch it to the mug rug to complete your project.
There you go….all done. Happy Halloween to you. Please contact me via email at km.hanson@shaw.ca if you have any questions. Thank you so much.
Kim Hanson
20. Make a quilt sandwich. Right side down, place quilt batt over the orange mug rug backing fabric and smooth. Lightly spray the quilt batt with temporary fabric adhesive and layer on the mug rug top and smooth. Quilt as desired. (Be sure to carefully quilt over the exclamation point so as to firmly secure it. Trim mini quilt to even.
21. Stitch on red rickrack around the three sides as per photo.
22. Using 2" red strips, make binding* and stitch it to the mug rug to complete your project.
There you go….all done. Happy Halloween to you. Please contact me via email at km.hanson@shaw.ca if you have any questions. Thank you so much.
Kim Hanson