Toggle Nav
 Inspire.
Create.
Stitch.
Inspire.
Create.
Stitch.
Search
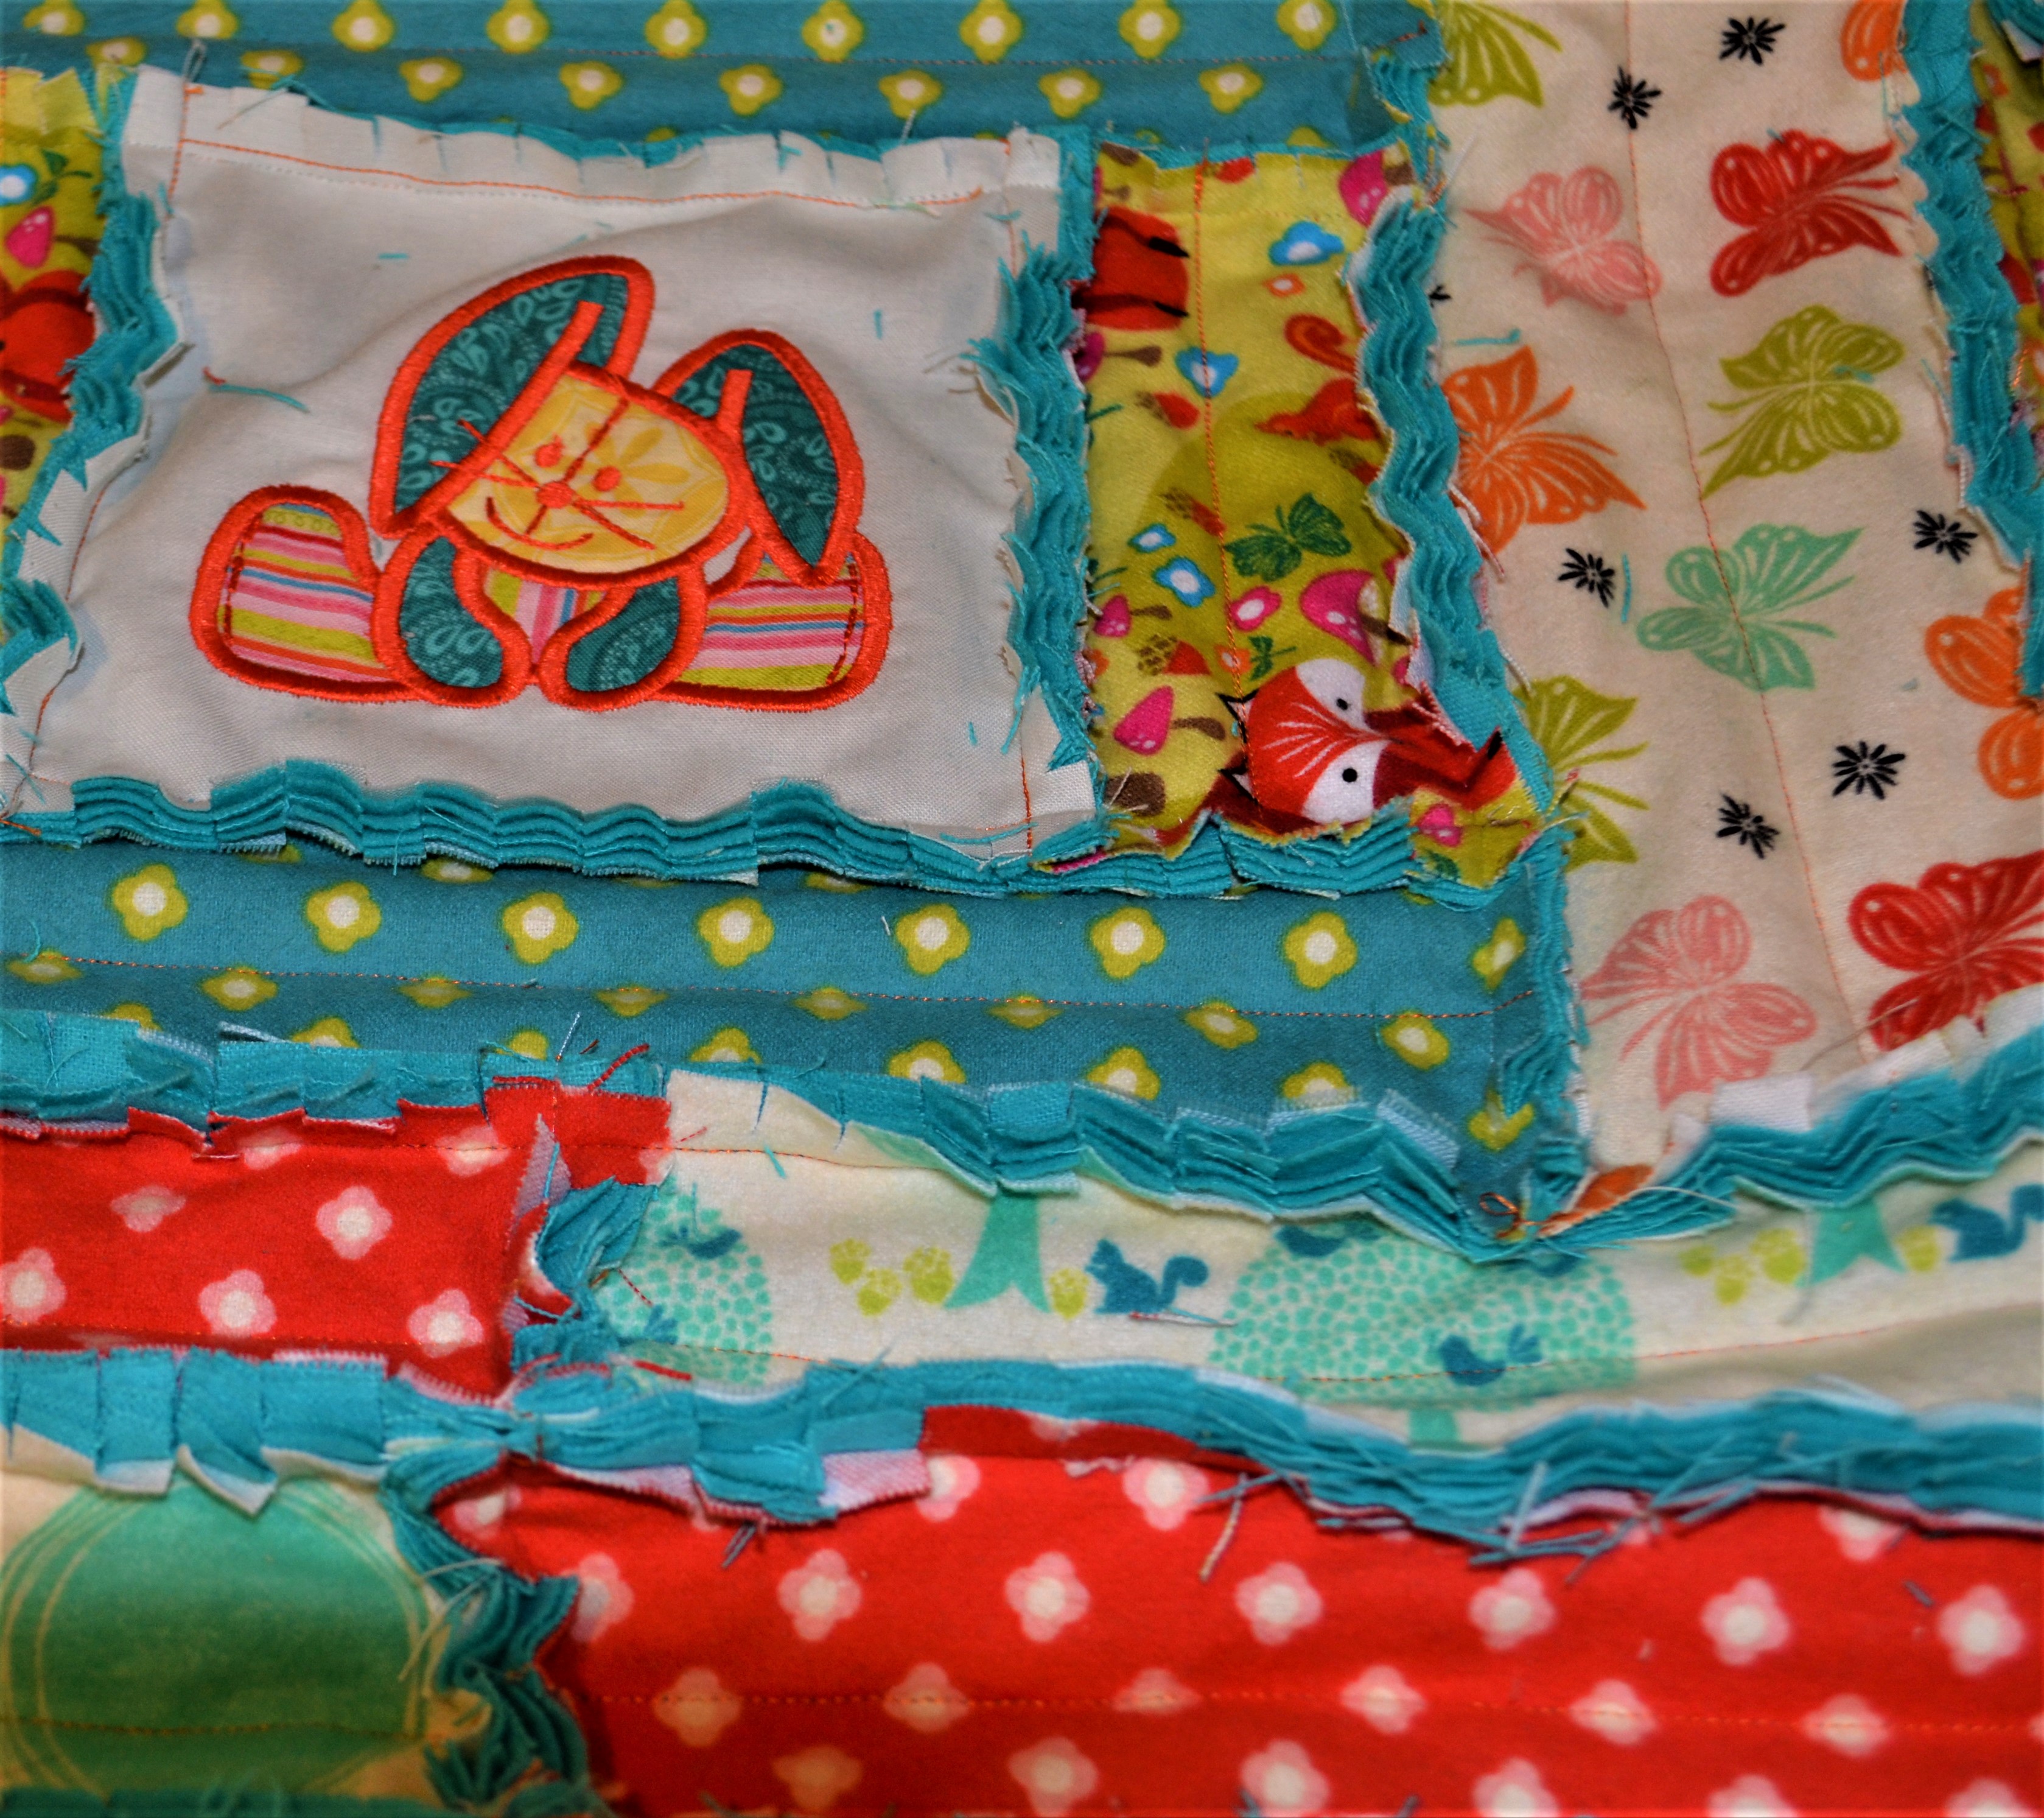
 Love to see you all again! Thanks for joining me here on Designs by JuJu for another tutorial. This time, we are using Julie’s adorable Stuffed Animals Applique embroidery designs to make an easy, colourful and whimsical child’s rag quilt. Since we are making a rag quilt, the seam allowances will be exposed. This quilt is just a bit different from other rag quilts; the exposed seams are extra fluffy and the quilt is heavier than most. Why not join me in making this one?
Please be sure and read through all the instructions prior to commencing. It will make the project much easier for you.
Finished Size: 53"x57½"
Love to see you all again! Thanks for joining me here on Designs by JuJu for another tutorial. This time, we are using Julie’s adorable Stuffed Animals Applique embroidery designs to make an easy, colourful and whimsical child’s rag quilt. Since we are making a rag quilt, the seam allowances will be exposed. This quilt is just a bit different from other rag quilts; the exposed seams are extra fluffy and the quilt is heavier than most. Why not join me in making this one?
Please be sure and read through all the instructions prior to commencing. It will make the project much easier for you.
Finished Size: 53"x57½"
Shopping List: Designs by JuJu Stuffed Animals Applique DBJJ927 – Choose 9 Designs Fabrics – Riley Blake Acorn Valley Flannels White/Cream cotton Fabric 1 ½ yard Main Citron (with red foxes) Fabric 2 1¼ yard Red Dot Fabric 3 ¼ yard Flutter Red Fabric 4 ½ yard Flutter Multi Fabric 5 ½ yard Teal Dot Fabric 6 ½ yard Forest Cream (teal trees) Fabric 7 ¼ yard Forest Citron (lime green trees) Fabric 8 ½ yard Teal flannel backing (108" wide) Fabric 9 1¾ yards Medium weight tearaway stabilizer (20" wide) 1½ yards Colourful, coordinating fabric scraps for machine applique Embroidery thread, embroidery needles, rag quilt scissors, pinking shears *I use Brother Embroidery thread for all my projects Omnigrid ruler and rotary cutter Spray starch Spray temporary fabric adhesive
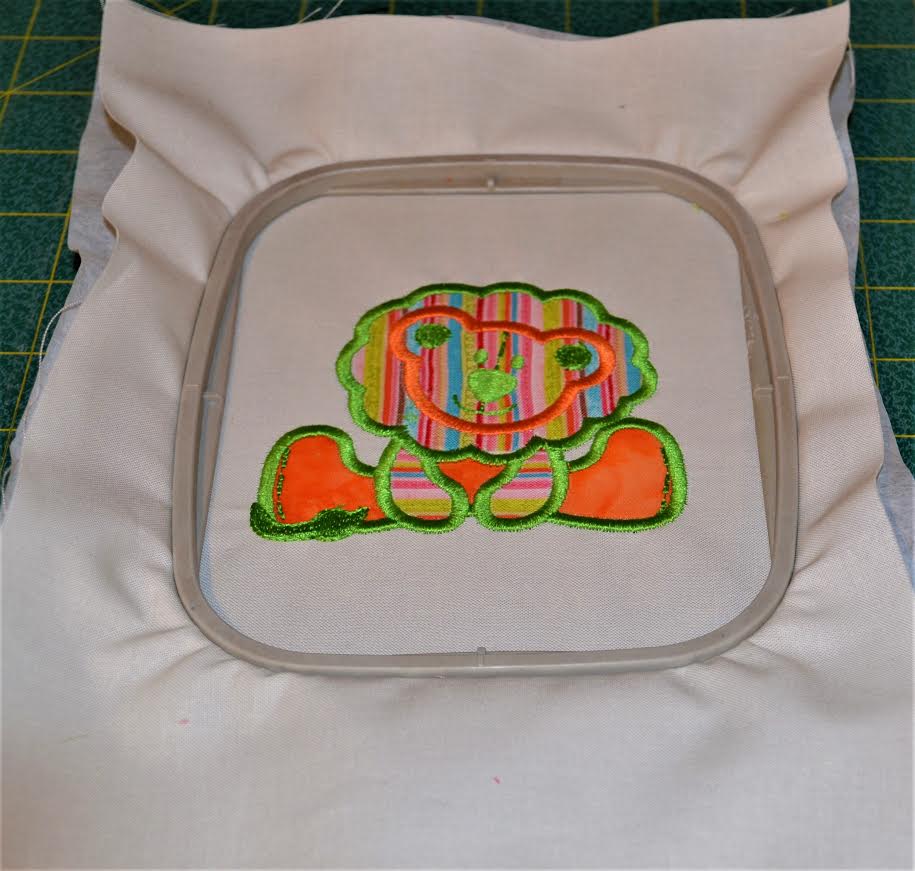
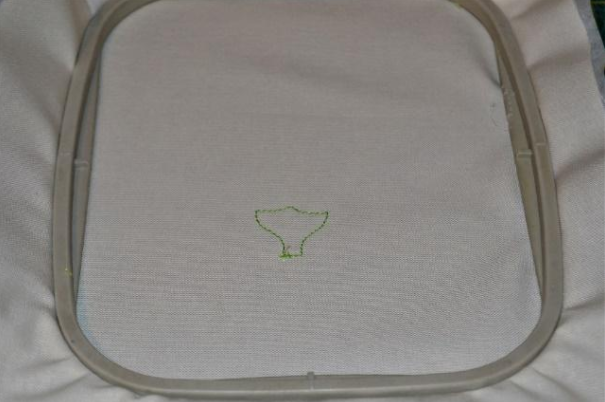 - Remove hoop from machine.
- Cut a piece from fabric scraps slightly larger than outline stitching. Cover fabric scrap with spray starch and press. Spray wrong side of fabric scrap with temporary fabric adhesive. Place the fabric scrap over the outlined stitching area and pat gently to smooth and adhere.
- Remove hoop from machine.
- Cut a piece from fabric scraps slightly larger than outline stitching. Cover fabric scrap with spray starch and press. Spray wrong side of fabric scrap with temporary fabric adhesive. Place the fabric scrap over the outlined stitching area and pat gently to smooth and adhere.
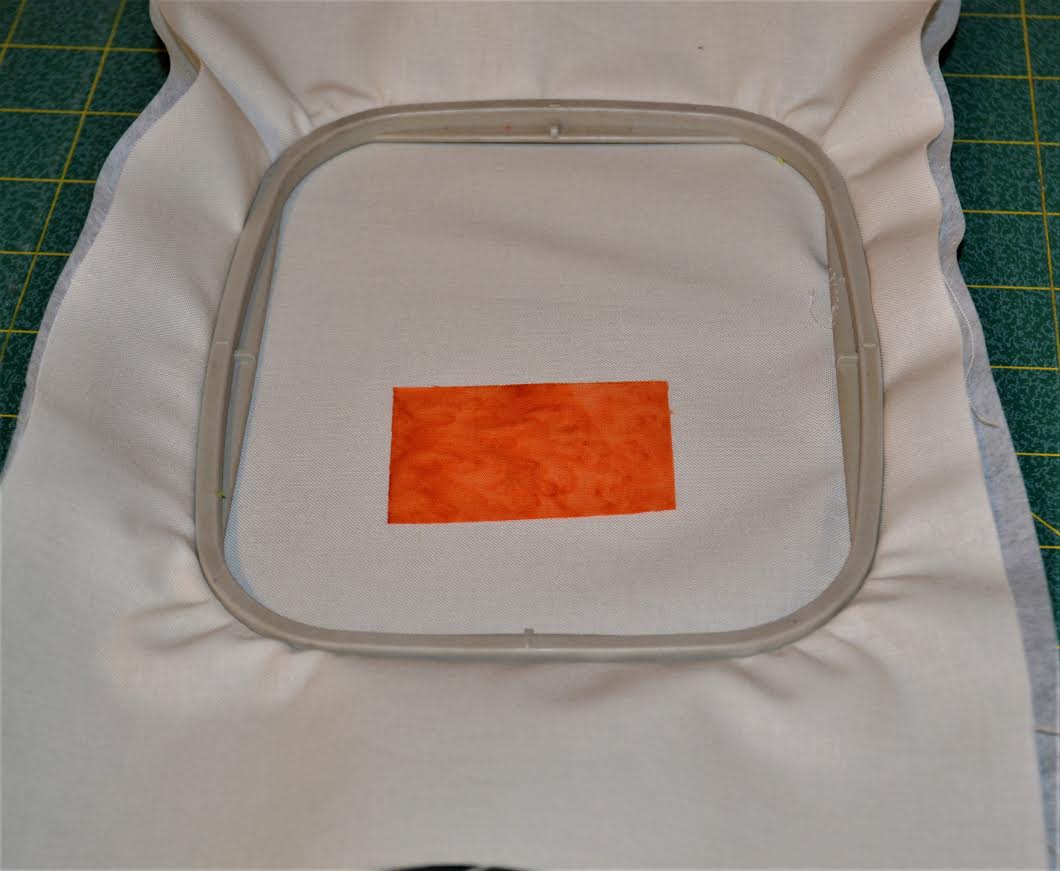 - Replace hoop on the machine.
- Stitch tacking stitches and remove the hoop from the machine. Carefully clip around the stitching as close to the stitch line as possible.
- Replace hoop on the machine.
- Stitch tacking stitches and remove the hoop from the machine. Carefully clip around the stitching as close to the stitch line as possible.
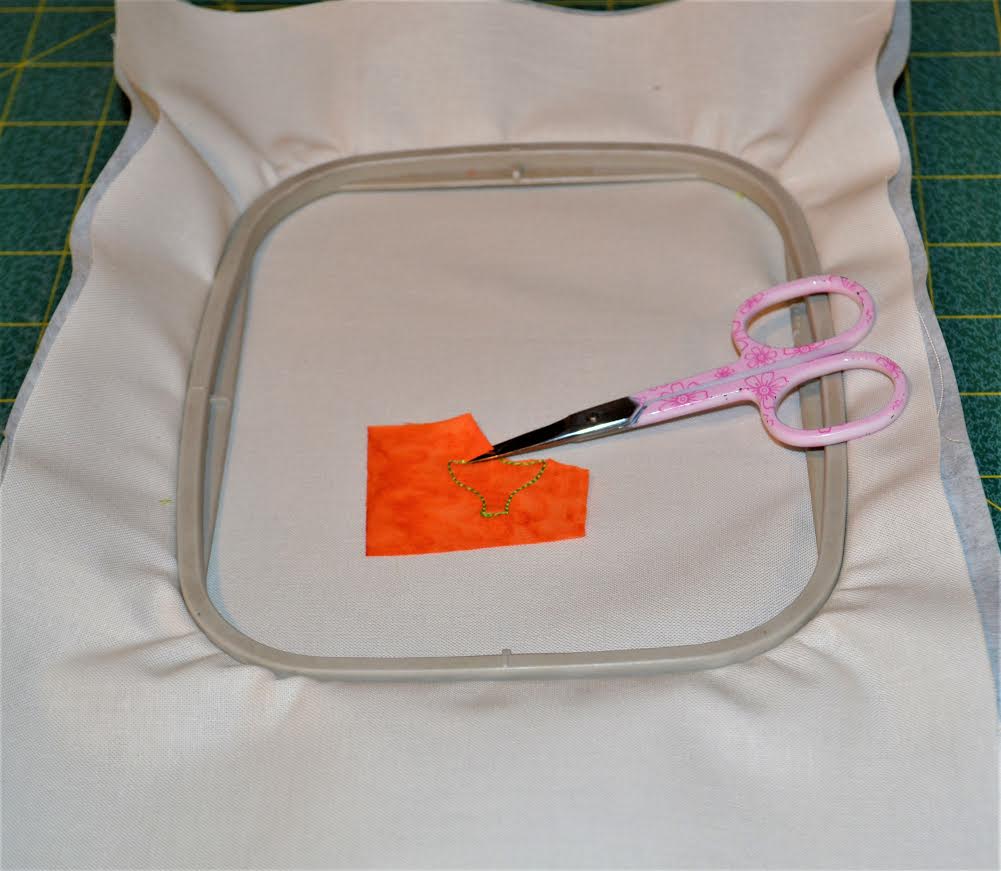 - Return the hoop to the machine and continue to stitch out the design in this manner.
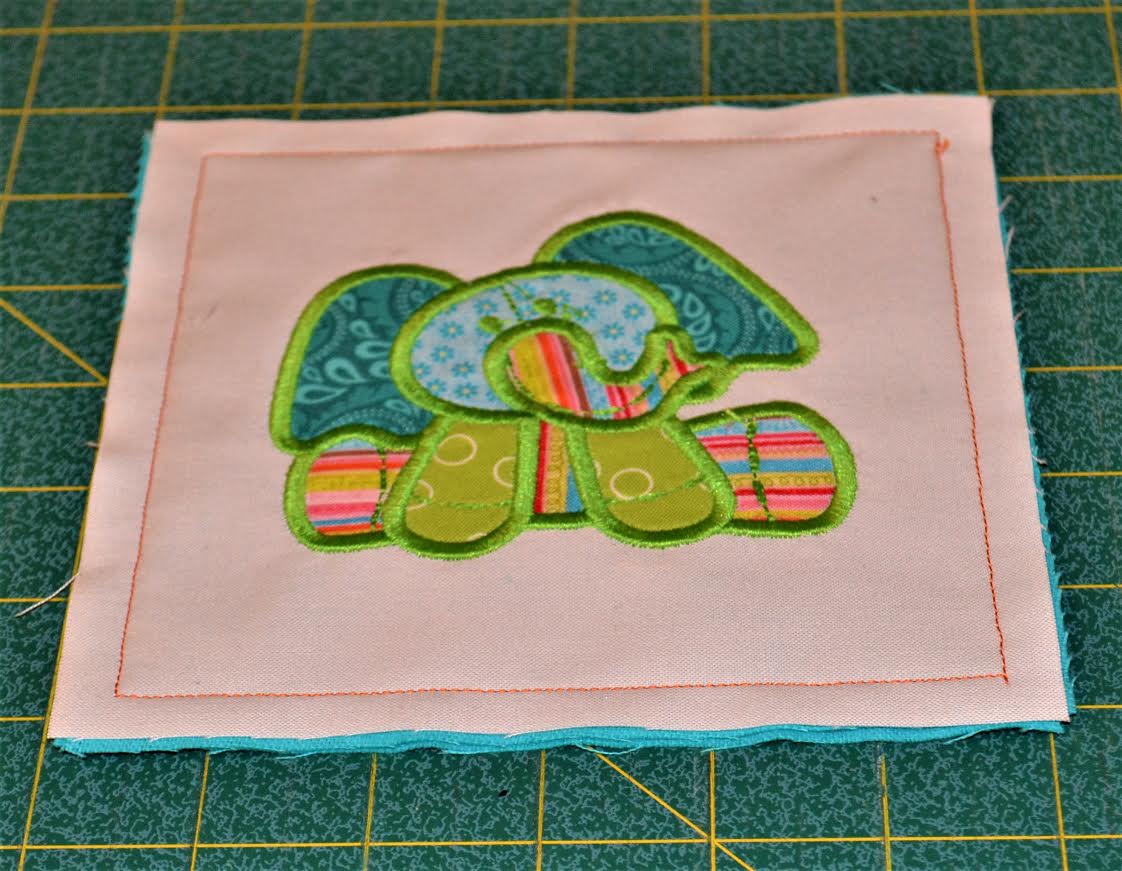
 - Stitch out eight more Stuffed Animal designs. Remove tearaway stabilizer. Trim blocks to measure 6" square.
TIP: When trimming the blocks, be mindful to trim small amounts from EACH side of the block, so that the design is centred.
TIP: Cover ironing board with towel or cloth to prevent overspray.
- Stitch out eight more Stuffed Animal designs. Remove tearaway stabilizer. Trim blocks to measure 6" square.
TIP: When trimming the blocks, be mindful to trim small amounts from EACH side of the block, so that the design is centred.
TIP: Cover ironing board with towel or cloth to prevent overspray.
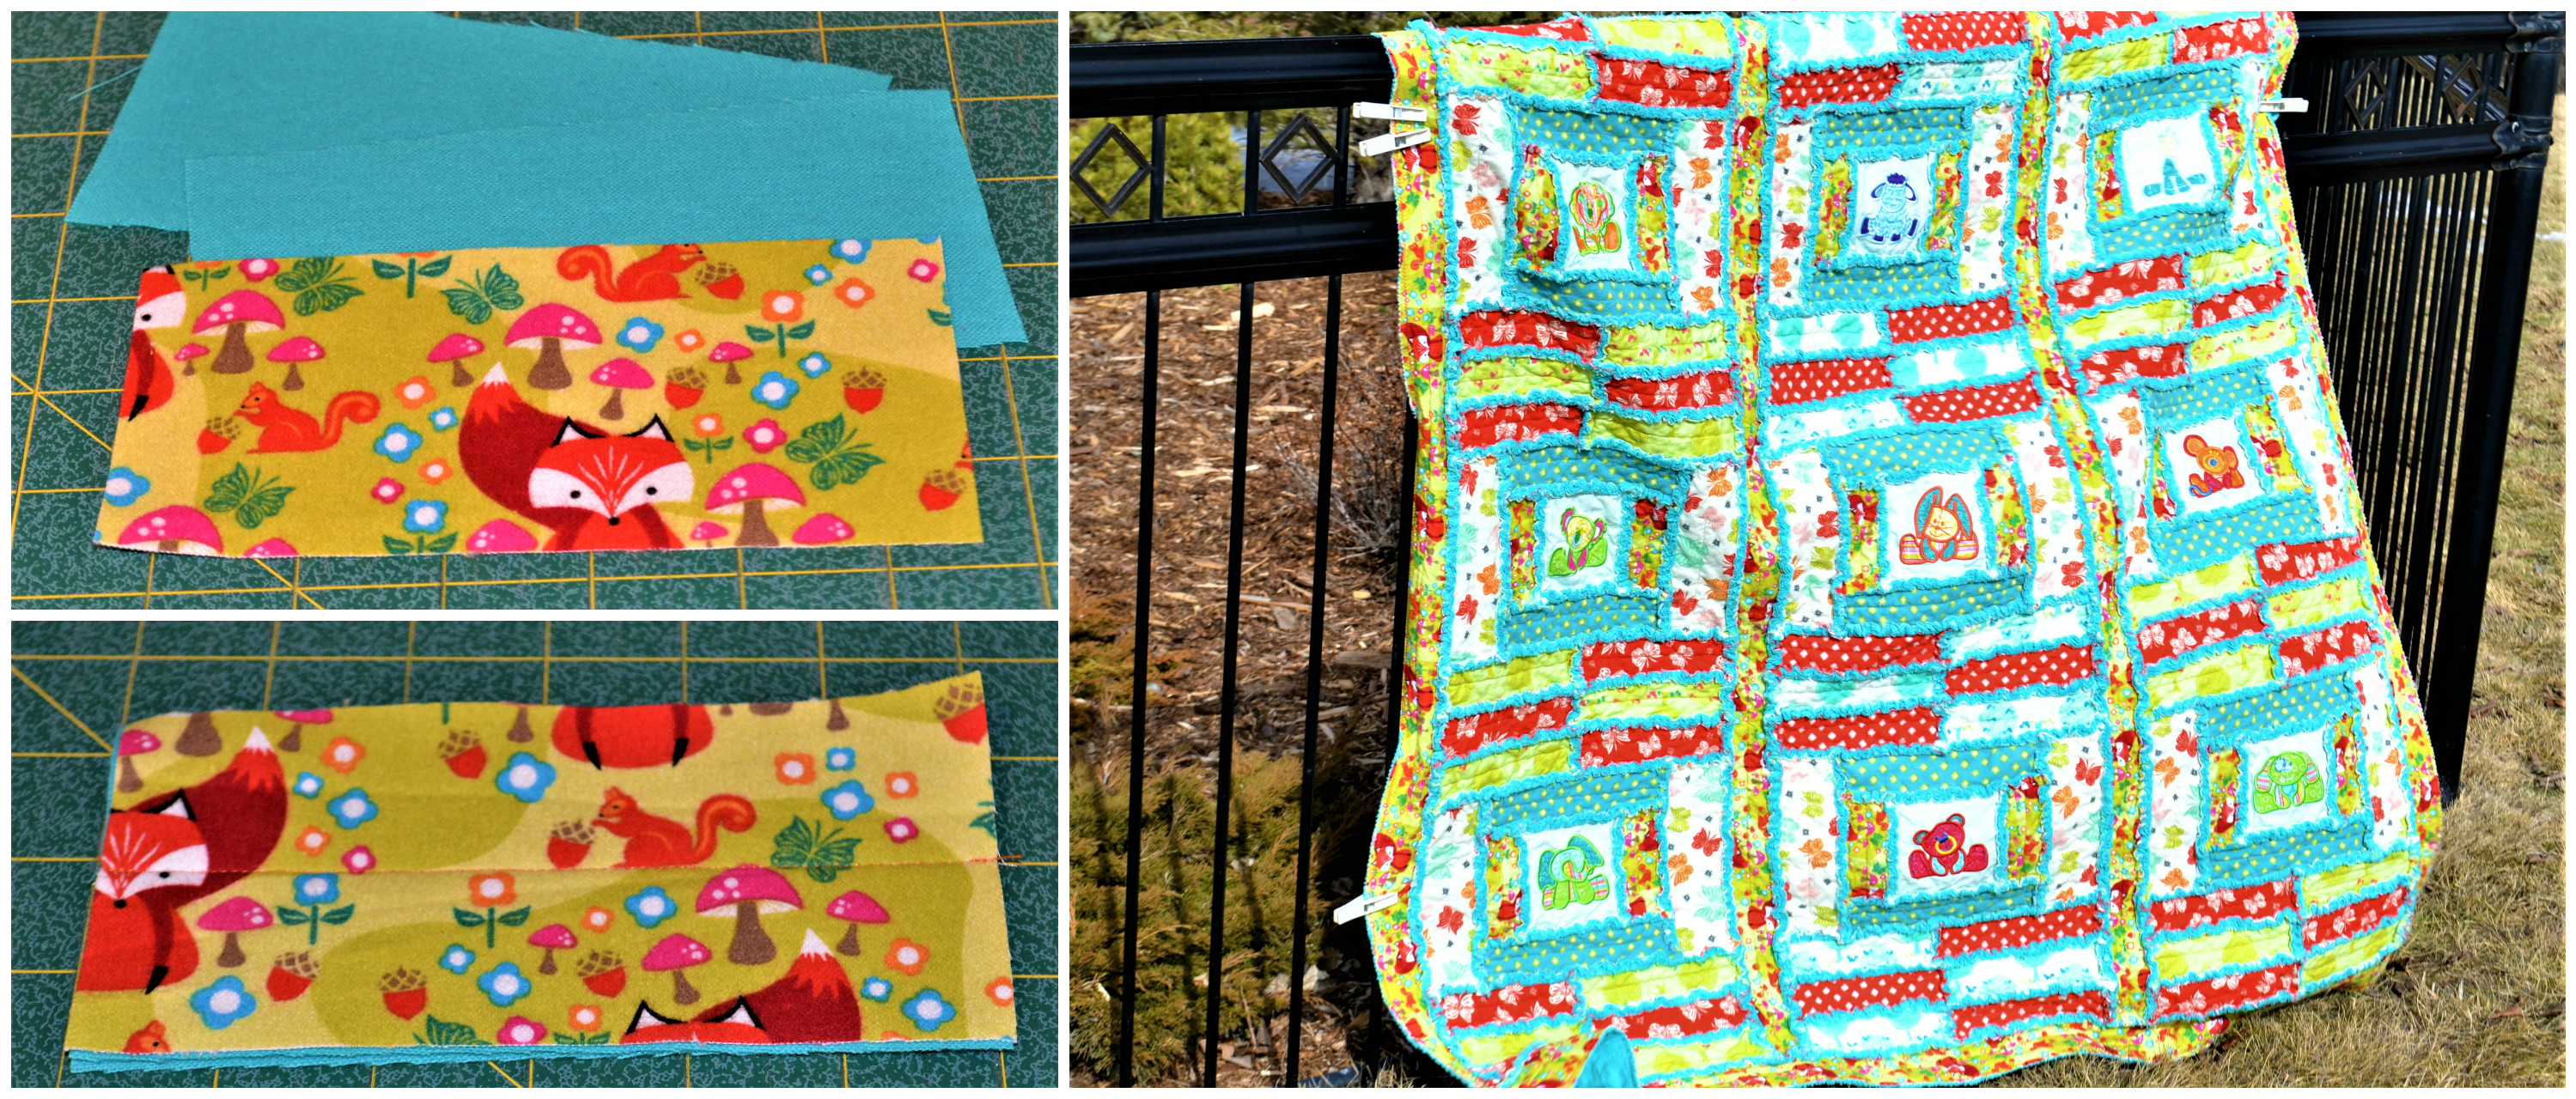
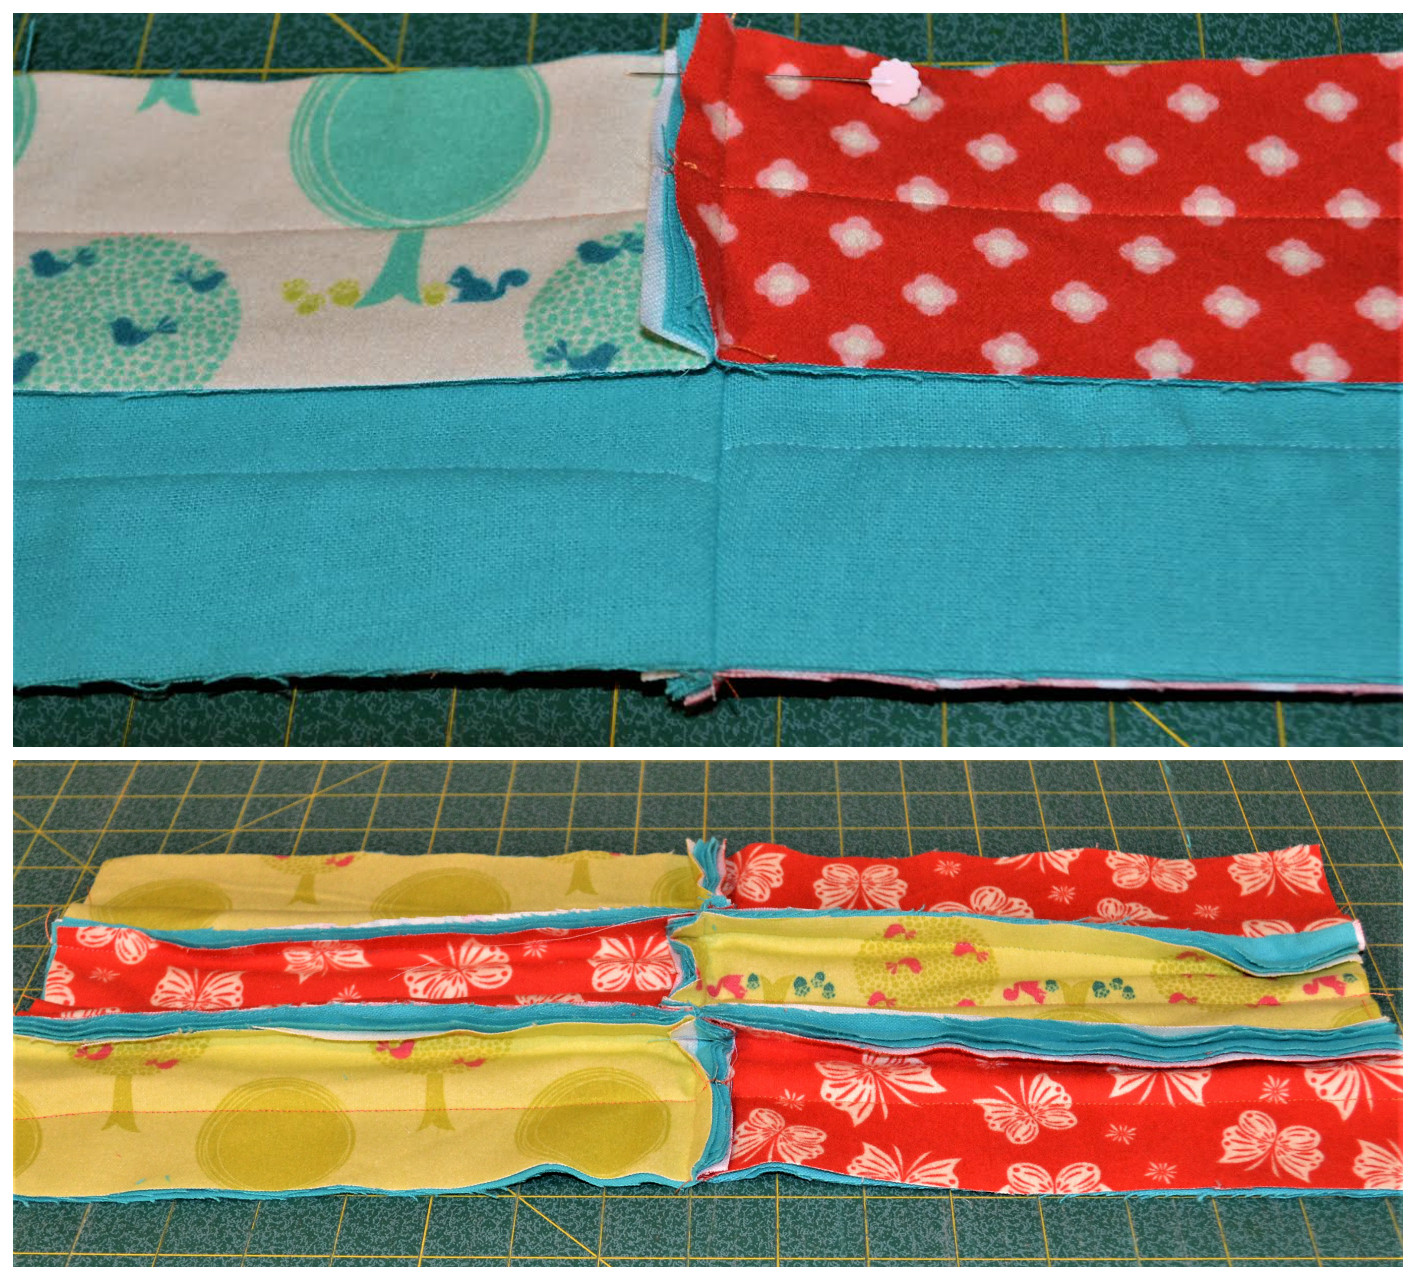
 - Match each piece of fabric for the quilt top with two pieces of teal flannel backing, same size. Stitch down the center through all three layers of fabric to secure.
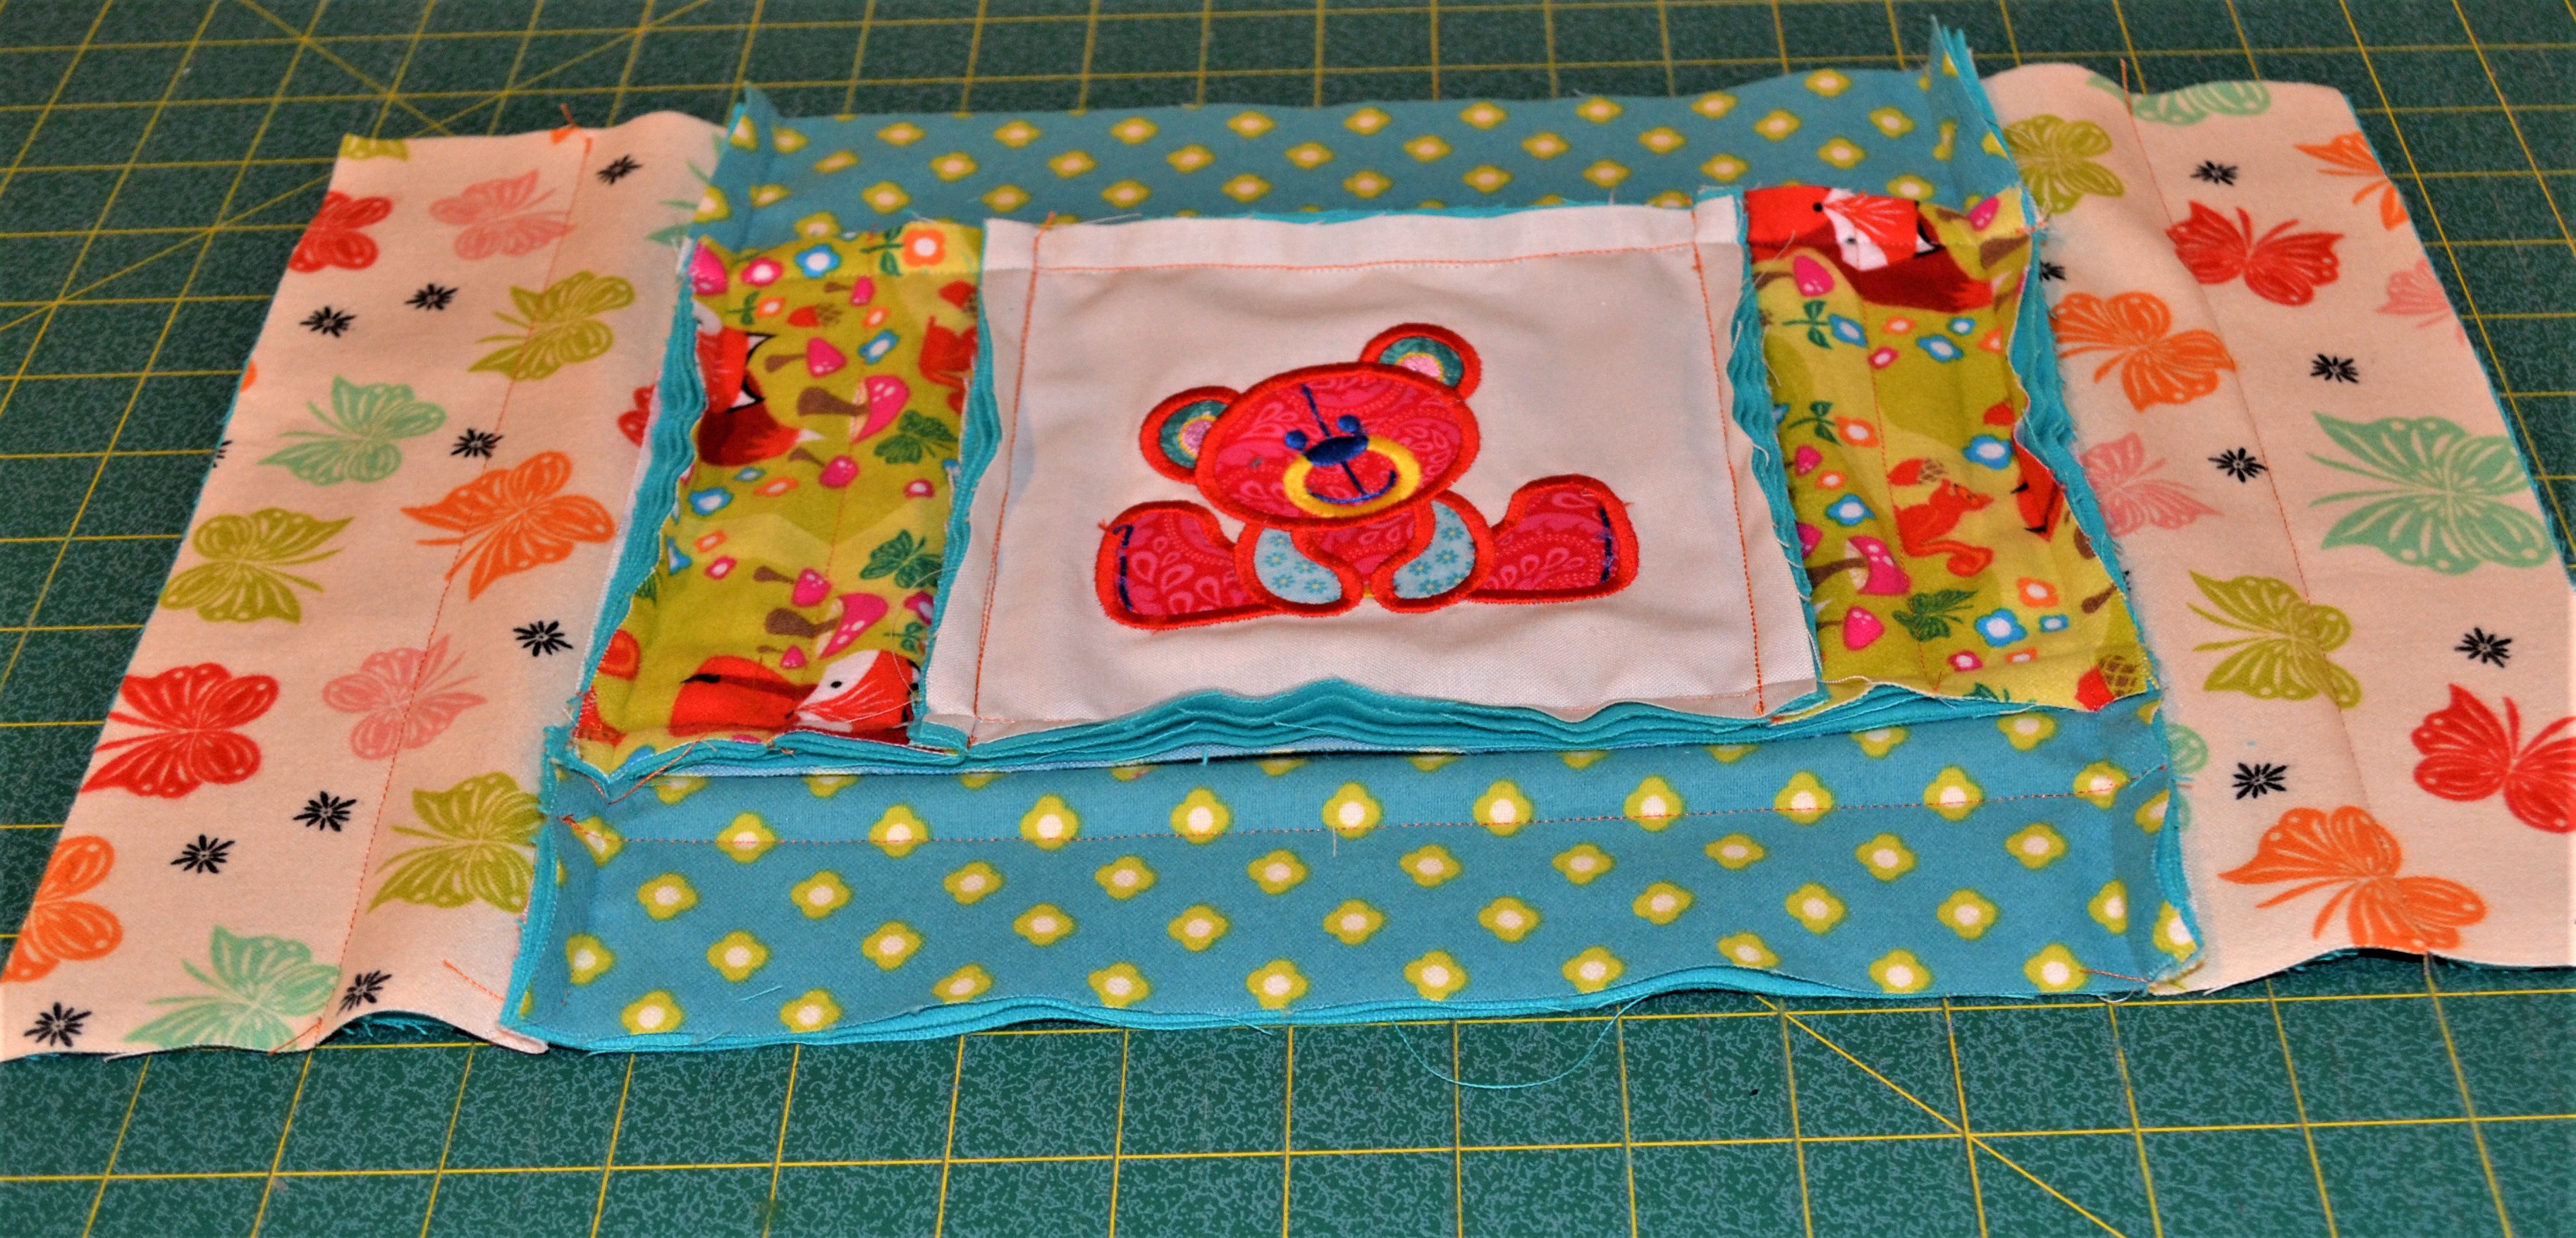
 - In typical rag quilt style, match edges of wrong sides together and stitch Fabric 2, 3"x6" pieces to either side of embroidered block. Trim. Stitch Fabric 6, 3"x10½" pieces to top and bottom of embroidered block. Trim. Stitch Fabric 5, 4"x10½ " pieces to either side of embroidered block. Trim. Make 9 blocks.
 - Stitch together all 12 - six piece units for connecting embroidered blocks. You will need to make eight units alternating Fabrics 4 and 8 and four units alternating Fabrics 3 and 7, using pieces measuring 3"x9". Match seams and intersections.
 - Refer to Diagram #1 [DOWNLOAD here] Stitch together vertically Row 2. Trim to even.
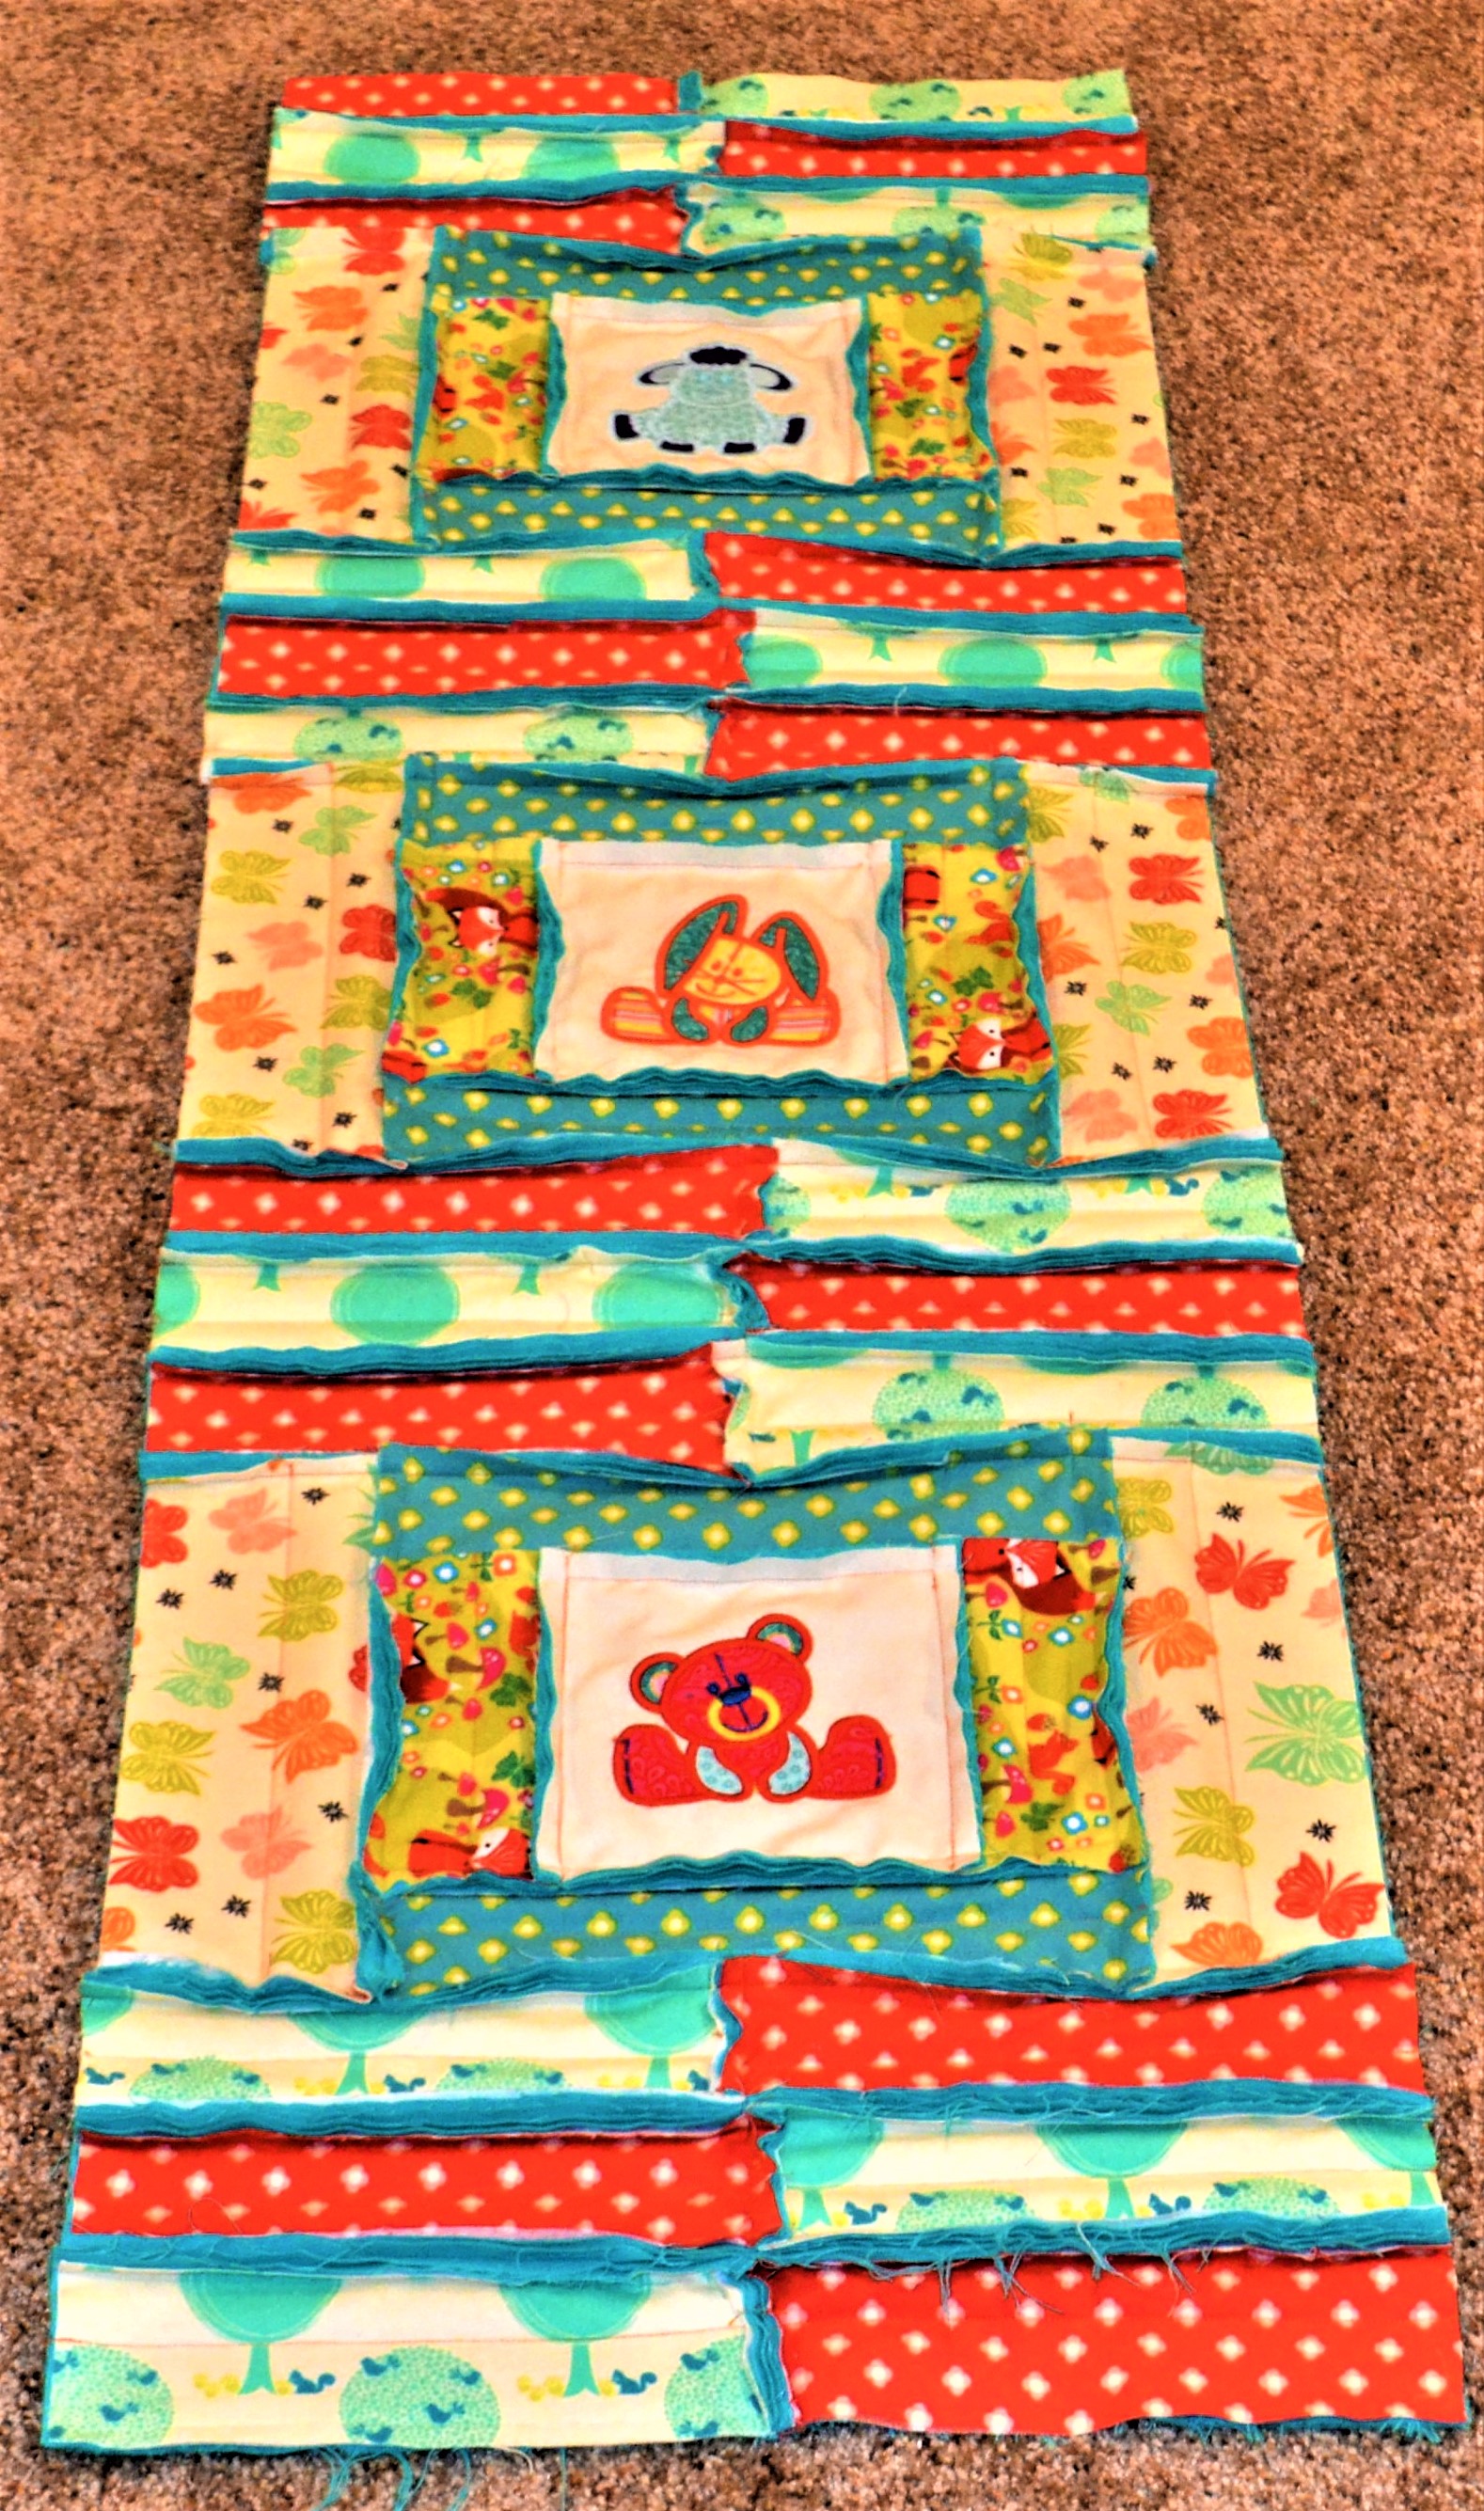 - Stitch together Rows 1 and 3. Trim to even.
- Stitch inner borders to either side of Row 2. Trim both ends. Stitch to Rows 1 and 3. Trim again.
- Stitch on both side borders and trim to even. Stitch on top and bottom borders. Trim.
- Stitch around the perimeter of the quilt, ½" from edge.
- Using pinking shears, carefully trim around the perimeter of your quilt, just slightly in from each raw edge.
- Clip all seams allowances using rag quilt scissors. Remove loose threads as you go.
- Your quilt must now be washed and dried – maybe more than once, to achieve that “raggy” look and feel. Trim, trim and trim again after washing to remove all loose threads. There will be tons and tons of them! It may be wise to take your quilt to the laundromat rather than using your own washer and dryer, as sometimes the quilt is too heavy for traditional washing machines. If you use your own dryer, remember to clean your lint screen every five or ten minutes. You will not believe how much “fluff” and bits of flannel come from the quilt!
I hope you love your new rag quilt. If you have any comments or questions, please email me directly at km.hanson@shaw.ca. Thanks so much.
- Stitch together Rows 1 and 3. Trim to even.
- Stitch inner borders to either side of Row 2. Trim both ends. Stitch to Rows 1 and 3. Trim again.
- Stitch on both side borders and trim to even. Stitch on top and bottom borders. Trim.
- Stitch around the perimeter of the quilt, ½" from edge.
- Using pinking shears, carefully trim around the perimeter of your quilt, just slightly in from each raw edge.
- Clip all seams allowances using rag quilt scissors. Remove loose threads as you go.
- Your quilt must now be washed and dried – maybe more than once, to achieve that “raggy” look and feel. Trim, trim and trim again after washing to remove all loose threads. There will be tons and tons of them! It may be wise to take your quilt to the laundromat rather than using your own washer and dryer, as sometimes the quilt is too heavy for traditional washing machines. If you use your own dryer, remember to clean your lint screen every five or ten minutes. You will not believe how much “fluff” and bits of flannel come from the quilt!
I hope you love your new rag quilt. If you have any comments or questions, please email me directly at km.hanson@shaw.ca. Thanks so much.