Toggle Nav
 Inspire.
Create.
Stitch.
Inspire.
Create.
Stitch.
Search
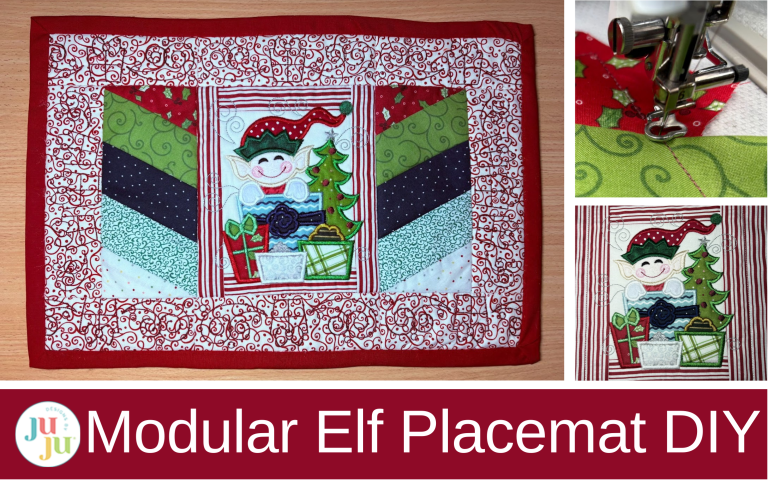
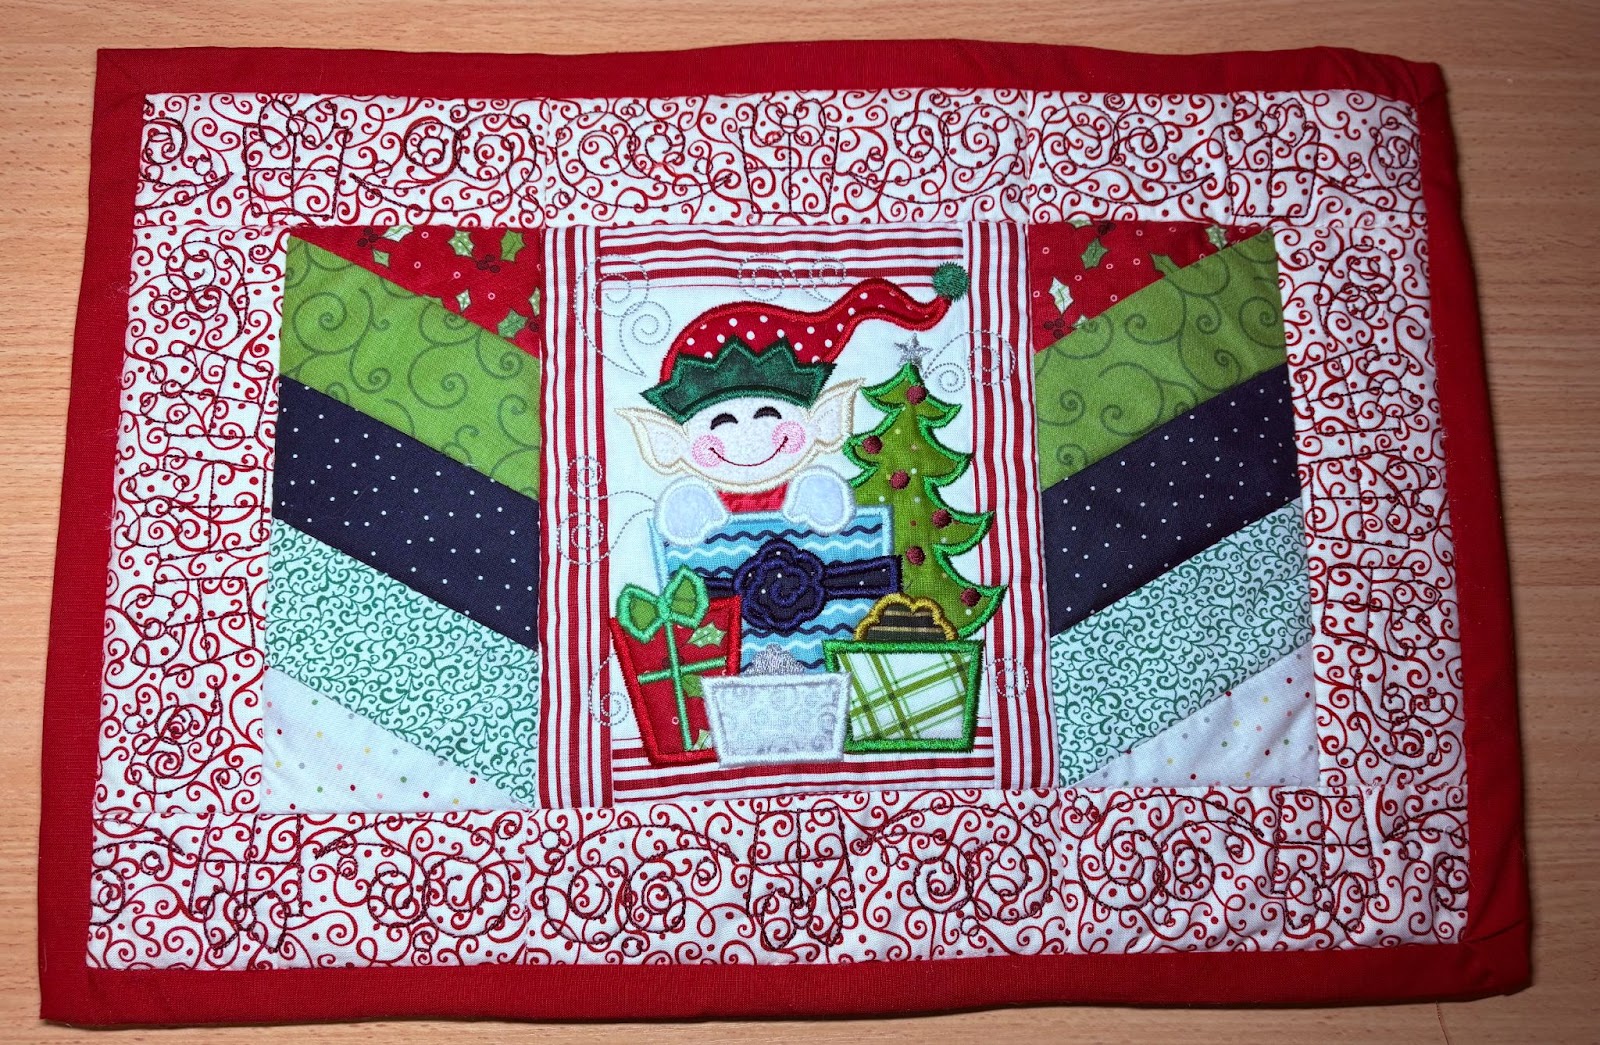
This whimsical elf-themed placemat featuring festive colors and playful designs is perfect for holiday table settings!
Do you enjoy adding a personal touch to your Christmas table with handmade placemats? Designs by JuJu has created an adorable new placemat that you’re sure to love: the Modular Elf Placemat! This charming design brings a playful and whimsical vibe to any meal, featuring fun designs and bright colors that celebrate the spirit of the season. Why not brighten up your table and make every meal a little more special with this delightful placemat?
In this tutorial, I'm excited to guide you step by step as we create this fun and welcoming placemat together.
Check out the DBJJ team’s favorite supplies in the Designs by JuJu Amazon store.

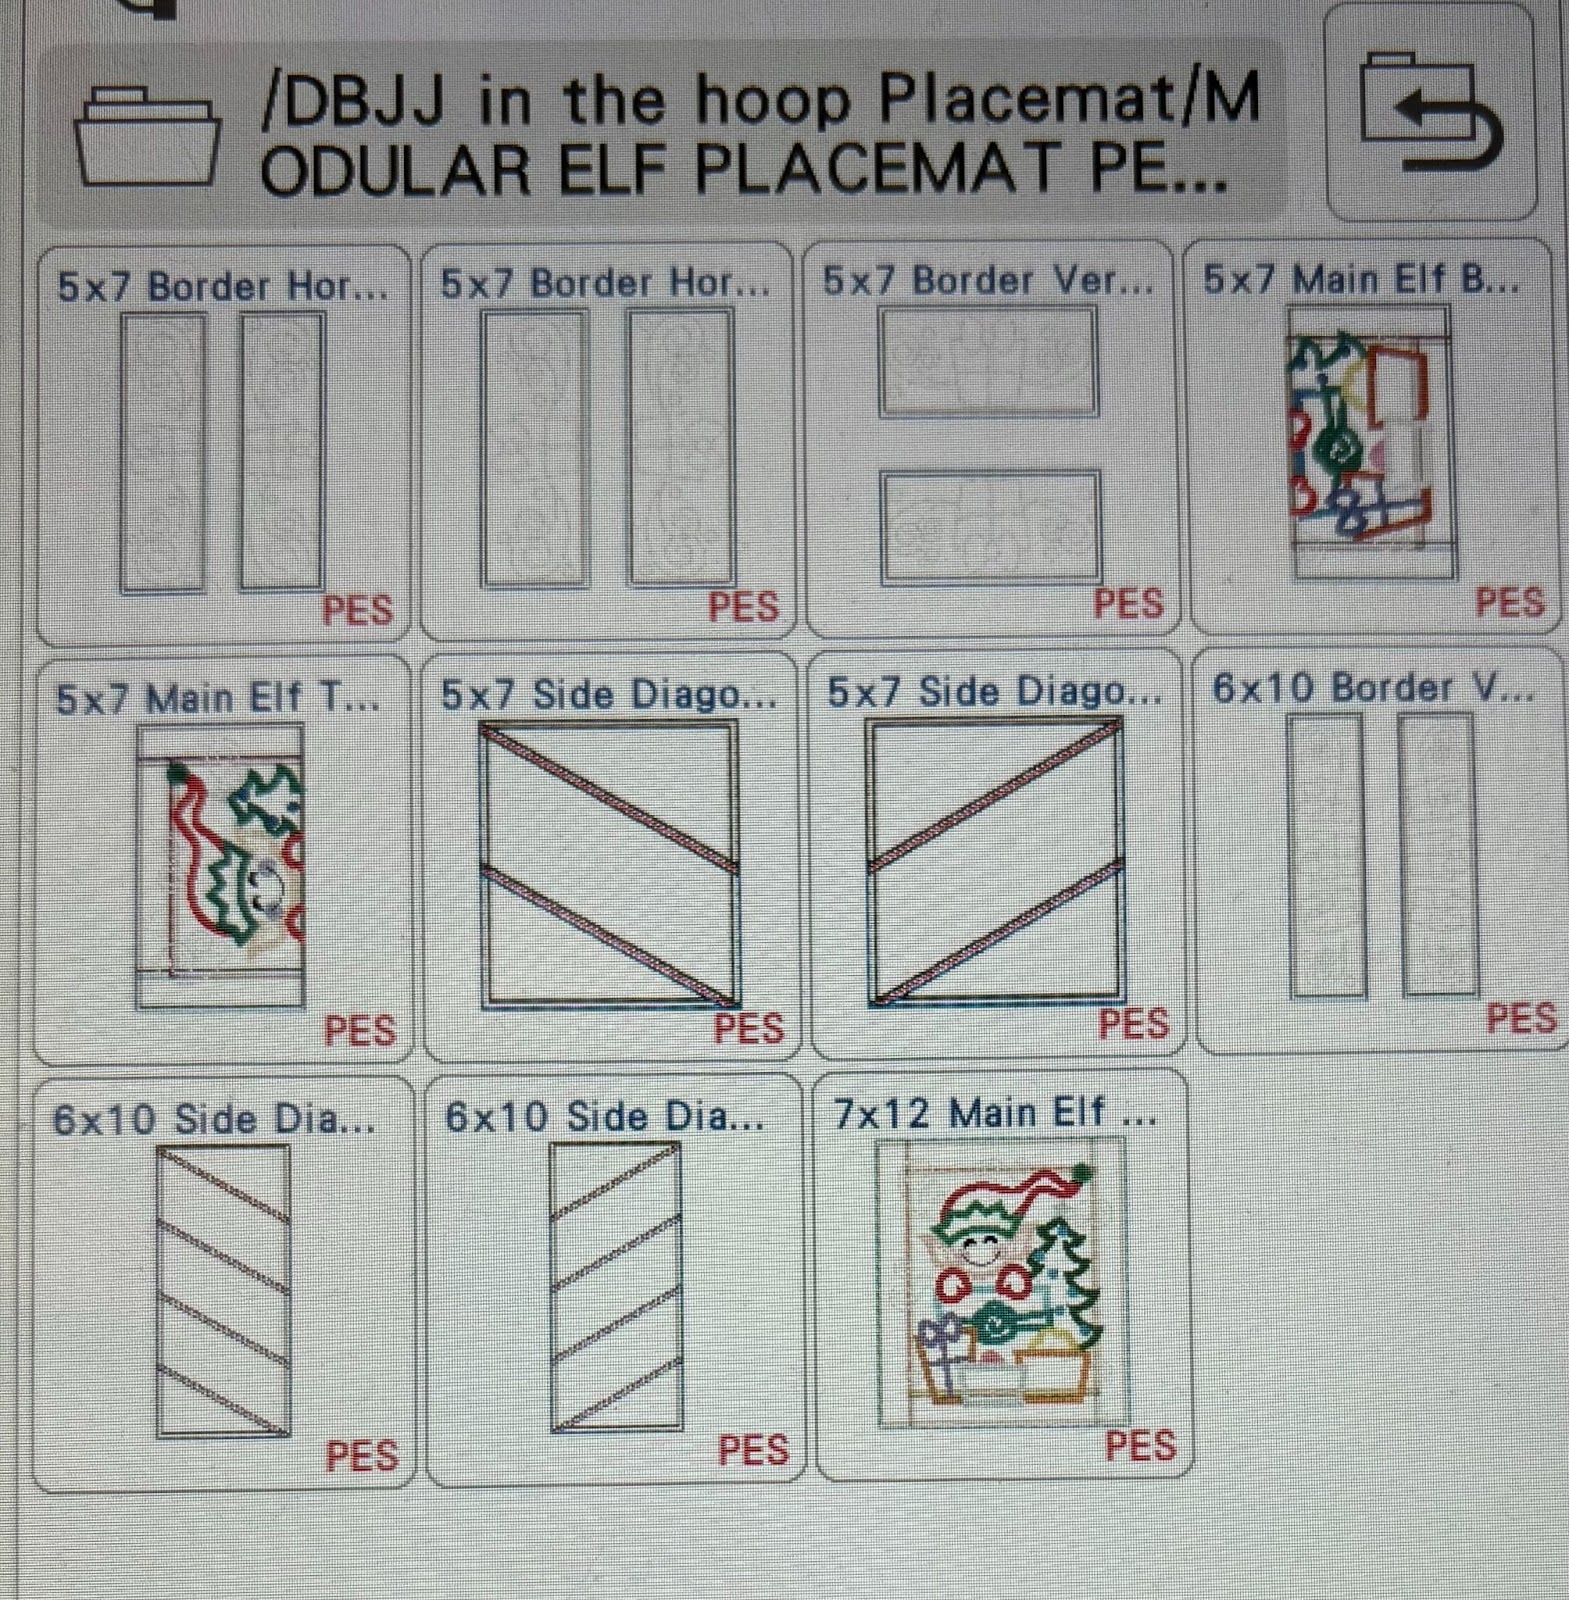
Before we get started, let's look at the different options available. This placemat can be stitched out with a 5x7 hoop. There is a bonus size design for the main elf block if you have a 7x12, 8x12, or a 9½x9½ hoop. This is stitched out in one hooping.
We will start with the Main Elf center design. Choose the size that works for you and add it to your screen. If using the 5x7, the Main Elf block will be done in two hoopings.
I will be doing the Main Elf in one hooping. (If doing two hoopings, the steps are the same. When finished, sew the top and bottom together to create one piece.)
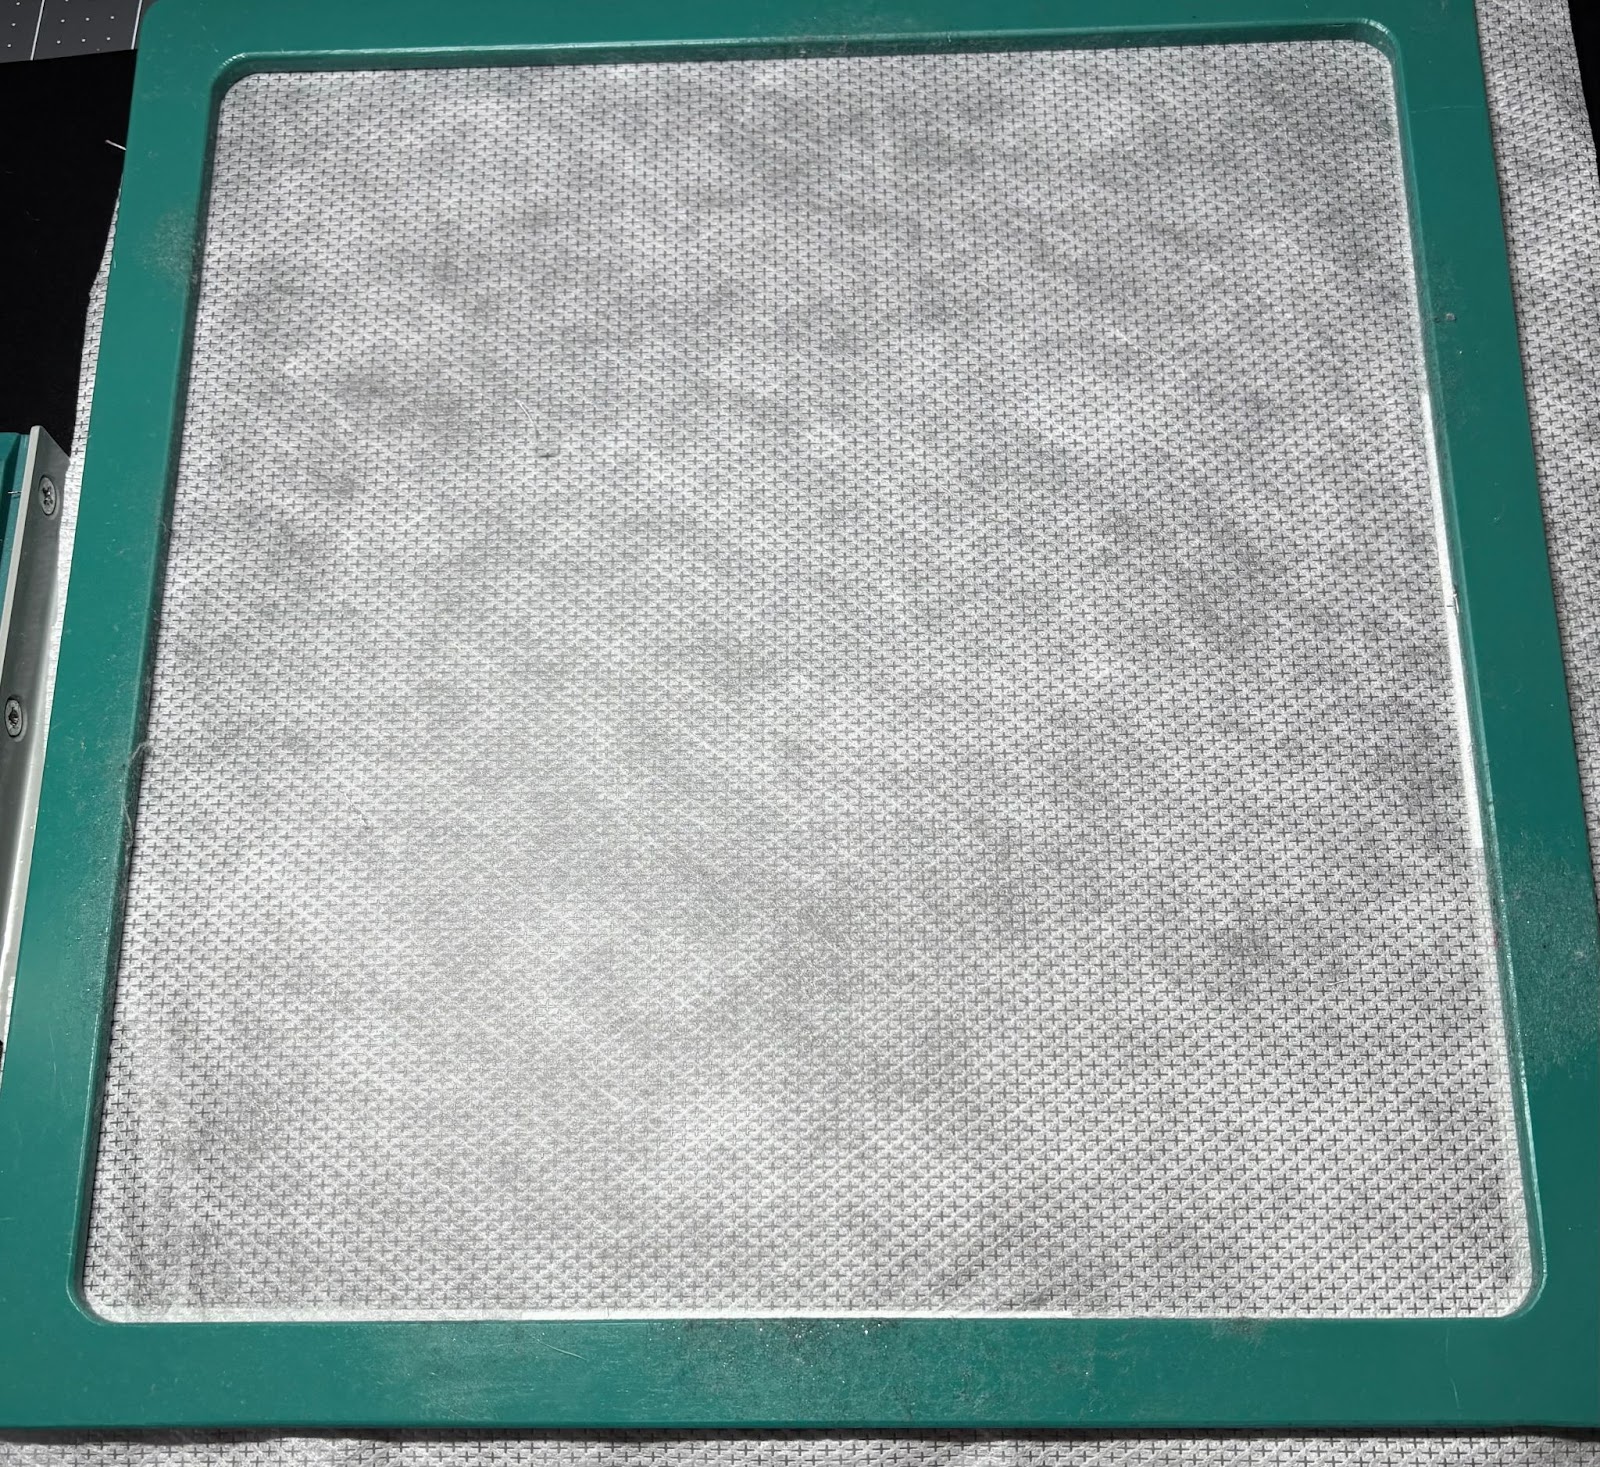
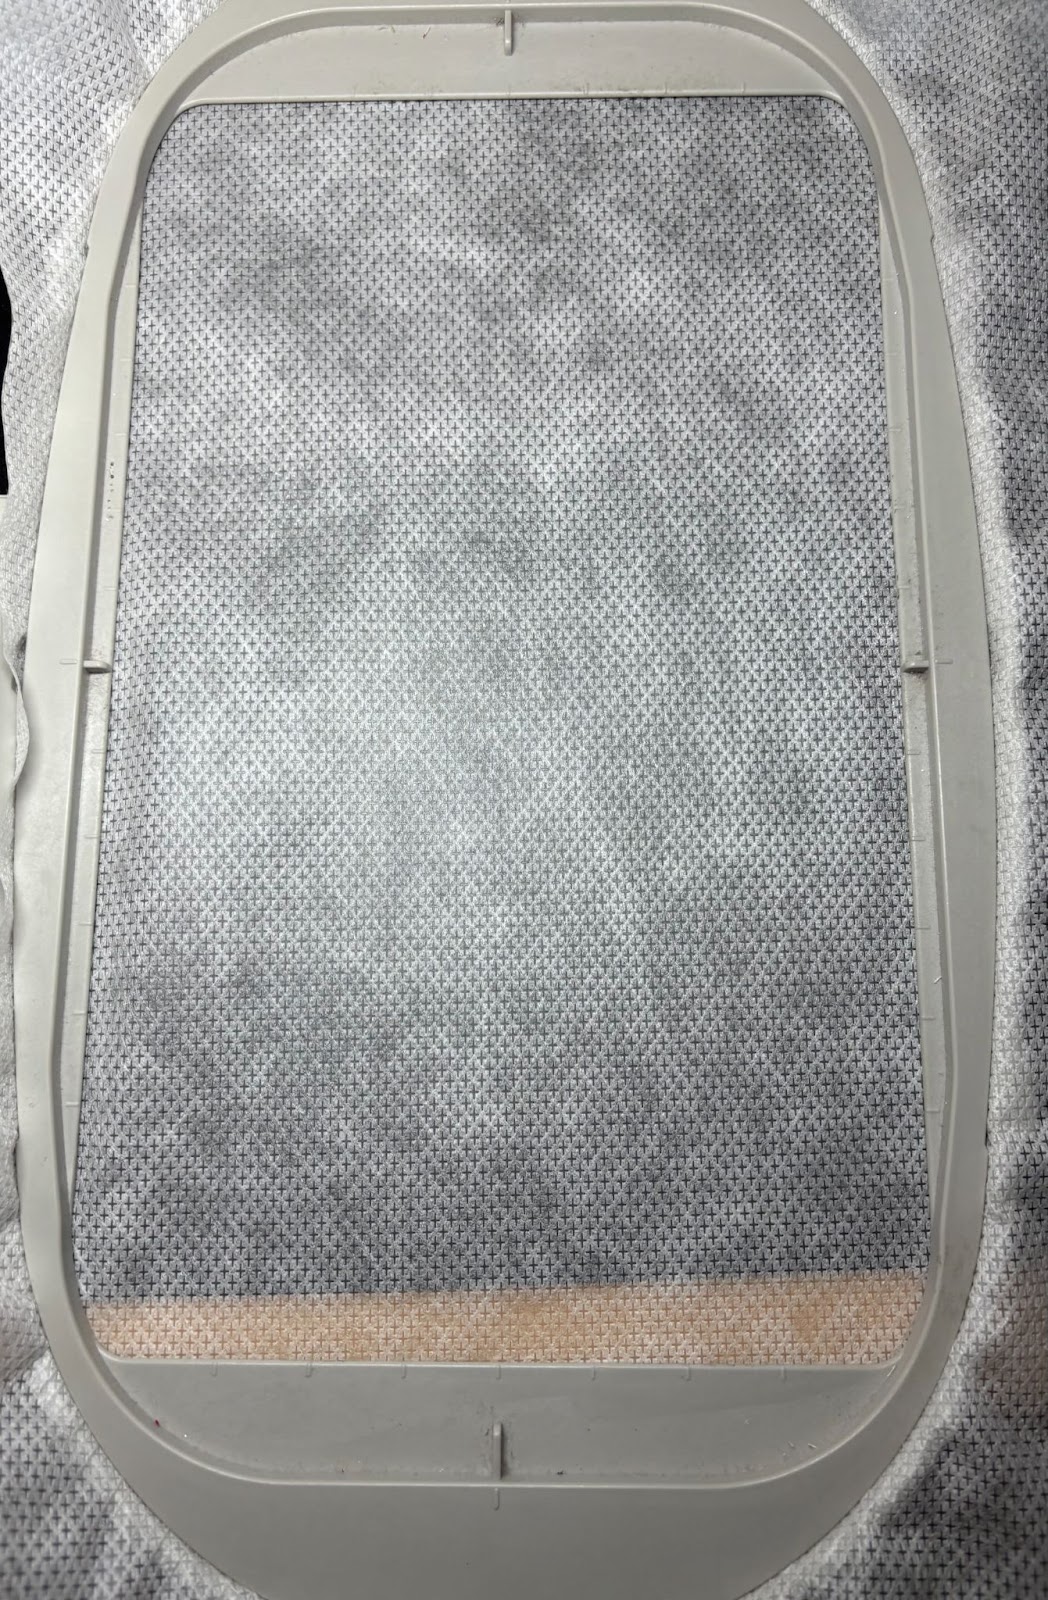
Hoop cut-away stabilizer and take to your machine.

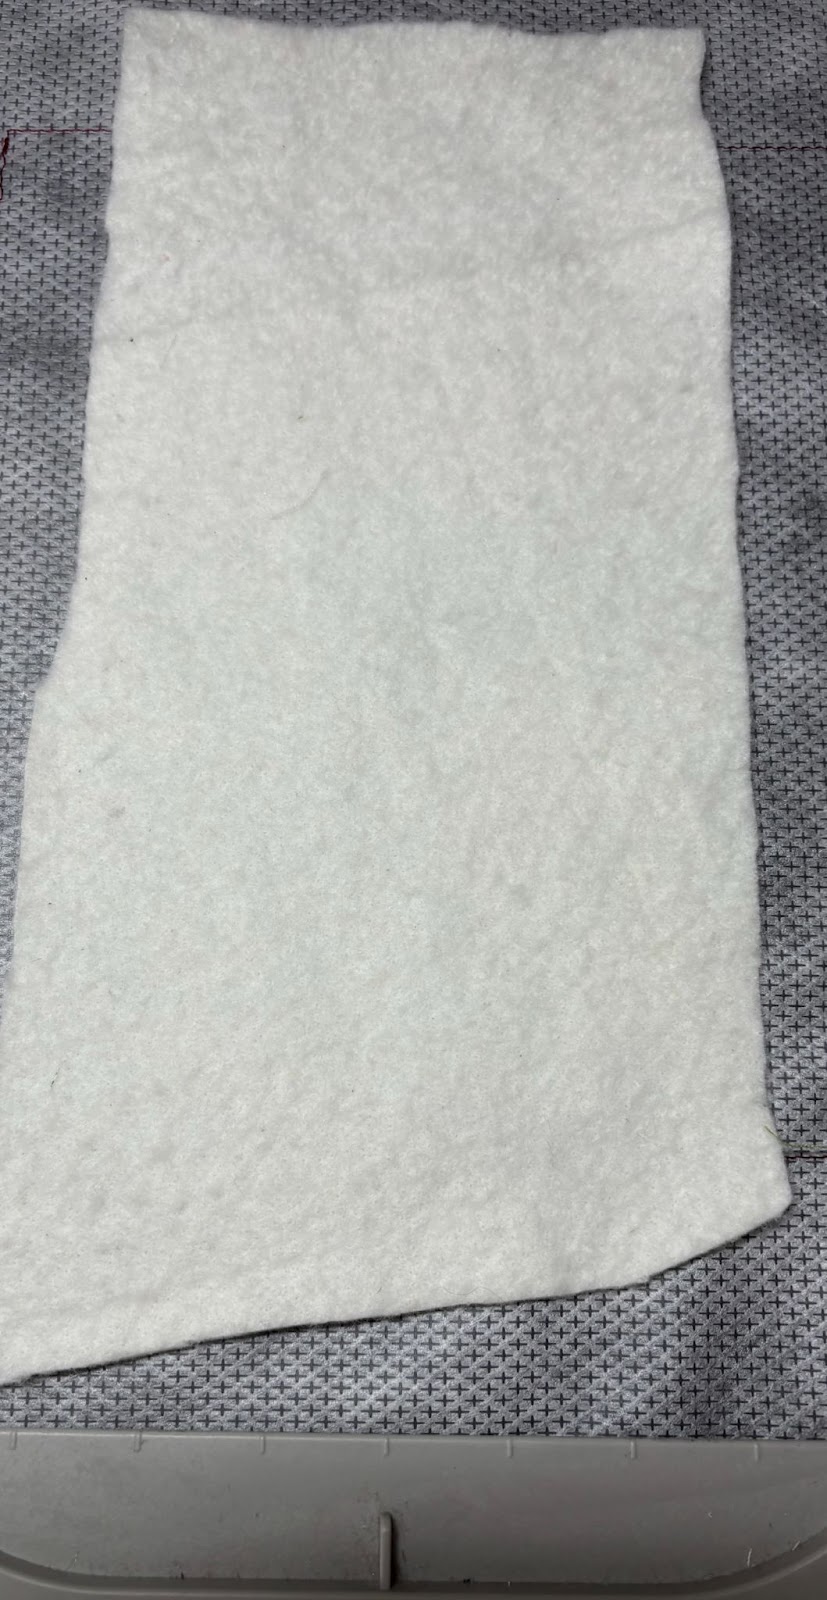
Run the first stitch, the placement stitch for the batting. Place the cotton batting onto the stabilizer, completely covering the outline. Stitch the batting down. Remove the hoop from the machine and set on a flat surface.
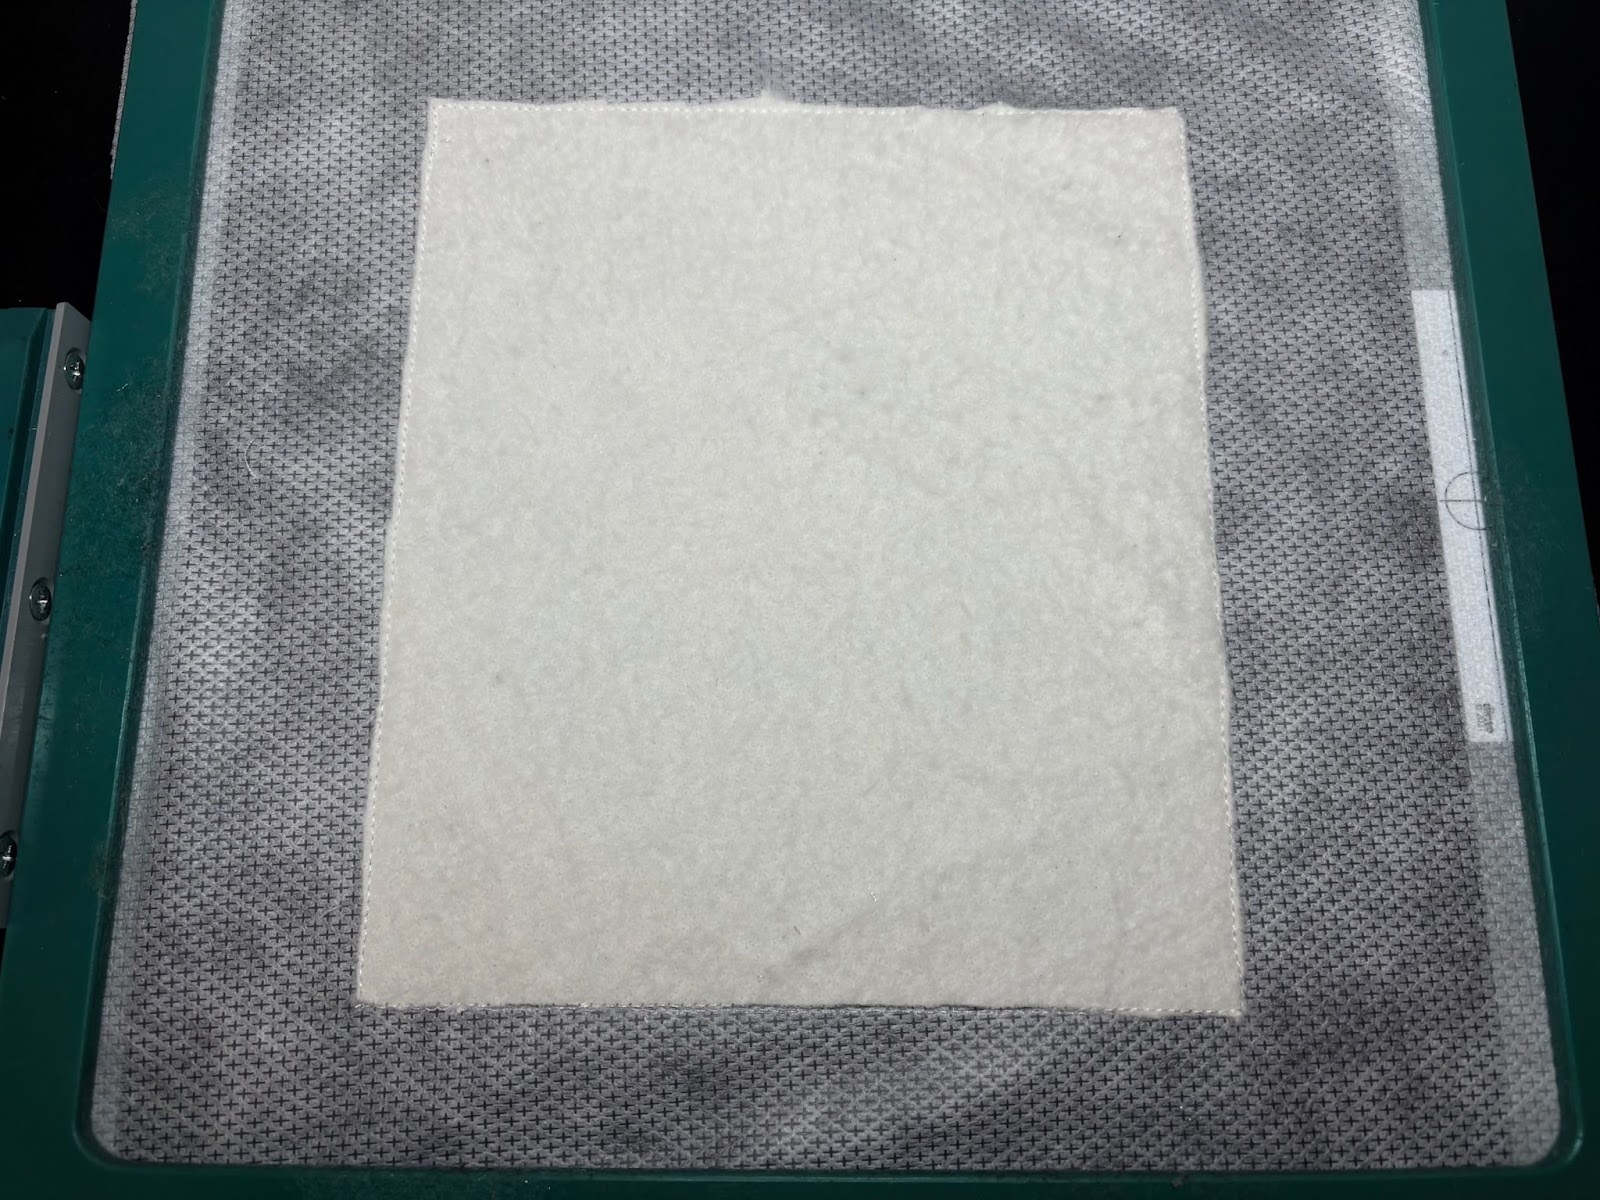
Trim the batting close to the stitches.

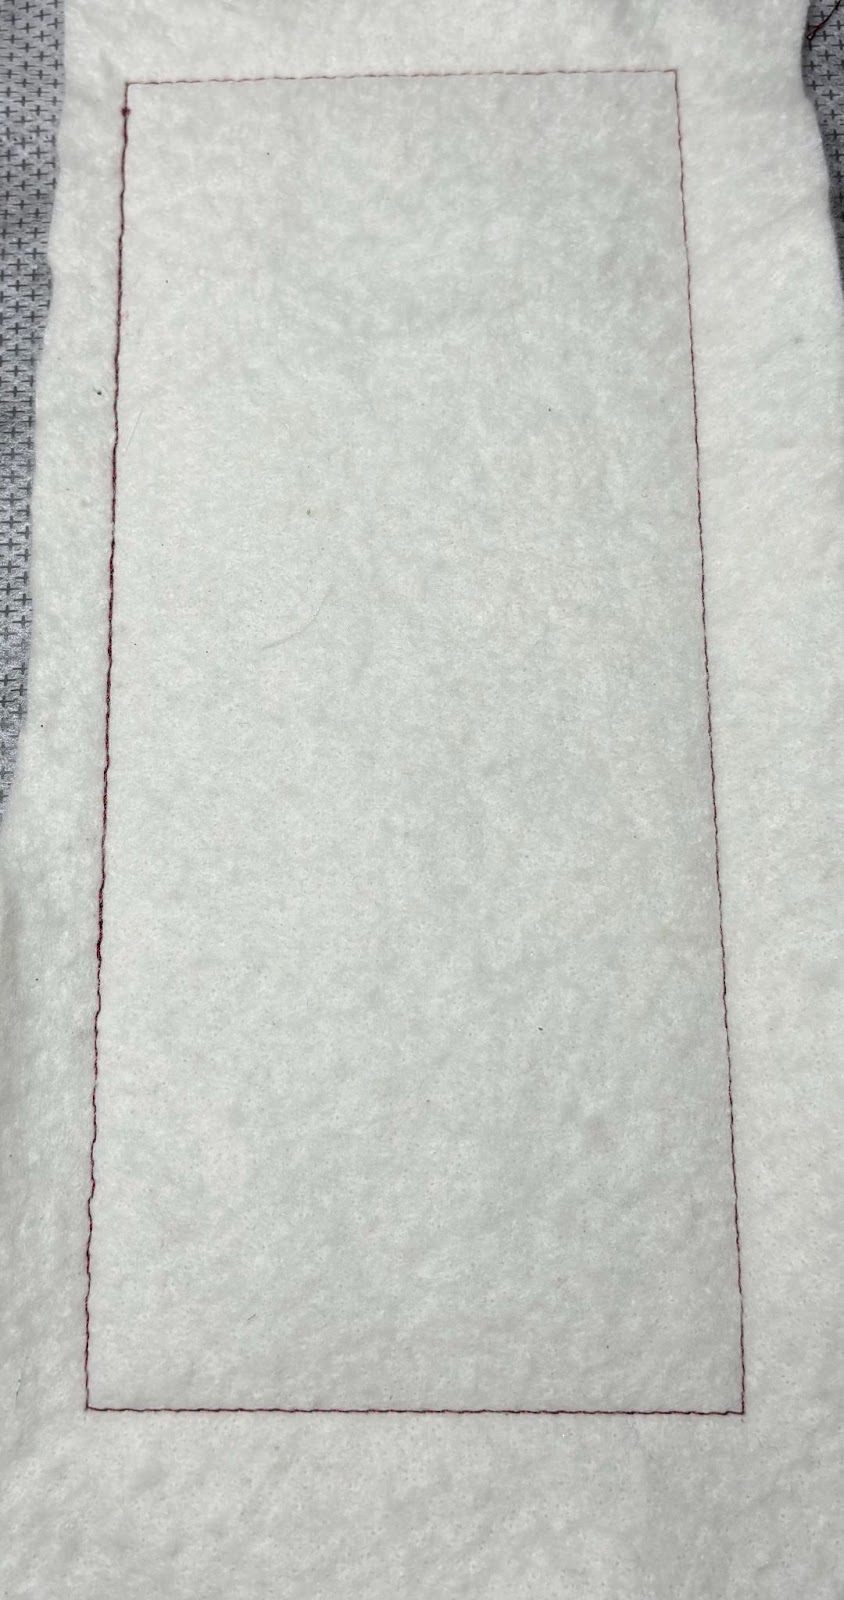
Return to the machine and run the next step. This will be the placement stitch for the background fabric.
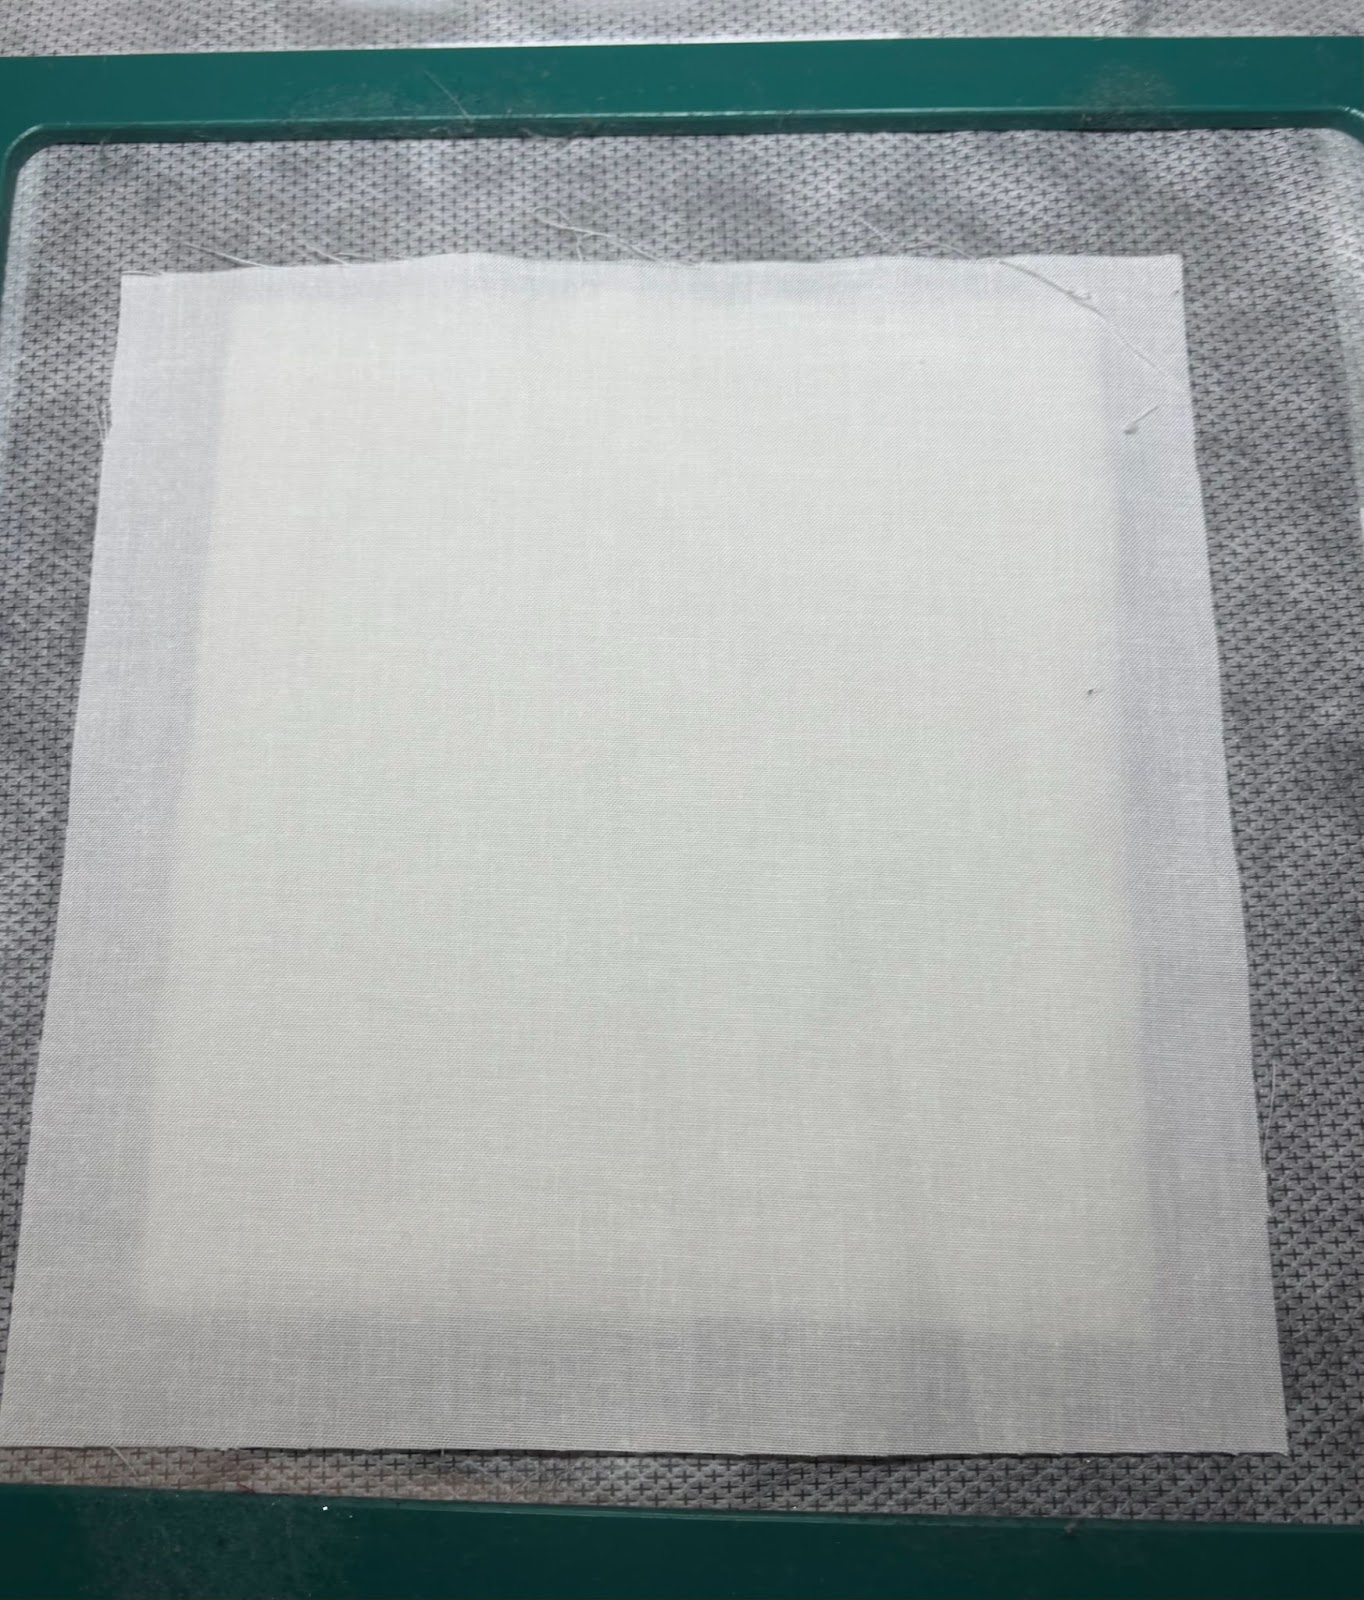
Place your fabric over the batting, covering the stitches.
Run the tack-down stitch. Remove the hoop from the machine and place on a flat surface.
Trim the fabric approximately ⅛” from the stitching.
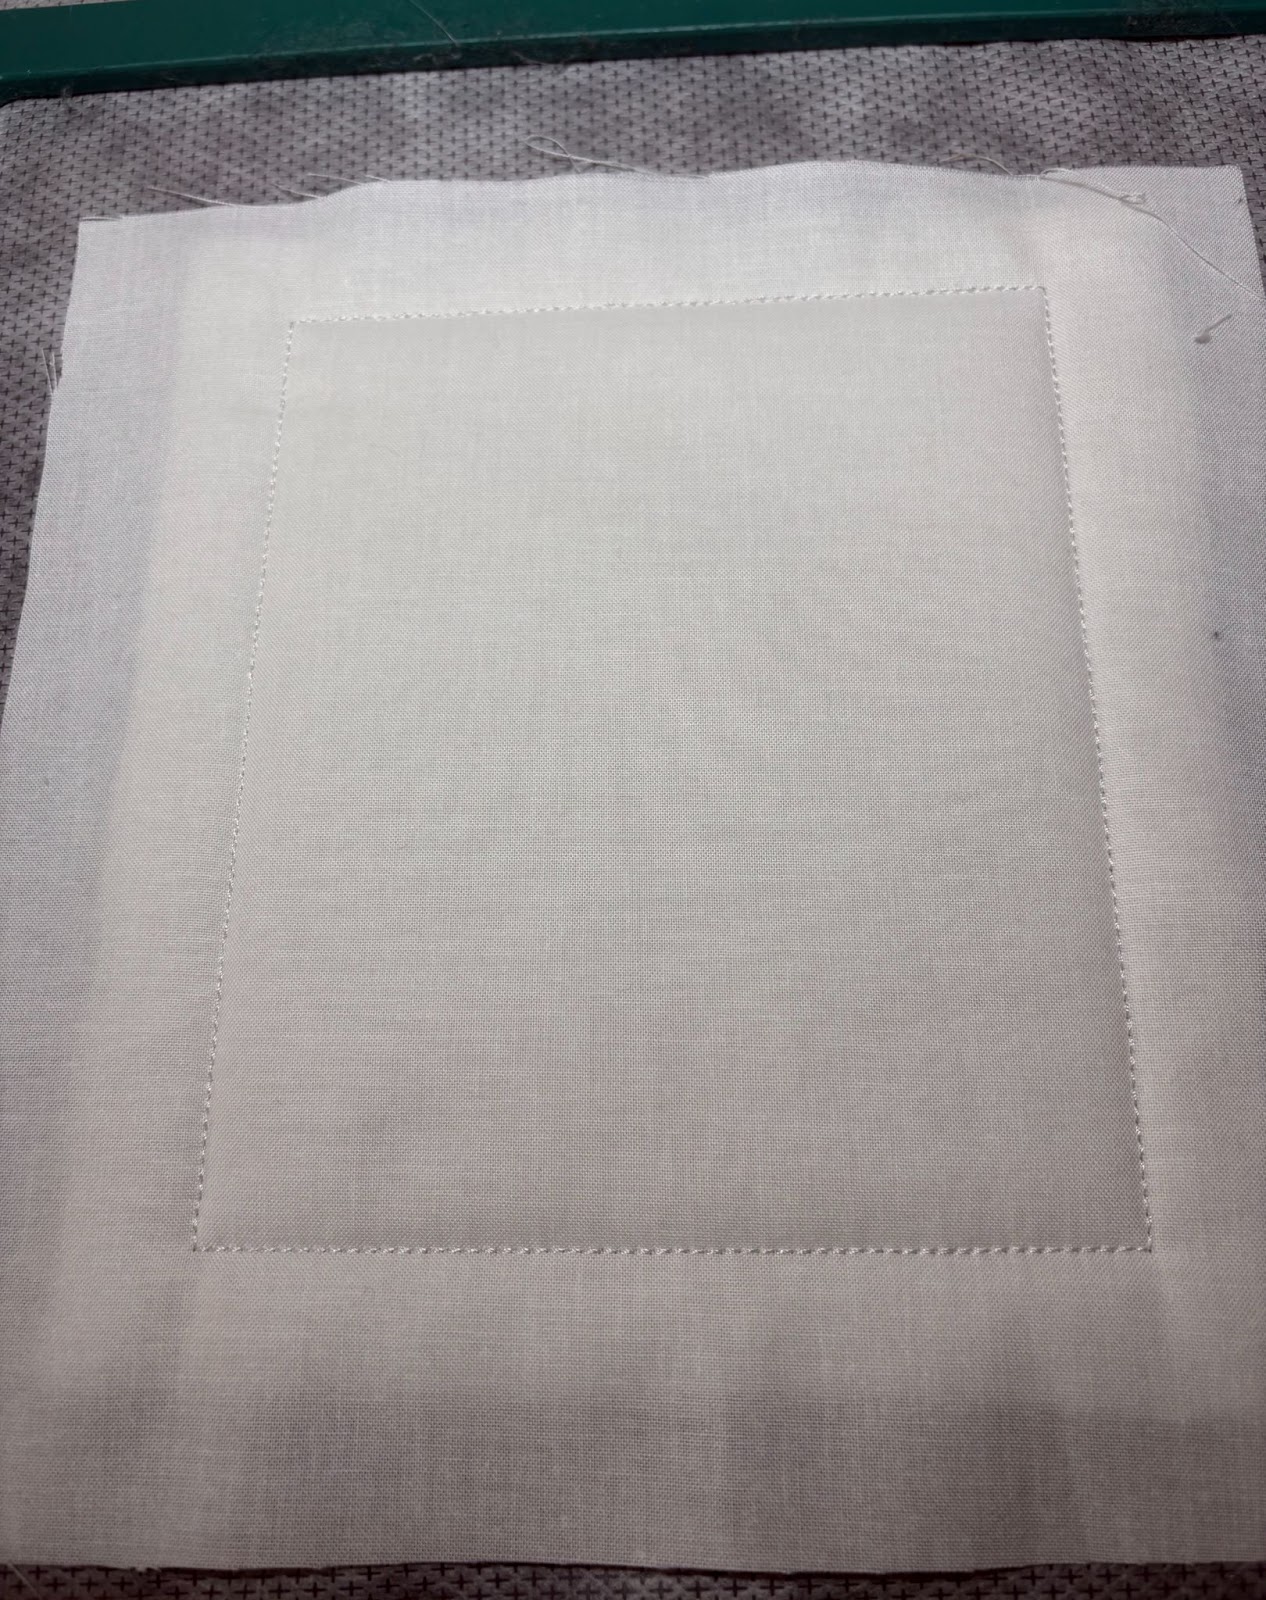
Return the hoop to the machine and run the next step. This will be the first step in creating a border around the center fabric. Run the placement stitch for the first border strip.
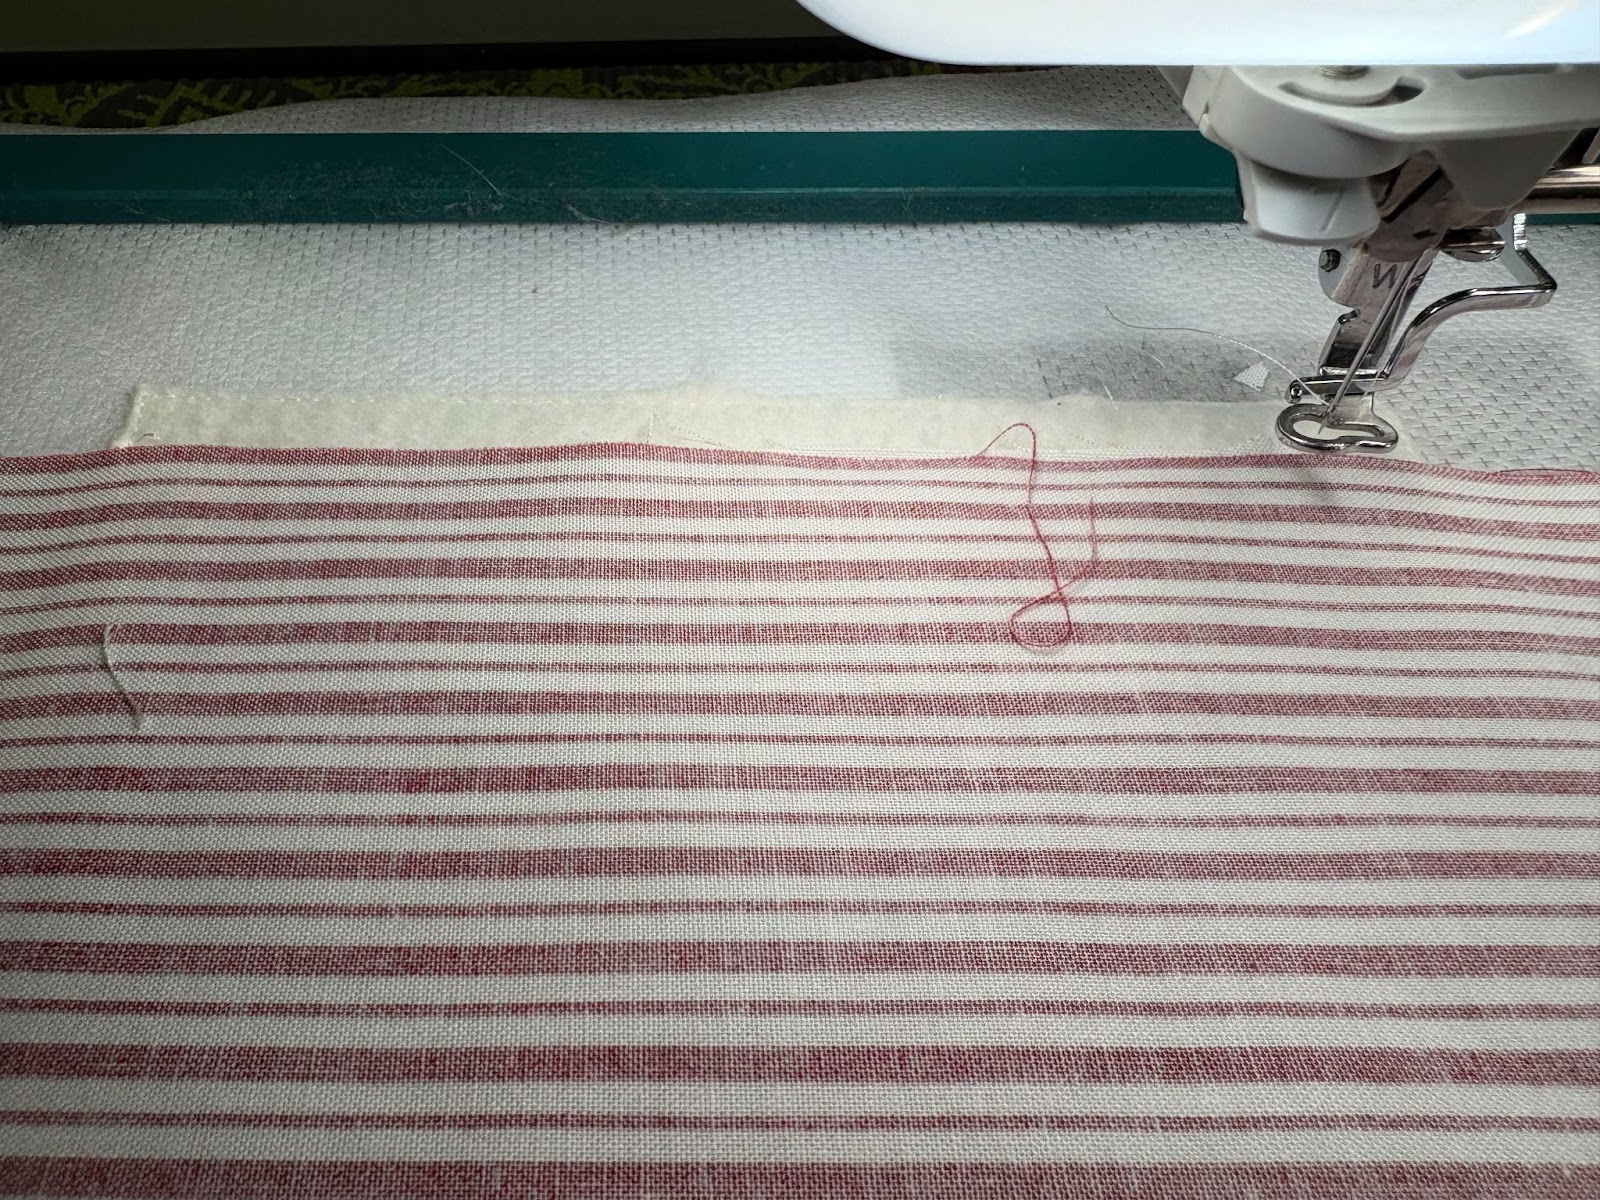
Place your border fabric right side down, with the raw edge overlapping the placement stitches ⅛” to ¼”. Run the tack-down stitch. I do not cut my fabric into strips. I cut it after to ensure I have enough overlap.
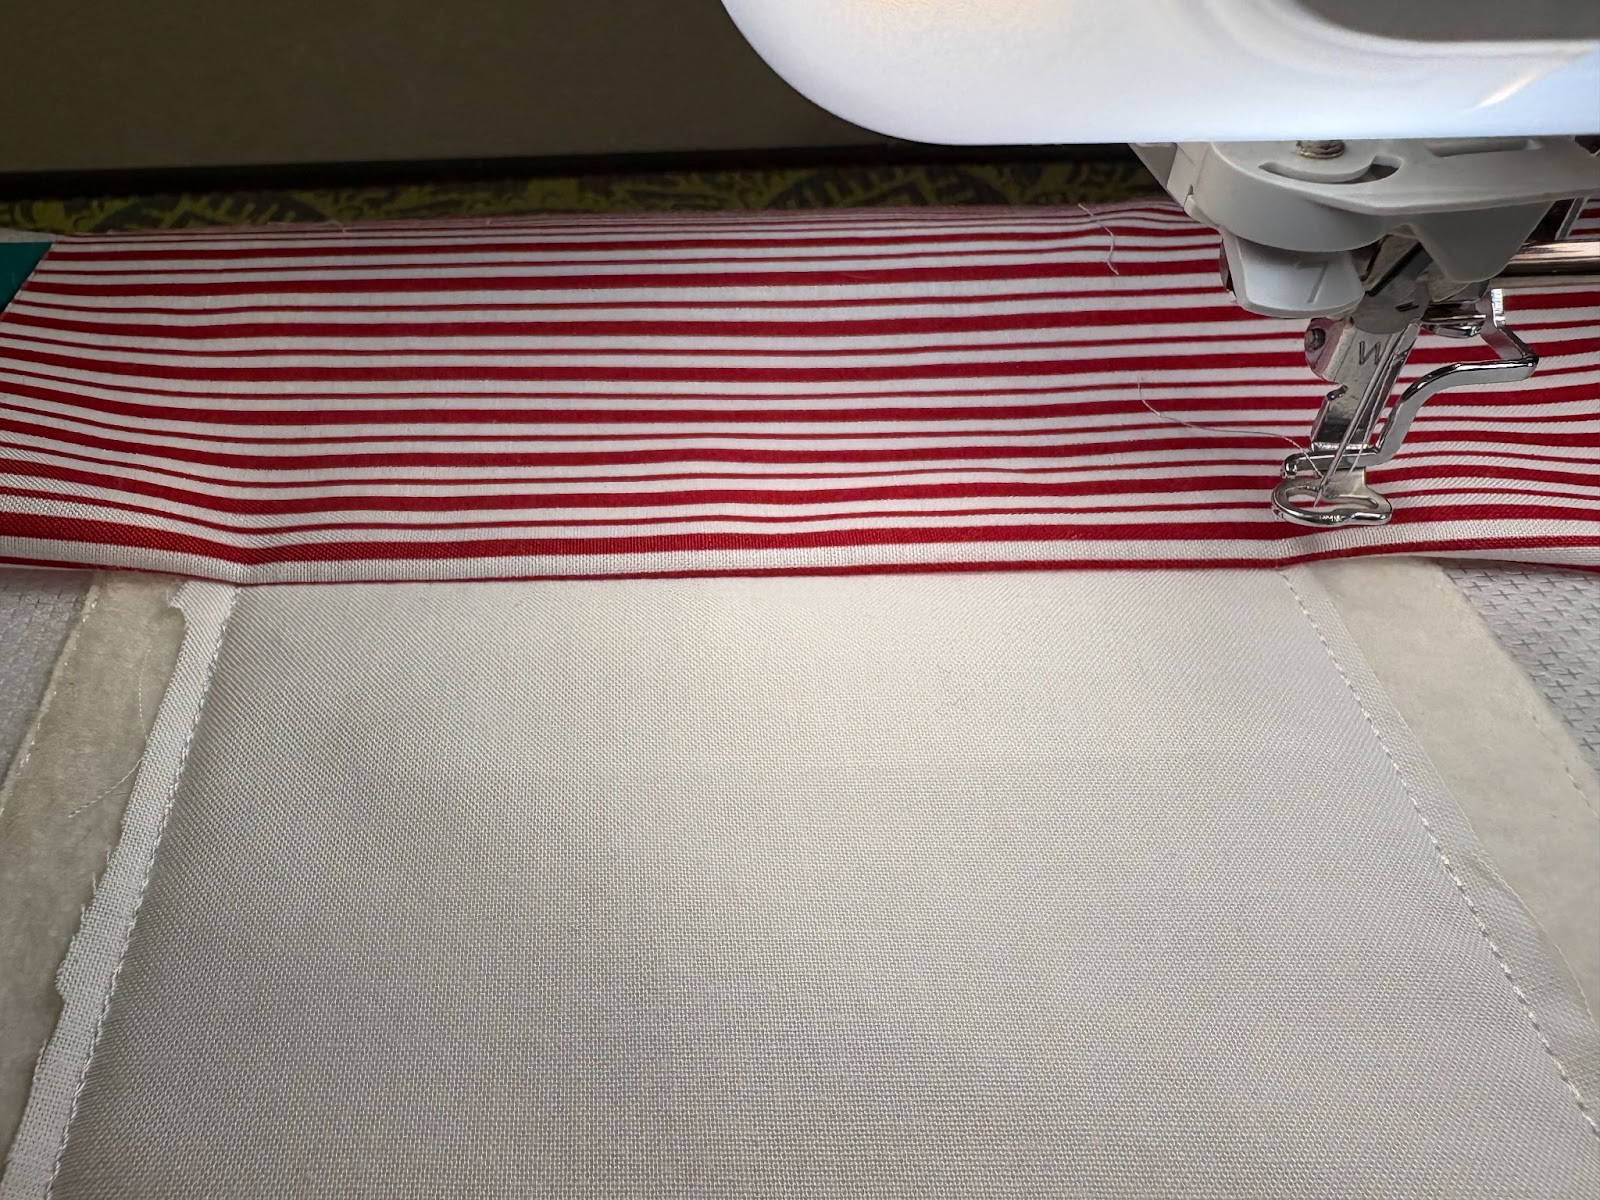
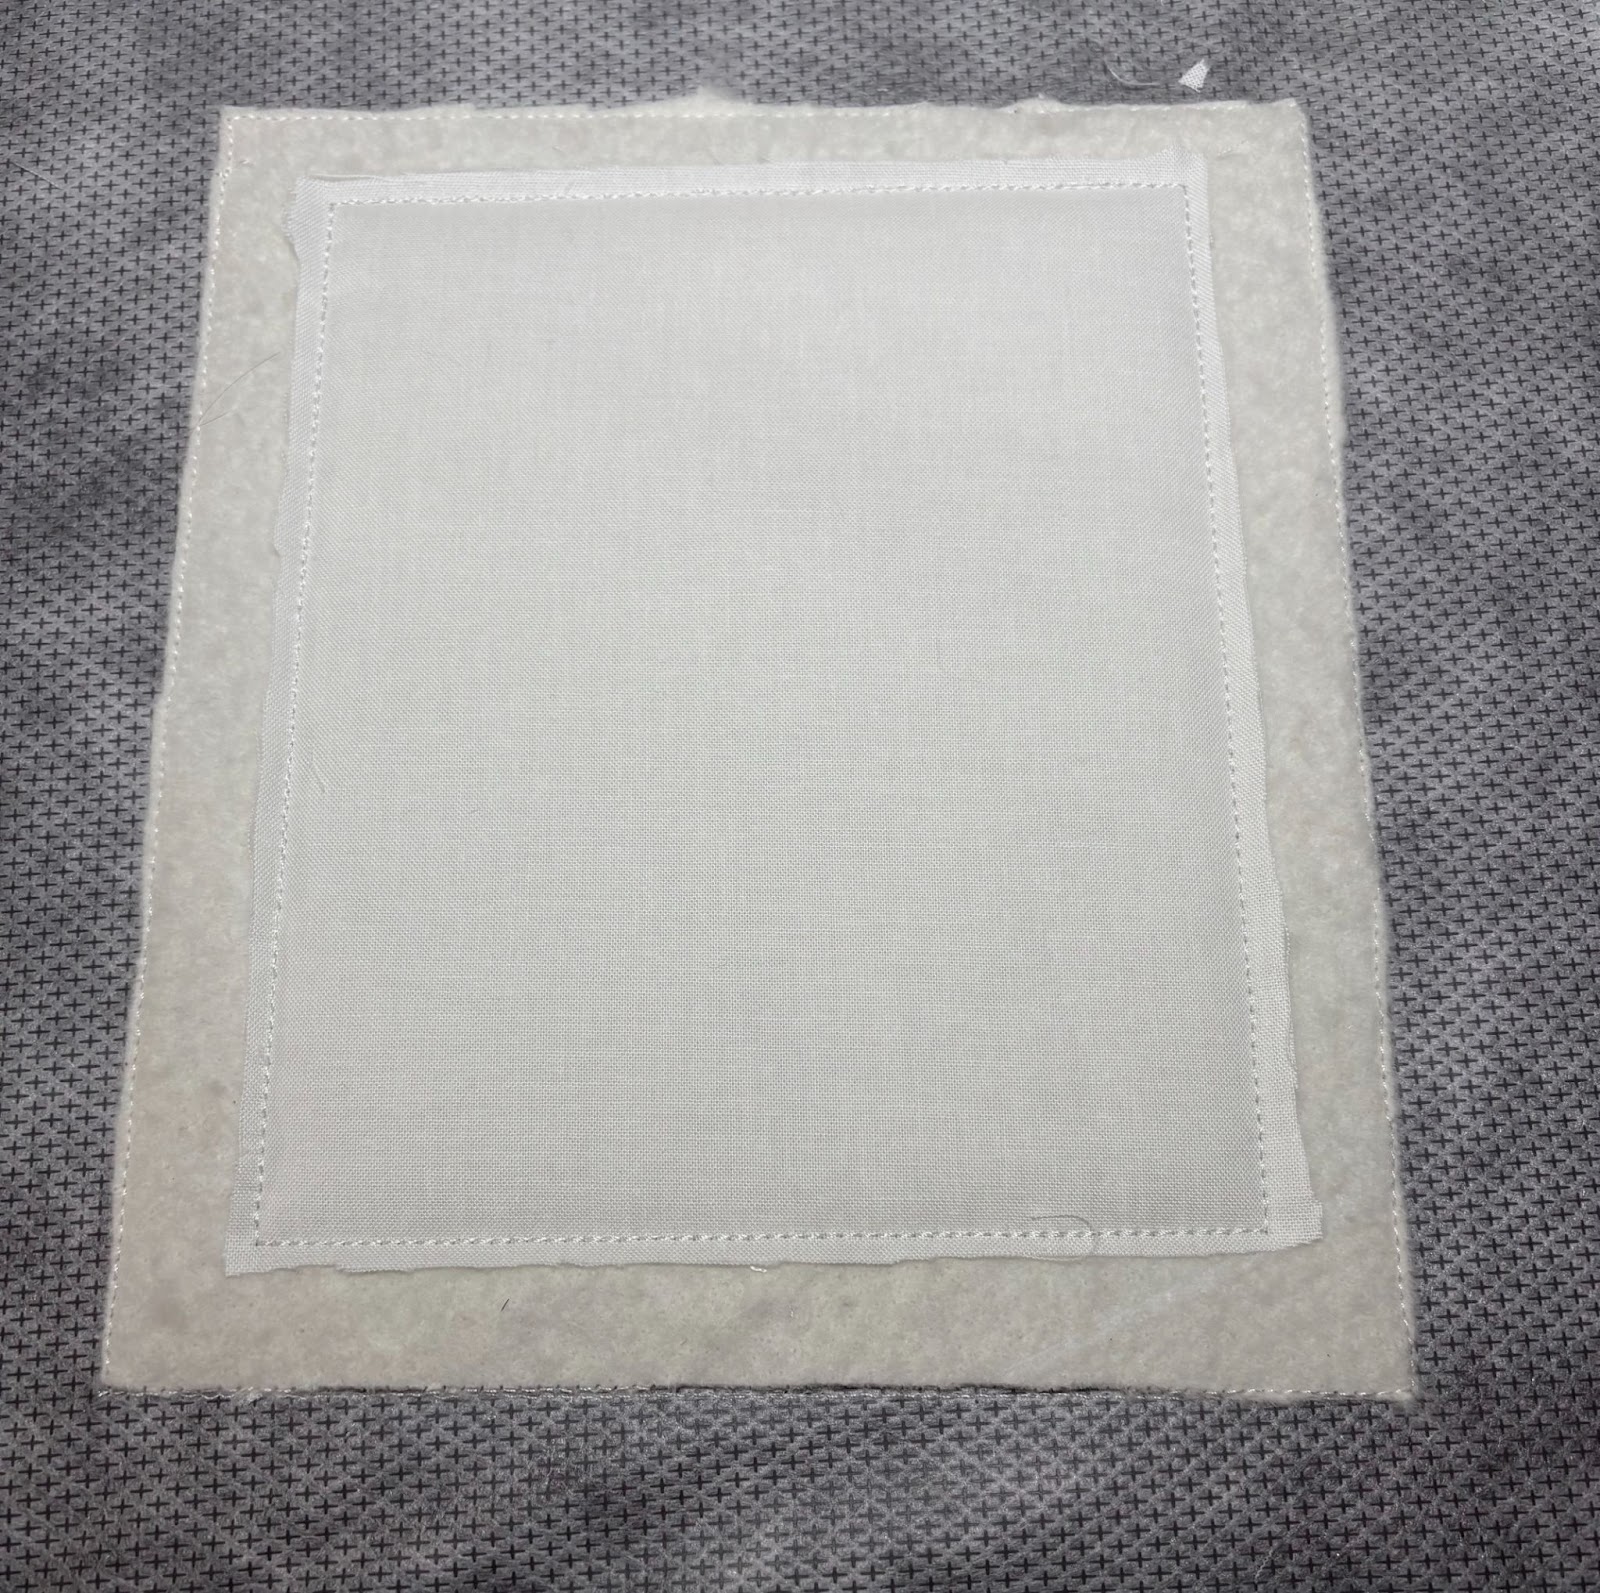
Next fold the fabric back over the stitches and smooth flat. Run the next step.
This step will sew the fabric down and give you a cutting guide.
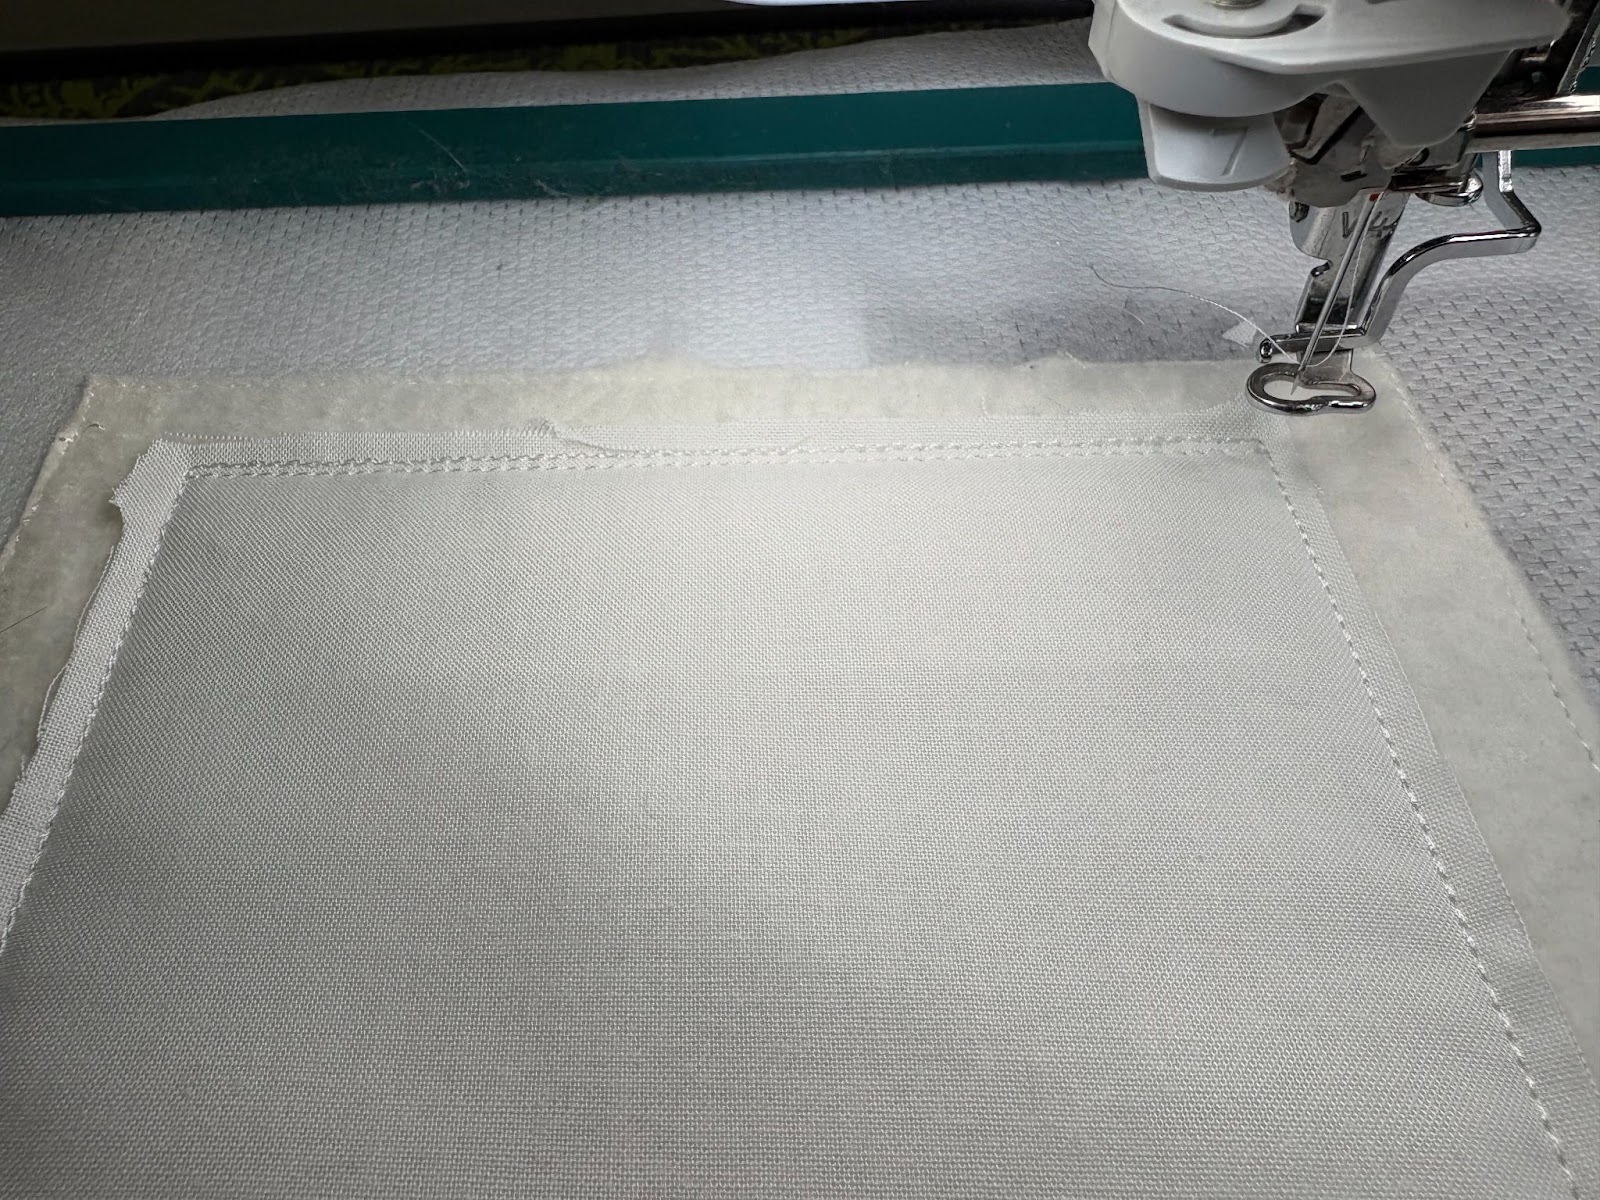
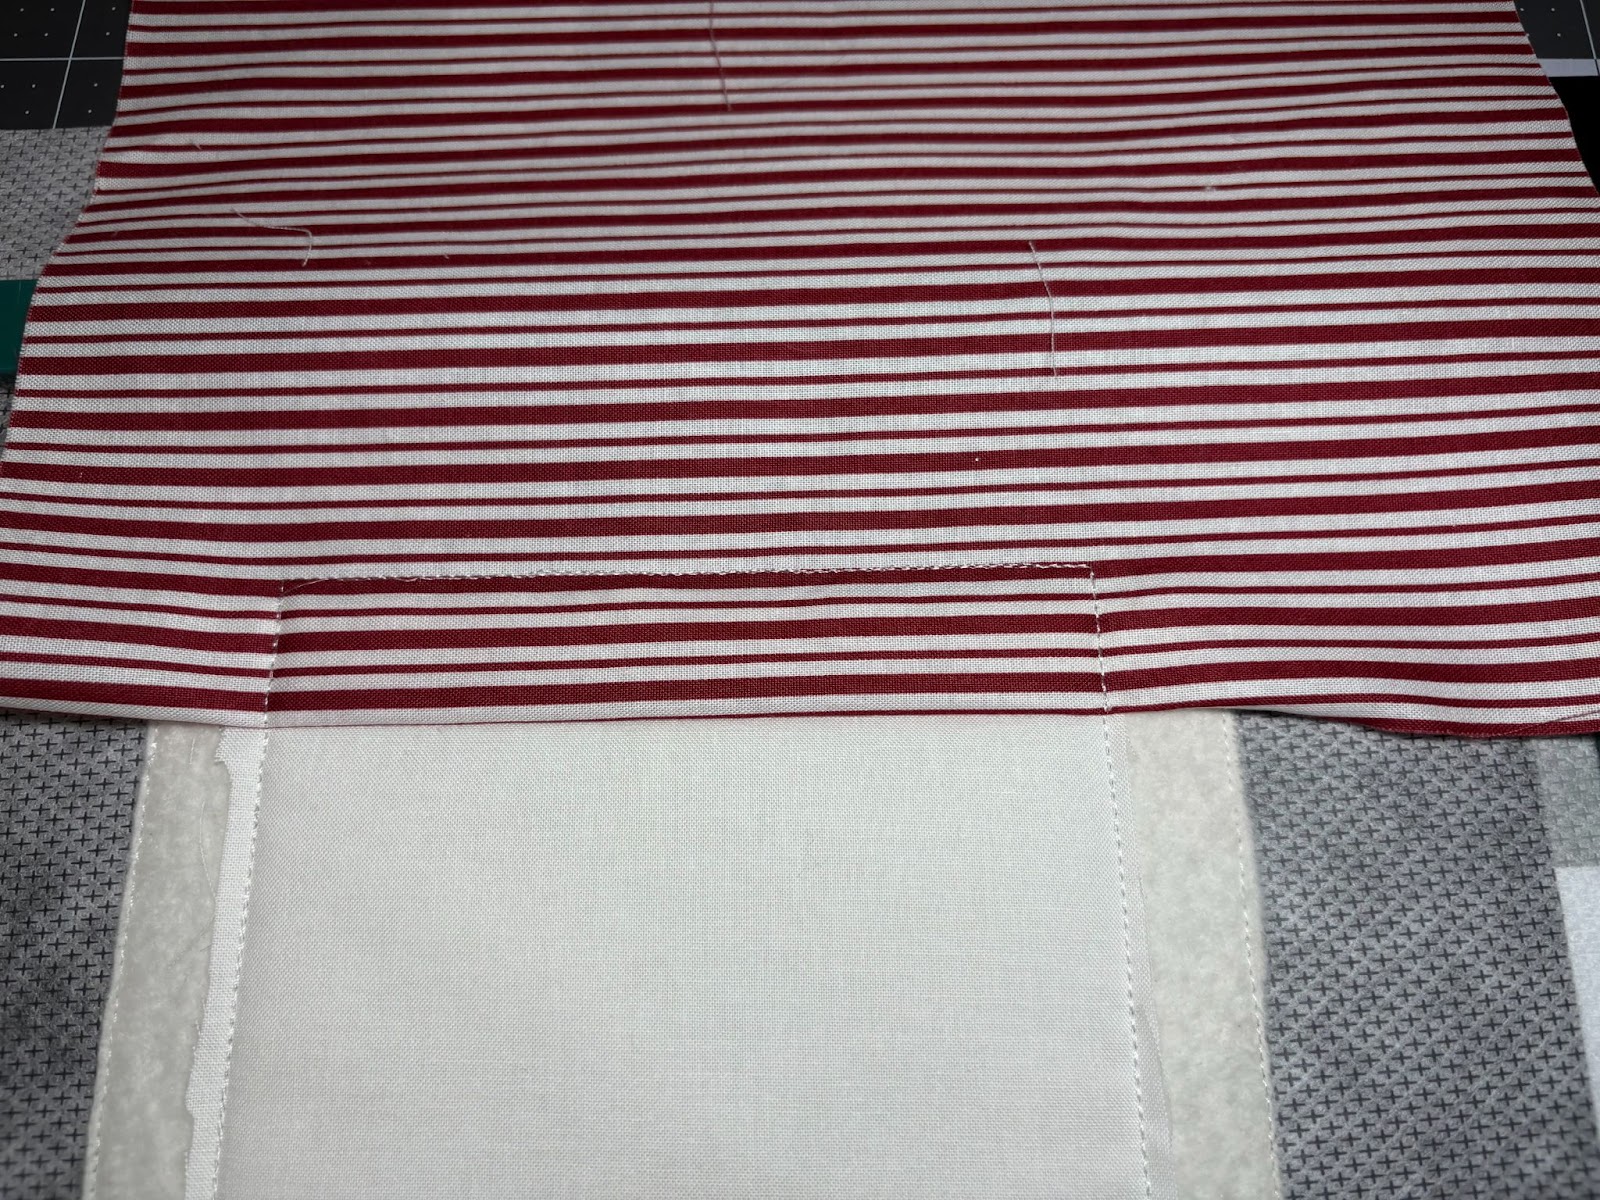
Trim the fabric, leaving 1” on the top. The next step will be the bottom border. Do this the same way as the top.
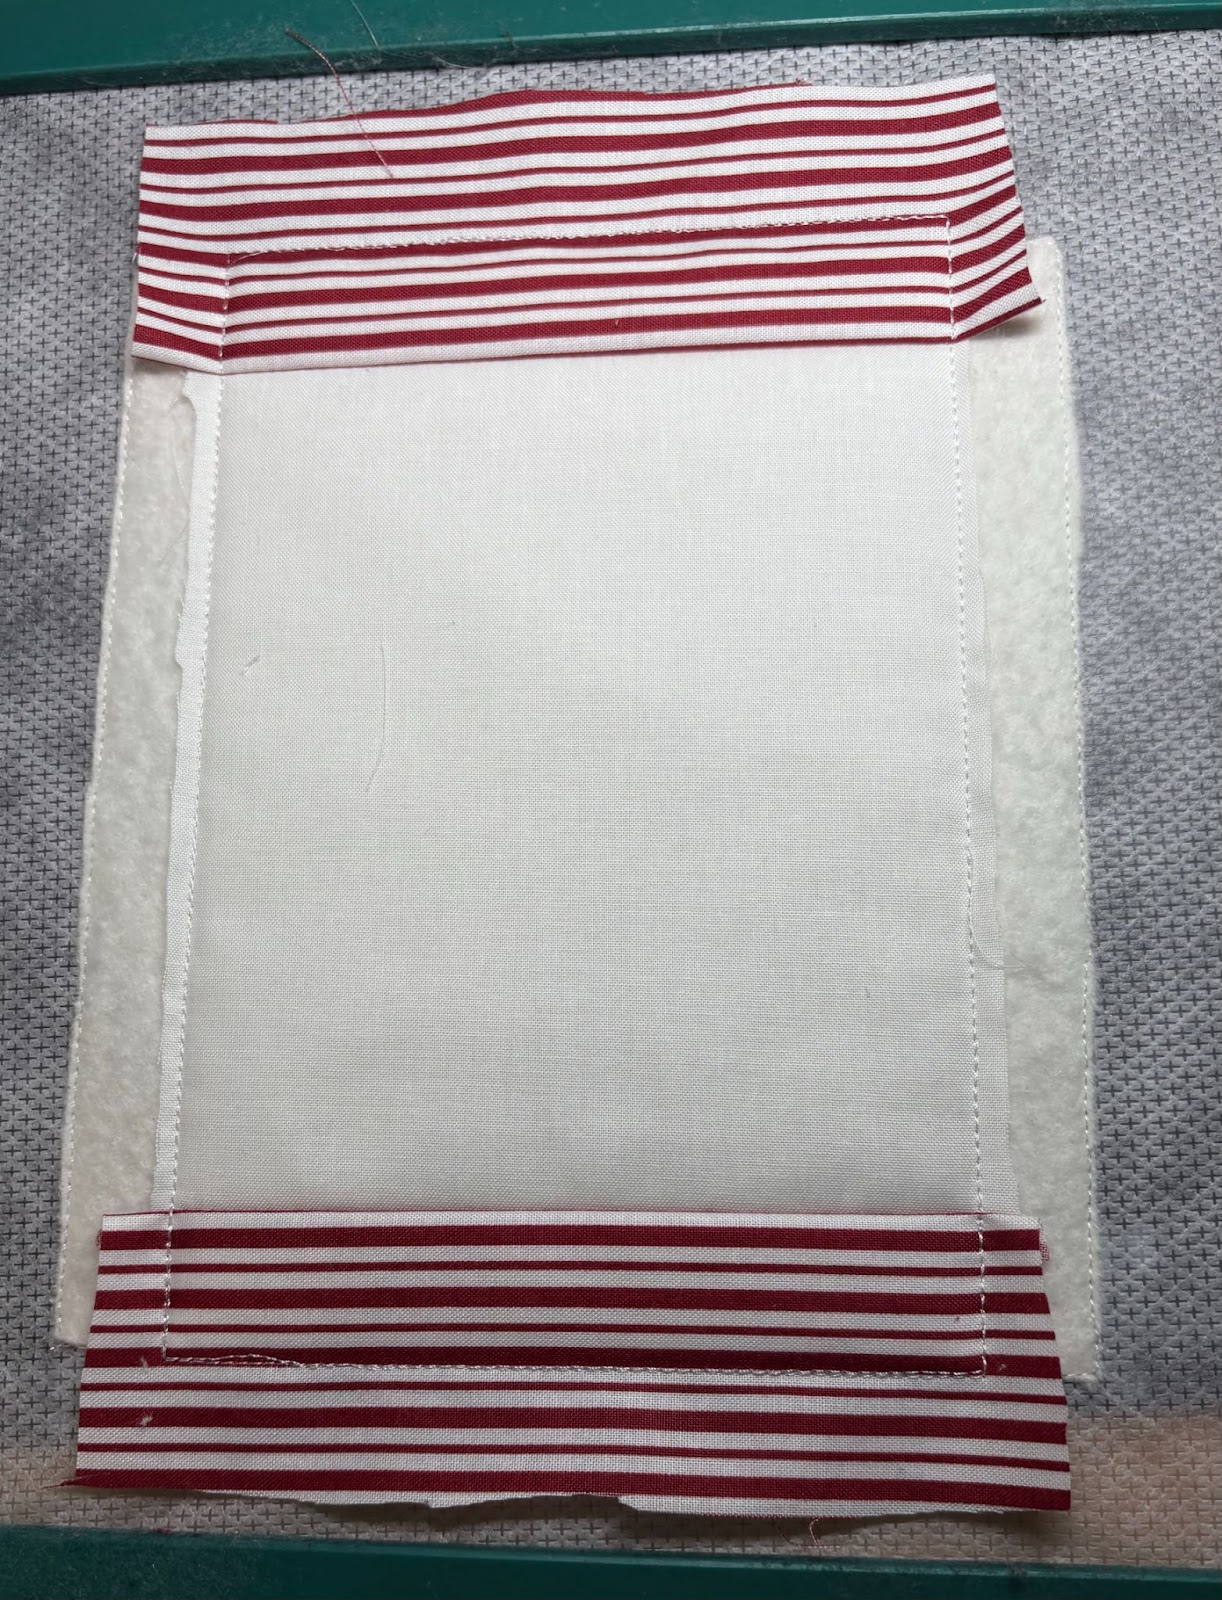
Trim the sides leaving ½”. Continue with the remaining two sides. If working with the 5x7 hoop, you will do three sides with each hooping.
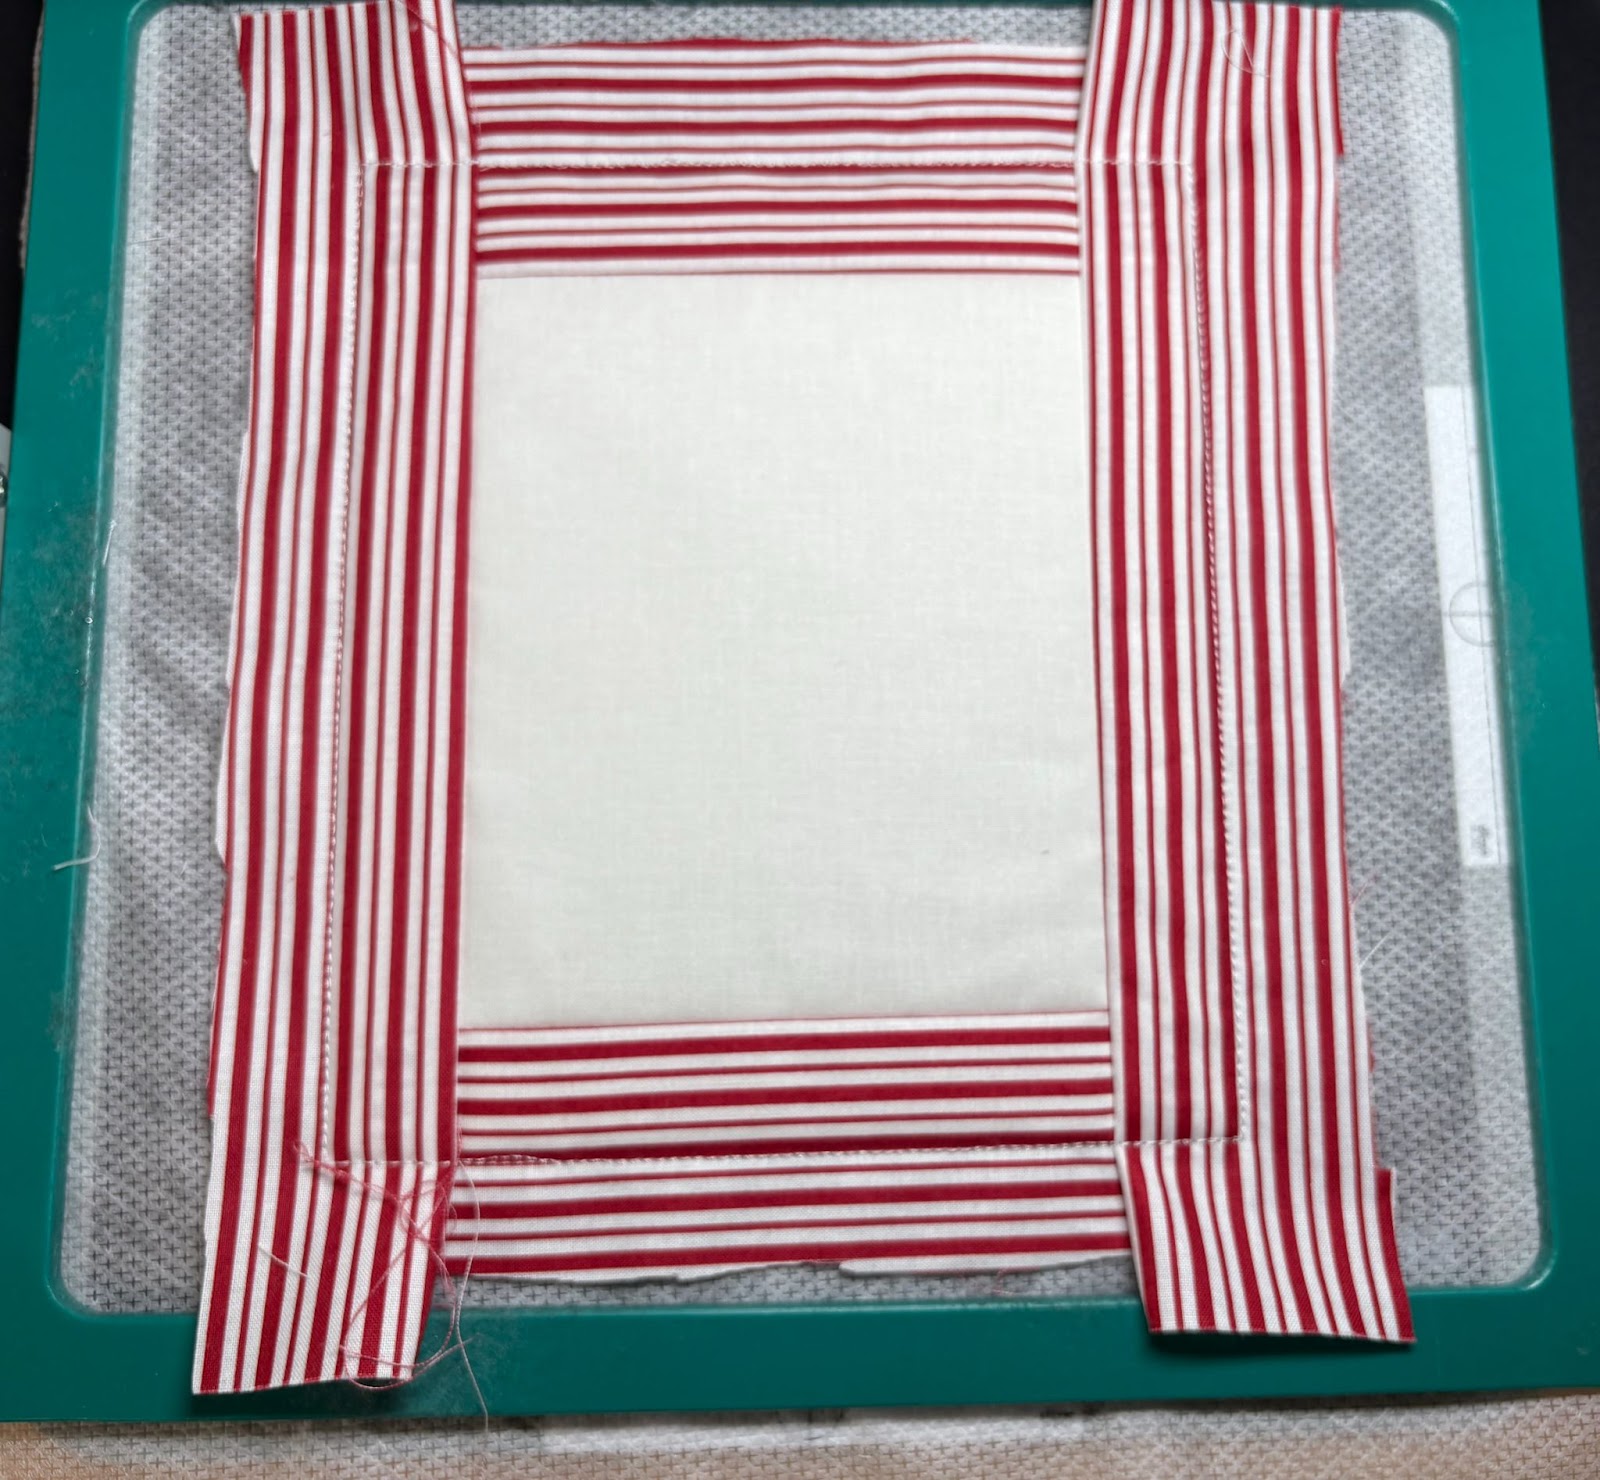
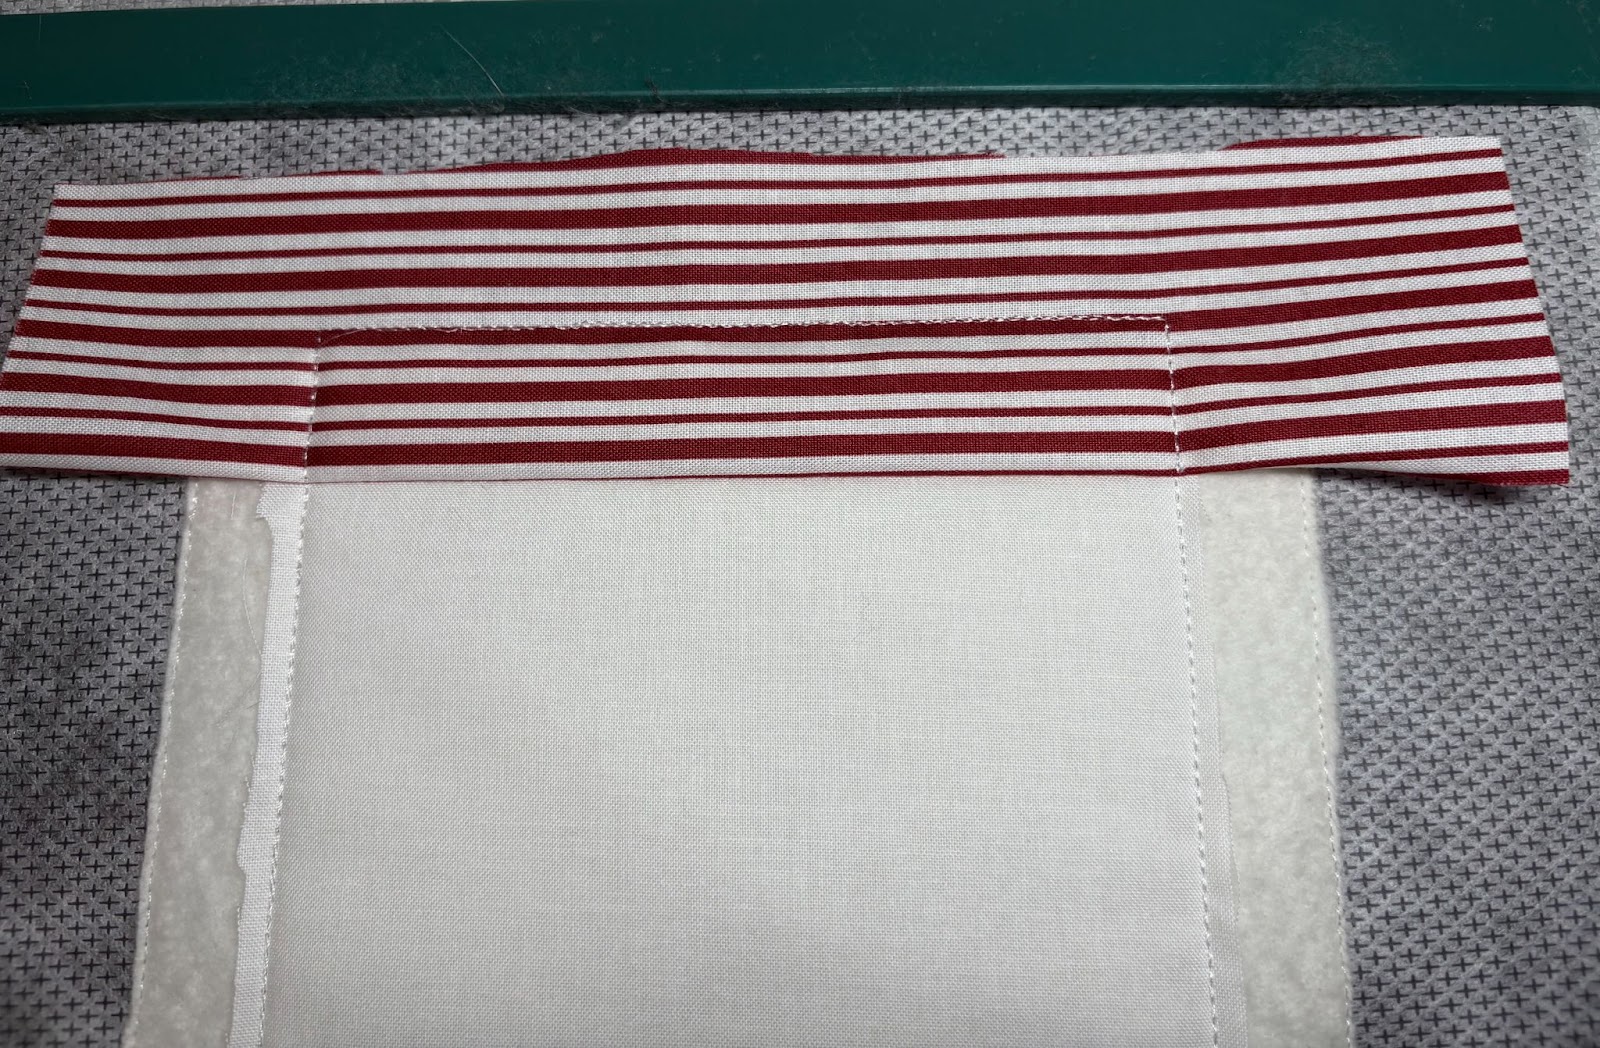
If you are using the large Main Elf block design, when finished your border should look like this.

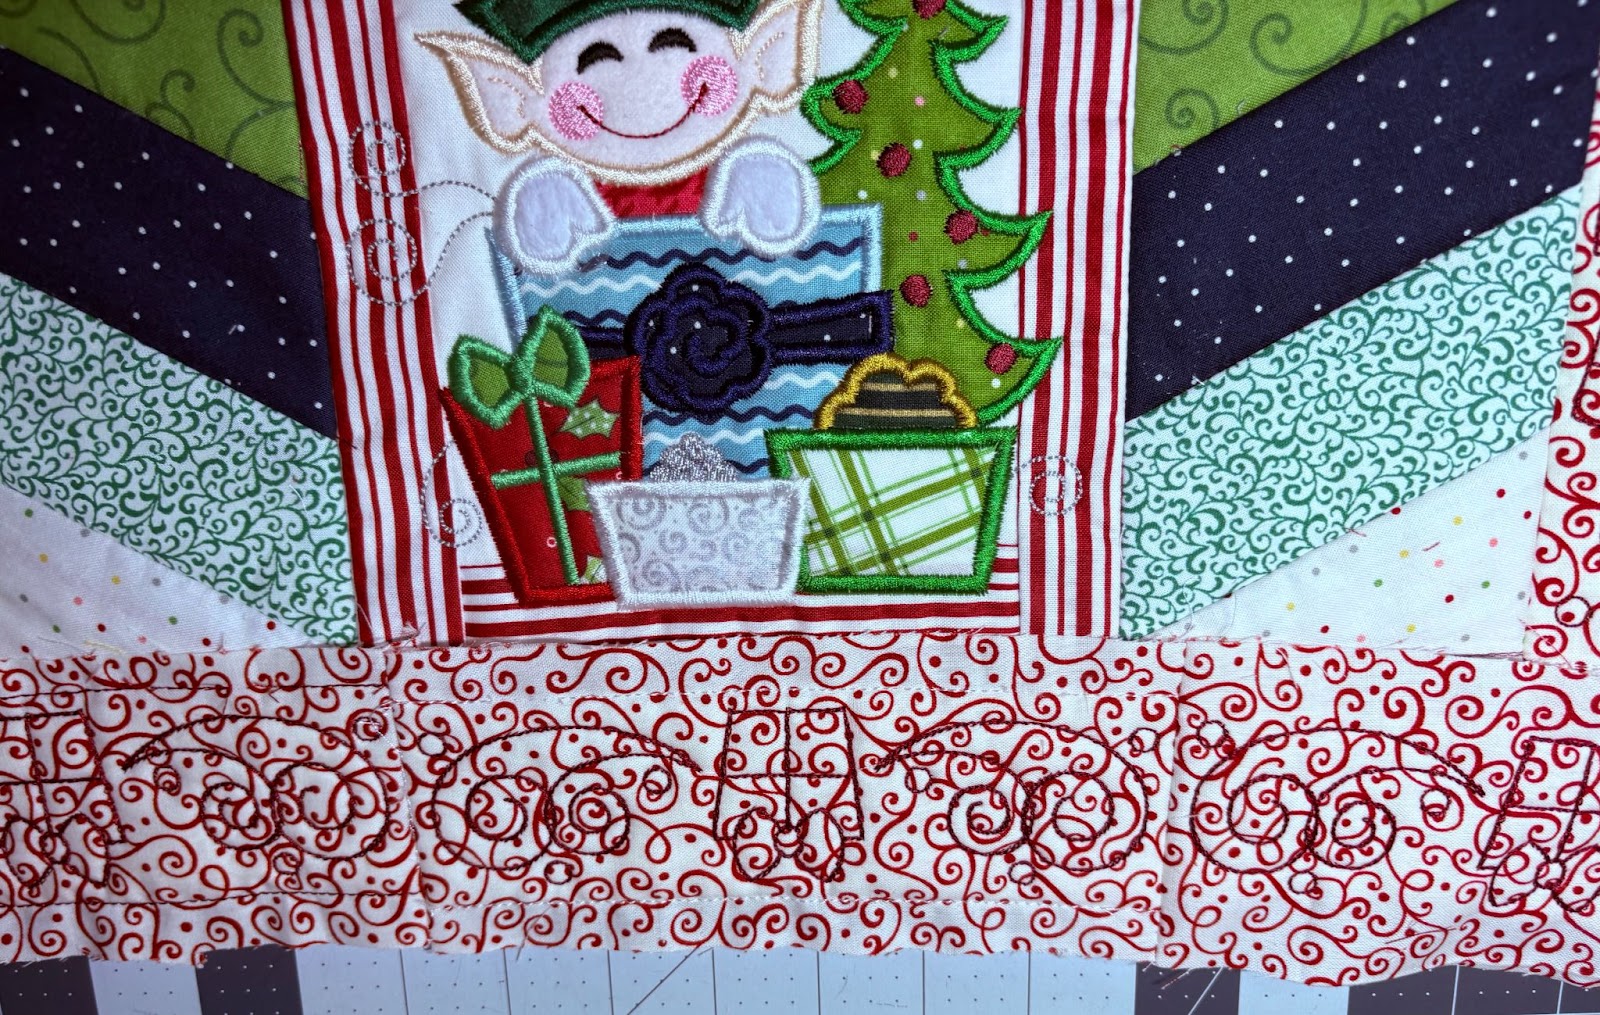
The remaining steps are the applique. Stitch the placement stitch, place your fabric over the stitching, stitch the tack-down stitch. Trim each piece before moving to the next. When finished with all the applique, your Main Elf block should look similar to this.
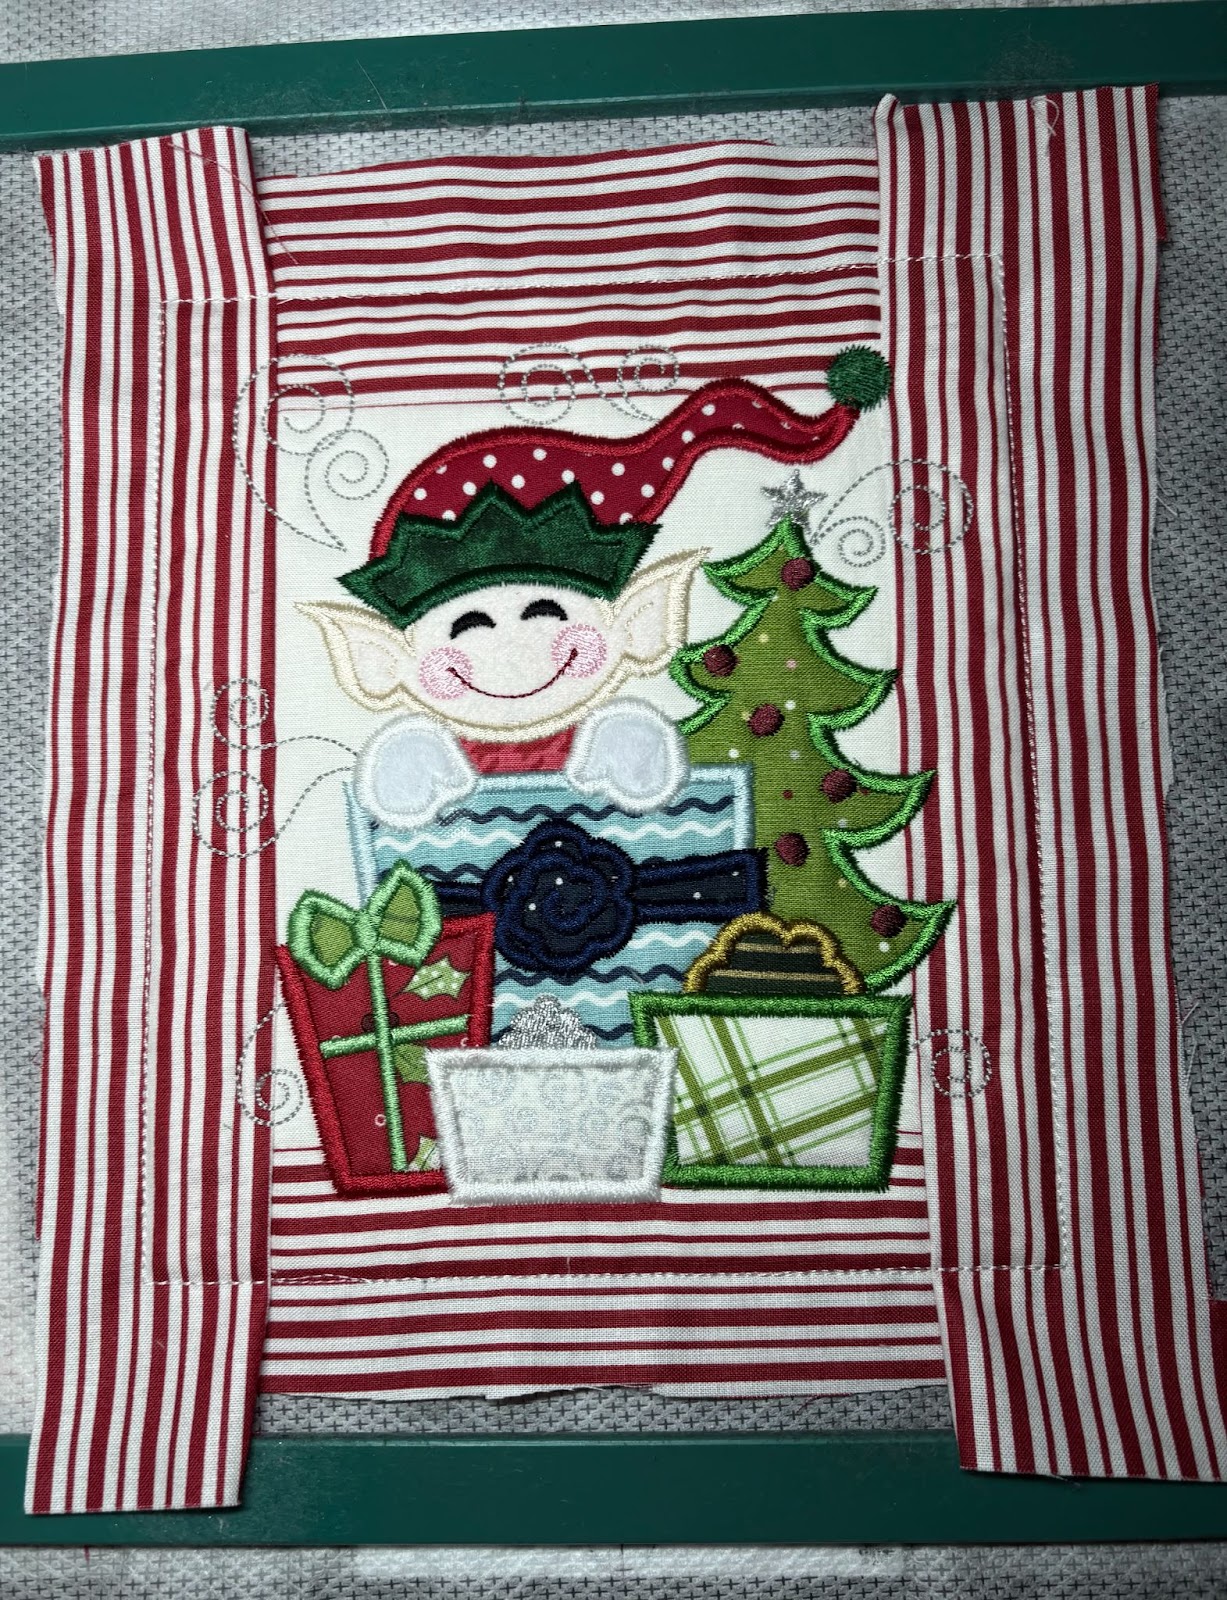
The remaining steps will be the cover stitches and the elf’s face. When completed, remove the design from the hoop and set aside.
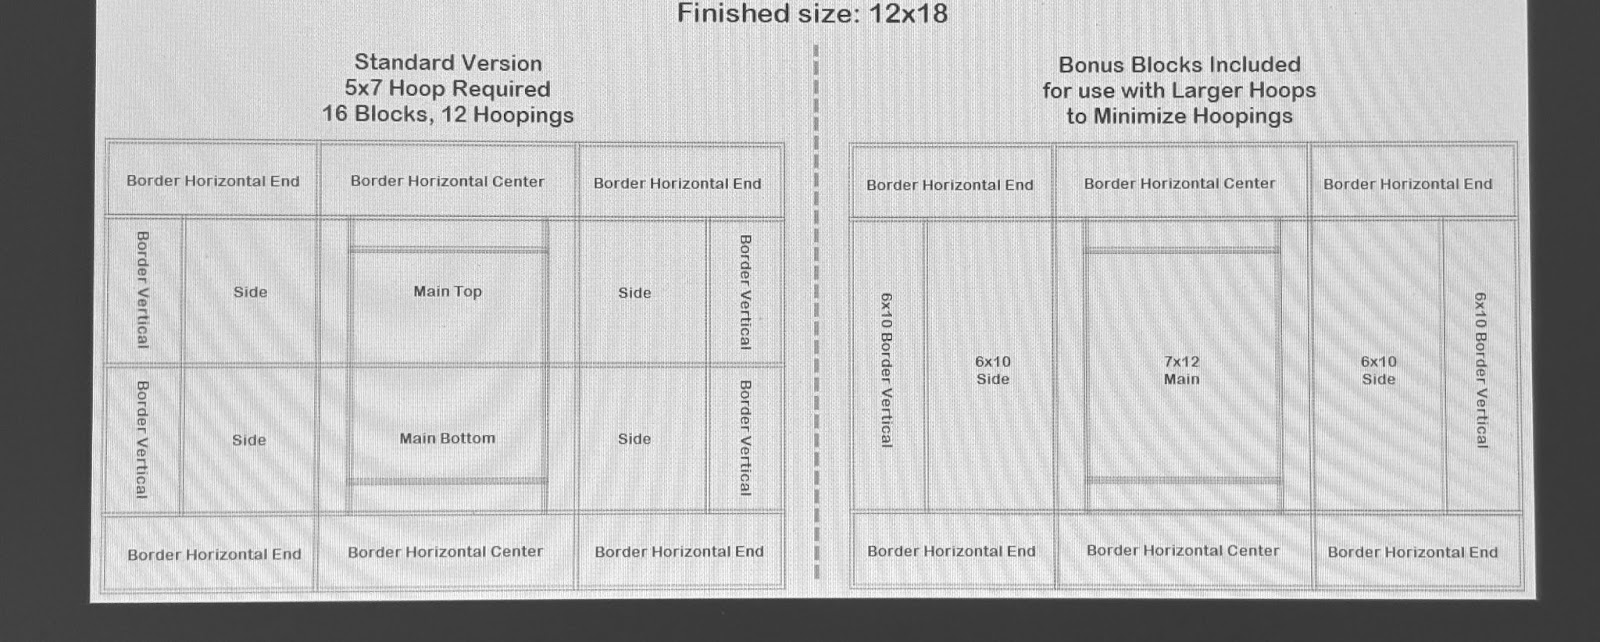
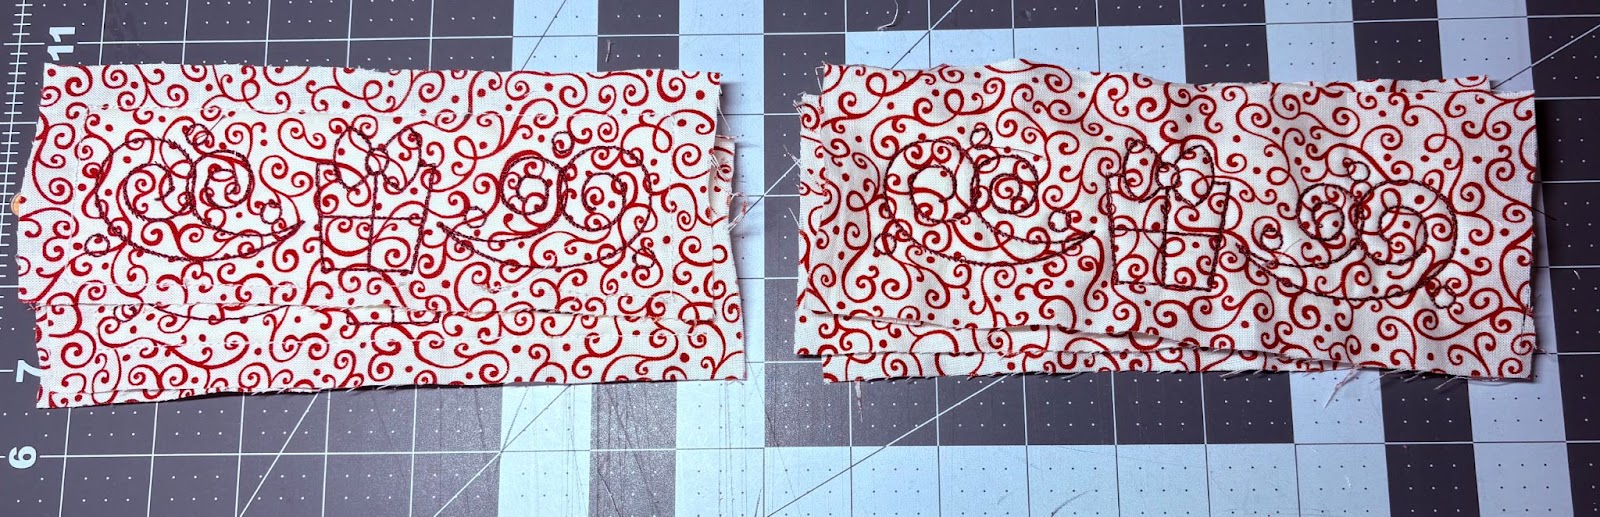
There are two Side Diagonal pieces: one for the left side and one for the right side. If you are using a 6x10 hoop, you will want to stitch out one of each. Do not stitch out two of the same design, as the diagonal strips are mirrored for each side. If you are using a 5x7 hoop this will be done in four hoopings, two for each side. Refer to the above diagram.
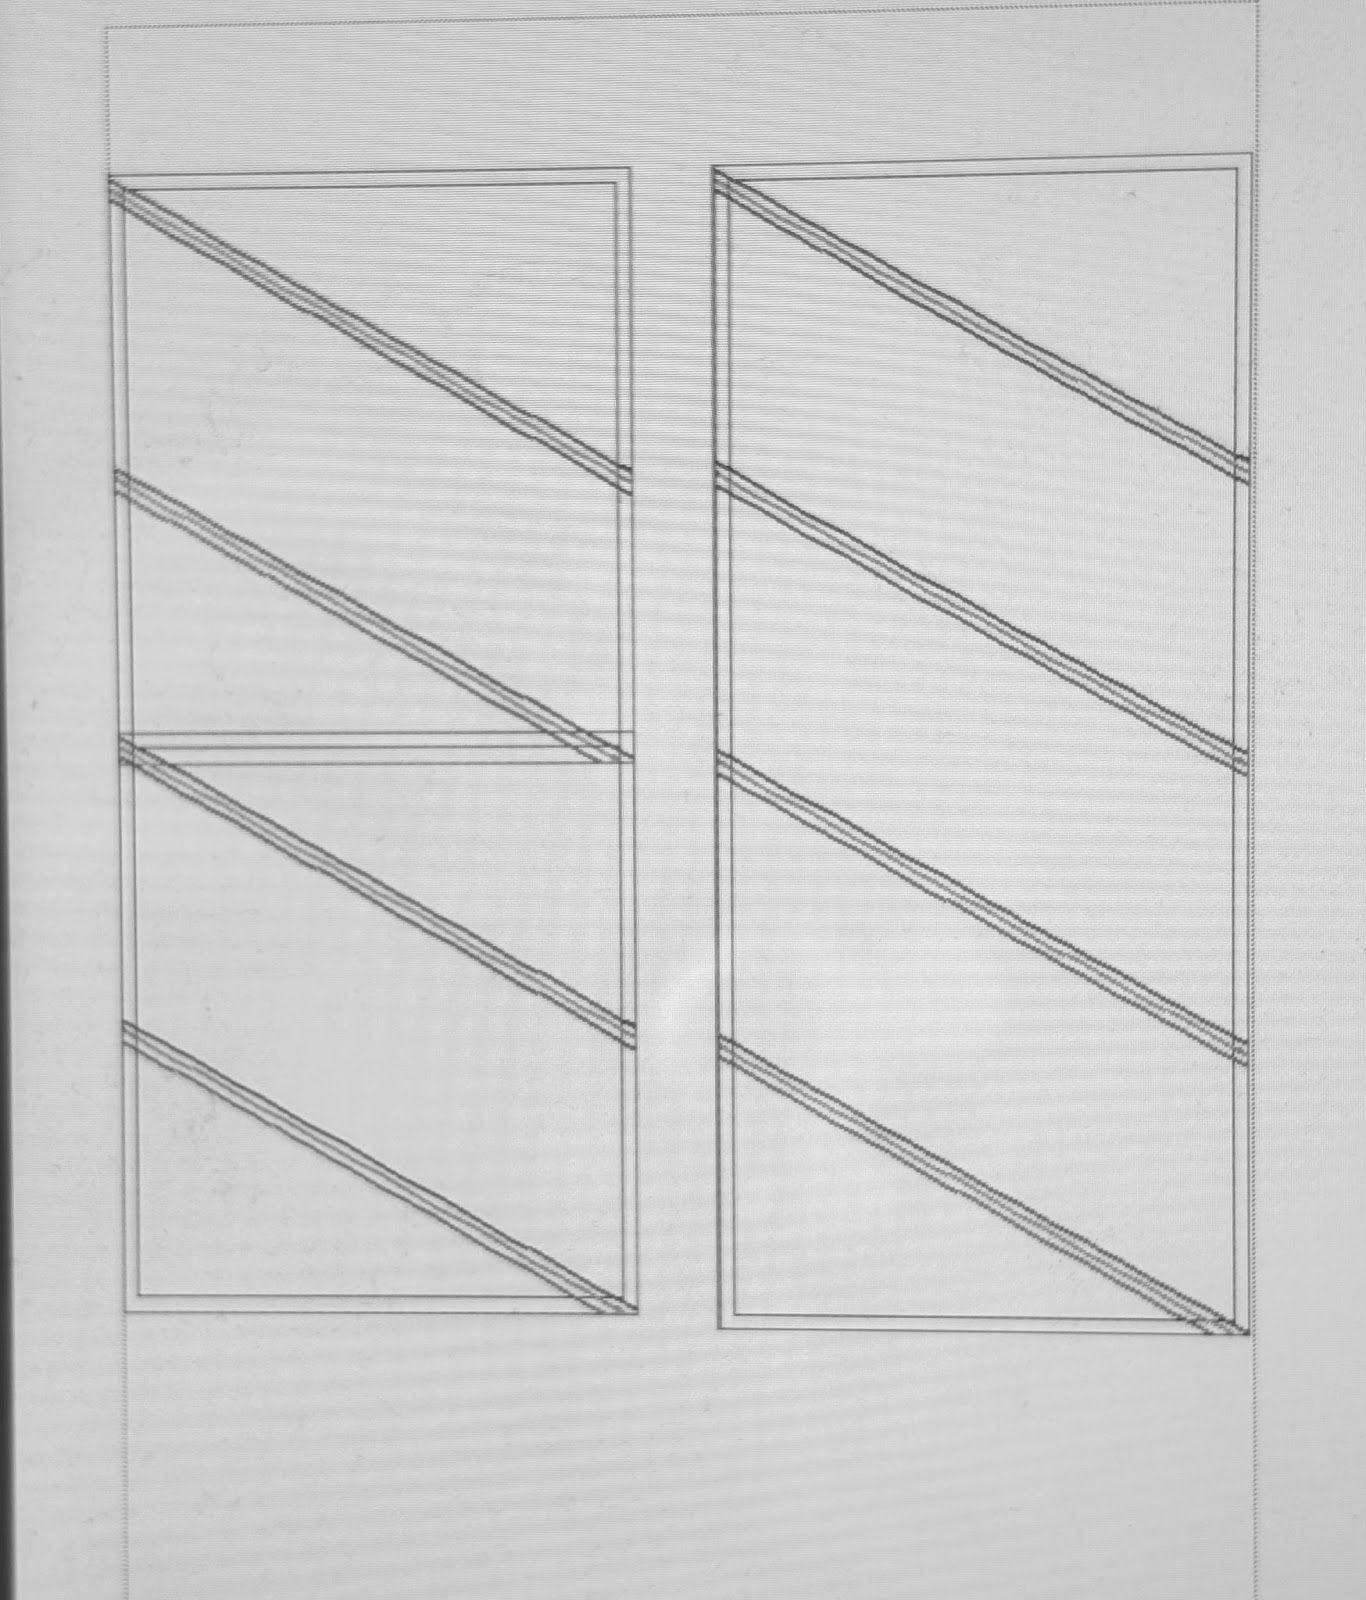
The block on the left shows two 5x7 blocks sewn together to create one block. The block on the right is a 6x10.
Load the first Side Diagonal piece to your screen. Hoop cut-away stabilizer and take it to the machine.
The first step is the placement stitch for the batting. Run this stitch and place the batting down, completely covering the stitch lines.
Remove the hoop from the machine and place on a flat surface. Trim the batting close to the stitches. Return the hoop to the machine.
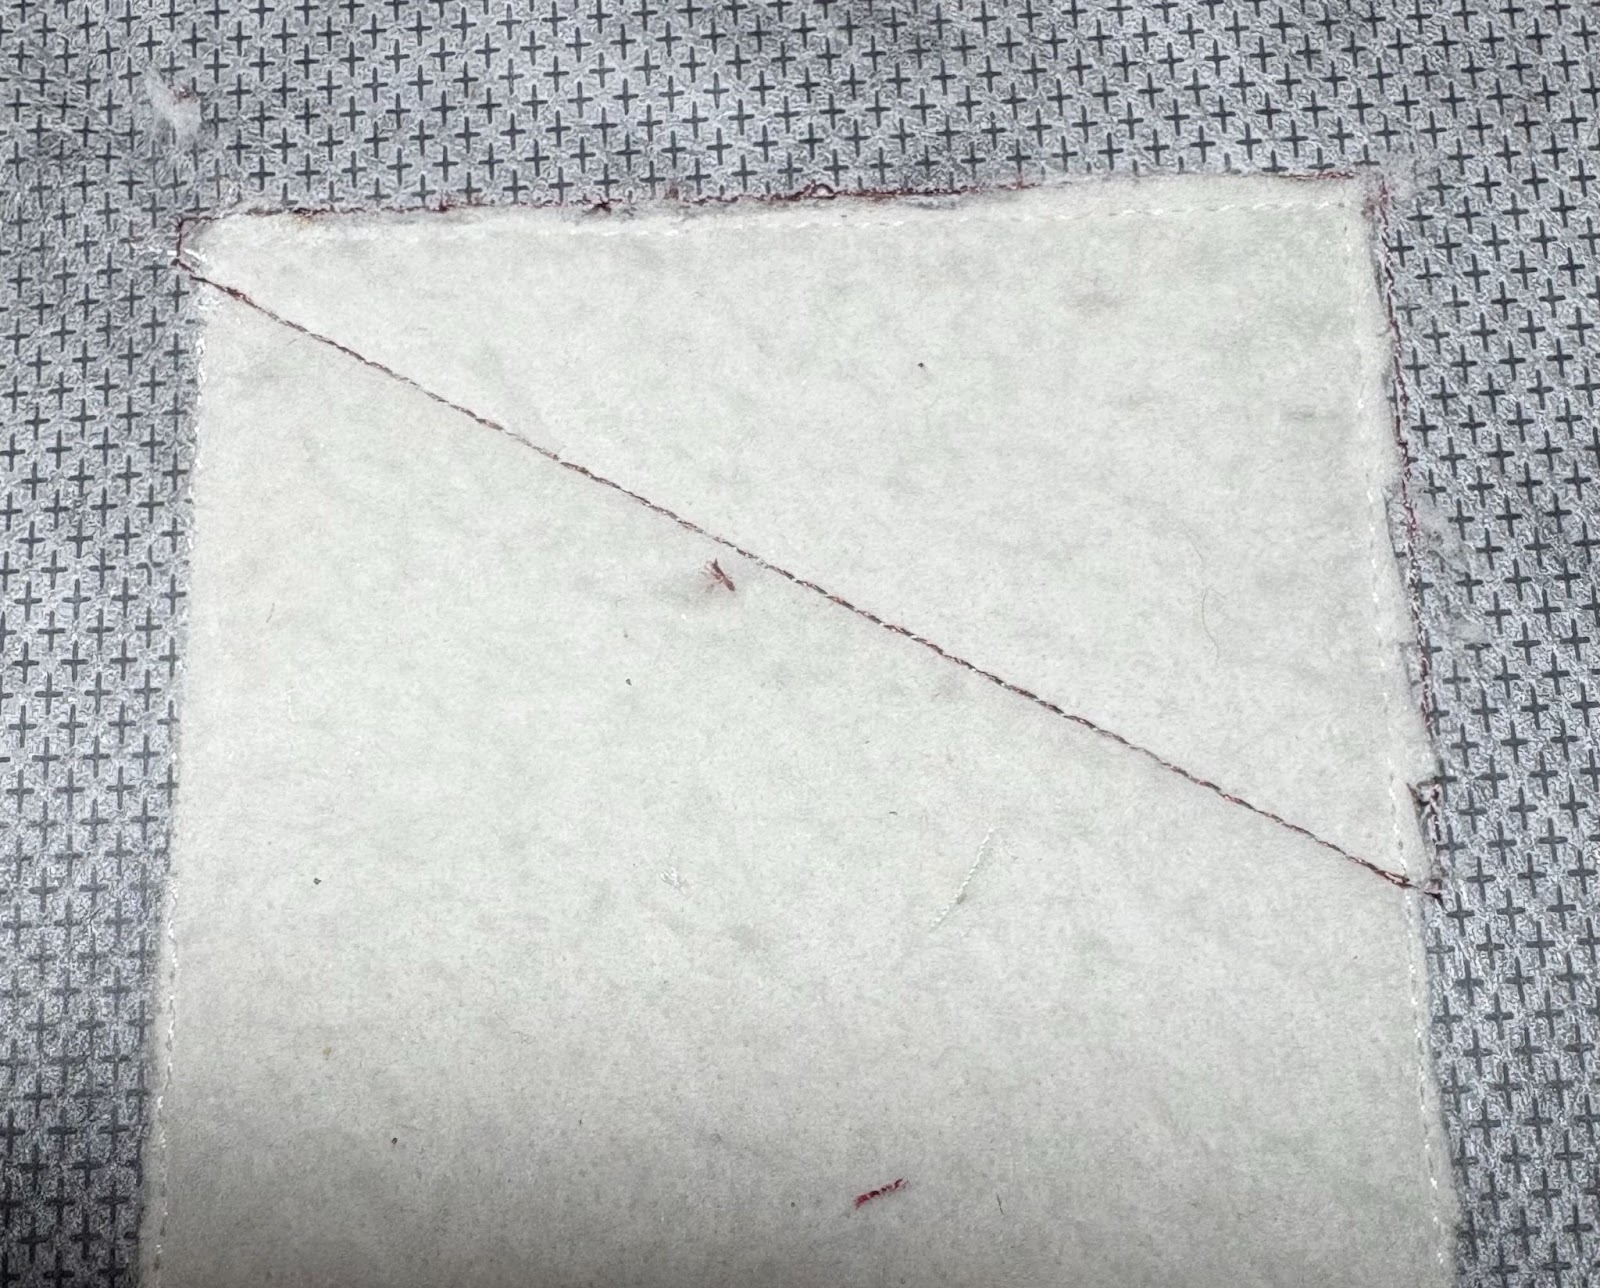
The next step will be the placement line for the first piece of fabric.
Place the fabric right side up. The raw edge will extend ⅛” past the stitch line. Run the next step to tack it down. Because we are stitching the fabric on a diagonal, the size can be misleading. I do not cut my fabric into smaller pieces before stitching down. I have found if I do that, I sometimes do not leave myself enough room for a 1” trim. This is a personal choice.
Remove the hoop and place on a flat surface. Trim the fabric, leaving at least 1” on the top and the sides. Trim ⅛” next to the stitches across the top of the batting.

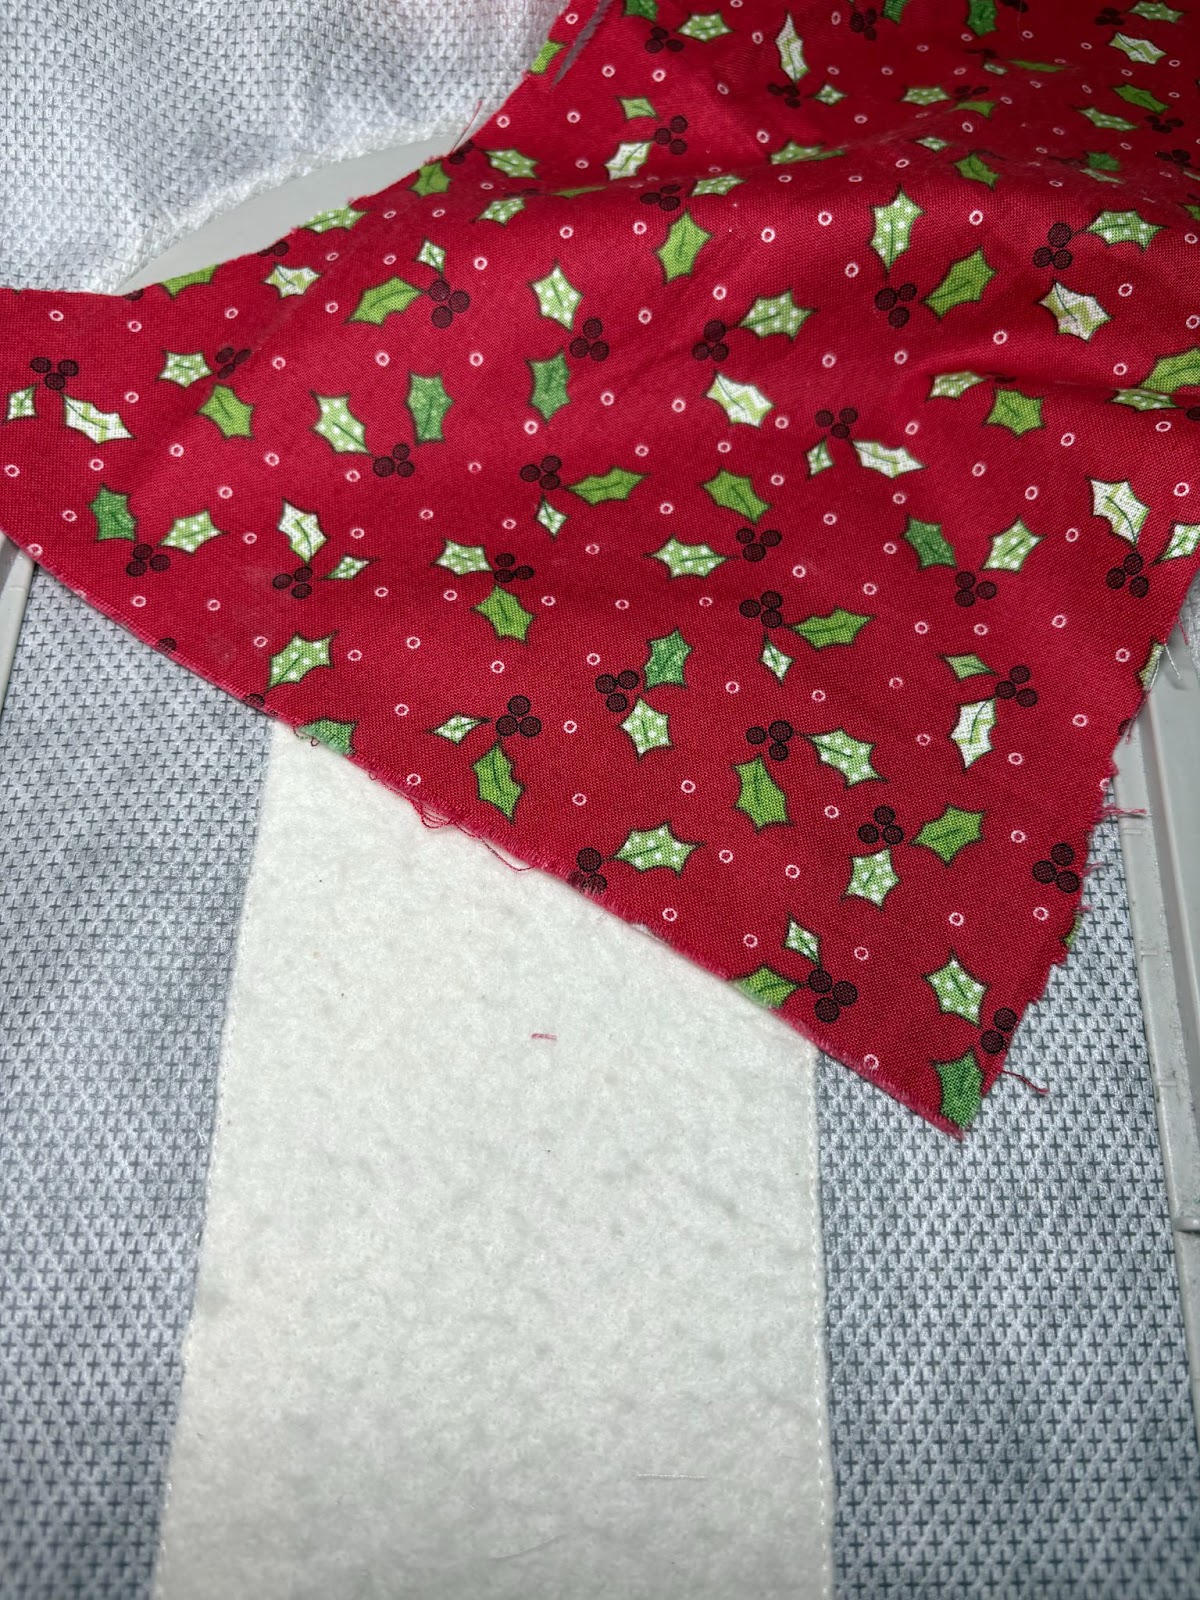
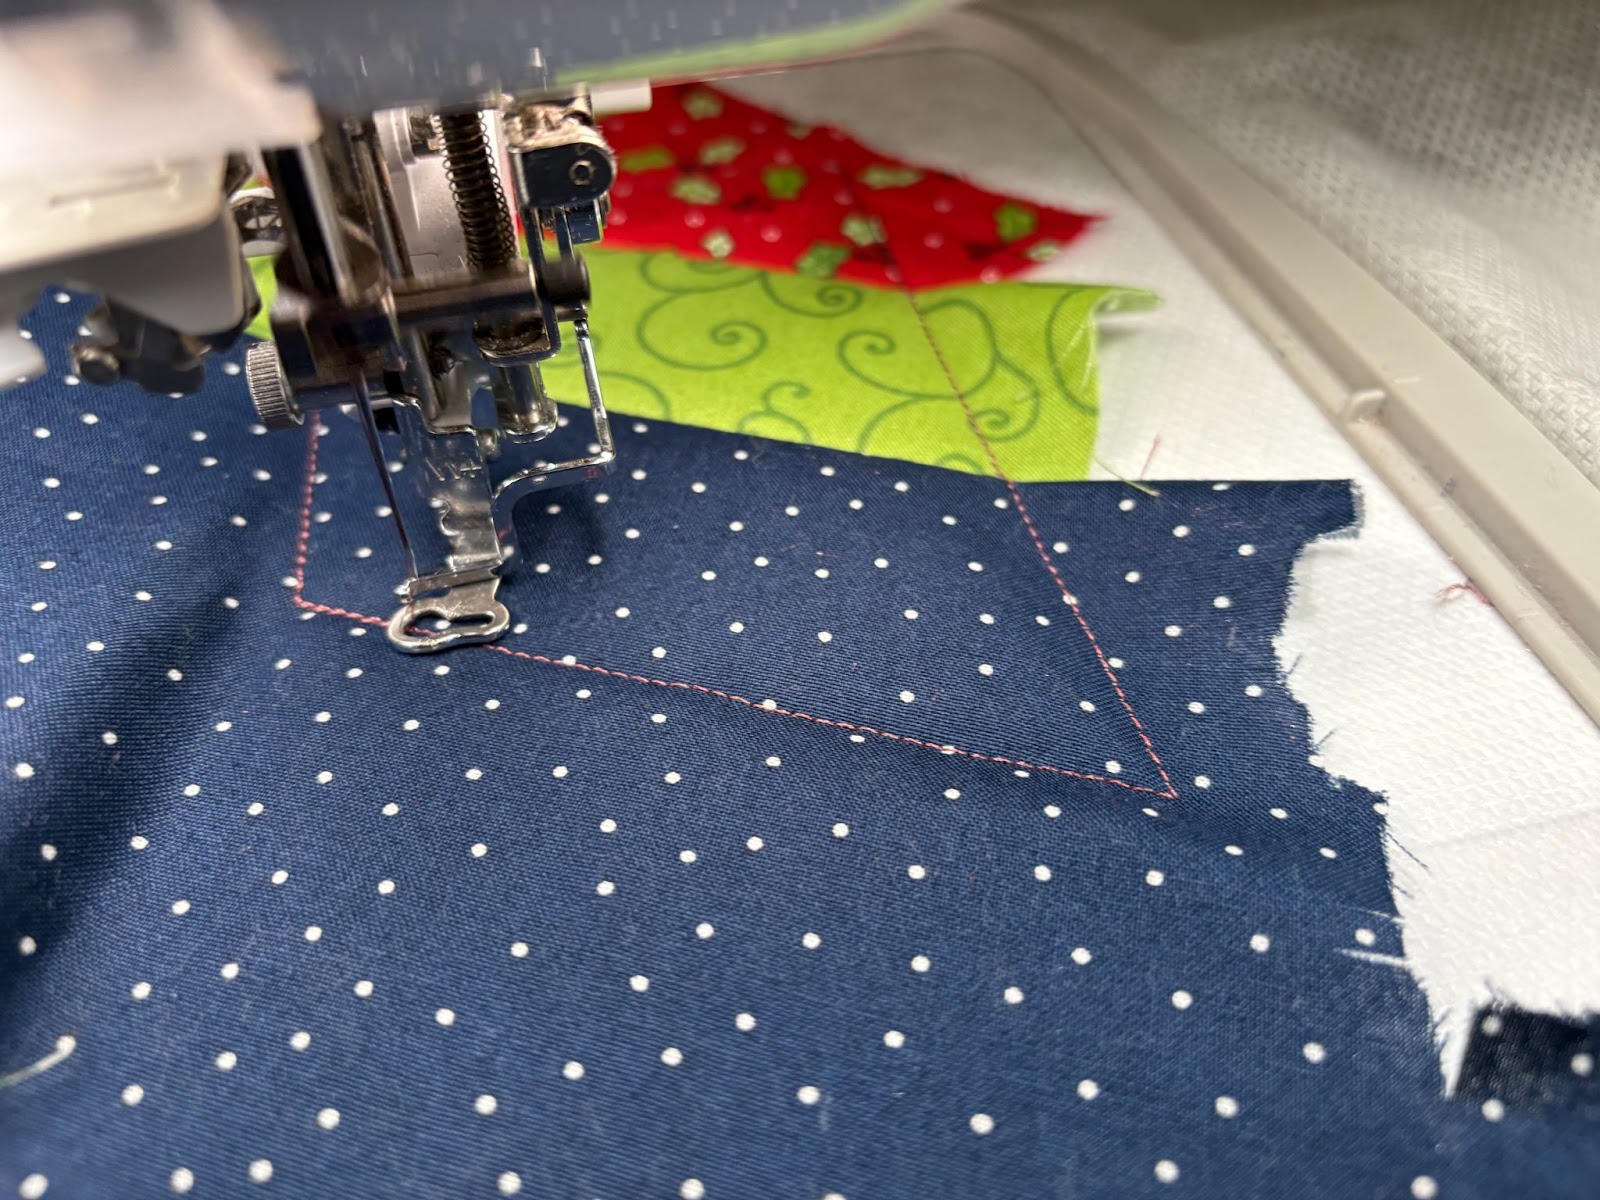
Return the hoop to the machine and run the placement stitch for the next piece of fabric. Place the fabric wrong side up ⅛” over the stitch line as shown.

Run the next step to sew the fabric down.
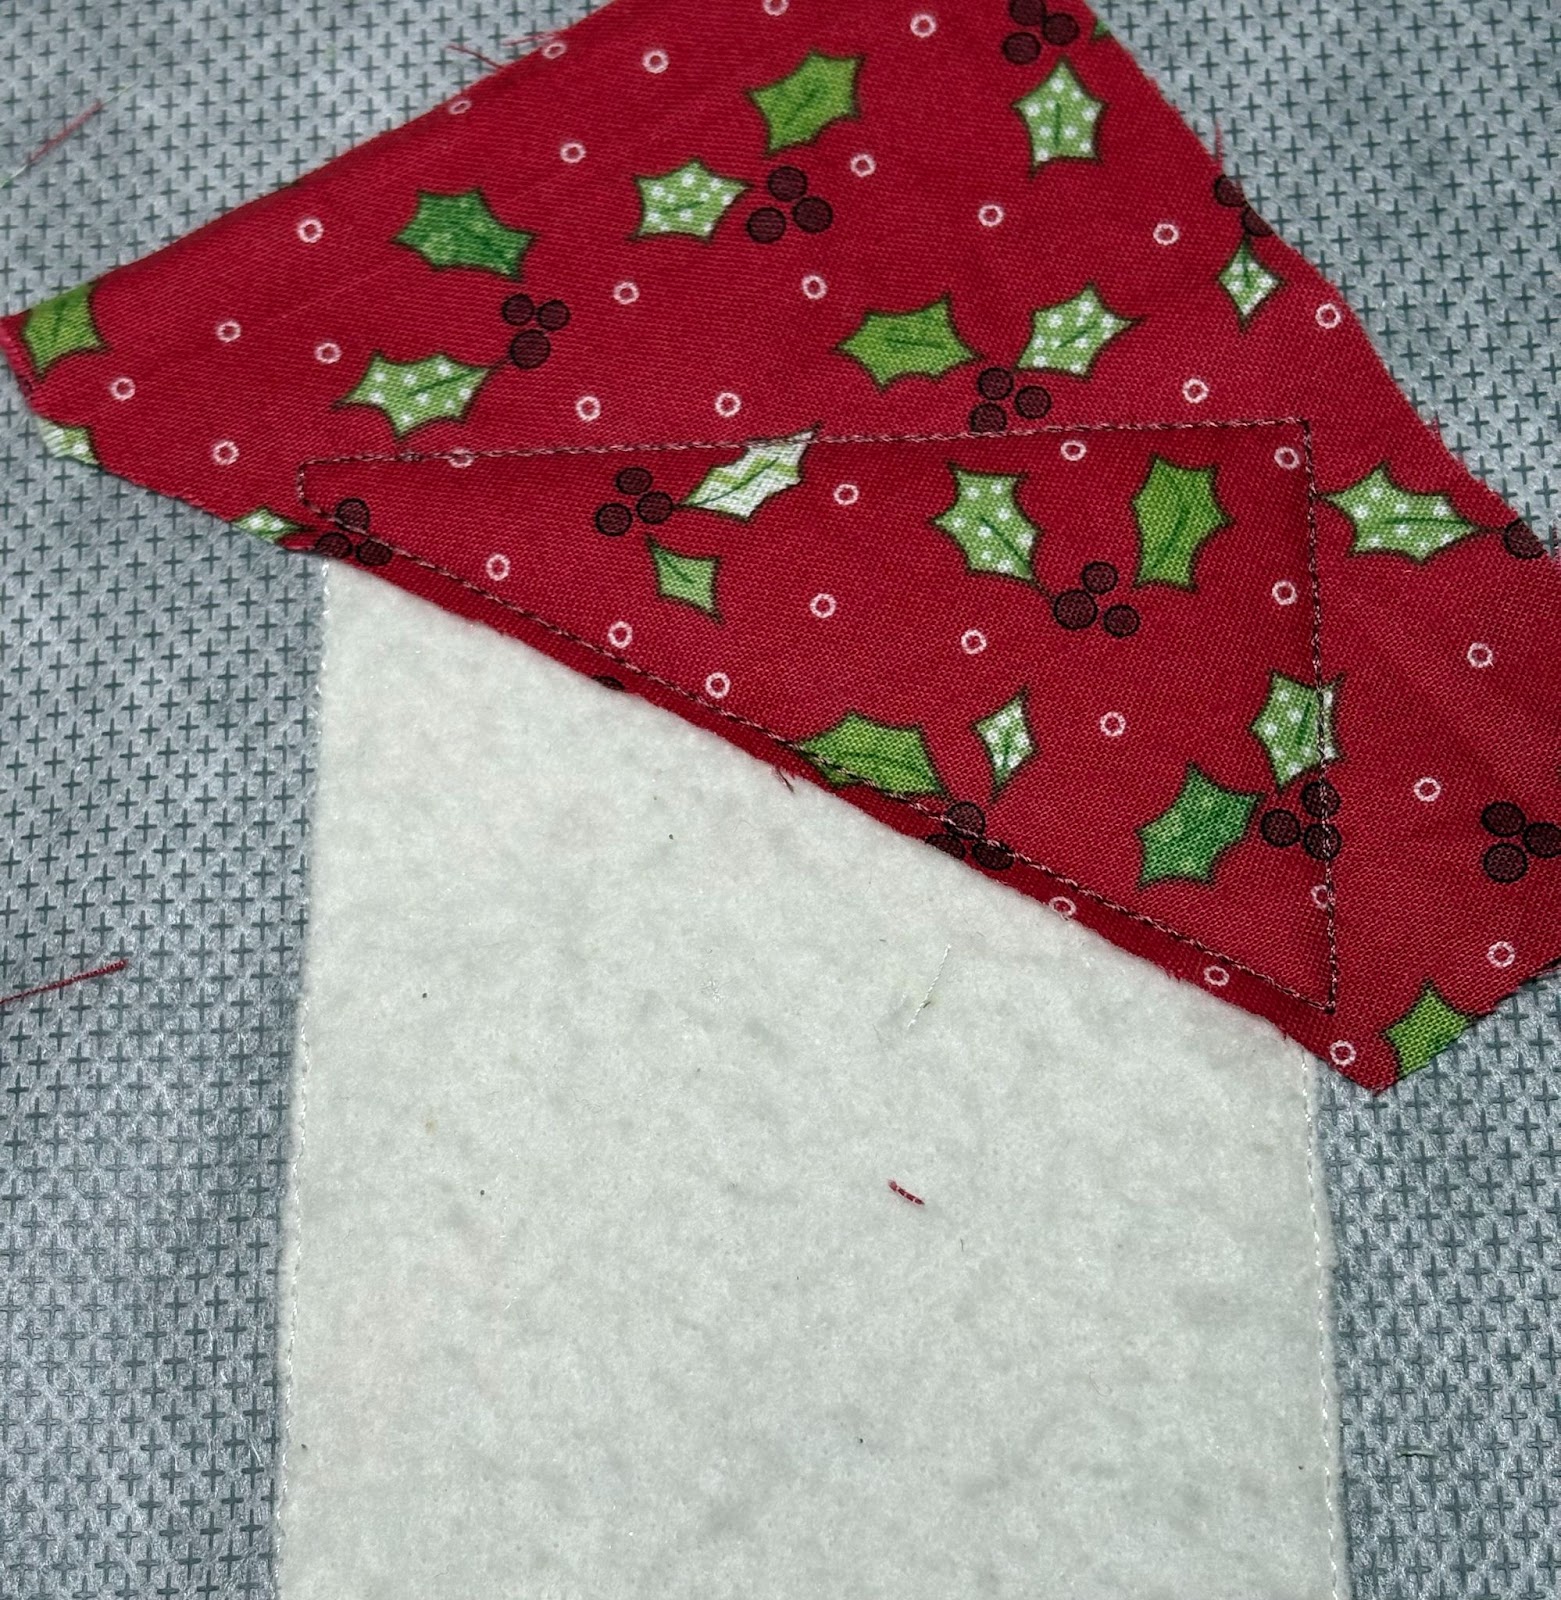
Fold the fabric back so the right side is now facing up. Smooth flat.
Run the next step to tack down the fabric. Remove the hoop from machine and trim the fabric.
Always be sure to leave at least 1” on the sides. It doesn’t have to be perfect. We will trim it up later.
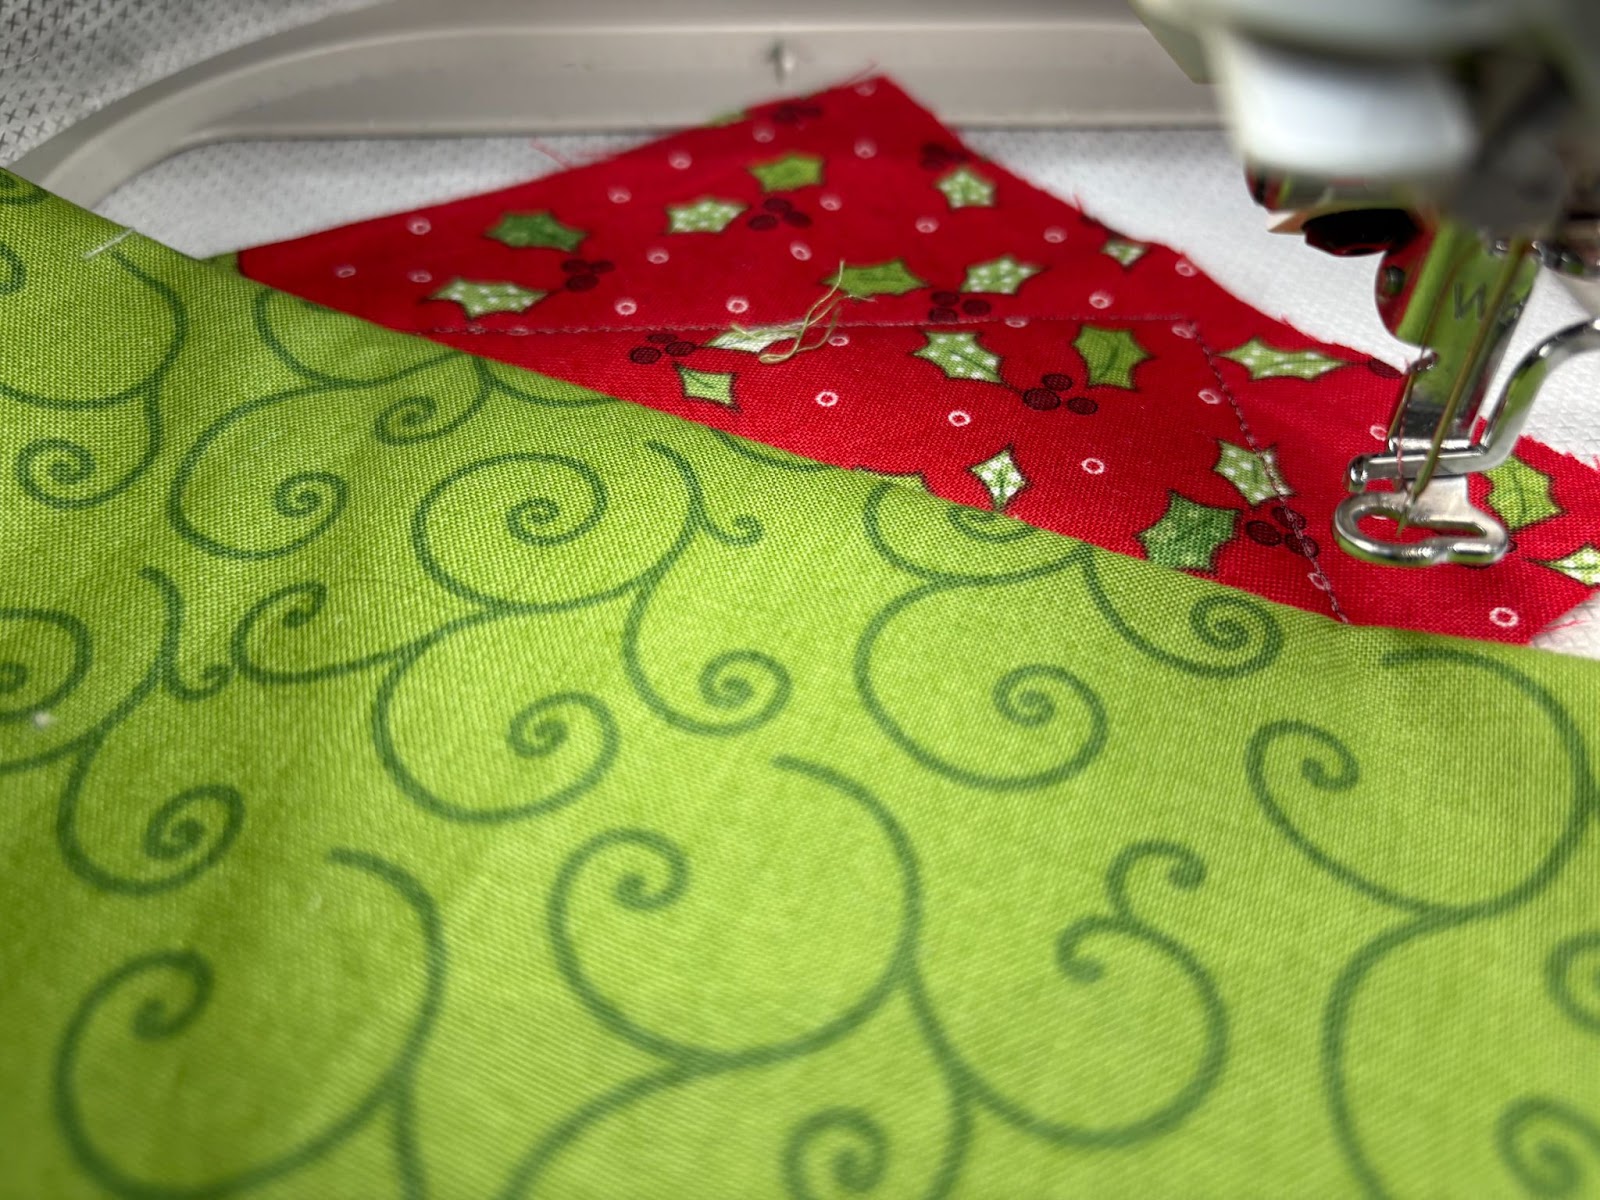
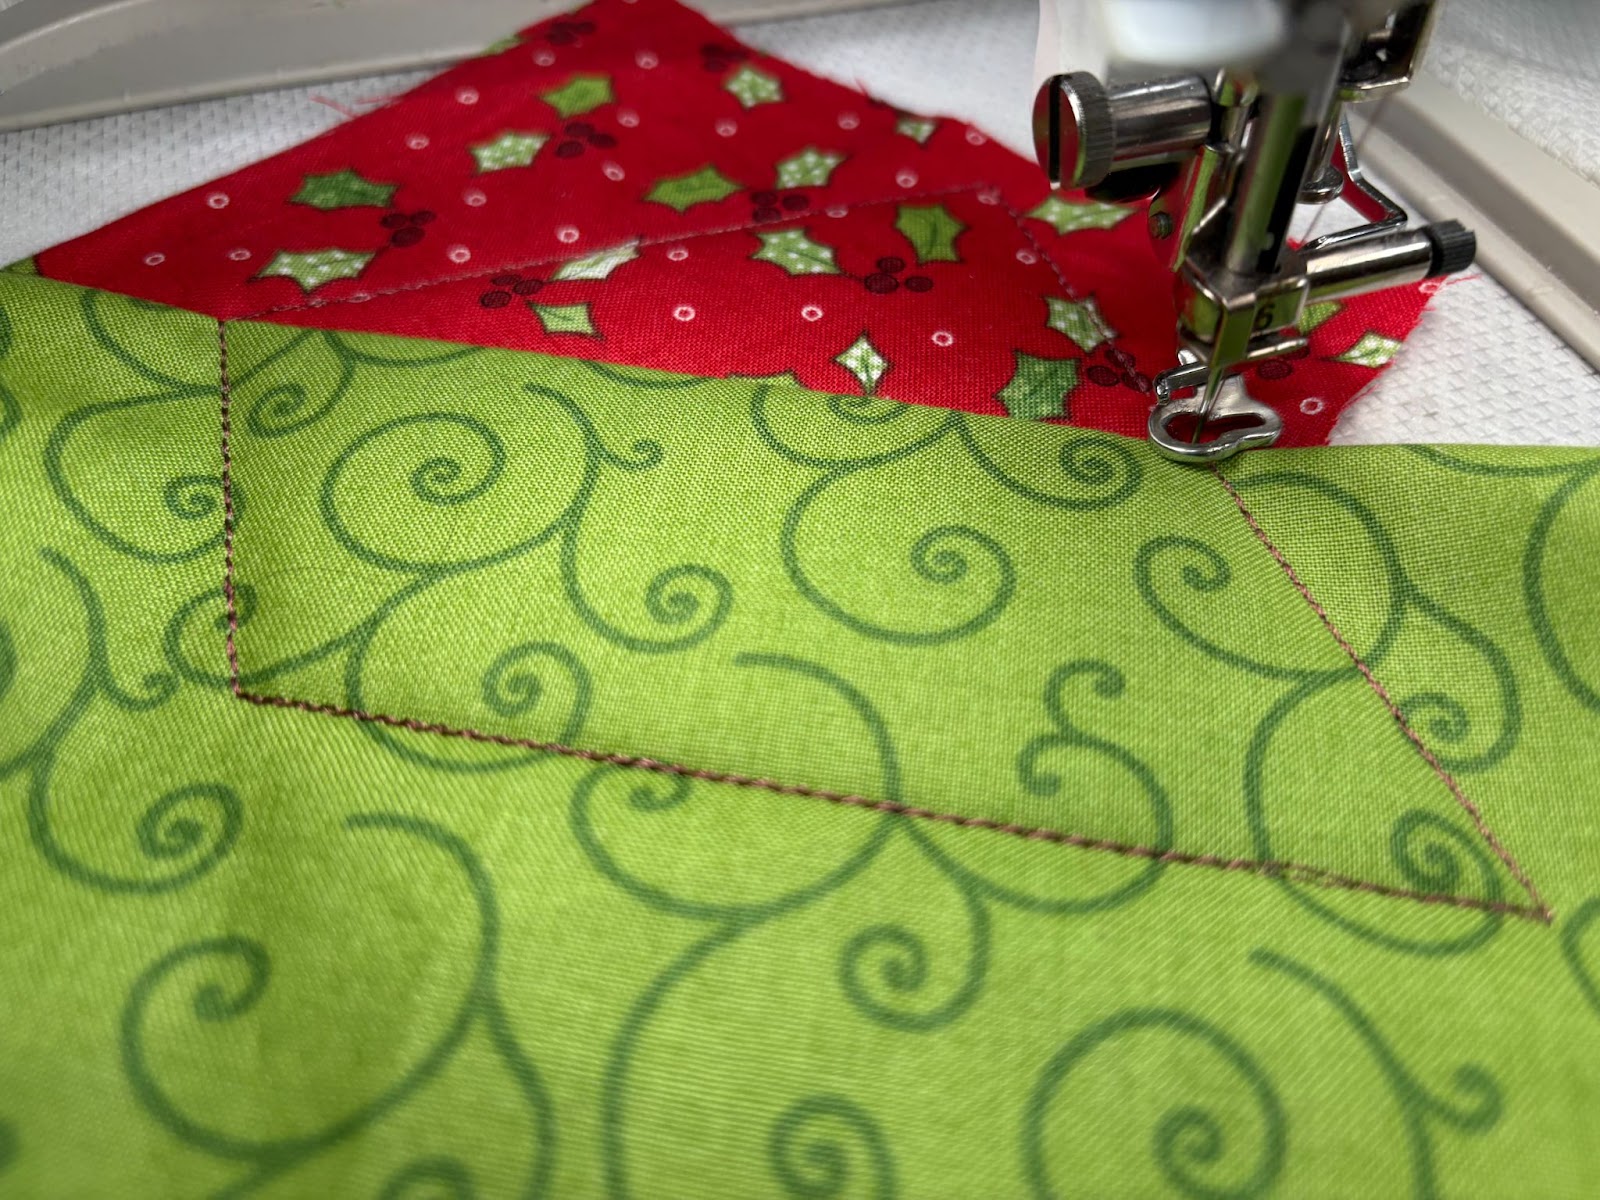
Return the hoop to the machine and sew the next placement stitch.
Place the next piece of fabric right side down with the raw edge extending ⅛” from the stitch line. Run the next step to sew it down.
Fold the fabric back so it is right side up. Run the tack-down stitch. Remove the hoop from the machine and trim this piece the same as the others. Return the hoop to the machine and finish the last two pieces of fabric the same way.
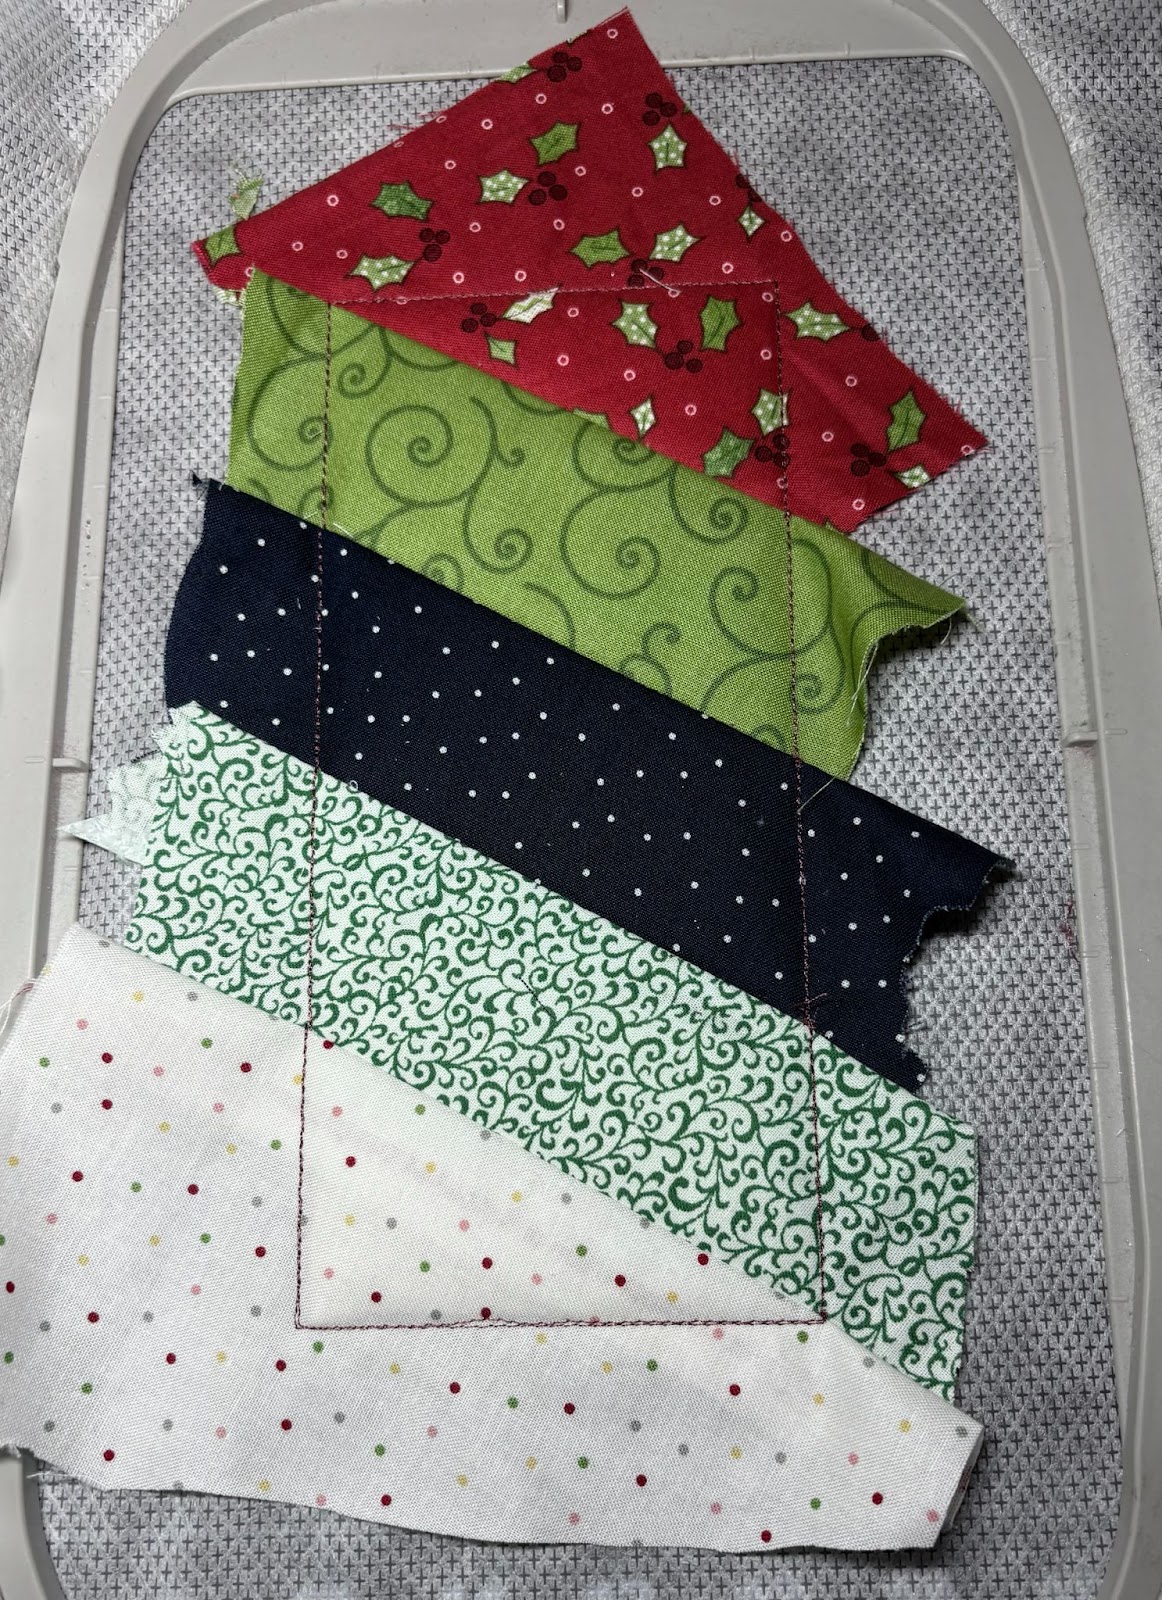
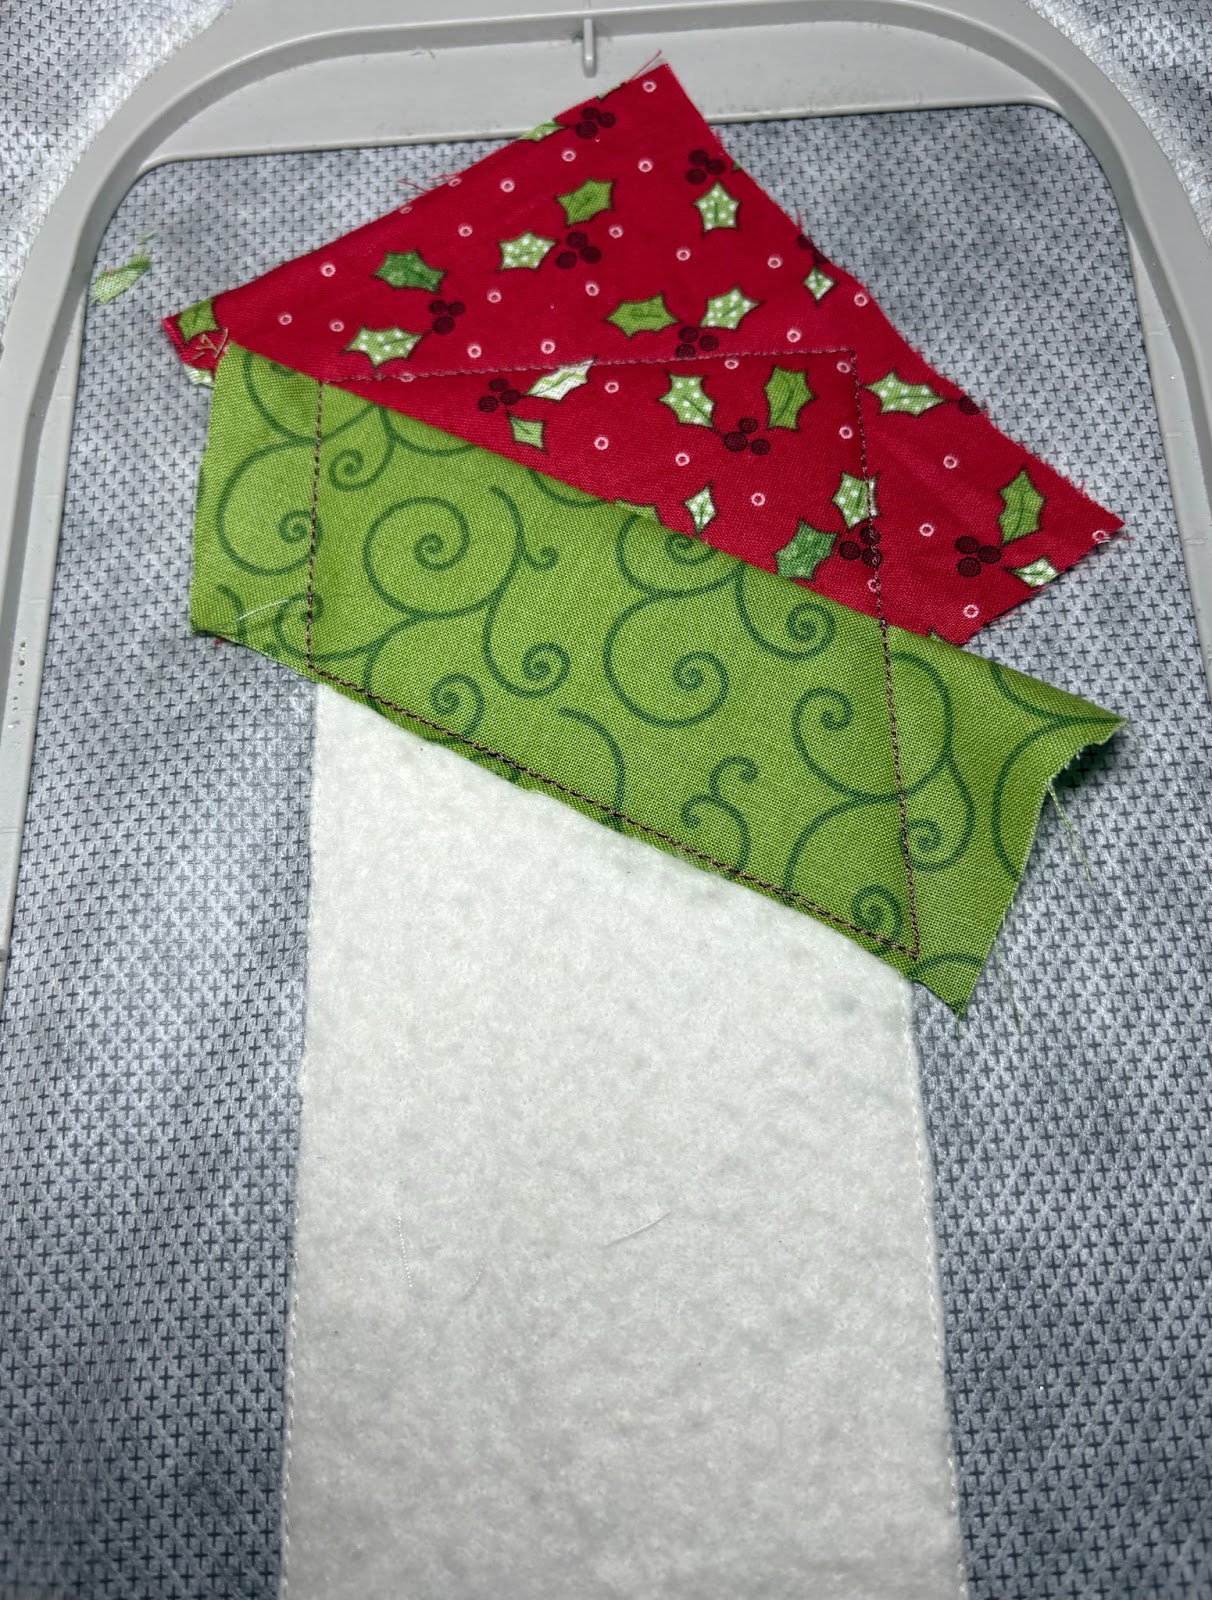
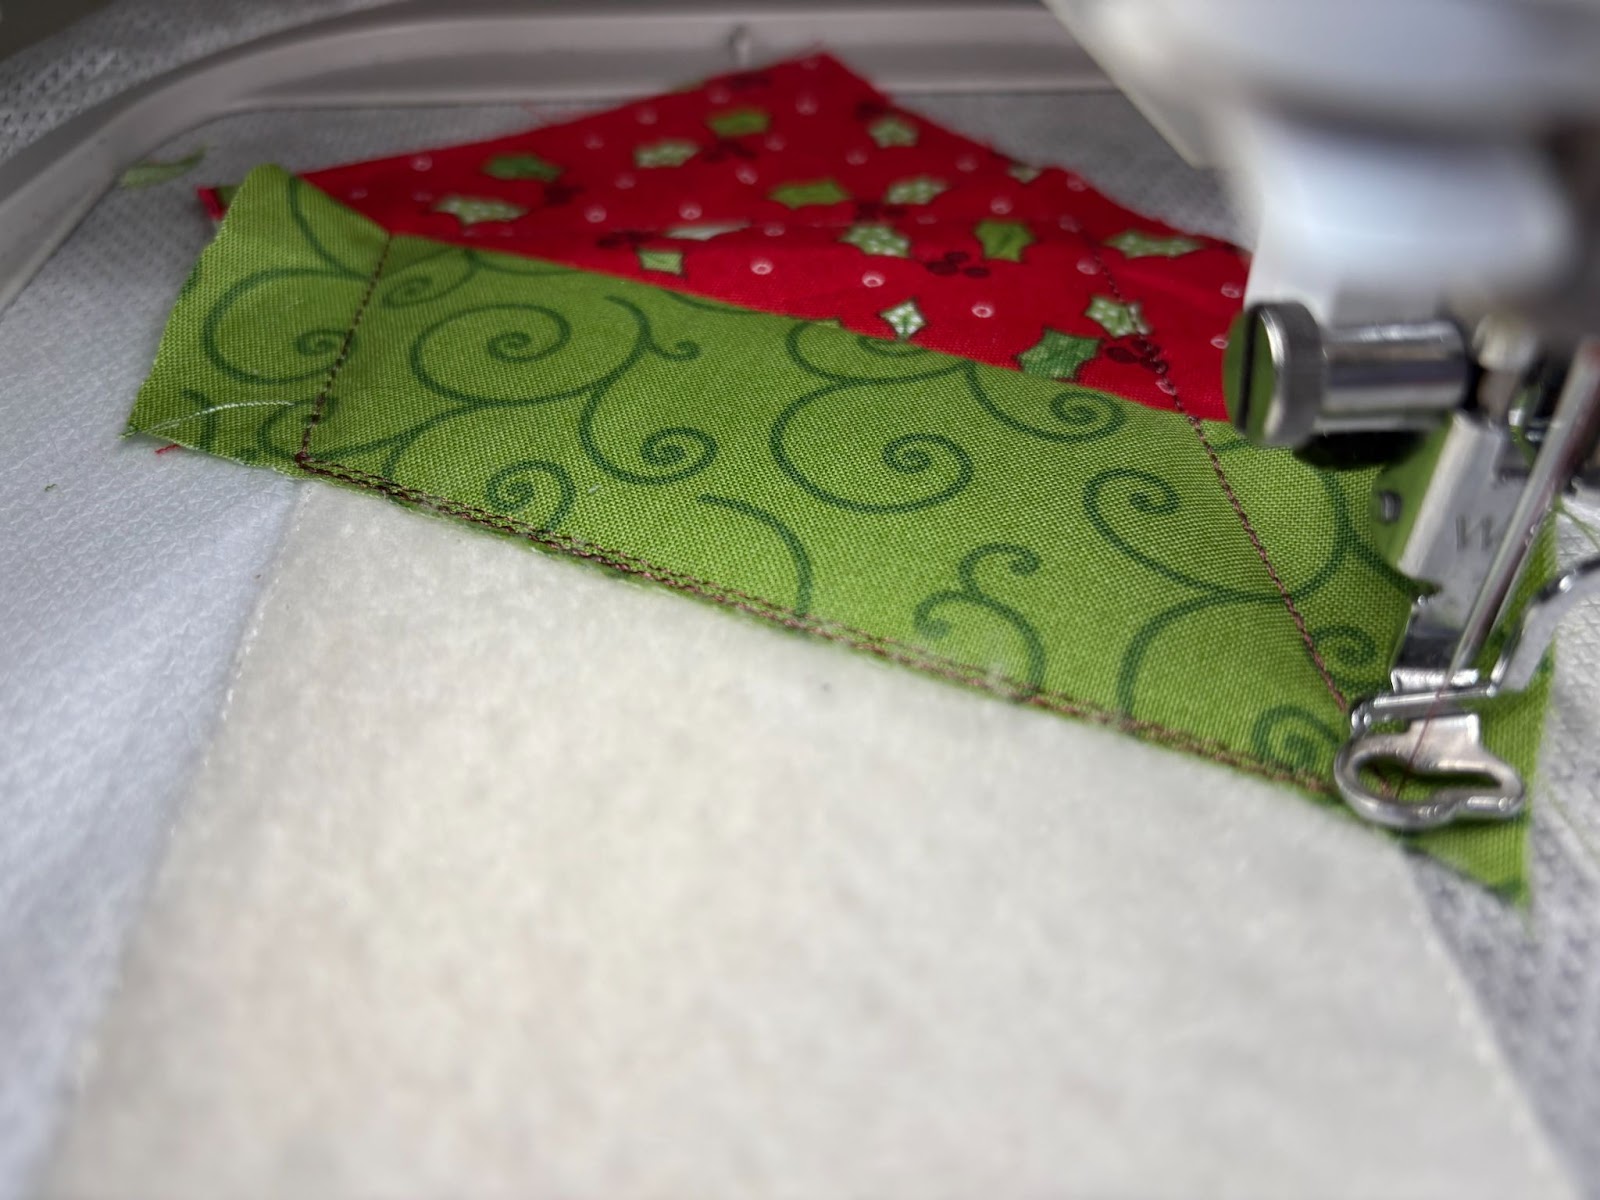
When finished your block should look similar to this. Remove from the hoop and set aside. This is the 6x10 size. If doing the 5x7 size, the two blocks will be sewn together later. Repeat the above steps for the second Side Diagonal block.
When finished your blocks should look similar to this.
If you are using a 5x7 hoop, you will need four blocks. These will be done in two hoopings and then sewn together. If you are using a 6x10 hoop, you will need two blocks, each done in one hooping. Refer to the diagram previously shown if needed.

Load the size Vertical Border block you will be using. Hoop cut-away stabilizer and take it to your machine. Run the first step, the placement for the batting. Place the batting down and run the tack-down stitch. Remove the hoop and place on a flat surface.
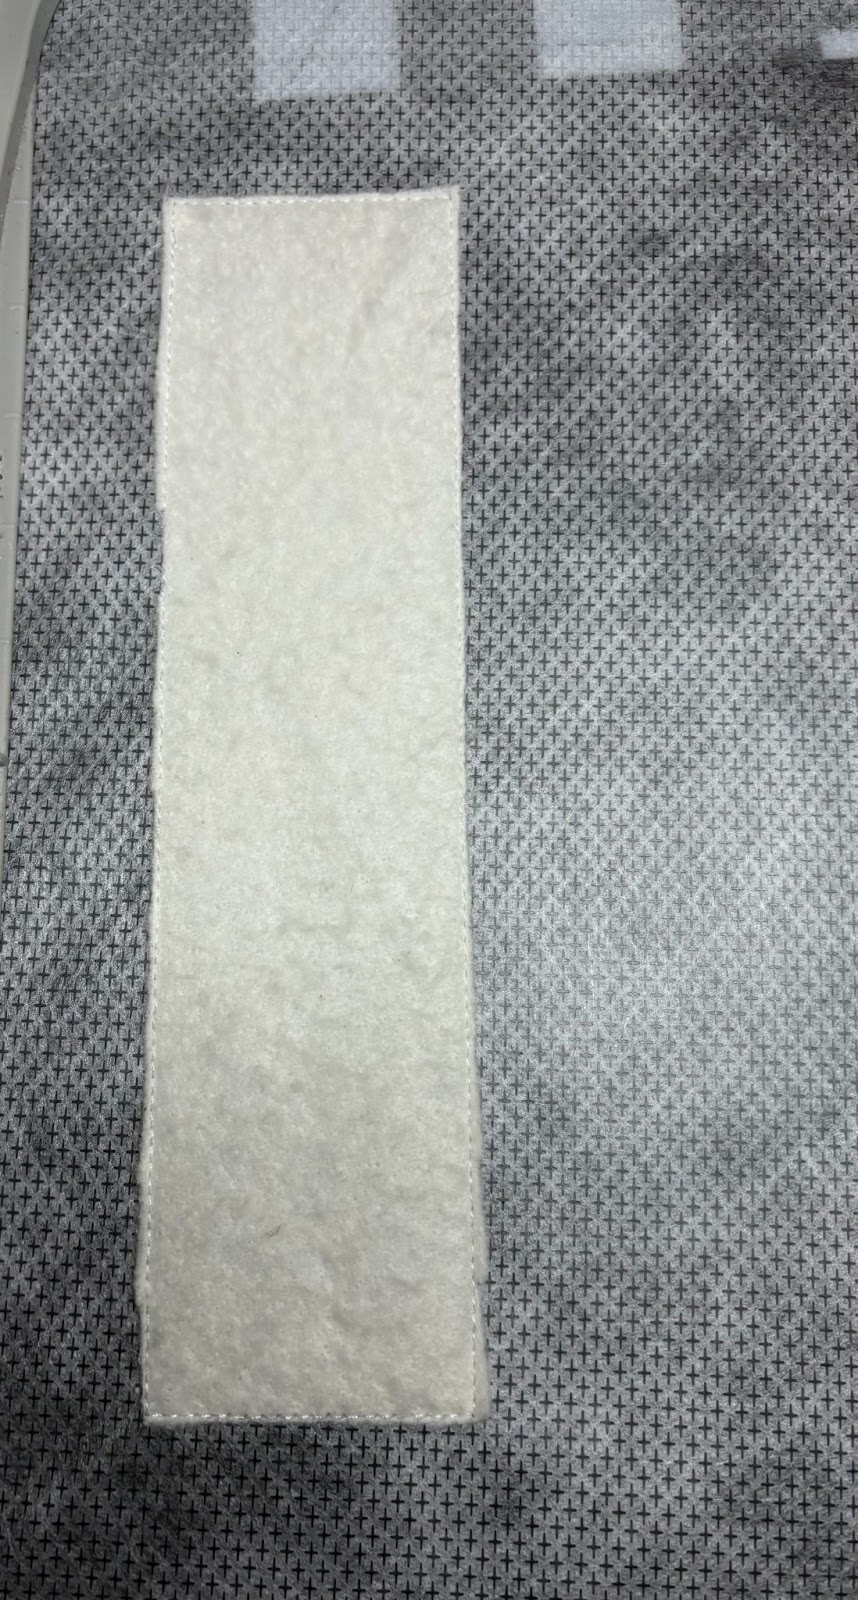
Trim the batting. Return the hoop to the machine.
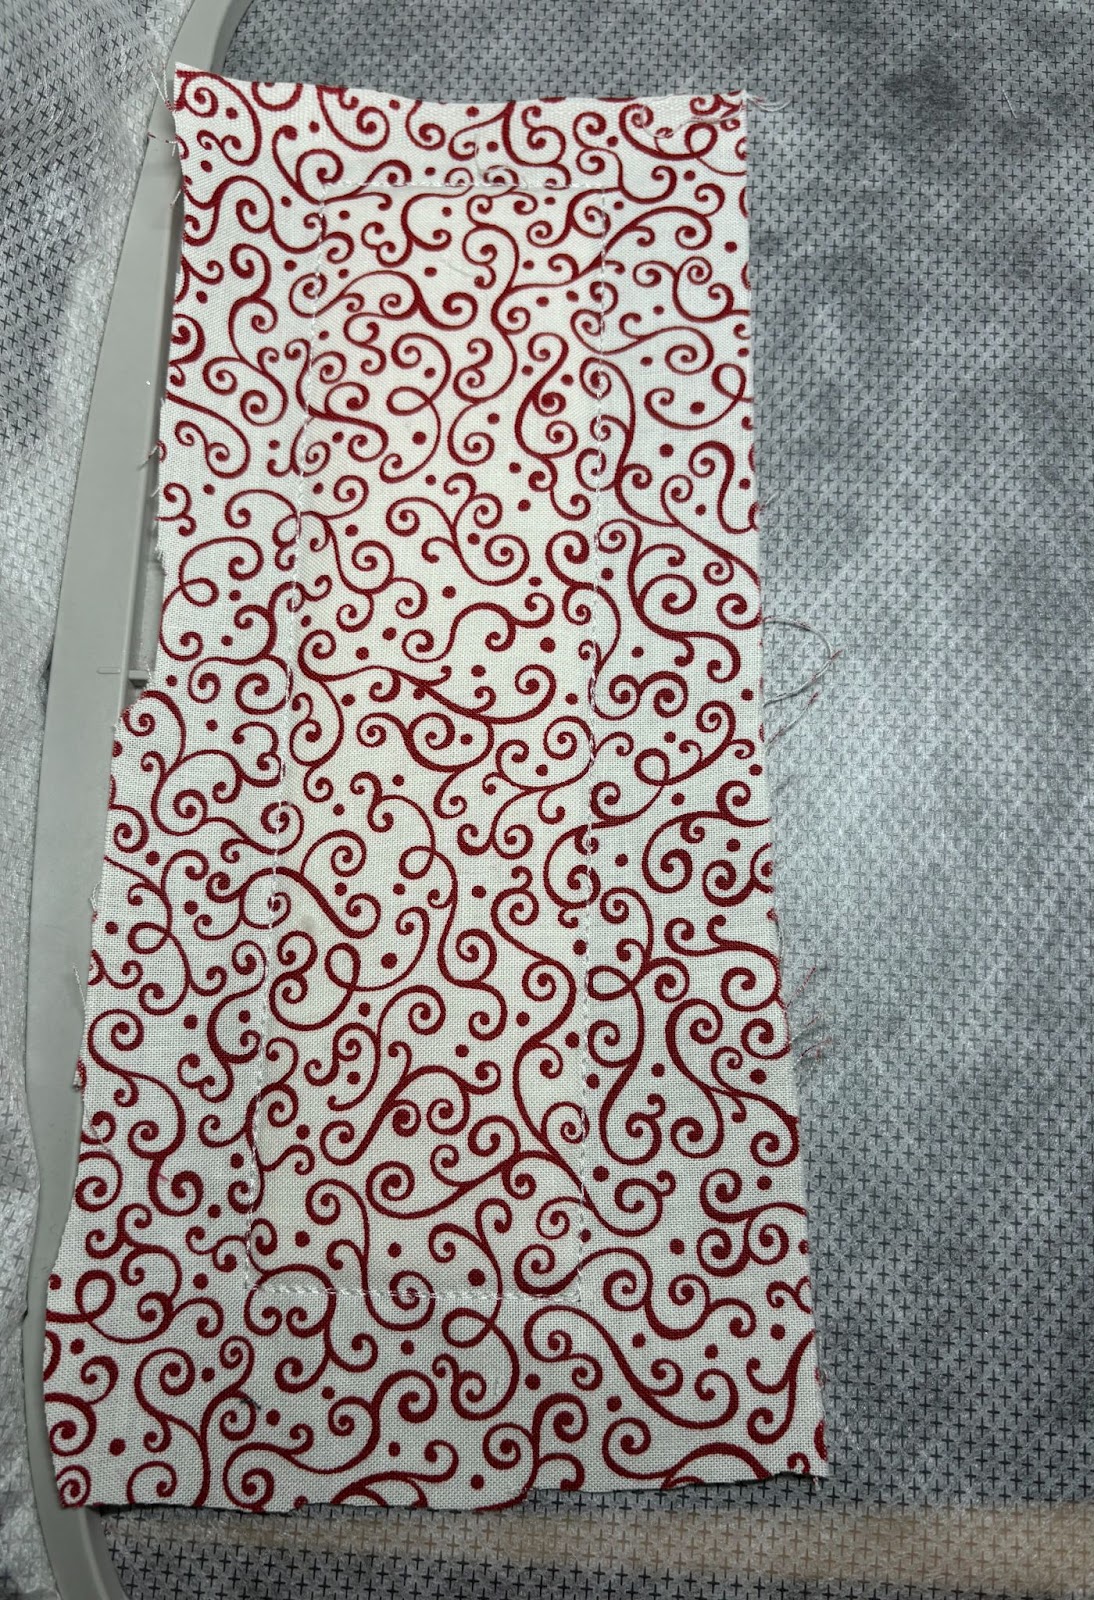
Place your border fabric over the batting, leaving enough room on all four sides for a 1” trim. Run the tack-down stitch.
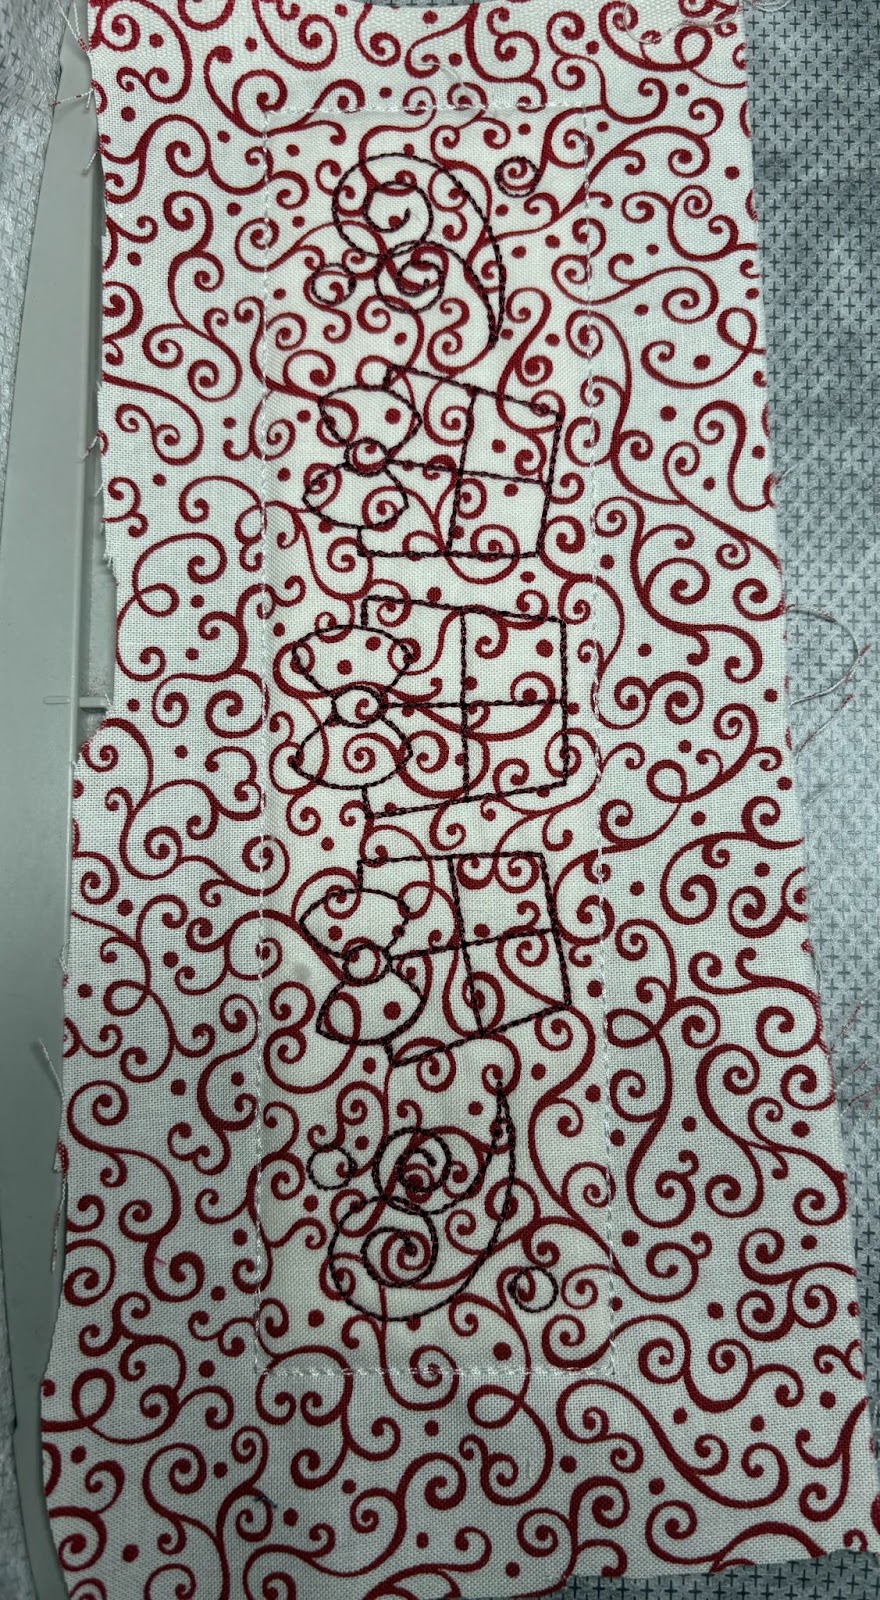
The final step is the decorative stitch. Change your thread if needed. When finished, remove the hoop and set on a flat surface. Do not remove the block. We need to do the second one.
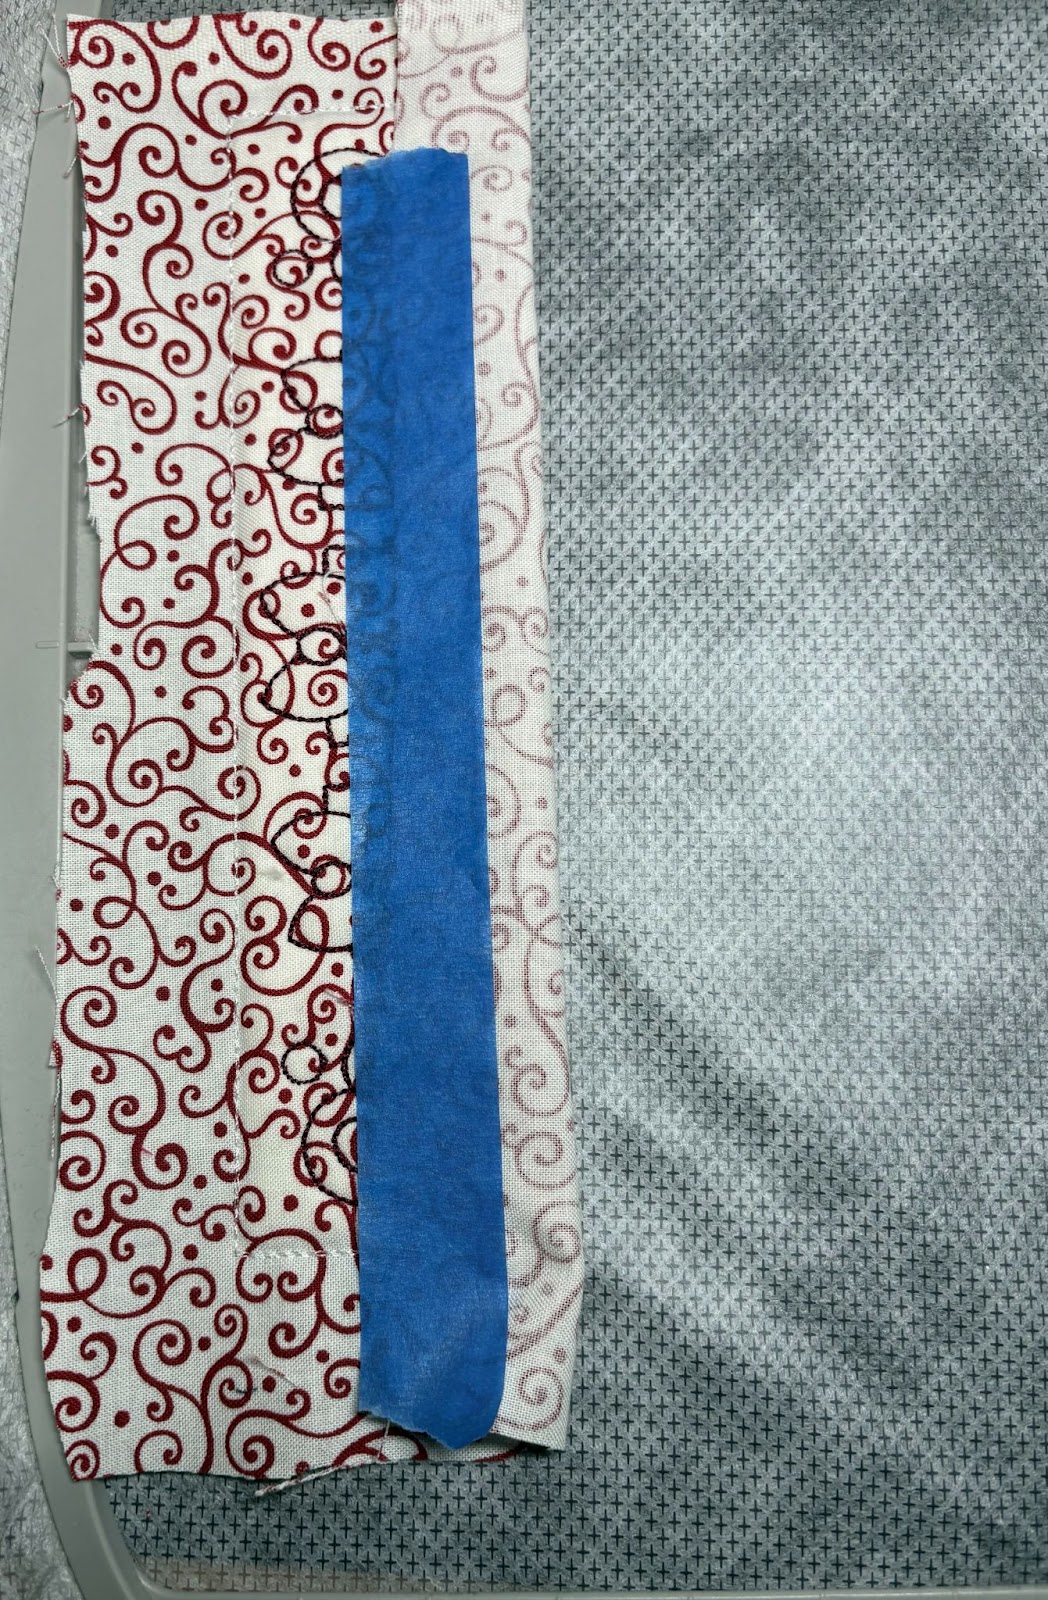
Tape the edge of the fabric onto the top of the finished block to keep it out of the way. Return the hoop to the machine.
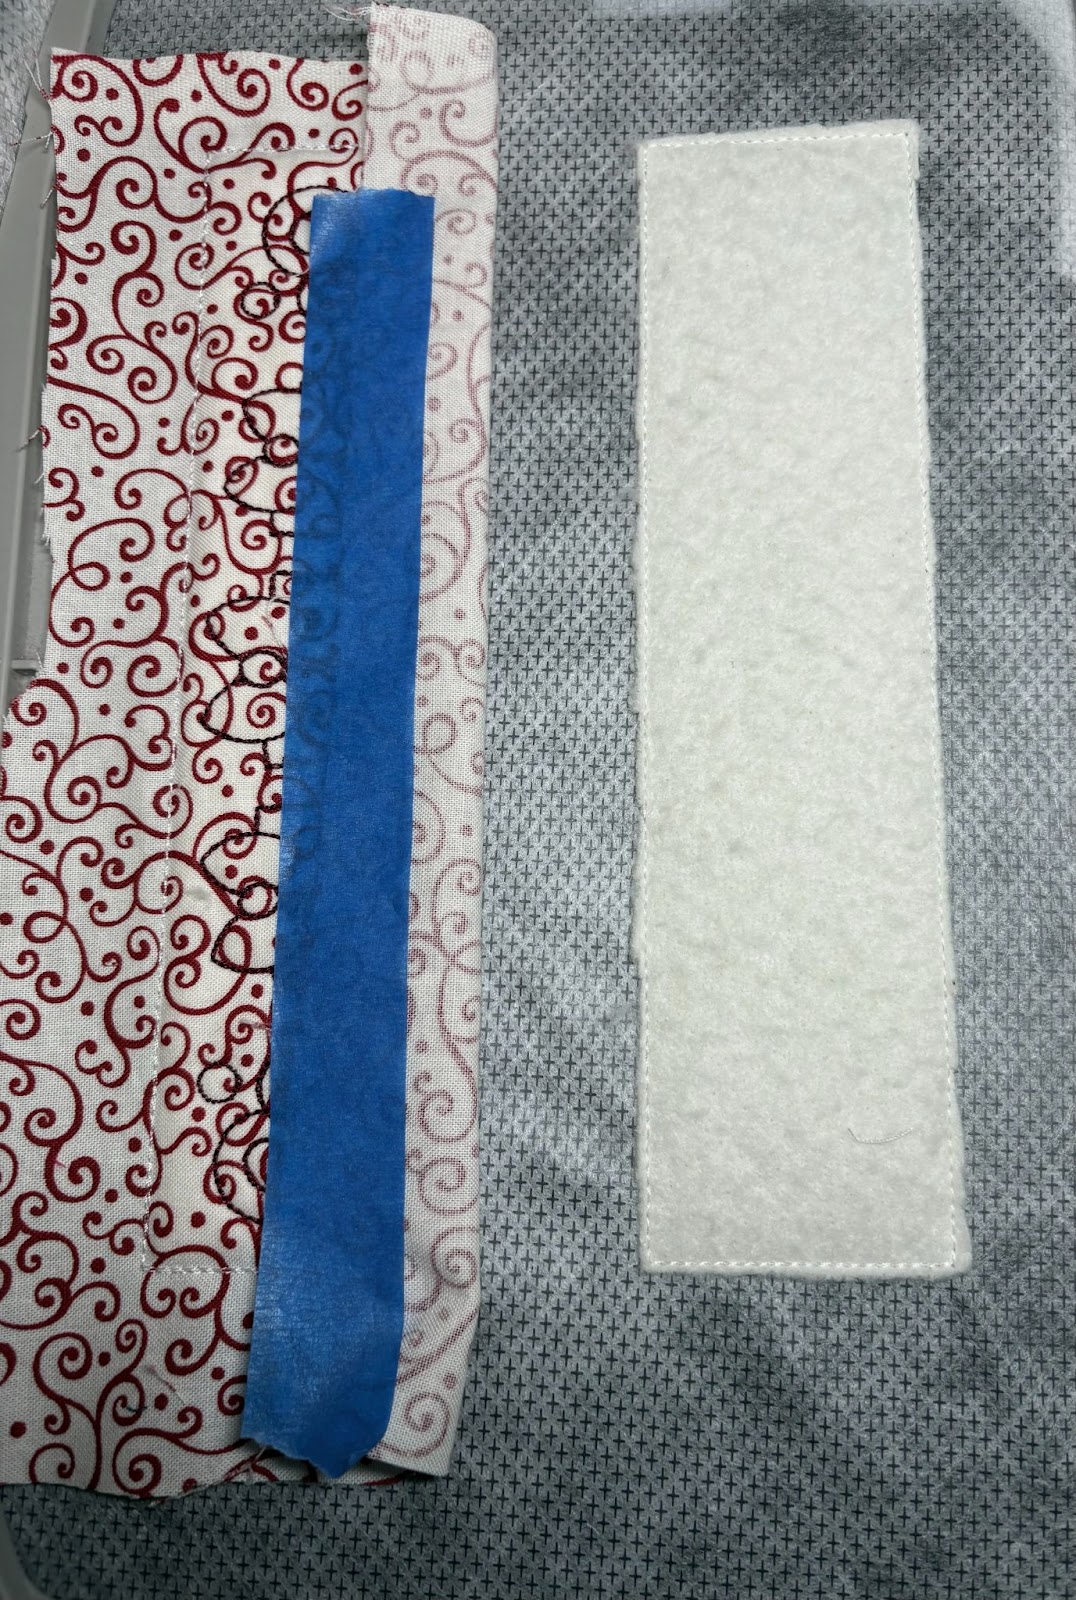
Run the remaining steps to finish the second block. If using a 5x7 hoop, complete four blocks. The steps are the same.
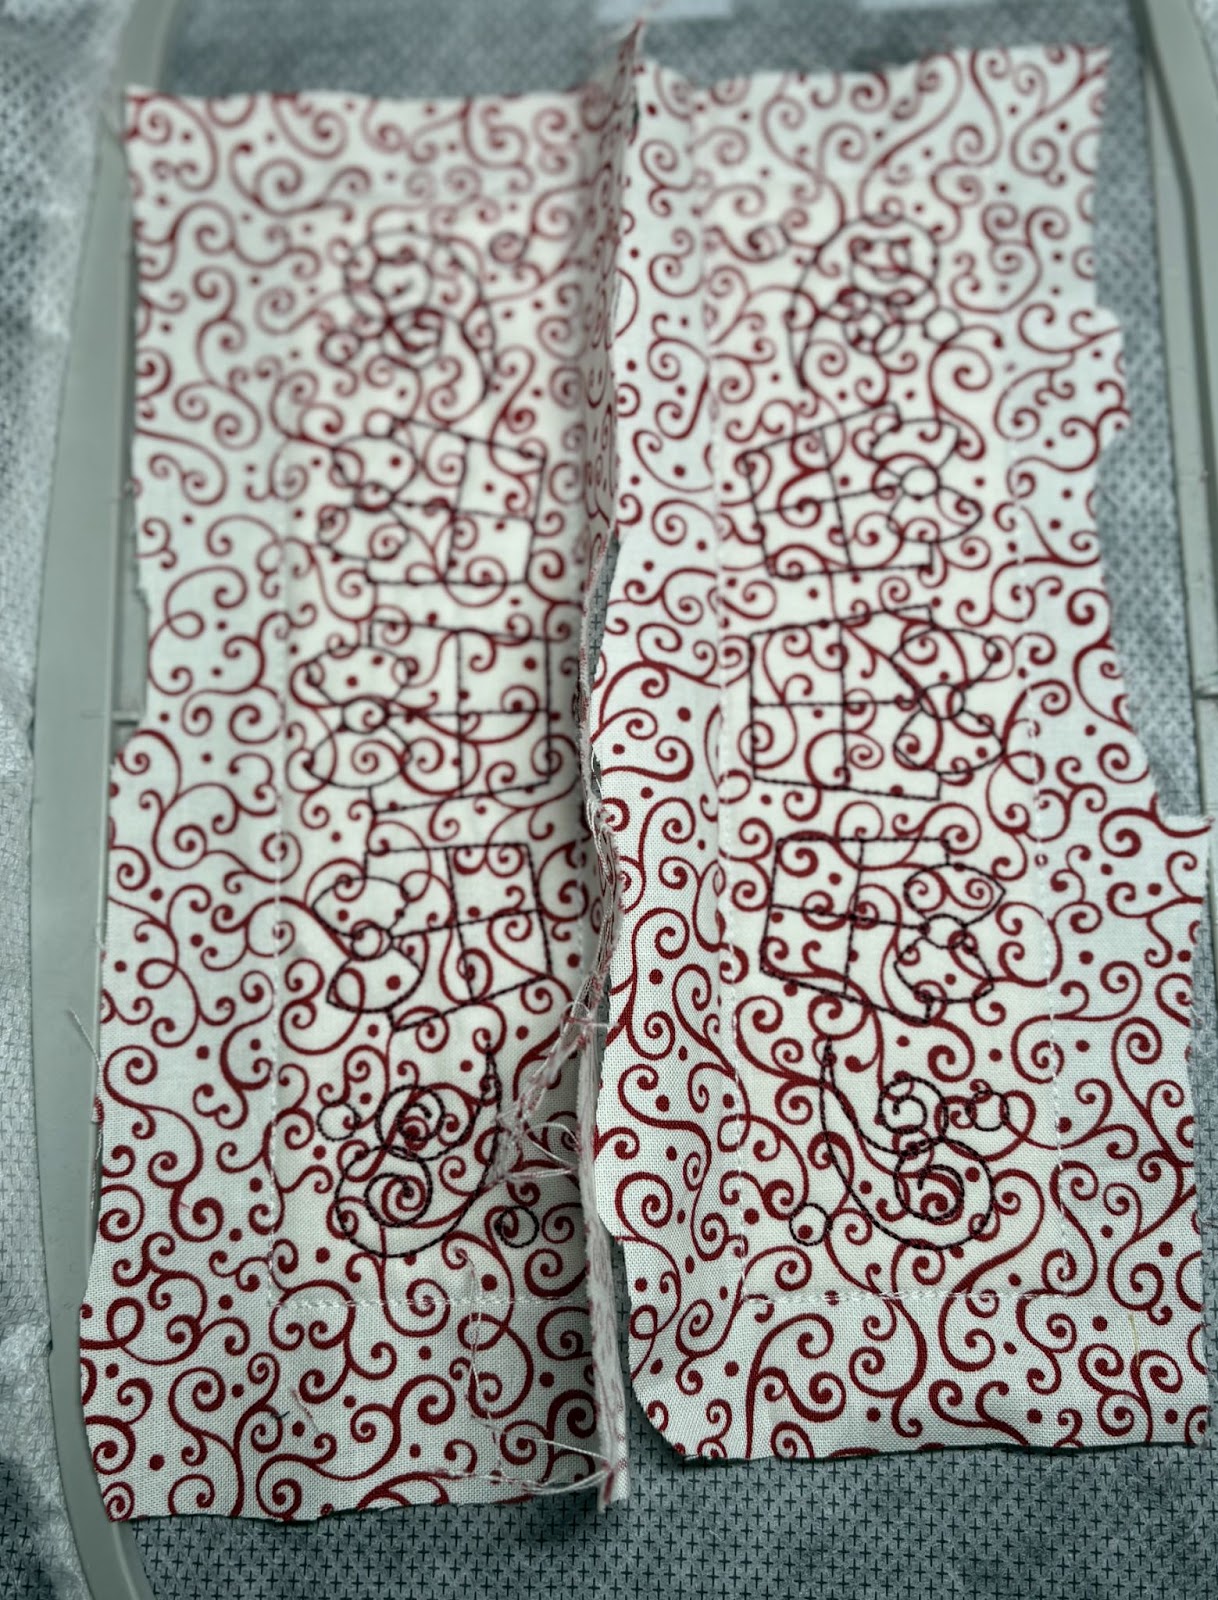
When finished, remove the blocks from the hoop and set aside.
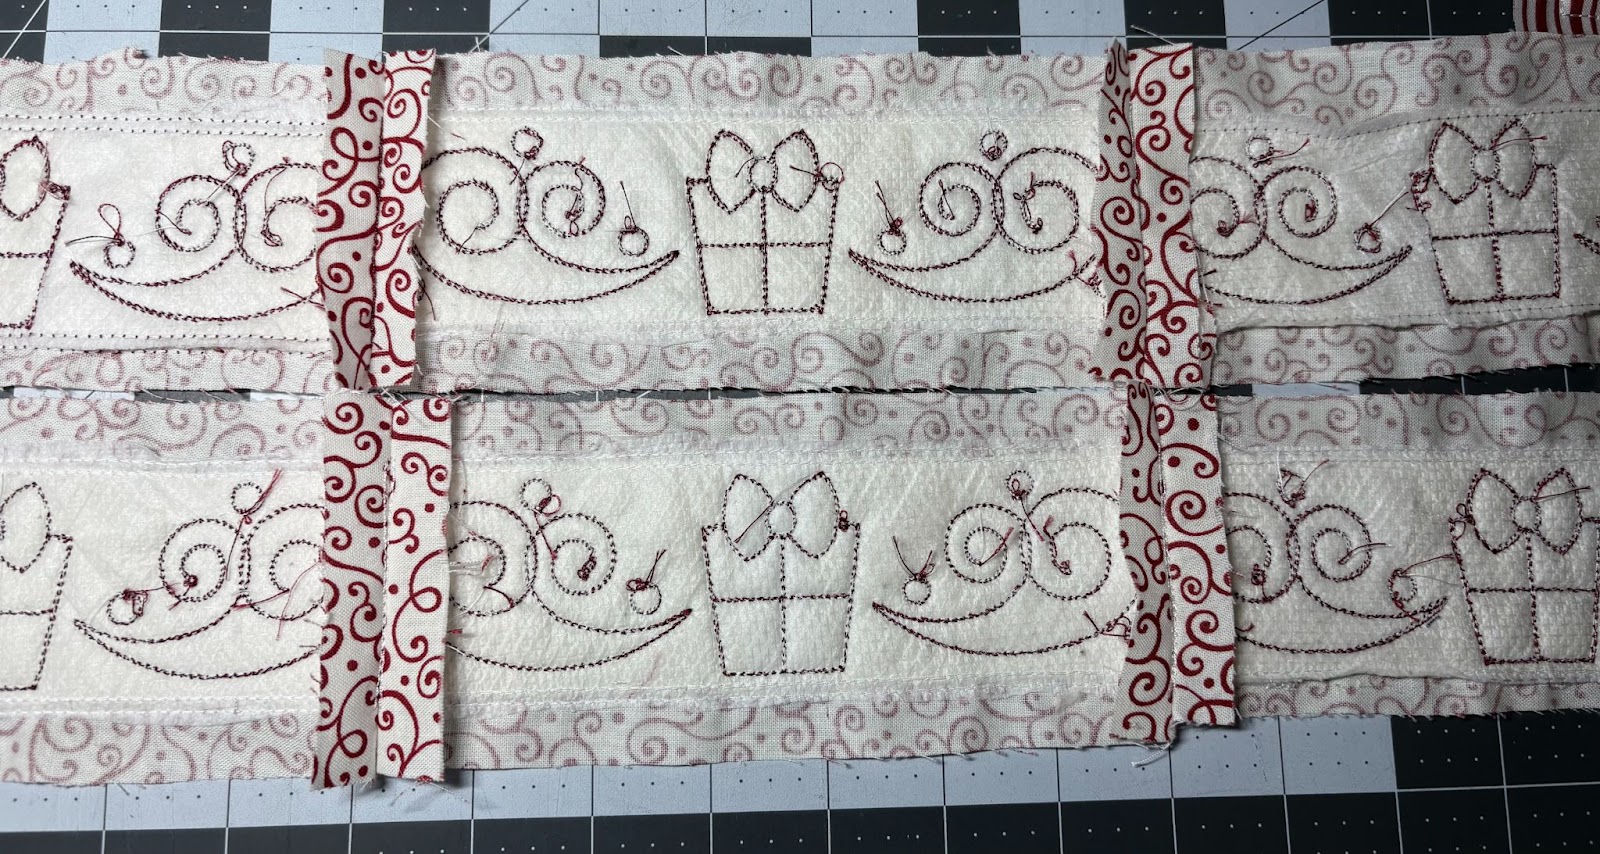
These blocks are completed the same way as the Vertical Border blocks. You will use a 5x7 hoop for these blocks.
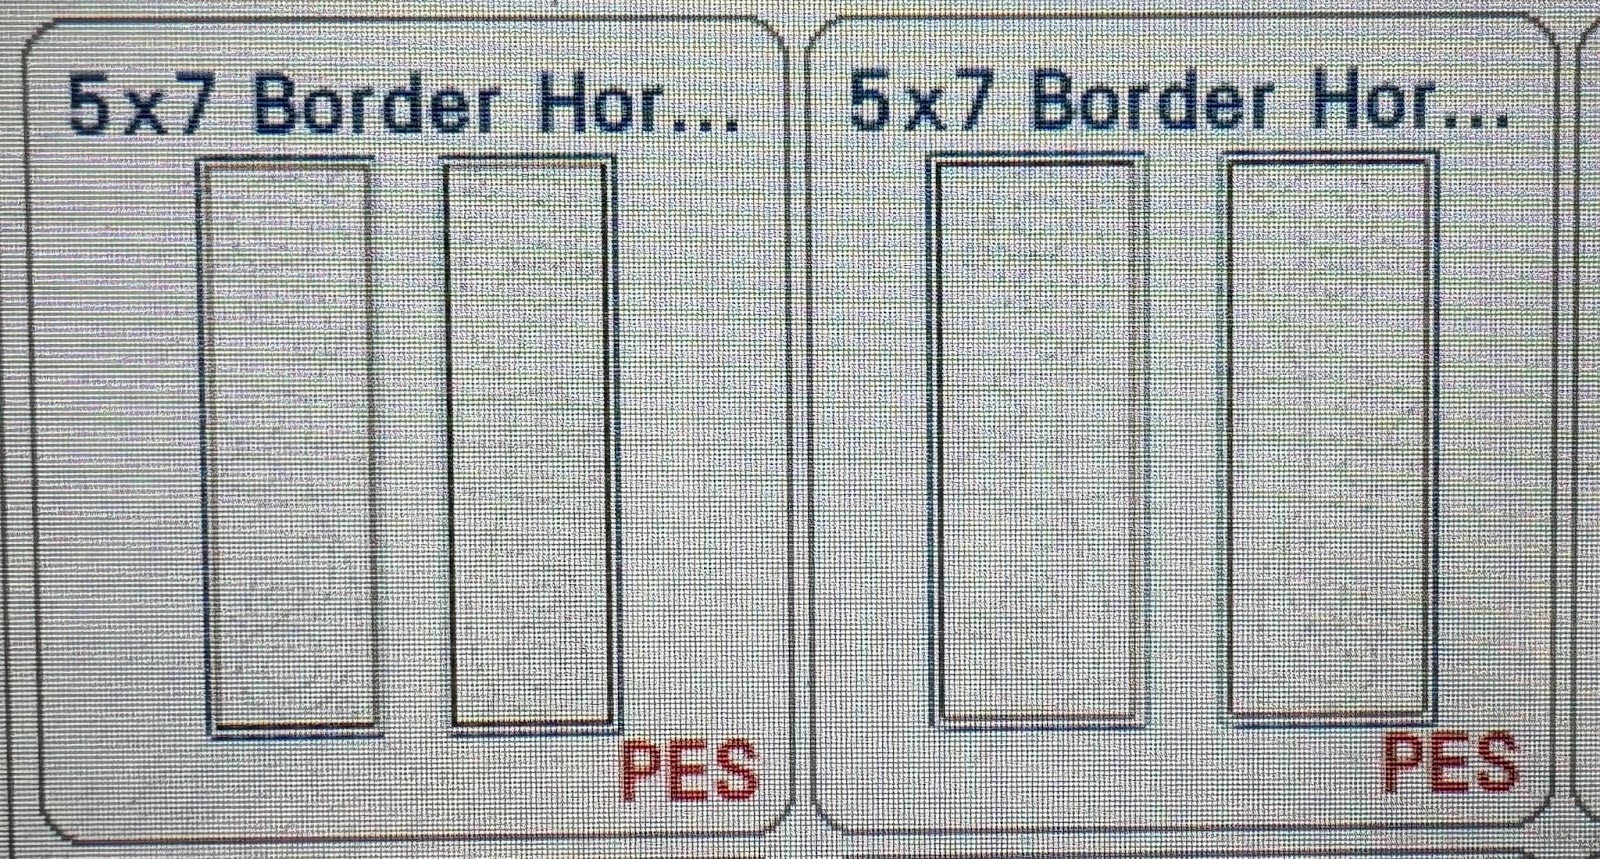
Do two hoopings from the set on the left and one hooping from the set on the right. When sewn together you will have three border blocks for the top and three border blocks for the bottom of the placemat.
When finished you will have six blocks total. Set the blocks aside.
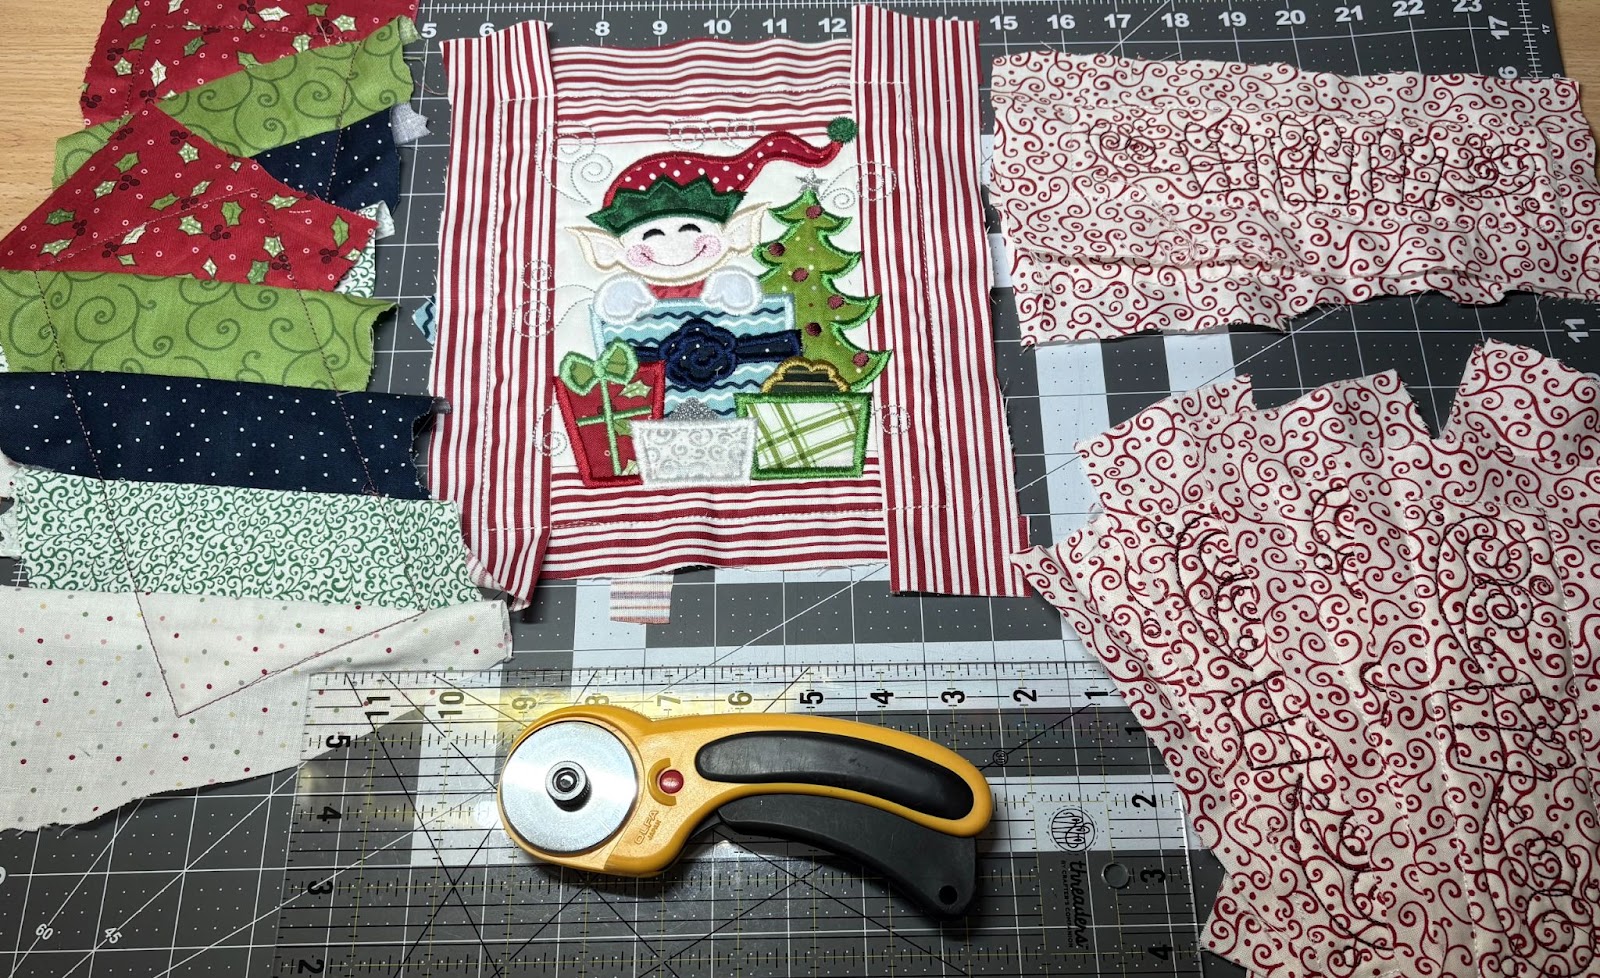
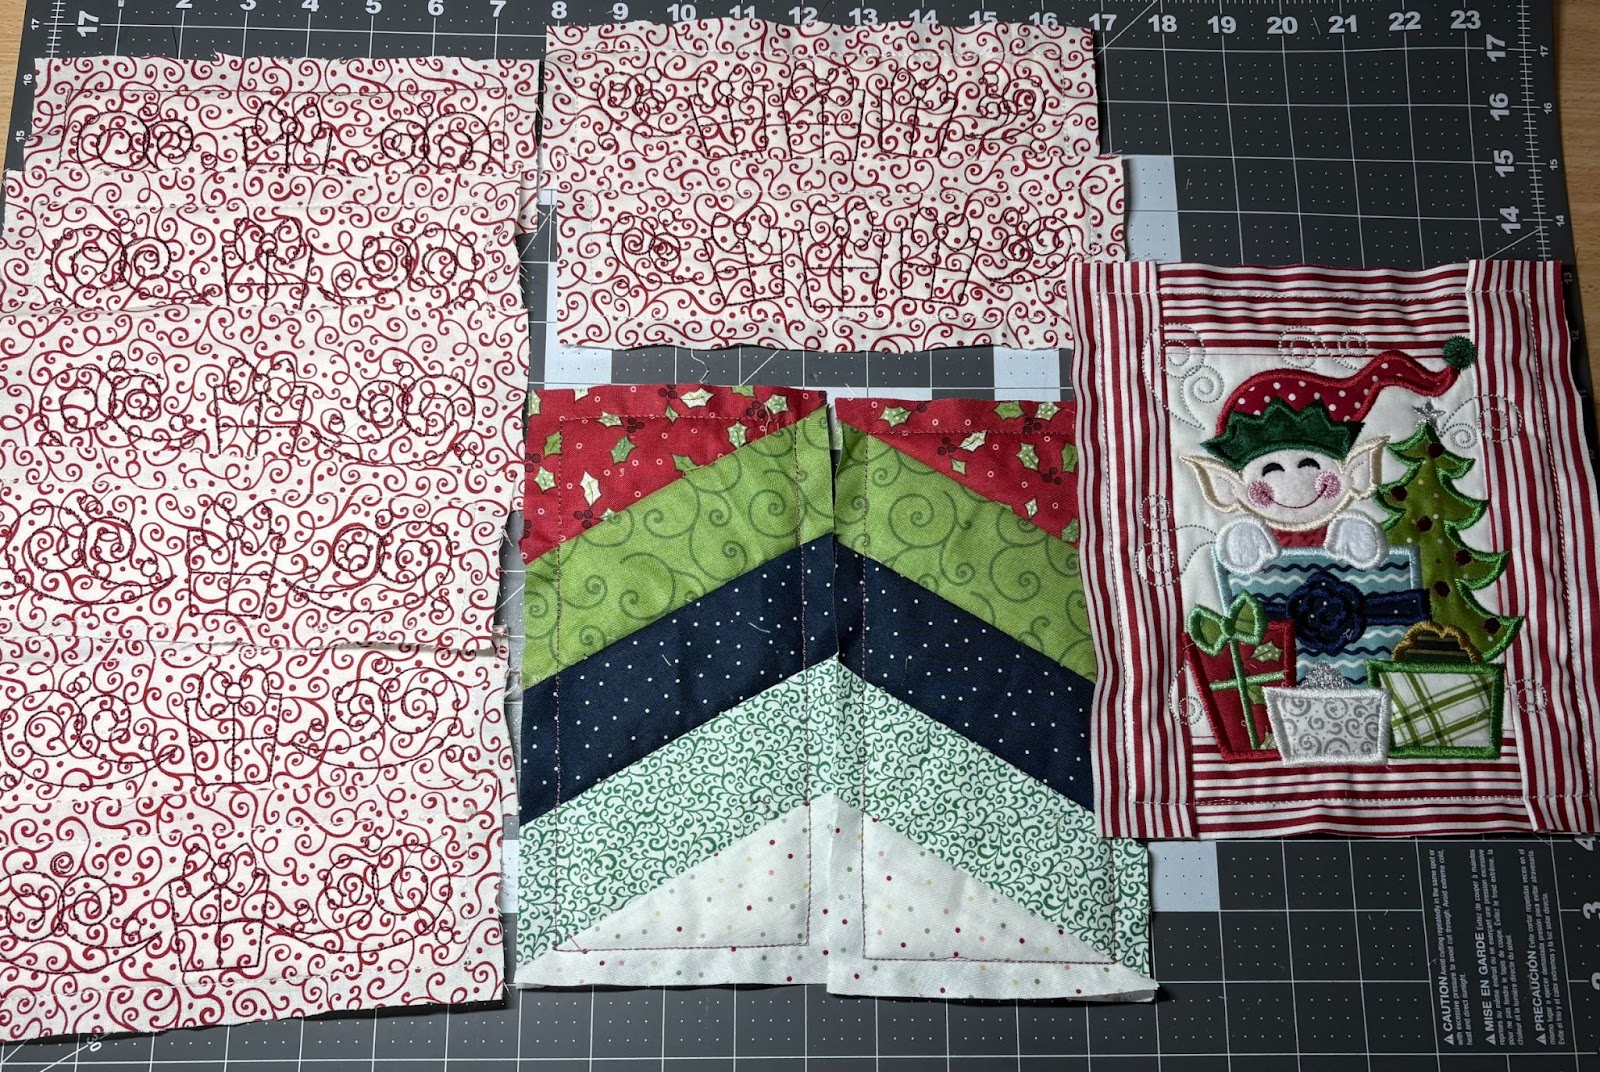
When finished with all the designs you should have one Main Elf, two Side Diagonal, two Vertical Border and six Horizontal Border blocks if using a 6x10 hoop. If you used a 5x7 hoop, you should have two Main Elf, four Side Diagonal, four Vertical Border, and six Horizontal Border blocks.
Each block has an outer stitch line around it.
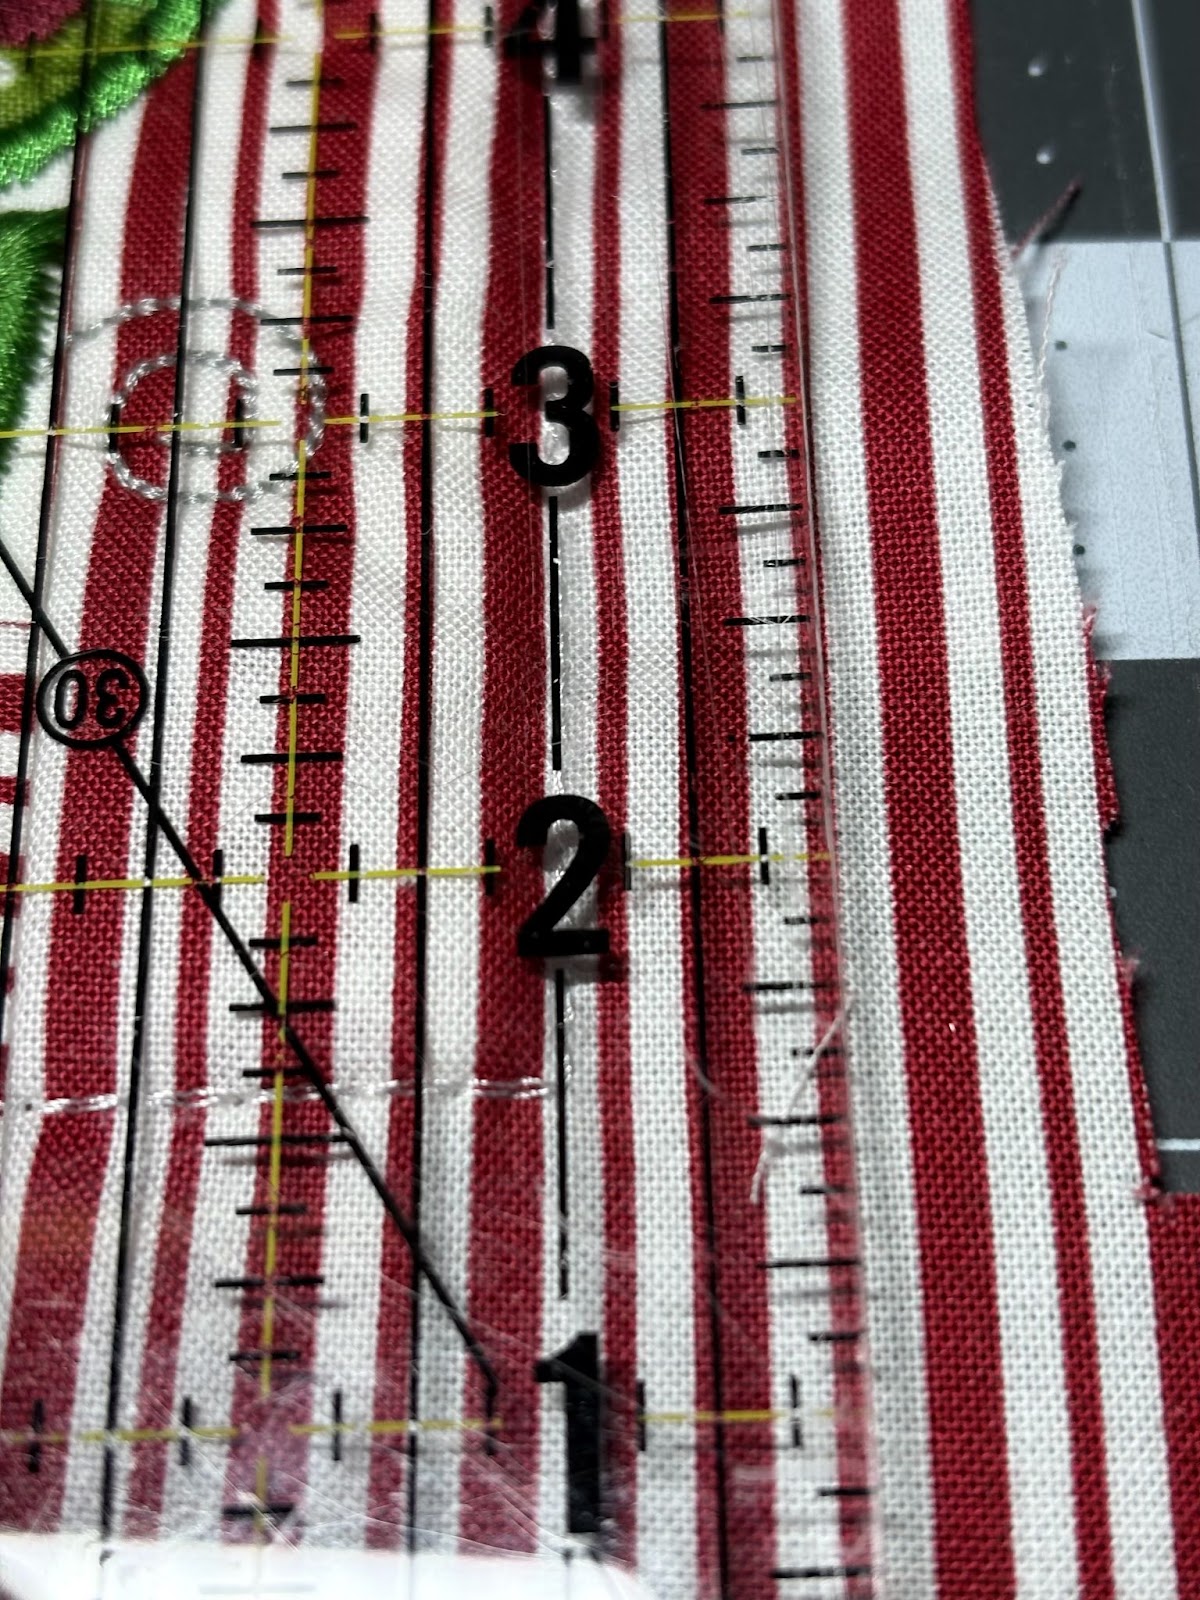
With a ruler and rotary cutter, trim all the edges of each block ½” from the outer stitch lines.
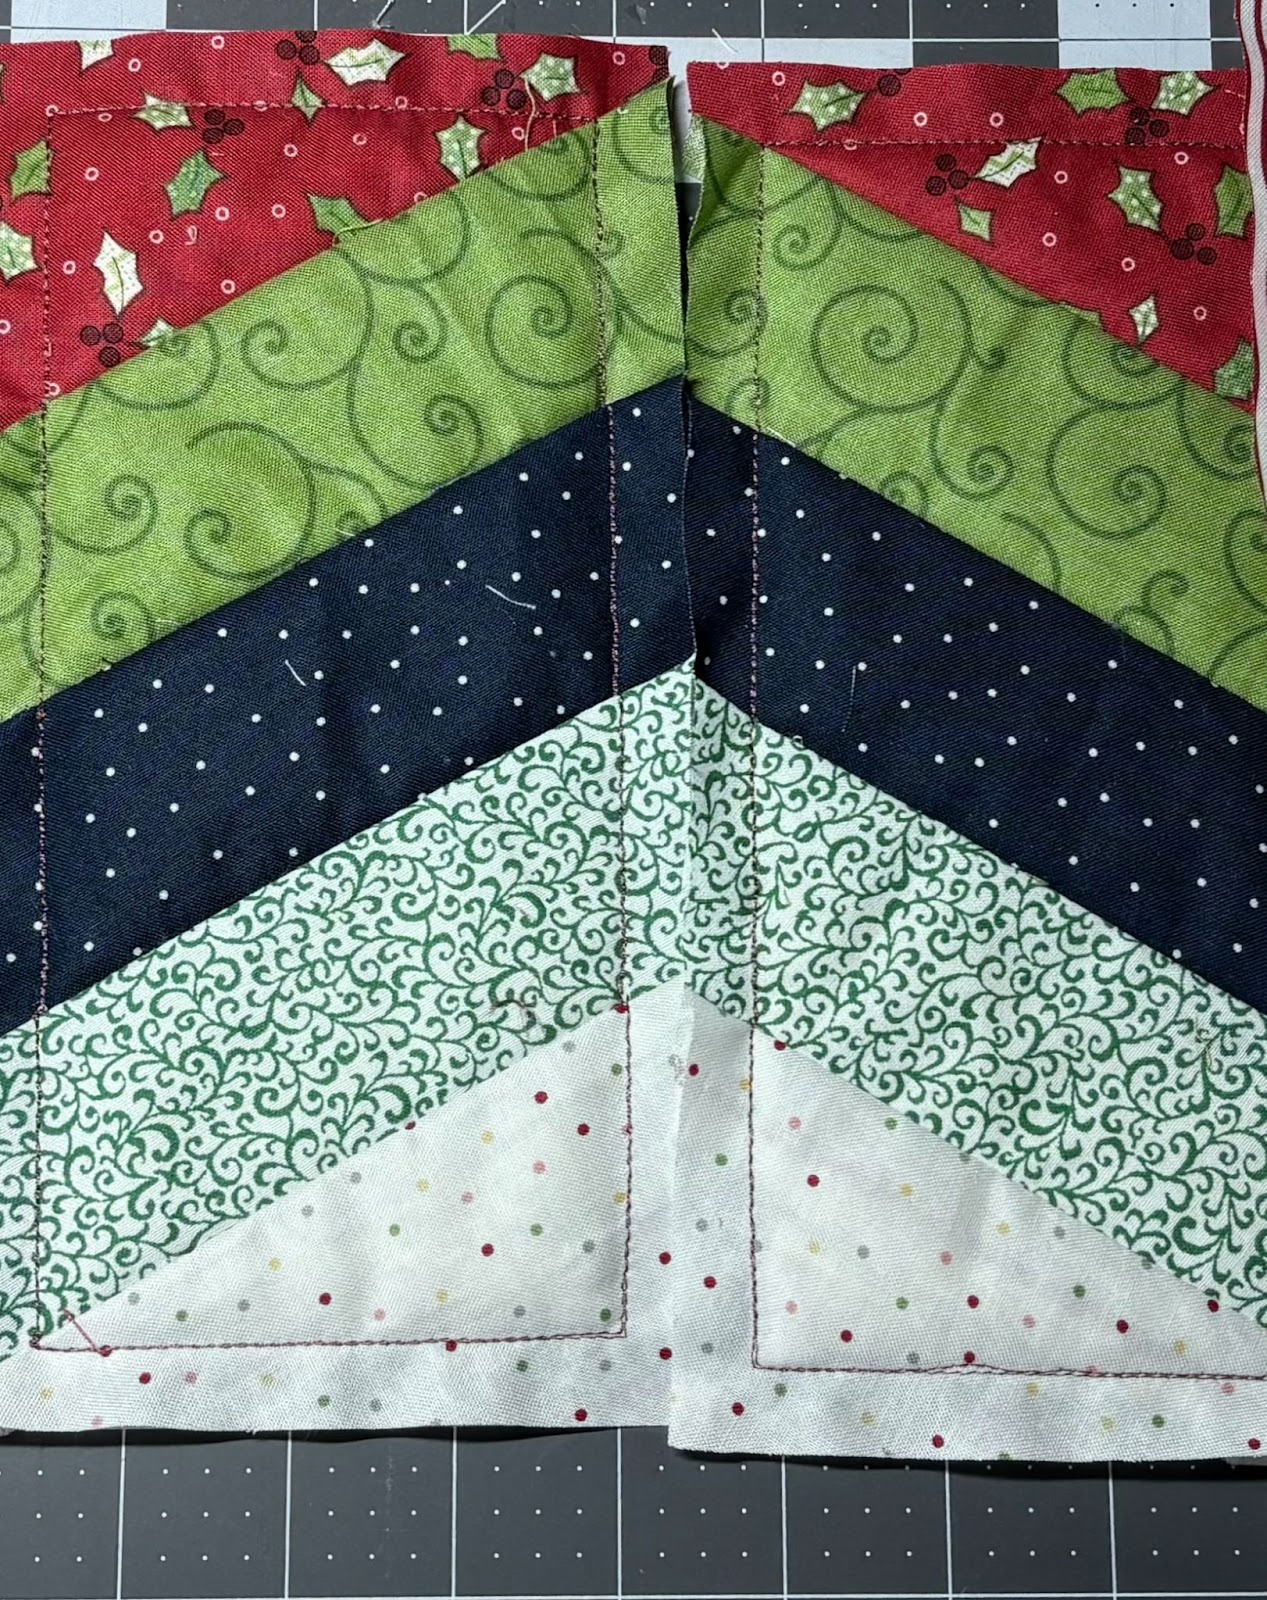
When finished, your 6x10 blocks should look similar to this. If you used a 5x7 hoop, trimming the blocks before sewing together makes it easier to line them up.
You are now ready to sew all the blocks together.
Start with the Main Elf block and the two Side Diagonal blocks.
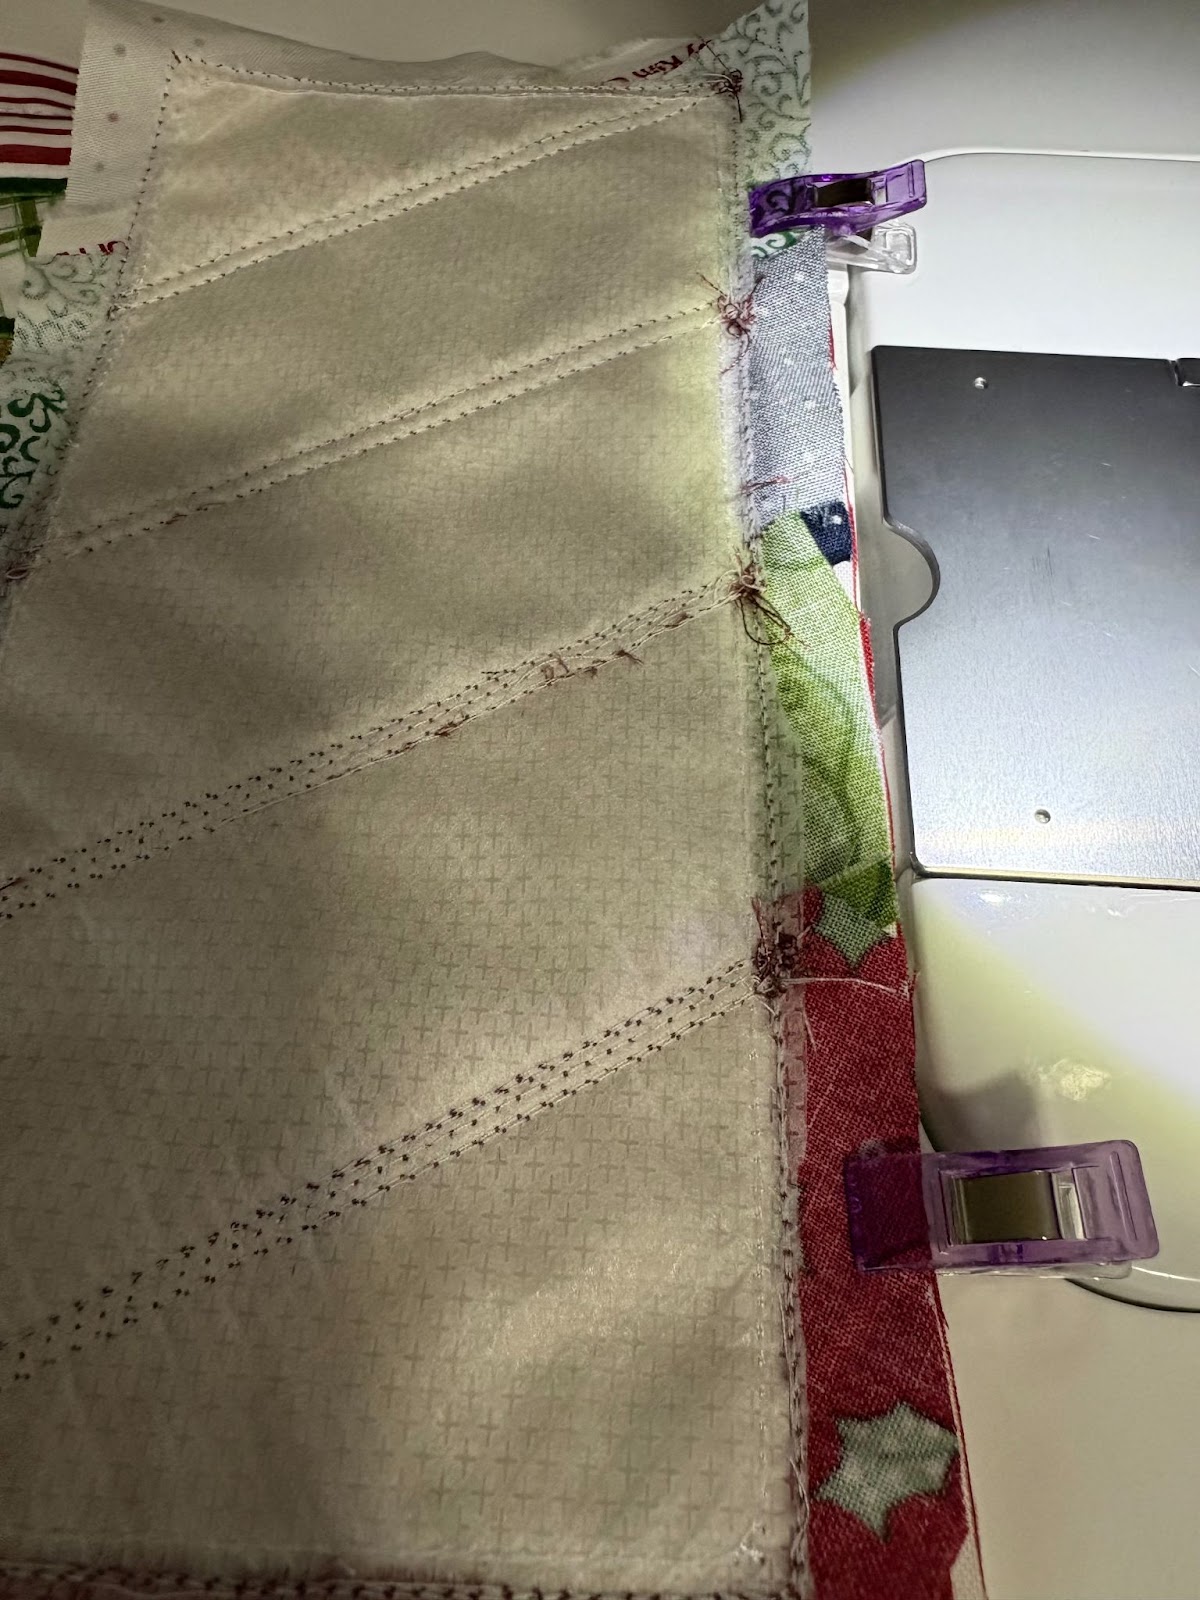
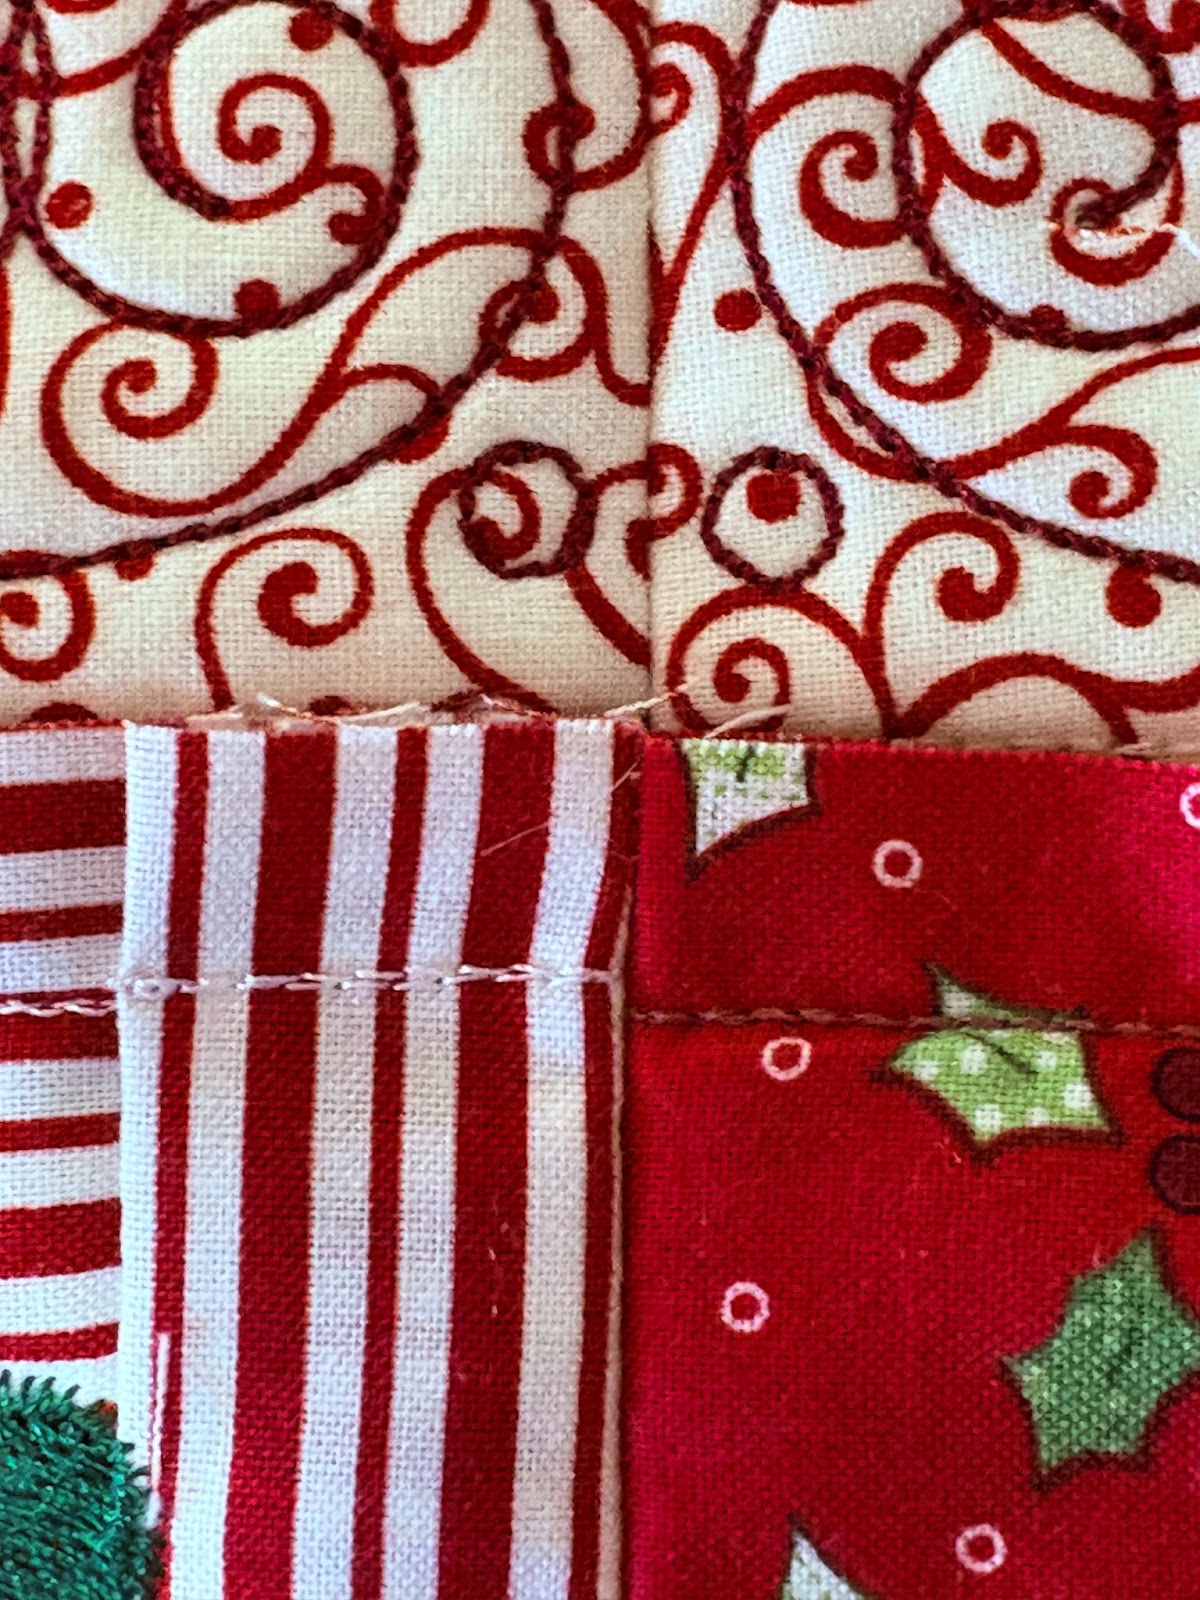
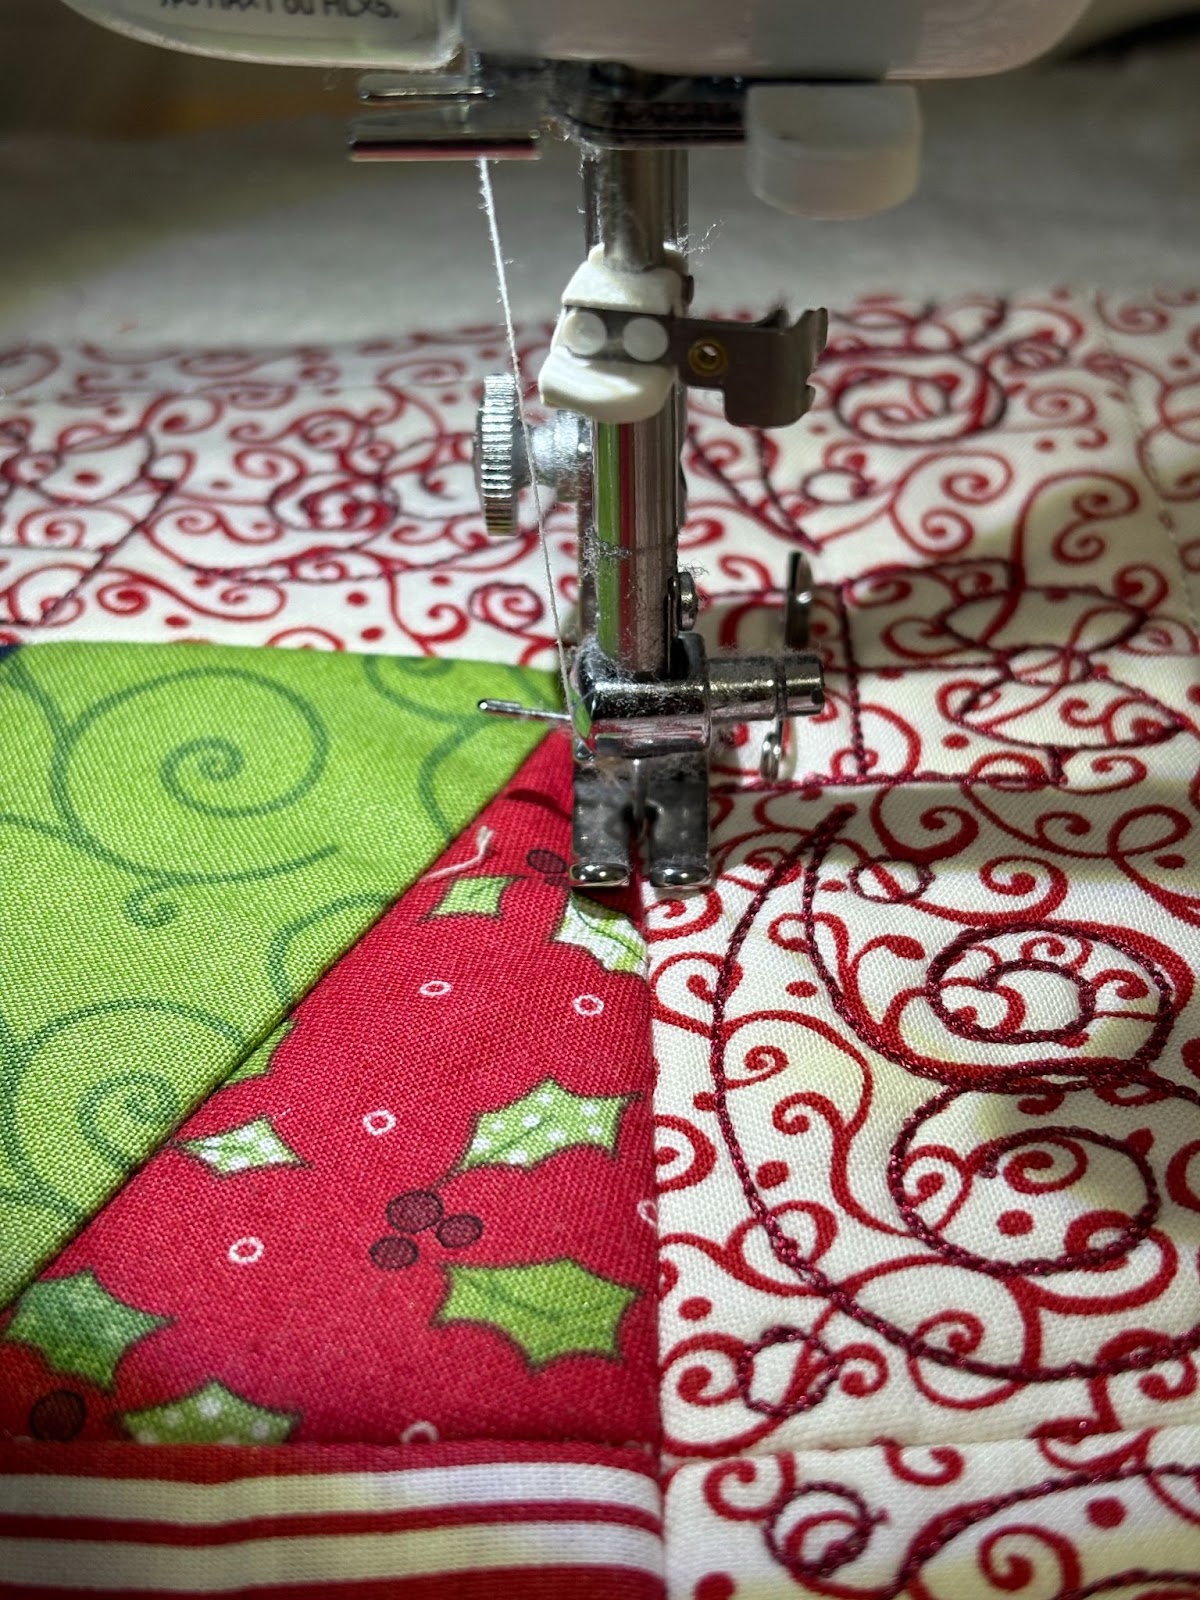
Clip or pin the raw edges of one Side Diagonal and the Main Elf block. To reduce bulk I have trimmed the cut-away stabilizer out of my seam allowance. Take to the sewing machine.
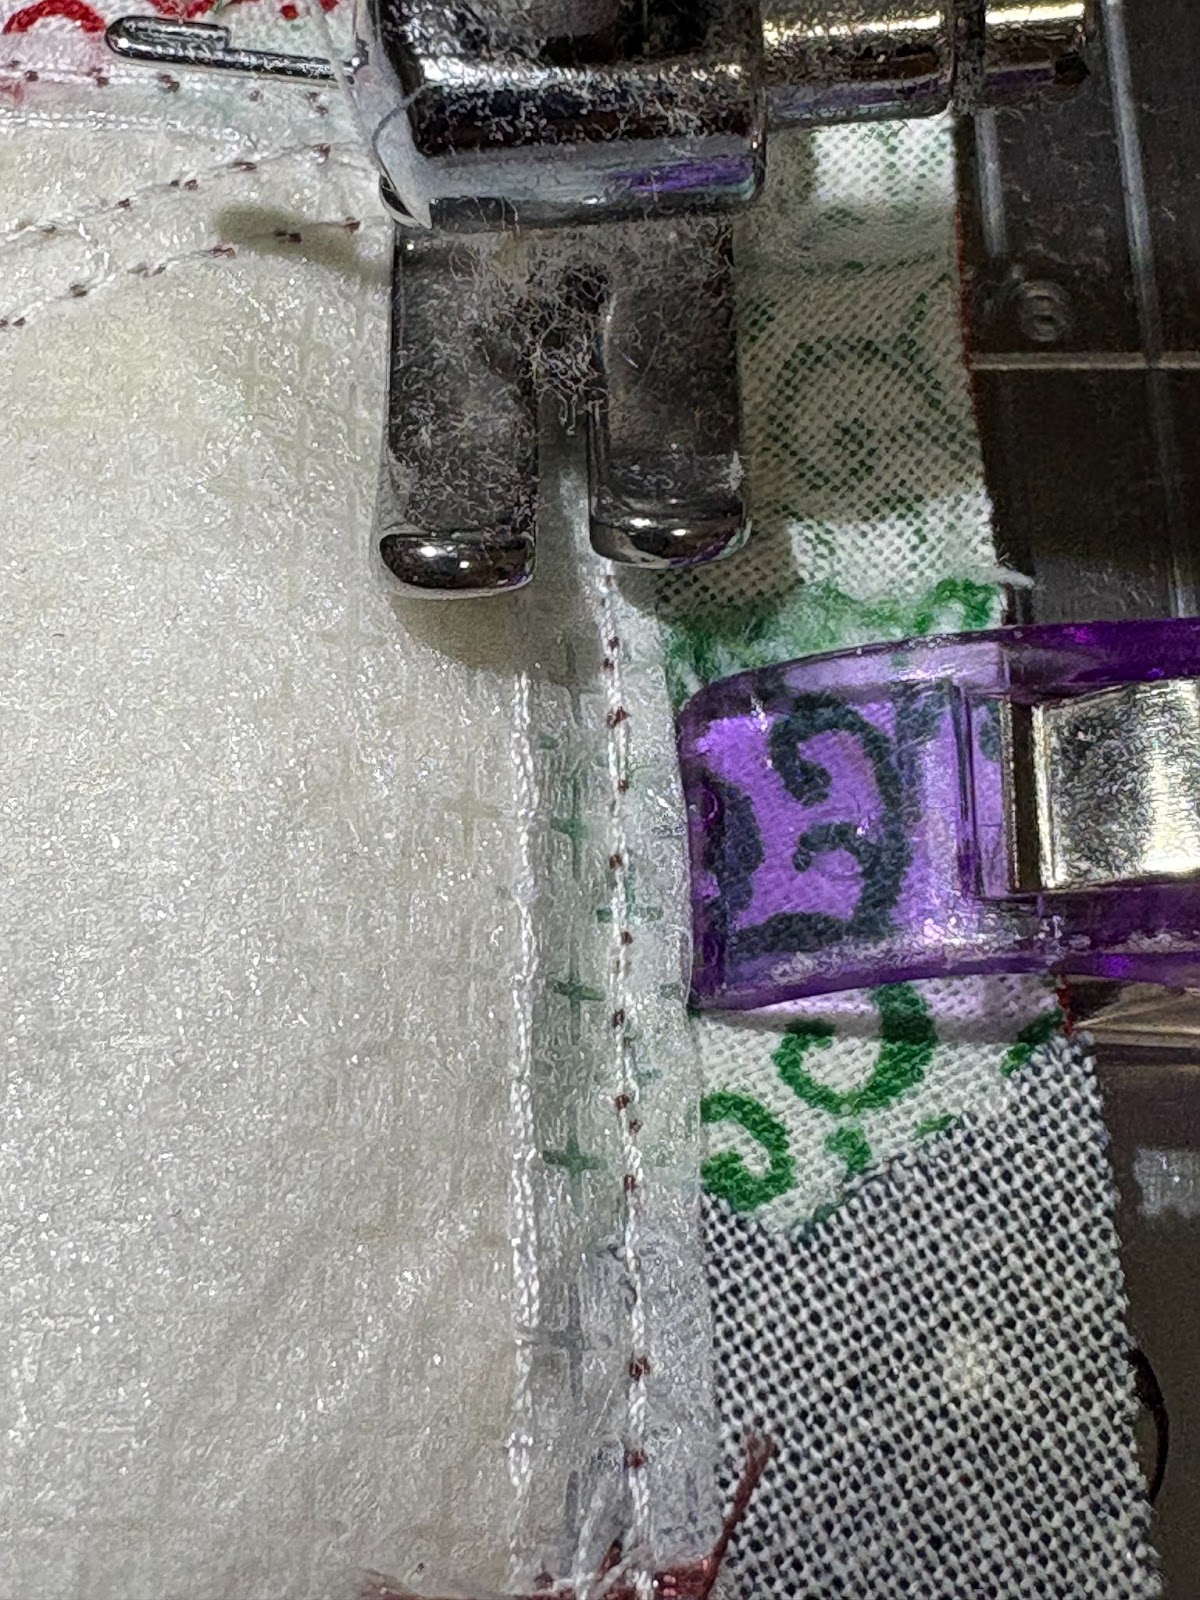
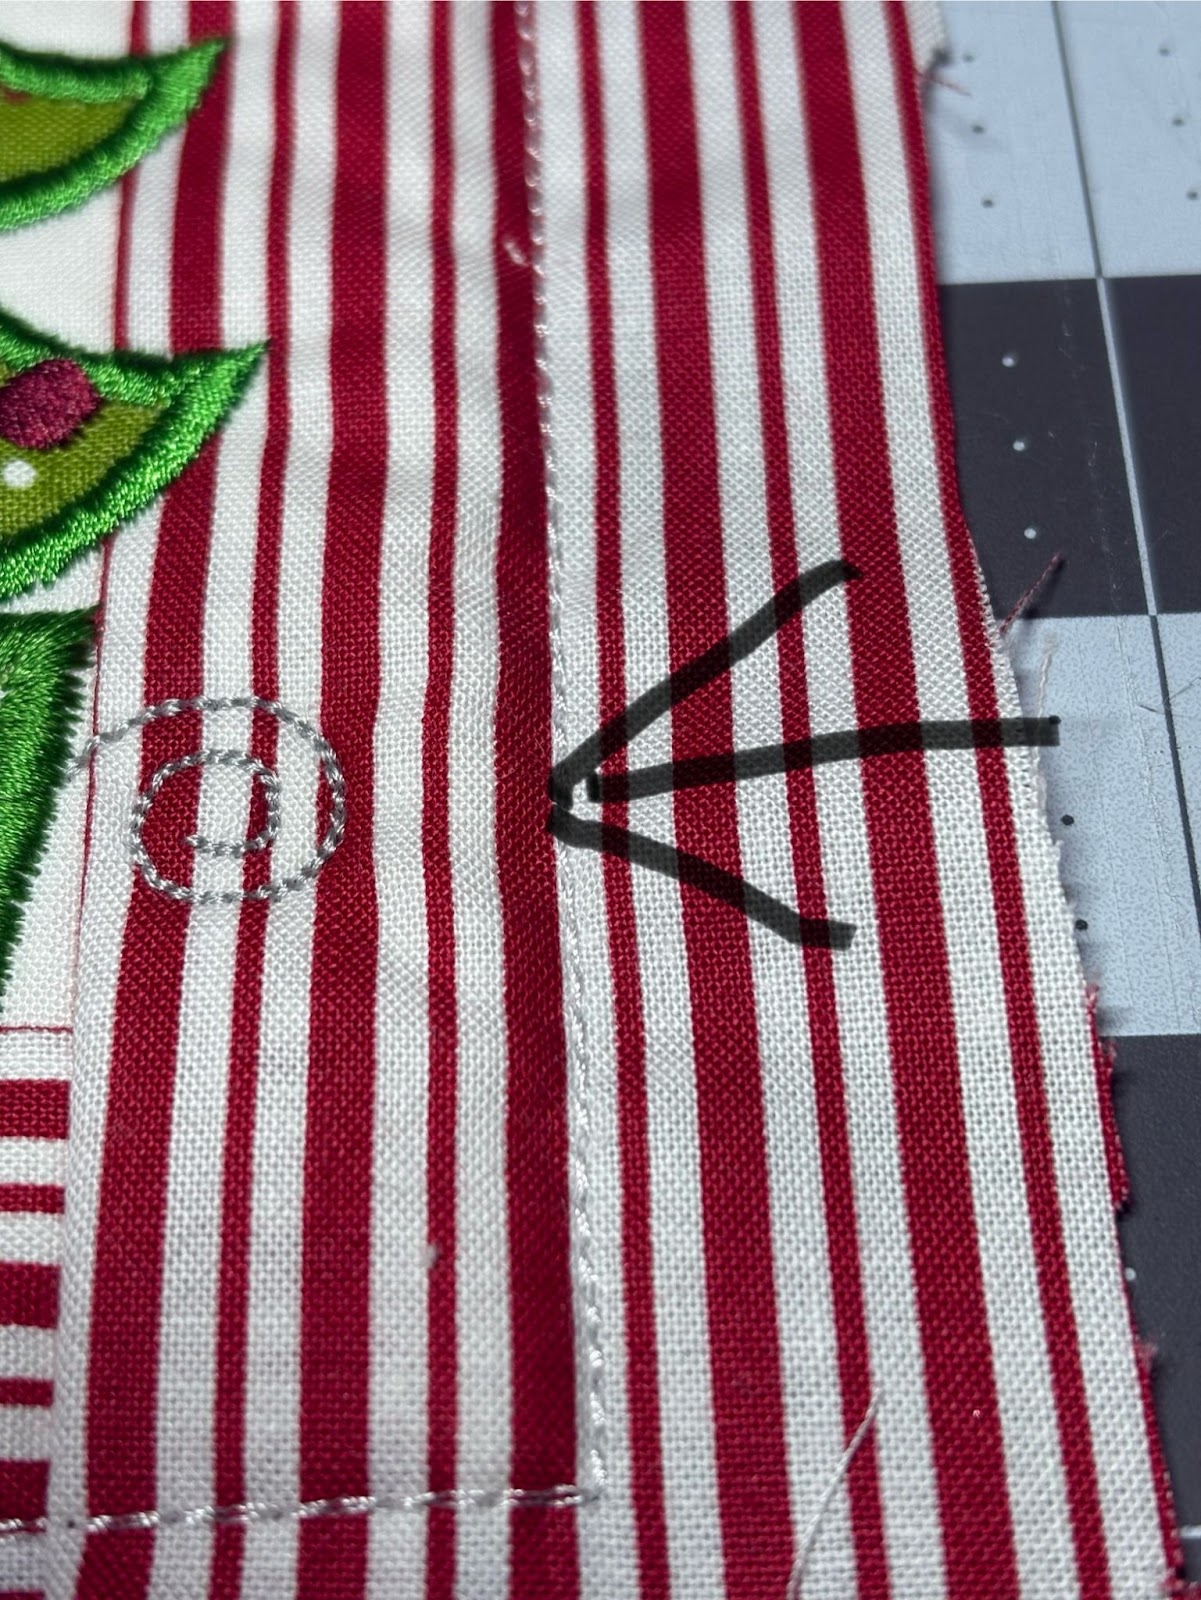
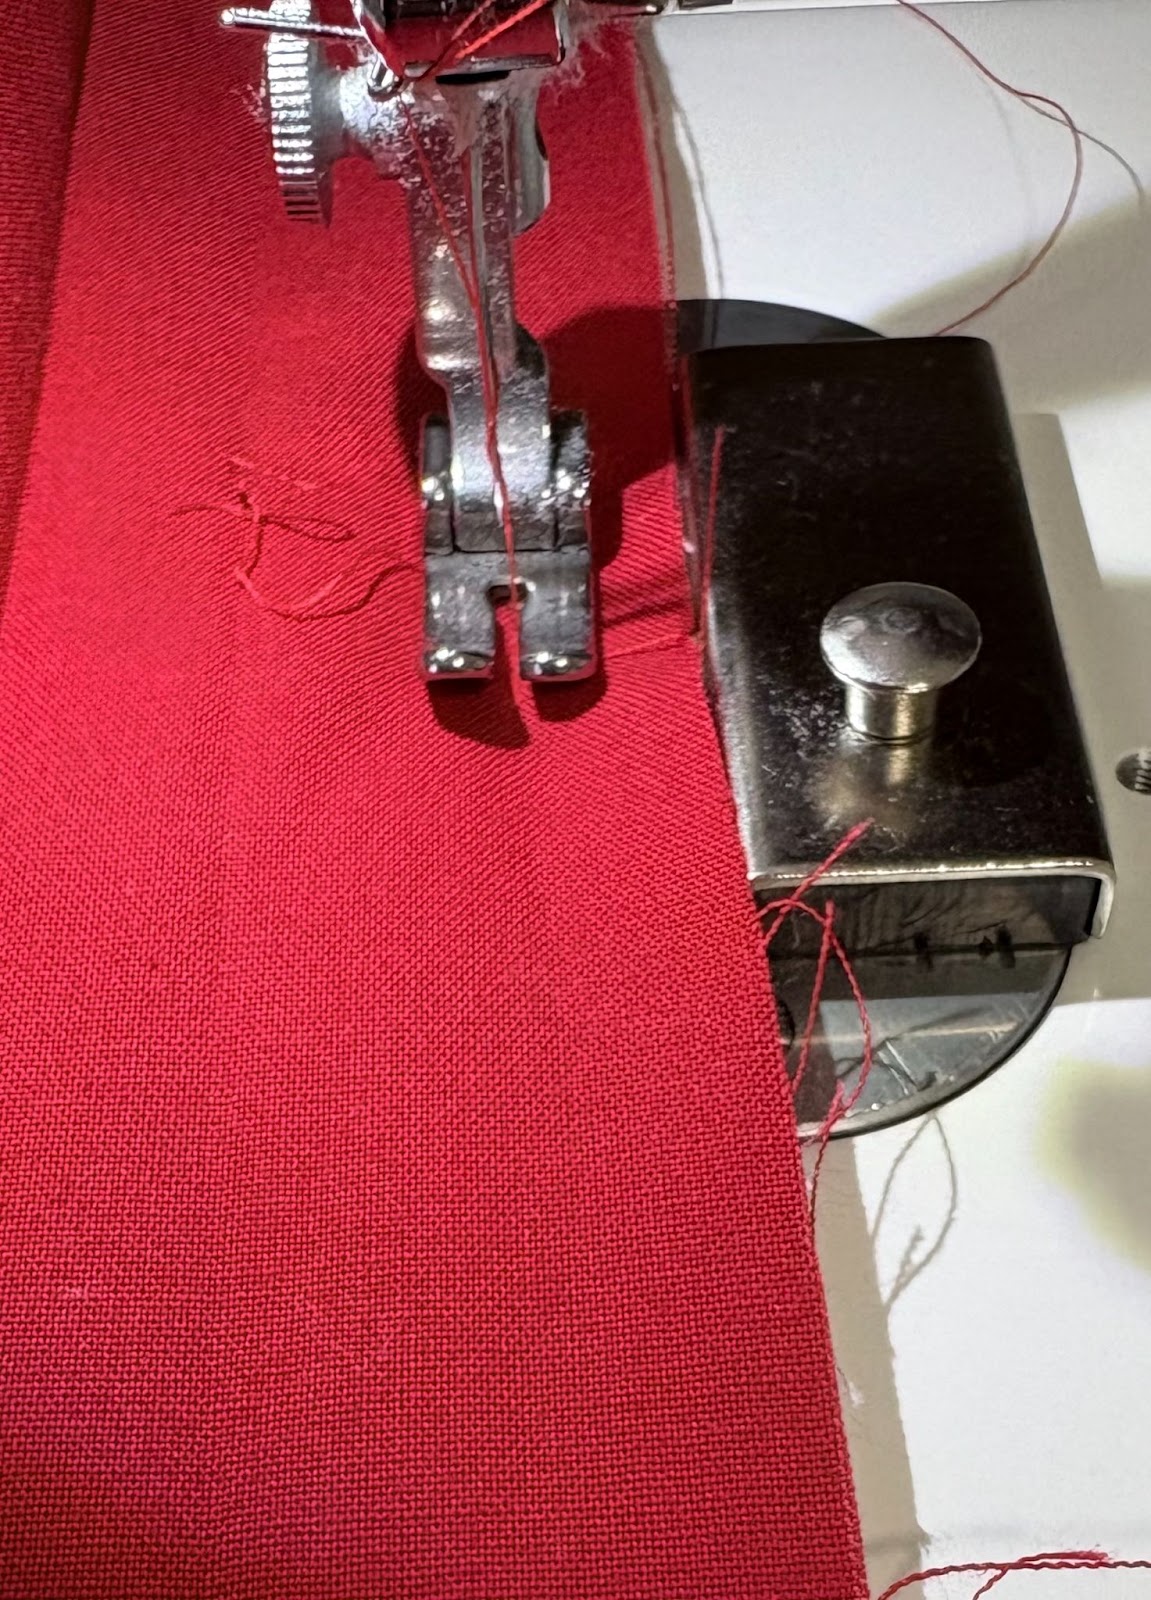
You will have two stitch lines showing. The one on the left is the batting tack down and the one on the right is the fabric tack down. Stitch between these two lines. Backstitch at the beginning and end.
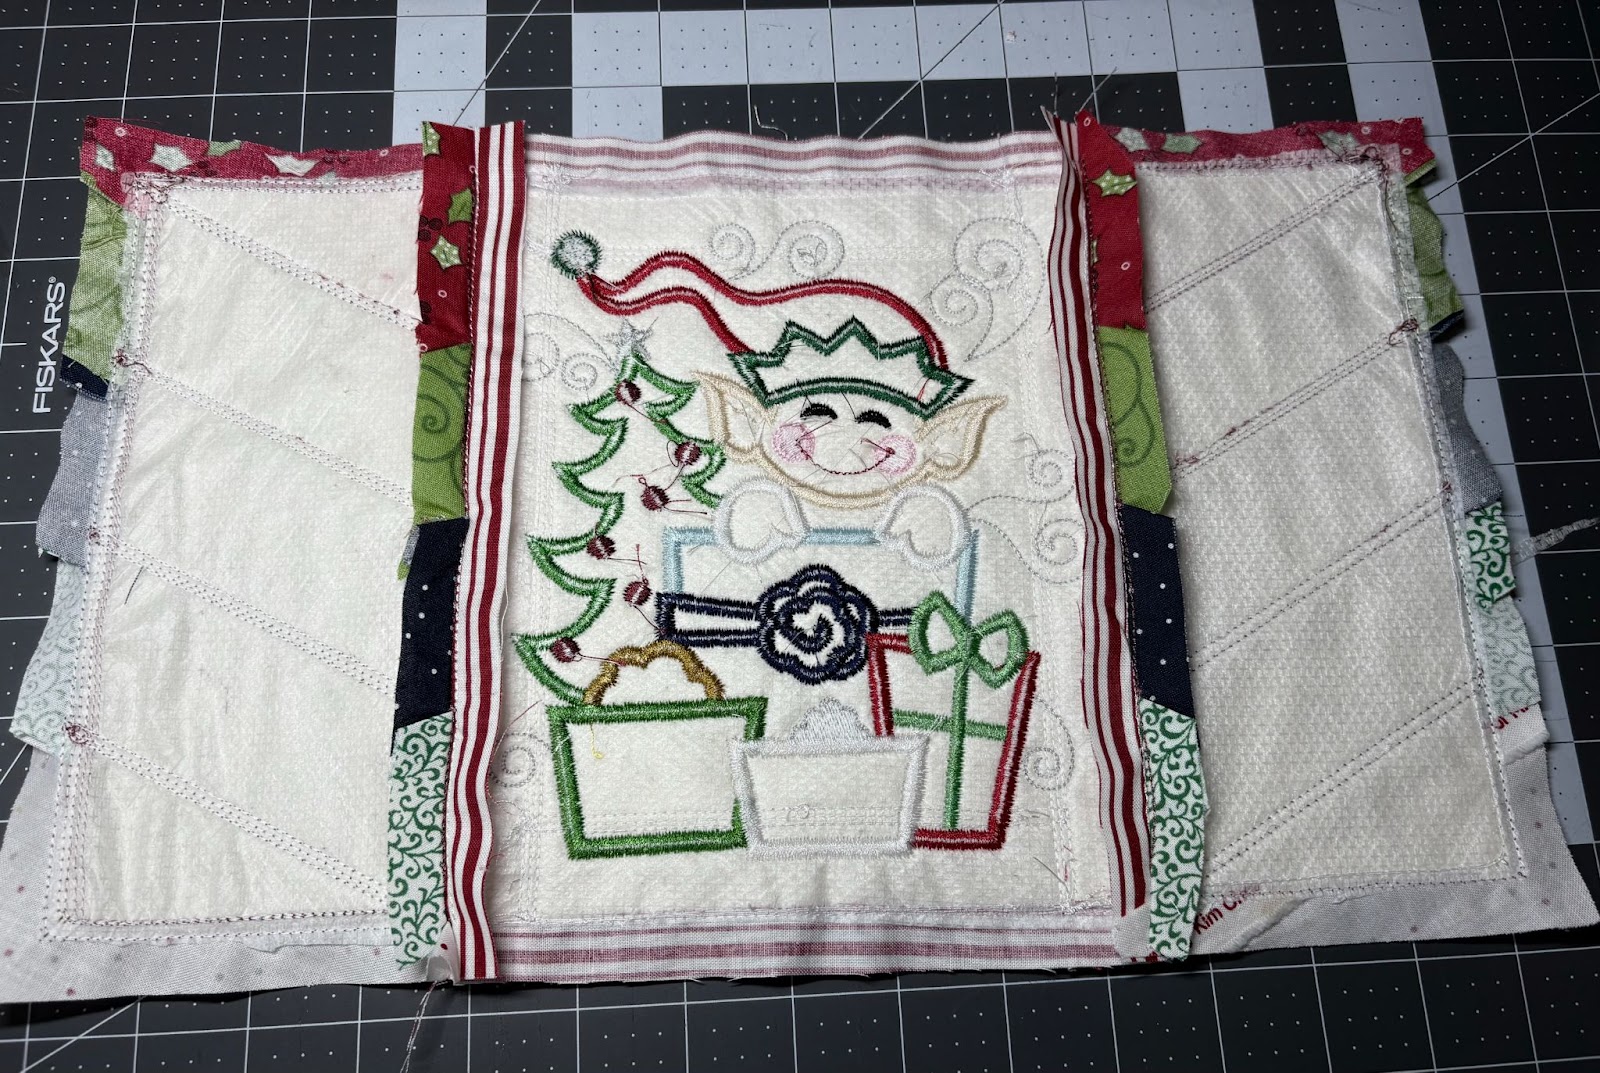
Do this with both Side Diagonal blocks. Press the seams open.
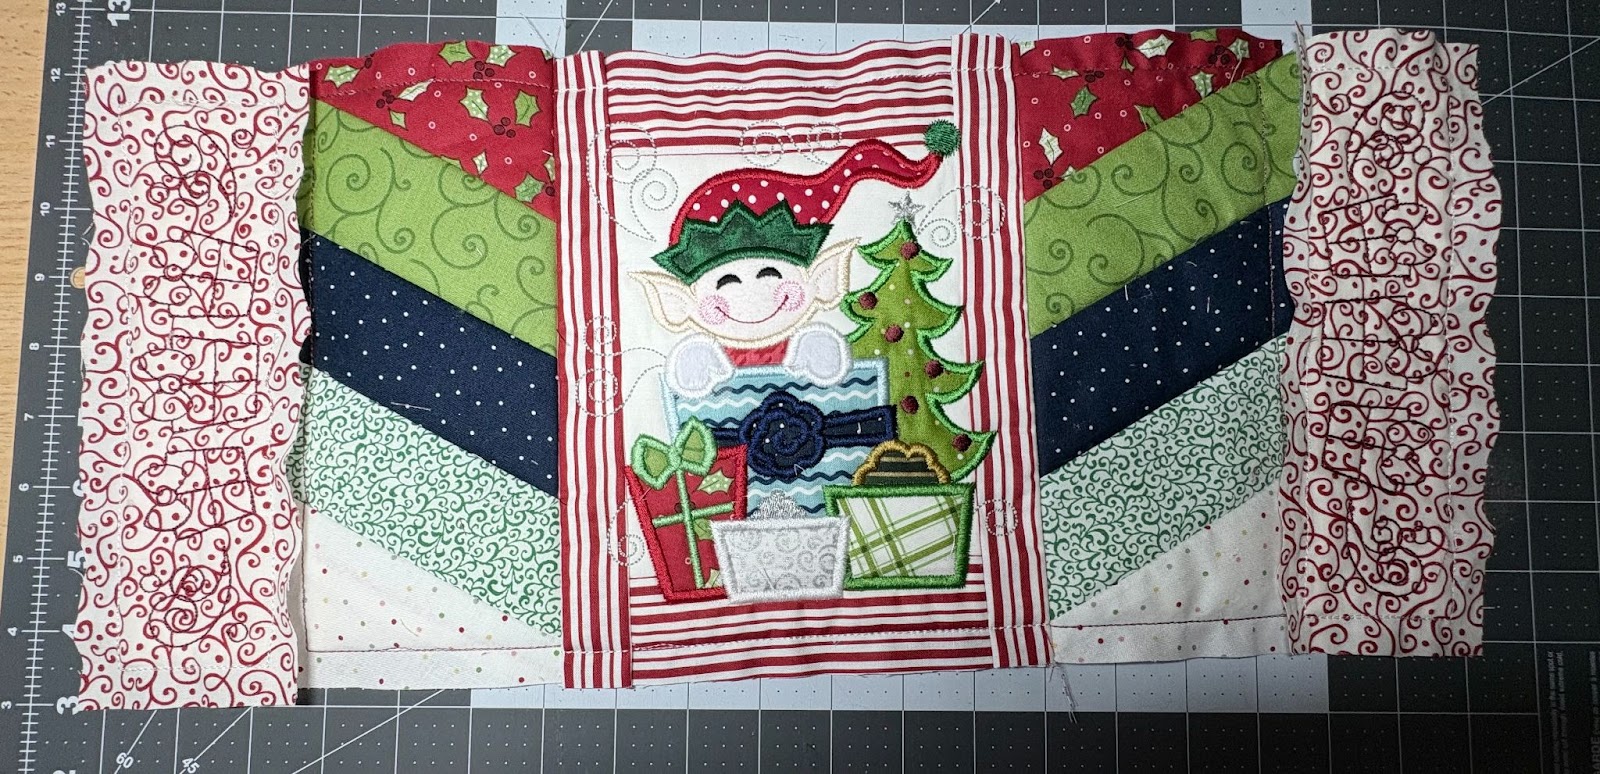
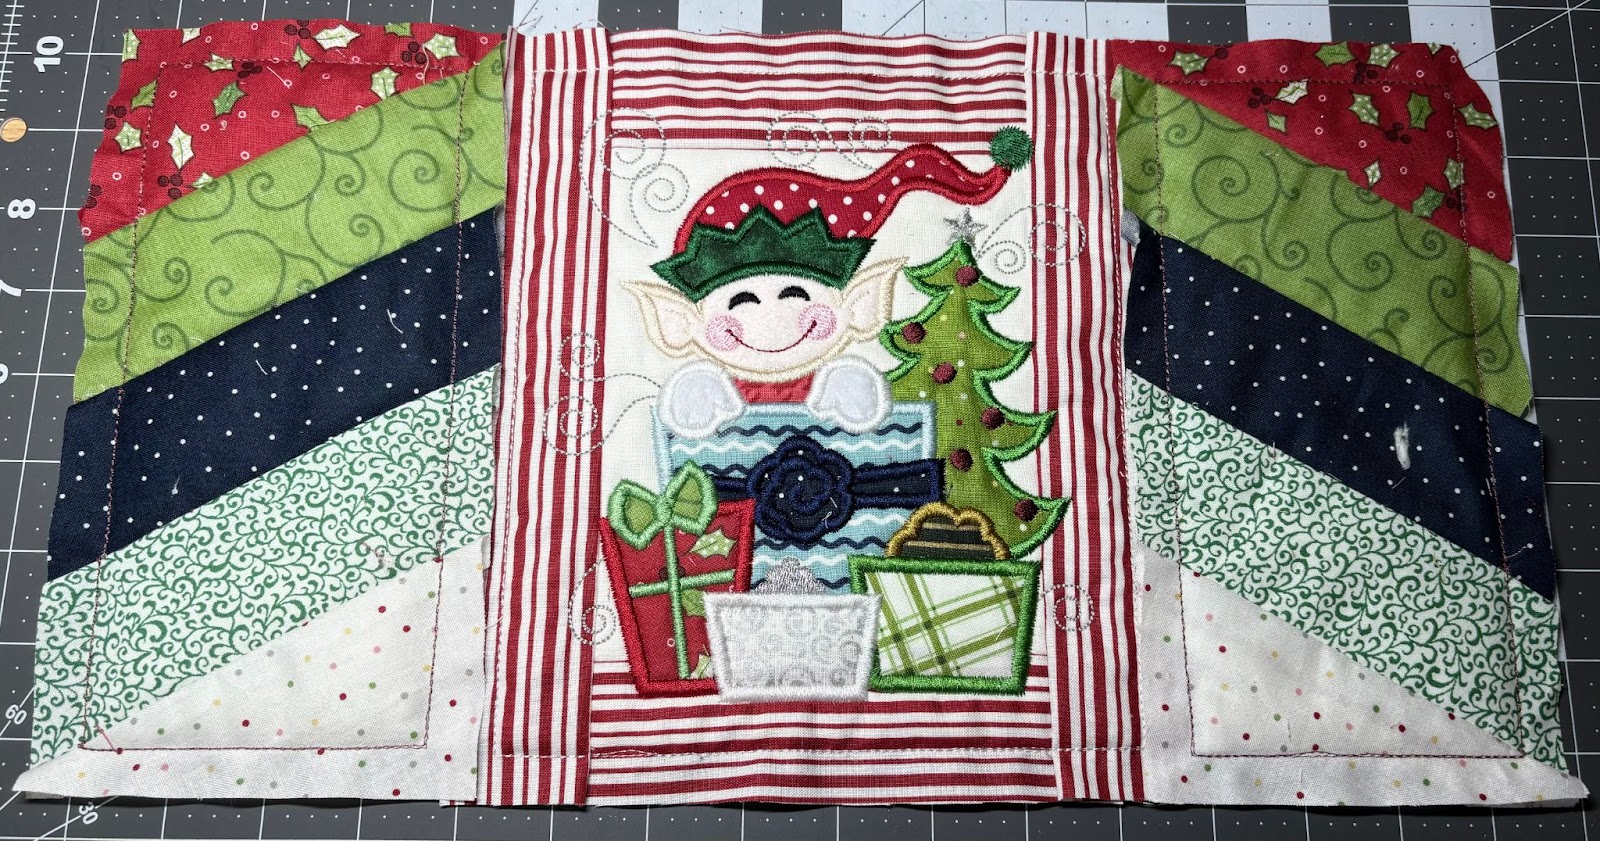
Add the Vertical Border blocks the same way. Backstitch at the beginning and end. Press the seams open.
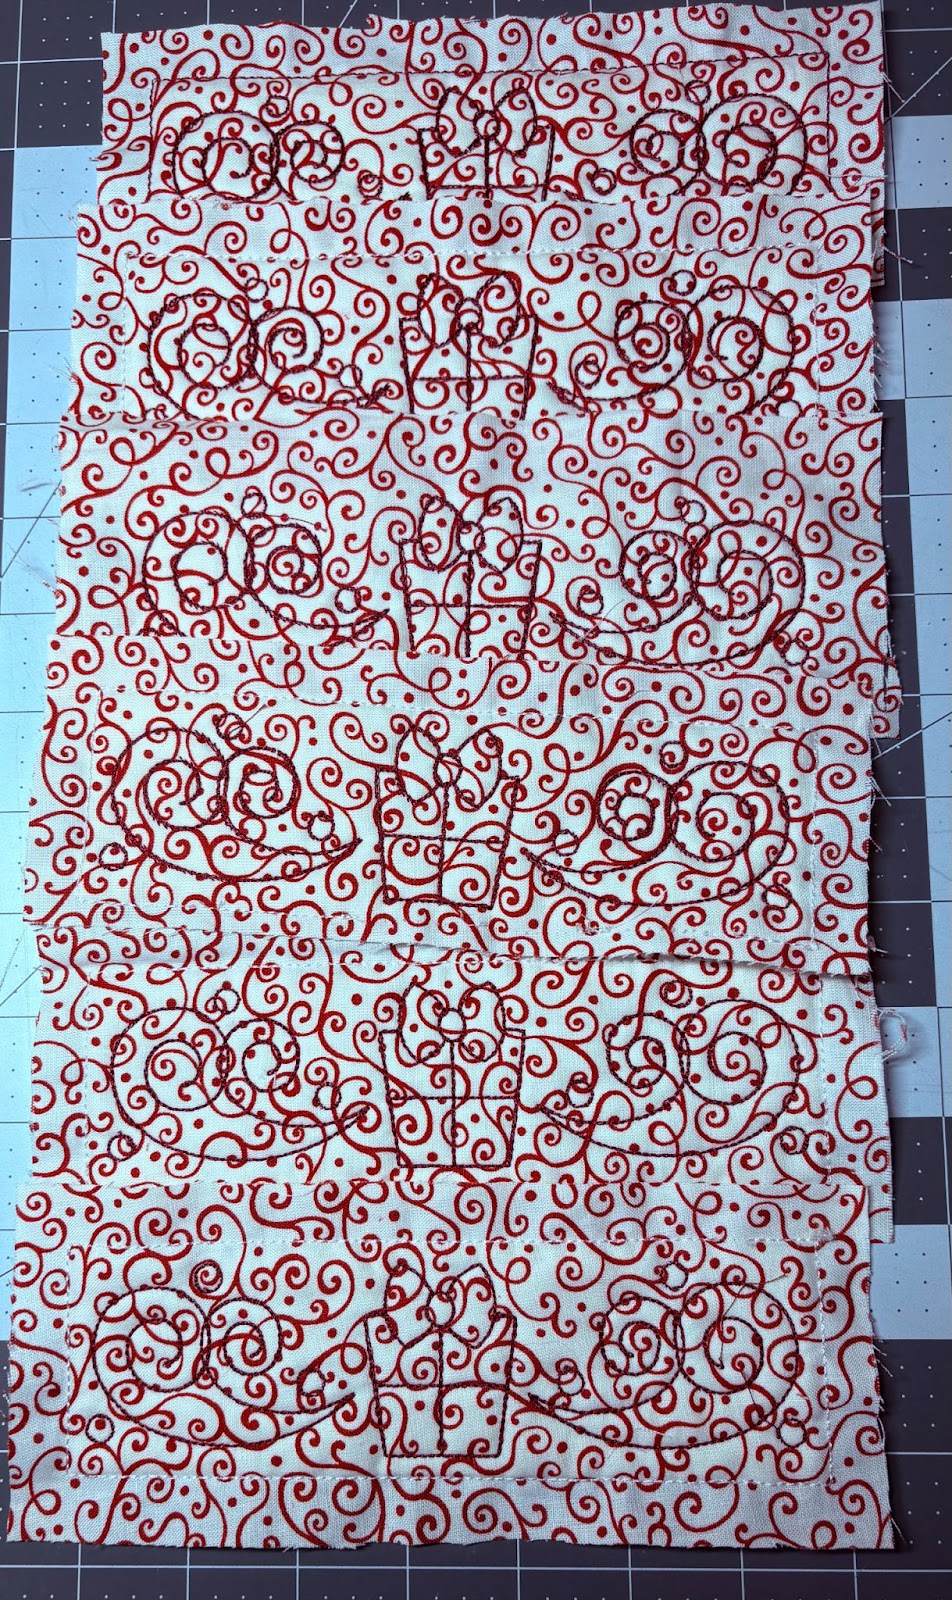
Sew the Horizontal Border strips together, three for the top and three for the bottom. Make sure your designs are all going in the same direction.
Press the seams open.
Match the seams of the top border with the seams of the Main Elf and Side Diagonal blocks.
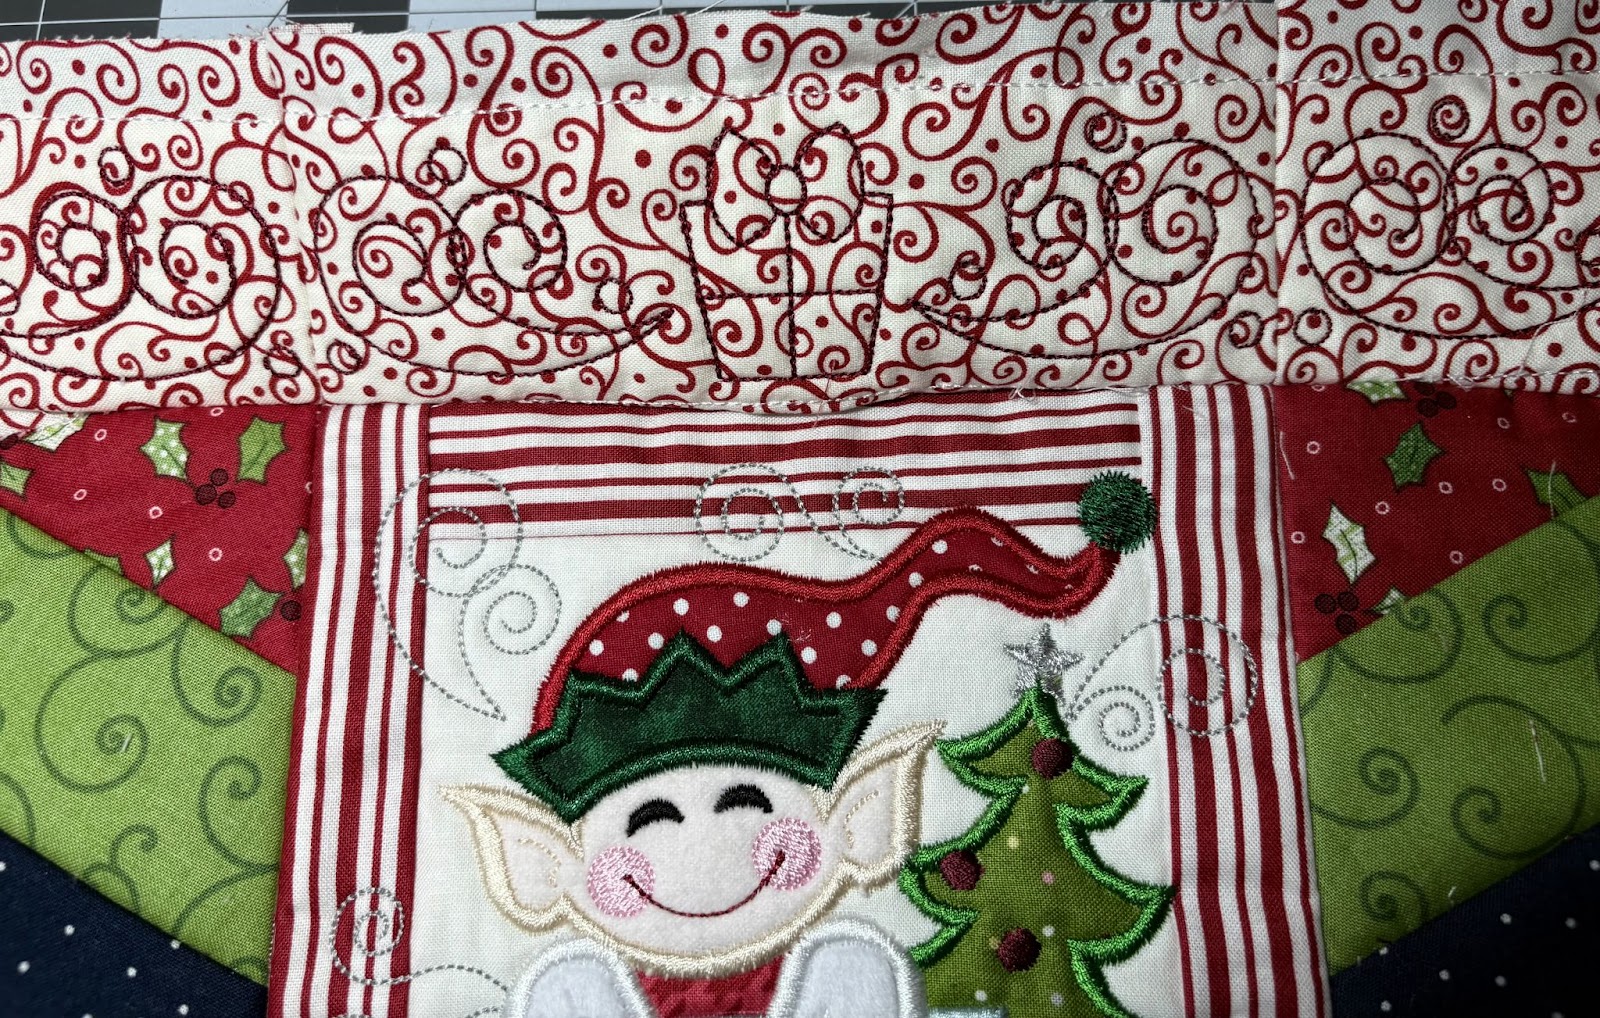
Baste stitch across. Check to ensure the seams match. If they line up, stitch across the top. If not, remove the baste stitch and try again. Remember to back stitch at the beginning and end.
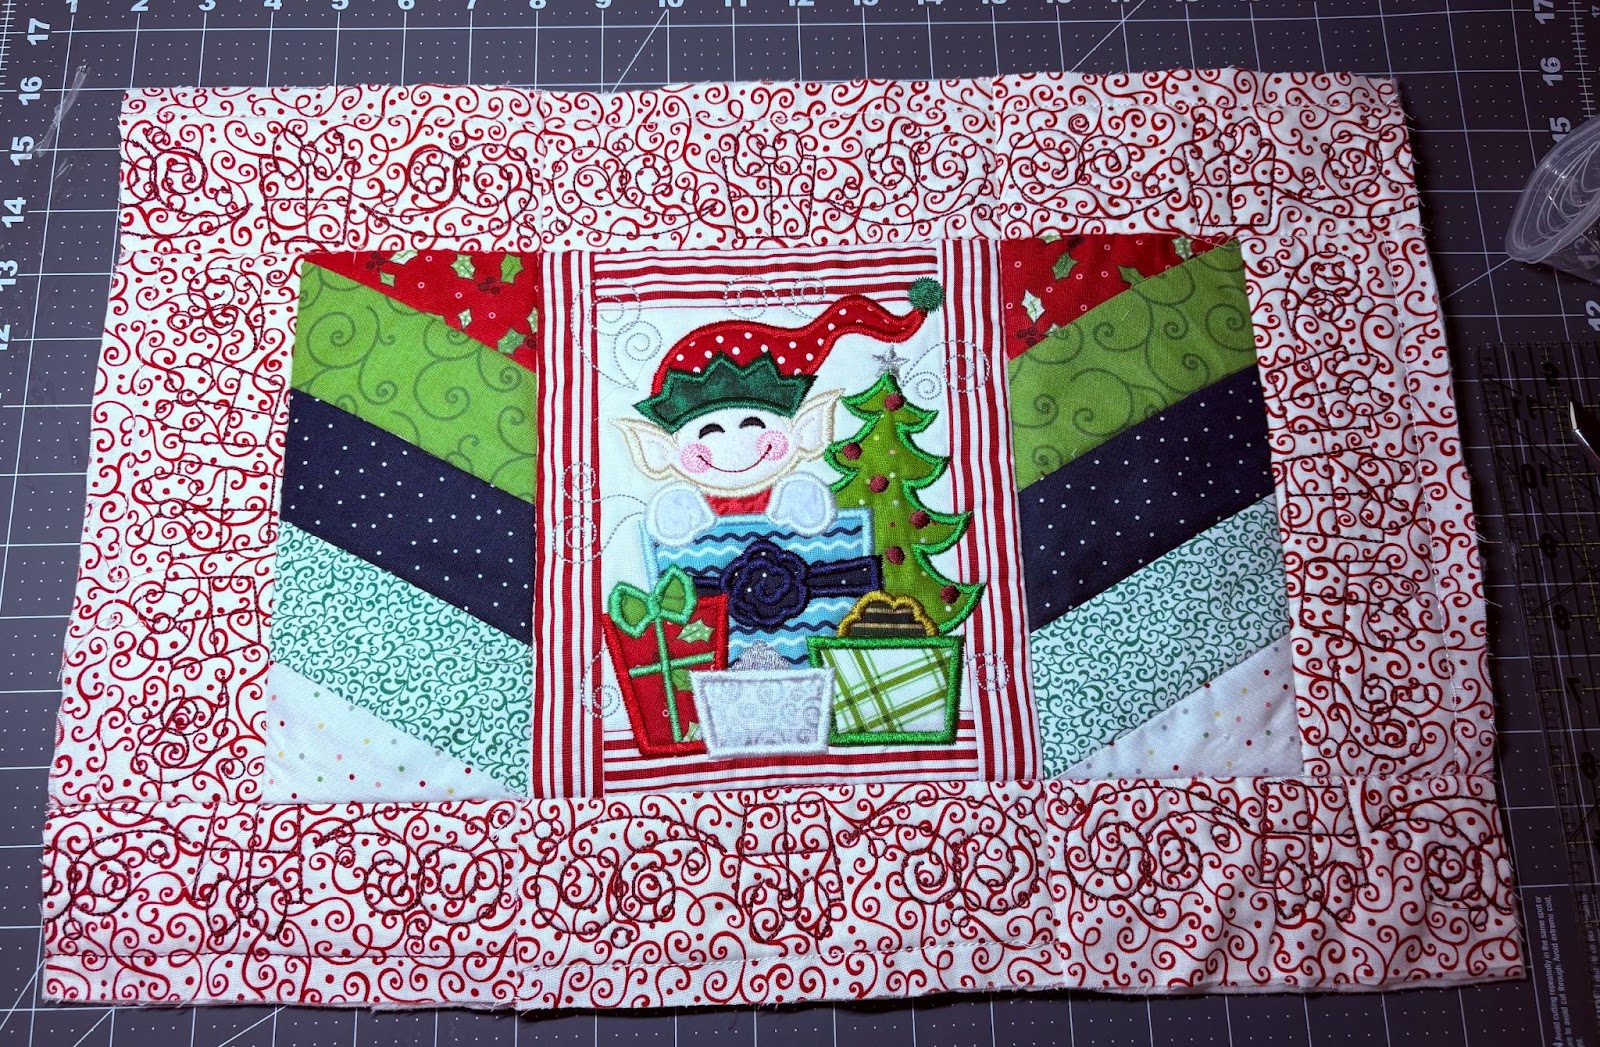
Do the same with the bottom.
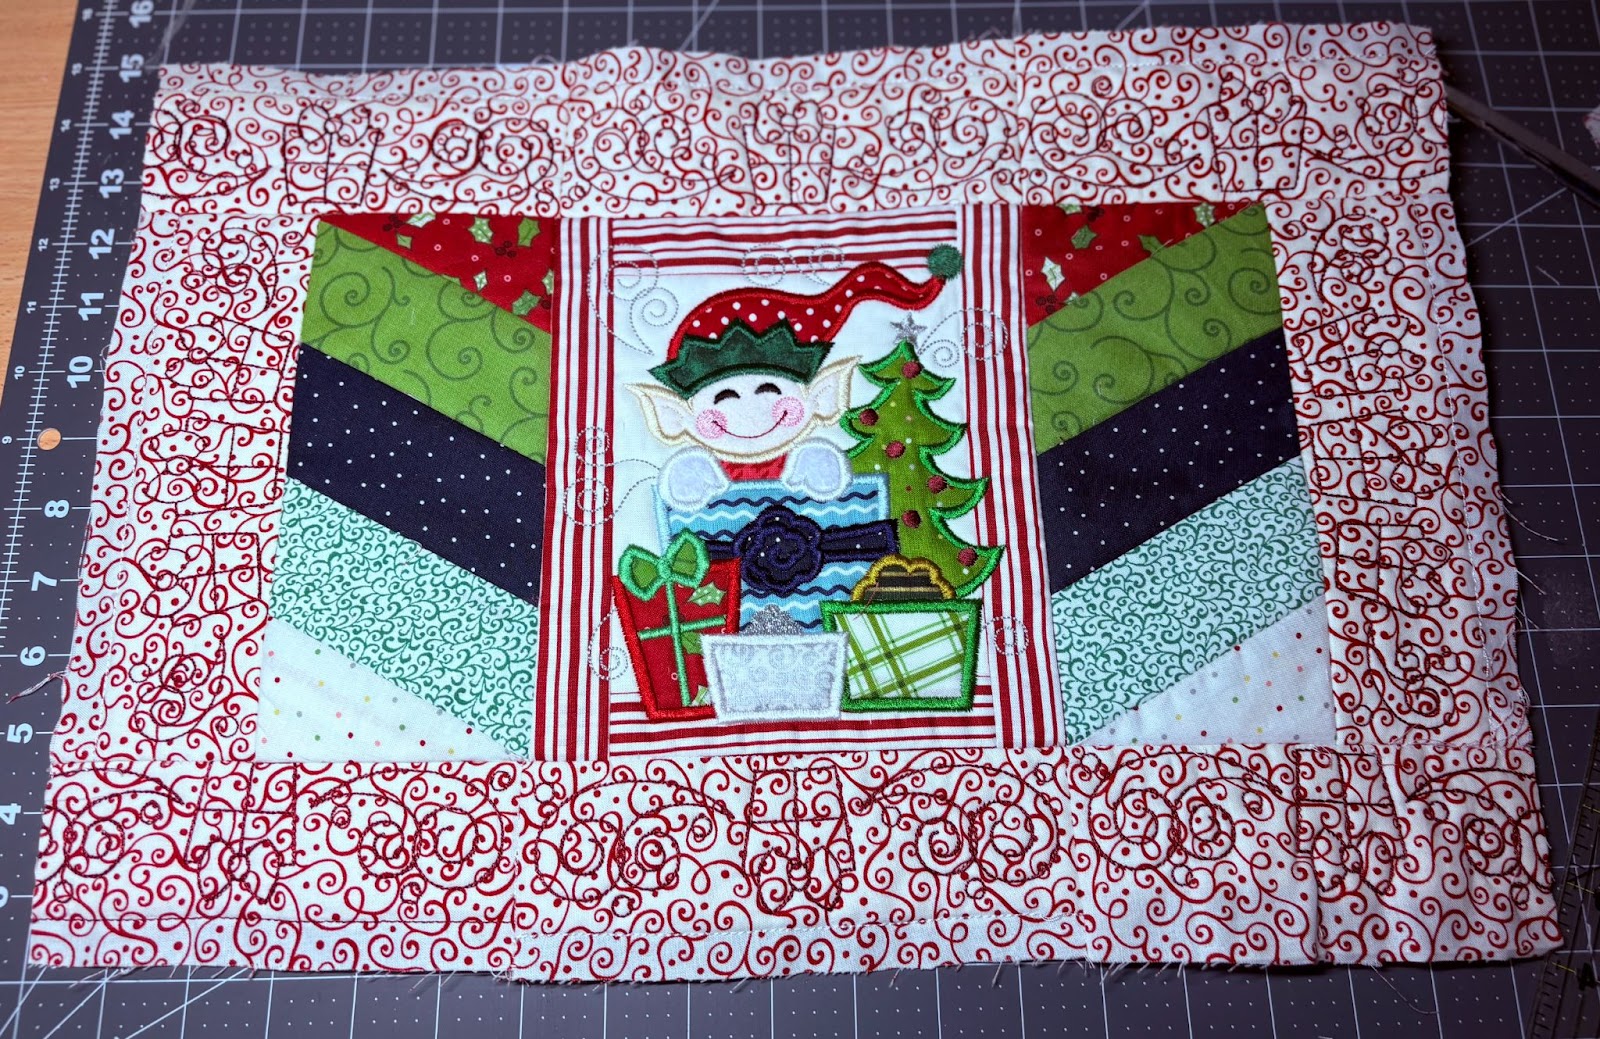
The top of your Modular Elf Placemat is finished.
Add a backing and binding to the placemat. You may have a favorite way to complete this step. I will show you how I completed mine.
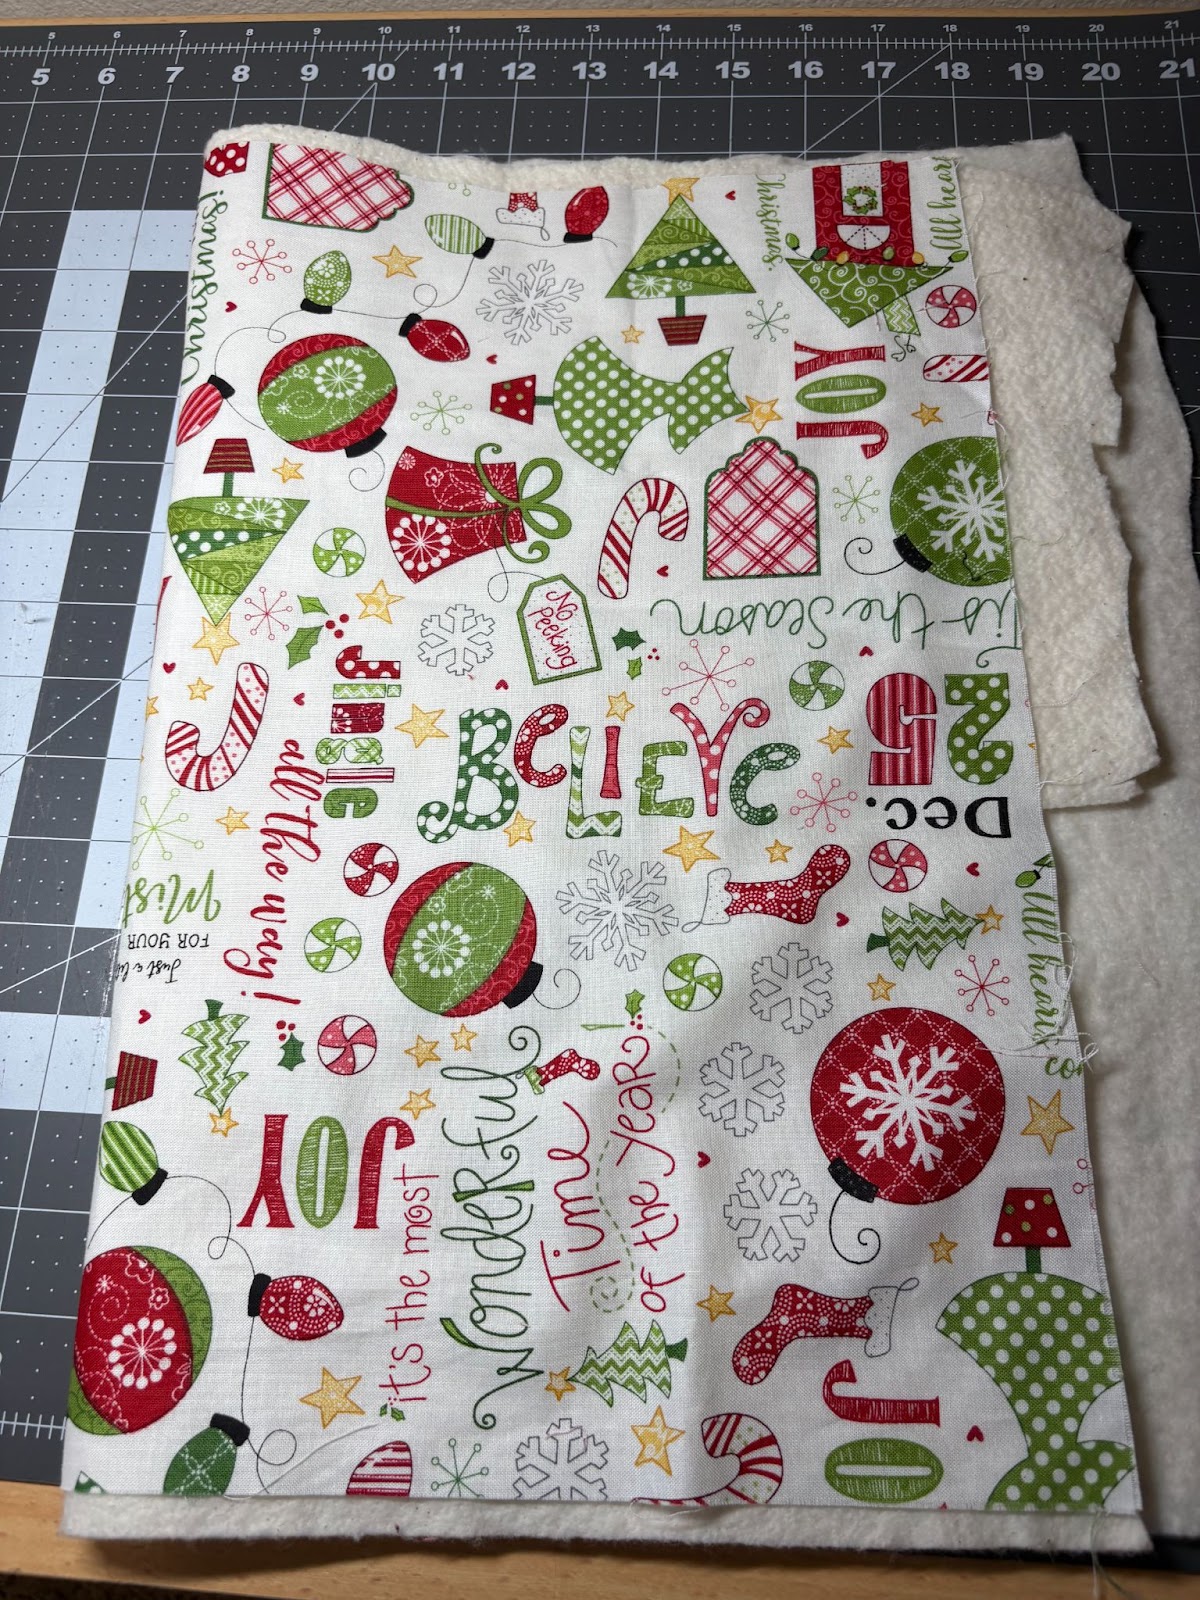
I cut out my backing fabric and a piece of cotton batting slightly larger than my placemat. I like to add the extra batting to my placemats. This is optional.
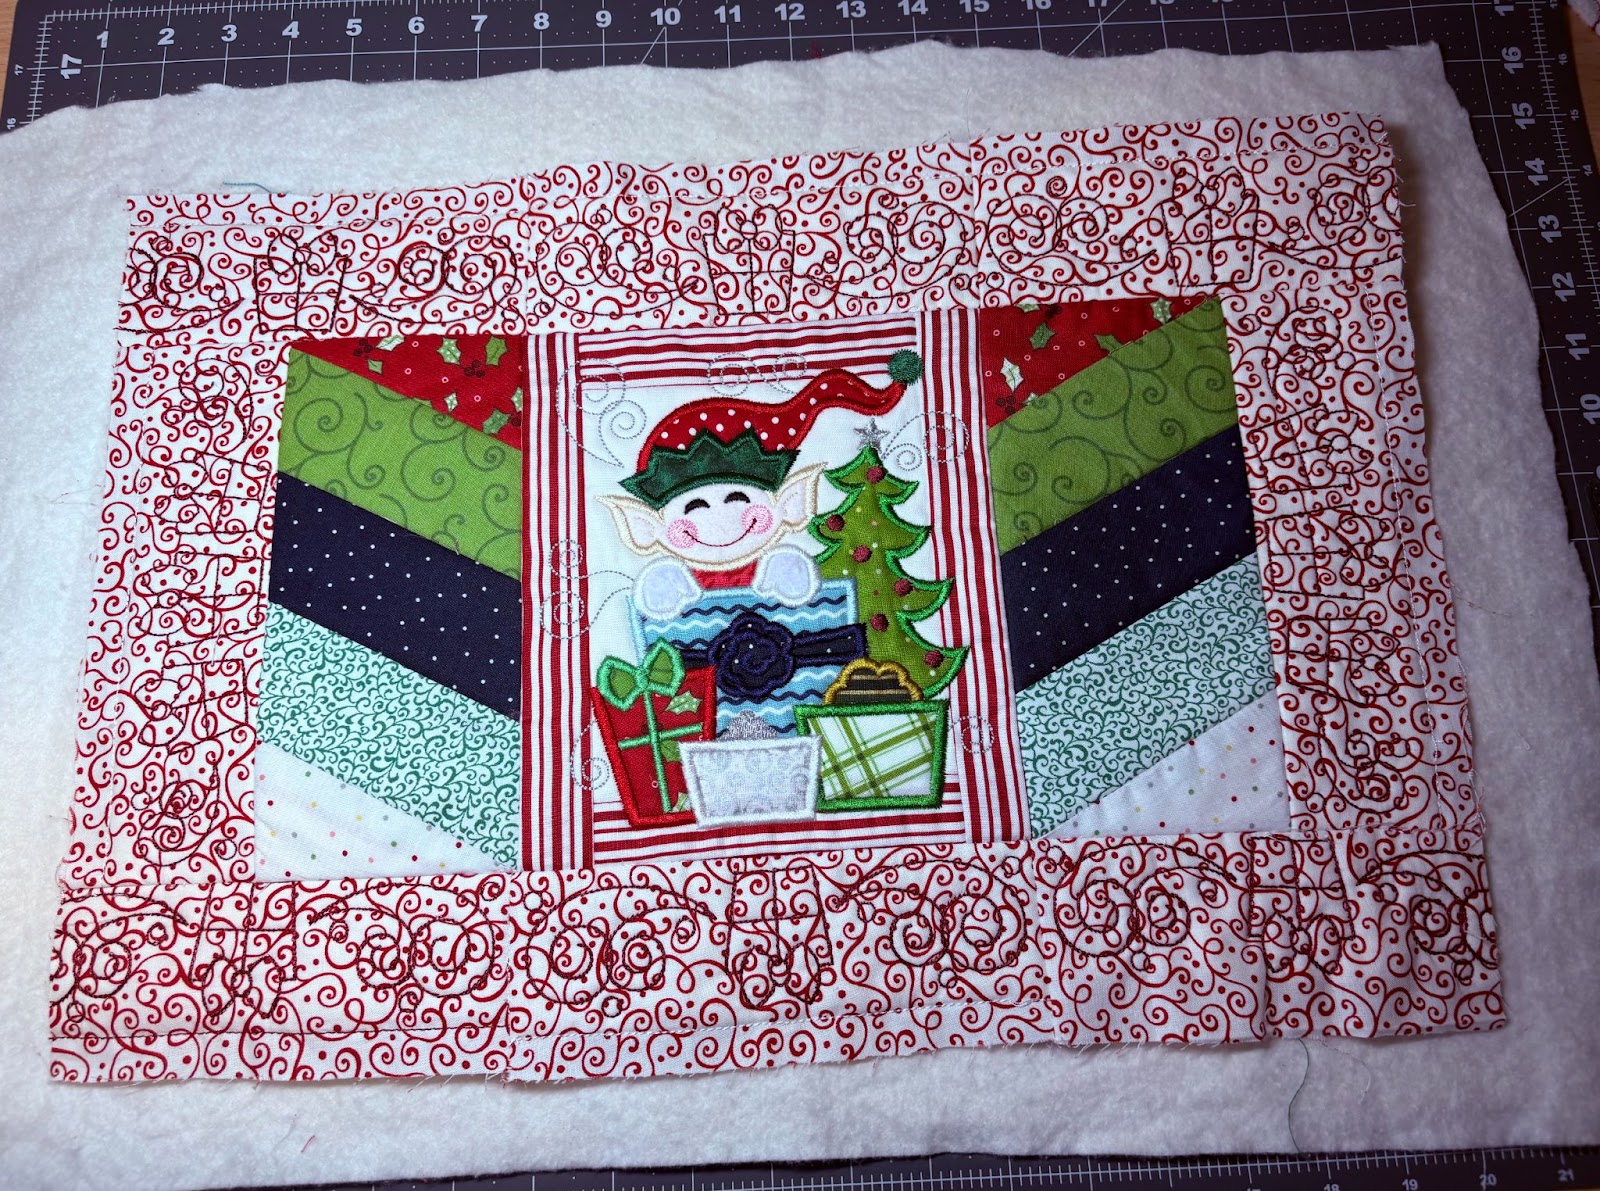
Place the placemat on top of the batting. Take to the sewing machine.
Stitch in the ditch along all the seams. This will prevent the batting from bunching if put in the laundry.
Trim the batting and backing fabric even with the placemat.
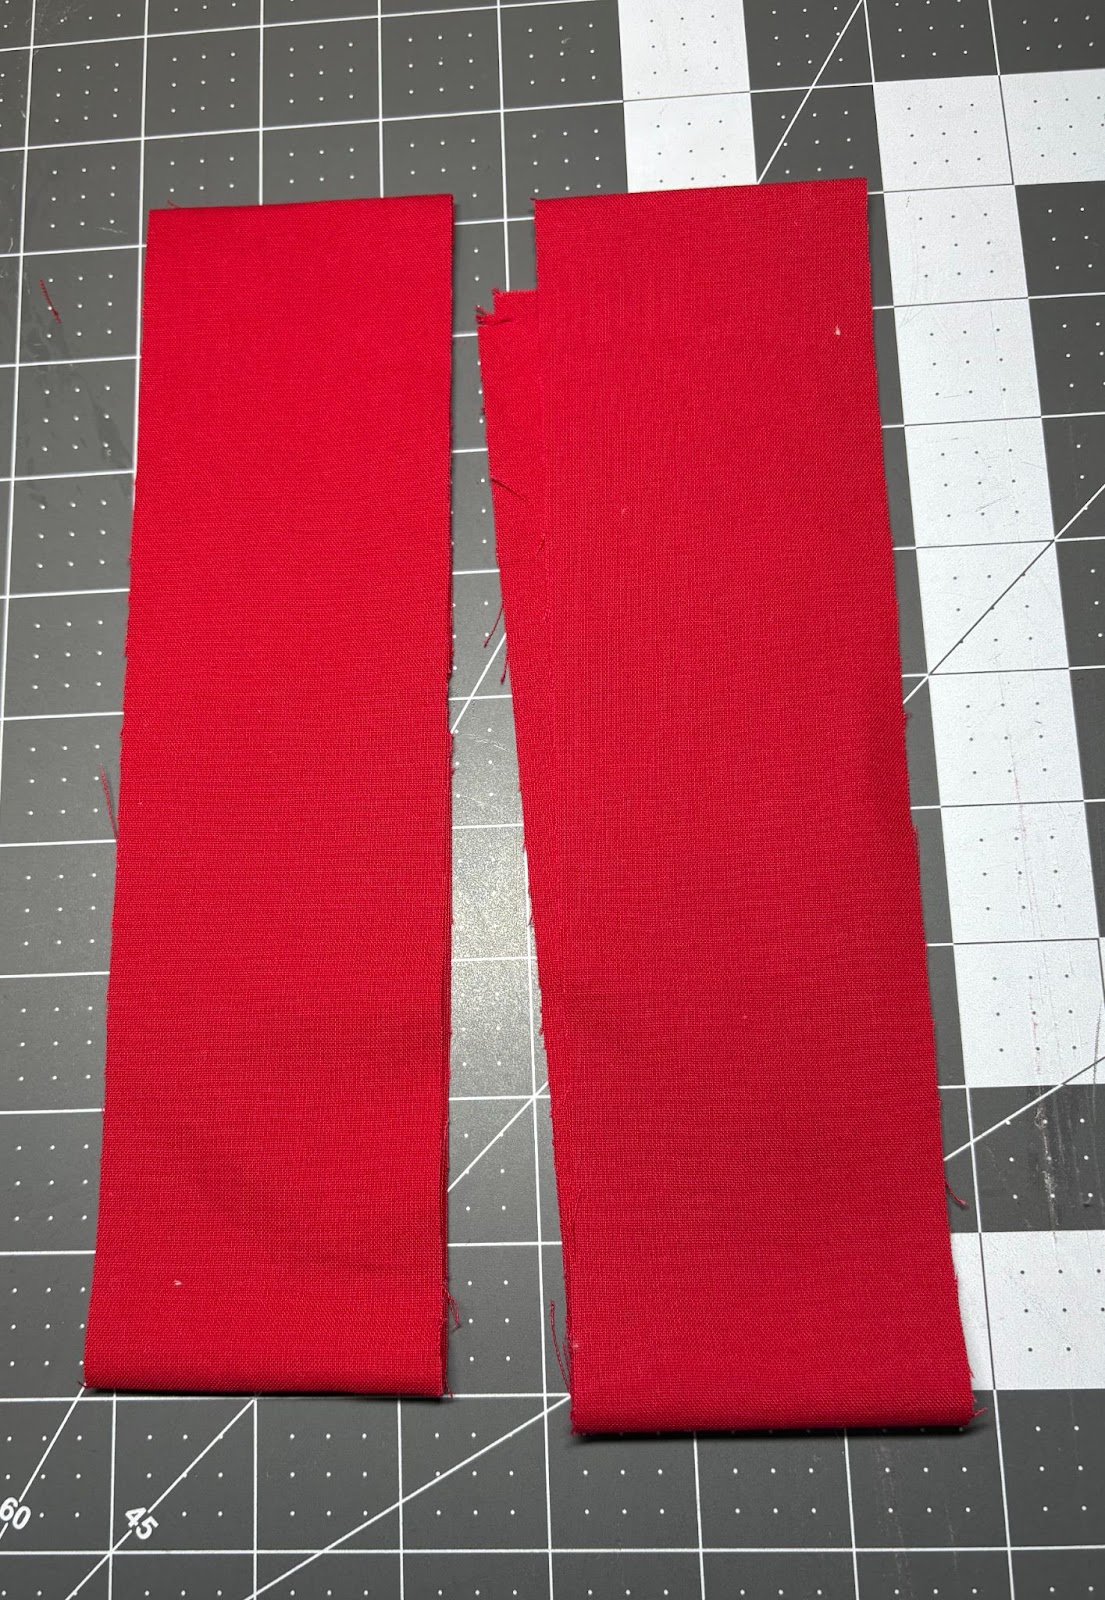
For the binding, I cut strips 2½” x width of fabric, then sewed them together to make one long strip. (For more details on creating bindings, please see this tutorial.)
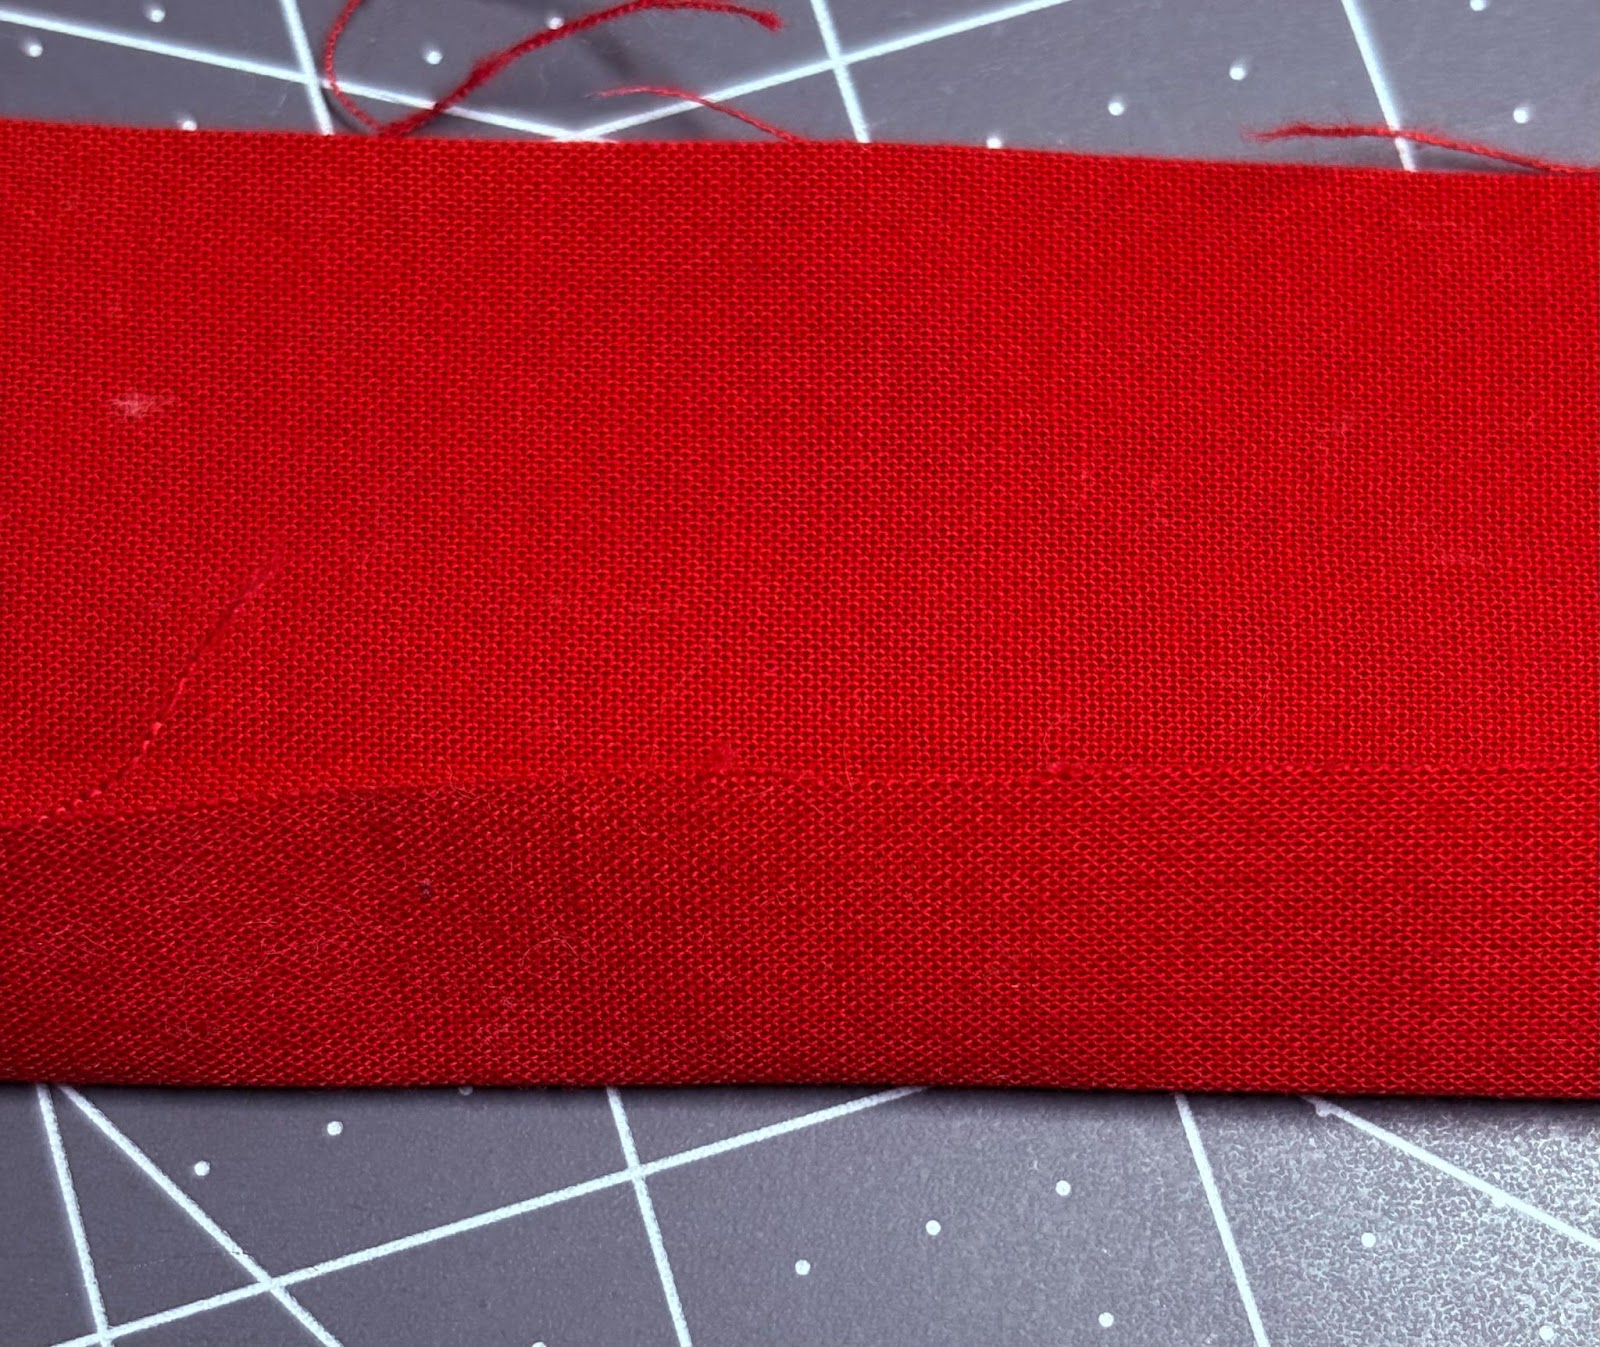
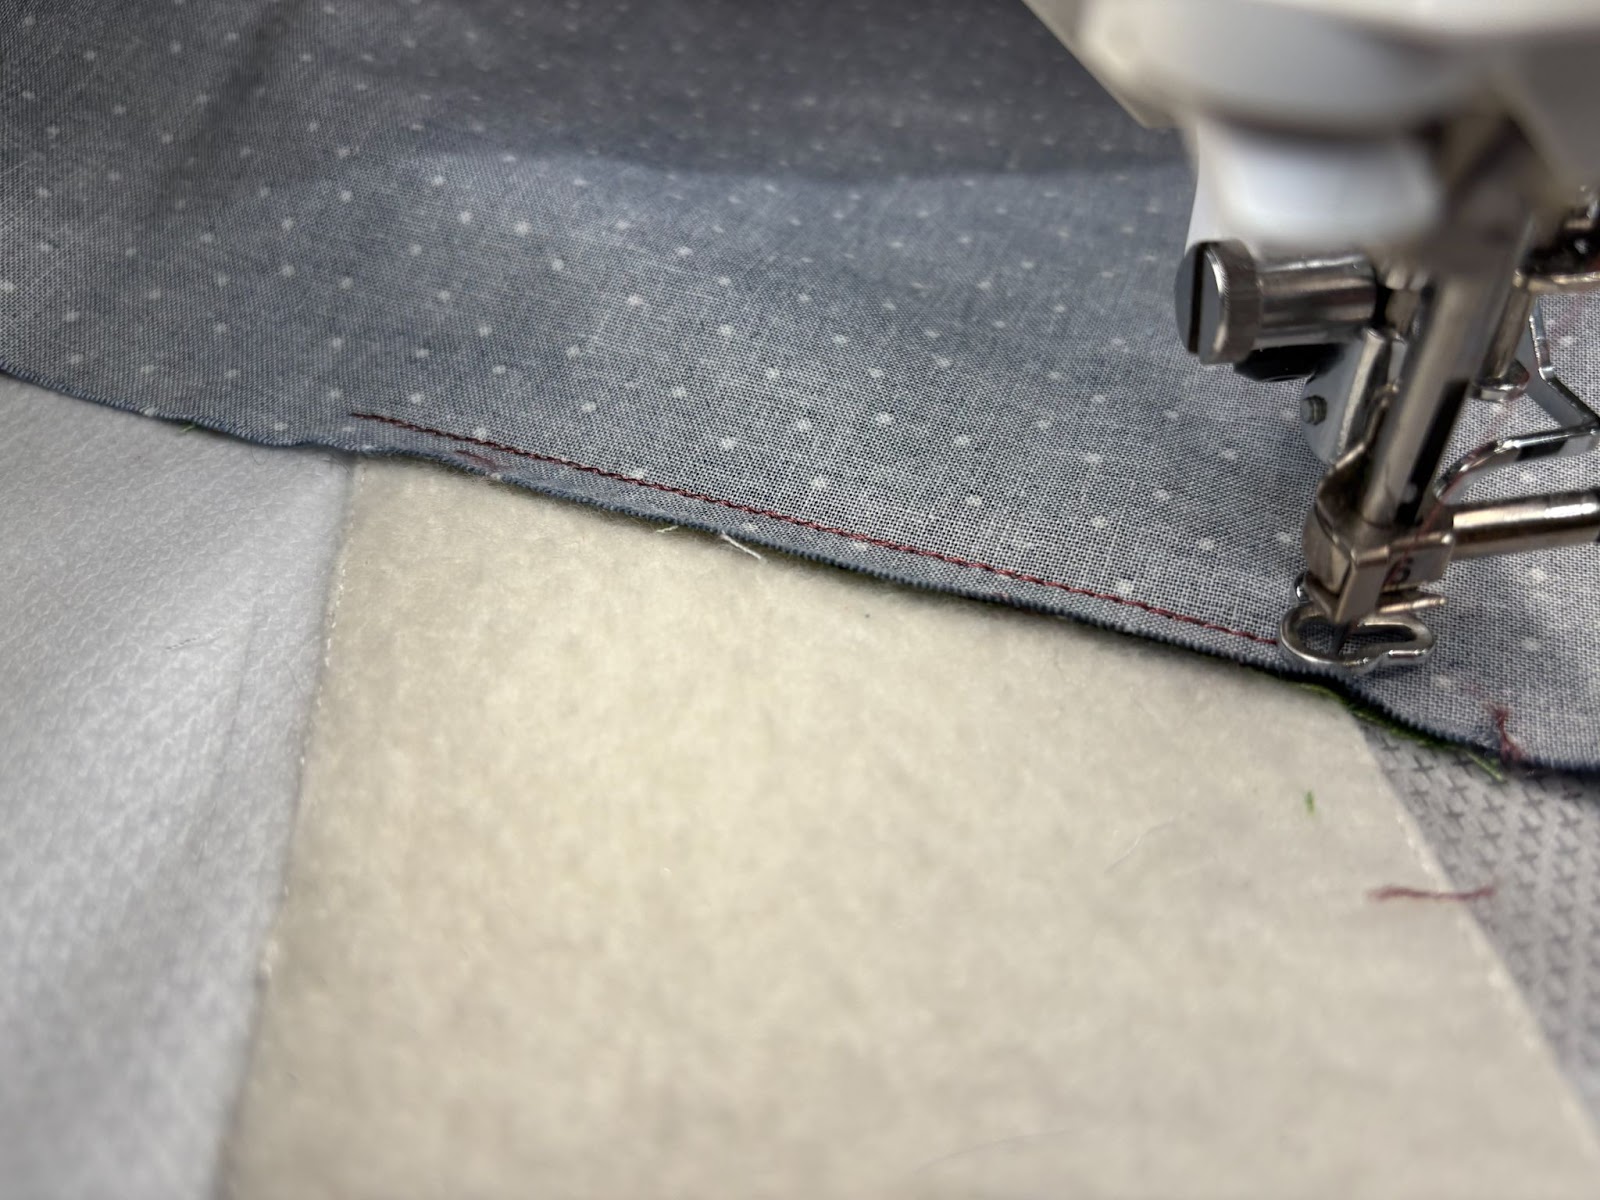
Fold and press ½” in on one long side.
Attach the binding to the front side of the placemat with a ½” seam. Turn the binding to the back. Turn the folded, pressed edge under and hand stitch to the back.
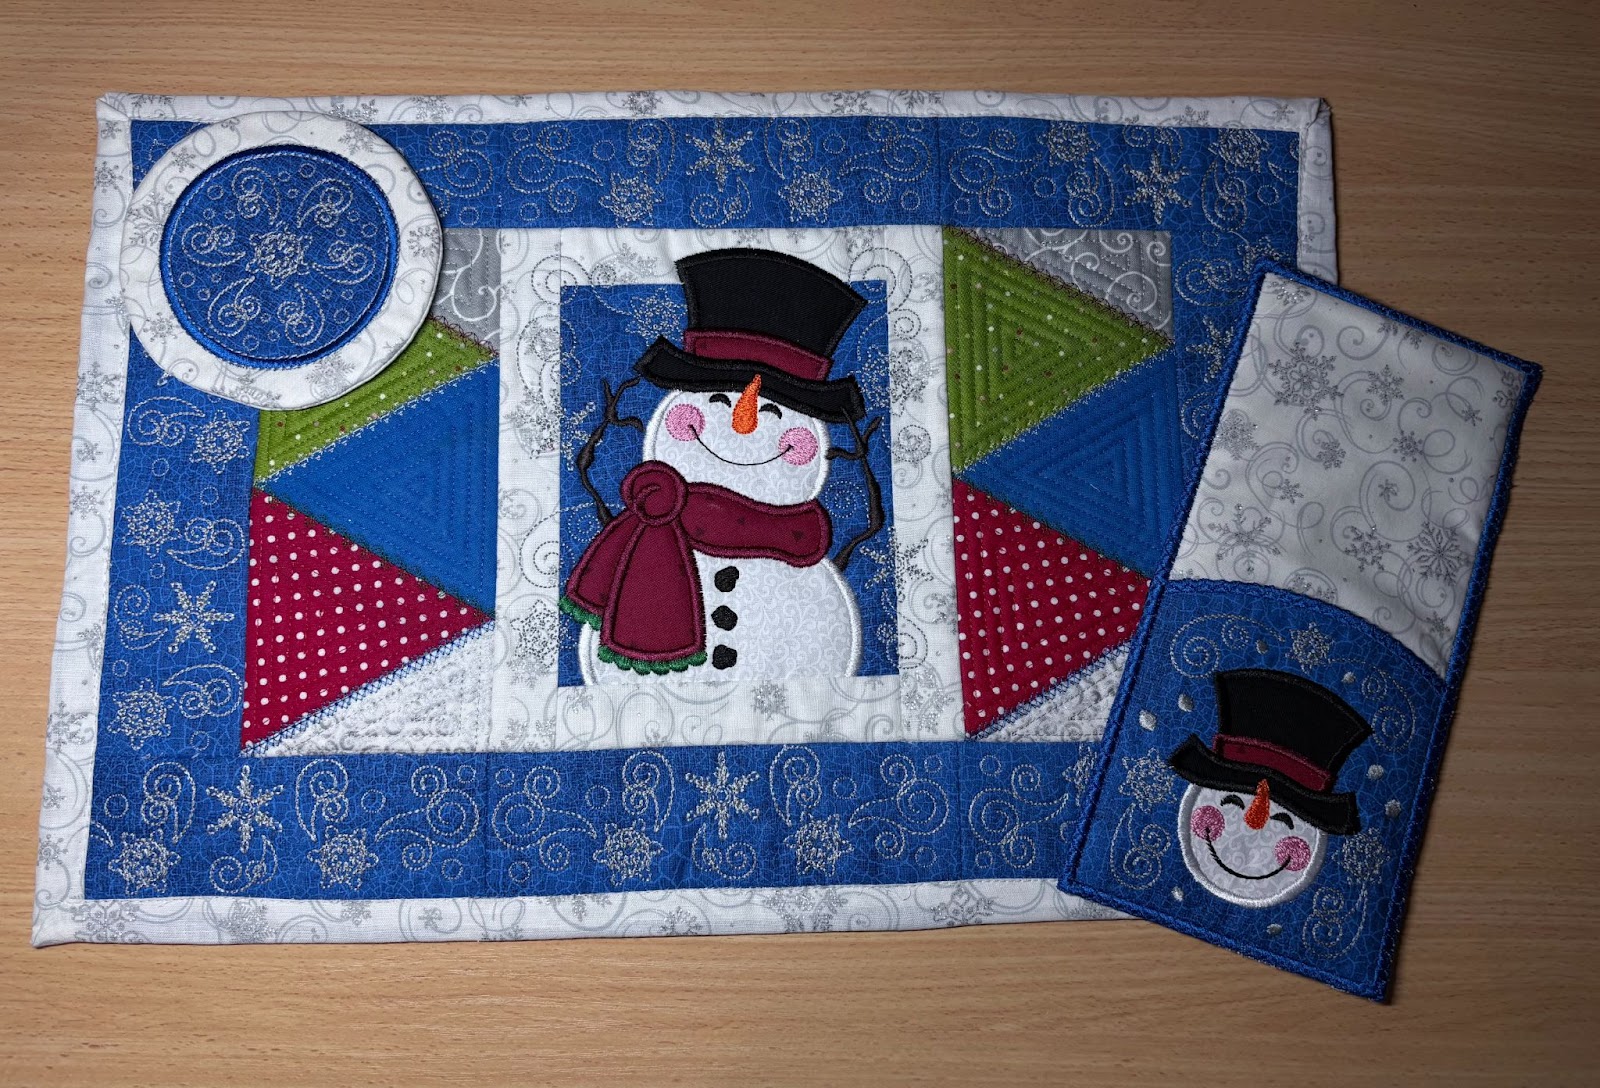
This is the new In-the-Hoop Modular Snowman Placemat. It's a must-have for your winter stitching lineup!
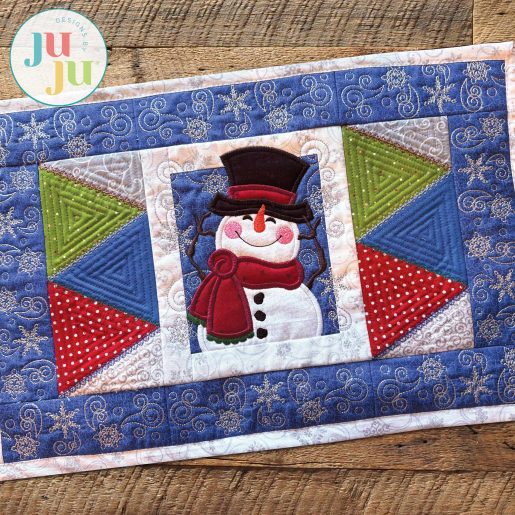
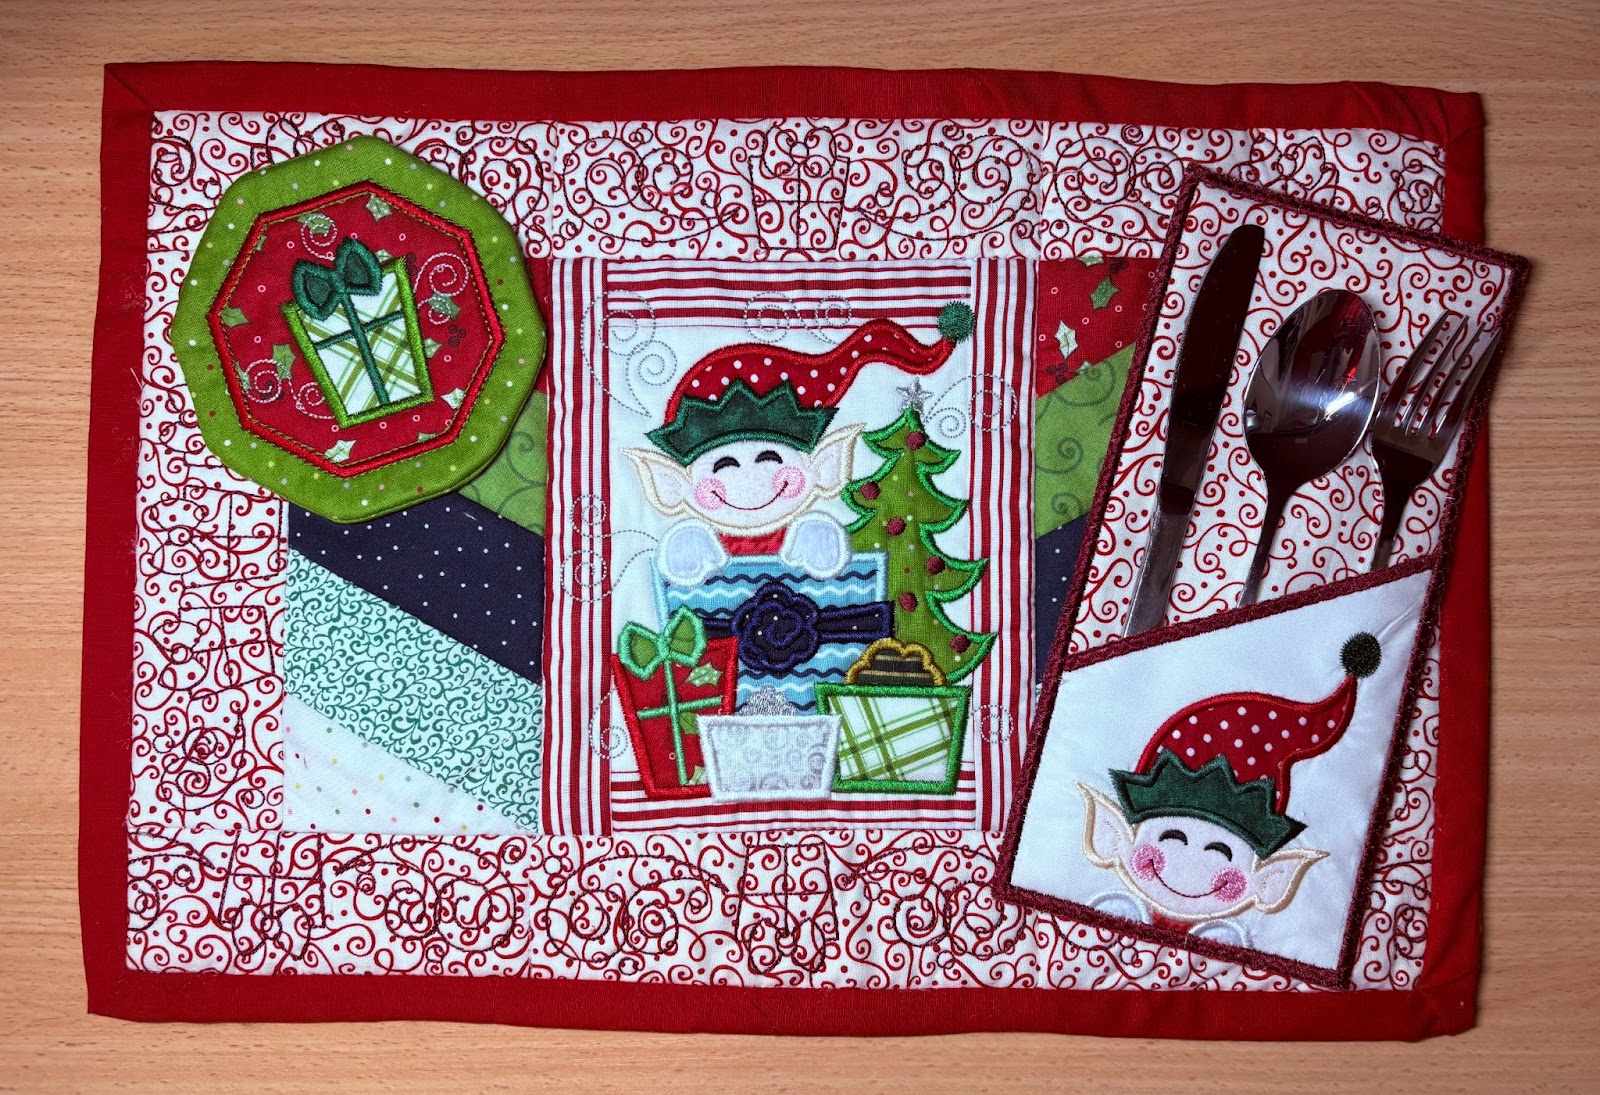
Want to complete your table setting? Be sure to watch for Past Bonus Bundle Items making a comeback to coordinate with these modular placemats.
Please share your projects in the Designs by JuJu Embroidery Blessings Group on Facebook, or anywhere on social media using the hashtag #designsbyjuju. We love to see what you create!
