Search
Make a Festive Elf Utensil Holder & Gift Coaster: In-the-Hoop Embroidery for Your Holiday Table
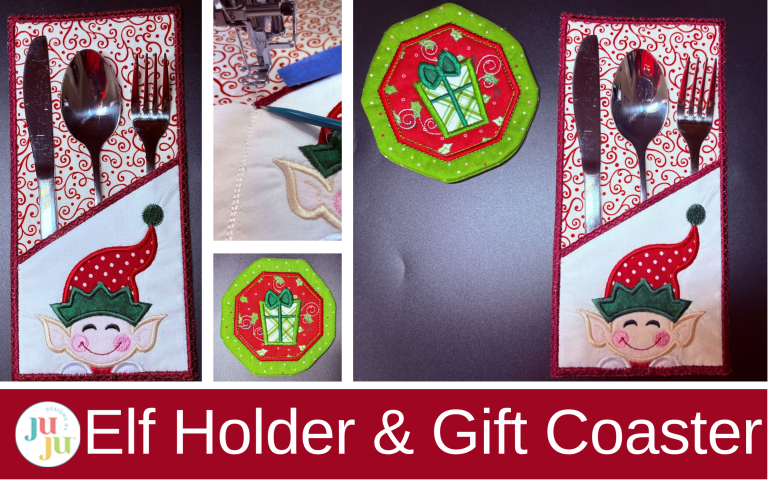
This charming elf cradles your utensils with glee, while the coaster is the perfect festive gift surprise!
Bring some extra cheer to your holiday table with this adorable elf utensil holder and bright gift coaster! The cute elf design adds a fun touch to your meals, making every gathering feel special and joyful. Plus, the colorful coaster helps keep everything tidy while spreading a little seasonal happiness. Together, they bring a warm and welcoming atmosphere to the table. Celebrate the season with these delightful additions that are sure to bring smiles all around!
Supplies
Check out the DBJJ team’s favorite supplies in the Designs by JuJu Amazon store.
- Coasters
- Cut-away stabilizer
- Cotton fabric - fat quarters or ¼ yard
- Fabric scraps
- Cotton batting
- Utensil Holder
- Wash-away stabilizer
- Cotton fabric - ¼ yard for the front and back
- Cotton fabric - for the pocket
- Fabric scraps - for the elf
- Cotton batting
- Matching top and bobbin thread
- DBJJ designs used in these projects:
Projects included in this post:
Coaster
This coaster comes in multiple sizes. For this tutorial I am using the 5x7 design. Choose the size that works best for you and load it to your screen. The steps are the same for all sizes.
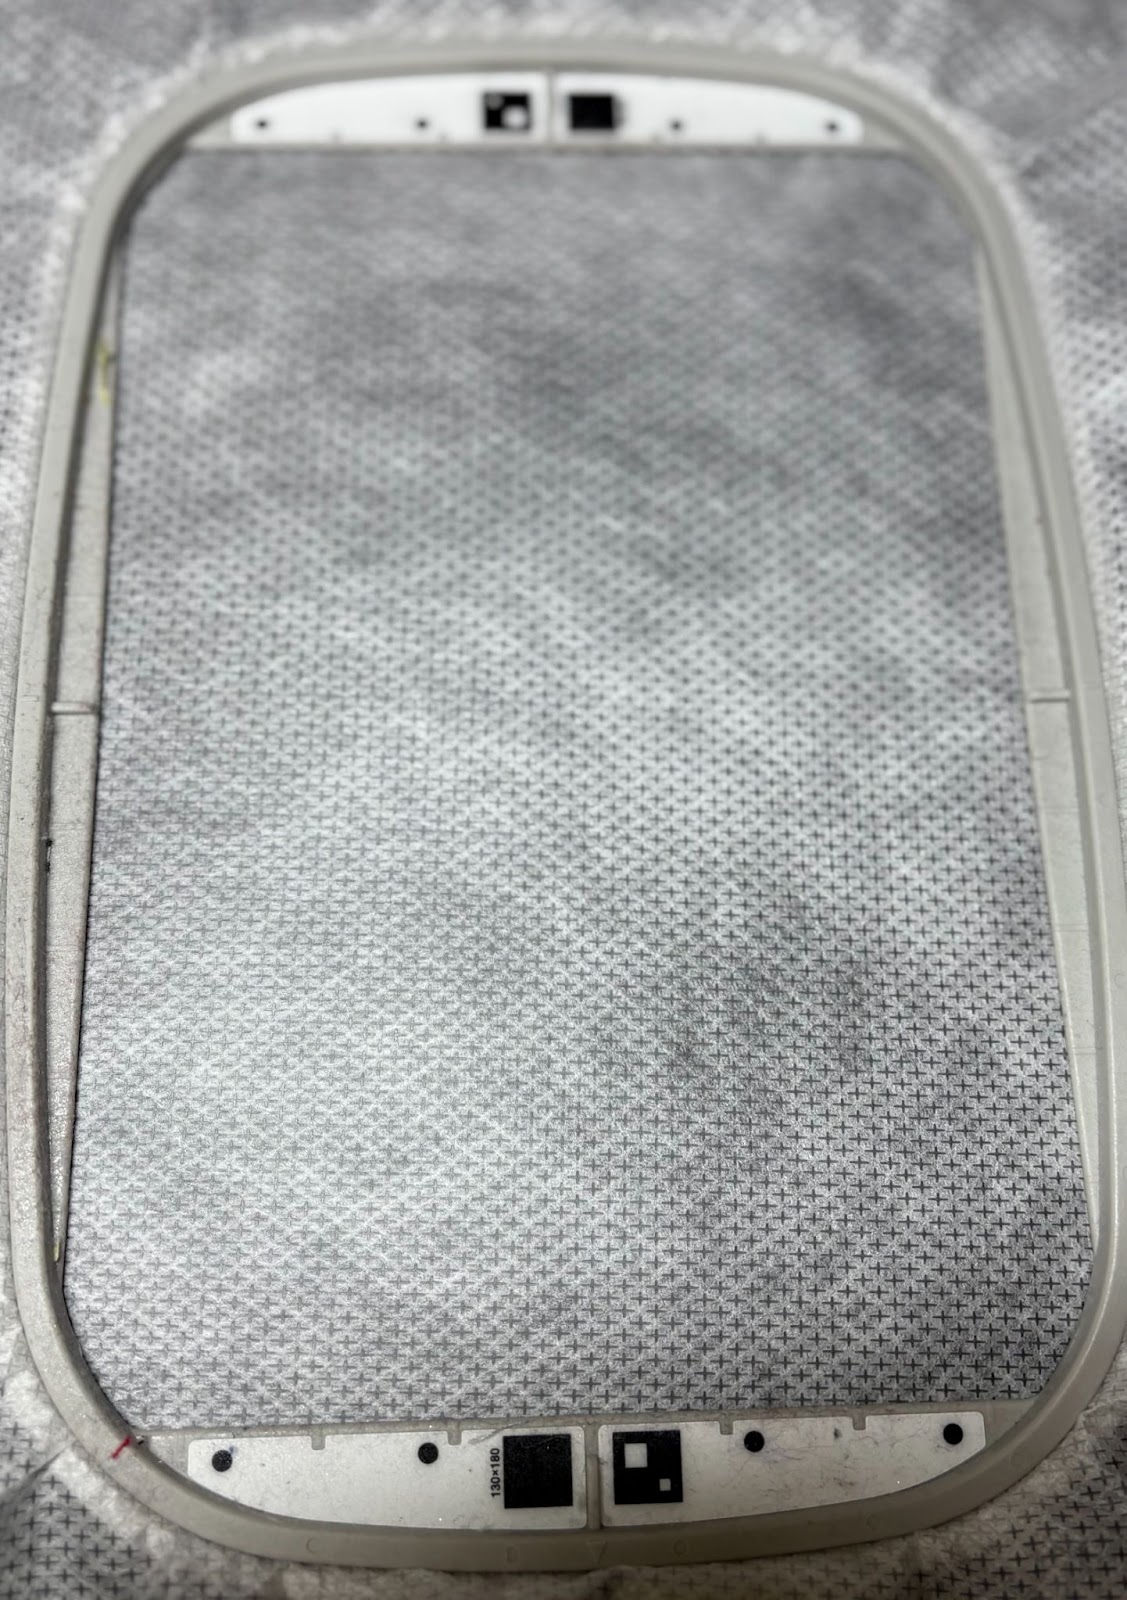
Hoop cut-away stabilizer and take to the machine.
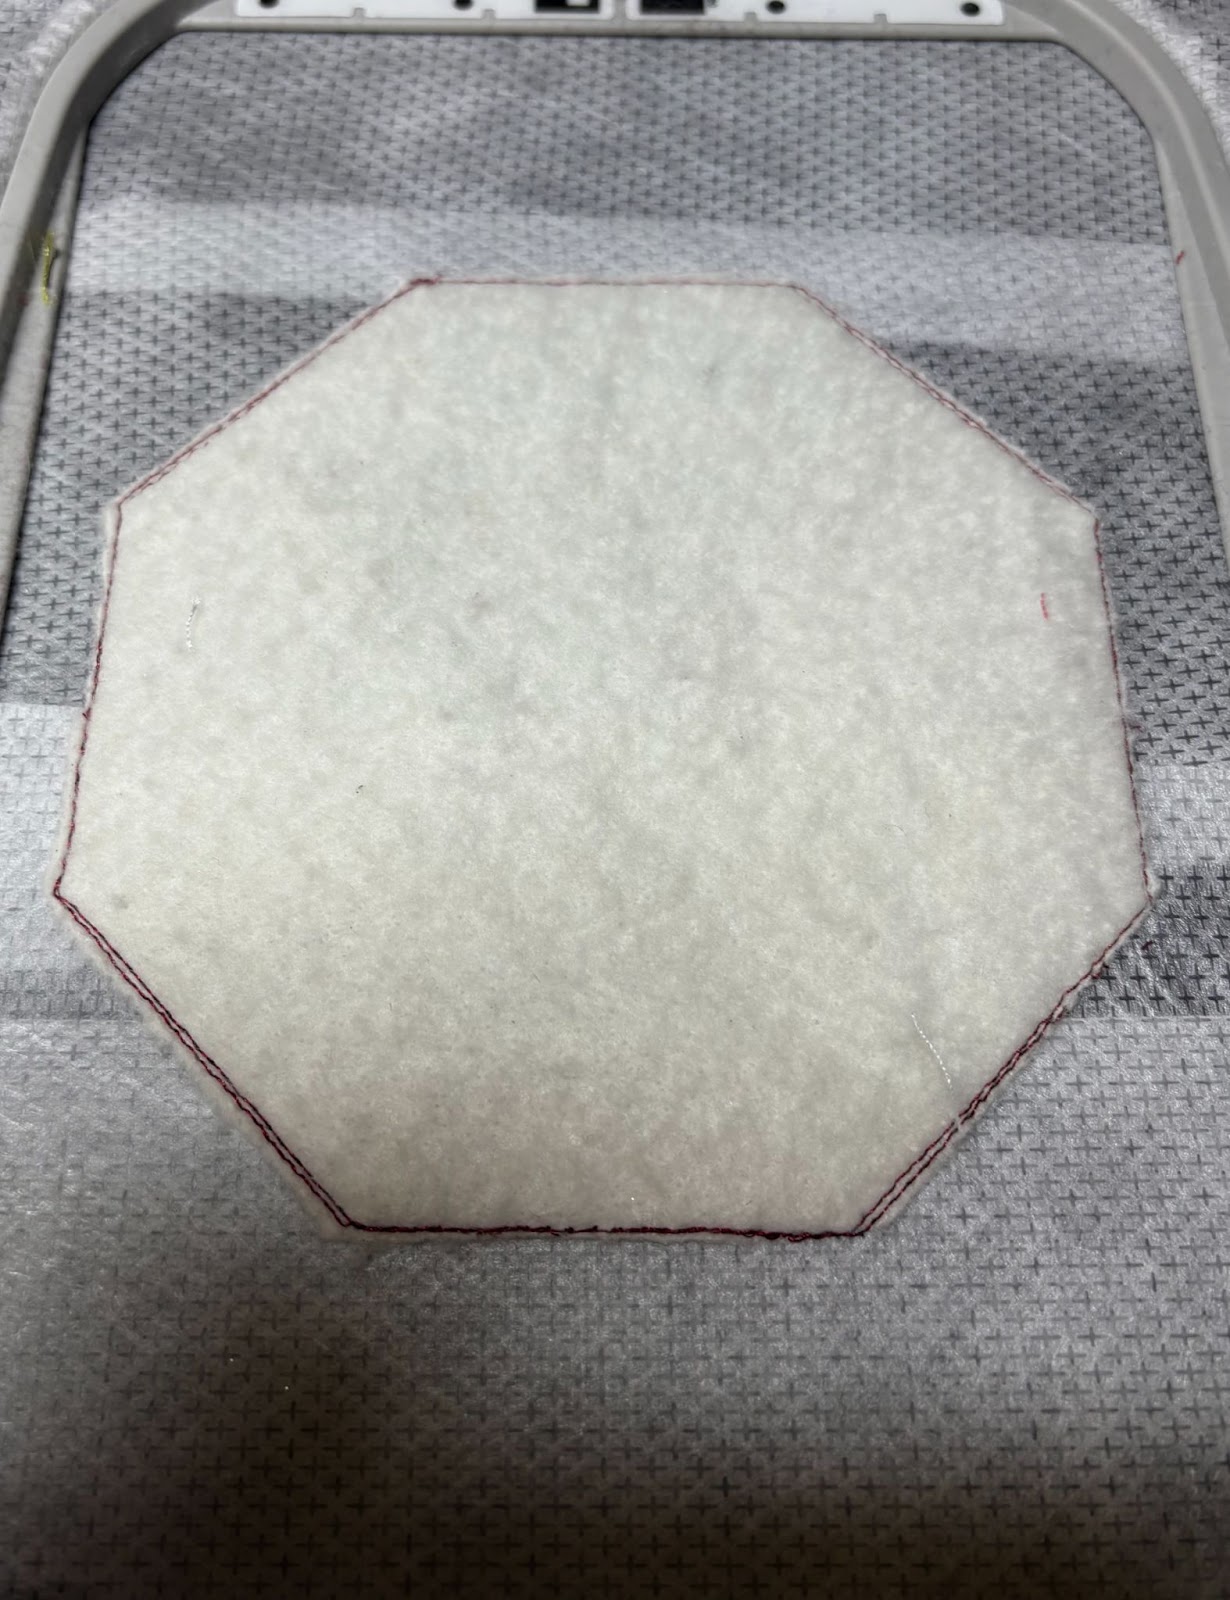
Run the first step. This will be the placement stitch for the batting. Place the batting over the stitches and run Step 2, the tack-down stitch. Remove the hoop and set it on a flat surface. Trim around the batting close to the stitches. Return the hoop to the machine.
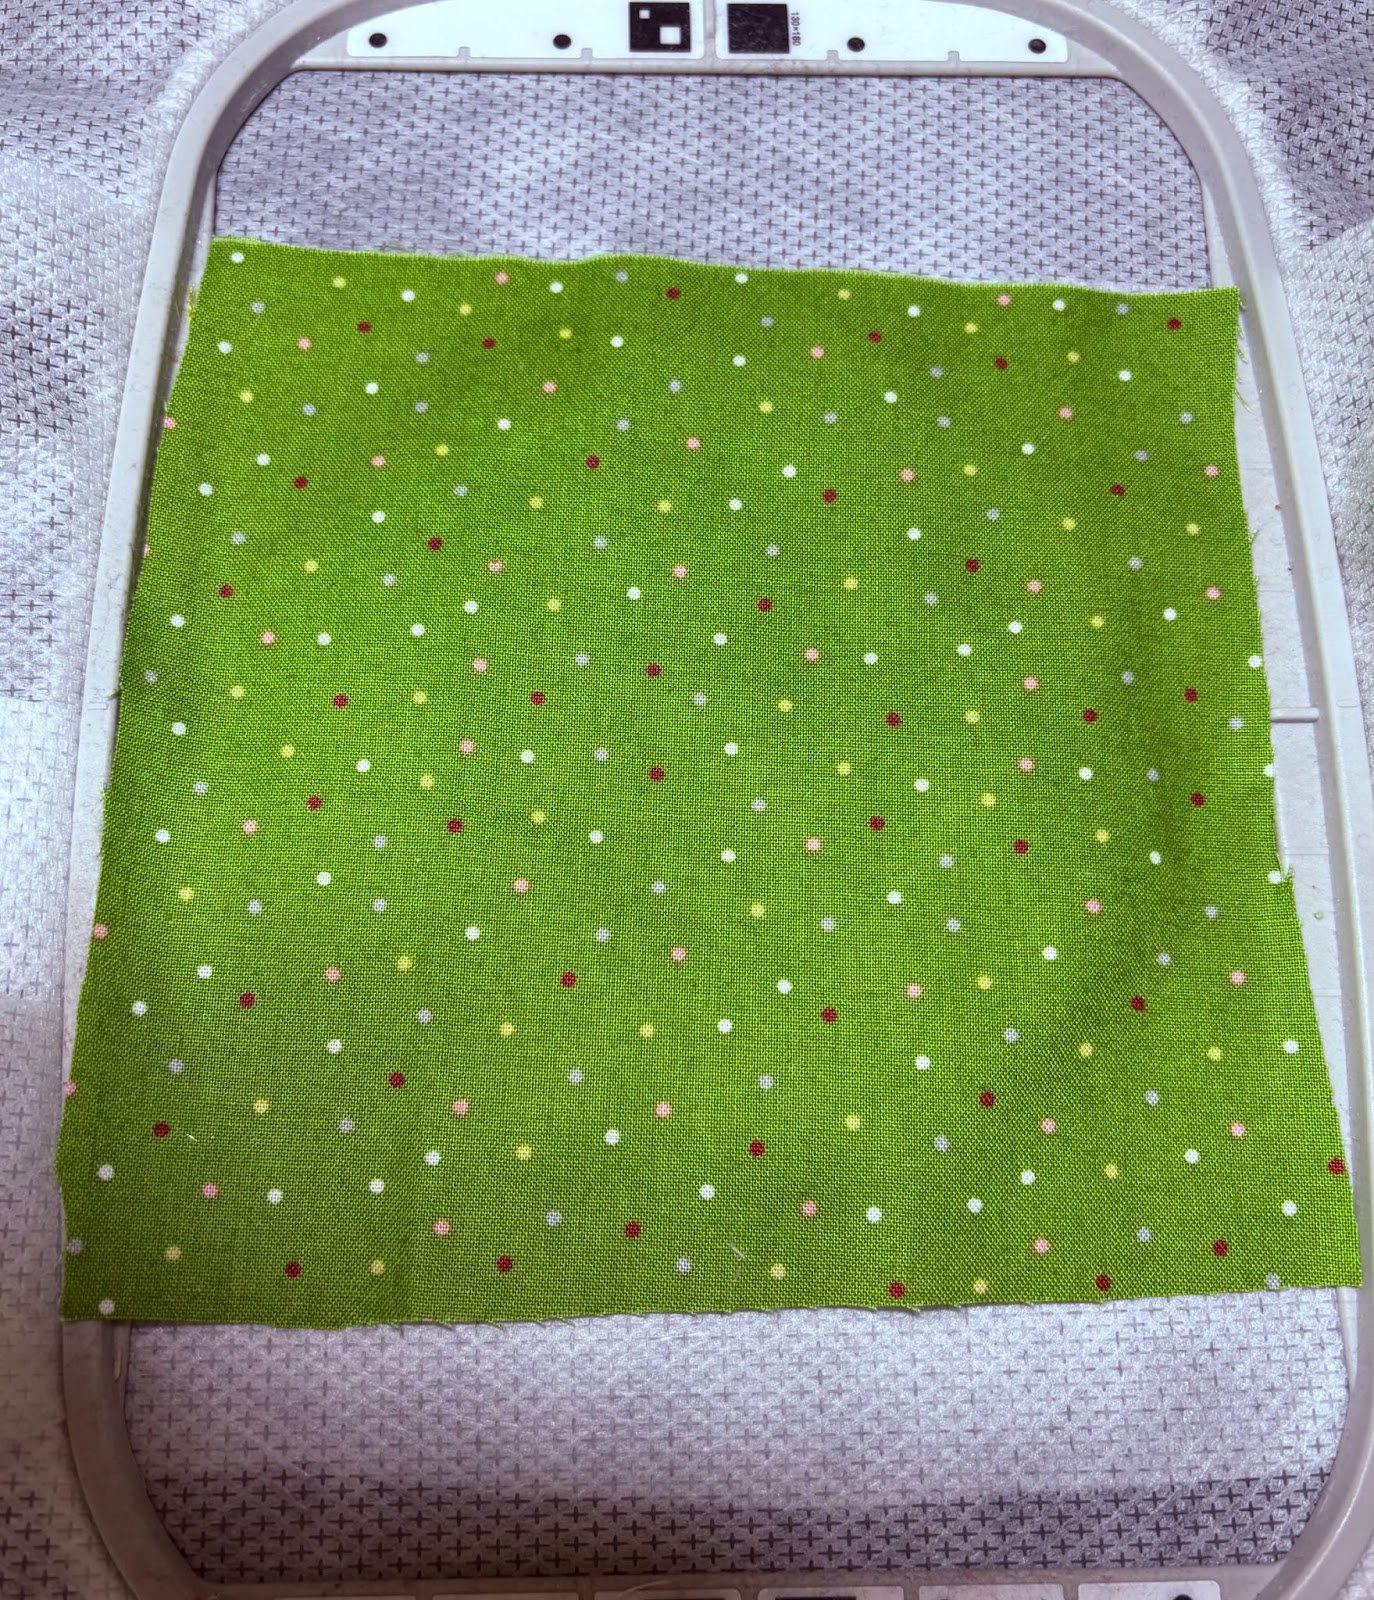
Place your coaster fabric over the batting, leaving at least 1” all the way around. Run Step 3, the tack-down stitch for the fabric. Do not trim.
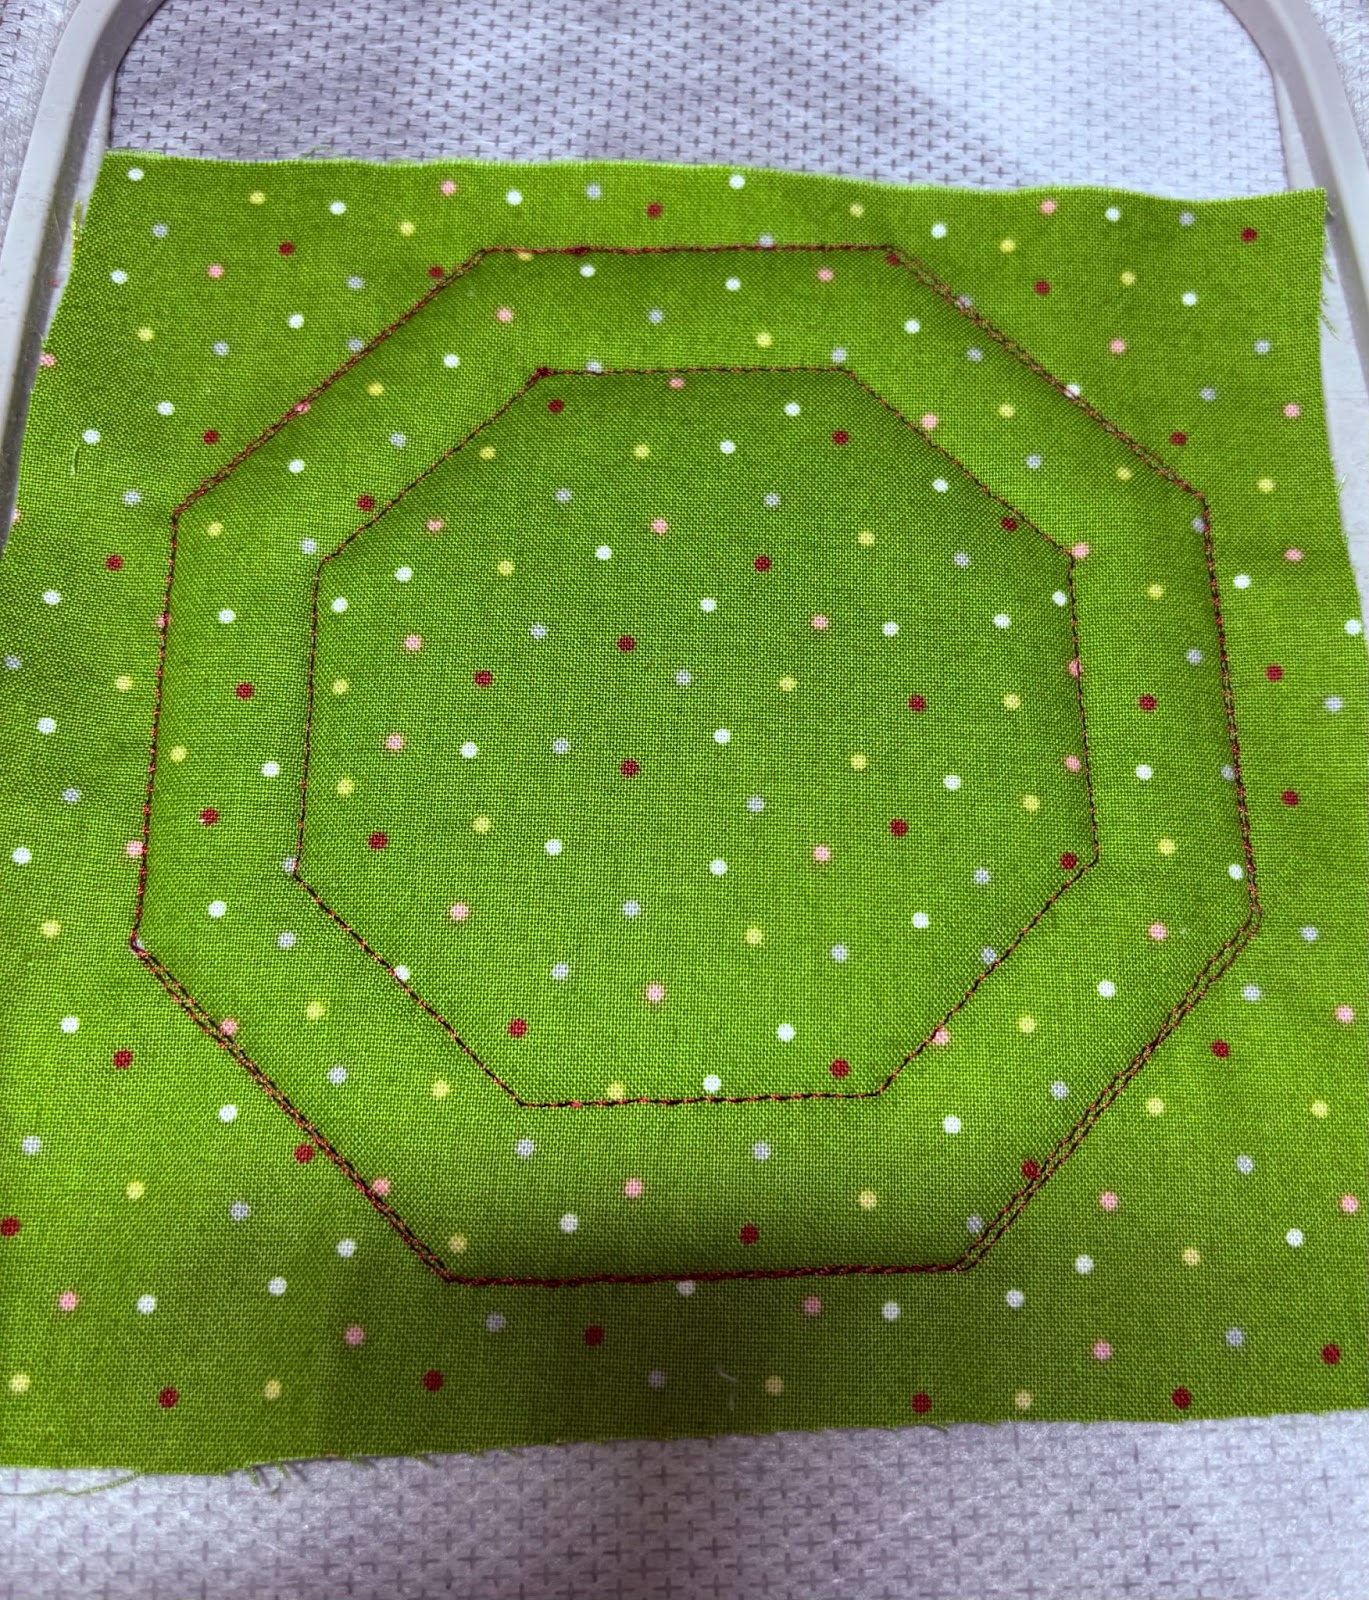
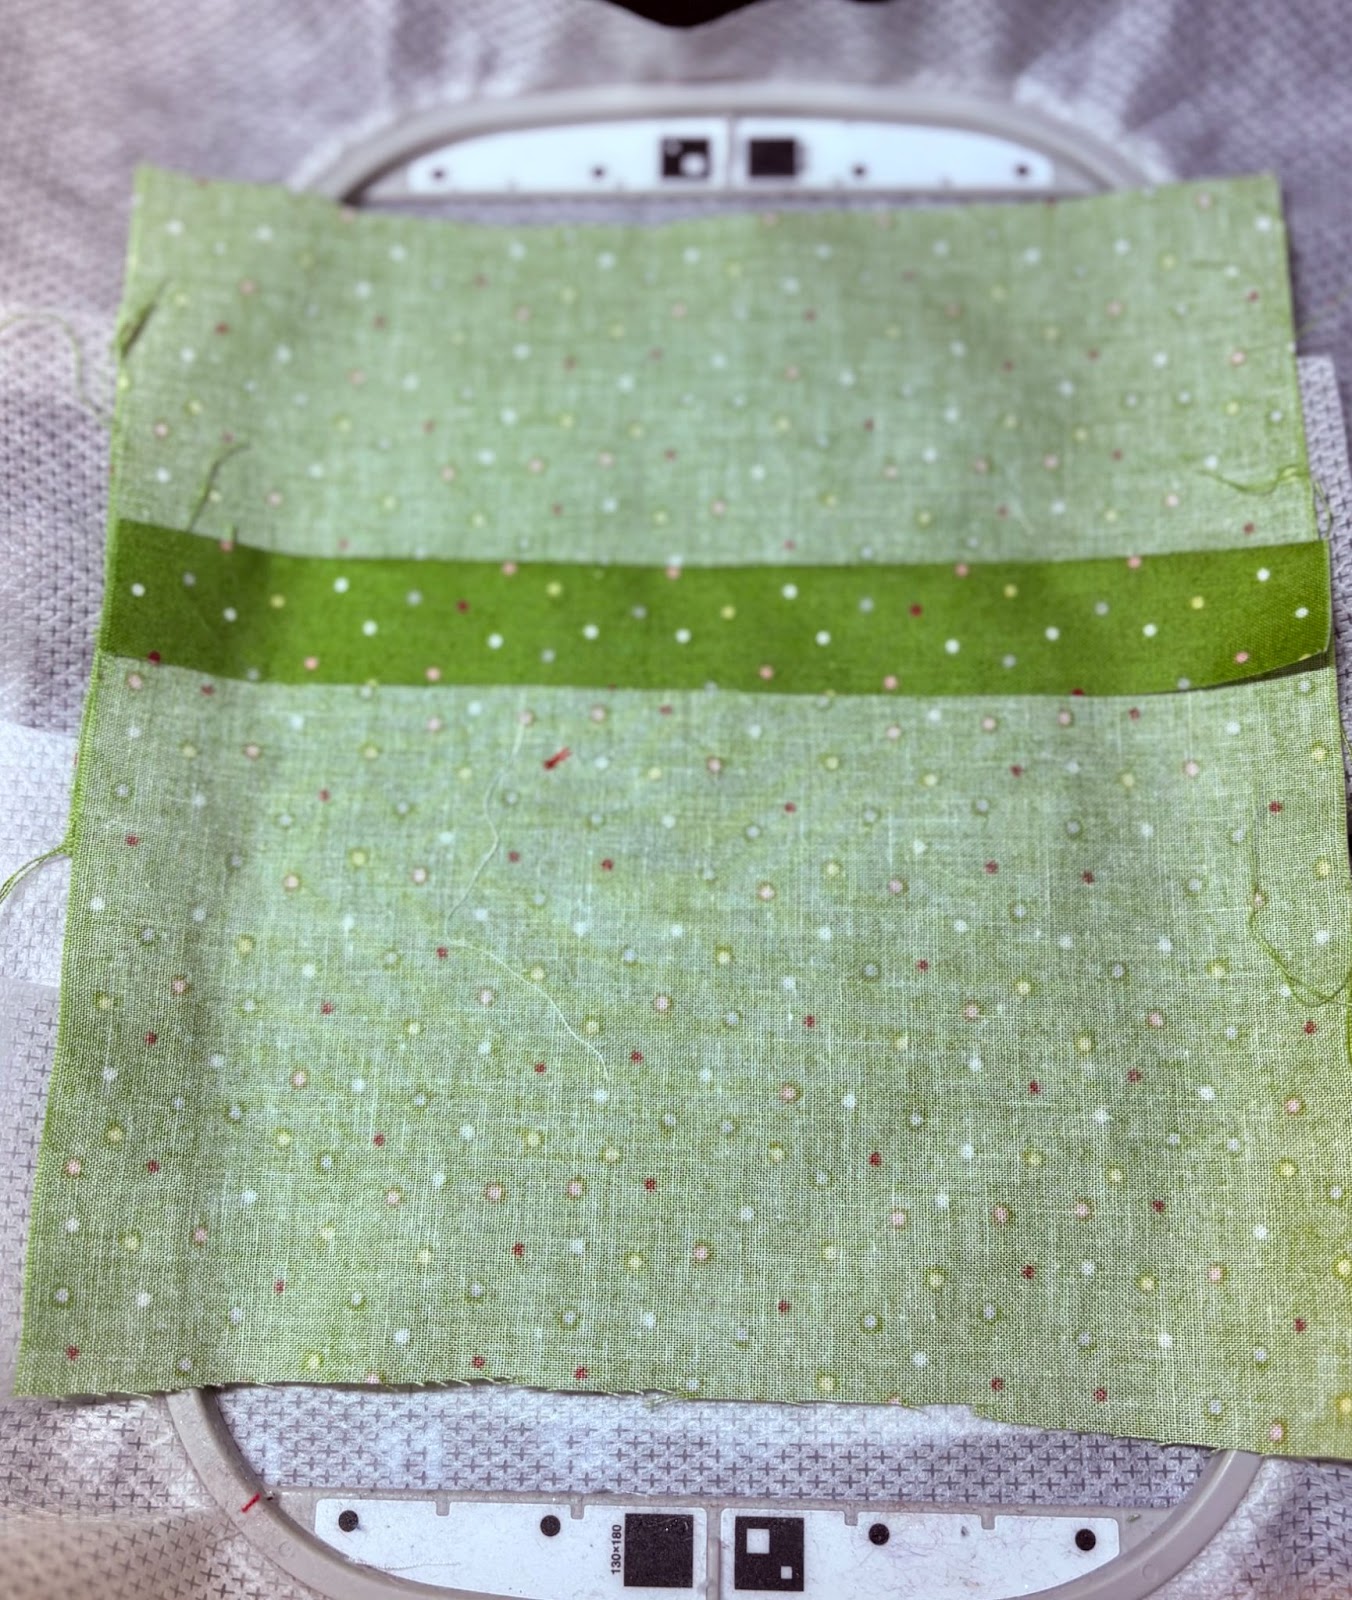
Run Step 4, the placement stitch for the center coaster fabric.
Place the fabric over the stitches and run Step 5. Remove the hoop and set on a flat surface.
Trim just the center fabric close to the stitches. Return the hoop to the machine.
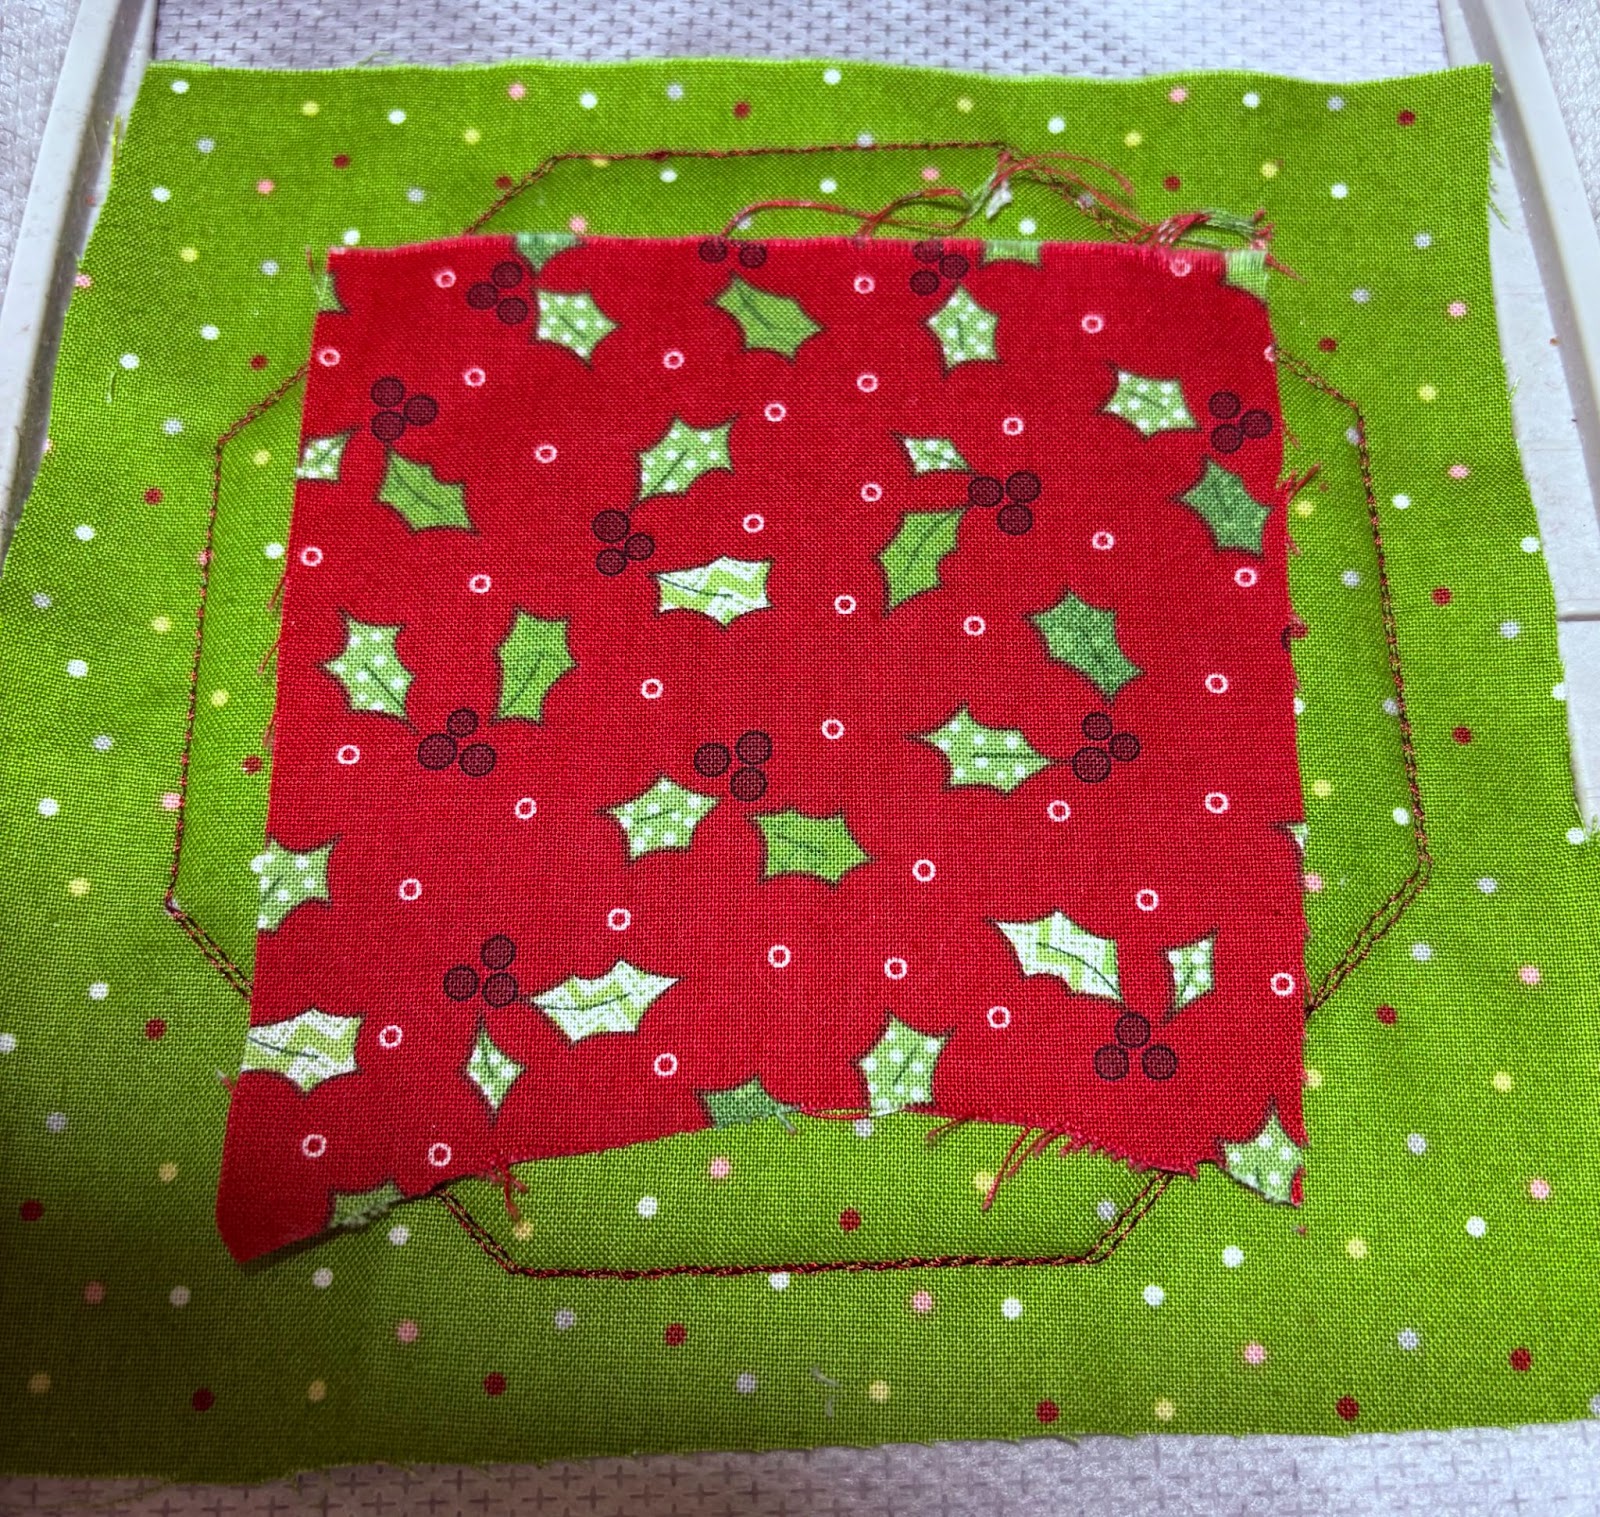
Step 6 is the satin stitch around the center fabric, and Step 7 is the outline stitch. Change your threads if needed before running these steps. Step 8 is the placement stitch for the gift package fabric. Place the gift fabric over these stitches.
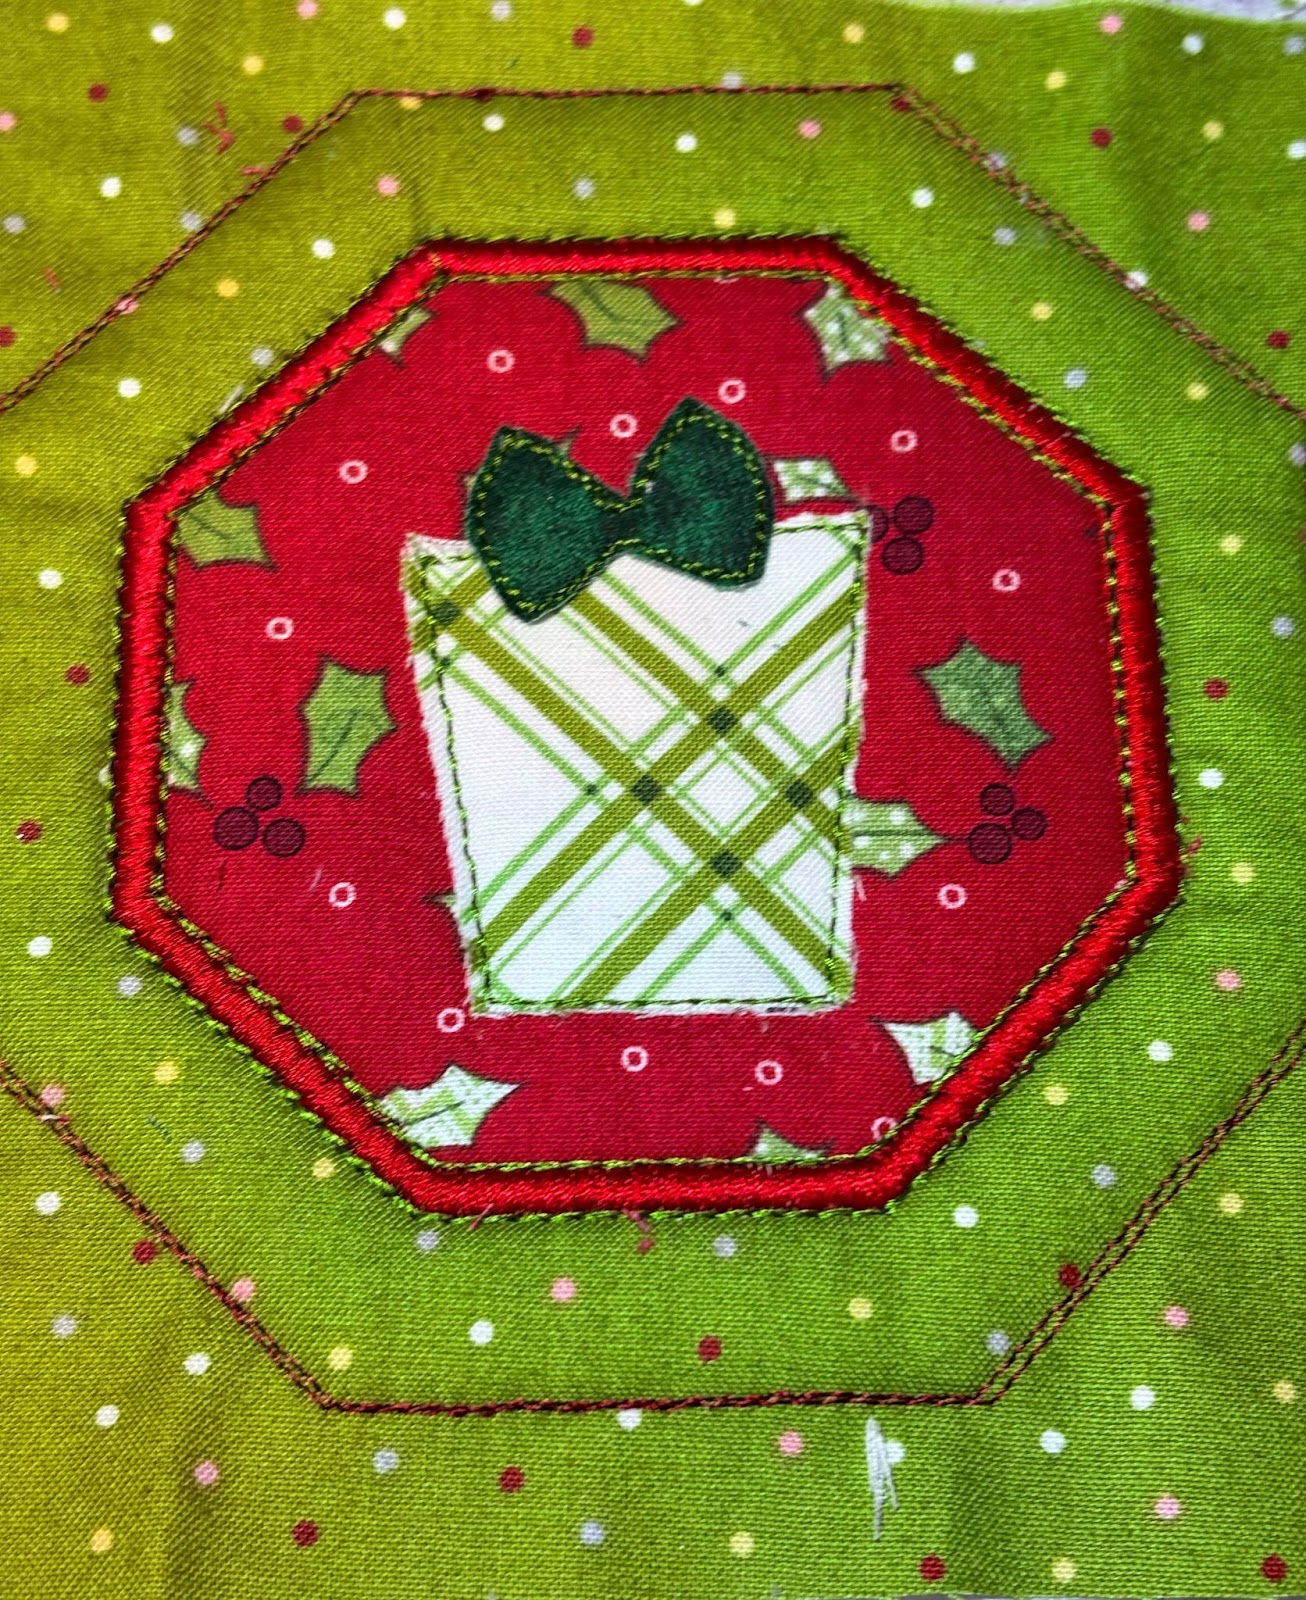
Steps 9–11 are the applique steps for the gift package. Run these steps, trimming the fabric close to the stitches.
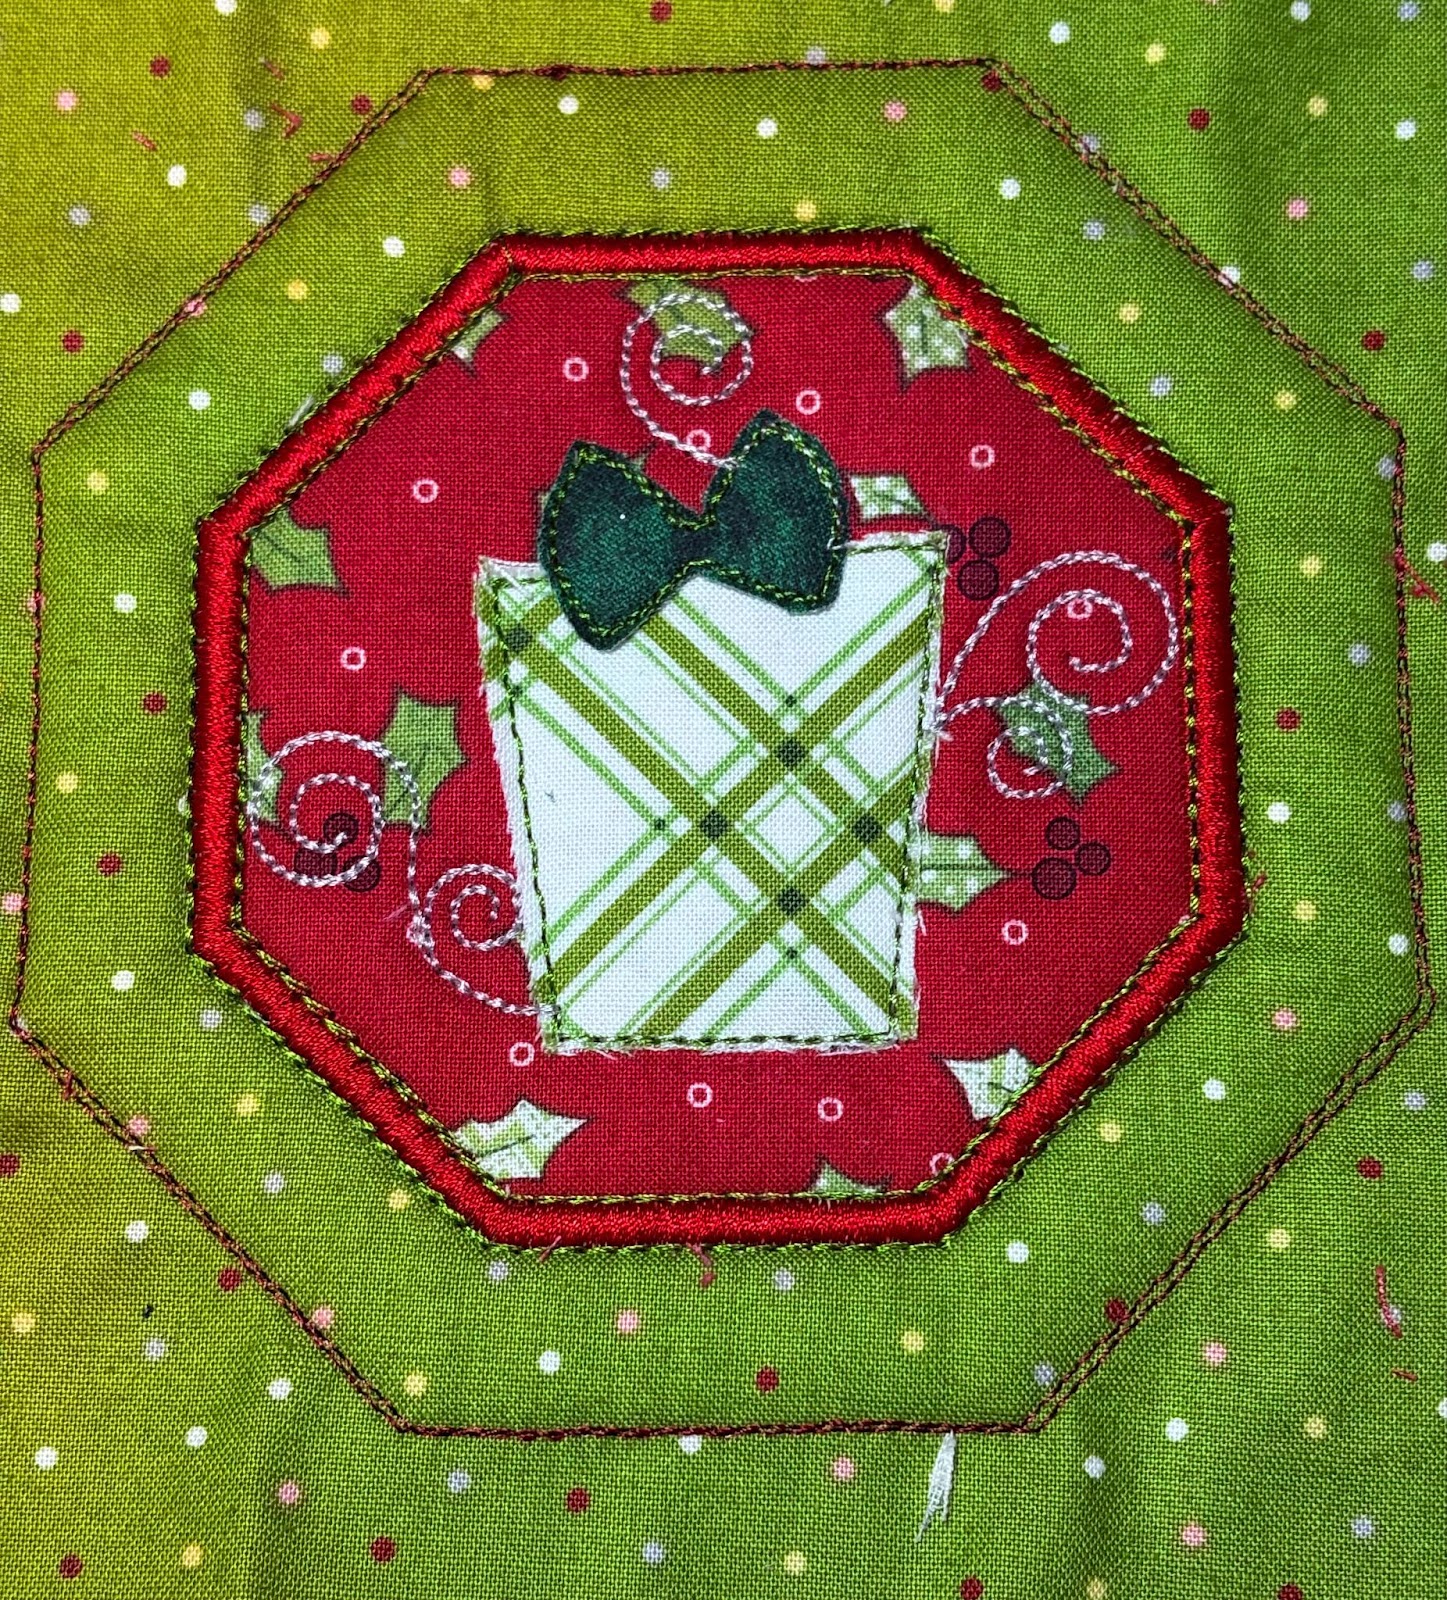
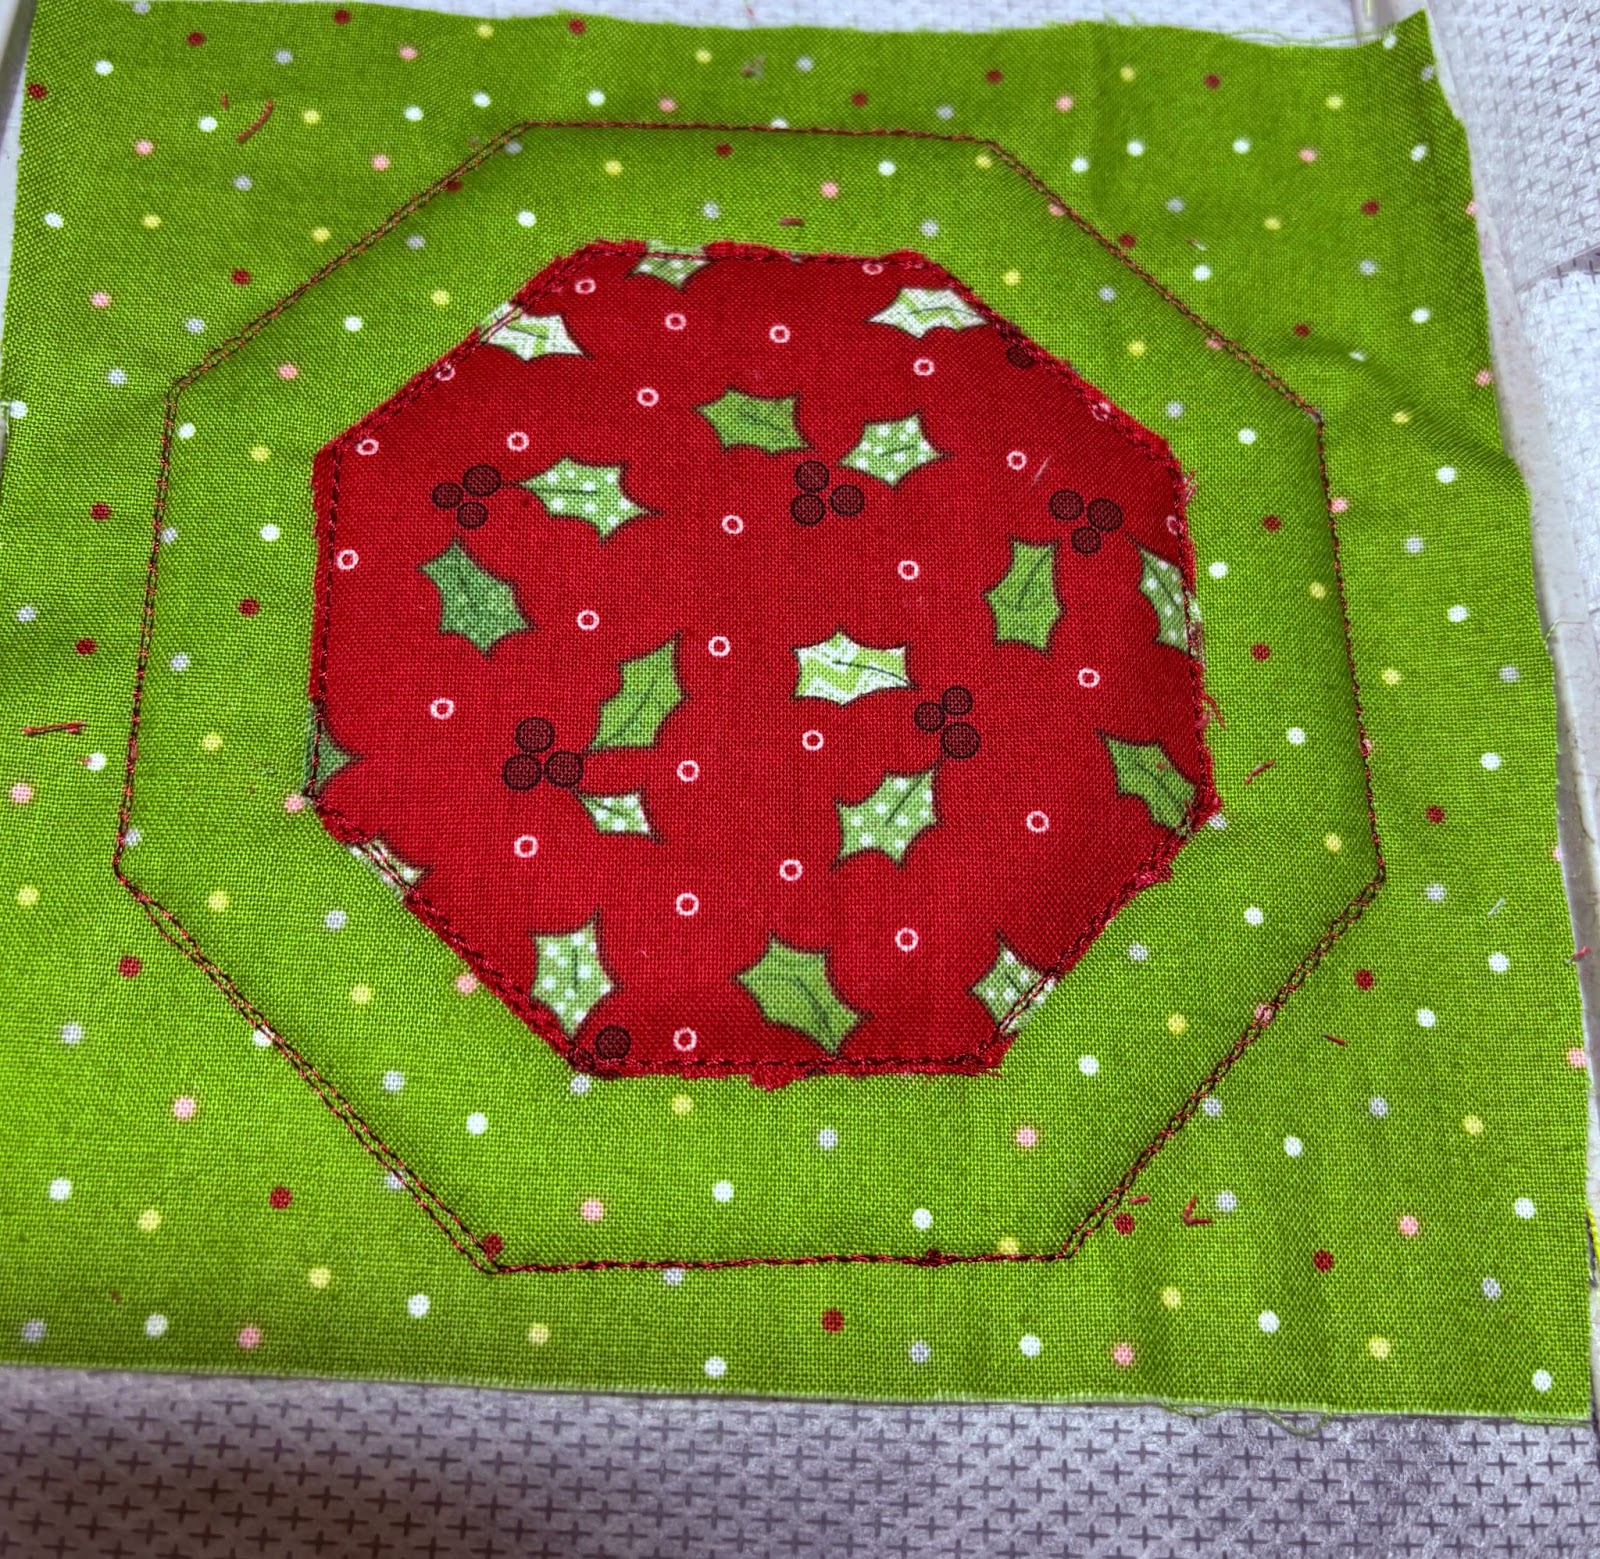
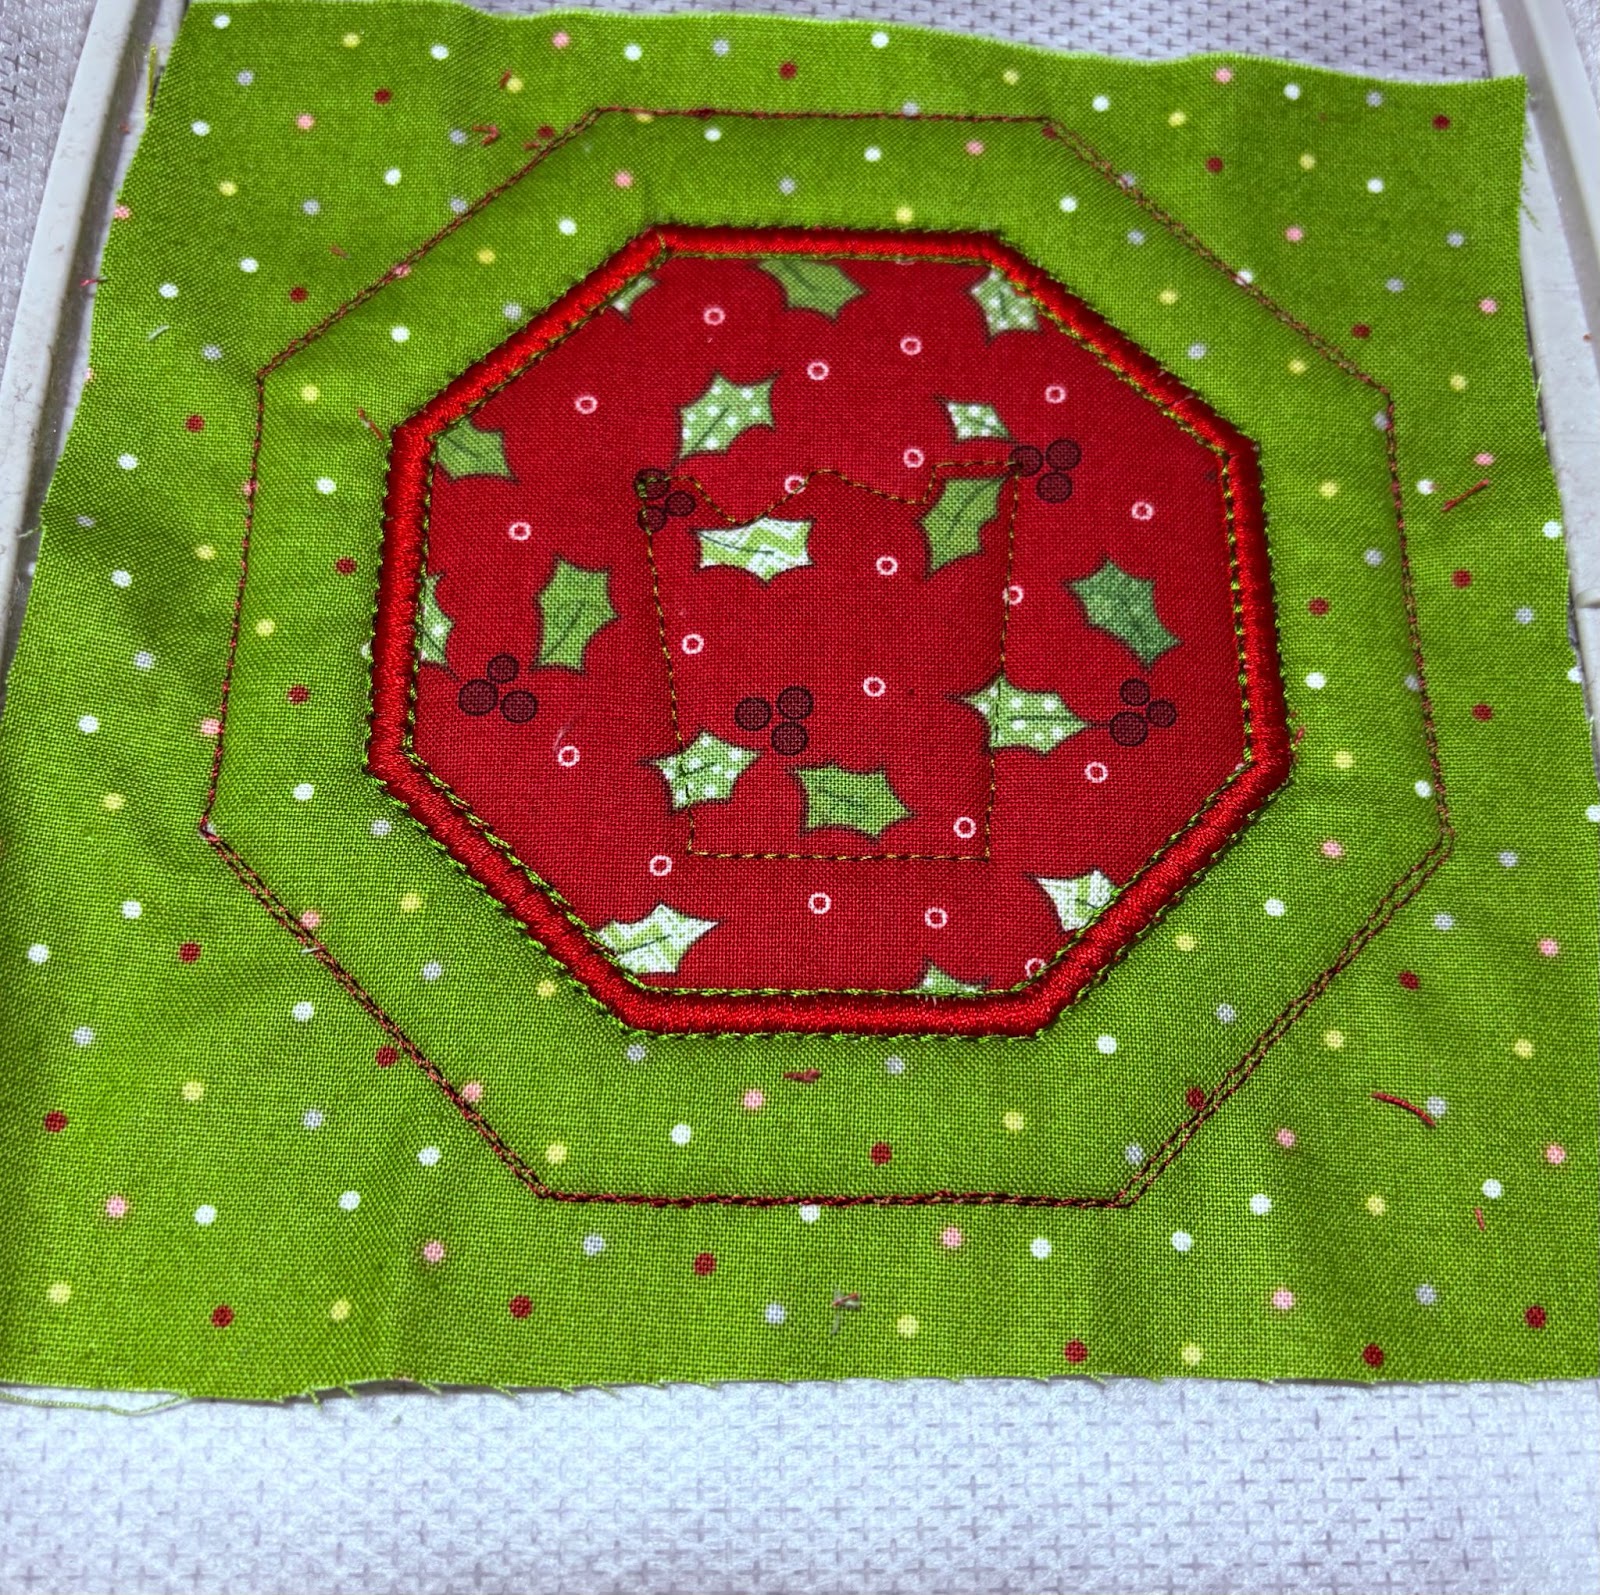
Step 12 is a decorative stitch around the gift. Change your thread if needed before running this step.
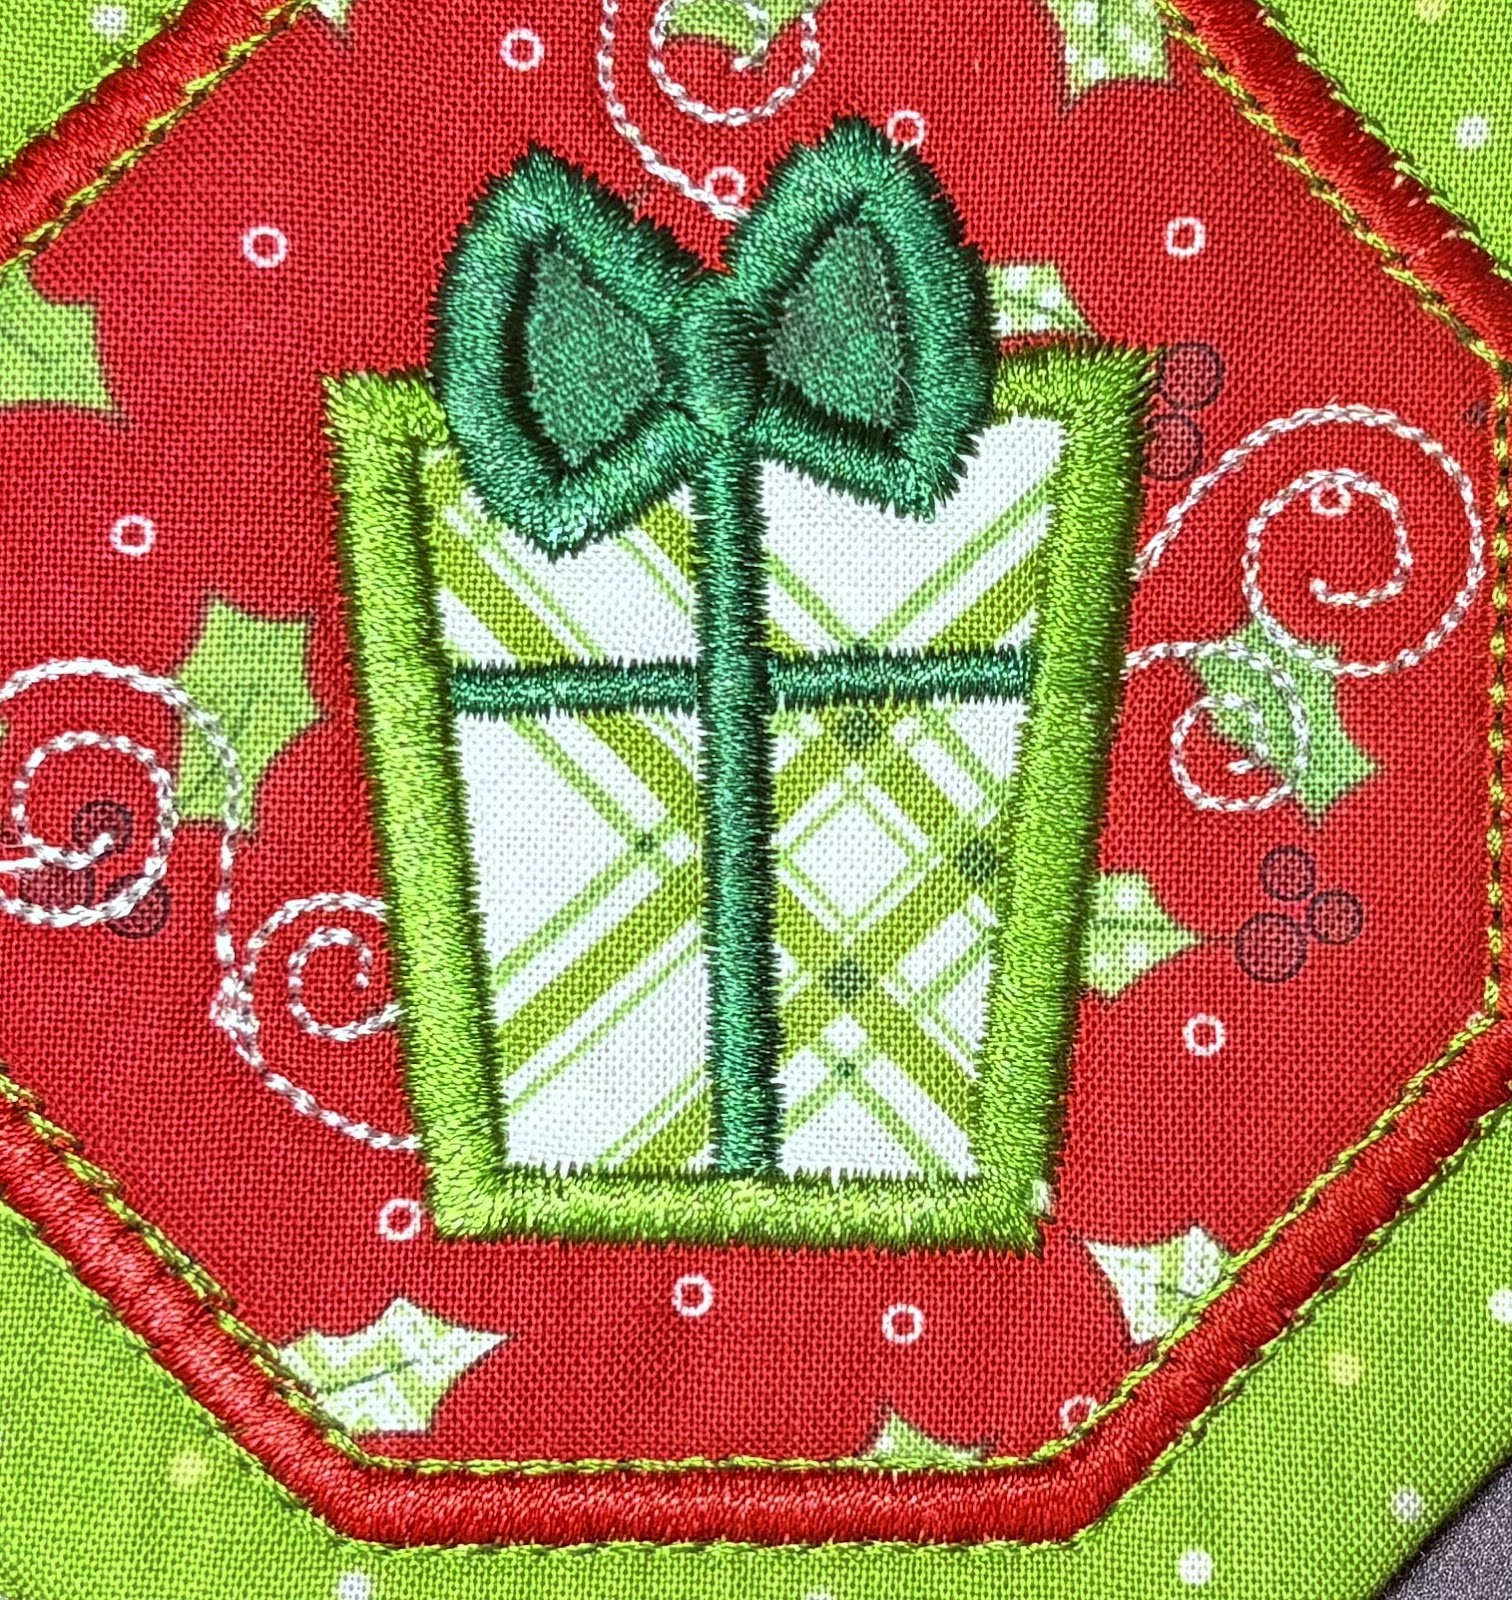
Steps 13–15 will be the satin stitches around the gift and the bow. Change threads if needed, then run these steps. Remove the hoop and set on a flat surface.
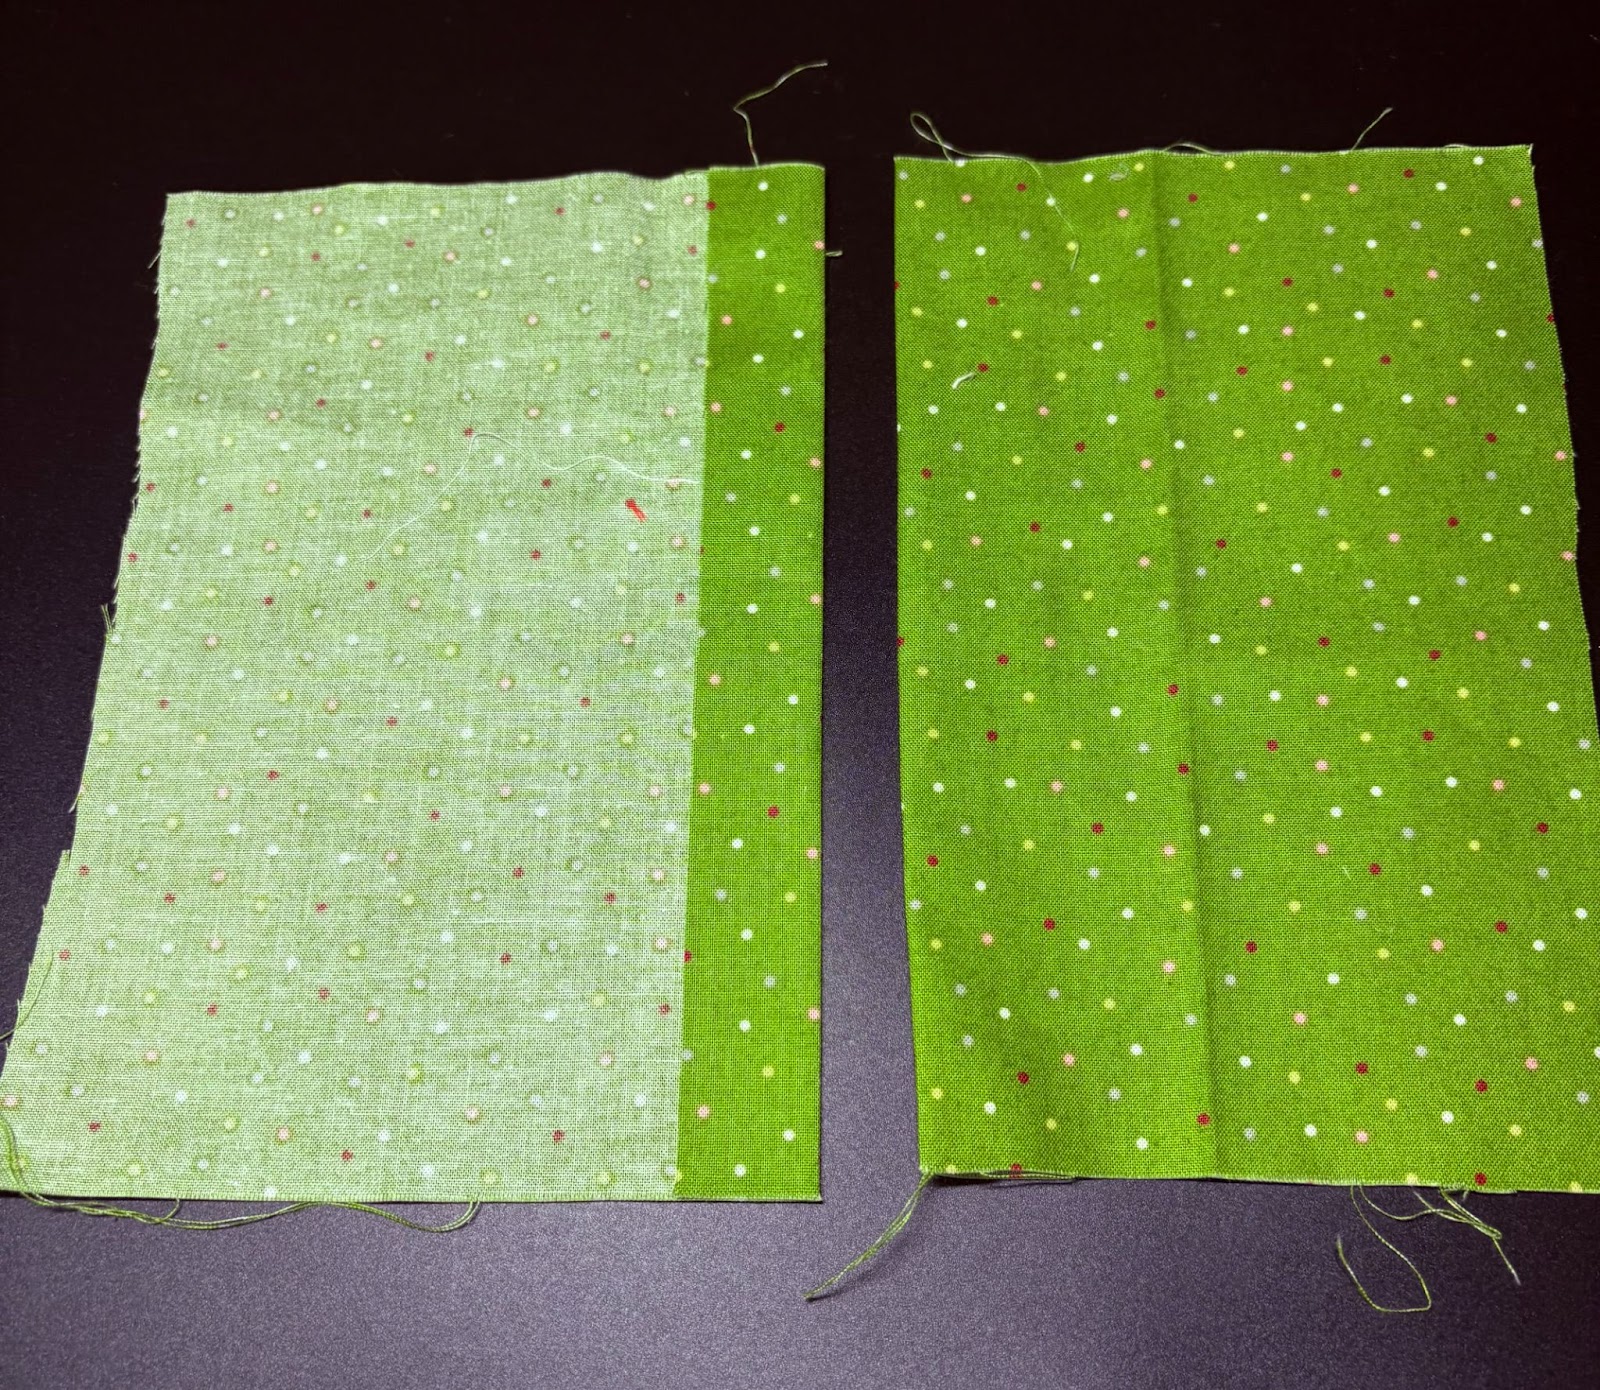
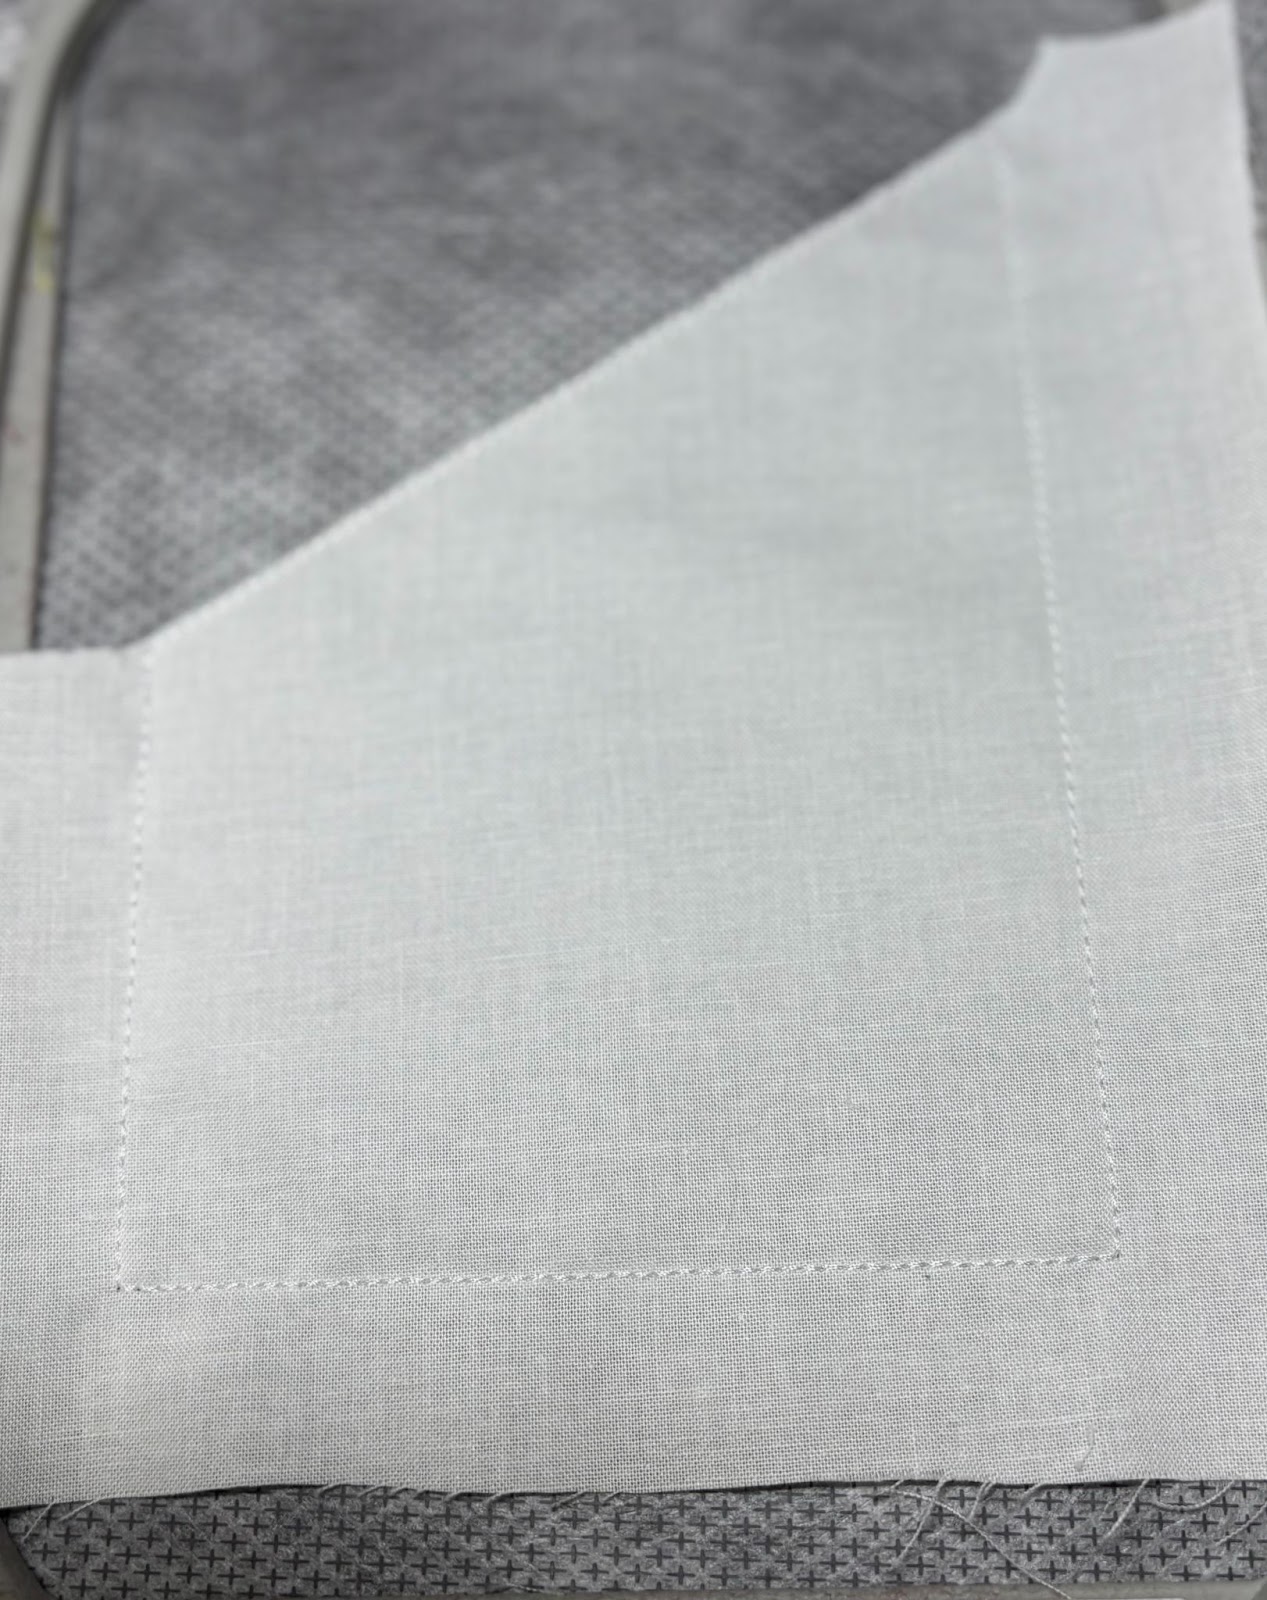
Cut two pieces of fabric for the back of the coaster. We are going to close it envelope style. For my 5x7 coaster, I cut each piece 5” x 7”. You want to ensure you have enough room to overlap the folded edges and enough room to trim afterwards. It is always better to be generous with these measurements. Press under 1” on one long edge of each piece as shown.
Place the fabric right side down over the coaster.
Overlap the folded edges.

Tape across before stitching the final step. This will ensure the fabric stays flat and doesn't get caught on the embroidery foot. Return the hoop to the machine and run the final step. Remove the tape and remove the coaster from the hoop.
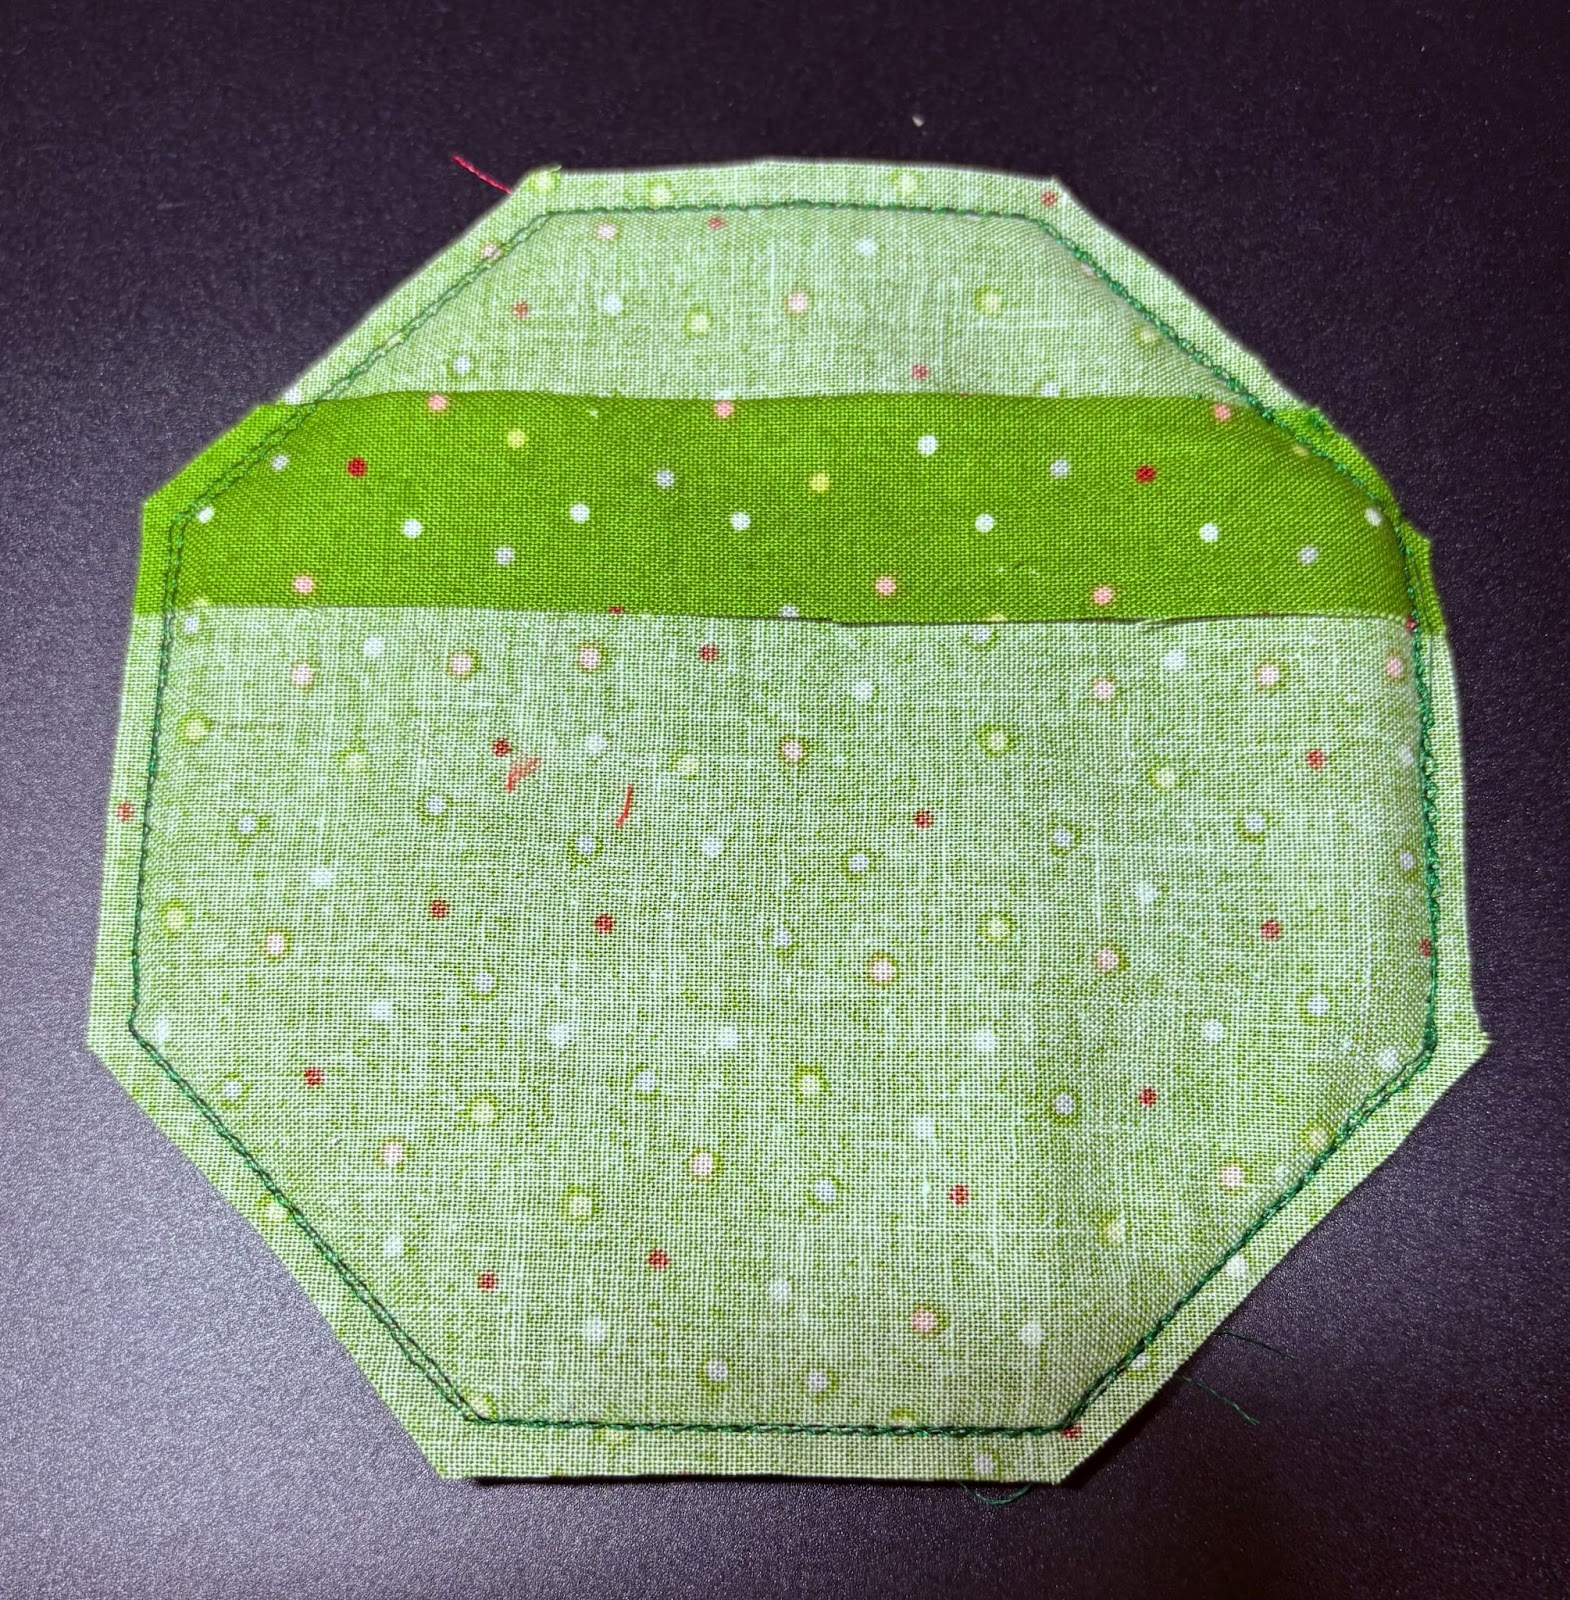
Trim ⅛” from the stitches.
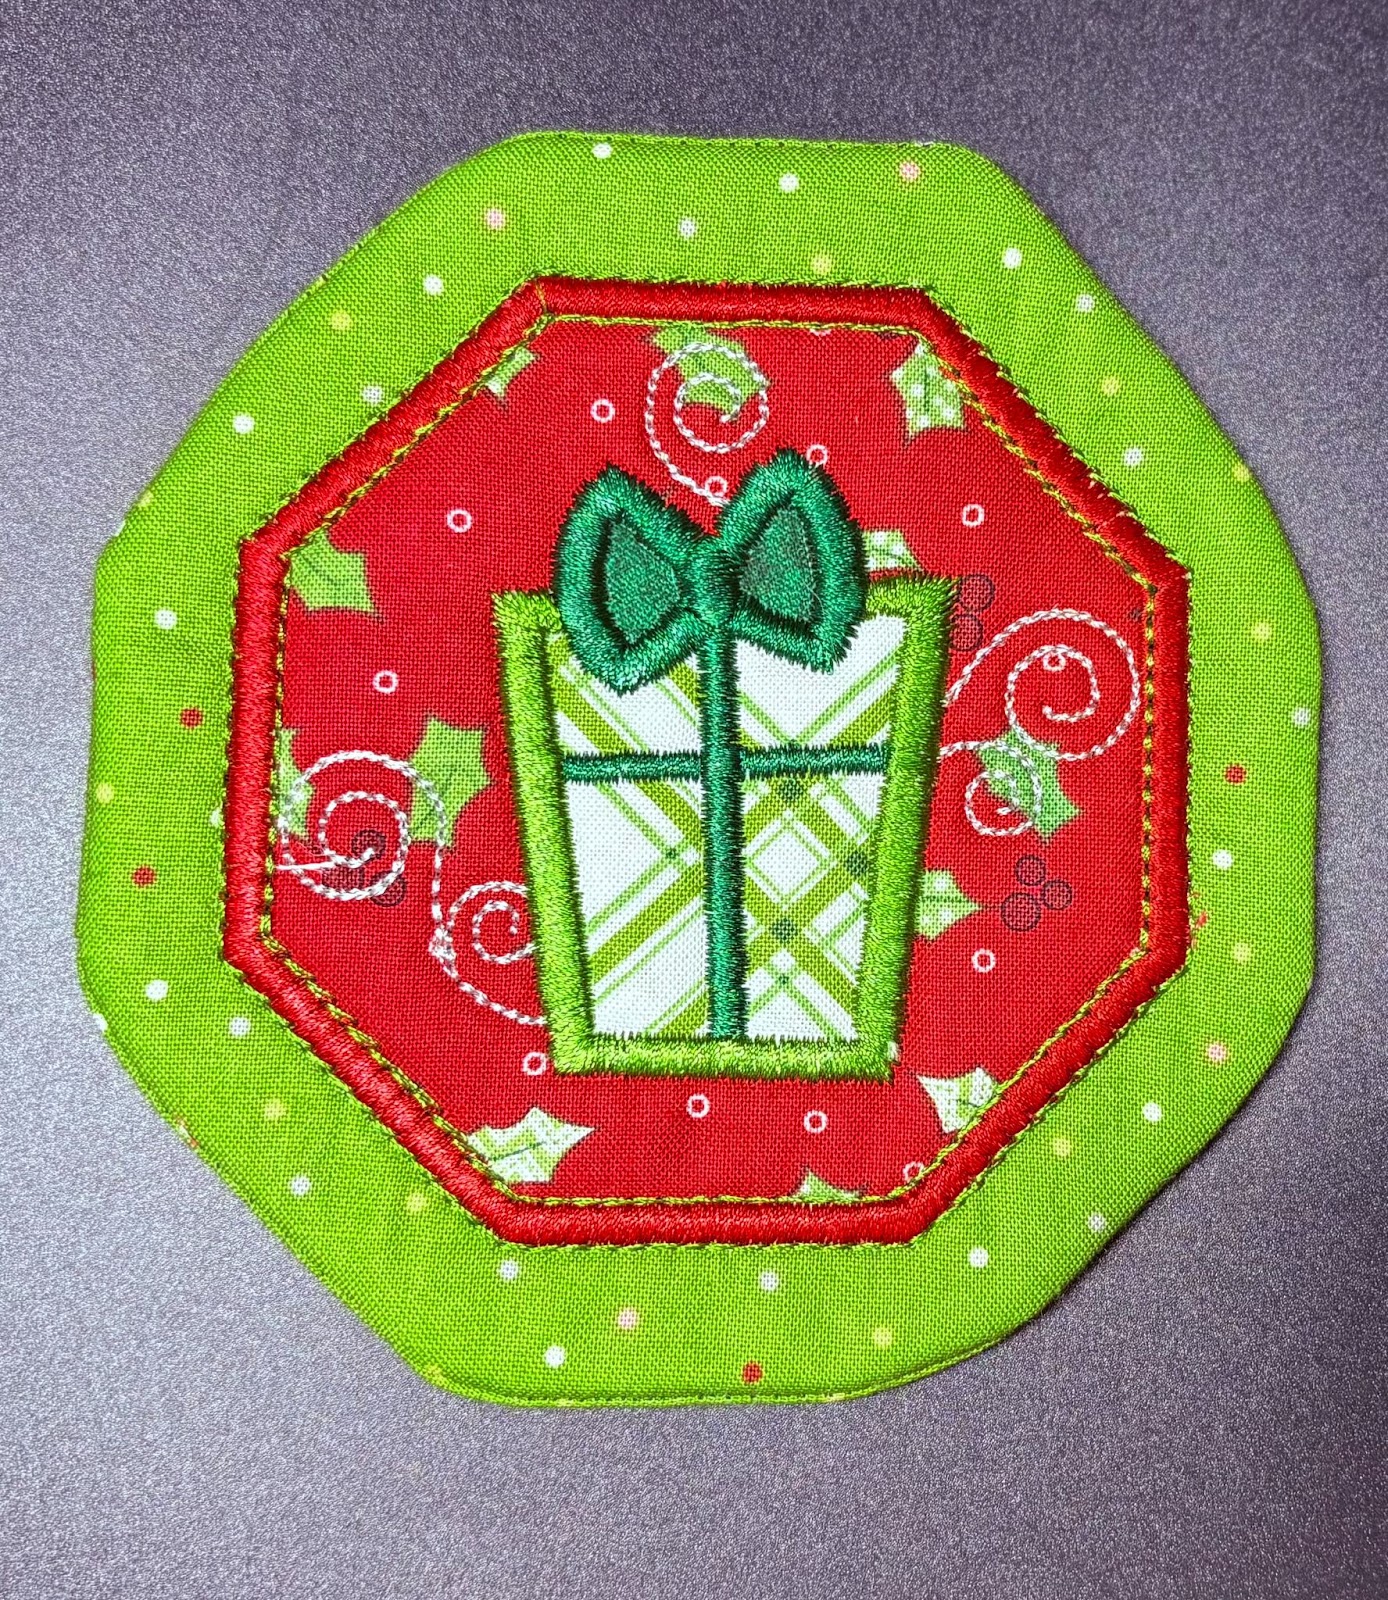
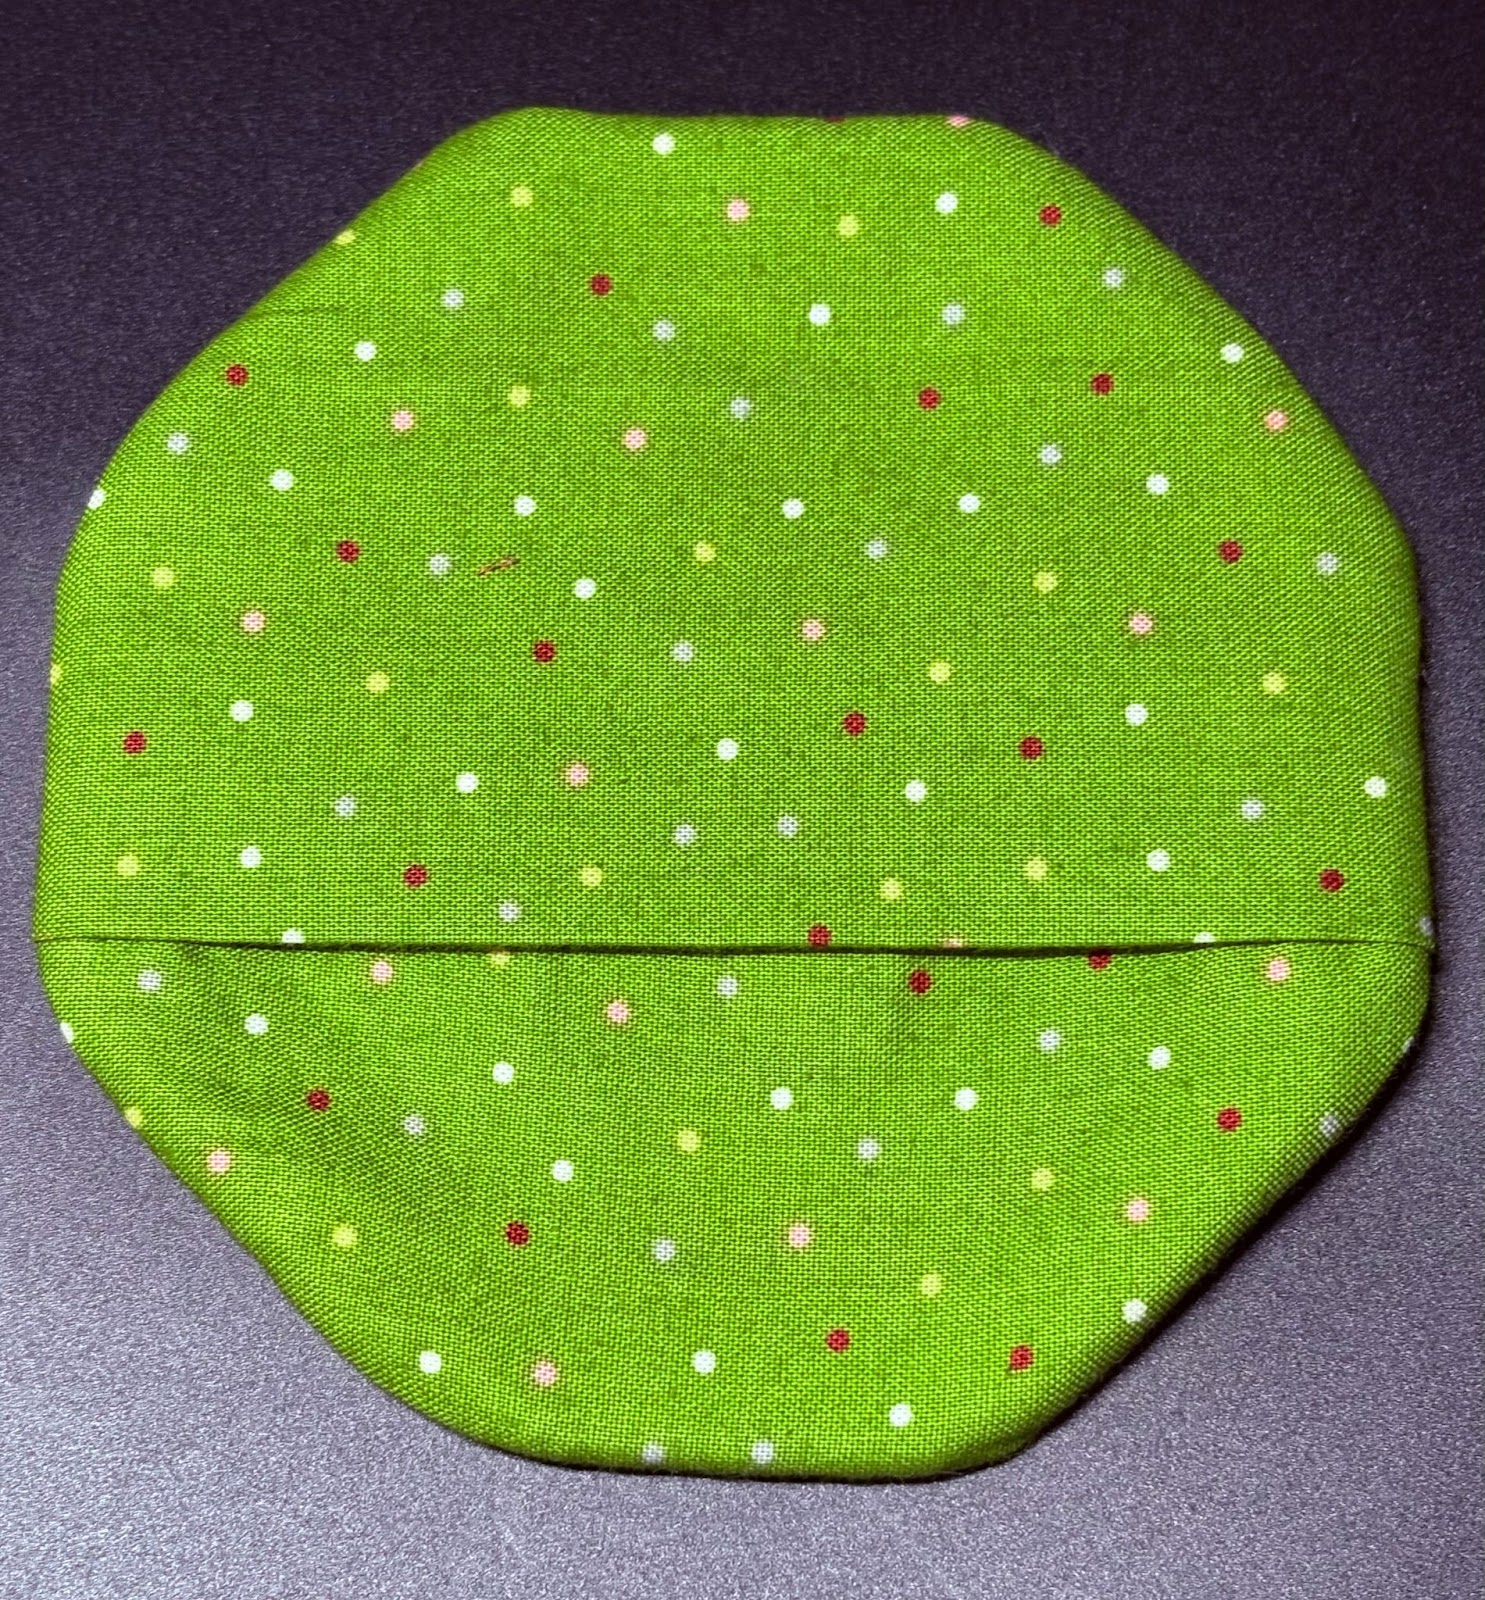
Turn the coaster right side out. Give it a good press and your gift coaster is now complete.
Elf Utensil Holder
There are multiple sizes for the utensil holder. In this tutorial I am using the 6x10 size. This picture shows the finished size with utensils added.

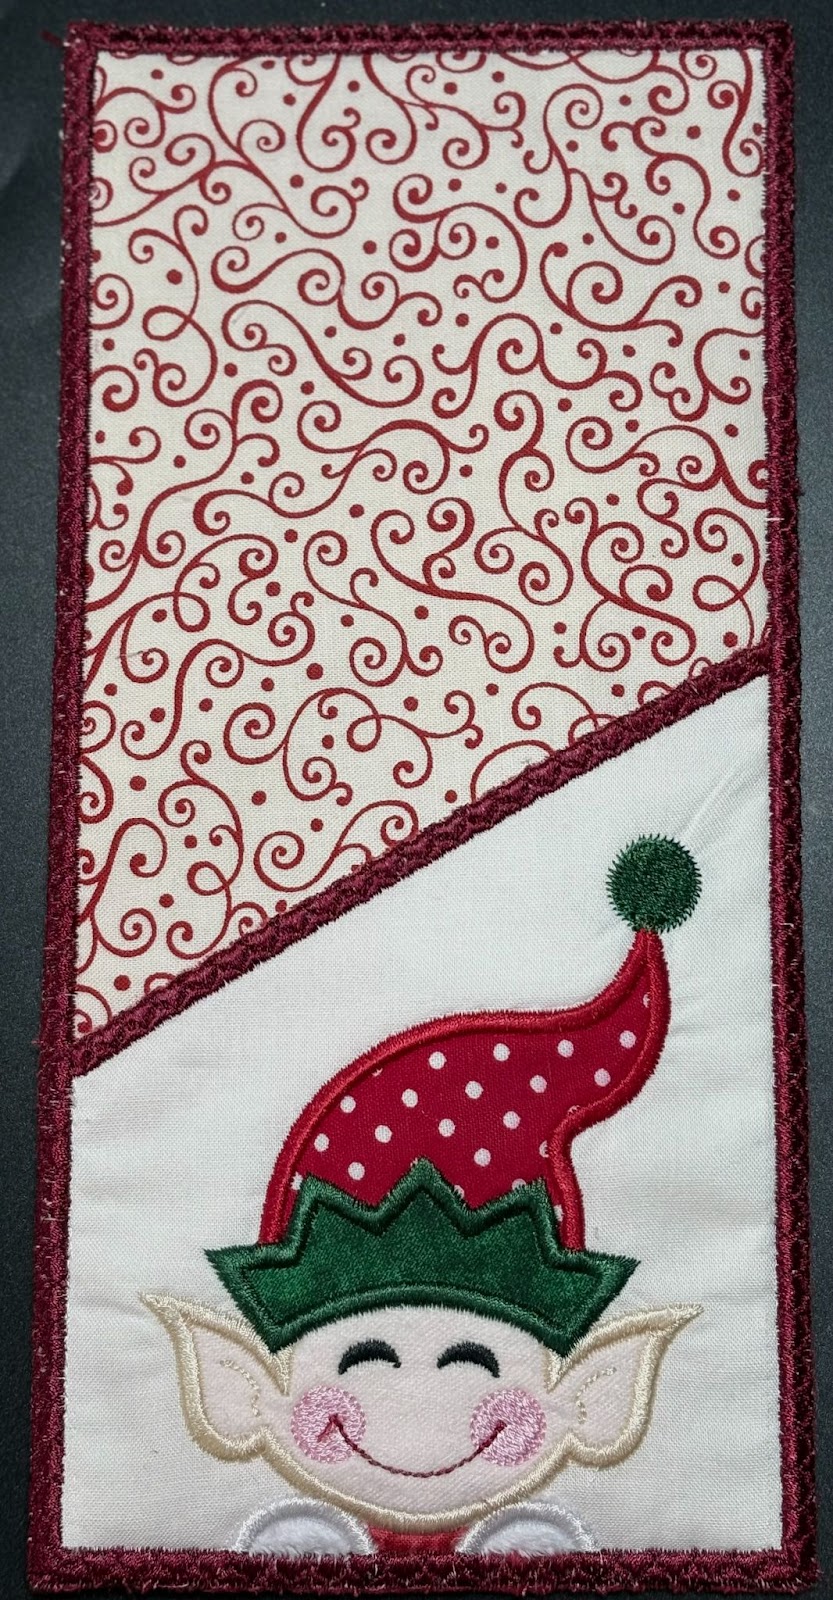
Elf Utensil Holder Pocket
This utensil holder is done in two hoopings using a 5x7 hoop. You will use wash-away stabilizer for both hoopings The first hooping will be the elf pocket, which you should always make first since it will need to be attached to the front and back of the holder.
Load the elf design to your machine.


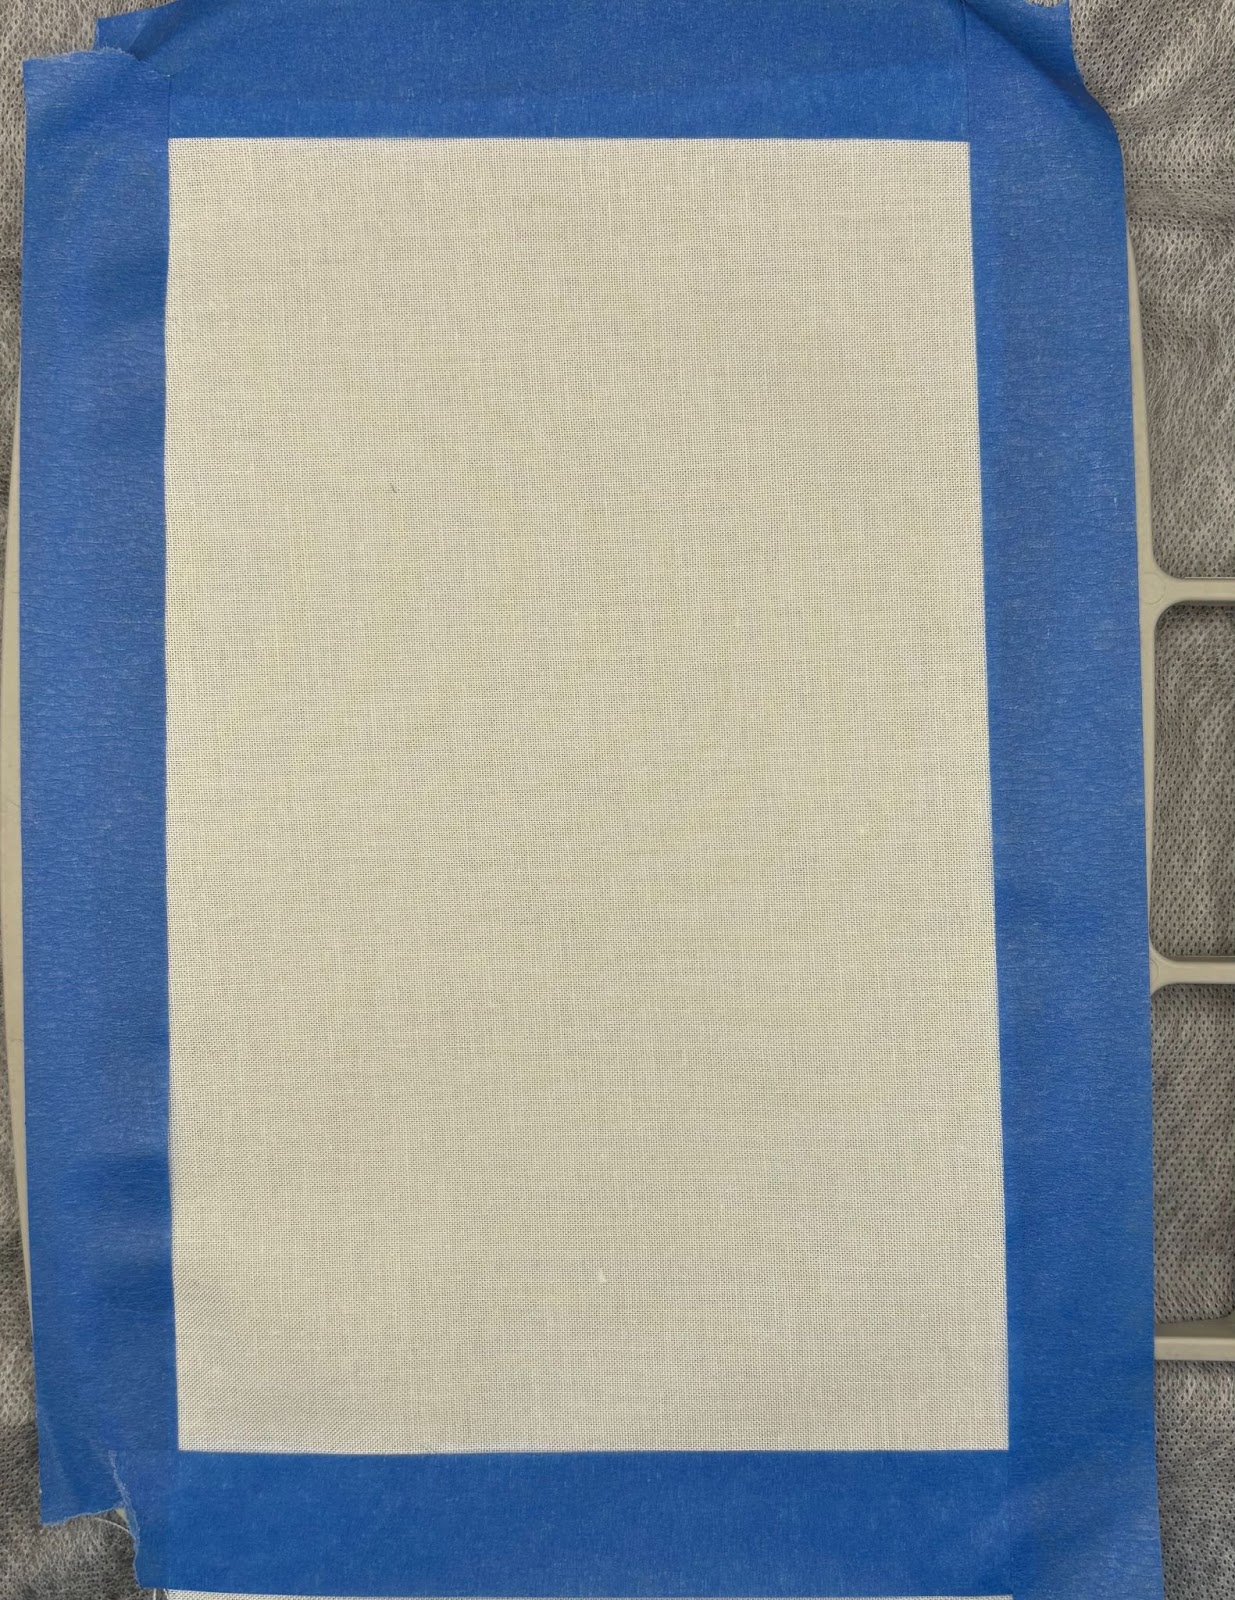
Hoop wash-away stabilizer and take to your machine.
Run the first step, the placement stitch for the elf pocket fabric.
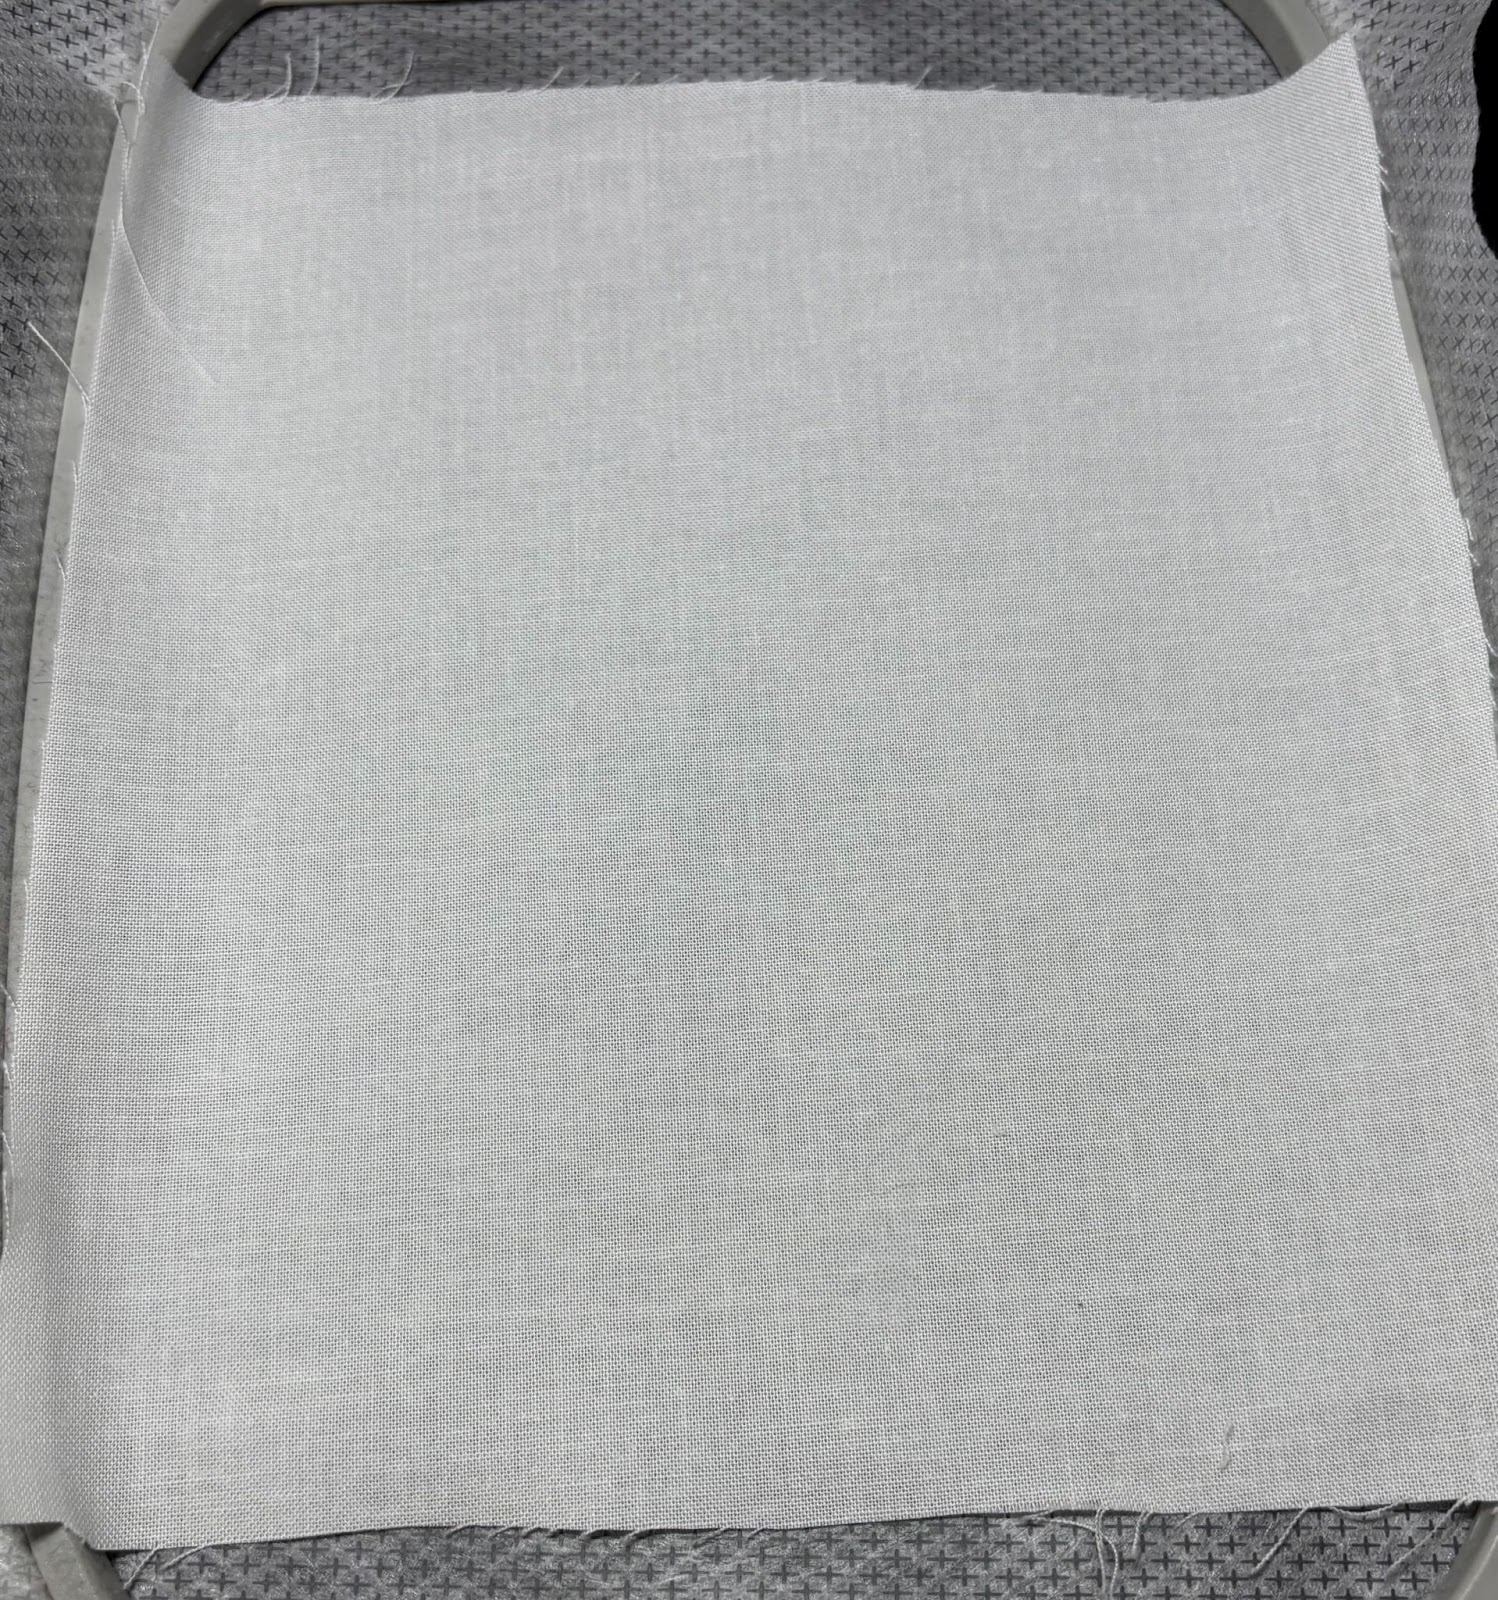
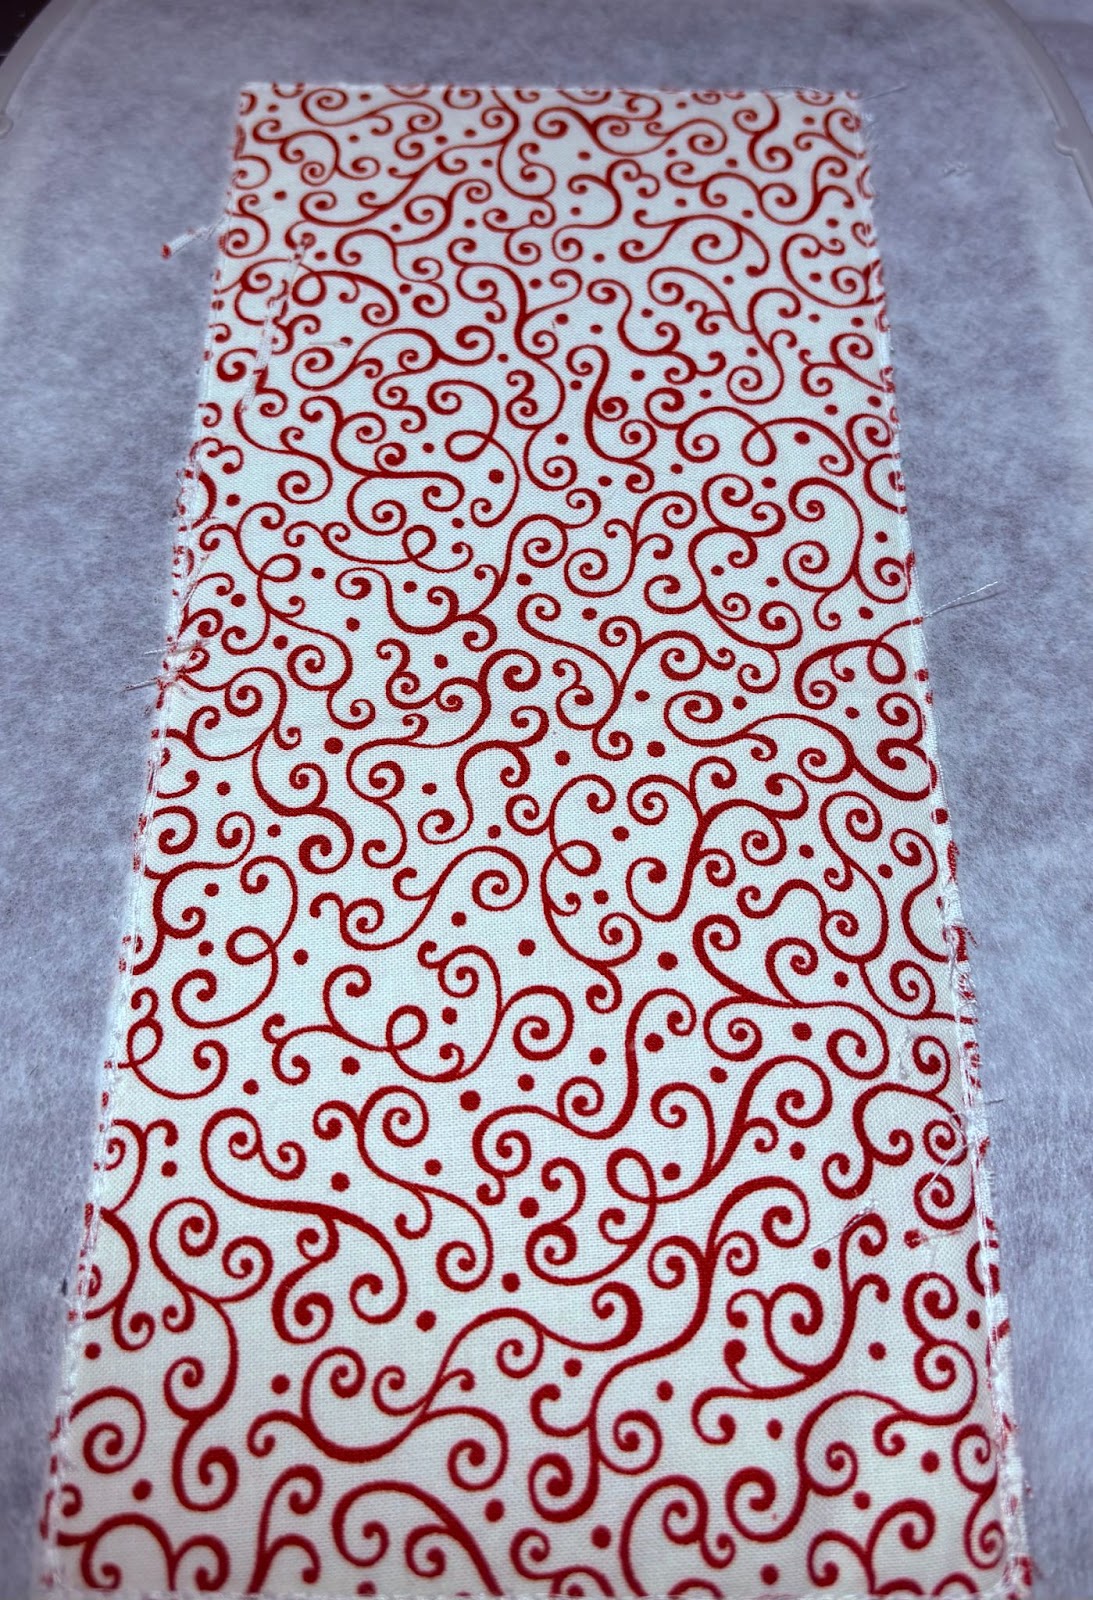
Place the fabric, covering the stitches by at least 1” on all sides.

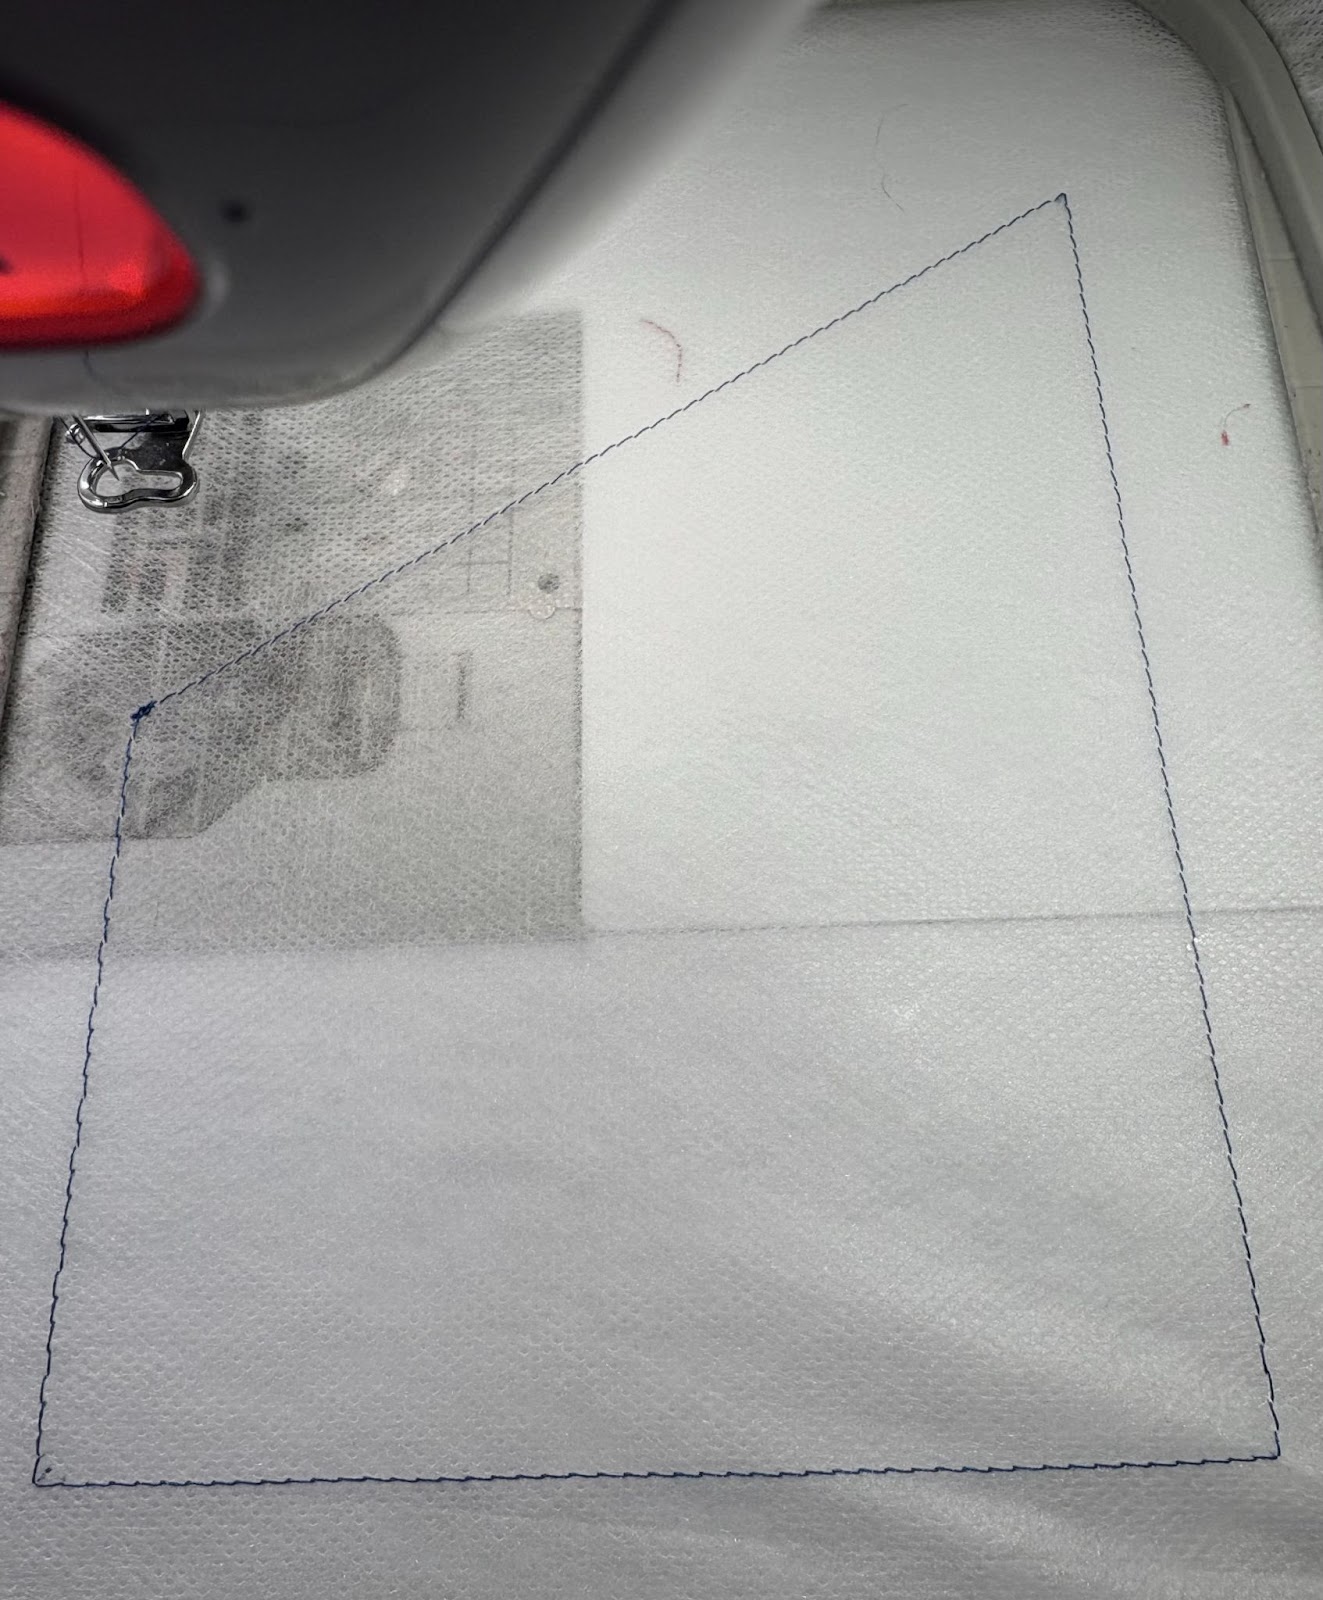
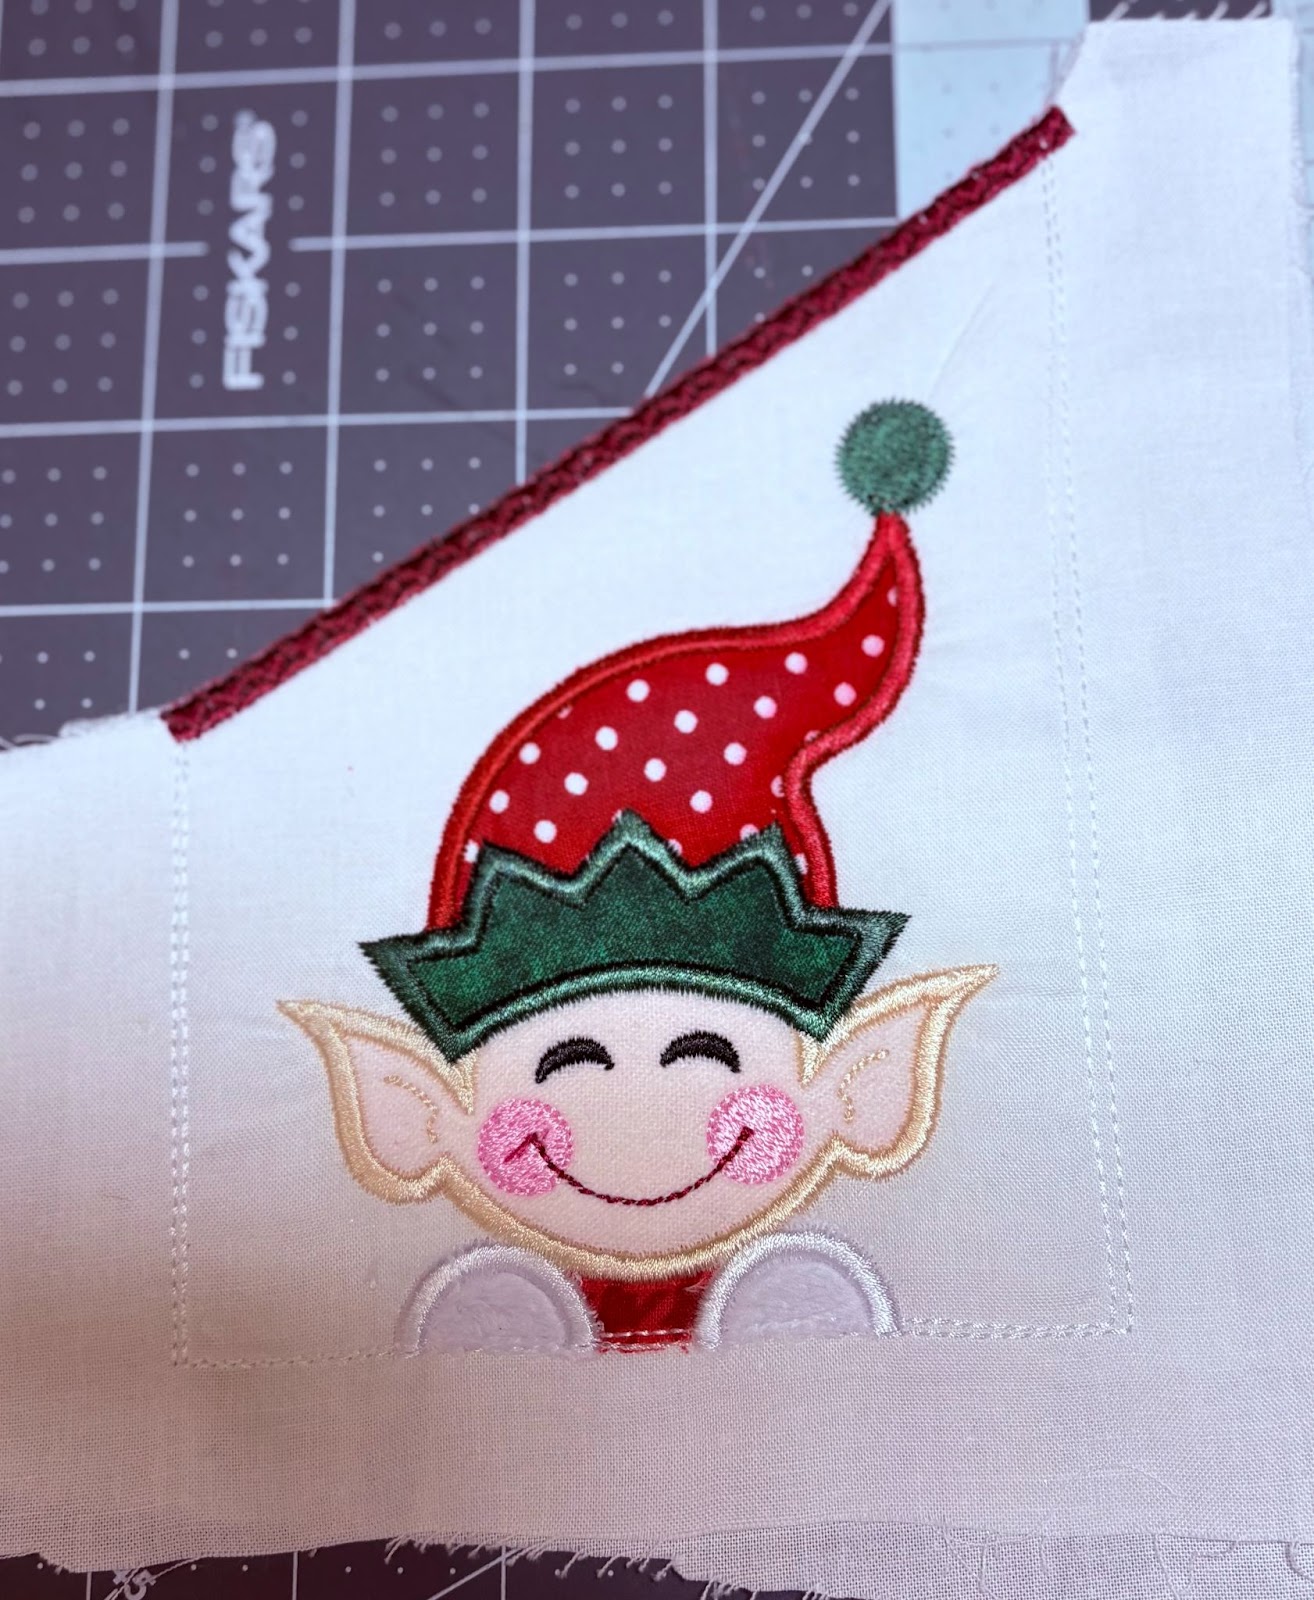
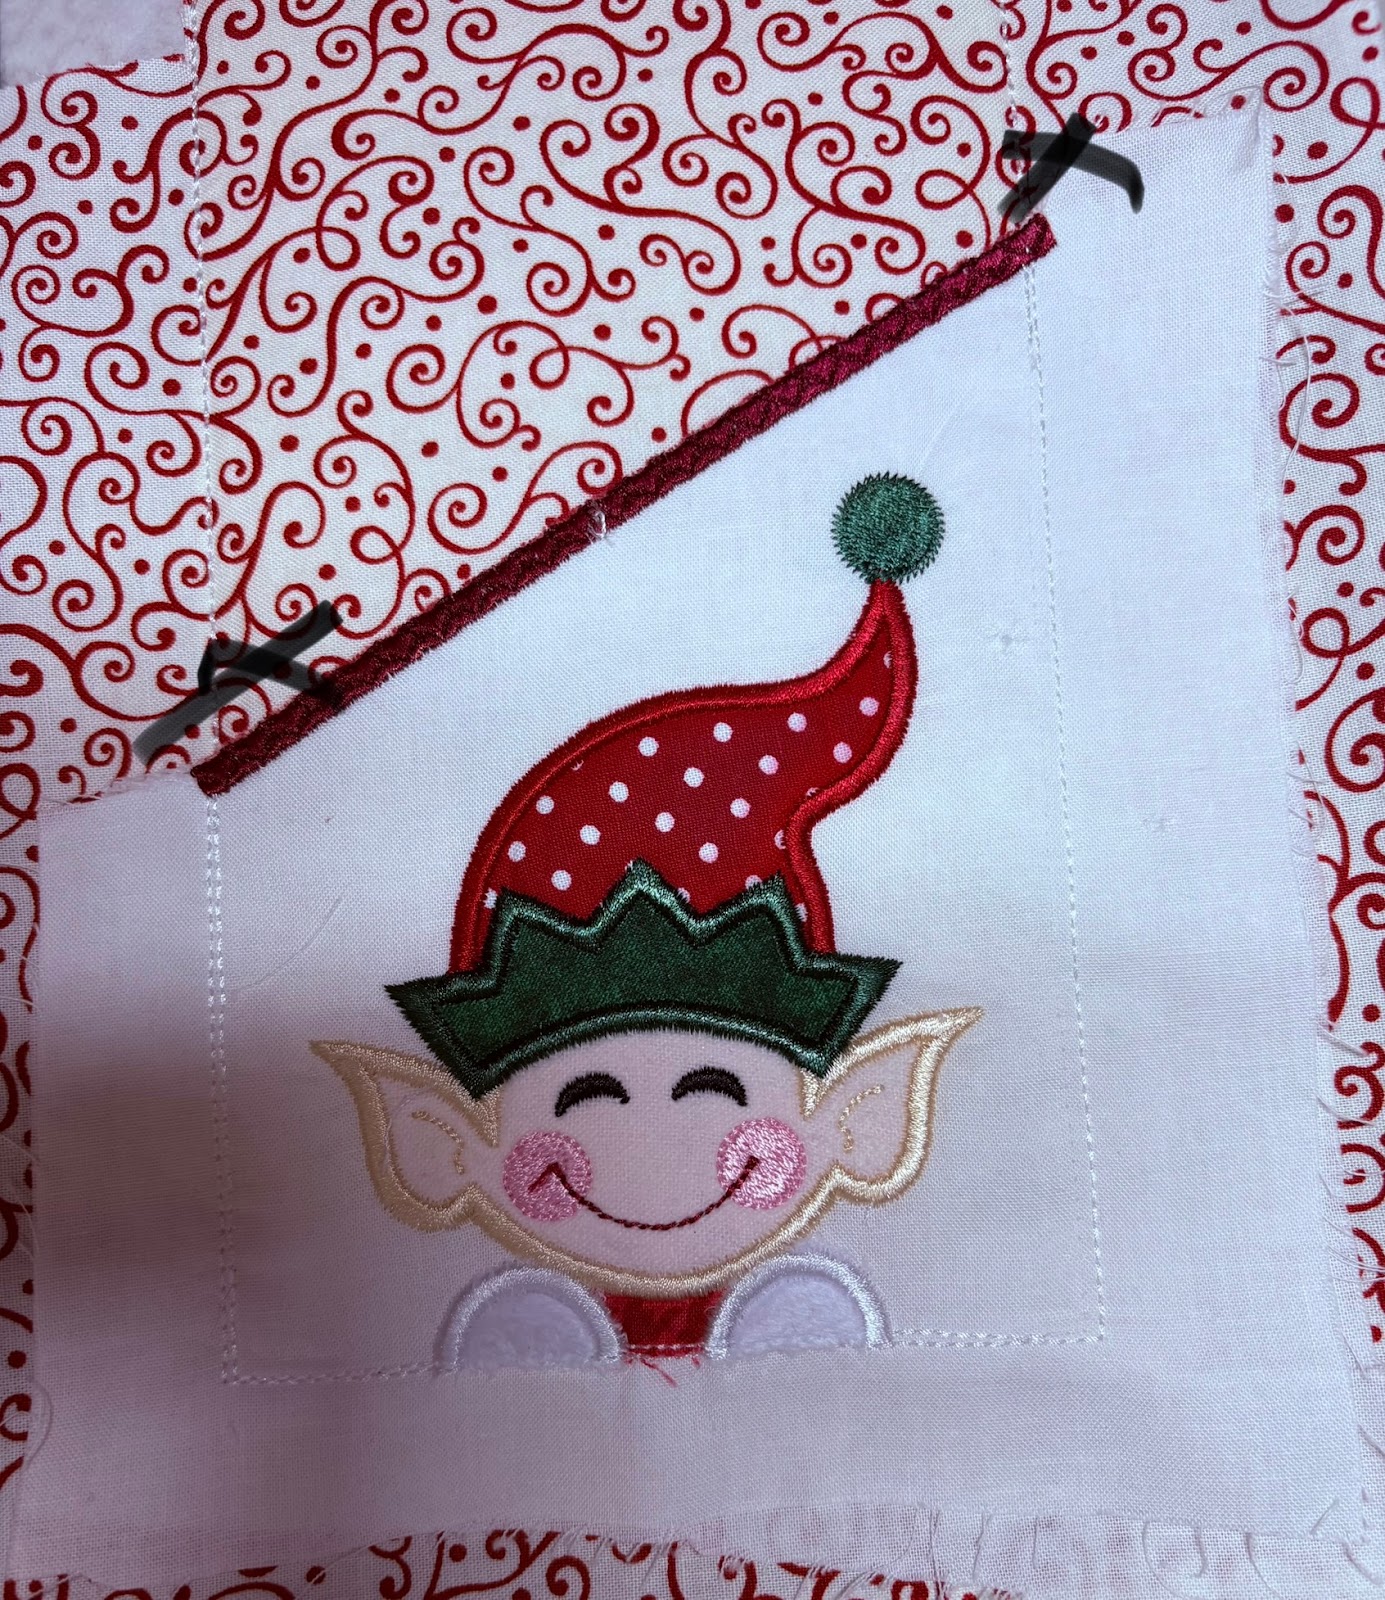
Run the tack-down stitch. Trim only the top diagonal fabric close to the stitches.
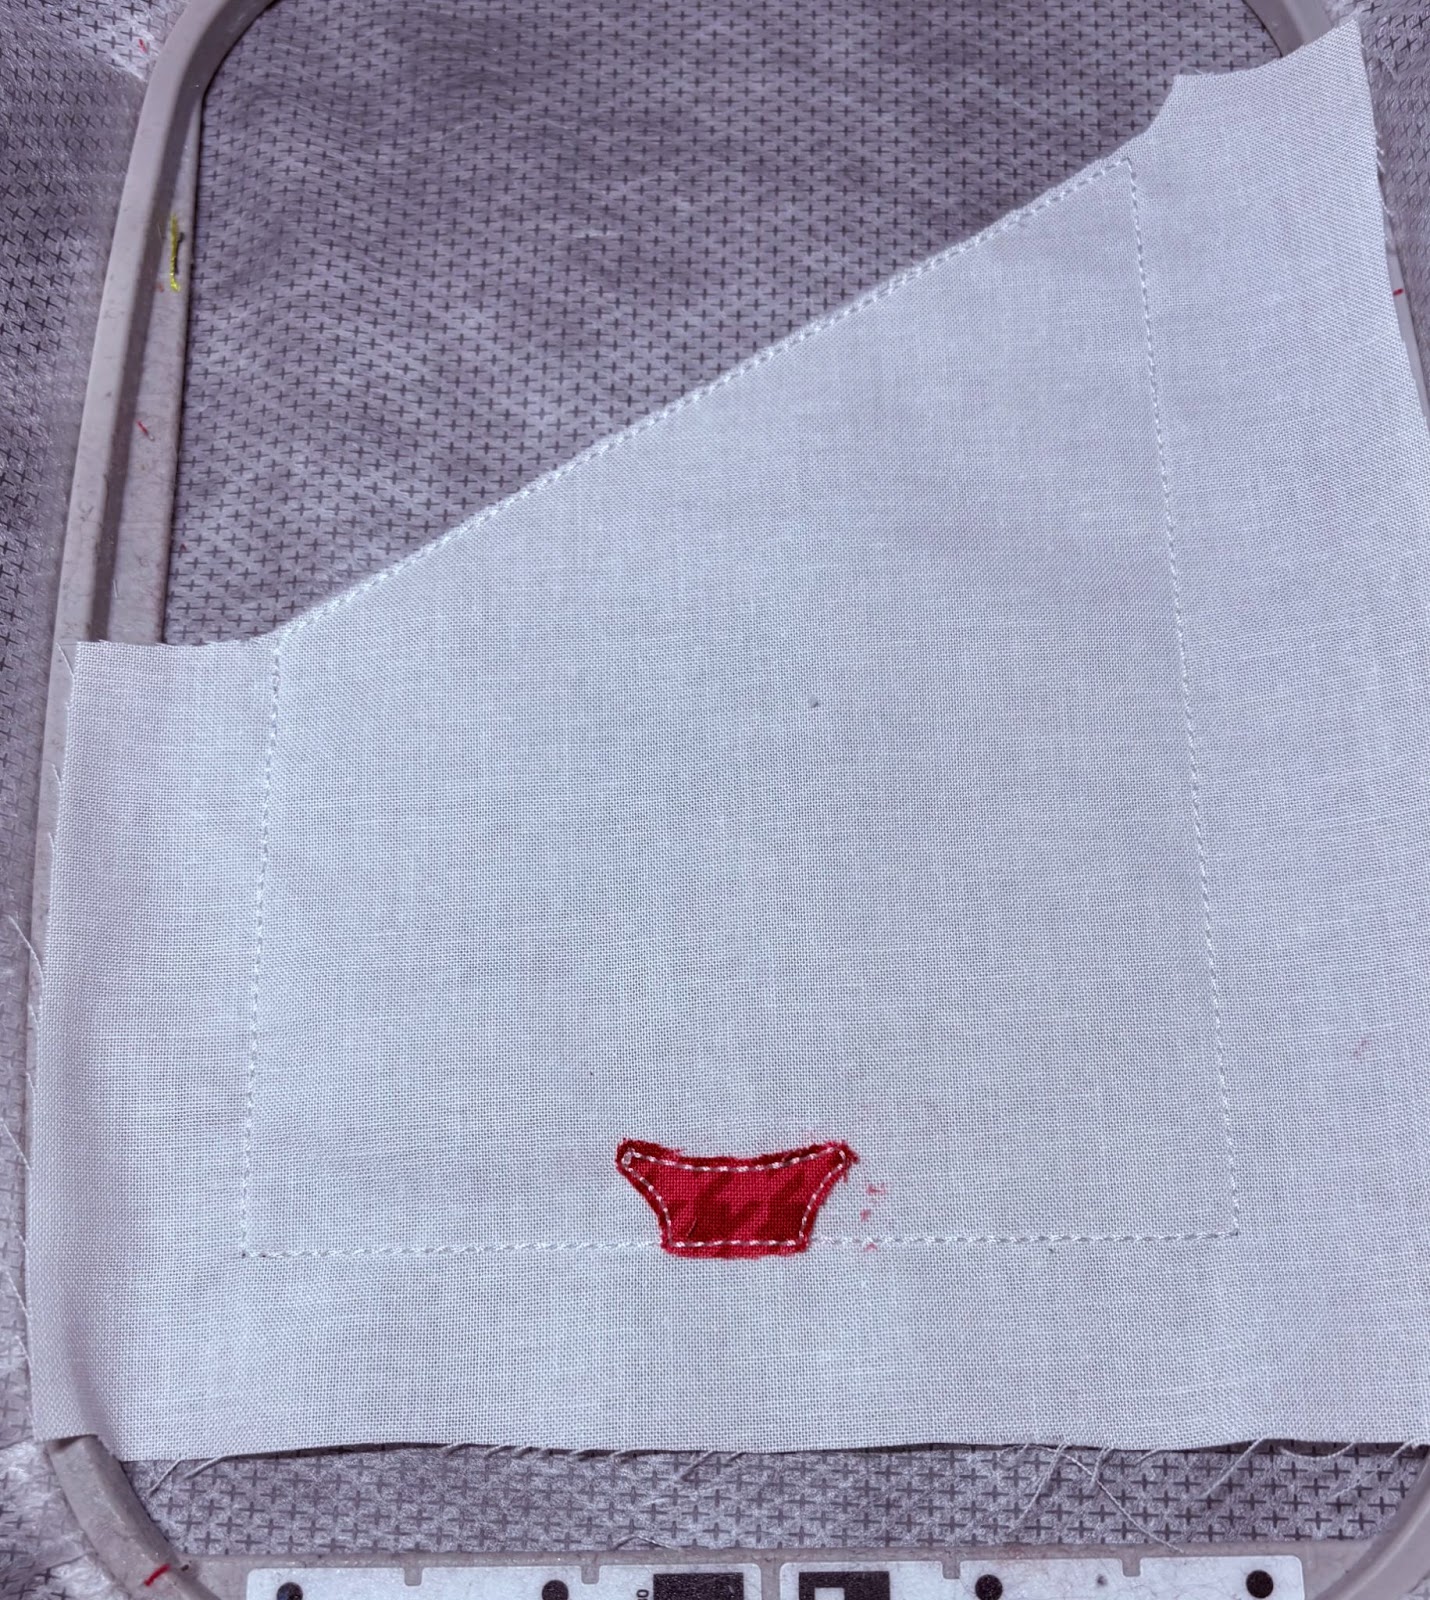
Steps 3–12 are the applique steps. Trim each fabric piece before continuing to the next. (I know this hoop shows a cut-away stabilizer—please do not use this type. Use wash away only! Learn from my mistakes.)
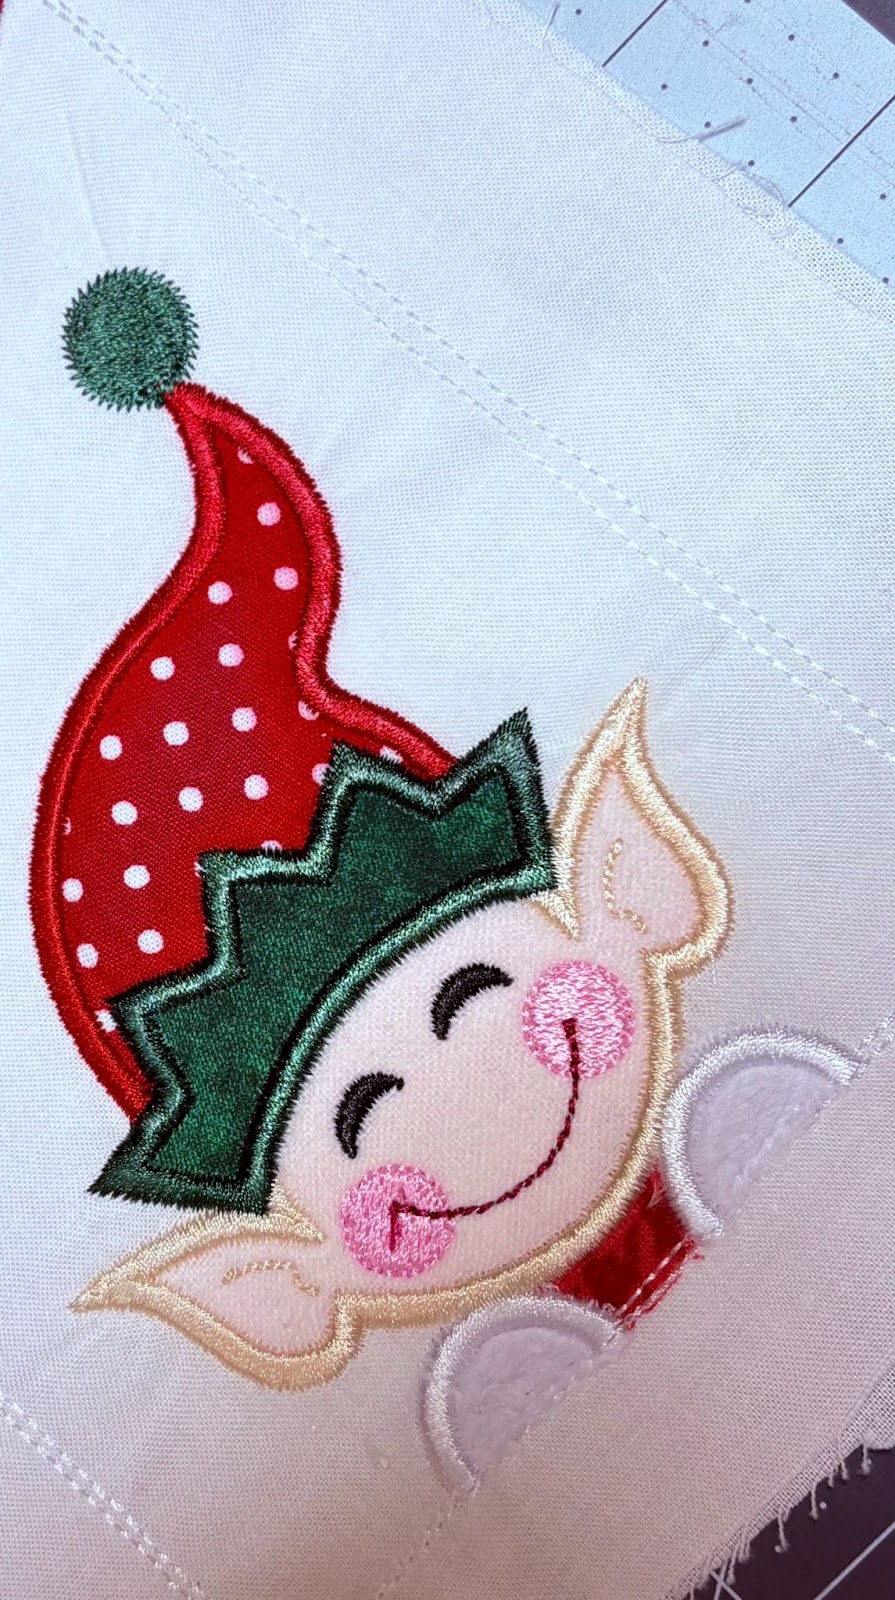
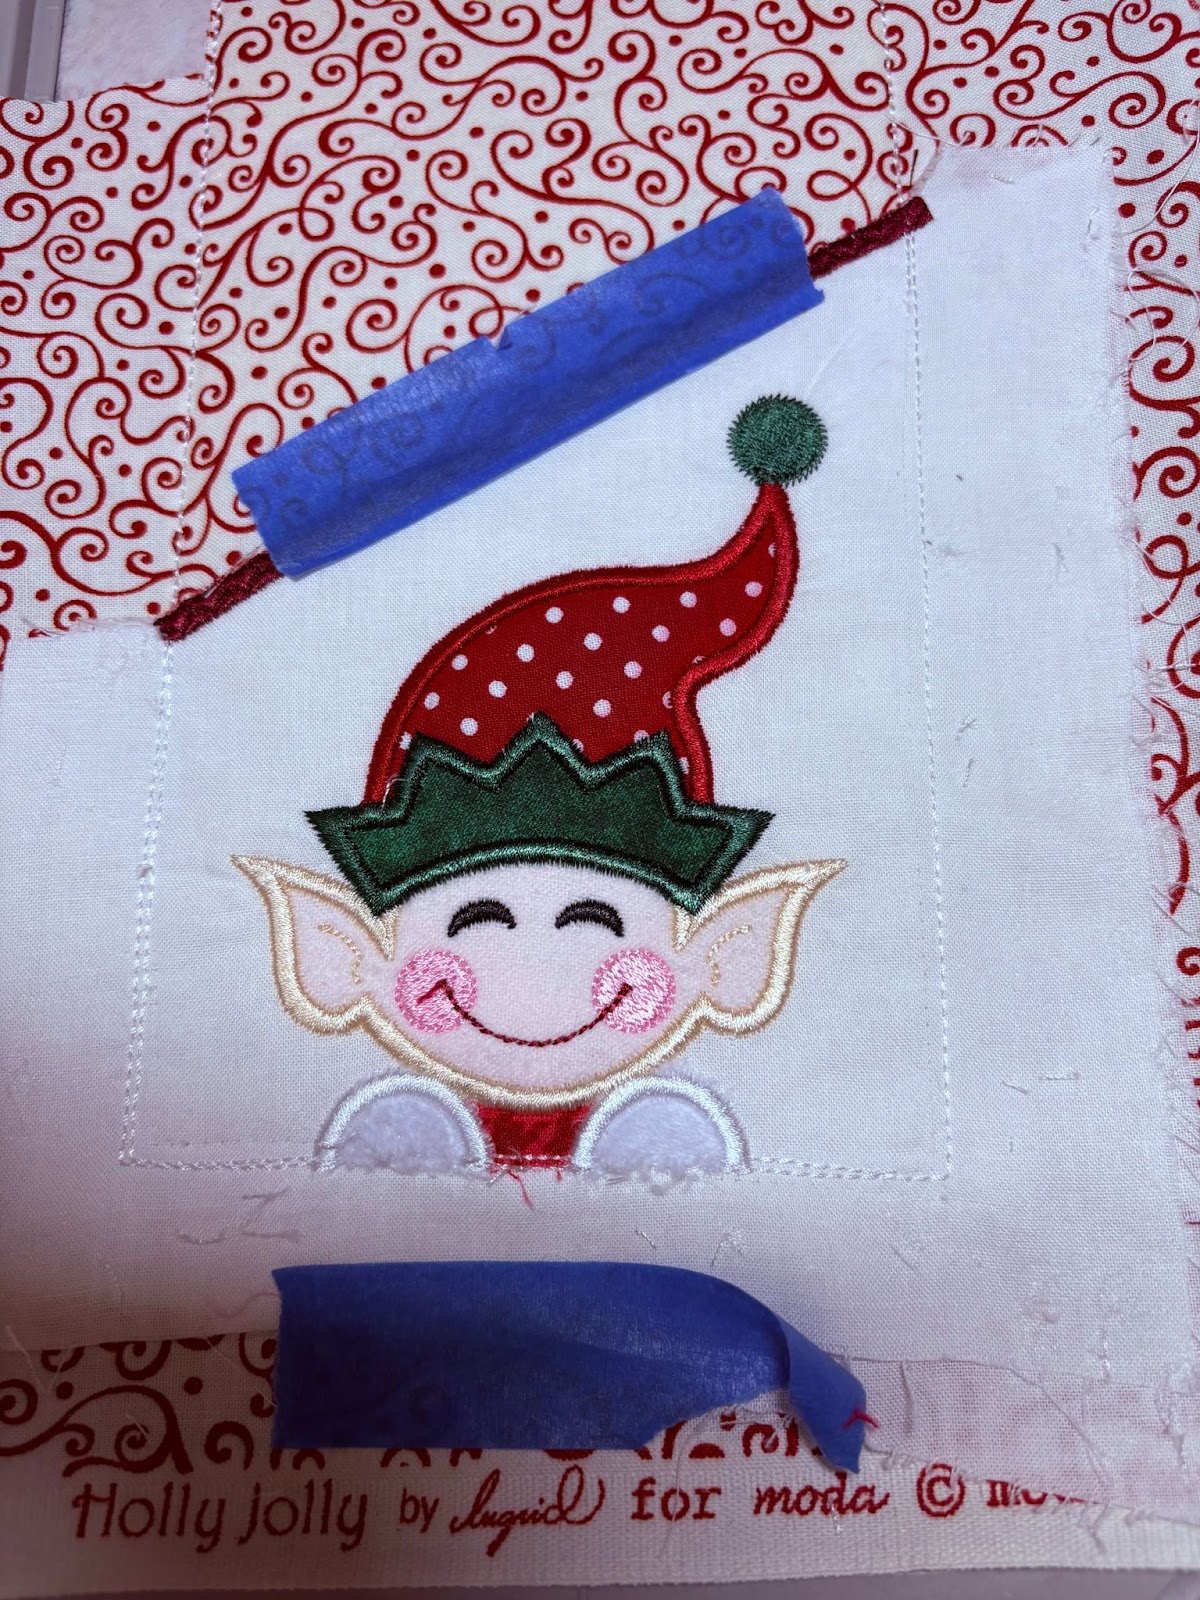
Steps 13–19 will be the satin stitches and the elf’s face. When finished with these steps, remove the hoop from the machine. Place it upside down on a flat surface.
Tape fabric securely to the back of the hoop and return it to your machine. Run Step 20, which attaches the front to the back fabric. Remove the hoop from the machine and the tape from the fabric.
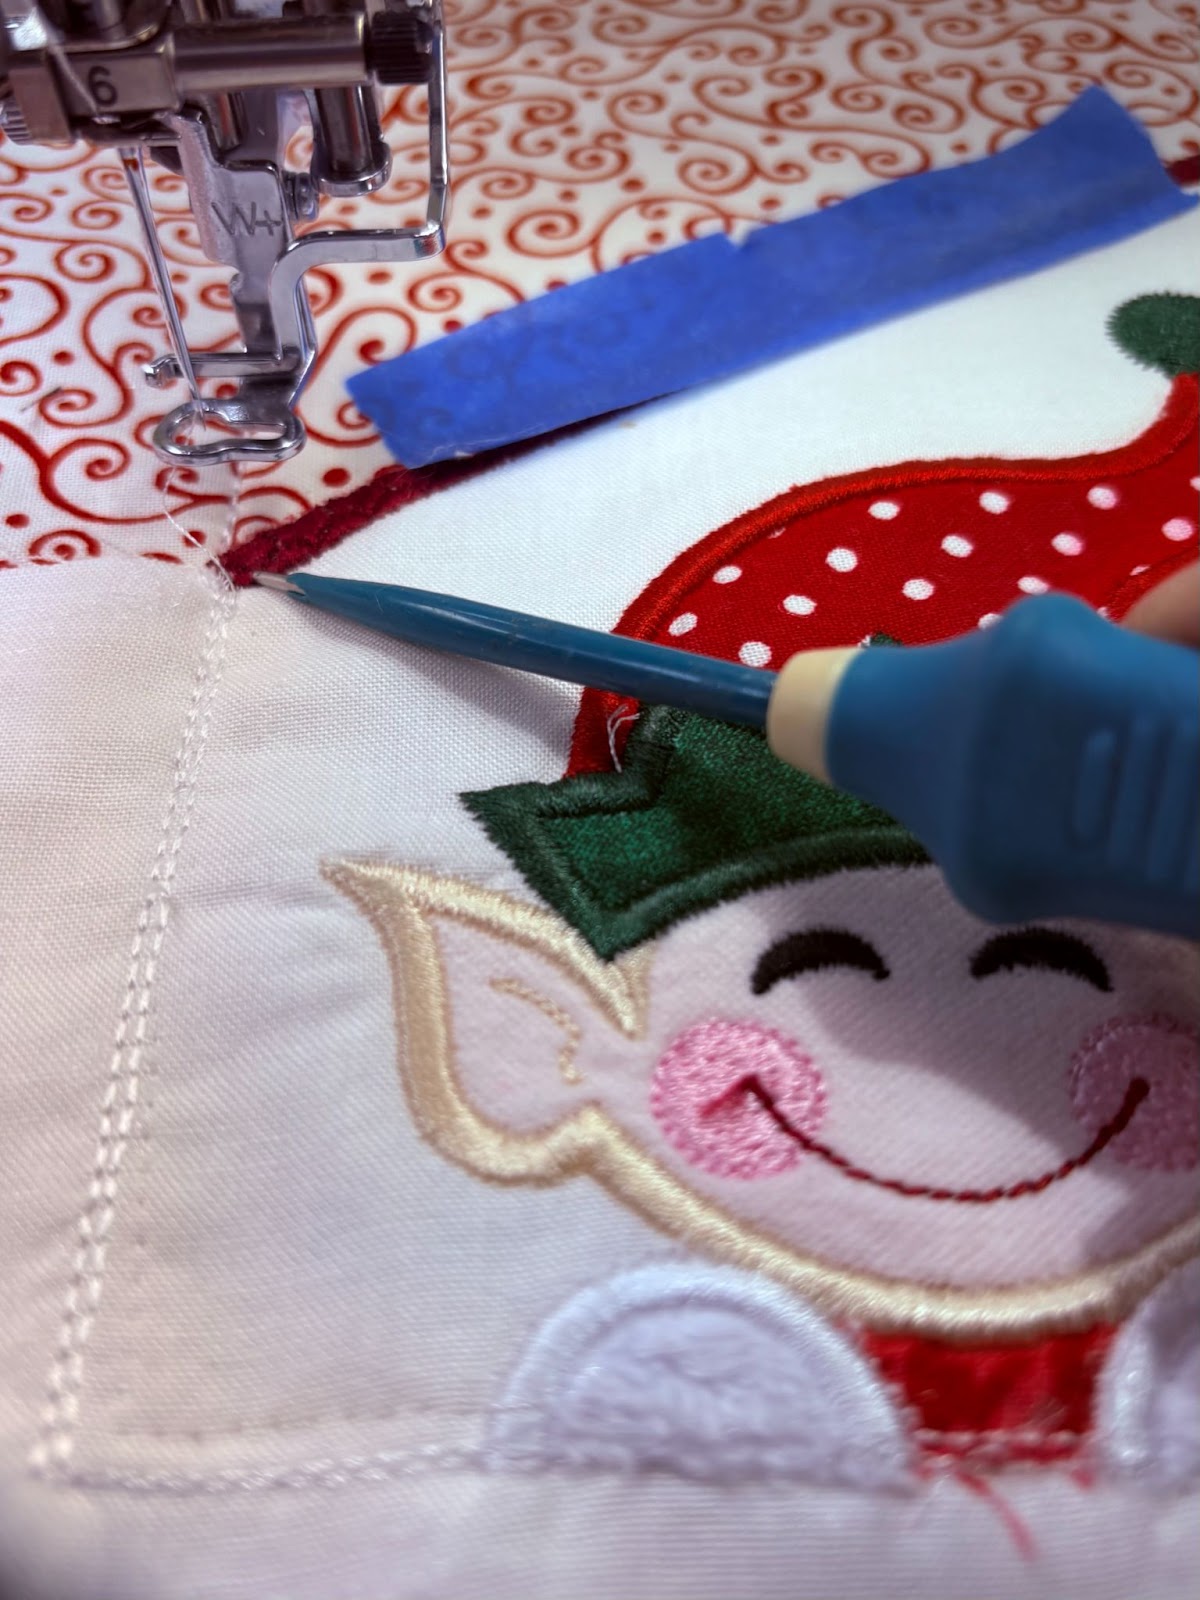
Trim the back fabric close to the stitches like we did on the front.
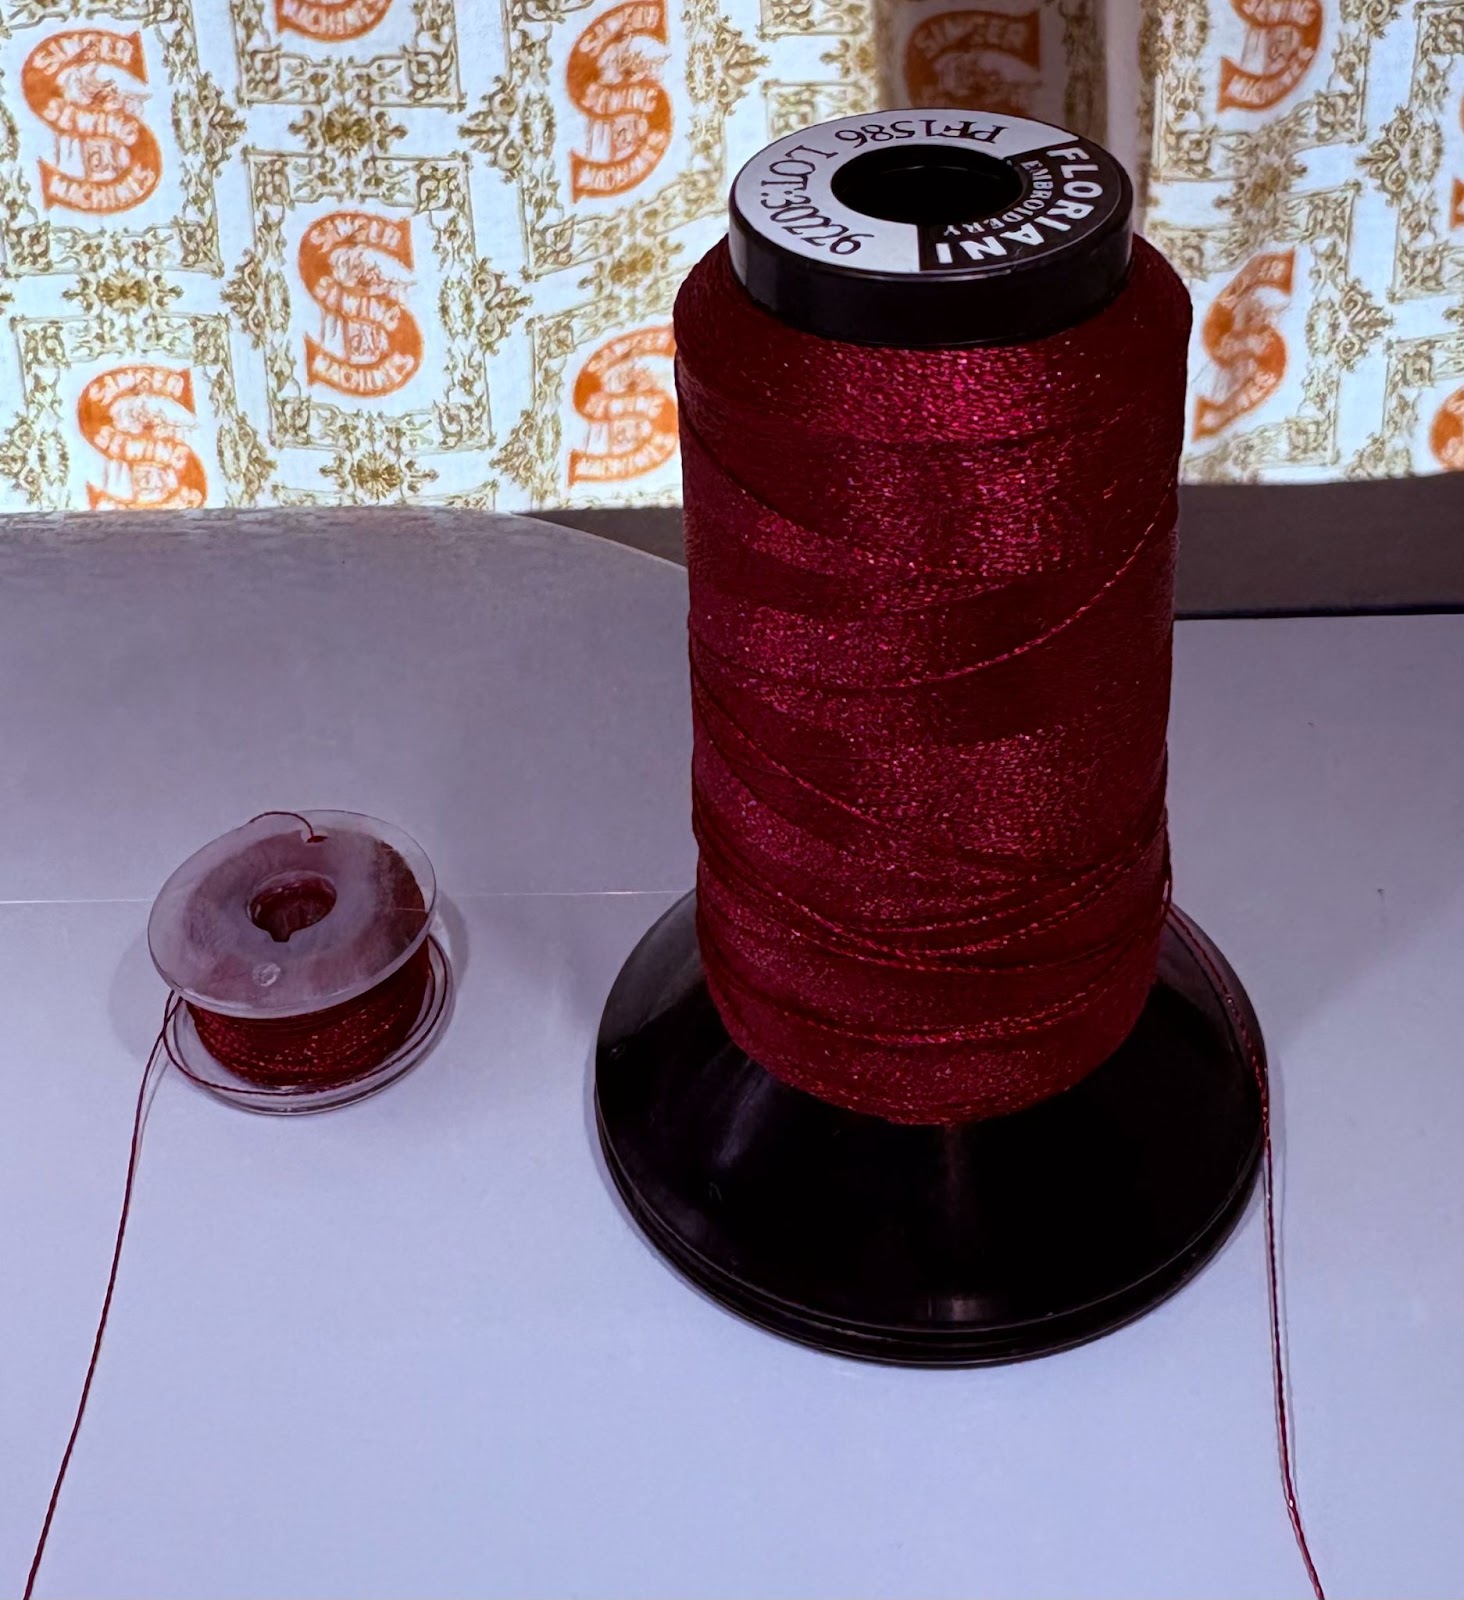
Before returning the hoop to the machine, change the bobbin thread to match your top thread.
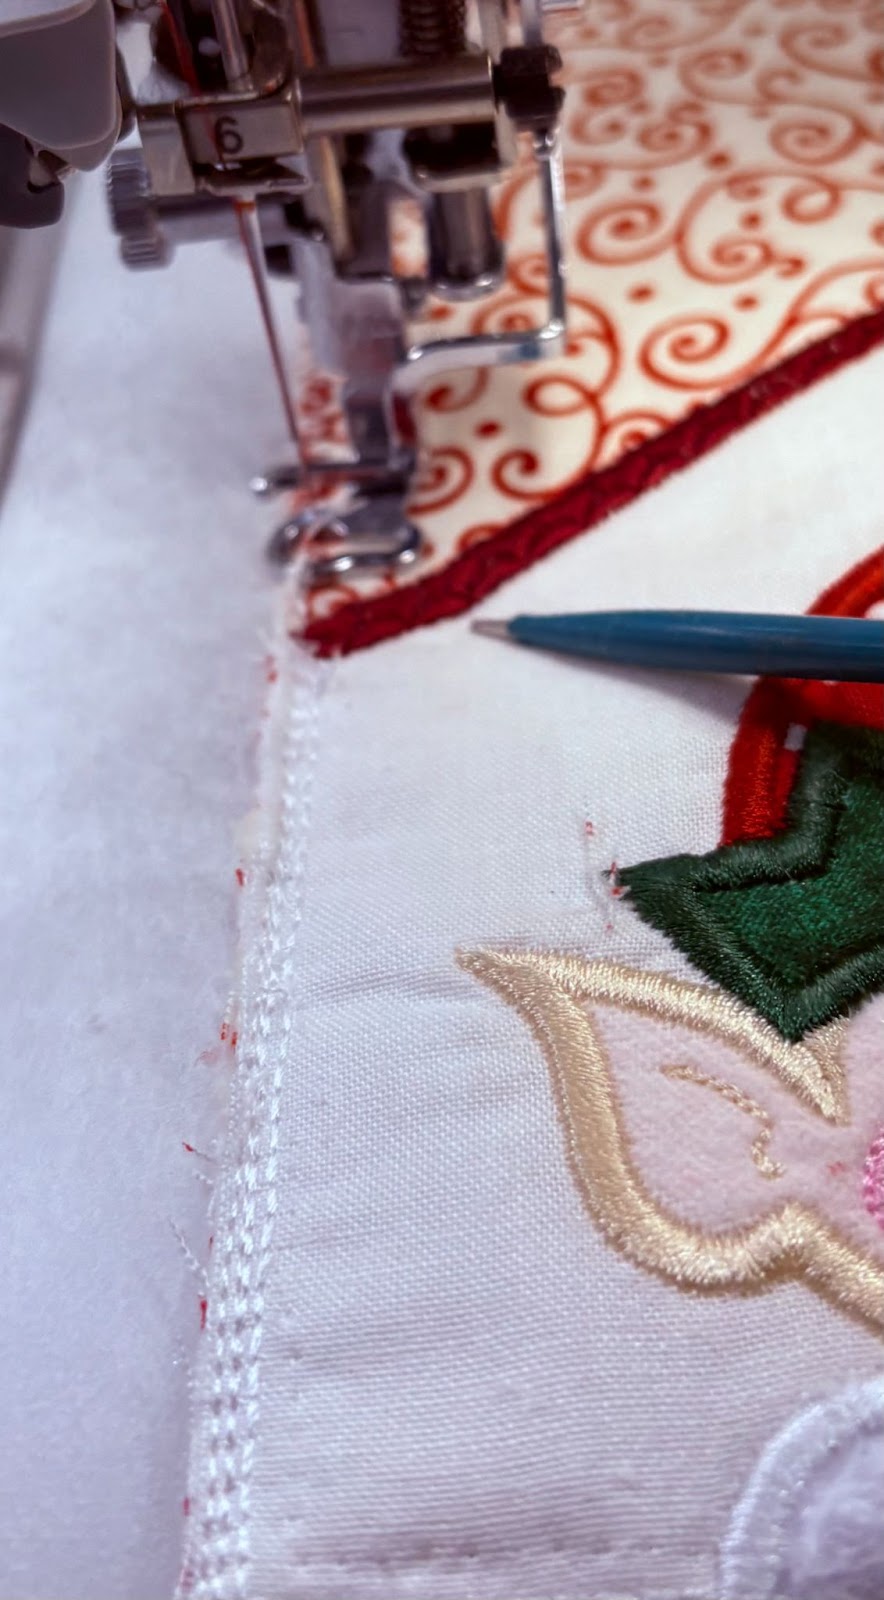
Run the final step, the cover stitch along the top diagonal edge.
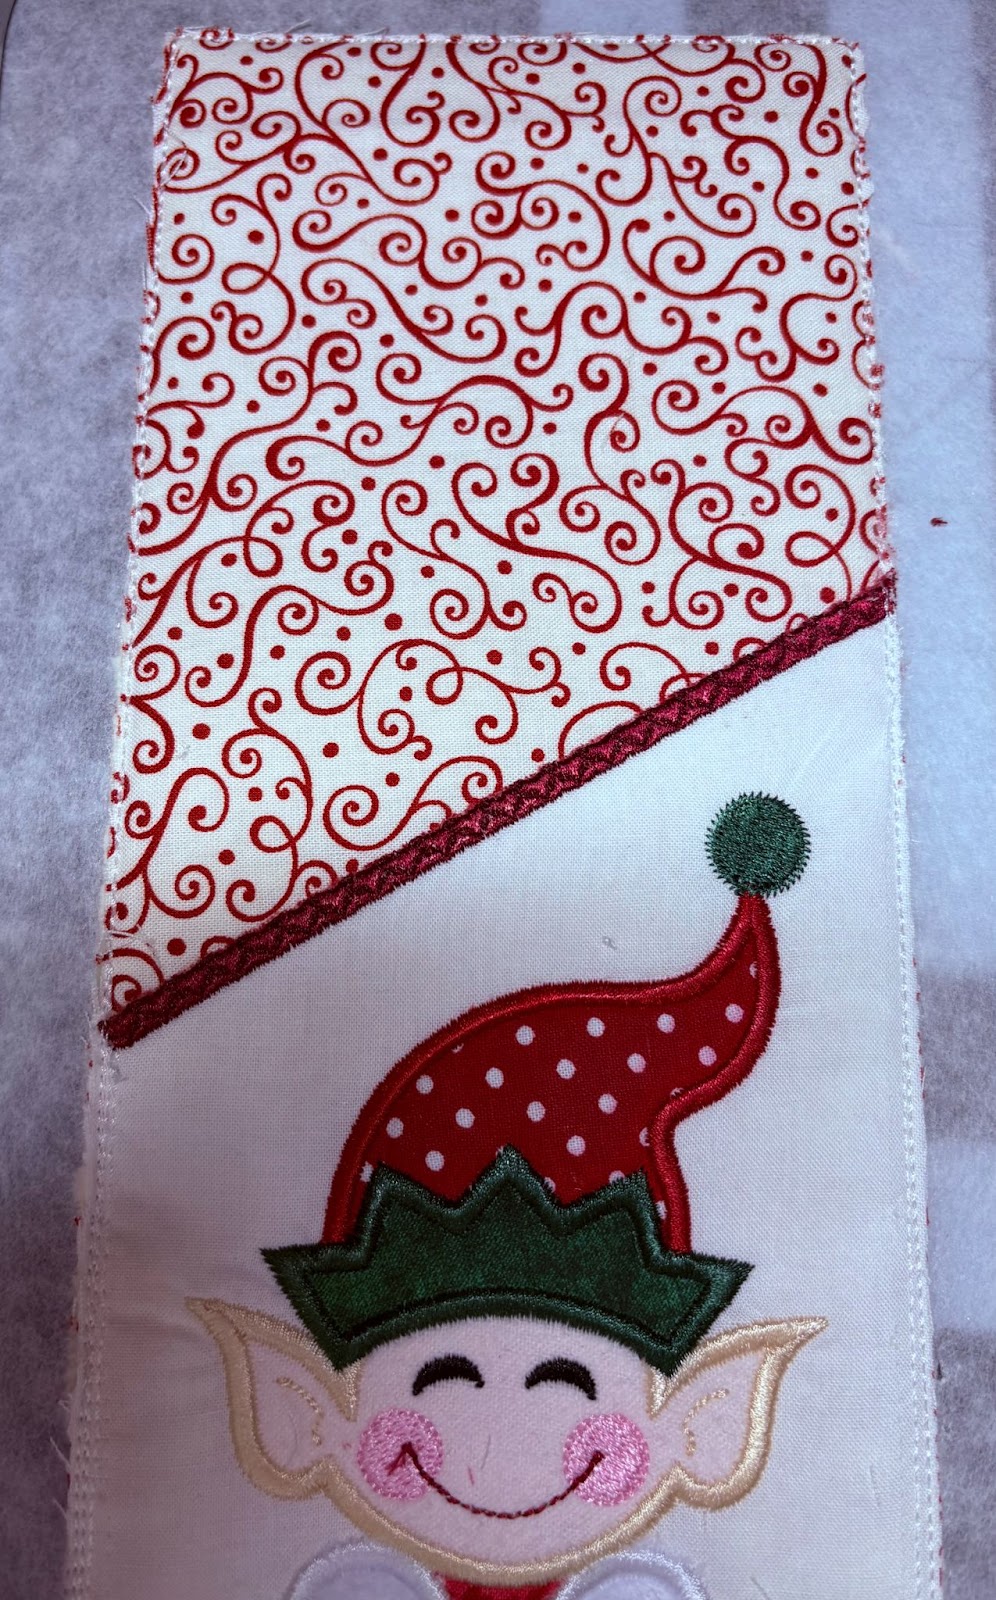
Remove the design from the hoop. Trim away the stabilizer close to the cover stitches. Use a wet cotton ball or cotton swab to remove any remaining stabilizer. Do not trim the sides and bottom. Set the design aside.
Elf Utensil Holder Front and Back
Choose the size you want for the front and back and load it to your machine. This is done in five steps. Use wash-away stabilizer only.
Hoop the stabilizer and take to the machine. Run the first step, the placement stitch for the batting. Place the batting over the stitches and run Step 2, the batting tack-down stitch. Remove the hoop and set on a flat surface.
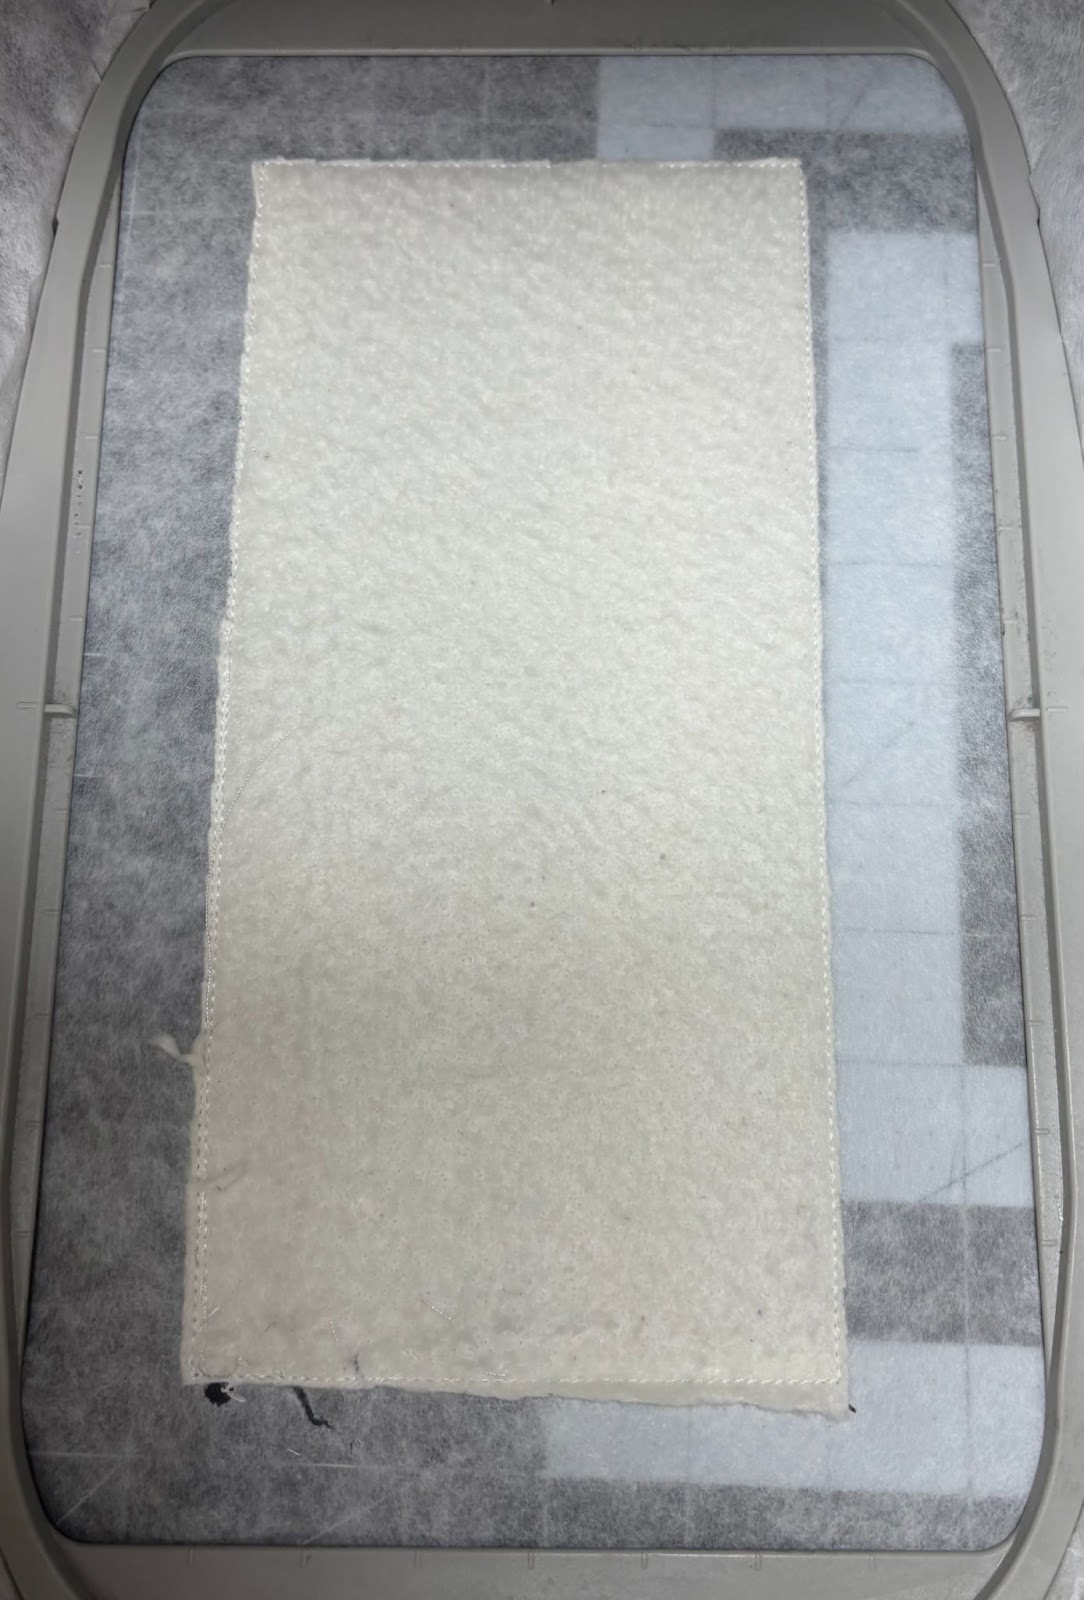
Trim the batting close to the stitches.
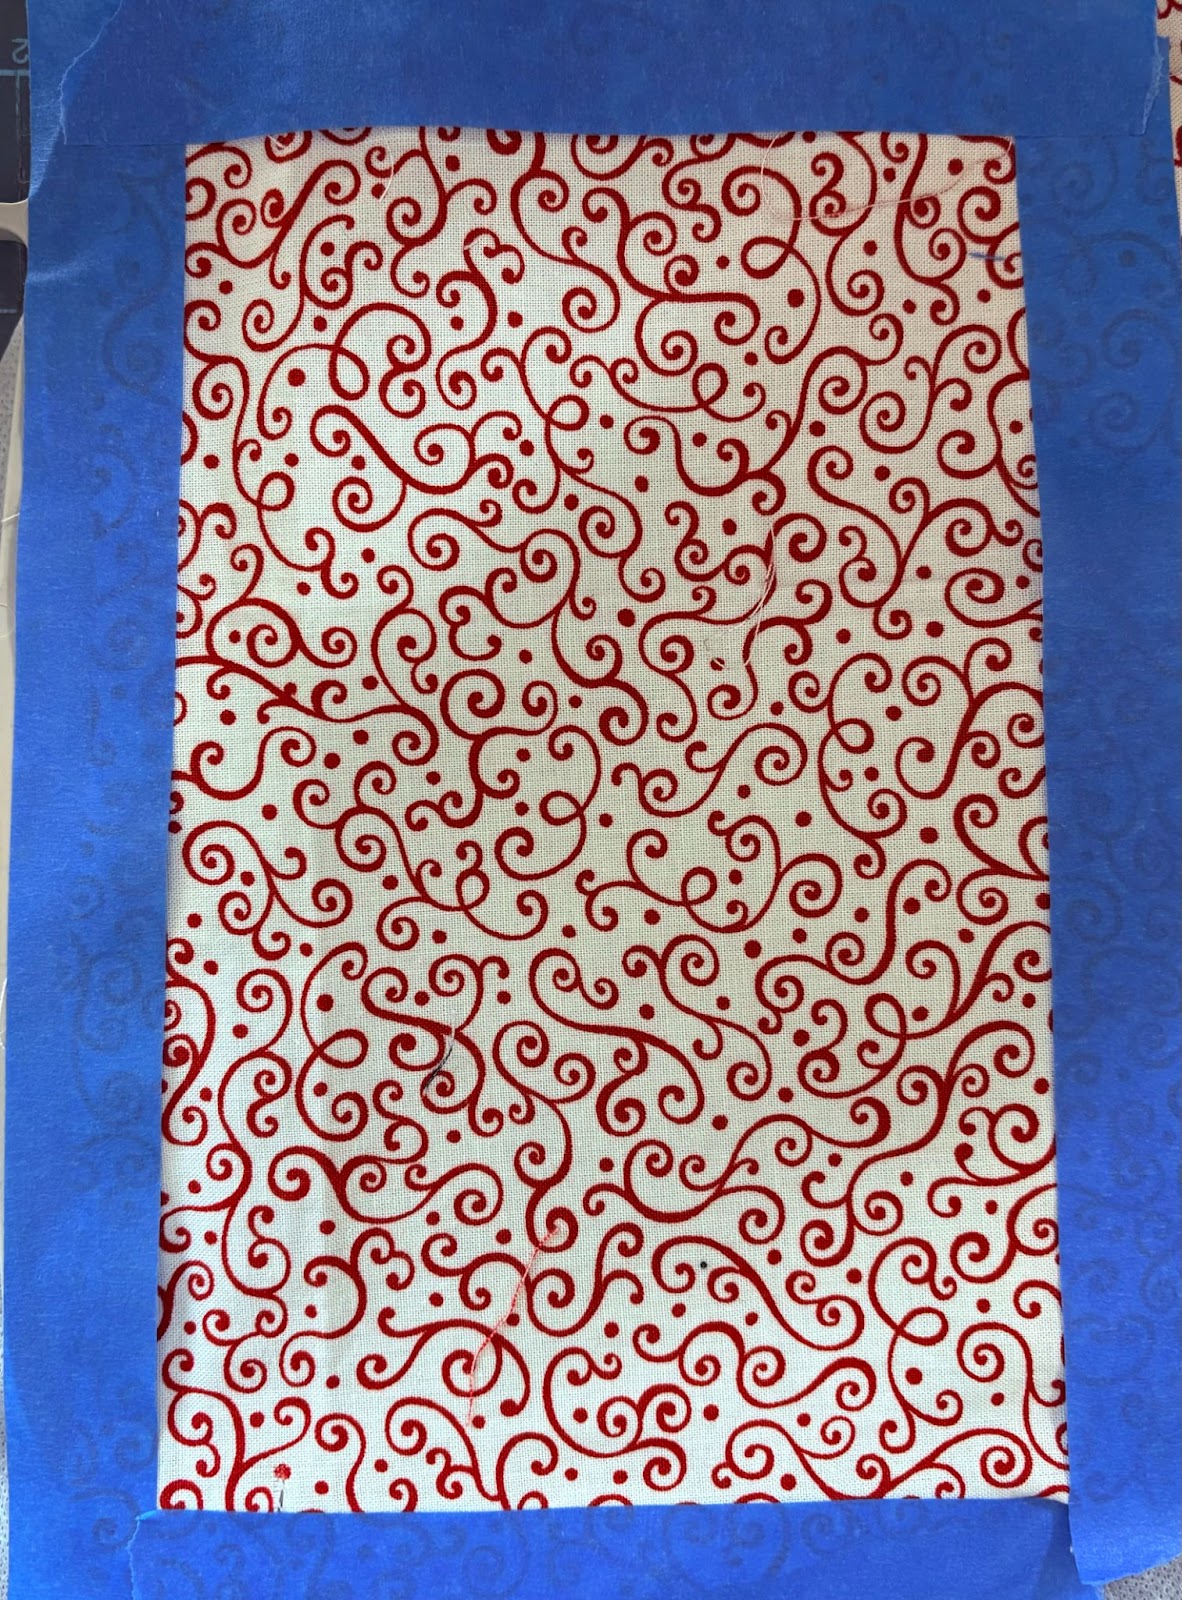
Turn the hoop over and tape the back fabric securely. Return the hoop to the machine. Make sure the fabric stays securely in place.
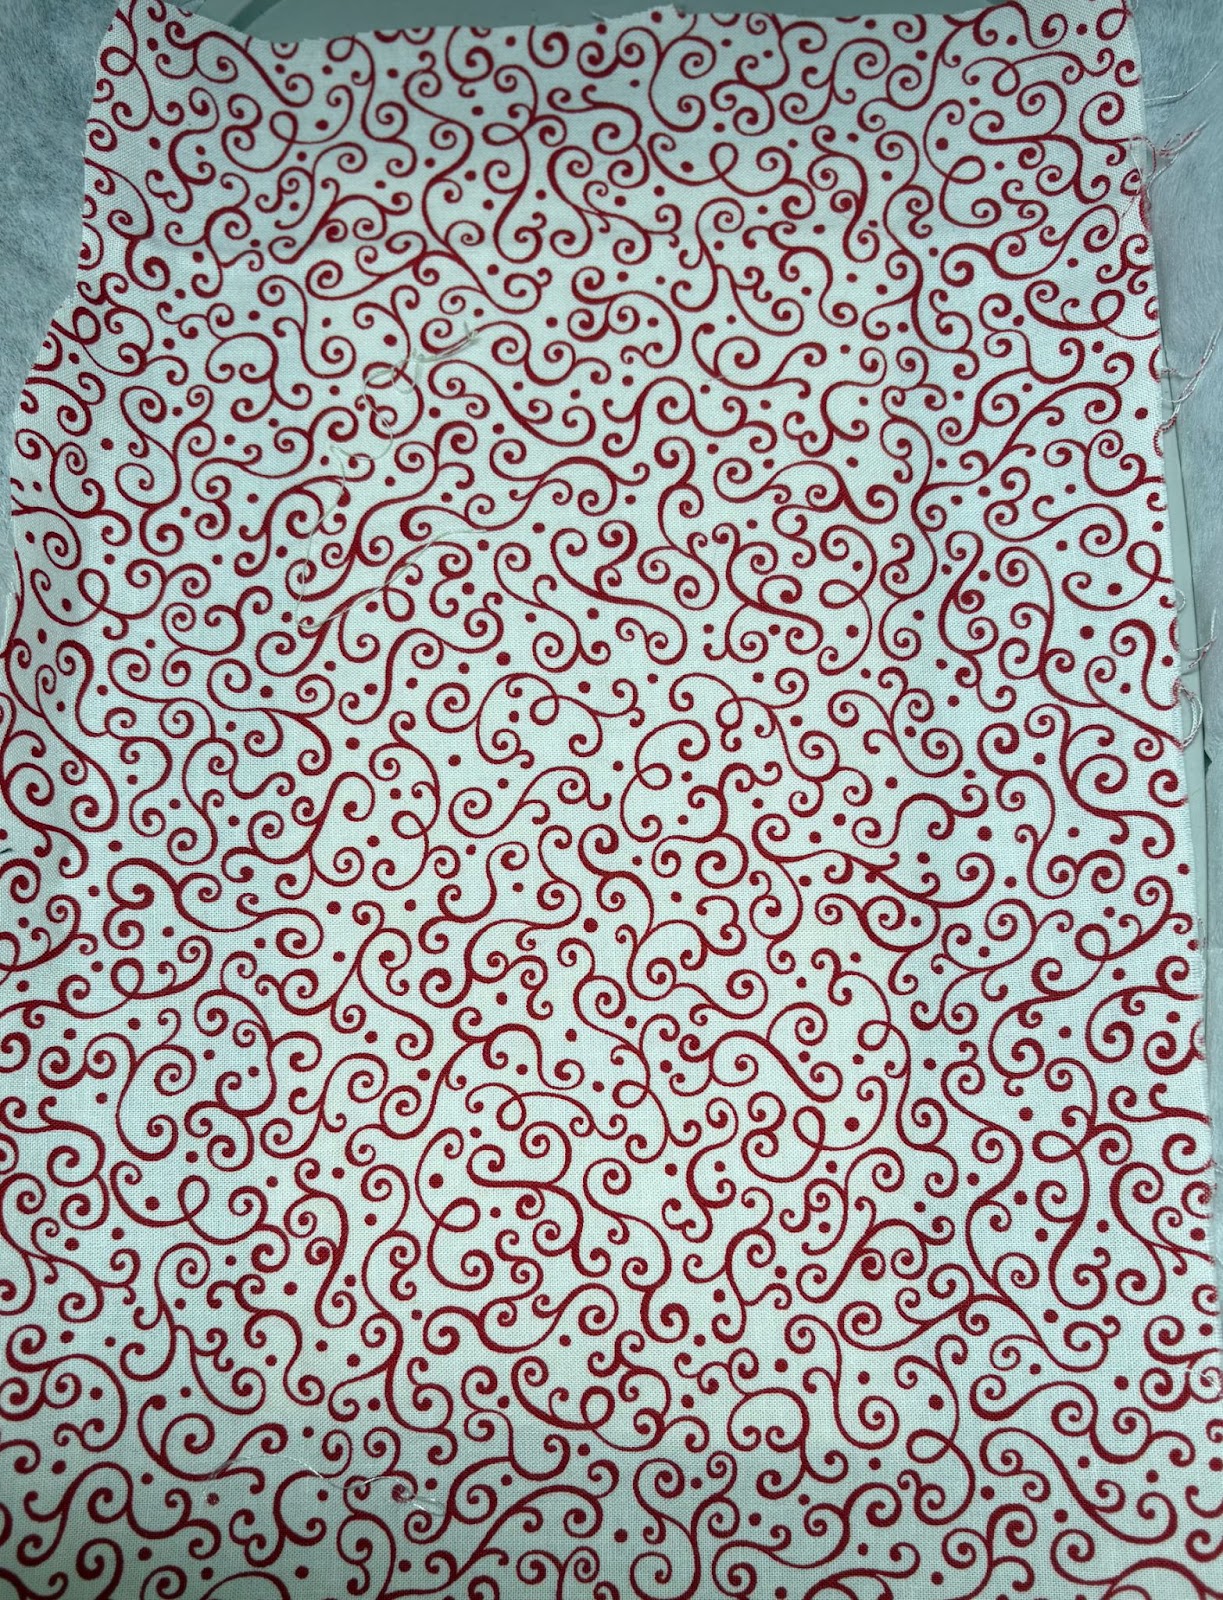
Place the front fabric, and run Step 3 to attach the front and back together. Remove the hoop and set on a flat surface. Remove the tape from the back.
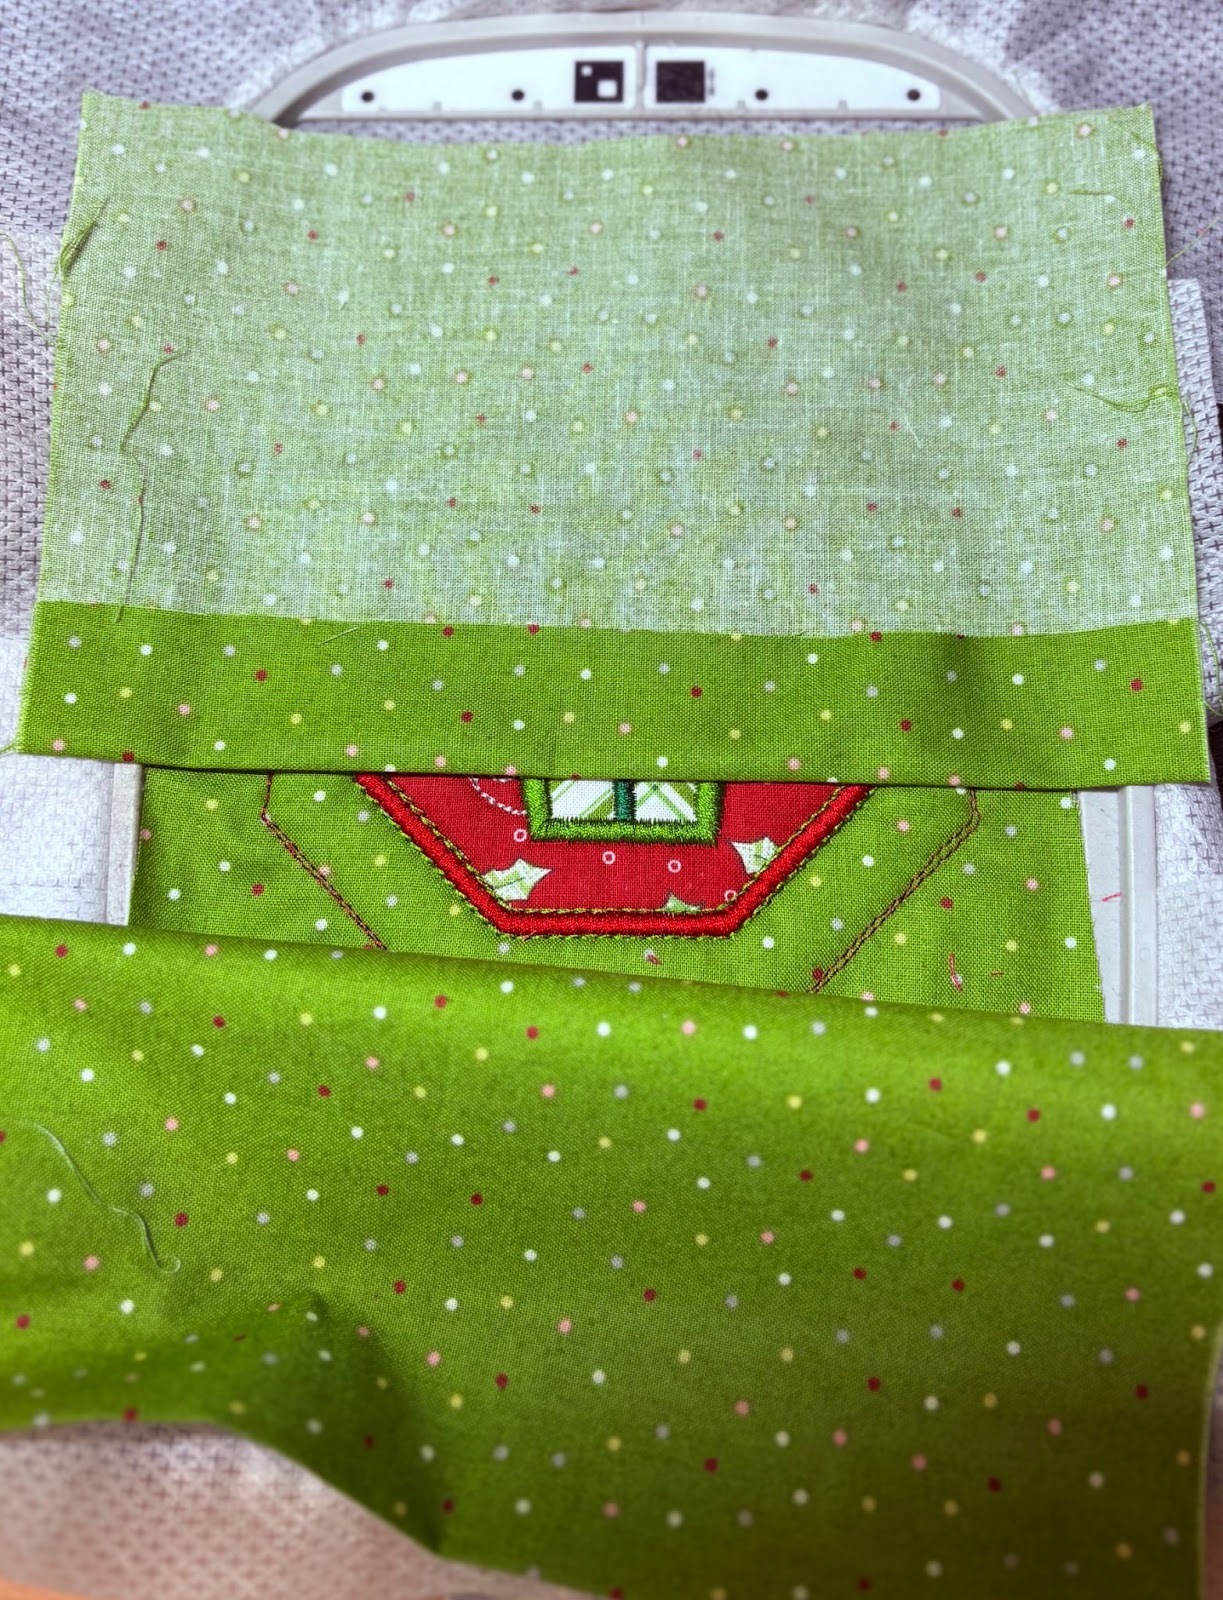
Line up the stitching on the elf pocket and the front/back as shown by the X marks.
Tape the pocket down and return the hoop to the machine. Run Step 4 to attach the pocket to the front.
Keep the pocket flat as the machine stitches over the top edge. When finished, remove the hoop and set on a flat surface.
Trim the front close to the stitches on all four sides.
Turn the hoop over and trim the back. Return the hoop to the machine. Make sure to match the top and bobbin threads before stitching the final step.
Run the final step. This is the cover stitch around the holder. As before, keep a close eye on the embroidery foot as it comes near the top edge of the pocket. You may want to hold it in place again.
When finished, remove the design from the hoop, trim away the stabilizer, and remove any excess stabilizer with a wet cotton ball.

Your Elf utensil holder is complete.
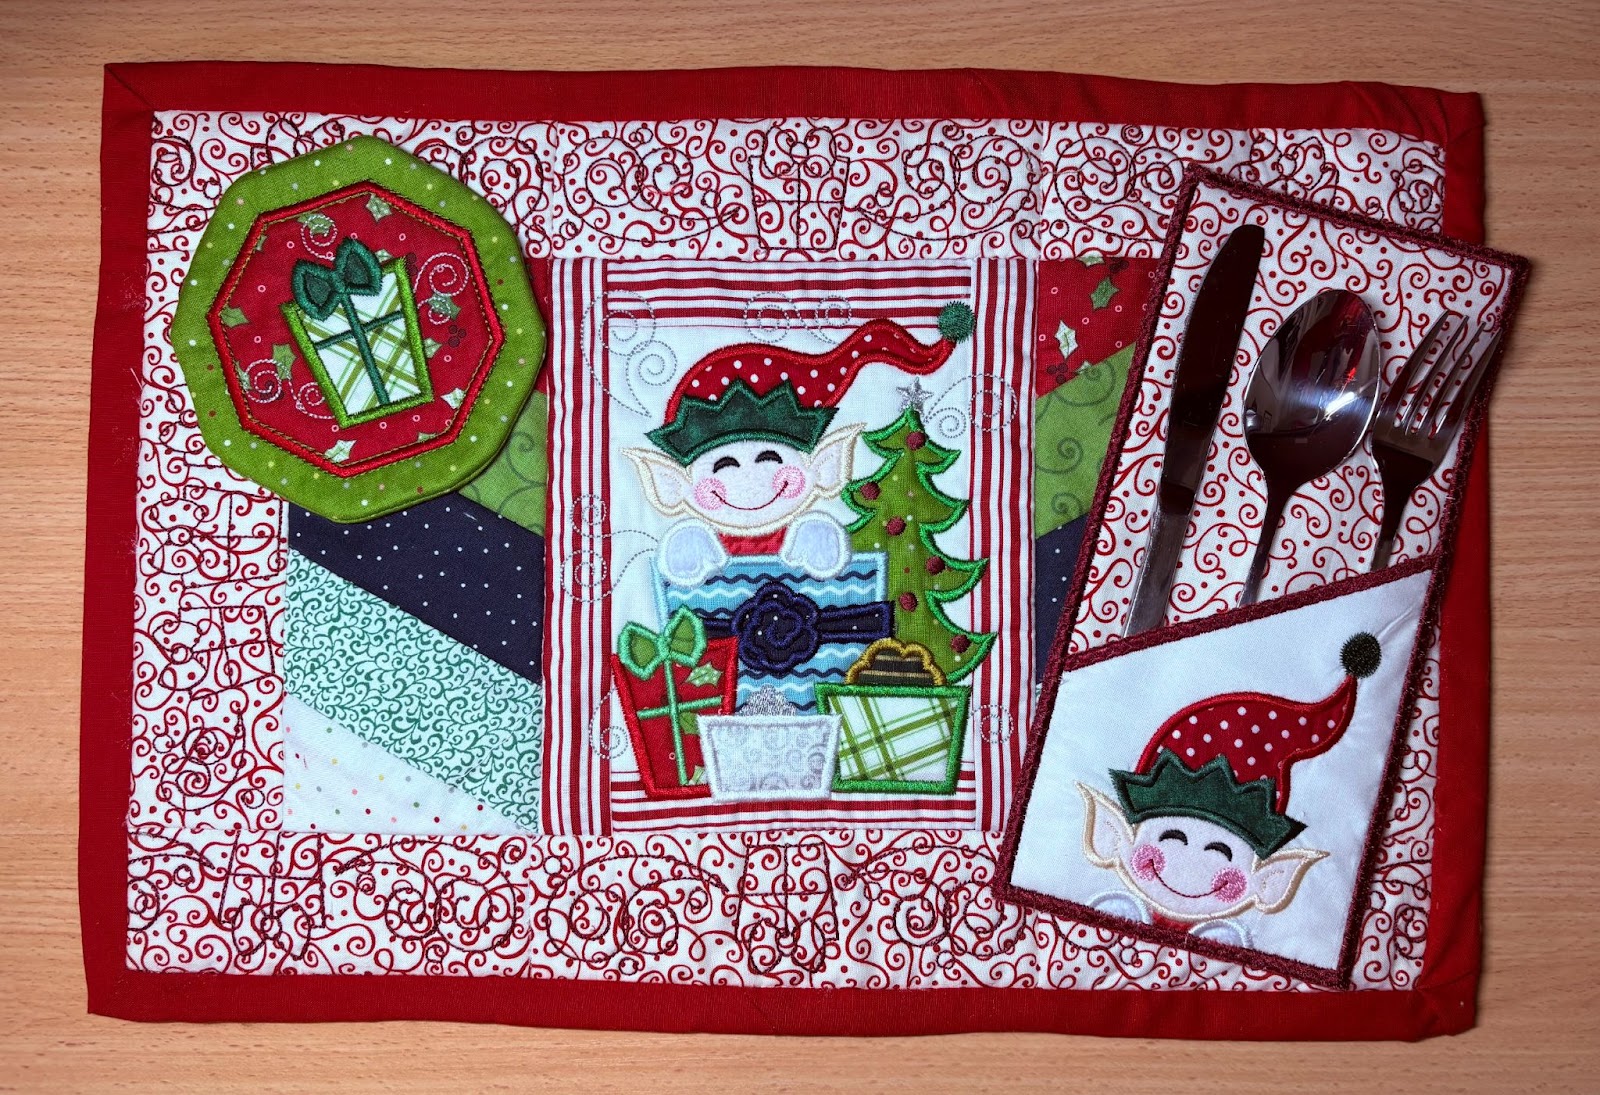
Complete your table setting with the Designs by JuJu Modular Elf Placemat for a festive look and feel.
Did you make these? Please share your projects in the Designs by JuJu Embroidery Blessings Group on Facebook or anywhere on social media using the hashtag #designsbyjuju. We love to see what you create!
