Toggle Nav
 Inspire.
Create.
Stitch.
Inspire.
Create.
Stitch.
Search
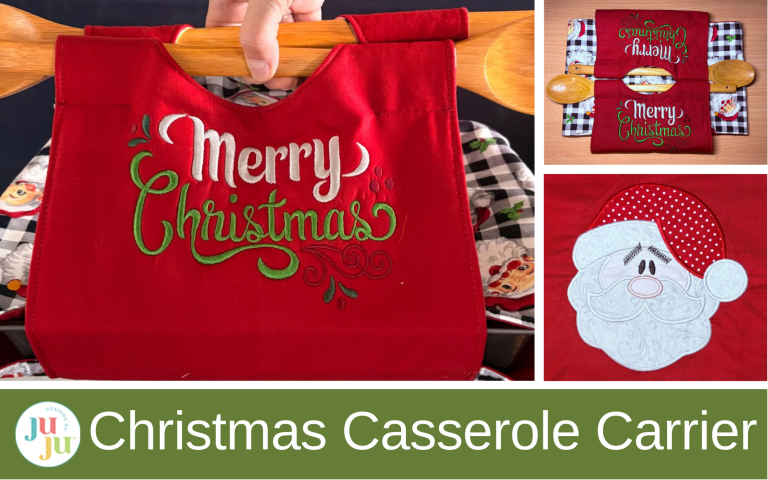
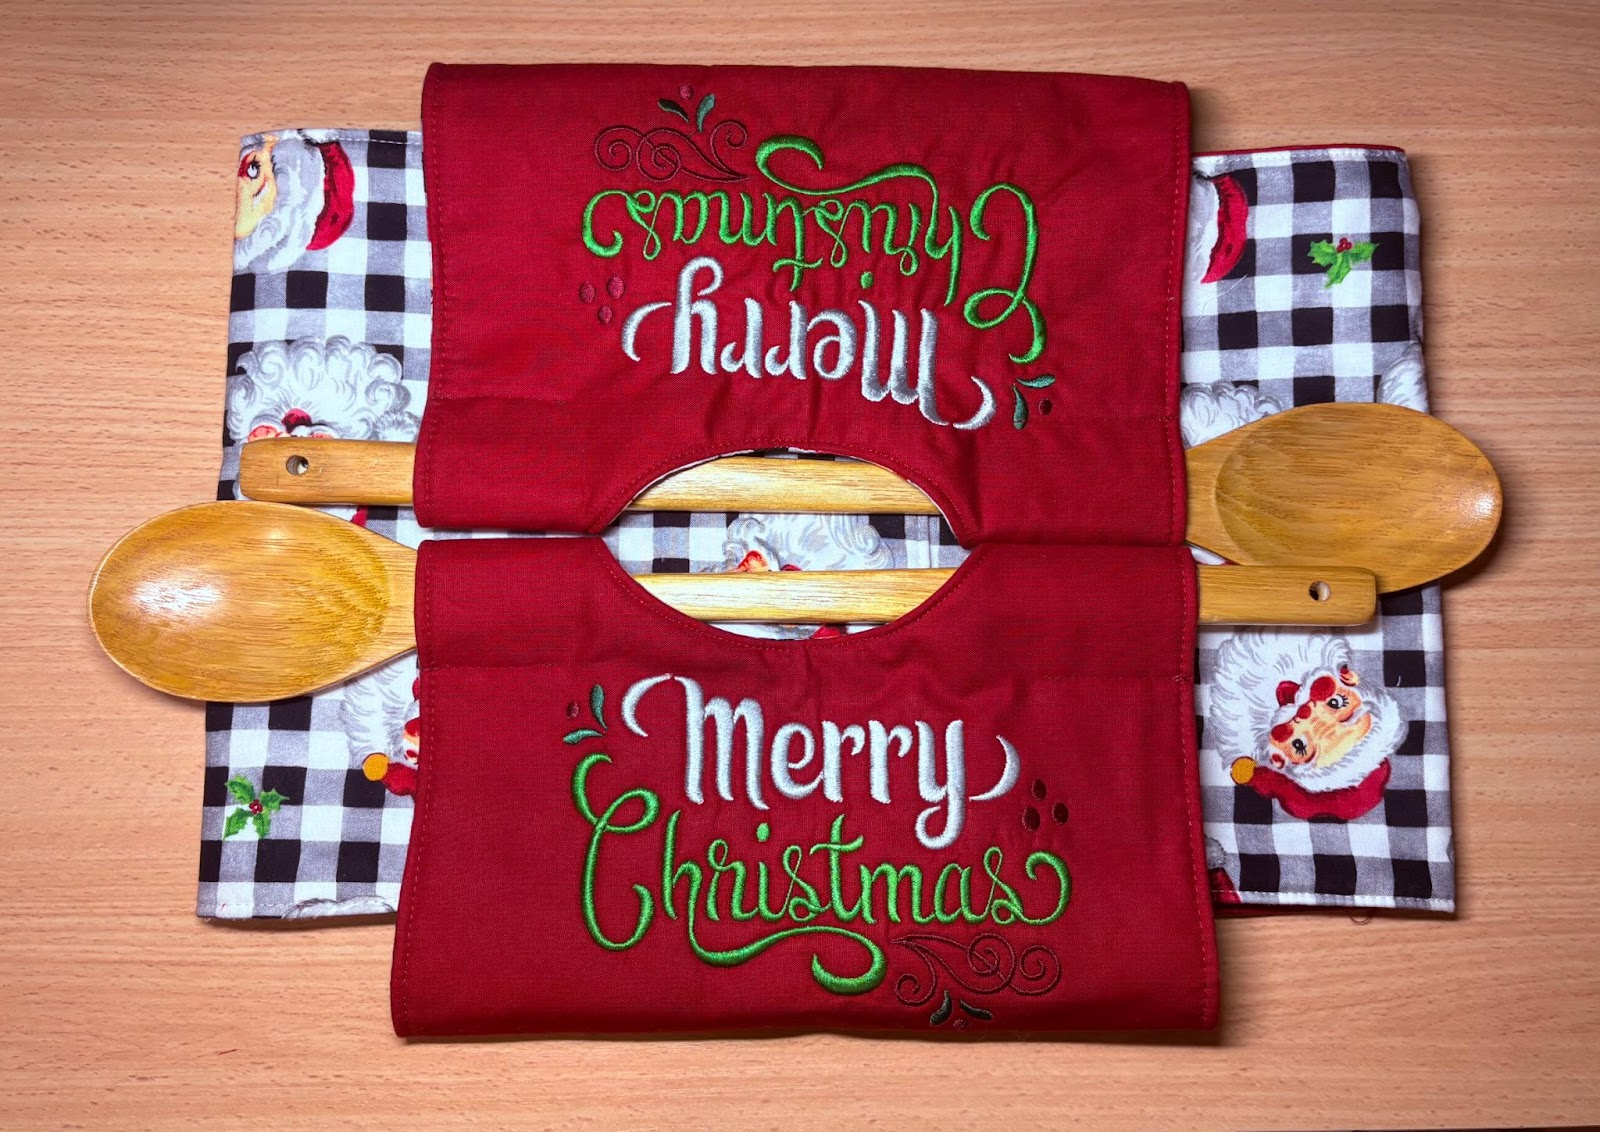
Arrive in style at this year's Christmas potluck with your favorite dish in a handmade casserole carrier.
When it’s cold outside and you’re on your way to a potluck, the last thing you want is to arrive at the party with a cold casserole. Arrive in style with a cheerful addition: a handmade casserole carrier! It’s a fun way to showcase your favorite dish and share the warmth of the season with everyone.
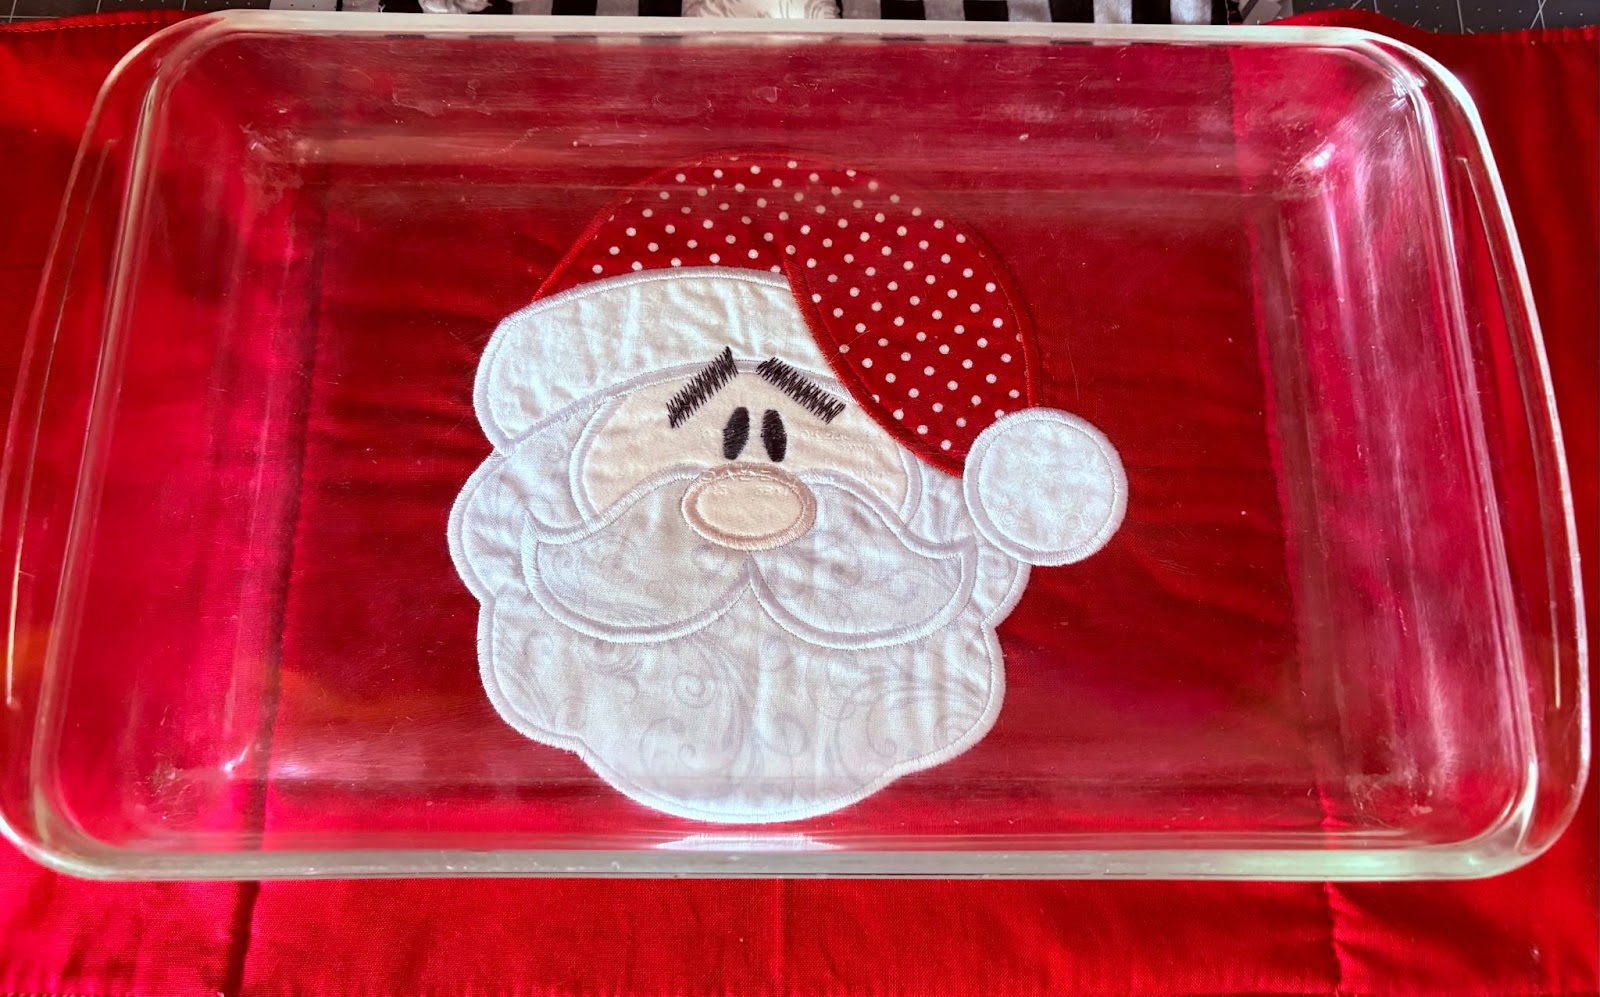
In this tutorial, I will guide you step by step as we design, embroider, and sew this adorable casserole carrier. This charming accessory is not only a practical way to transport your favorite dish, but it also adds a delightful personal touch to the celebration. Picture the joy on everyone’s faces when, after serving themselves, they spot a cheerful Santa smiling up at them from the bottom of the empty dish, adding an extra layer of holiday spirit! Get your supplies ready and let’s have some fun creating together!
Check out the DBJJ team’s favorite supplies in the Designs by JuJu Amazon store.
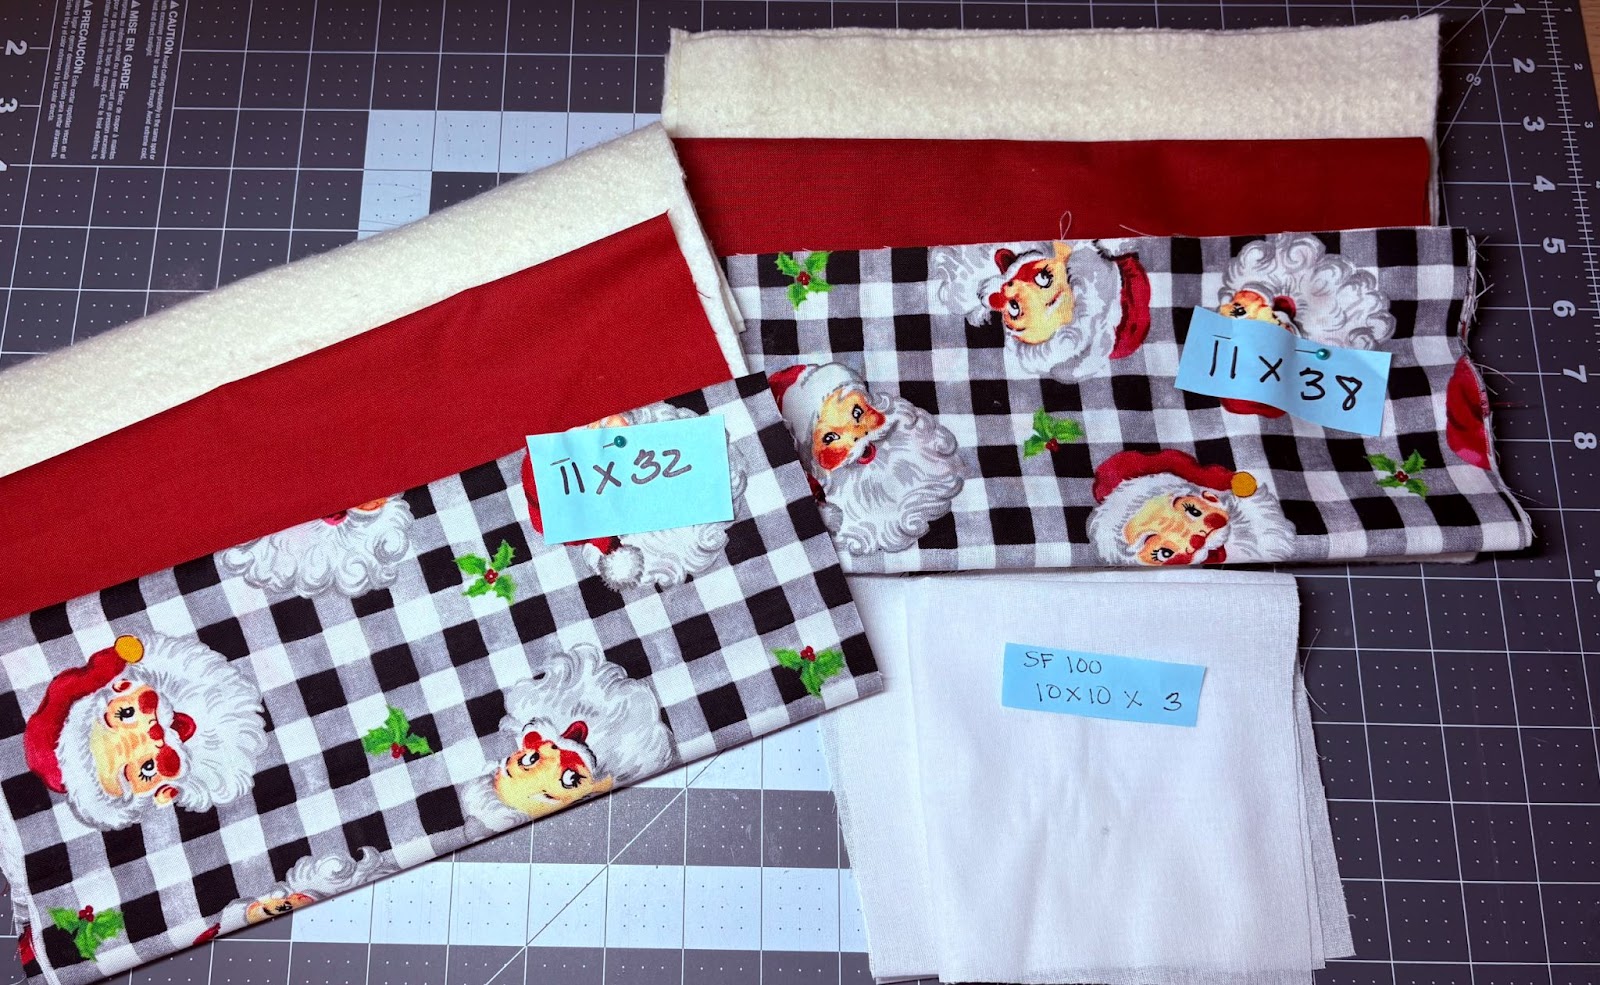
Cut two pieces of fabric measuring 11” x 32”, one from the print and one from the solid color. Then cut two additional pieces of fabric measuring 11” x 38”, one from the print and one from the solid color.
For the batting, cut one piece 11” x 32” and another 11” x 38”. Be sure to label the three pieces of each set together. Additionally, cut the SF101 interfacing into three 10” x 10” pieces.
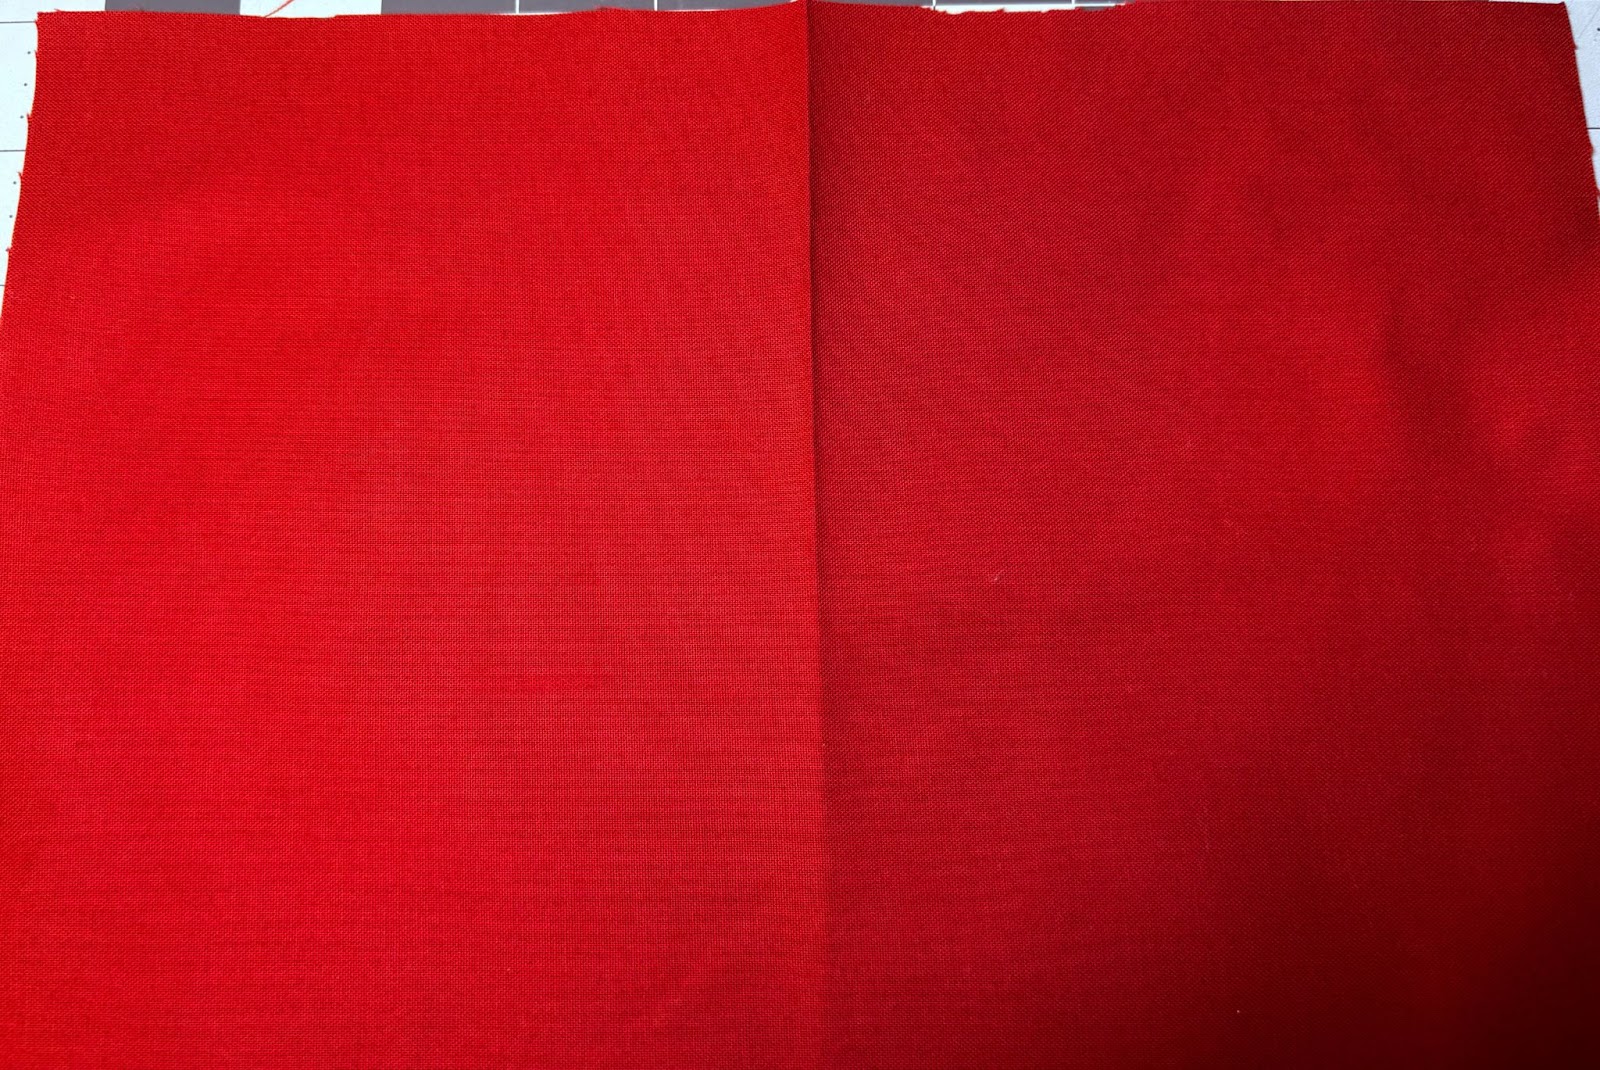
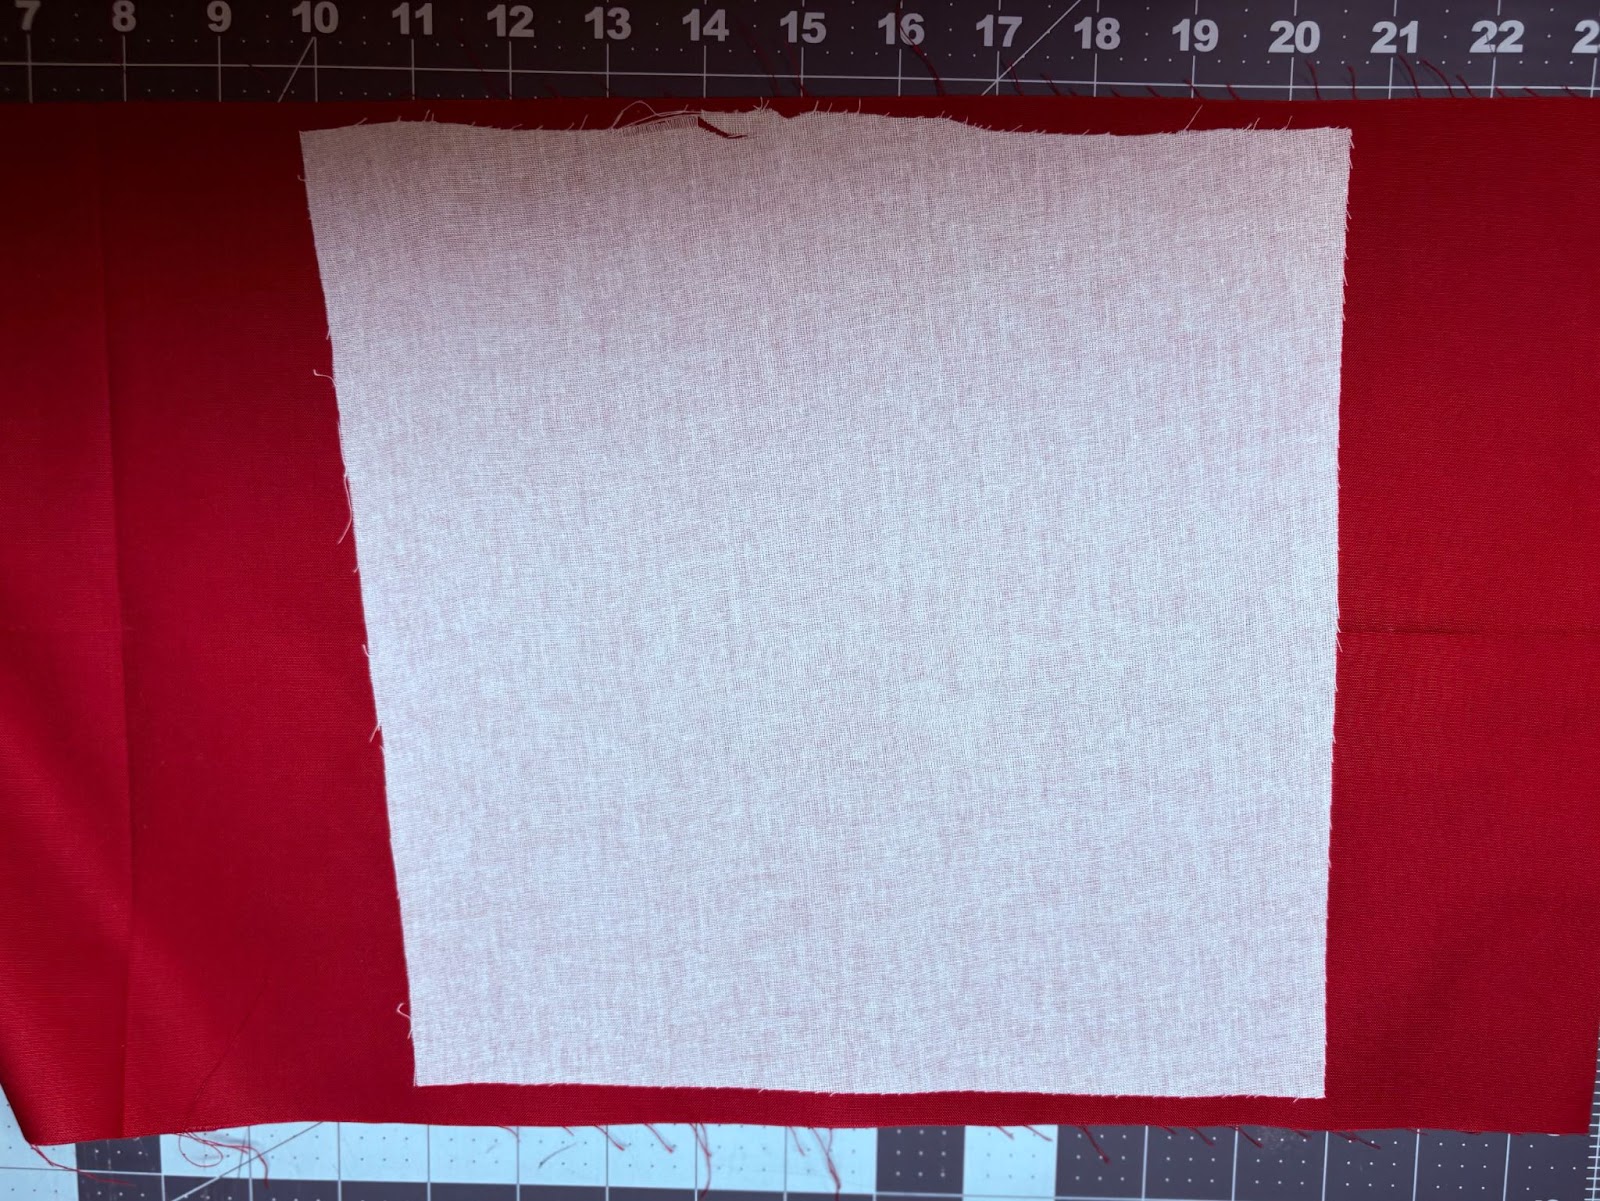
To determine the size of the embroidery area for the top front, fold the 11” x 32” solid fabric in half lengthwise and press it or mark the top center with a pin.
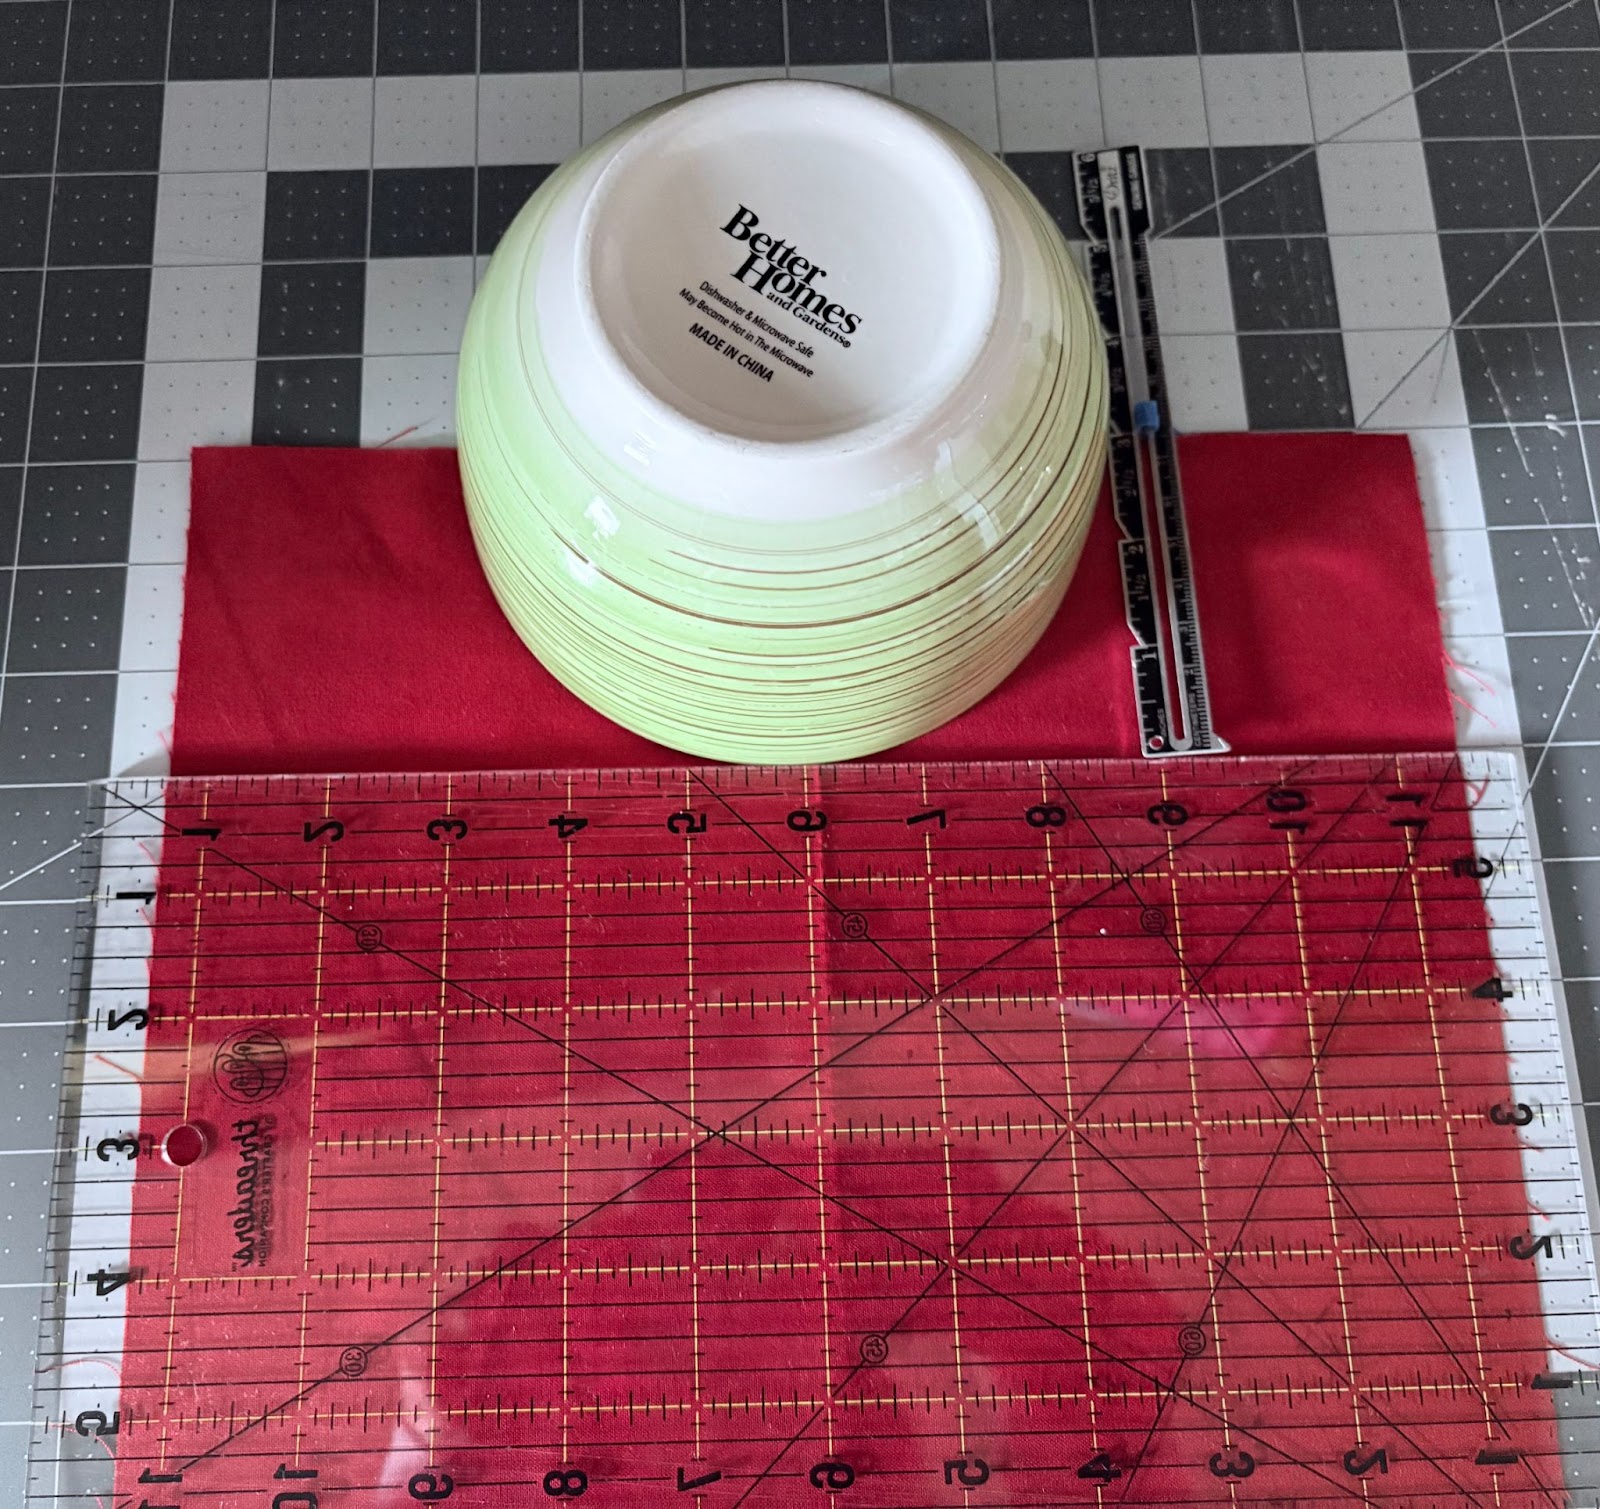
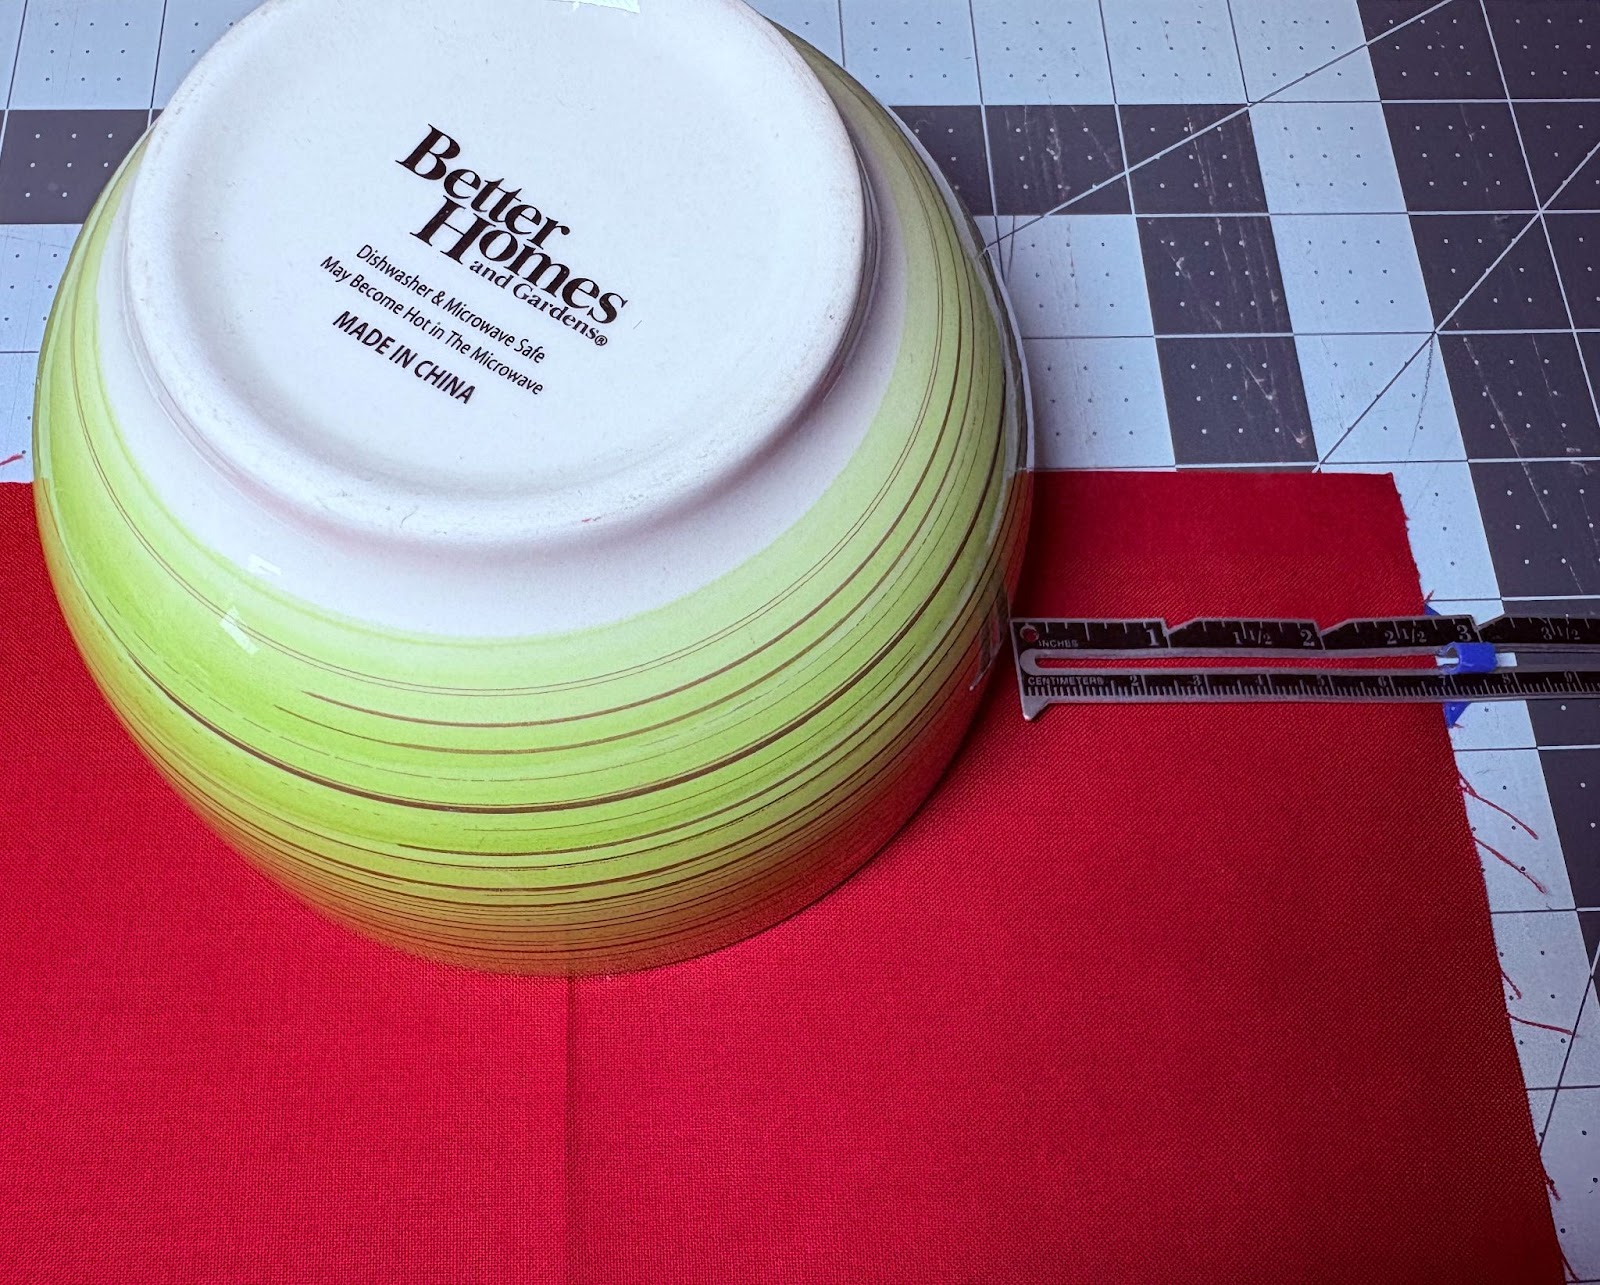
Center the bowl 3” down from the top.
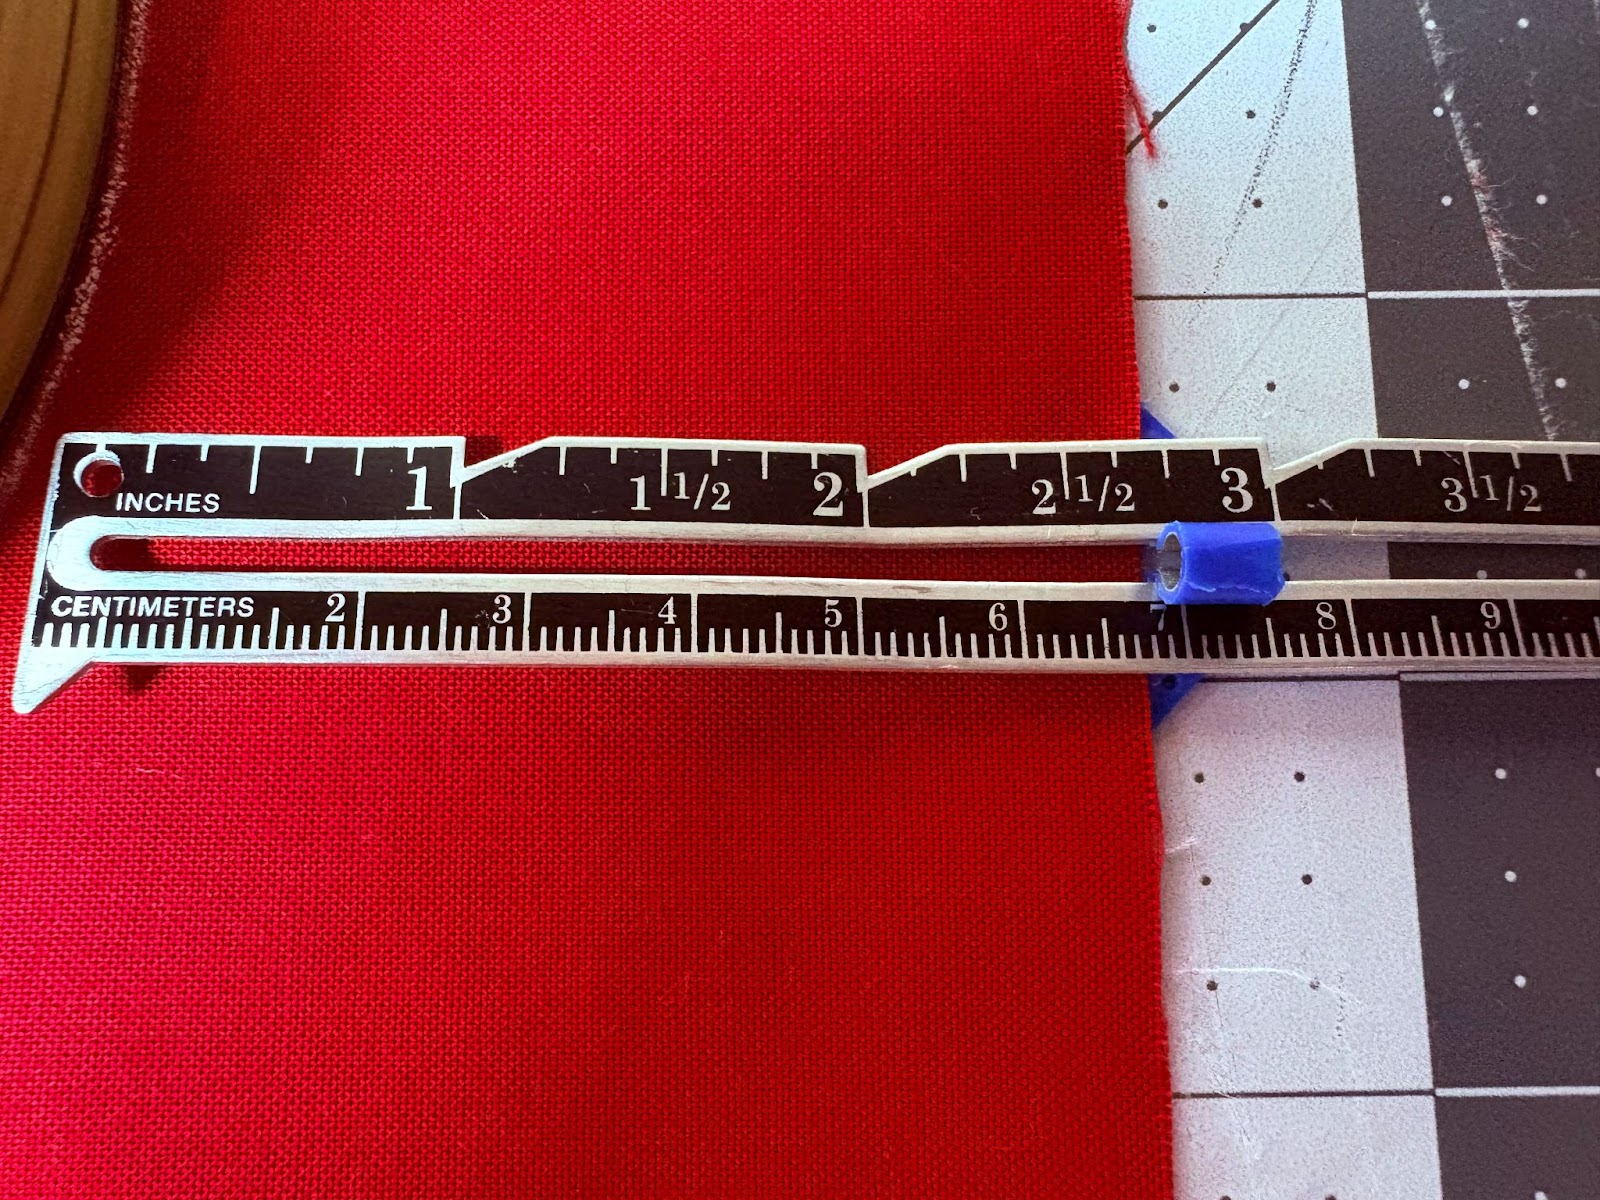
Use a sewing gauge to ensure equal distance on both sides of the bowl.
I recommend using tailor's chalk to draw this next step. As we proceed, we will be using an iron, which may erase a fabric pen.
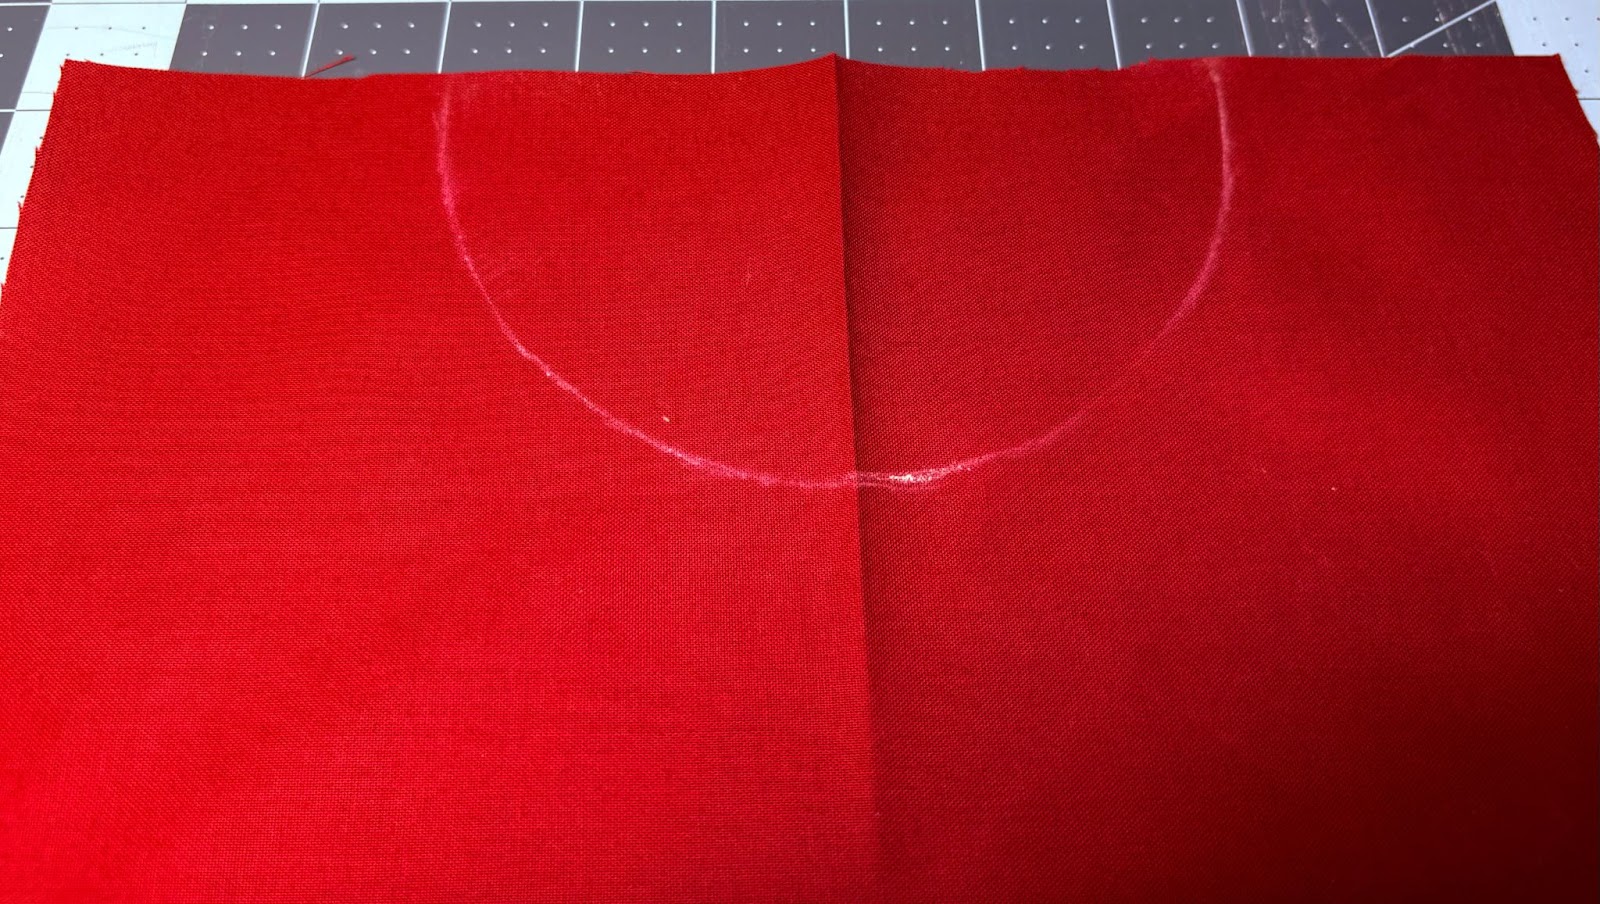
Draw a semicircle around the bowl. Do this on both short ends of the 11” x 32” piece of solid fabric.
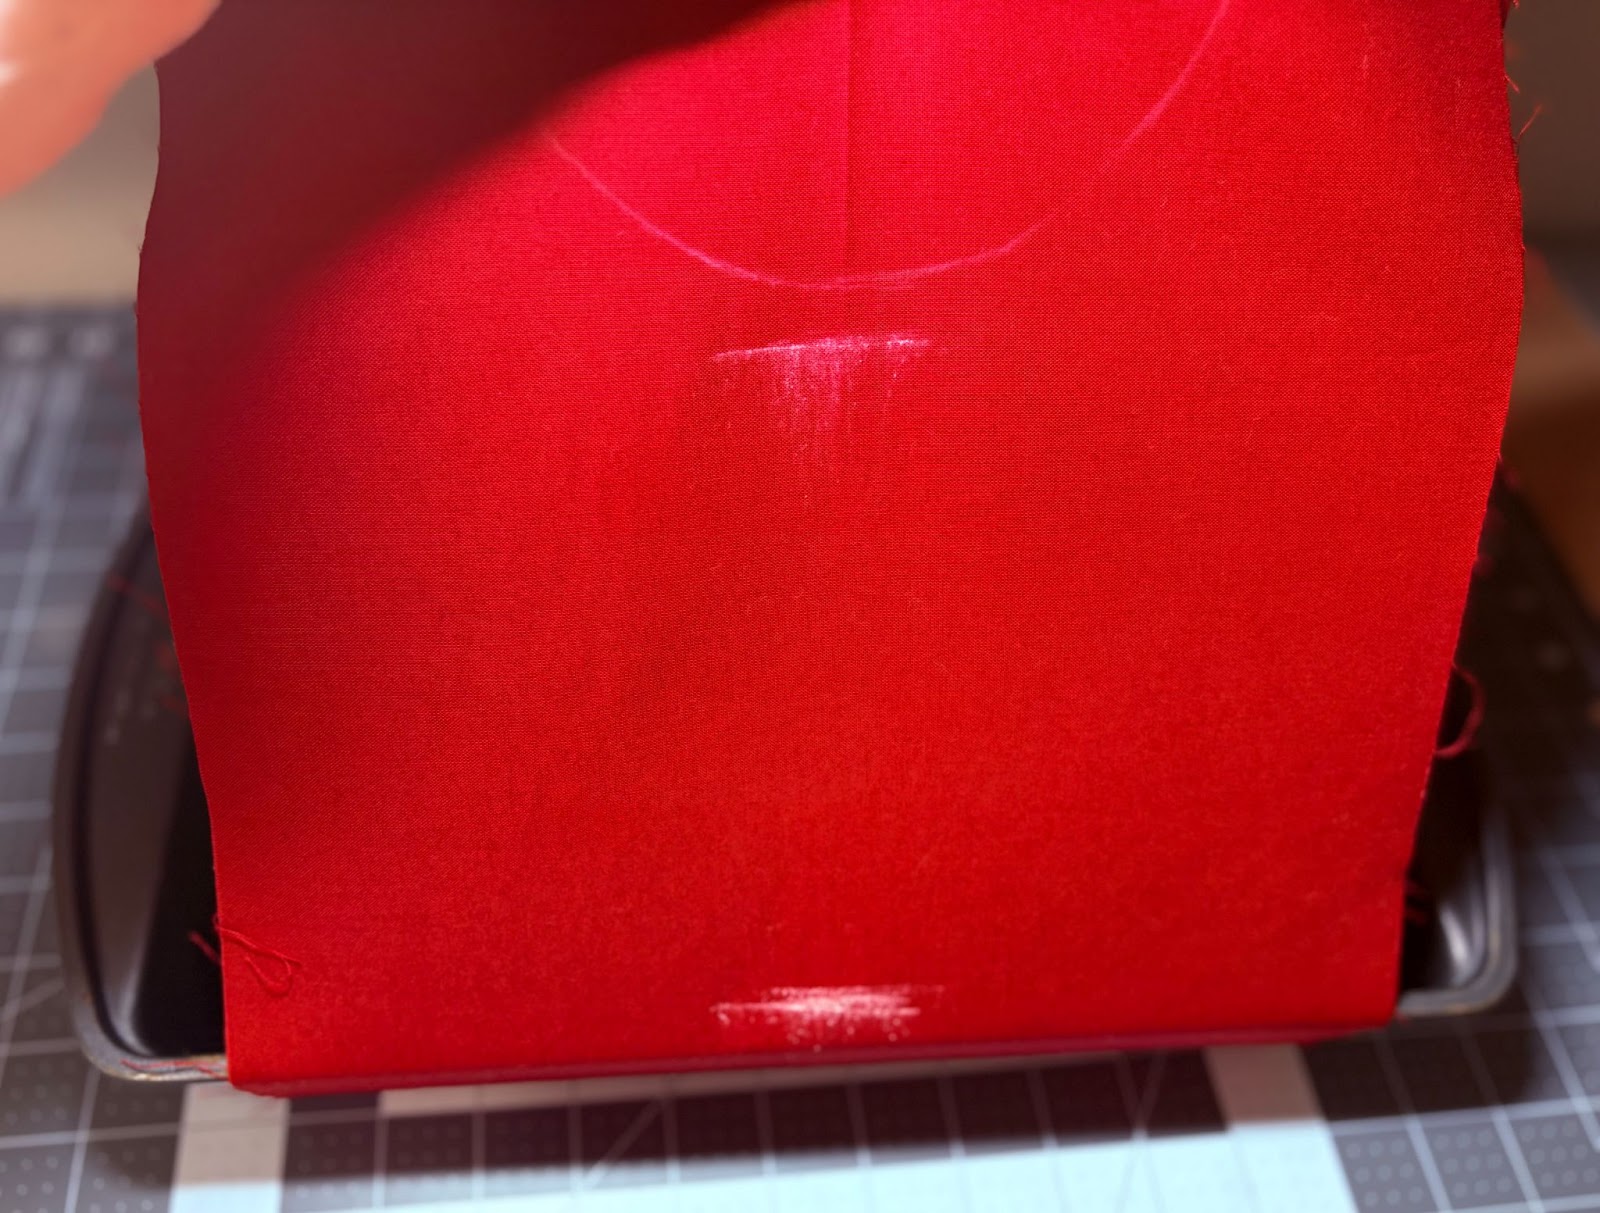
Place the casserole dish in the center of the fabric. Bring the two top ends of the fabric together and mark the fabric where it meets the top of the dish, as shown. Make these marks on both sides. You can use chalk or a pin for this. These marks will indicate the bottom of the design area. After marking, remove the dish and lay the fabric flat.

(I am marking all my measurements in chalk for clarity. You can use pins to mark the points instead.)
Begin by measuring down 1” from the bottom of the circle and mark it with a pin. Then, measure 2” up from the bottom chalk line and mark that with a pin as well. Next, find the center and mark it with another pin. Make sure to keep a minimum distance of 1” to 2” inches from the edge on each long side. Use this method not only to determine the size of the design area but also to center the design. The design area measures 5" vertically and 7" to 9" horizontally.
Fuse the SF101 interfacing over the design area on both ends on the back of the fabric, using a hot iron.
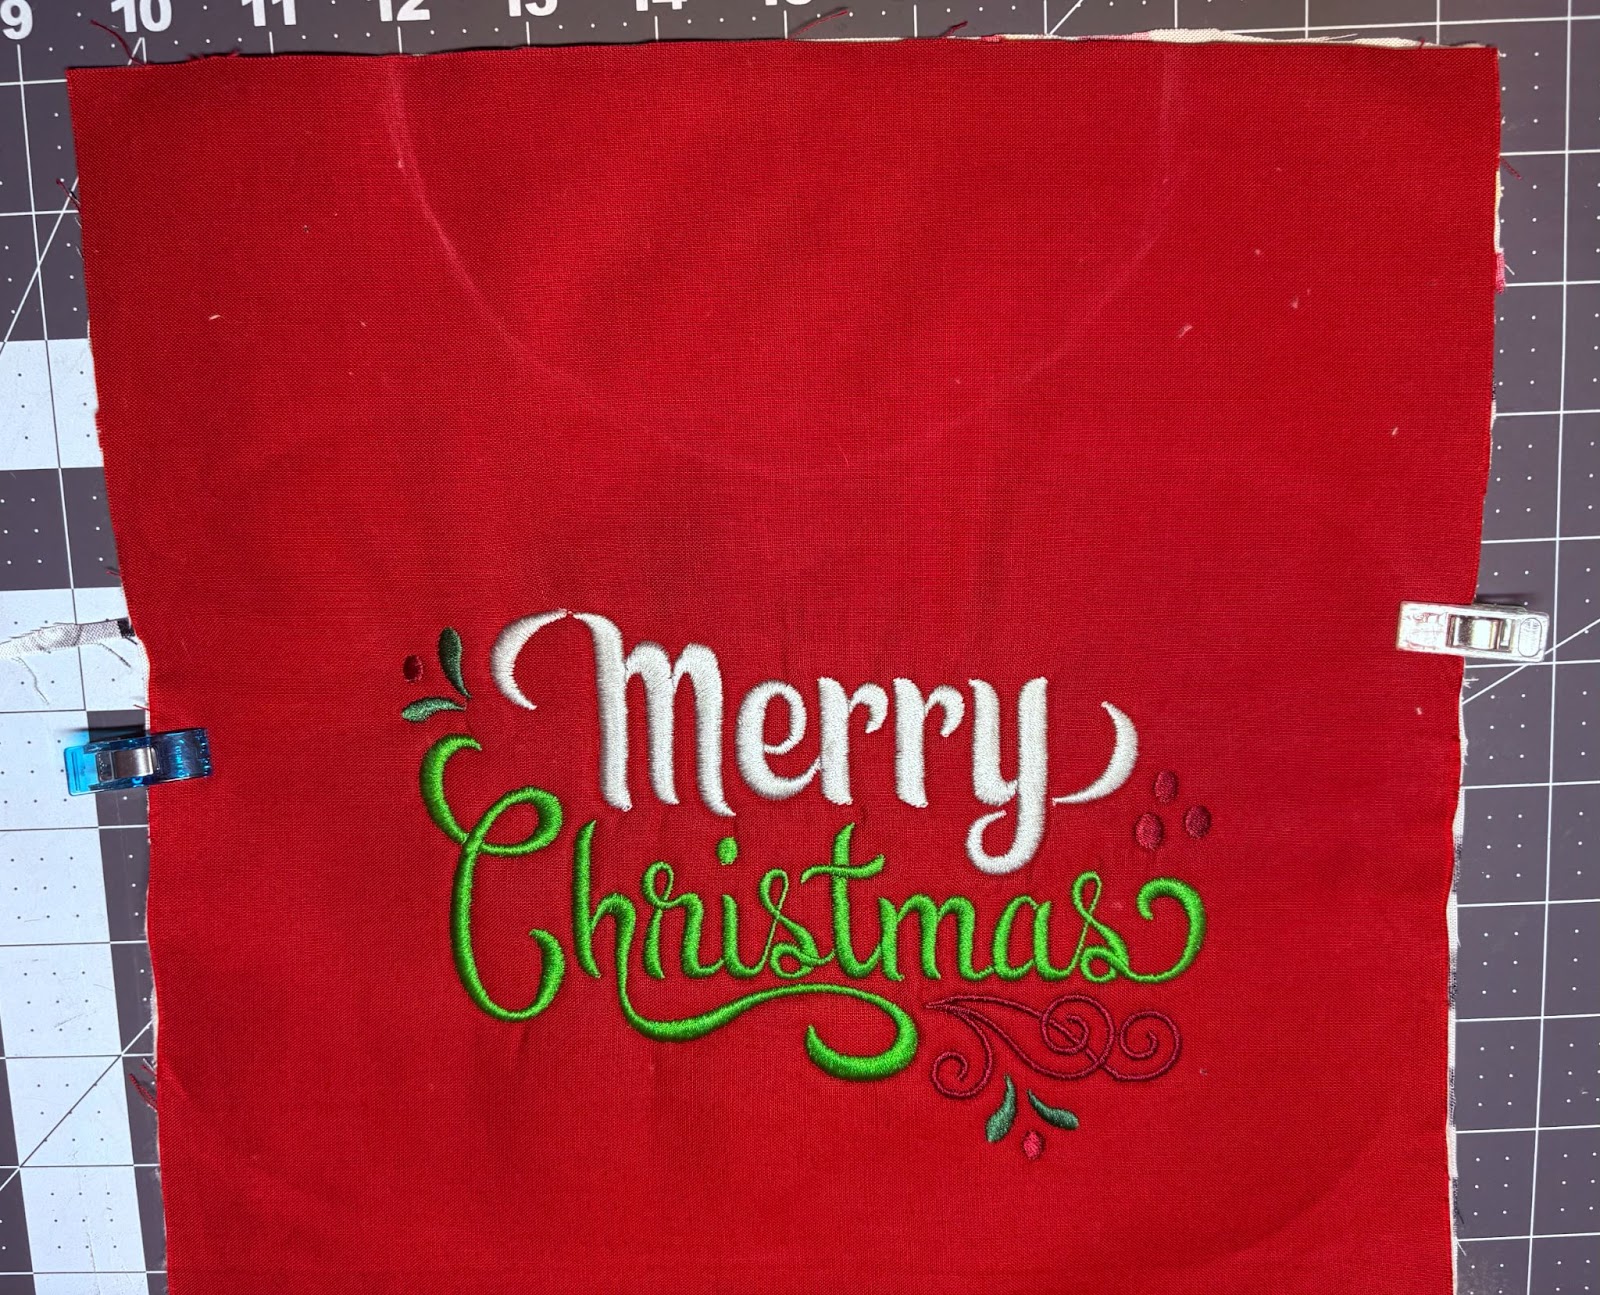
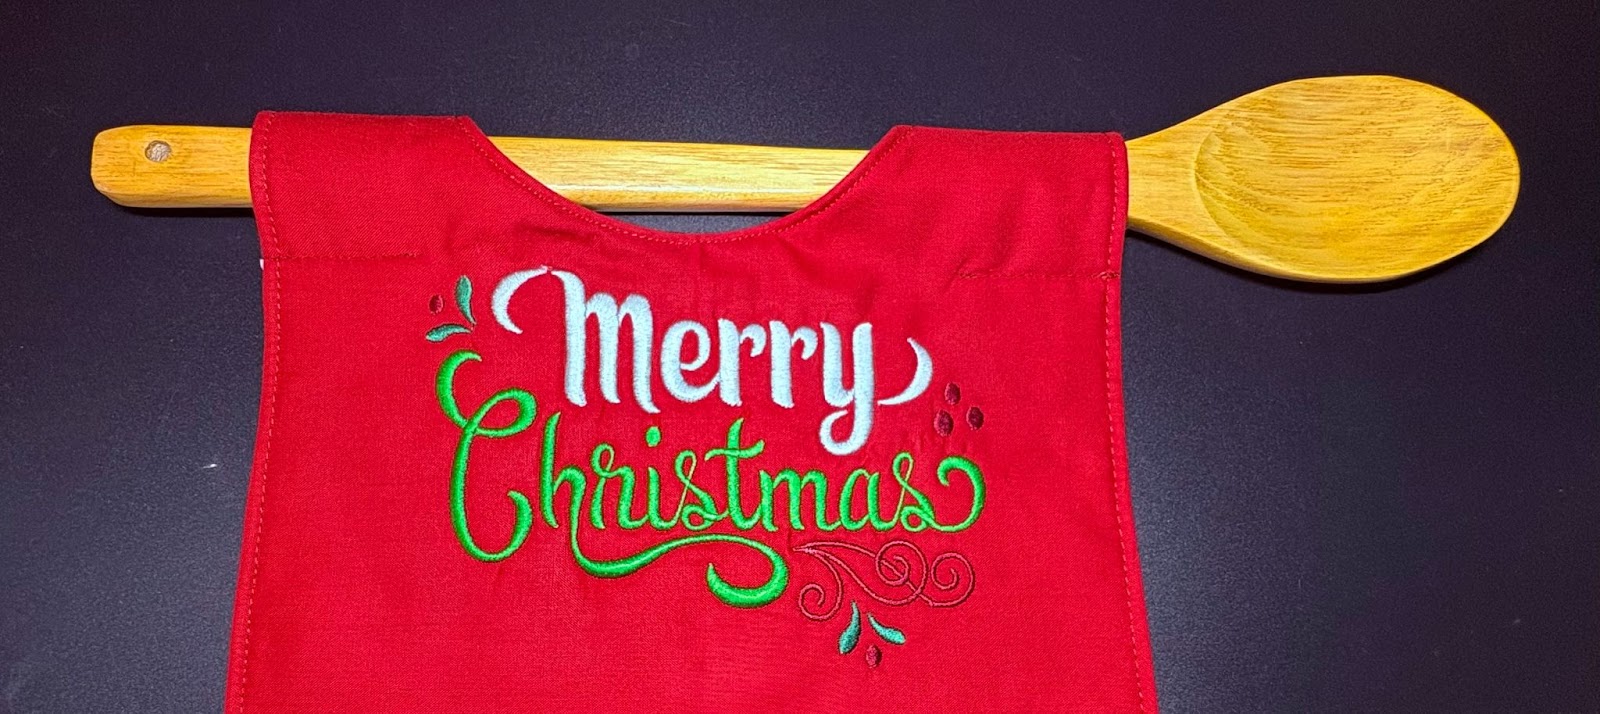
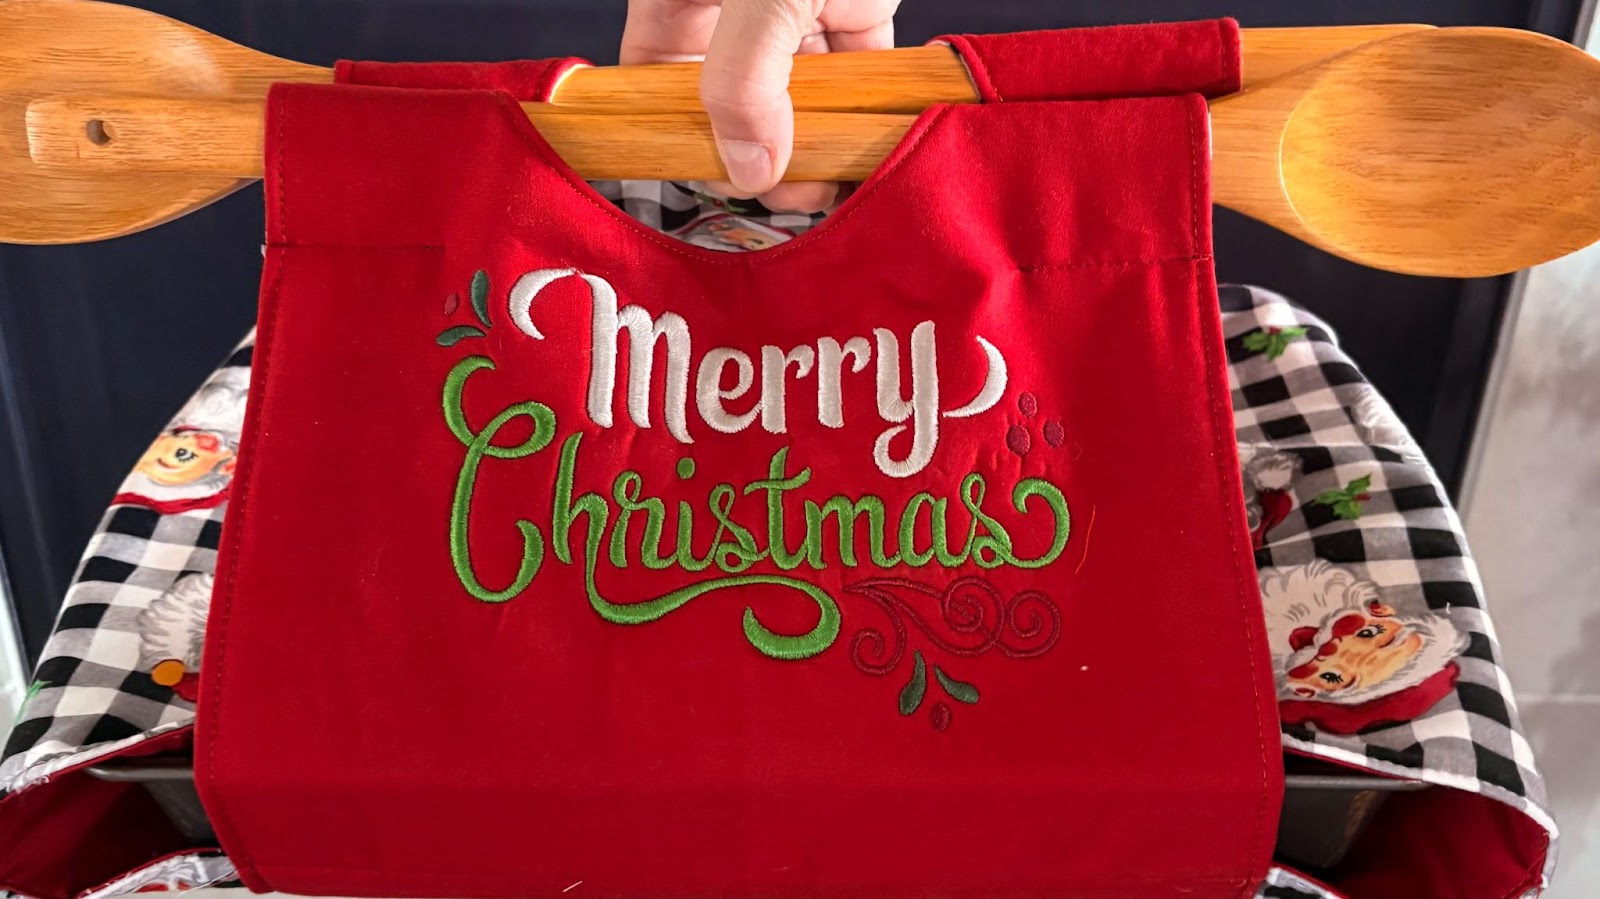
Load the Merry Christmas 4 design to your machine. This design comes in multiple sizes.
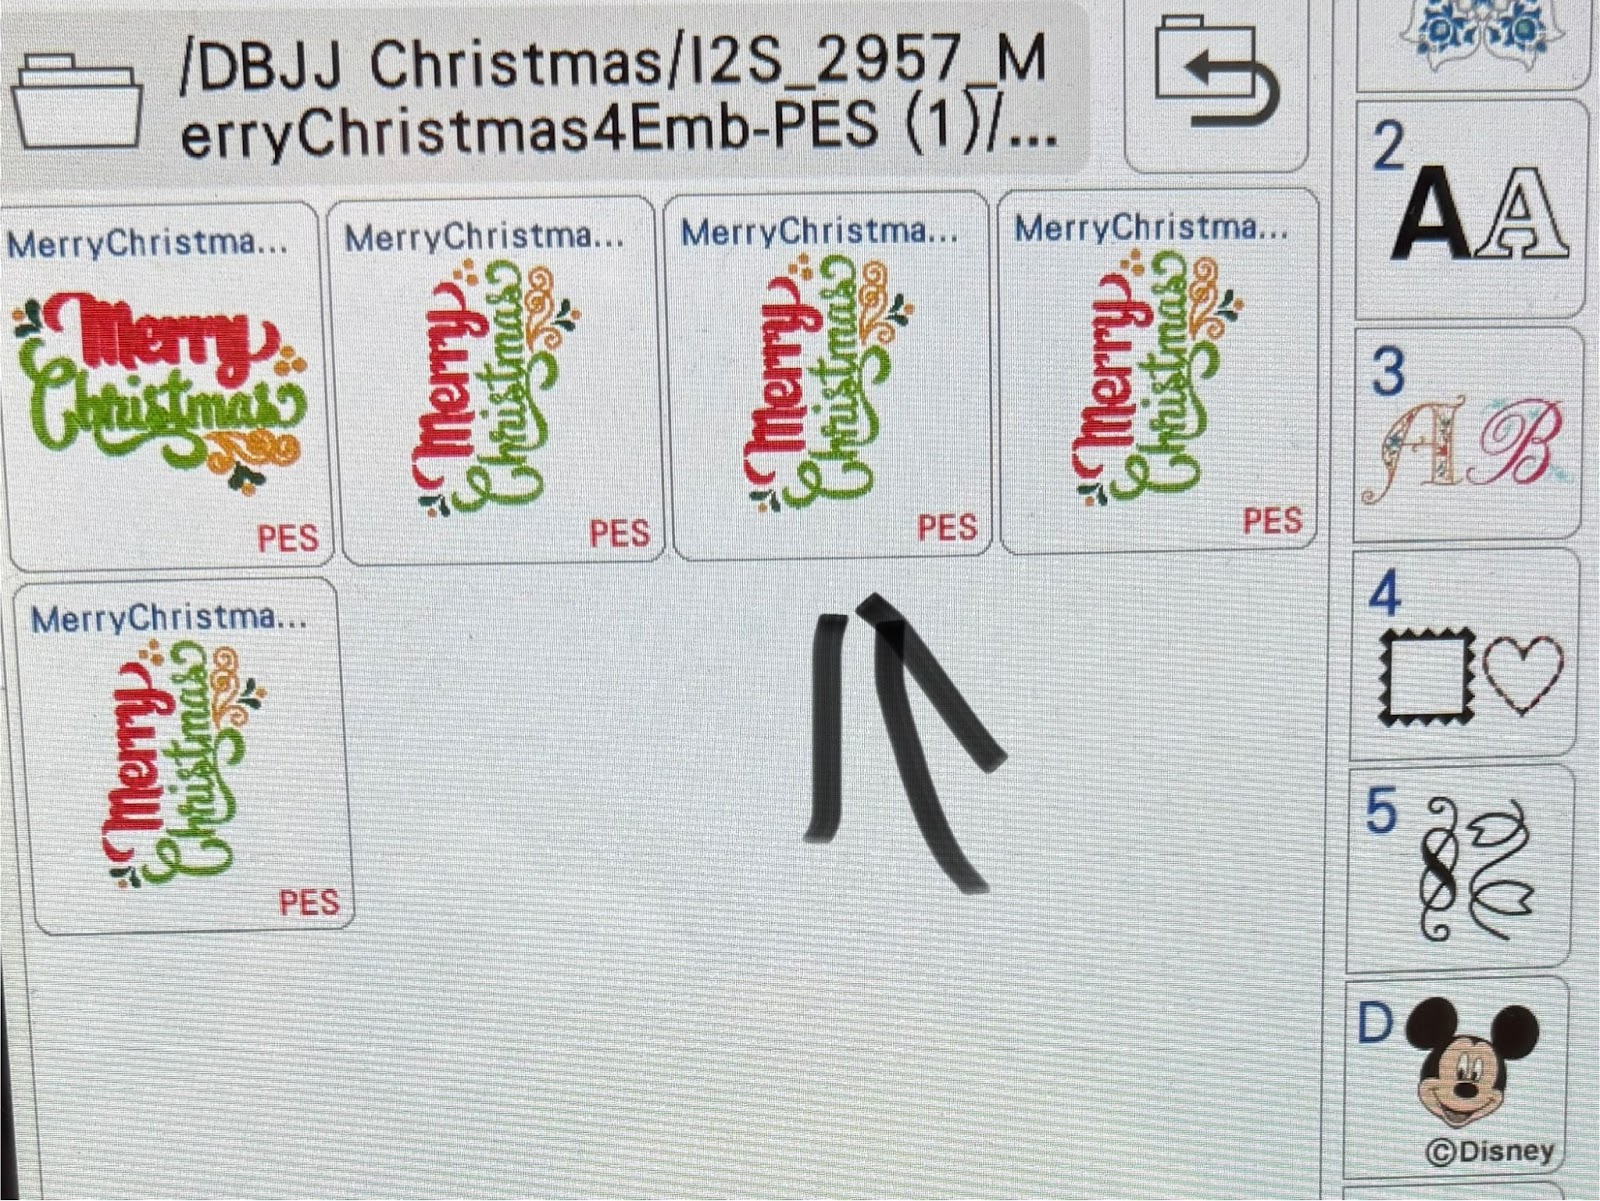
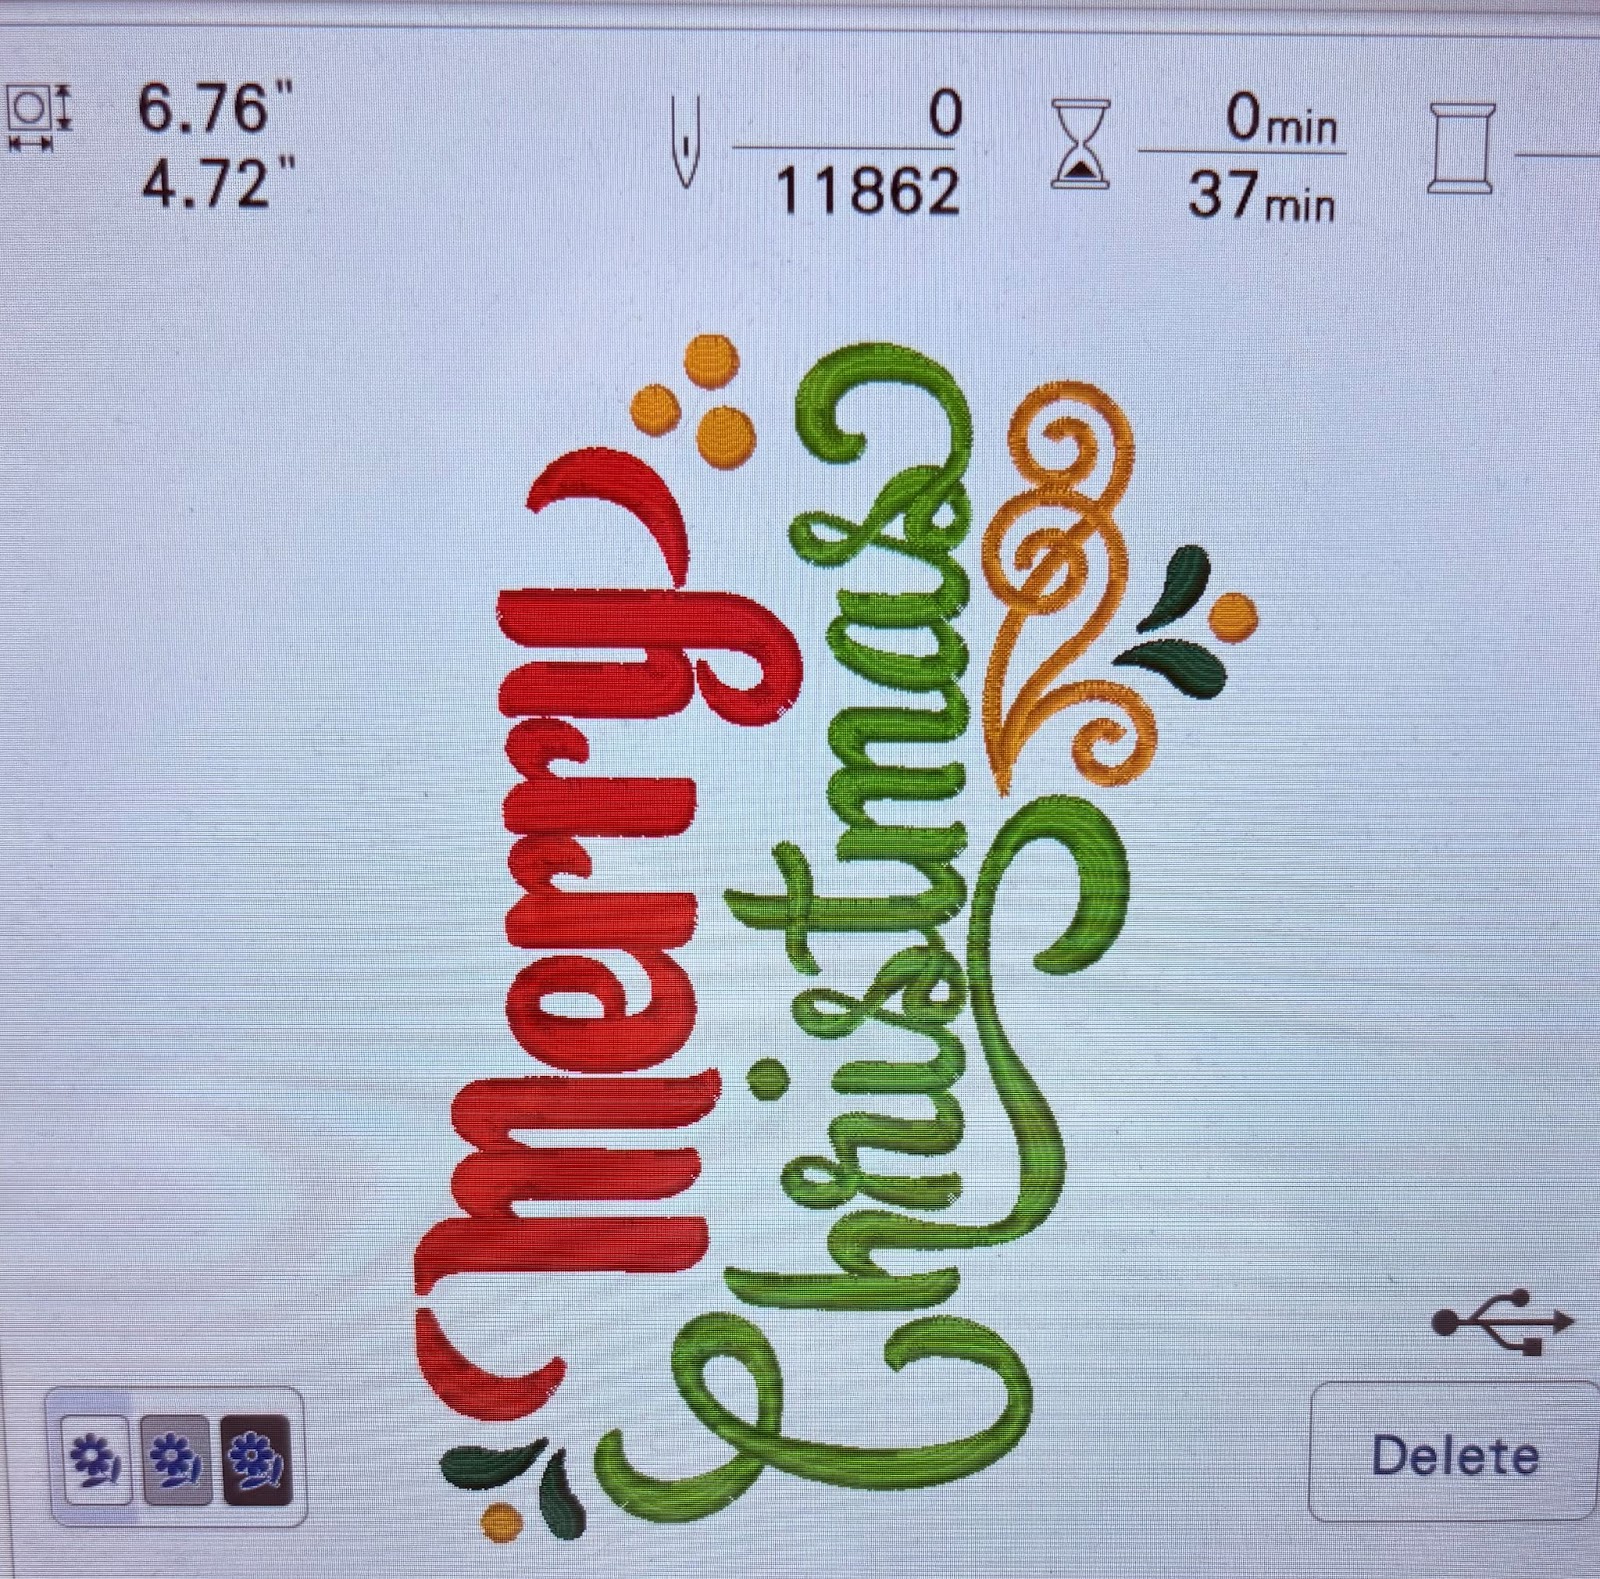
I chose the 4.72” x 6.76” size. This will fit perfectly in my 5” x 7” embroidery area.
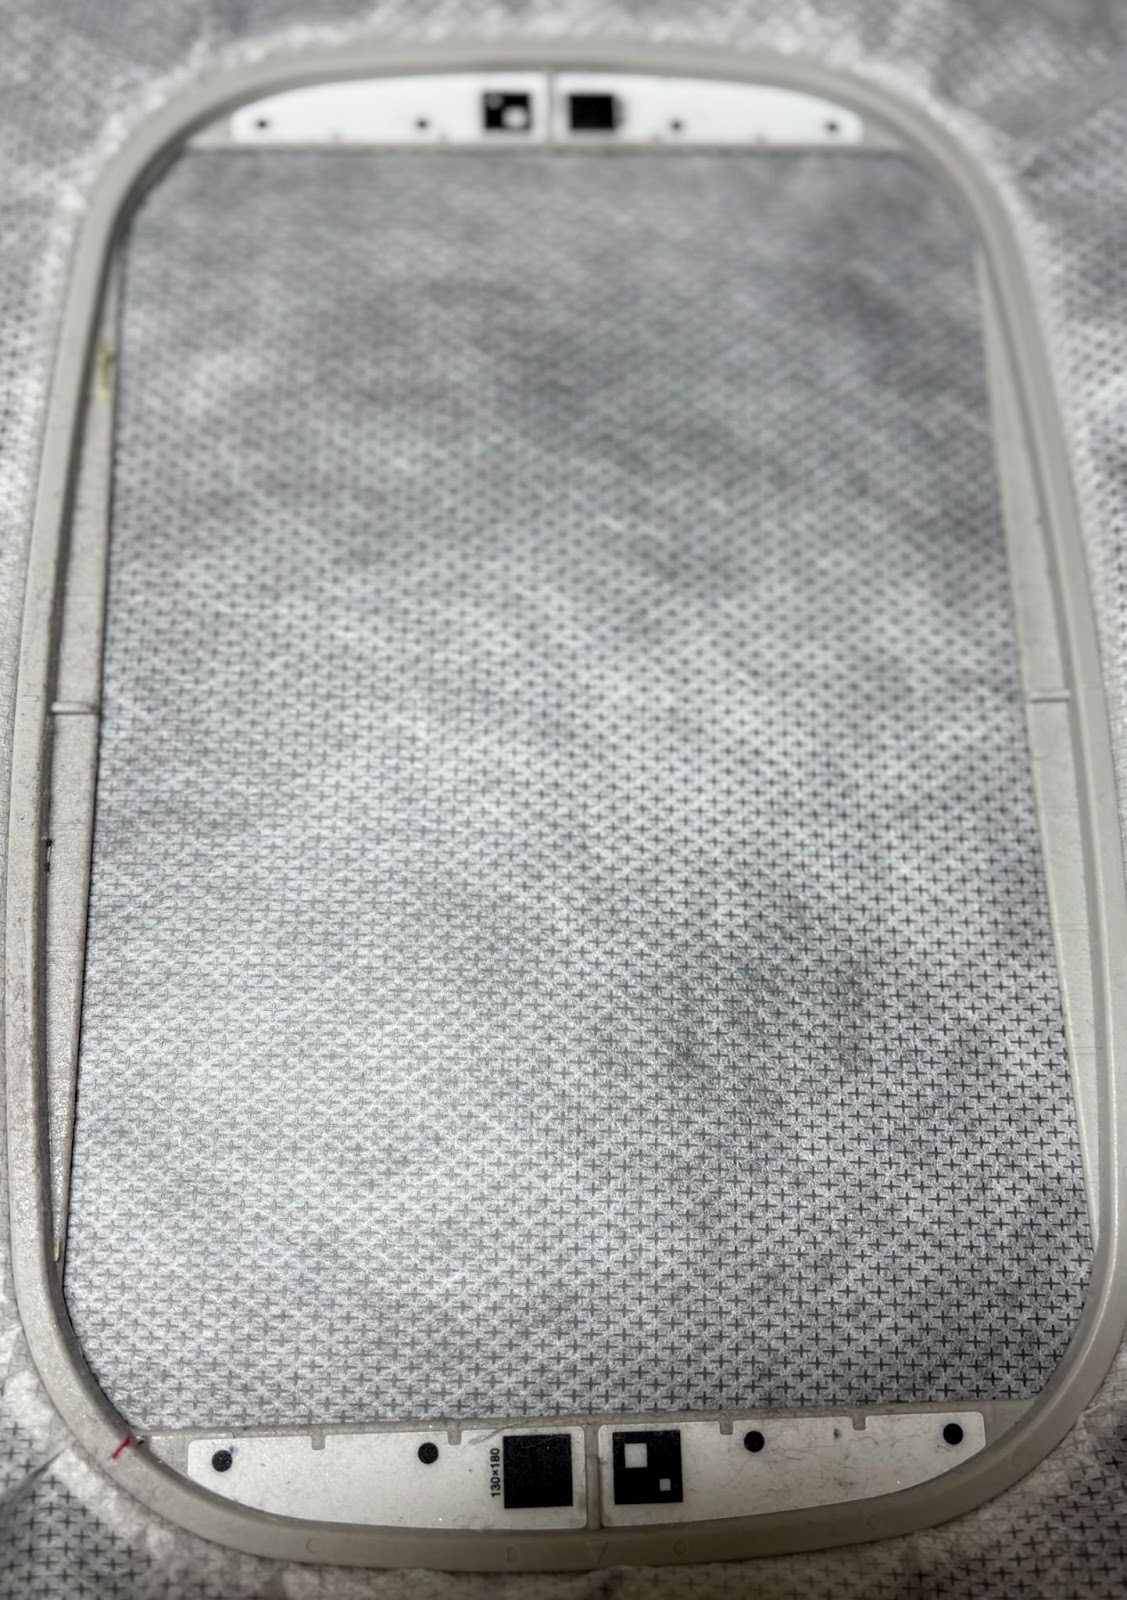
Hoop cut-away stabilizer and take to the machine.
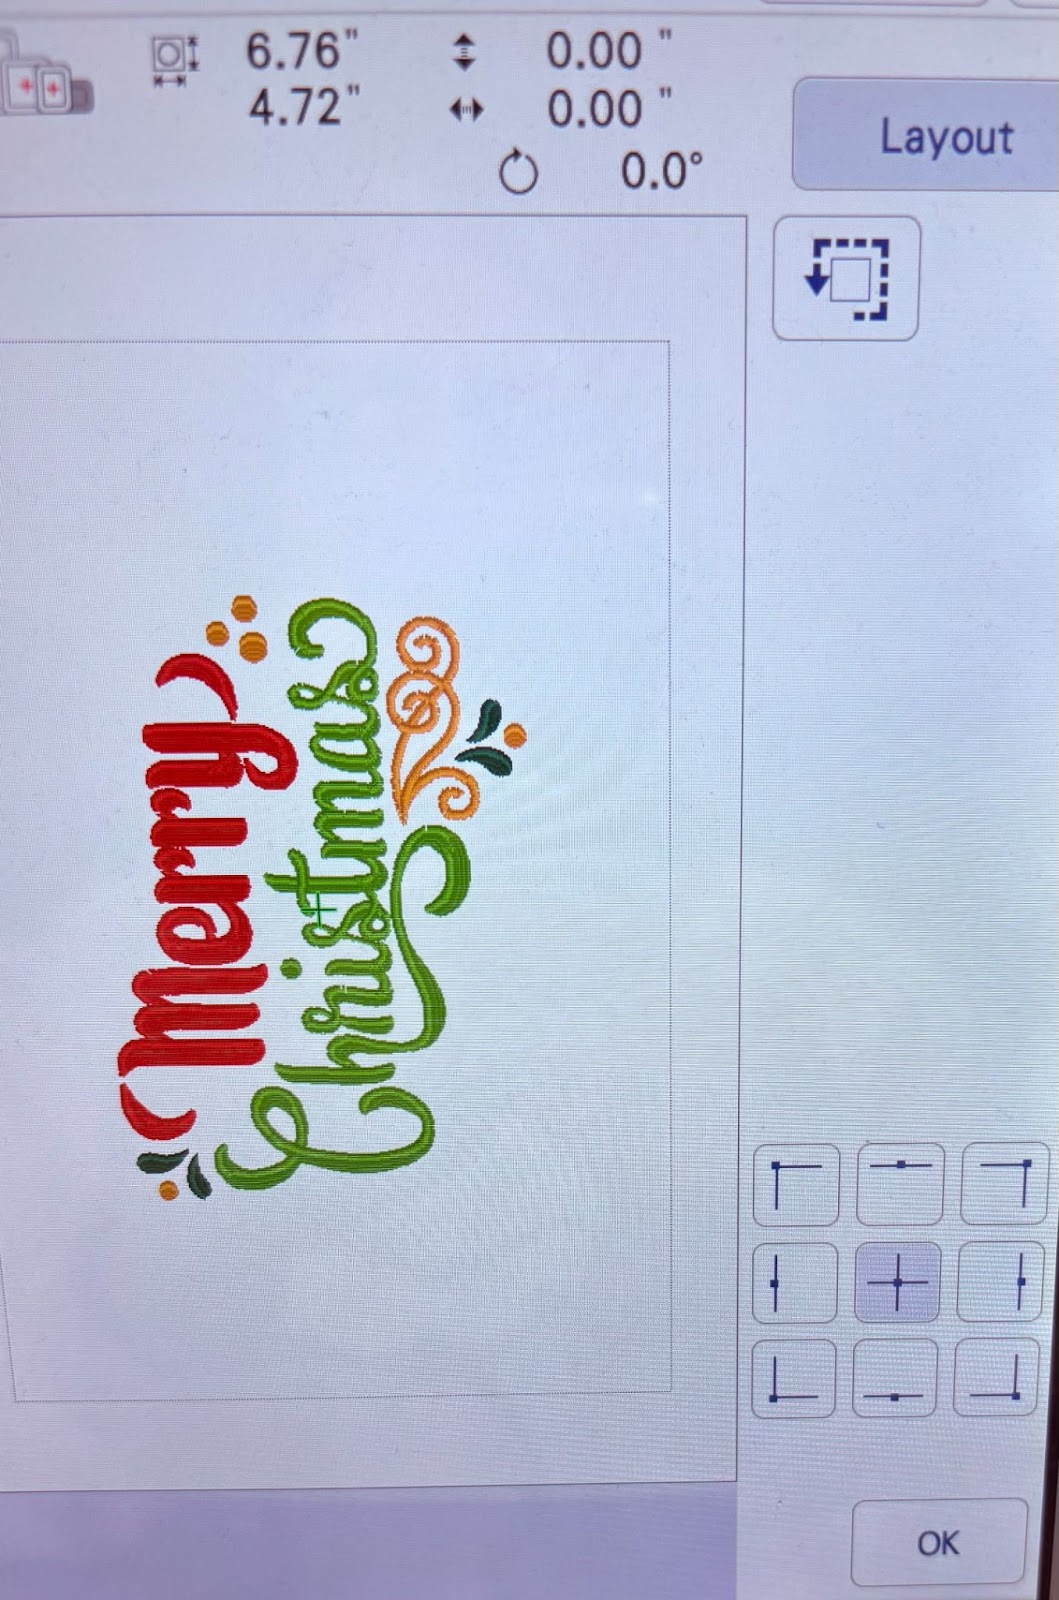
With your placement keys, find the center of the design. My machine is a Brother 8500; your screen may look different.
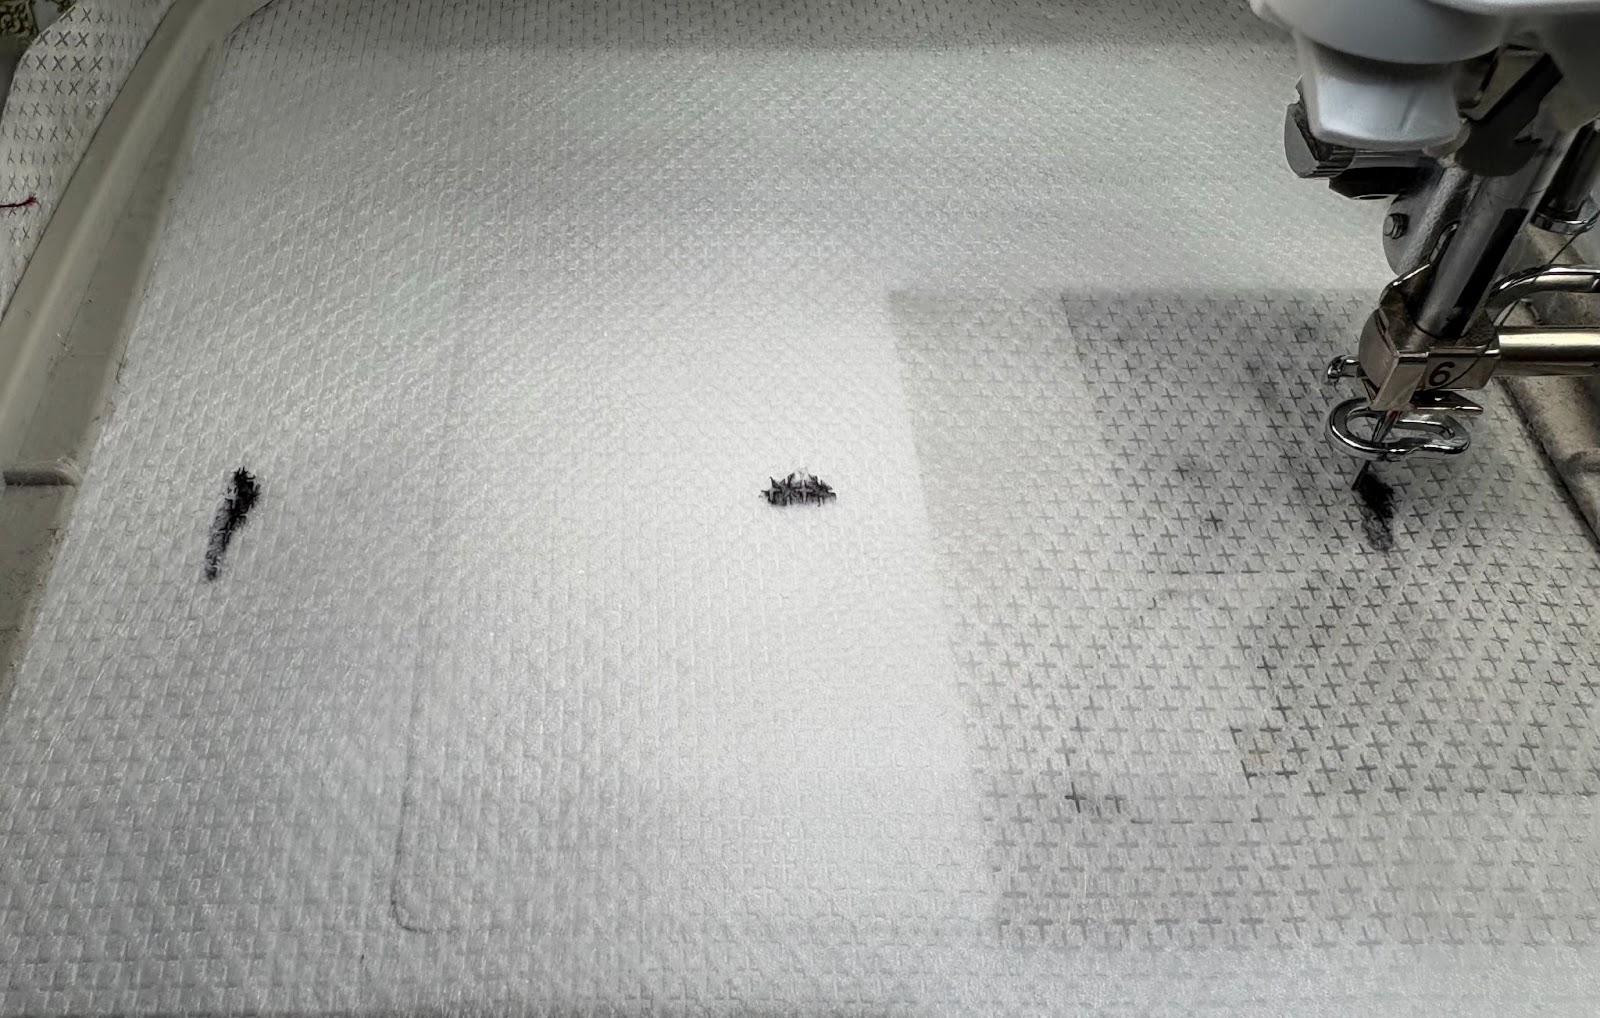
With the needle in the down position mark the center, top, and bottom of the stabilizer.
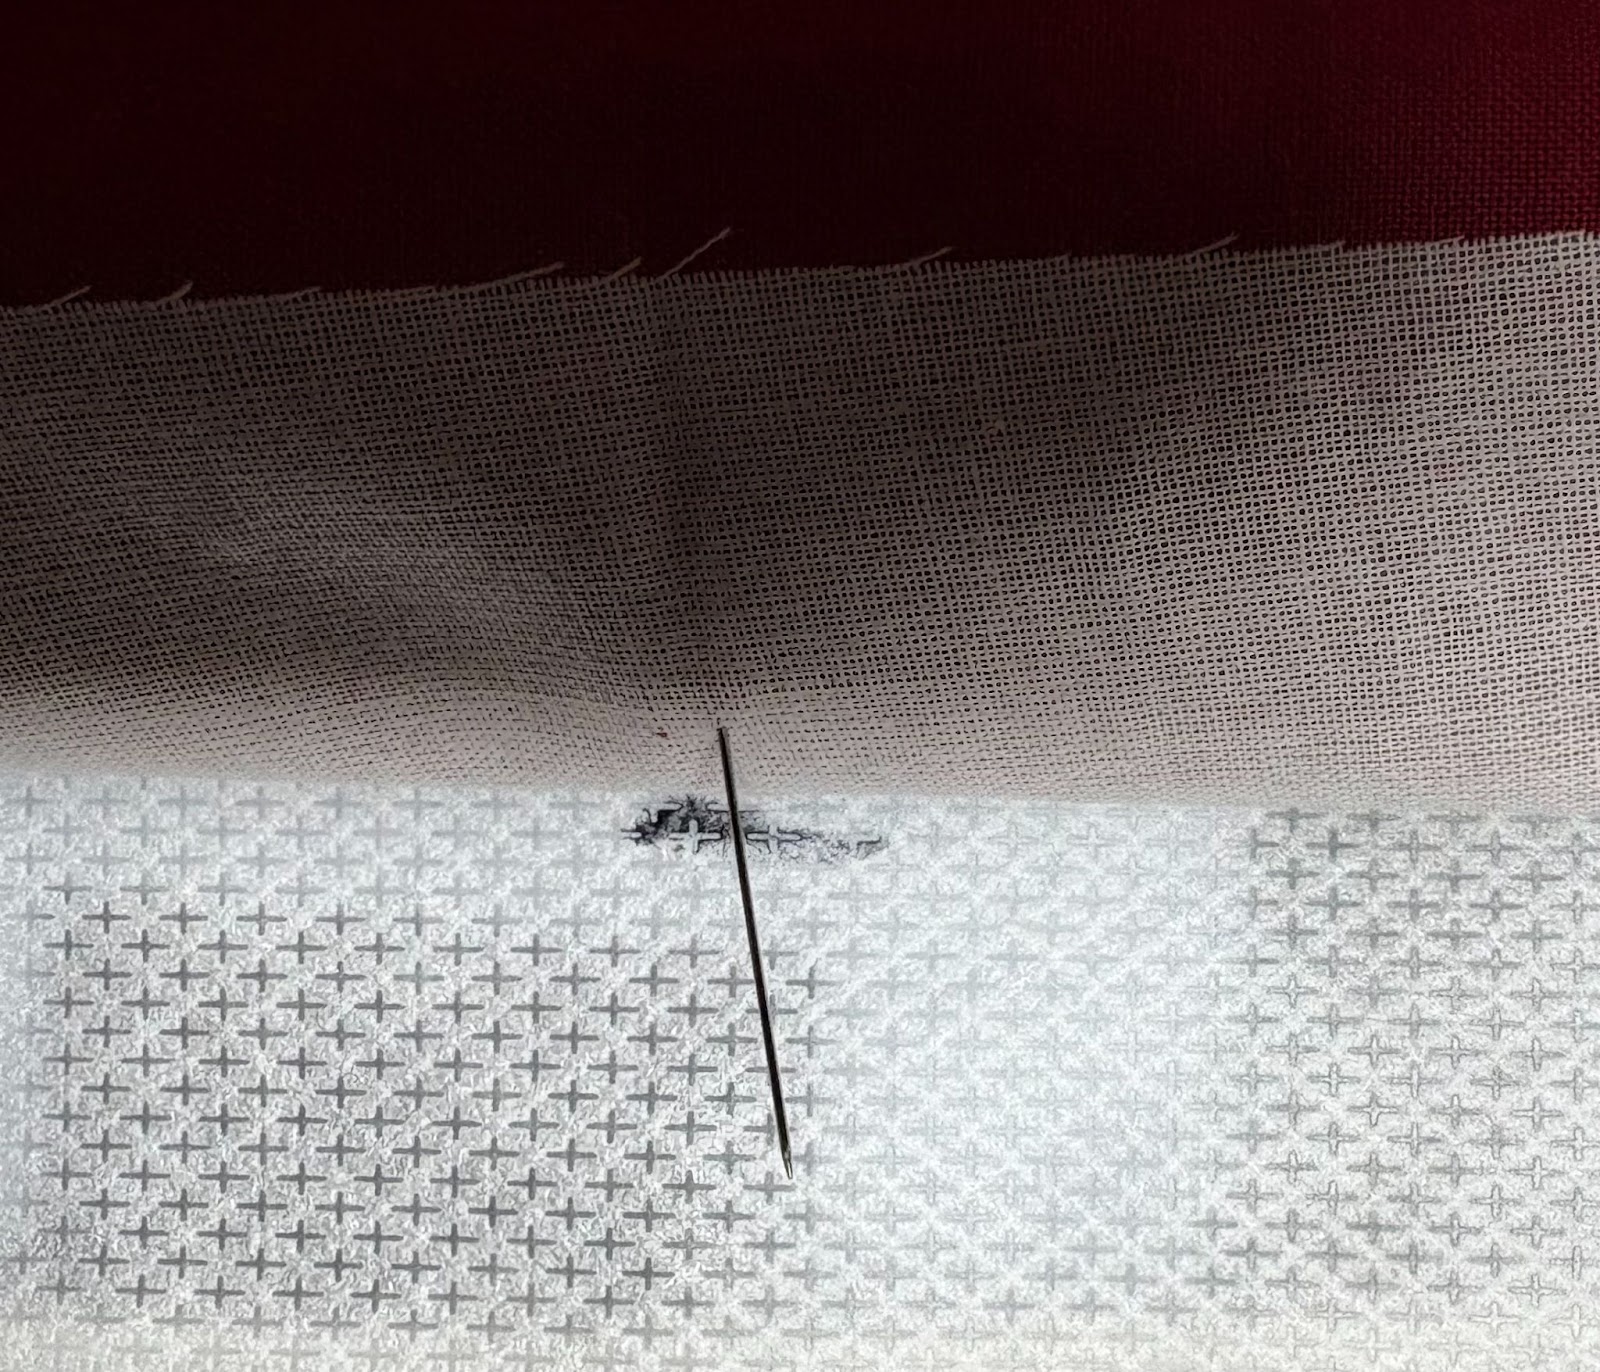
I am going to float my fabric. You can choose to hoop the fabric if you prefer. If floating the fabric, spray the stabilizer with basting spray. Match up the pins on the fabric with the marks on the stabilizer. Load the hoop into the machine.
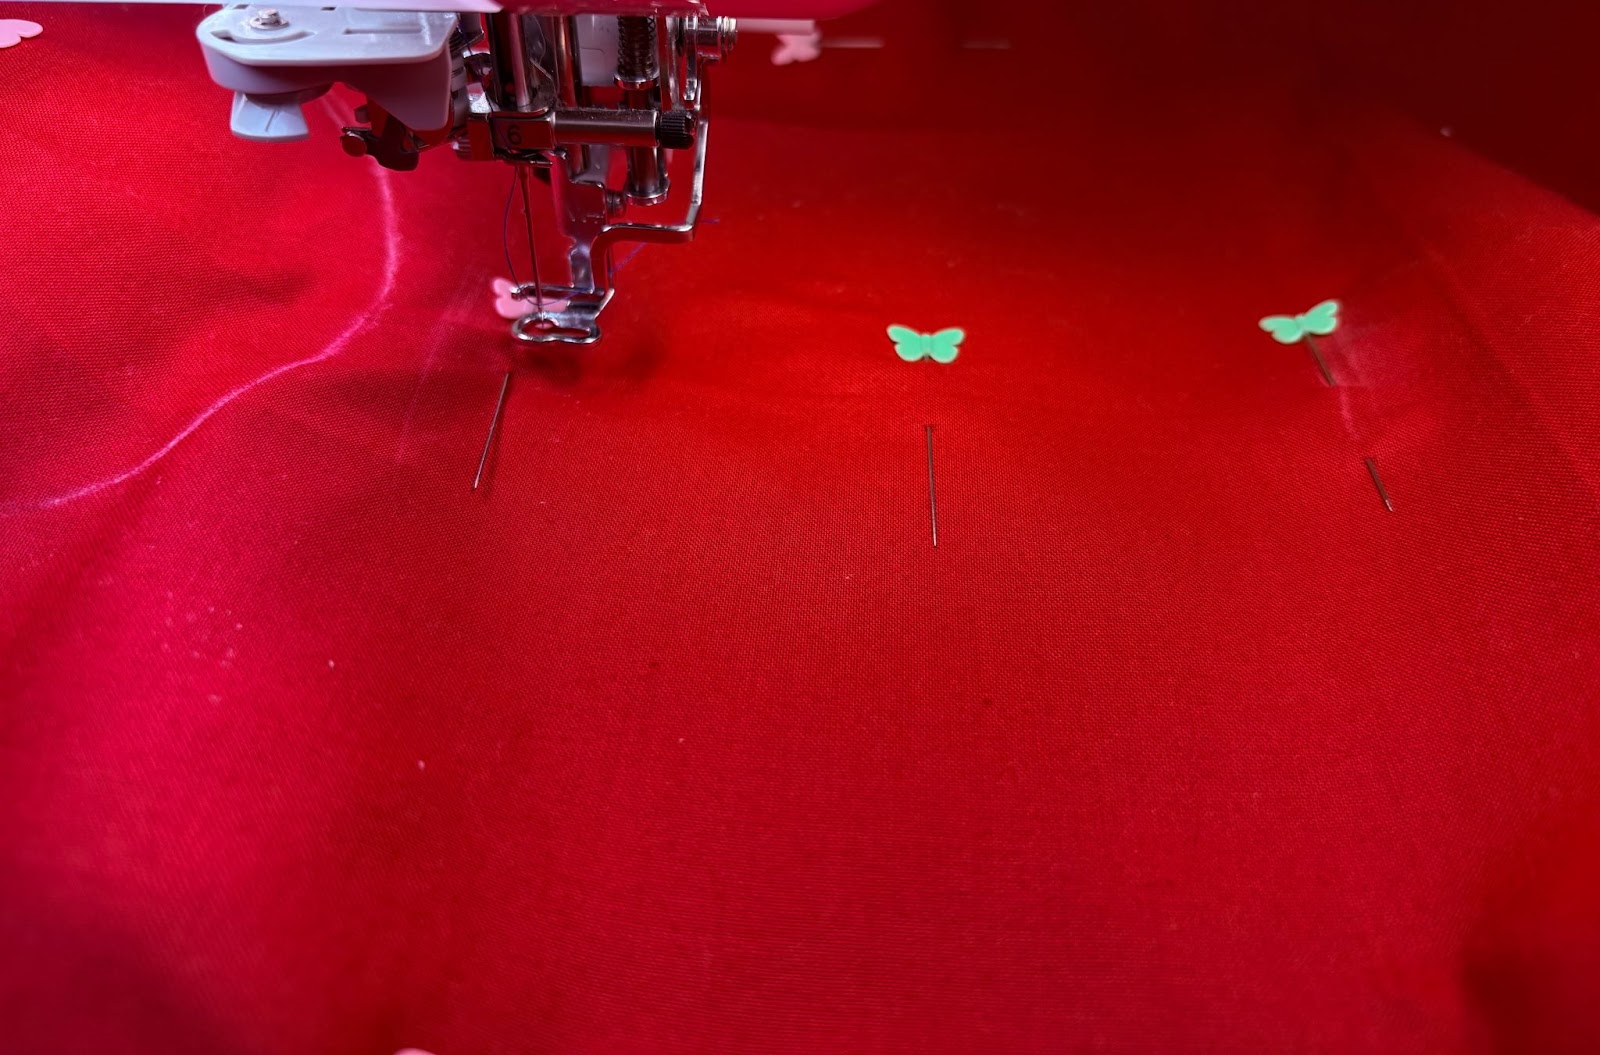
Use the placement keys to ensure the design is lined up correctly.

Finger press the fabric smooth. If you want to add a basting box around the design area, do that now.

Stitch out the design and remove the hoop from the machine. Repeat the above steps to add the design to the opposite short end.
After finishing the designs on both ends, layer the two 11” x 32” fabrics with the 11” x 32” batting between.
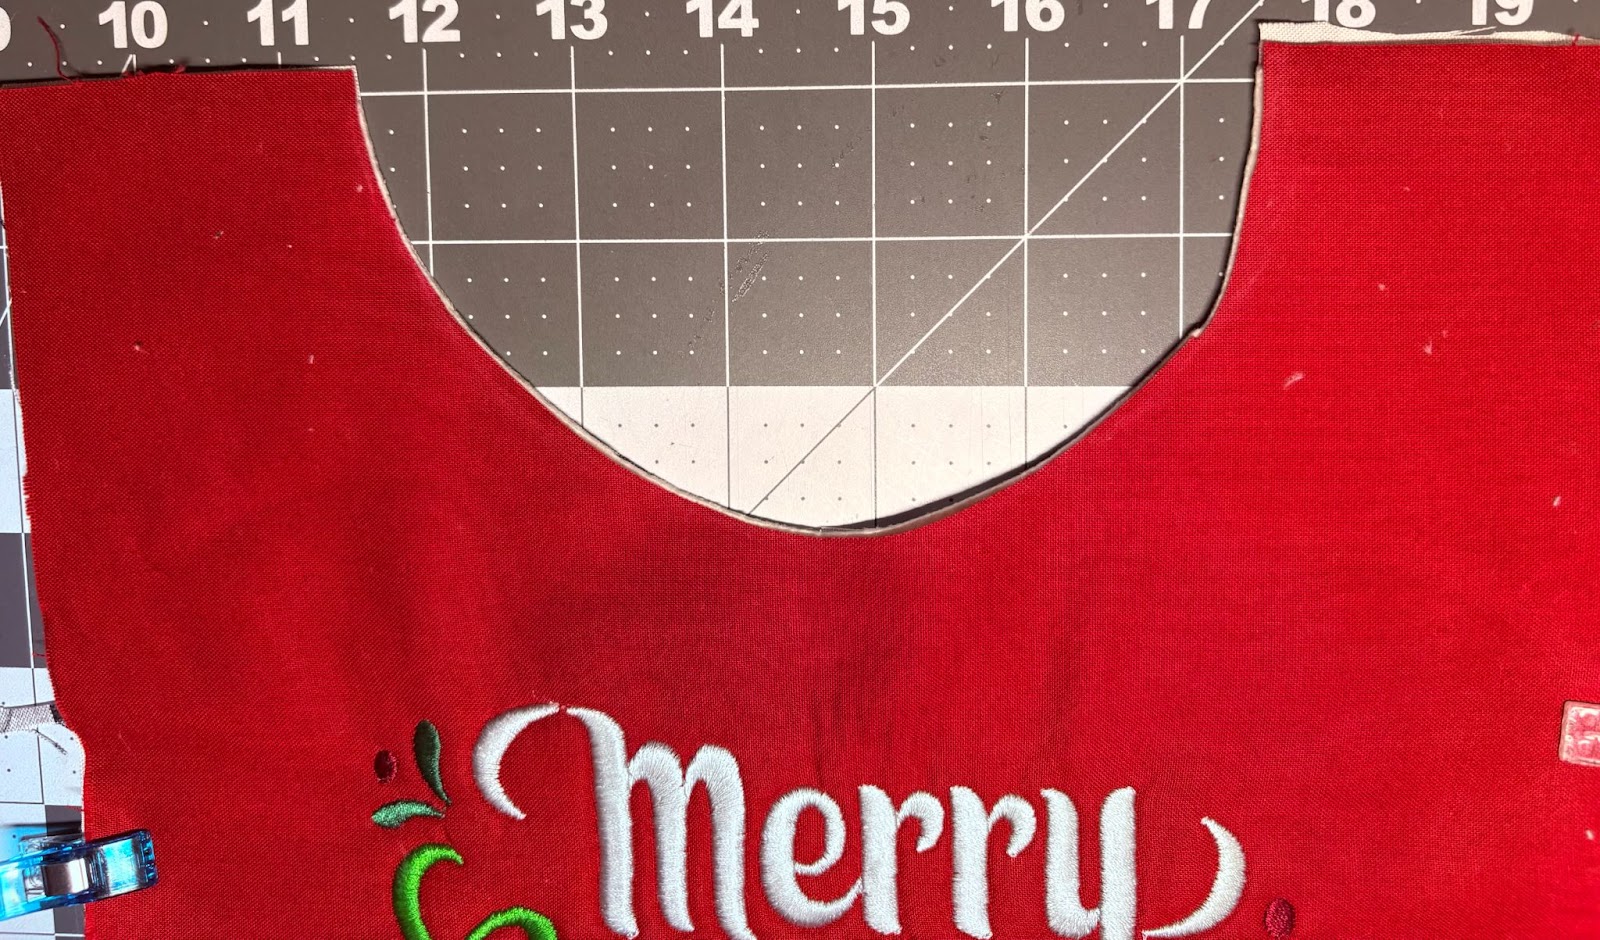
With sharp scissors cut along the traced bowl line on both ends.
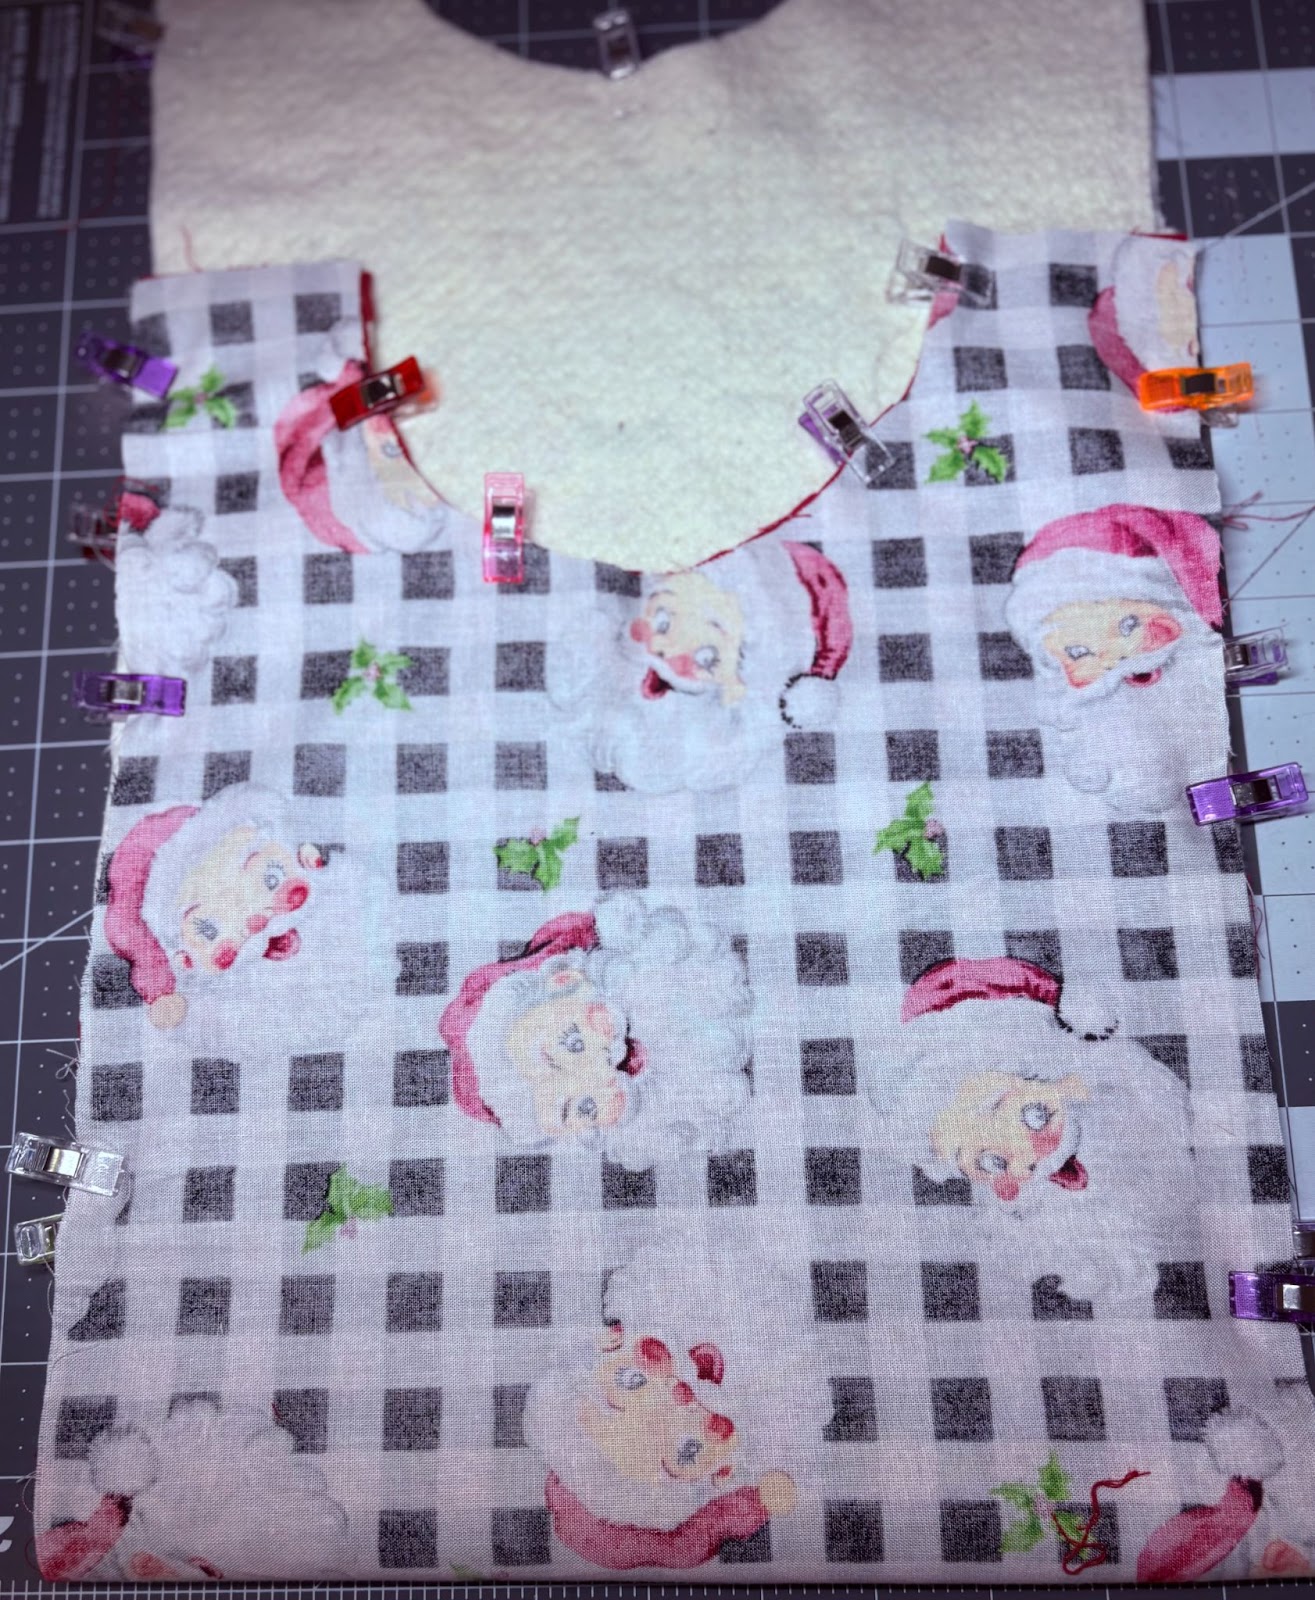
Now place the print fabric right side together with the solid fabric. The batting will be on the bottom.
Use a sewing machine to stitch a ¼” seam all around, leaving a 6” opening along one long side.
Trim the corners and make small snips along the curved edges every inch, taking care not to cut the stitches. Turn the item right side out through the 6” opening. Fold the raw edges of the opening toward the wrong side and press them down. Pin or clip the edges together to secure them.
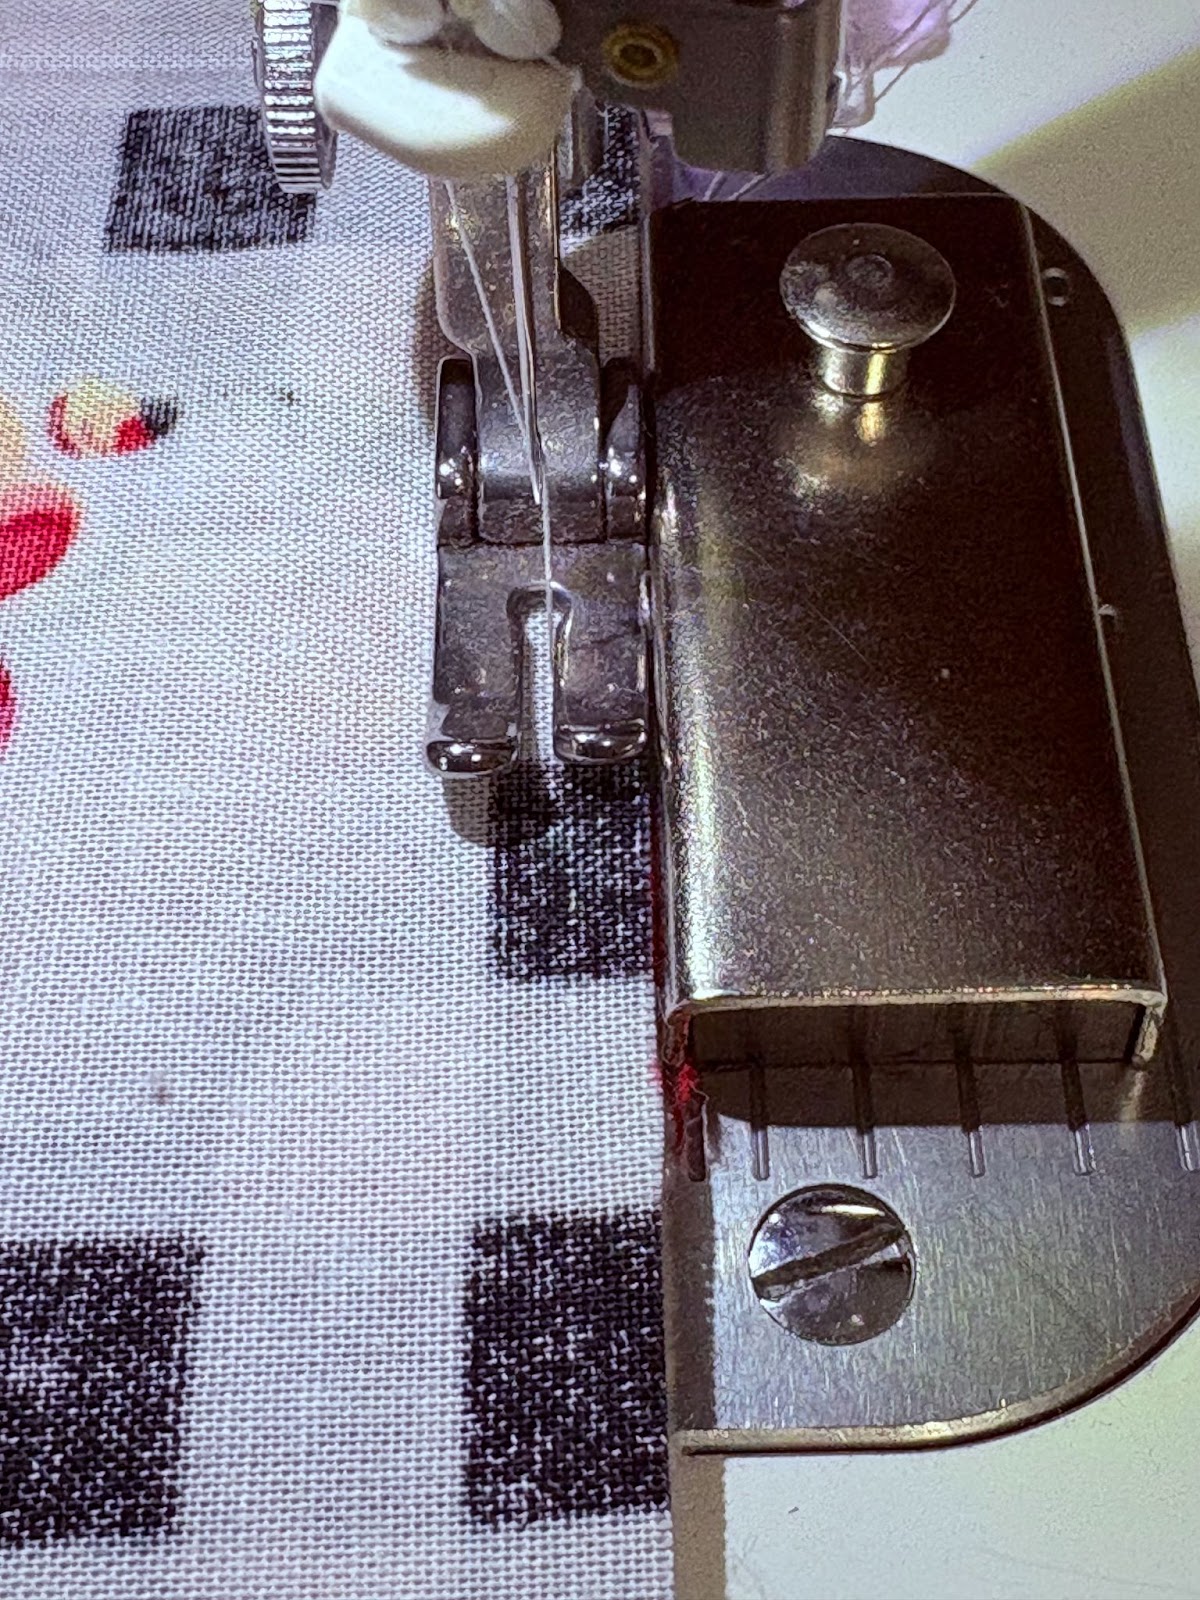
Topstitch all the way around, ensuring the fabric stays tucked under at the opening.
Measure down 2” from the top of the handle and mark with a pin. Do this on all four handles.
Fold the handle to the inside.
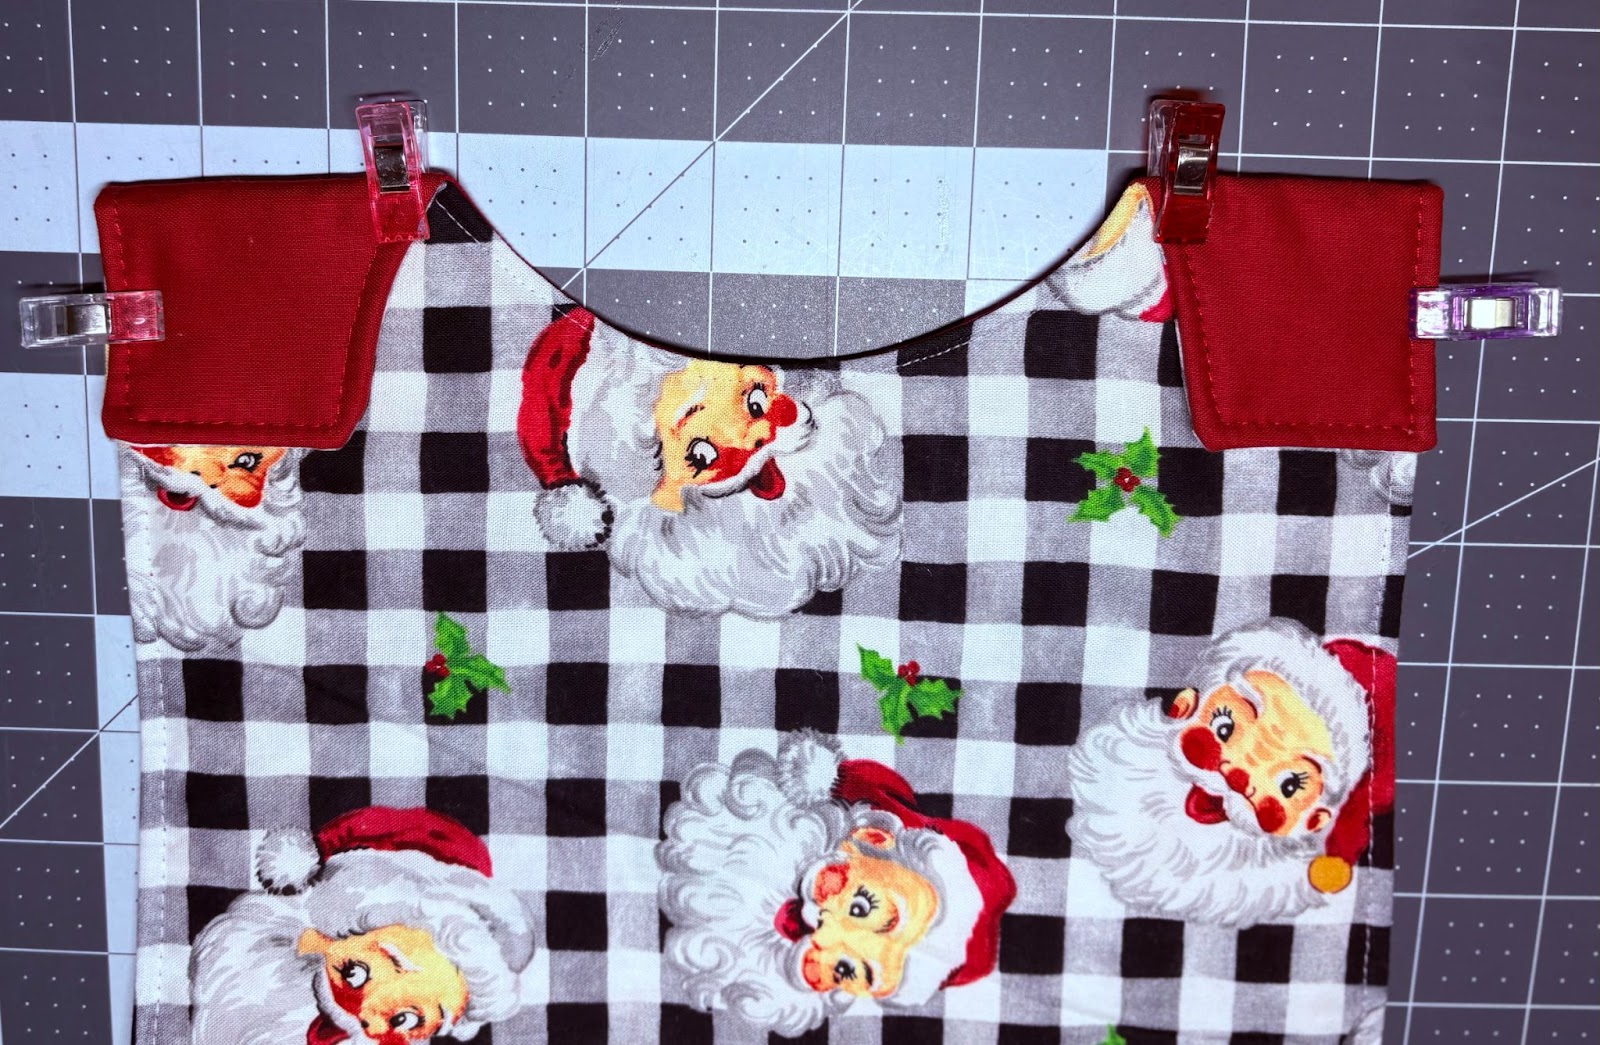
Align the edges and use pins or clips to secure. Take it to the sewing machine and sew across the bottom of all four handles. For a polished appearance, try to sew over the existing stitches.
Insert the spoons through the handles. The top is complete.
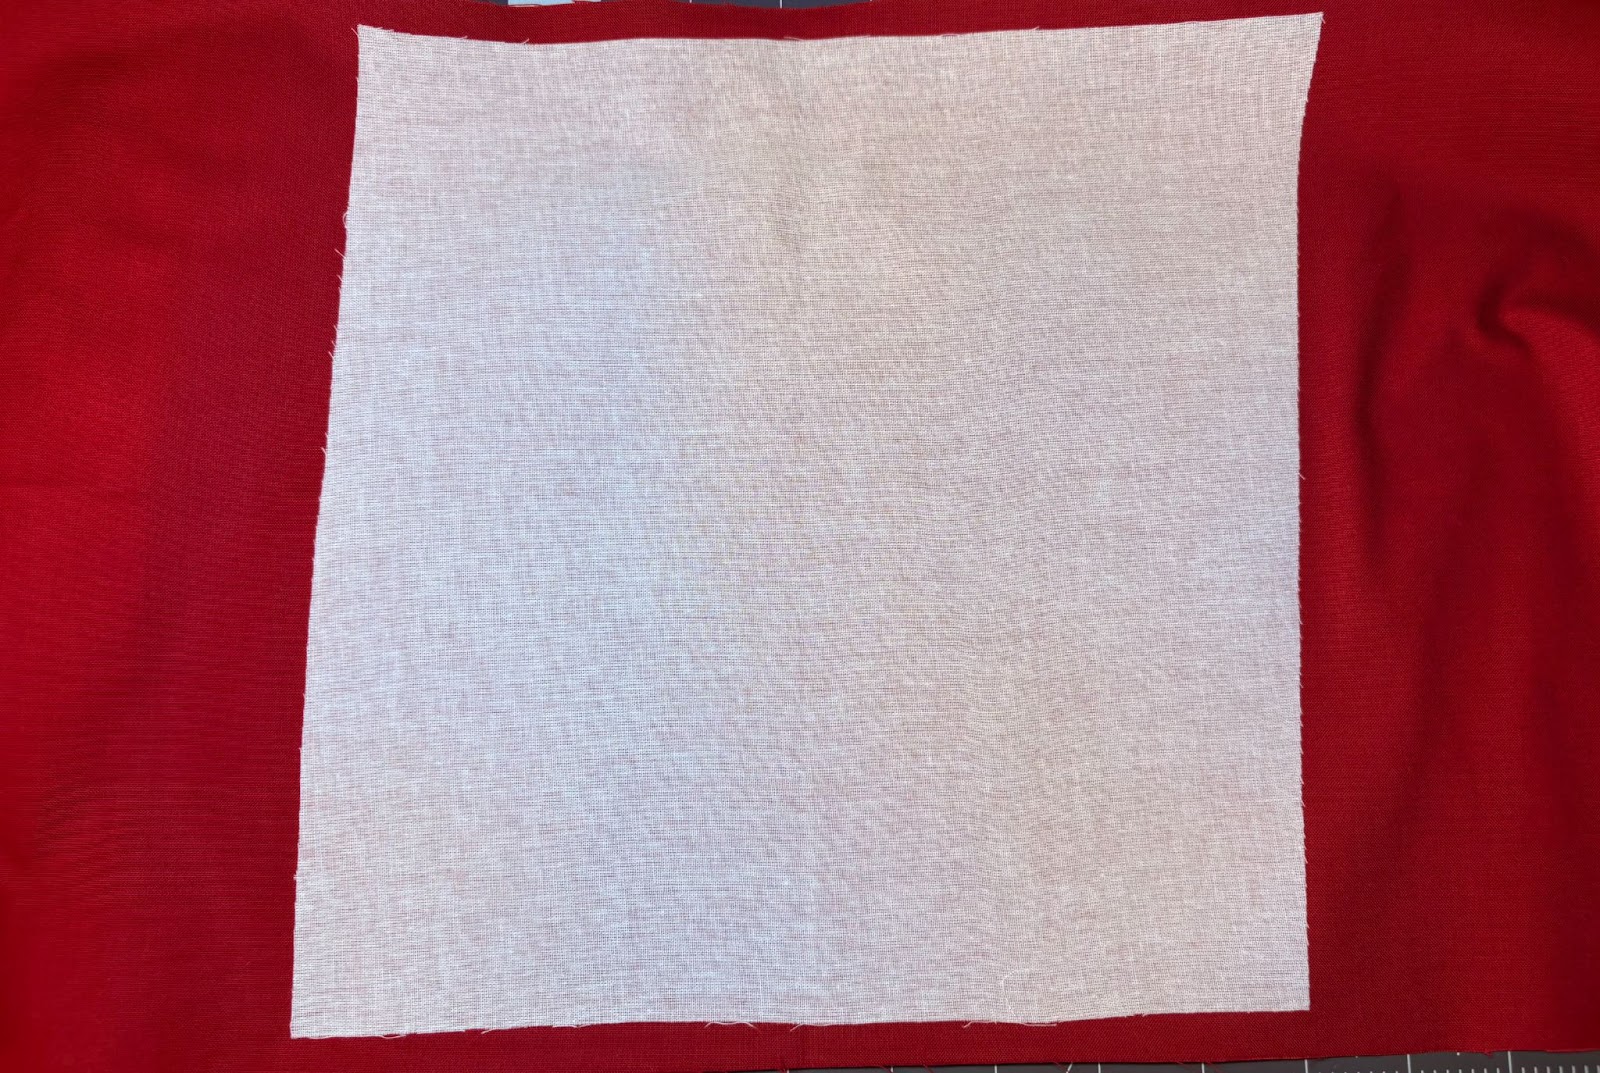
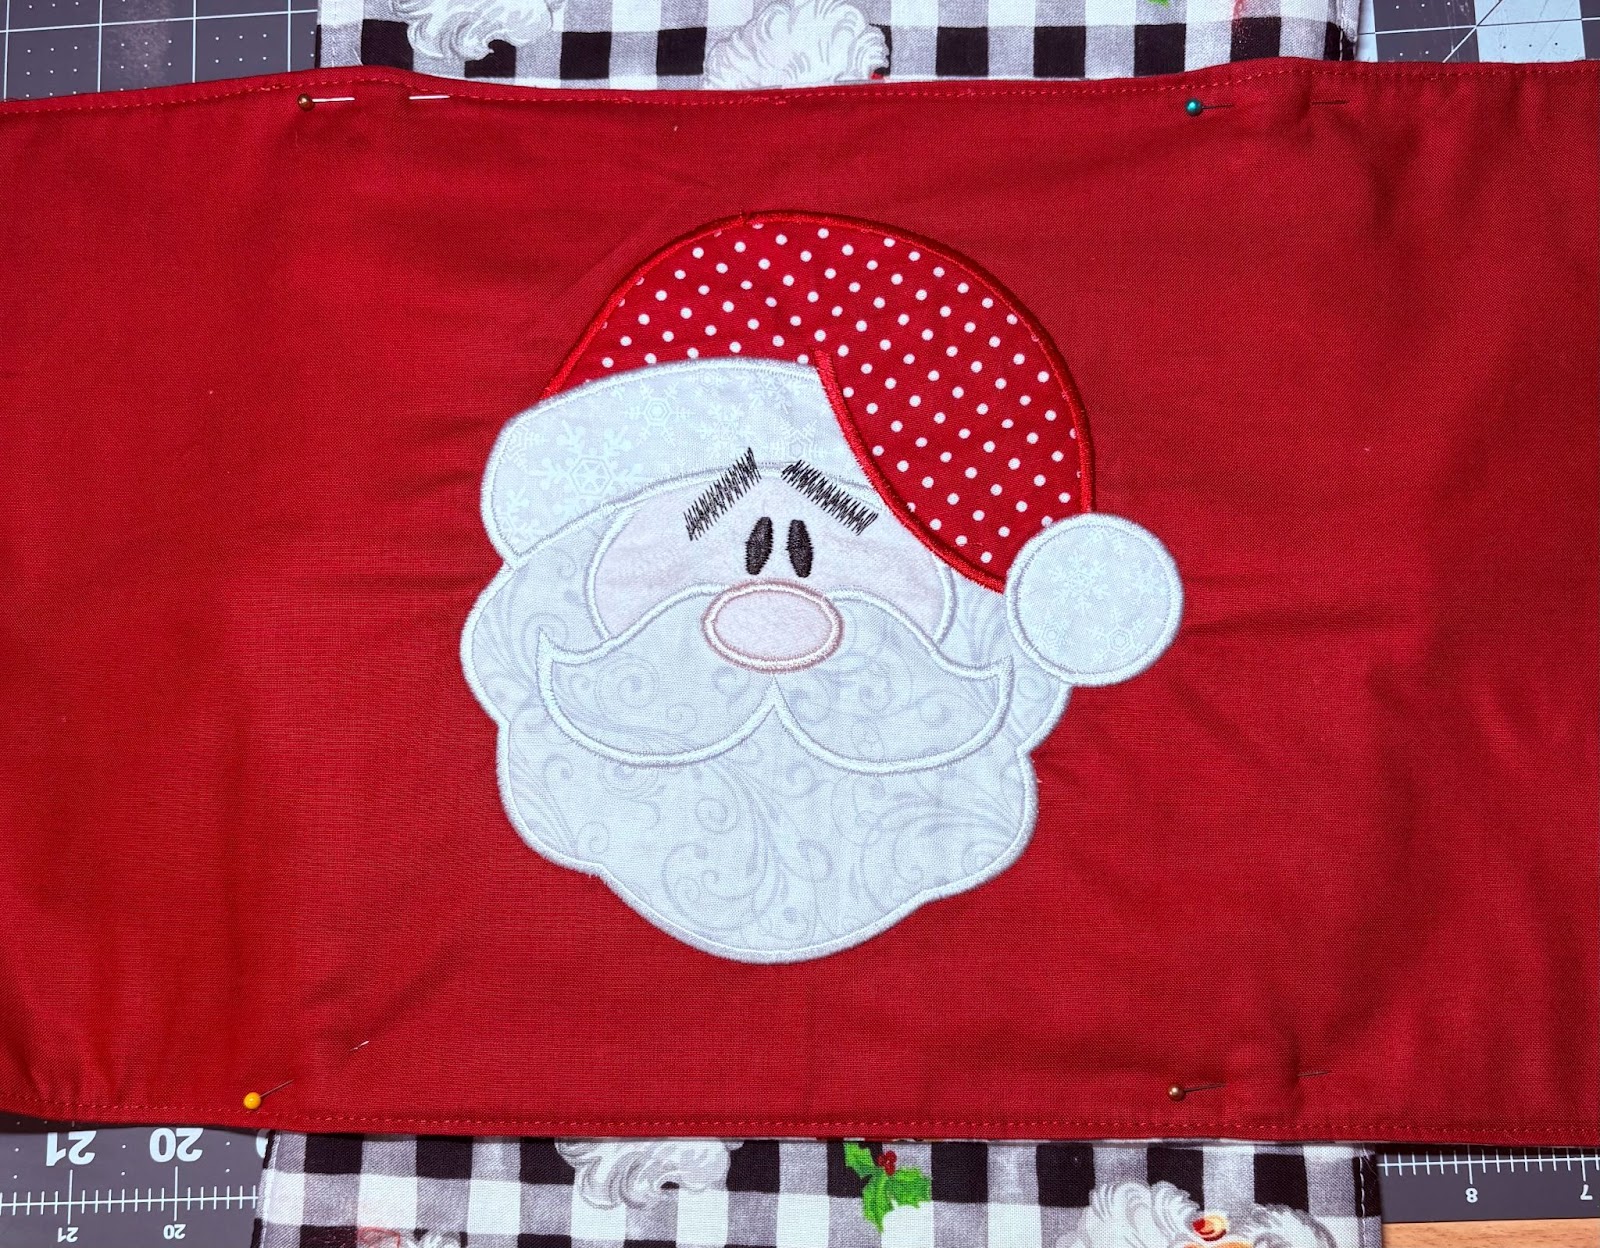
Fold the 11” x 38” piece of solid fabric in half lengthwise and widthwise to locate the center. Center the 10” x 10” piece of SF101 on the back side and fuse it with a hot iron. Turn the fabric over and mark the center.
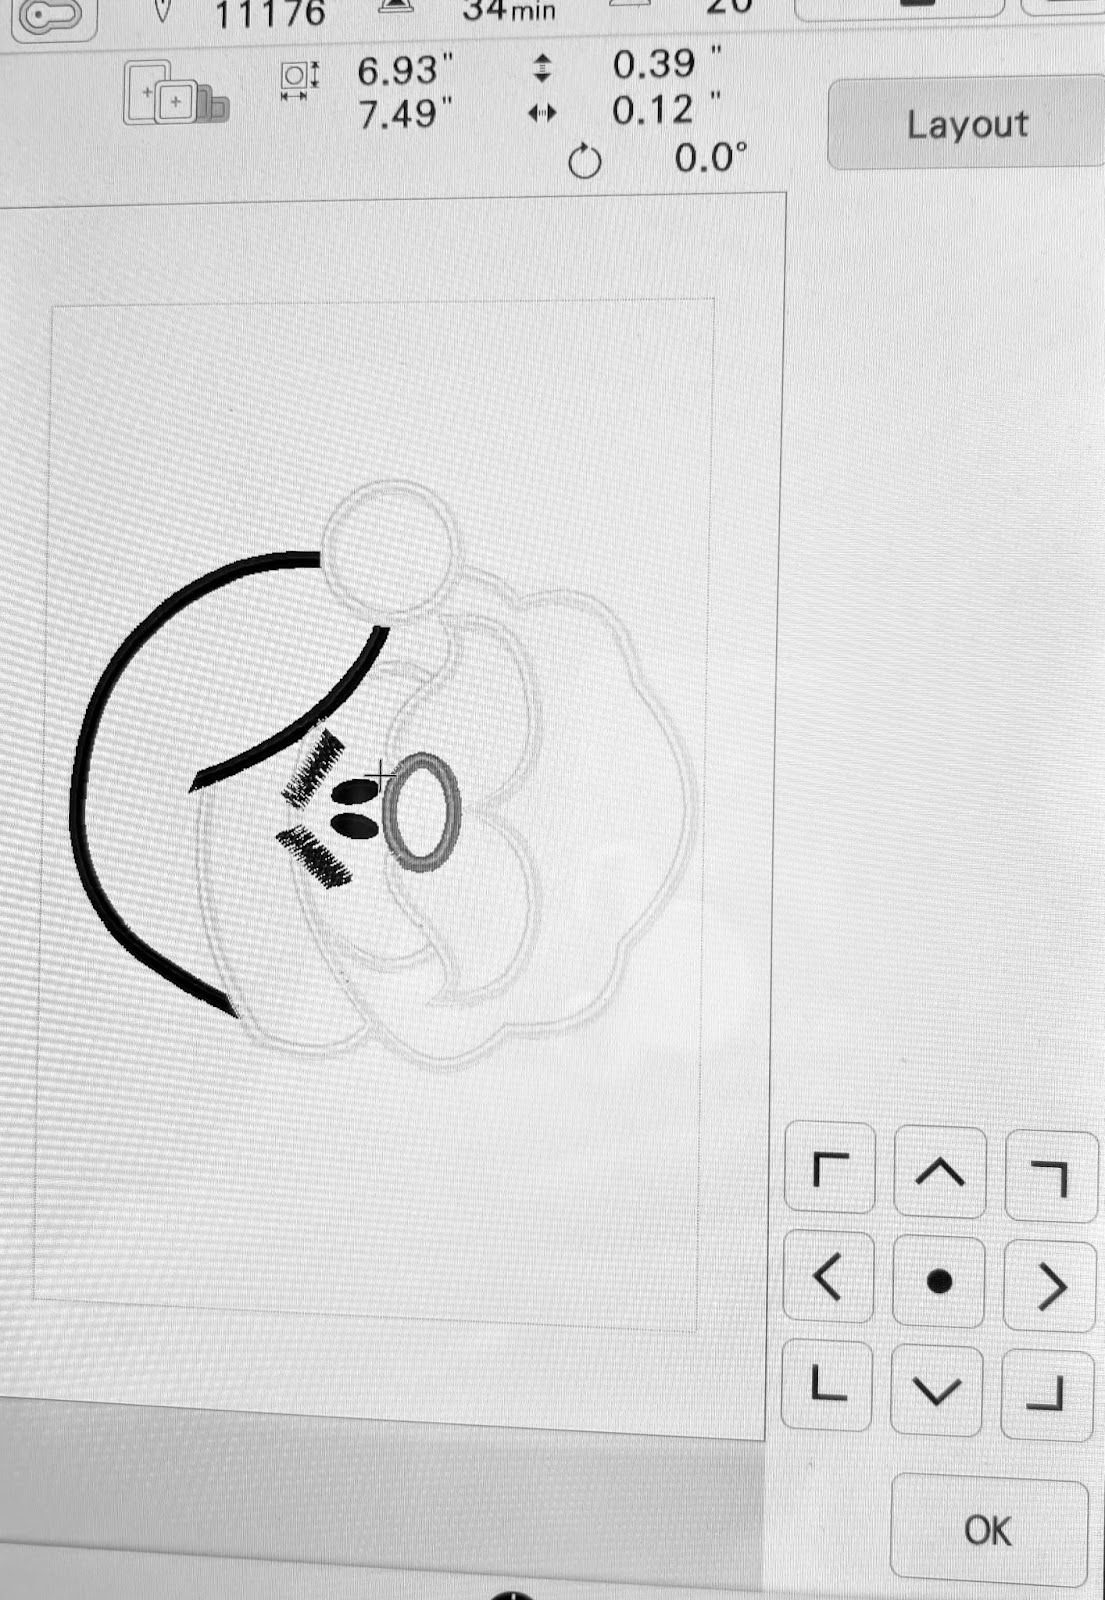
Select a design no larger than 10” x 10”. I chose this adorable Santa Face. Load the design to your machine screen.
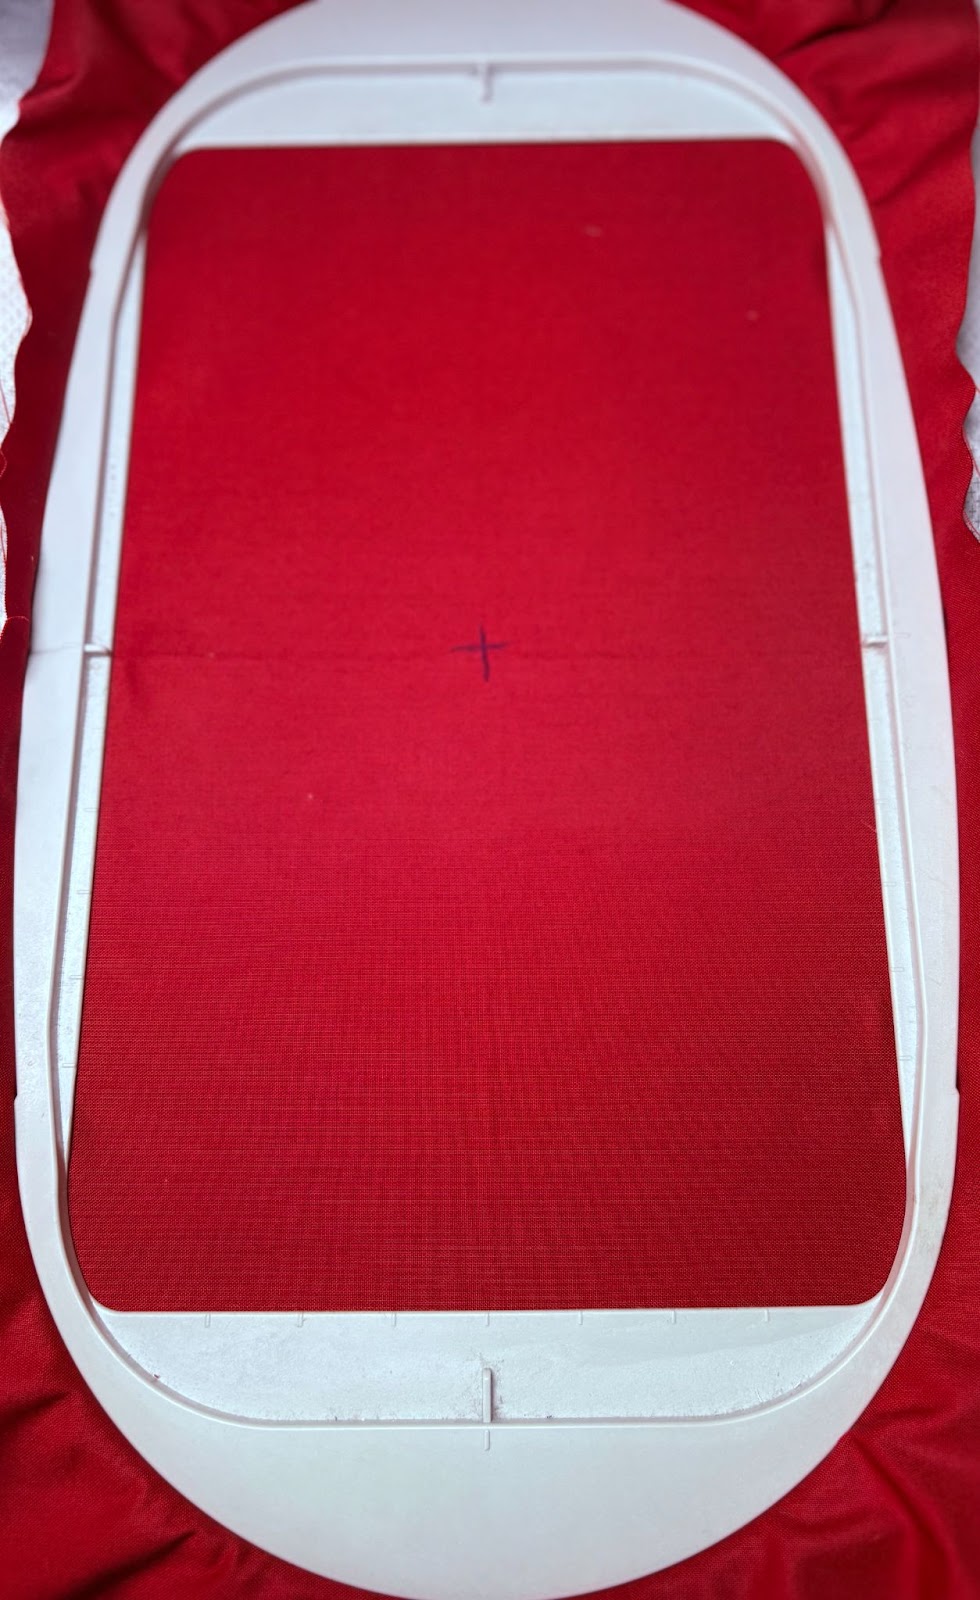
Secure the stabilizer along with your marked fabric in your hoop. Try to center the fabric as accurately as possible using the guide marks on the frame. Take to your machine.
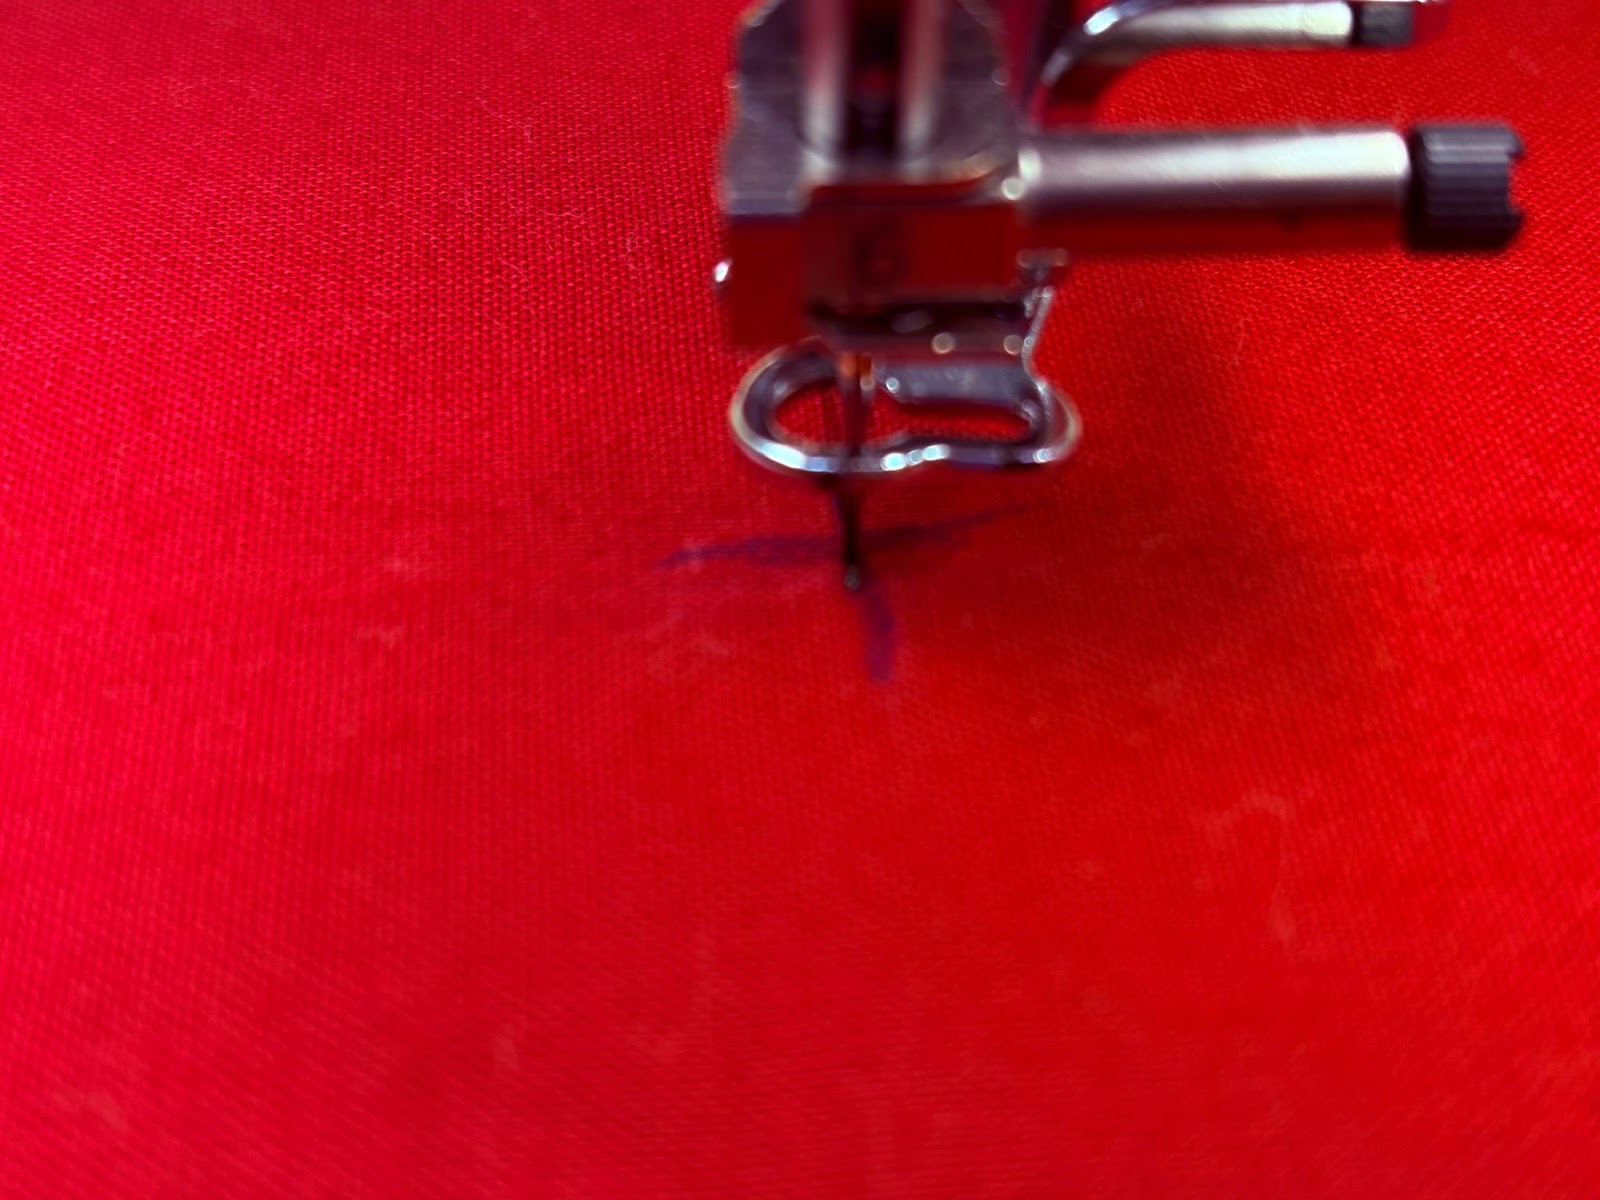
Using the placement keys and Needle Down position key, check to ensure your fabric is centered. If necessary, move the design on the screen slightly until you are satisfied. Stitch out the design.
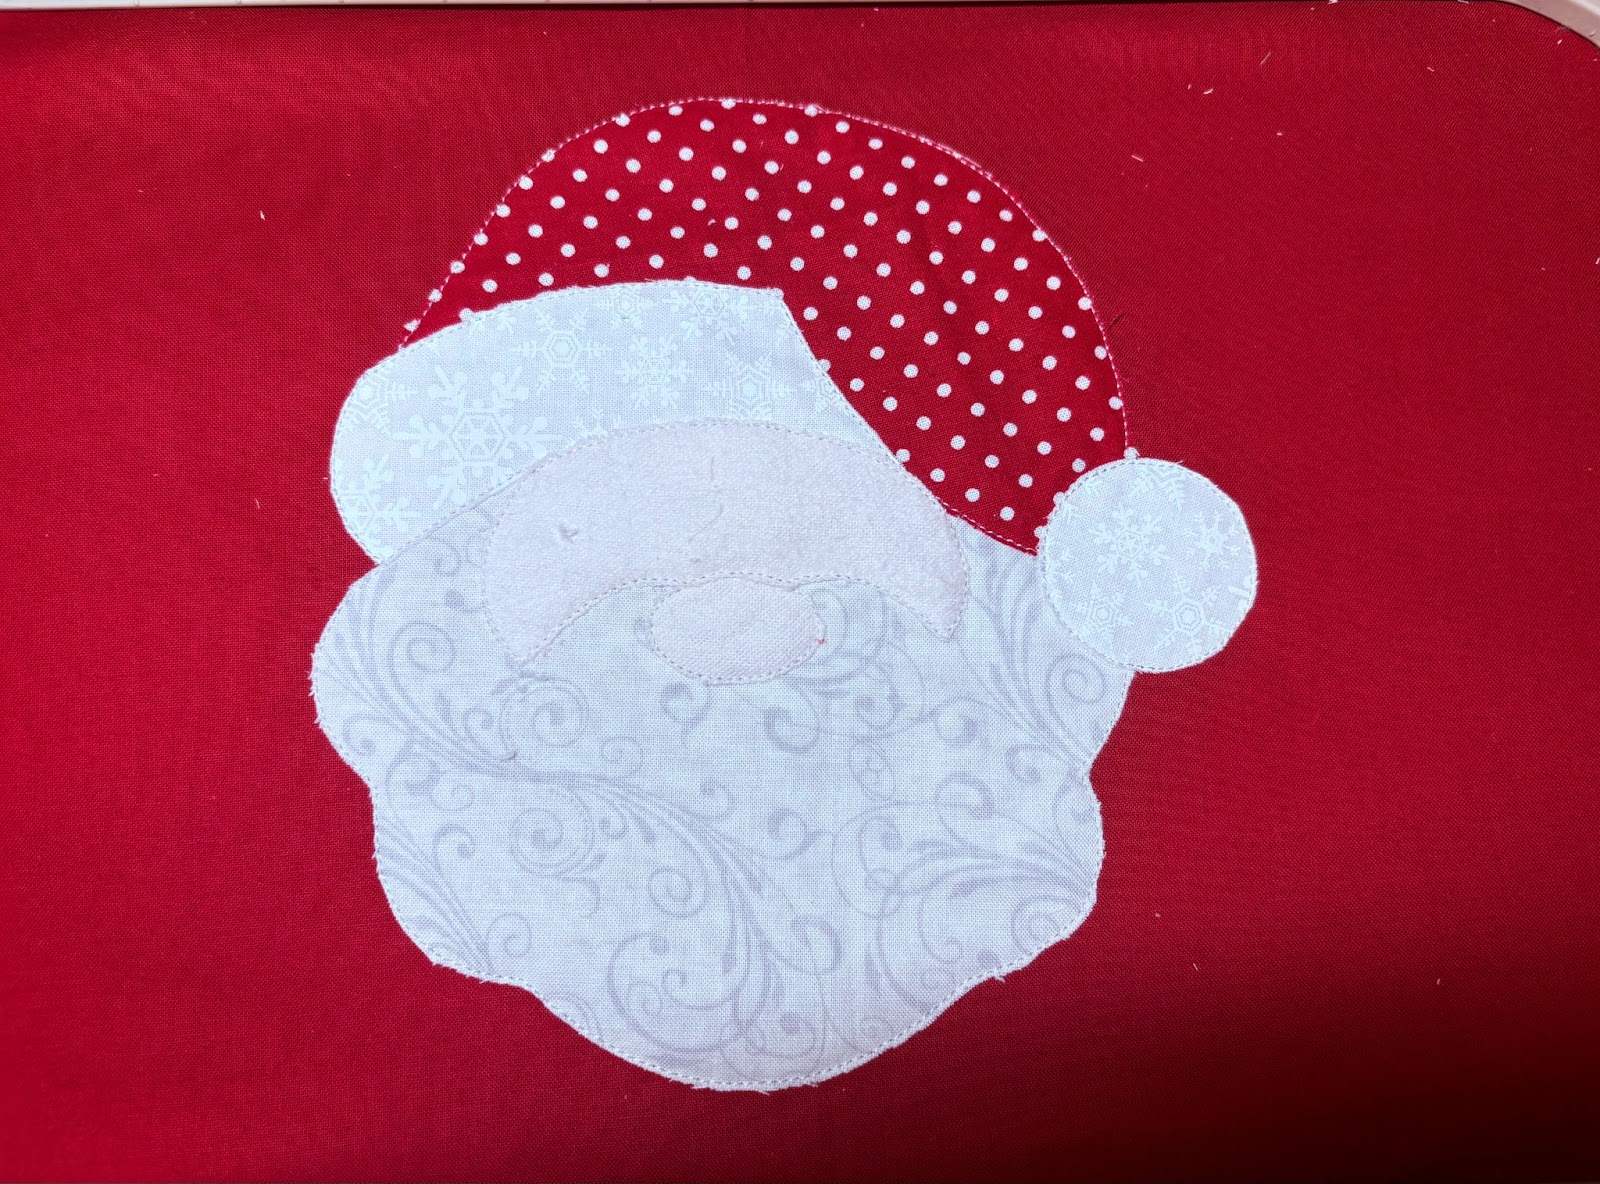
If your design is an applique, run the placement and tack-down stitches. Trim each piece before moving to the next step.
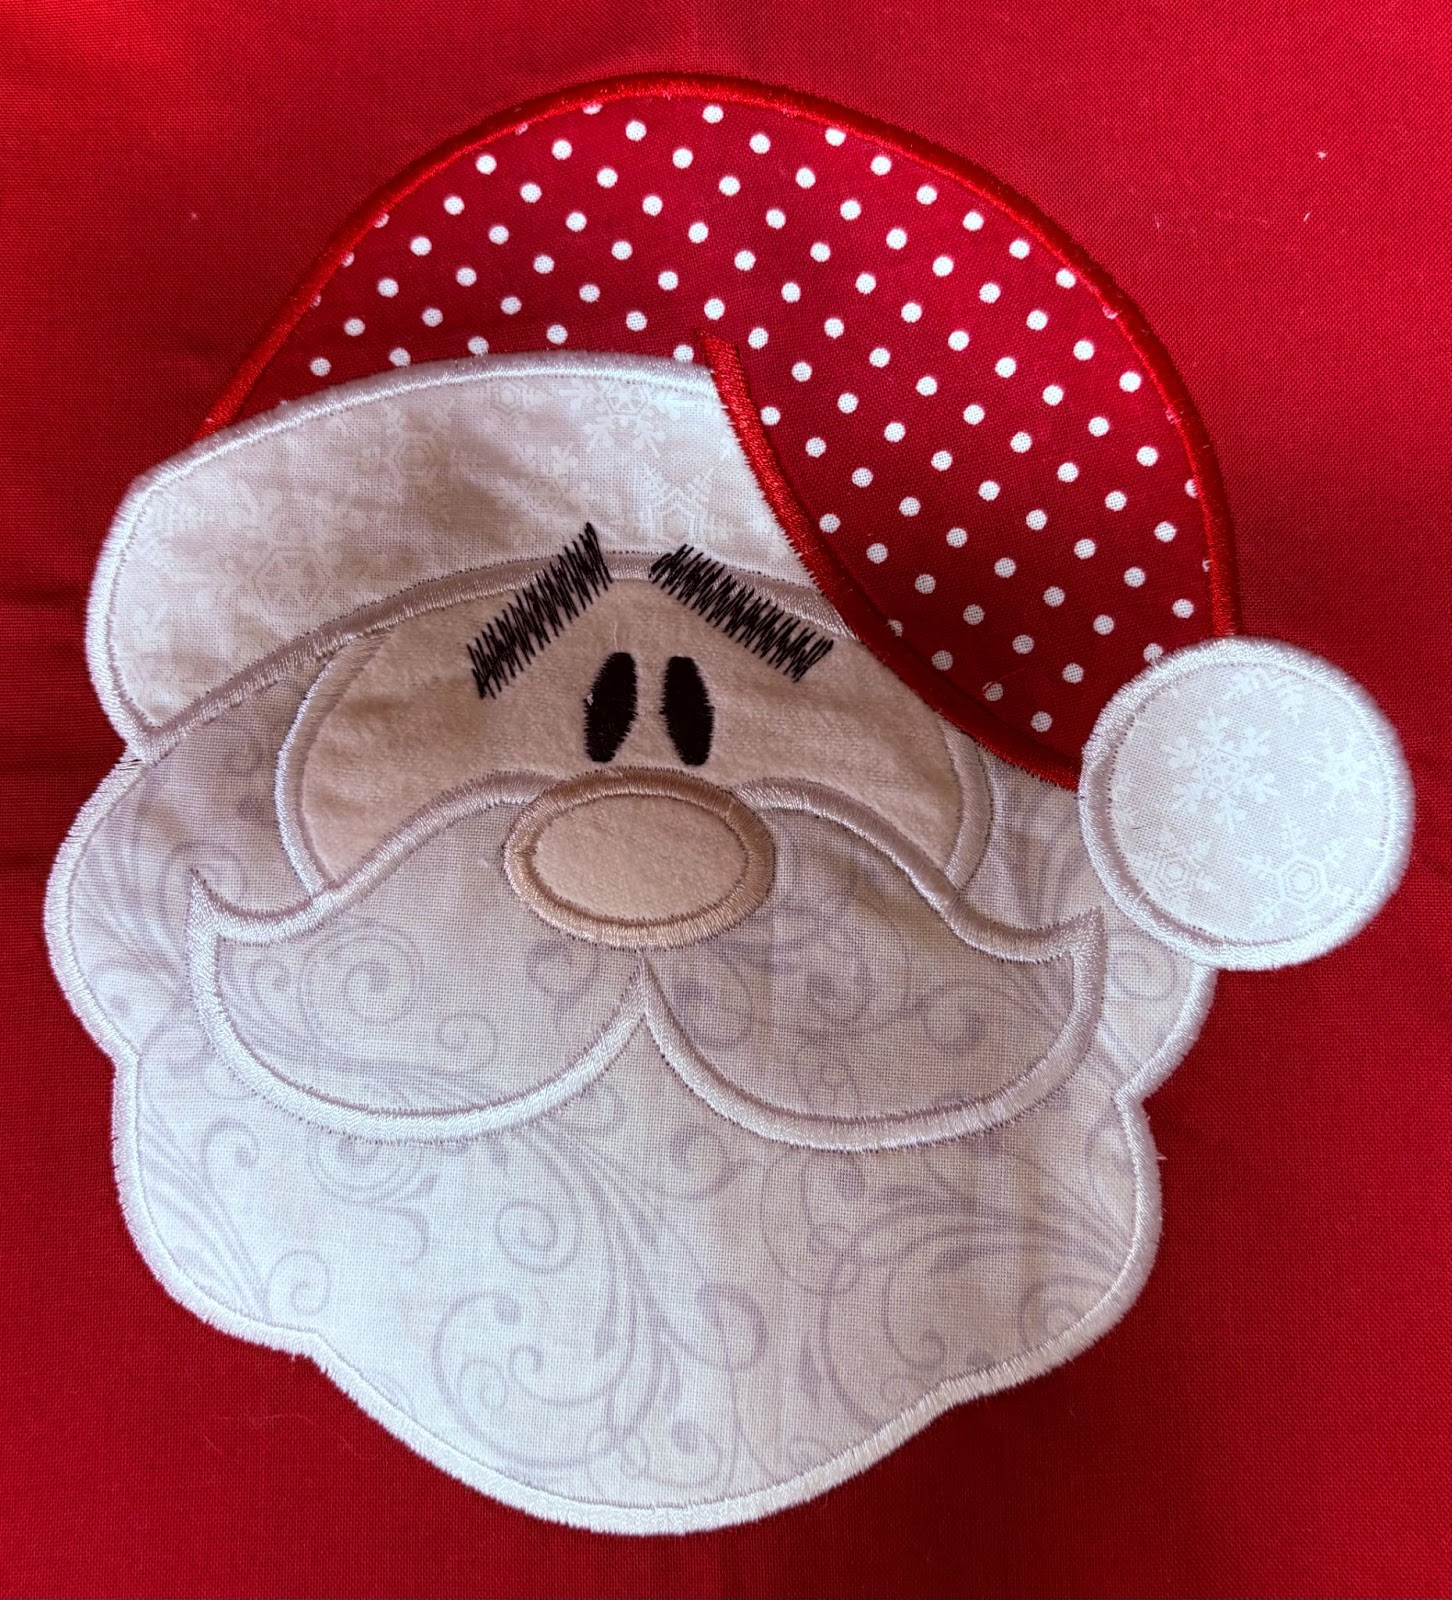
The final steps will be the cover stitches and face. When finished remove the fabric from the hoop.
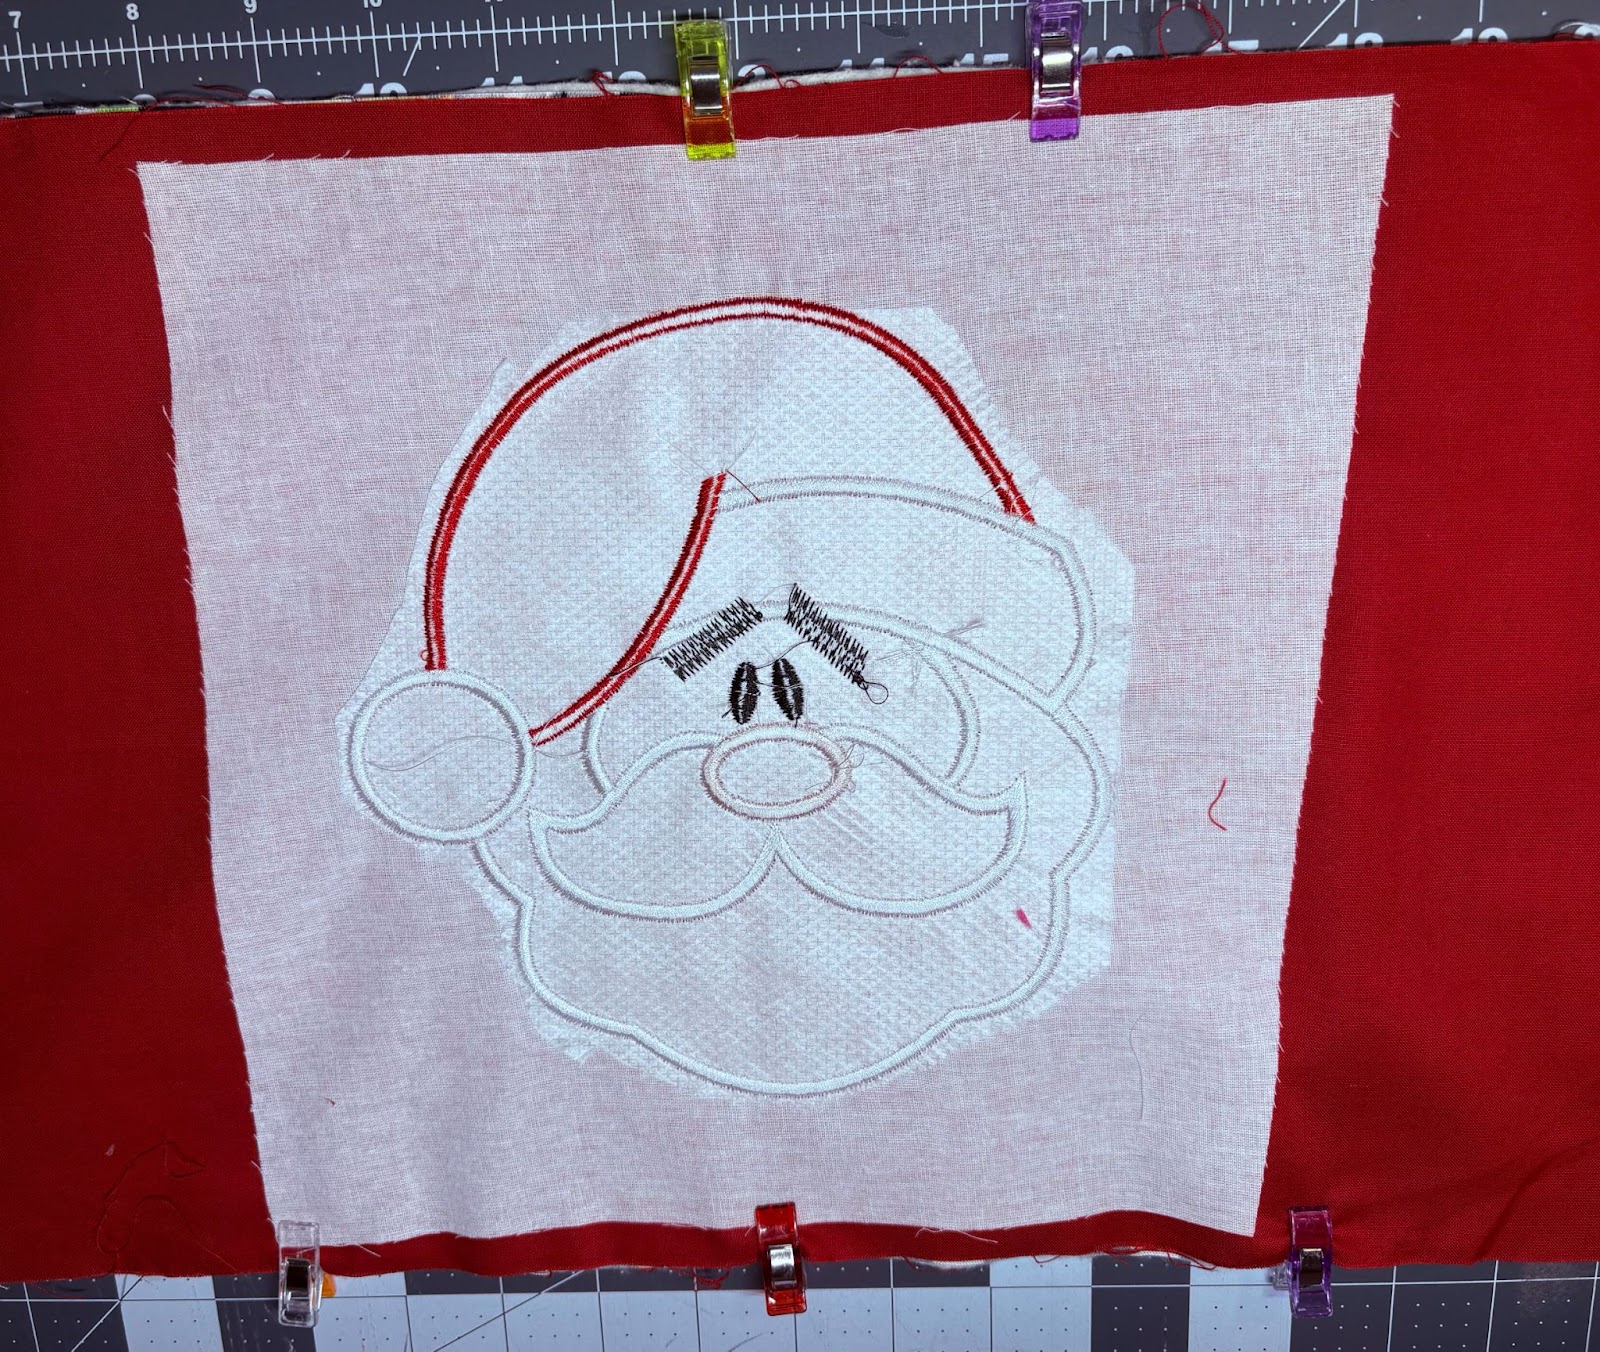
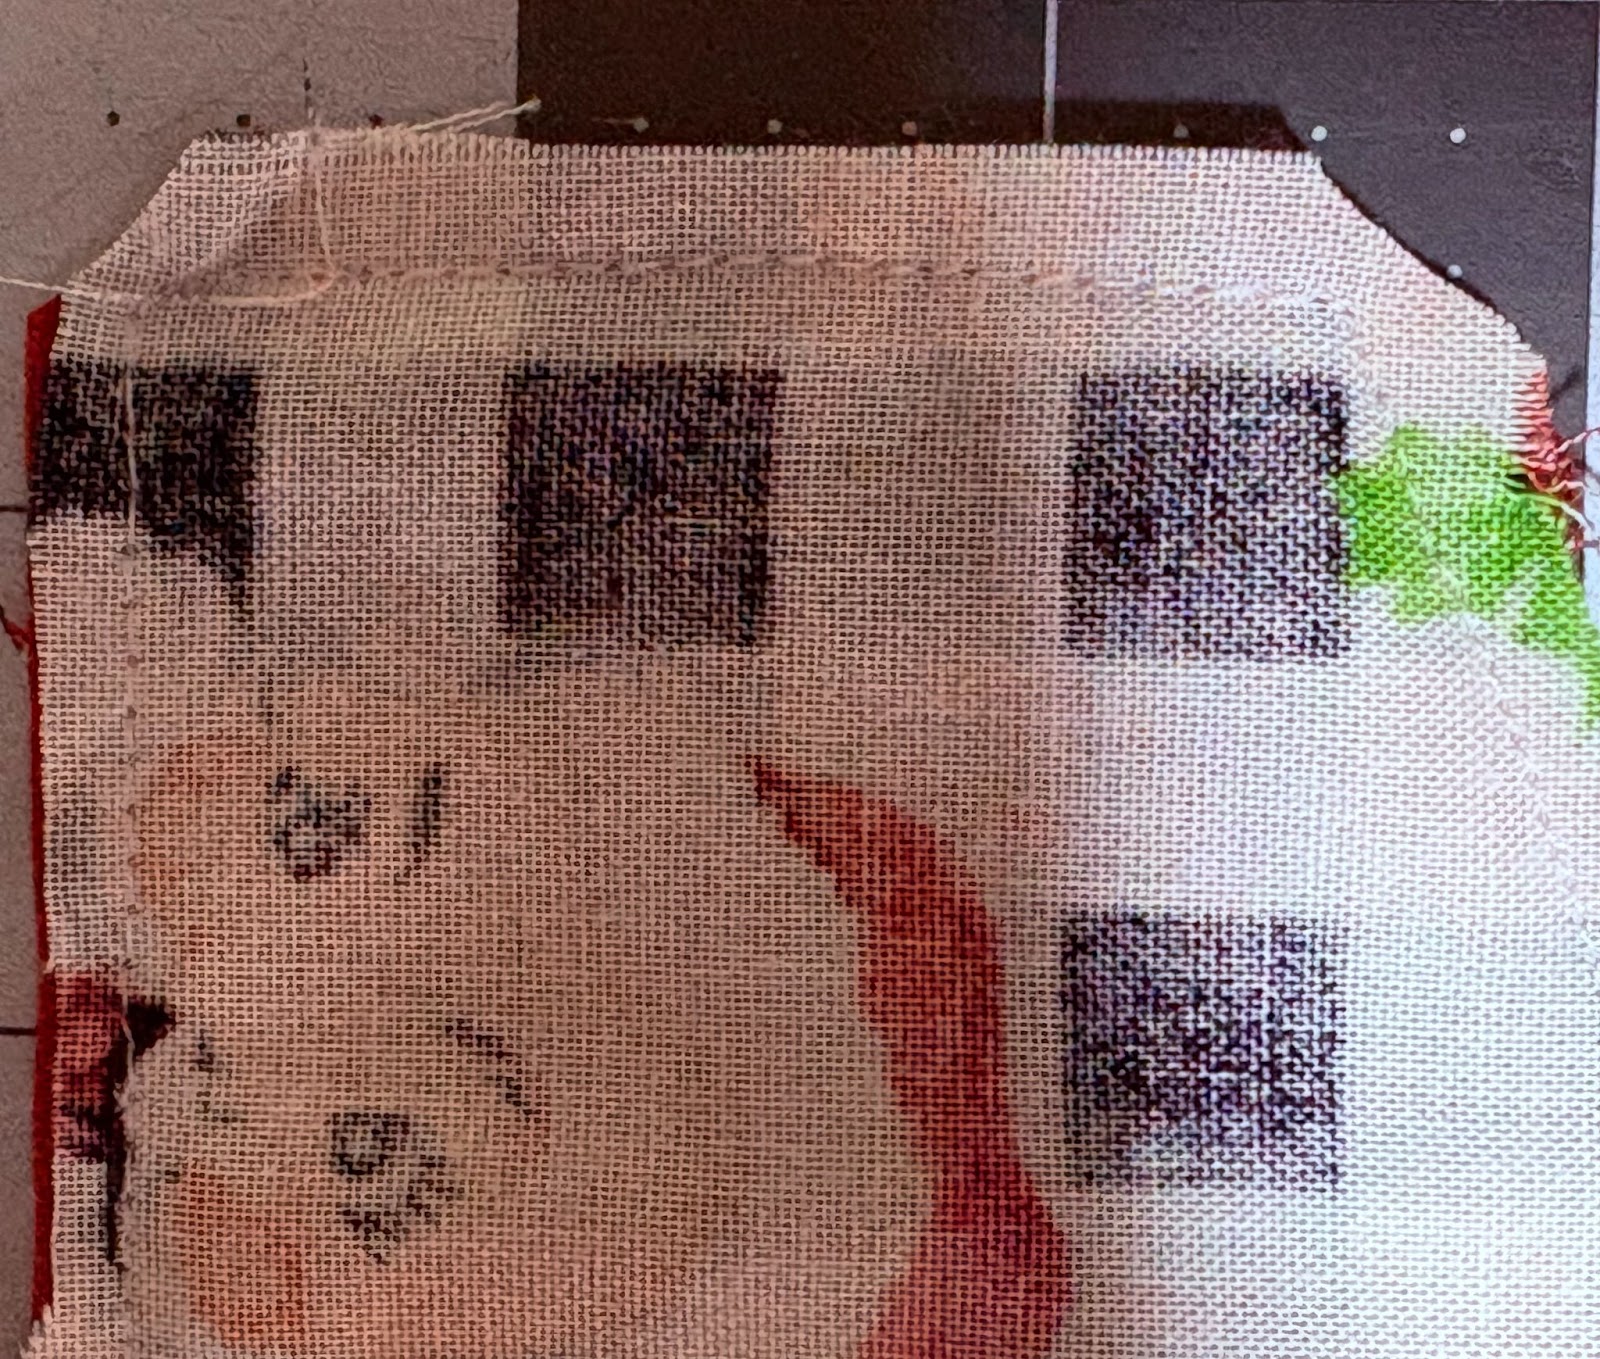
Trim the stabilizer around the design.
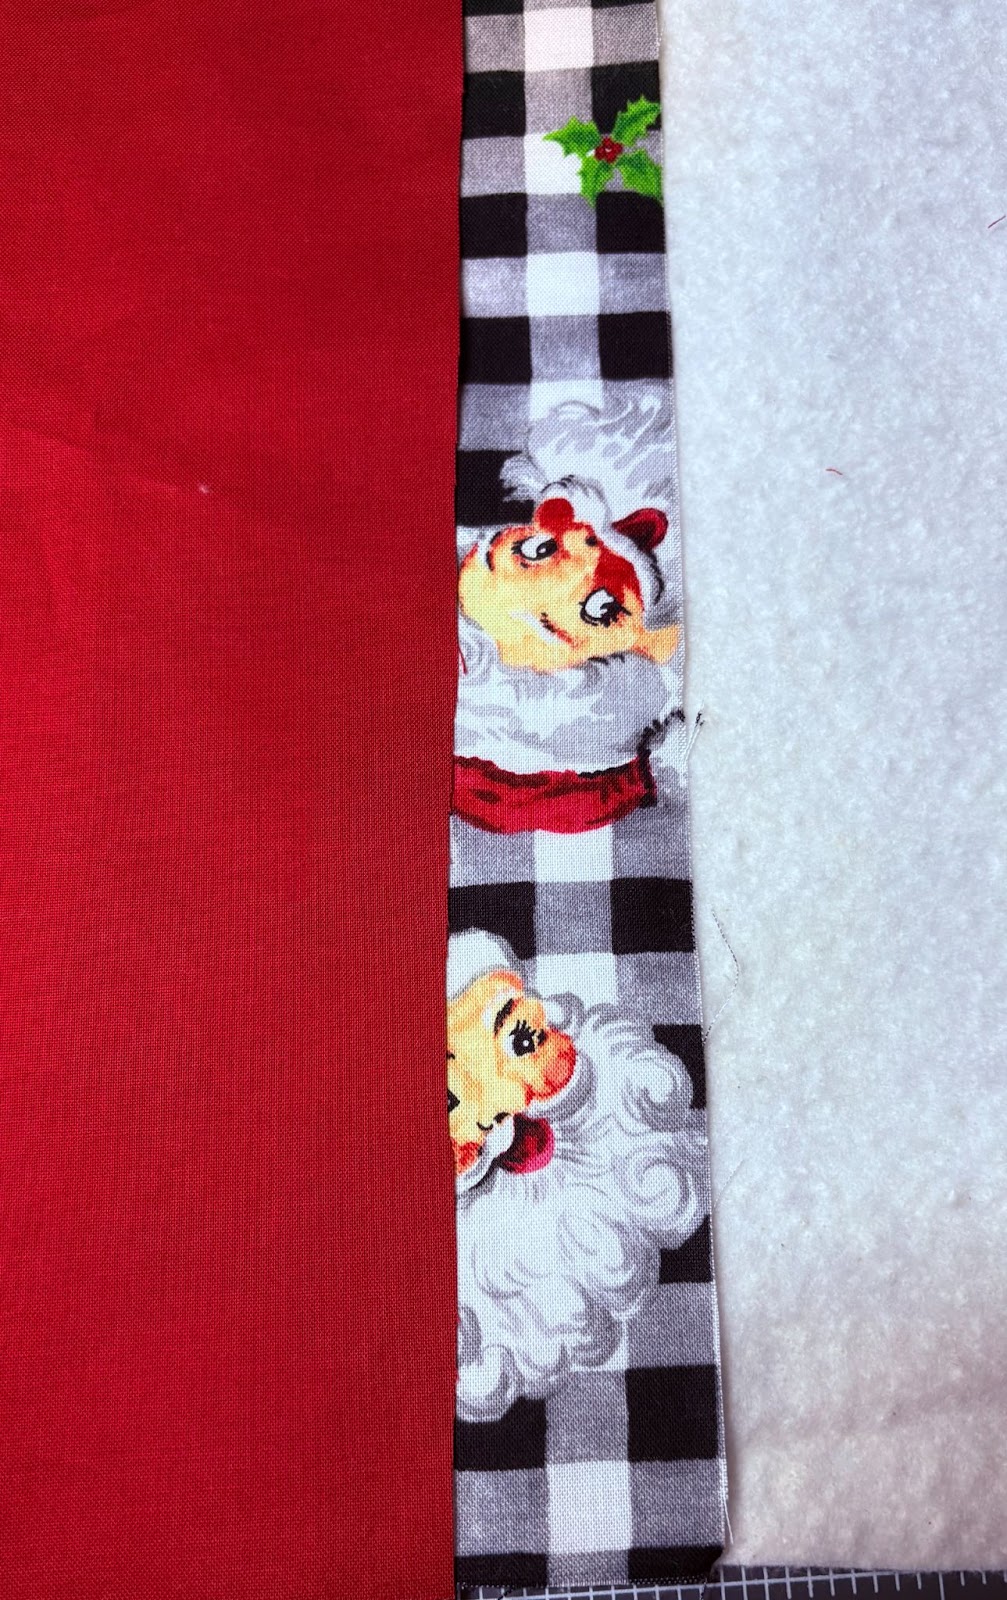
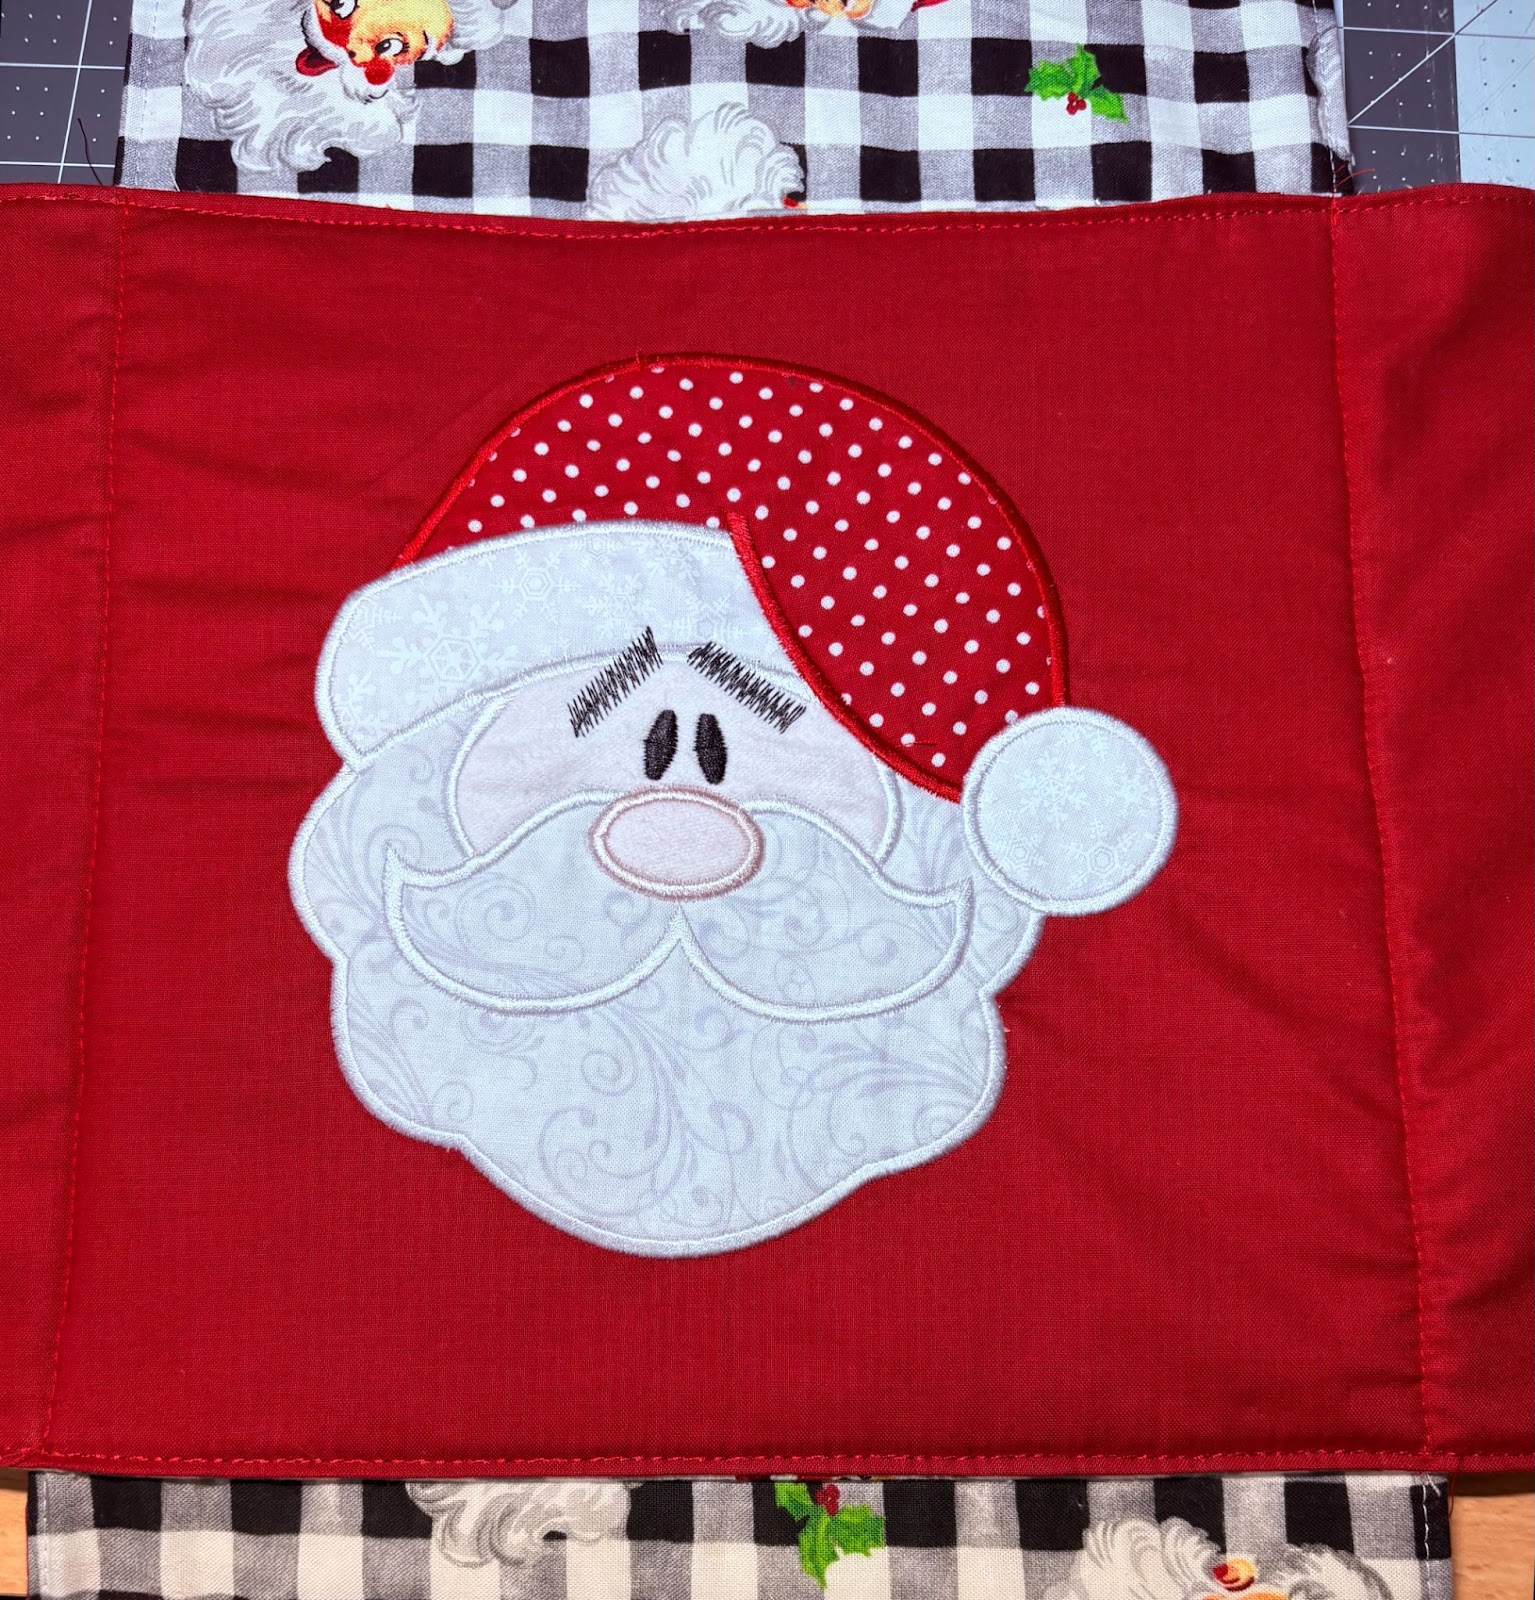
Place the two cotton fabrics right side together on top of the batting. At the sewing machine, sew a ¼” seam around all sides, leaving a 6” opening along one long edge. Turn the carrier bottom right side out through the opening. Fold the raw edges of the opening inward toward the wrong side, then press and pin or clip everything in place. Finally, topstitch all around the edges, ensuring that the fabric remains tucked in at the opening.
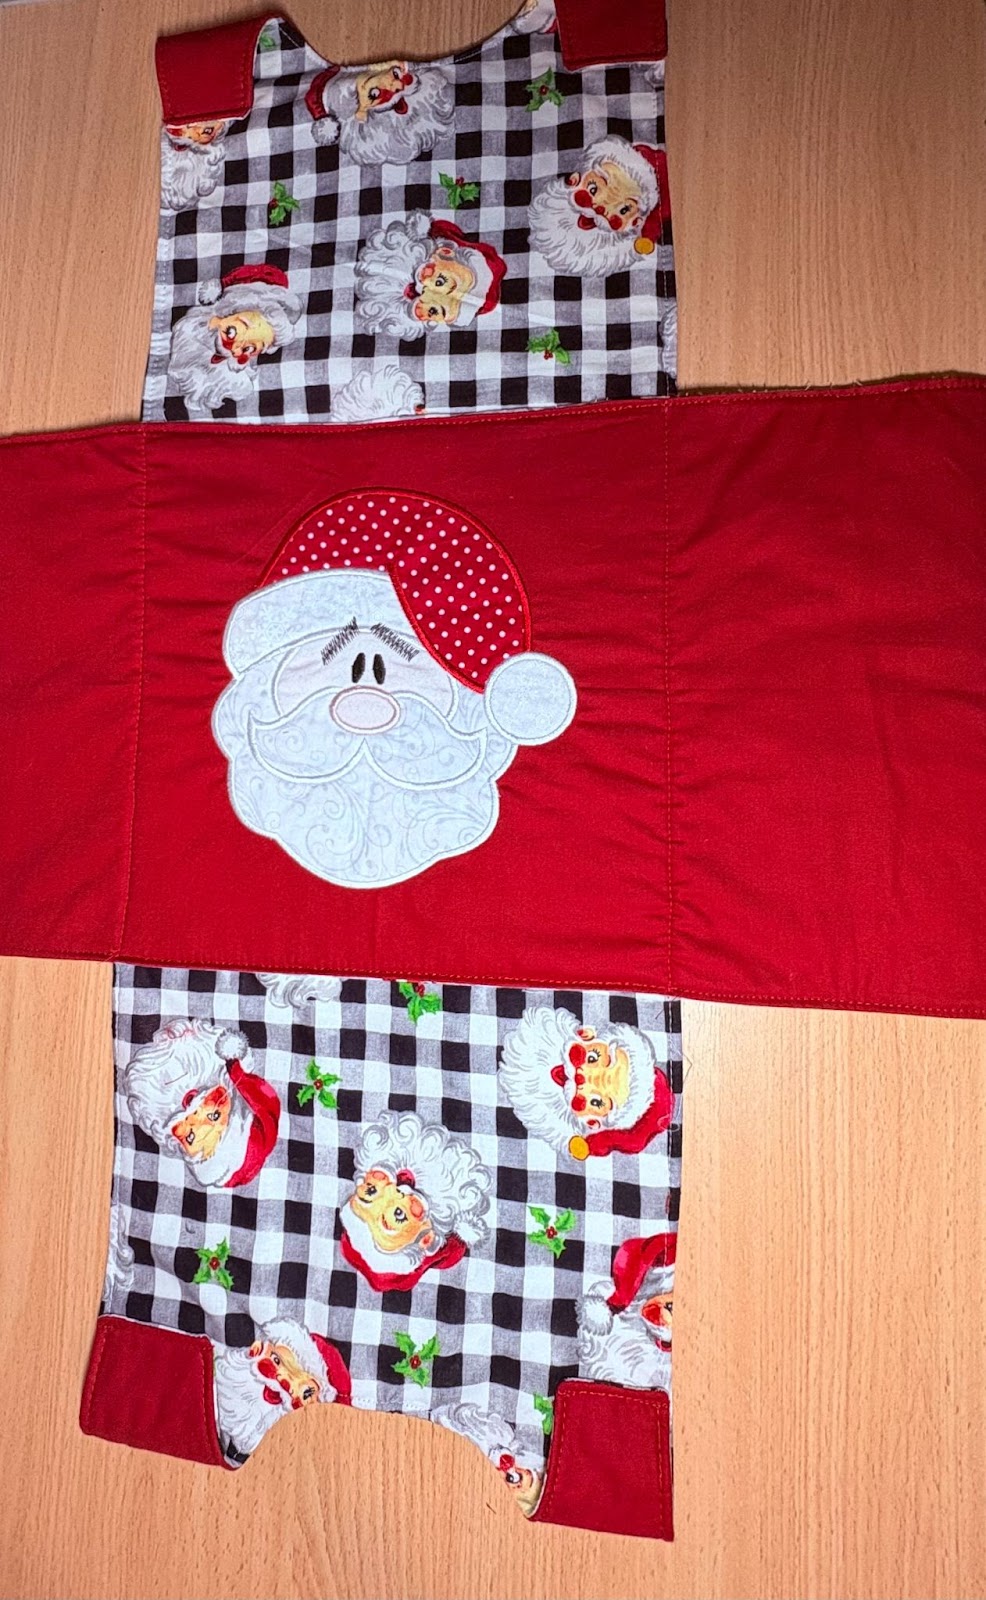
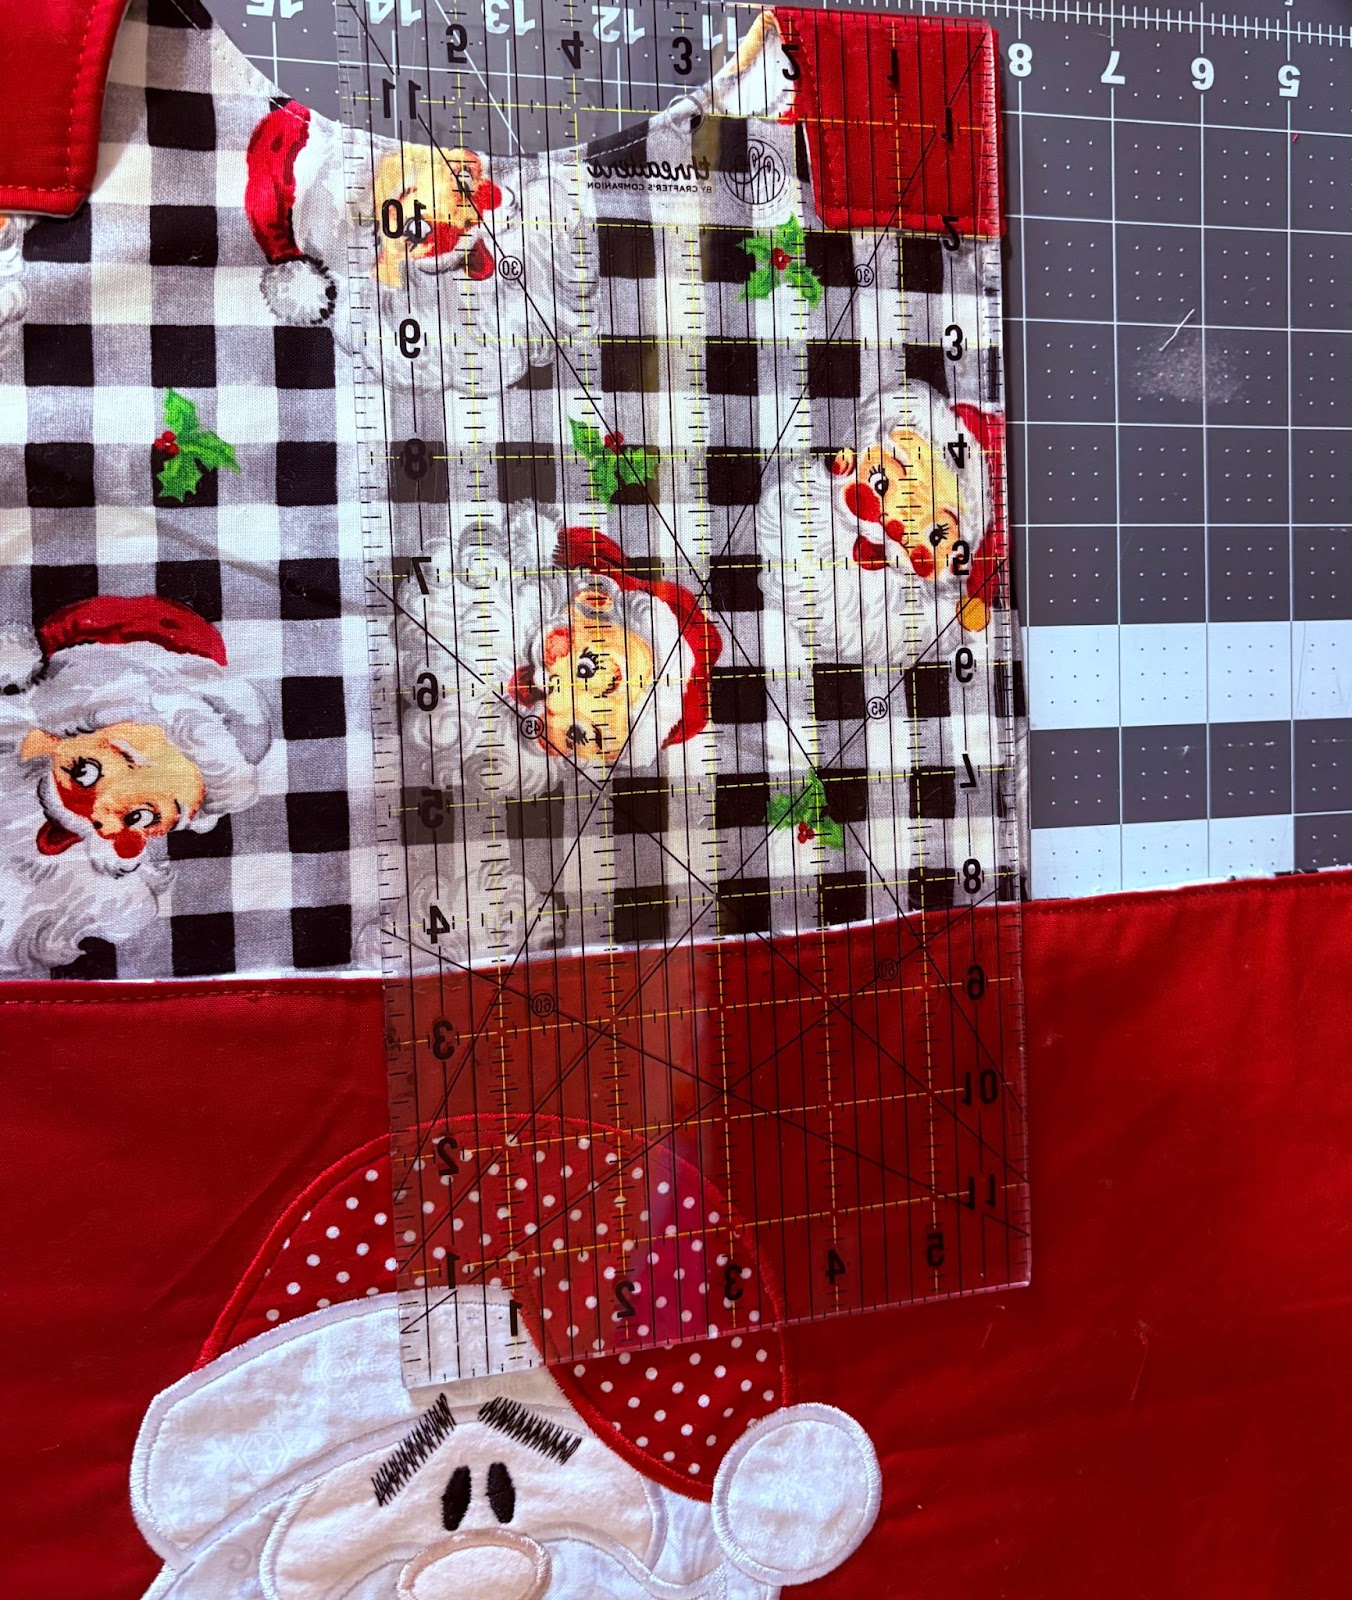
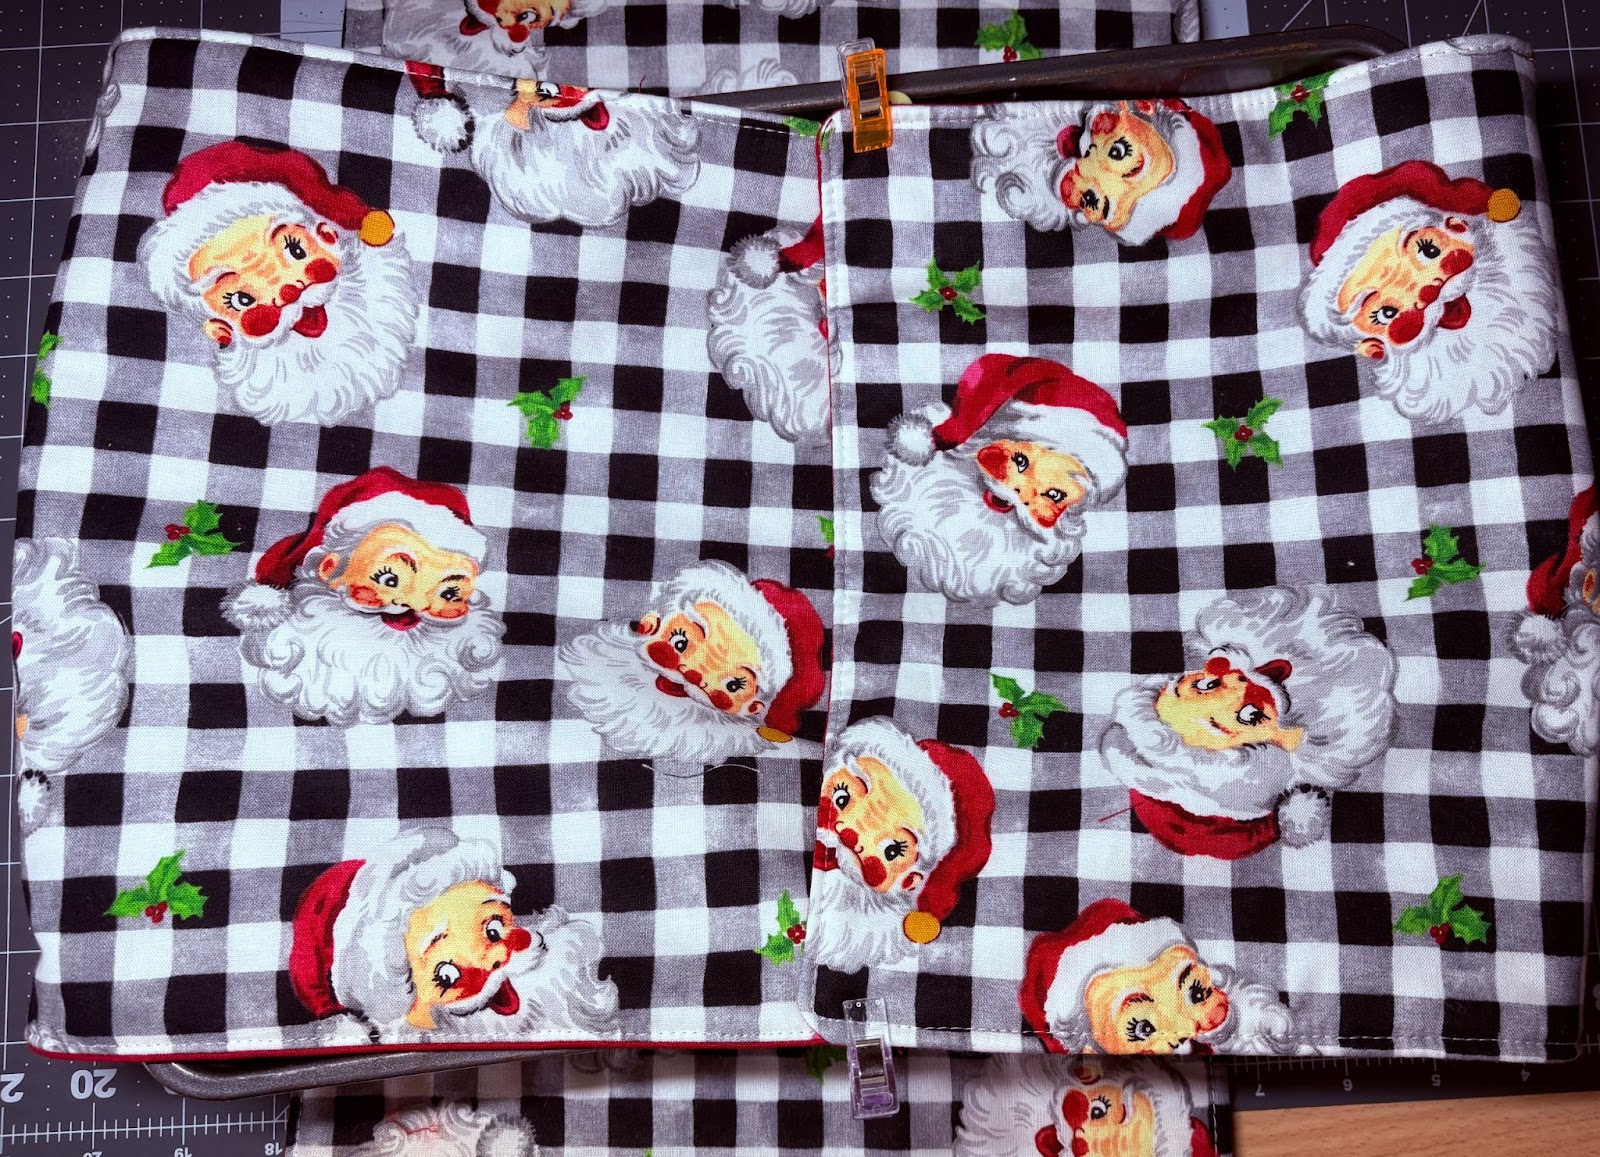
Center the bottom piece over the top as shown in the pictures. Use a ruler to ensure the bottom piece is equidistant from the top on both short ends.
Pin in place.
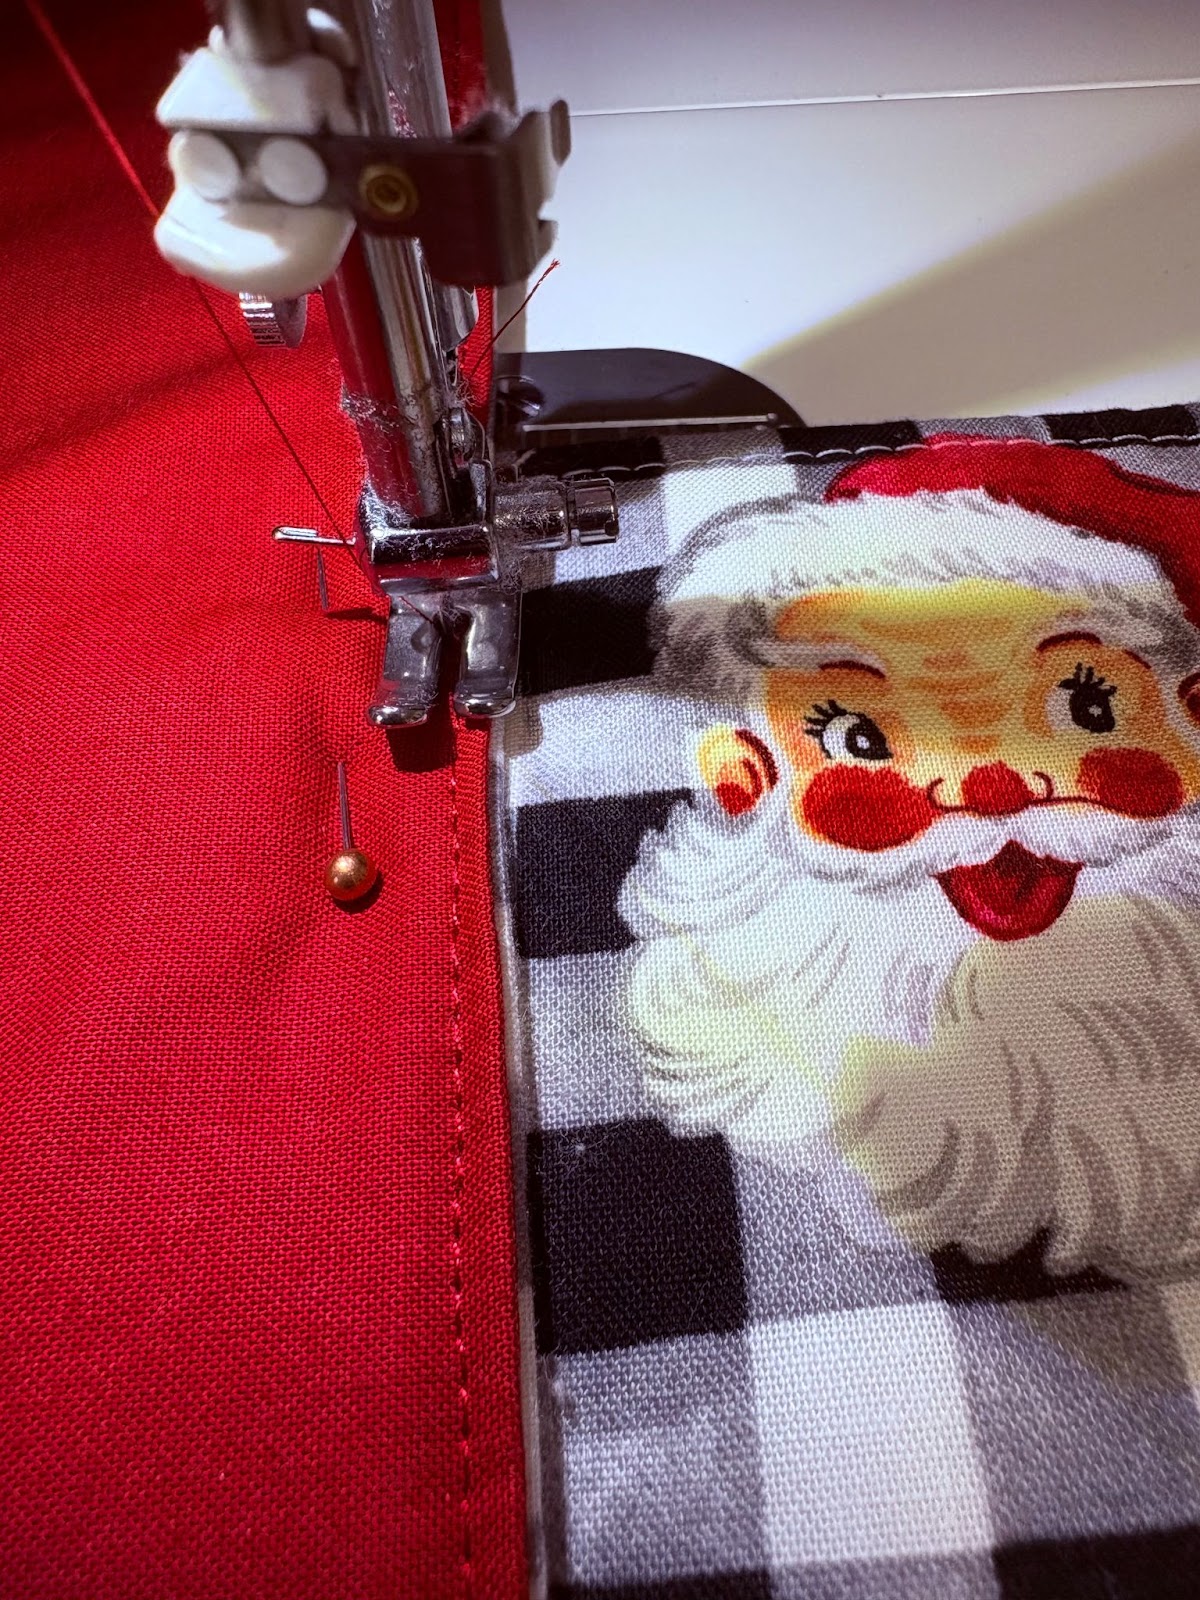
Using the previous stitches as a guide, sew down all four sides.
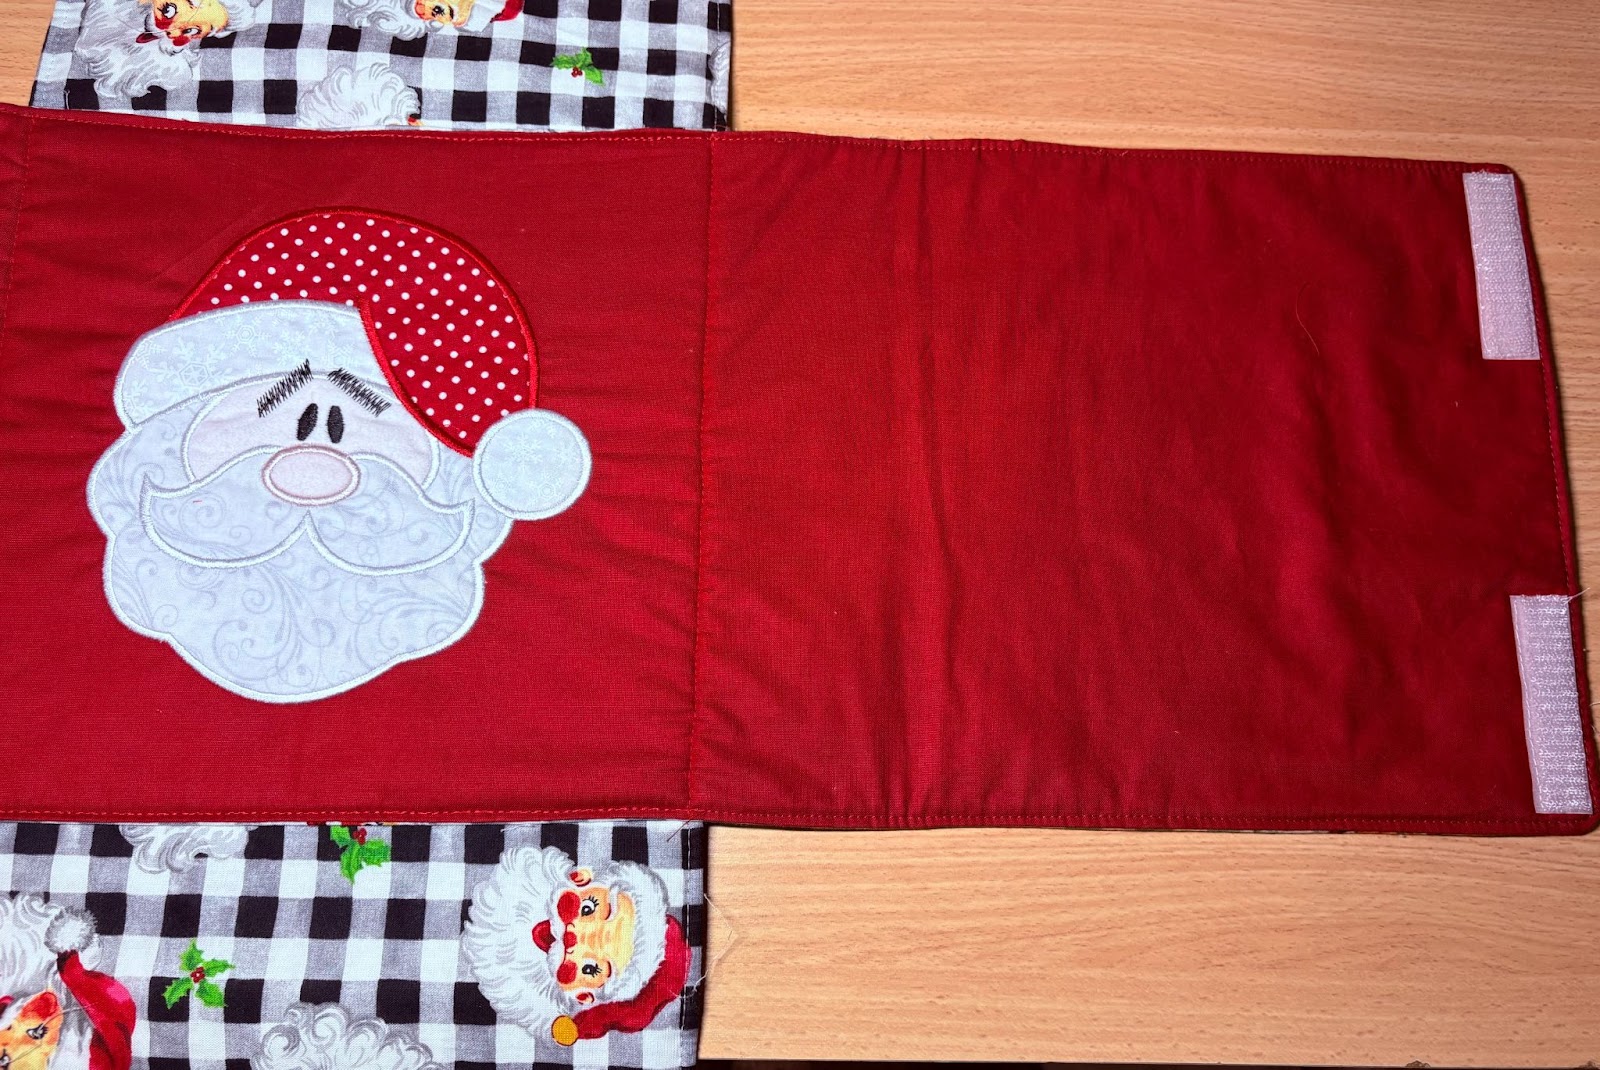
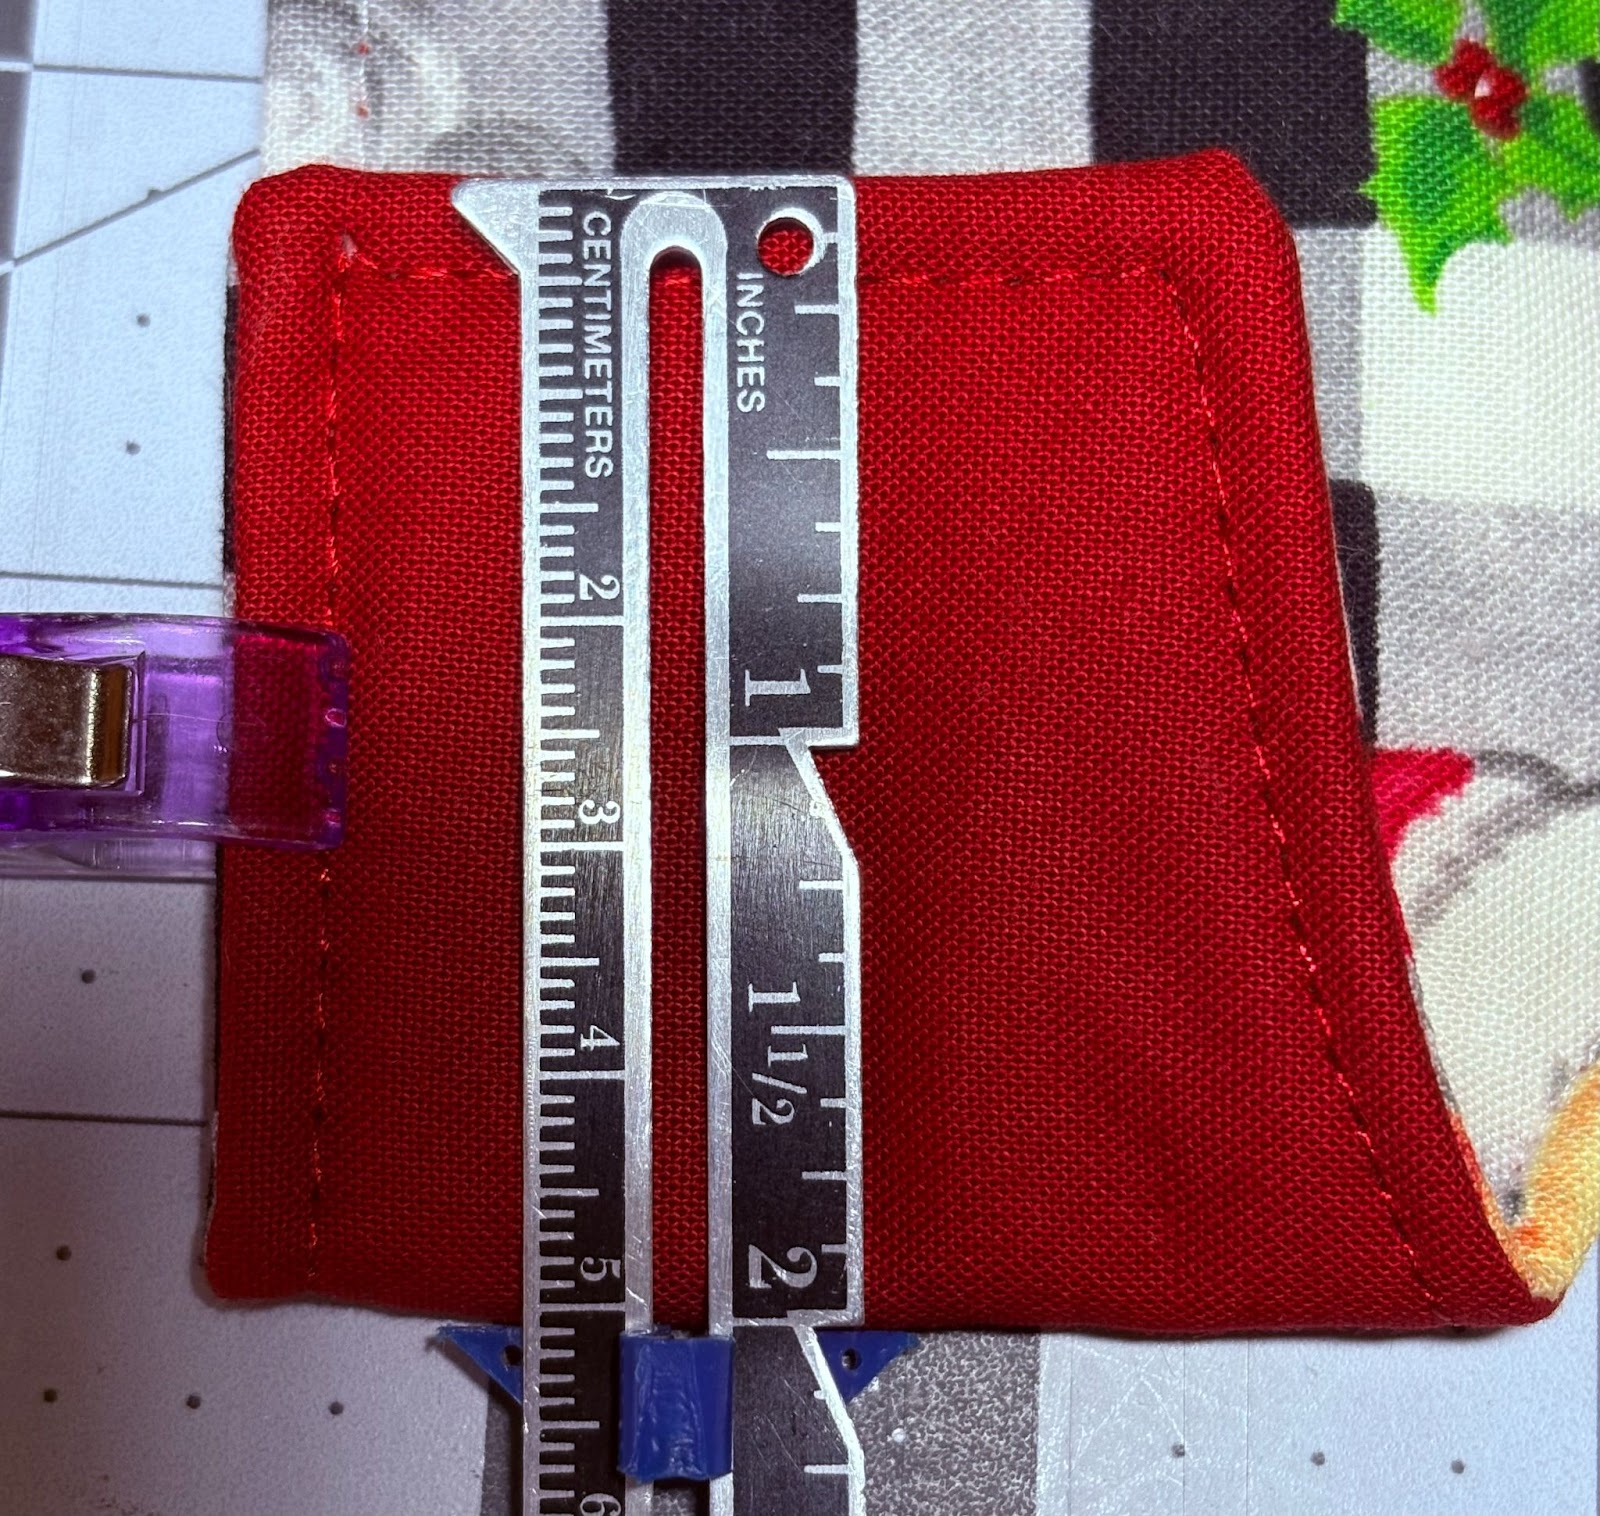
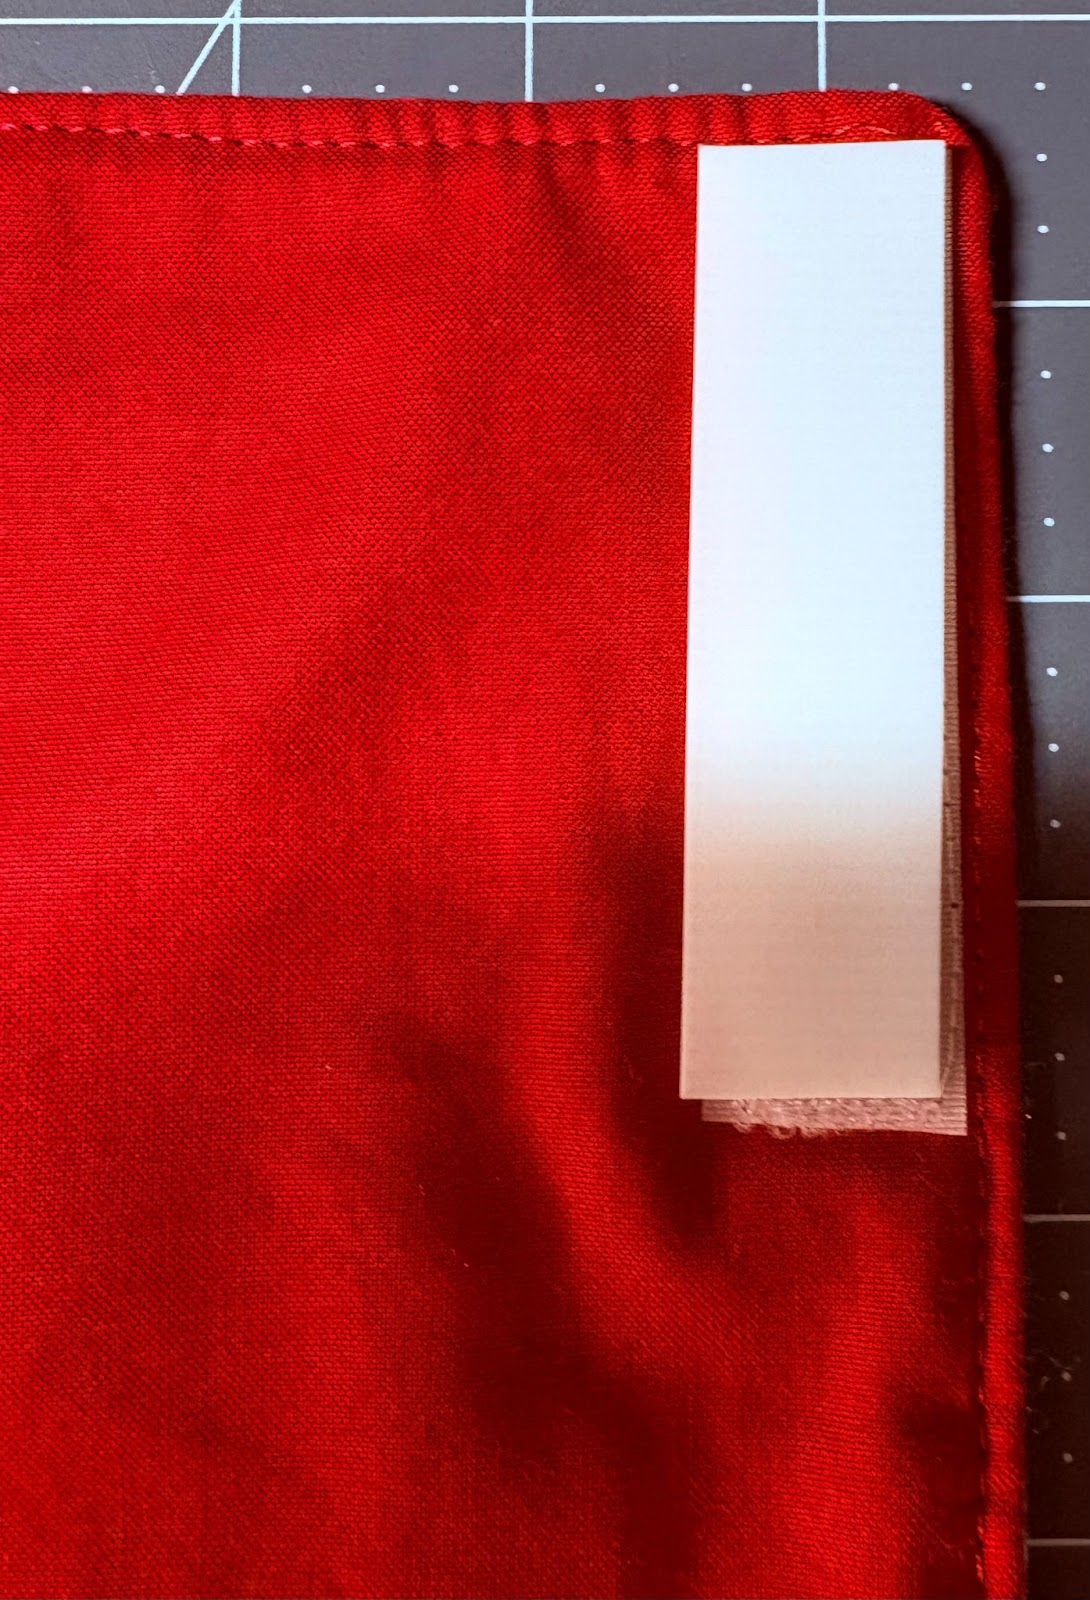
On one short end of the bottom piece, sew around all four sides of the 3-inch loop strips.
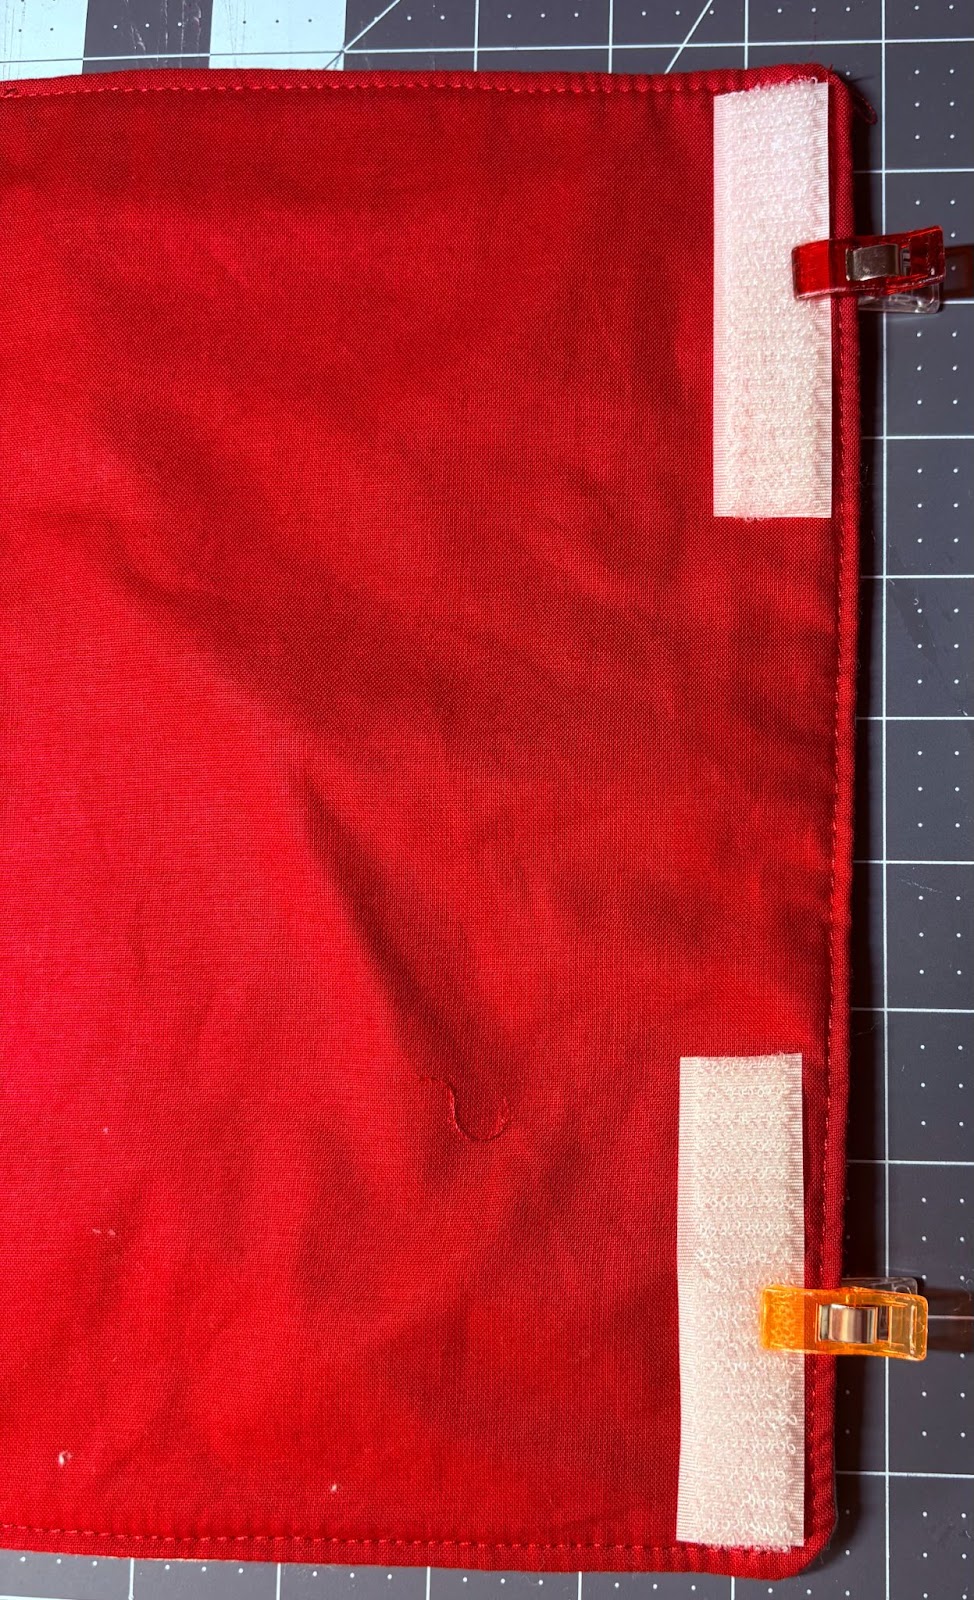
To accurately find where to sew the other half of the fastener, attach the hook strips to the top of the loops.
Place the casserole dish in the center. Overlap the two ends of the carrier bottom. Remove the hook strips and pin or clip to the fabric.
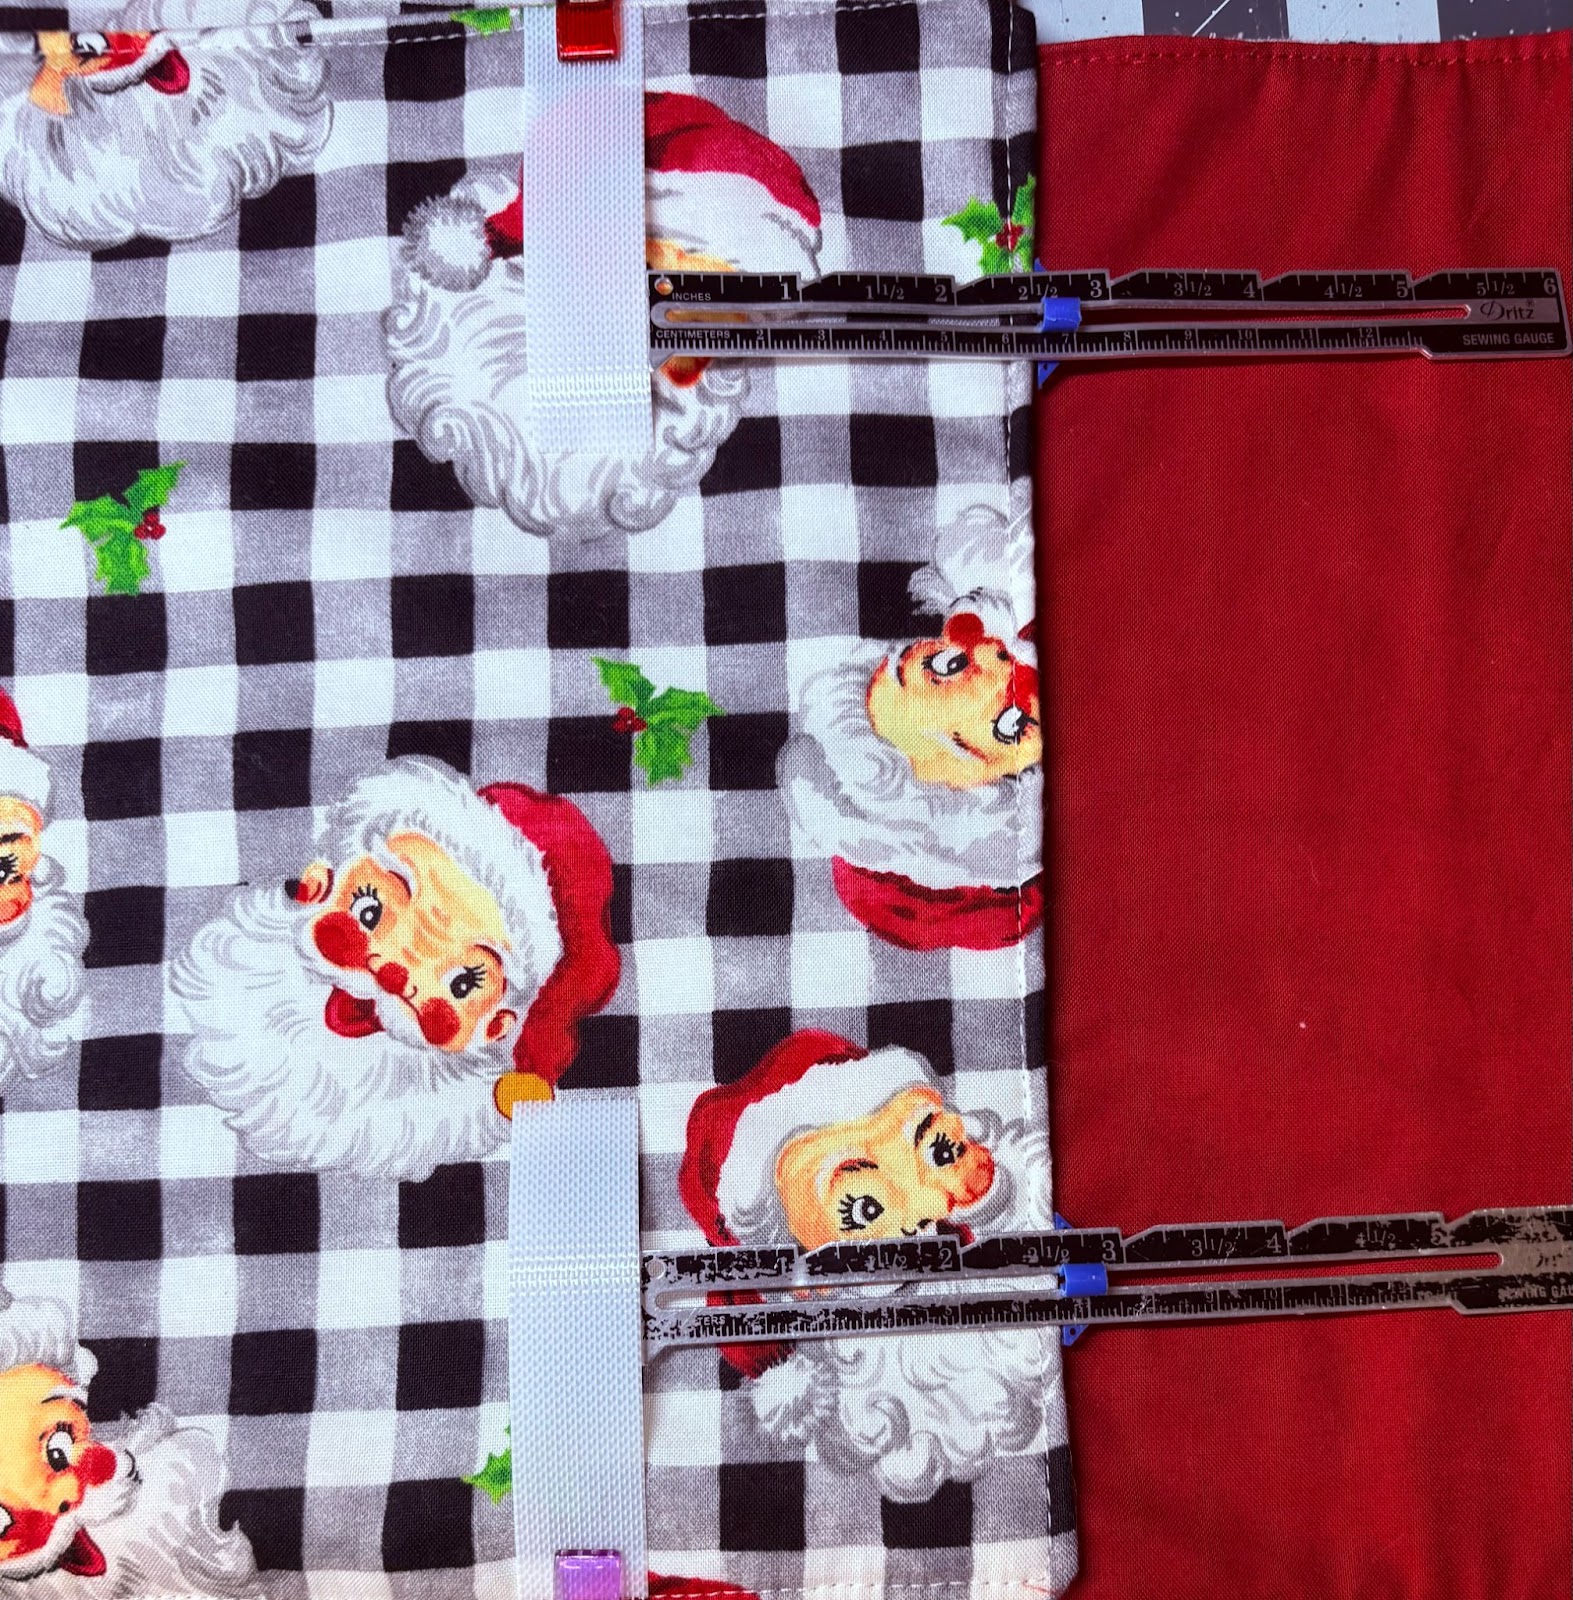
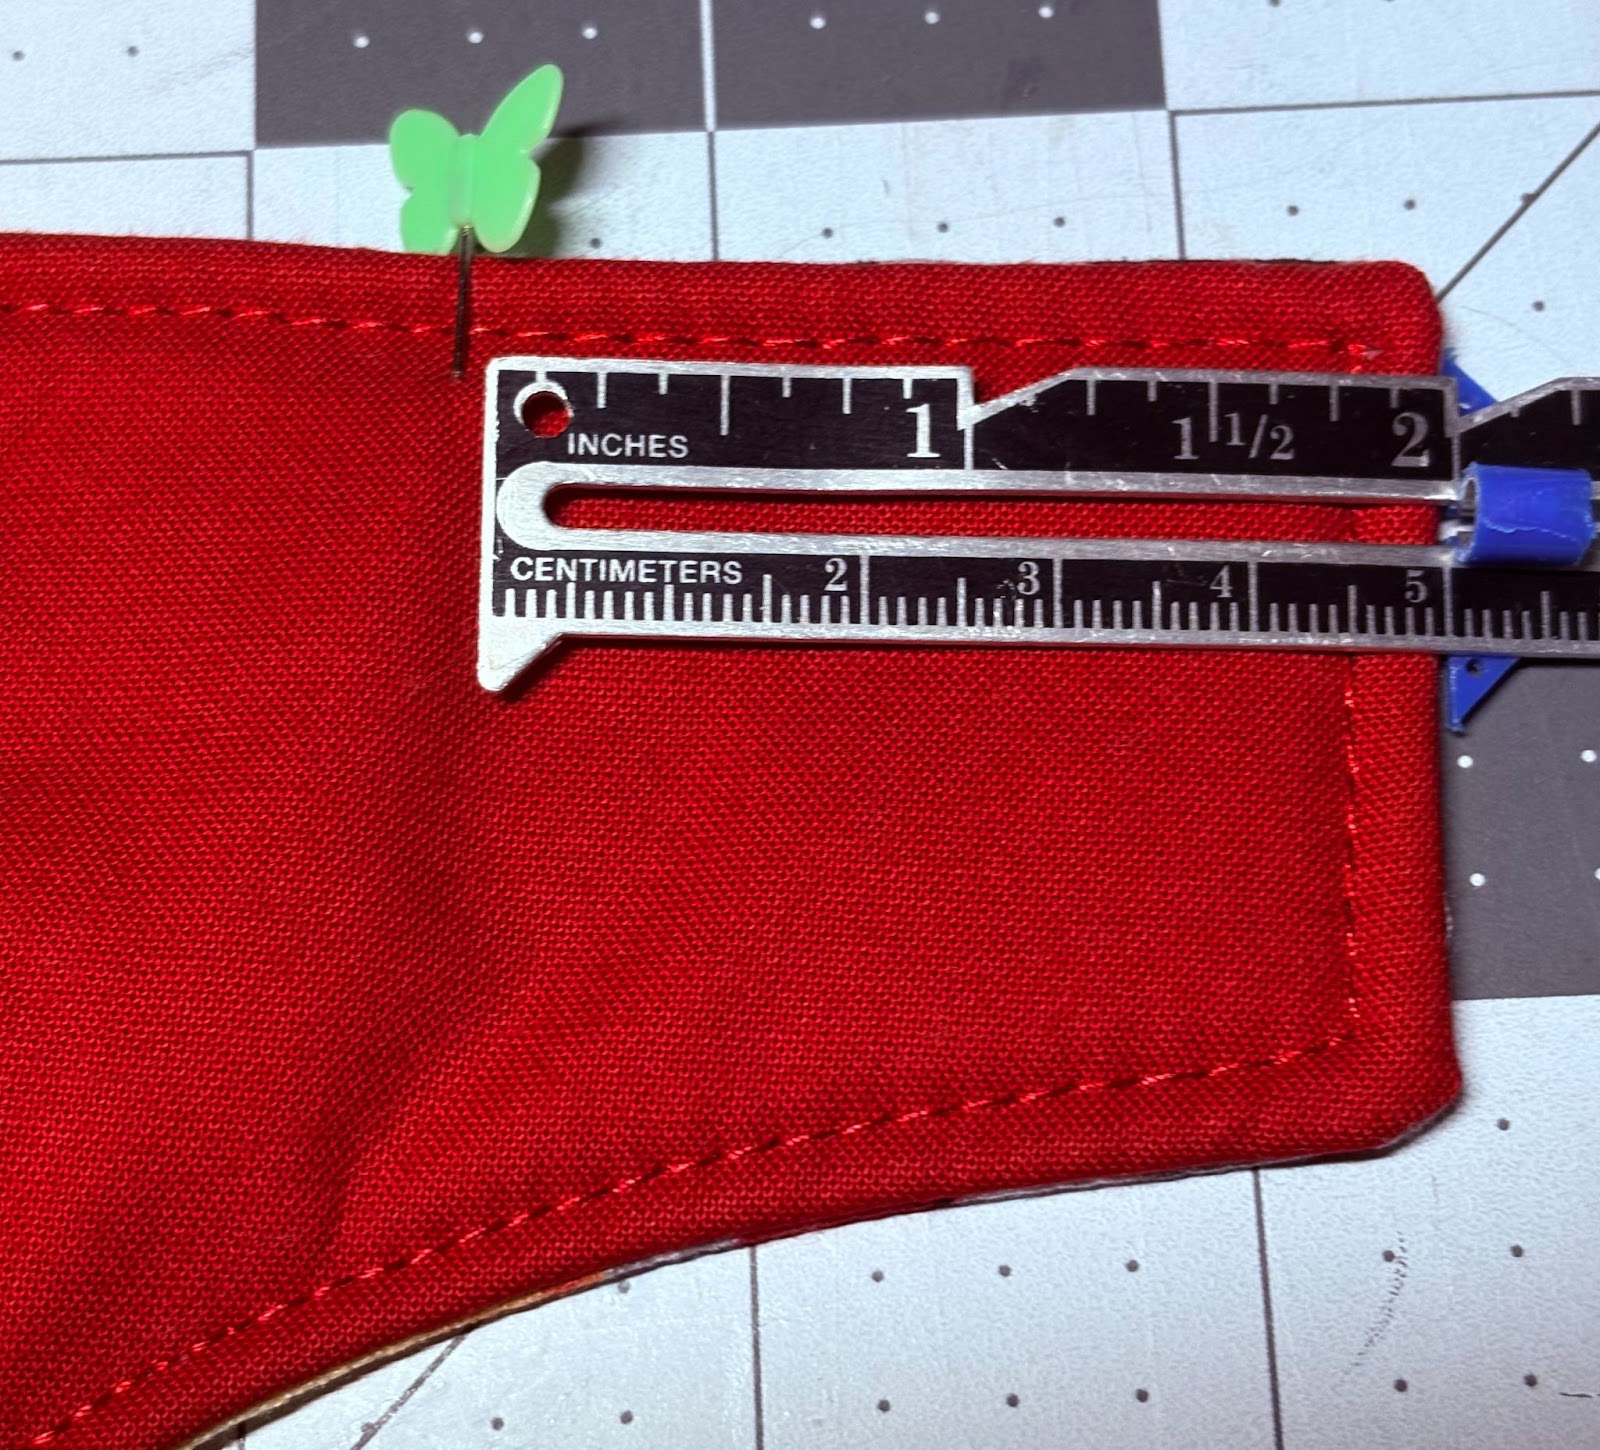
Before sewing the strips, measure each strip to ensure they are equidistant from the short edge.

Sew all four sides of the hook strips.
Your casserole dish carrier is complete!
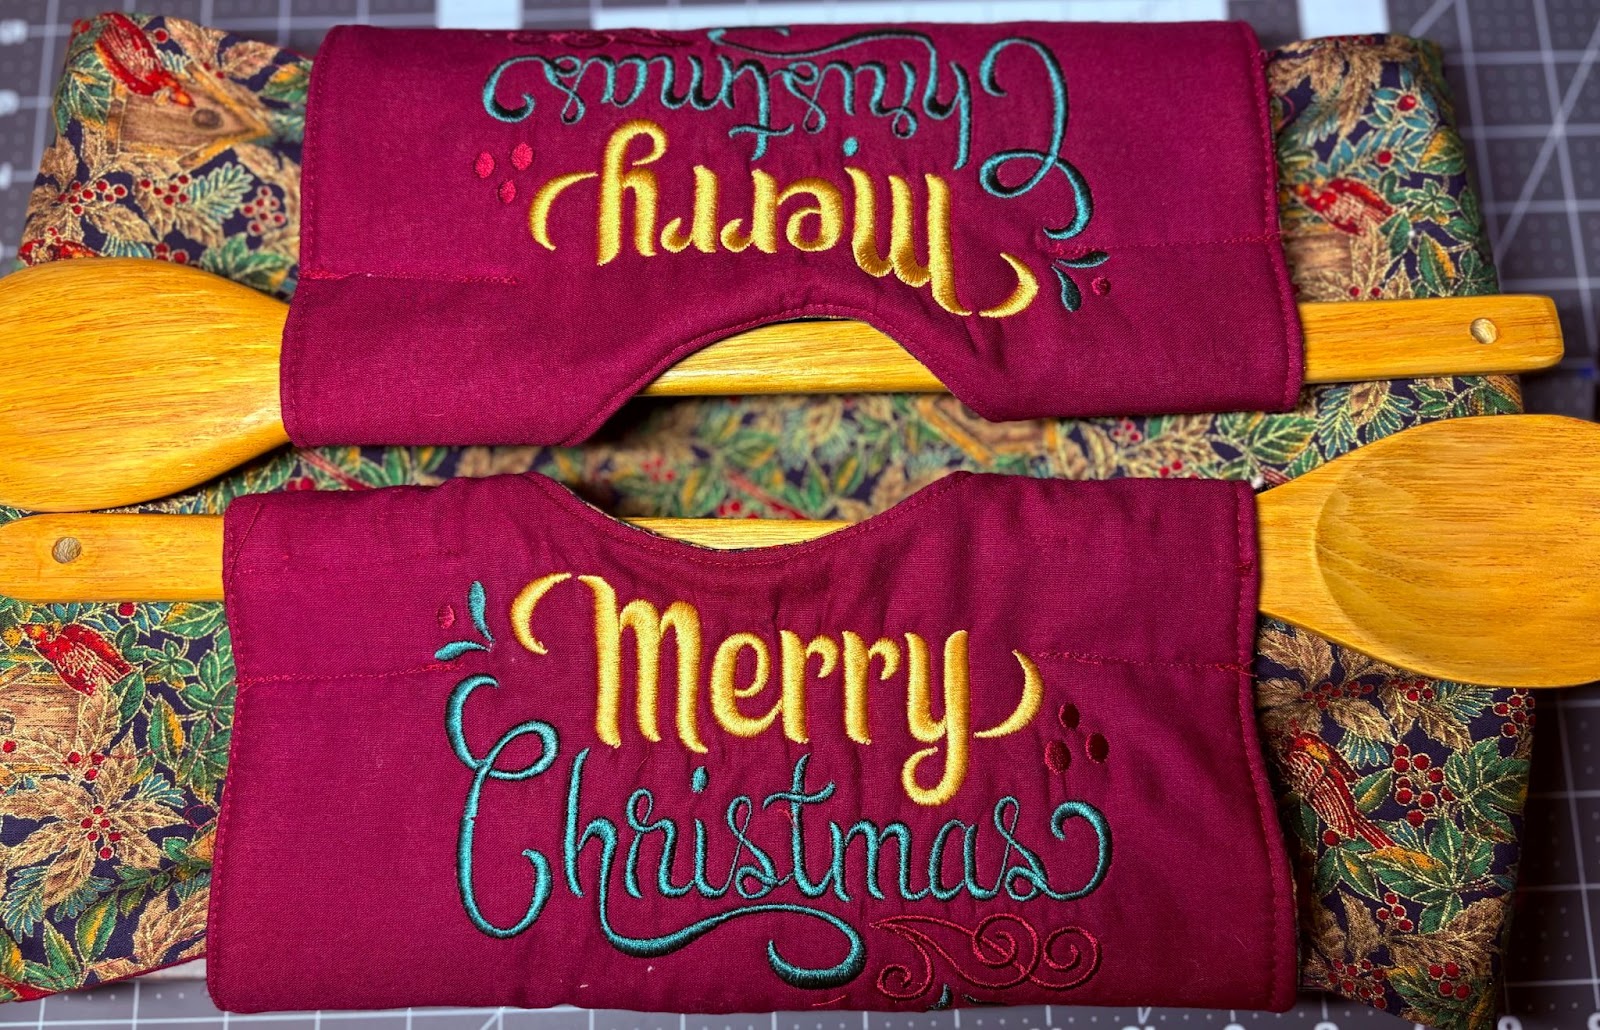
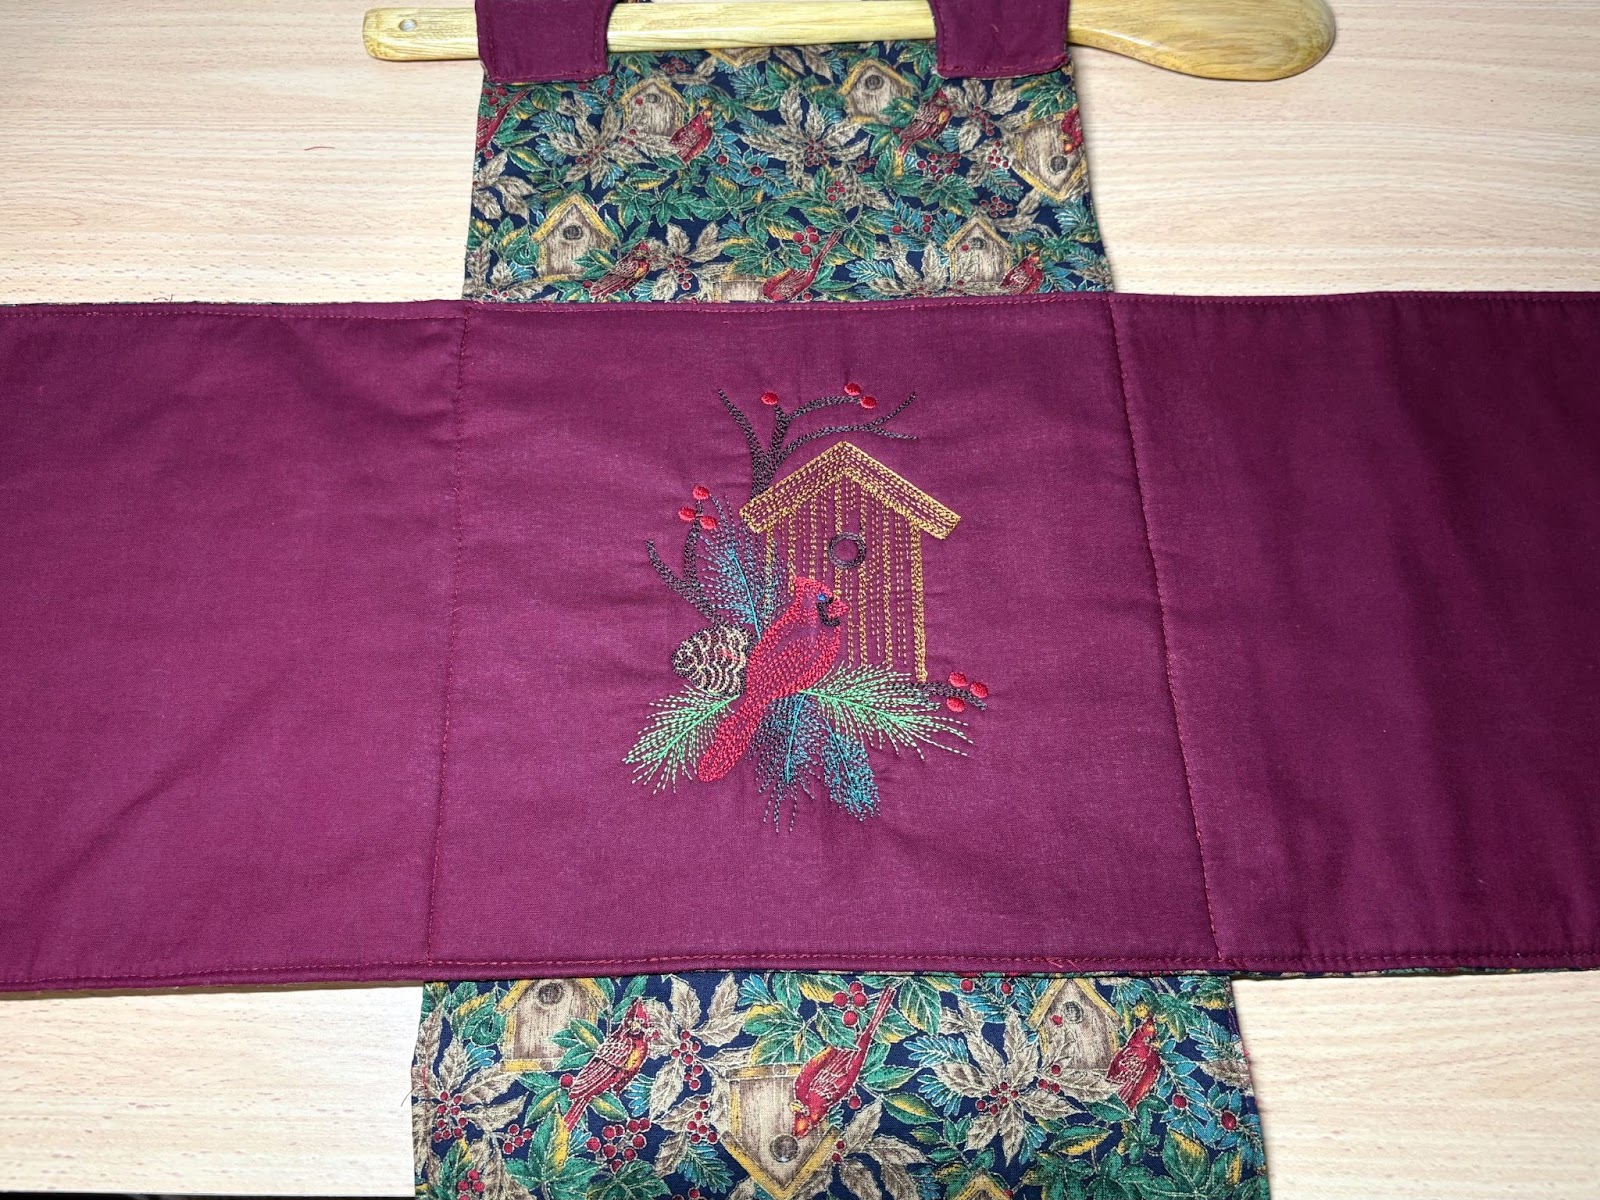
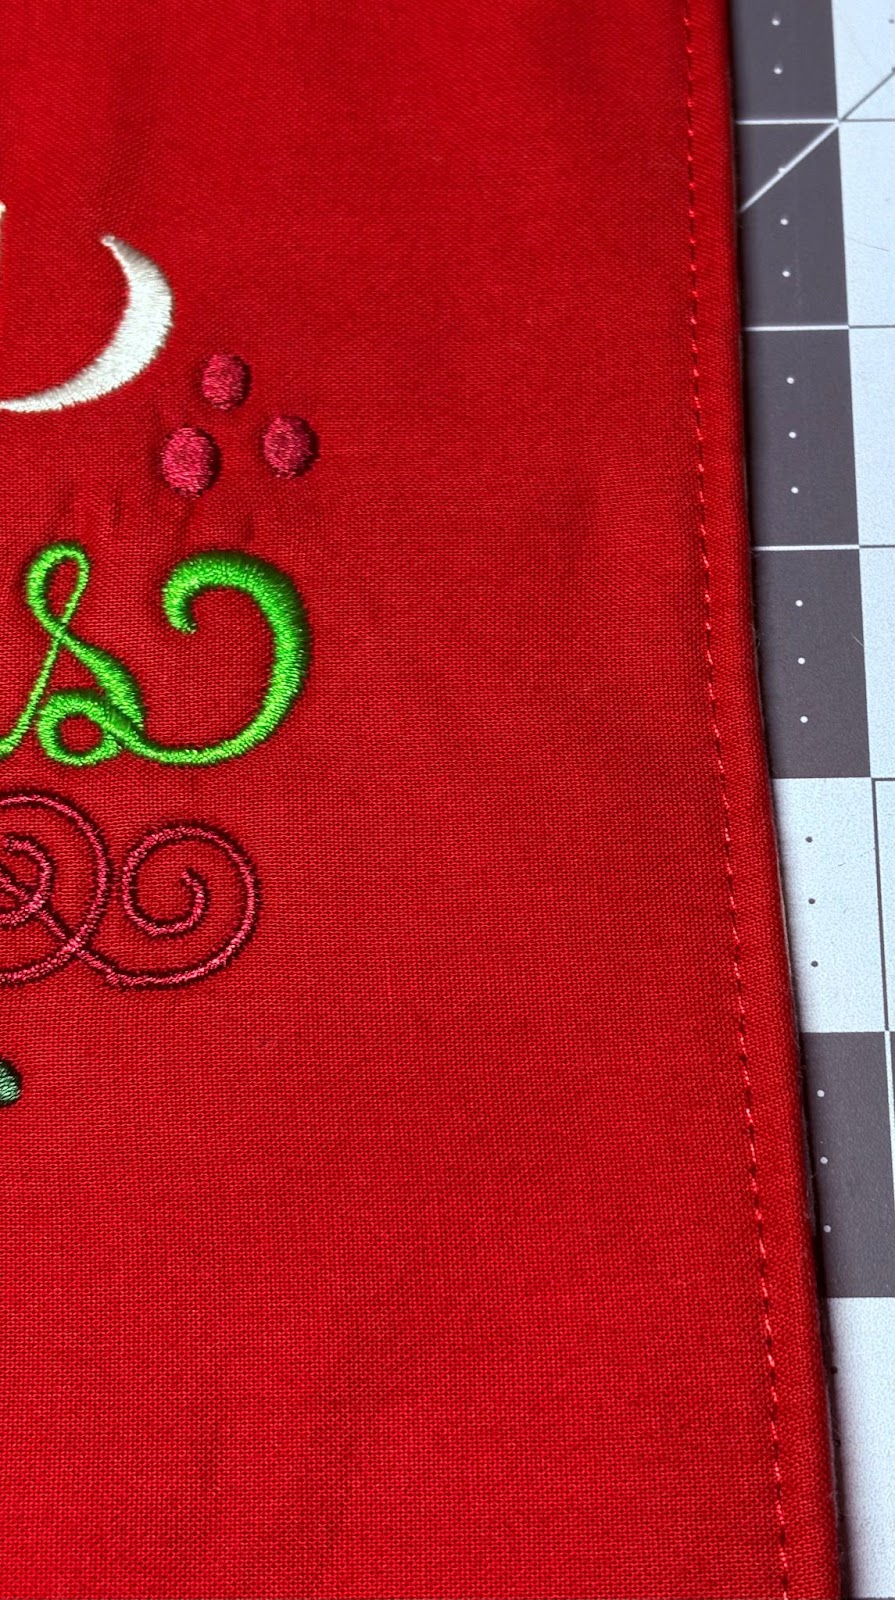
I used the Christmas Cardinal Vintage Sketch to coordinate with this fabric.
These casserole carriers can be used all year by switching seasonal or holiday-themed designs. With Designs by JuJu you are sure to find the perfect design to coordinate with all your fabric choices. So have fun and make these adorable carriers for every gathering. They make the perfect gift for family and friends. Bring your favorite dish to welcome a new neighbor and leave the carrier. You will become fast friends!
Please share your projects in the Designs by JuJu Embroidery Blessings Group on Facebook, or anywhere on social media using the hashtag #designsbyjuju. We’d love to see what you create!
