Toggle Nav
 Inspire.
Create.
Stitch.
Inspire.
Create.
Stitch.
Search
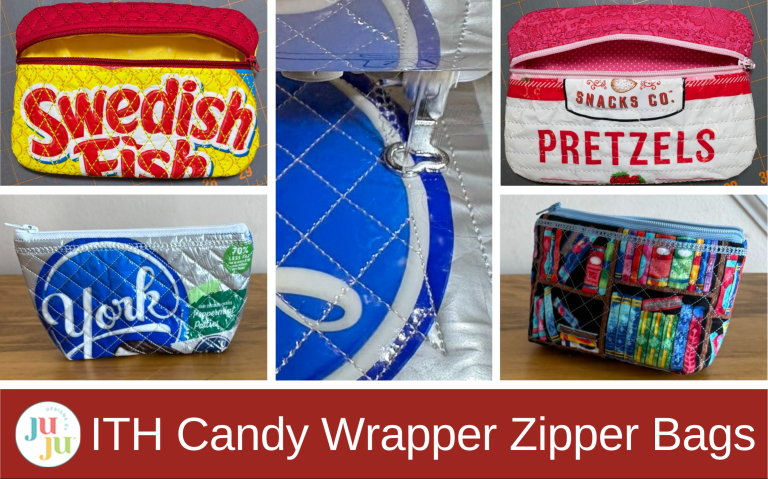
Turn empty snack bags into zippered treasures—right in your hoop!
If you’ve already made in-the-hoop zippered bags, this is just as easy a project. The only hard part is you may need to be a martyr and eat all the candy yourself. Be sure to keep an eye out for the chance to snag a candy or snack bag from a party or event throughout the year so you can make these as gifts.
Check out the DBJJ team’s favorite supplies in the Designs by JuJu Amazon store. For stabilizers and batting, Designs by JuJu+ has everything you need.
*I’m not really sure why Oma uses Fusible Fleece for the Top Zippered Bag. I didn’t find a step where that seemed to make a difference. I used it in this bag more for the body it gave my project.
I used the 5x7 designs of both the Oma’s In the Hoop Zippered Bag and the DBJJ In the Hoop Zipper Bags. I may try making smaller ones sometime, but I felt this size retained a lot of the graphics from the packaging. I didn’t go bigger, either, as I needed the bags to be at least 8” to 8½” wide to be able to use the 5x7 hoop design, and most packaging is not much bigger than that.
A word of advice: Hide the bags that you’re planning to use after you purchase them. After buying a package of Cheetos, I thought would make a cute zippered bag. I opened the bag carefully and ate a few, planning to spend a few days eating them before making the bag. Later, I turned around and my husband was eating them! I told him that I needed the bag and to be careful and save it for me. He did, but with a tear right down the middle. Guard your bags!
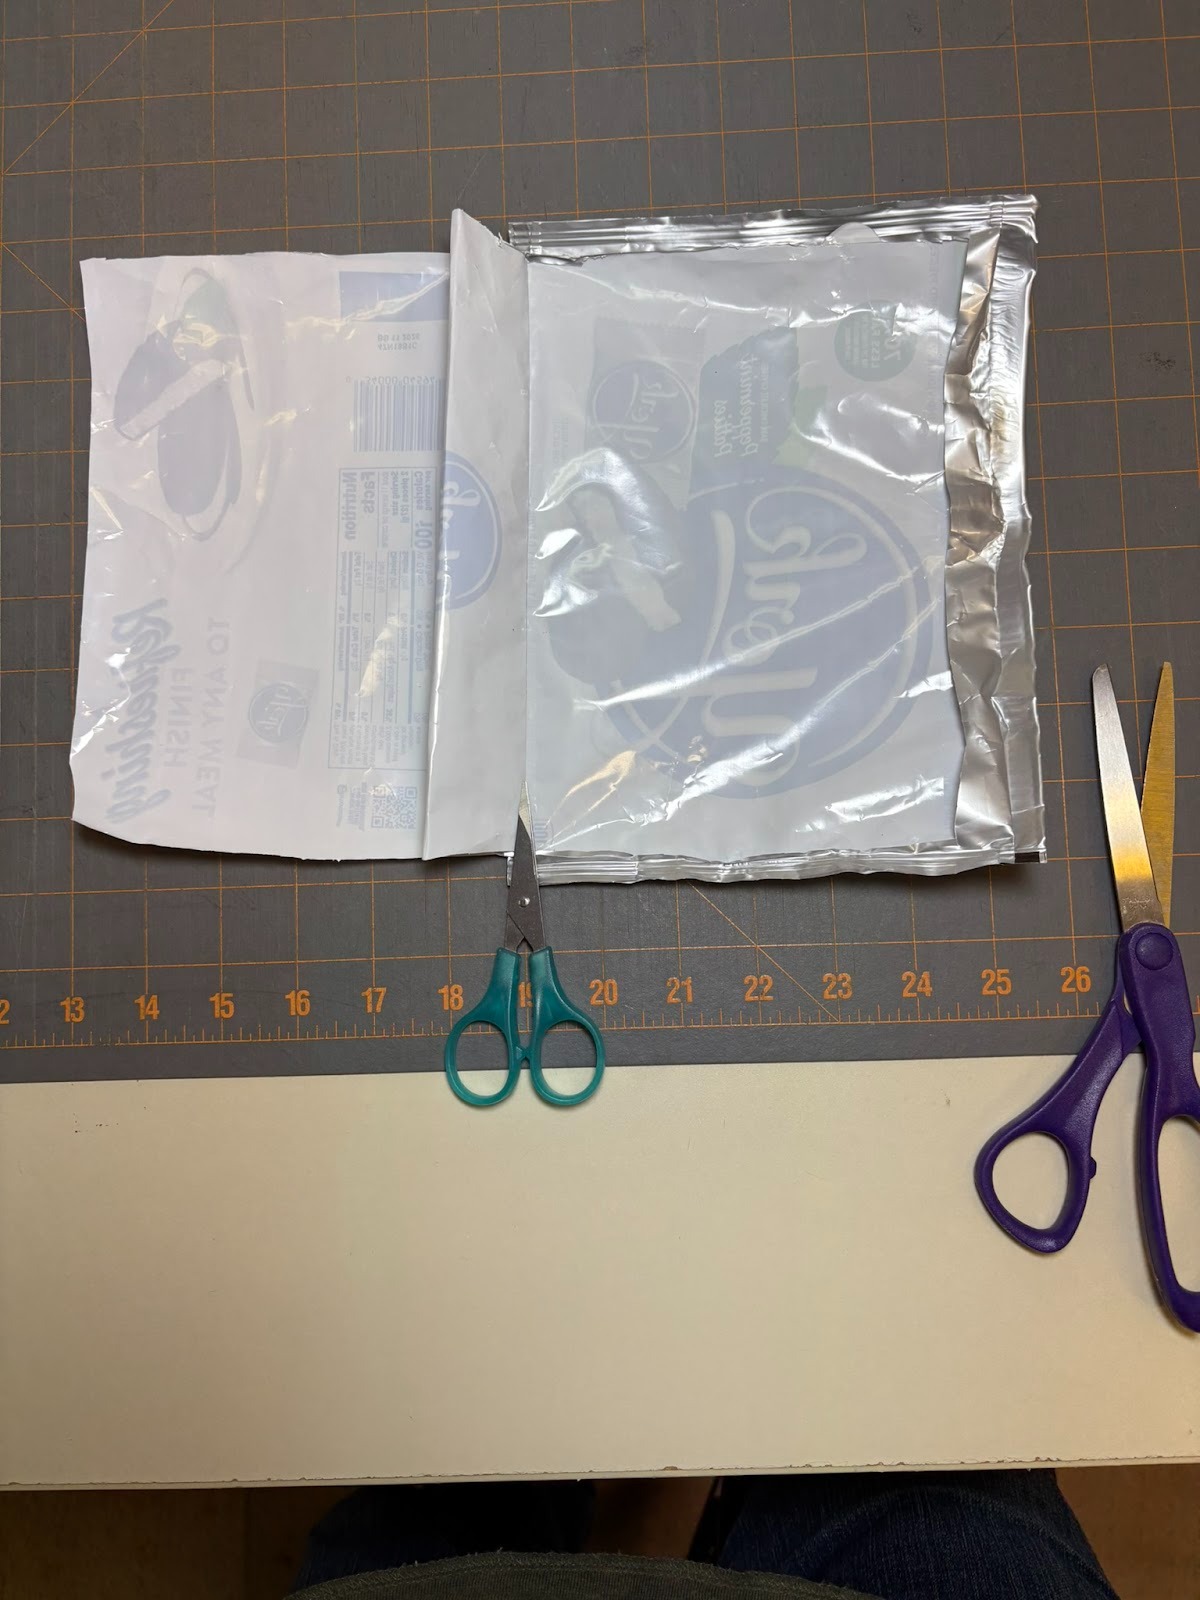
Make sure you wash and dry the candy or snack bag before you start your project. Then carefully cut open the bag and lay the front flat.
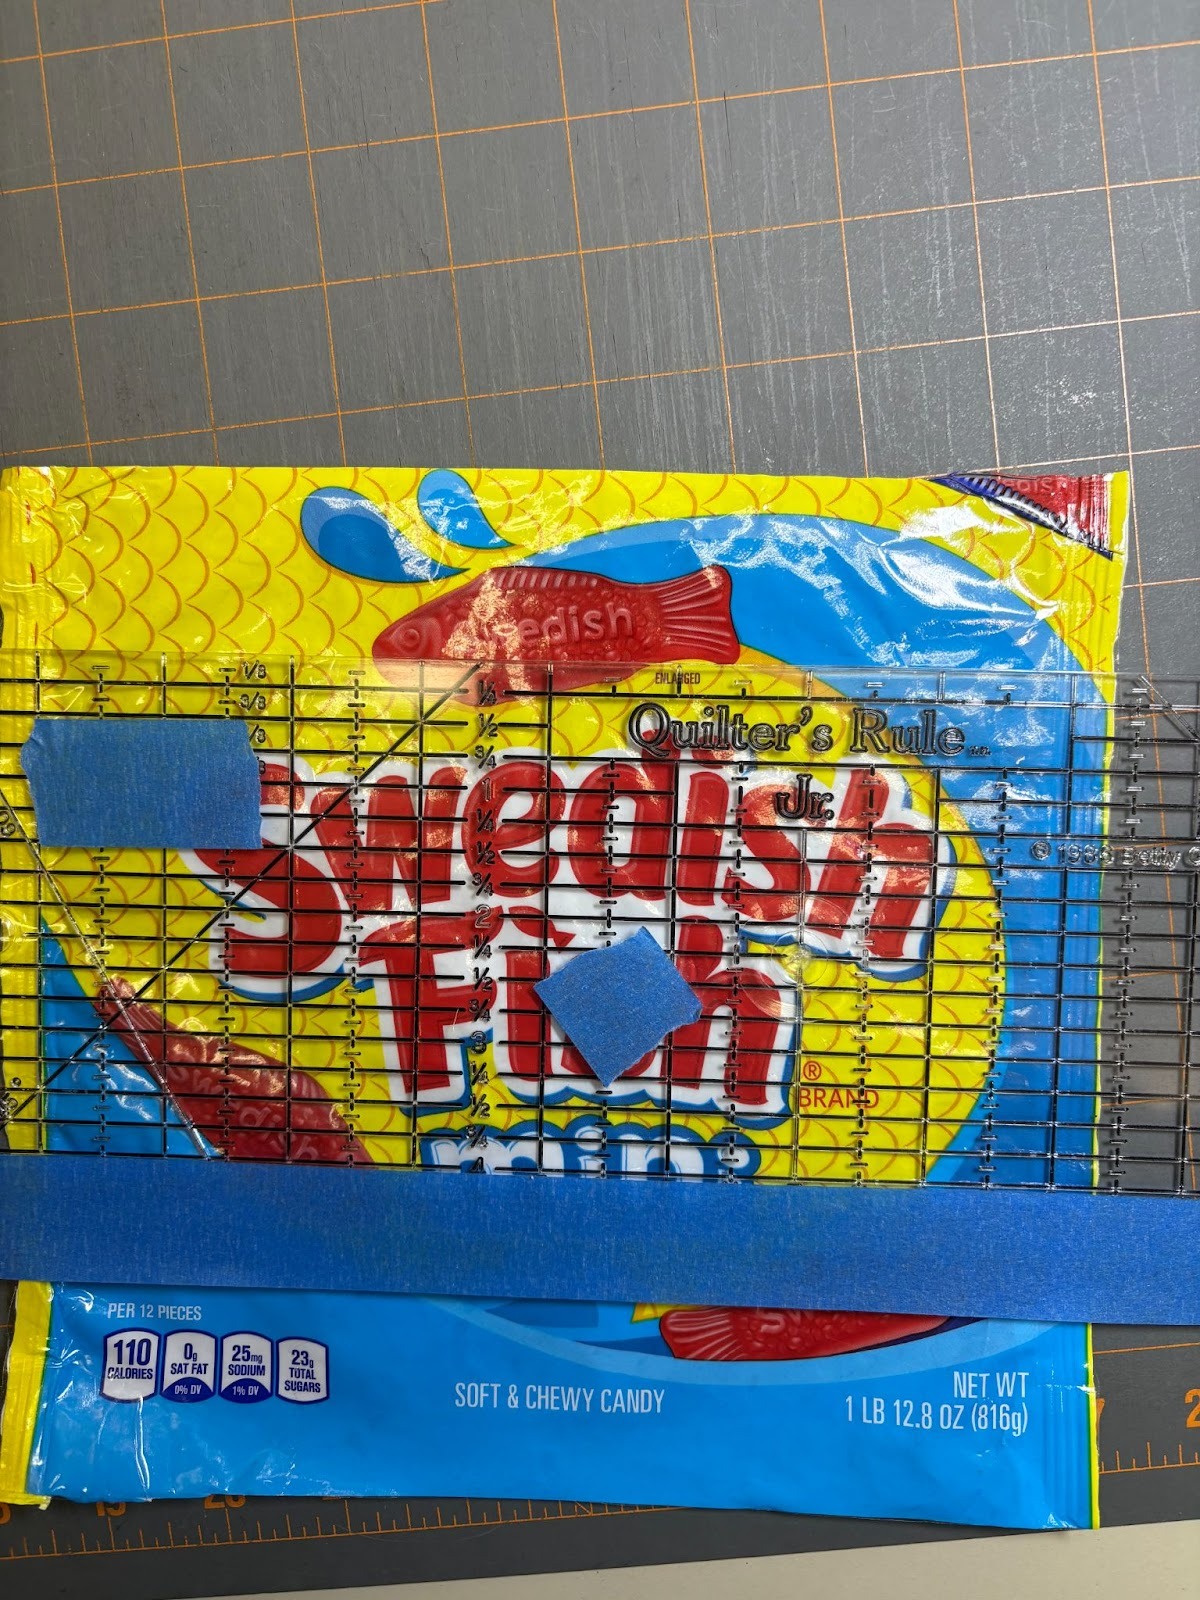
I used my clear rulers to help me center the graphics and cut out the pieces I needed for the front of the bags using the measurements for the size bags I was making. I have an old rotary cutter I use for cutting paper, and I used it on this project for cutting the bag pieces I needed from the wrappers. Be careful, as I found my ruler was a little more prone to slip on the slick surface of the candy bags.
For this project, I used Heat-n-Bond Iron-On Vinyl with a gloss finish.
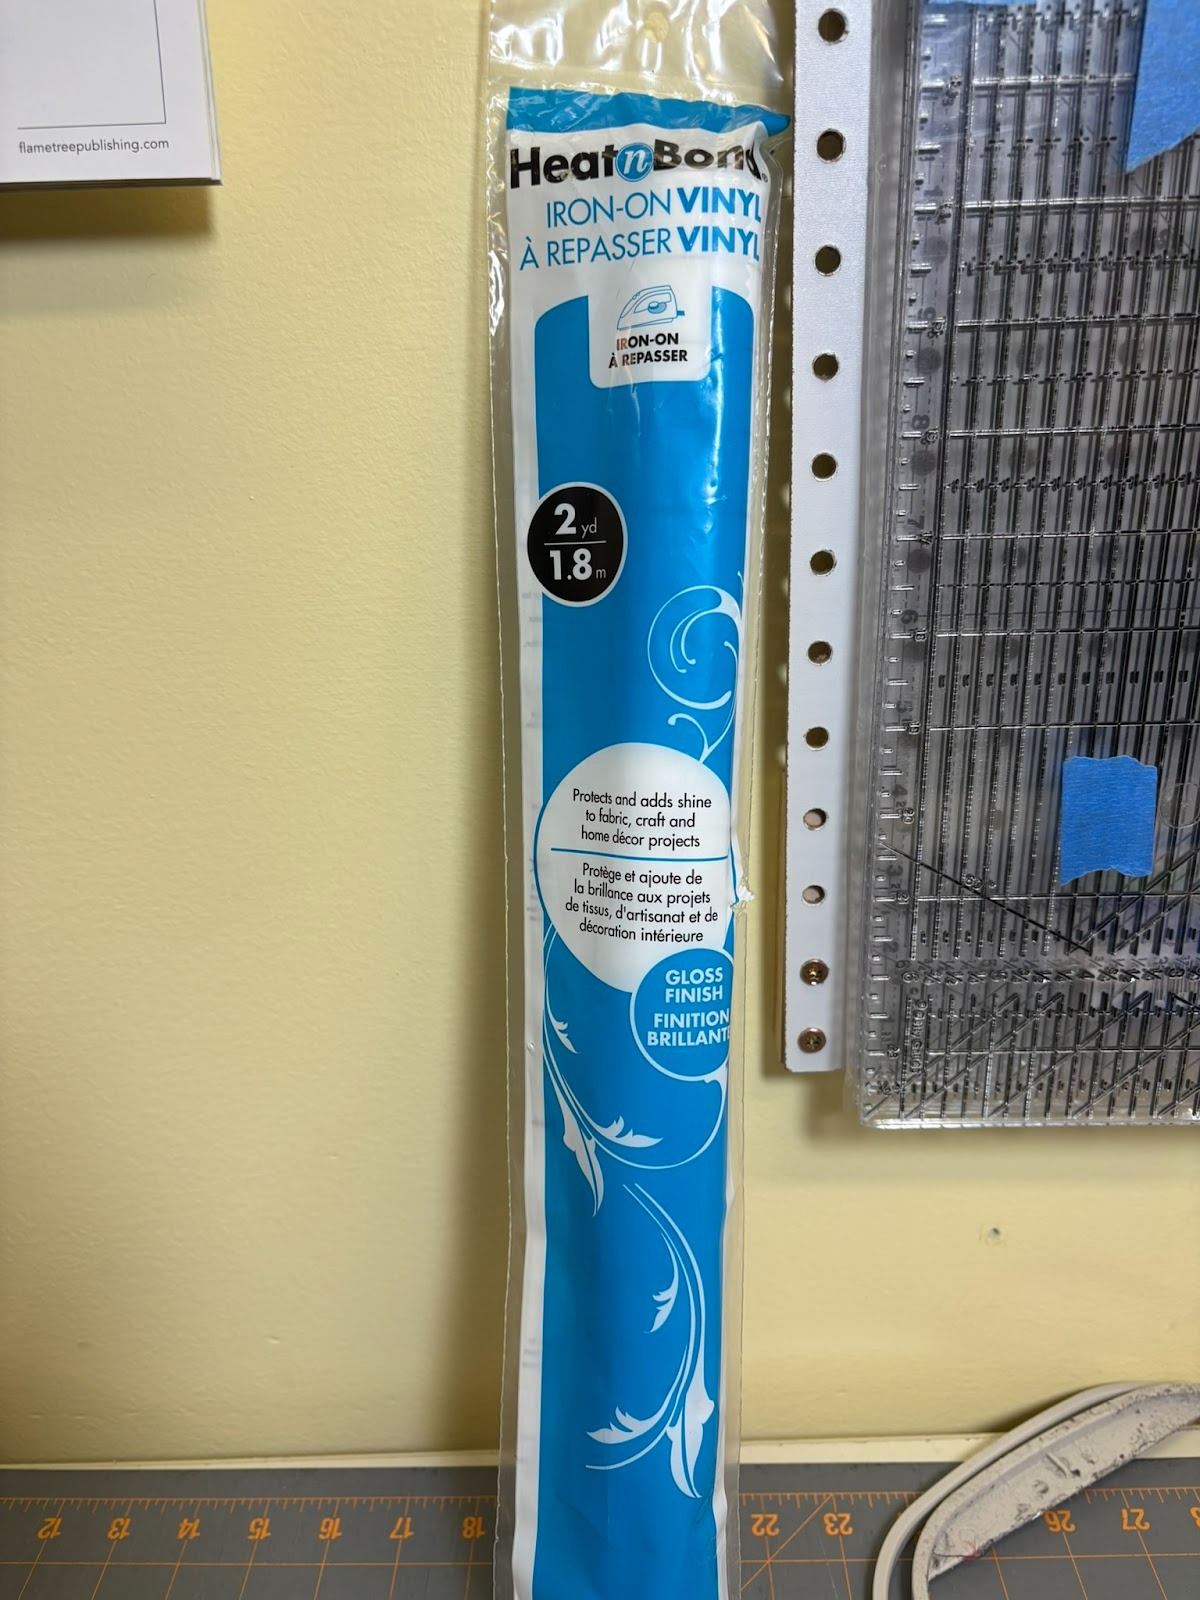
After you have the candy bag cut out for the front of your zippered bag, cut out a piece of the Iron-On Vinyl slightly smaller than the piece you’ve cut for your bag front. I started at one end of the candy bag and slowly peeled off the protective paper from the vinyl while applying the vinyl sticky-side down to the front of the candy bag.

Using a tool from my kitchen as a squeegee—I think it’s a frosting spreader—I made sure the vinyl was fully in contact with the candy bag and there were no air bubbles.

Before ironing, I checked that there was no vinyl extending beyond the candy bag edge, because that would end up stuck to my ironing board. The first bag I made I followed the directions given with the vinyl, which said to peel off the protective paper of the vinyl and use it as your pressing surface. I found that difficult. I had better results using a pressing cloth. I also put my wood clappers on top right after ironing to help prevent curling. If you don’t have clappers, use a heavy book or two.

That’s really it! After cutting and applying the vinyl to your candy or snack bag, you’ll follow the step-by-step directions that DBJJ provides with each bag design. I’m going to point out or repeat a couple of things I noted as I was making the bags.
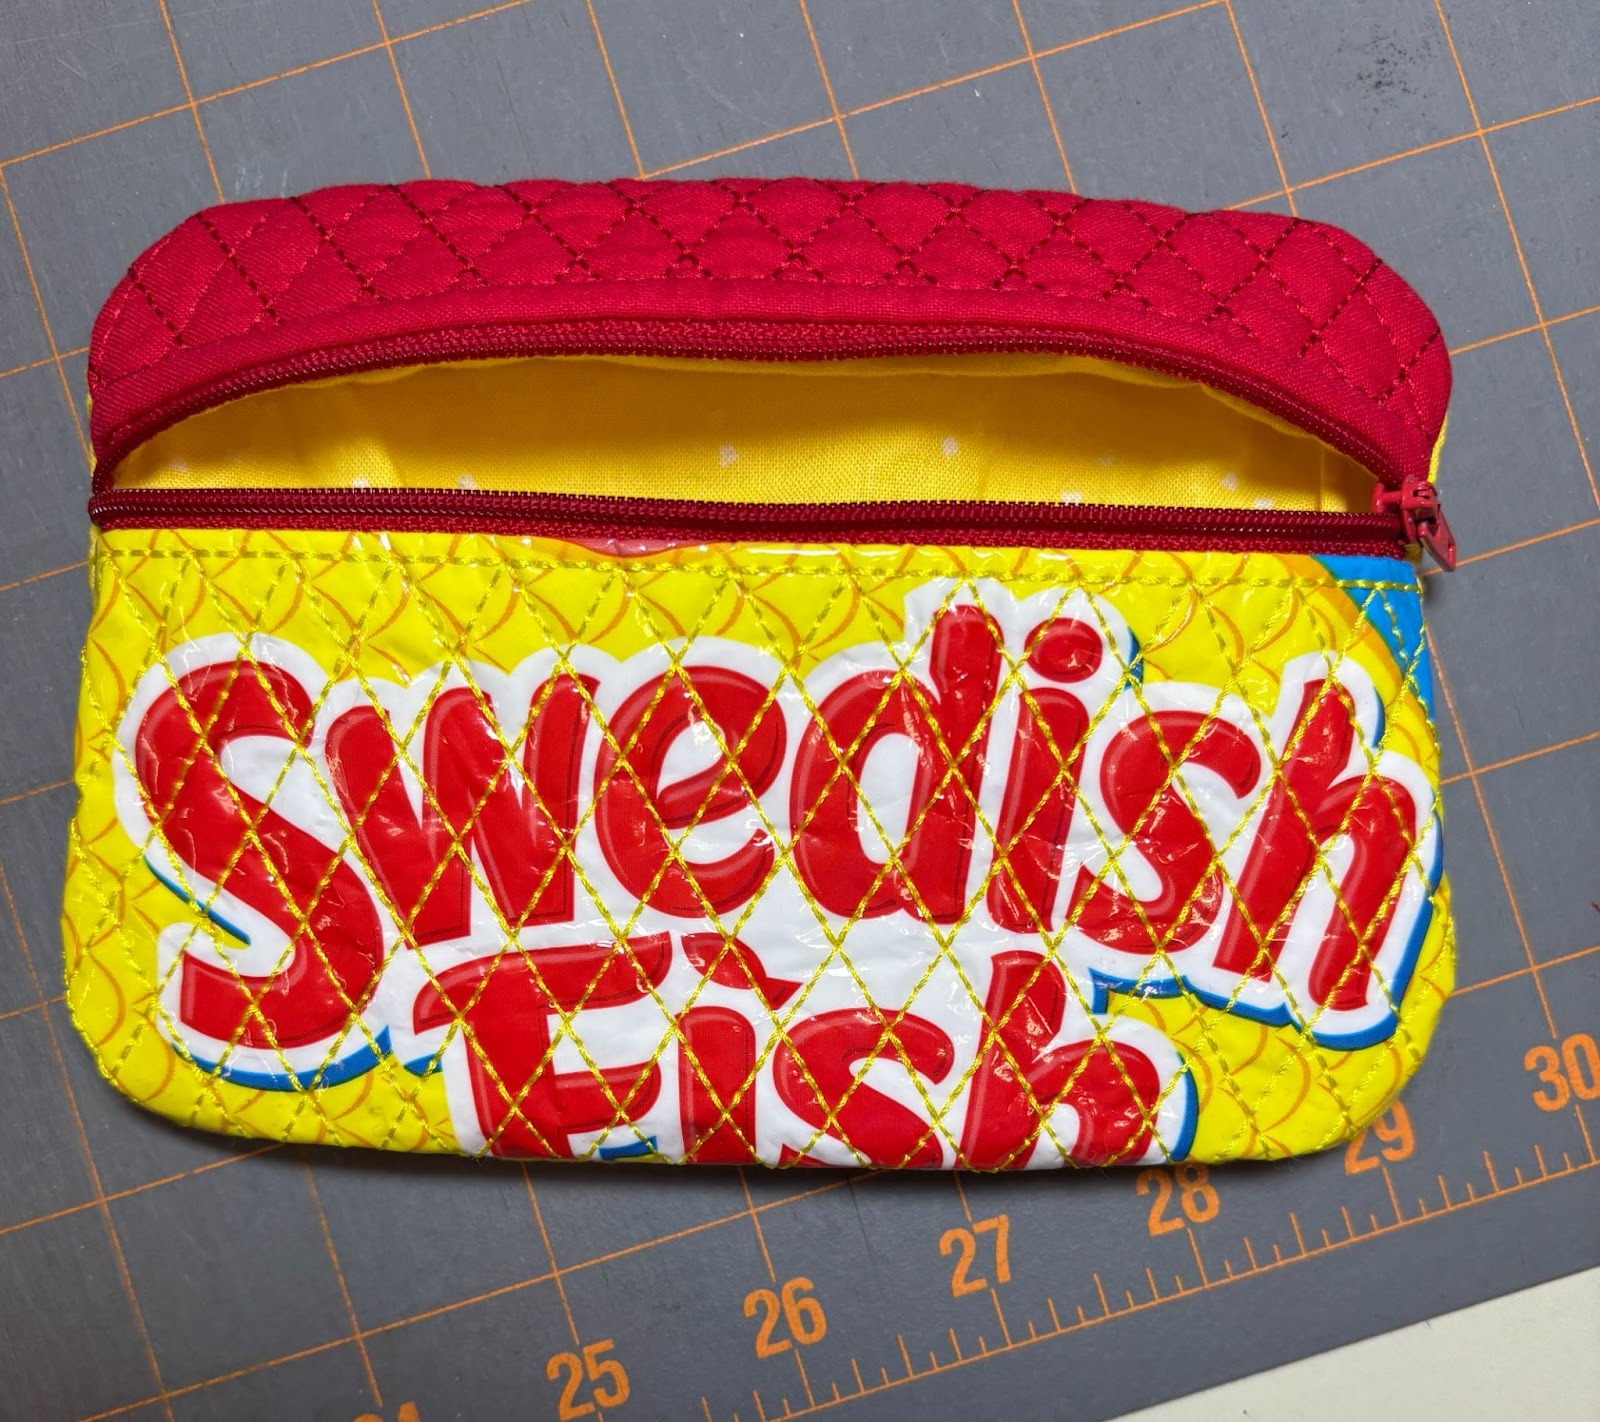
This bag is 95% completed right in the hoop. The only thing you’ll need to do is hand sew the opening that was left so you could turn the bag and lining right side out.
Again, because there are step-by-step directions included with the design download, I’m not going to show you each step needed to make the bag. I am going to point out components that I think are important. But if you’ve never made this bag before, watch this video by Janine. It’s especially helpful for figuring out where to place the lining pieces on the back of the hoop.
The instructions given are for multiple sizes. If you have a printer, you could print them out and highlight the cutting measurements. I don’t have a printer, so to make sure I didn’t misread anything, I wrote out the names and measurements for all the bag pieces before doing any cutting. I don’t often prepare all the components of a project before starting, but I found that cutting all the needed pieces for the zippered bags ahead of time worked out well for me.
The front bottom of the bag will be made from the candy wrapper. The instructions for my size bag say to cut a piece 4” x 8½”.
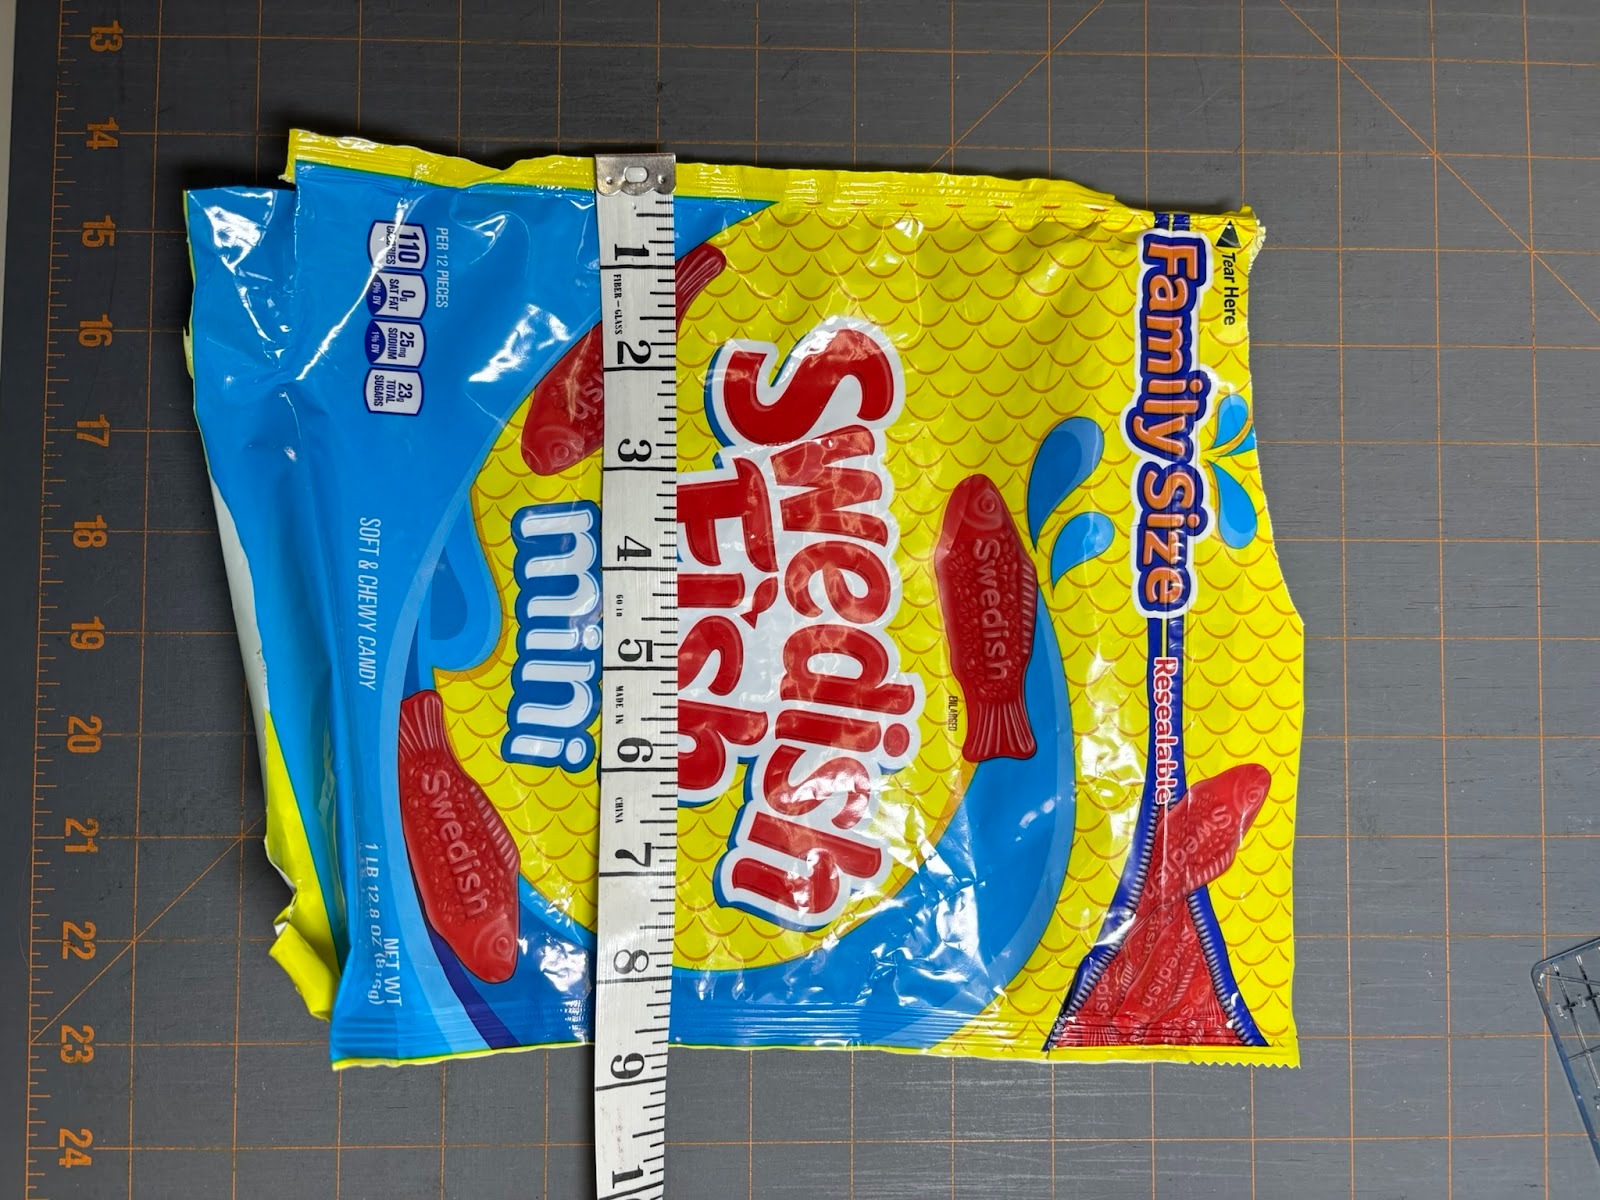
I wanted to make sure that the words Swedish Fish would be on the bag, so I used my clear ruler to center the words within the 4” needed from top to bottom. Then, since Step 2 shows that the top of that 4” piece will be aligned with the zipper edge, I cut off the top of the bag. If you notice in my photo, I didn’t bother to cut the rest of the bag off at that time.
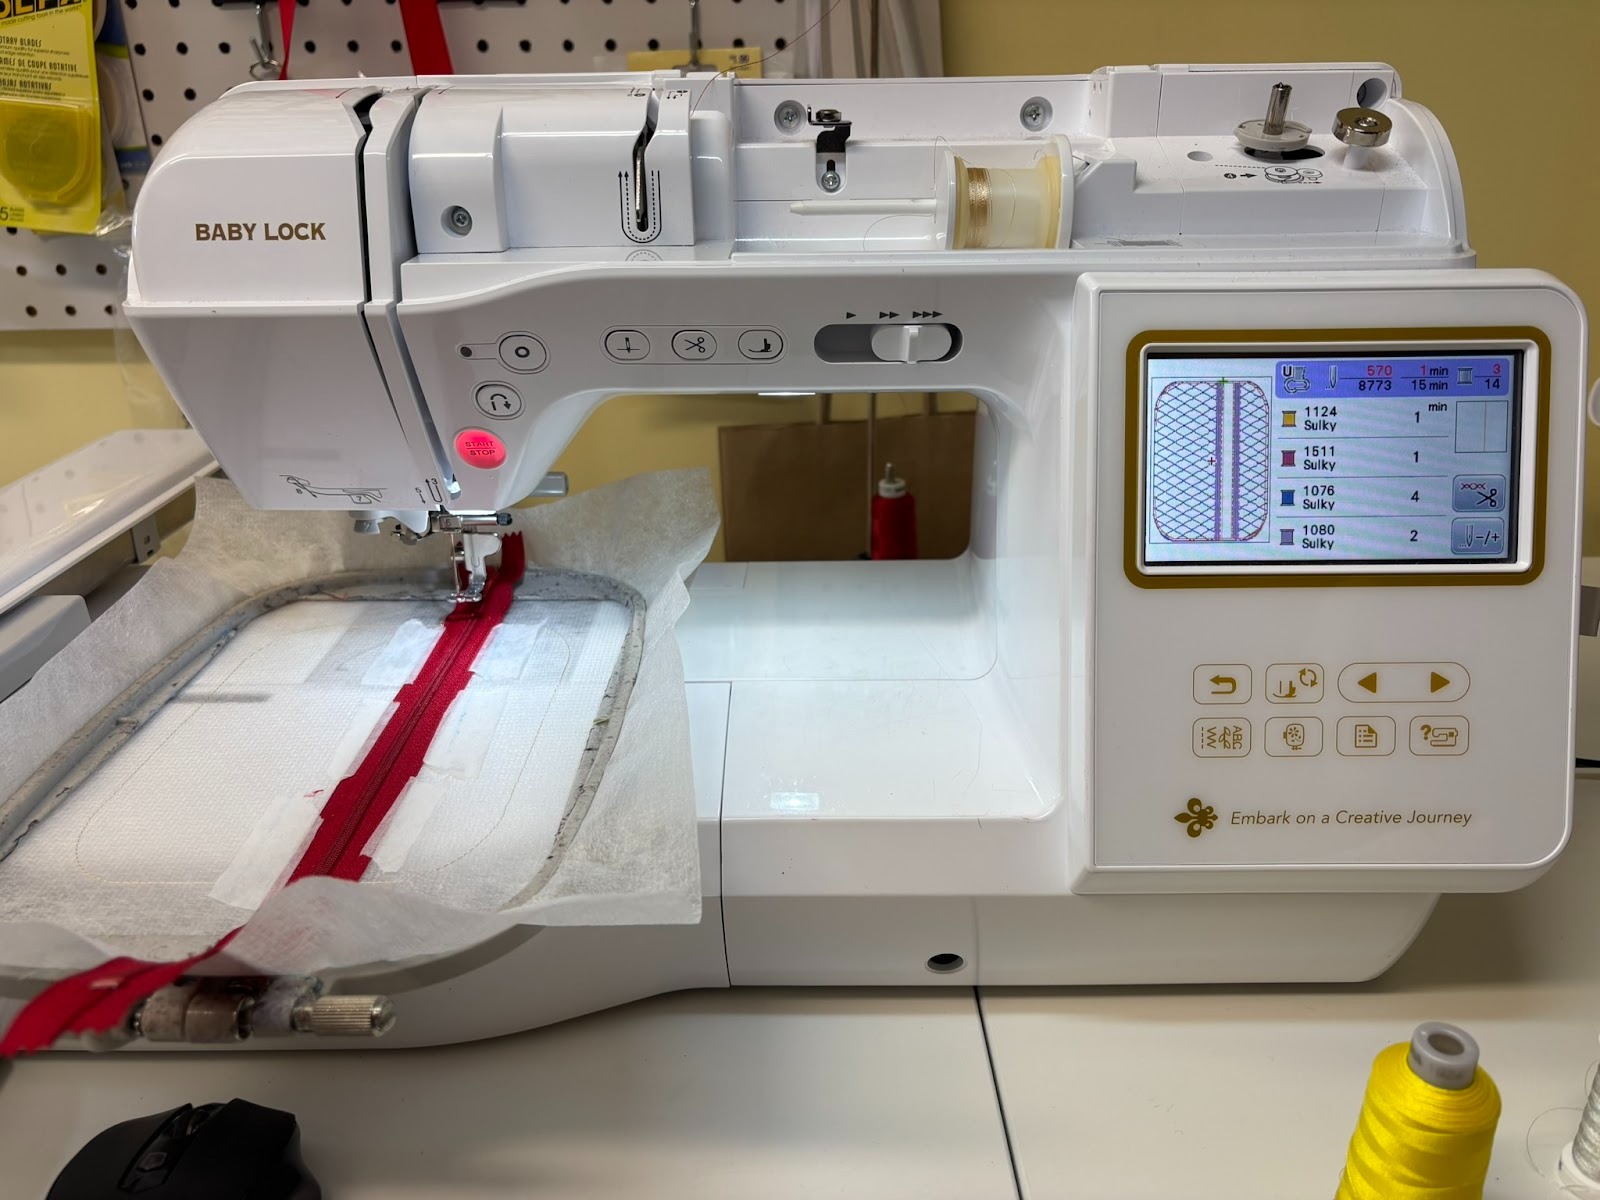
The back is sewn first, which I’m making out of regular cotton fabric. Instead of taping things down, I used 505® Temporary Adhesive spray.
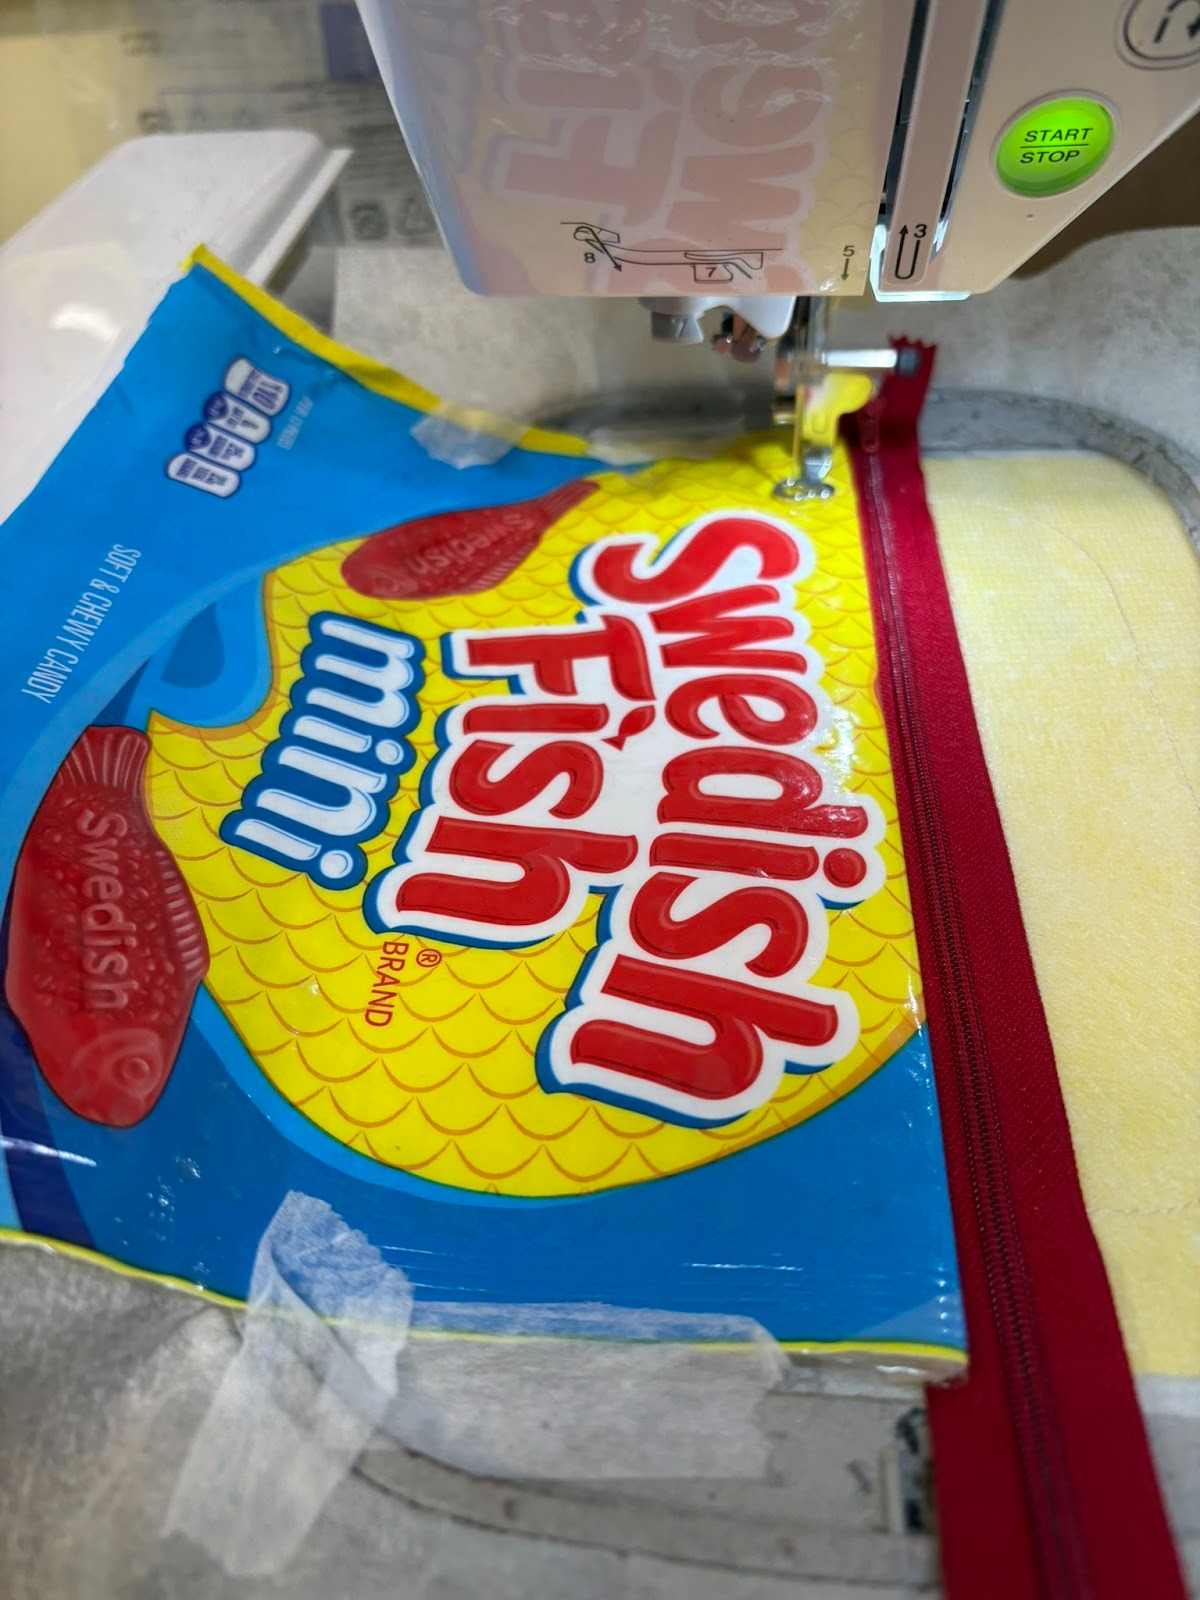
Then it was time to make the front. This is where I found watching Janine’s video most helpful. I followed the instructions and taped things down except for on page 7, Step 3, where I used 505® Temporary Adhesive spray for holding the fabric and batting in place because of the slipperiness of the candy bag. I will say it made it a little harder to cut out the batting between the layers at the very end of making the bag.
I decided to skip the decorative stitches on Step 6, leaving the decorative stitches off the front of the Swedish Fish bag.

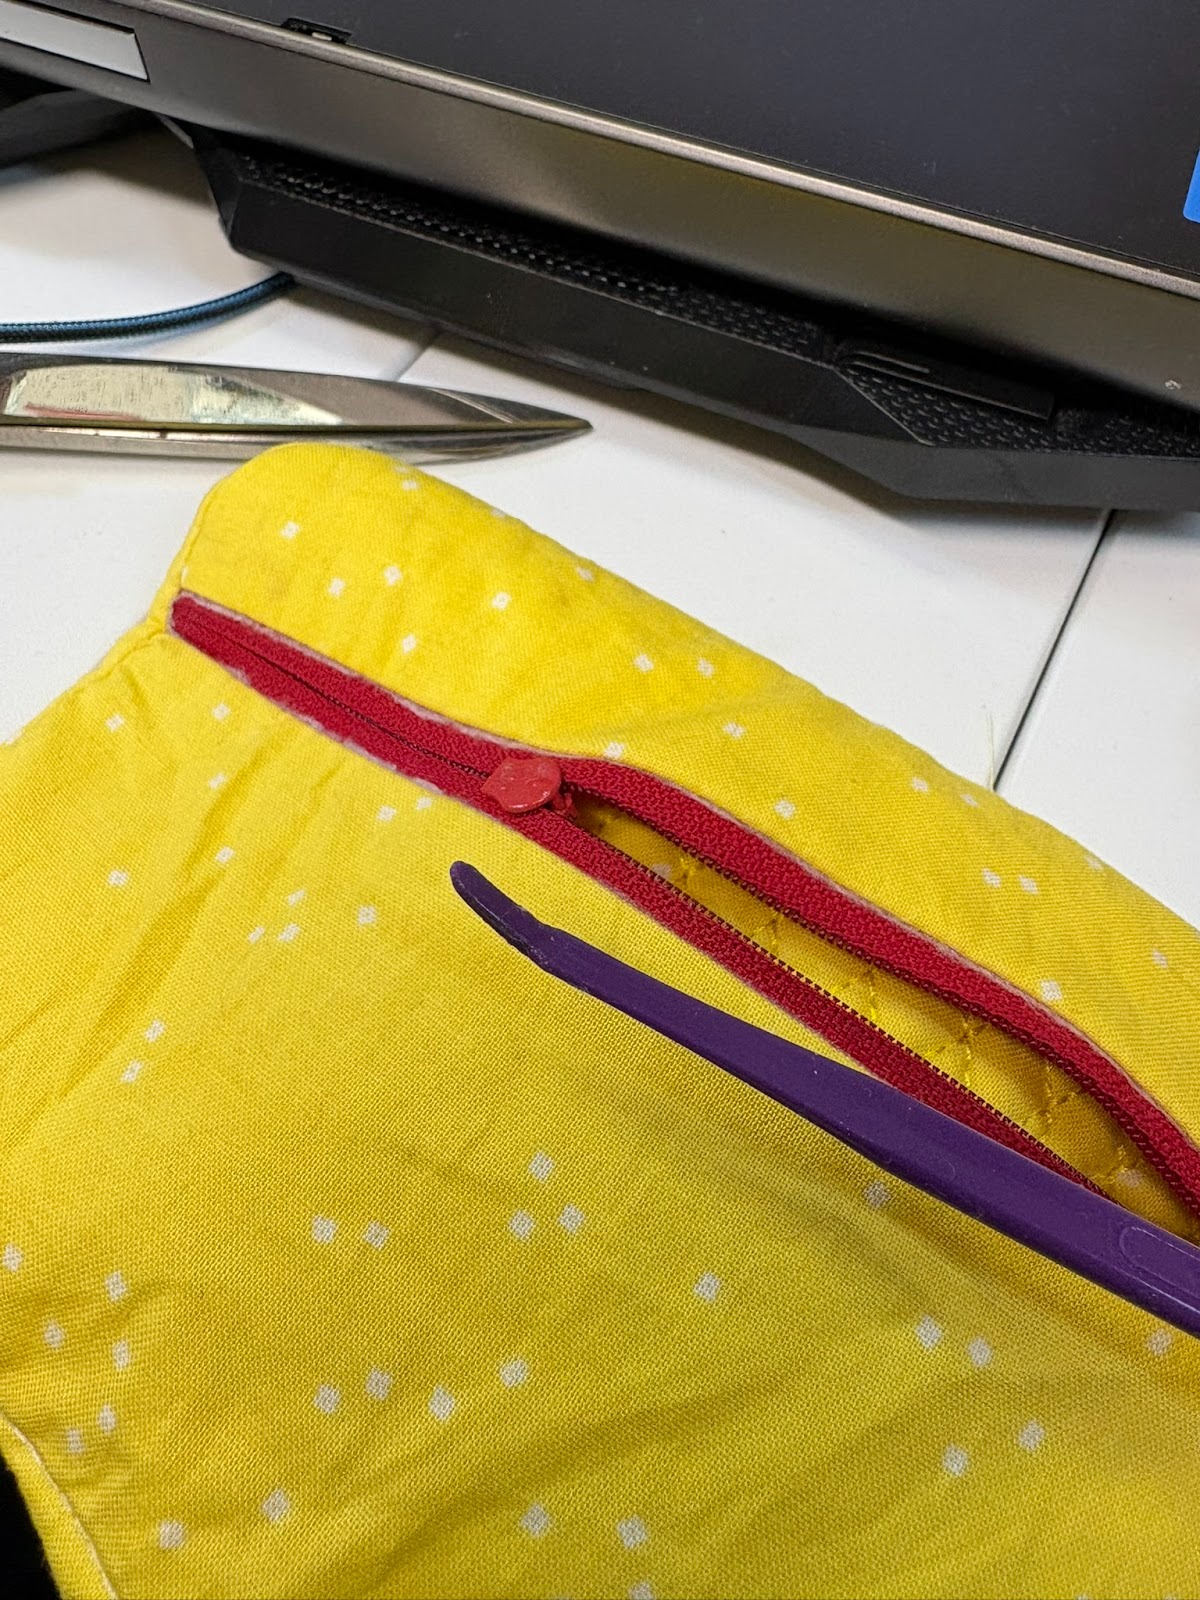
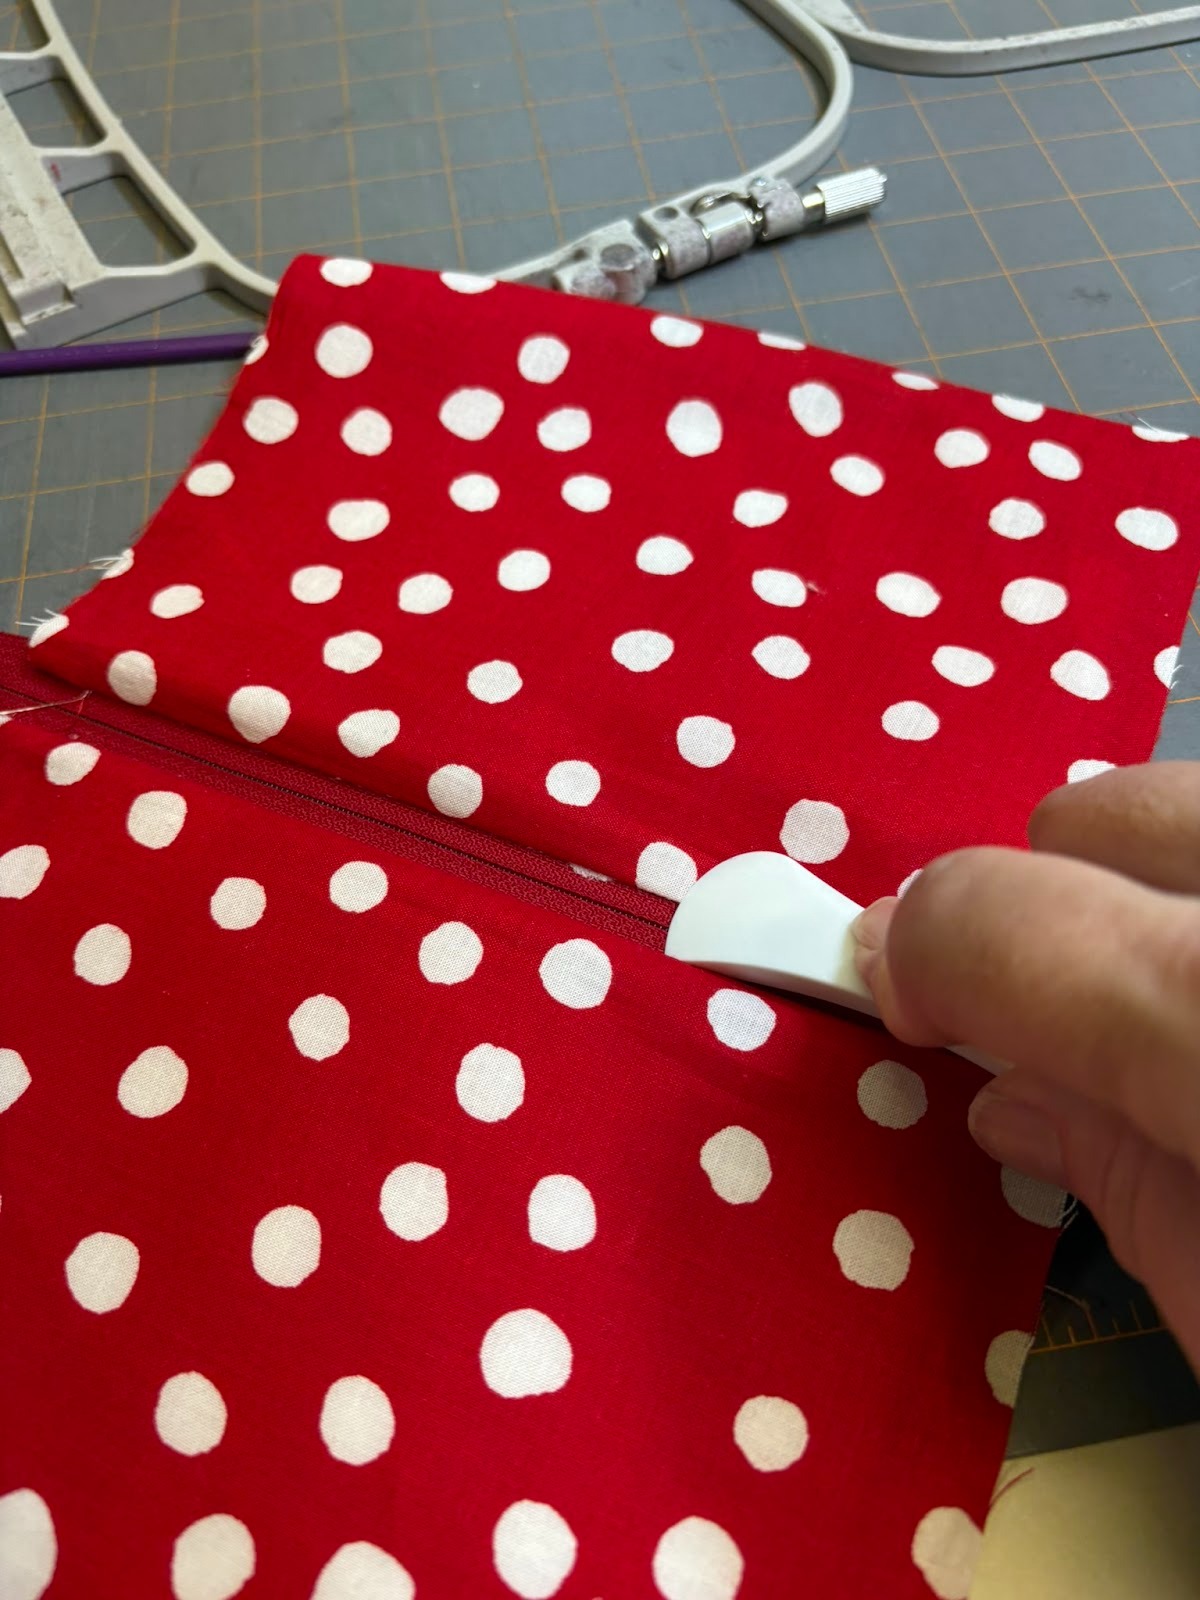
When it is time to turn the lining right side out, take your time. Take the advice of the instructions and start with the corner closest to the opening. The instructions say to use scissors for cutting away the mesh stabilizer covering the zipper, but I found it easier to use a sharp seam ripper.
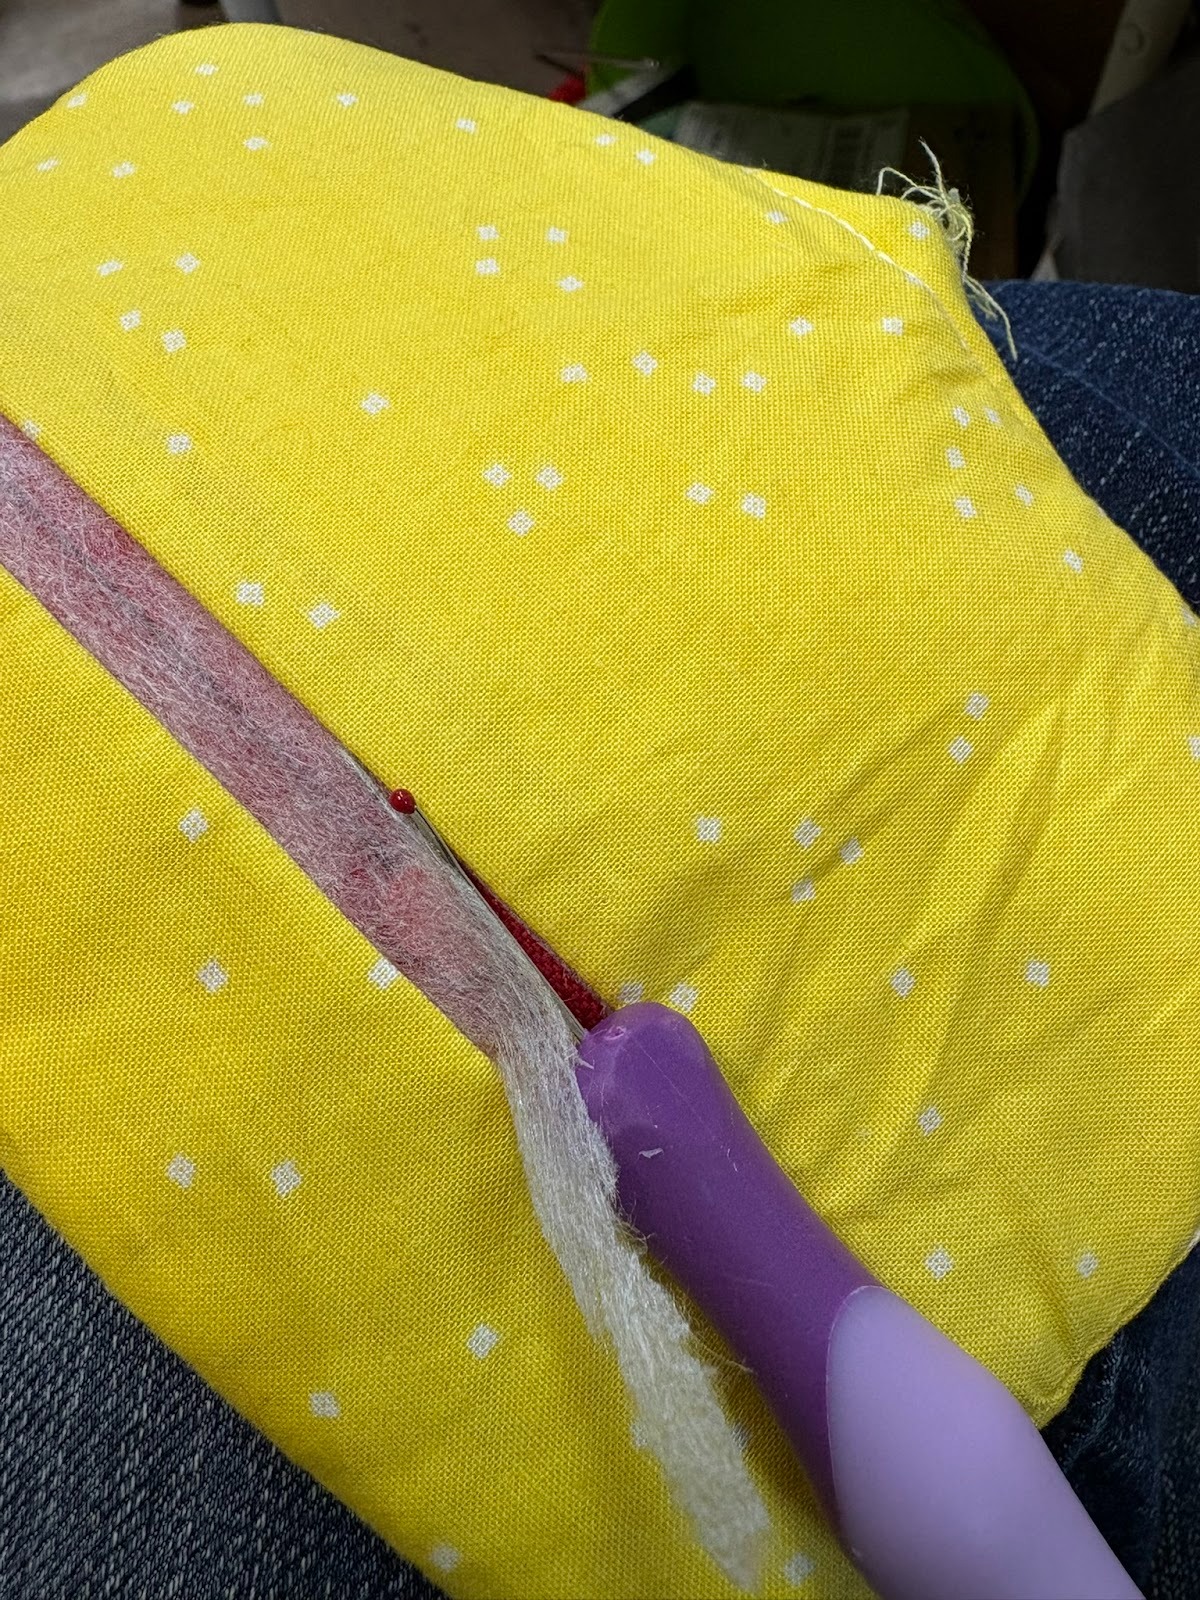
When you sew the opening closed, make sure you catch only the lining fabrics together—don’t poke in so far that you are catching the outside fabrics. Then use the curved end of That Purple Thang and push the zipper all the way open so you can turn the bag right side out.
Make sure to push the corners out. I didn’t press my bags when they were finished. If you want, you can press the top part of the bag, but I don’t think it’s necessary.

To complete this bag, you’ll sew the side seams and box the corners using your regular sewing machine.
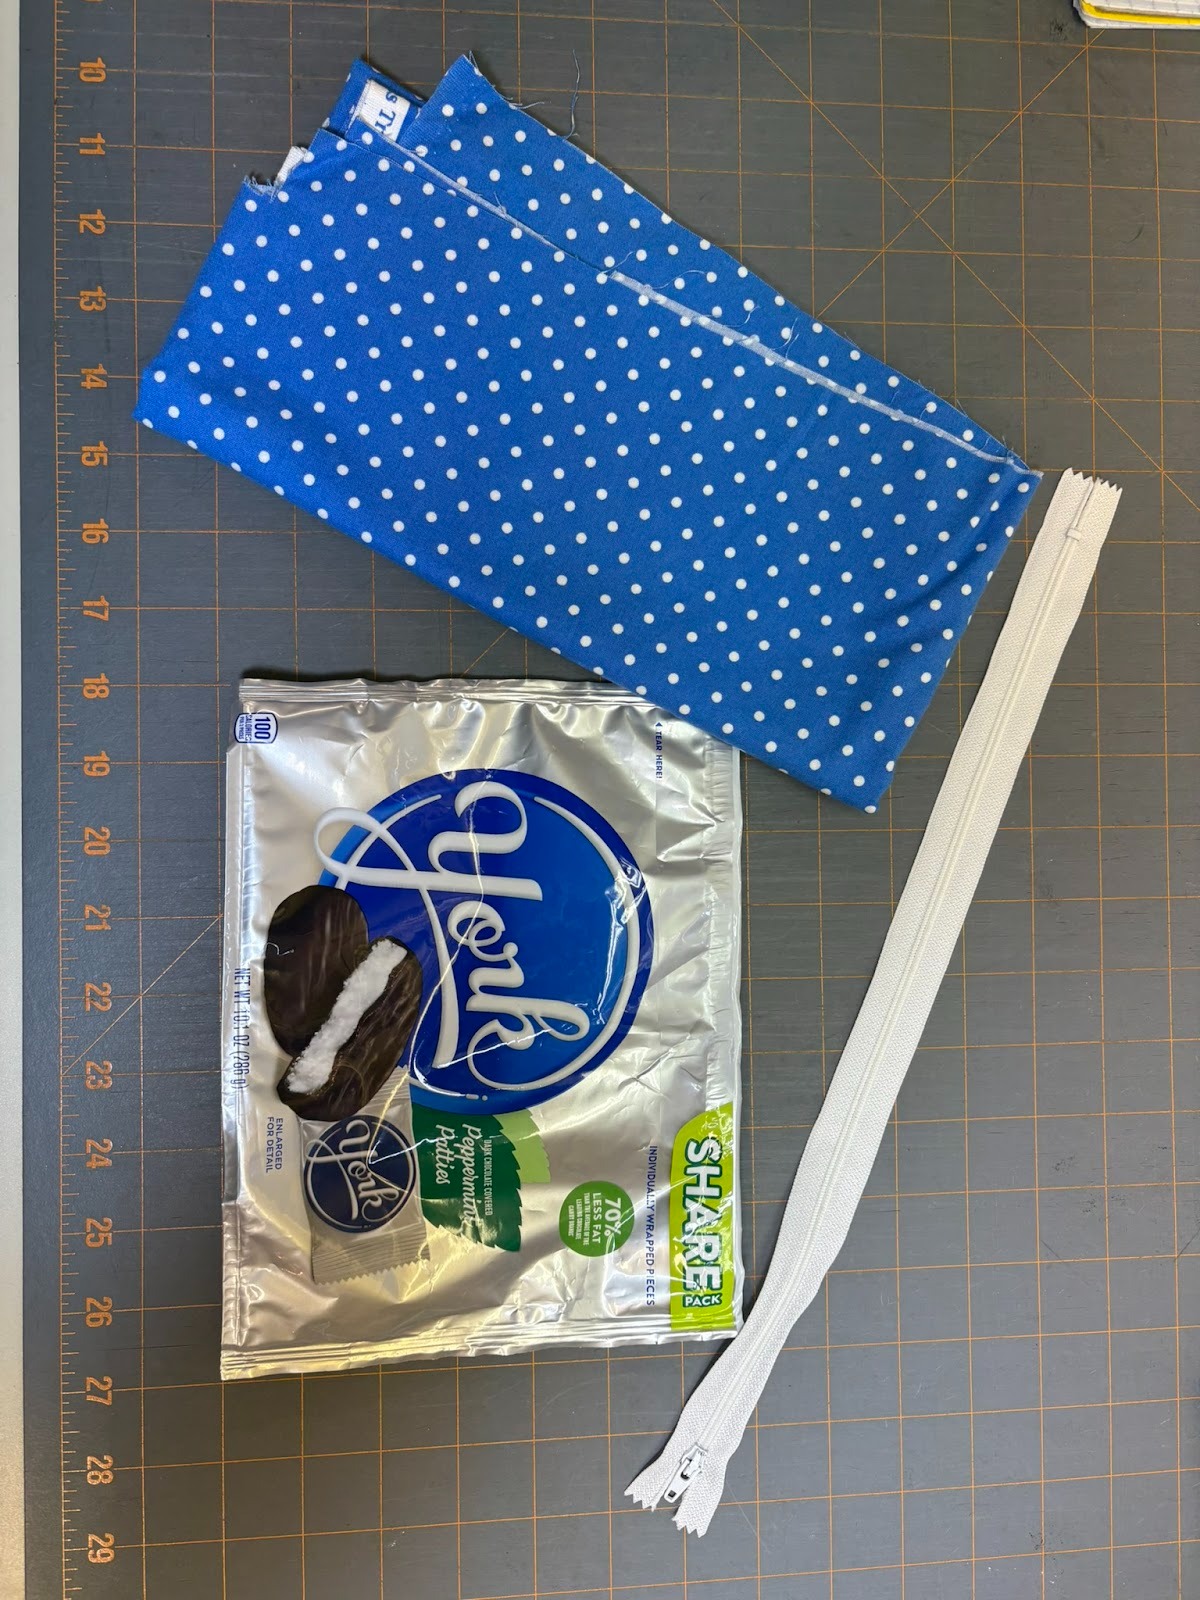
Choose a candy or snack bag that is large enough to cut the required front pieces. For this sample, the 5x7 zippered bag is made from a York Peppermint Patties package, using the package for the front and fabric for the back. Again,I think it will be too difficult to turn right side out at the end if both sides are made from the bag. For the 5x7 bag, I’ll need to cut a piece that is 6” (height) x 8” (width).

If you use the Pellon® Fusible Fleece that is listed in the Oma’s bag supply list as I did, be careful of the fleece residue. I found that after laying out the fleece and cutting it on my cutting table, I had a lot of fine grit all over the table. Because I didn’t want the grit in my project, especially on the bag and vinyl, I stopped what I was doing and vacuumed the table off. I kept all my cut pieces on a separate tabletop and got each piece as I needed it. I don’t know if anyone else has had that issue.
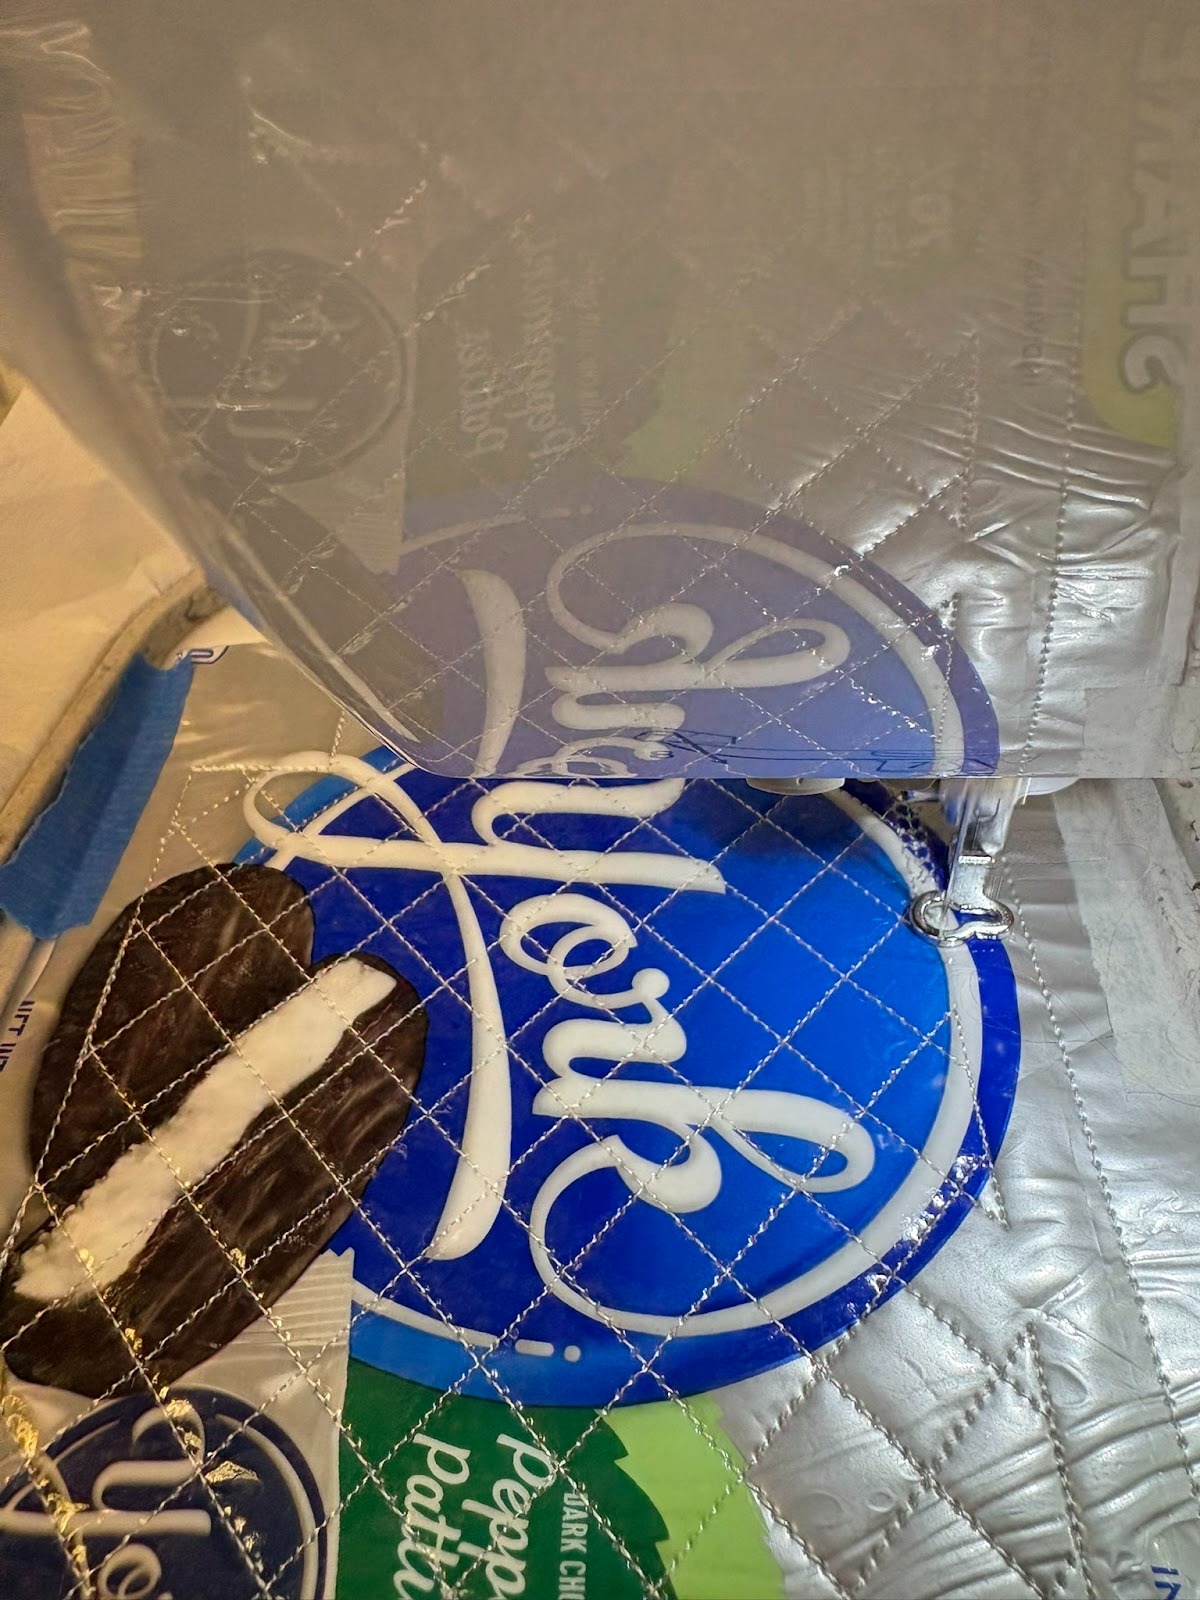
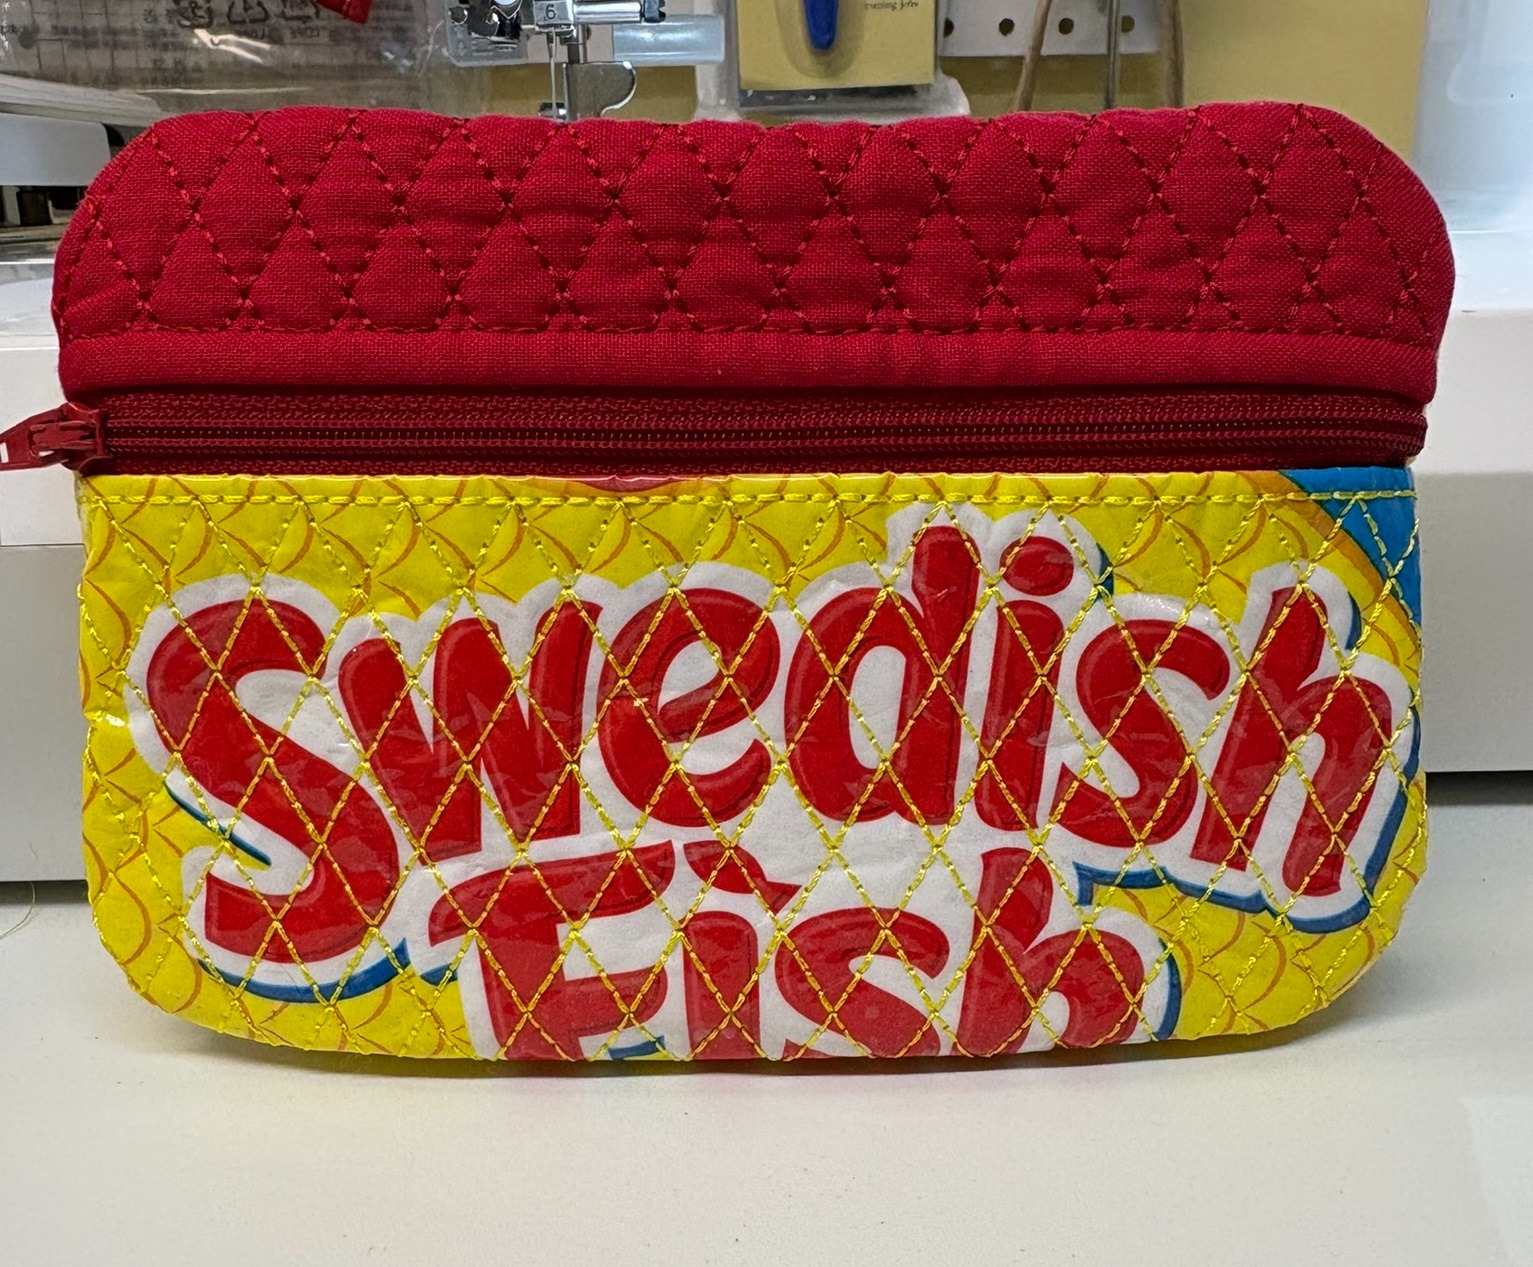
DECORATIVE STITCHES - Here is where I changed things up and would change it even more on other bags. I only did ONE pass of the decorative stitches. Once the decorative stitches went from left to right, I stopped the machine and ended that step. I think otherwise there would be too much of the vinyl perforated into little pieces that would end up coming off. If you look at the photo above, you can see if I skipped the decorative stitches completely, it would have left the top of the crosshatch stitches looking unfinished. On future bags, since I already need to machine stitch, I’ll just run a straight line of stitches to top off the crosshatching and skip the decorative stitches completely.
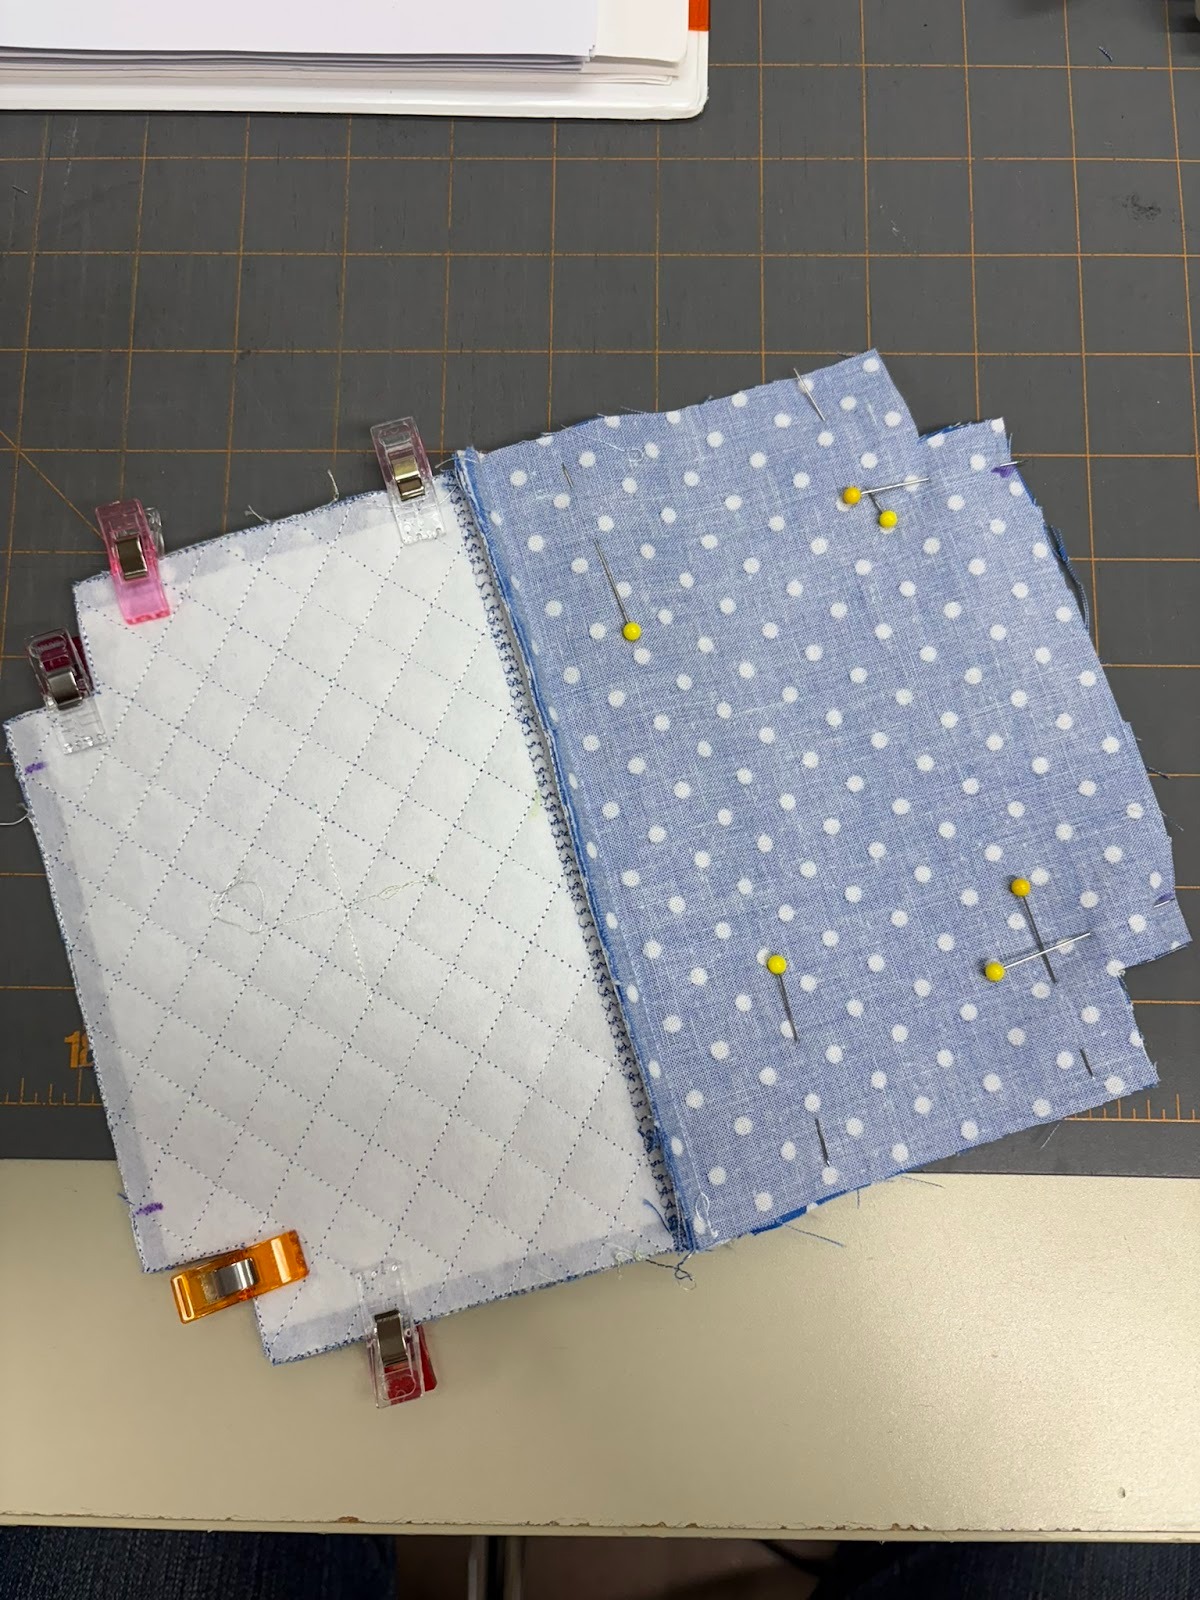
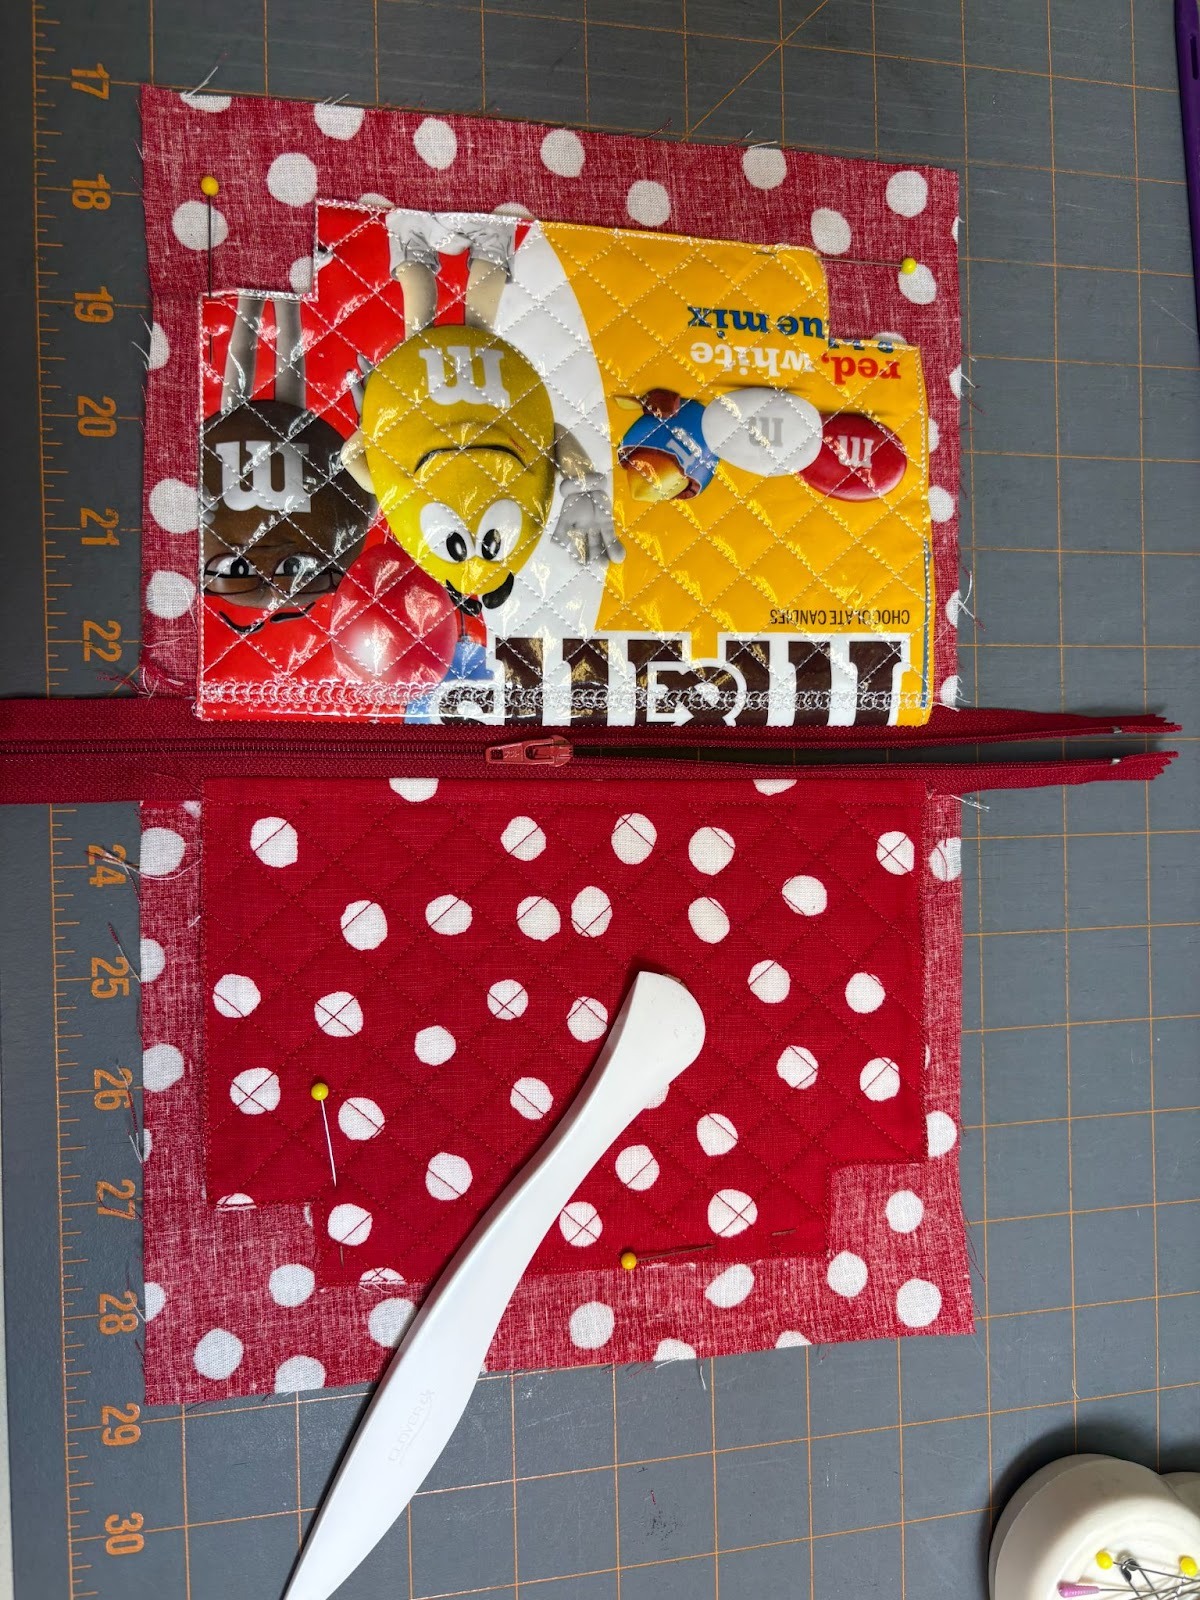
For the finishing steps, I used pins to hold the lining fabrics together and clips to hold the bag front and back. I didn’t want to put holes in the bag front because they would be permanent. If you don’t have clips, just make sure to pin inside the seam allowance so the holes won’t be visible.
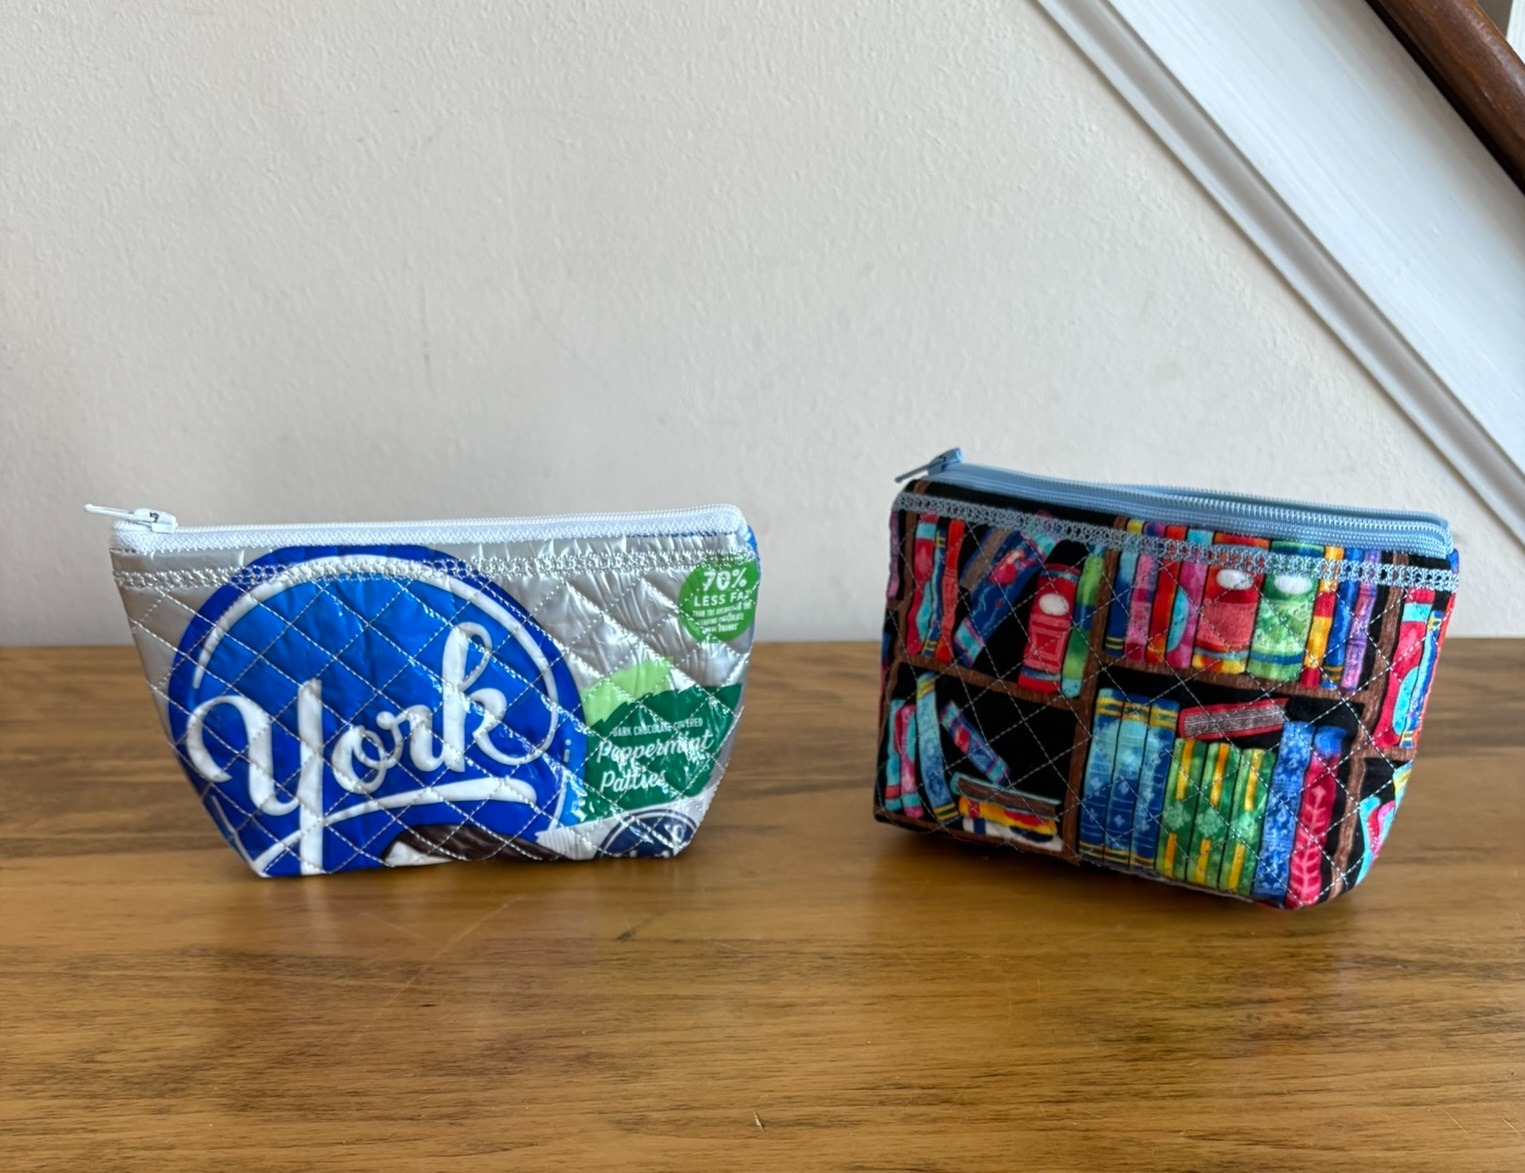
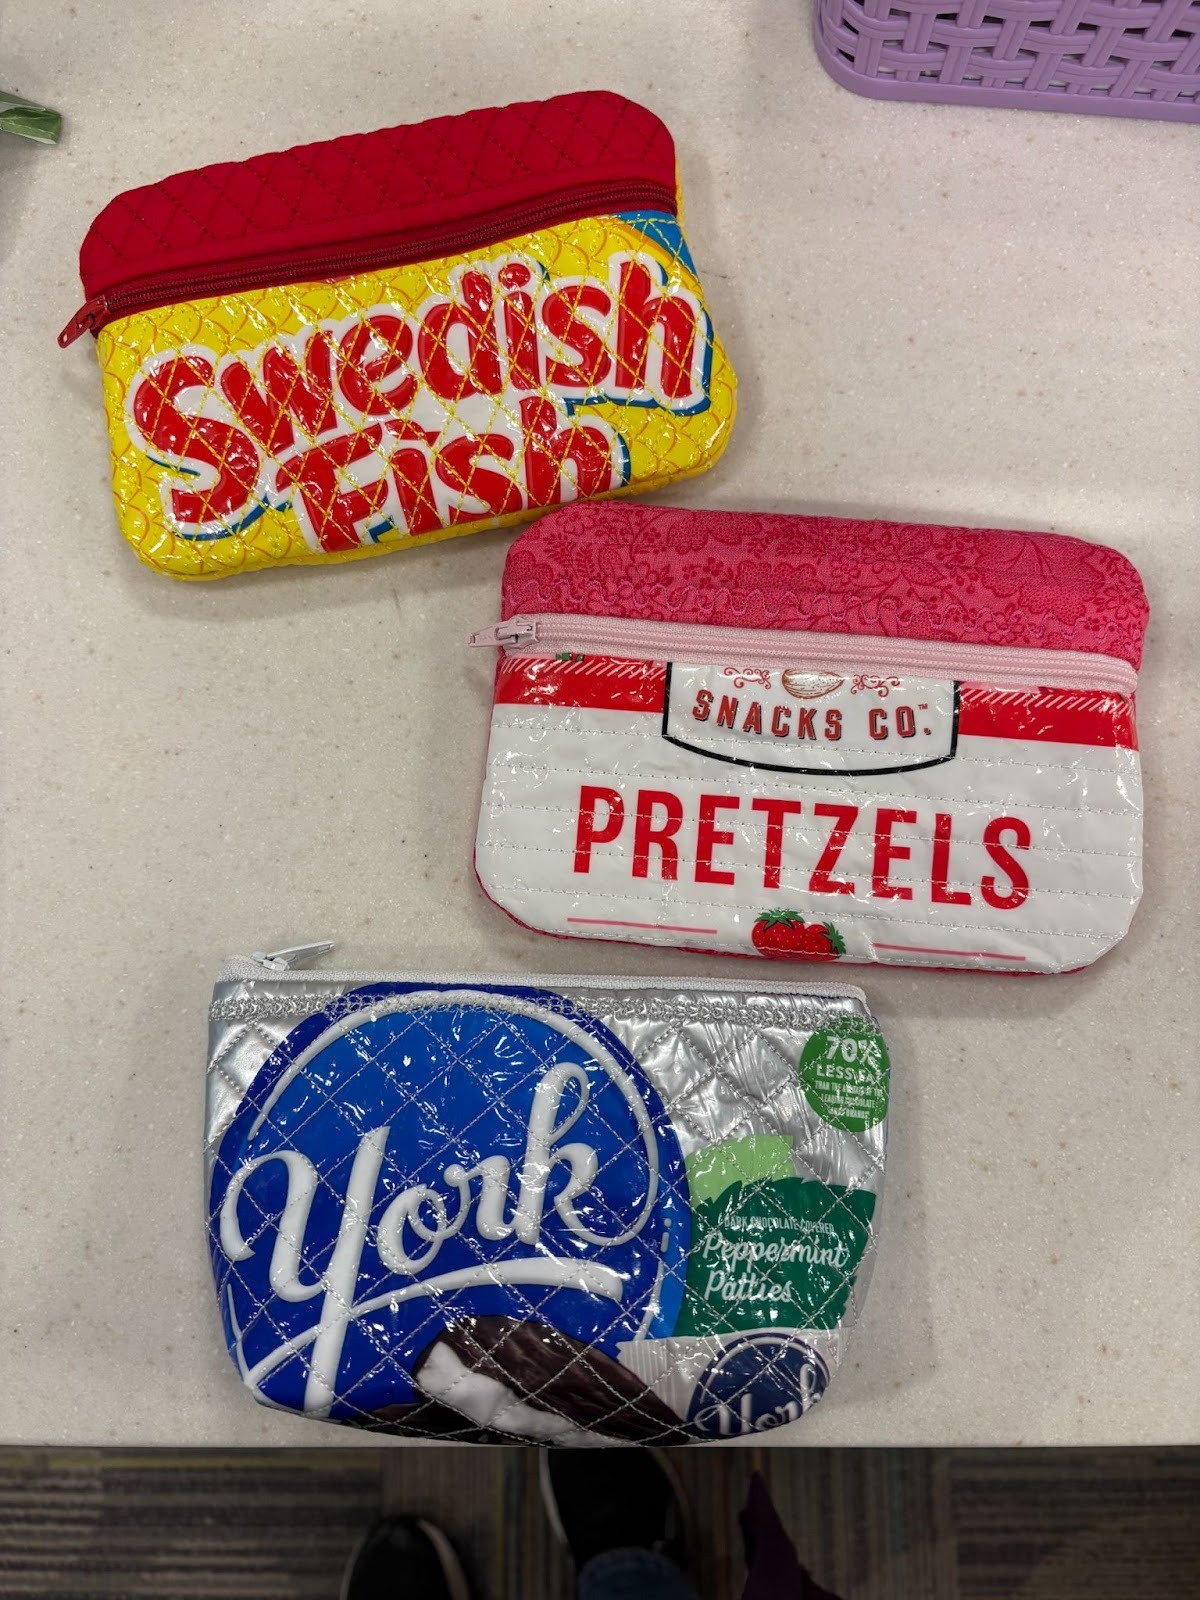
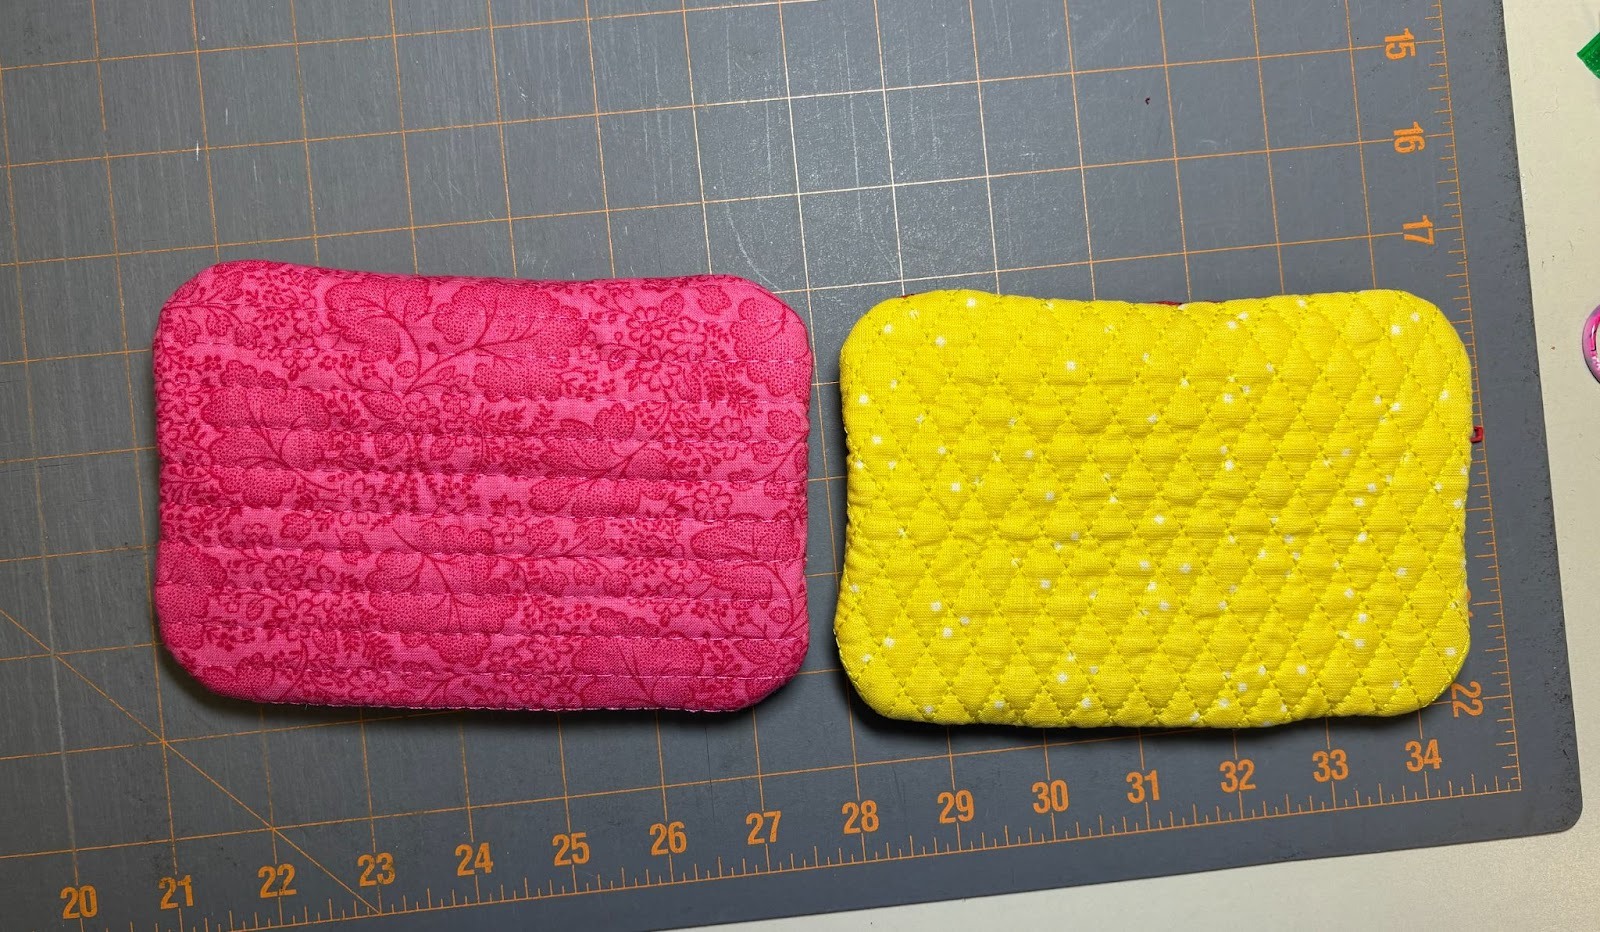
I had a lot of fun making these bags! They are not difficult and don’t take a lot of time. I found the Oma’s design quicker to make, but I had to switch my dual-purpose machine over to finish the bags. The DBJJ Quilted In the Hoop designs maybe showed off the bag graphics a little more. But it’s all a matter of personal preference!
I hope you try your hand at making these bags and share them in the Designs by JuJu Embroidery Blessings Facebook Group, or use the hashtag #designsbyjuju anywhere on social media. We all love to see what you create!