Toggle Nav
 Inspire.
Create.
Stitch.
Inspire.
Create.
Stitch.
Search
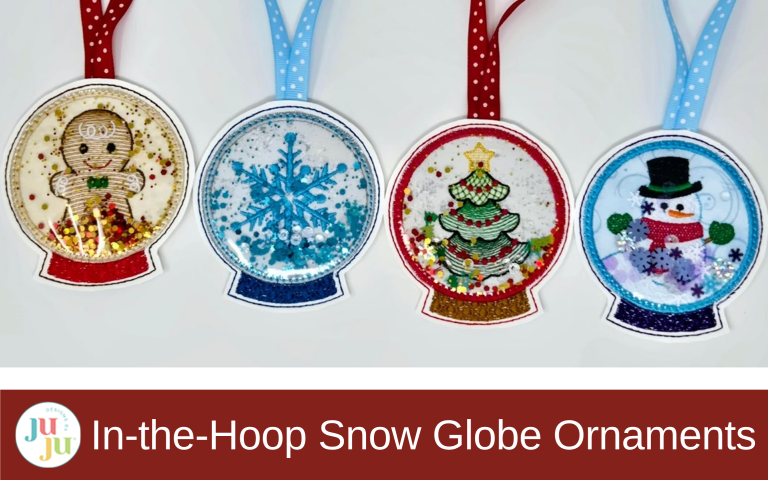
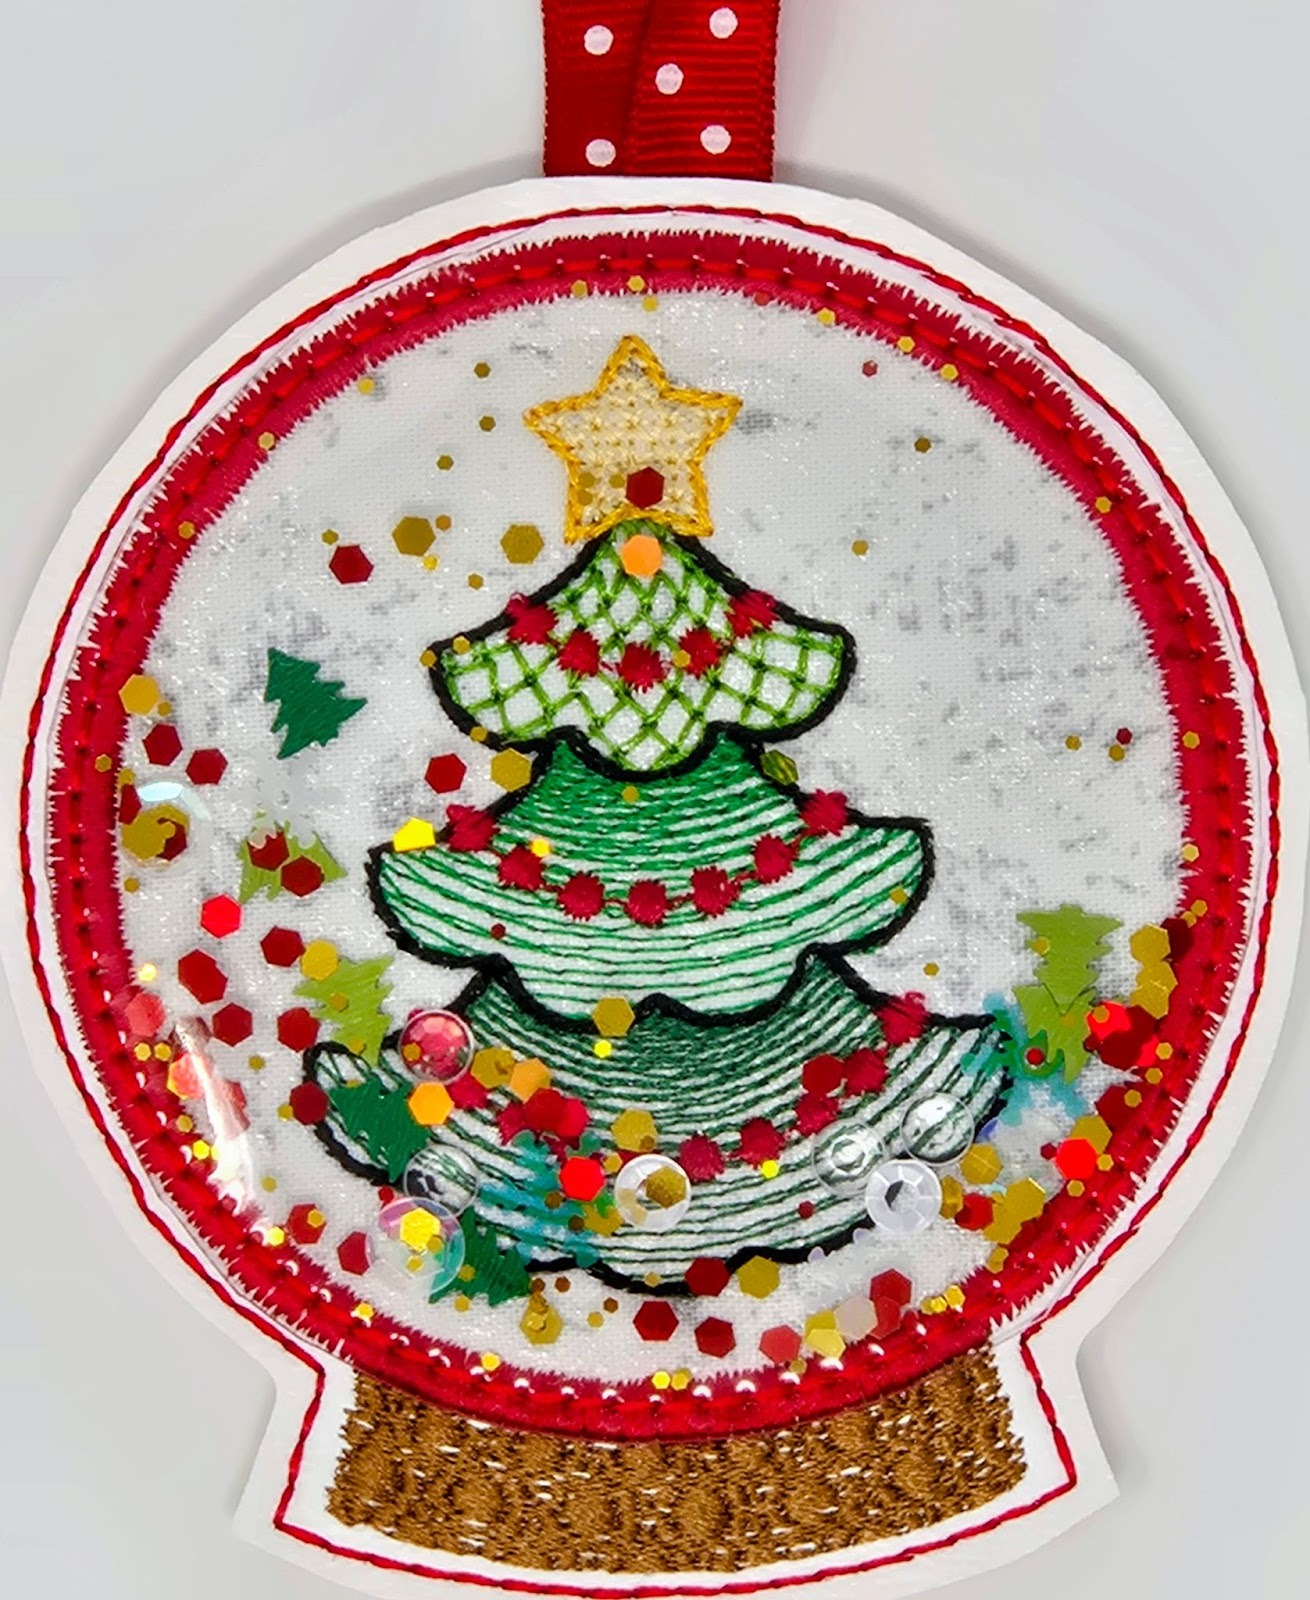
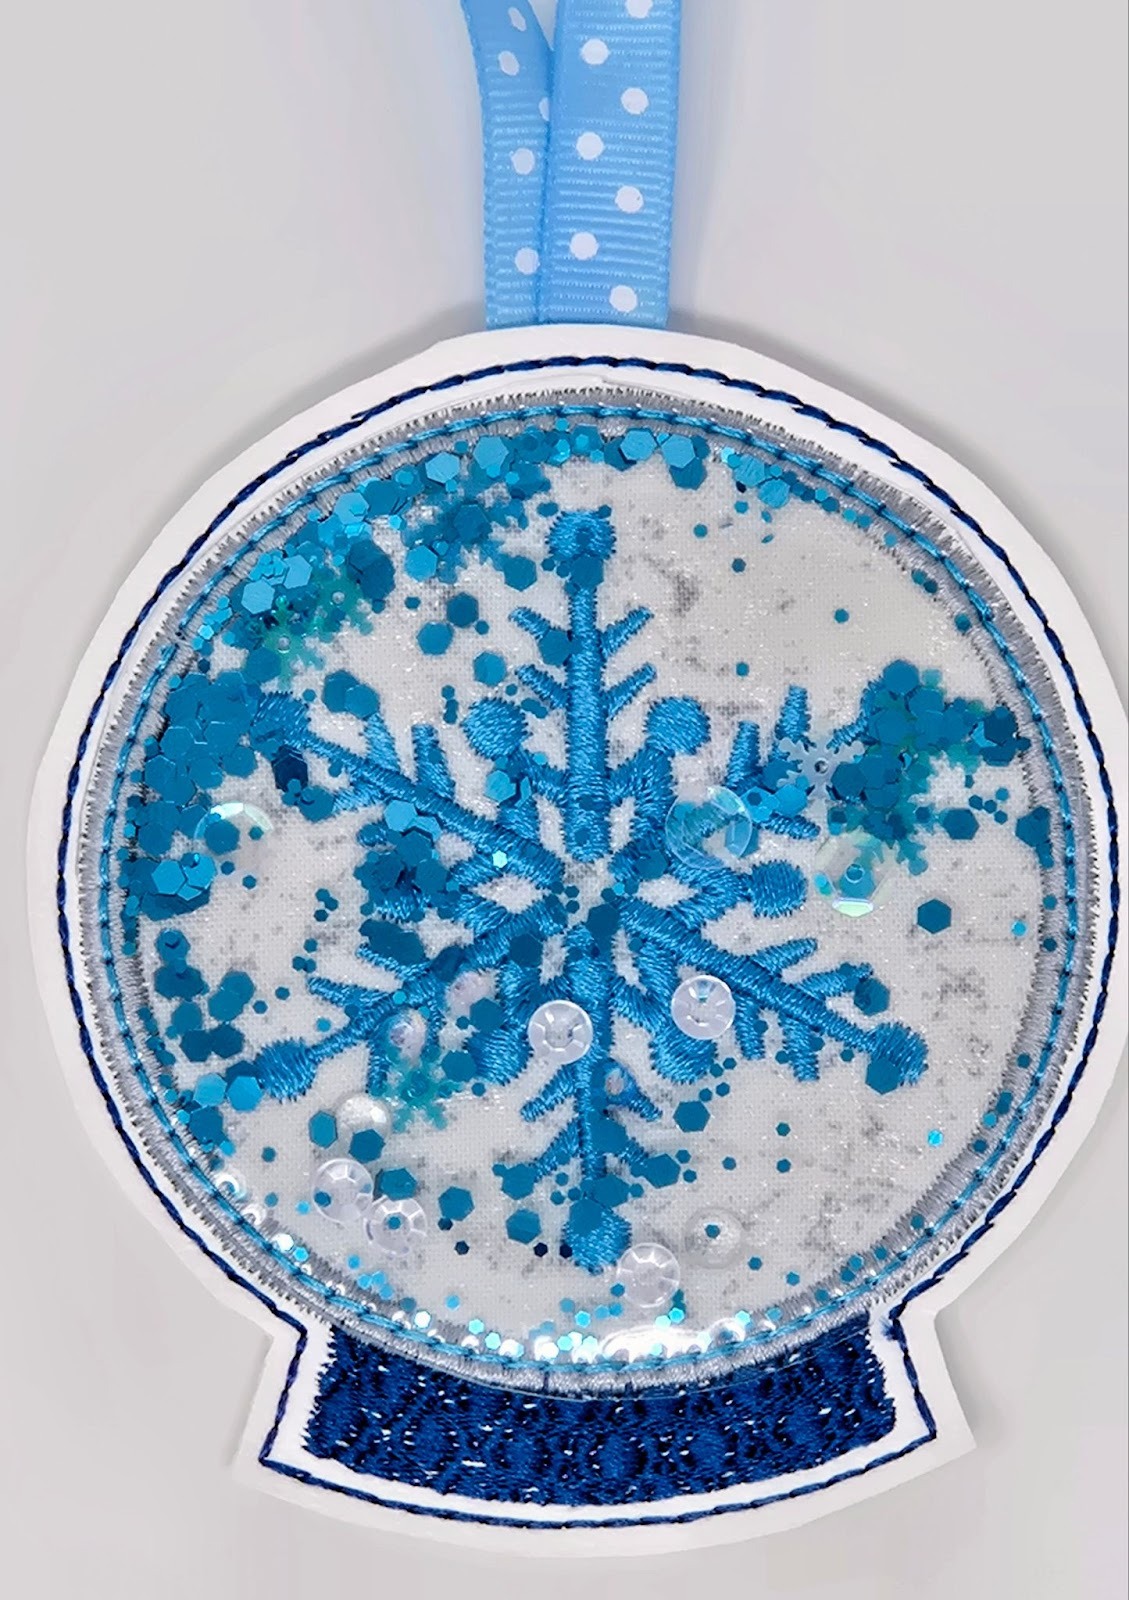
Treat yourself to some fast, fun, festive, and sparkly ornaments for your tree this year!
I love adding sparkle and a personal touch to my Christmas tree, and these Snow Globe Ornaments are the perfect way. They glitter, they shine, and they reflect the light, adding so much personality to a tree. They make wonderful gift tags too!
If you need a few extra pointers, DBJJ has a great tutorial on YouTube called How to Make the Snow Globe Ornament Set.
Be sure to check out the DBJJ Amazon store for our favorite tools and products.
*NOTE: If you use a dark base, either felt or vinyl and a light fabric for your snow globe, you could get shadowing from the darker base. In this case, press a scrap of SF101 to your globe fabric.
**NOTE: This is a very light plastic-y type stabilizer I used under my snowman so the base fabric did not show through the sketch design. It is especially useful when your thread color contrasts with the fabric. It keeps the background from showing through and gives your stitches a smooth, professional look. I had mine in my stash, but you can check with your local sewing and embroidery shop.

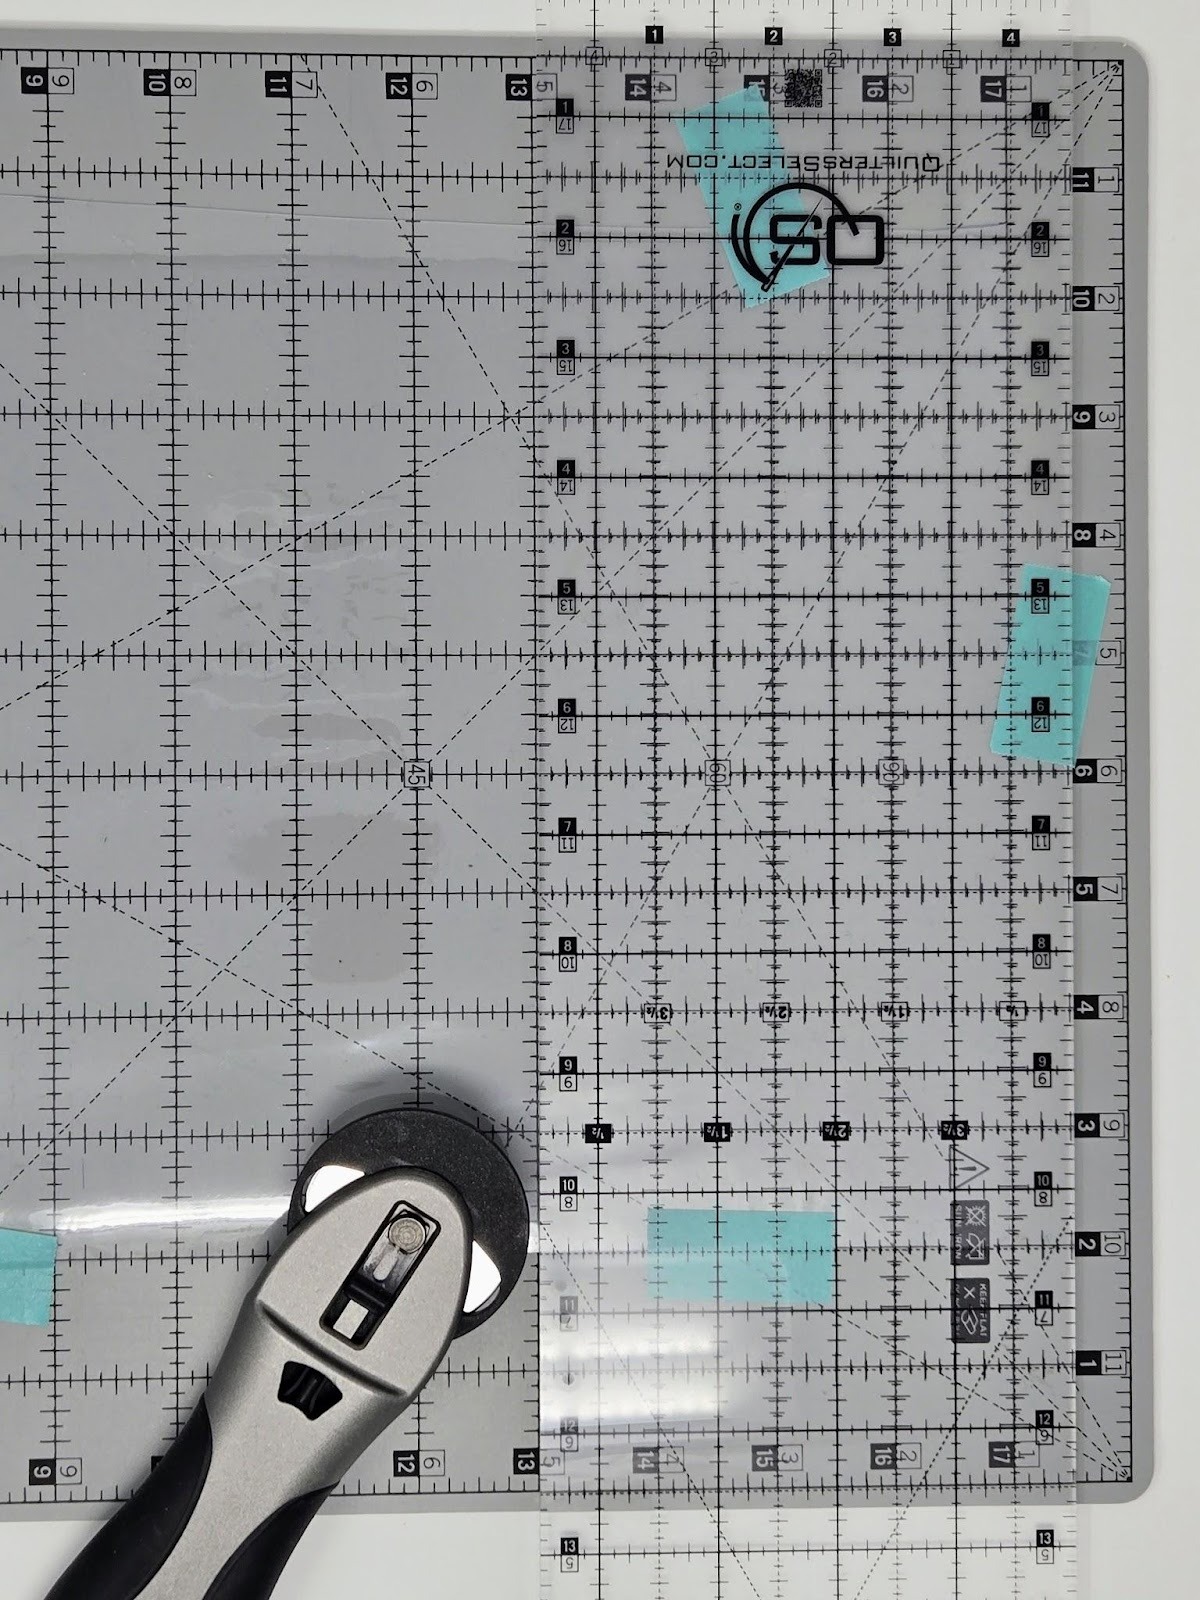
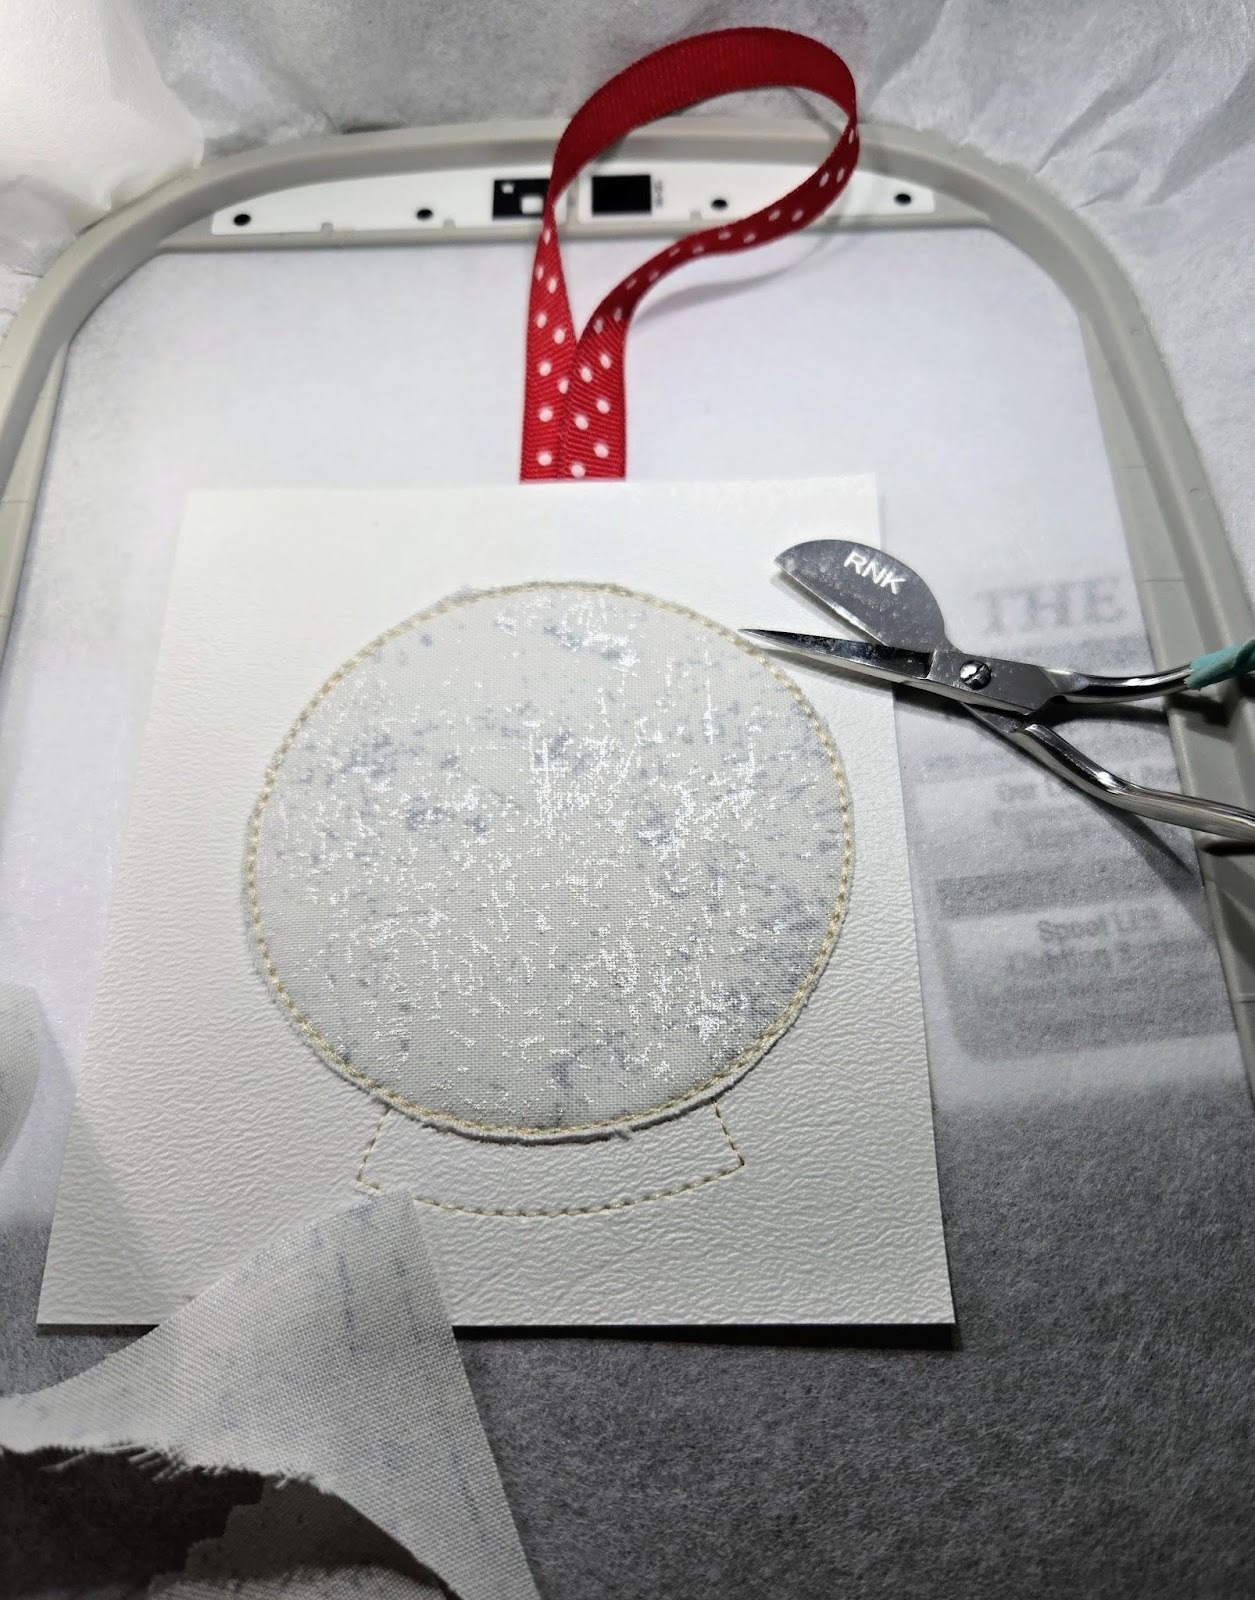
When cutting clear vinyl, it is hard to see the edges, so I use my cutting mat lines to line up the vinyl and tape it in place. I can then cut a straight edge along the right side and the bottom. Keep these two straight edges taped down and move your ruler to cut the size pieces you need. The masking tape easily peels off the vinyl and you have perfect cuts!

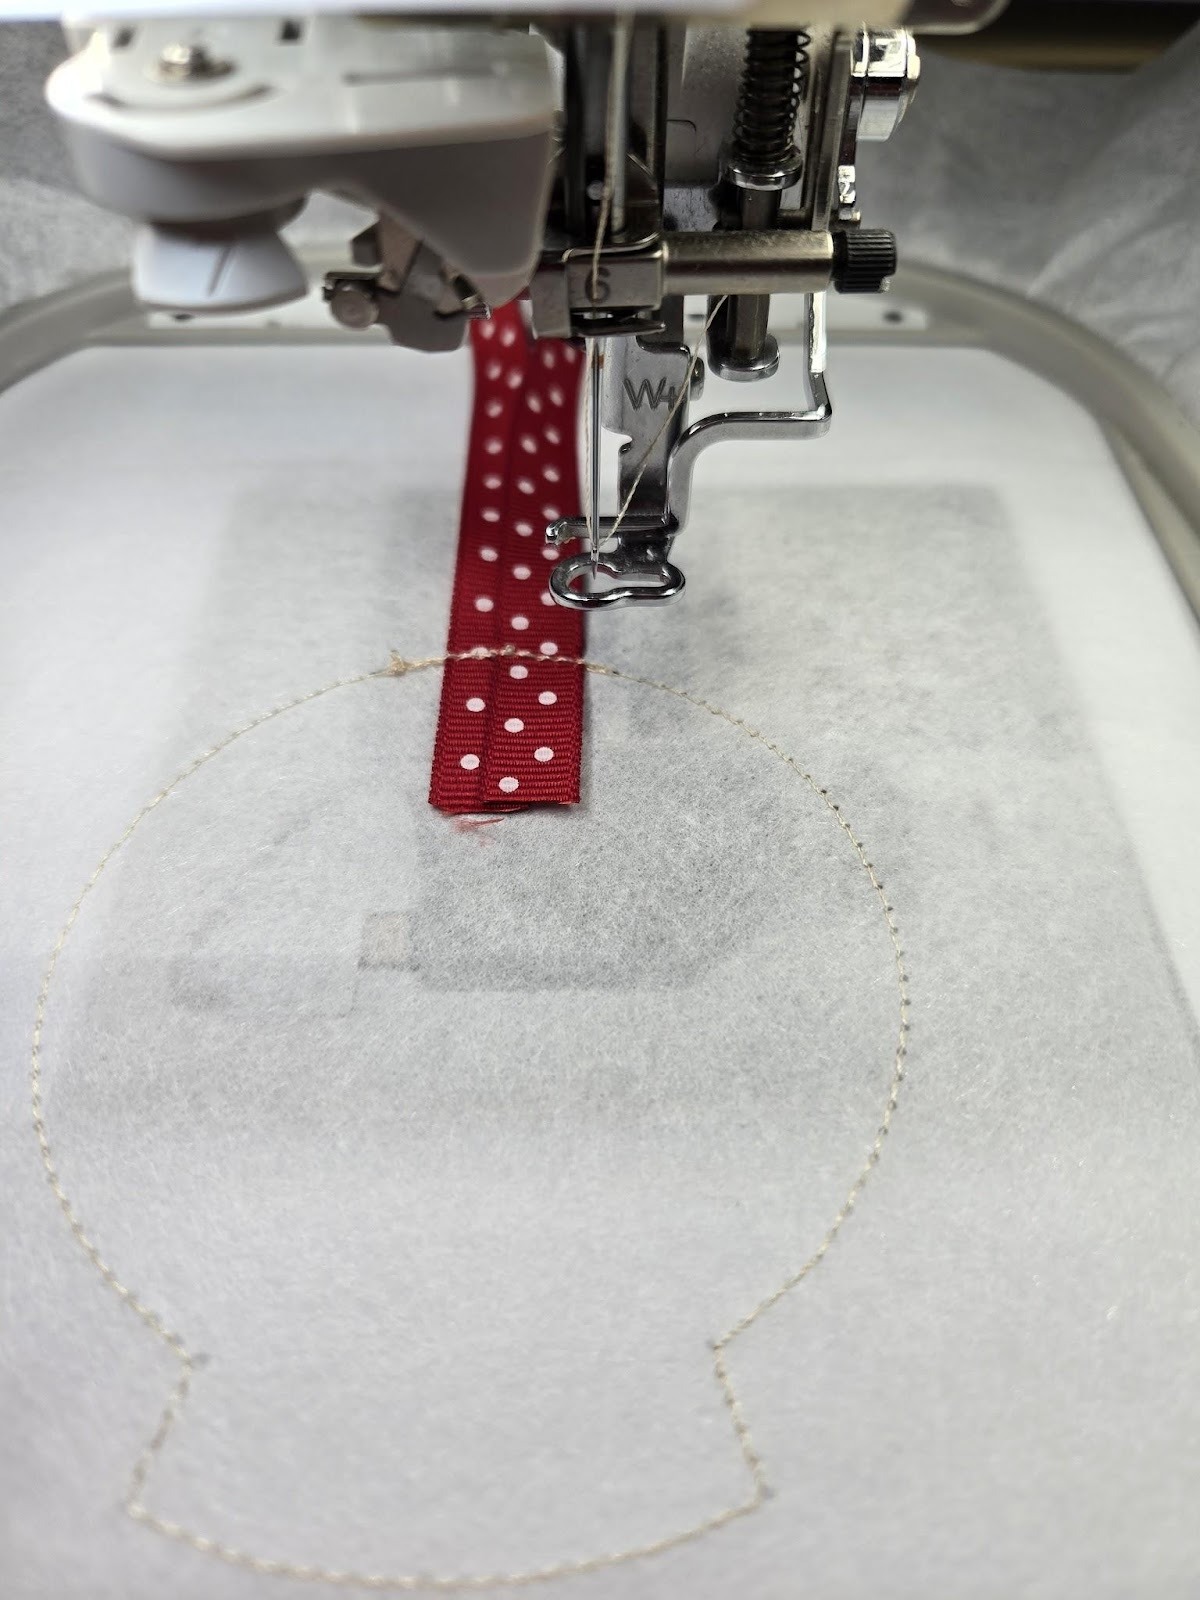
Follow the first step and sew a placement line on your stabilizer. This is for the inside vinyl or felt. The steps do not give you a separate placement line for the ribbon. It is centered at the top of the snow globe. If you need a placement line, run the tack-down line without the ribbon, then use your machine’s buttons to go back and do that step a second time with your ribbon taped in place.
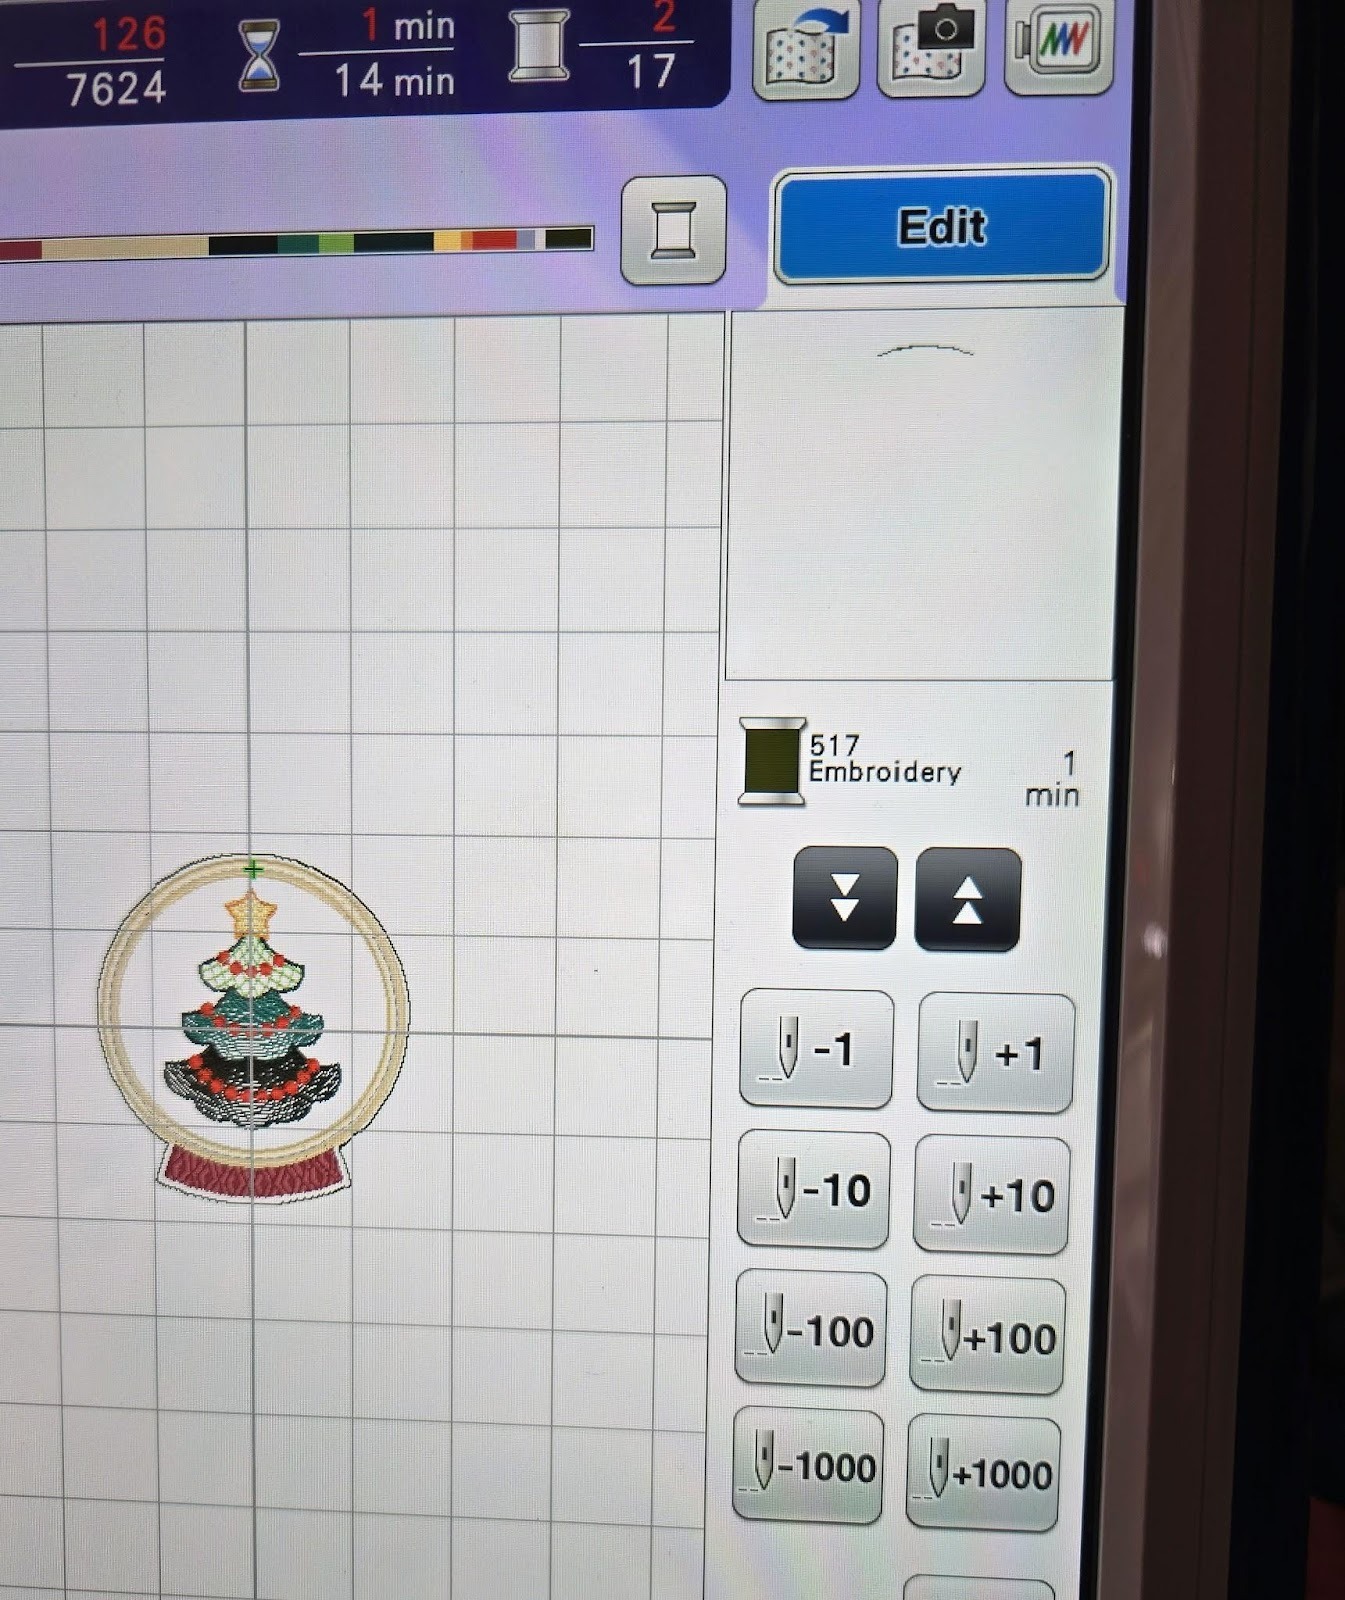
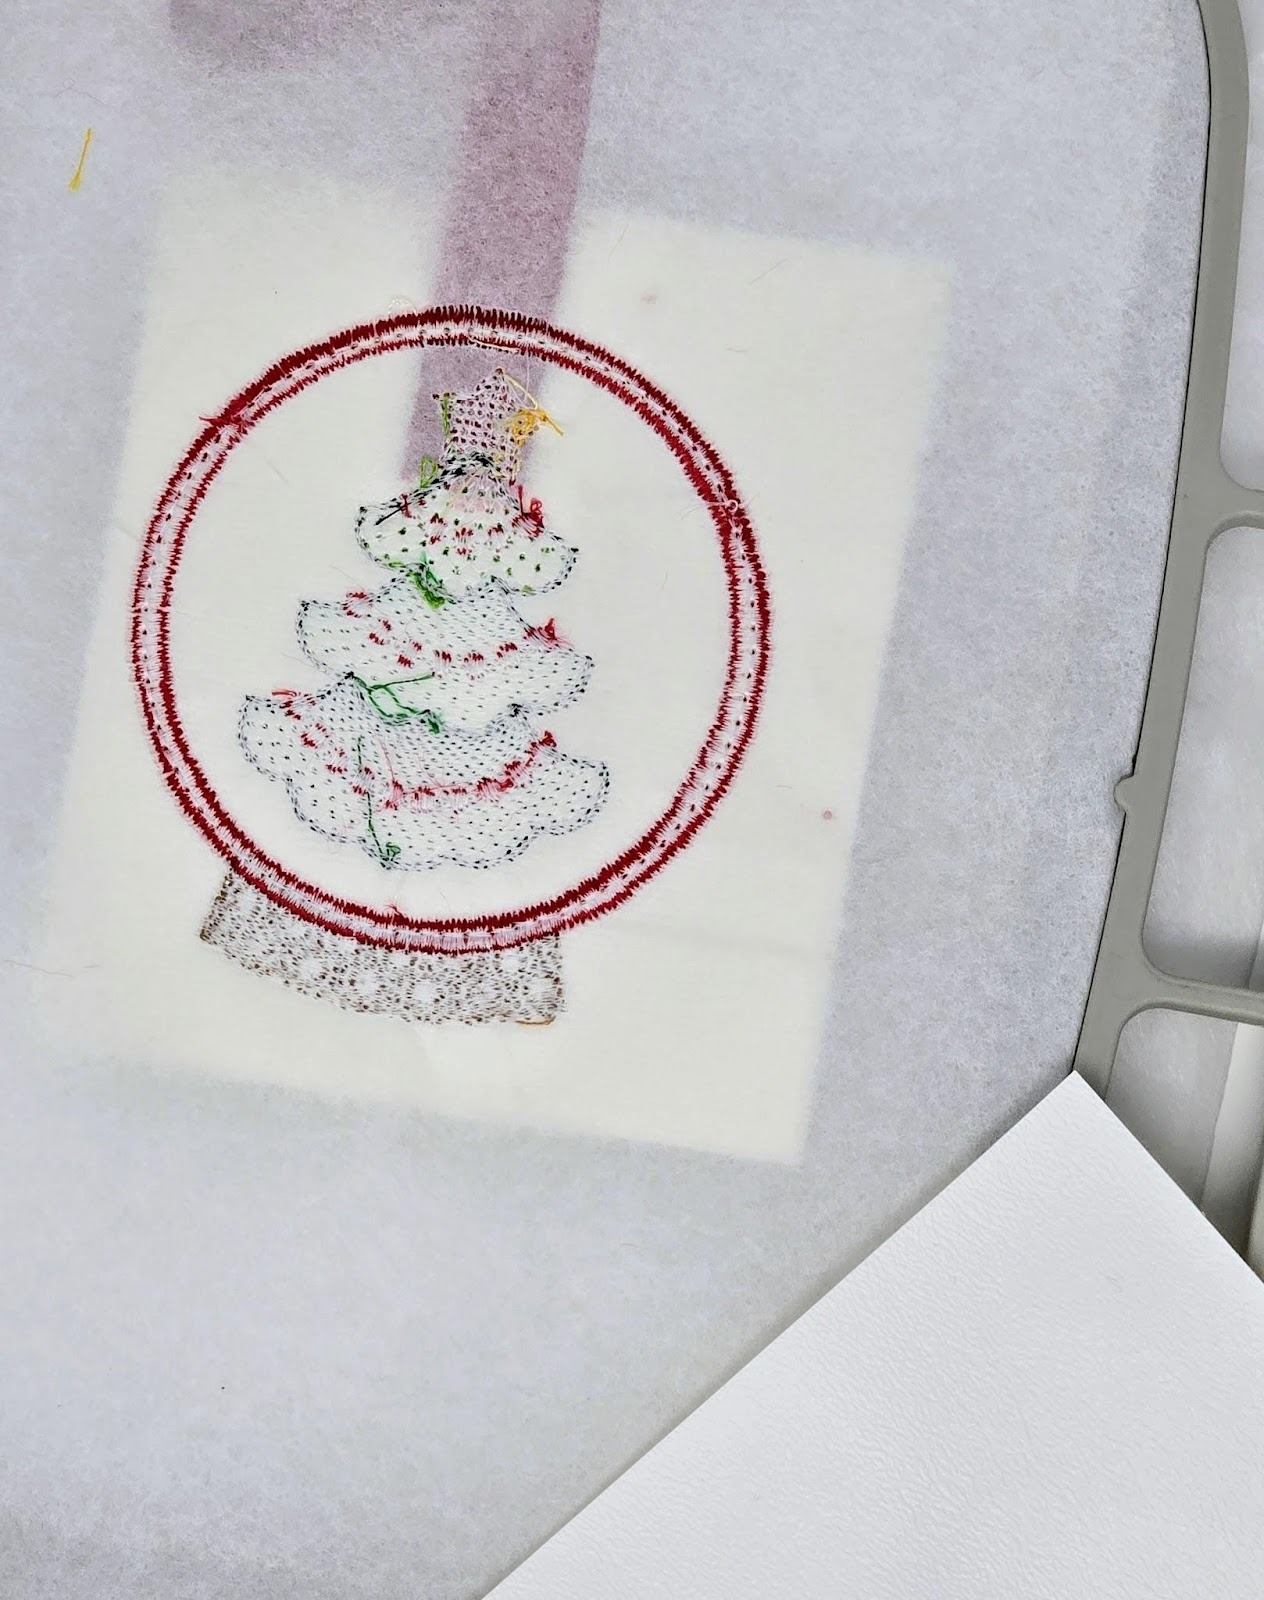
Continue following the steps to embroider inside the snow globe.
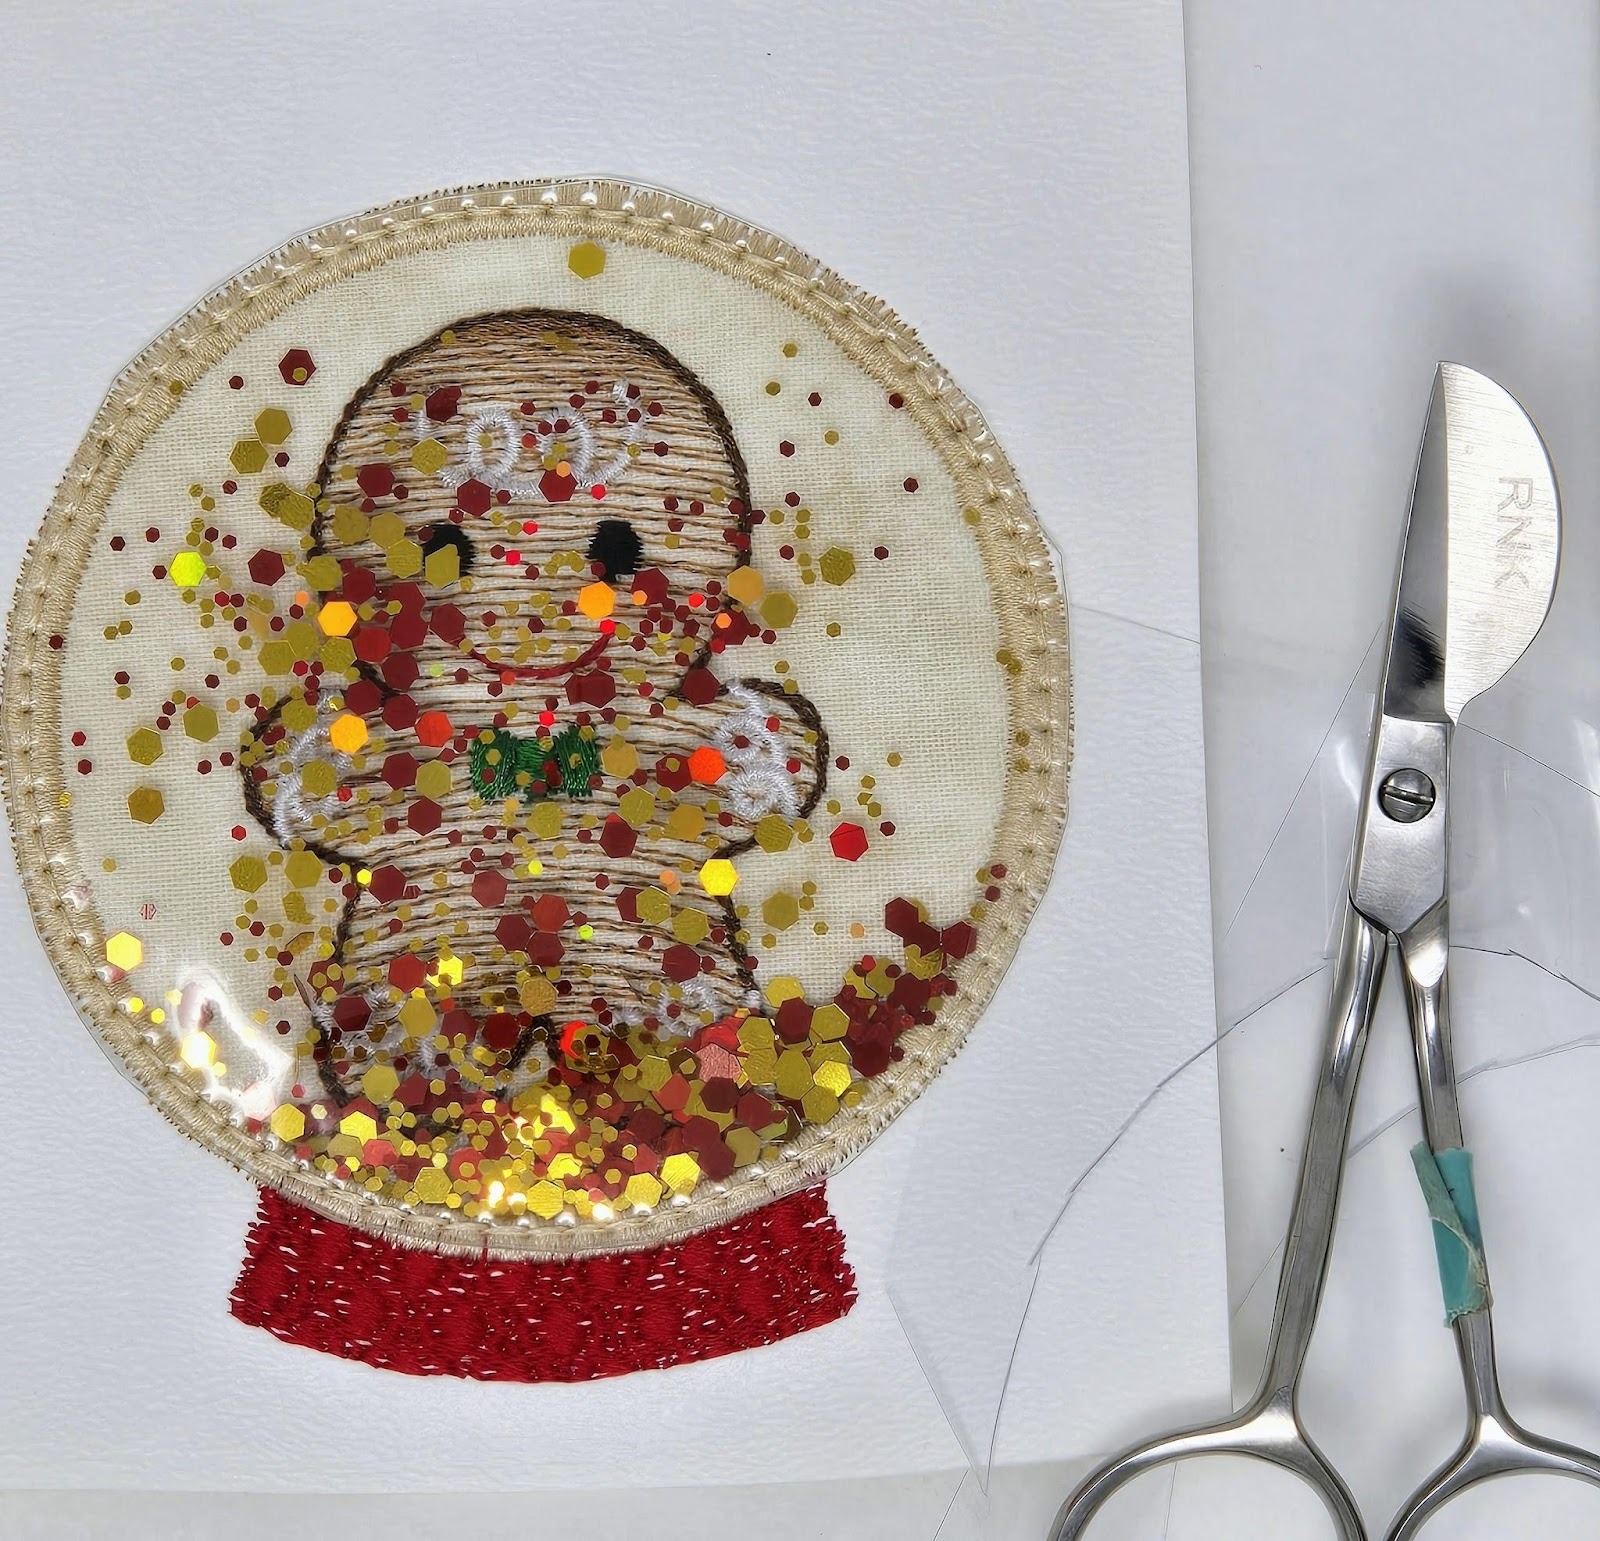
Continue embroidering steps including first tack-down for the clear vinyl. Now remove the hoop from your machine—but NOT your project from your hoop!—and add your sparkles. I discovered that the smaller glitter tends to stick to the vinyl. It does give a nice sparkly look, but if “freckles” on your gingerbread man bother you, then use one of the other options. I used glitter and some small tree-shaped sequins and snowflakes. I also tucked in a few little gems. To add the glitter you can use a small ⅛-teaspoon measuring spoon, a paper rolled into a tube, or a straw. I cut a straw in half and then cut one end of the straw to create a trough for the glitter to go in and then just tipped my hoop and straw up so the glitter ran into the ornament. It is very easy to get too much glitter! I am a “the more the merrier” type when it comes to sparkle, but if you prefer less, there are no rules!
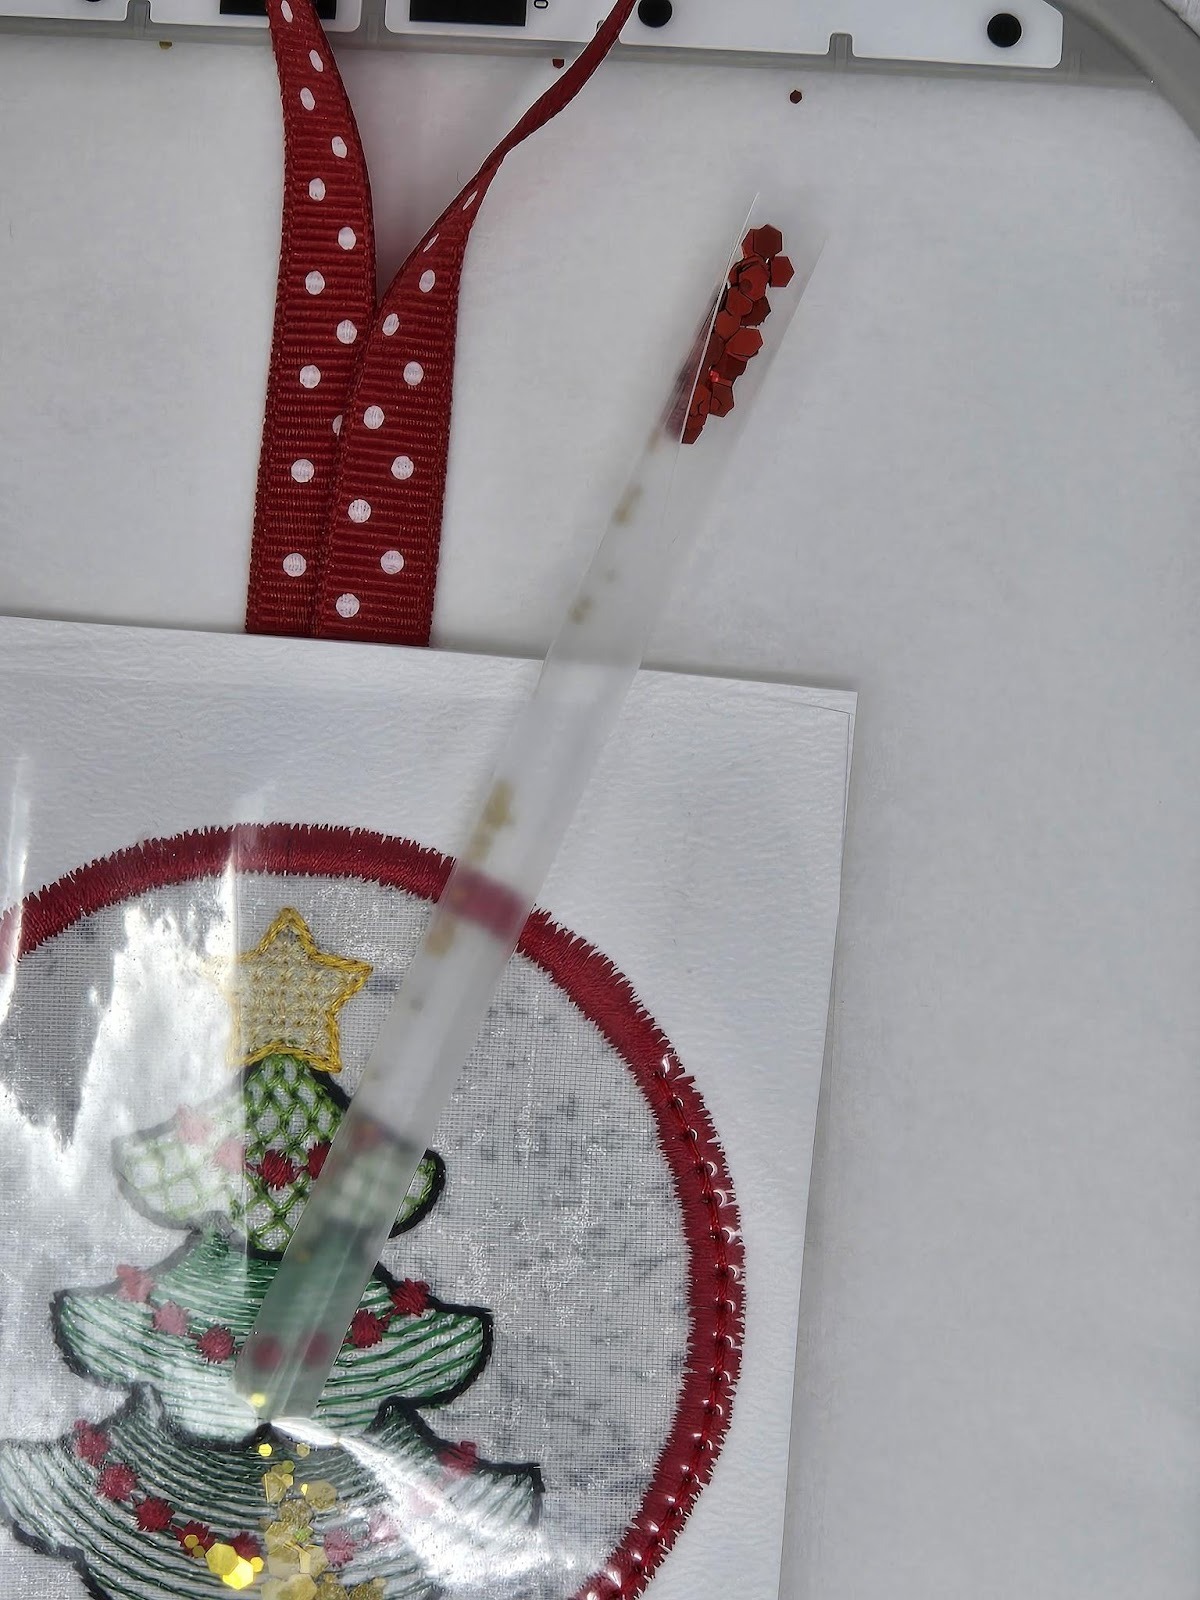

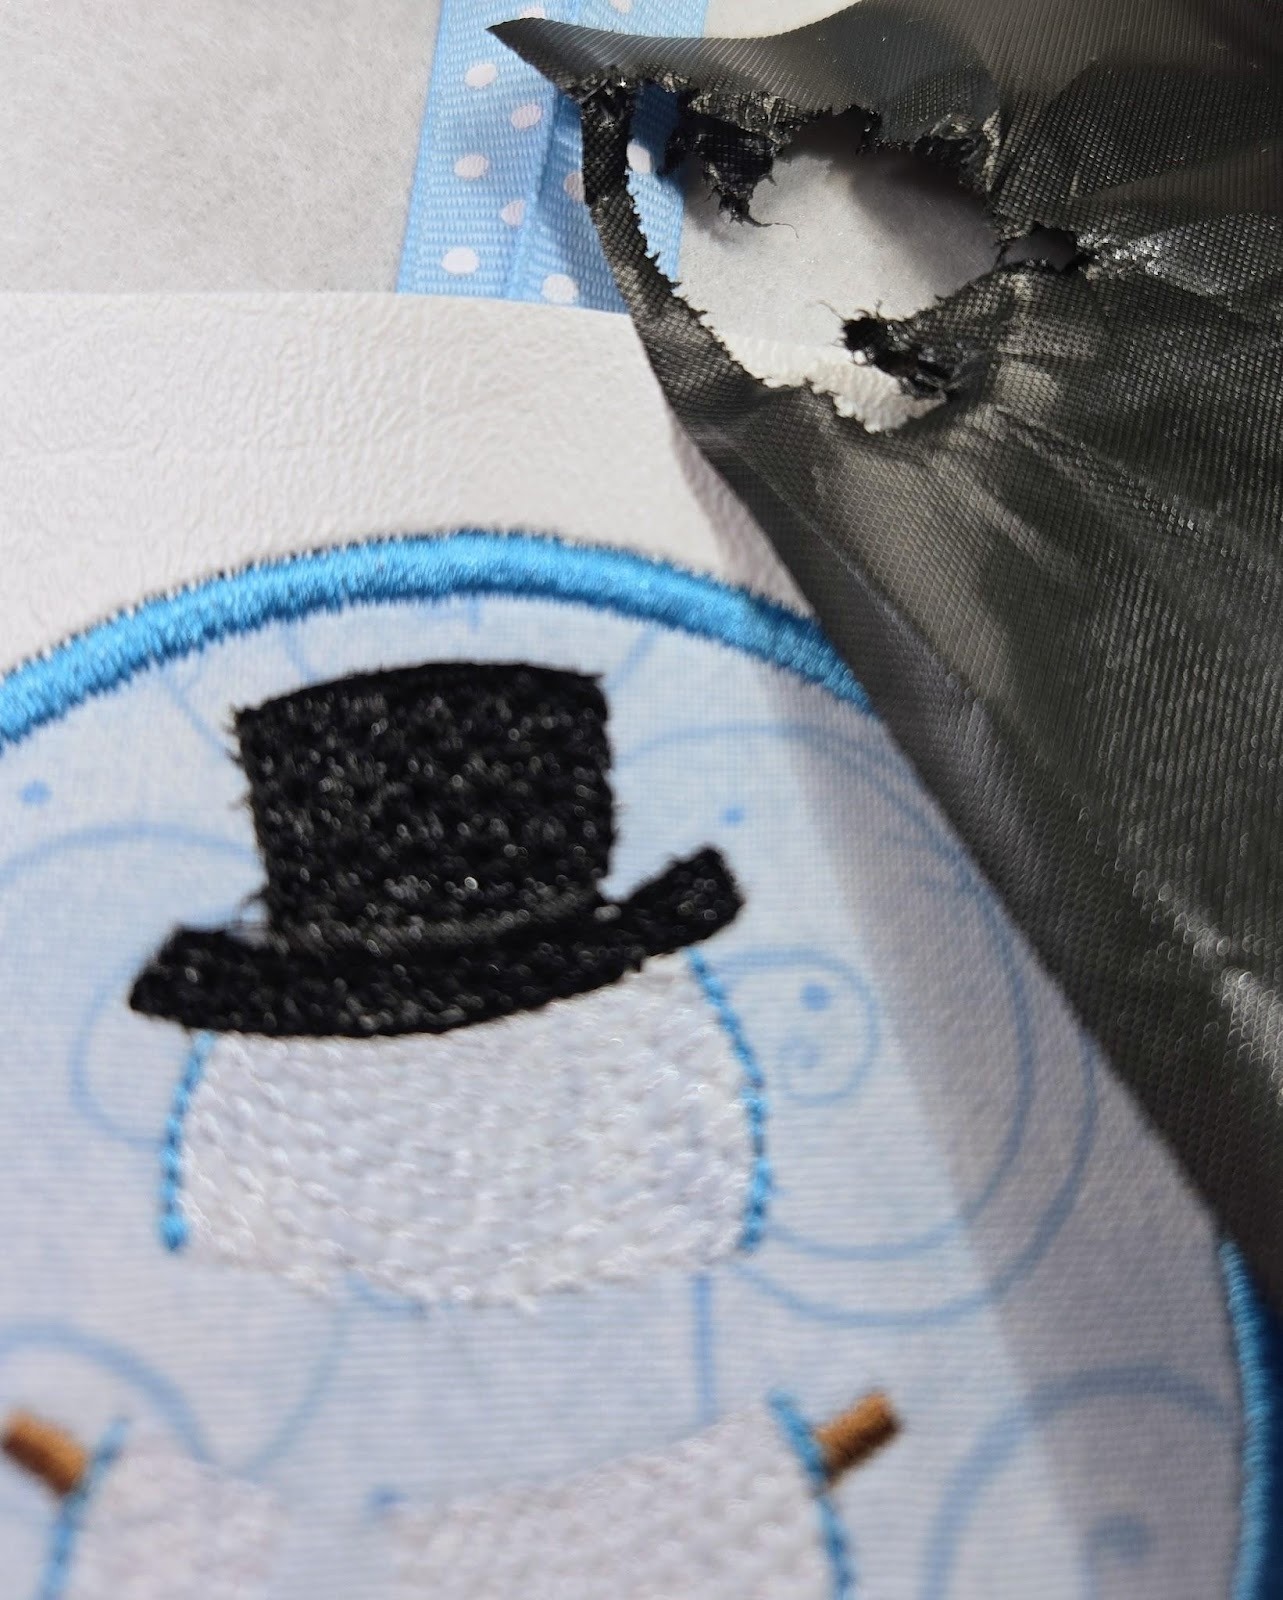
Once you have the sparkle you want, go back to your machine and finish tacking the vinyl down. Remove your hoop again and trim the vinyl close to the edge, I did not trim super close, just to the edge of my satin stitch. Then flip your hoop over and trim any long threads.
Tape your backing vinyl to the back of your hooped design. I like to change my bobbin thread to the same thread I will use to sew around the front of the ornament. Again, that is your choice!

Ta-da! Your ornament is finished. Remove it from the hoop, and tear away the stabilizer around the ornament. Carefully cut around your ornament about ⅛” from the final stitching. Be very careful not to cut your hanging loop! The front and the back vinyl need to be cut separately in this area.

For the snowman ornament I used a darker blue swirl for the background. My snow stitching and snowman would get lost in the fabric. I used a small piece of topper for both the snowman (white) and the hat (black). It tears away very easily. Use tweezers to get any small pieces.


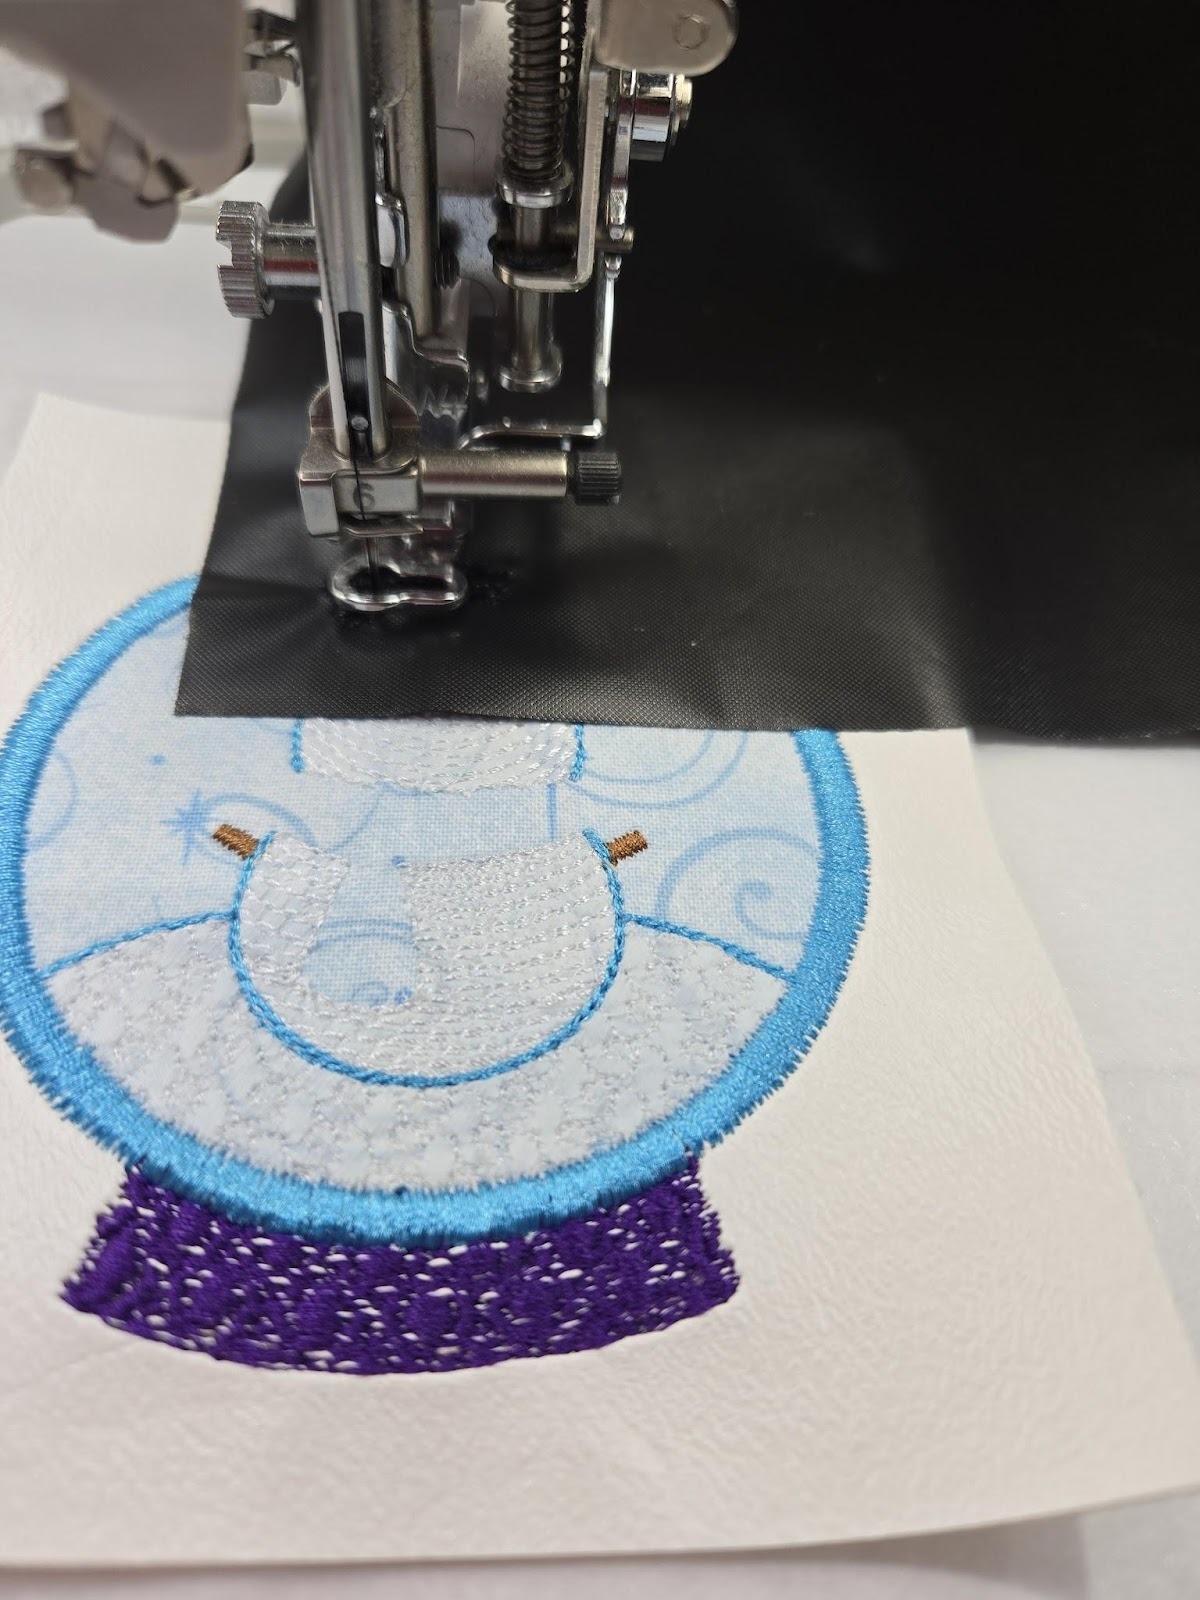
Continue embroidering your snowman and adding sparkles the same way we did above, finishing with the backing and trimming. I got a bit carried away with all the glitters and sparkles I found and made two!

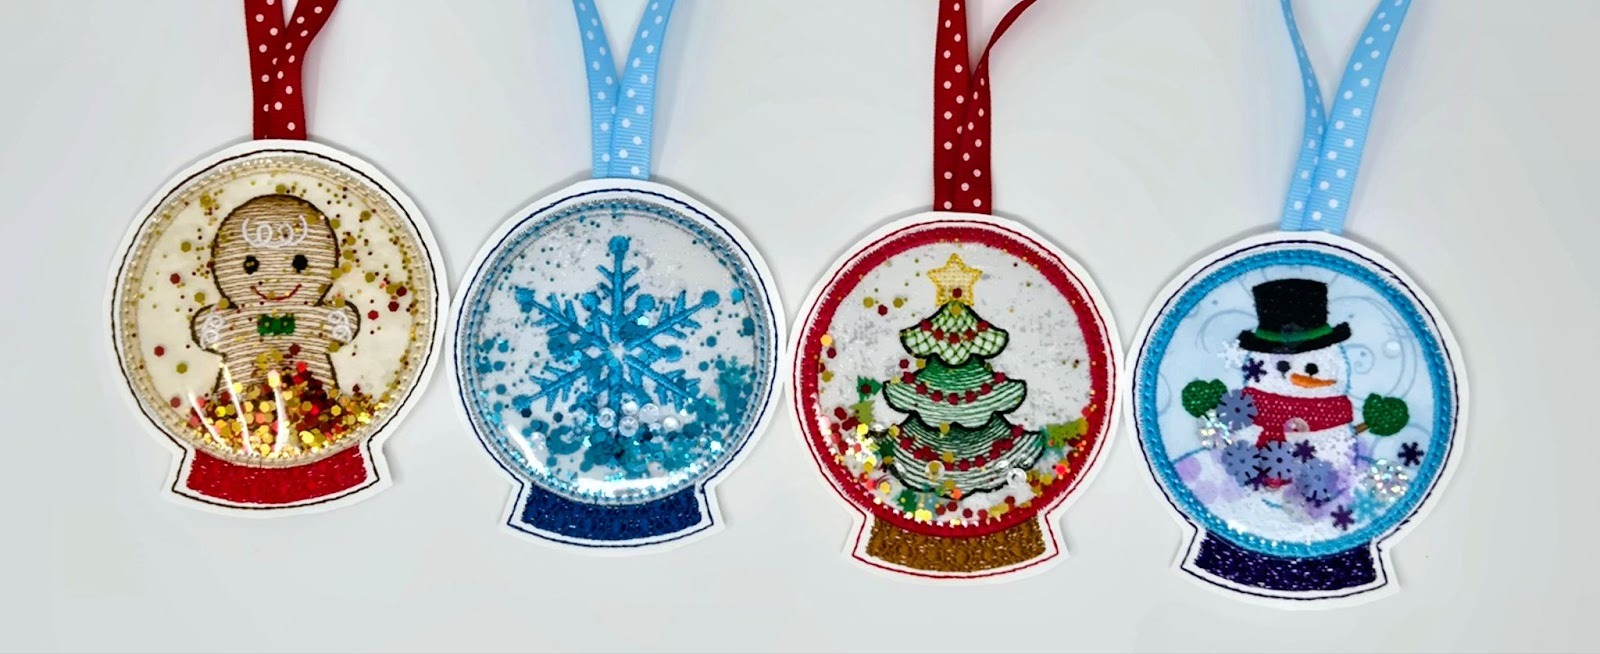
There are five designs in this set plus the blank for you to play with. I did not use the blank or make the last ornament, but I look forward to seeing what you do with them. Have a blast! You could personalize the backs too.
Please be sure to share your projects in the Designs by JuJu Embroidery Blessings Facebook Group, or use the hashtag #designsbyjuju anywhere on social media. We all love to see what you create!
