Toggle Nav
 Inspire.
Create.
Stitch.
Inspire.
Create.
Stitch.
Search

Add a personal touch to your next party with DIY free-standing appliqué cake toppers—fun, easy, and customizable!
Free-standing appliqué cake toppers are such a fun way to add a personal, creative touch to any celebration. Whether it’s a birthday, baby shower, or just because, these toppers are super easy to customize with your favorite Designs by JuJu fonts and appliqué sets. They're quick to make, don’t need fancy supplies, and can even double as cute keepsakes. Once you make one, you’ll be hooked—you’ll start thinking of excuses to make more!
Find the DBJJ team’s favorite supplies in the Designs by JuJu Amazon store.
I cannot wait to show you how fun it is to make Free-Standing Applique (FSA) Cake Toppers. Trust me when I say you won’t be able to stop at just one.
Any applique design will work. I tend to avoid those that have extra grass or flowers around them, but you do not have to; that is the beauty of using felt. I also like designs with fewer than 10,000 stitches. If it gets too big or heavy, your topper could droop. I try not to overwhelm the cake.
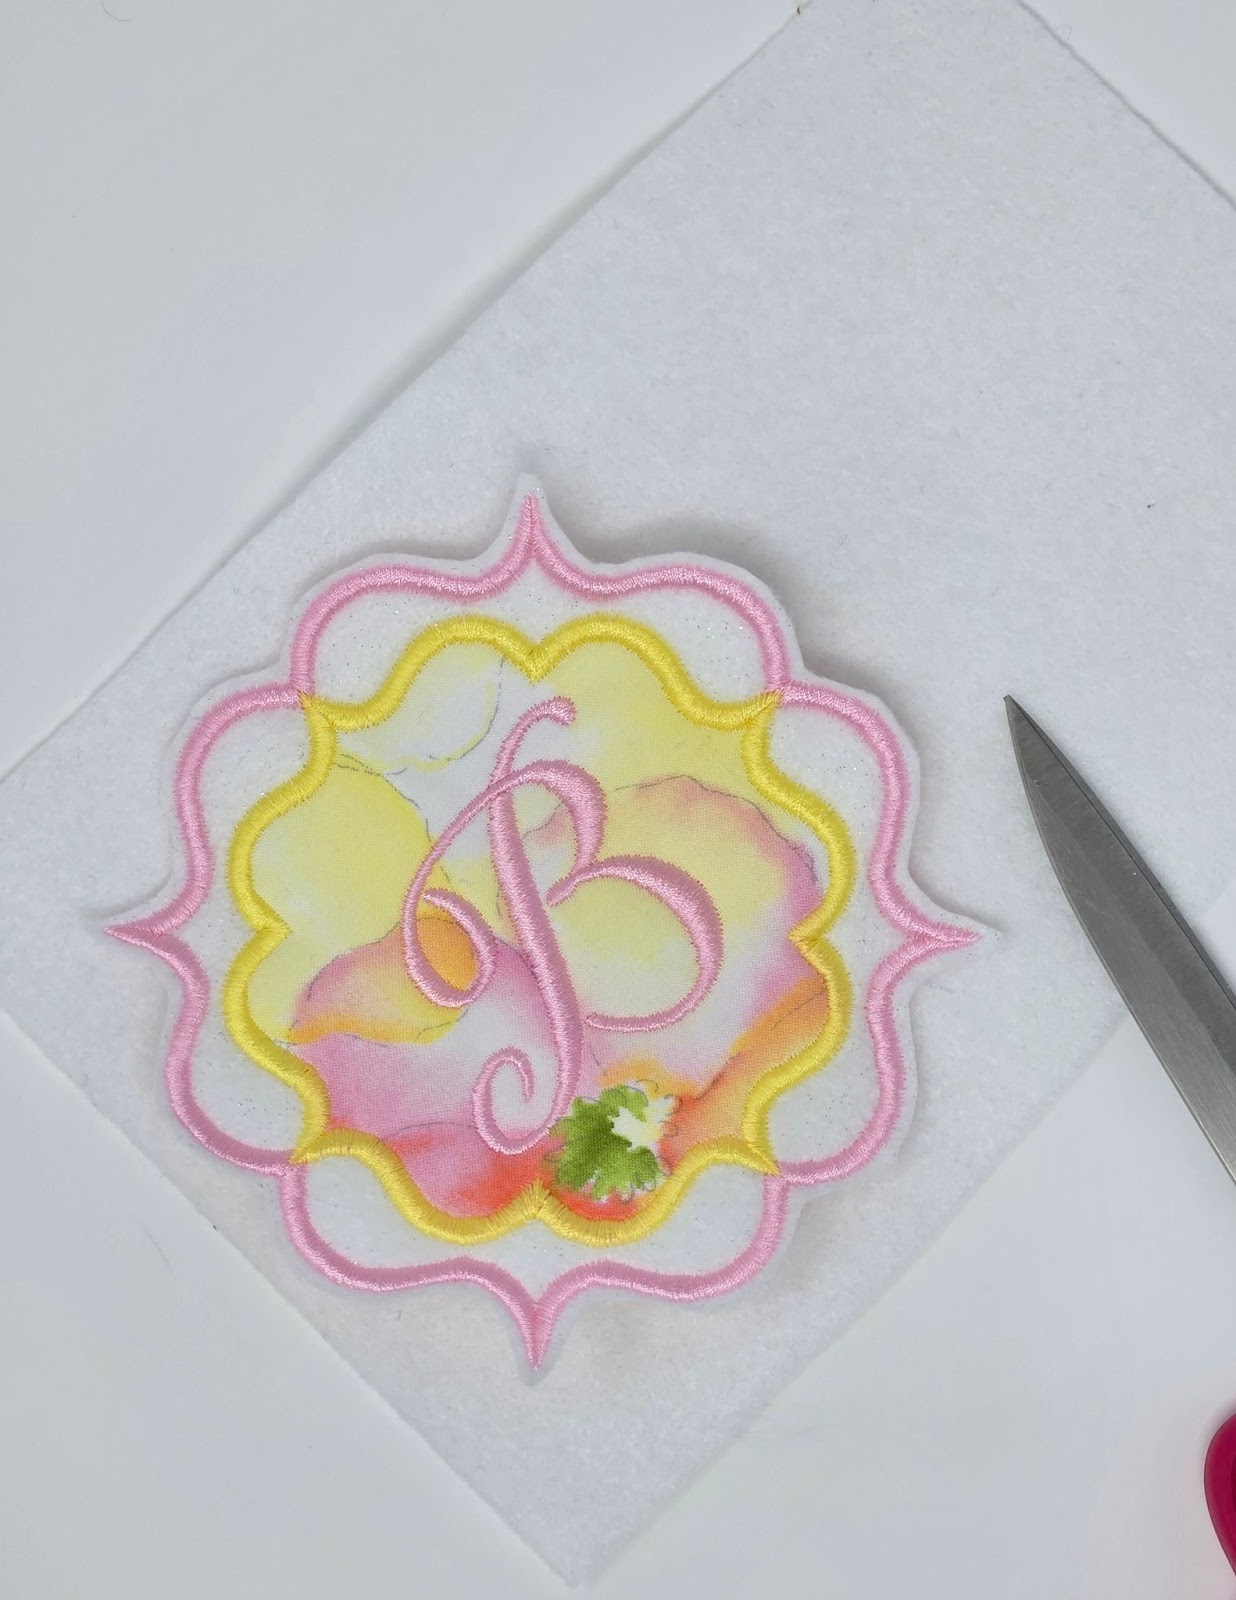
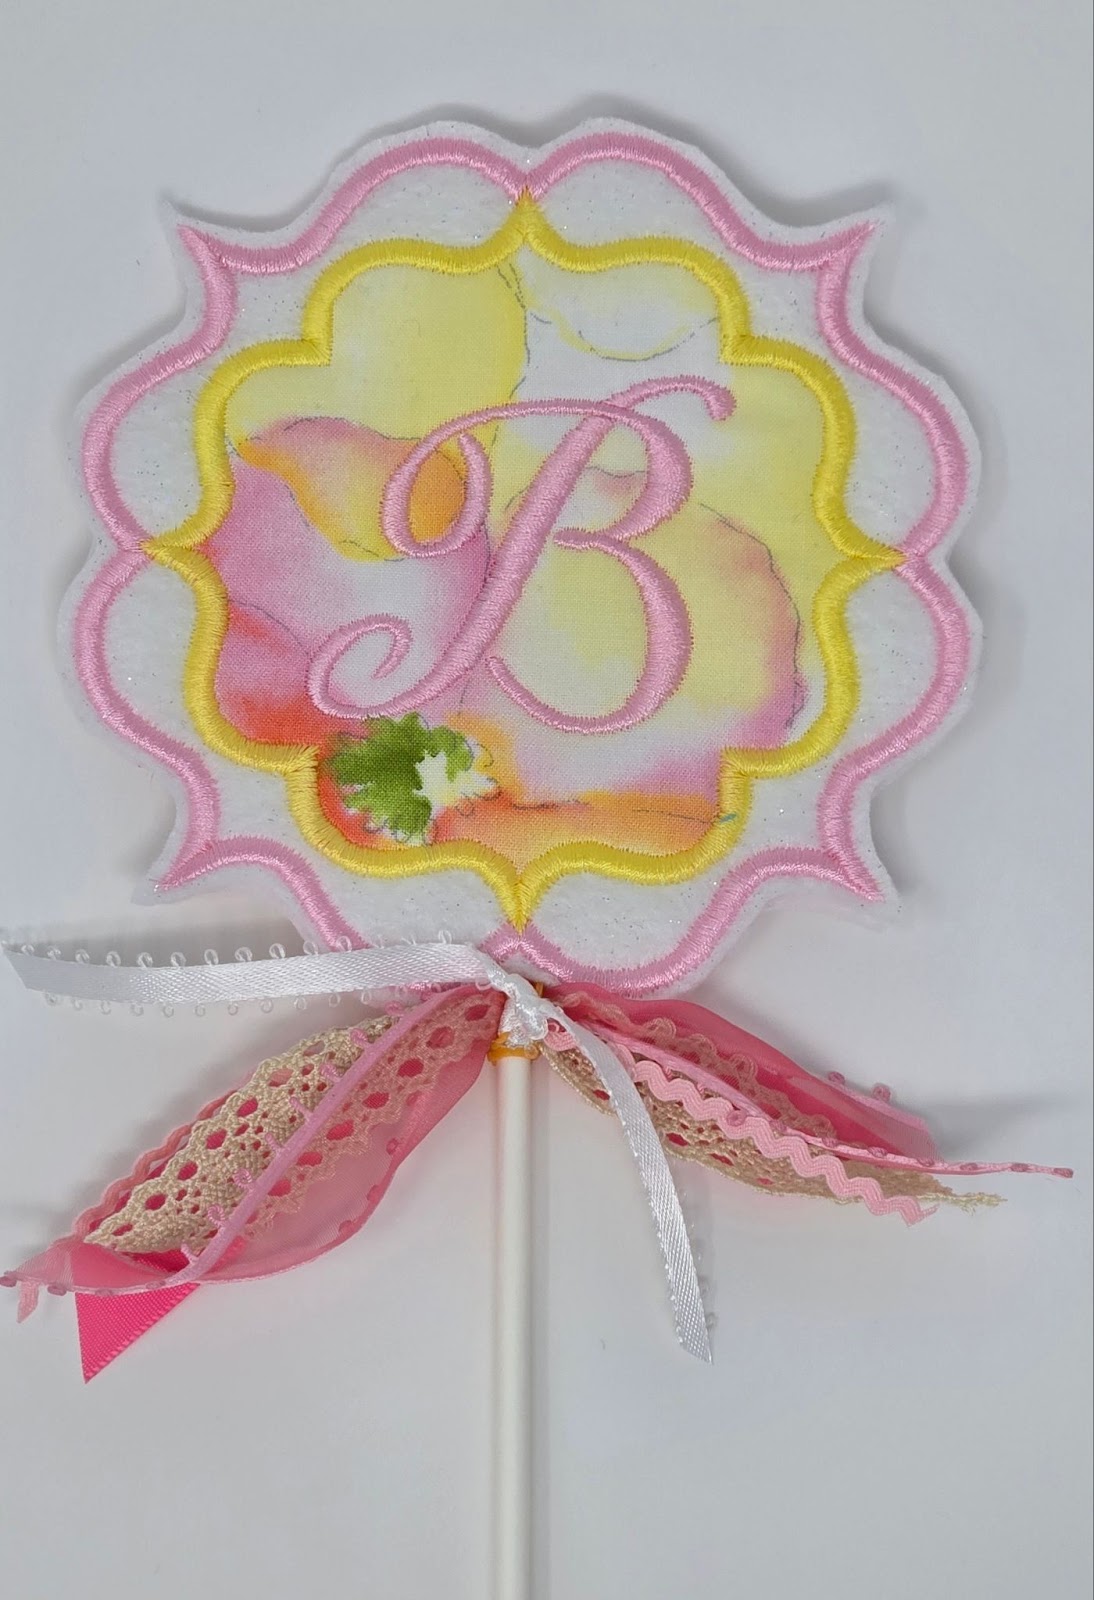
Once you have downloaded your designs and have them on a flash drive for your machine, it is time to have some fun. I started with a design in the Simply Frames Applique set and added a letter B from the Rhonda Script Embroidery Font set.
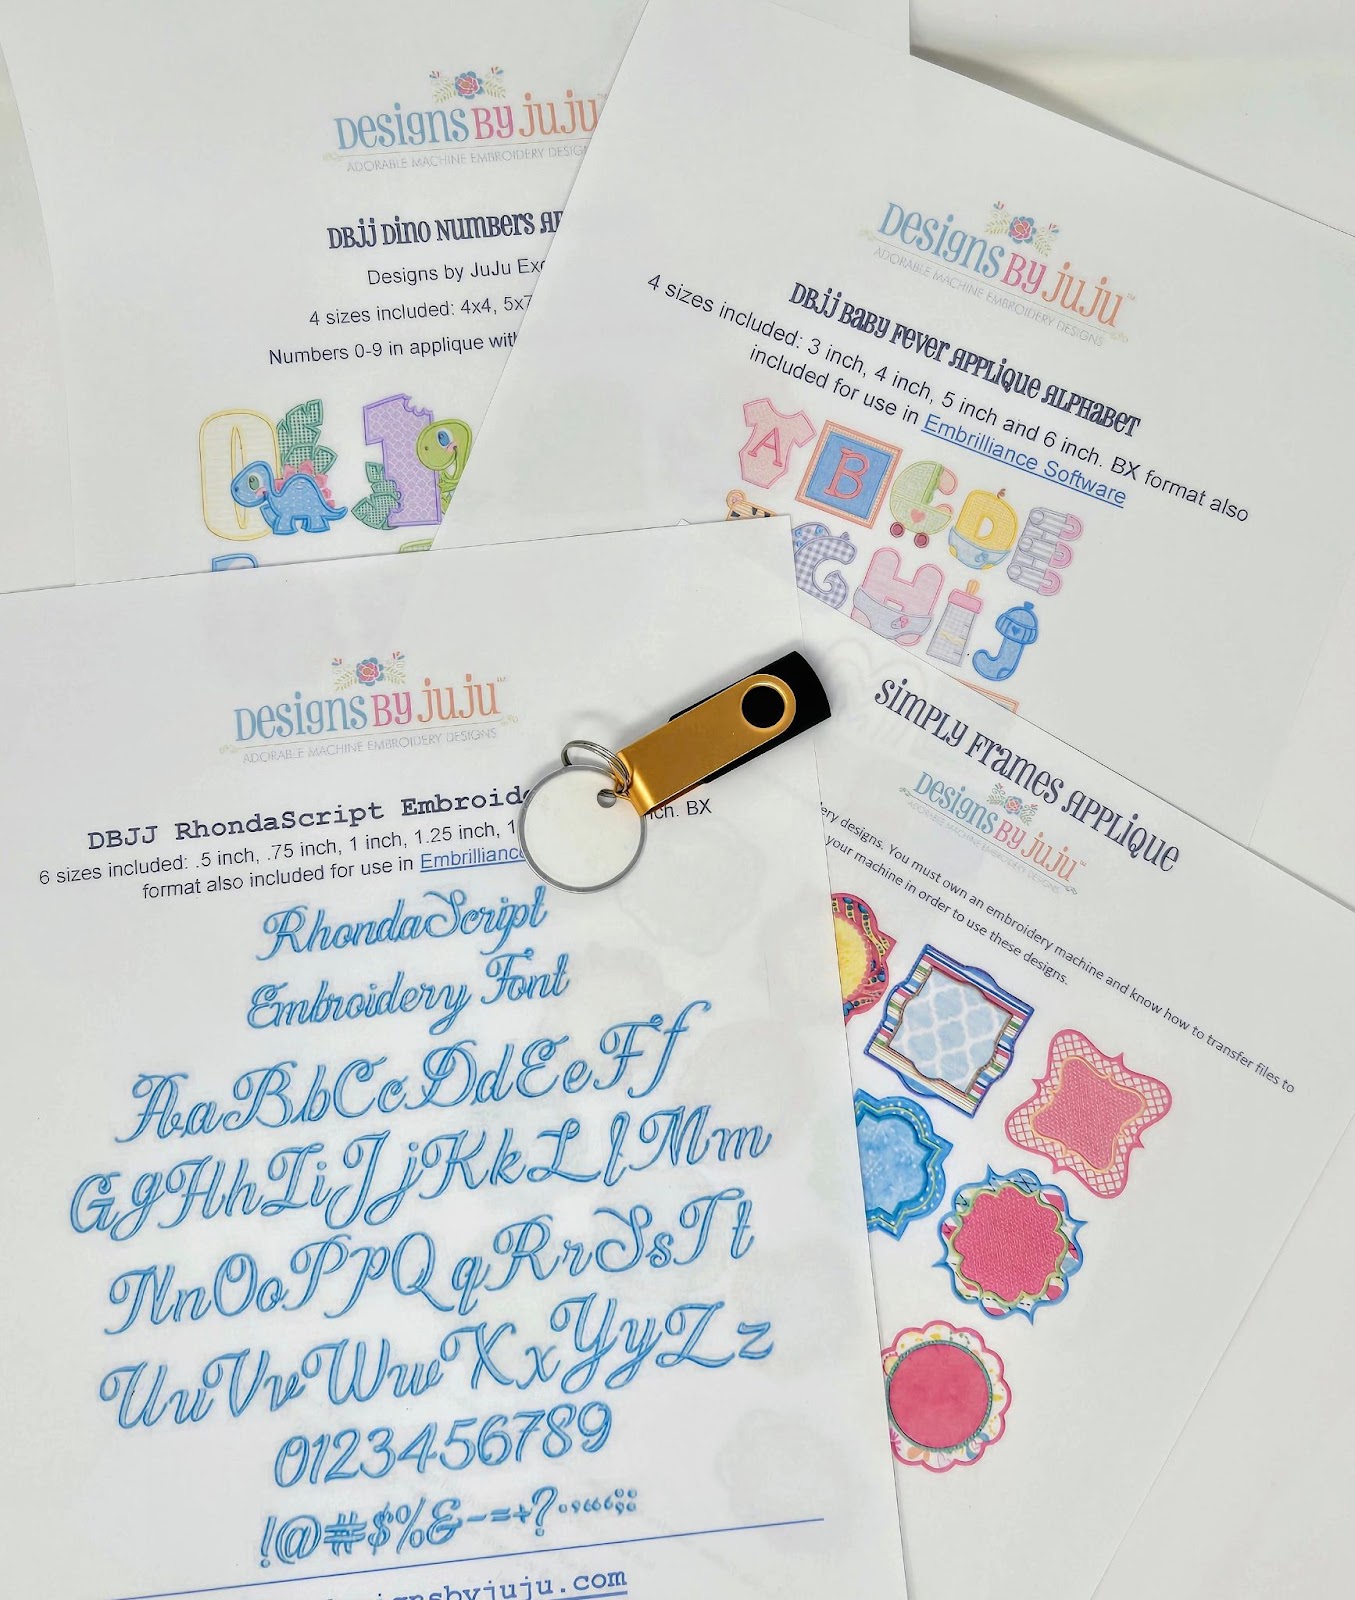
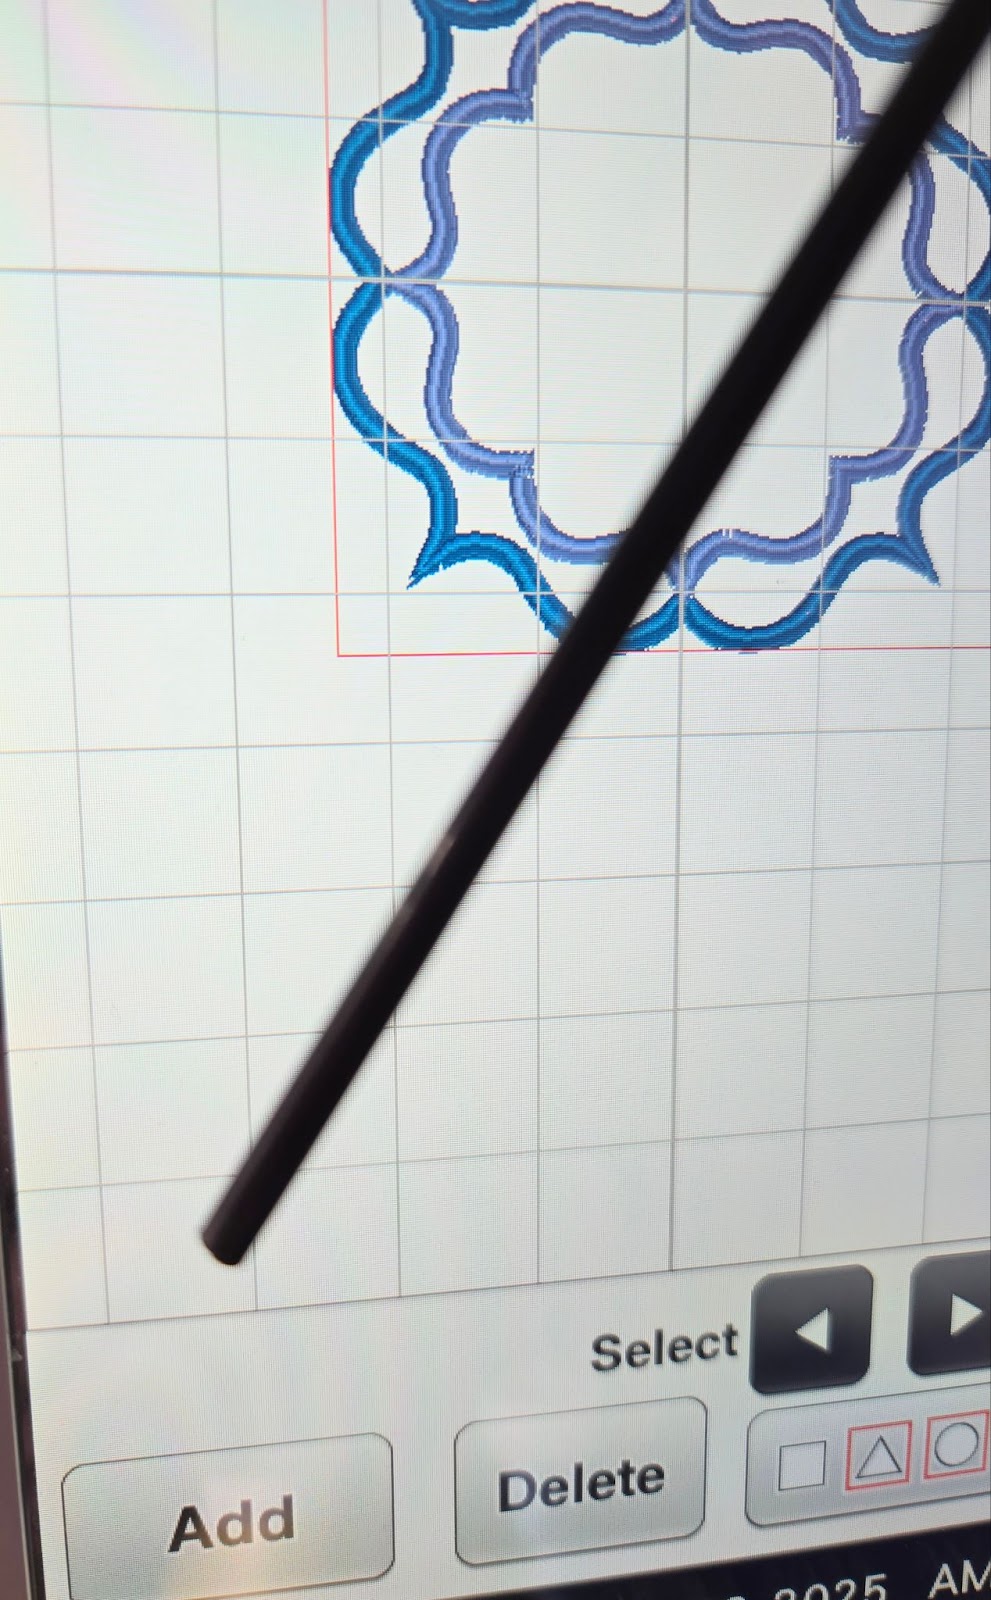
I set the Simply Applique Frame on my embroidery screen. Next, I added the B. I had to make the B just slightly smaller, using the Size icon on my machine. If your machine does not have that capability, you will need to use software. The design size you choose is personal preference. I used the 5x5 Simply Frame Applique in these photos.

I plan to use this cake topper for a bridal shower. The B stands for bride, but you could also use the future bride’s first initial.
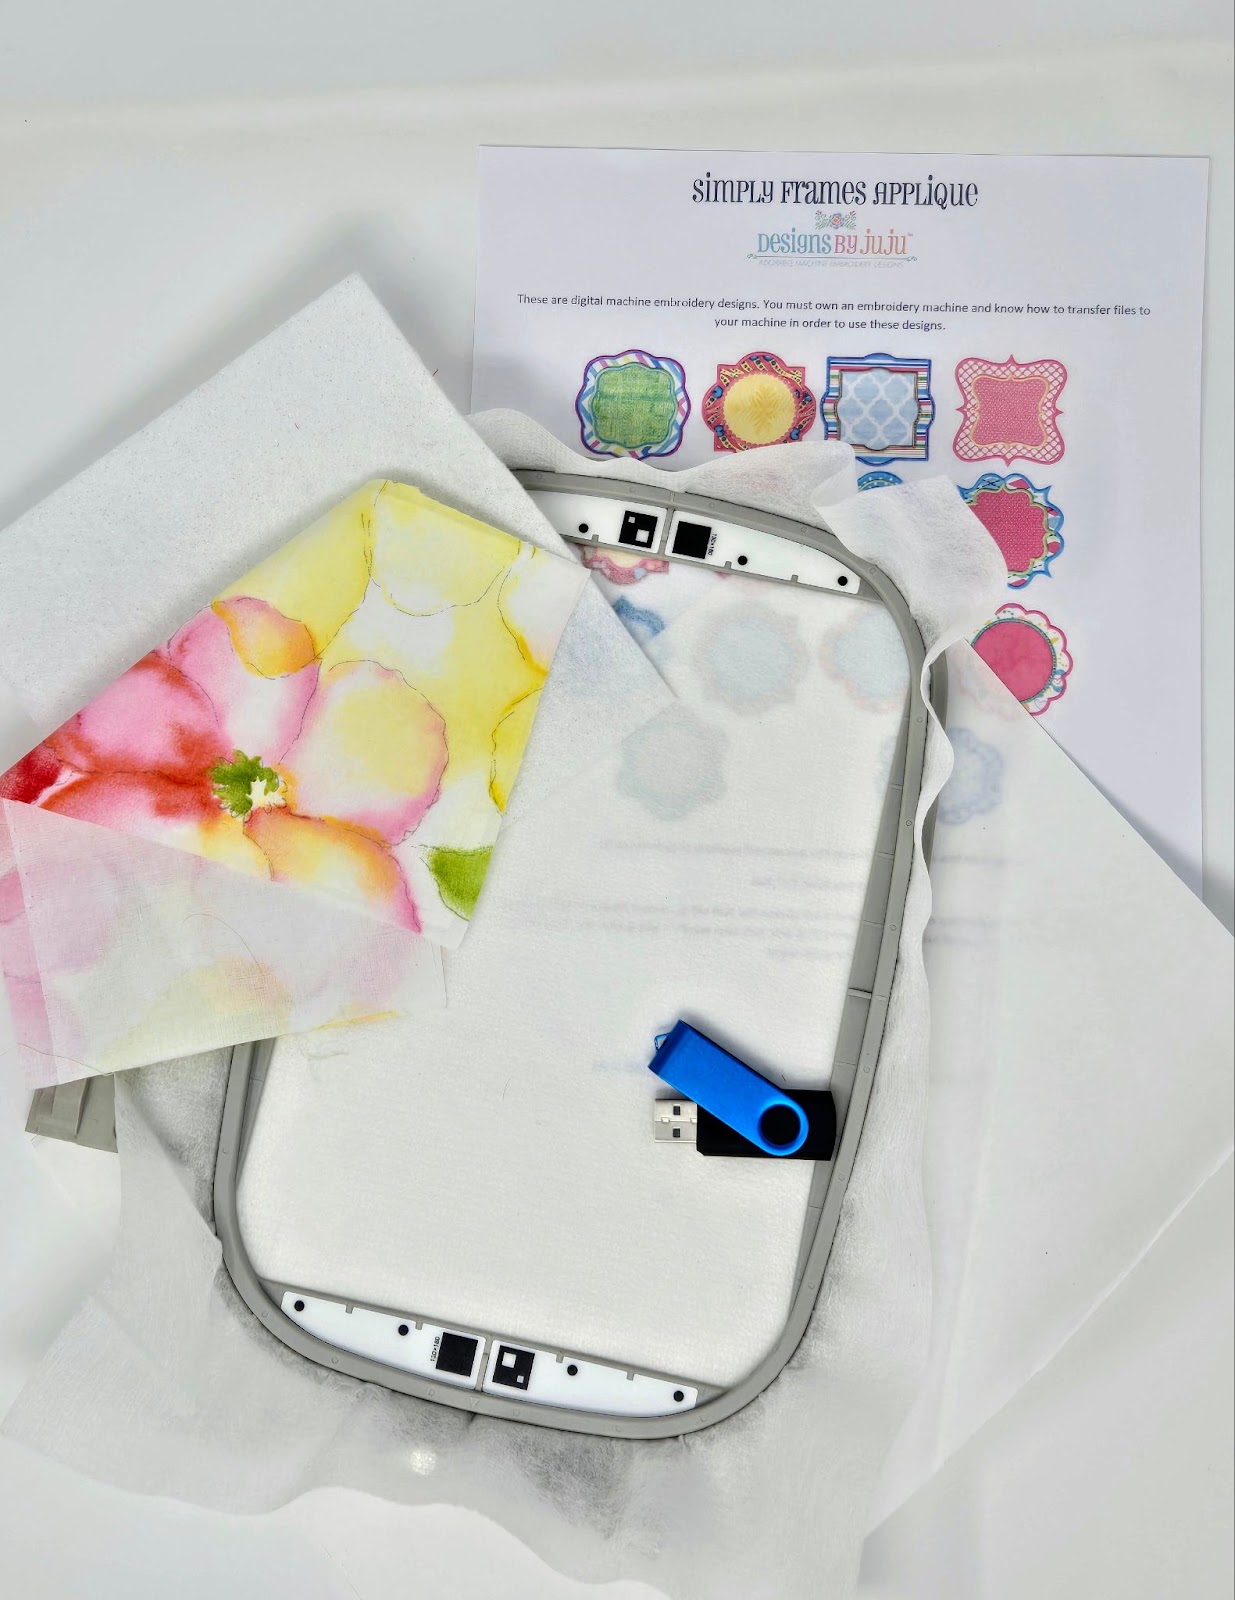
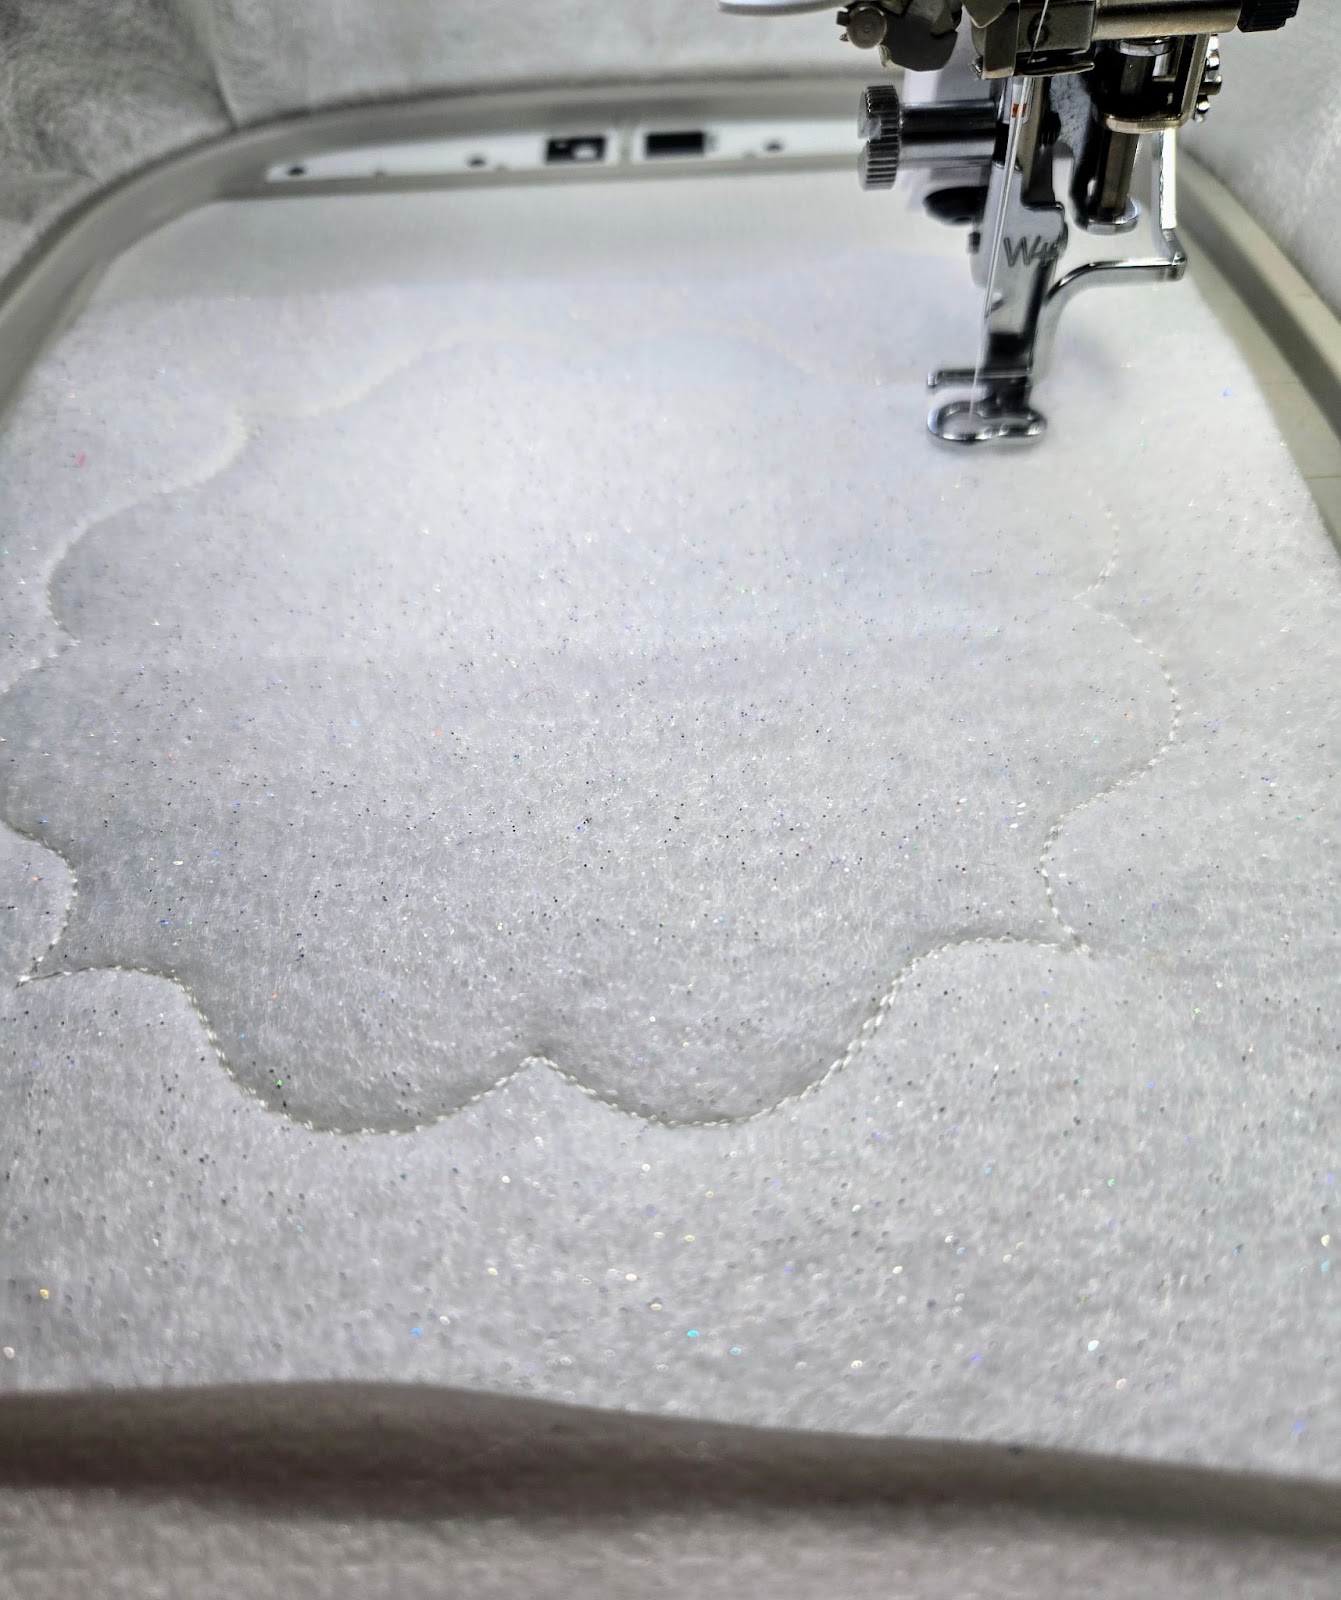
Hoop the cut-away stabilizer if you have not done that already. I used my 5x7 hoop for all my cake toppers, so I would have more room to trim my appliques. Most of these designs will also work in a 4x4 hoop; you would just choose the smaller size from all the options in the design set. I did float a piece of tear-away stabilizer under my hoop.
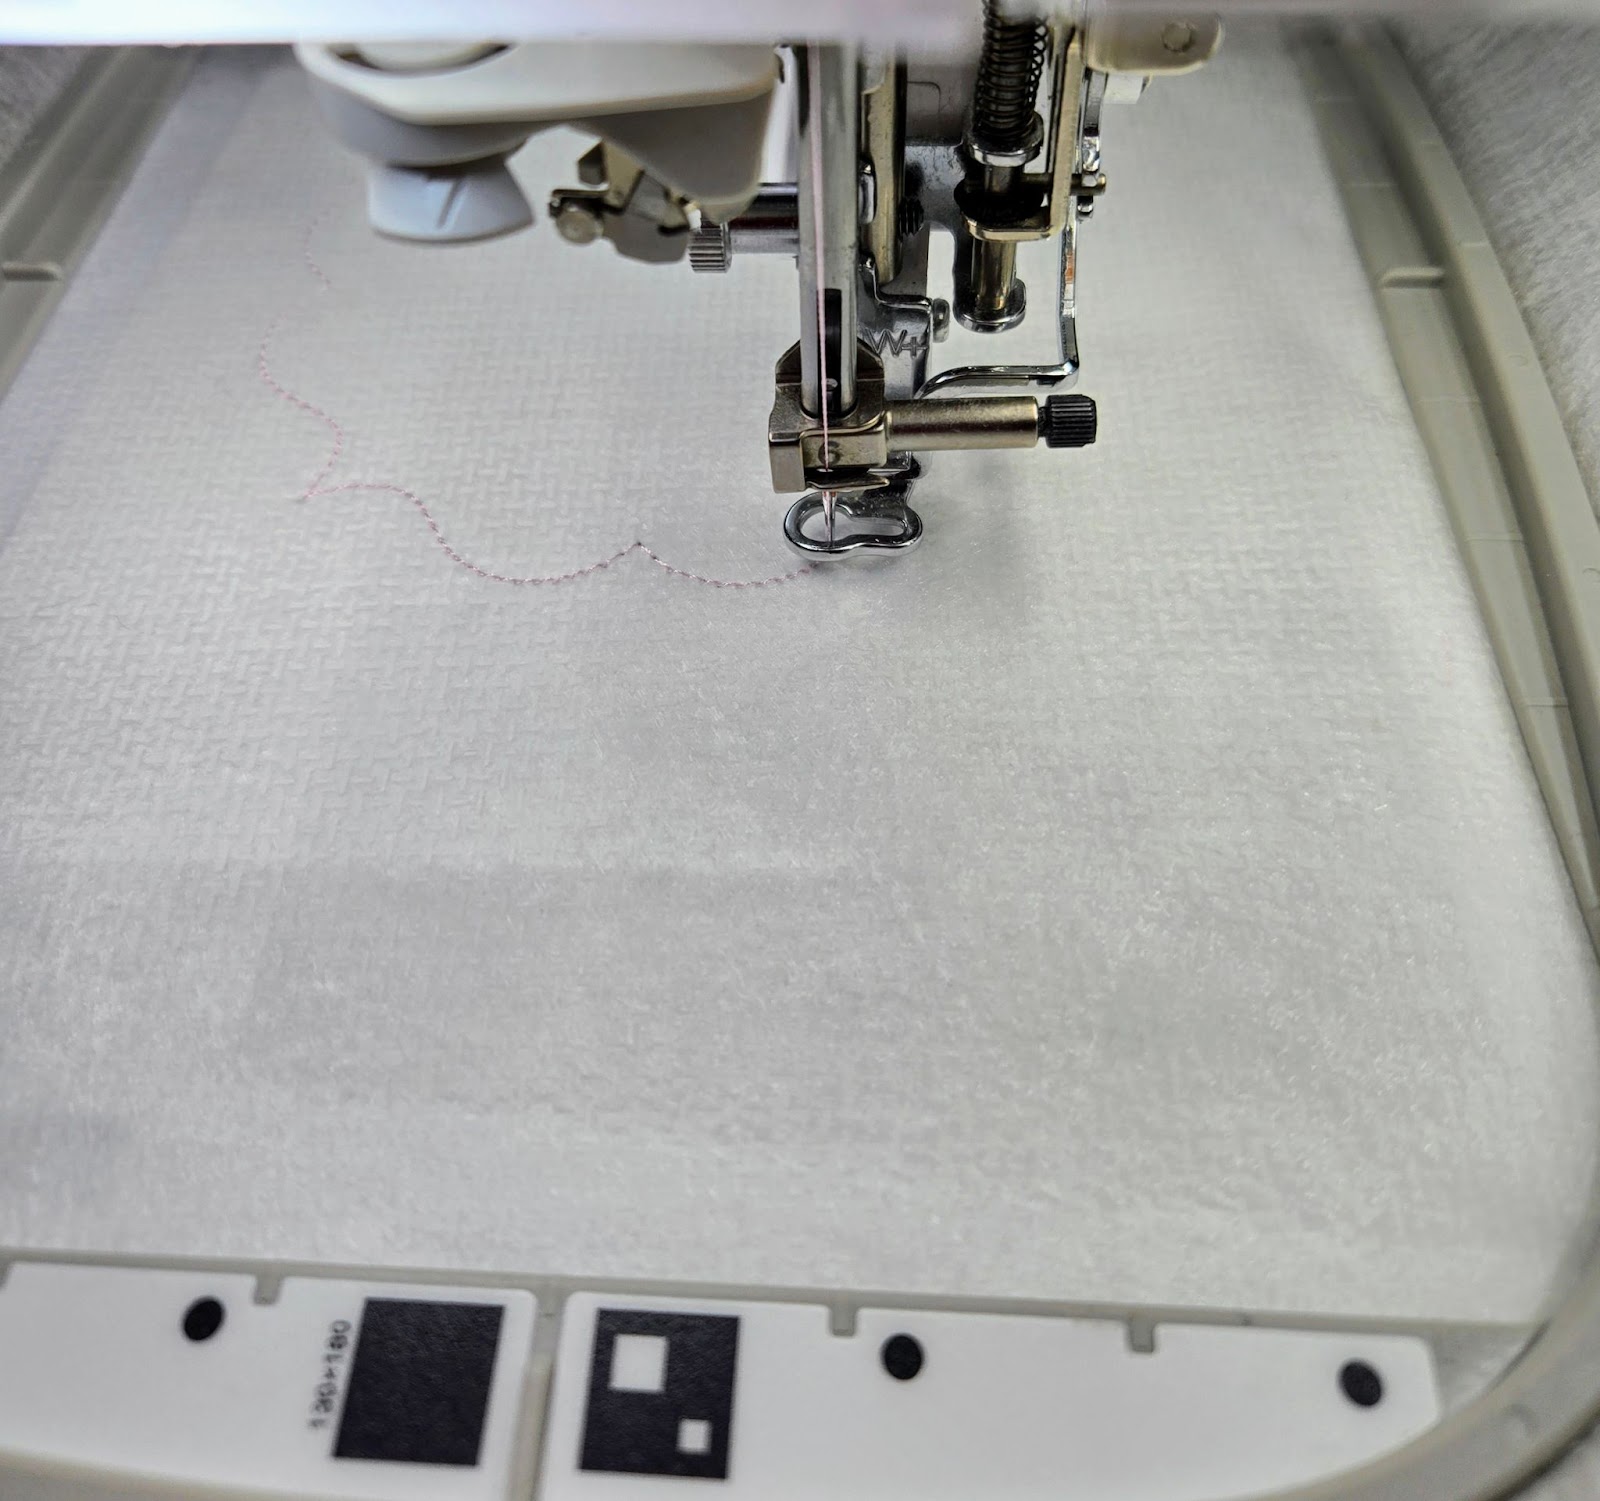
Run the placement stitch, and place a piece of the felt so it covers the outside placement line with about ½” on all sides. I held it in place with a couple pieces of tape. (I do not hoop felt to prevent hoop burn.)

Run the outside tack-down stitch.
Do not trim your felt. Run the next placement line on top of the felt. Cover with your fabric and tack in place. *Note: I did fuse SF101 interfacing to the back of my floral fabric to give it more stability for the monogram.
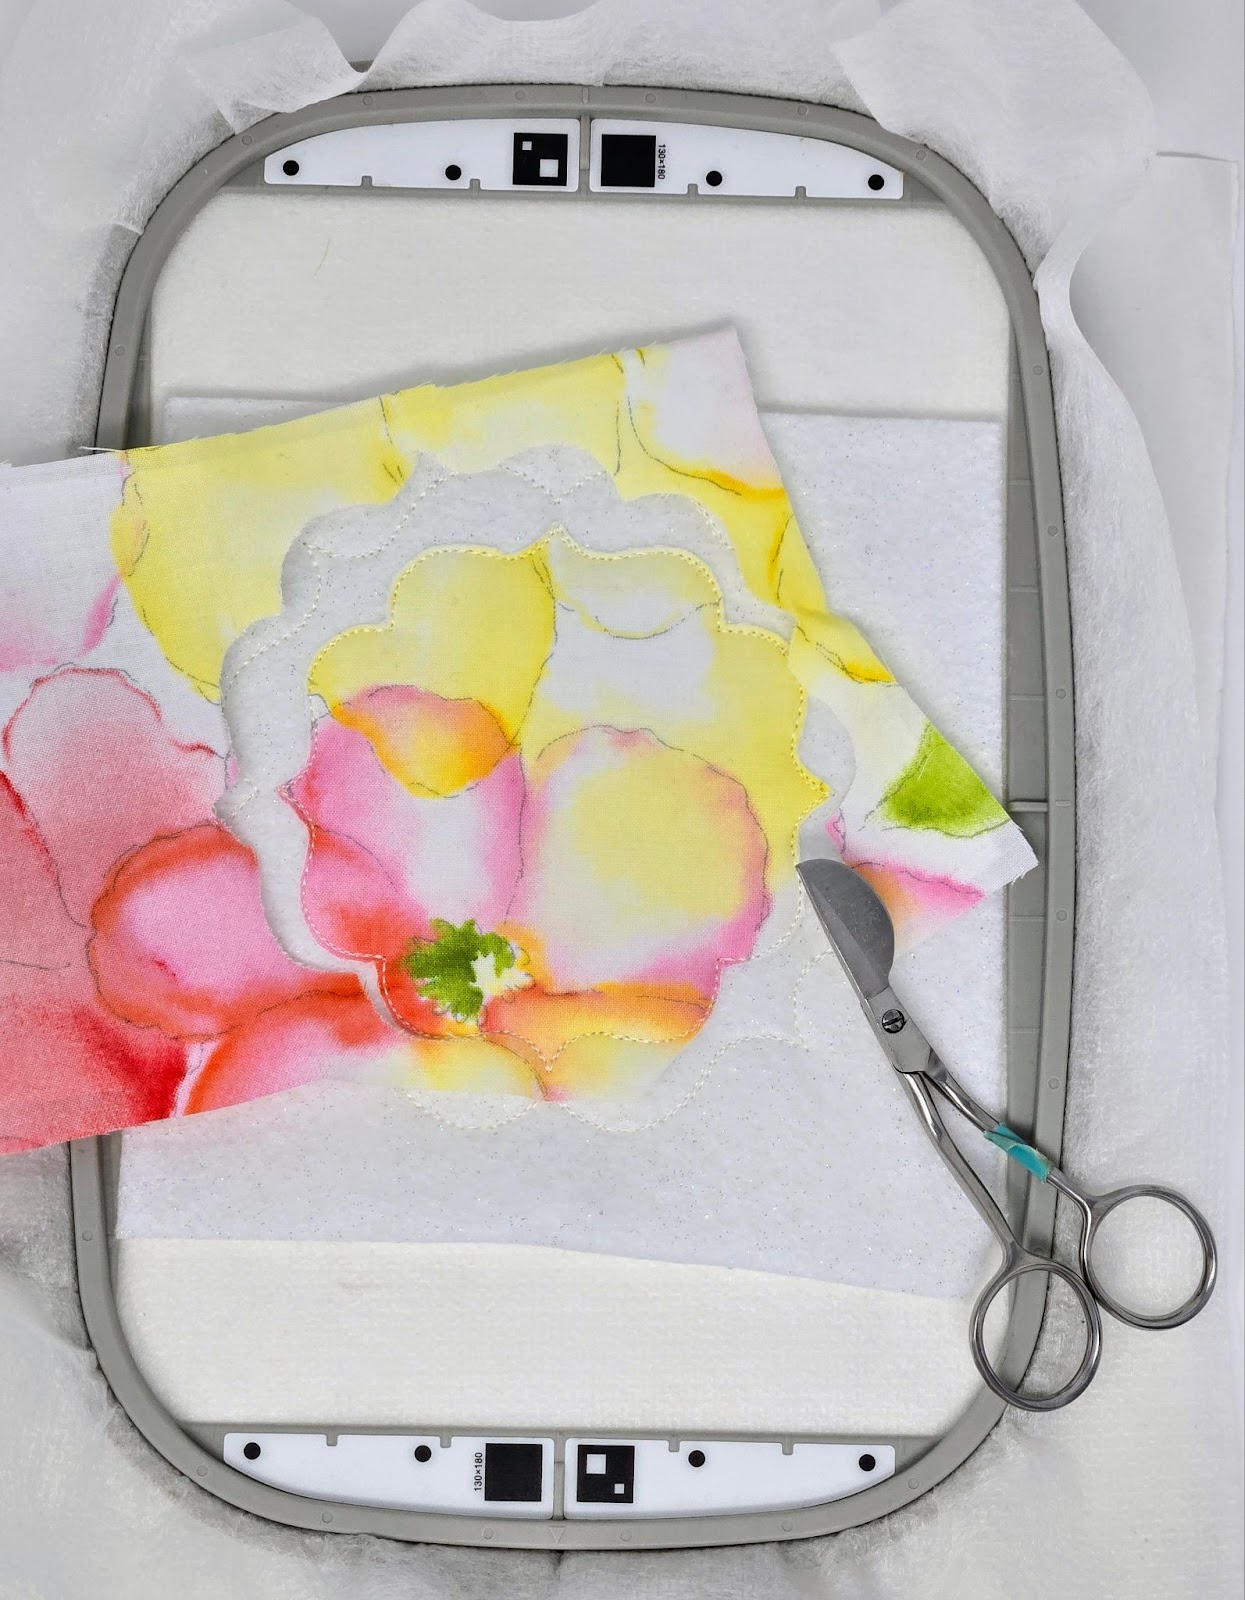
Once you have run the tack-down stitch for this fabric, trim it close to the stitches.
Continue to follow the steps on your machine to embroider the rest of your frame.
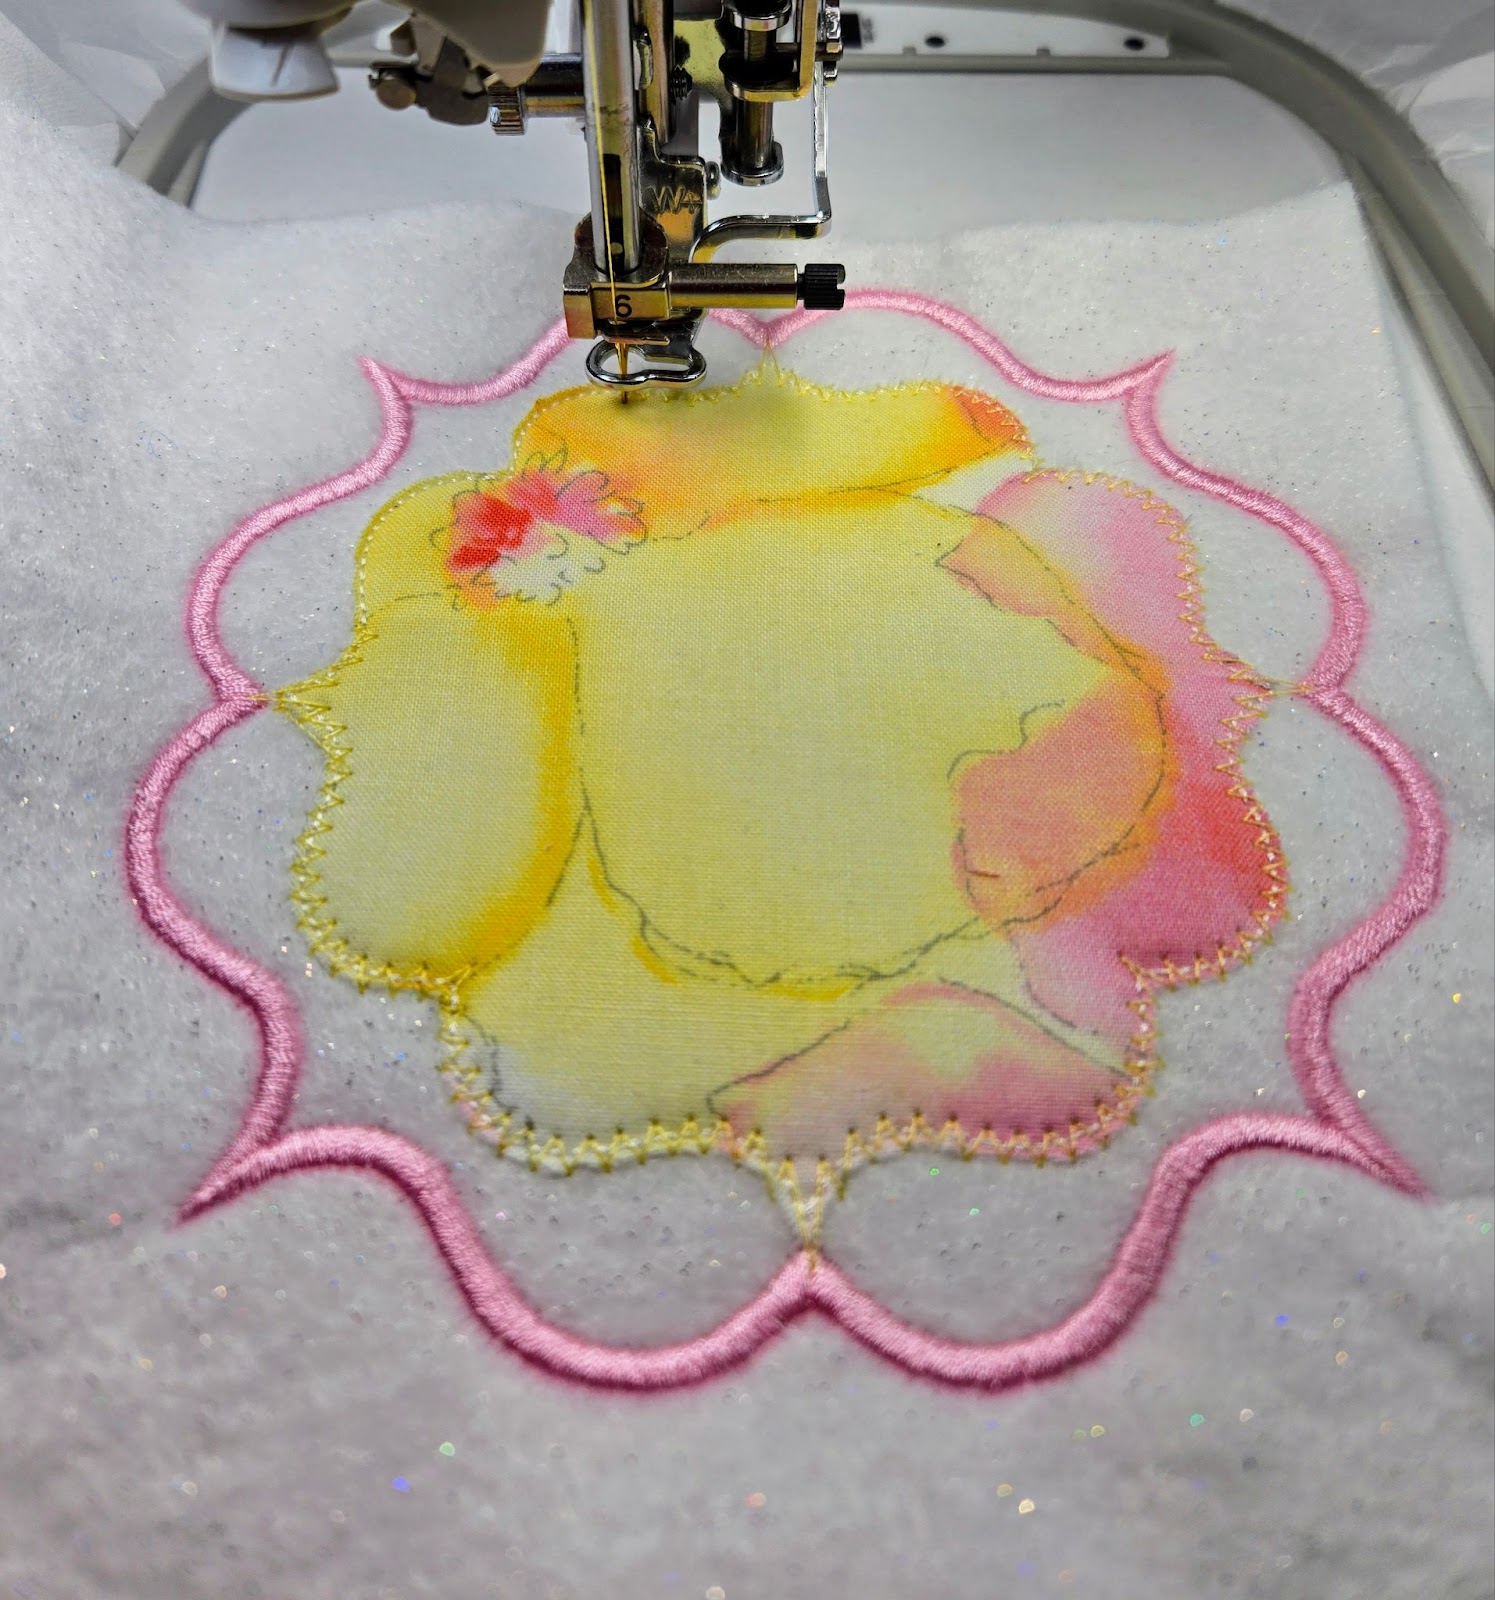
When your embroidery is finished, remove the design from the hoop and gently tear away the stabilizer around the outside edges. The stabilizer inside your design will stay to give your cake topper more stability.
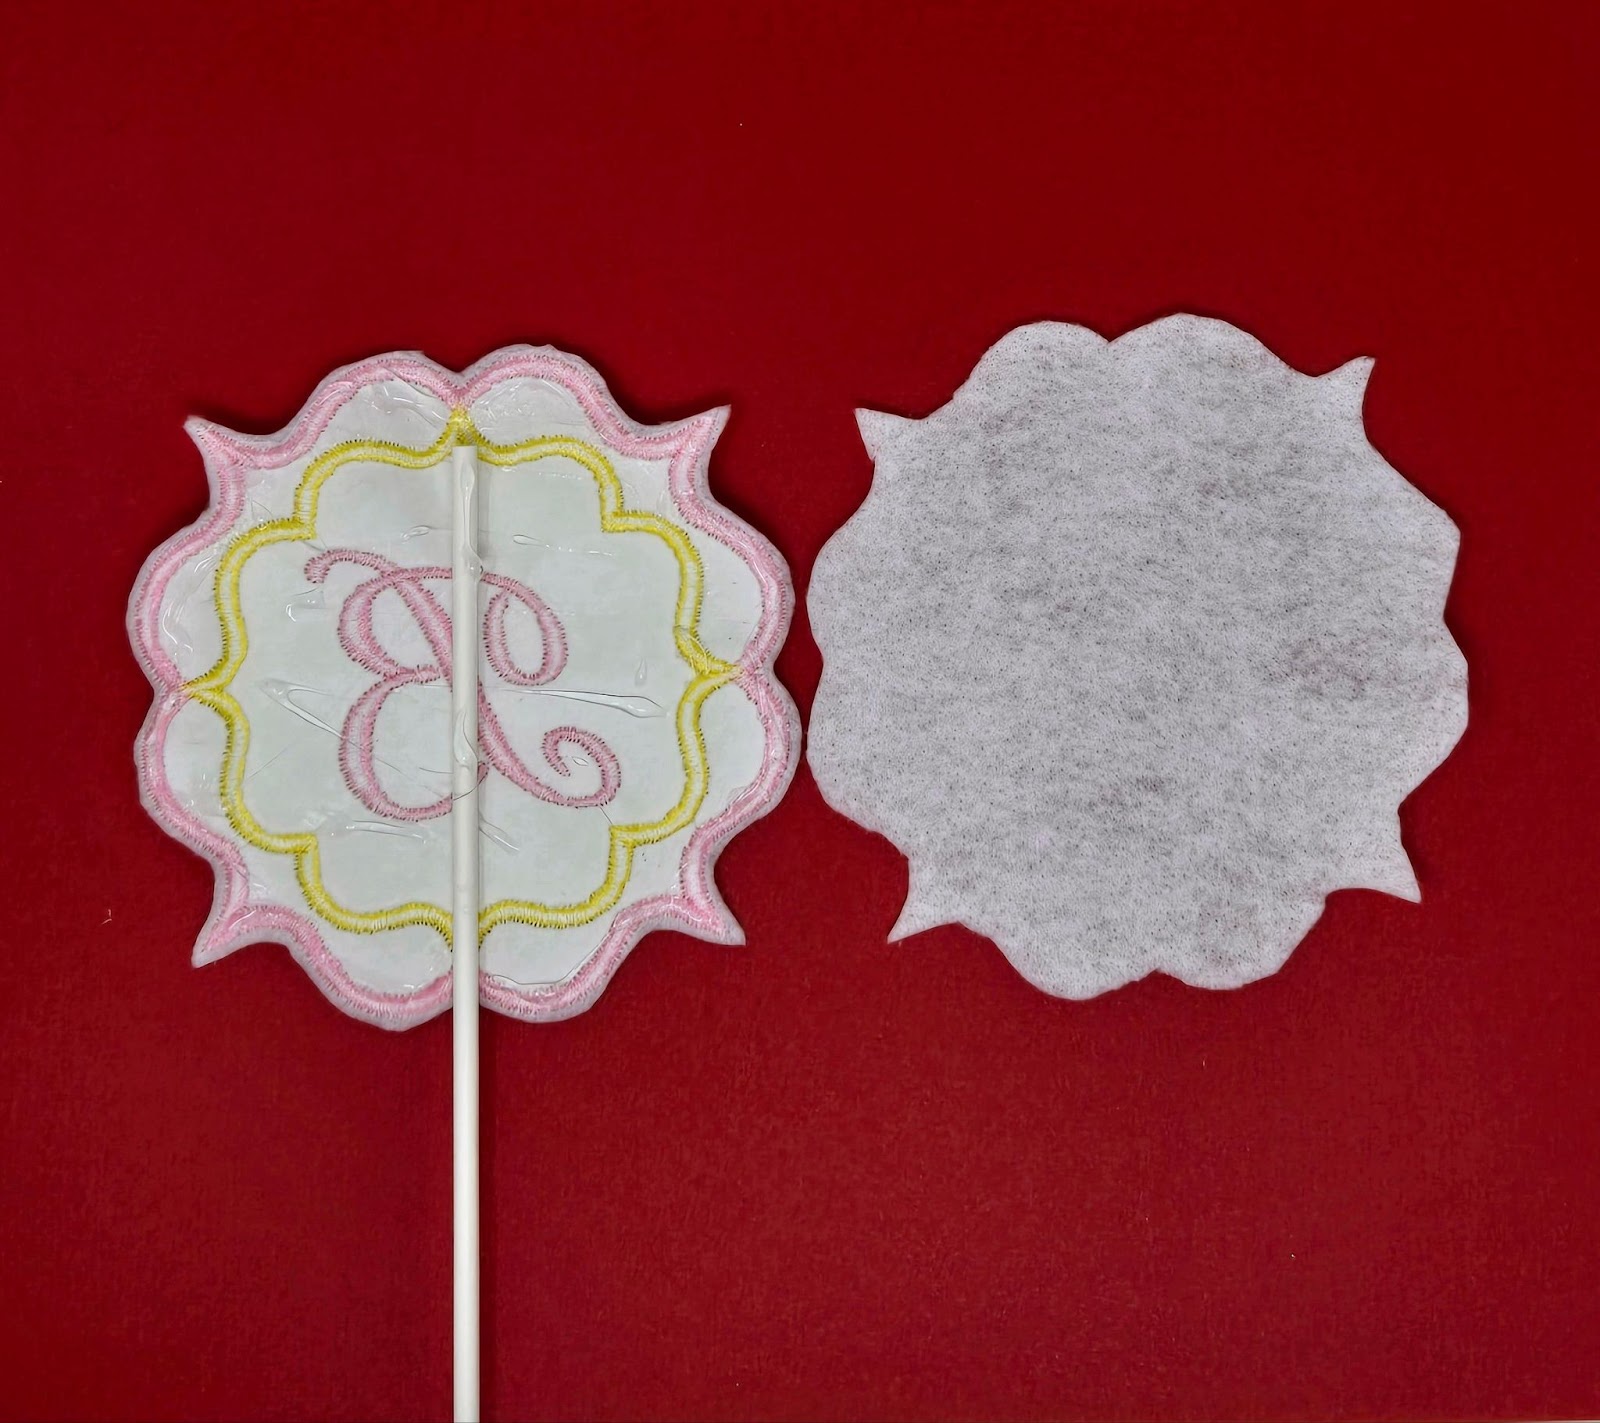
Carefully trim about one-eighth inch from the outside of the design, trimming both the felt and the cut-away stabilizer. Now place your design on top of a second piece of felt and trim this piece to the same size.
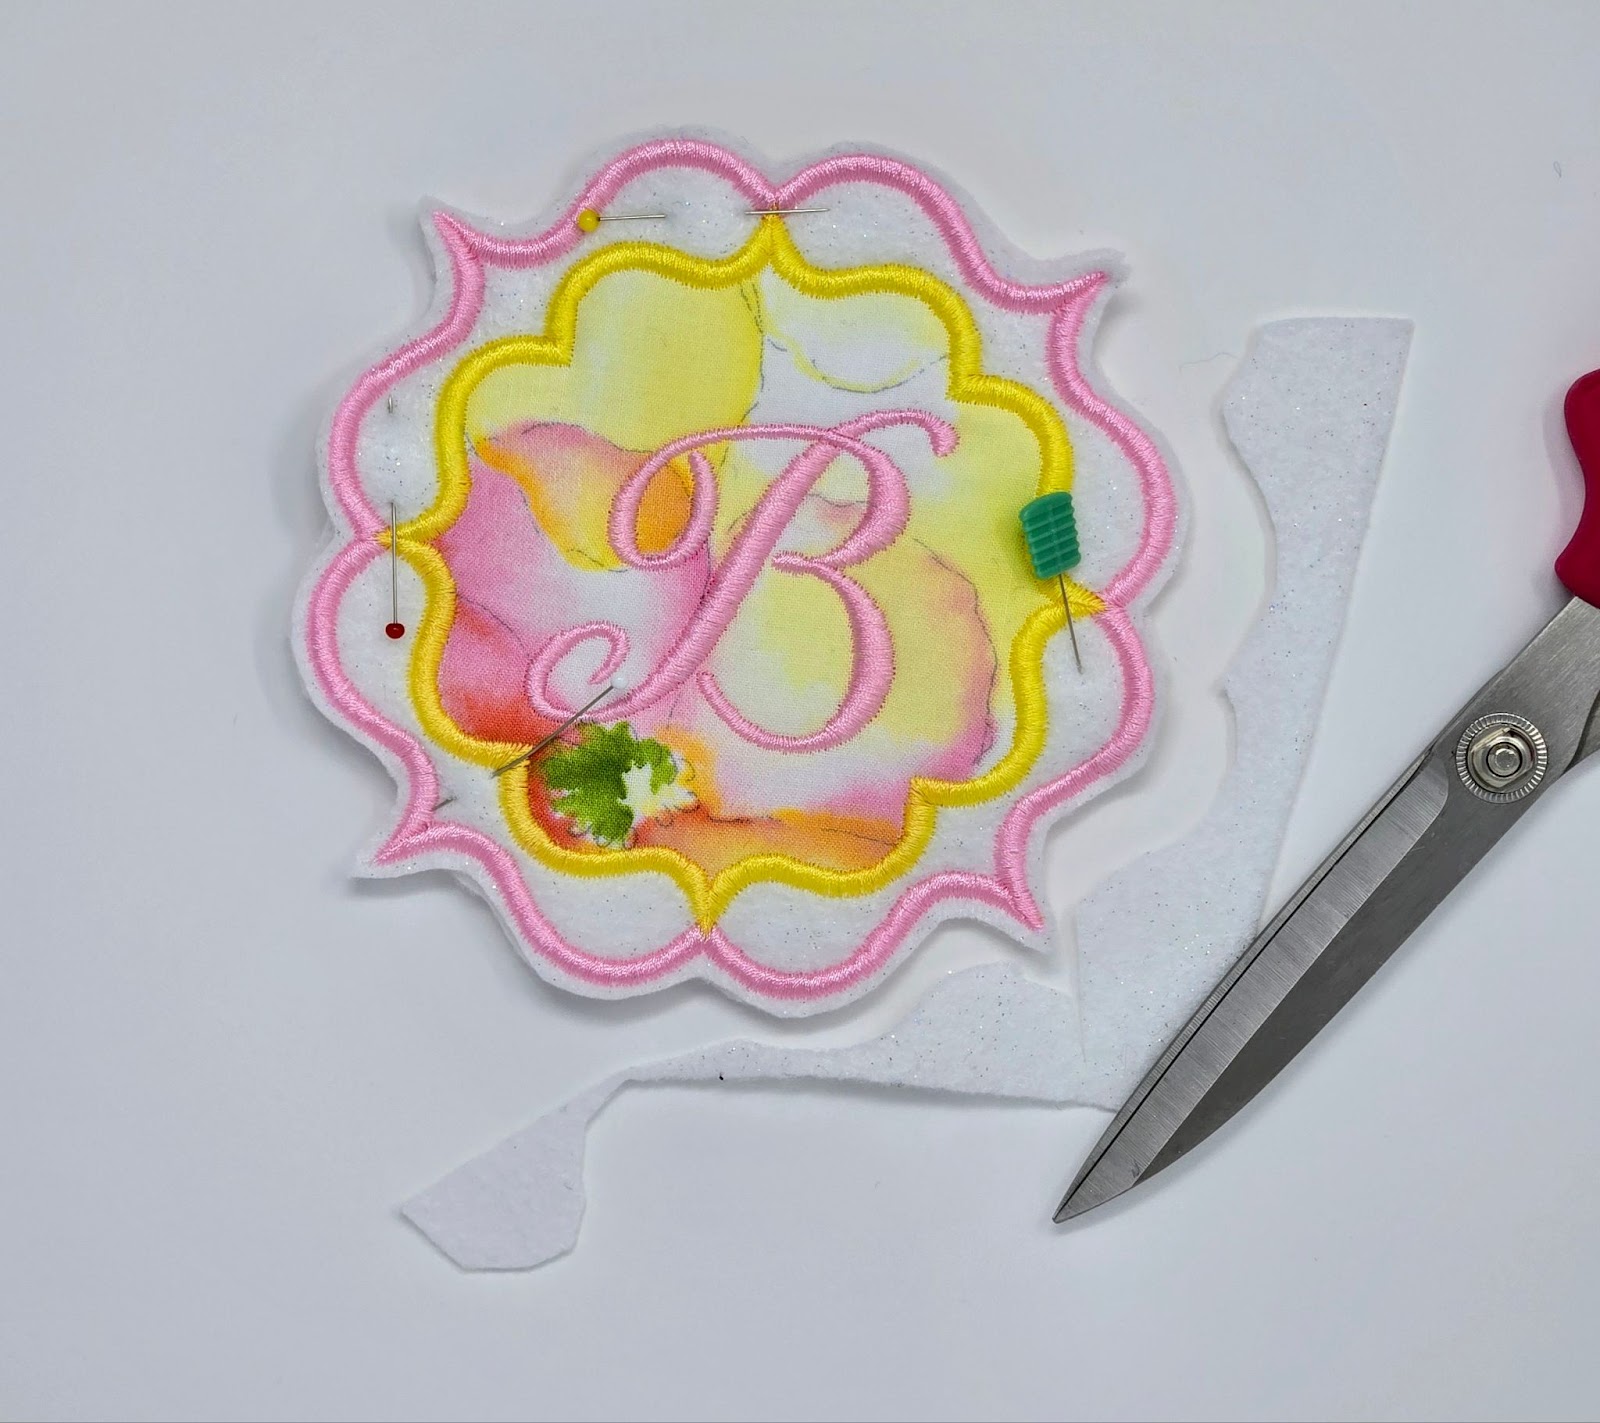
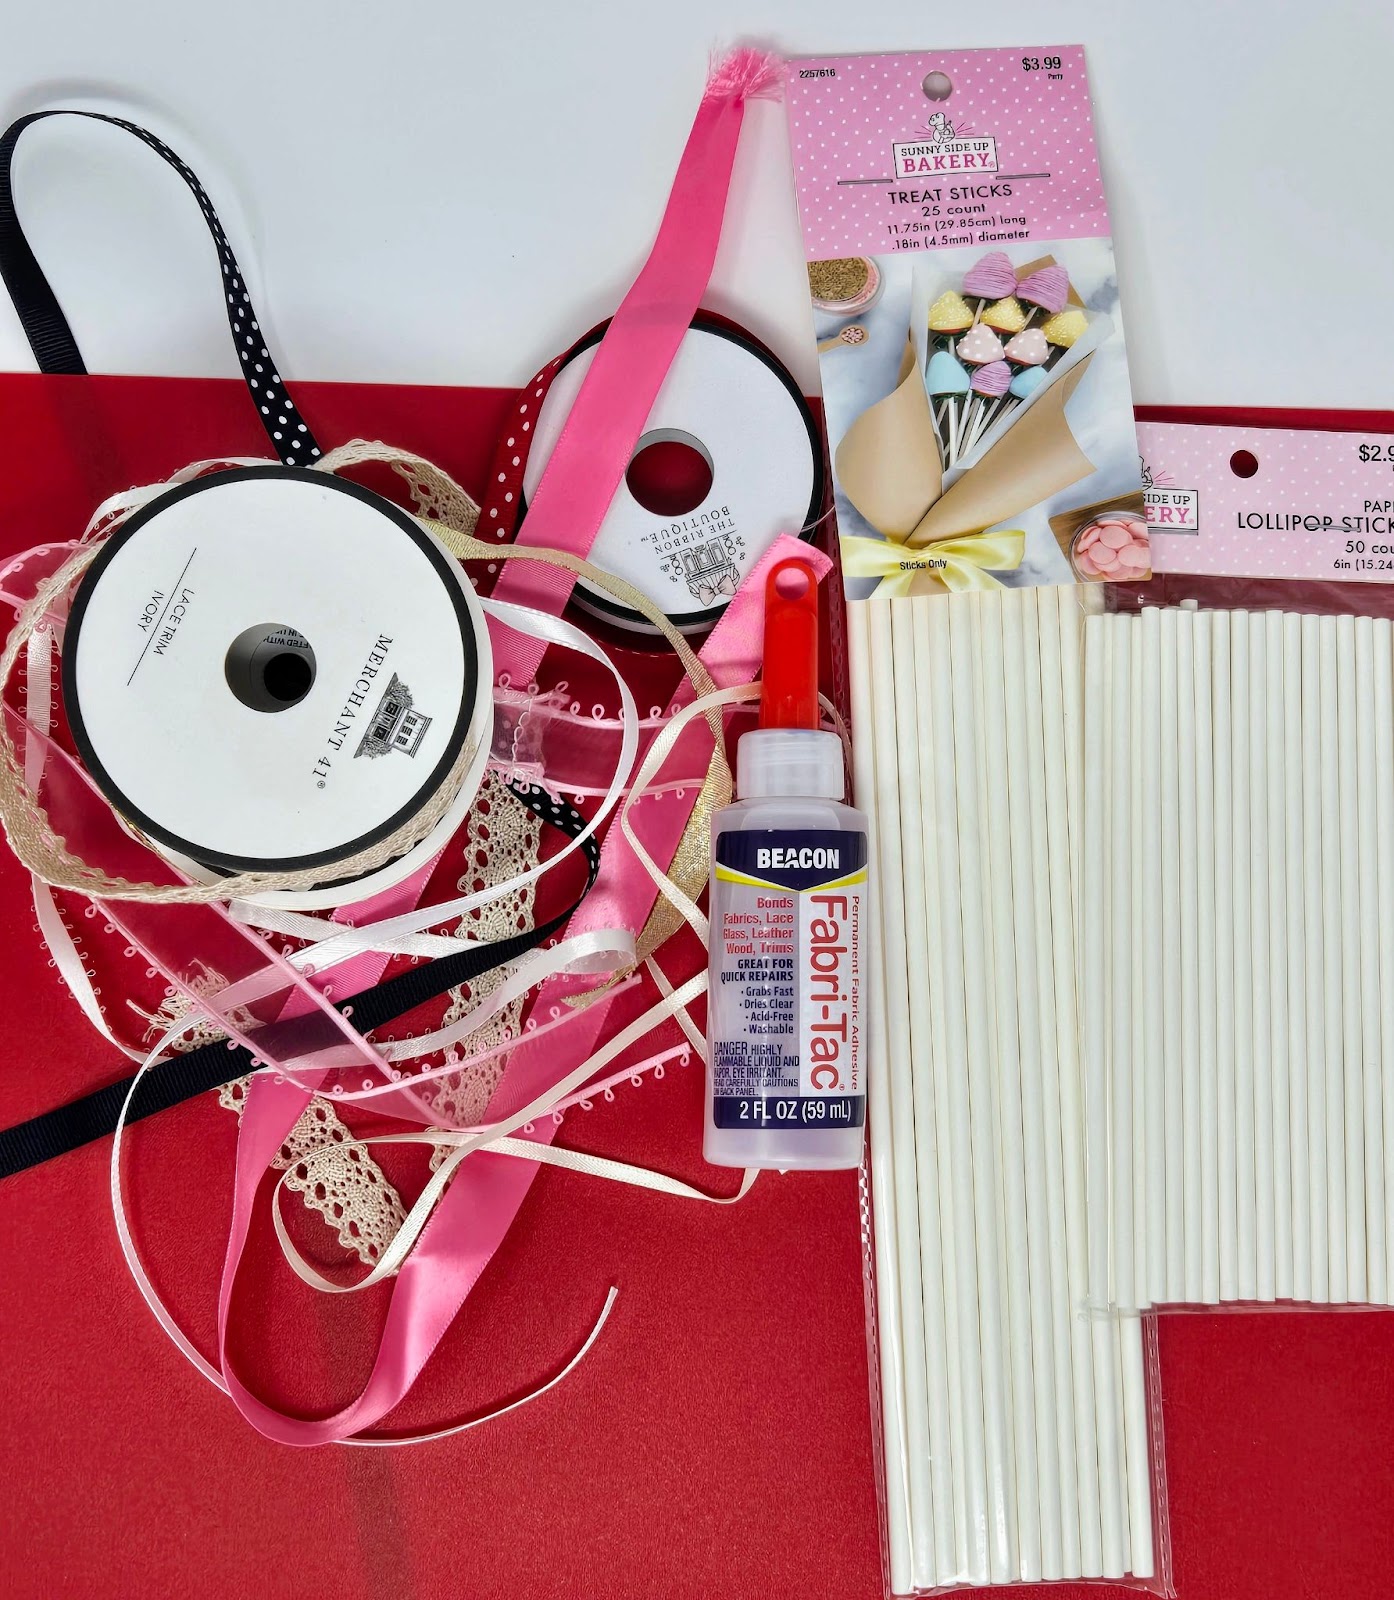
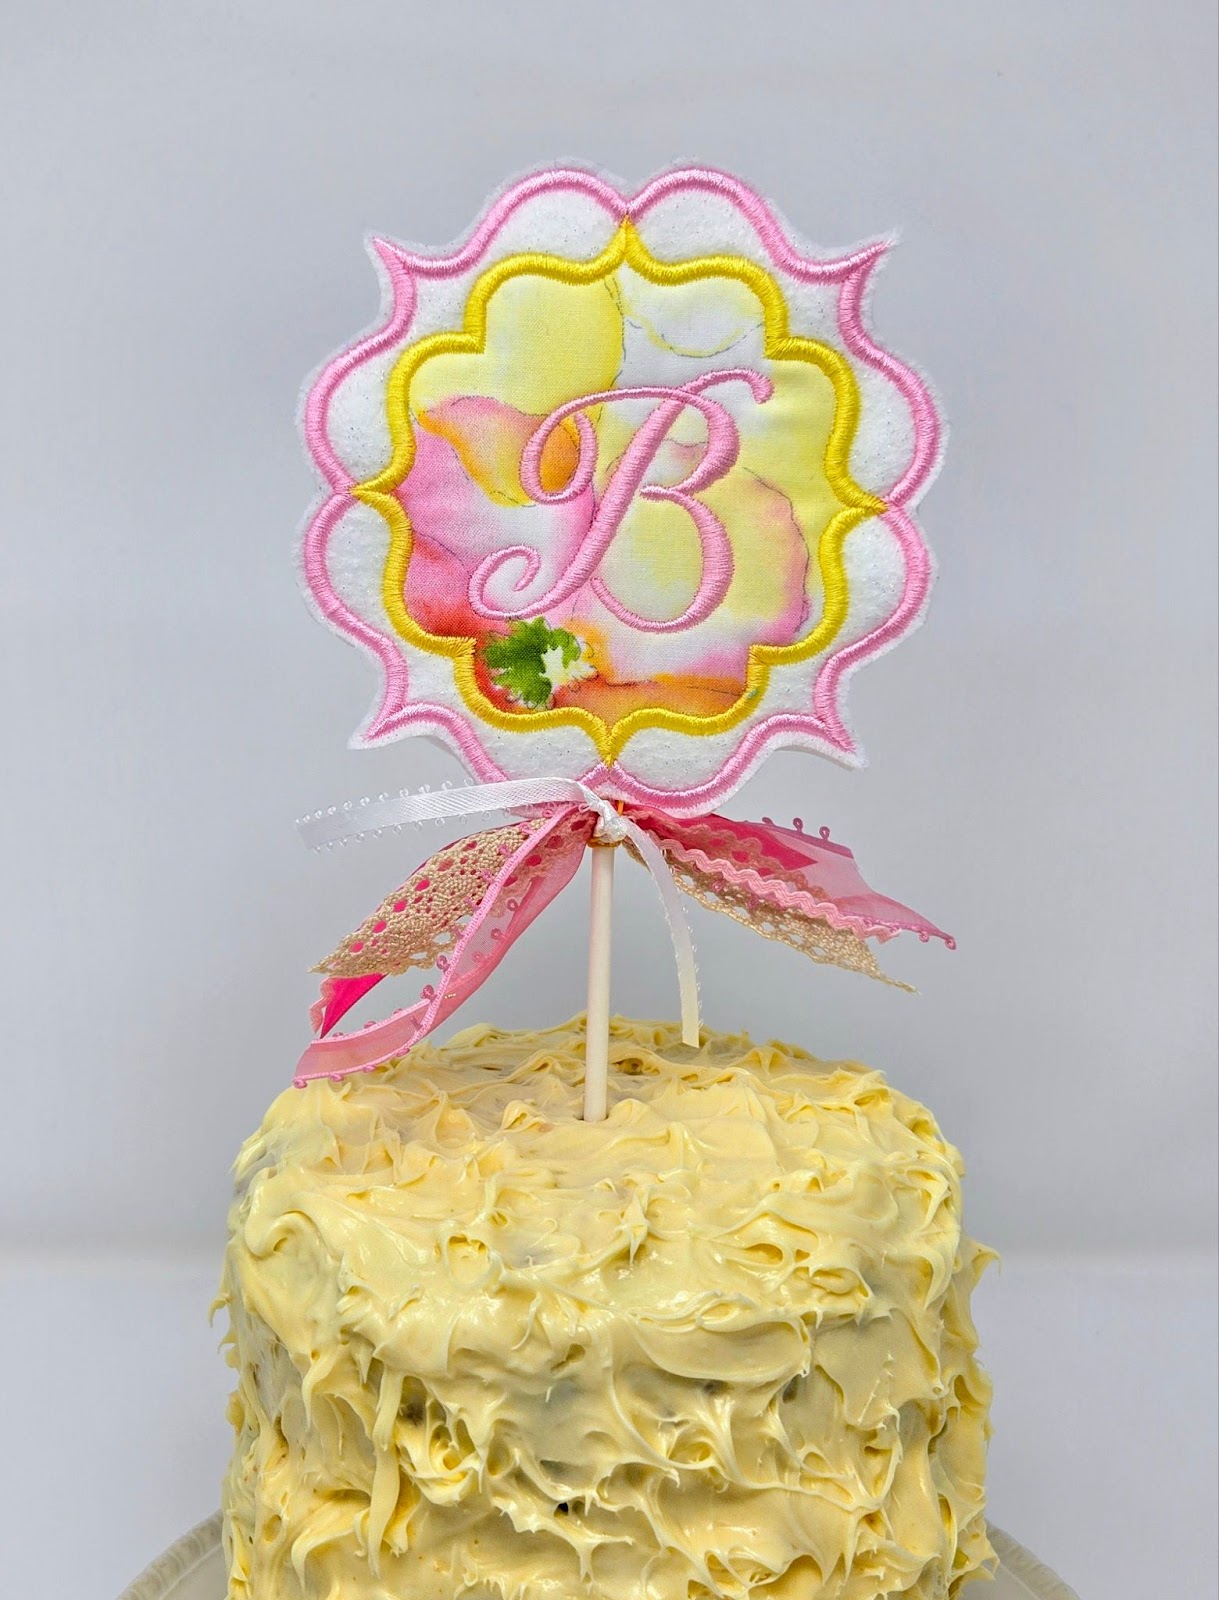
Spread a thin coat of glue around the outer edges on the back of your embroidery. I added the glue on top of my outside satin stitch. Place a cake pop stick in the middle and run a small bead of glue along the stick. Then gently place the back piece of felt over the glue, encasing the cake pop stick. Allow glue to dry as recommended for your chosen glue.
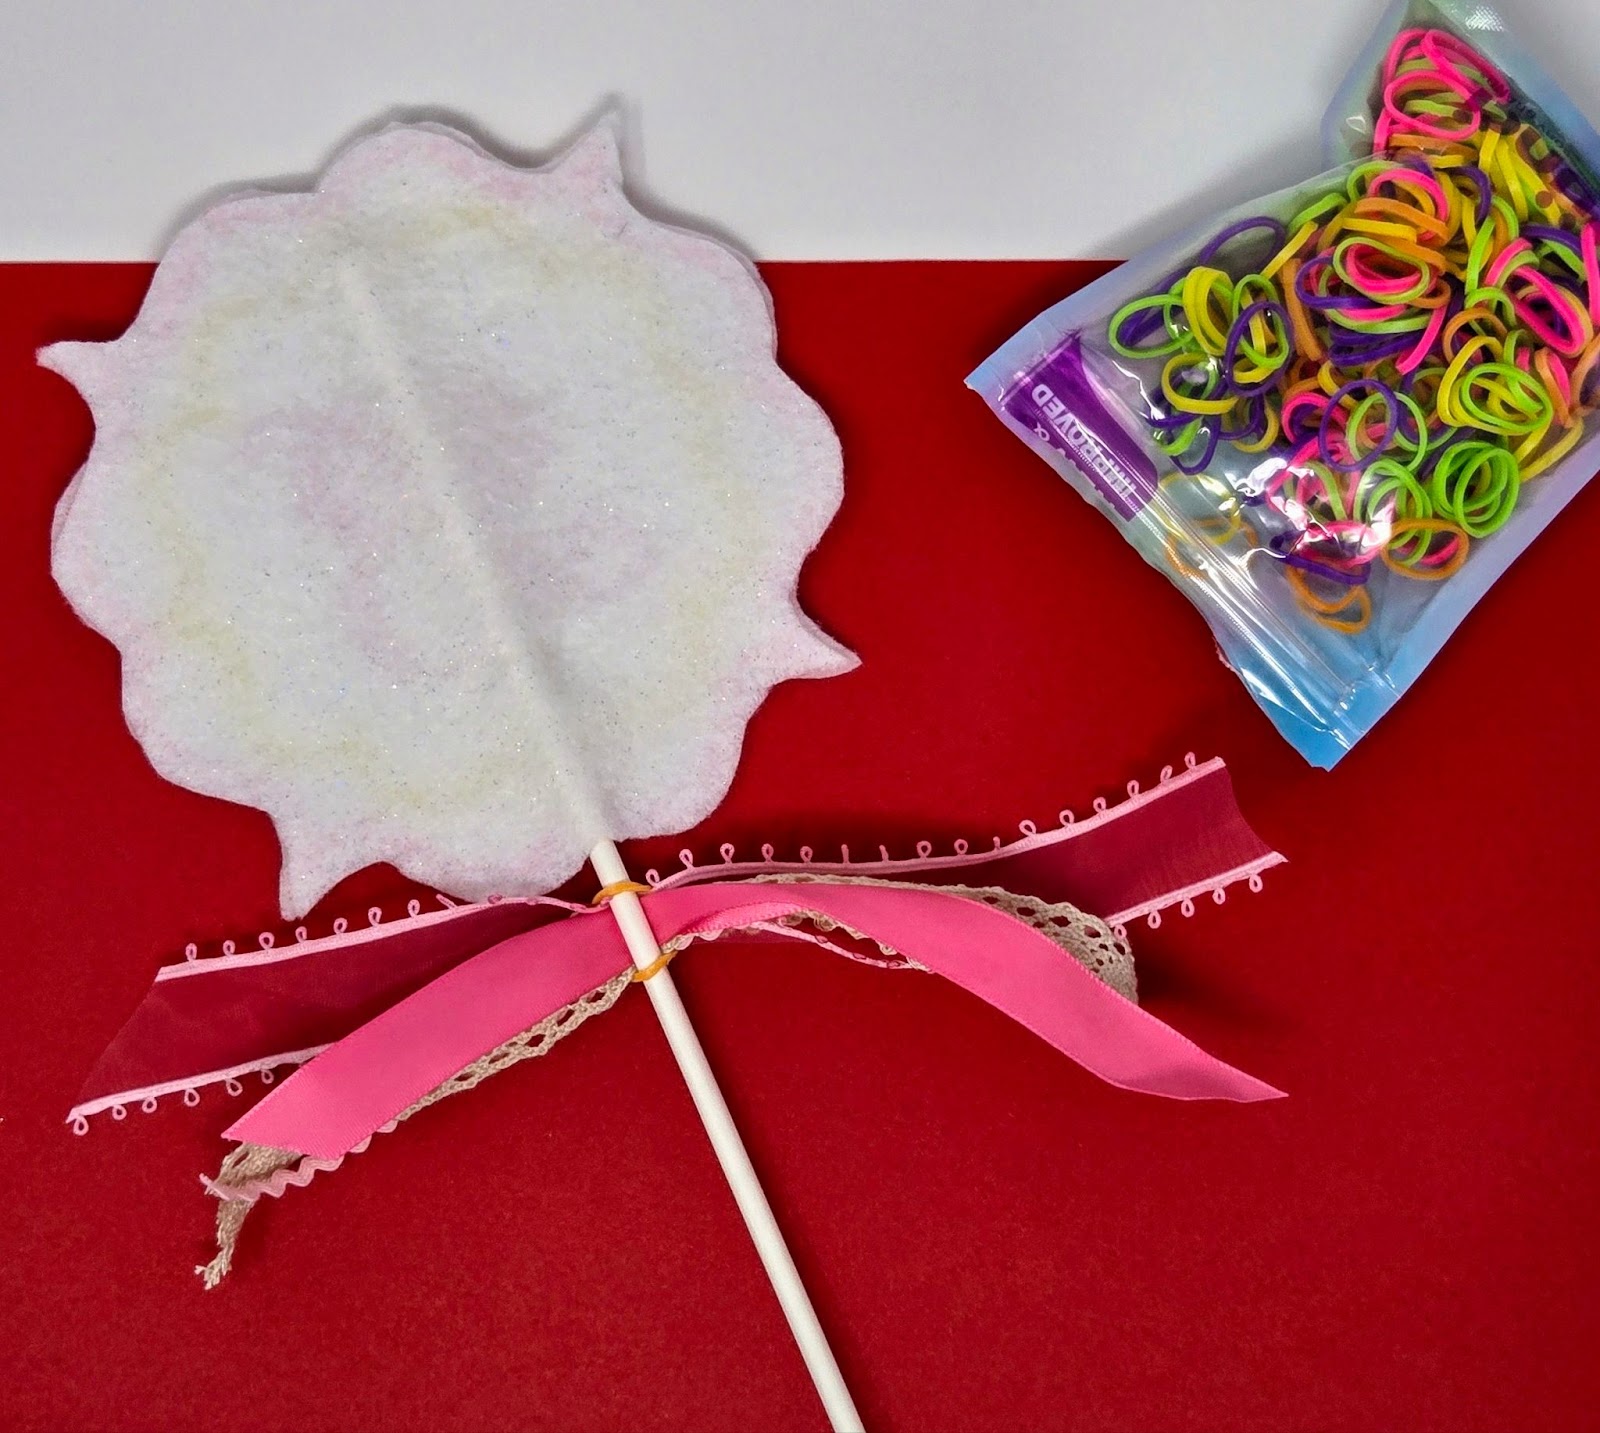
When your glue is dry, it is time to add a few ribbons to your FSA Cake Topper. I use between 3 and 5 different ribbons approximately 6–7 inches long each. This depends on the size of your topper and cake. Instead of tying them to the stick, I like to use a tiny hair elastic and then cut another piece of ribbon to cover the elastic.
I had a blast making these!
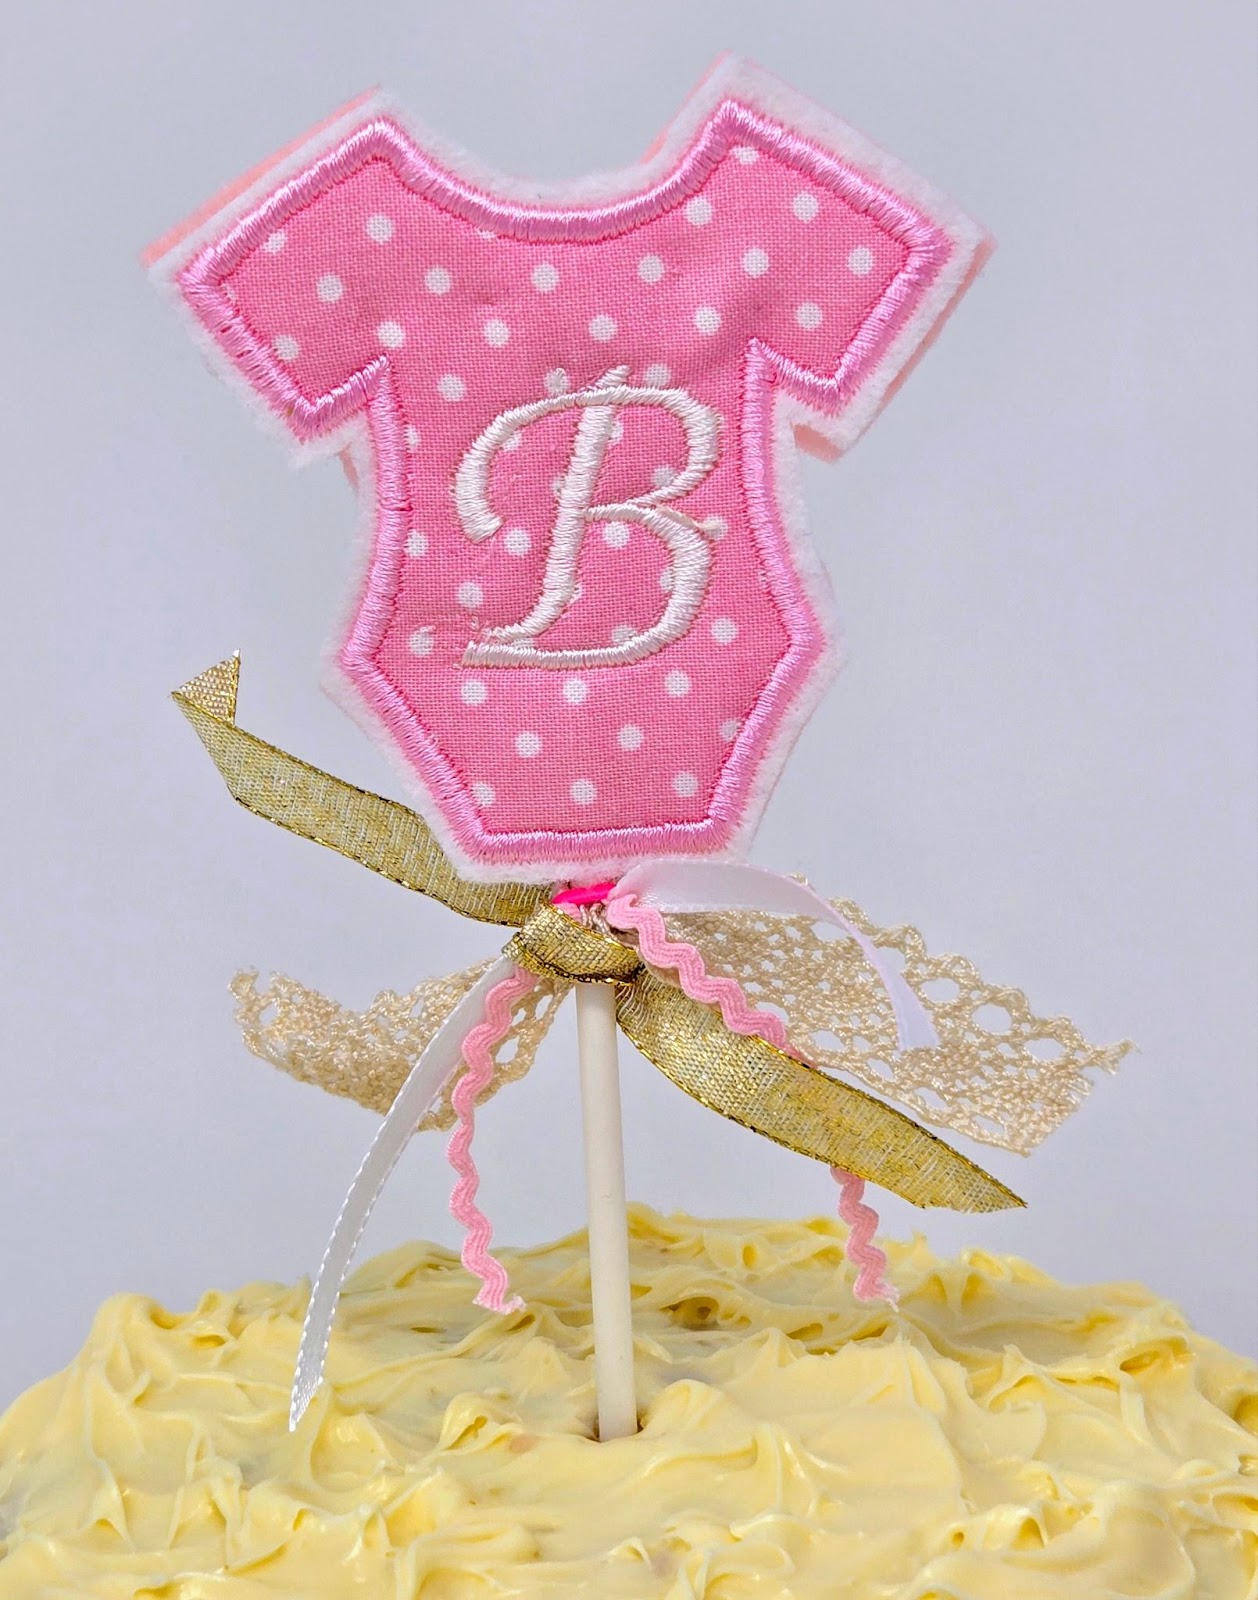
The baby onesie design comes with a letter A, so I just added a letter on top of the design letter. Then when embroidering, I skipped the A stitch and did the B that I added from an alphabet in my machine. If you have Embrilliance software, you could remove the A and just add the B there. I often use “work-arounds” until I can get the software.

Do all the same steps as above. Remember not to trim your felt until you can remove the design from the hoop at the end of the embroidering.
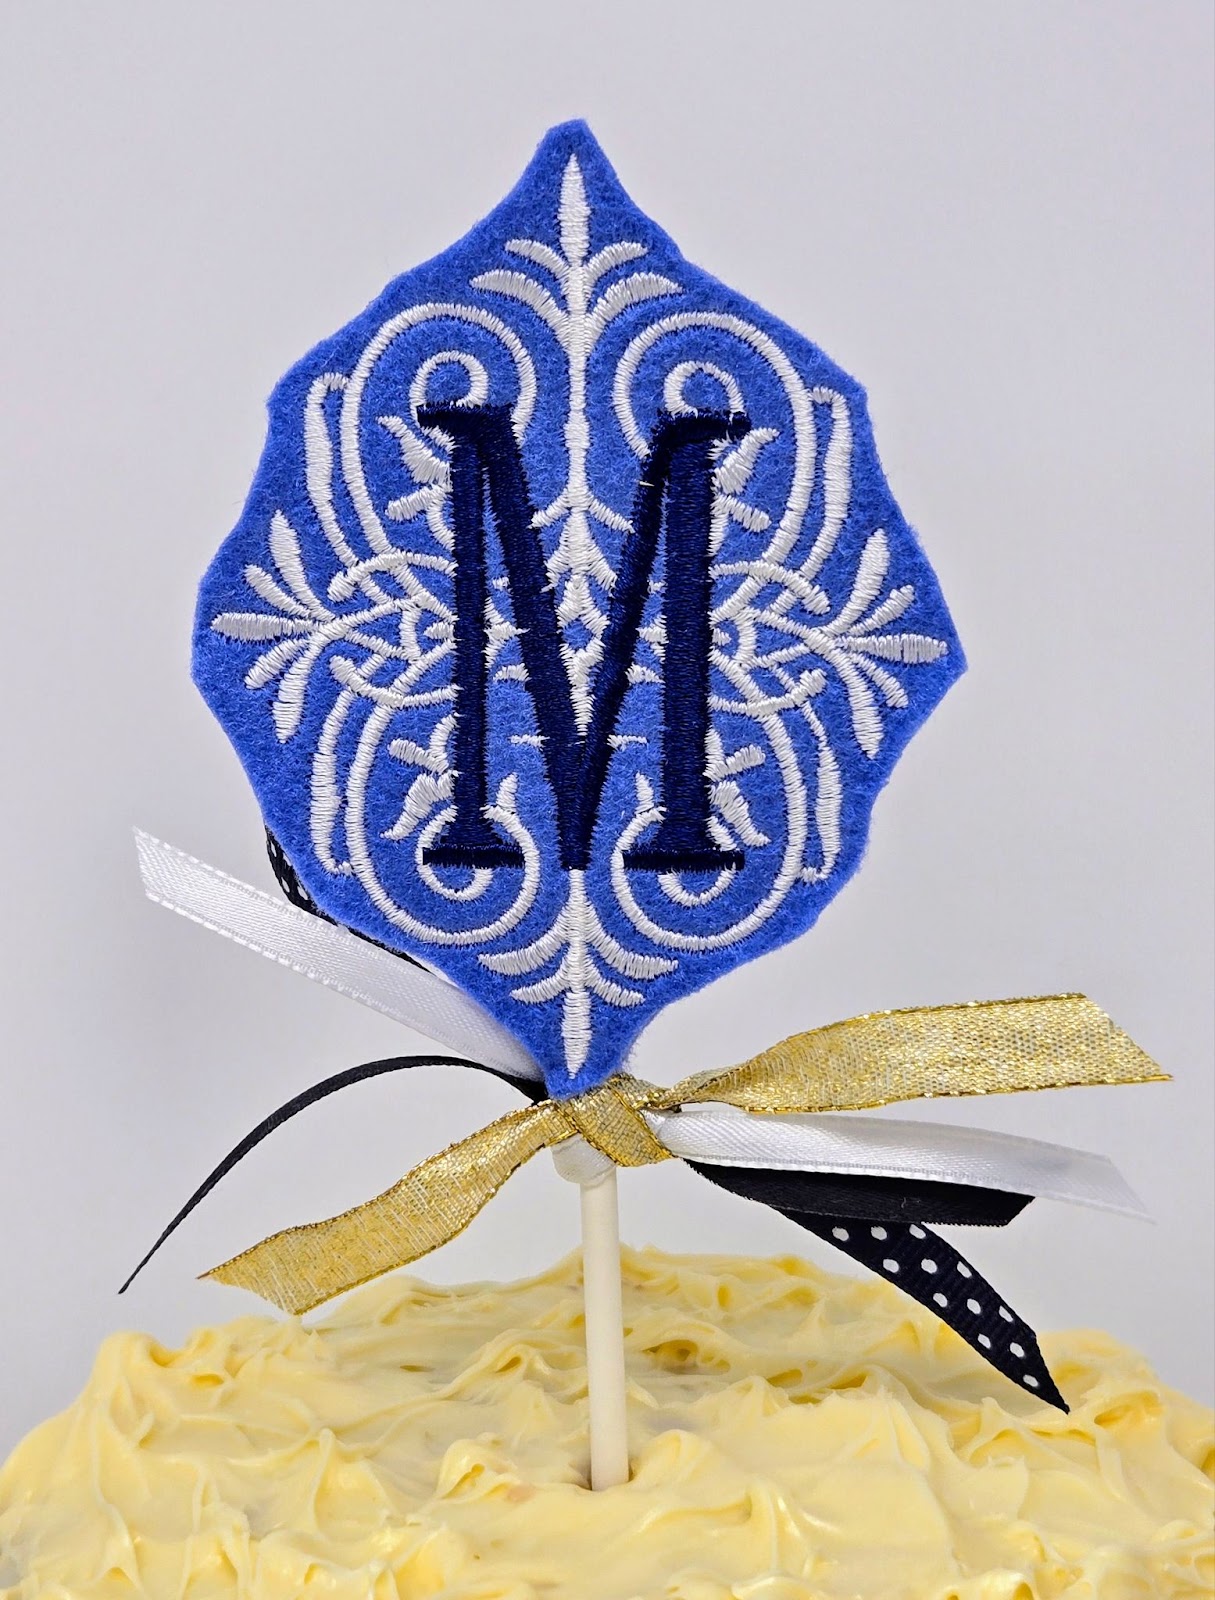
I kept thinking of ways to use these. How about a more formal affair?
This monogram does not have an outside satin stitch, but it can still be used since you are making it from felt.
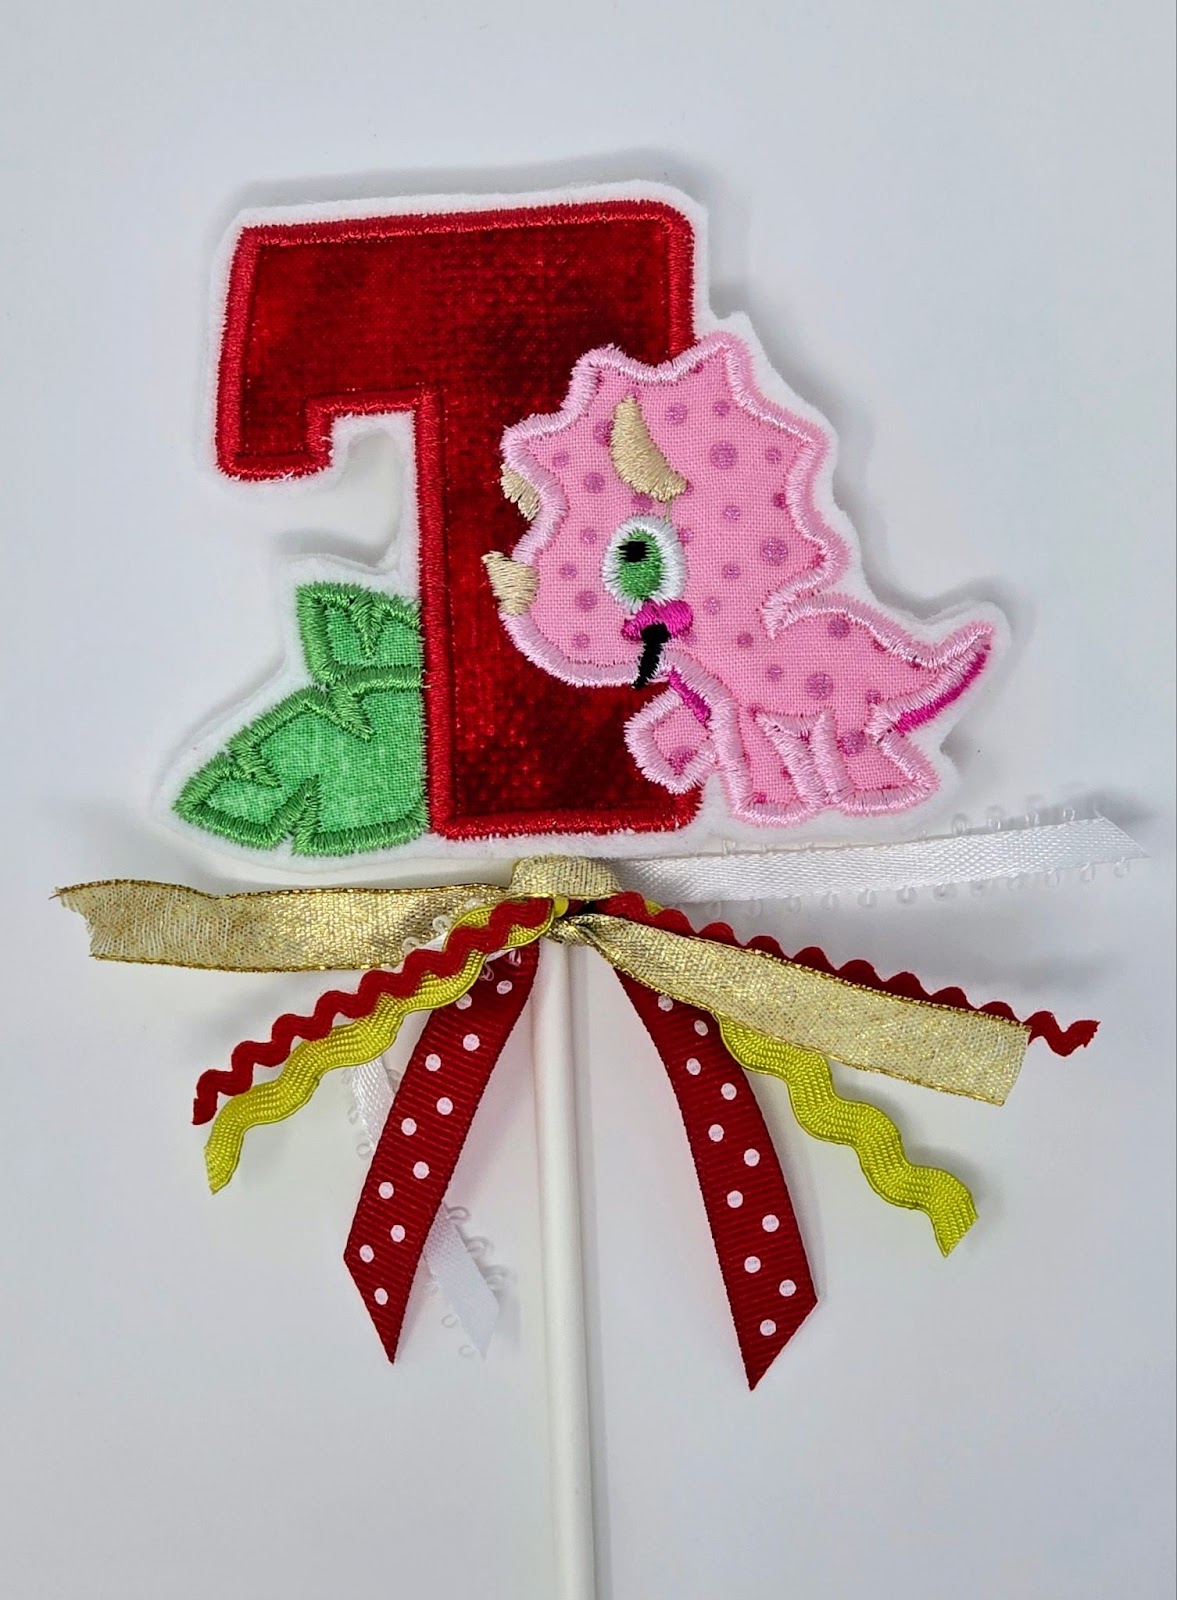
And finally, how about kids’ birthday parties?
I cannot wait to see the fun FSA Cake Toppers you come up with. I just know you will love them!
Please be sure to share your projects in the Designs by JuJu Embroidery Blessings Facebook Group, or use the hashtag #designsbyjuju anywhere on social media. We all love to see what you create!
