Toggle Nav
 Inspire.
Create.
Stitch.
Inspire.
Create.
Stitch.
Search
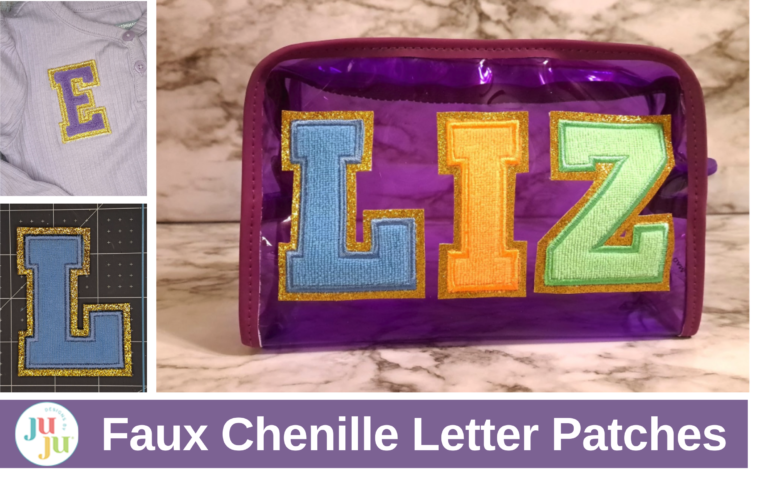
Learn how to stitch trendy faux chenille letter patches at home using your embroidery machine—no special tools required!
Trendy chenille letter patches are sweeping the nation! You can find them on clothing, bags, and more, but did you know you can make your own faux chenille letters using your embroidery machine and fonts from Designs by JuJu? In today's tutorial, I will be showing you just how easy it is to create your own chenille letters using supplies you may already have on hand.
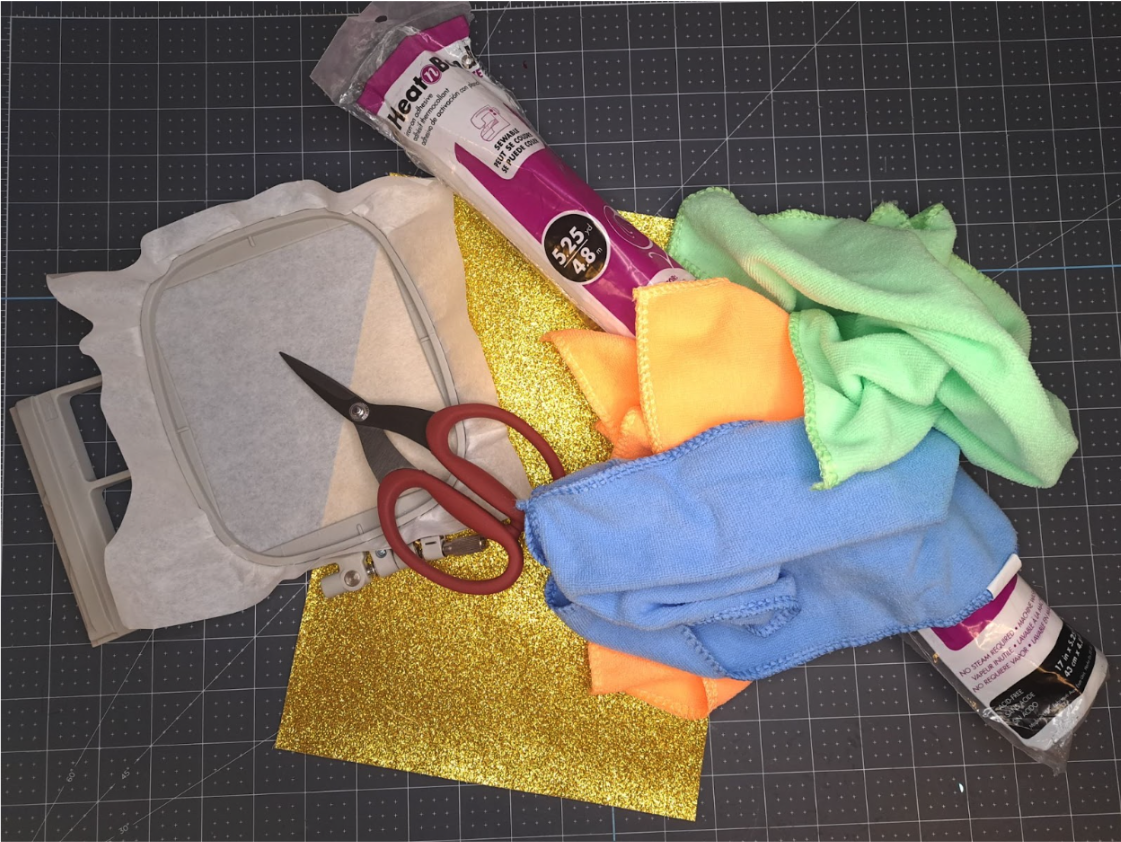
Check out the DBJJ team’s favorite supplies in the Designs by JuJu Amazon store.
For this tutorial, I am going to be showing you how to make your own faux chenille letter patches using the Varsity Applique Alphabet (Satin). These patches can be added to anything and they are so easy to make.
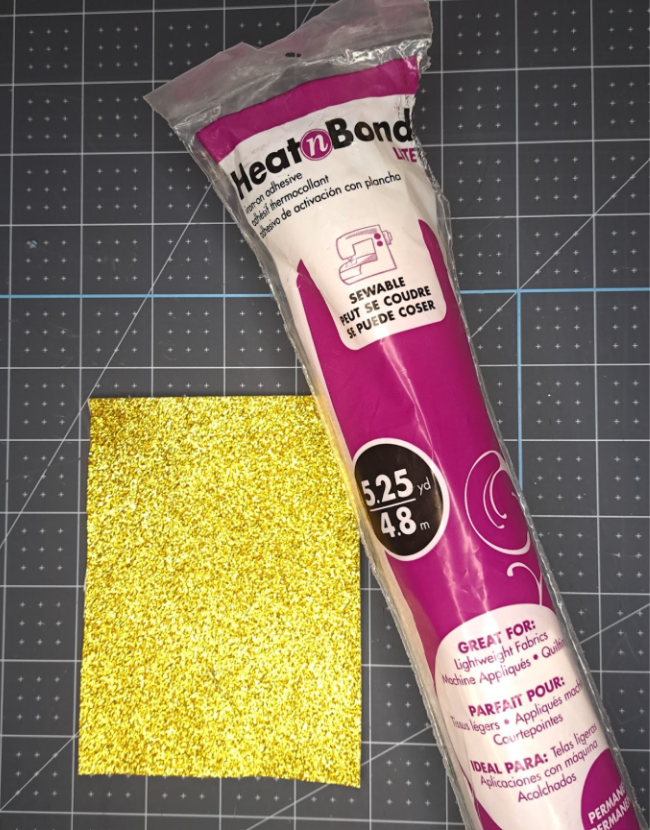
Step 1: Apply Heat-n-Bond® Lite to the back of the glitter faux leather sheet.
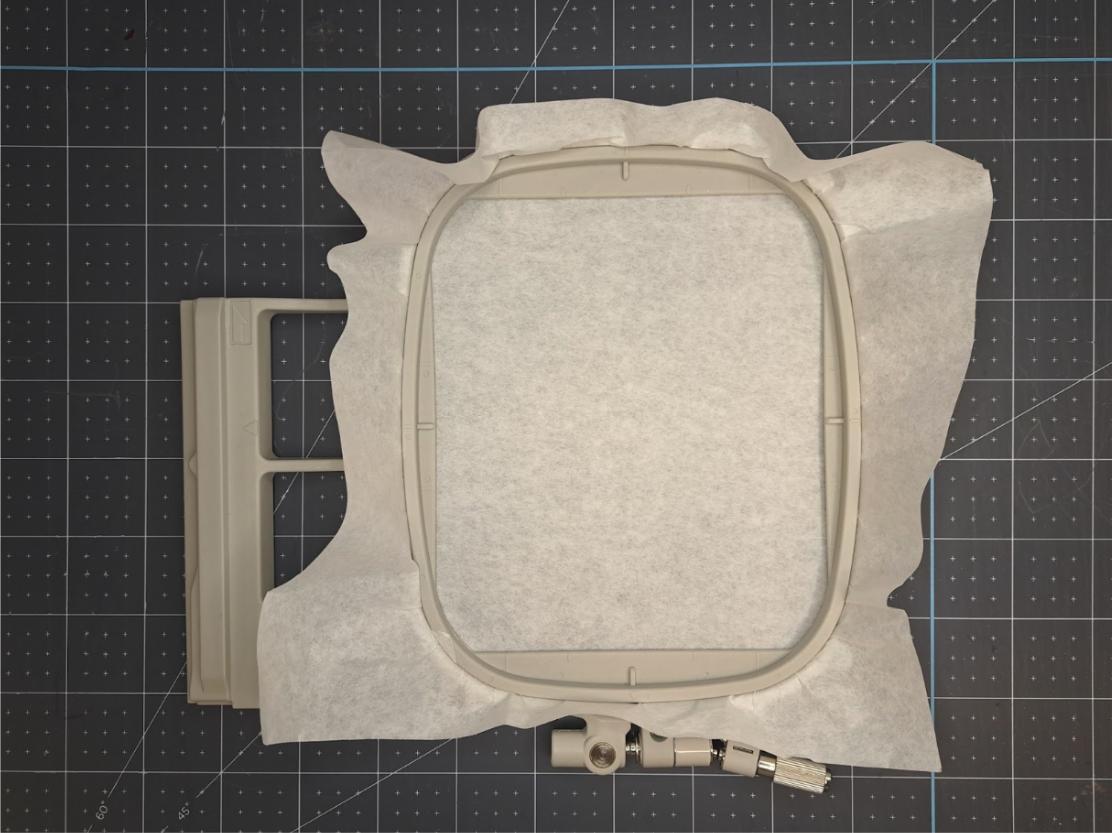
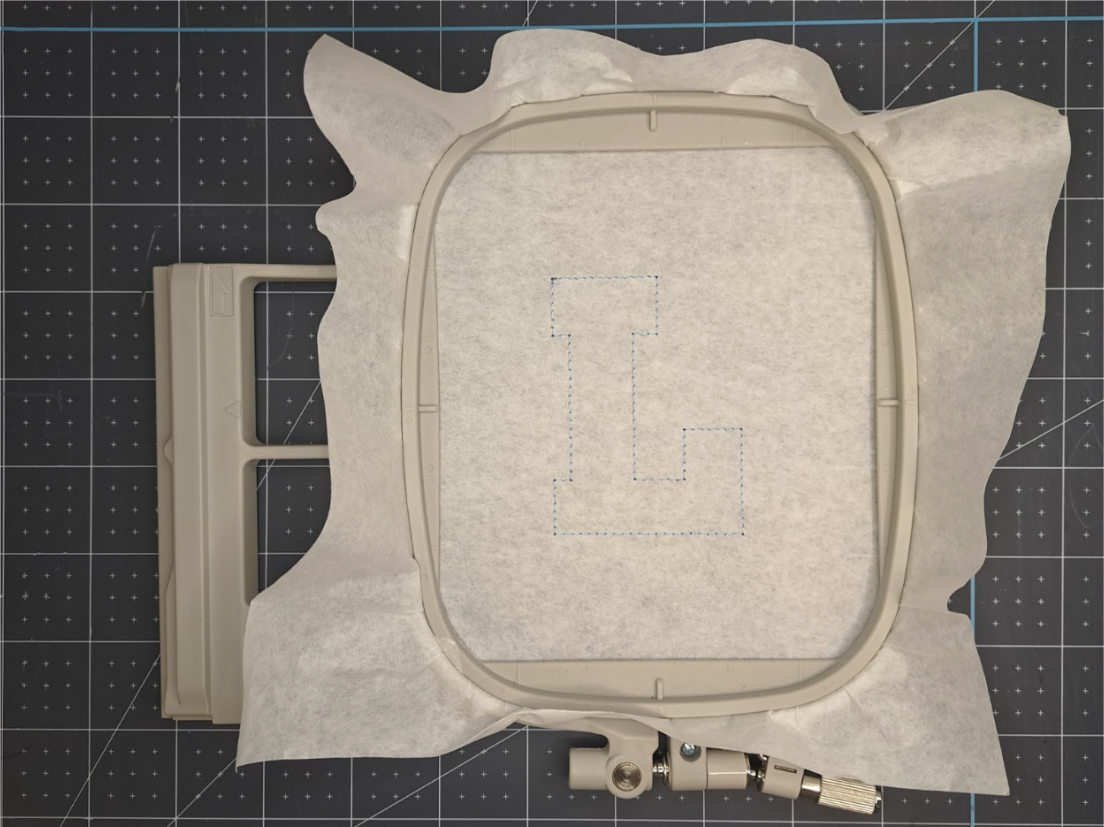
Step 2: Hoop tear-away stabilizer.
Step 3: Stitch the placement line for your letter patch.
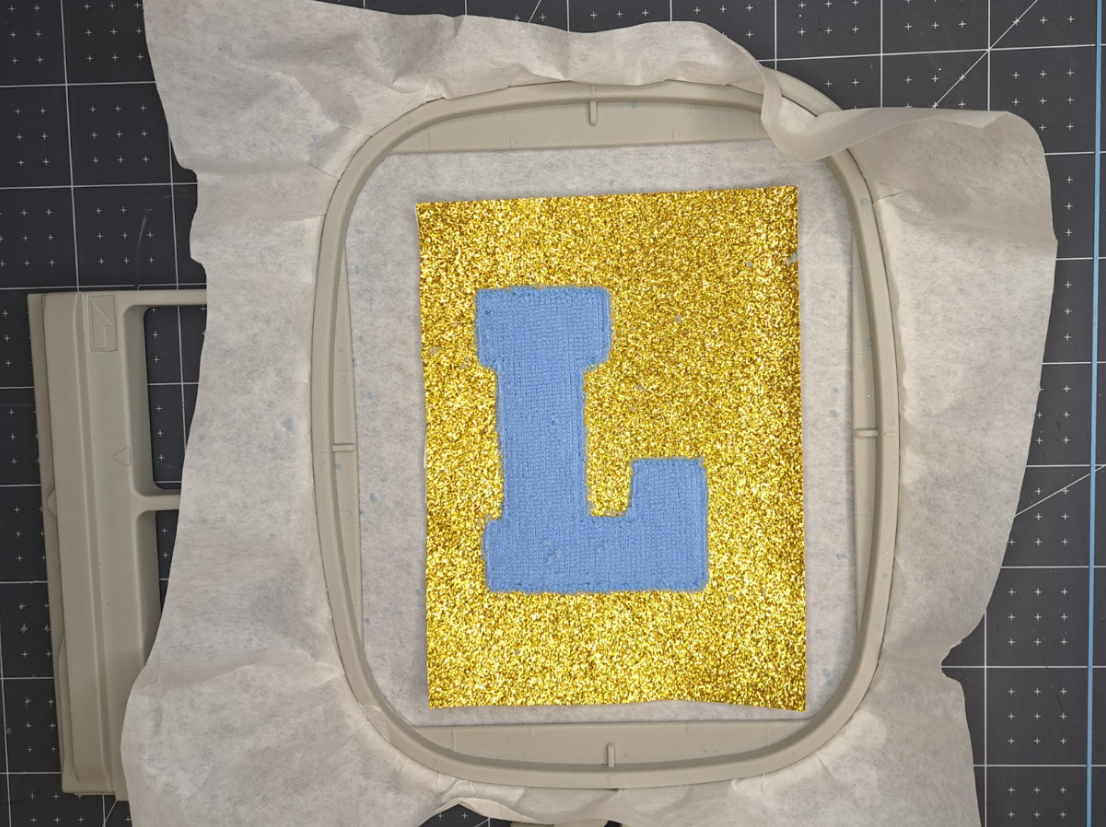
Step 4: Place the glitter faux leather over the entire placement line, making sure that you have at least 1/2" excess around all edges.
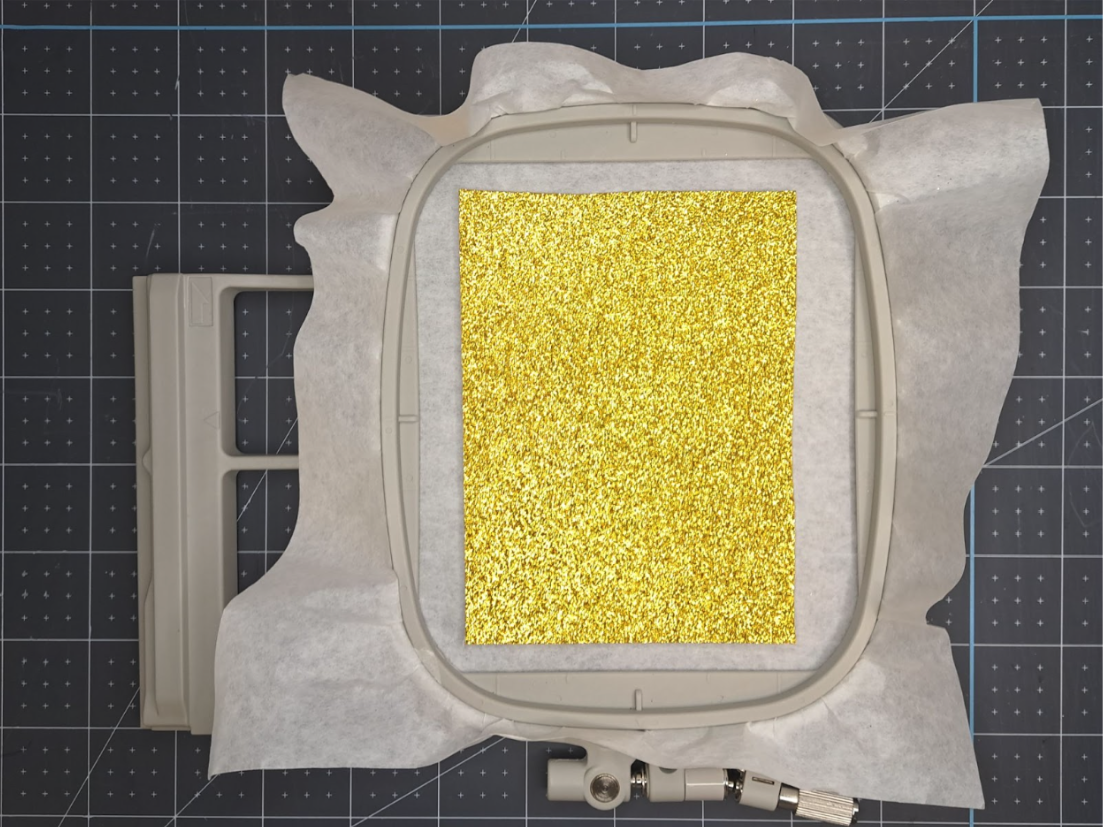
Place the microfiber fabric directly on top of the glitter faux leather.
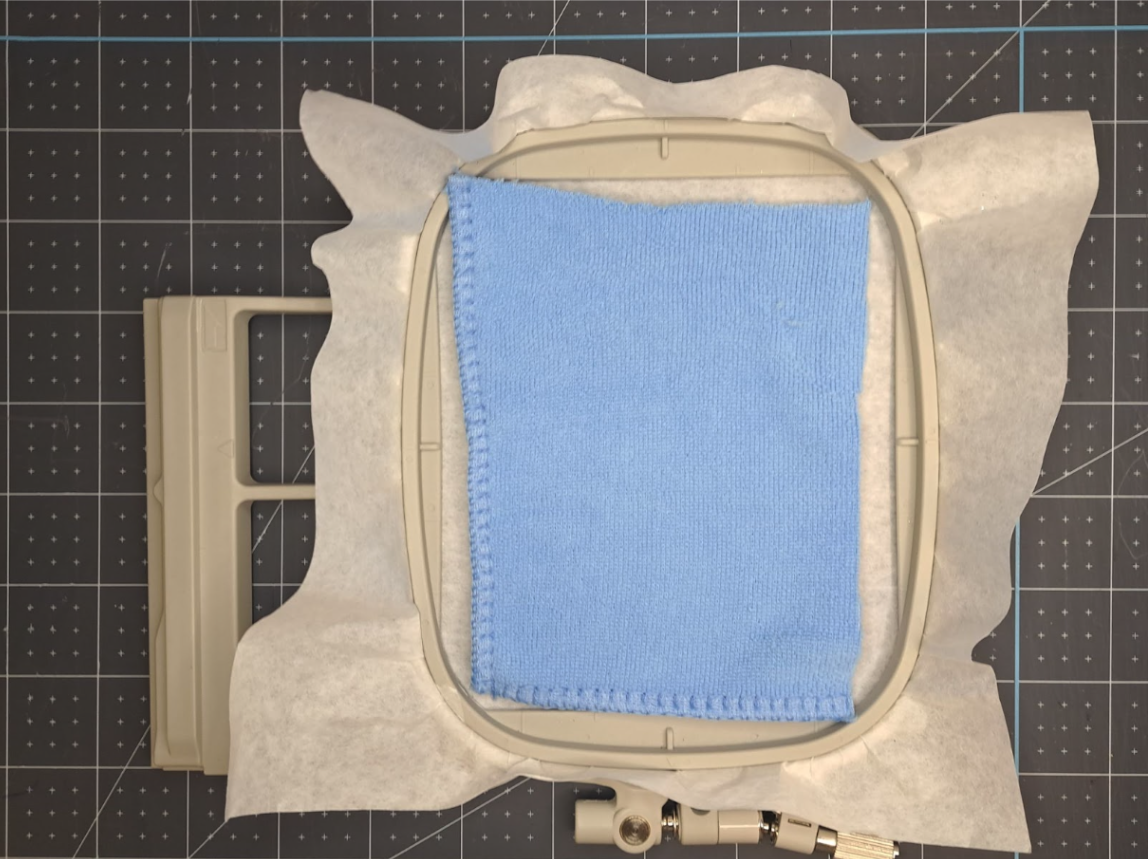
Step 5: Stitch the tack-down line for the letter patch.
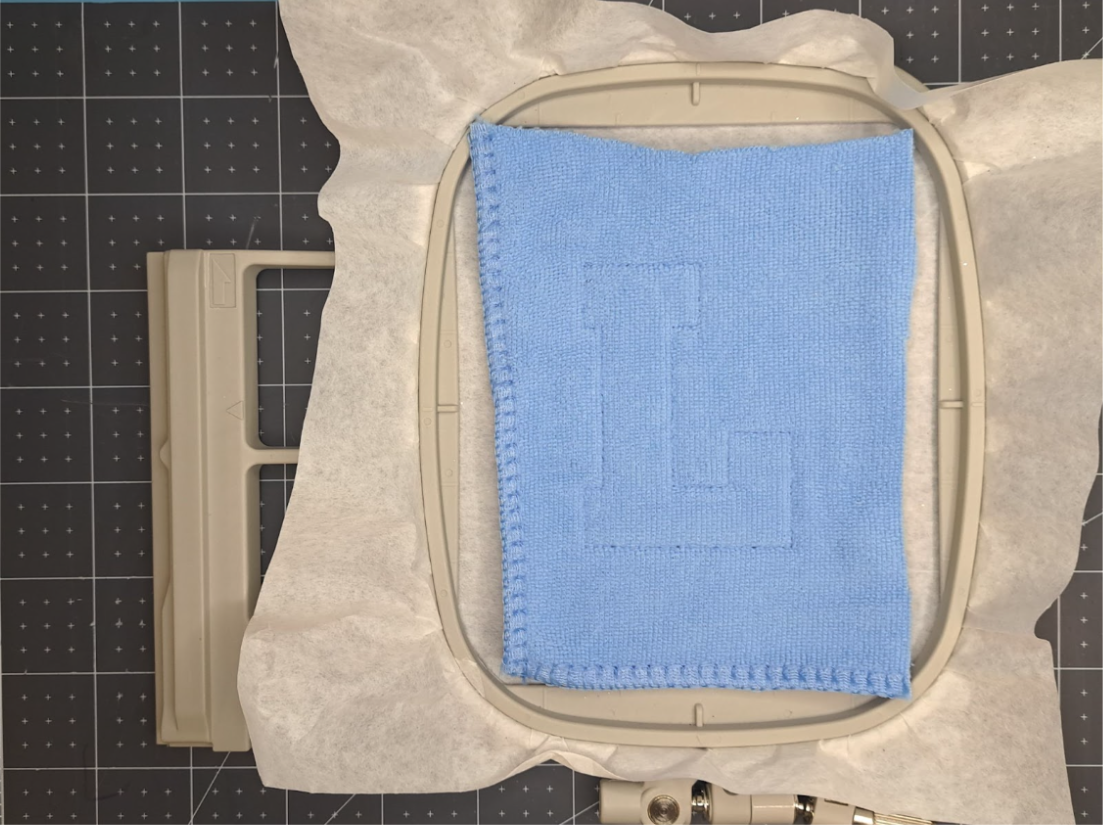
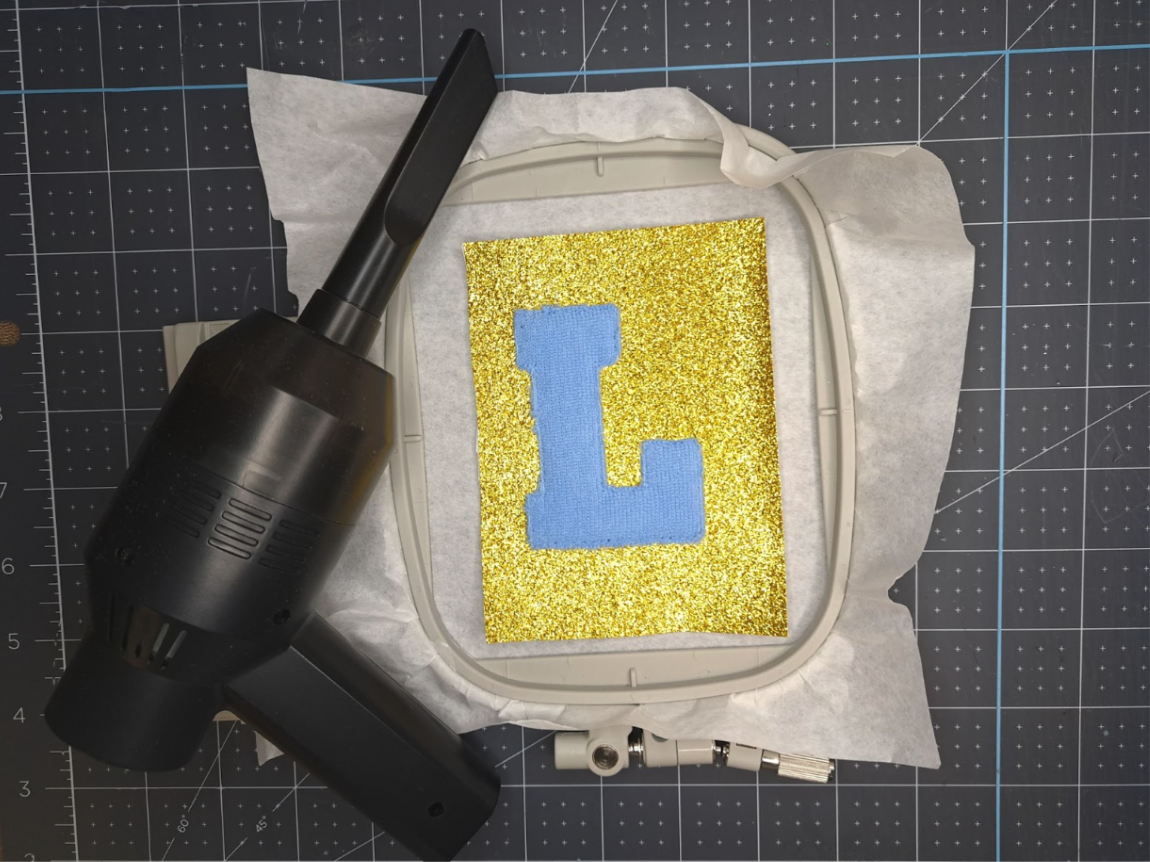
Step 6: Carefully trim around ONLY the microfiber fabric; do NOT trim the glitter faux leather.
Pro-Tip: Microfiber is messy! Make sure to have a vacuum or lint roller close by for easy clean up. I love my mini vacuum for these types of messes.
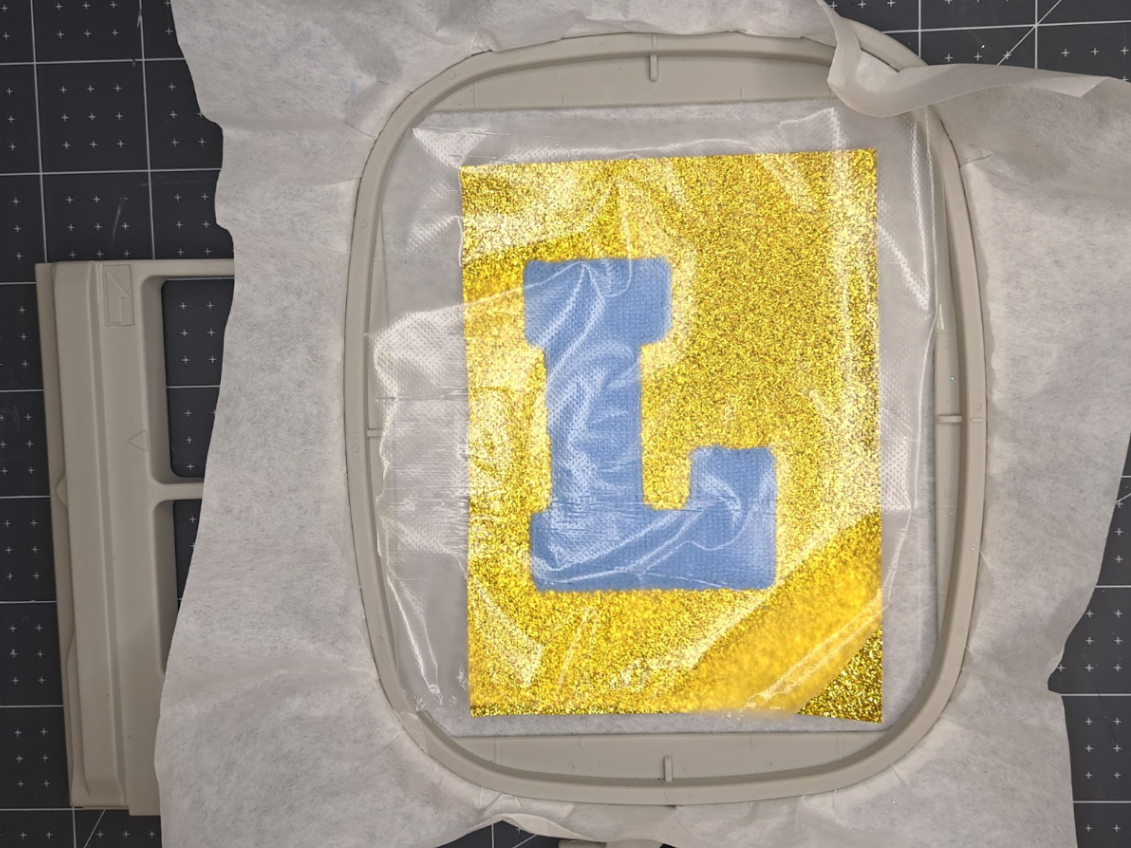
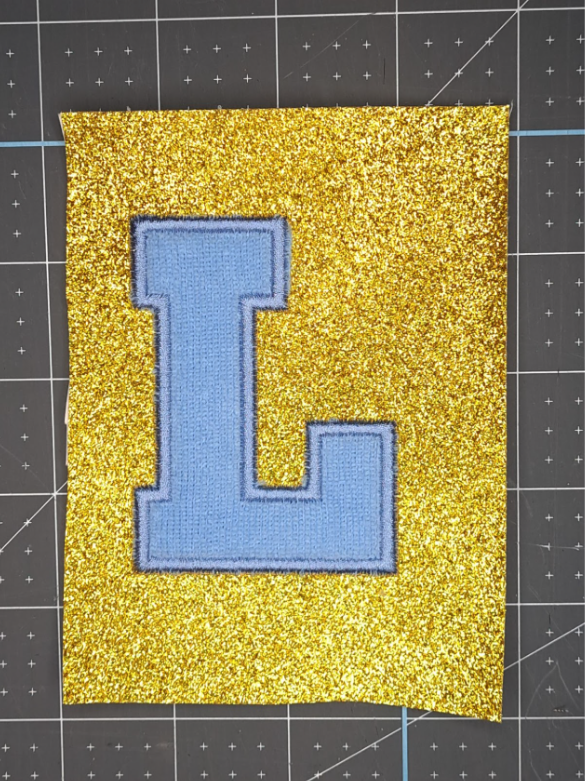
Step 7: Place water-soluble topper over the entire letter. Stitch the satin stitch around the letter.
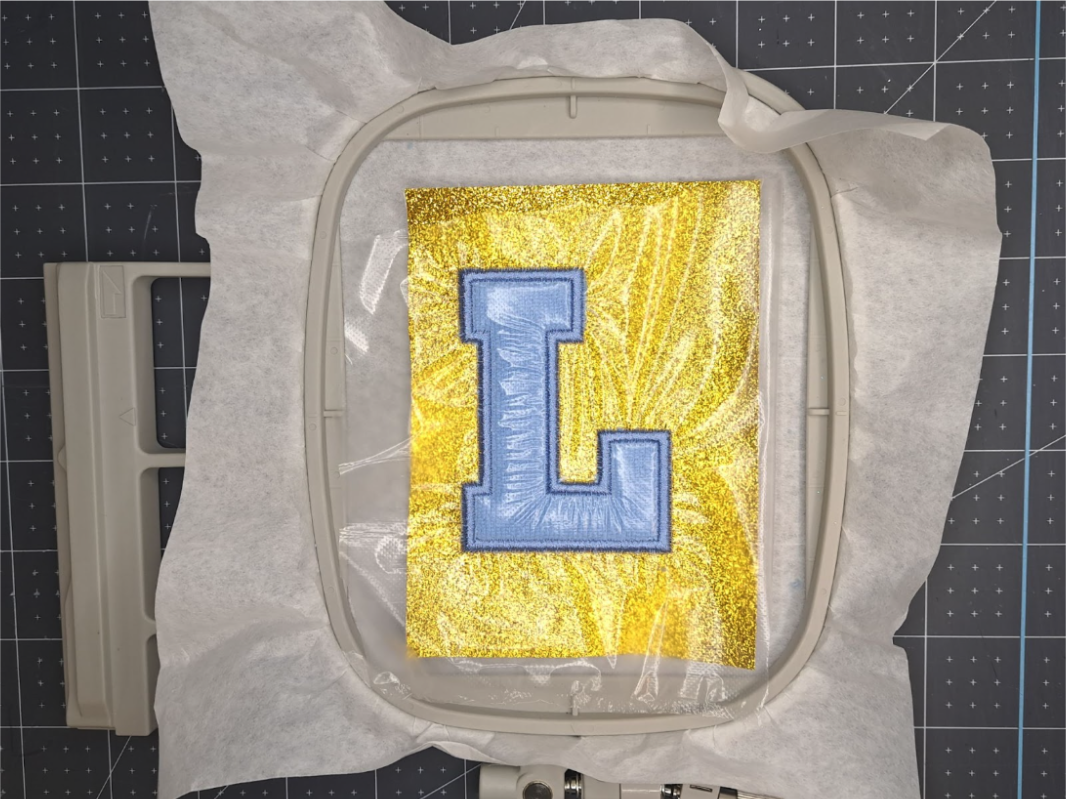
Step 8: Remove the hoop from your machine and unhoop your project. Tear away the water-soluble topper from the letter patch.

Step 9: Tear away all excess stabilizer.
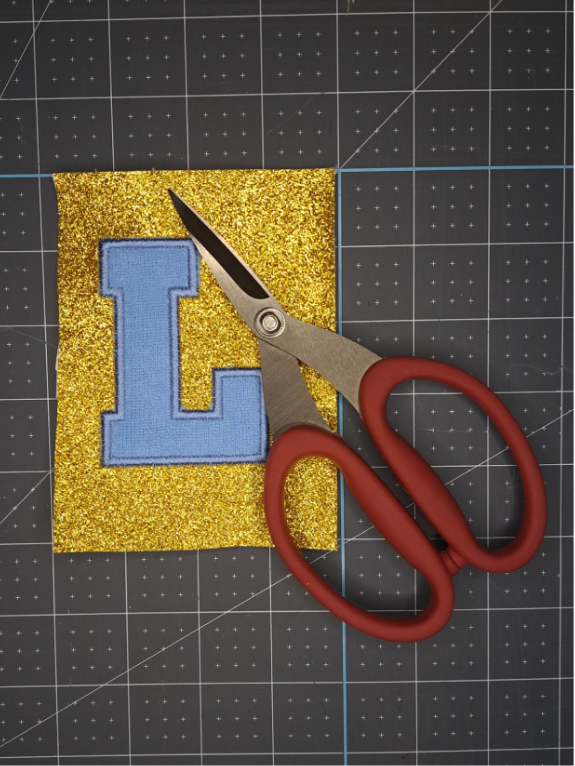
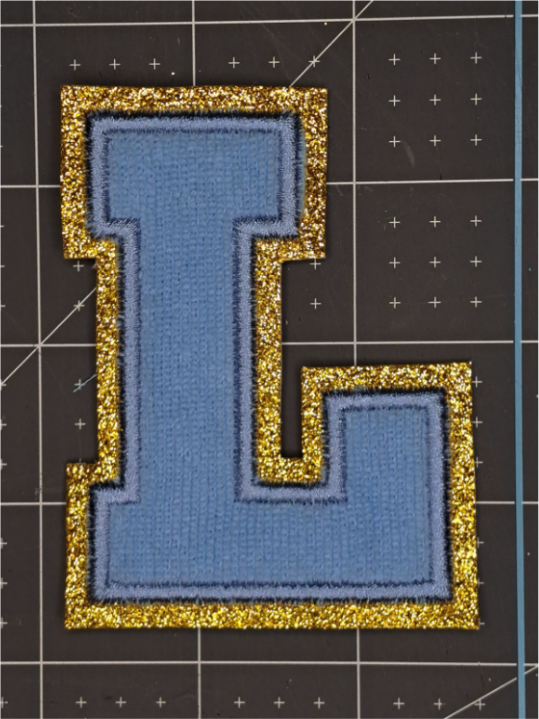
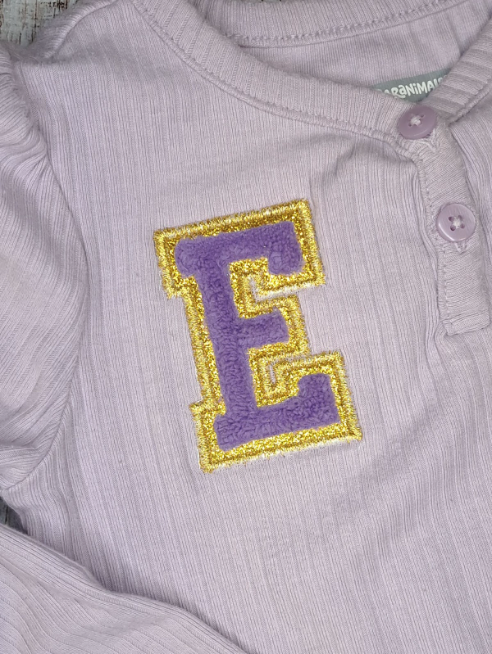
Step 10: Using a pair of sharp, fine-tipped scissors, carefully trim all the way around the glitter faux leather. You can decide how much of the glitter you want to border the microfiber. I left about a 1/4" border around my letter.
Step 11: Repeat these same steps for any additional letter patches required for your project.
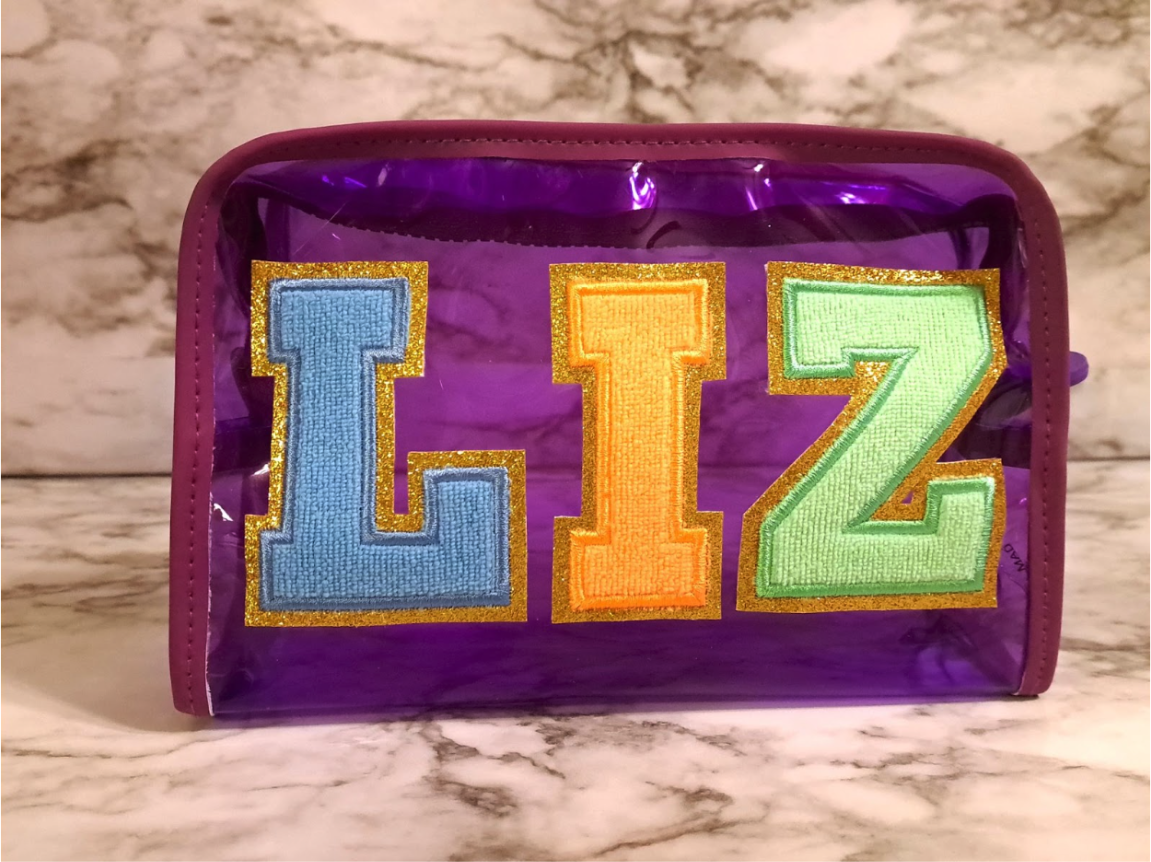
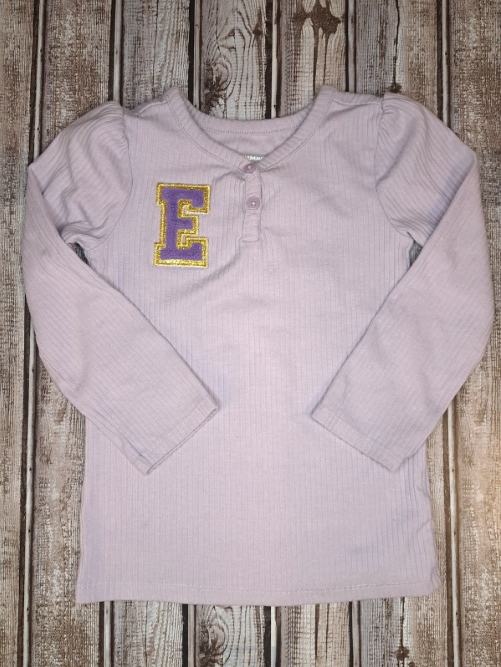
Step 12: Now you are ready to adhere your faux chenille patches to your project. If you are using these patches on clothing, you can iron them directly onto your project, as long as you applied Heat-n-Bond Lite to the faux leather. You can also hand stitch them to your project, or adhere them using a fabric glue.
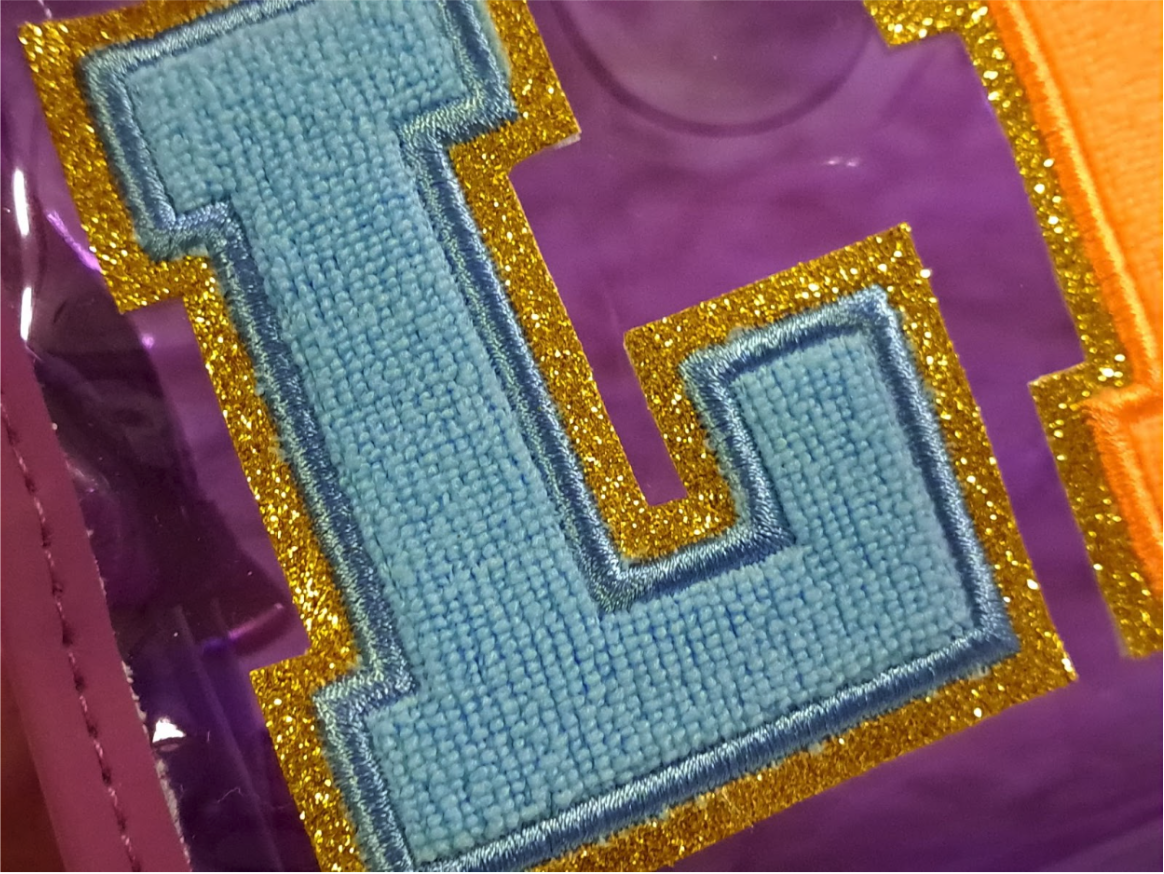
If you would prefer to stitch directly onto a project, I recommend trying the Double Varsity Applique Font. While this font is slightly different from the traditional chenille letters available, it gives a similar effect with an added satin stitching around the glitter faux leather. You can choose if you want to add the satin stitching around the microfiber letter in the middle or leave it off (like I did in my example). Have fun experimenting with both fonts and choose the style that suits your project best.
I hope you have enjoyed today's tutorial on creating faux chenille letter patches using your embroidery machine. These letter patches can take any old shirt or bag from drab to fab in an instant. Make sure to join the Designs by JuJu Embroidery Blessings Facebook Group for more inspiration and to share your own creations using the hashtag #designsbyjuju. We can’t wait to see what you make! Happy stitching!