Toggle Nav
 Inspire.
Create.
Stitch.
Inspire.
Create.
Stitch.
Search

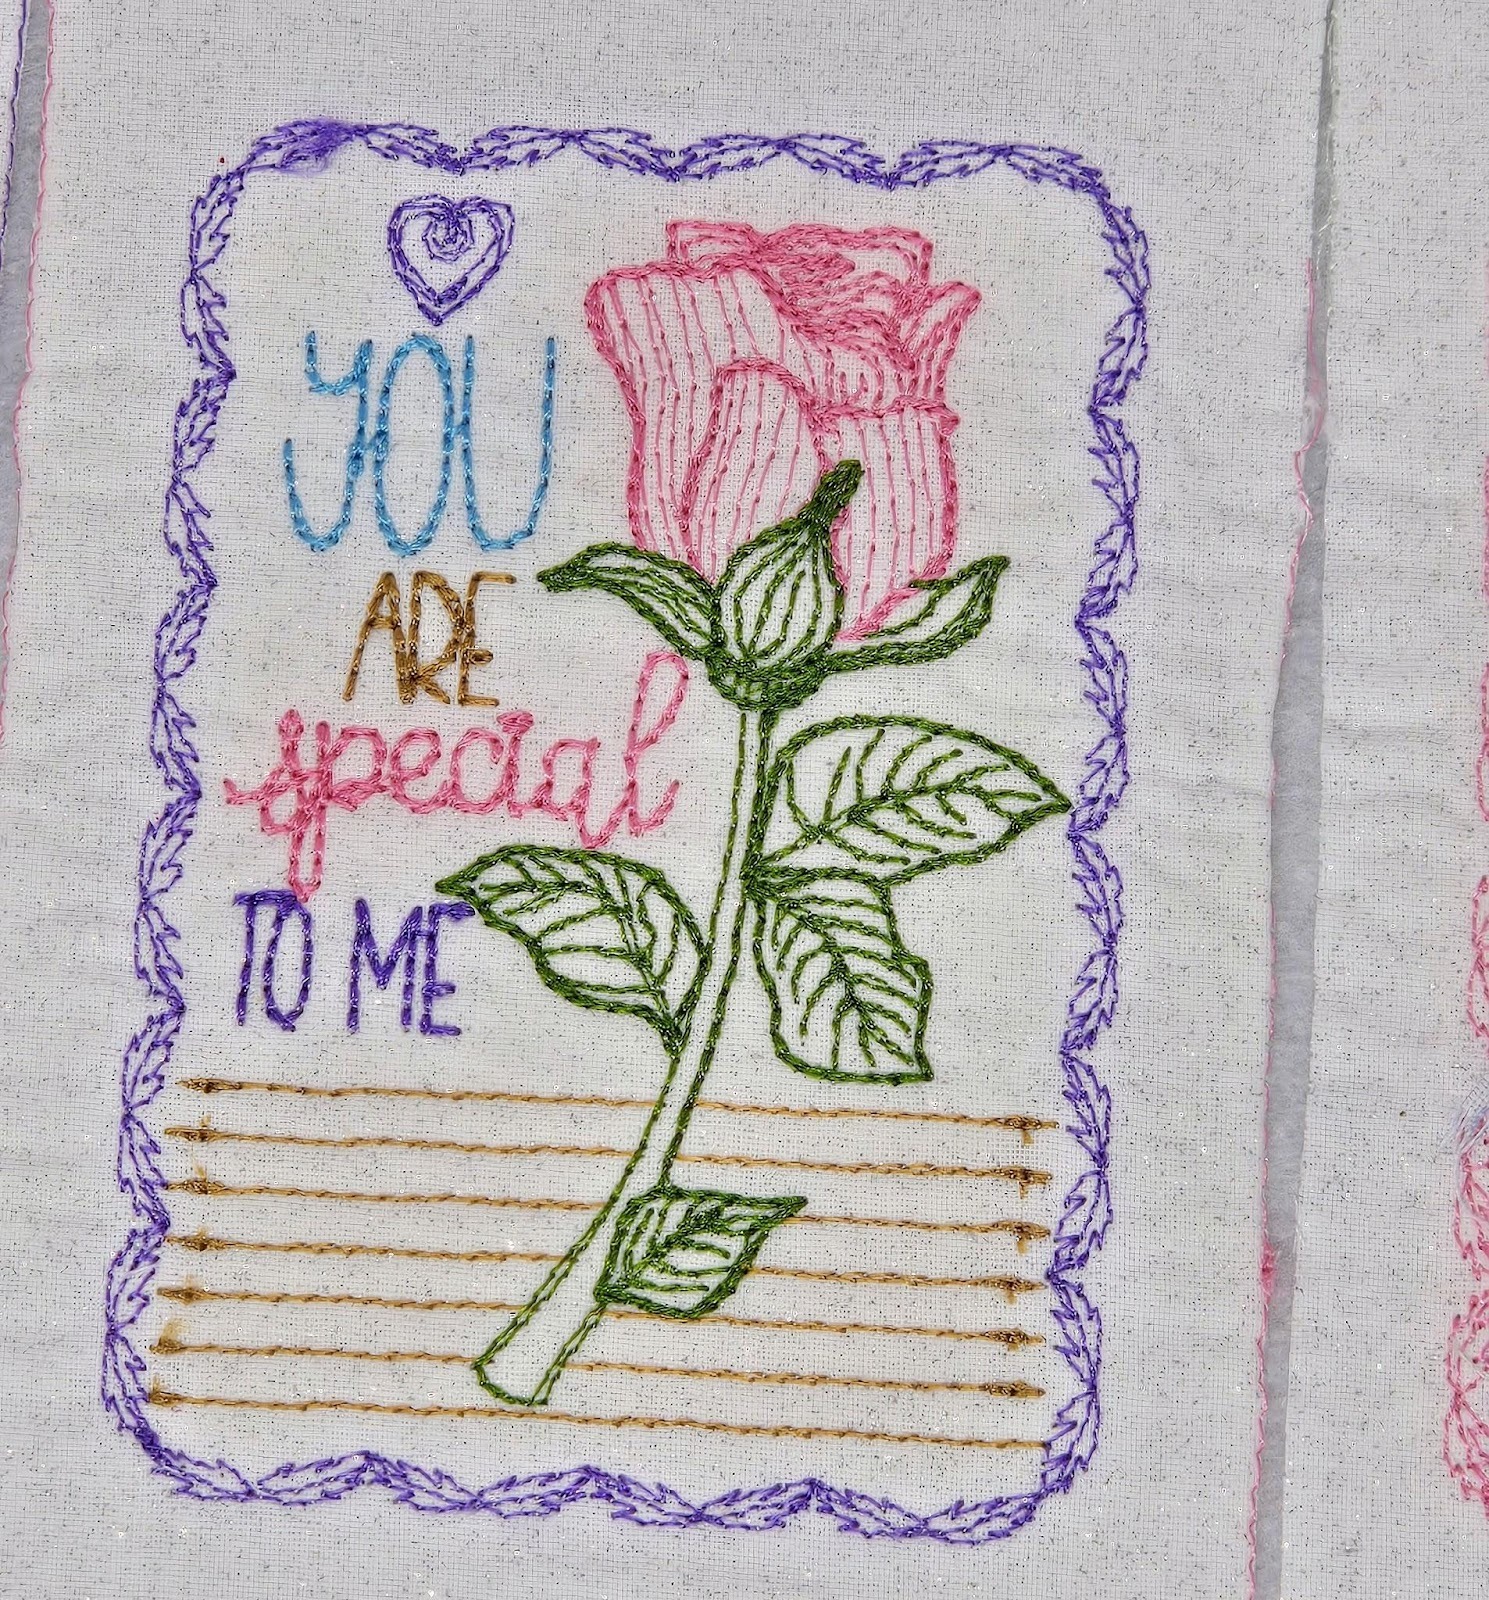
Valentine postcards just sing of spring—let’s stitch a happy stack in no time!
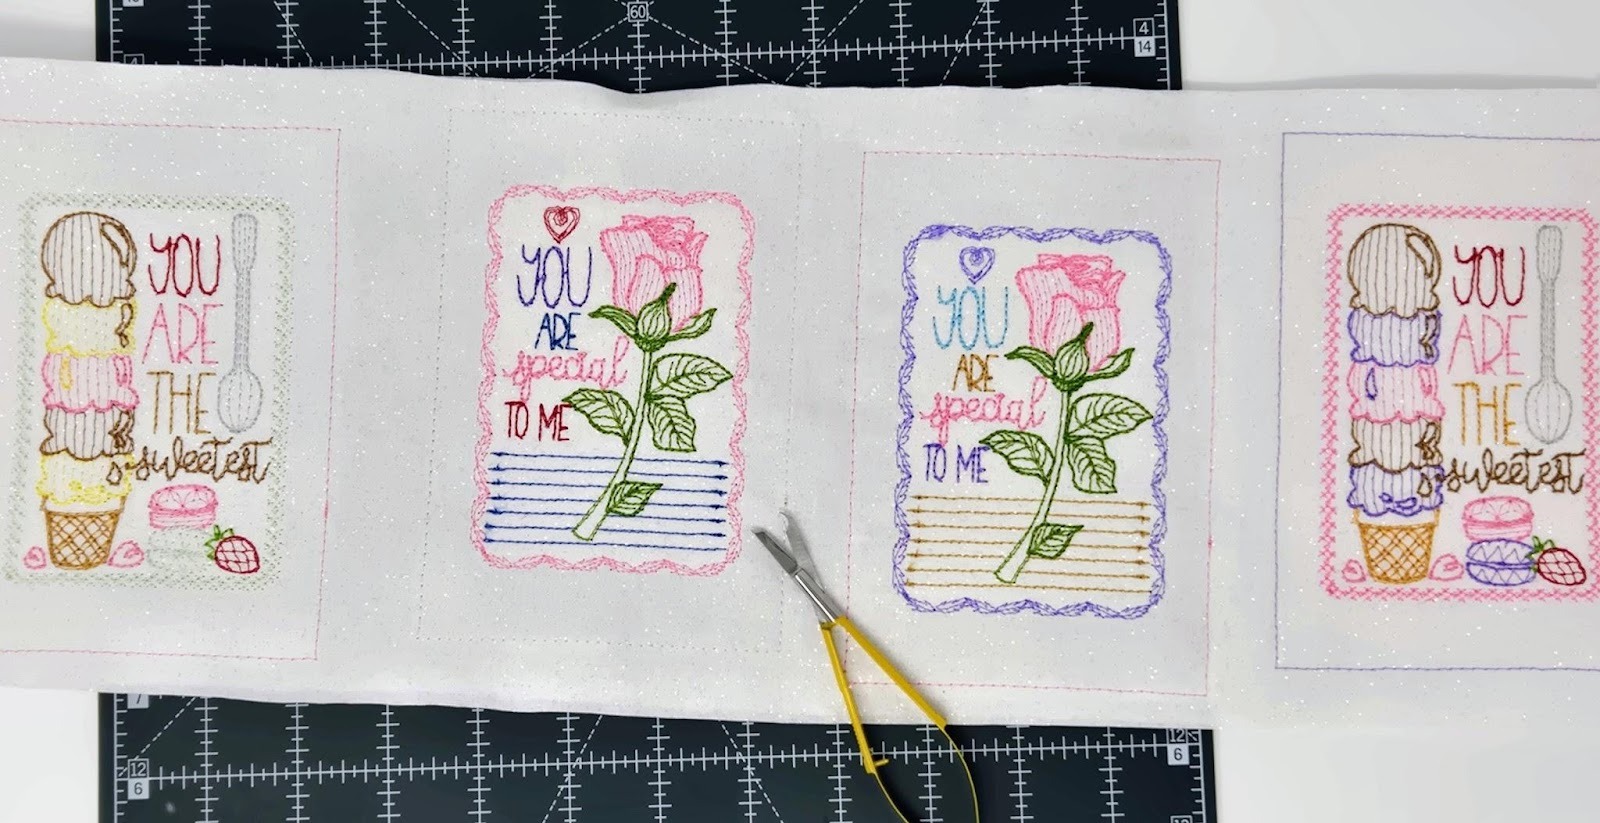
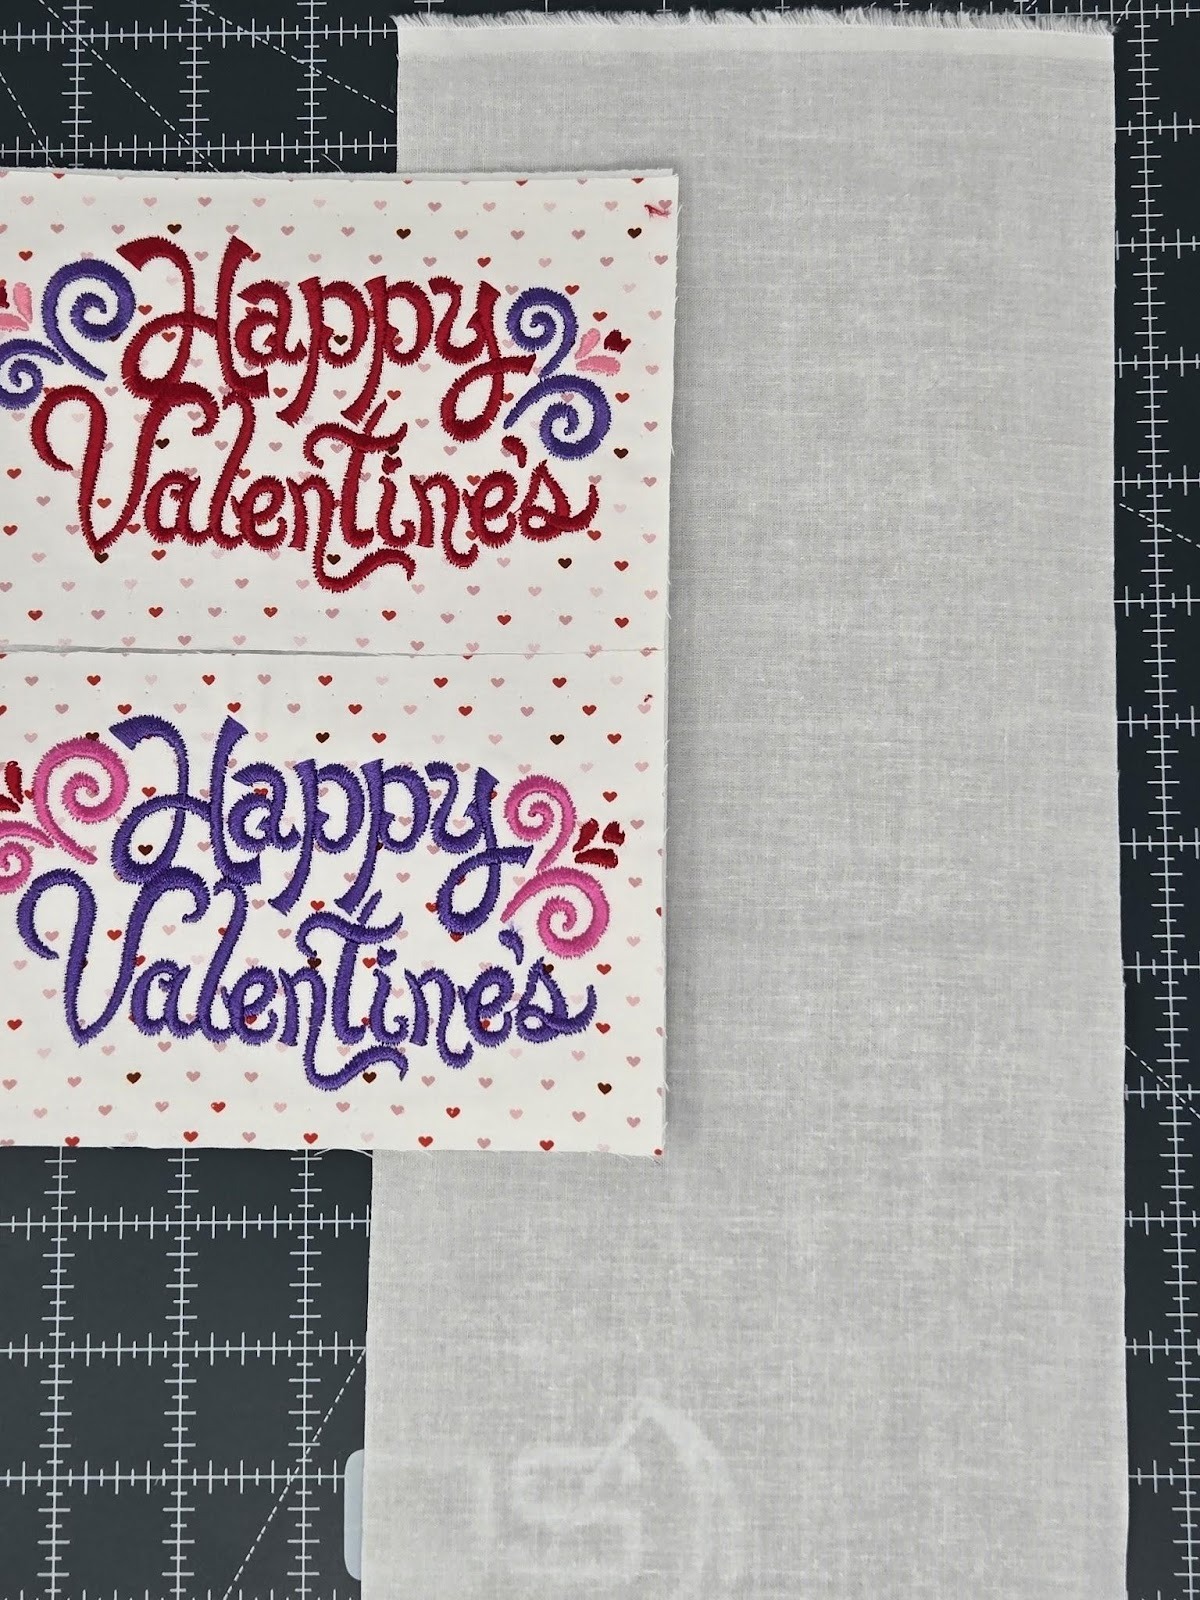
The bright colors are so happy. Making postcards is a super fun and fast project with great results. And the beauty is, they can be made in any size hoop. You can make one design at a time in a 5x7 hoop, or you can add multiple designs to one large hoop, using either the icons on your machine or software. You can also stitch multiple designs with a length of fabric and one hooping of stabilizer, saving time and supplies.! I will show you how.
Be sure to check out the DBJJ Amazon store for our favorite tools and products.
*NOTE: I know some people use heavy cardstock in their fabric postcards, but I really like the stiffness of the Pellon 72F.
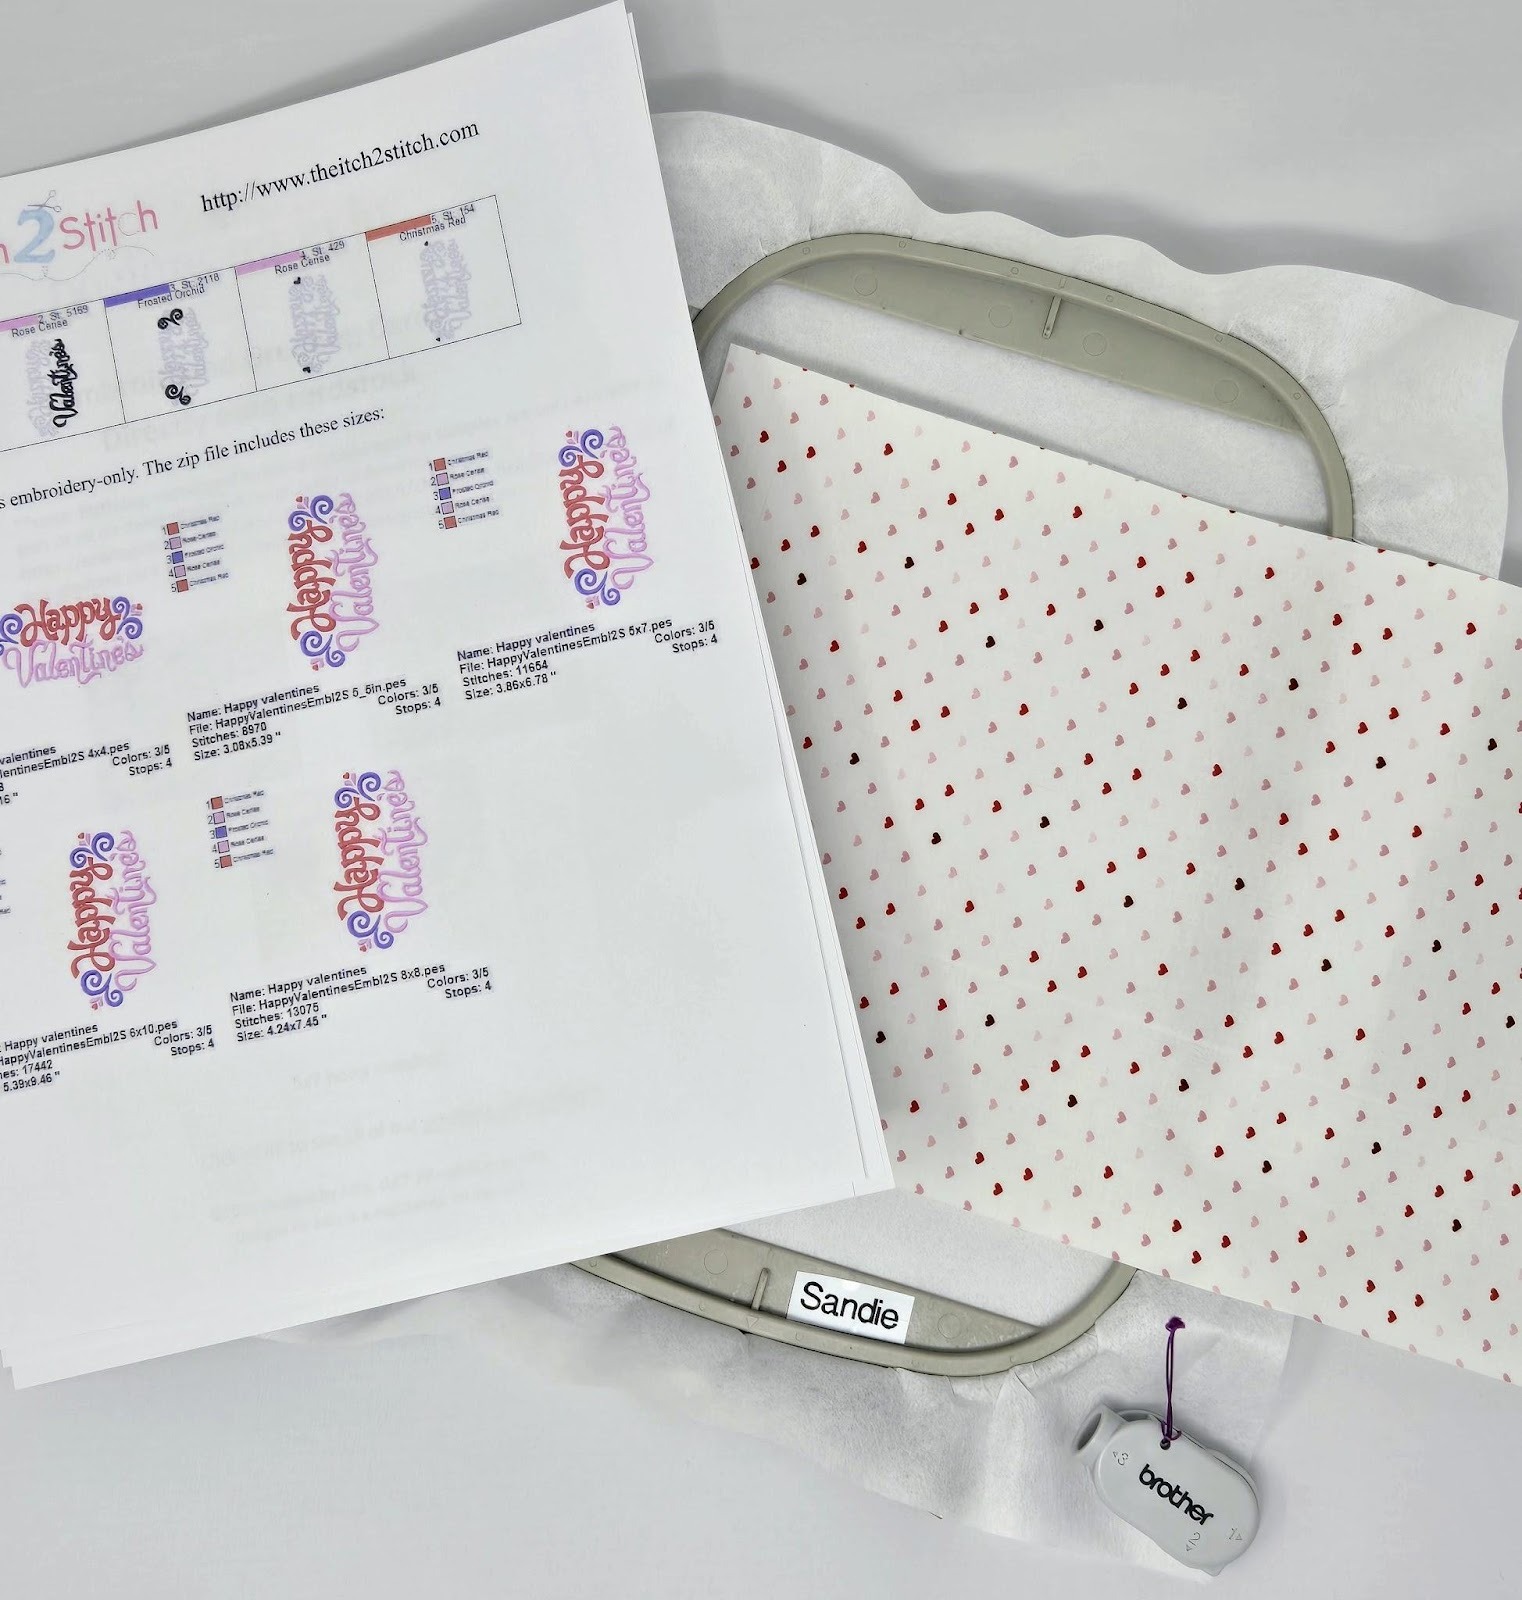
Download your chosen designs to a USB stick for your embroidery machine and hoop the tearEZ stabilizer. I cut a 7” x width of my FQ strip and fused SF101 to the back of it according to the directions. Be sure to tighten the hoop with your little screwdriver.
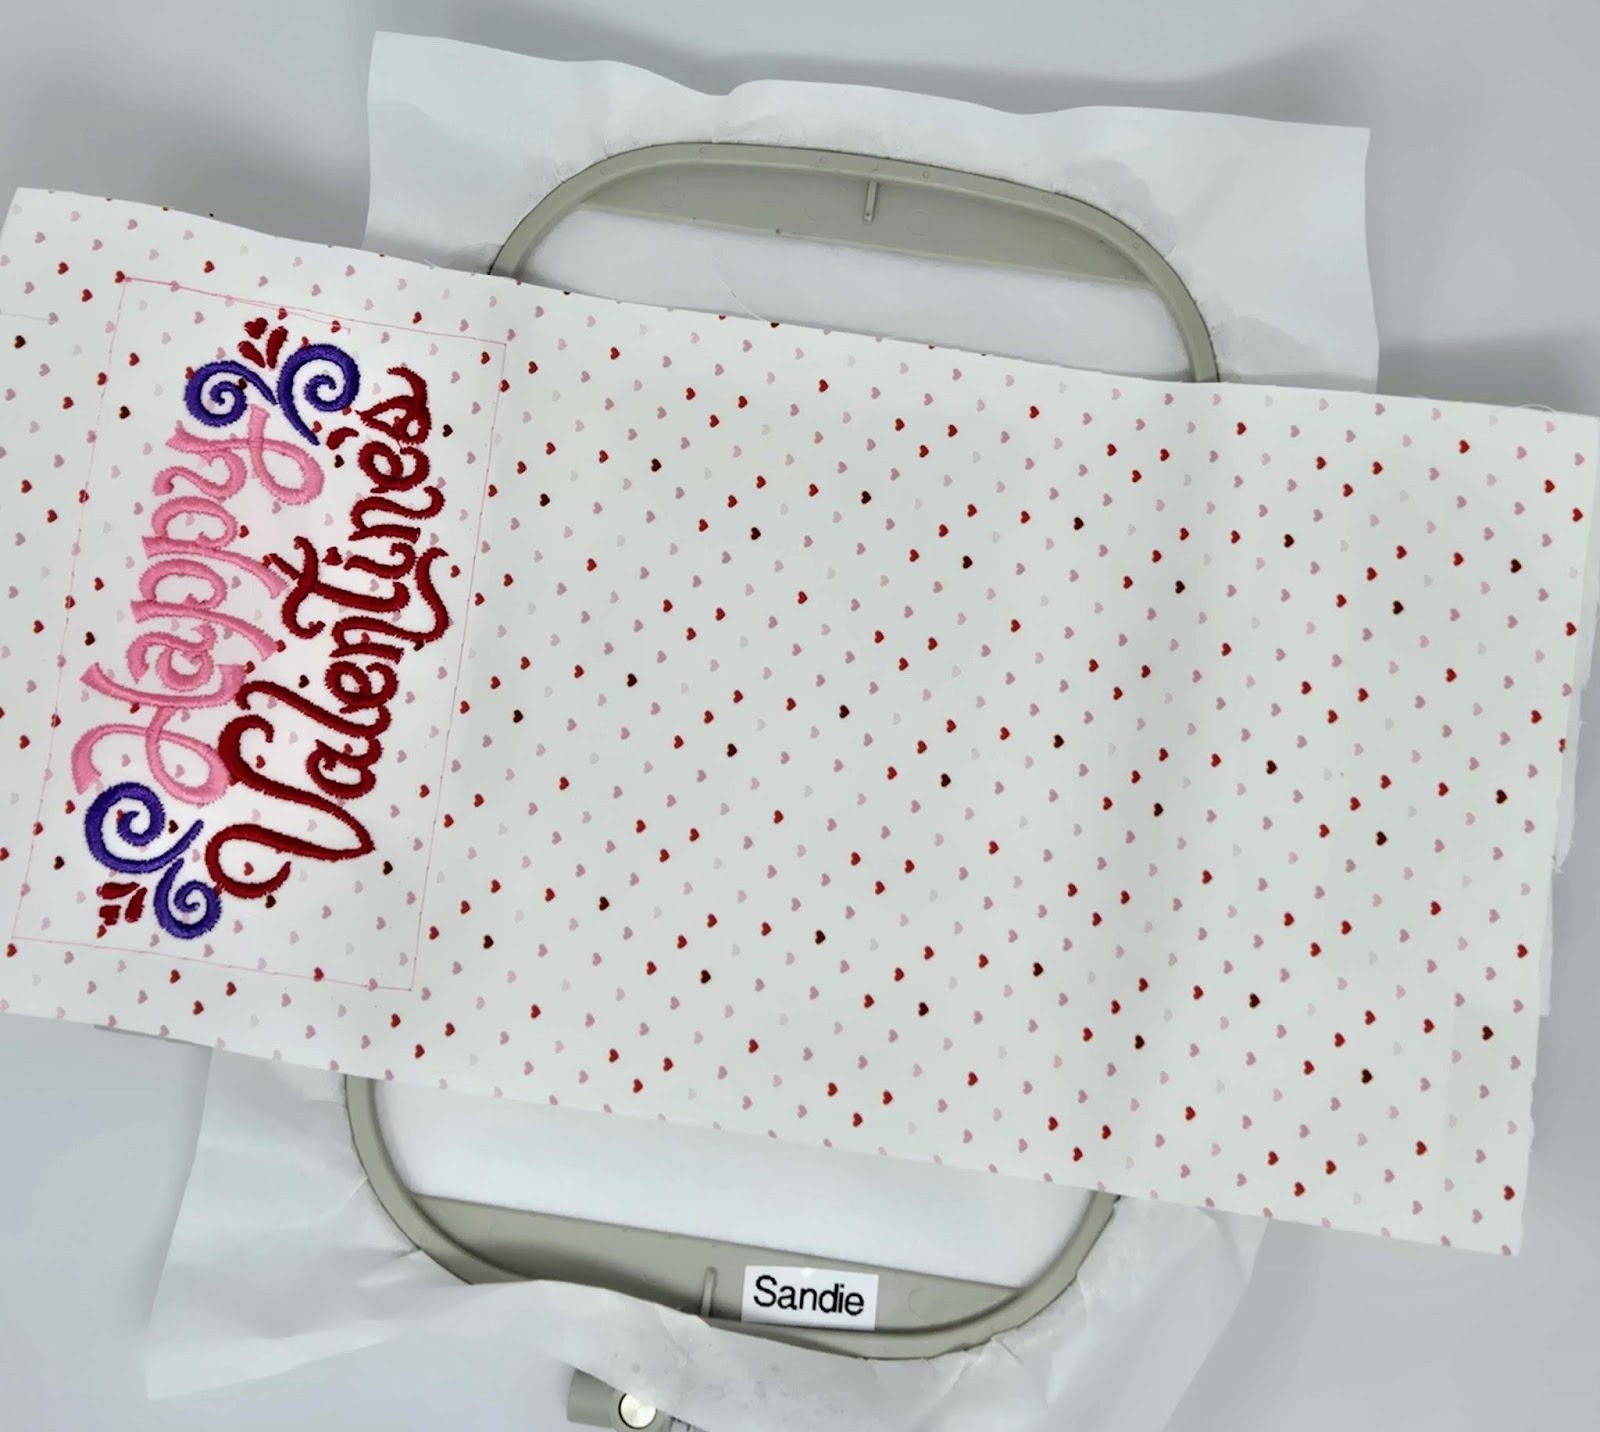
At my machine I pulled up my design, chose my thread colors, and was ready to have some fun! I added a basting box around my design to hold the fabric in place. This is done in the Edit buttons on your machine after you are in the embroidery screen, if you have that capability.

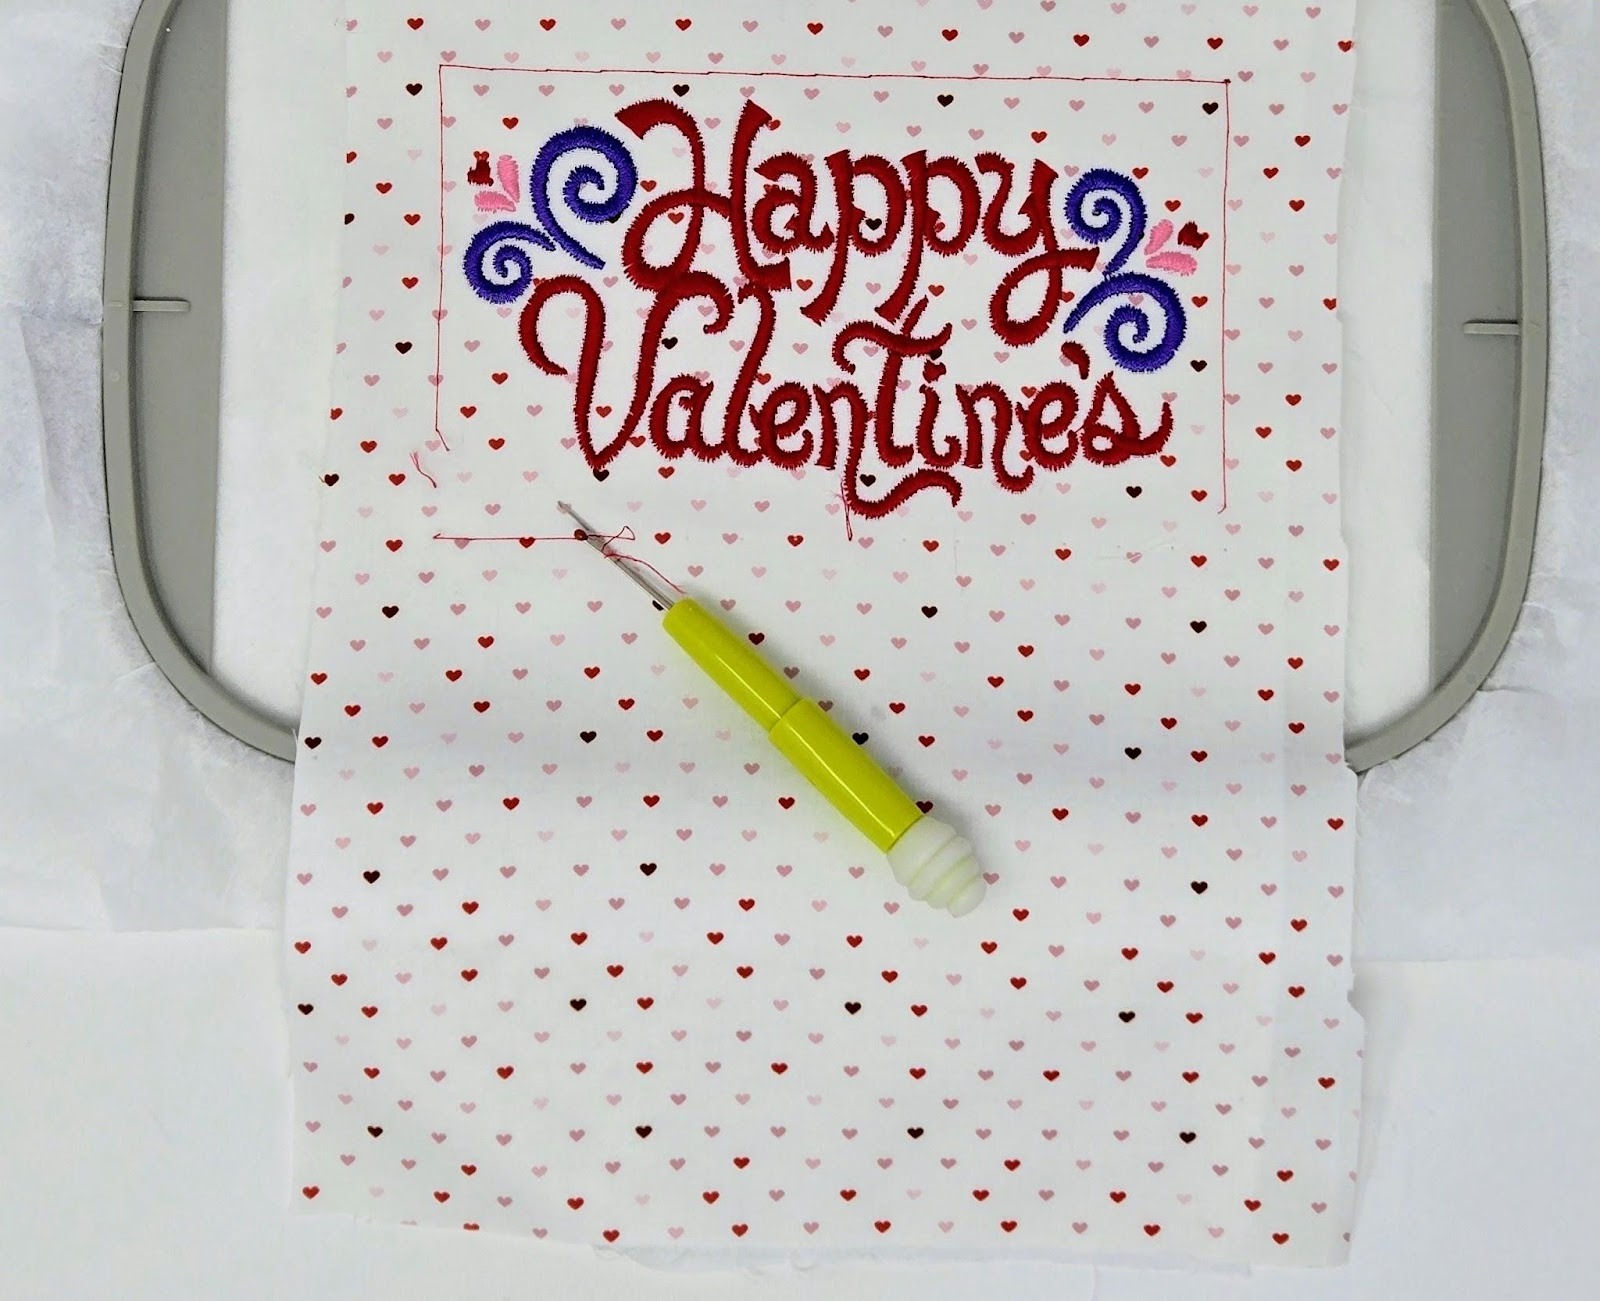
Once your design has stitched, take out the basting stitches. Very carefully cut a “window” in your stabilizer to remove your embroidered strip. DO NOT cut the fabric or remove the stabilizer from the hoop!

Now cut a piece of sticky-back tear-away stabilizer at least ½” larger than the hole you created. Remove the paper backing and adhere it to the back of the stabilizer already in your hoop. The sticky part will face the front of your hoop.

(Don’t pay any attention to the bandage wrap on my hoop. This is one of my older hoops and I added that so it would hold tighter. It no longer has any pads on it to help hold things in place.)
Now very gently place your fabric strip over your sticky tear-away stabilizer. I tried to leave a generous 1”–1½” between designs. For this project I made sure the holes, created by removing the basting stitches, were just inside my hoop.
The first placement was a test, leaving the basting stitches in place. After this I always removed them before moving on. With your hands, press the fabric with SF101 over the sticky tear-away stabilizer.
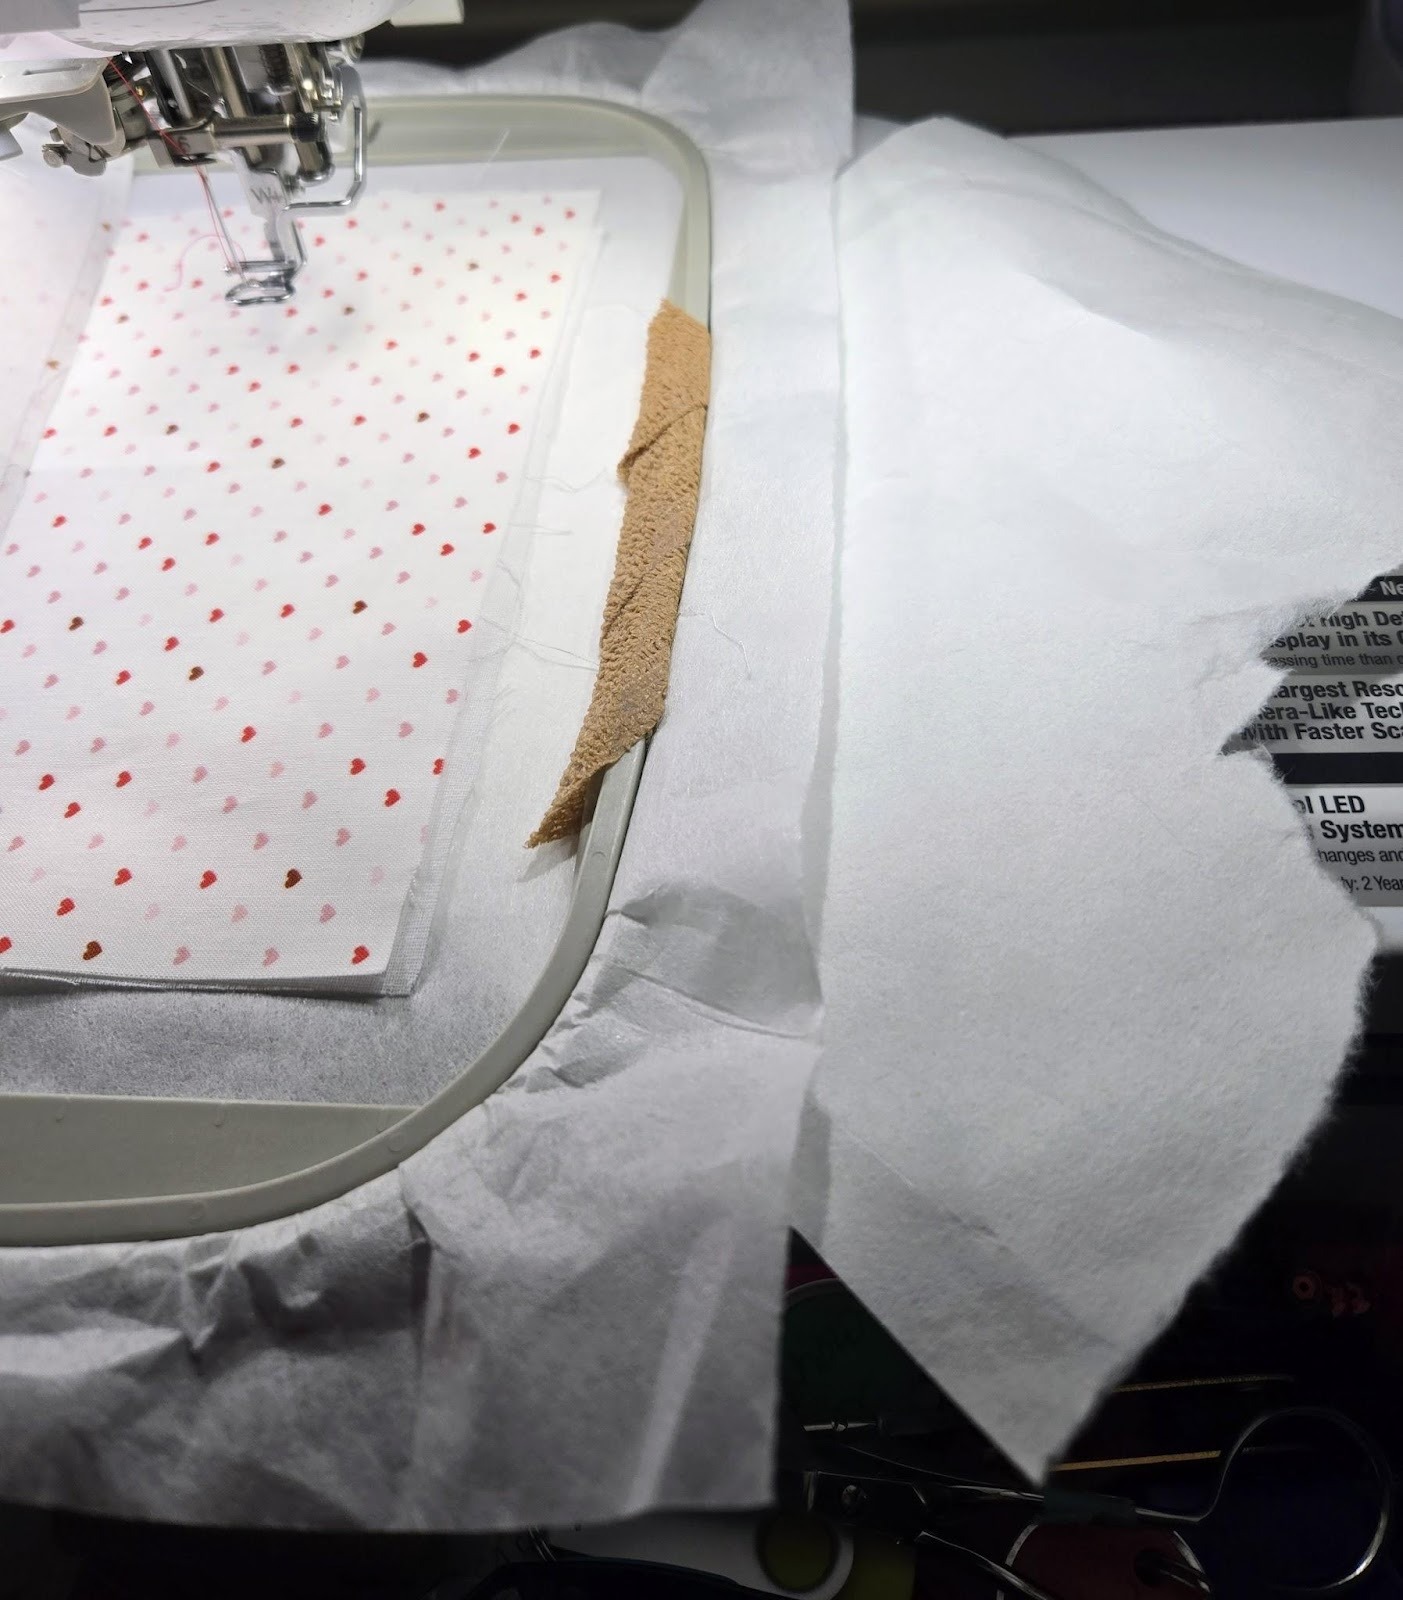
I noticed I needed more stabilization as the first design was stitching out, so for all subsequent designs I slid a scrap of tearEZ under my hoop. These were pieces left over from other projects that I saved beside my machine.
Since I have two 5x7 hoops, I had the second one ready to embroider as soon as the first finished. I just kept adding a new piece of sticky tear-away stabilizer to the hole created when I cut out the first embroidery, removing the basting stitches, and cutting the hole in the sticky tear-away to remove my embroidery.

Remove designs from the hoop and gently tear away the stabilizer that you floated on the back. All the rest of the stabilizers can stay in place. Support your stitches with your fingers as you remove the stabilizer. Trim any threads on the back and any jump stitches on the front.

Give your embroidery a gentle press from the back. I like using a scrap piece of cotton batting for pressing so the stitches are not pressed flat. Do NOT use steam.
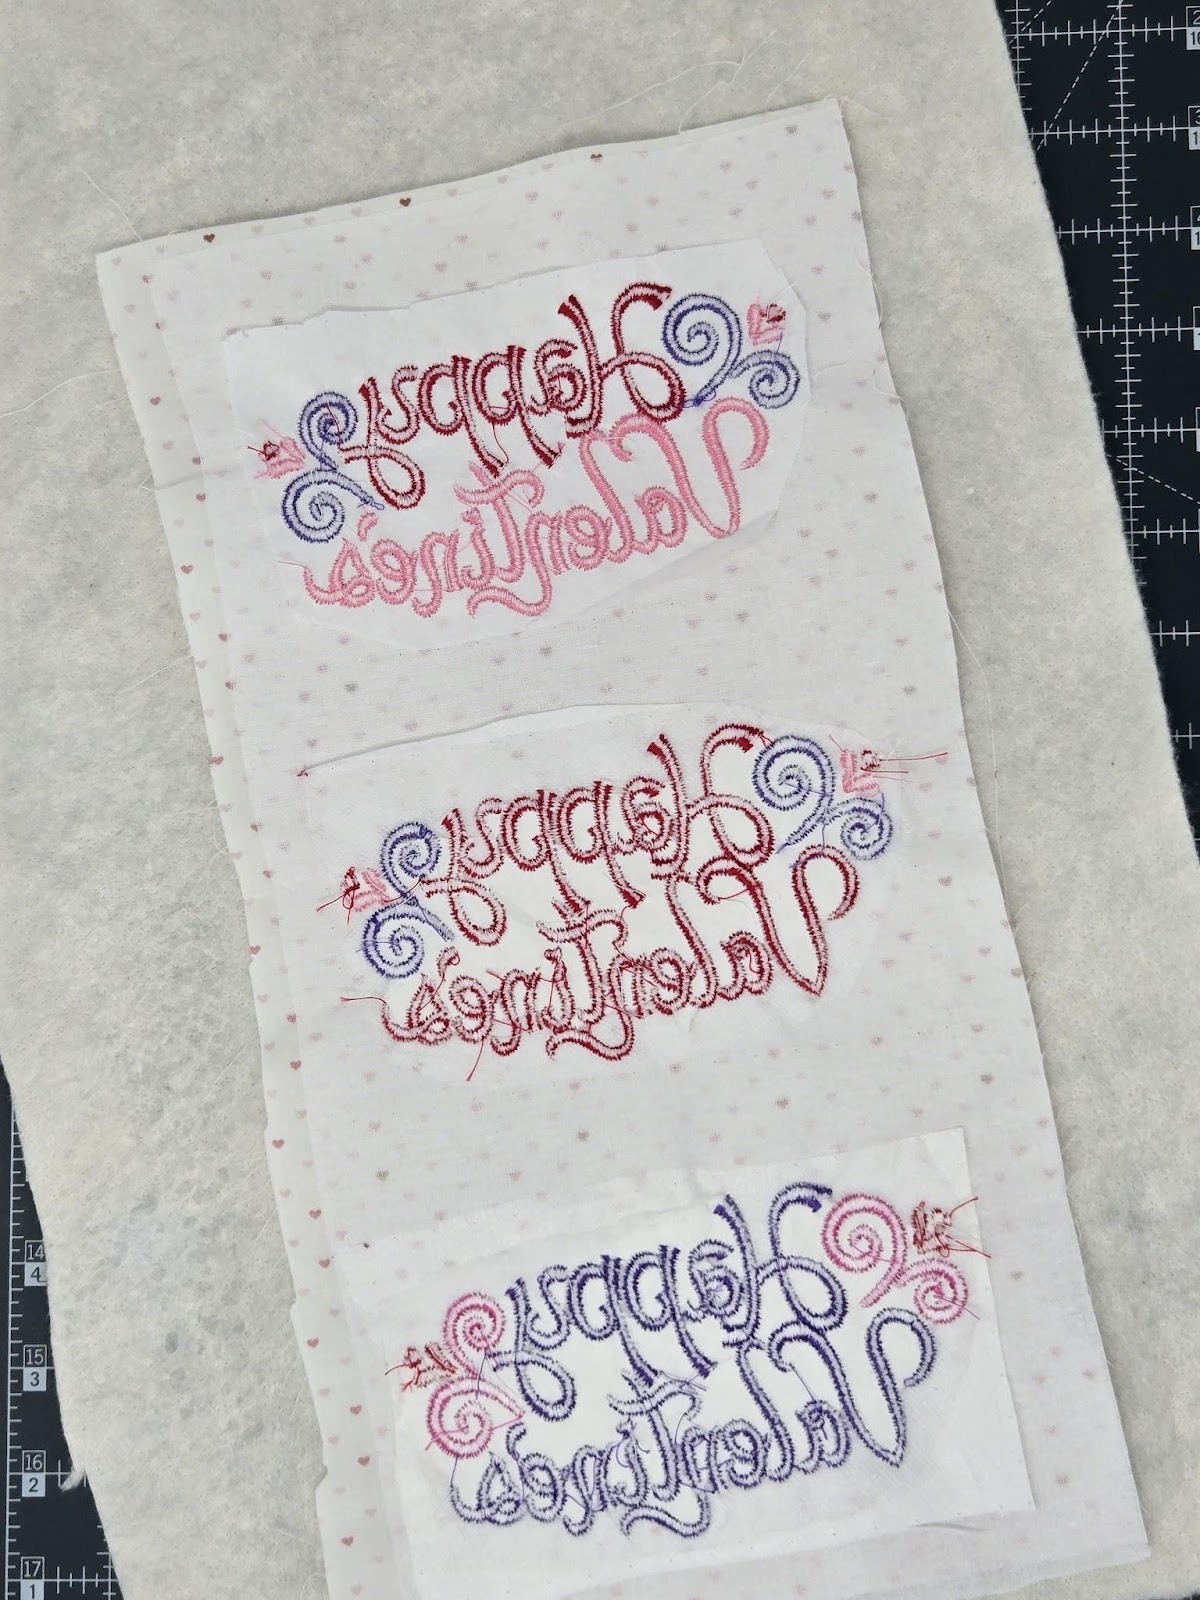
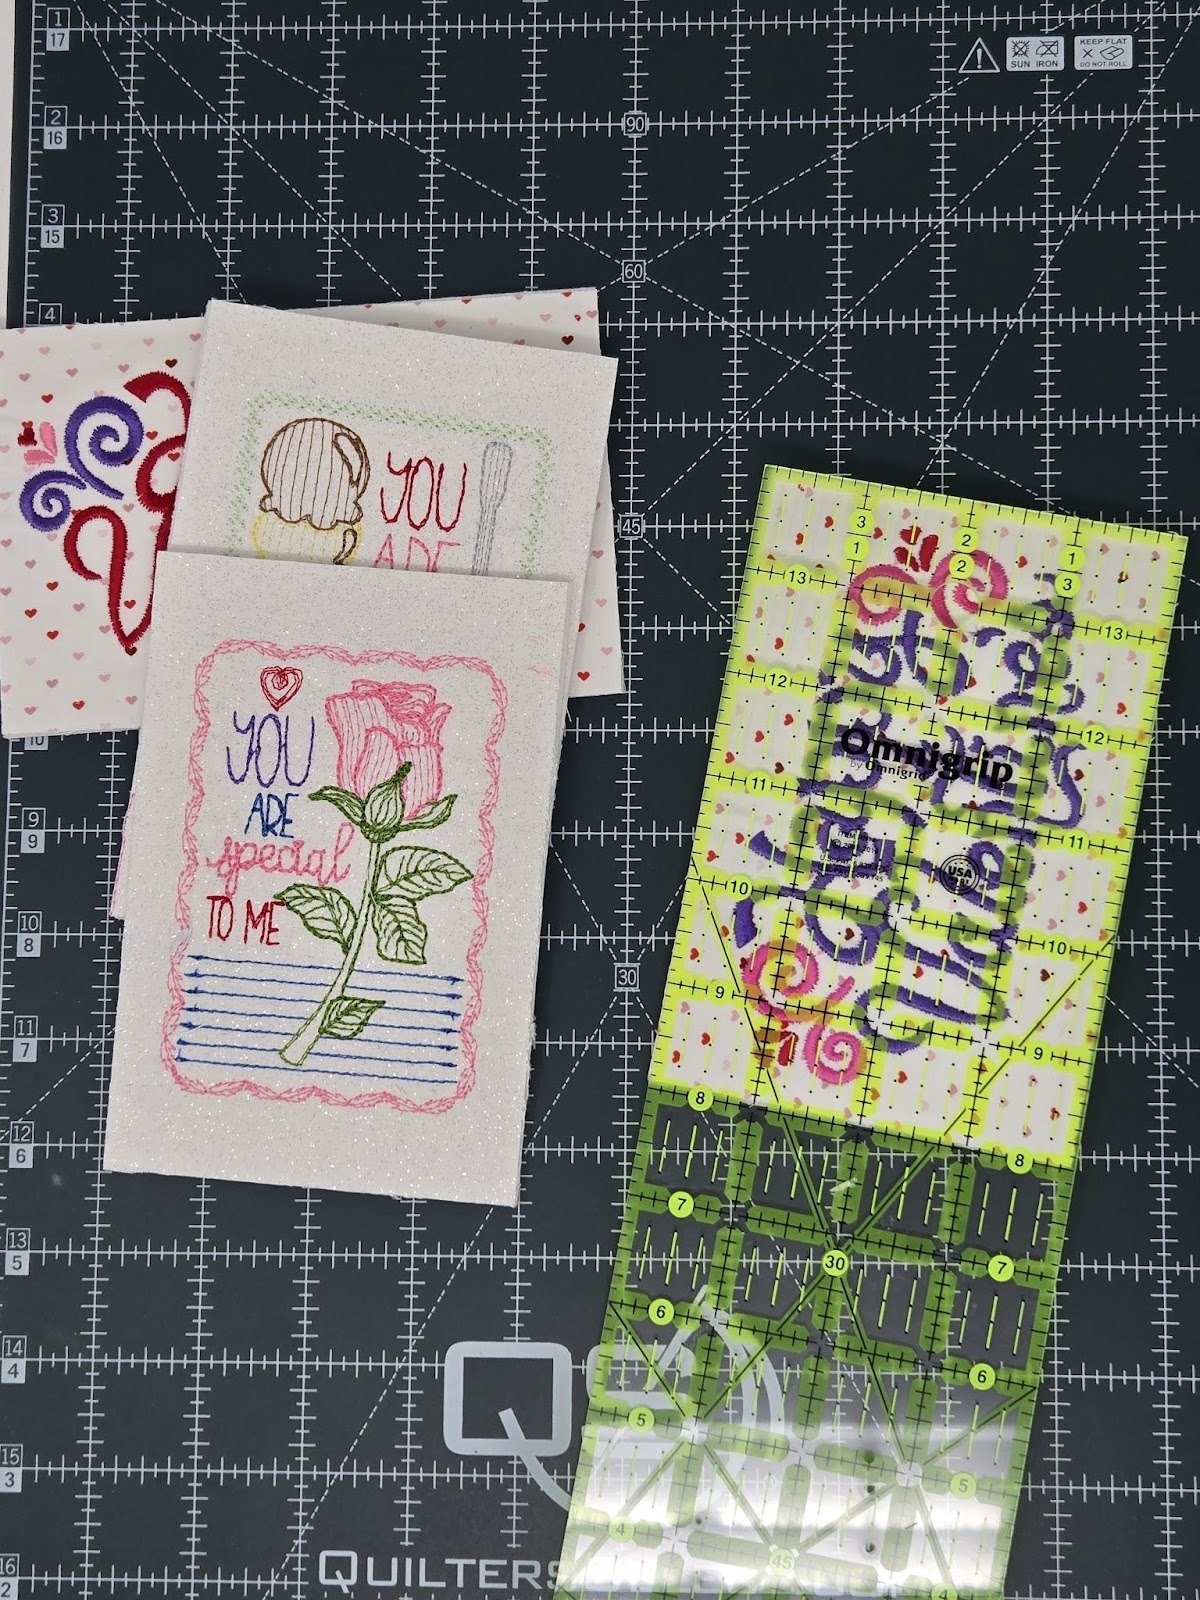
For the greeting card designs I hooped the same way I did above.

Instead of adding a basting box, I embroidered the placement line that would be used if making a card on cardstock directly onto my fabric. This will be my cutting line for my postcard.

Continue embroidering your designs. This time I left about an inch between each design's placement box. Remove the stabilizer that you floated and cut the windows as above.

I like using these little hooked scissors for trimming jump stitches.

Remember when I said DO NOT use steam? I went to press my strip of designs and forgot I had the steam on. My postcards shrank a bit!
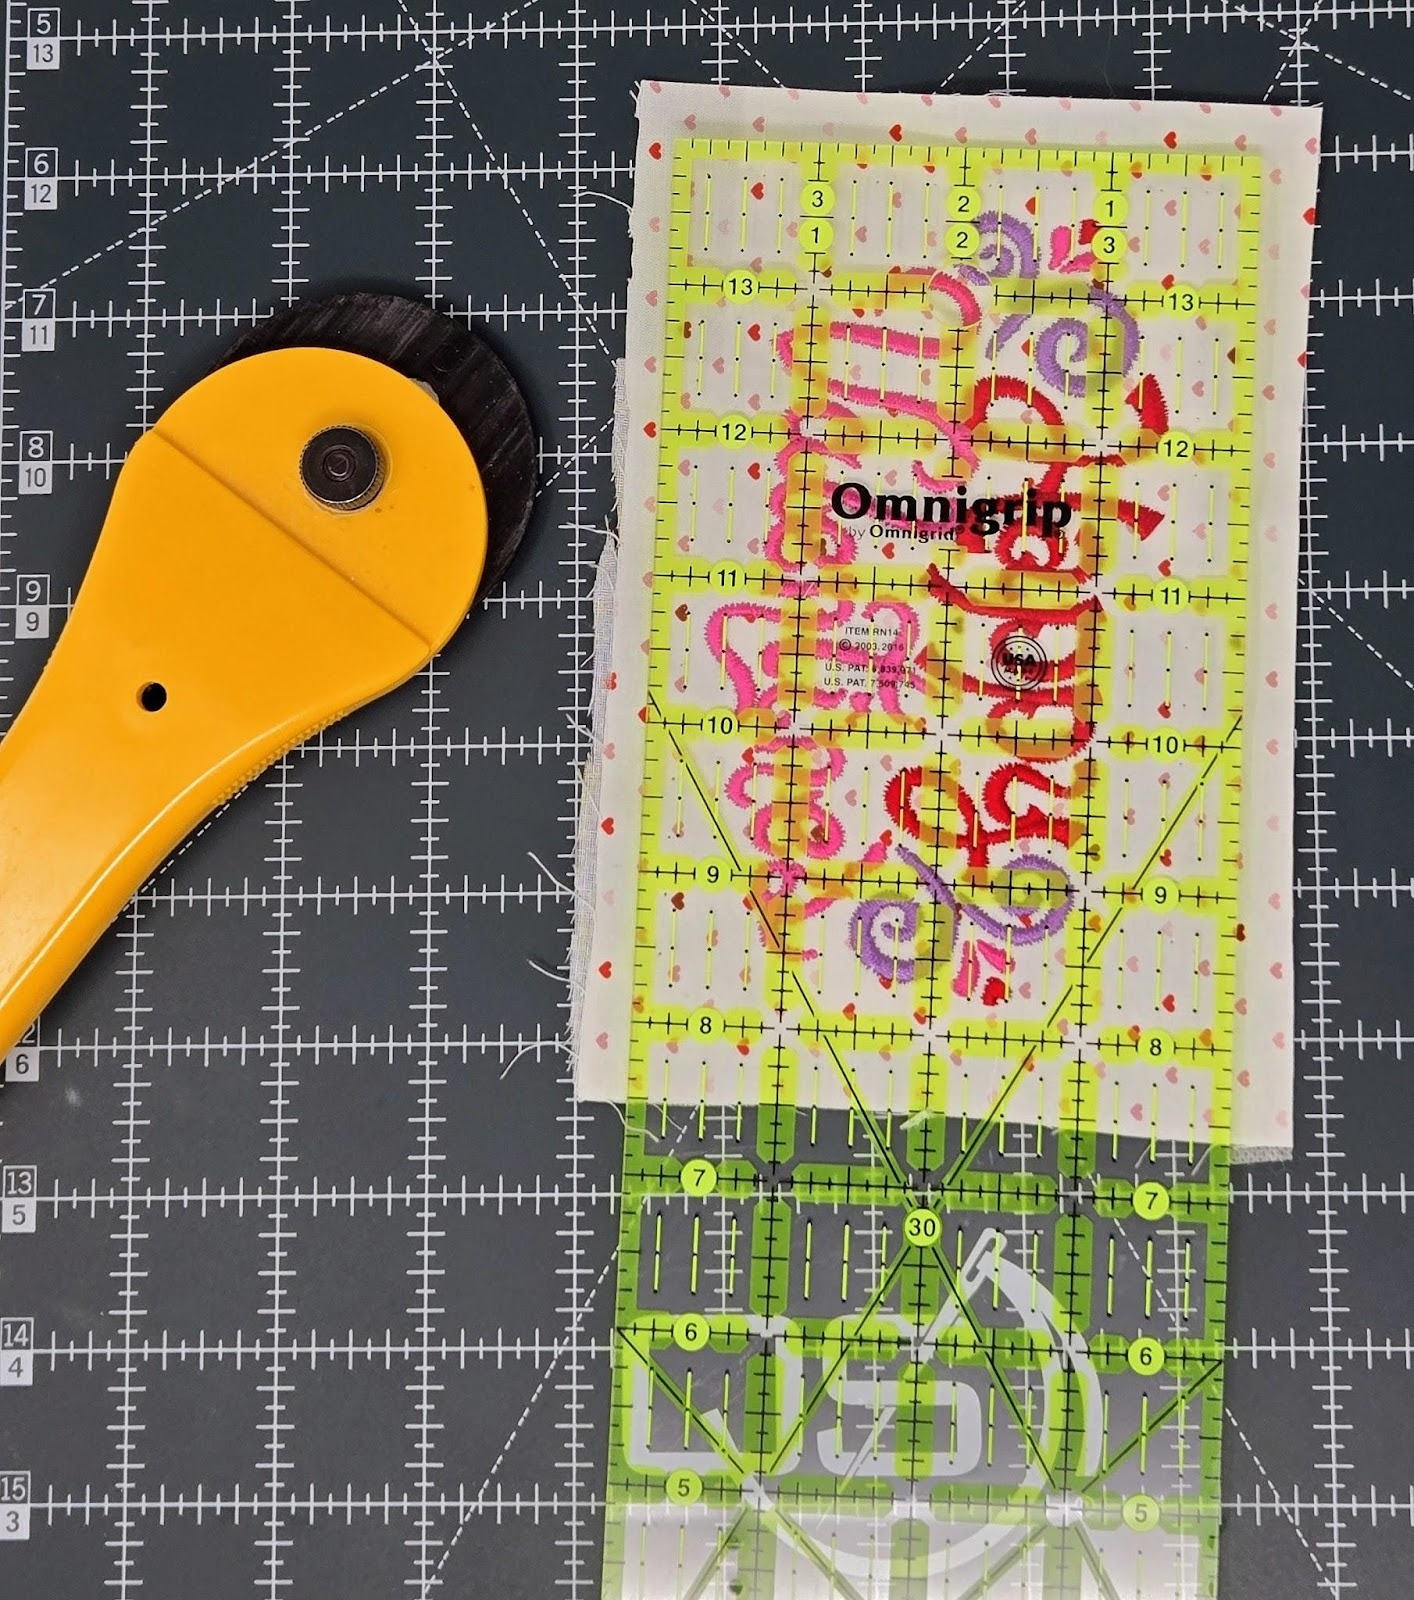
Next, cut apart your designs into 4” x 6” postcards, centering the ruler over the designs. This time I used a 4”-wide ruler.
For the greeting card designs, I cut right on the placement line. I did have to make my greeting card postcards a scant bit less than 4” wide because of the shrinking with the steam. Once I had them cut apart, I was able to press out the wrinkles. Whew!
I make my postcards 4” x 6” in size. This size fits nicely into a card envelope, which I purchase in bulk. Some people send their postcards through the mail as is, but you would need to get them hand canceled. I have received cards that have oil and grease on them from post office machines, so I prefer to use envelopes.
First trim a strip of Pellon Peltex 72F to 6” wide by the width of Peltex (usually 20” wide or a bit less). Place the Peltex on a non-stick pressing sheet and line up your postcards’ 6” edges, back of postcard to the Peltex. The non-stick sheet will keep the back side of the Peltex from adhering to your pressing surface. Press using NO steam!

Cut a muslin strip 6” wide by the width of fabric; we will trim it down as needed. Below I have the two extra cards that did not fit on the longer strip fused to a shorter piece of Peltex. I am going to fuse the muslin to the back of the postcard/Peltex piece.
Fuse the muslin to the back of your strip of postcards and then cut them all apart. This trims any extra muslin and/or Peltex.
Finally, I go to my sewing machine and stitch around the outside edges of my postcard. I usually use a blanket stitch, zigzag, or satin stitch. I like using variegated threads, but that is purely personal preference. Some people stitch down a ribbon like a binding, and some have actually bound them like you would a quilt.

On the muslin side of the postcard is where I write a note. I do have a postcard stamp I picked up from Hobby Lobby. Little stickers act as fake stamps. It is all fun at this point!

I hope you enjoyed this little postcard project and you will make a few too. This is one way to use those special greeting card designs. Of course, they could also be put on hand towels, gift bags, or anything you can think of.
Be sure to share your projects in the Designs by JuJu Embroidery Blessings Facebook Group, or use the hashtag #designsbyjuju anywhere on social media. We all love to see what you create!
