Toggle Nav
 Inspire.
Create.
Stitch.
Inspire.
Create.
Stitch.
Search
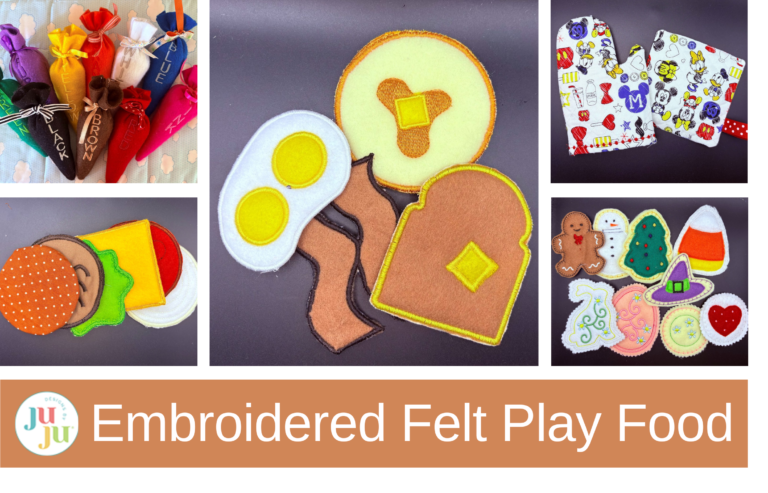
Do you have young aspiring chefs in your life? Little ones who love to pretend play in their kitchens?
If so, you’ll be excited to discover the vibrant and adorable selection of play food designs offered by JuJu. These imaginative designs can inspire creativity and enhance playtime for your little chefs.
From colorful, realistic baked goods to kitchen essentials, these delightful pieces not only enhance the joy of pretend play but also spark creativity and exploration in little ones as they embark on their cooking adventures.
Check out the DBJJ team’s favorite supplies in the Designs by JuJu Amazon store.
Let's start with making cookies. This is a fun project you can do with your child. Using colorful felt pieces and threads, let them help decide how they want their cookies to look.
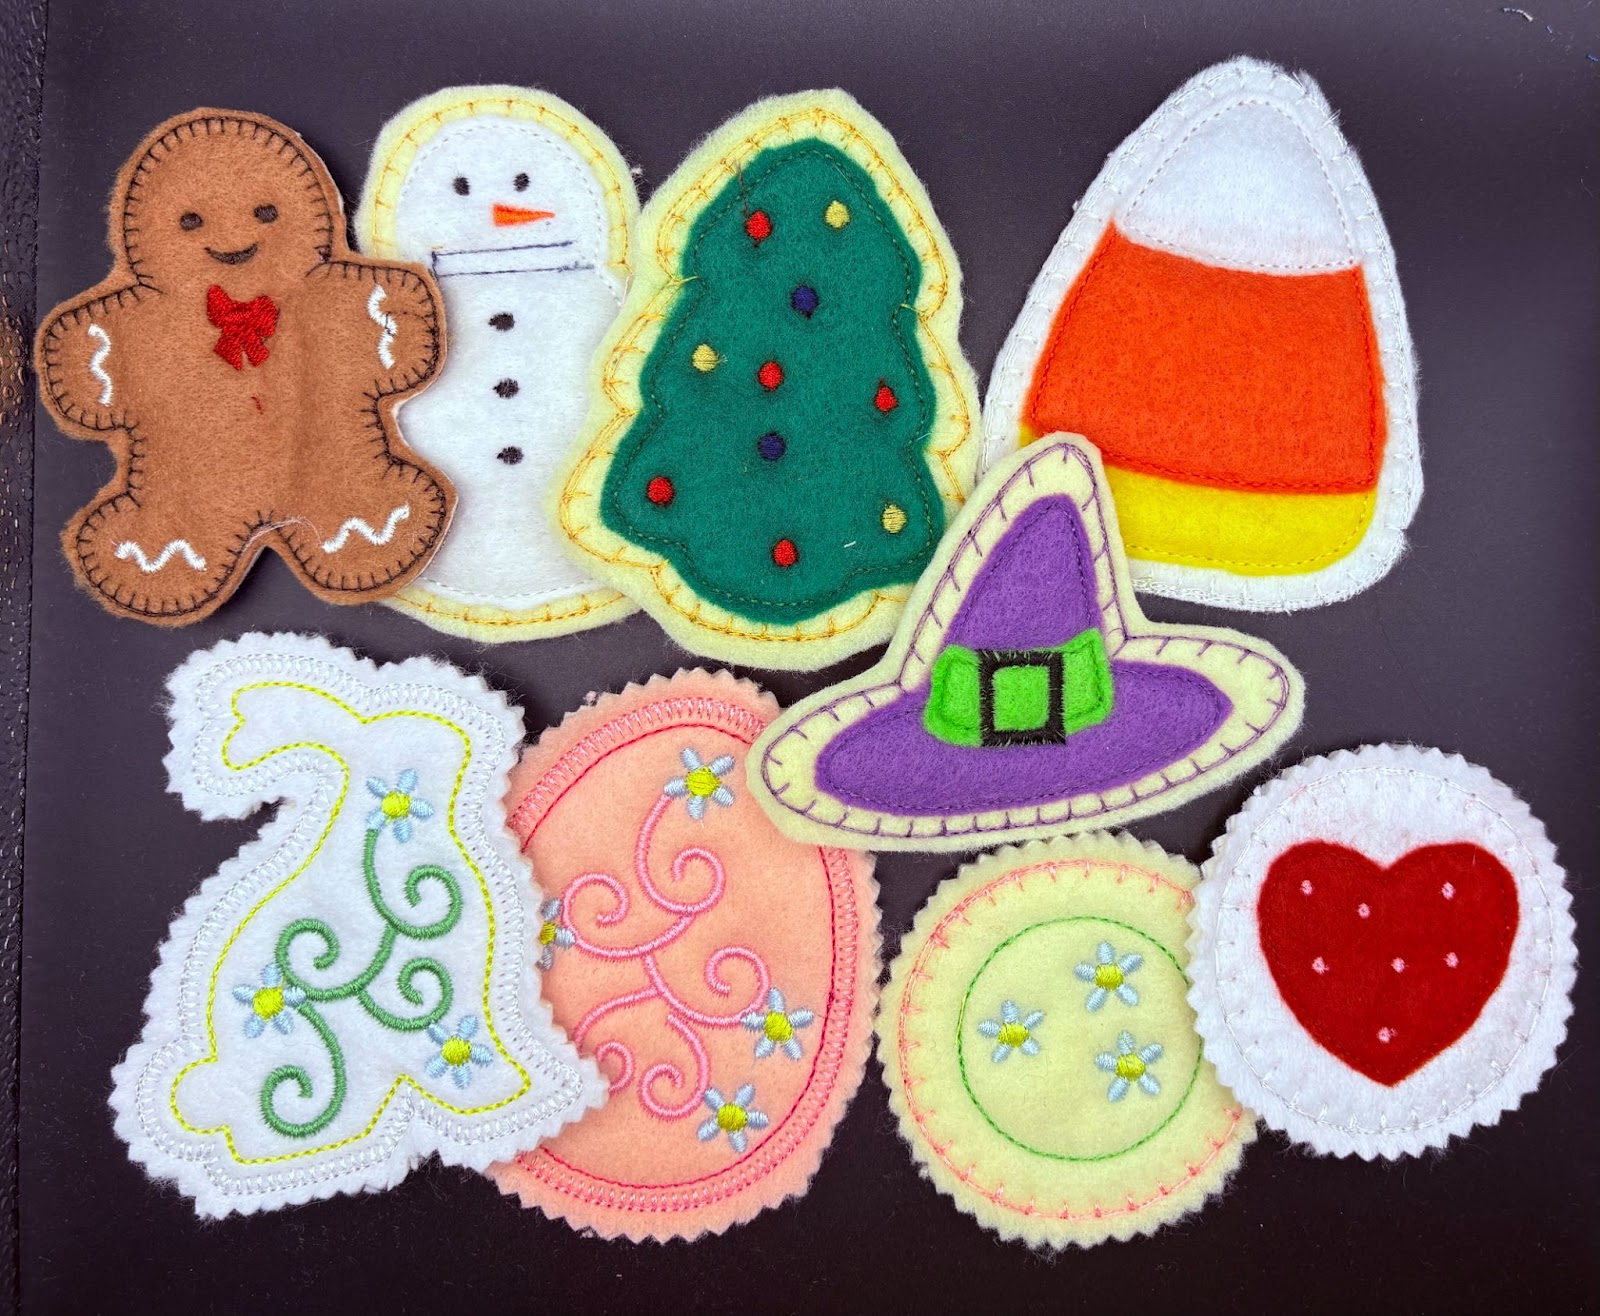
Each design comes with a set of instructions. I am going to change them up just a bit and show you another way to make them.
These designs can be made as a single design in a 4x4 hoop, or you can stitch out multiple ones in a larger hoop.
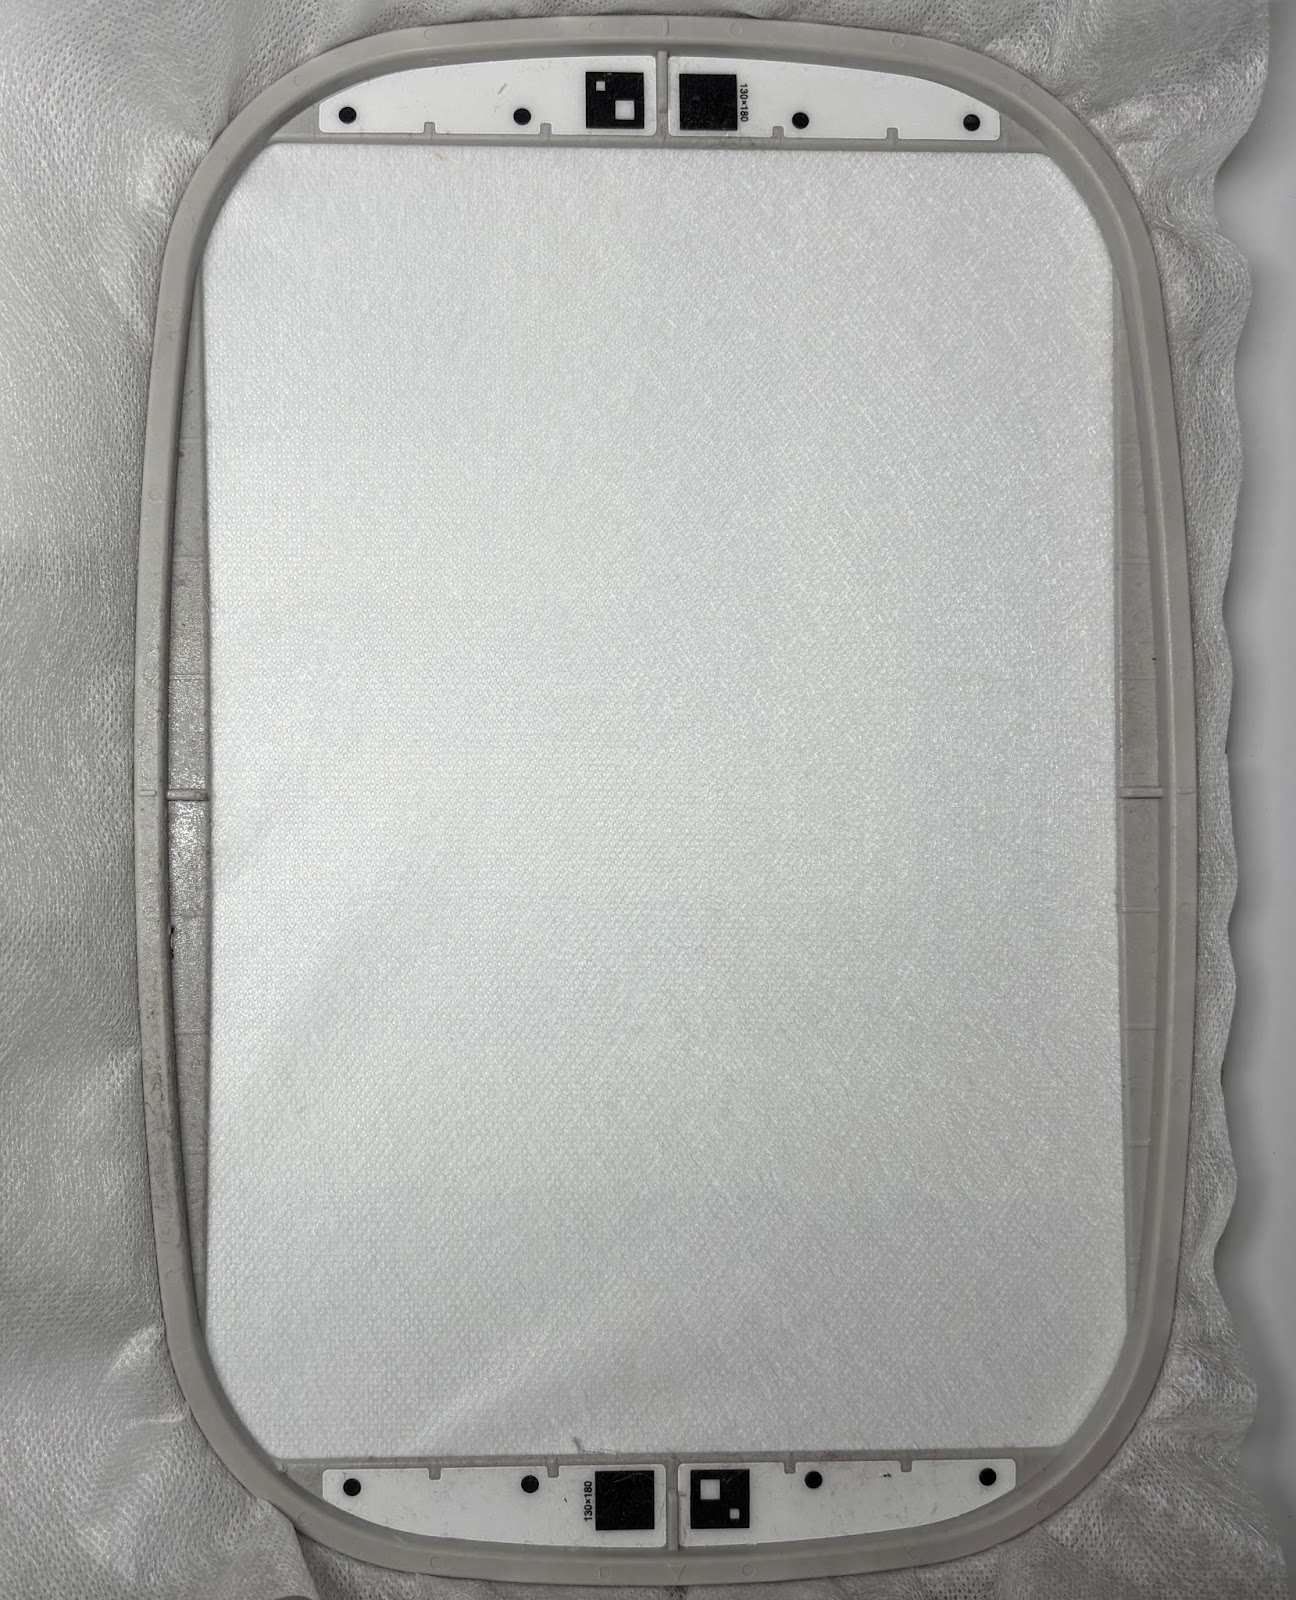
Hoop a single layer of wash-away stabilizer. Take to the machine.
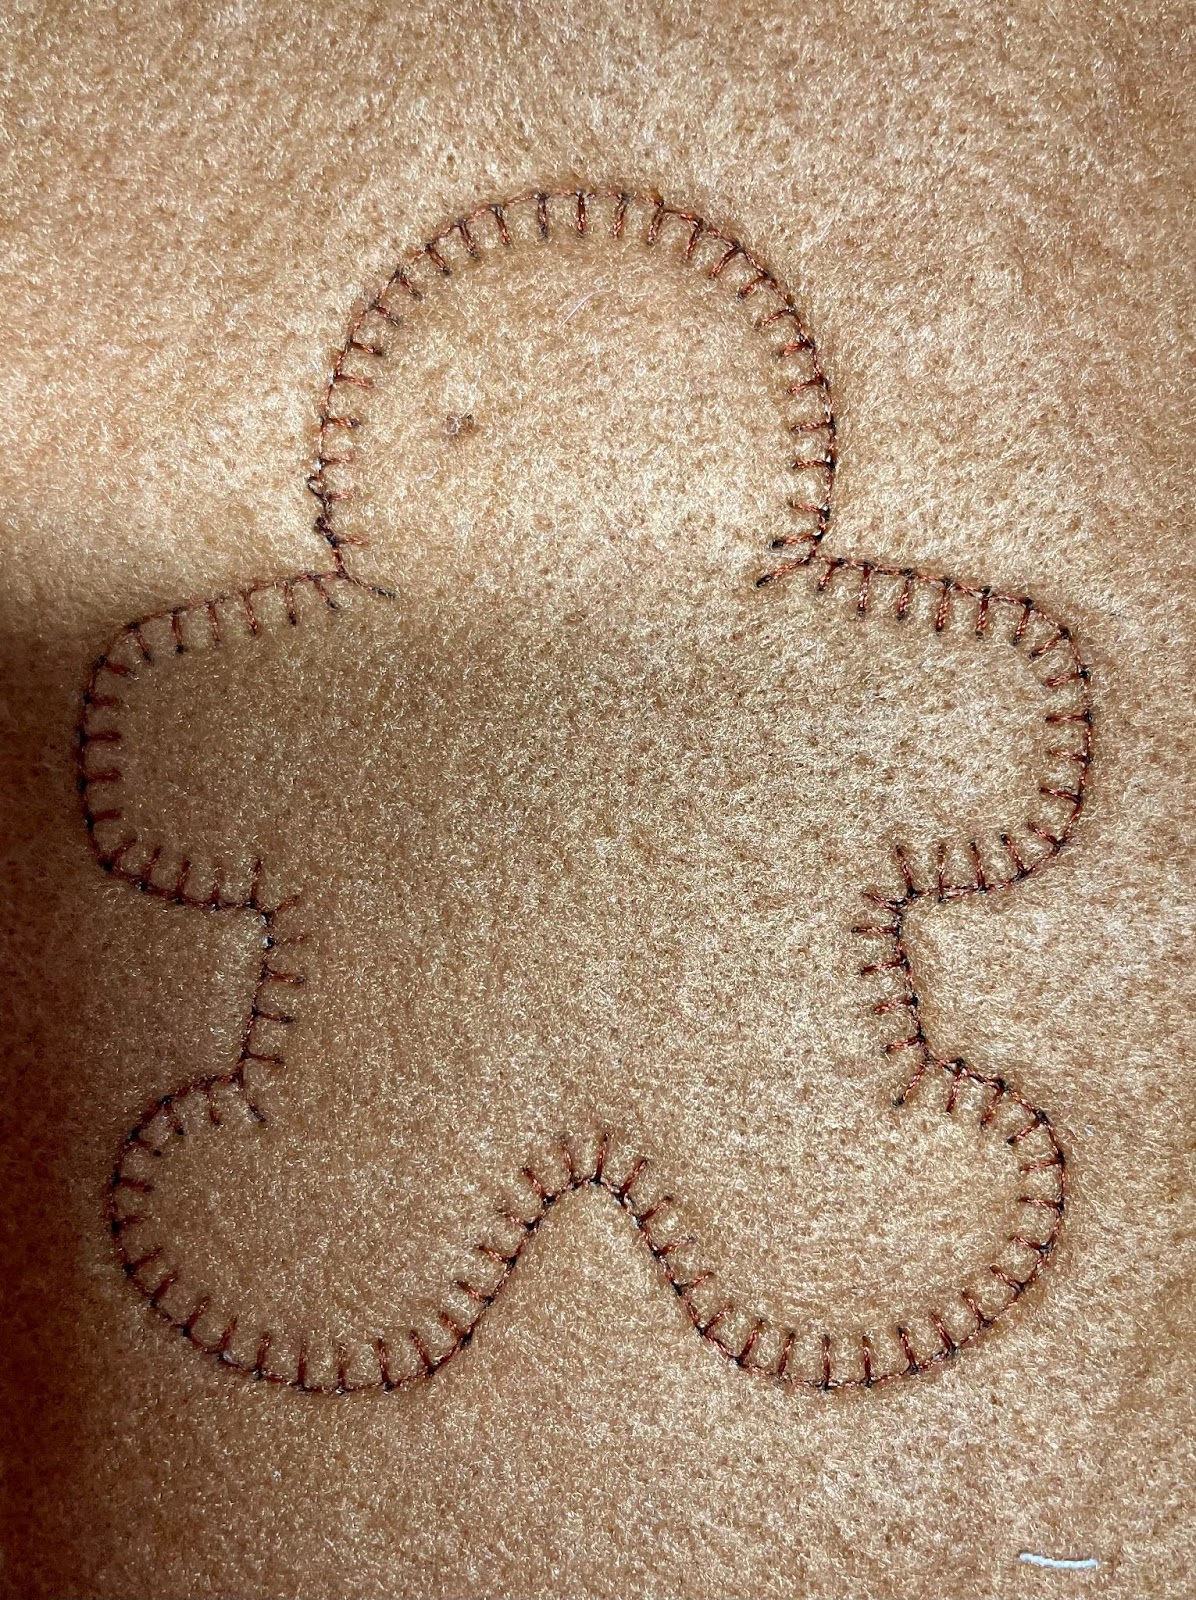
Load the cookie design of your choice. Cut a piece of felt and batting to fit the hoop. Run the first step. This will be the outline of the cookie.

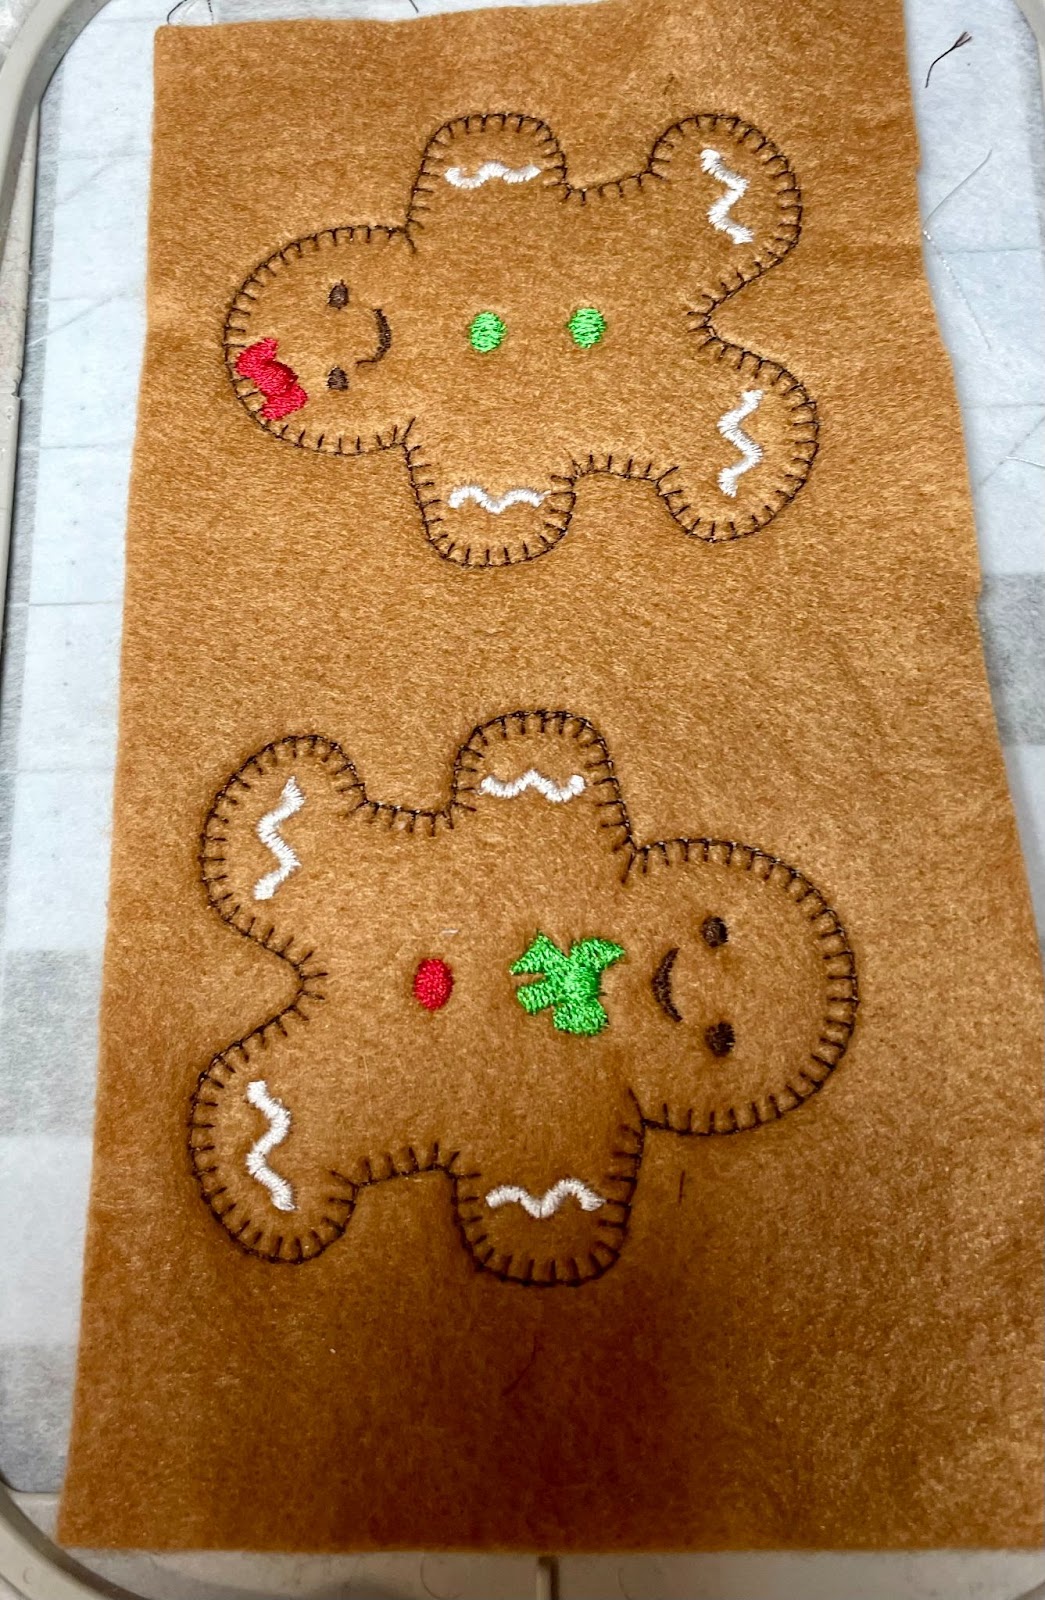
Continue with all the steps to decorate the cookies. Some will have an applique. Remember to trim all applique steps before continuing to the next step. DO NOT RUN THE FINAL STEP. This step attaches the back. Once all the decorating steps are finished, remove the hoop from the machine. Place on a flat surface.
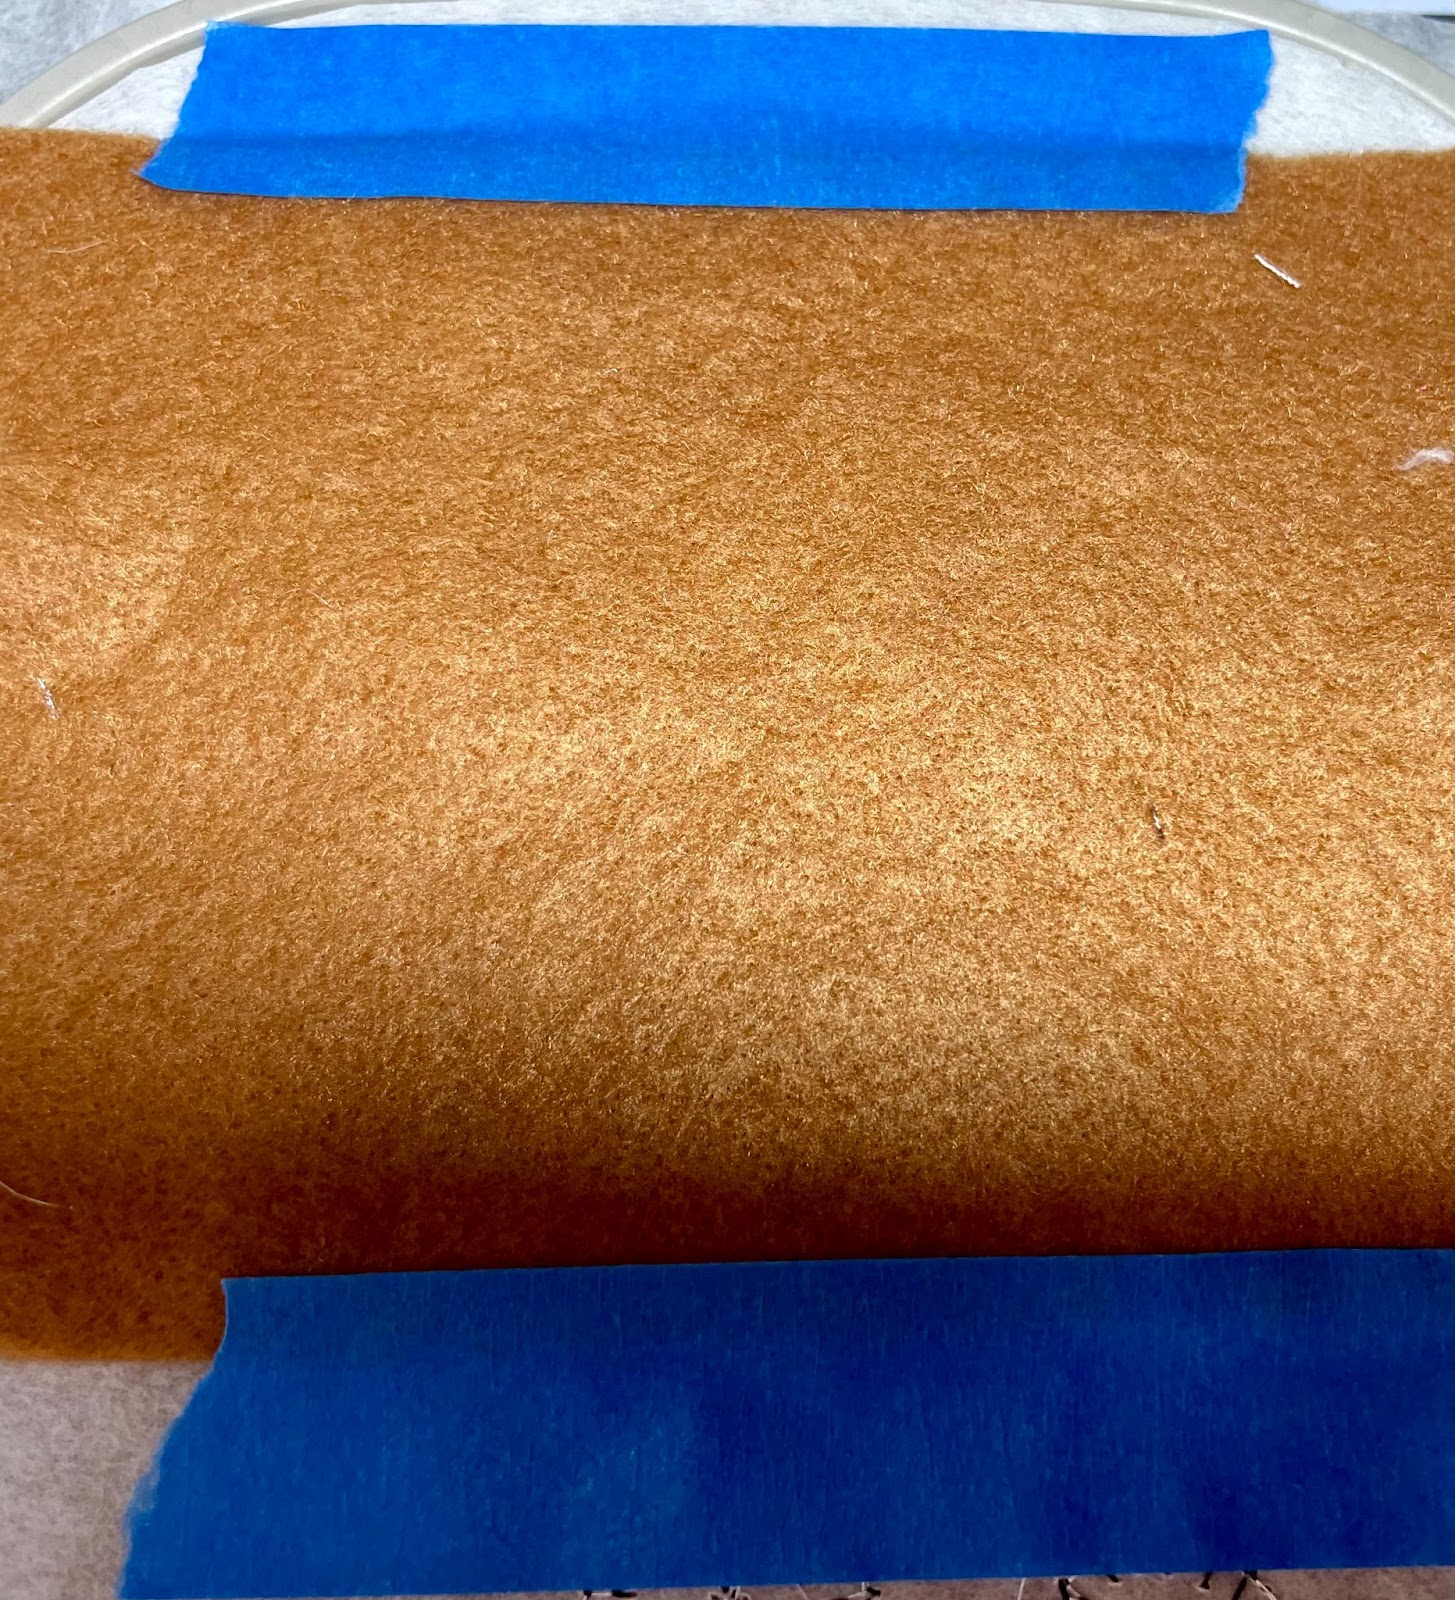
Tape a matching piece of felt to the back. Return the hoop to the machine. The final stitch leaves an opening to add stuffing to the cookie. Since we used batting, we do not need to stuff the cookies. Instead of the final stitch, return the design to the first cookie stitch outline. Run this step to attach the front and back completely.
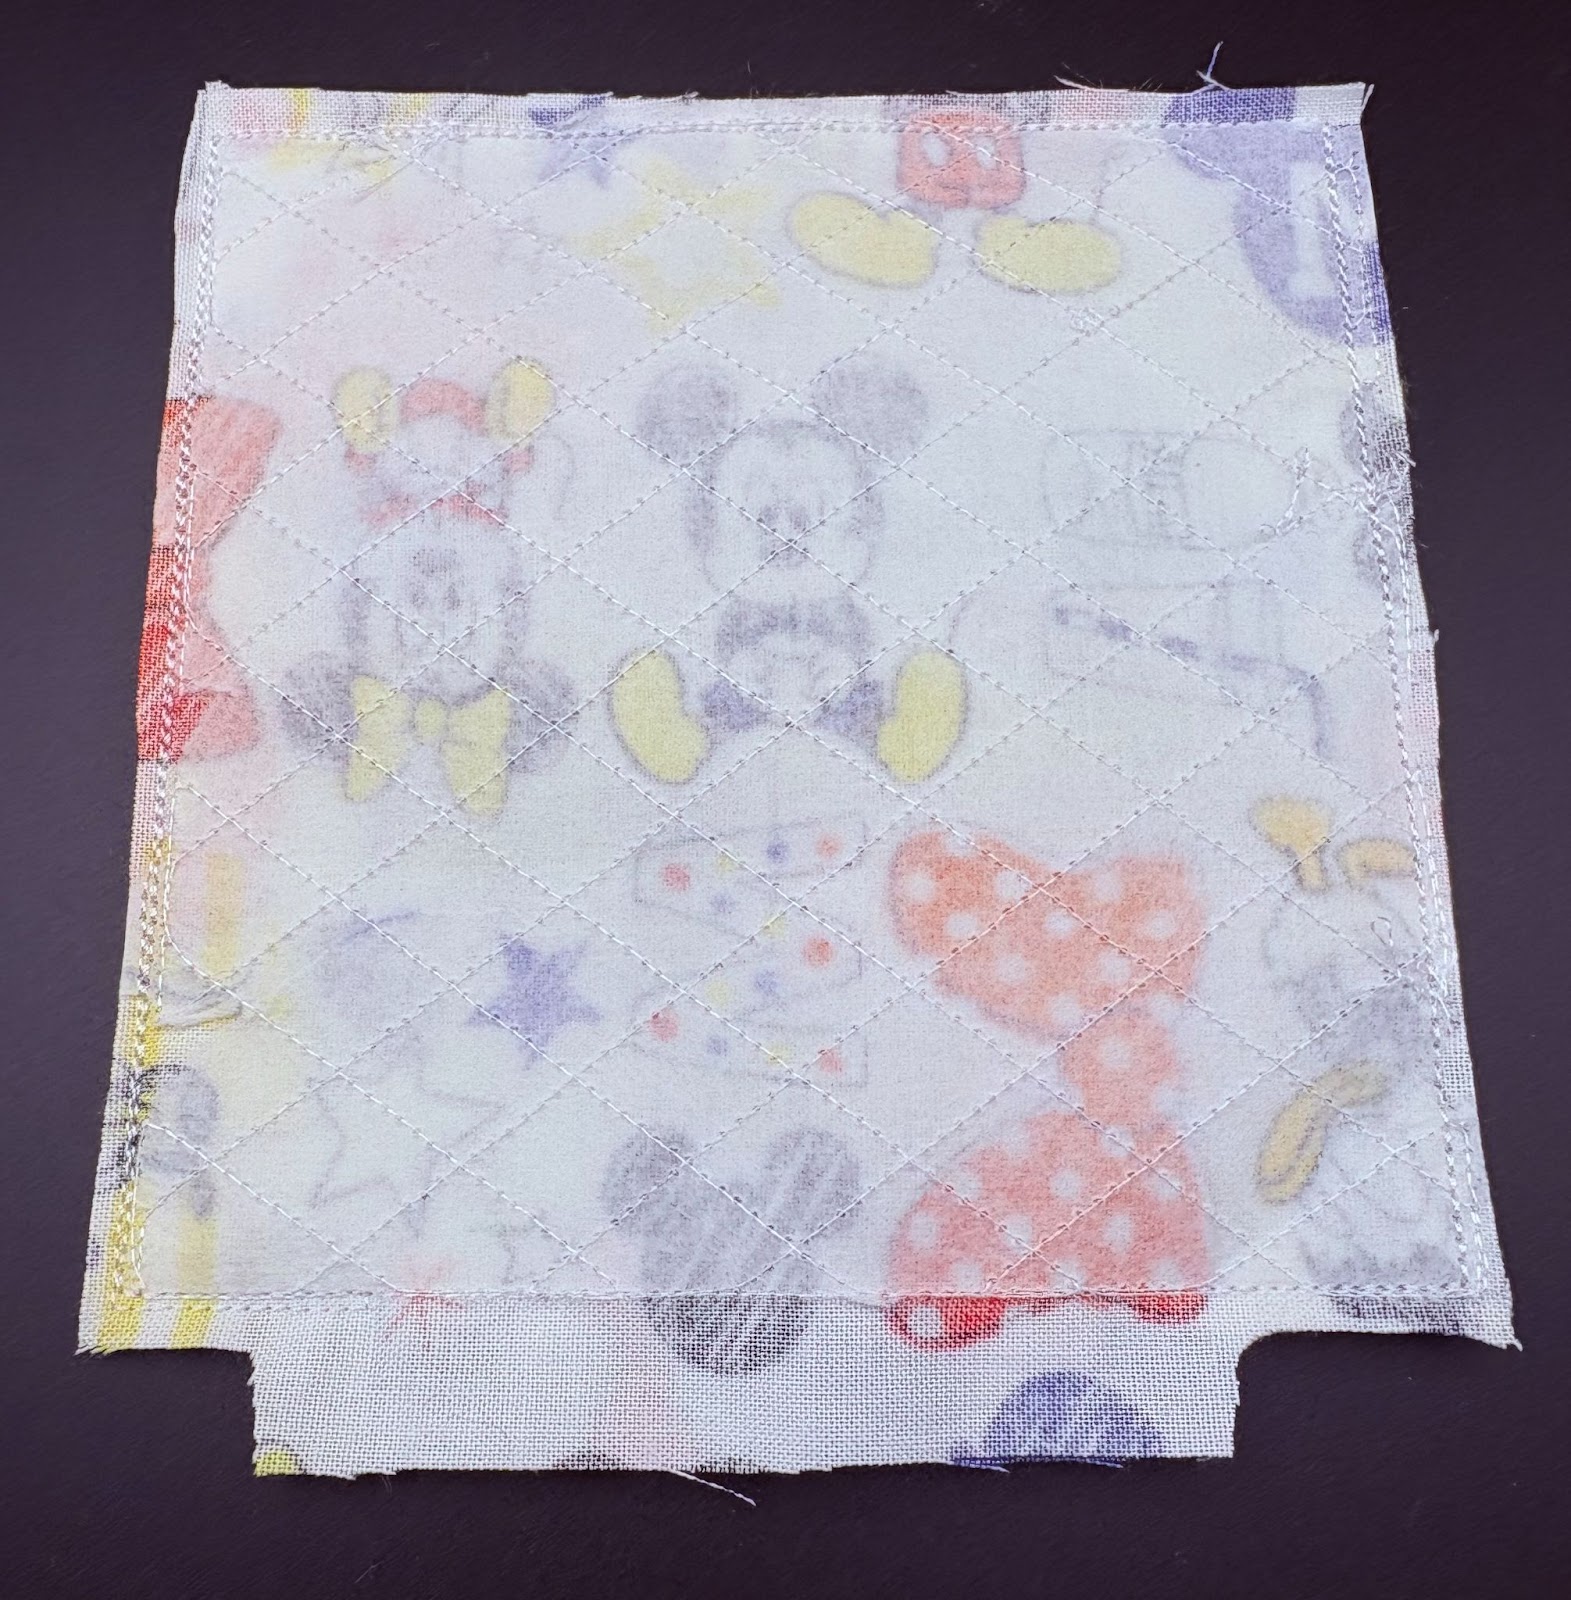
When finished your back should look like this.
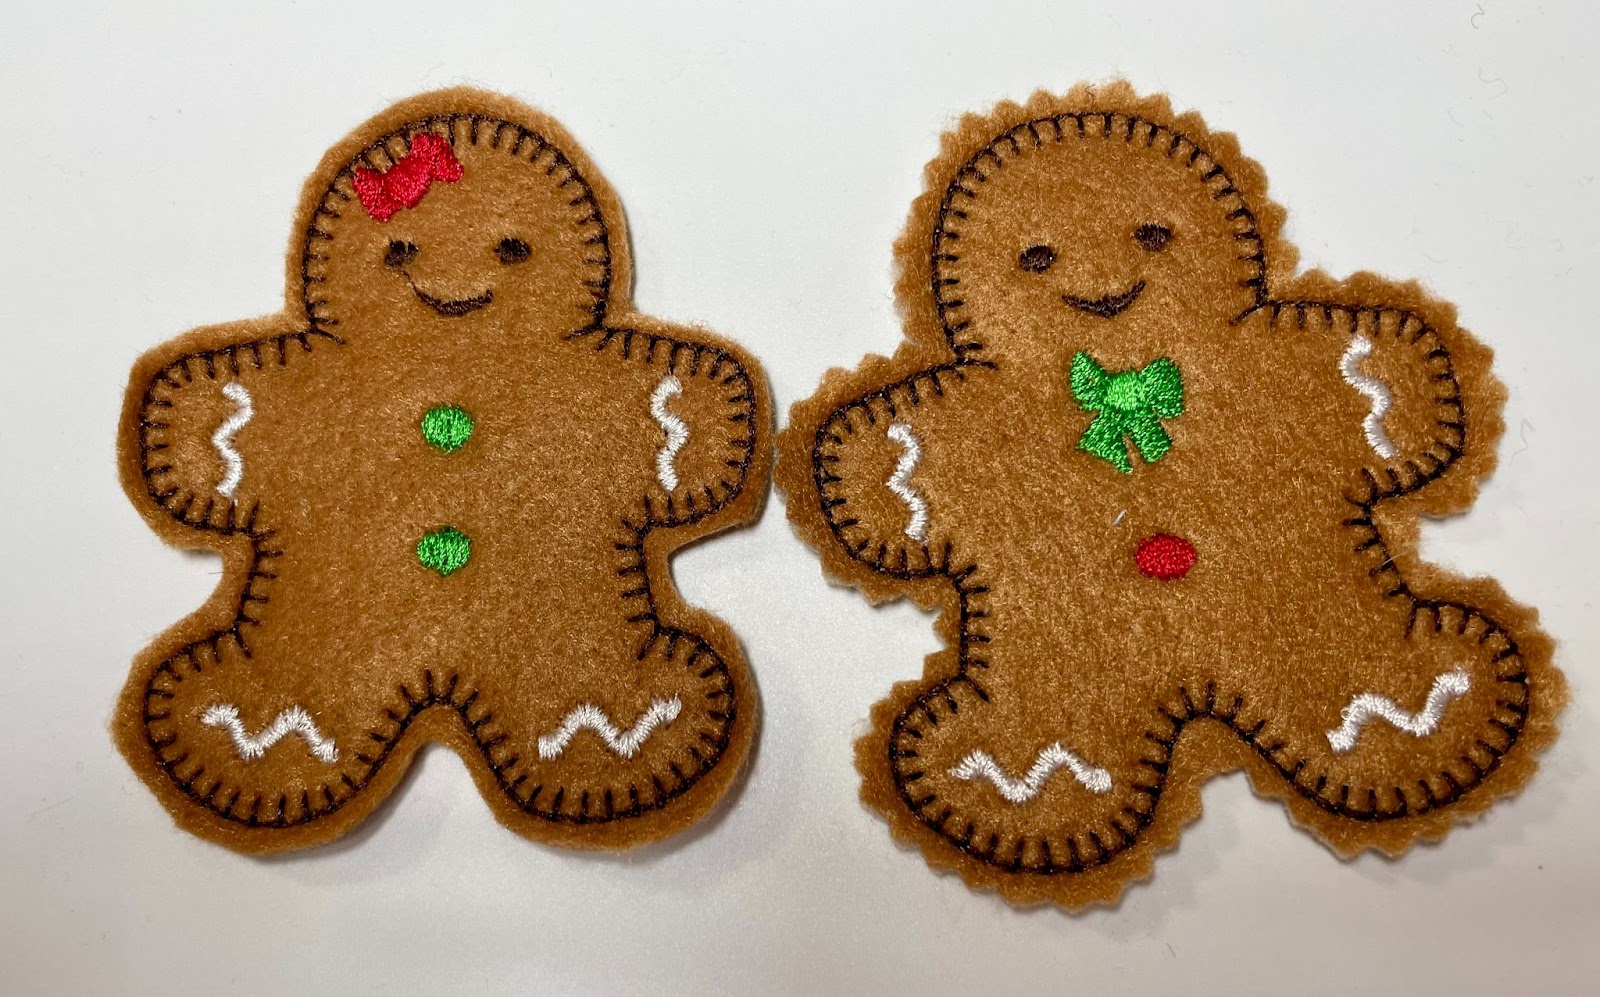
Remove the project from the hoop and trim with scissors or pinking shears. Each cookie design can be made using these same steps.
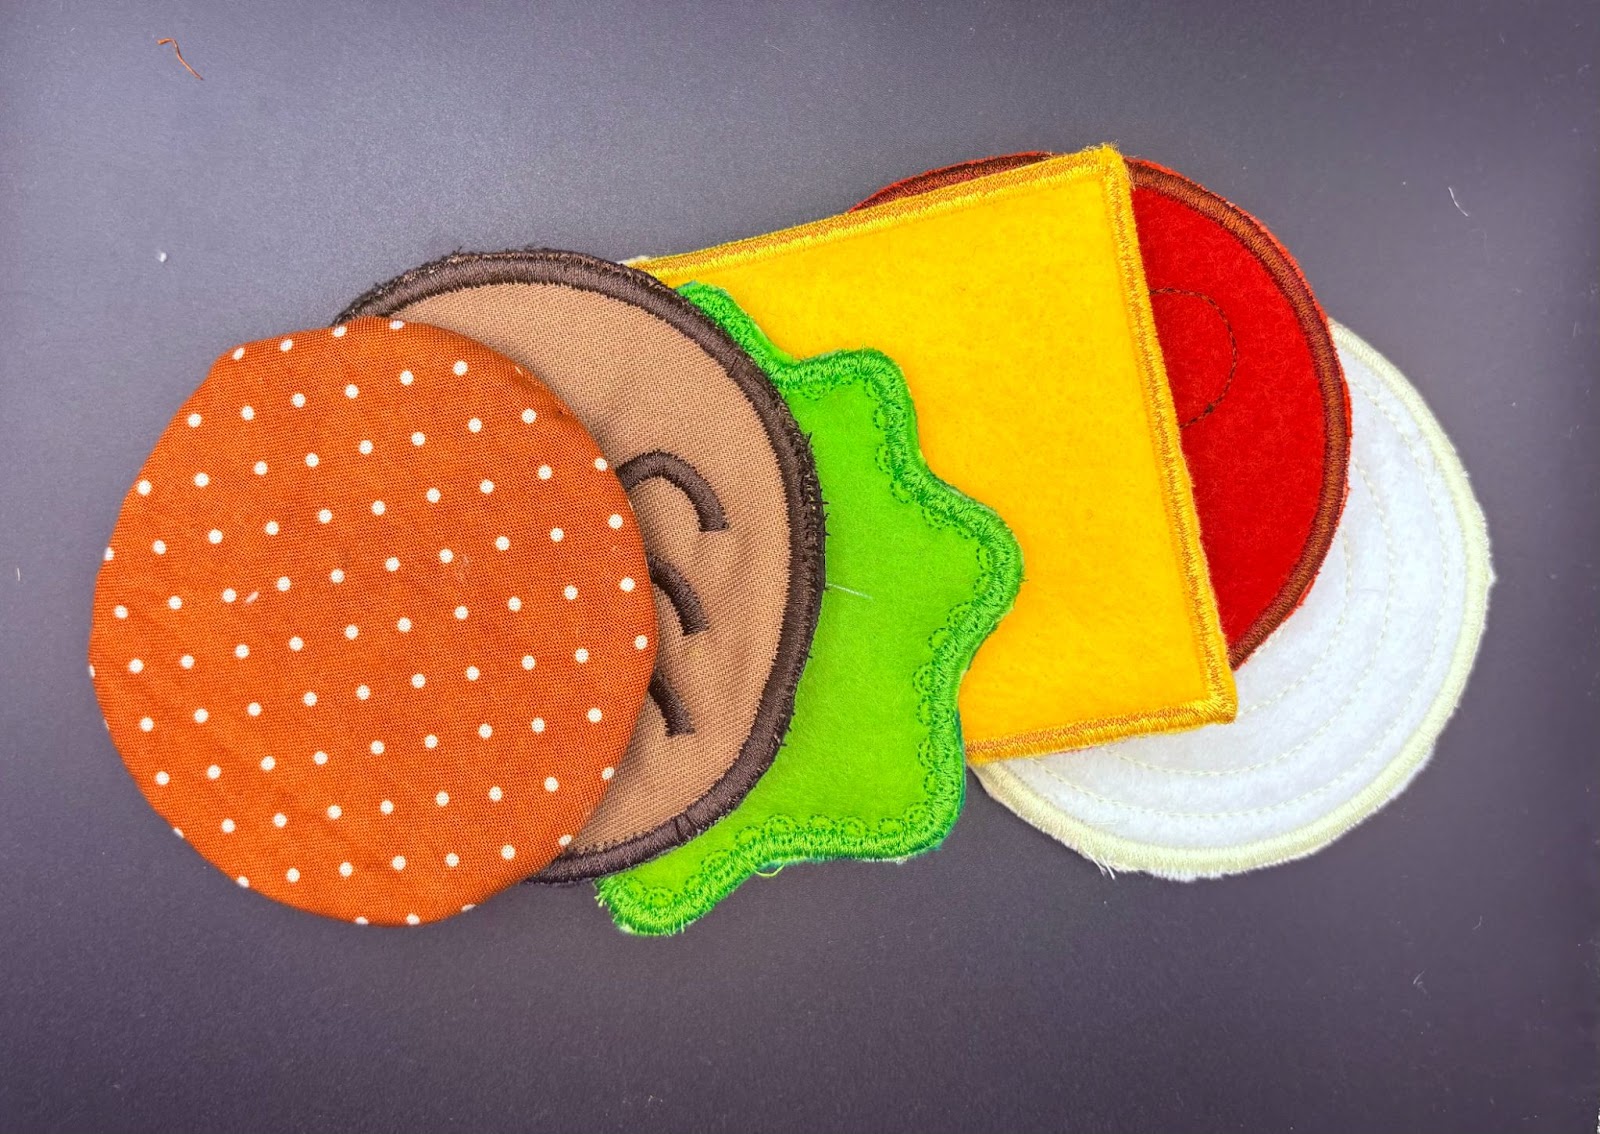
Use the same supplies and steps listed above to create more play food for your little chefs.
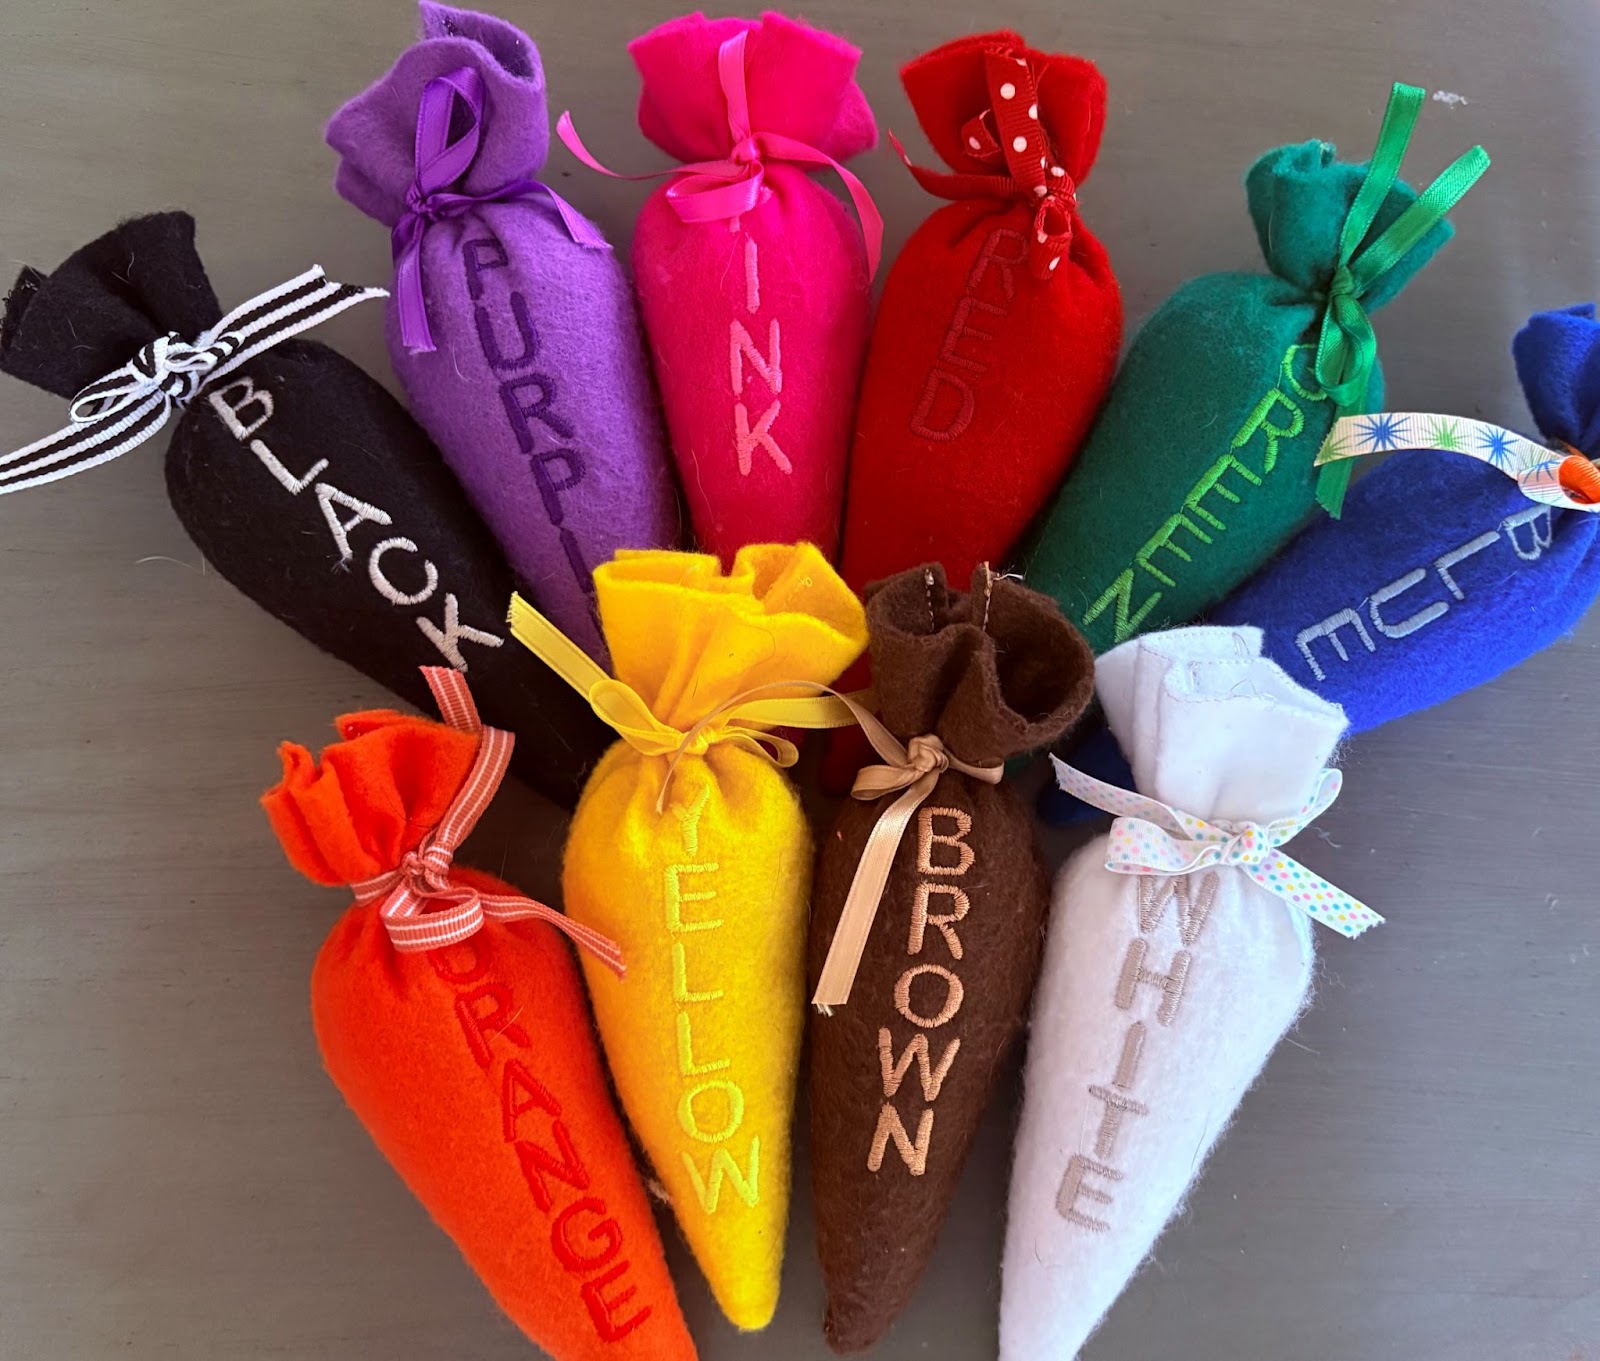
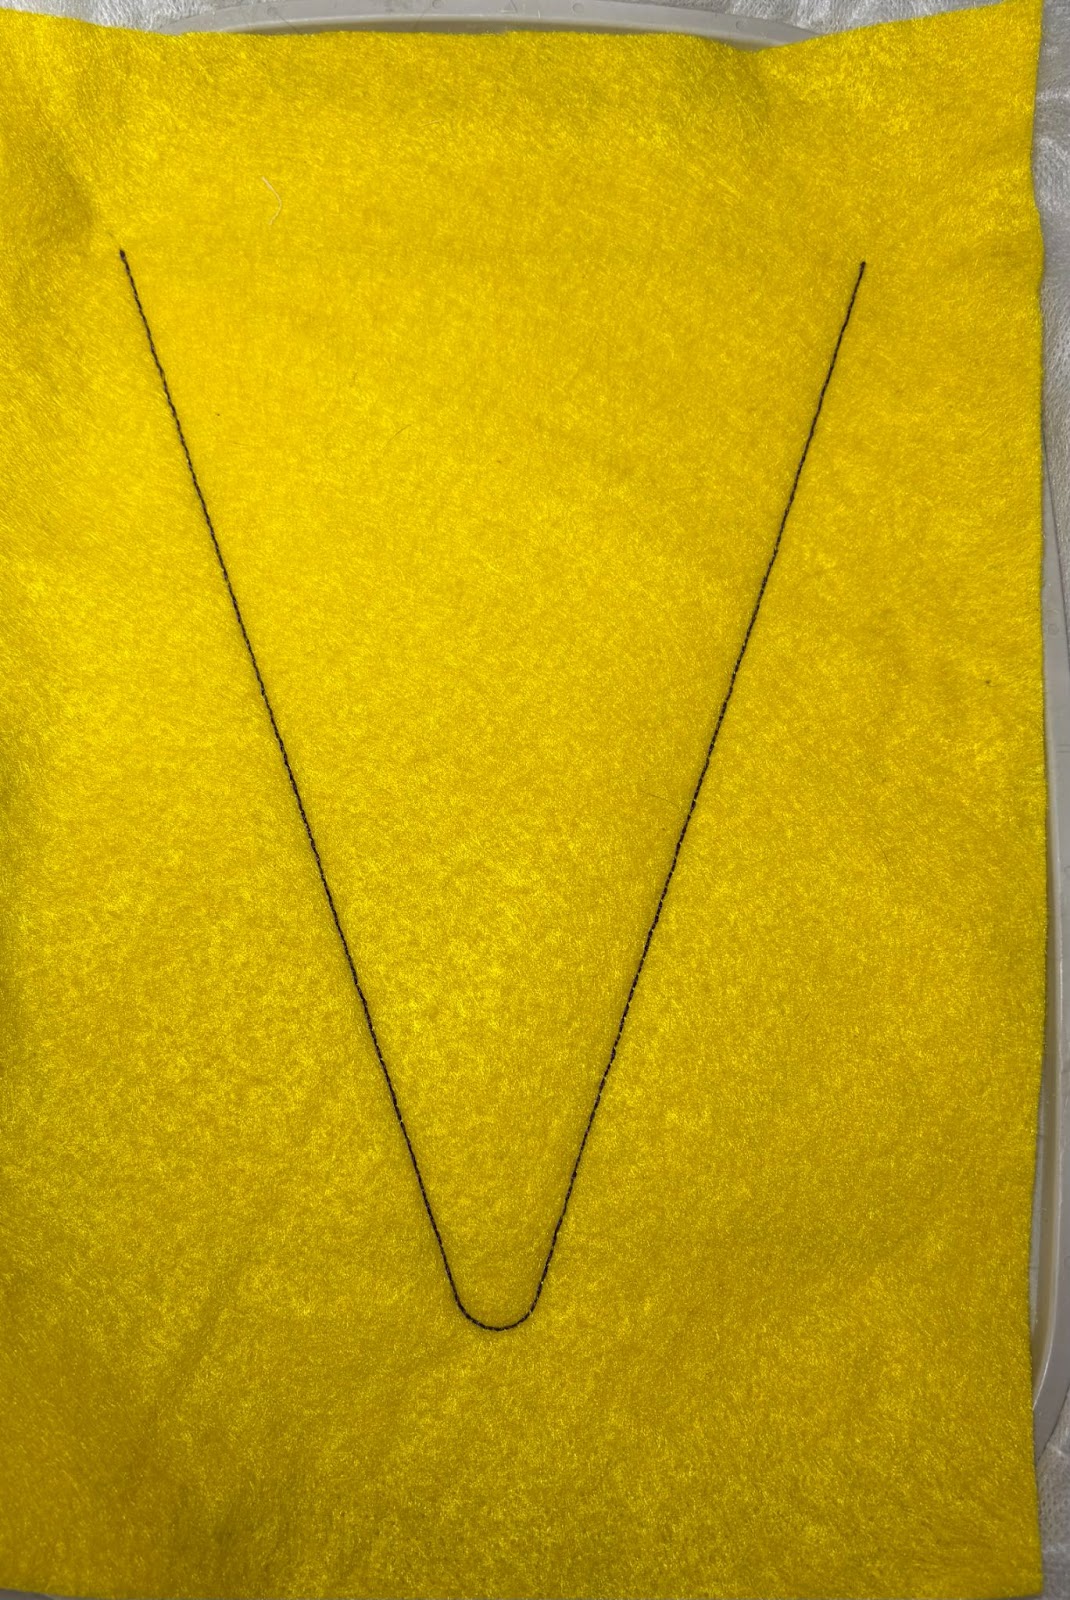
Hoop tear-away stabilizer and upload the designs to your machine. Choose a color to begin with. Lay the felt down and run the tack-down stitch.

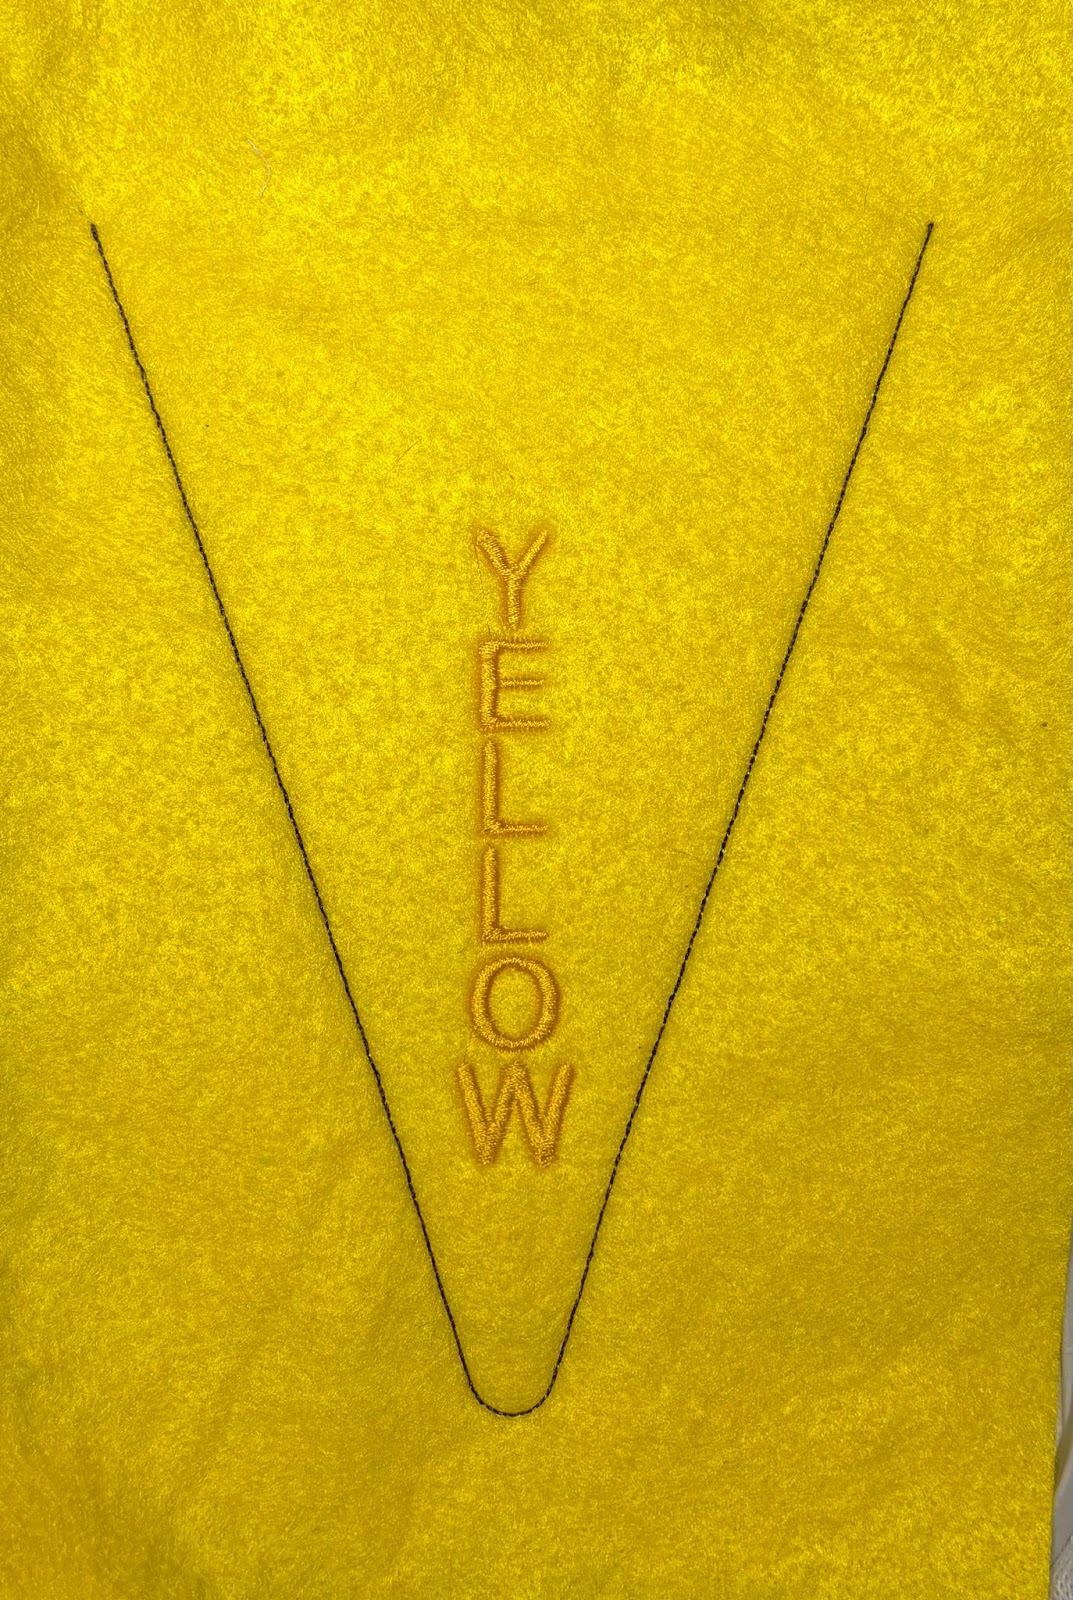
The next step is the color name. Change the thread to match if needed before stitching this step.
Place the second piece of felt on top and stitch the final step. Remove from the hoop. Tear away the stabilizer. Trim ⅛” from the stitches.

Turn right side out and stuff with Poly-fil® approximately 1” from the top.
Stitch around the bag to close the top.
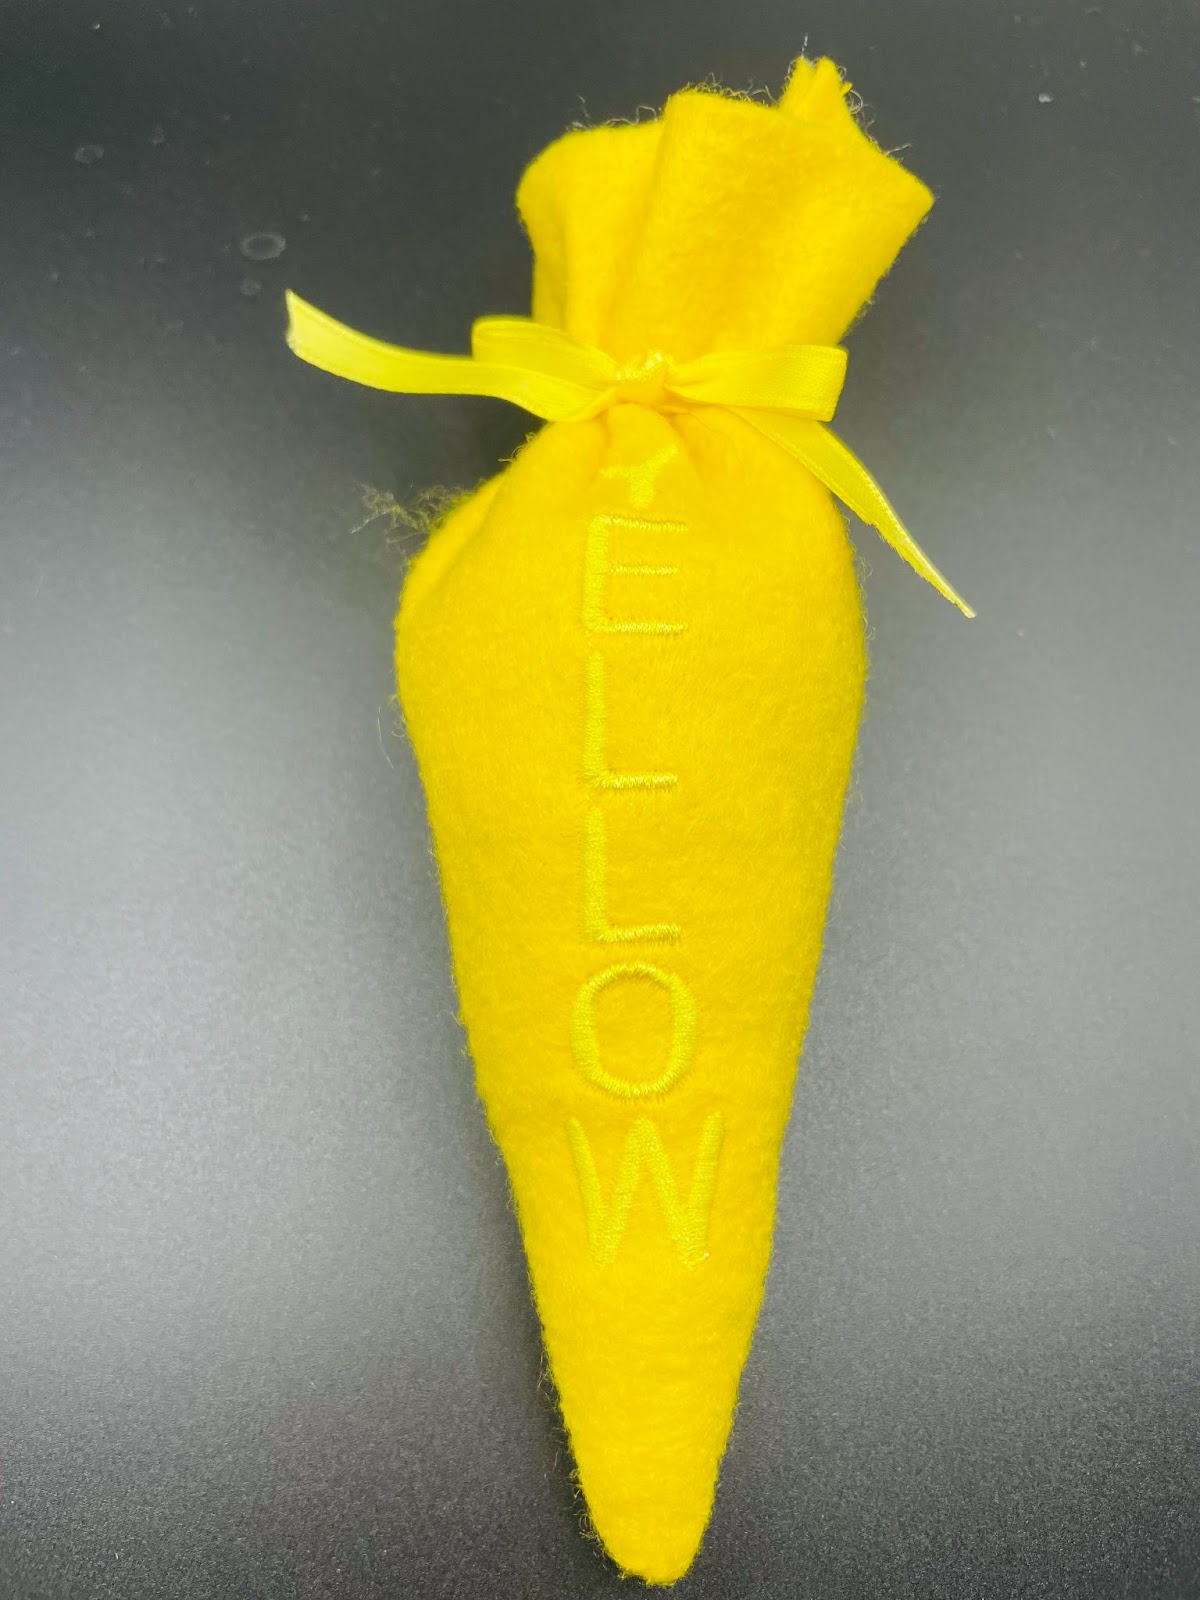
Tie a matching ribbon around the top and your icing bag is complete. Repeat the above steps to finish the set. These bags are also a great way for your little ones to learn colors.
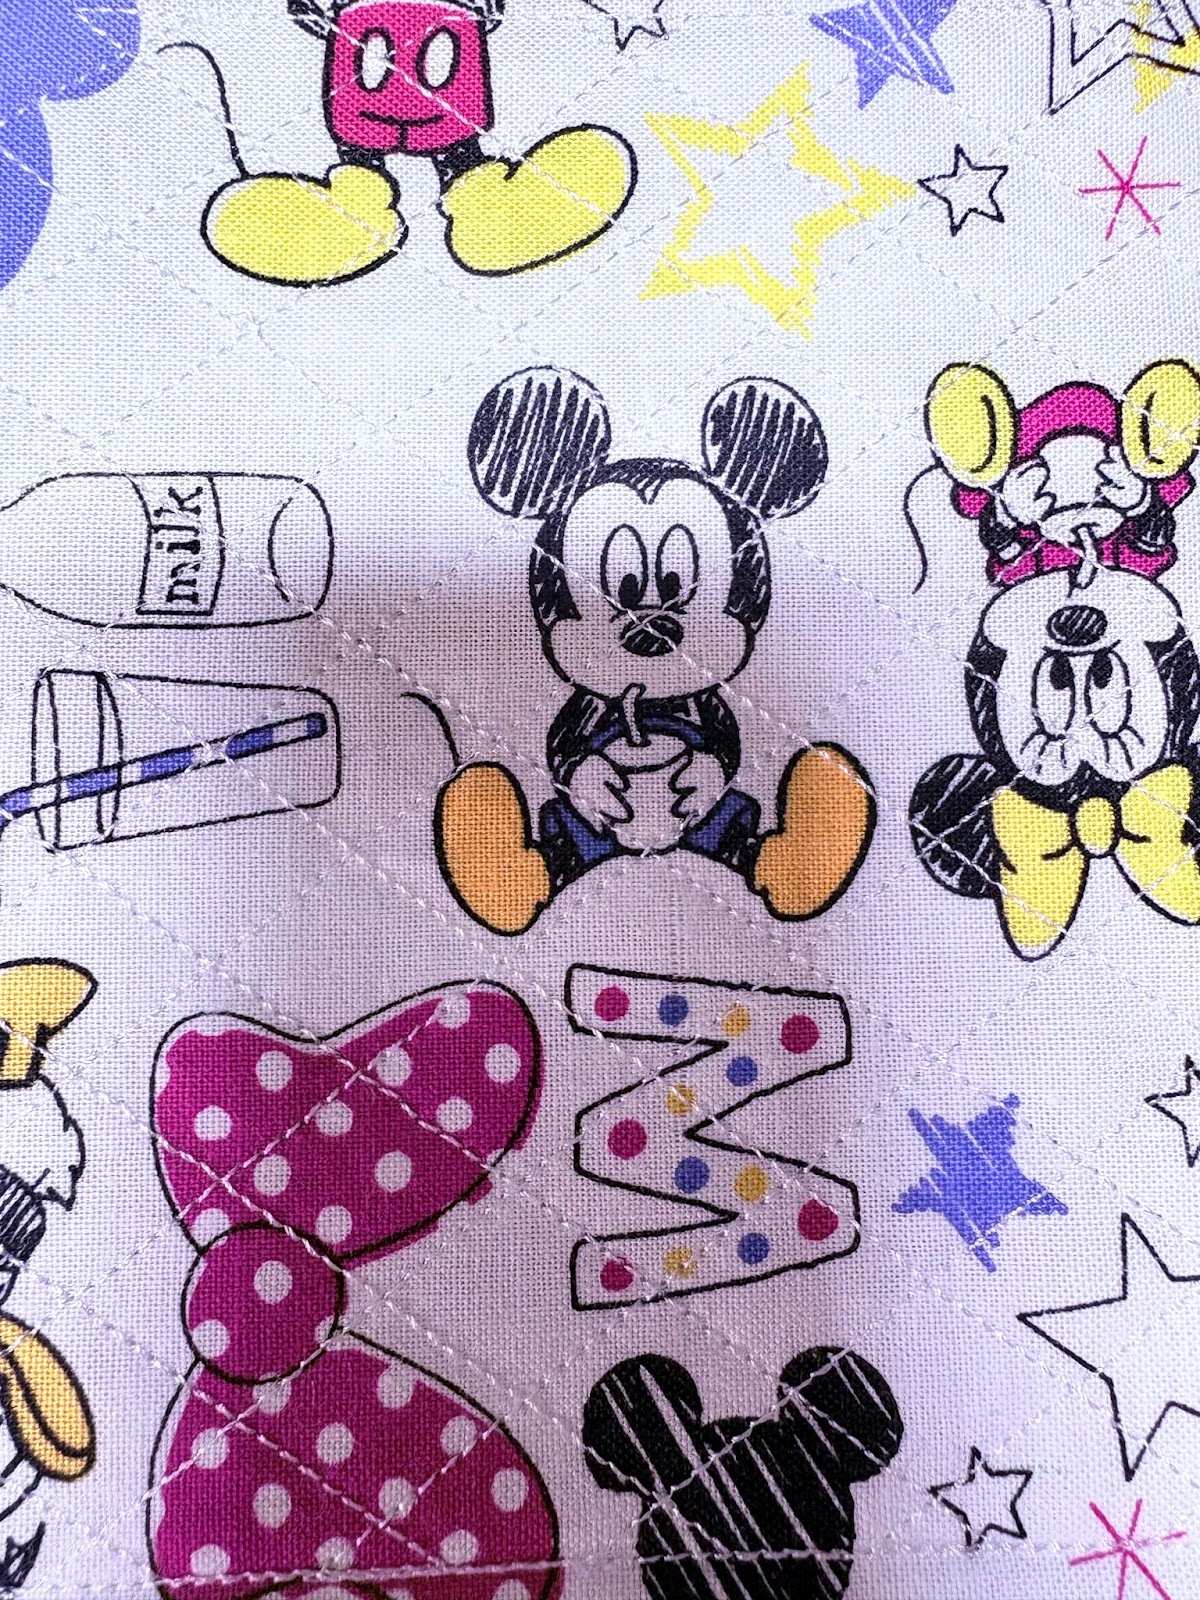
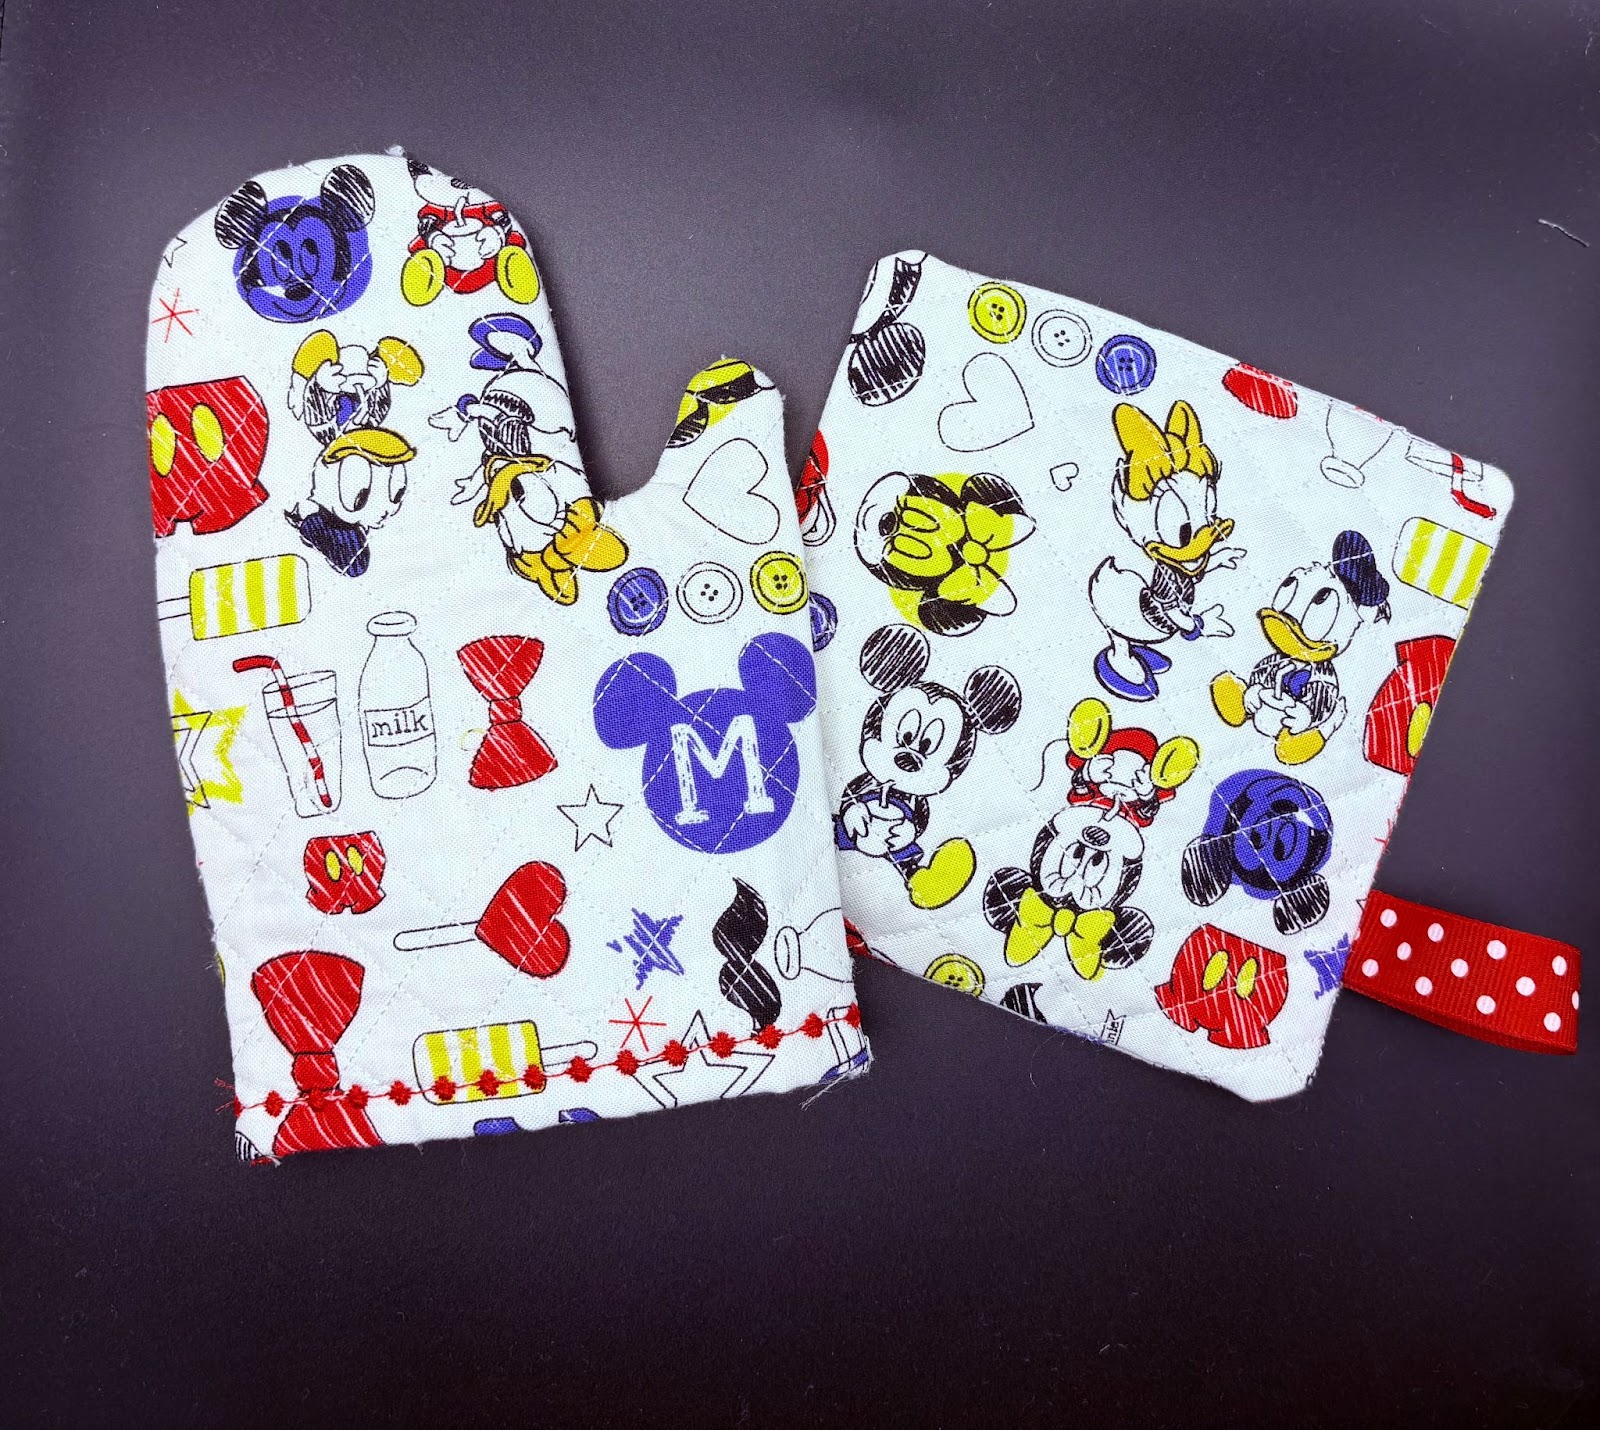
These designs come in two sizes. The large oven mitt when finished is 9” x 5”. I resized the pot holder design to 5.77” x 5.76” to match the large oven mitt. The finished size then became 5¾” square.
The small oven mitt is 6½” x 4¼”. The small pot holder when finished is 4¾” square.
I did not follow the instructions that come with this design. The instructions have the quilting only on one side. I wanted the quilting on both sides, so I changed it a little. The fabric and batting sizes remain the same.
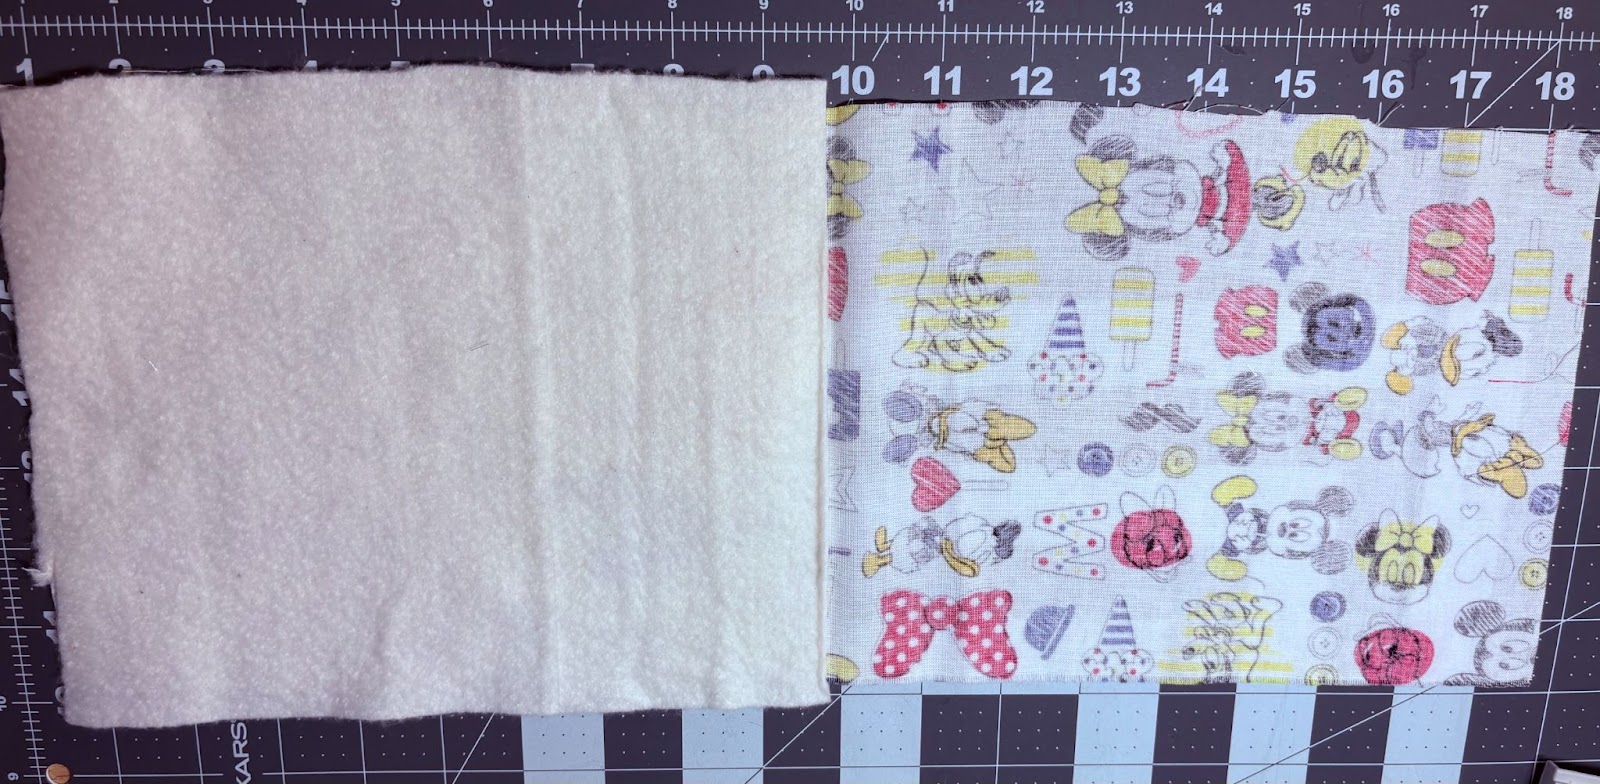
Cut the fabric and cotton batting to the specifications listed above. Sandwich the batting and fabric with wrong sides together.
Press with an iron to remove all wrinkles.

Hoop one layer of wash-away stabilizer. Take to the machine.
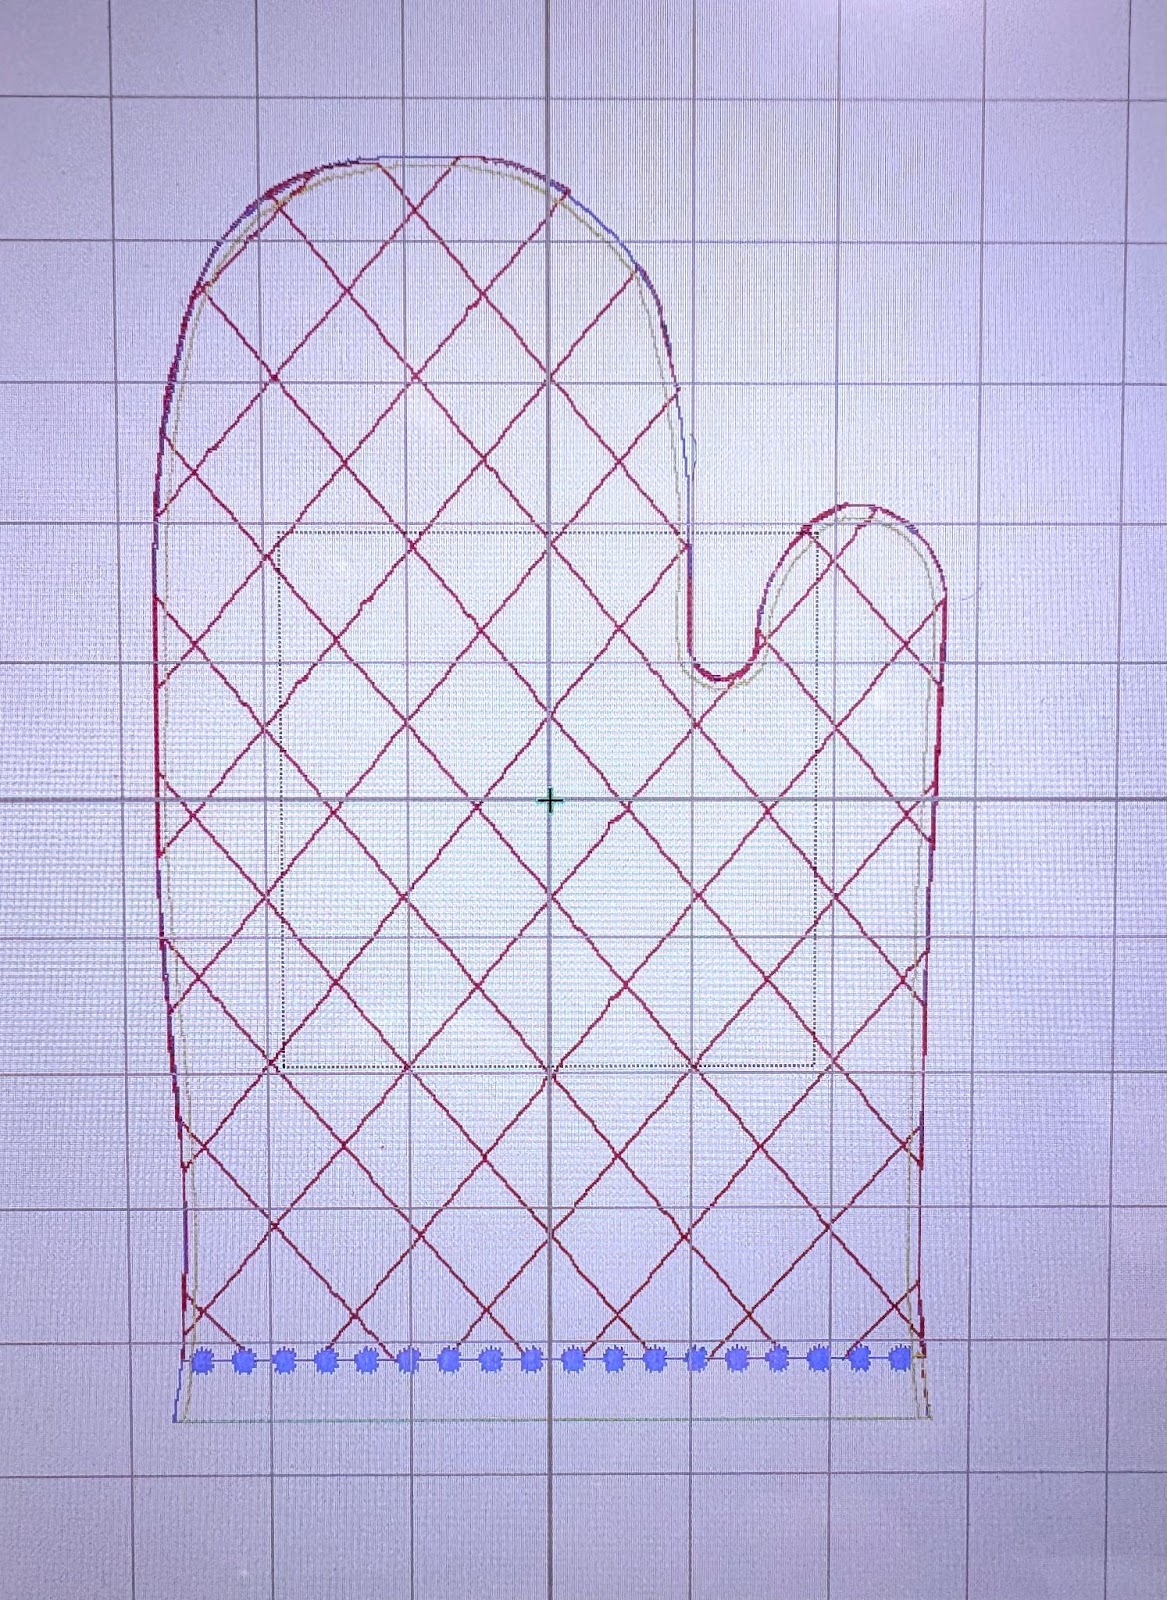
Load the design size you want to make. The thumb should be on the right.
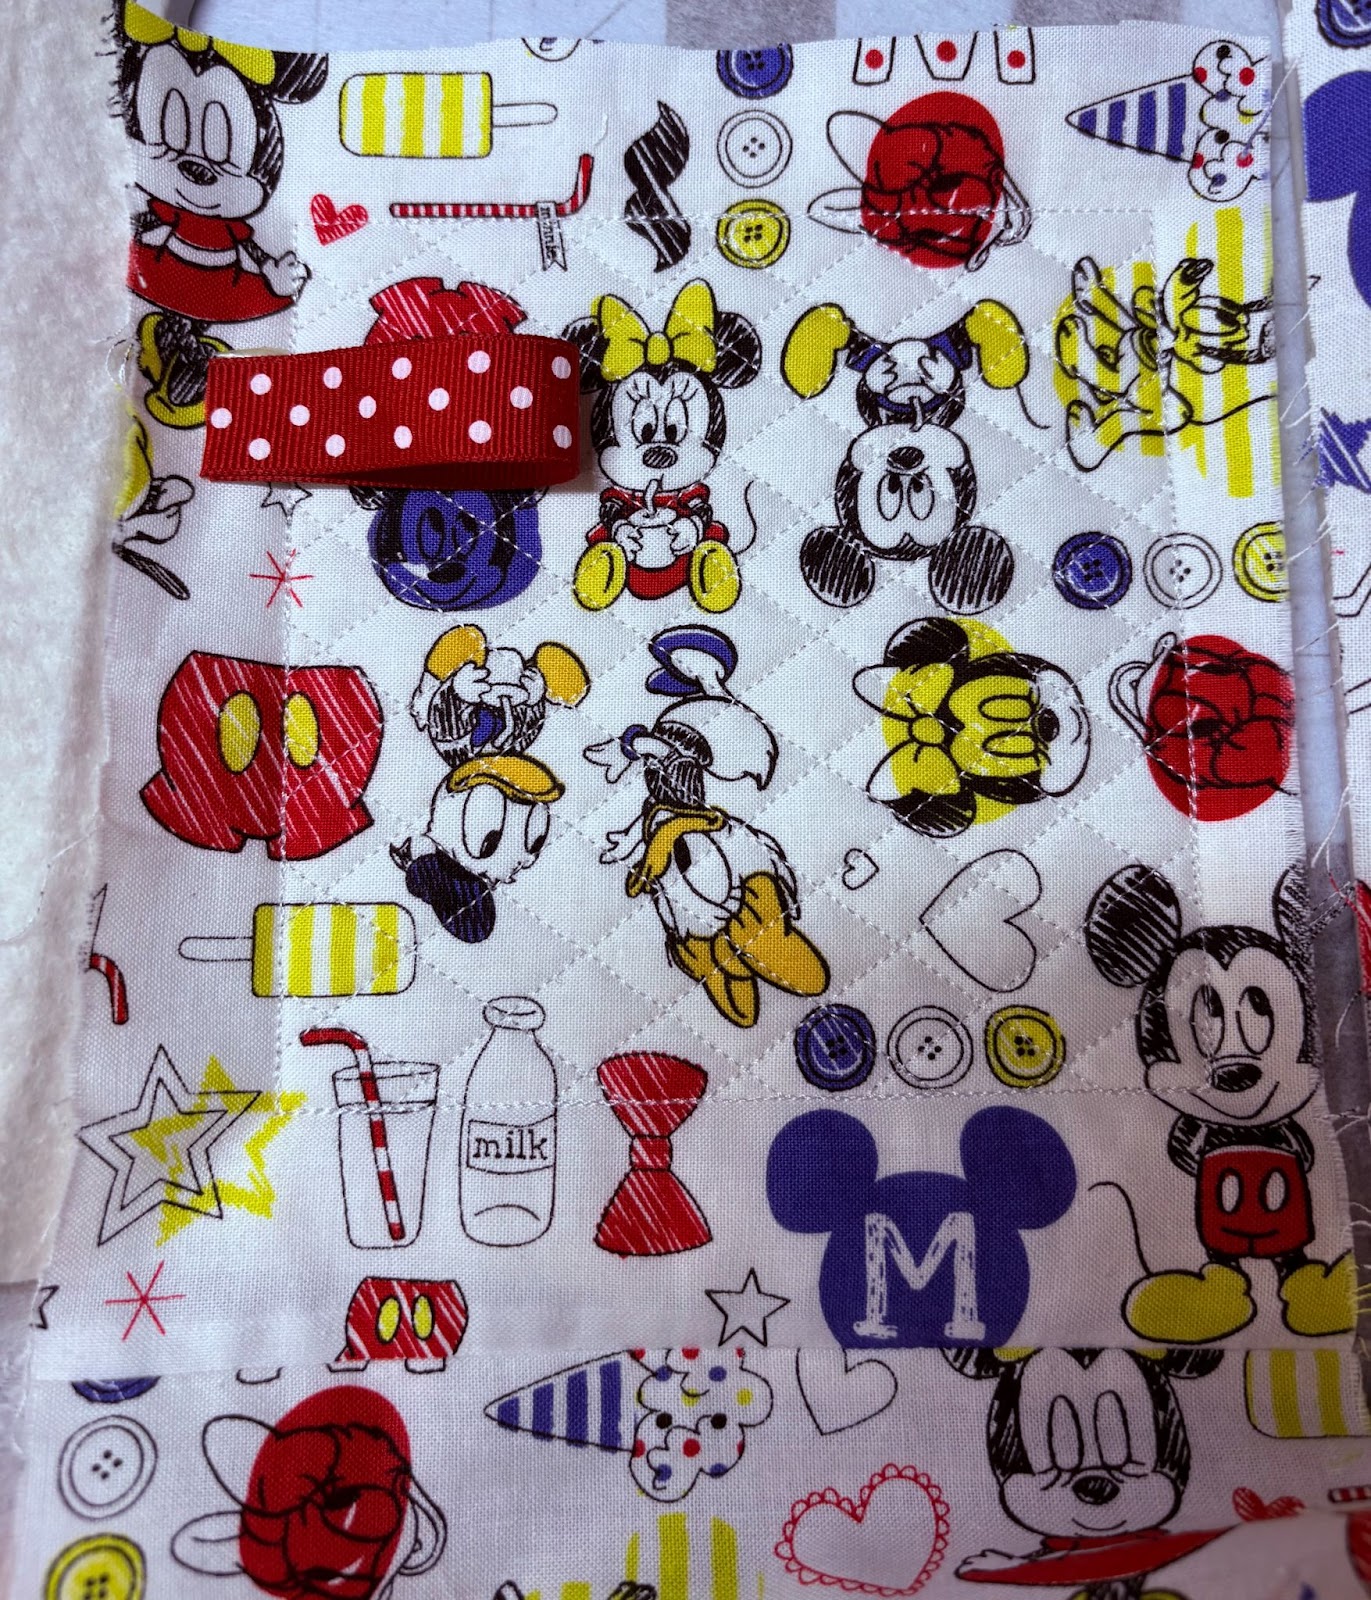
The first stitch is a placement line for the folded end of your fabric and batting sandwich.
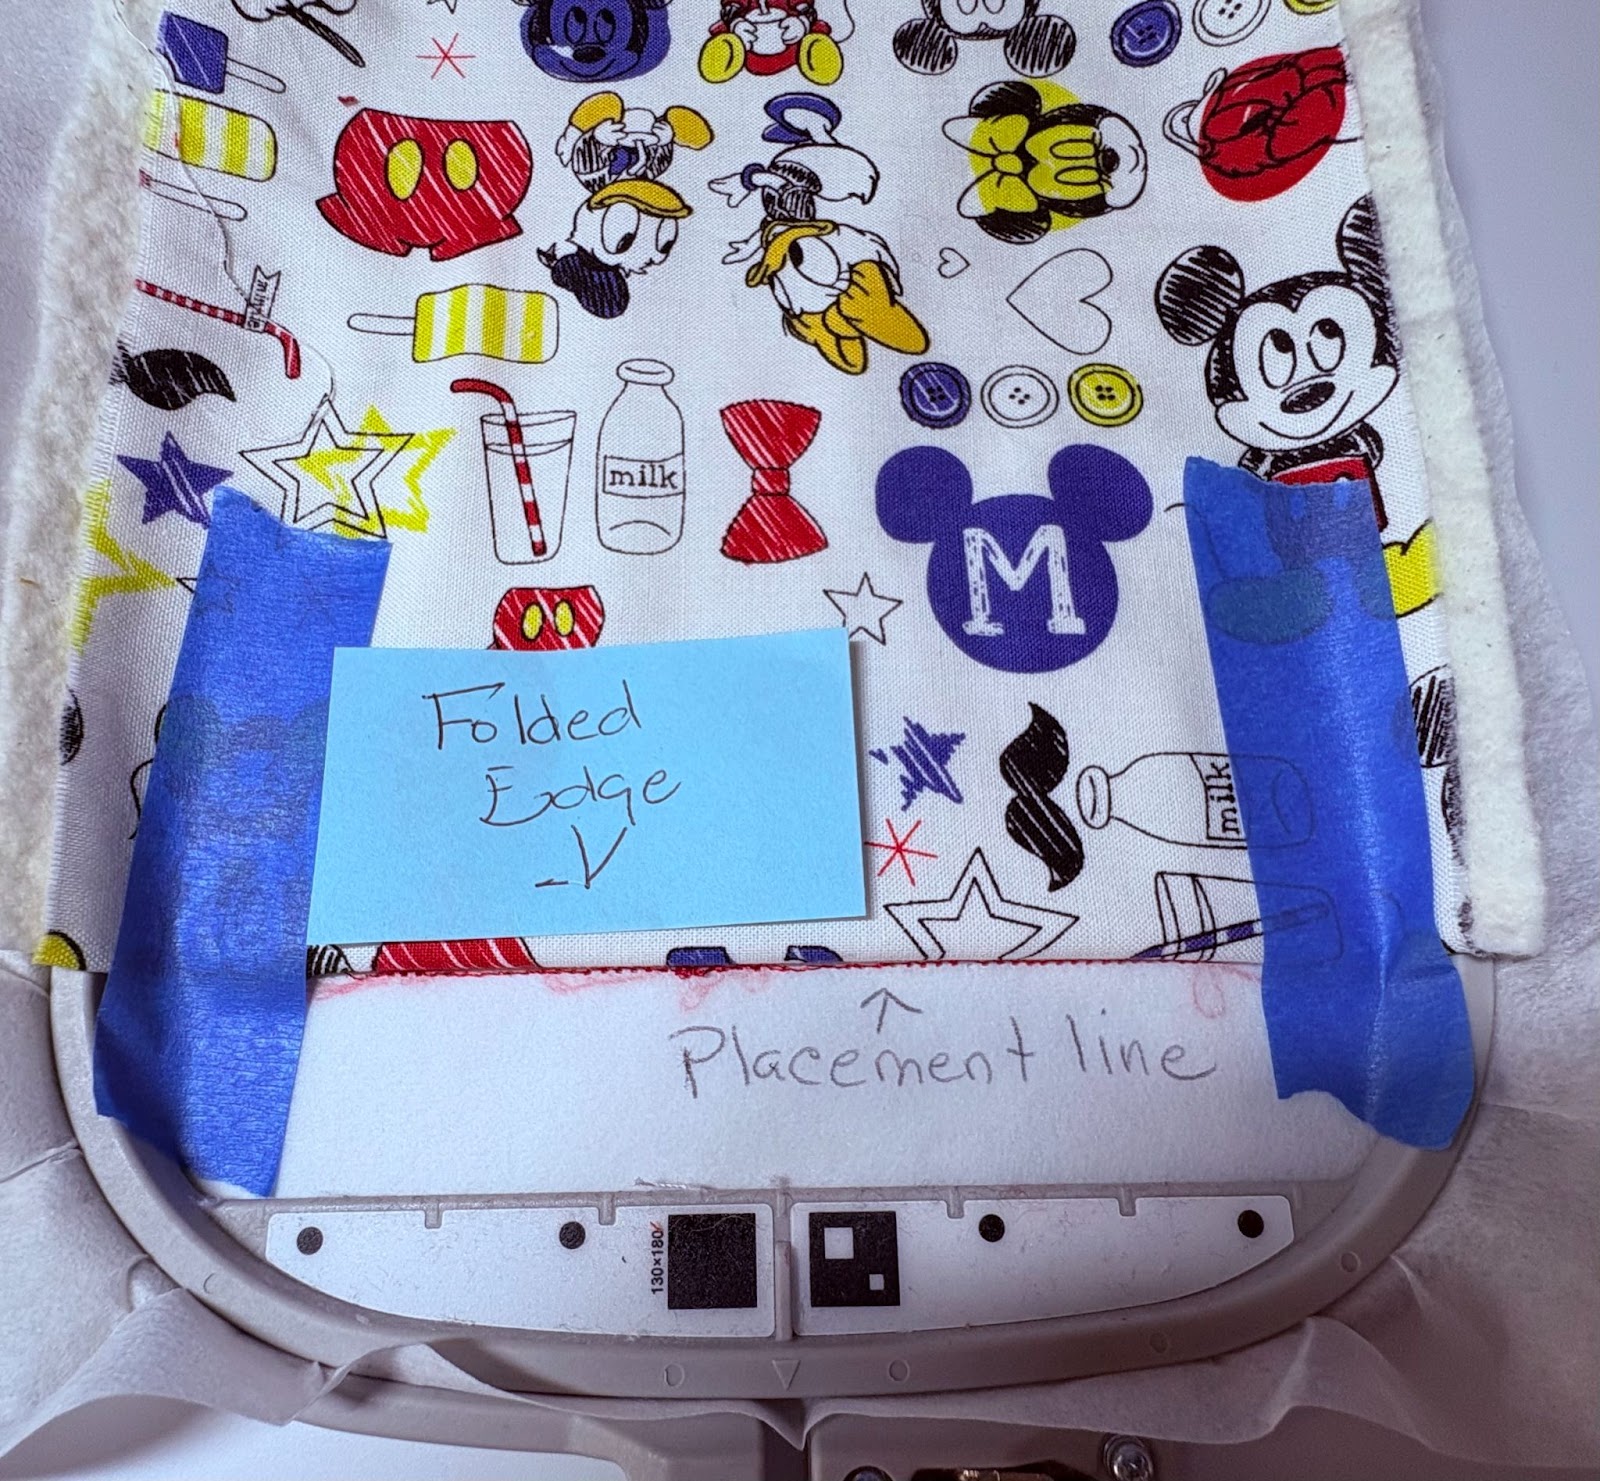
Place the folded edge right up to the placement line. Tape in place and return to the machine. Run steps 2, 3, and 4. Do not run the final step.
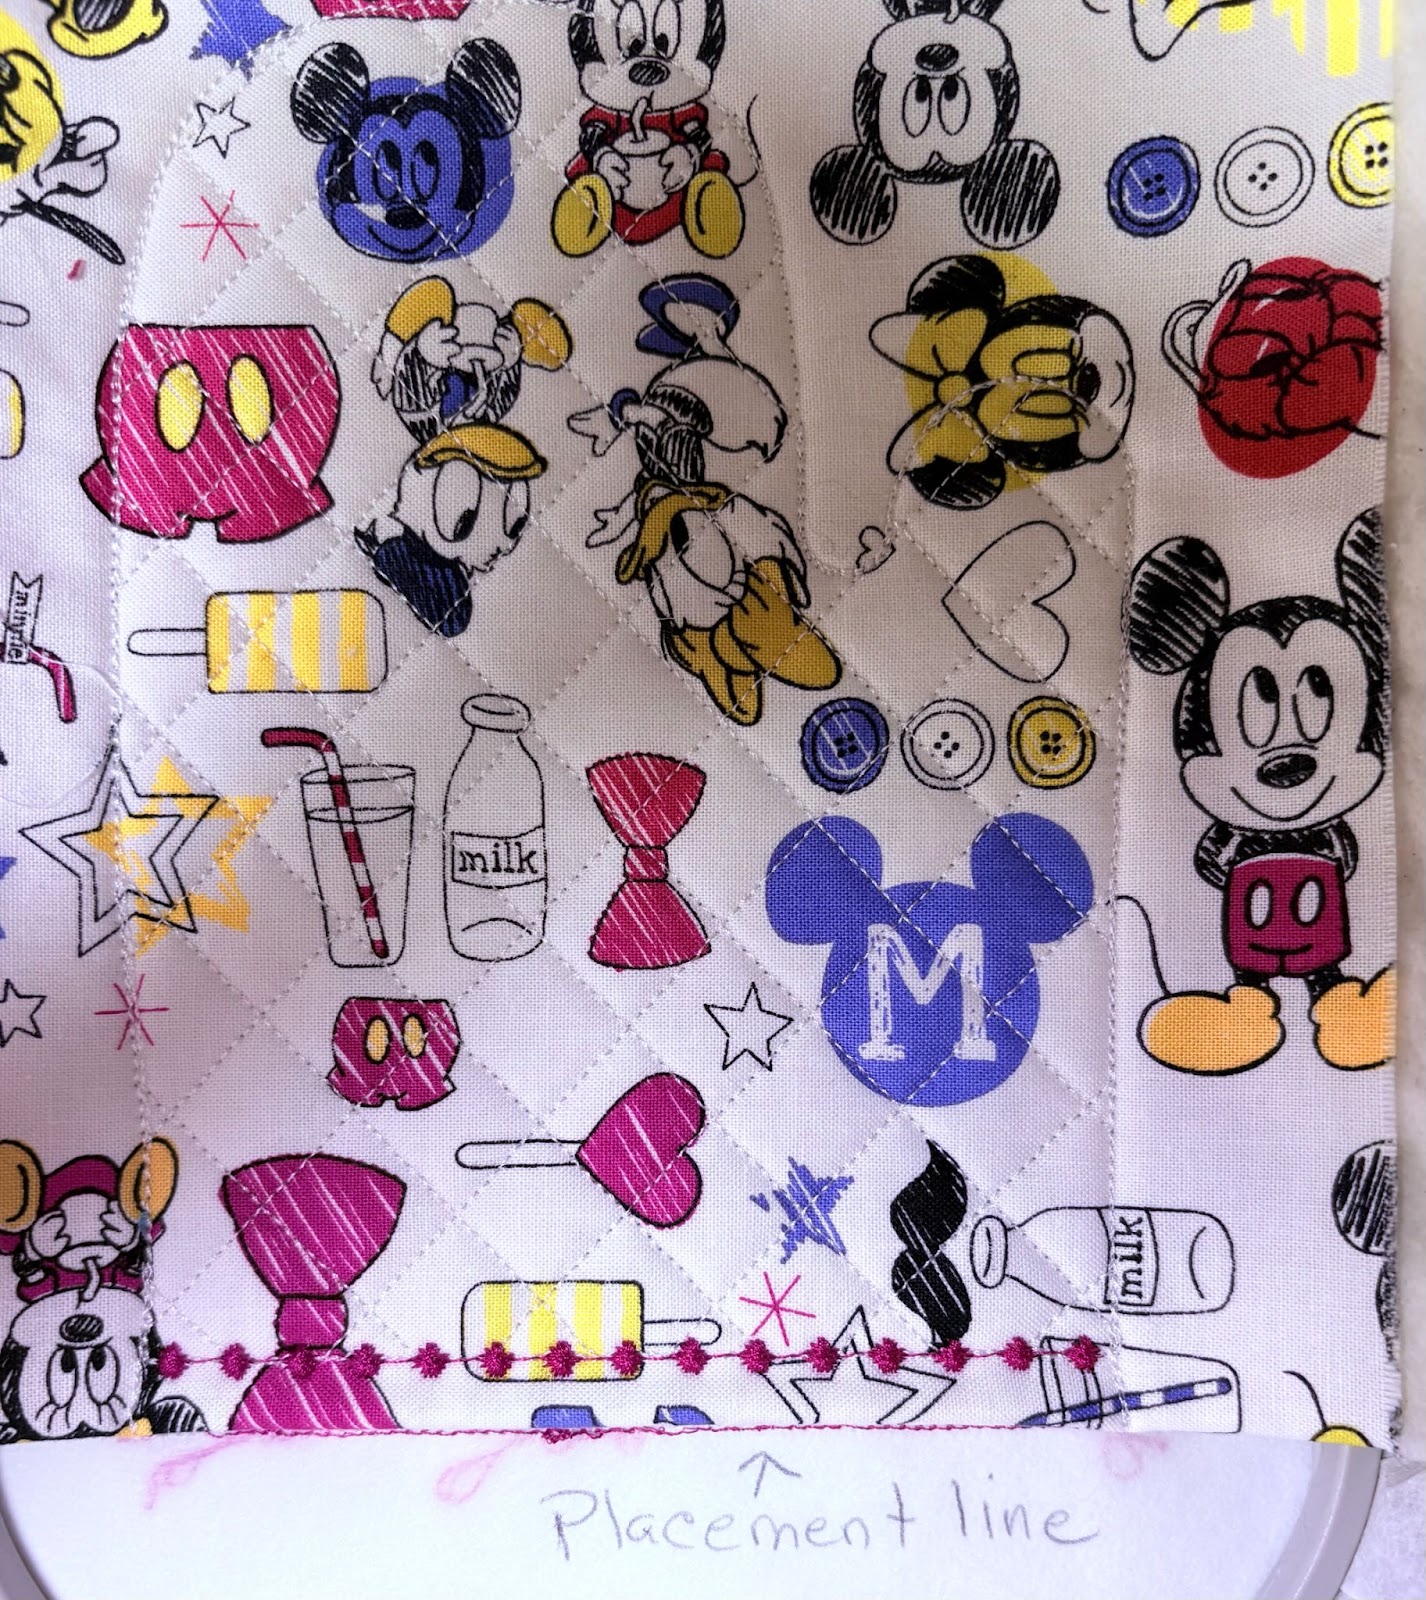
Your oven mitt should look like this. This is your front side. Remove from the hoop. Trim away the stabilizer only around the outline stitch. Set aside. Hoop a new piece of stabilizer and return to the machine.
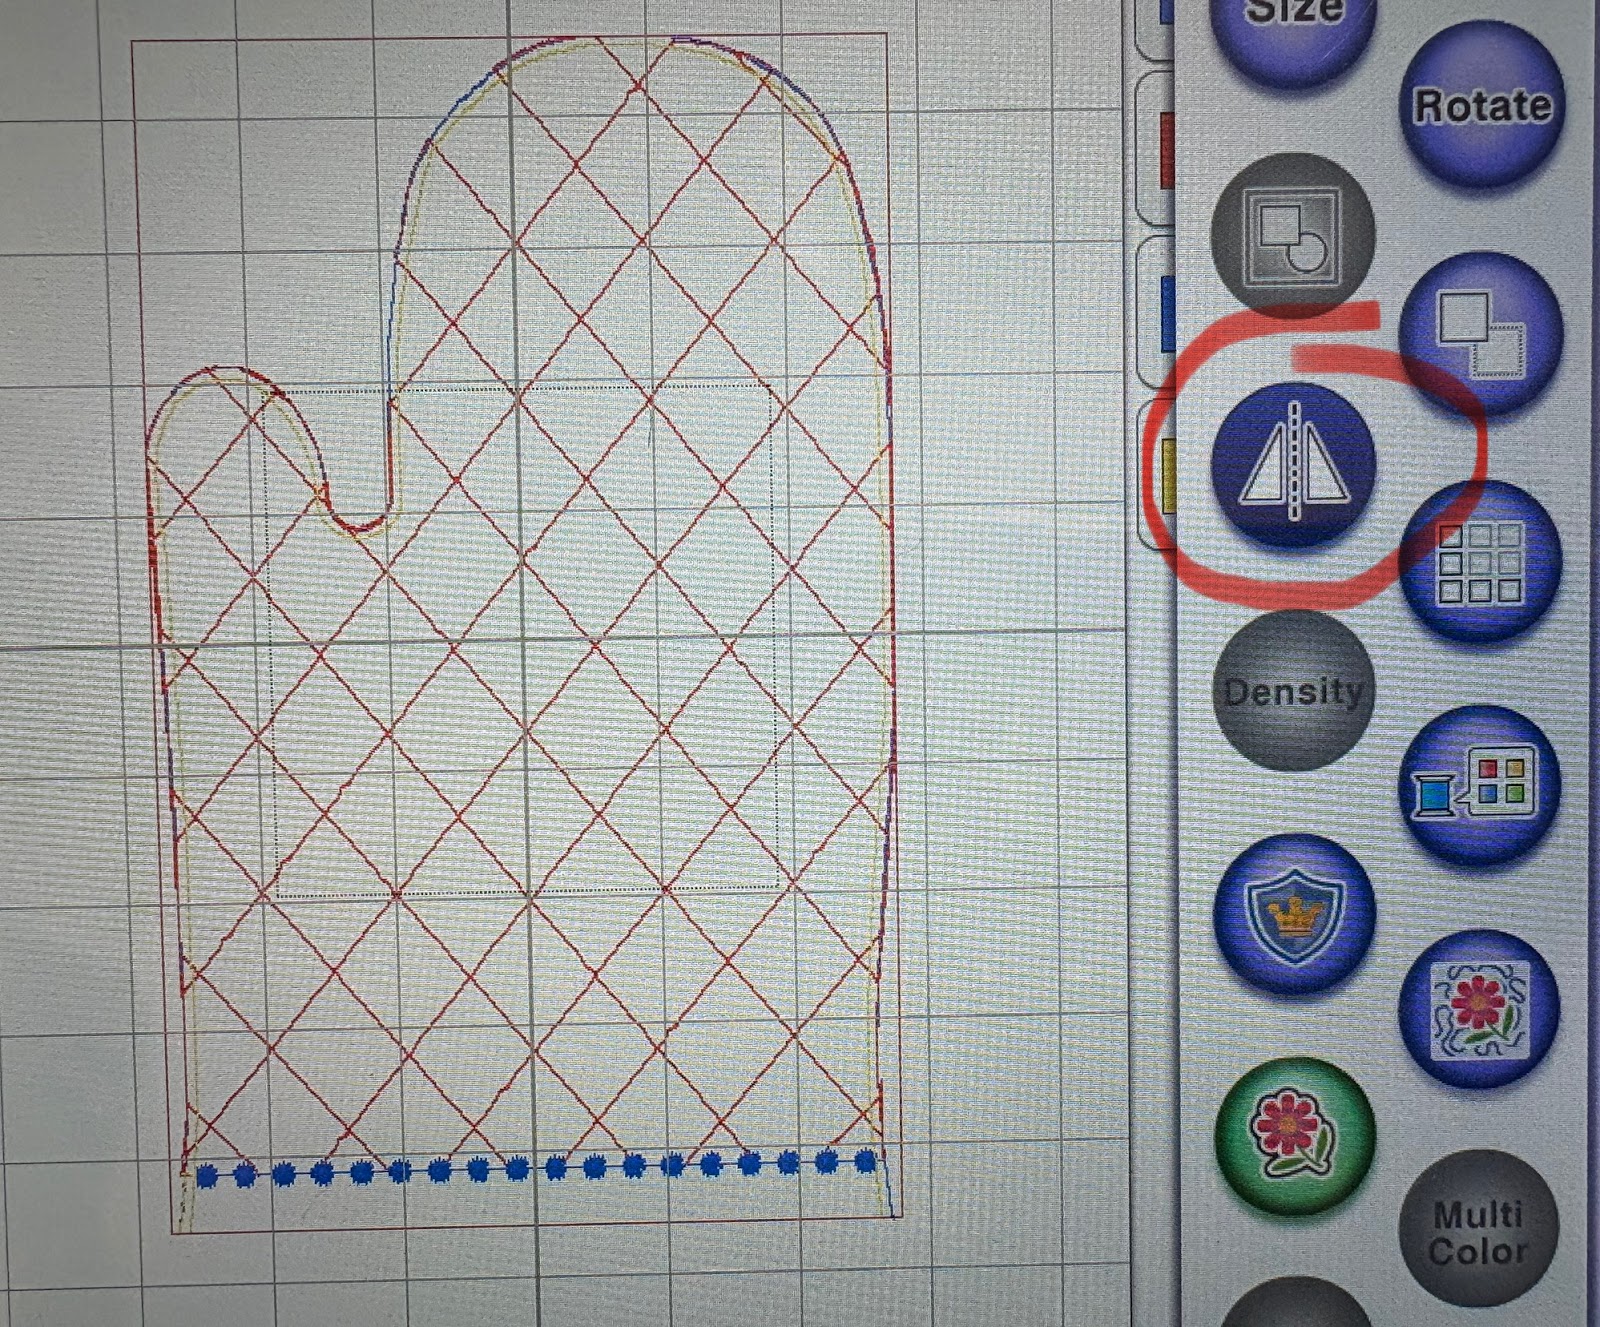
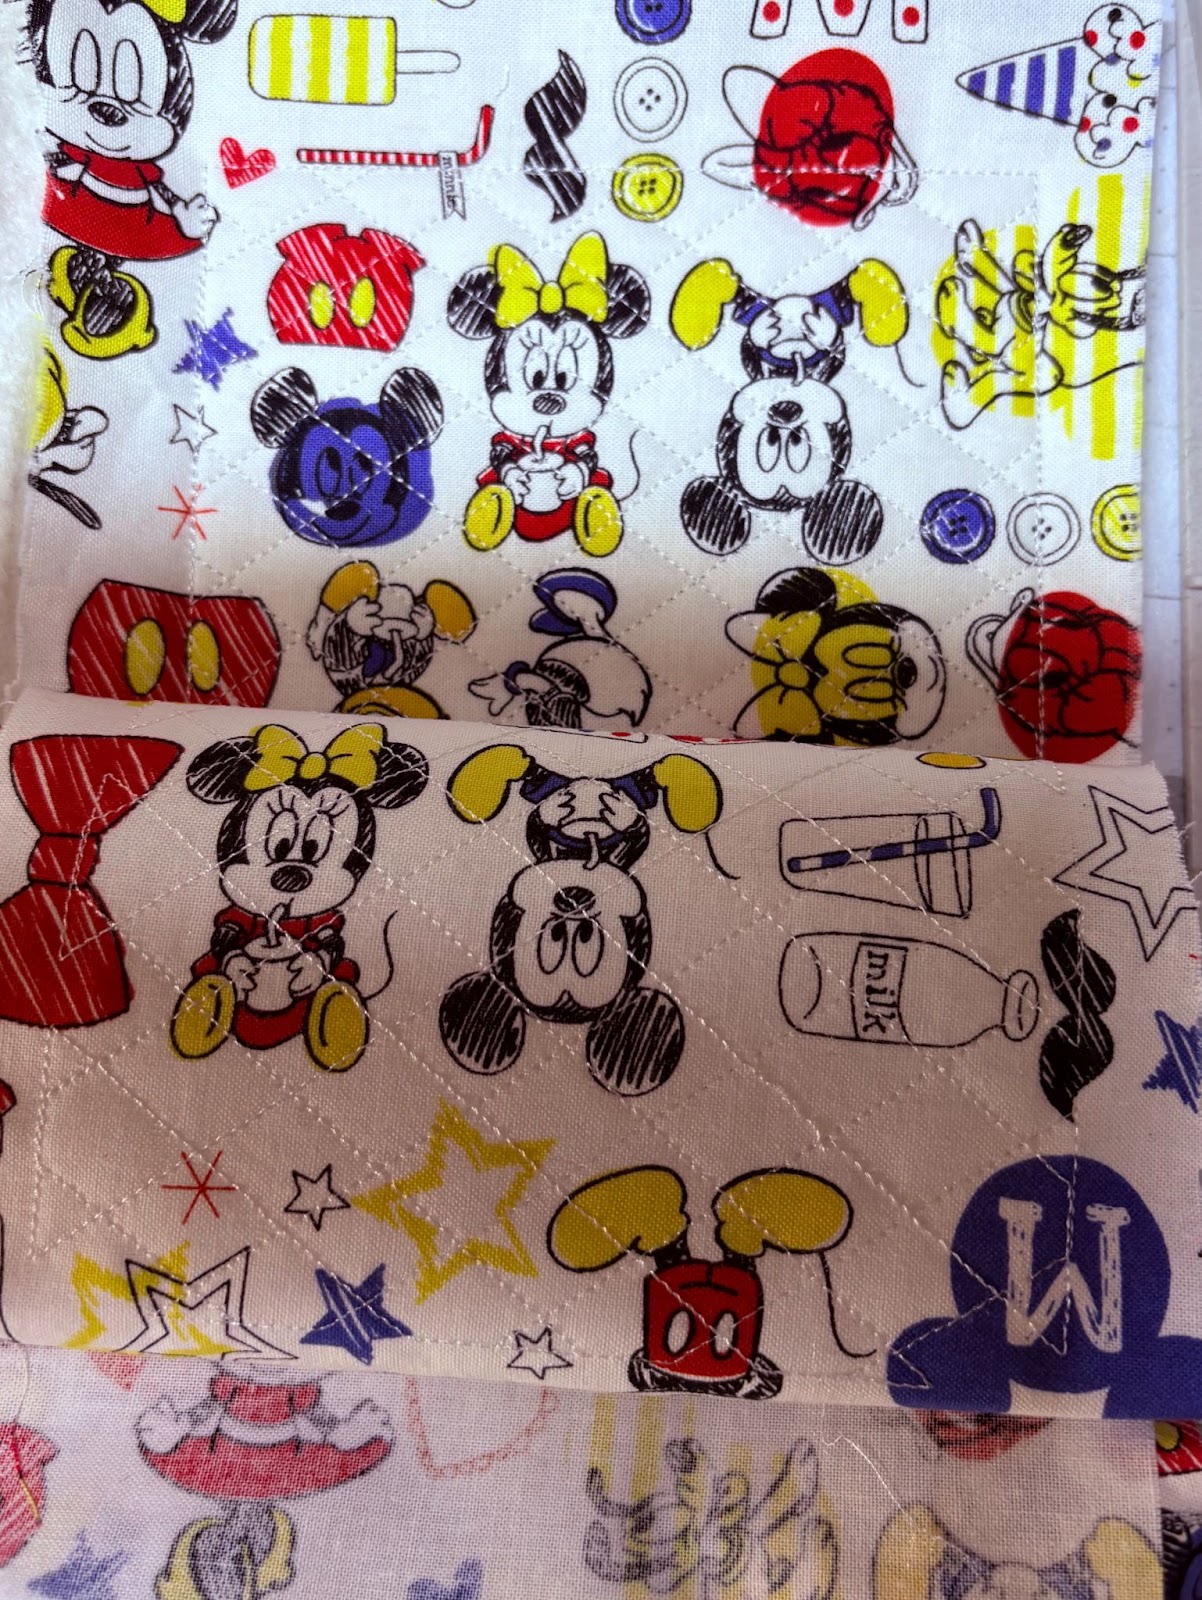
We will now make the back side of the mitt. With the mirror key, reverse the direction of the mitt. The thumb is now on the left side.
Repeat the same steps 1, 2, 3 and 4. Remove the hoop and set on a flat surface. Do not remove the project from the hoop. Lay the front of the mitt on top of the back with right sides together, matching the bottom, top, sides, and thumb. Tape down. Return to the machine and run the final step. This will attach the front to the back.
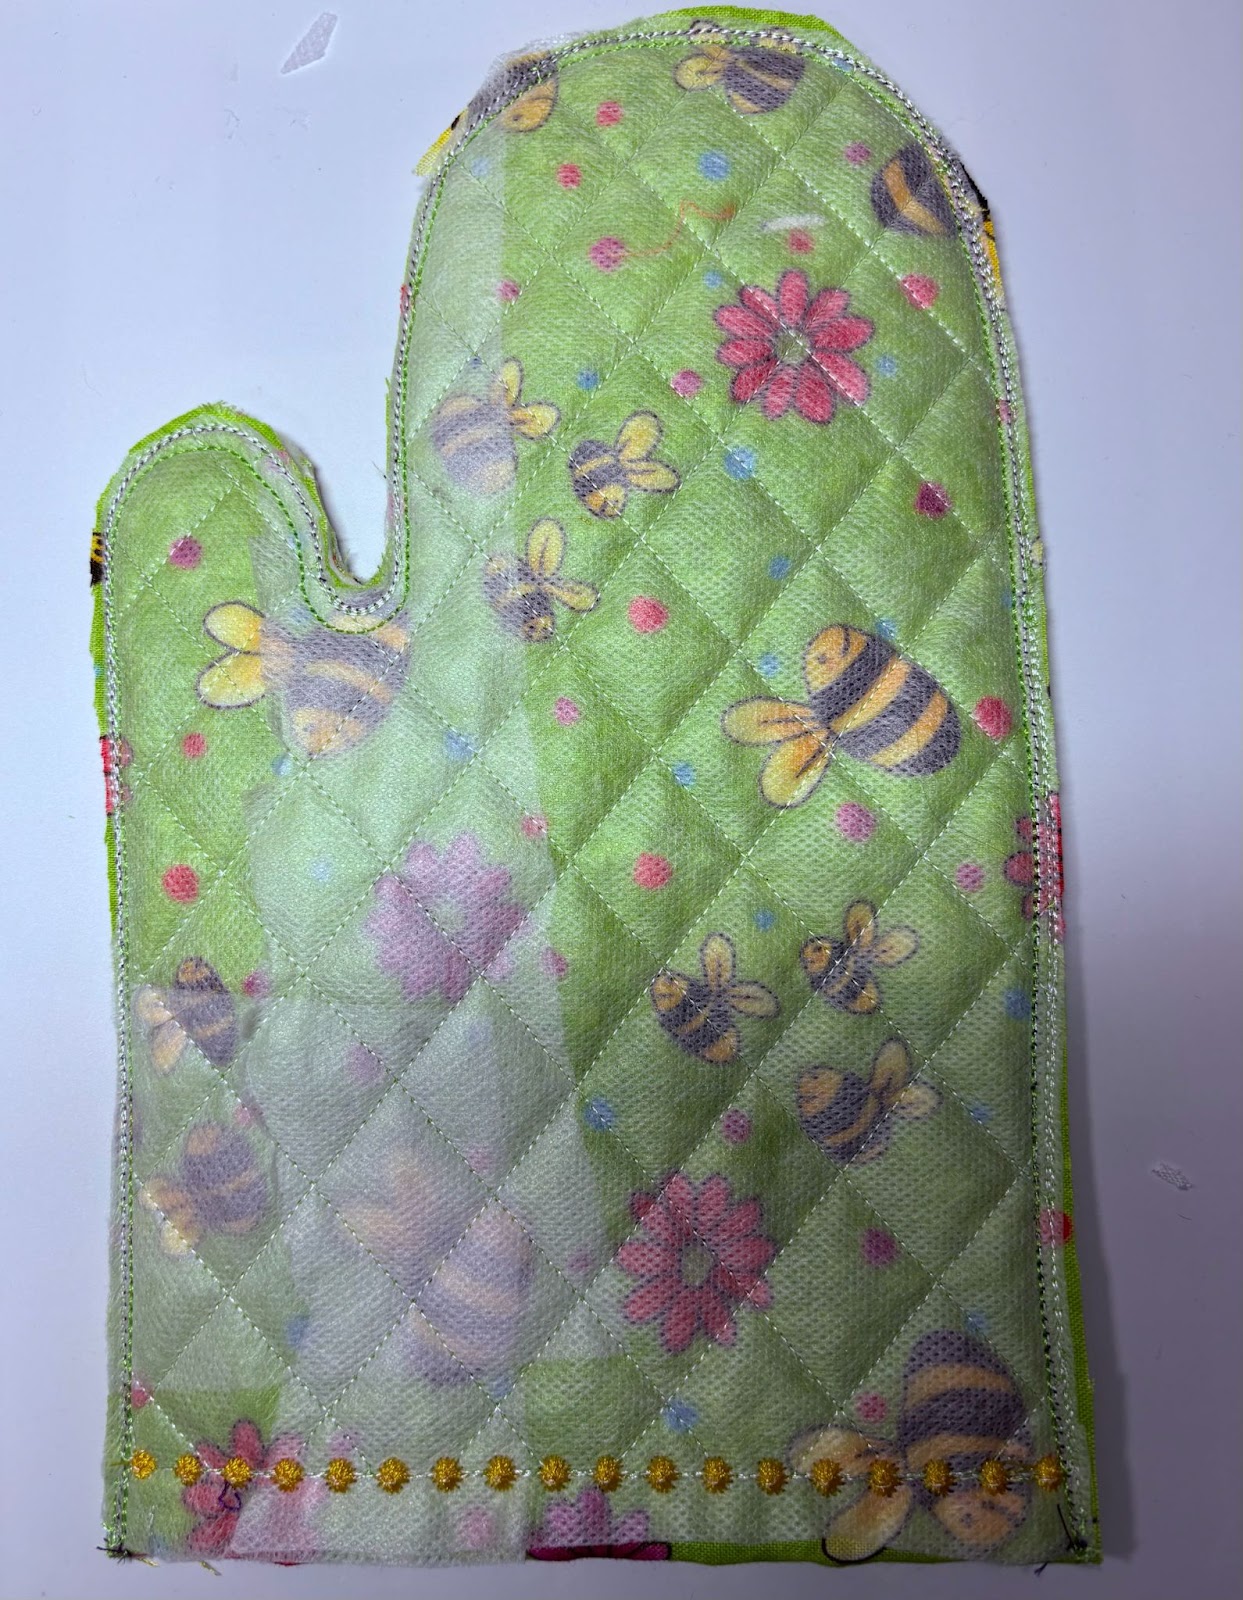
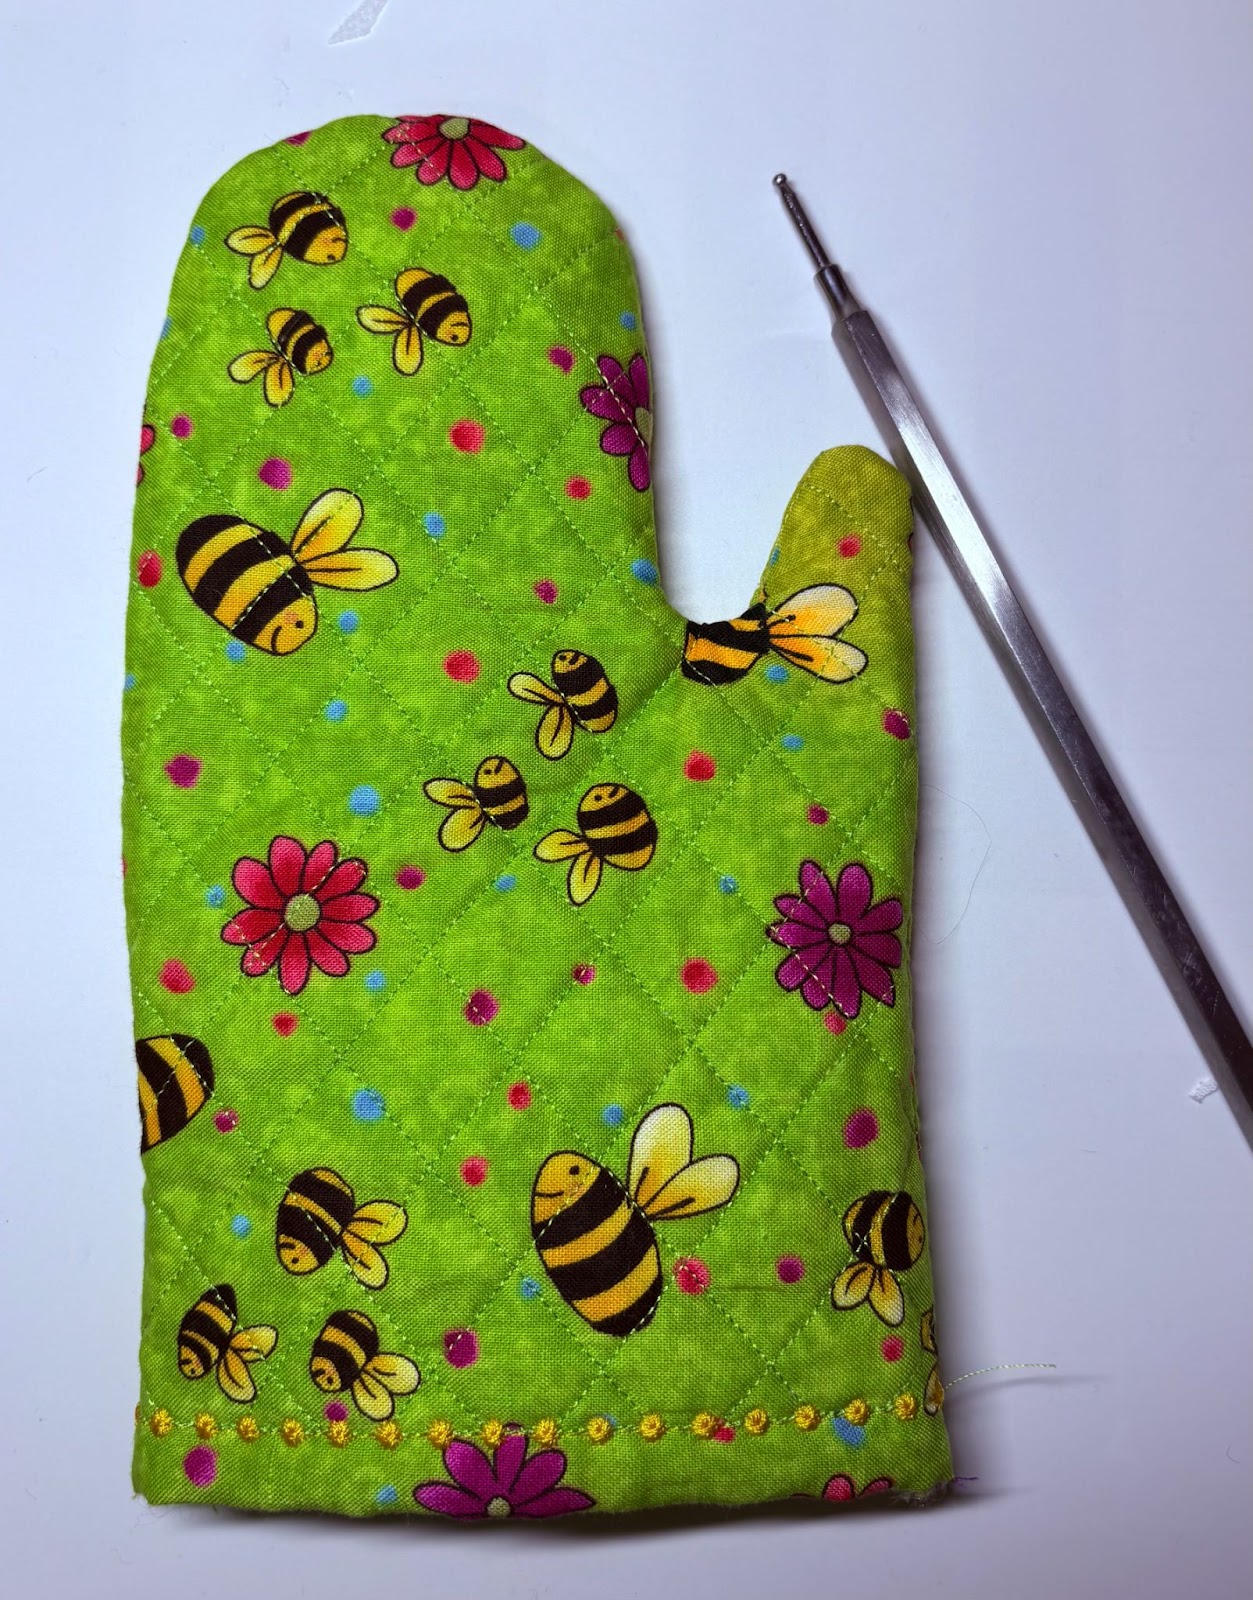
When finished, remove from the hoop. Trim close to the outer stitches. Clip close to the stitching around the curve of the thumb.
Turn the mitt right side out. A good turning tool really helps with this.

Hoop wash-away stabilizer and upload the pot holder design. Lay the fabric only on top of the stabilizer and complete steps 1 and 2. Remove the hoop from the machine and the project from the hoop. Set aside.
Hoop wash-away stabilizer and return to the machine. Return the design on the machine to Step 1. Lay the second piece of fabric and the batting on top of the stabilizer and stitch out steps 1 and 2.
Remove from the machine and set on a flat surface. Fold the ribbon in half and tape 1” down from the top corner.
Sandwich the two quilted pieces with right sides together, matching top and side seams. Return to the machine and stitch out the final step.
Remove the pot holder from the hoop and trim ⅛” from the stitching, leaving it wider at the opening.
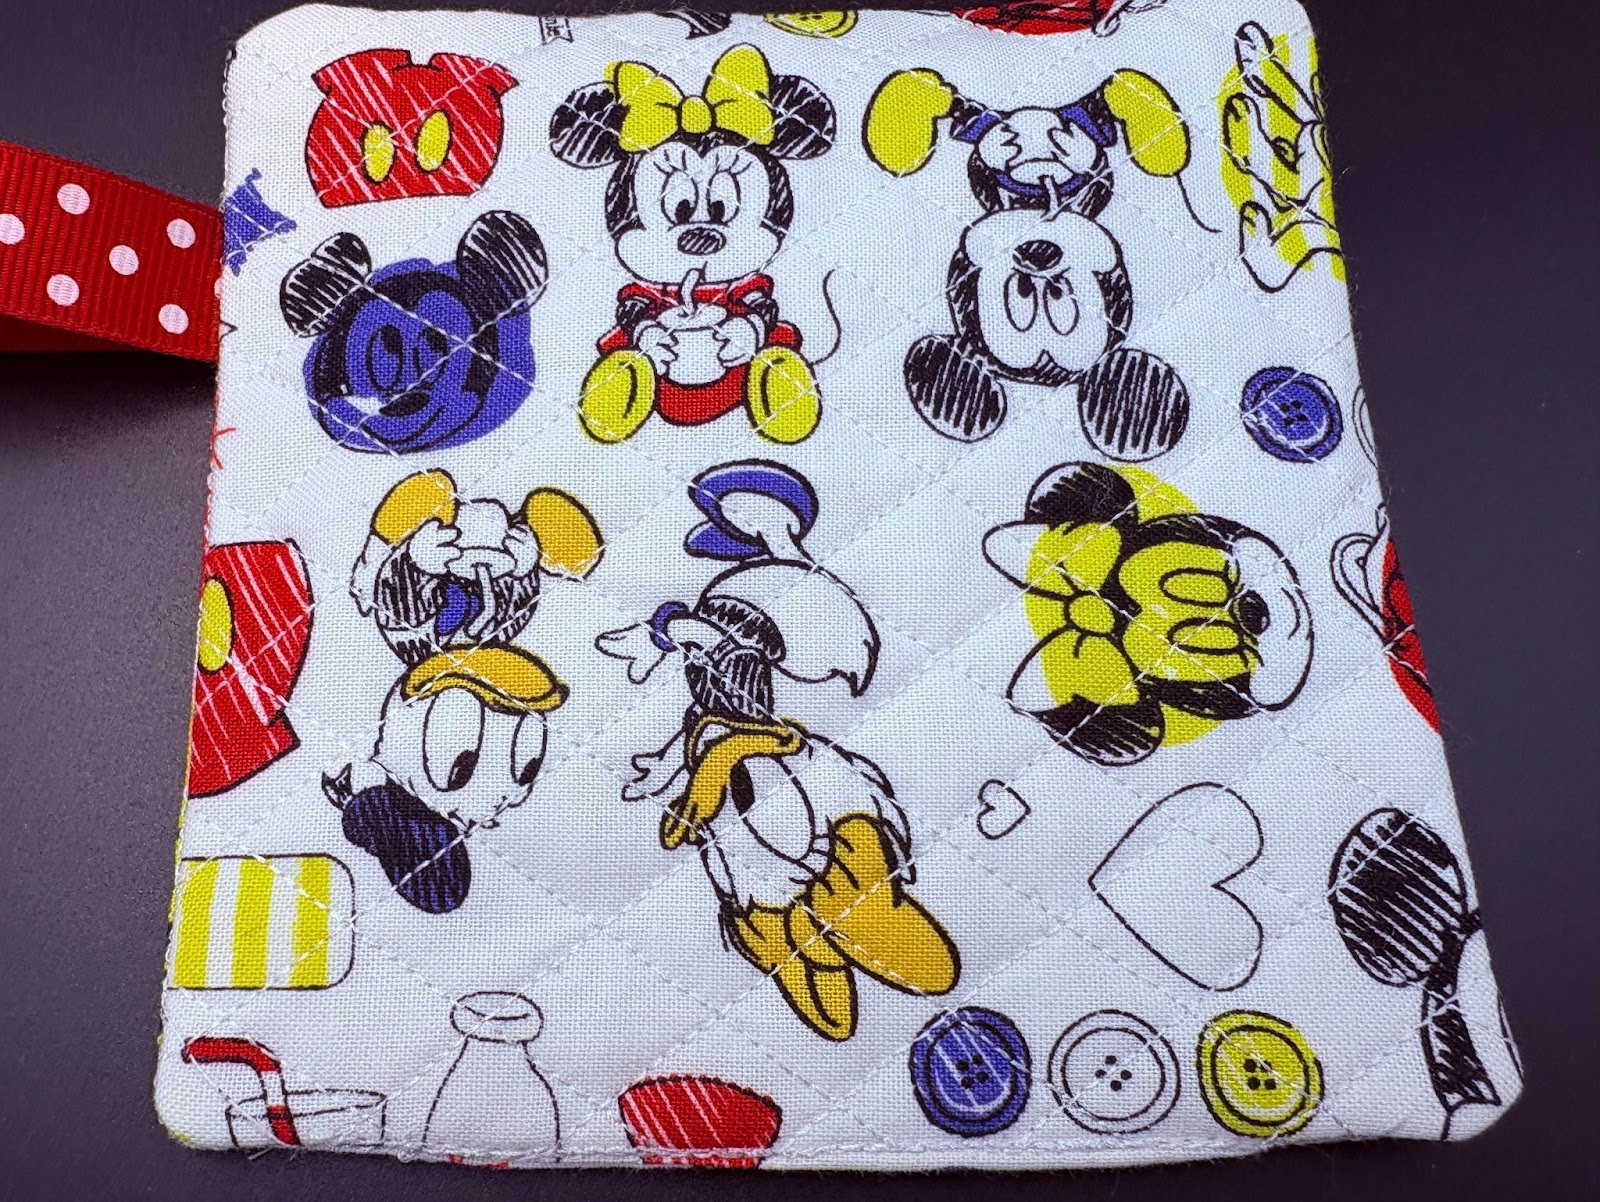
Turn right side out and stitch the opening closed with a sewing machine, or hand stitch. Your pot holder is complete.
This size is a perfect to match the small oven mitt. If you want a larger size you can increase the size on your machine and repeat the above steps.
Please share your projects in the Designs by JuJu Embroidery Blessings Group on Facebook, or anywhere on social media using the hashtag #designsbyjuju. We’d love to see what you create!
