Toggle Nav
 Inspire.
Create.
Stitch.
Inspire.
Create.
Stitch.
Search
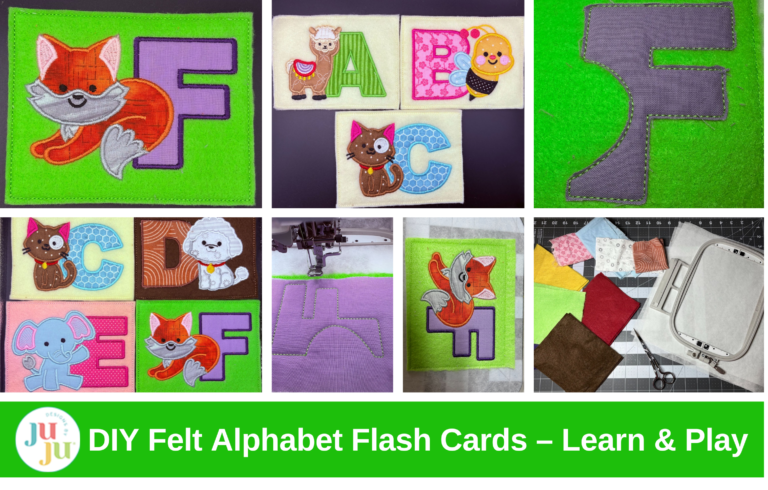
Stitch colorful felt animal alphabet flashcards—perfect for toddlers, learning, and playtime fun!
Your little ones will absolutely love these durable animal alphabet flashcards. They're not only simple to make and super cute, but also made from sturdy felt, so they can handle all the adventures little hands can throw at them.
With bright designs and playful characters, these flashcards will spark your child’s imagination and turn learning into a joyful activity. Whether at home or during playdates, they’re sure to bring smiles and lots of fun.
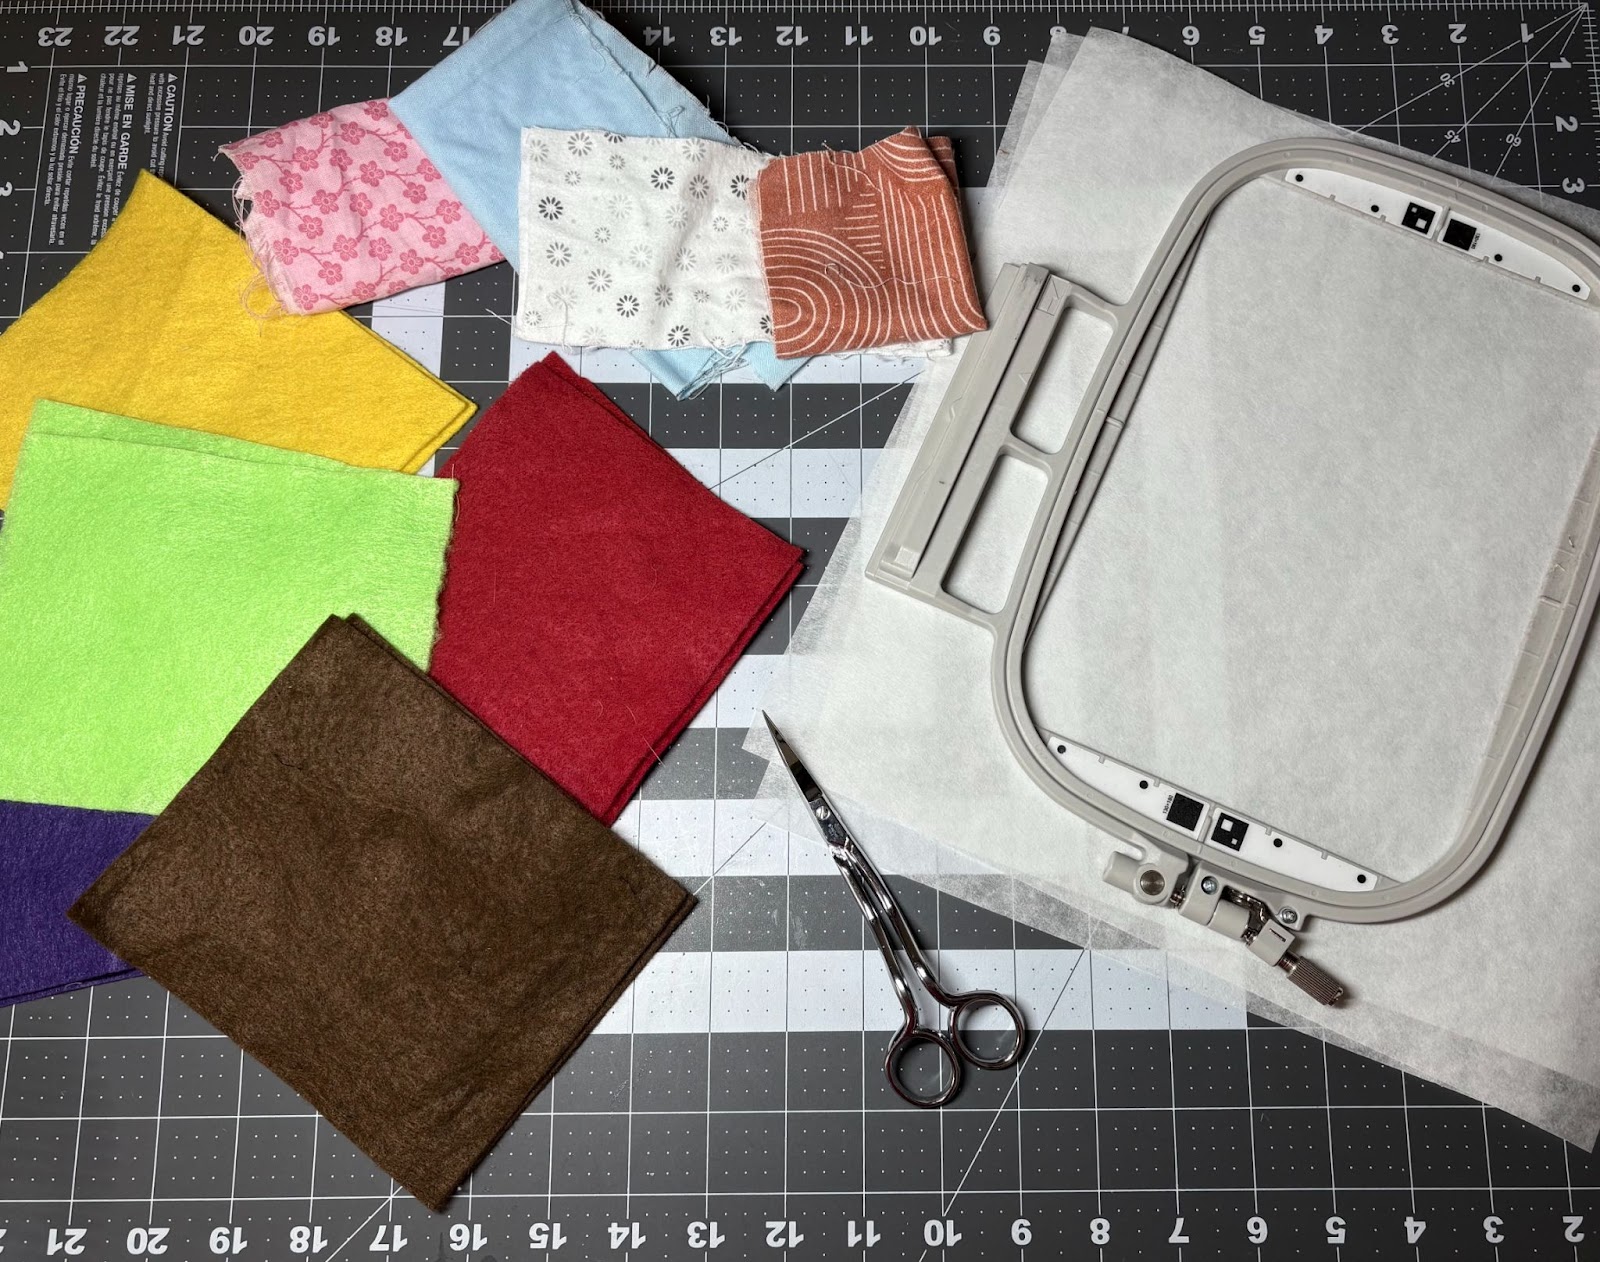
Feel free to have fun with these cards. You can stick to just one color or mix it up with a variety of colors to make learning even more exciting!
Check out the DBJJ team’s favorite supplies in the Designs by JuJu Amazon store.
Before you upload the design to your machine, you will need to create a rectangle using the shapes that come loaded in your machine. My machine is a Brother 8500; your screen may look different.
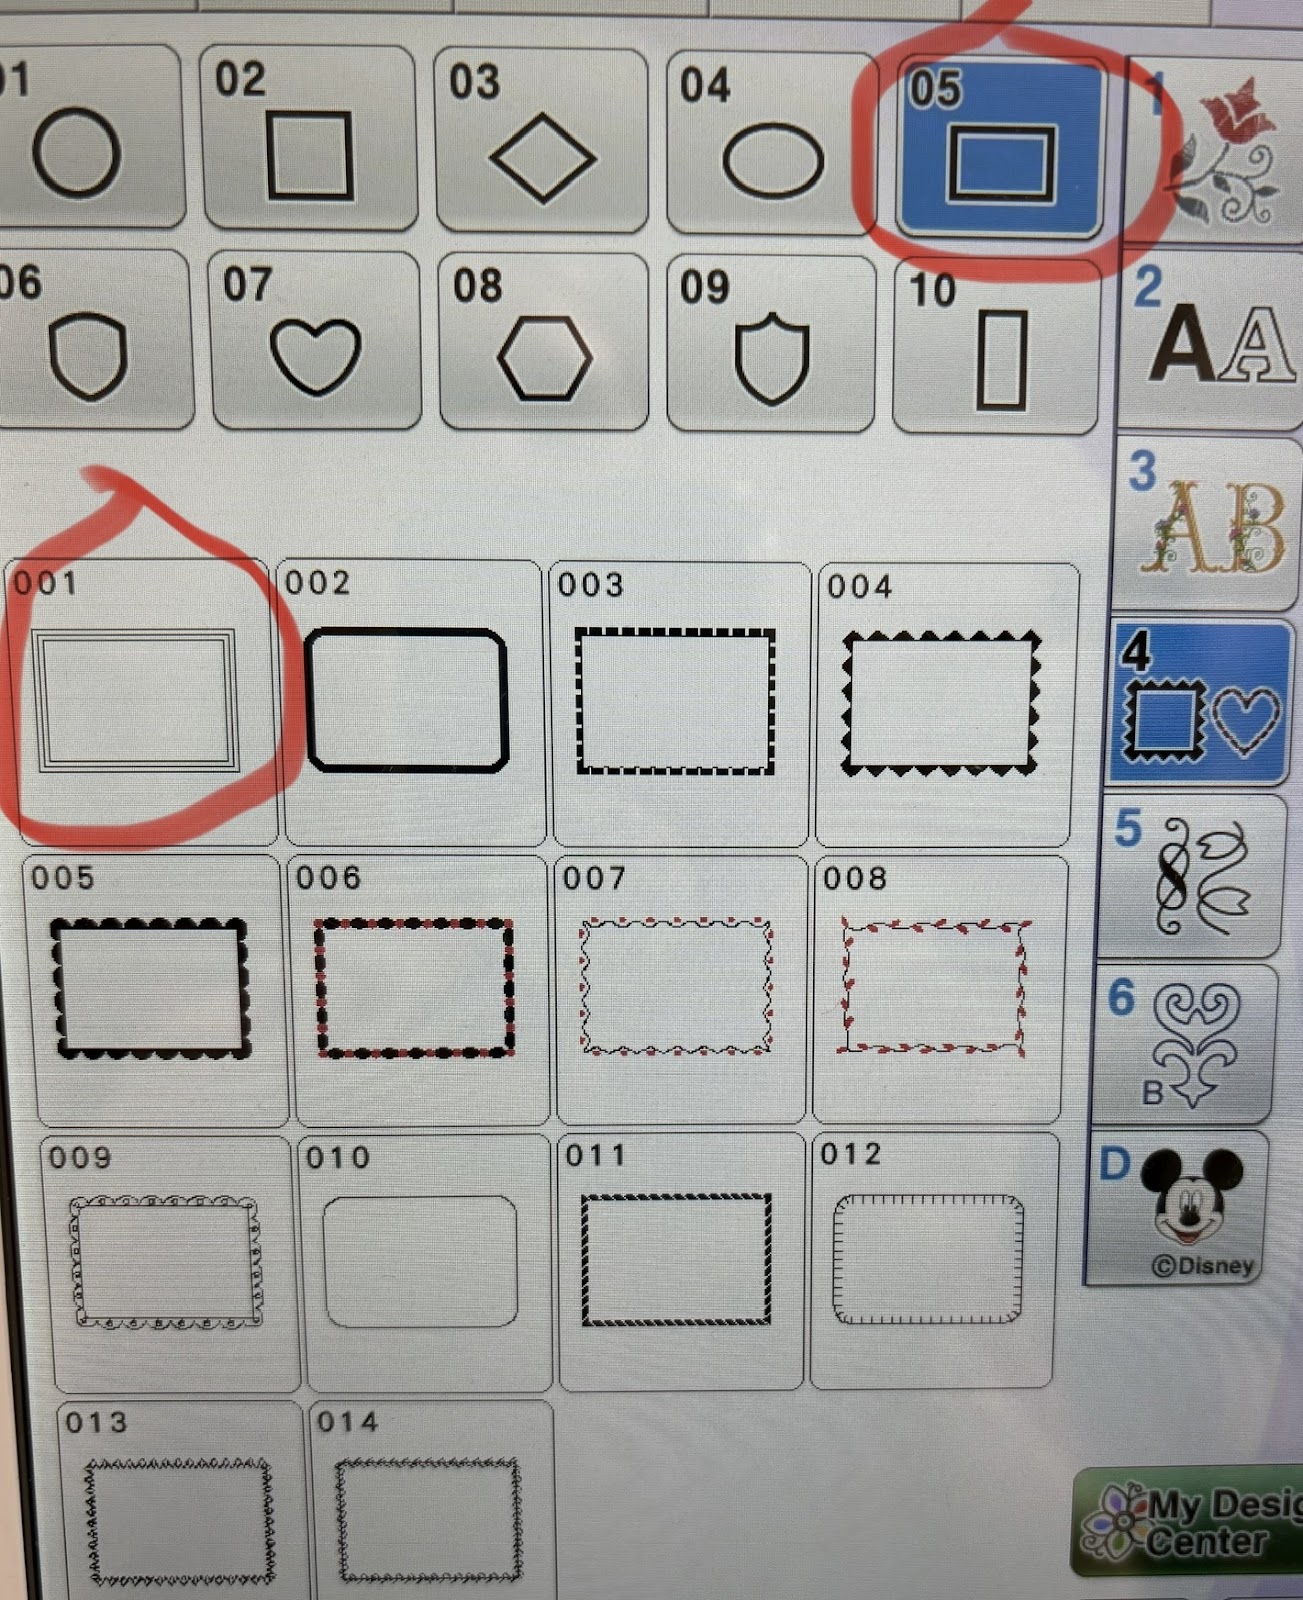
Open up the shapes icon on your machine. Choose the rectangle icon and open it up. Here you will find a variety of rectangles. I chose the first one on my machine which is a triple stitch. This means it will stitch around the fabric three times. This will be perfect for a placement stitch as well as a tack-down stitch. Then we will return to this stitch at the end to attach the front and back together.
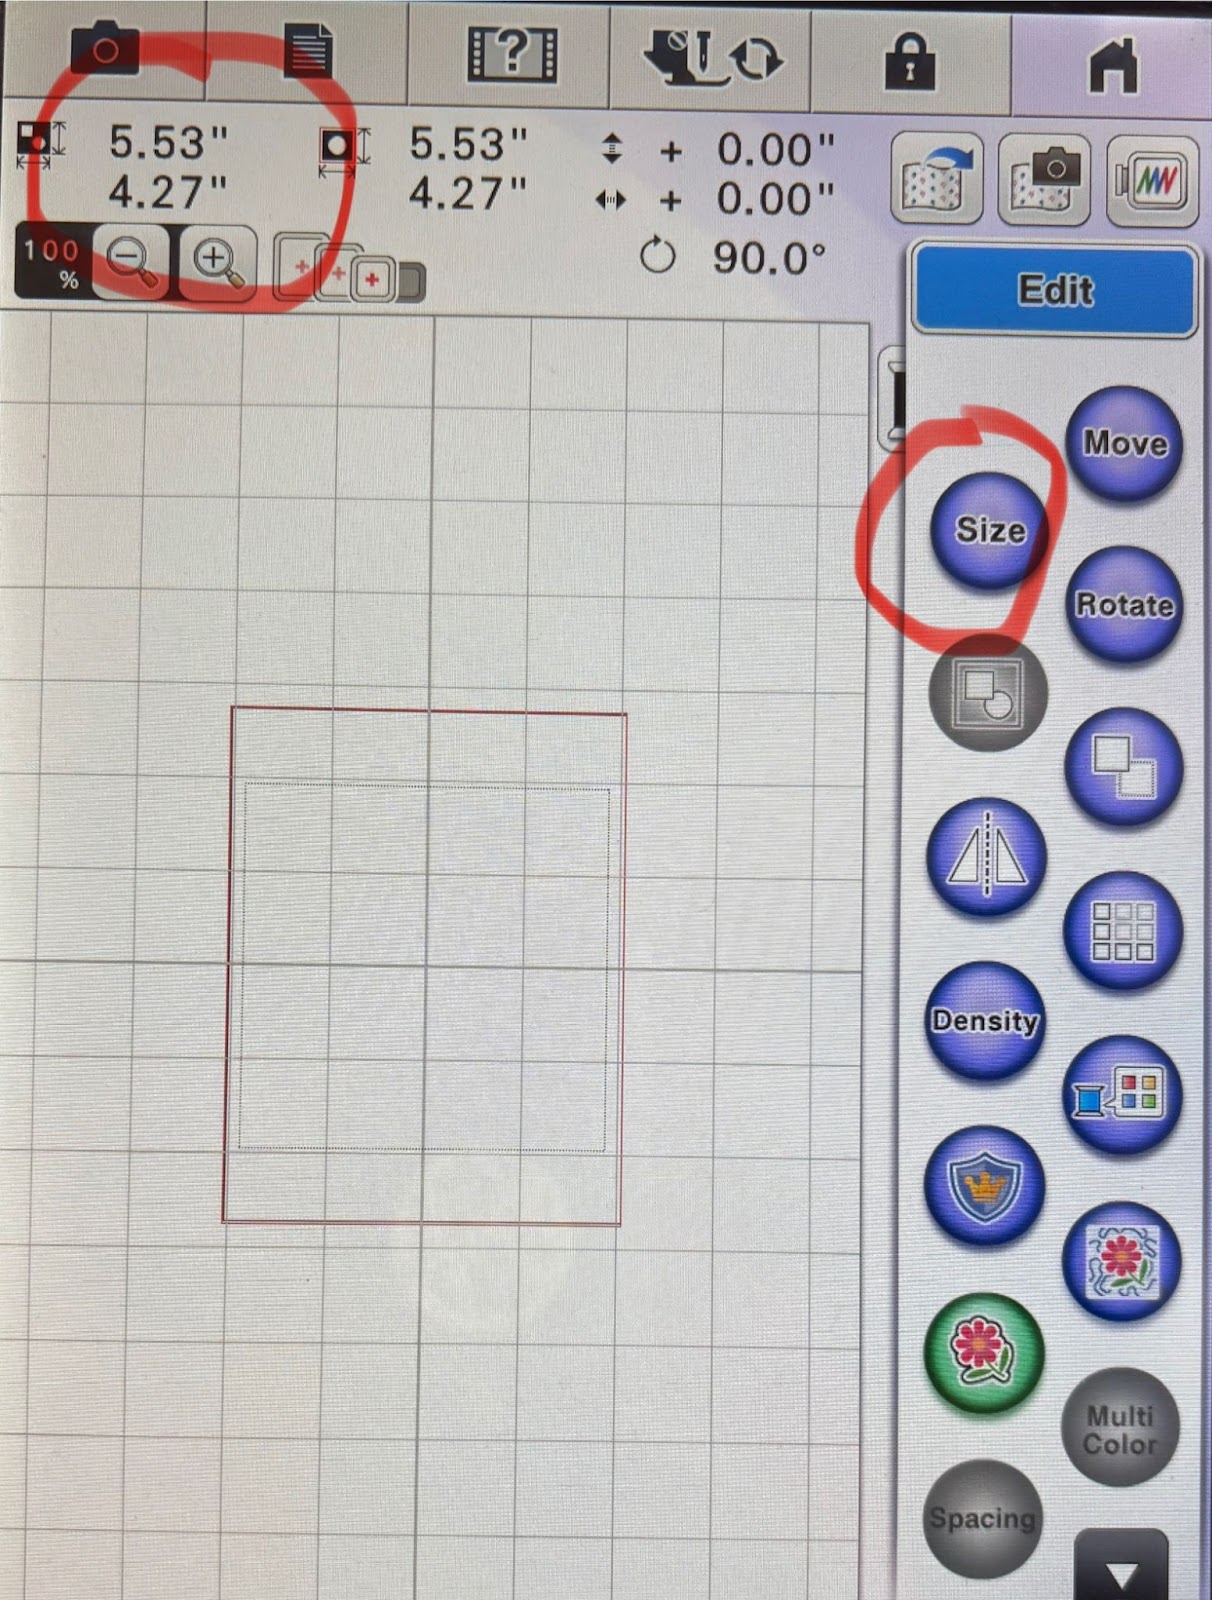
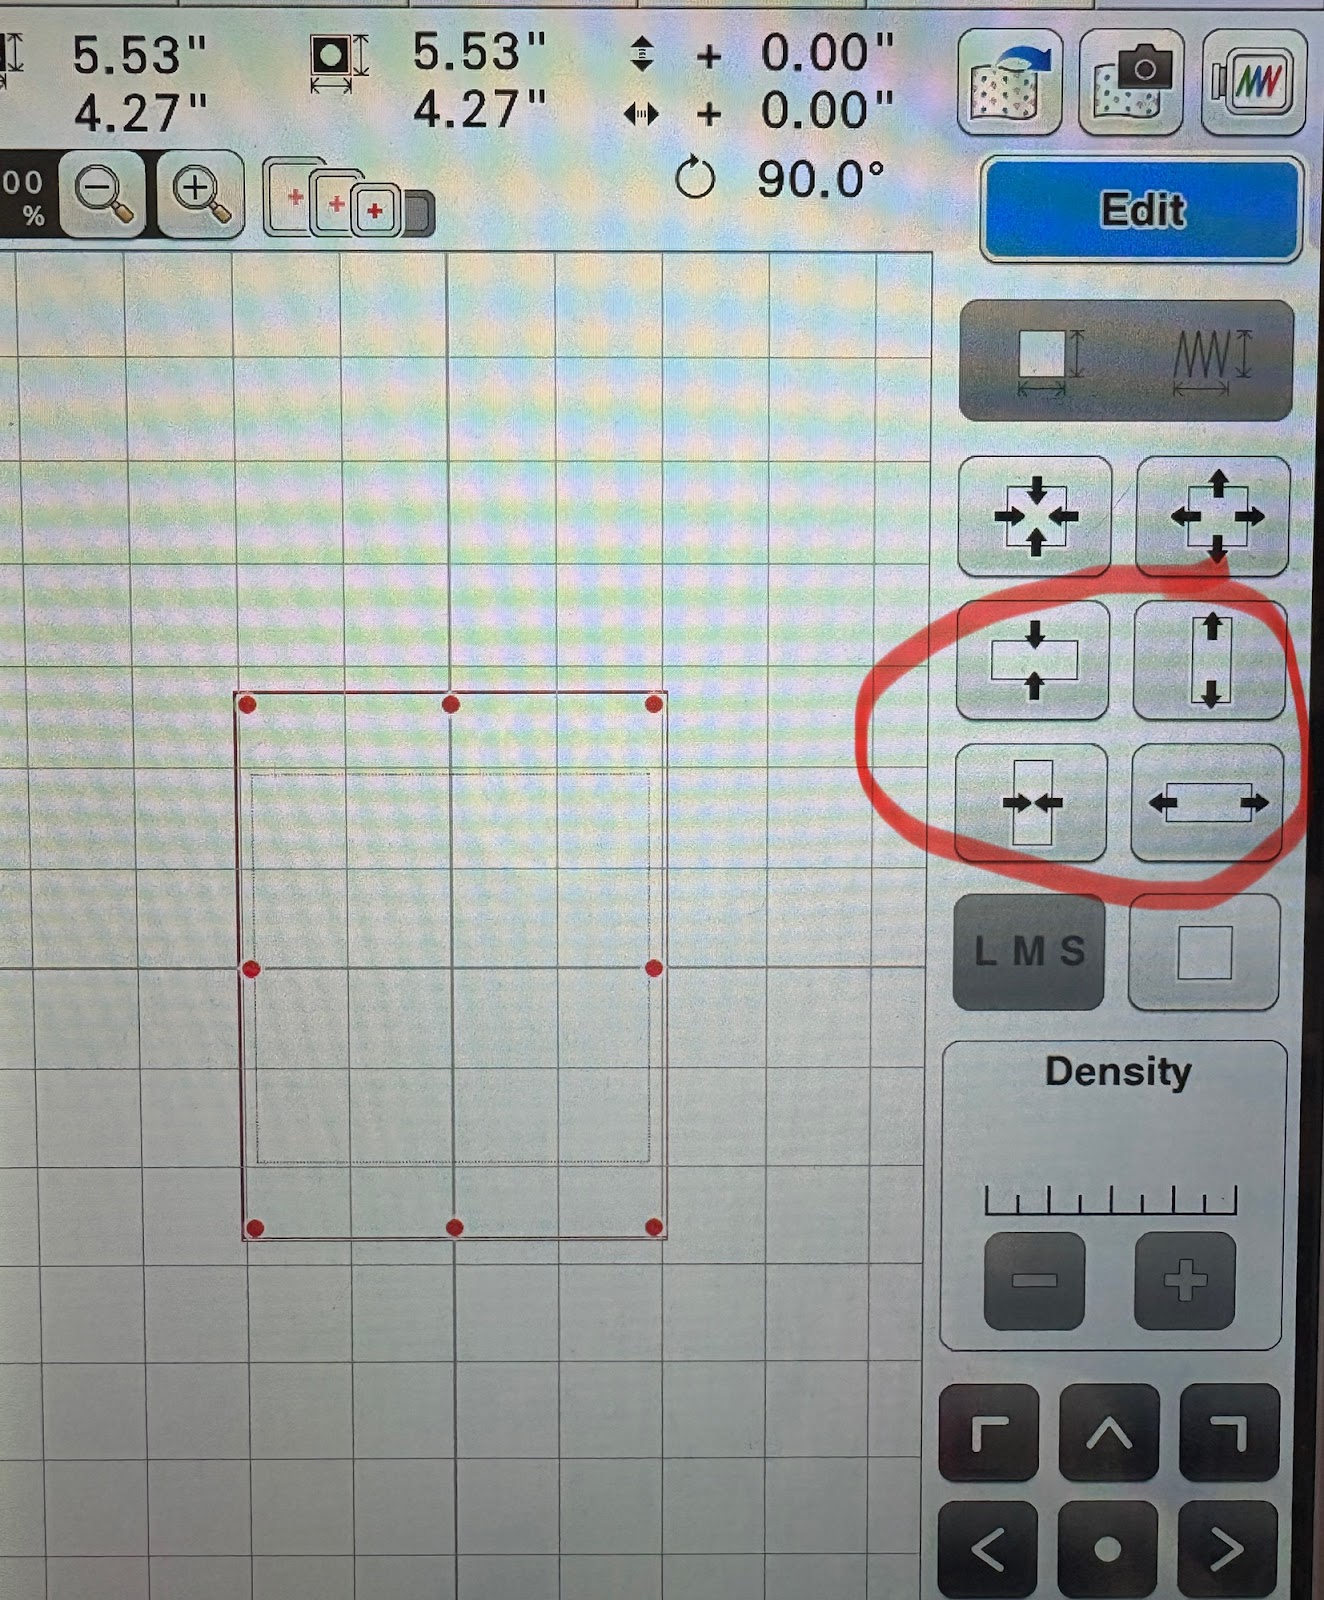
Using the size buttons, resize the rectangle to 5.53” x 4.27”.
To avoid having to repeat this step with each design, save the rectangle to either your machine or USB for future use.
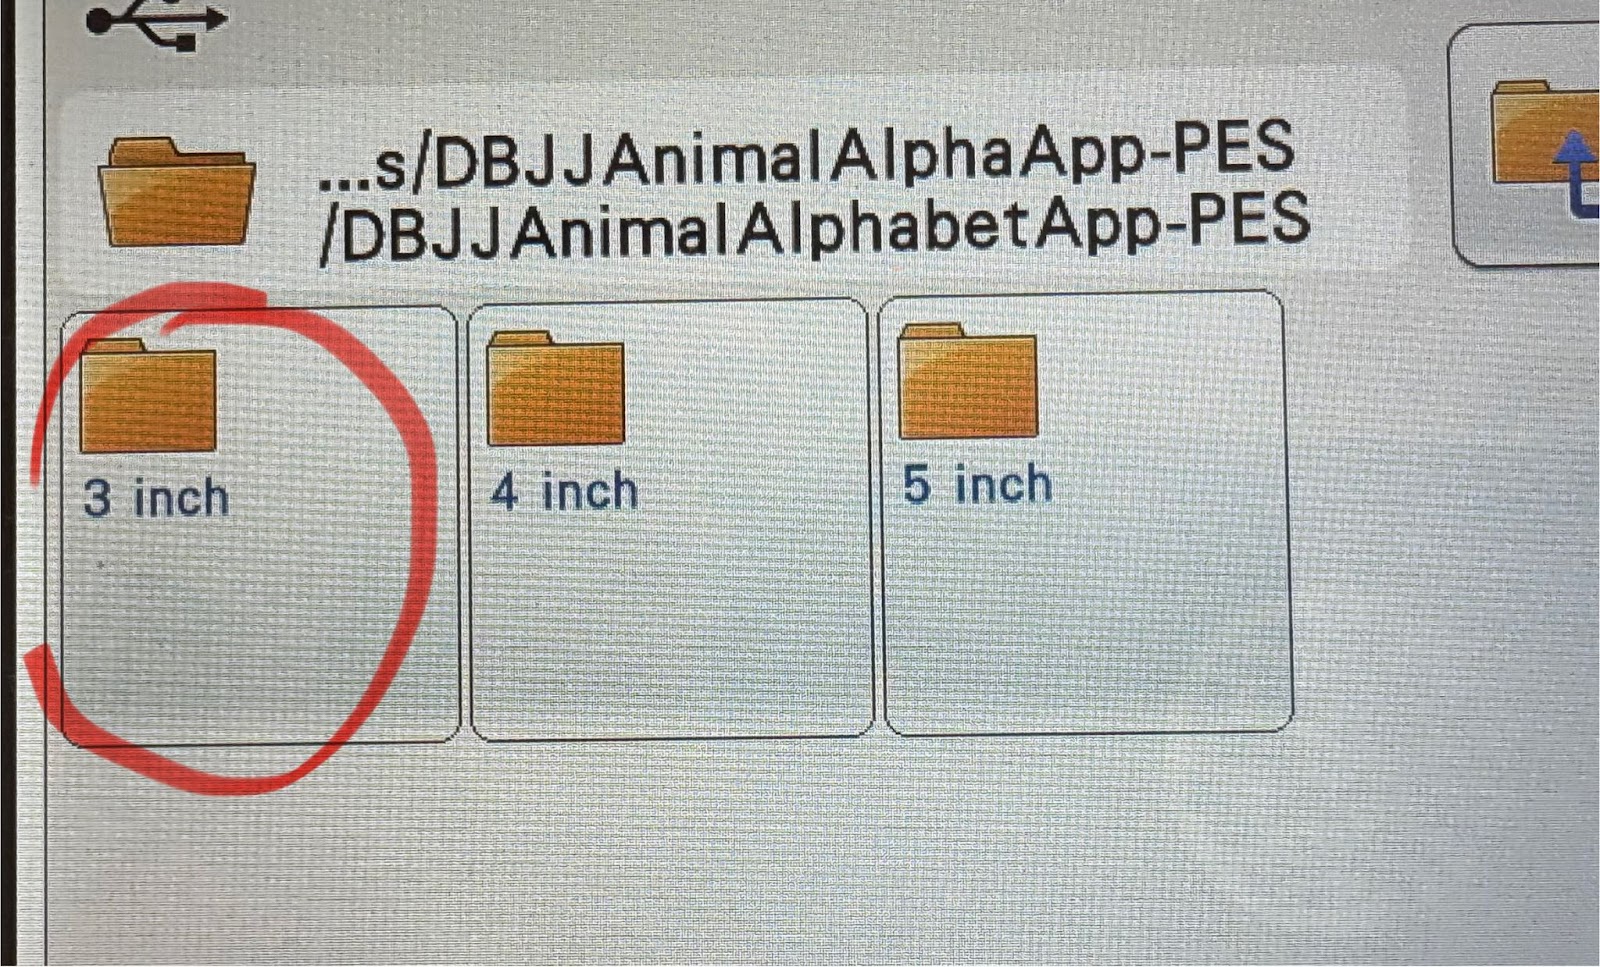
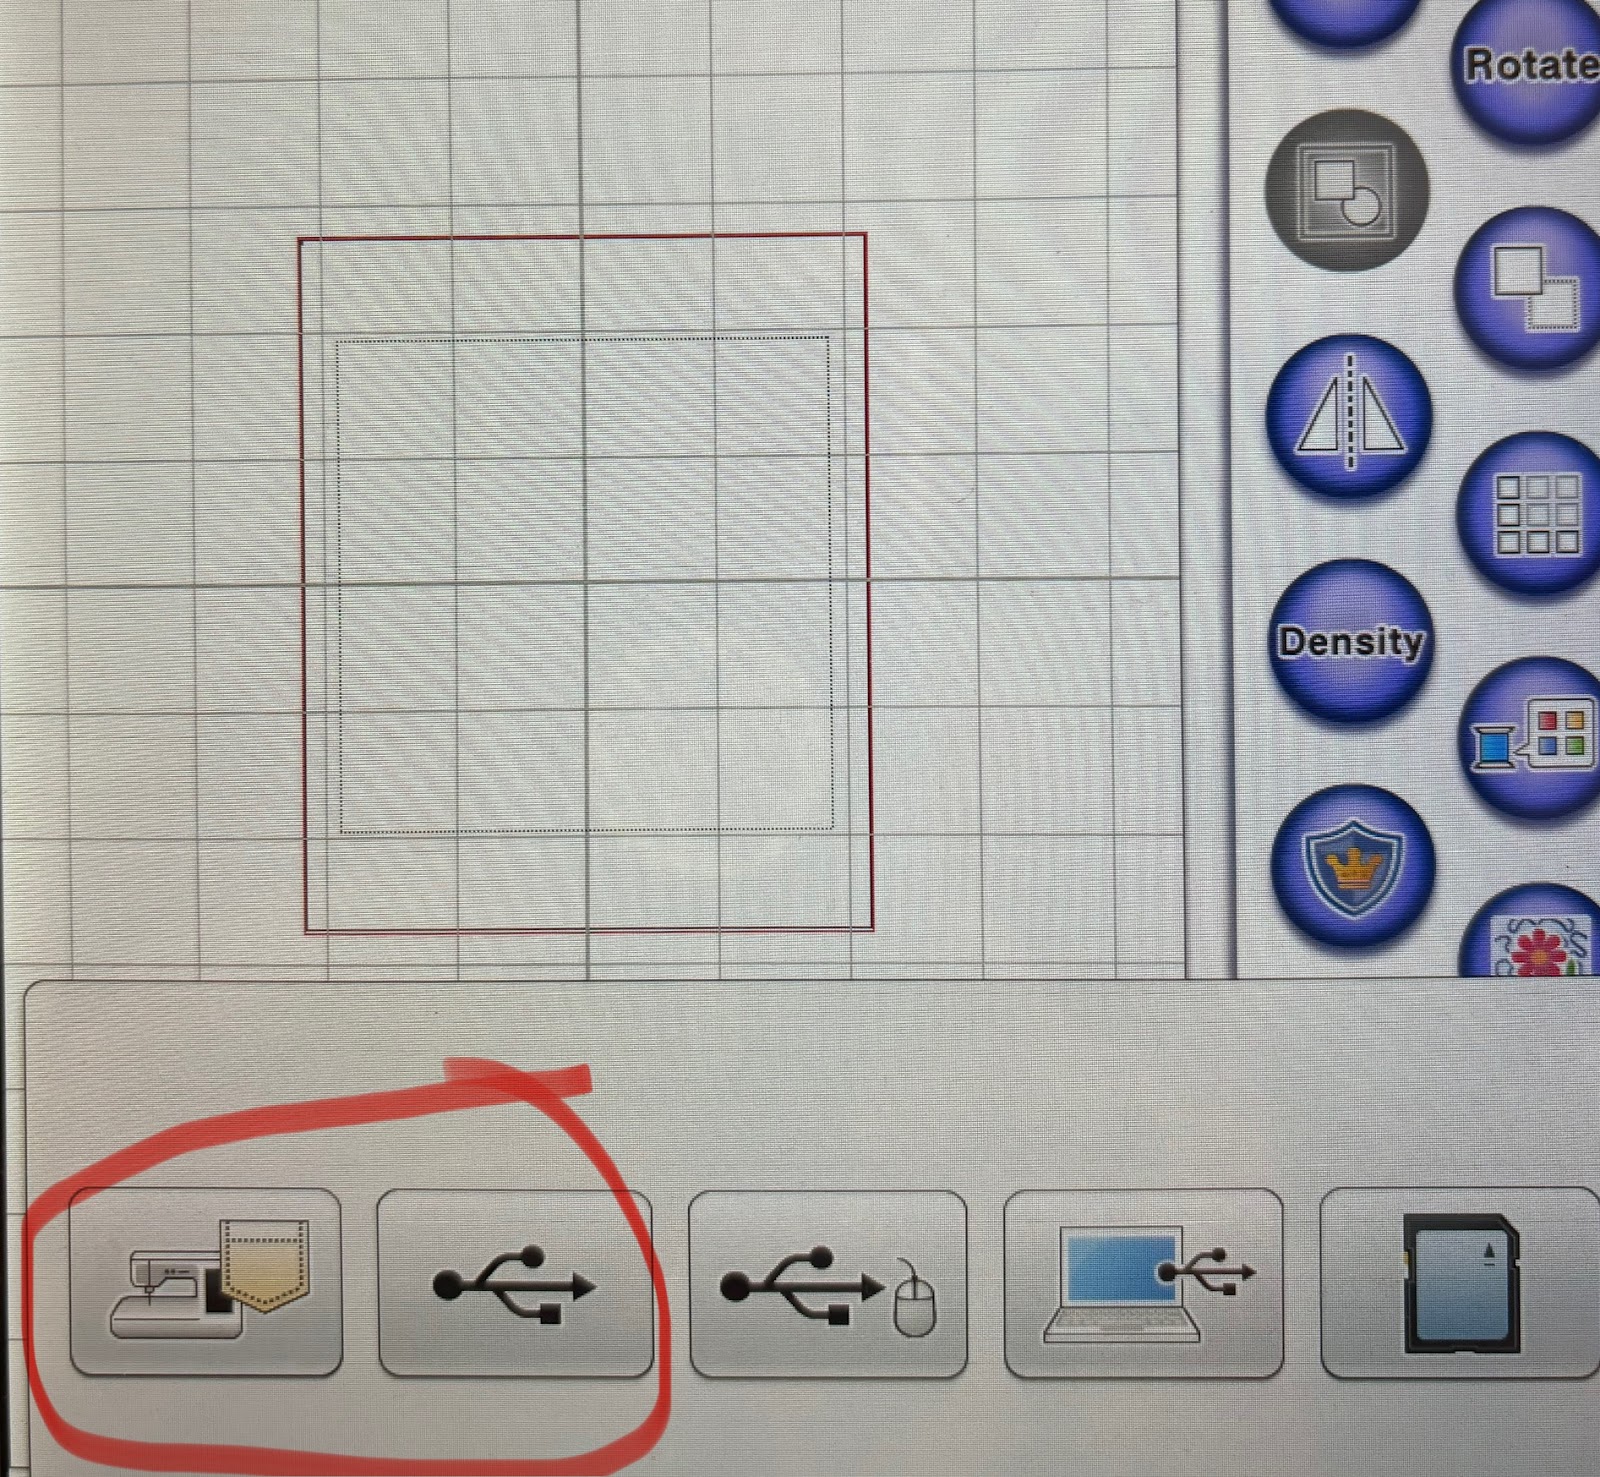
Load the Animal Alphabet Applique to your machine and select the 3” designs. This size will fit perfectly into your rectangle.
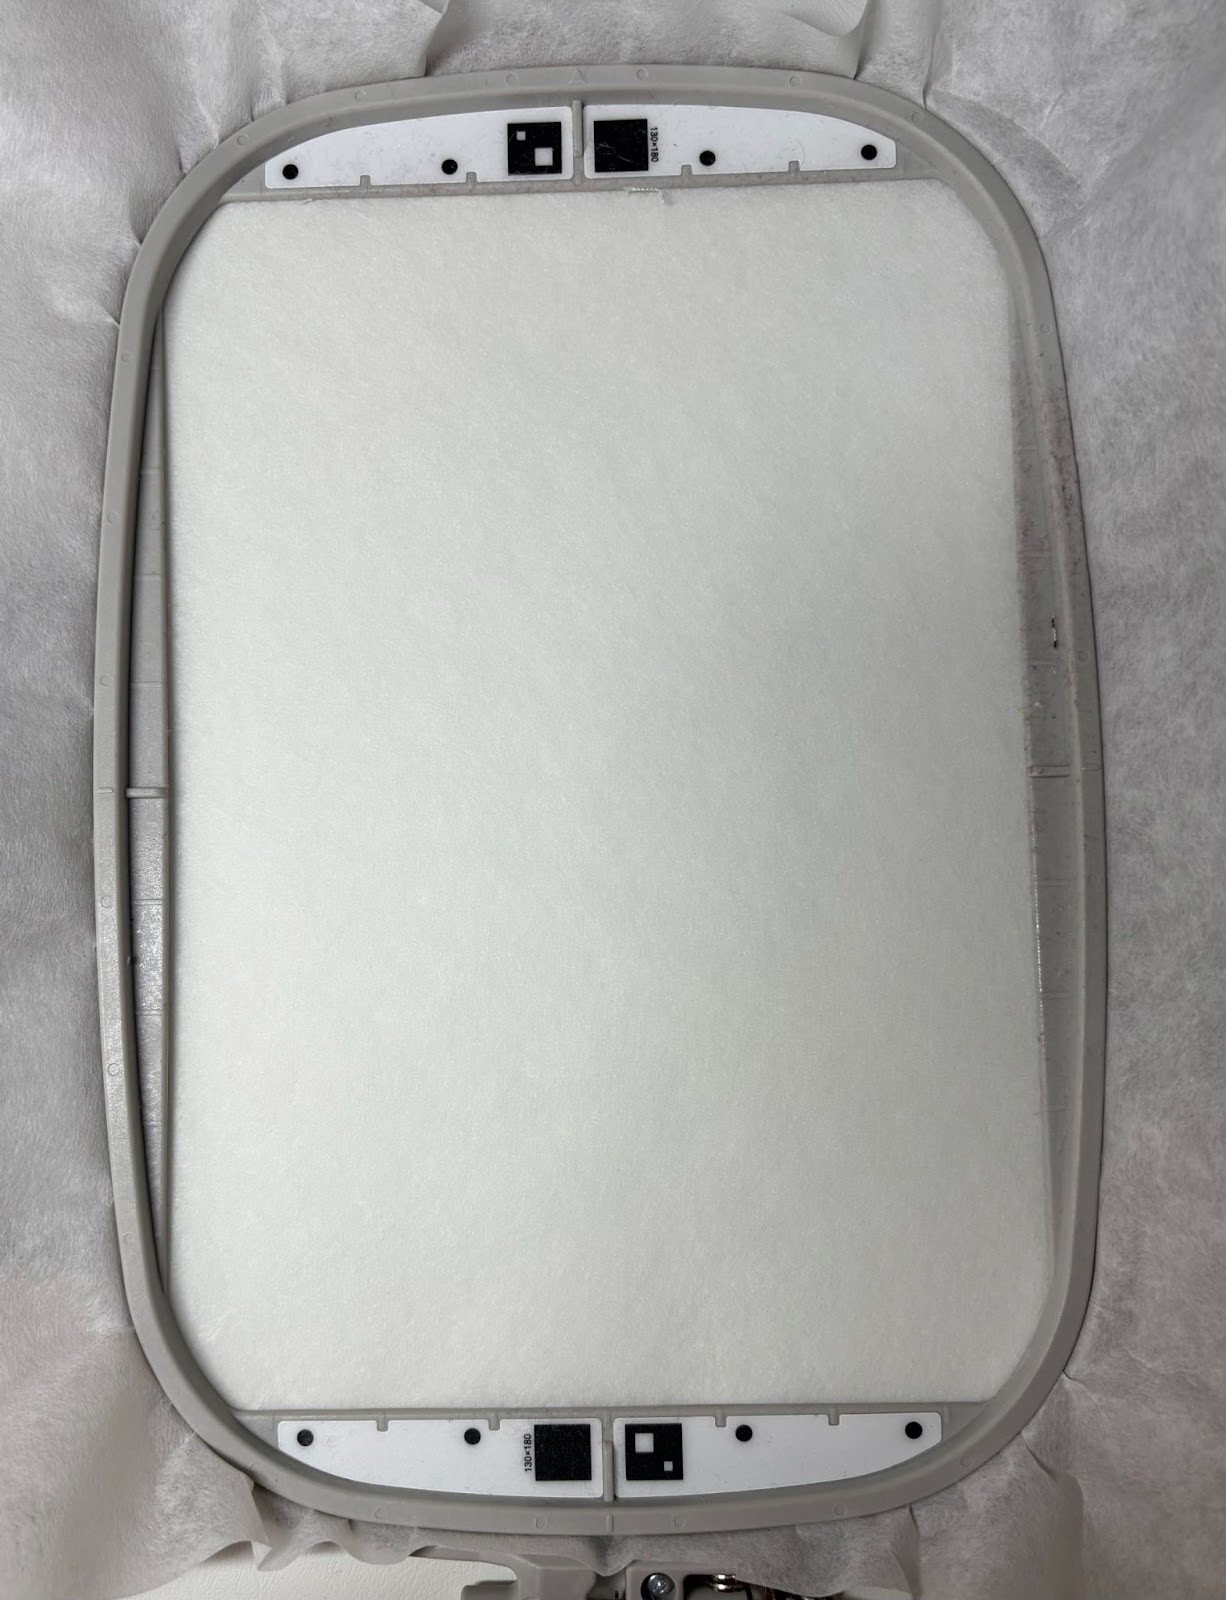
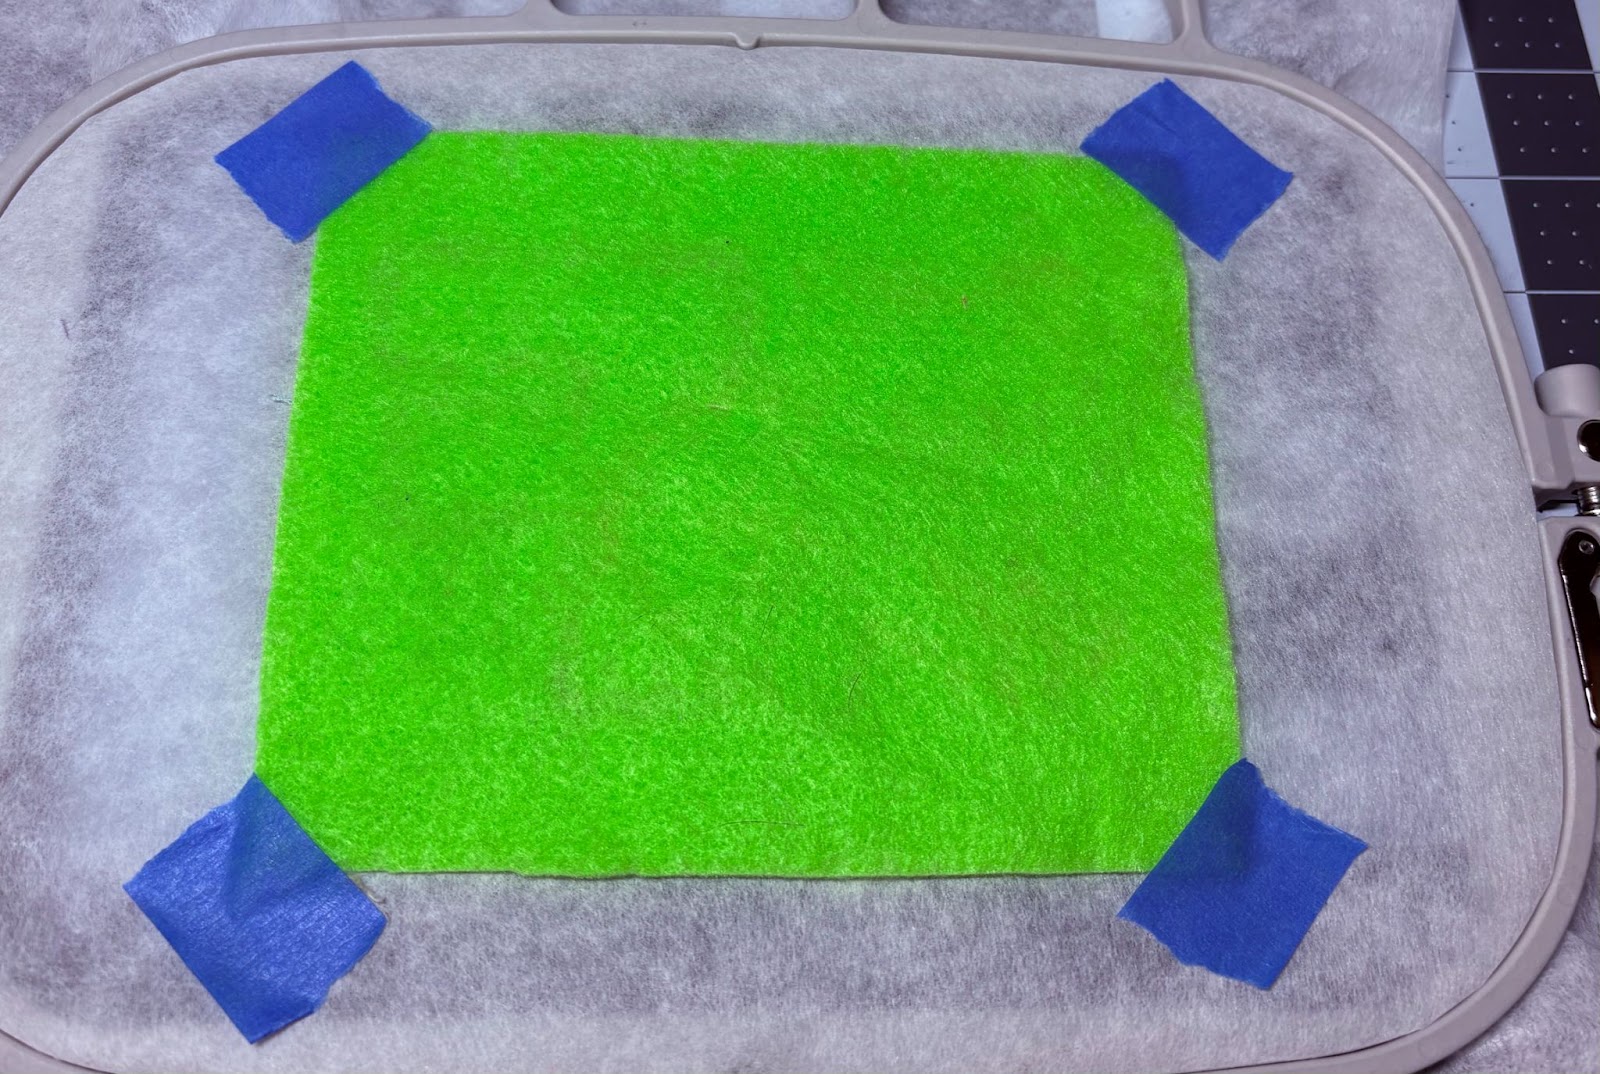
Hoop a single layer of tear-away stabilizer in the embroidery frame and take it to your machine.
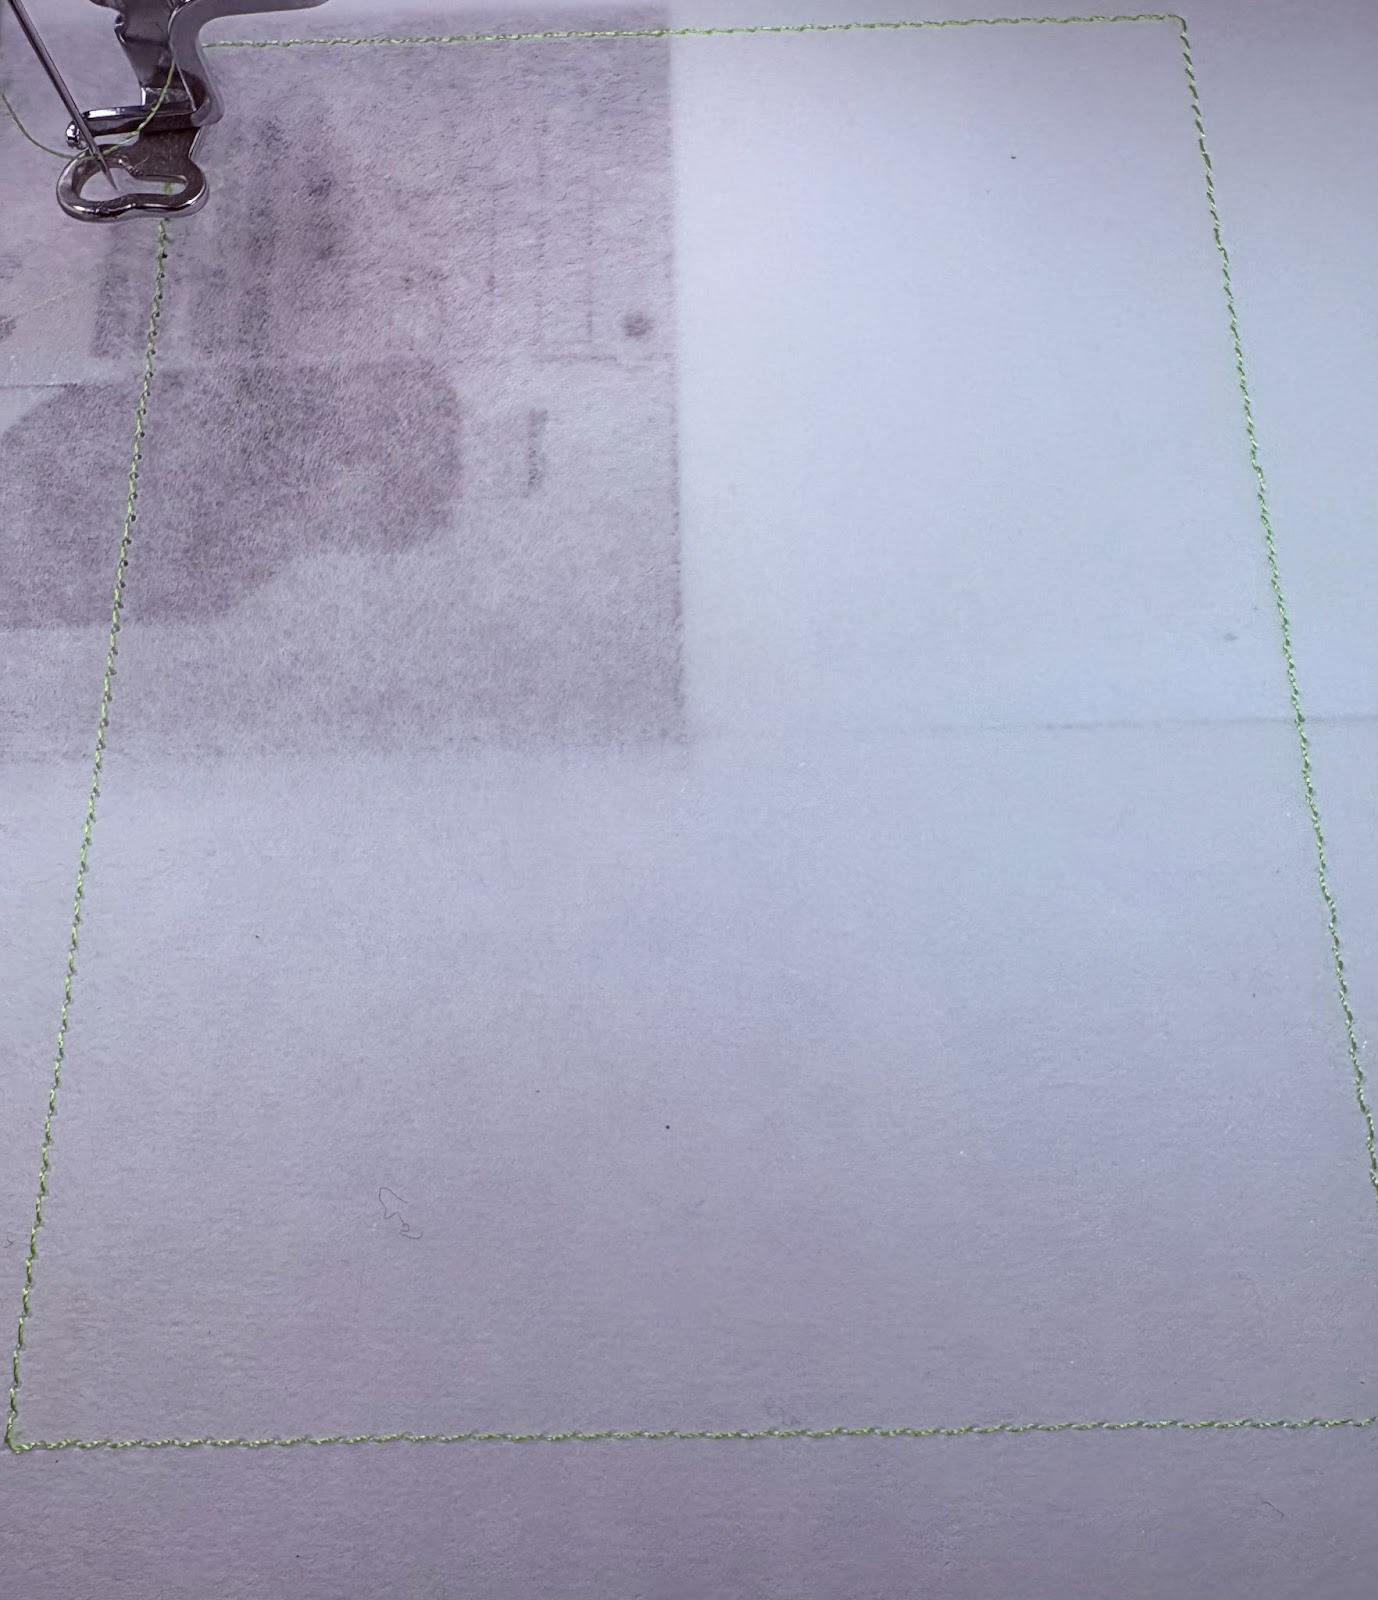
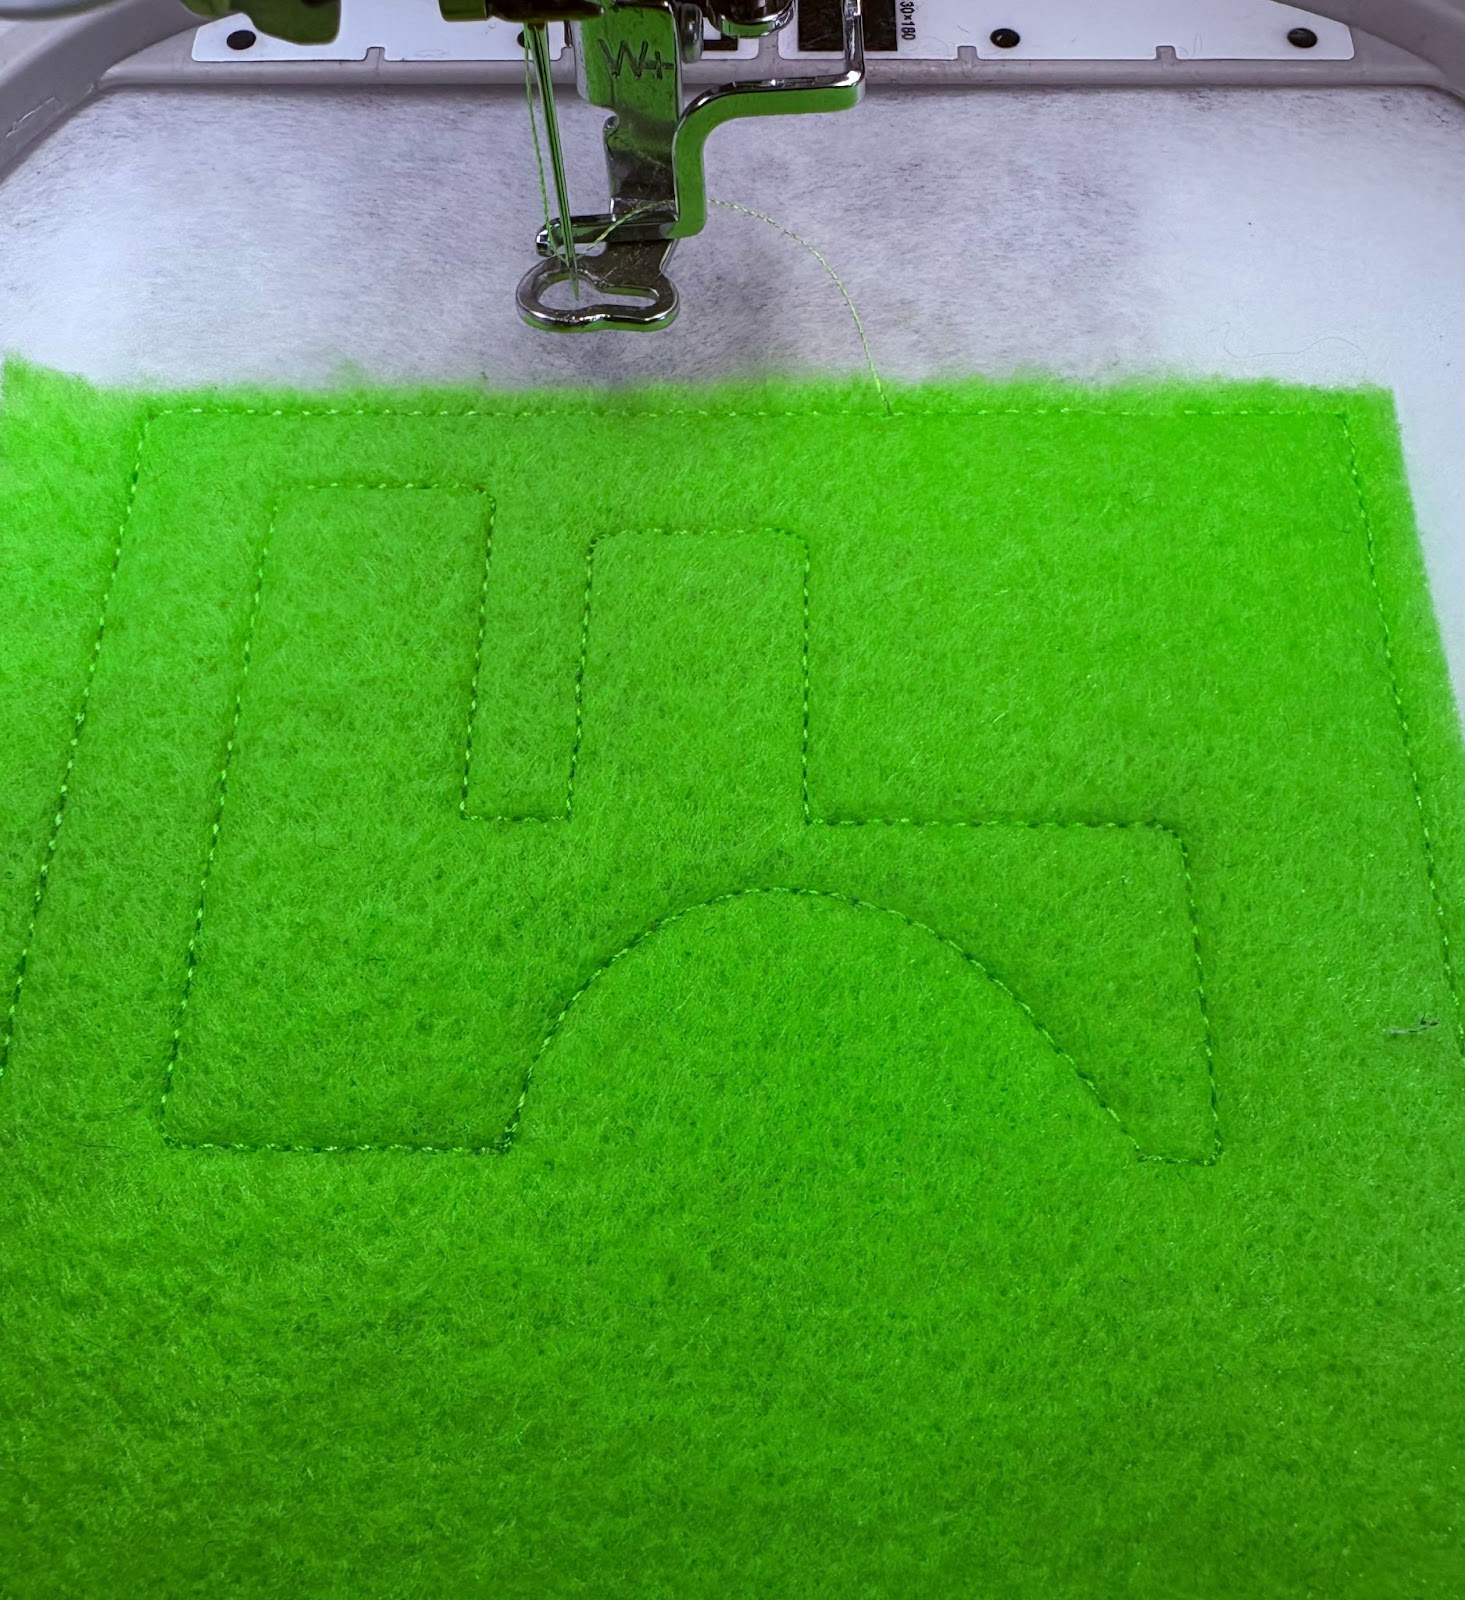
The first stitch is the rectangle. Because it stitches around the rectangle three times, we are going to use this step for both a placement stitch and tack-down stitch. Stitch the rectangle once and then stop the machine.
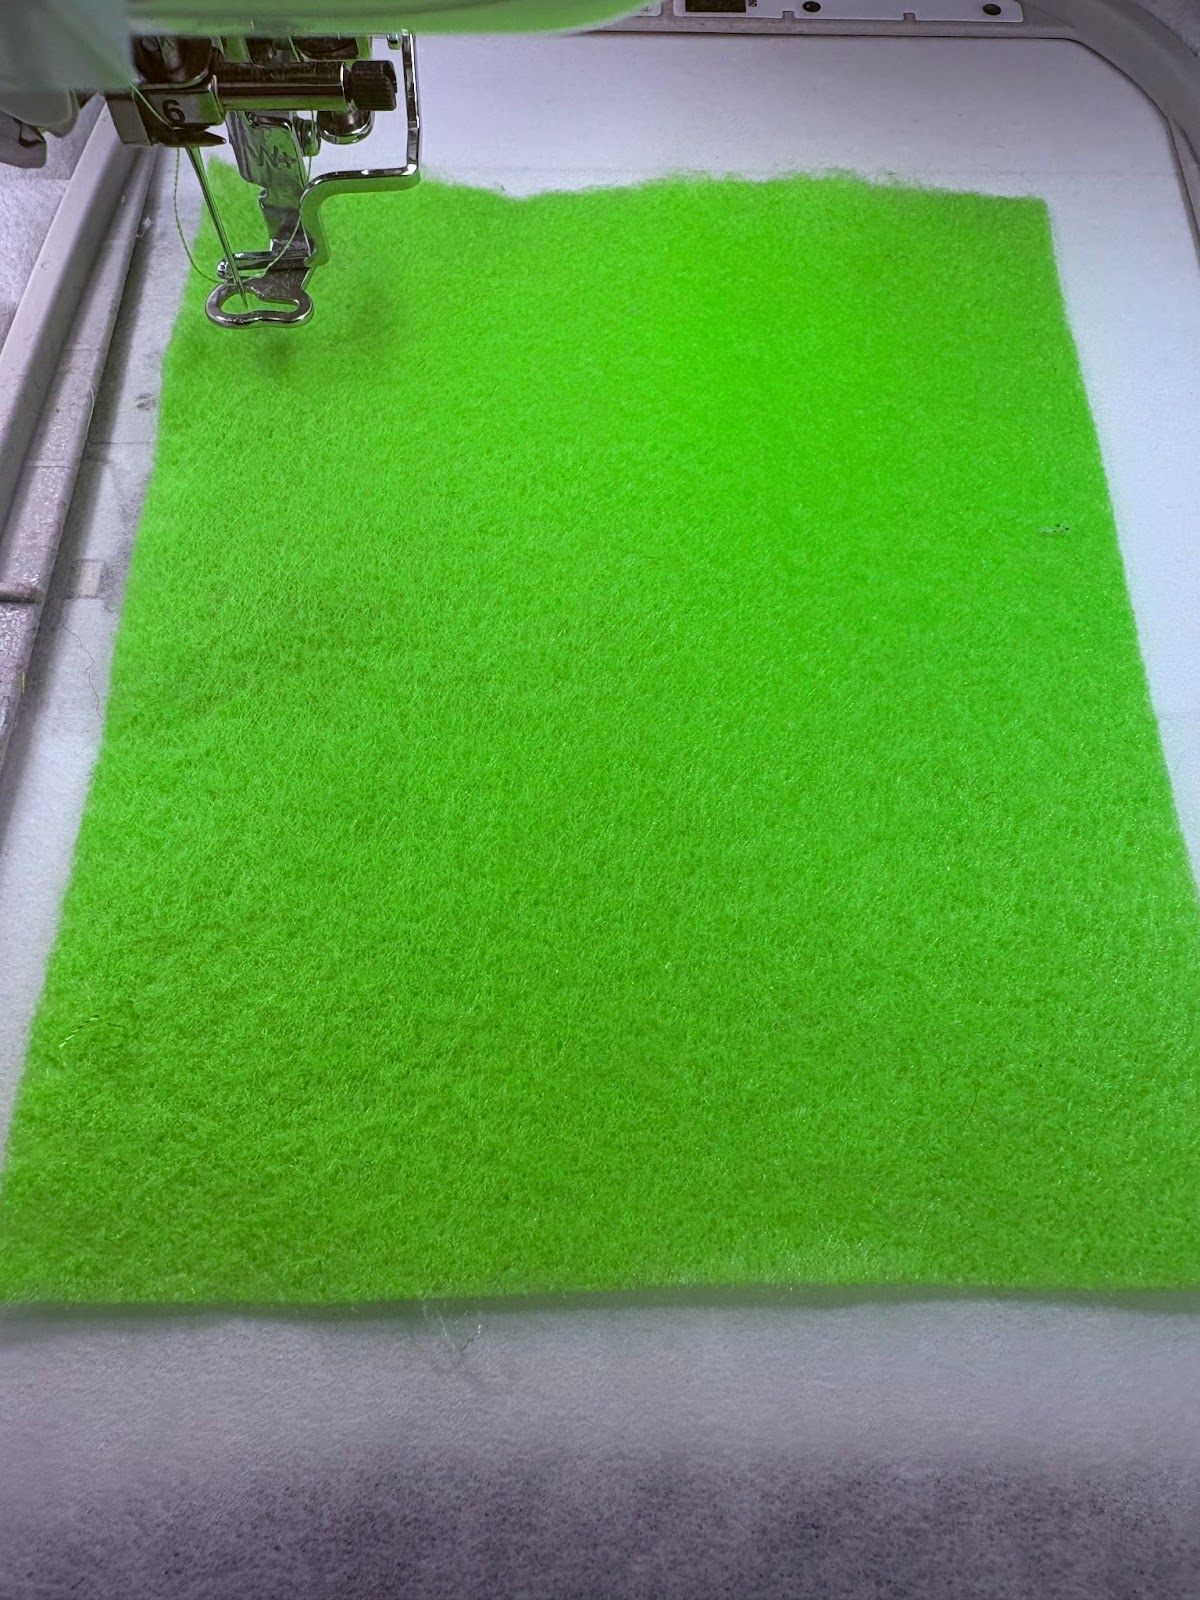
Lay the felt on top of the stabilizer, covering the stitching. You are still on the first stitch. Start the machine and stitch completely around the felt.
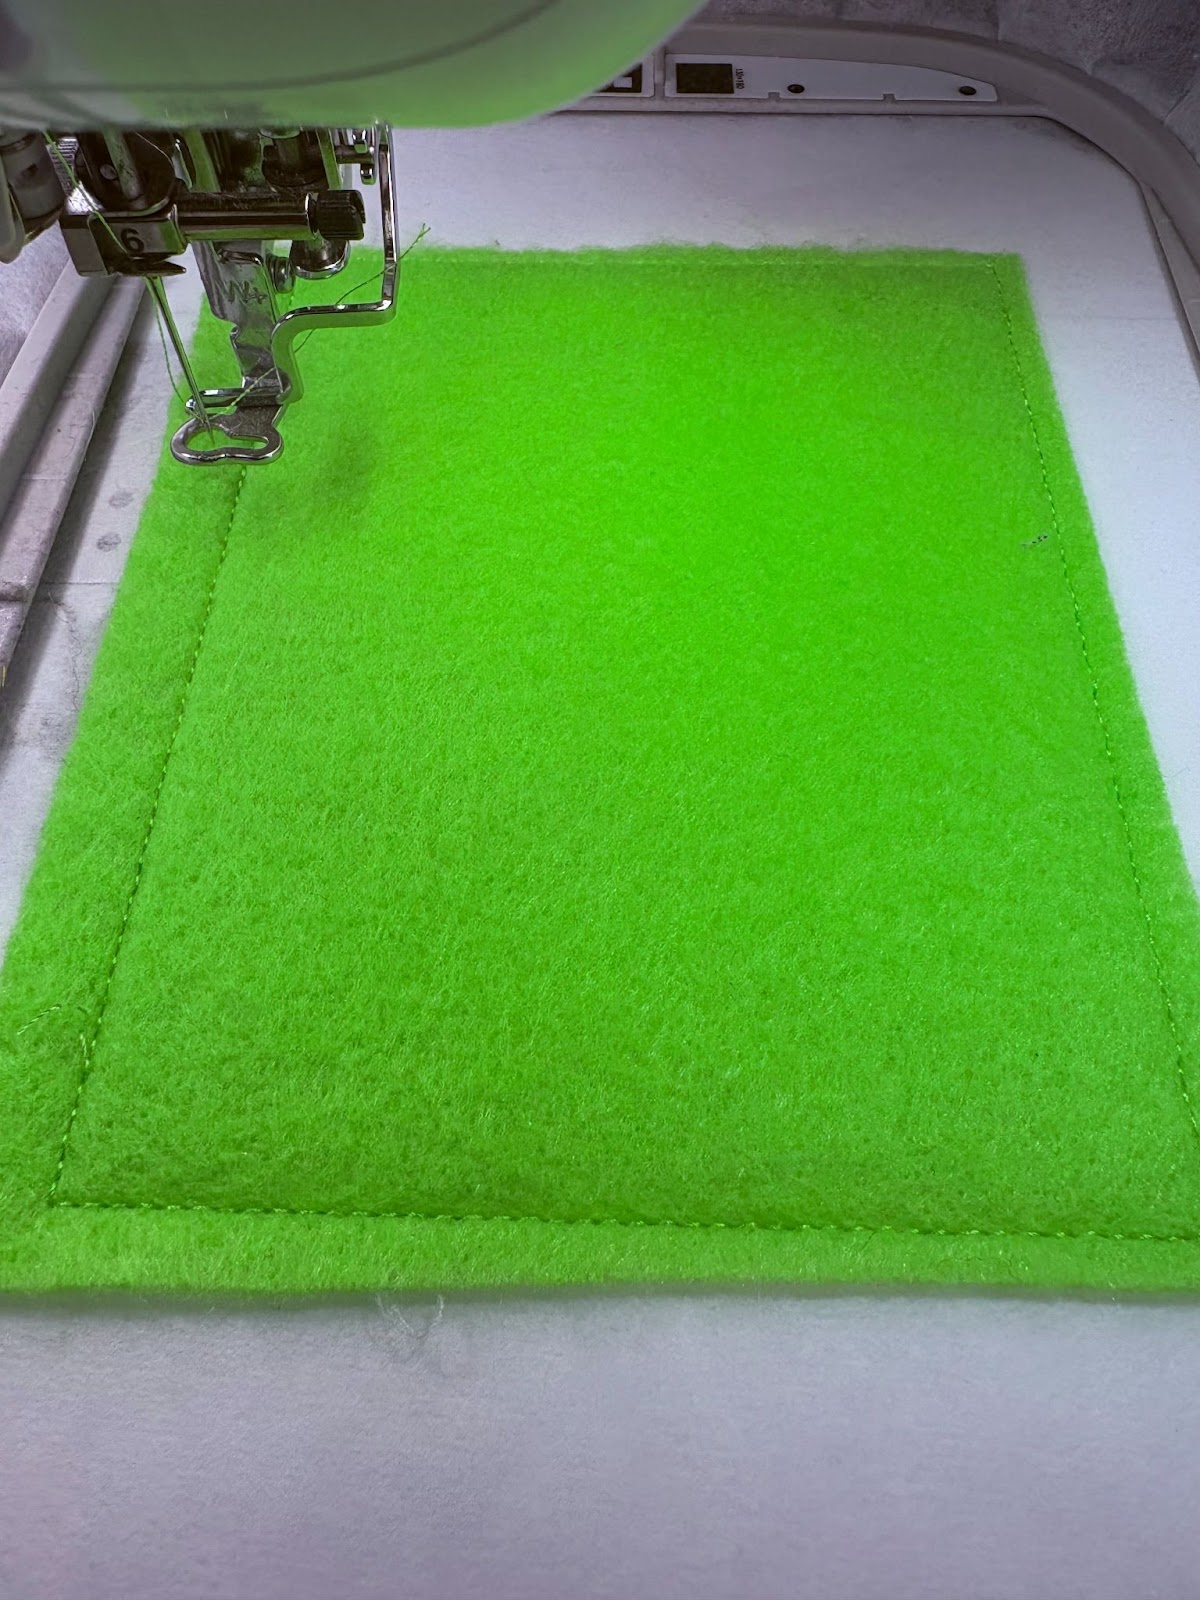
Once you have completely gone around the felt to tack it down, you can move to step 2. This will be the beginning of the applique design.
Stitch out the next step. This is a placement stitch for the applique fabric.
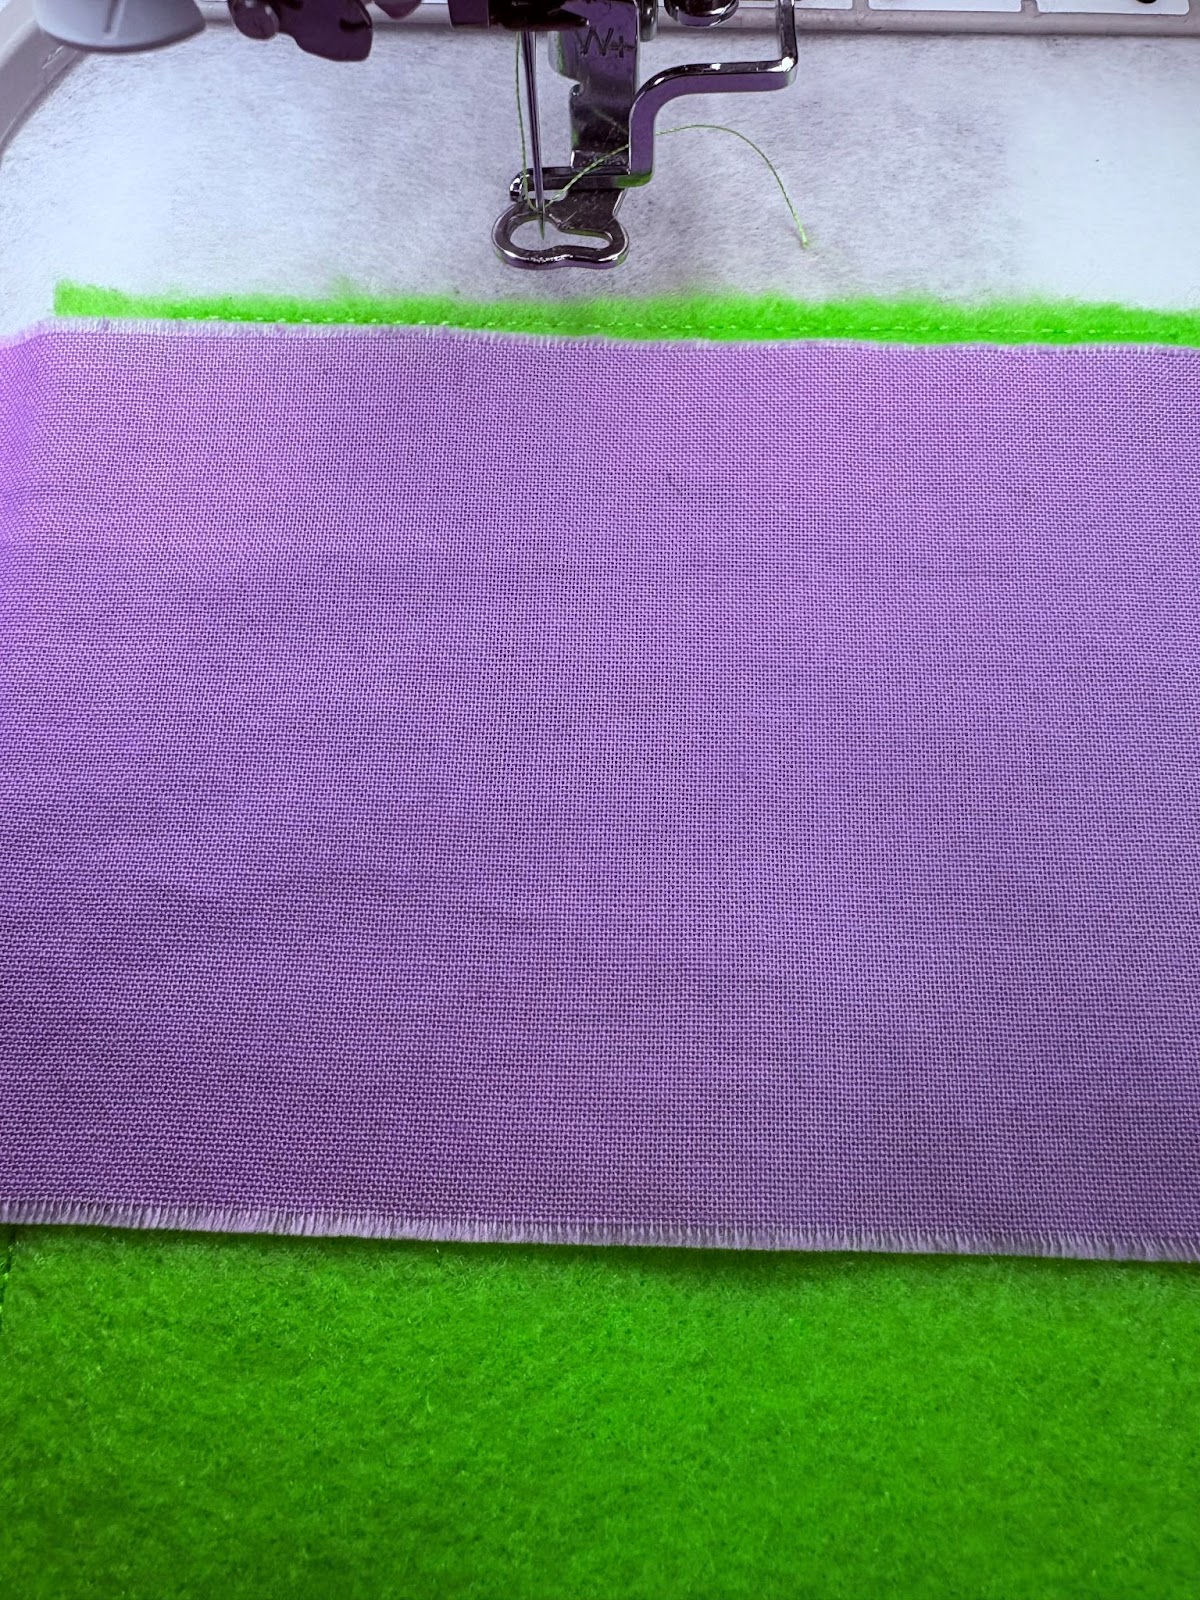
Lay the fabric down making sure to completely cover the placement lines. Stitch out the next step. This is the applique fabric tack-down stitch.
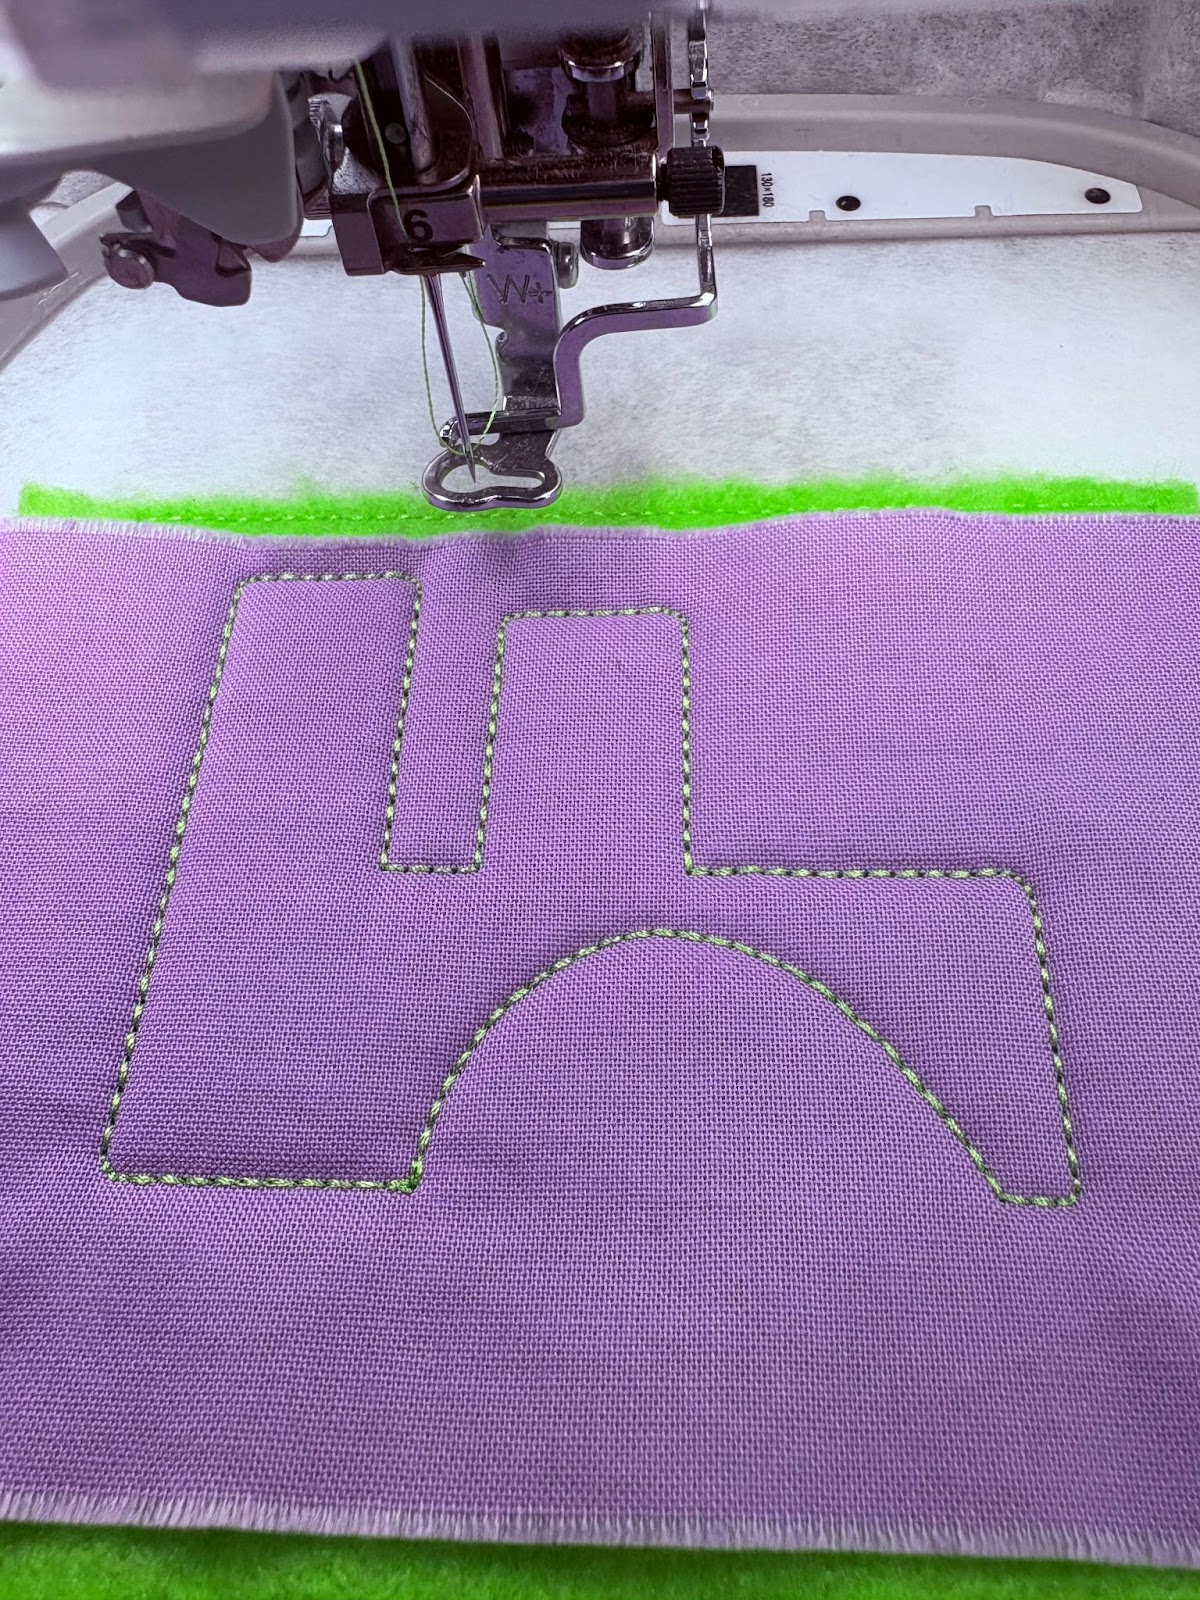
Remove the hoop from the machine and place on a flat surface.
Using applique scissors, trim close to the stitches.
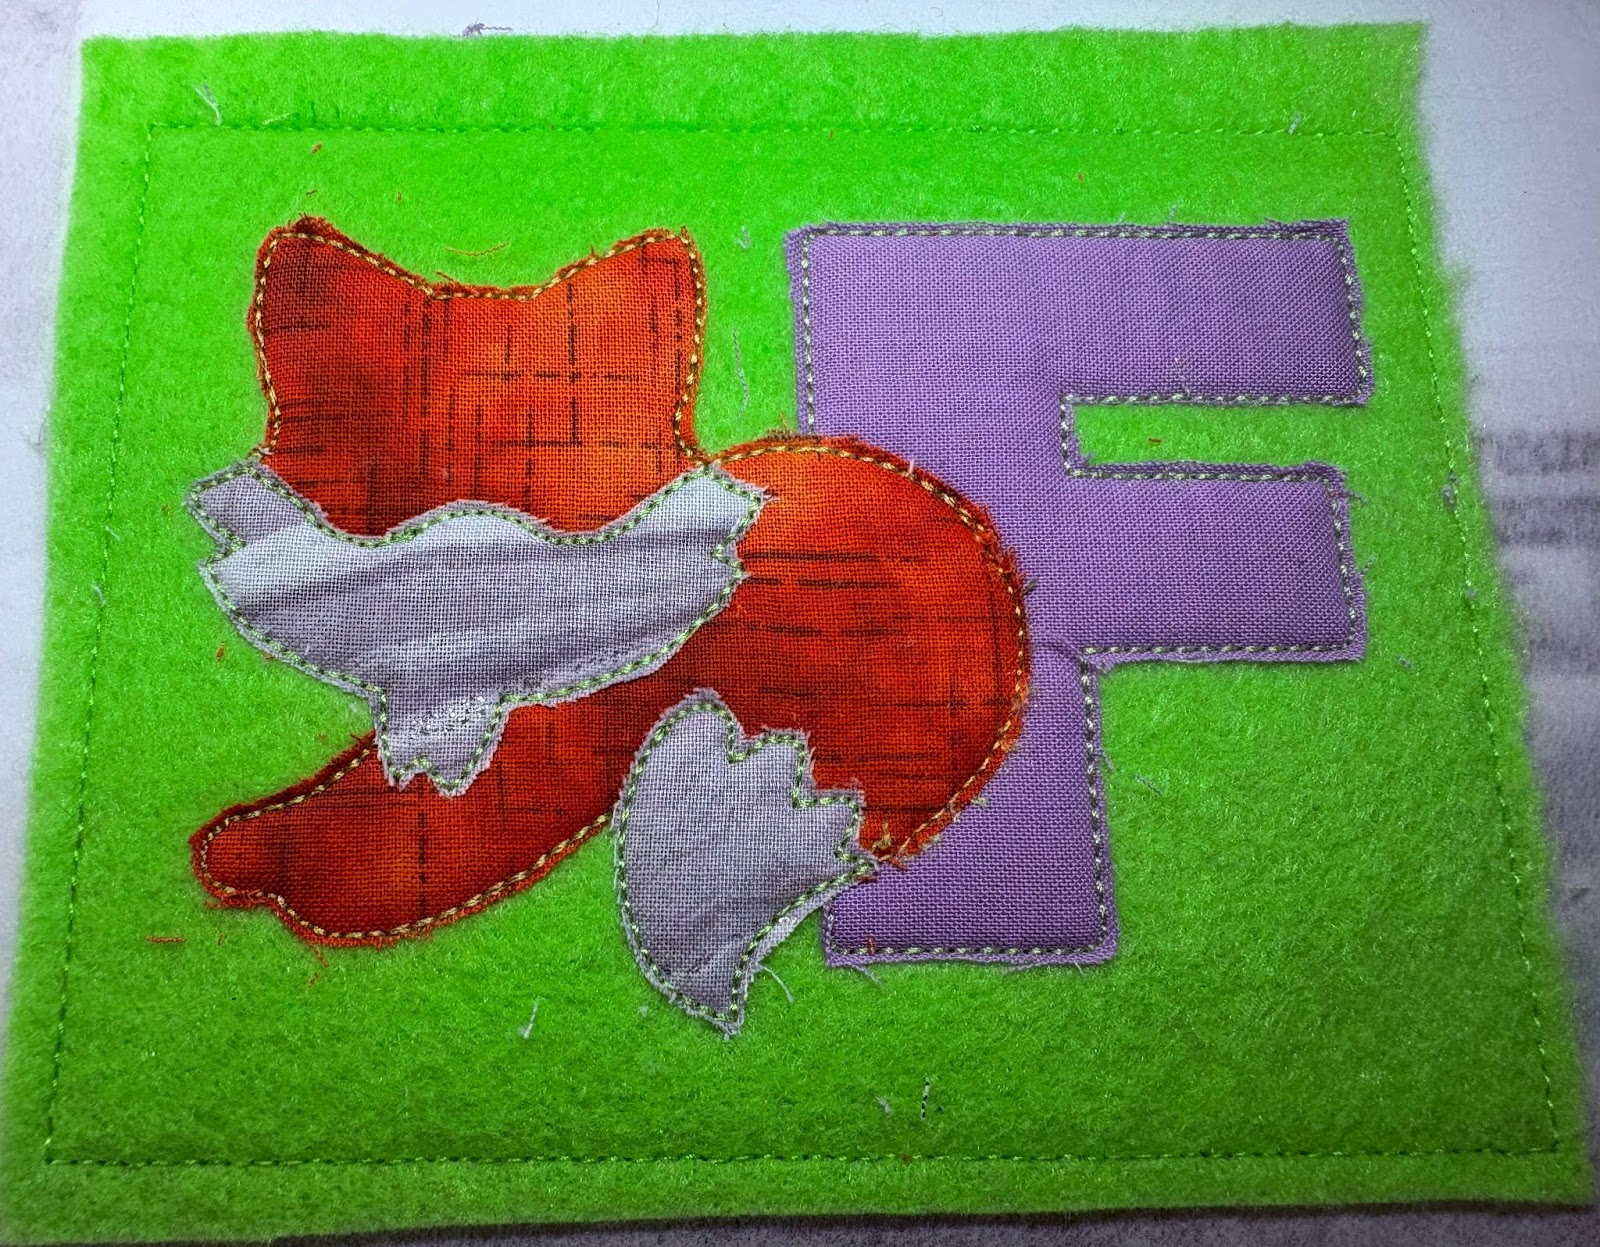
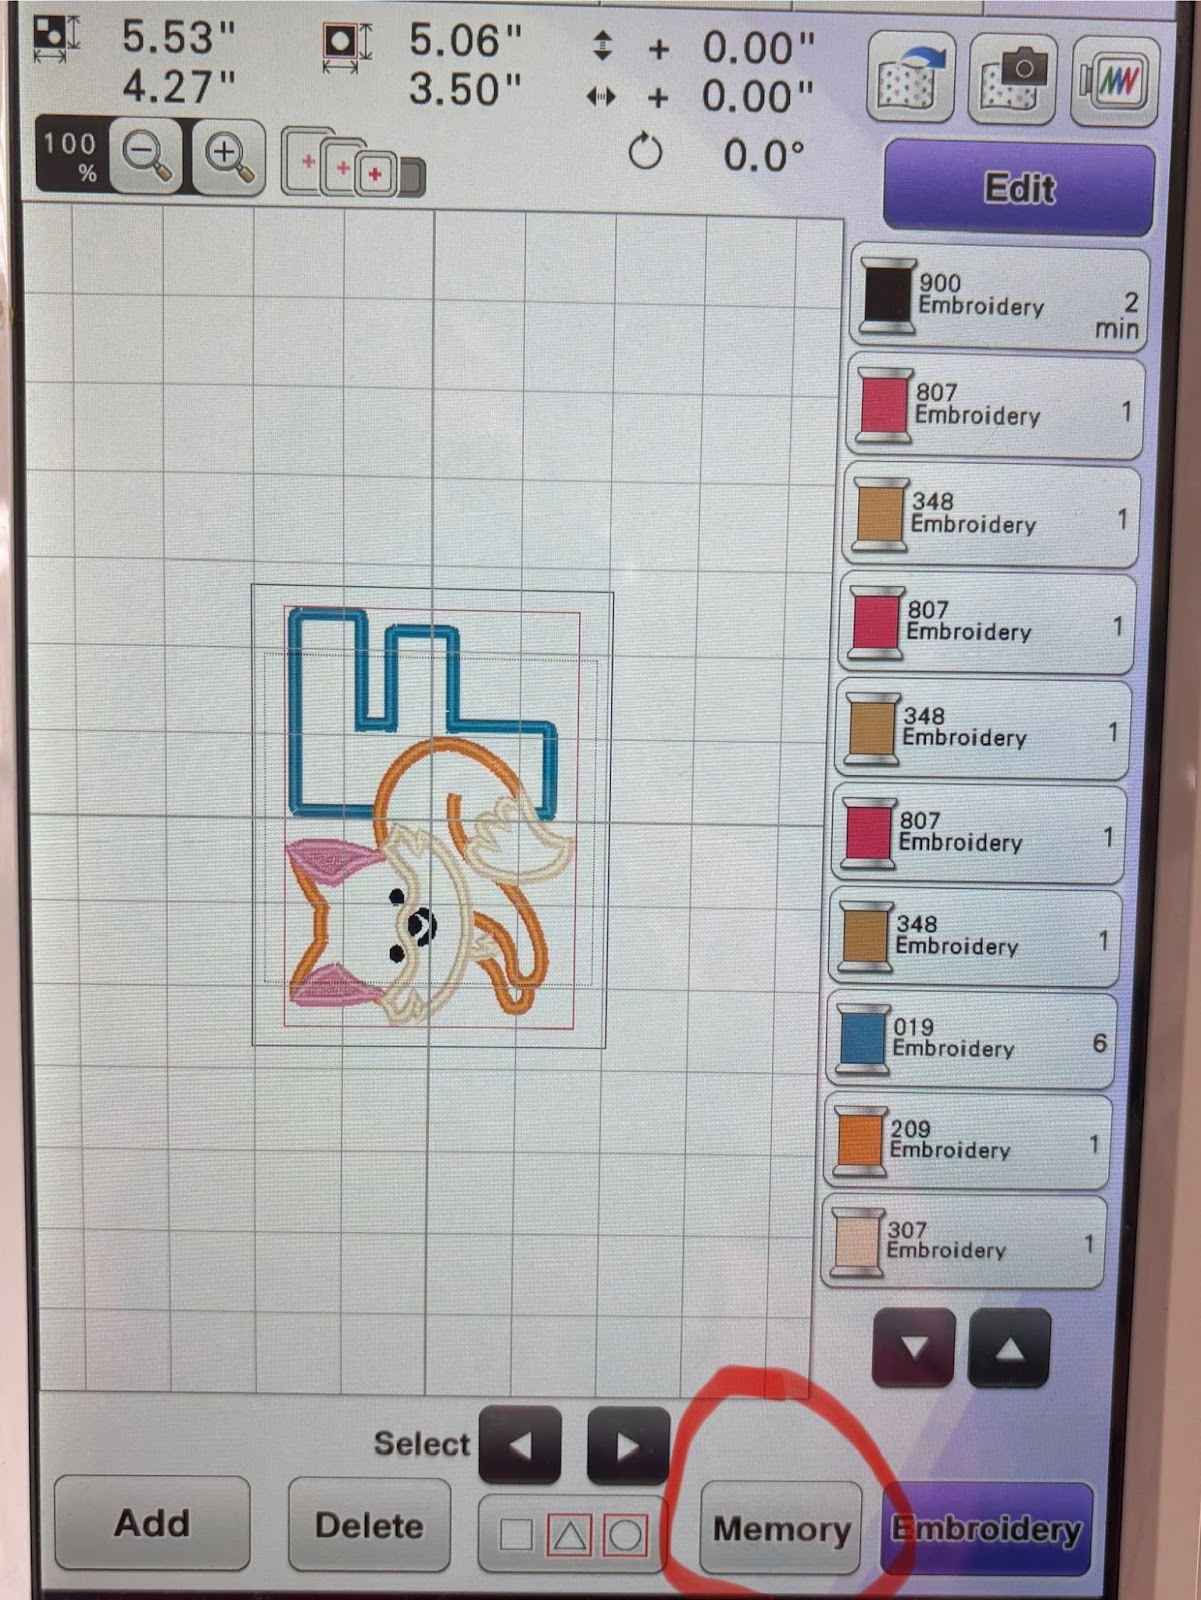
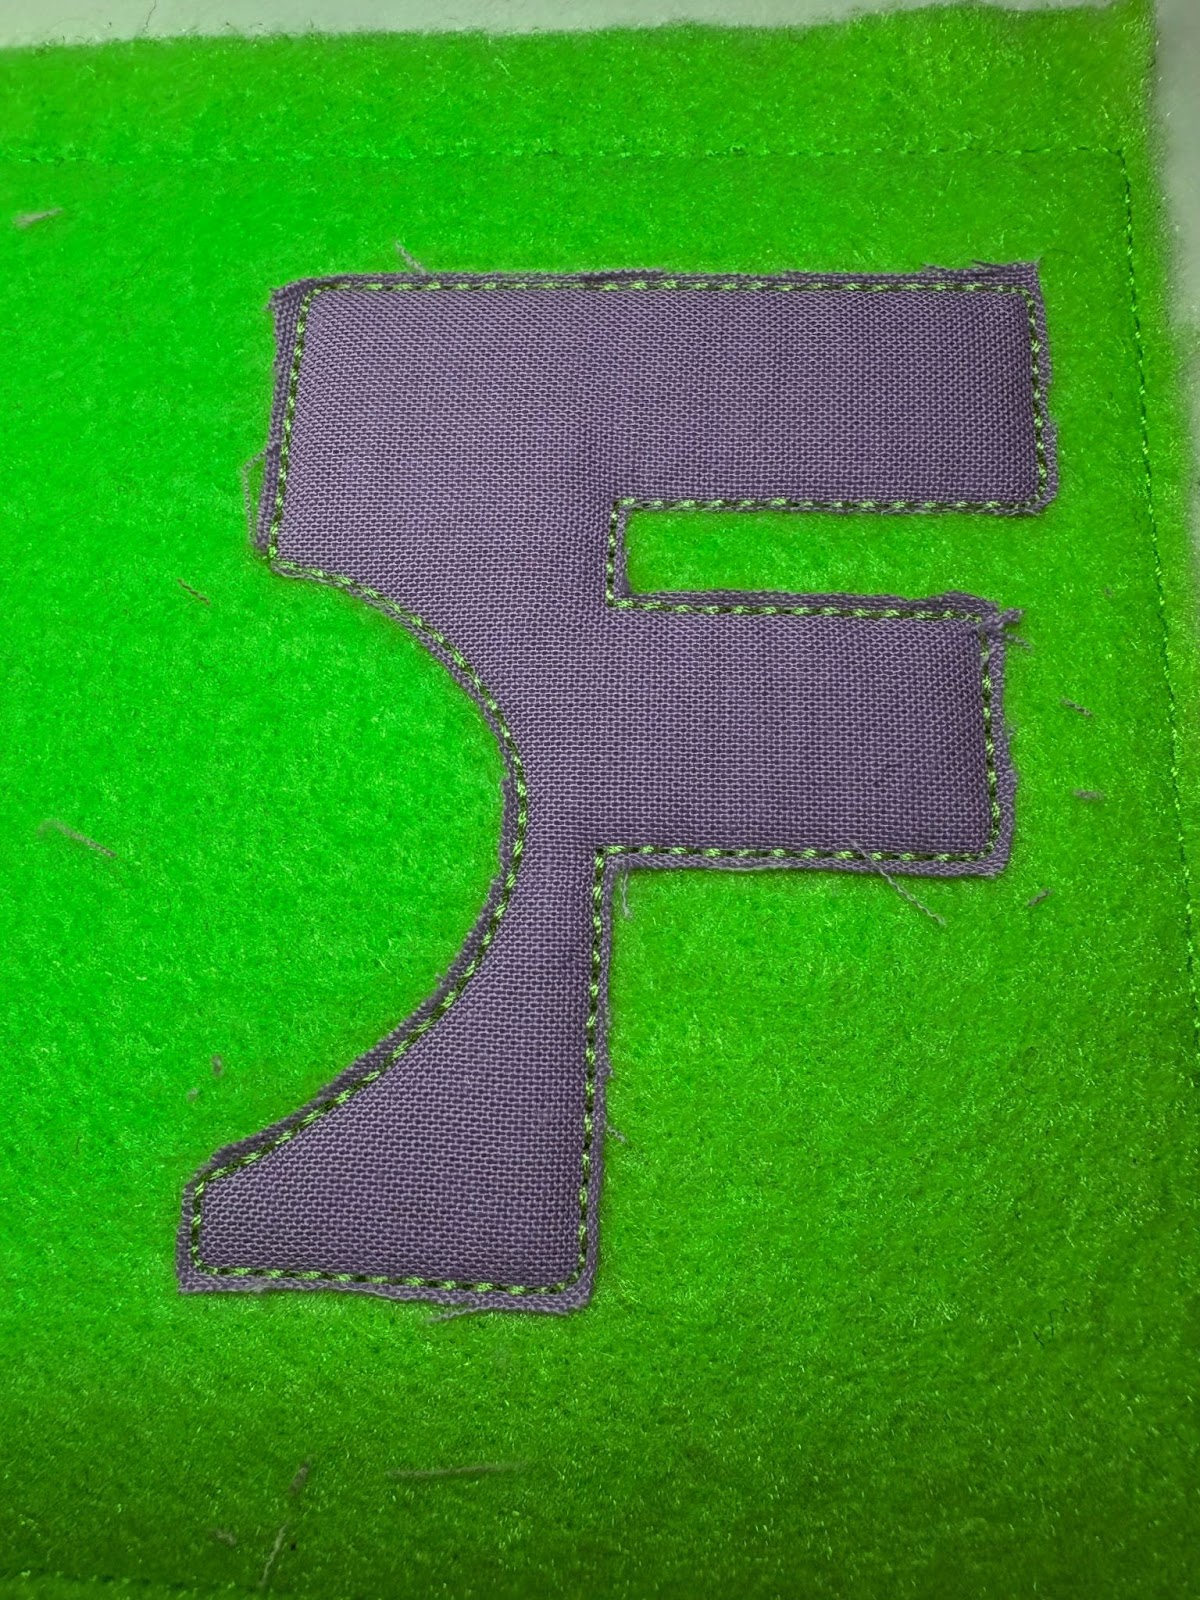
Return the hoop to the machine and stitch out all applique steps, trimming after each one. When finished, your applique should look similar to this.
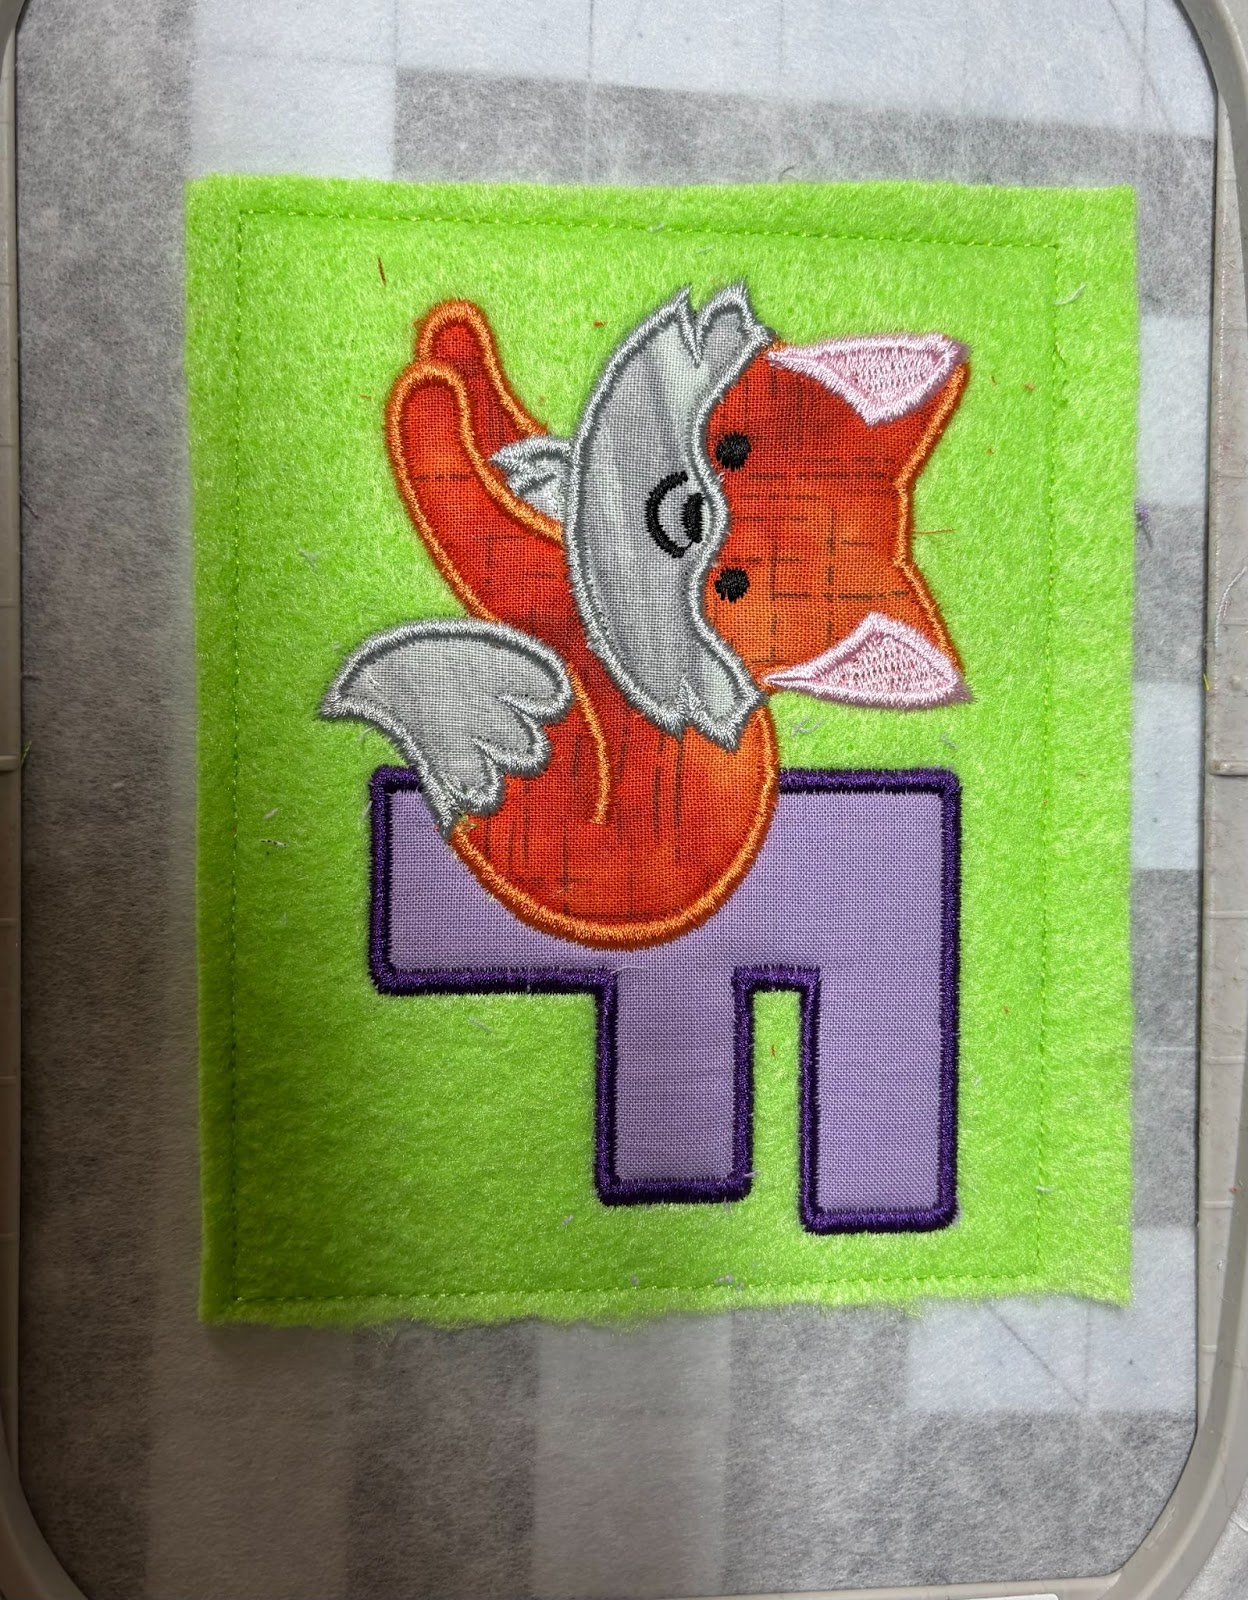
The remaining steps will be the satin stitches around the design. When finished with these steps, DO NOT remove the design from the hoop. We still need to attach the back. Also do not delete the design from the machine. It should be back to the very first step: the rectangle triple stitch.
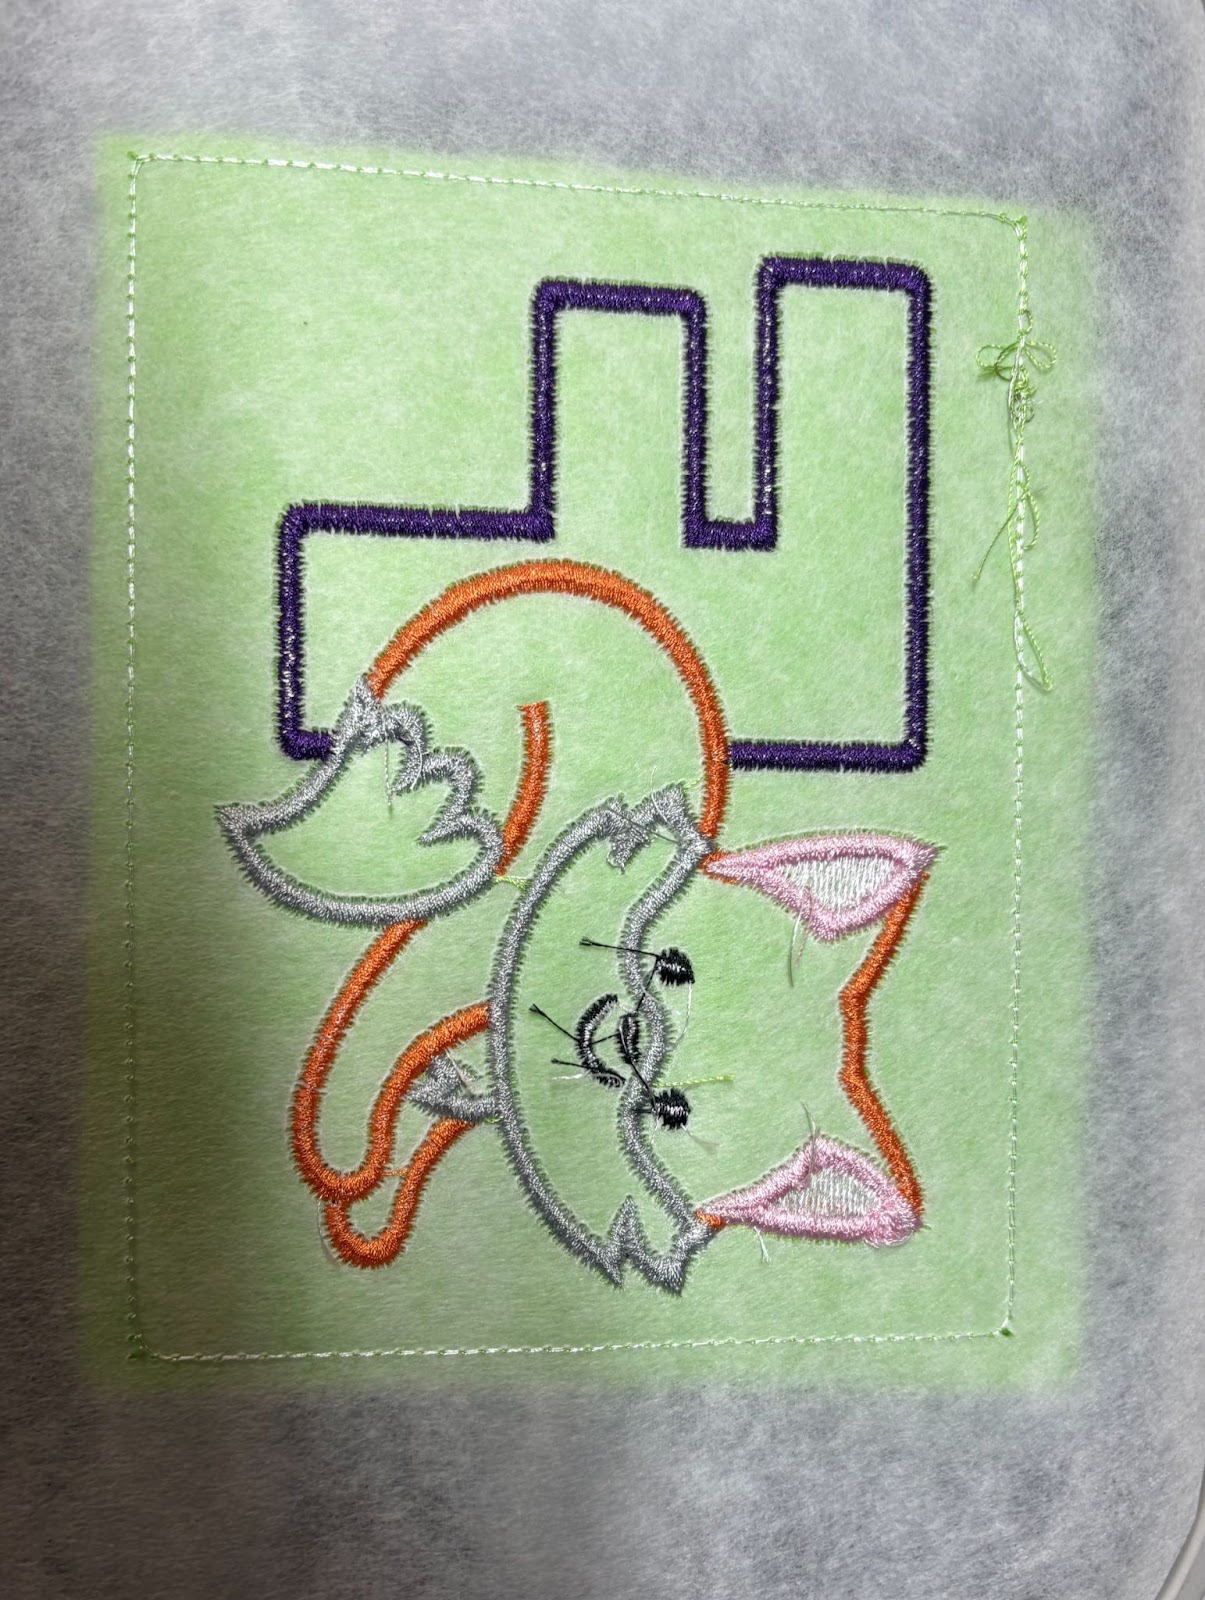
Remove the hoop from the machine and lay on a flat surface with the back of the design facing up.
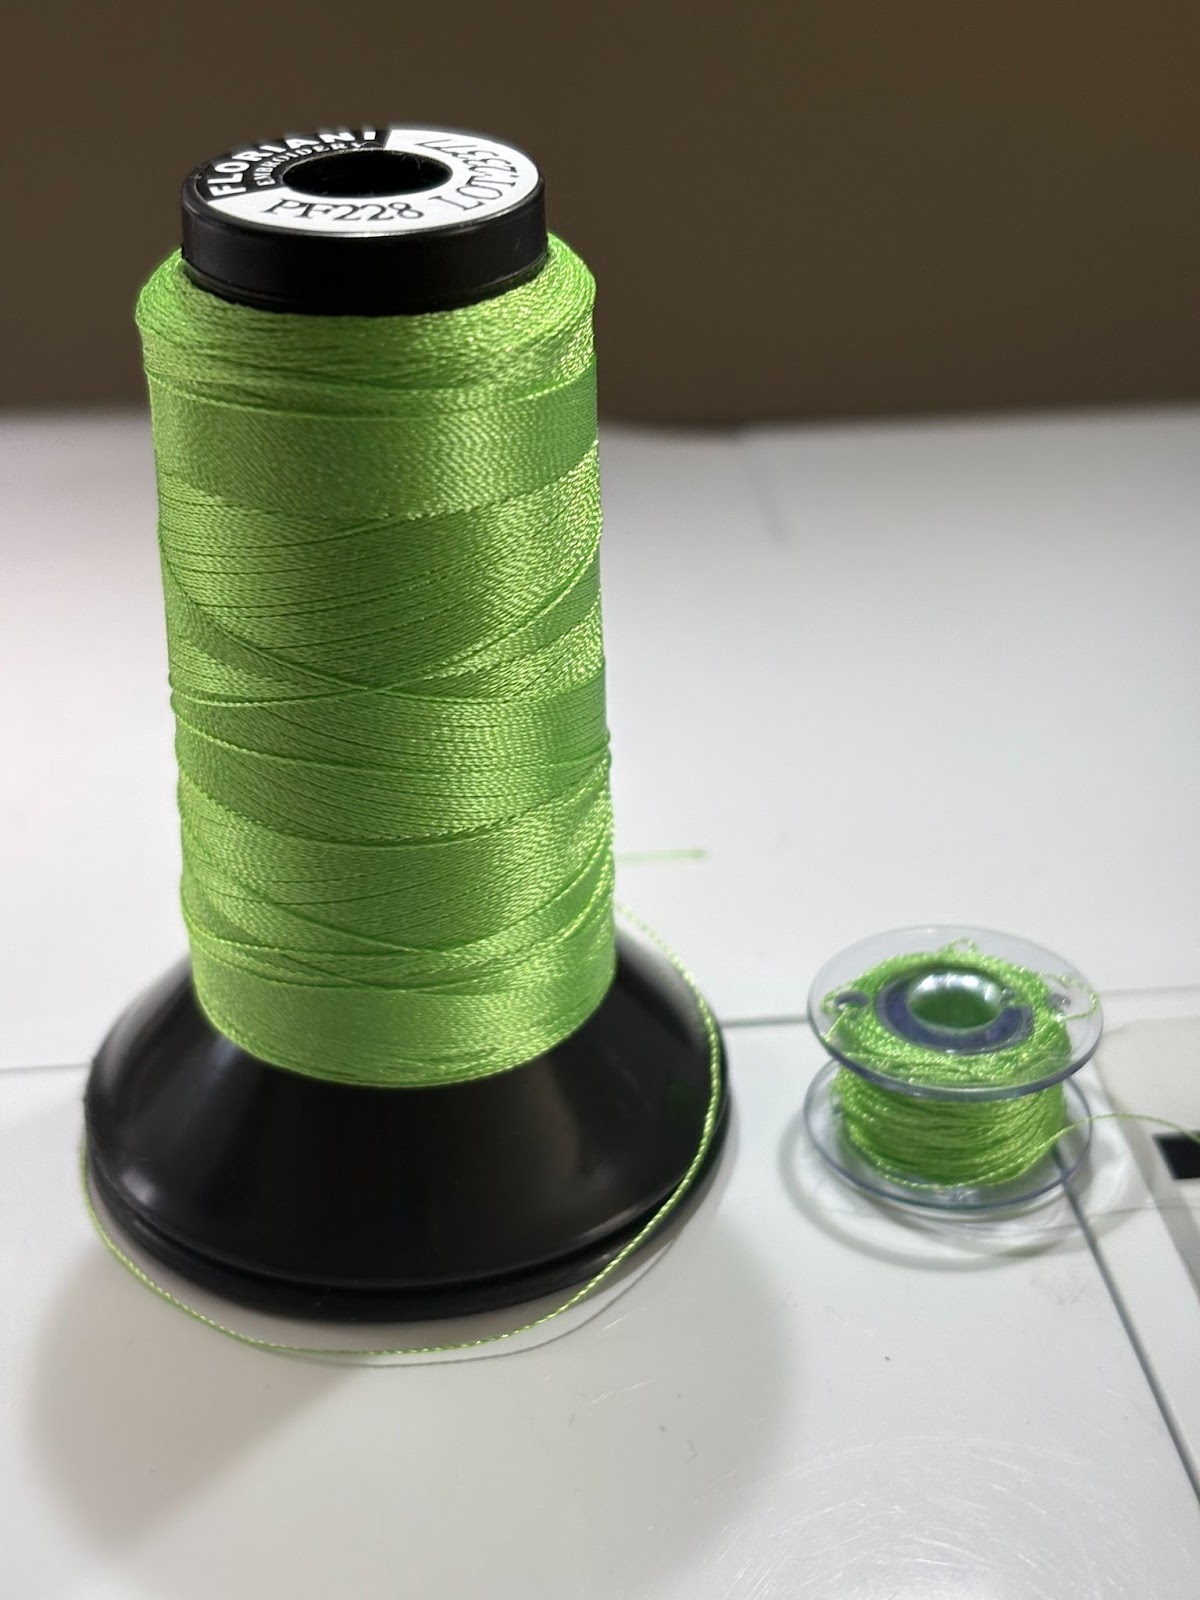
Before attaching the back, if you want the threads to match on the front and back, now is the time to change them.
Take the back piece of felt and lay it over the design. Make sure to completely cover the stitching. Tape in place. Take back to the machine and carefully load the hoop, making sure the back felt is lying flat. Stitch out the rectangle triple stitch to attach the front and back.
When finished, remove the design from the hoop and tear away the stabilizer. I suggest tearing the stabilizer away before trimming. This will give you a cleaner edge.

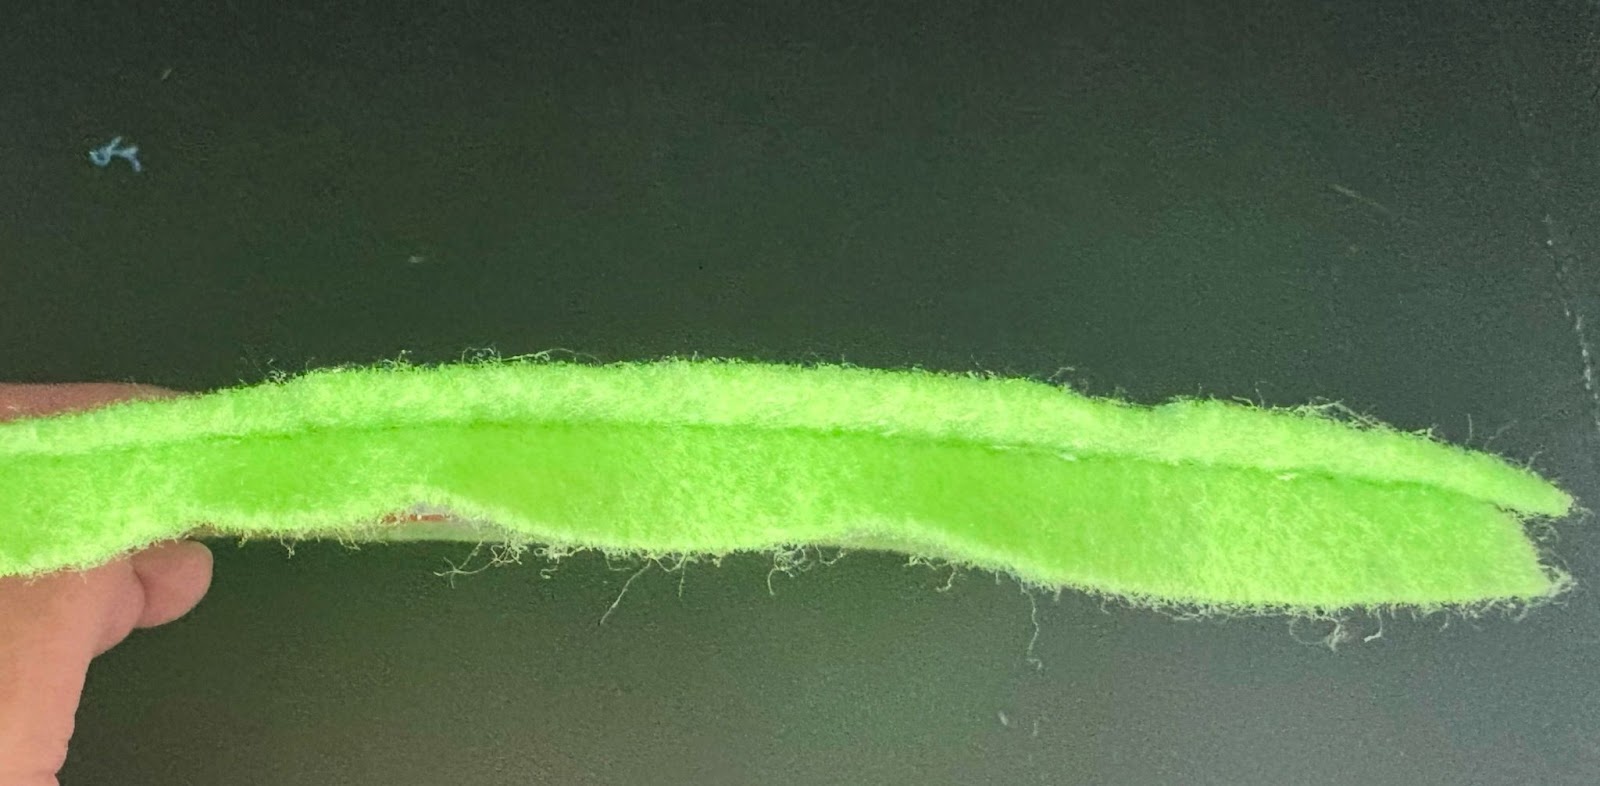
Trim the rectangle close to the stitches. I recommend ⅛” from the stitches. Finished size should be 5¾” x 4½”.
Delete only the applique design from the machine, leaving the rectangle. This saves you from having to upload a rectangle each time. Add your next design. Use the above steps to complete your alphabet animal flashcards.
Your little ones are going to adore these colorful felt flashcards. If you make them, please share with us in the Designs by JuJu Embroidery Blessings Group on Facebook, or anywhere on social media using the hashtag #designsbyjuju. We’d love to see what you create!
