Toggle Nav
 Inspire.
Create.
Stitch.
Inspire.
Create.
Stitch.
Search

Imagine the excitement of designing and creating custom fabric with your favorite Designs by JuJu embroidery designs!
Have you ever visited a fabric store in search of a specific design, only to be disappointed by what you find? Have you ever wished you could create your own fabric, inspired by the ideas in your mind? Well, now you can! In this fun tutorial, I will guide you through the process of transforming a solid color fabric into a cute and unique pattern using the amazing library from Designs by JuJu. We will then use that pattern to make a special zipper bag that showcases your personal style. Let’s get started and have some fun bringing your creativity to life!
Check out the DBJJ team’s favorite supplies in the Designs by JuJu Amazon store.
To start, select the Quilting Backdrop or end-to-end design you want for the background of your fabric. Next, choose a coordinating embroidery design or designs to stitch on top of the background. Smaller designs, like the ones I mentioned above, tend to work best.
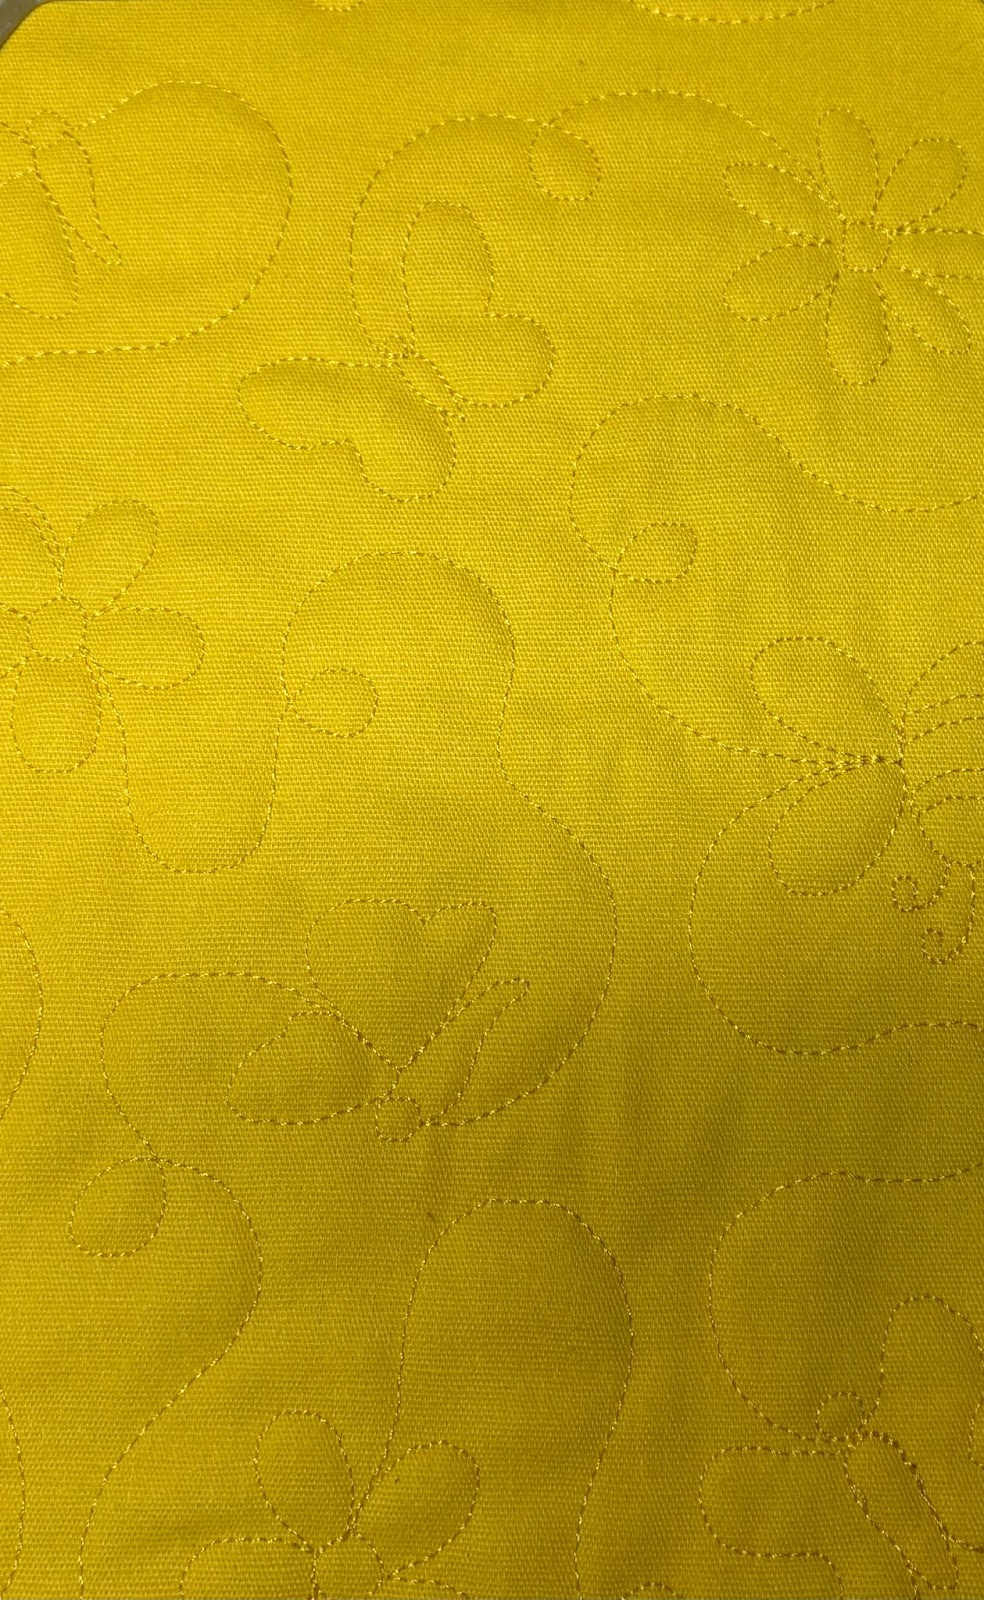
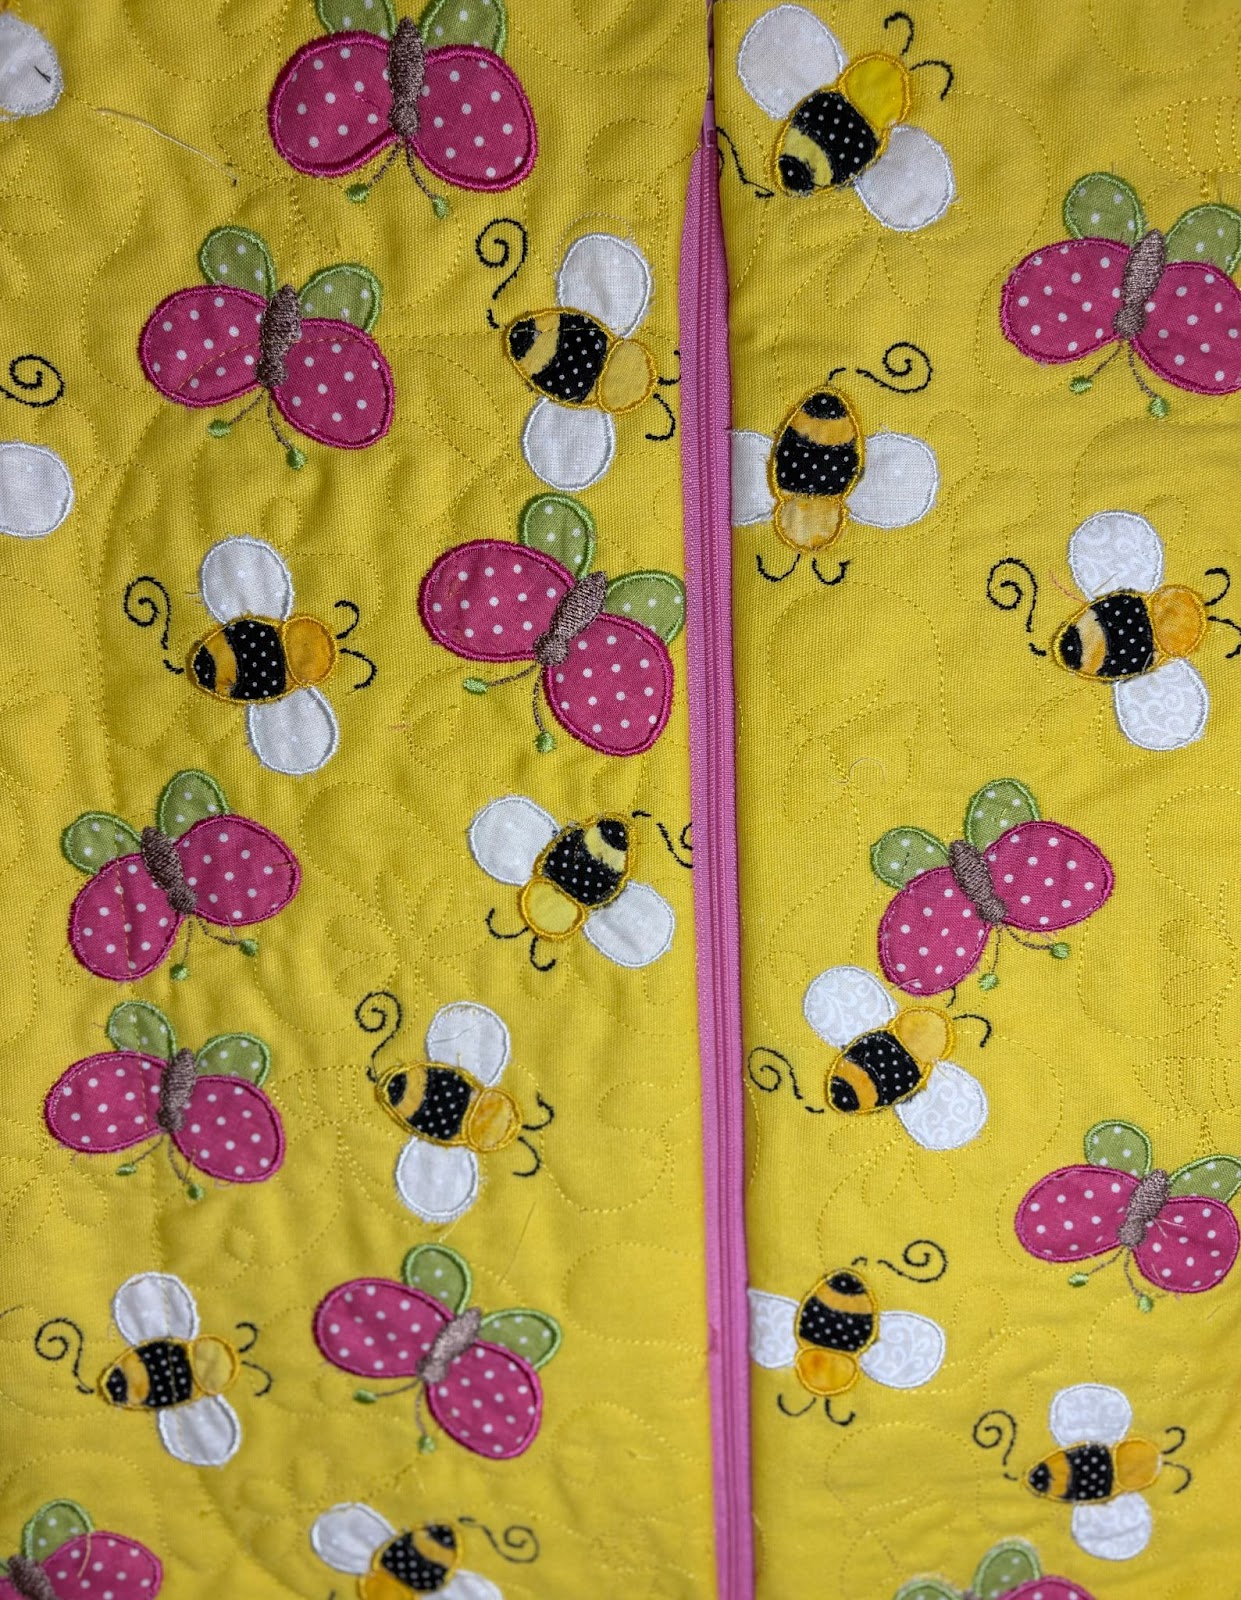
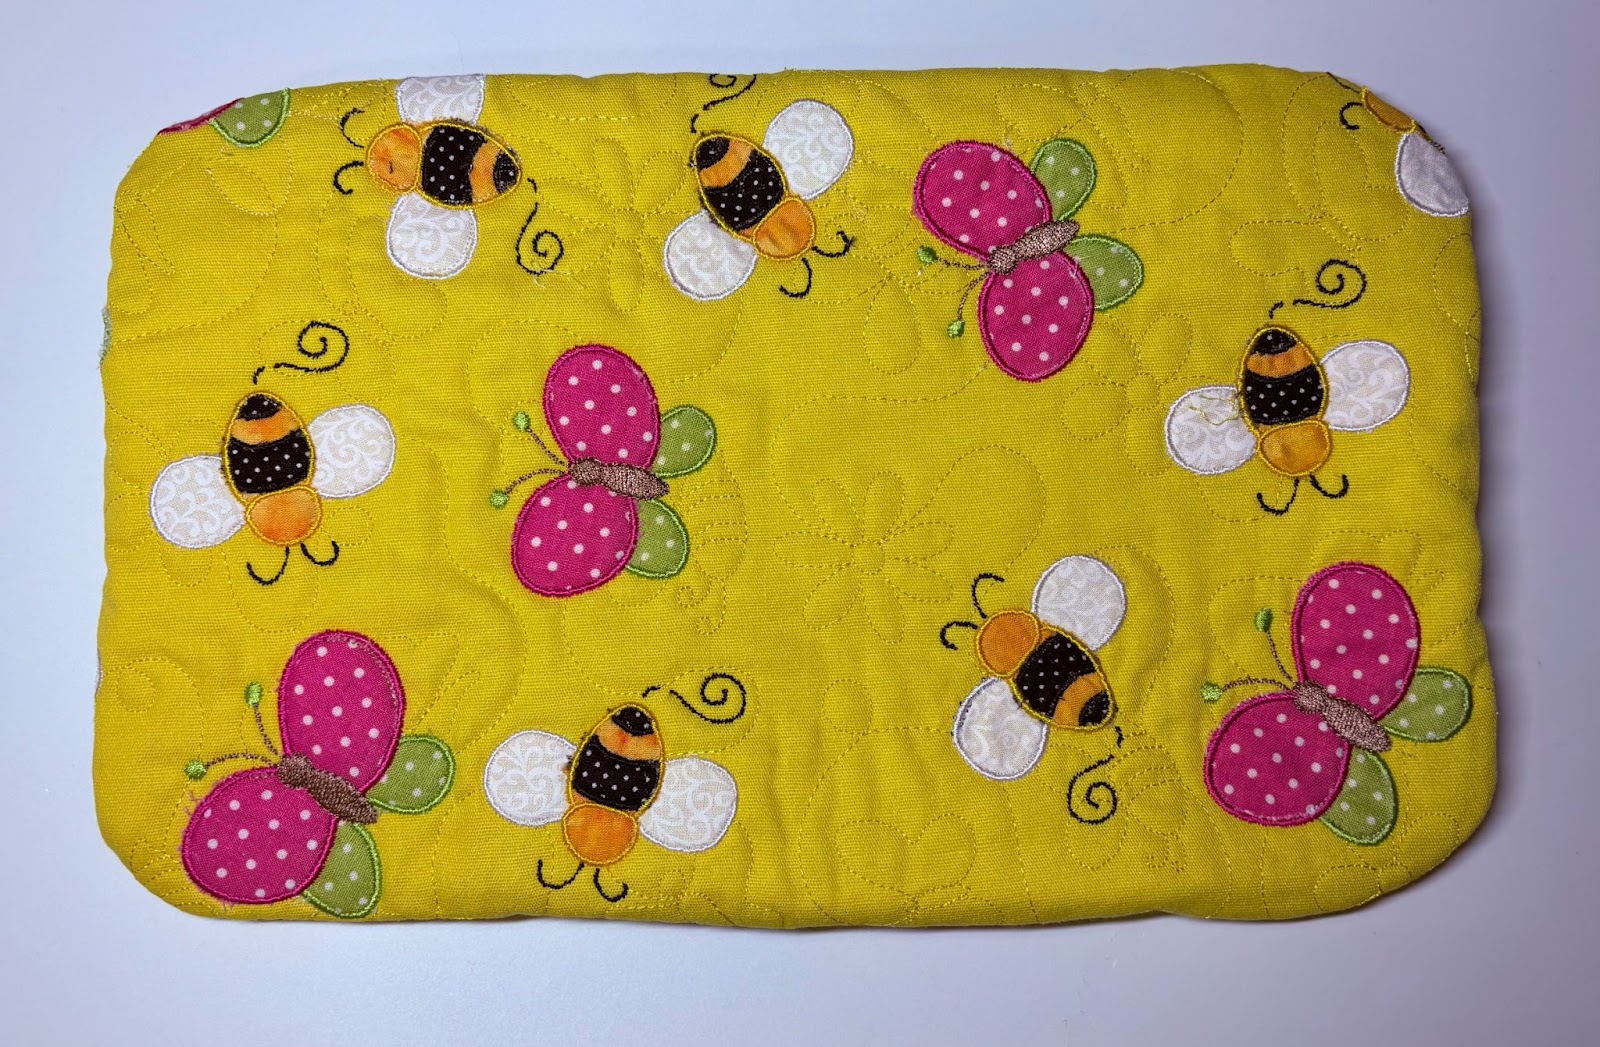
I chose the Honey Bees, Butterflies, & Flowers Quilting Backdrops Design for my background.
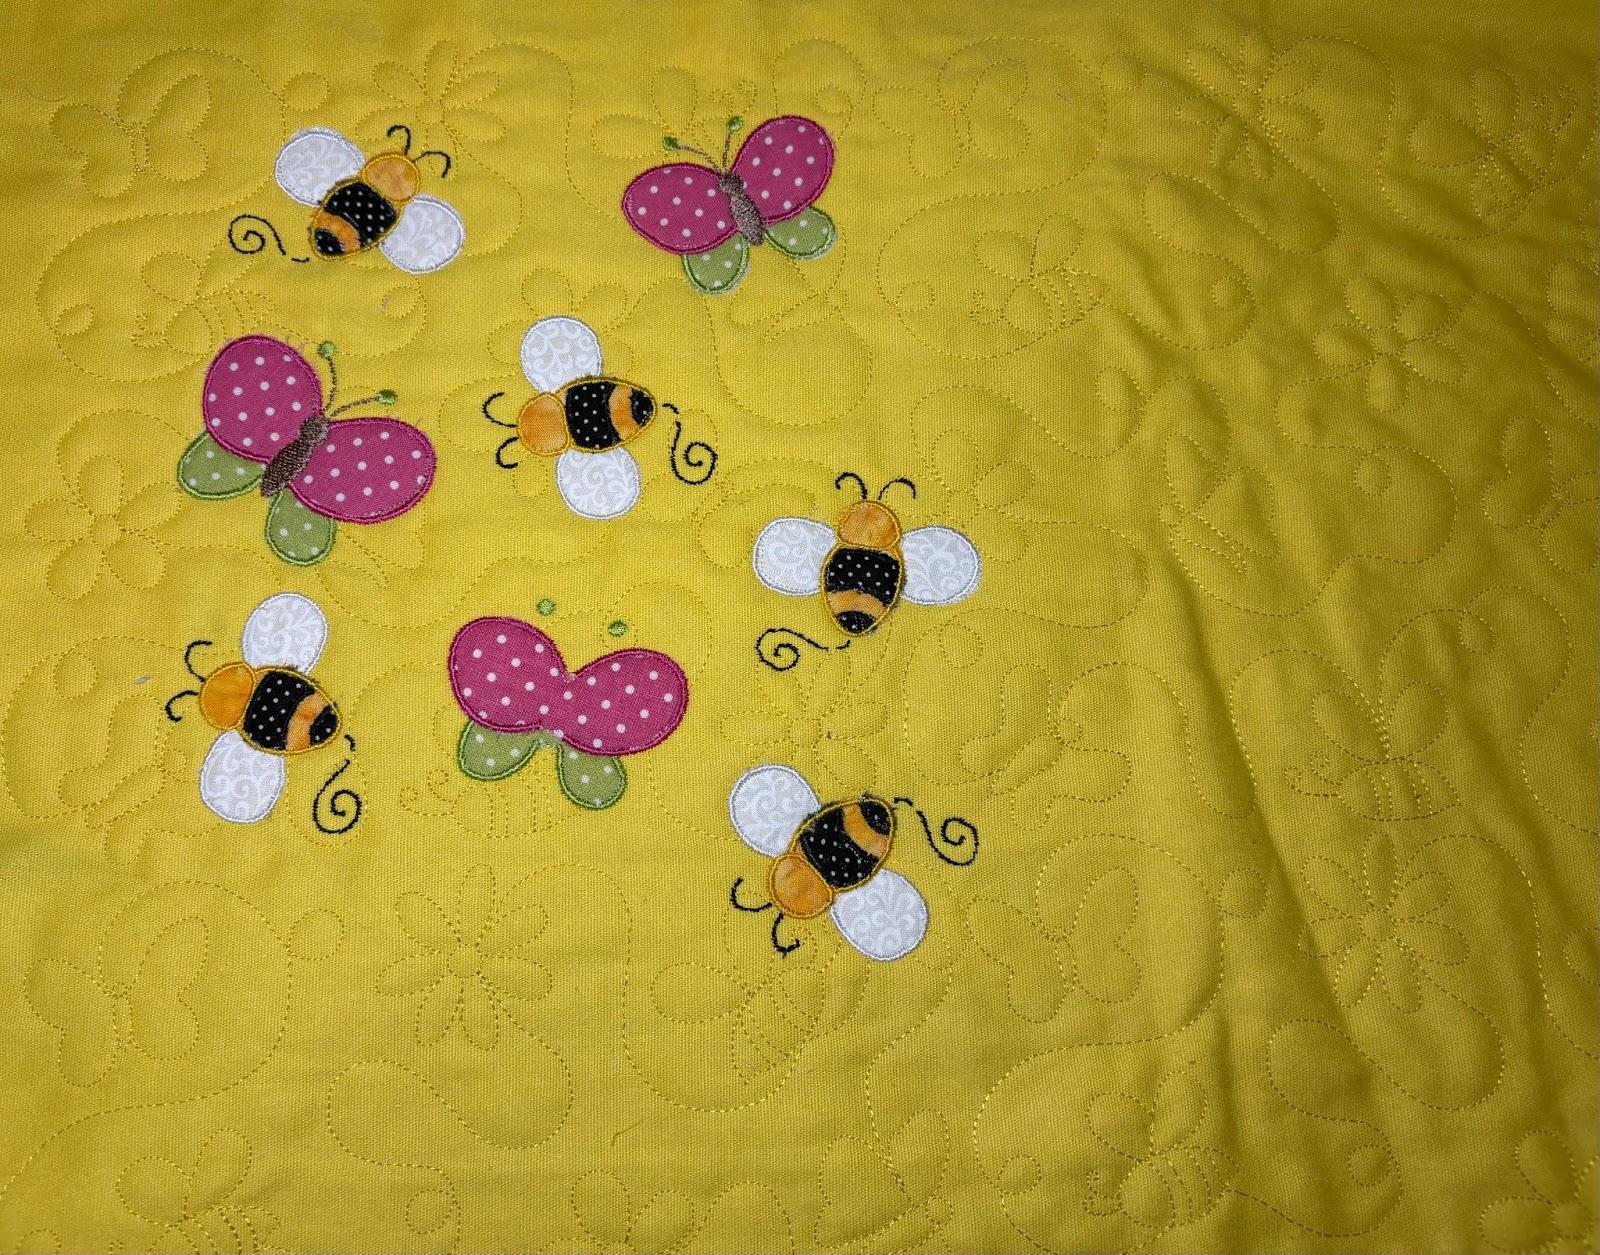
To coordinate with my background I choose Spring Fever Applique 4x4 and 5x7. Designs by JuJu has a variety of small designs that will work for this project. Find the perfect set for you and let’s get started.
Load the Quilting Backdrops or End-to-End Quilting Design of your choice to your machine. Choose the size that works best with your largest hoop.


We will use cotton batting as our stabilizer. There is no need to add additional stabilizer to the hoop. I found it easiest to cut the batting to fit my hoop.
Hoop fabric and batting together. Take the hoop to your machine and run the background stitching. Remove the fabric and batting from the hoop.
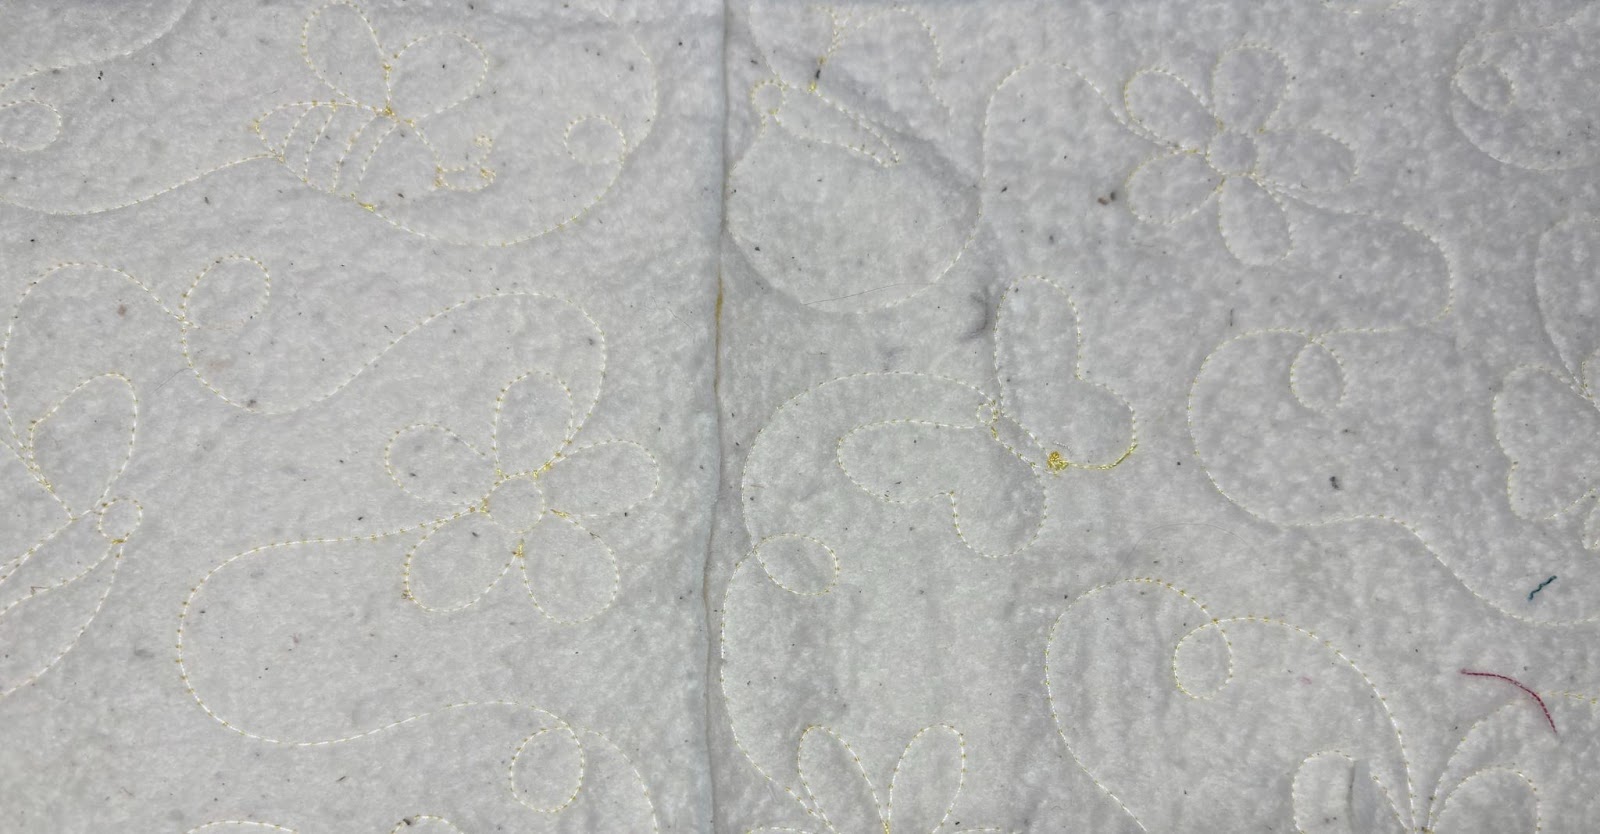
Trim the batting close to the stitches. Continue hooping the batting and fabric, cutting the batting after each section. Try to not let the batting overlap.

Continue stitching the background until you have fully covered the fabric. Do not remove the background design from your machine.
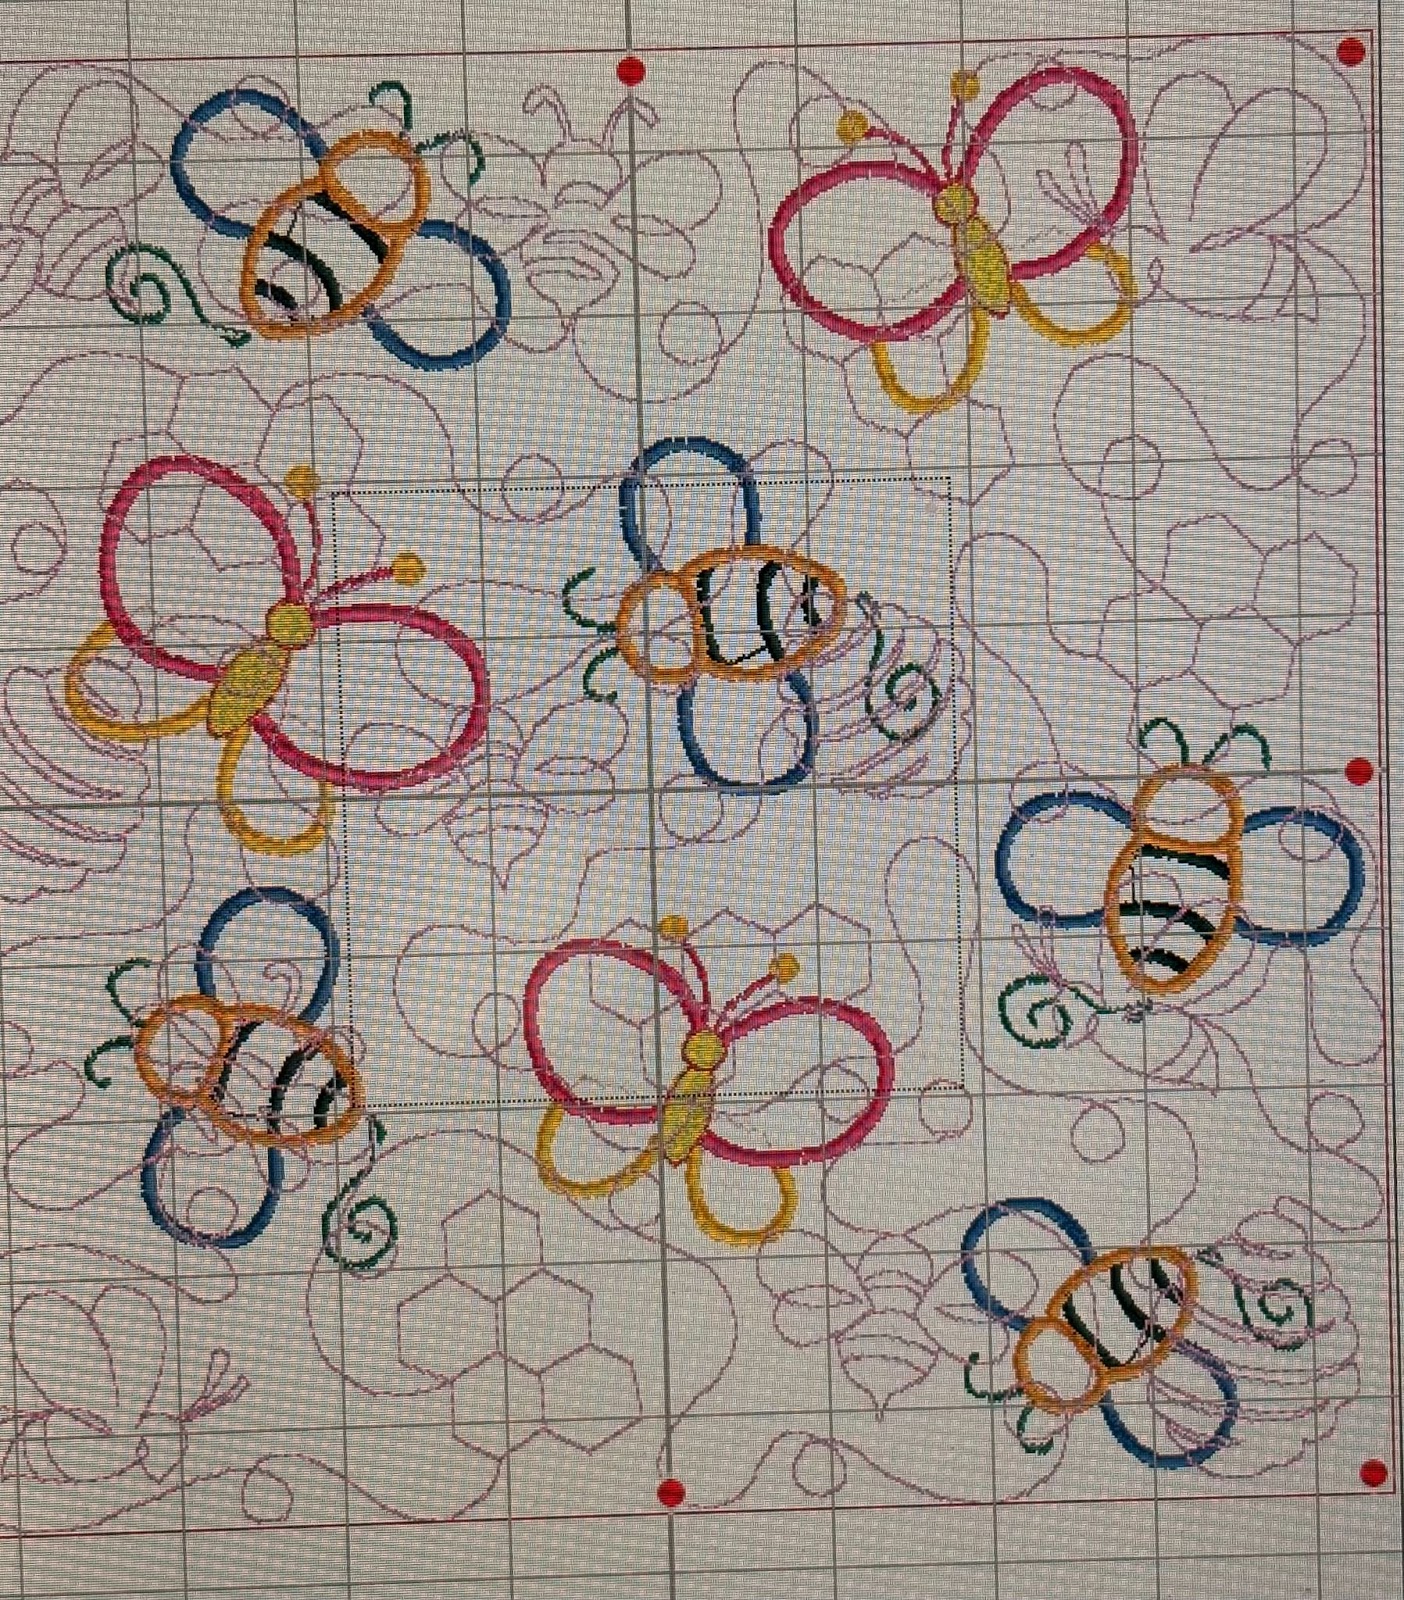
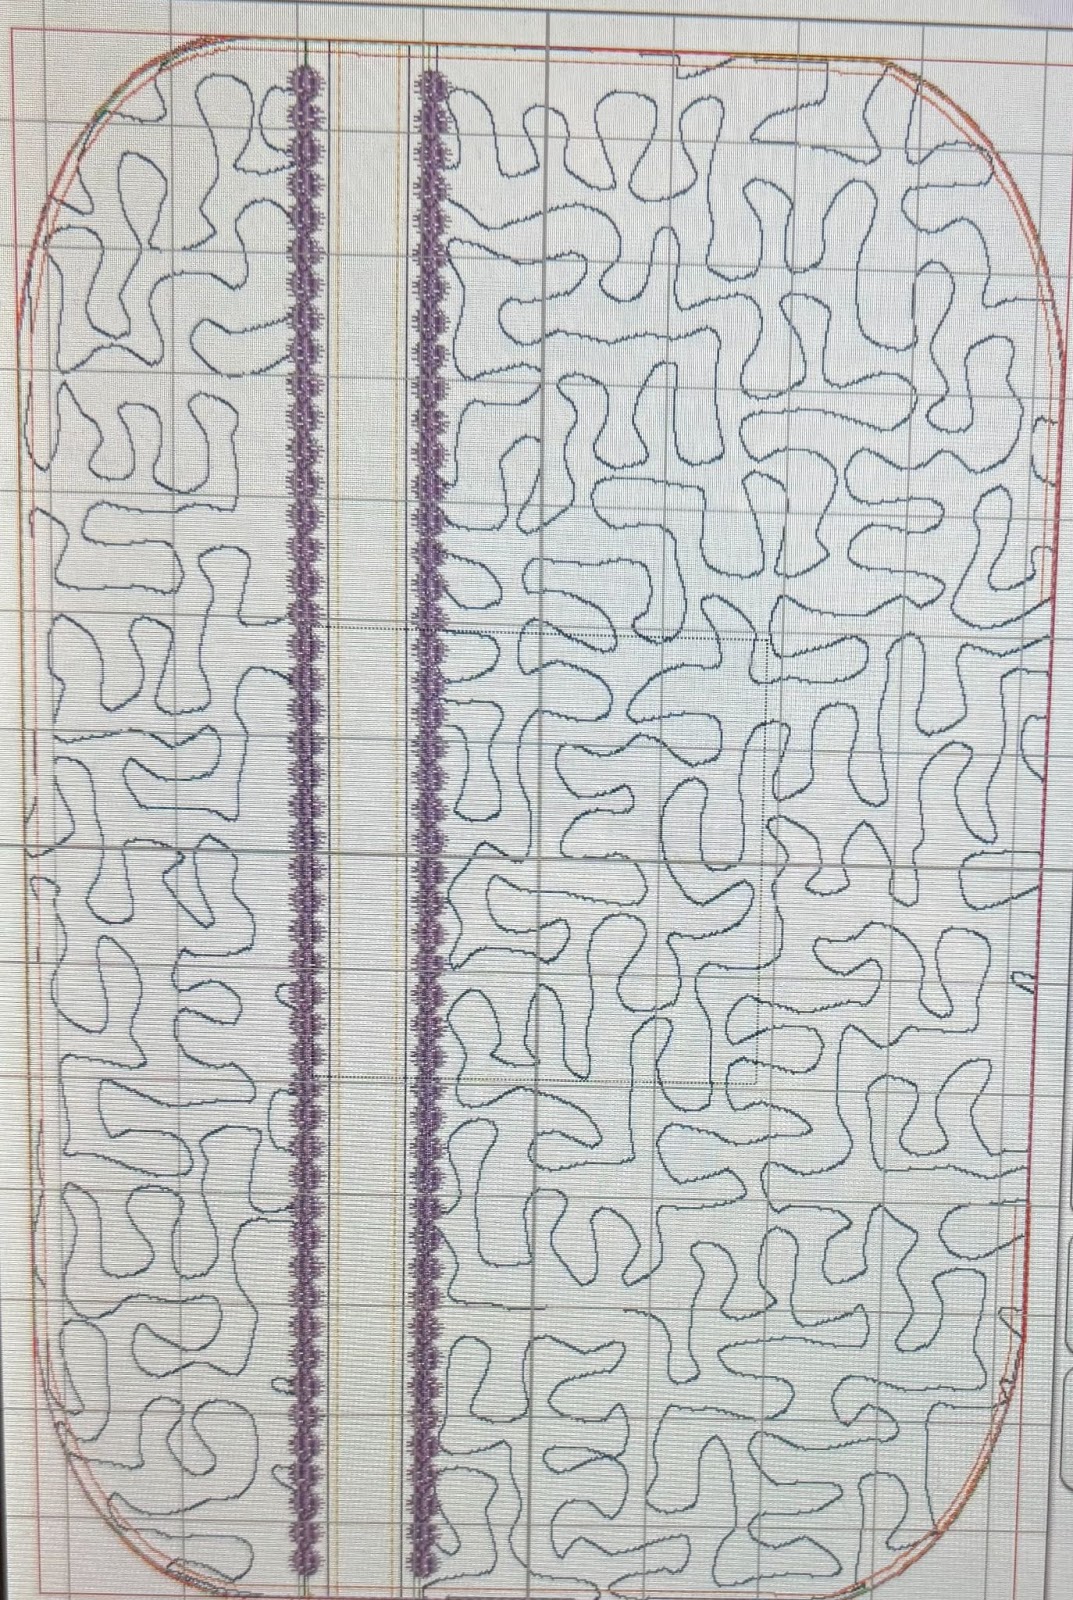
Add the design or designs you want to use with the background to the machine. Arrange them on the screen, staying inside the lines of the background design.

Now you can delete the background, keeping just the designs.
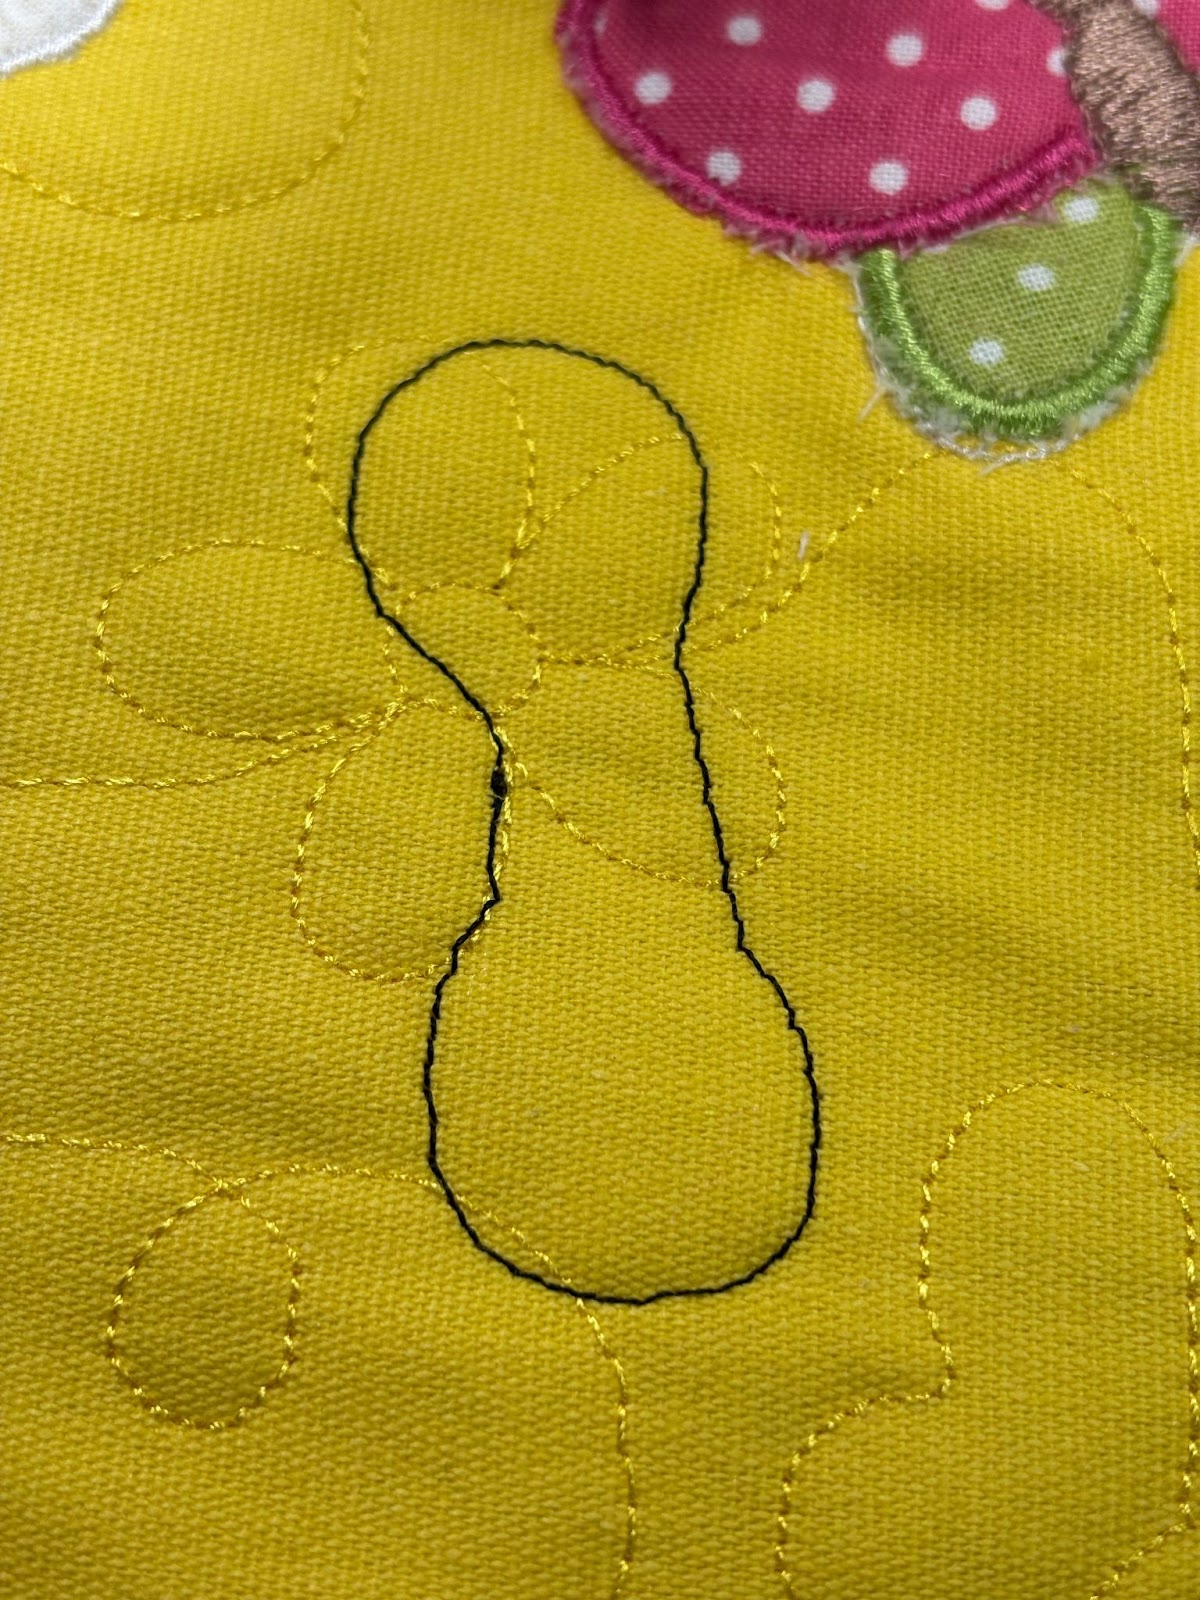
Load the fabric and batting into your hoop. No additional stabilizer is required. Stitch out the designs. If doing applique, begin with the first step, which is the placement stitch for the applique fabric.
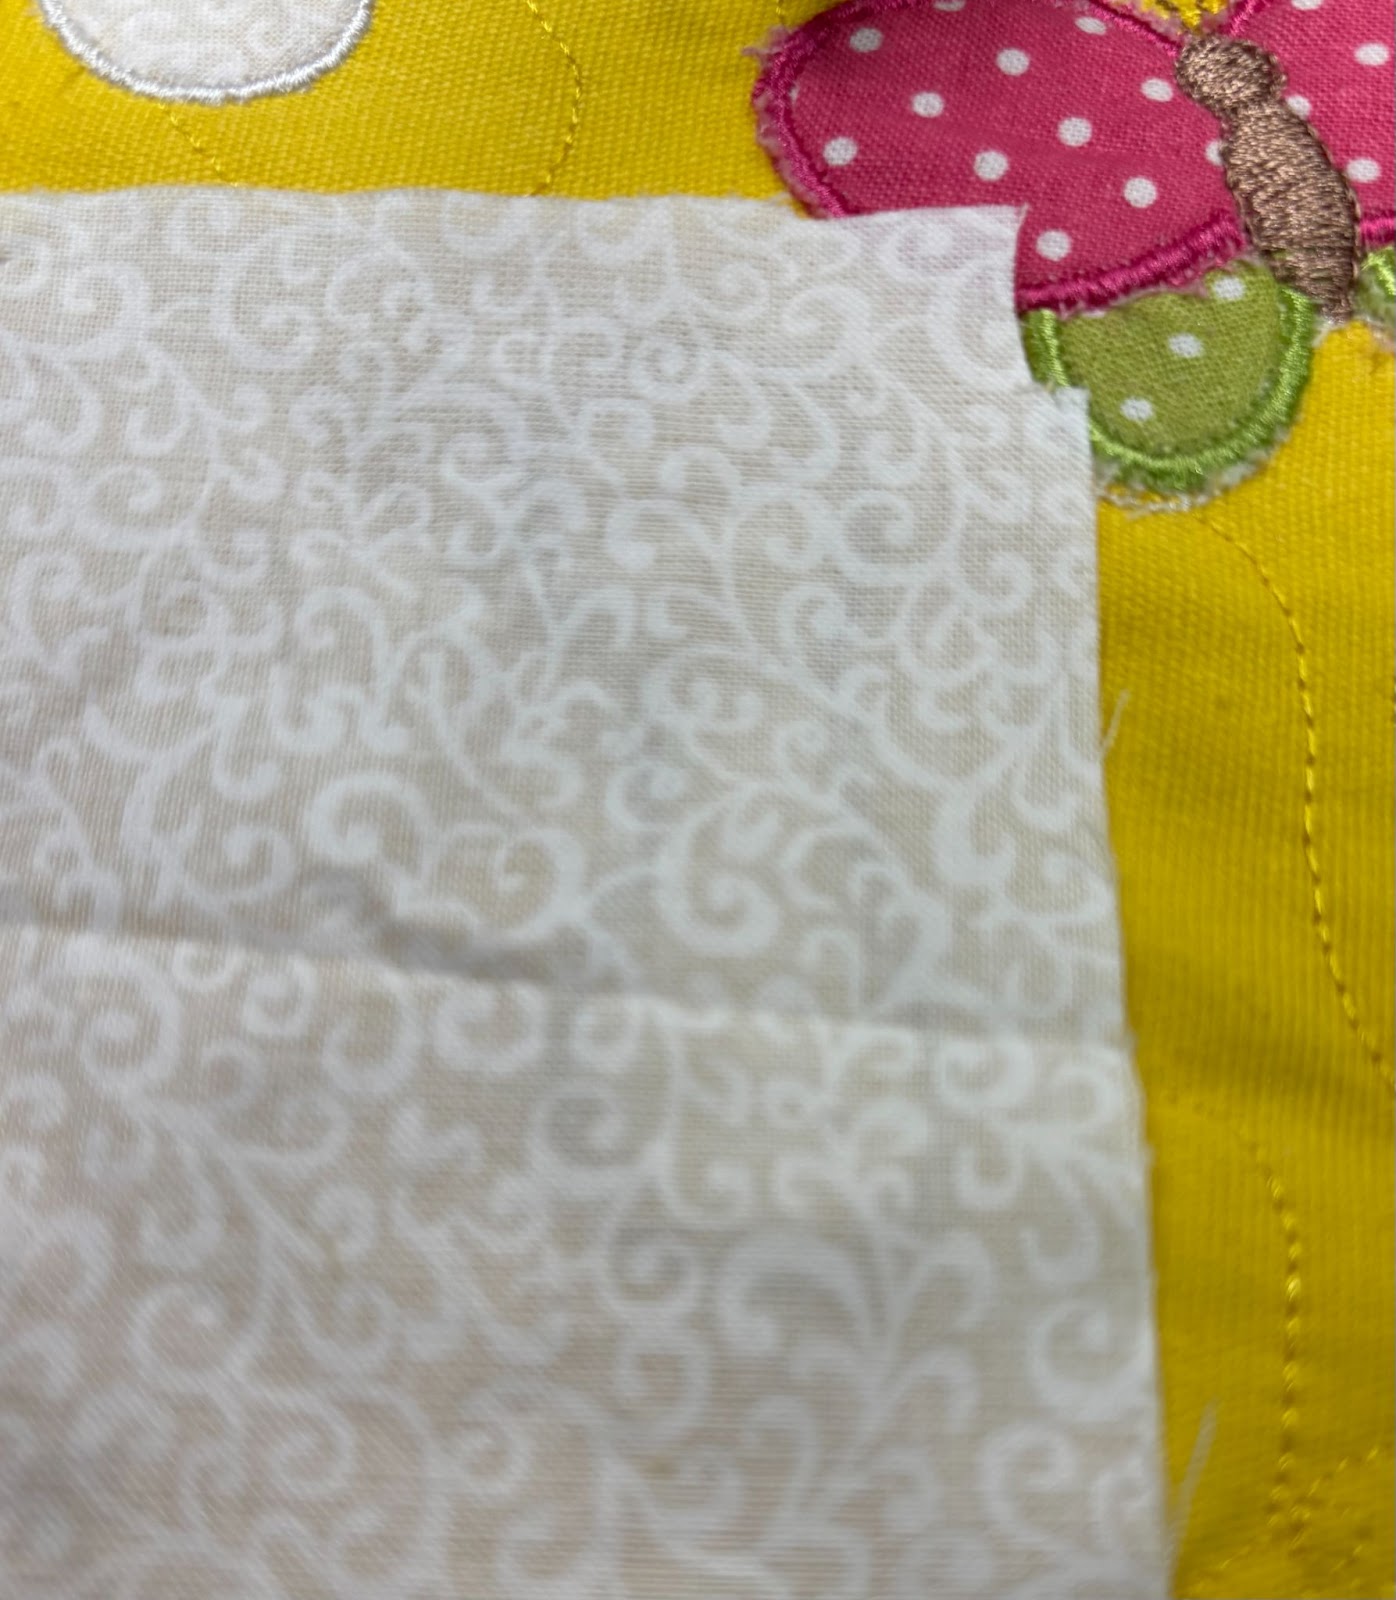
Make sure to fully cover the placement stitch. The next step will be to tack down the fabric.
Continue with all the steps, trimming close to the stitches after each one.
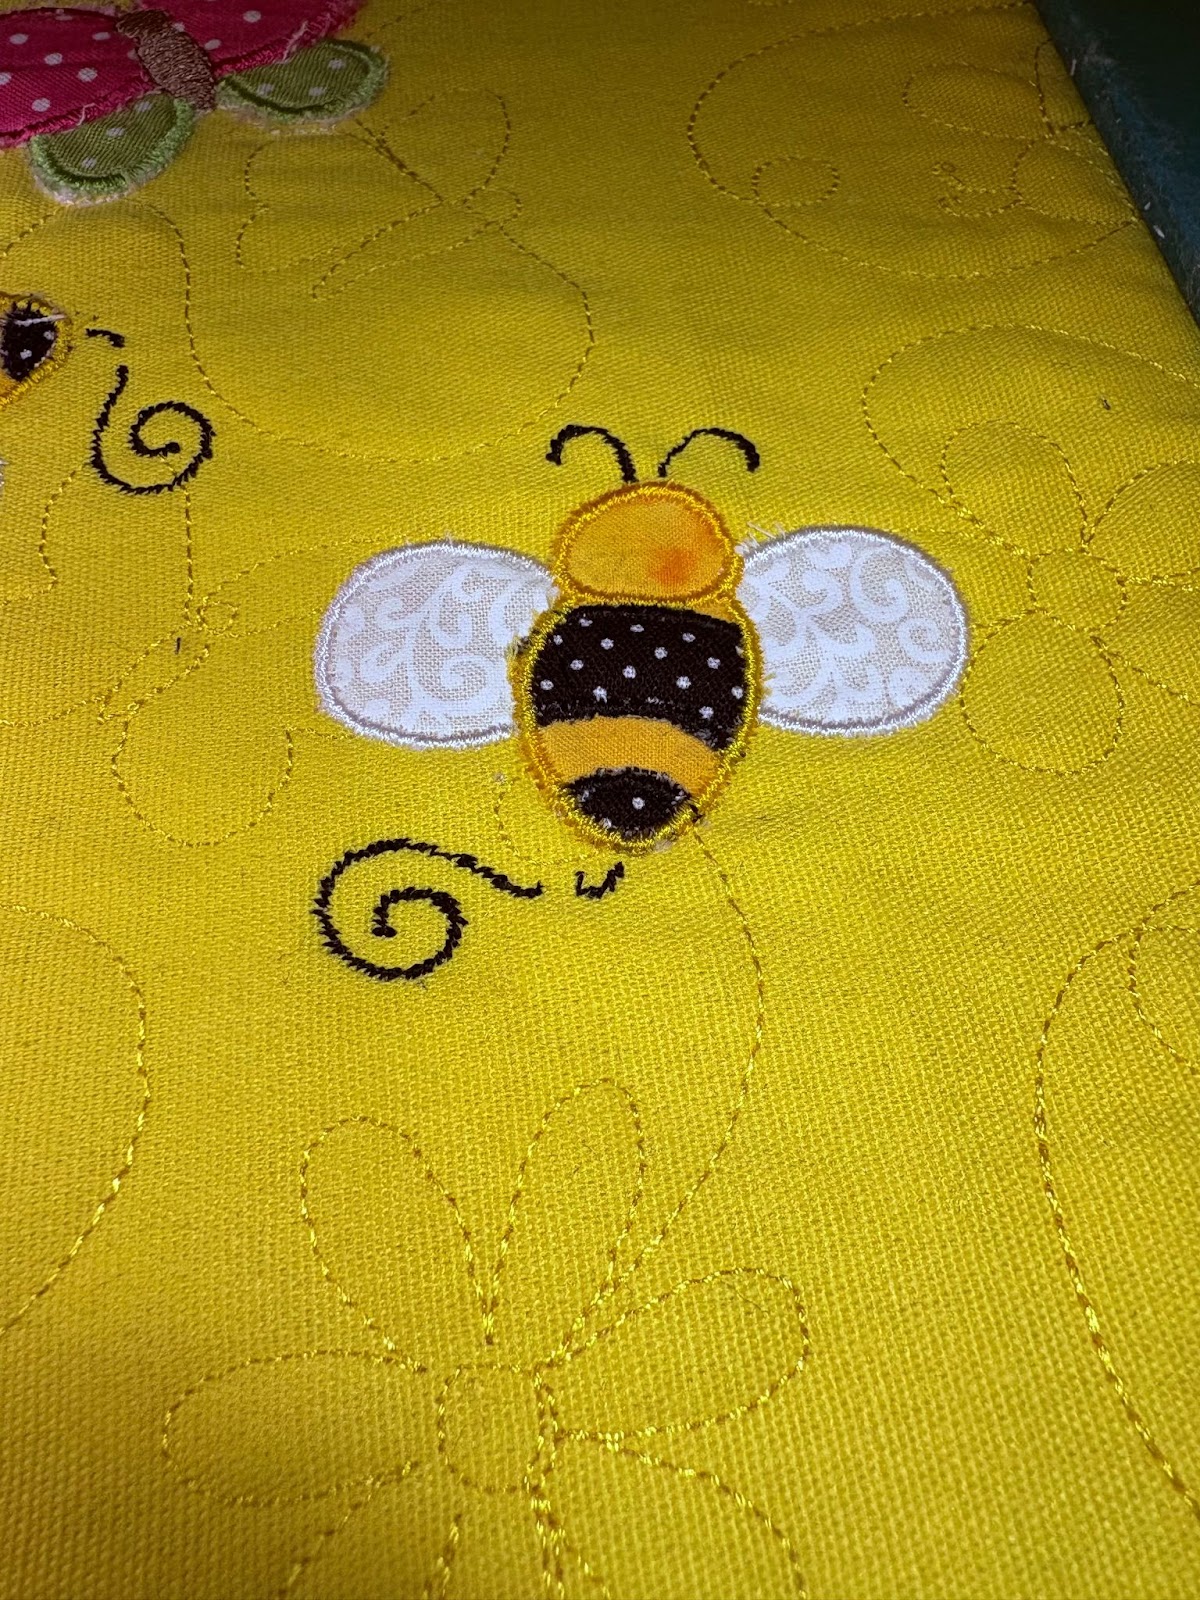
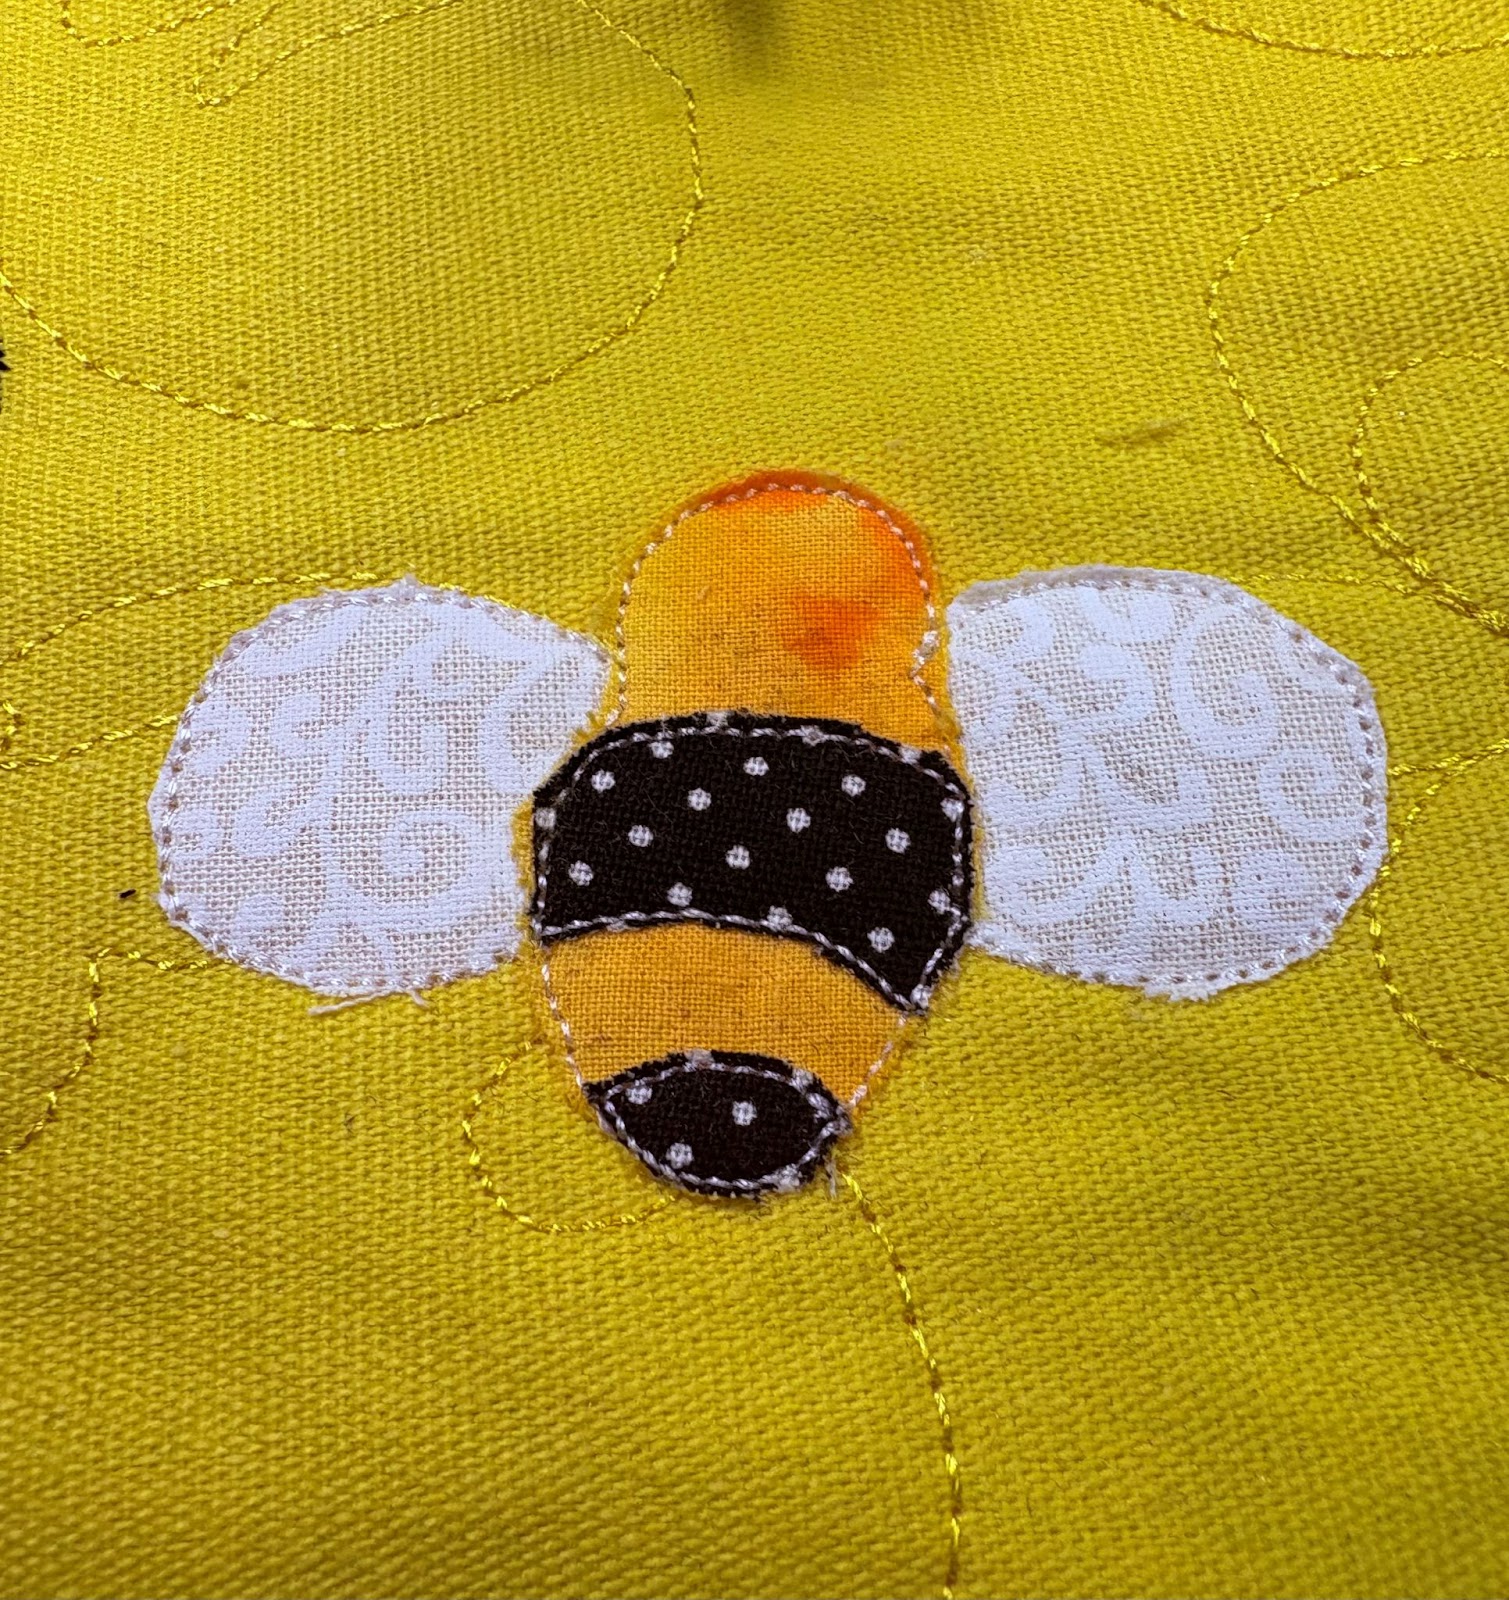
The final stitches of each applique will be the cover stitches.

When finished with each section, remove the fabric from the hoop.

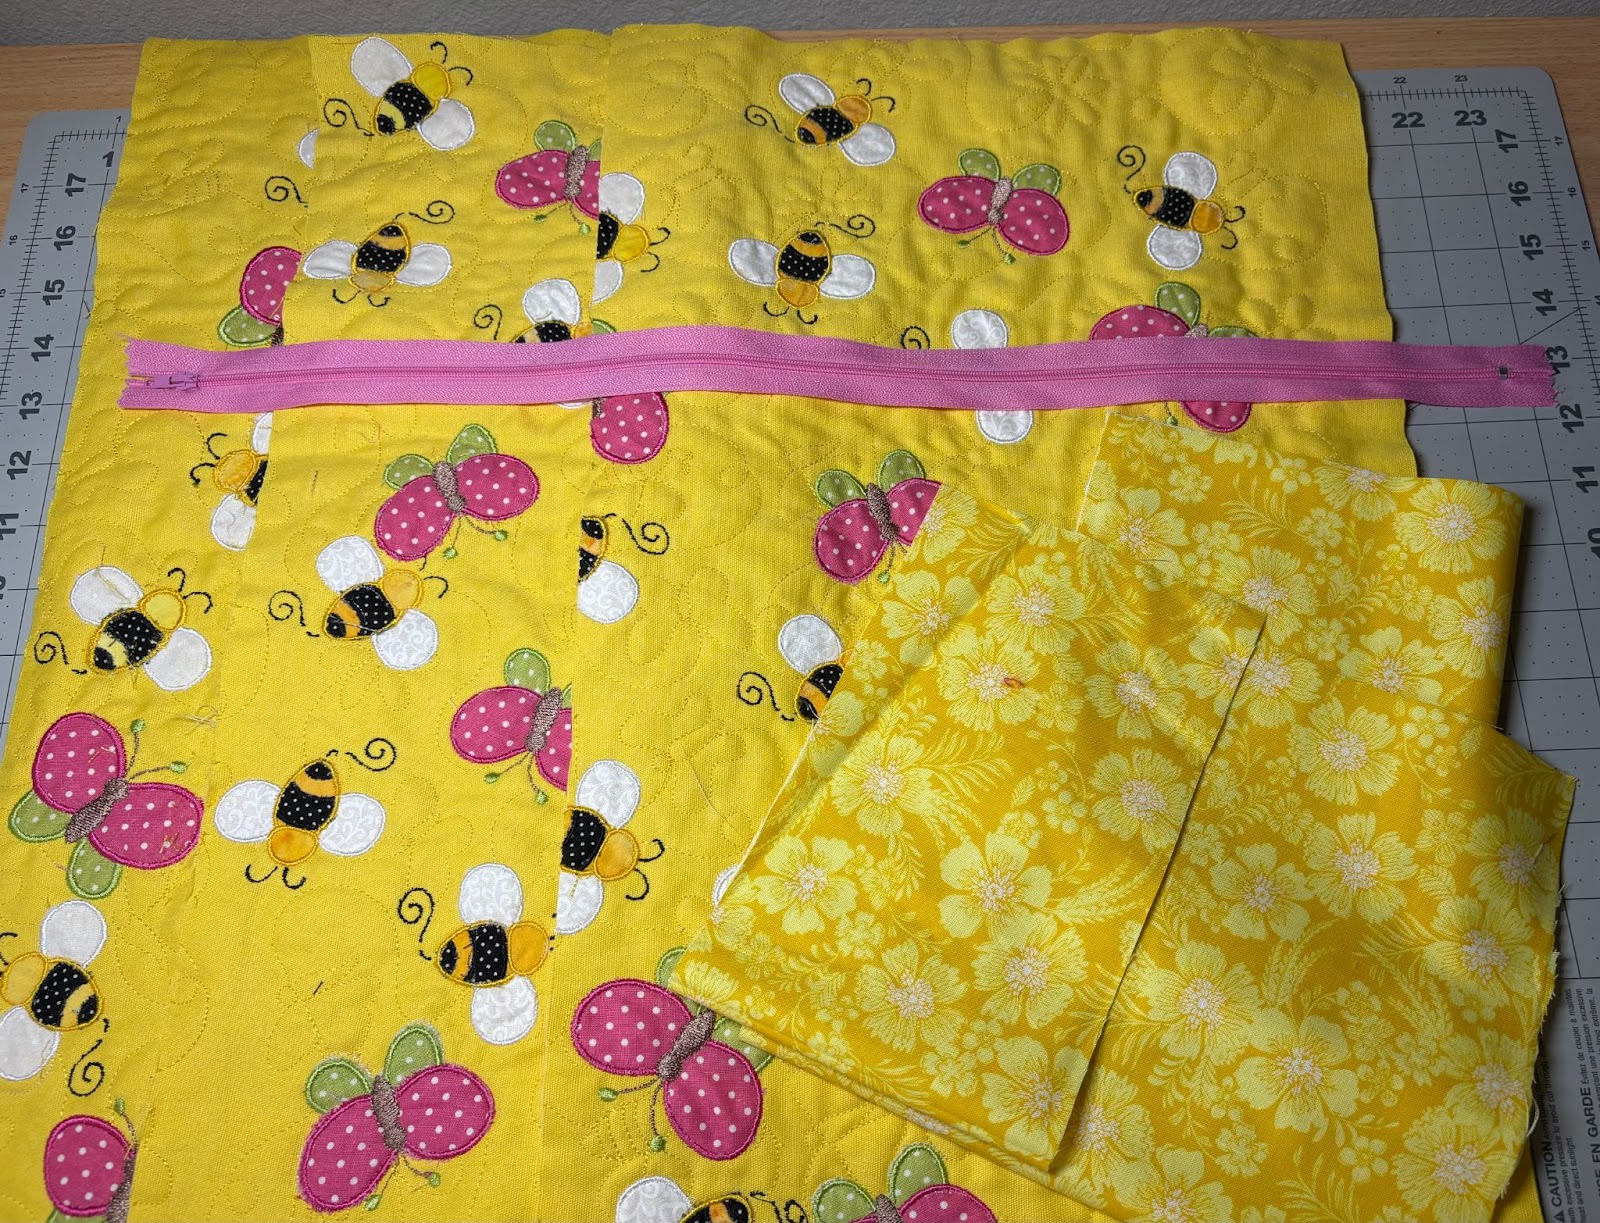
Line the fabric up for the next section and repeat until your fabric is complete.

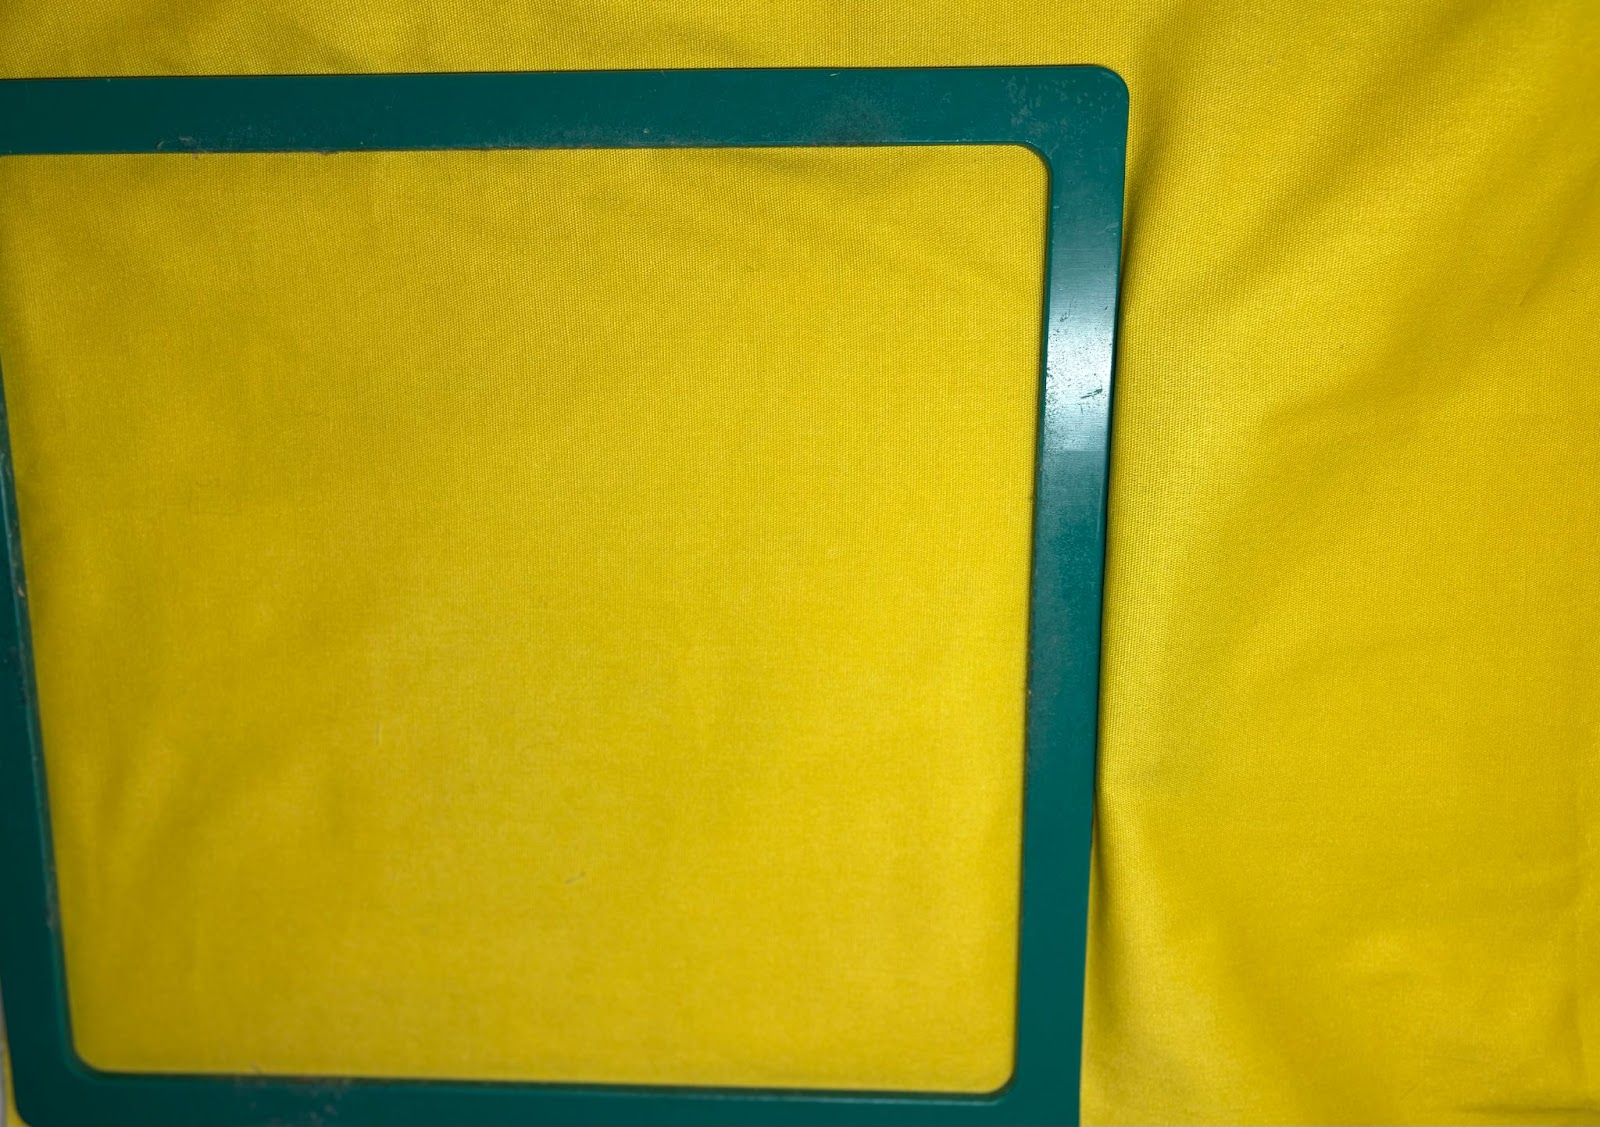
In this part of the tutorial, I will be using the Quilted In the Hoop Zipper Bags 2 design, but I will modify it to work with our quilted fabric. The design comes with cutting instructions for your fabric. Depending on the size of the hoop you will be using, cut both the outer fabric and the lining fabric according to the specified sizes in the instructions. Since we have already used batting, we can skip adding extra batting for this project. The instructions also indicate the appropriate zipper size to use.
I will indicate in bold the step number we are working on. As we progress, you will need to advance the embroidery design on your machine to the number listed. If in doubt on any steps, follow the pictures.
Load the front of the bag design.

Hoop cut-away stabilizer and take it to the machine.
Step 1
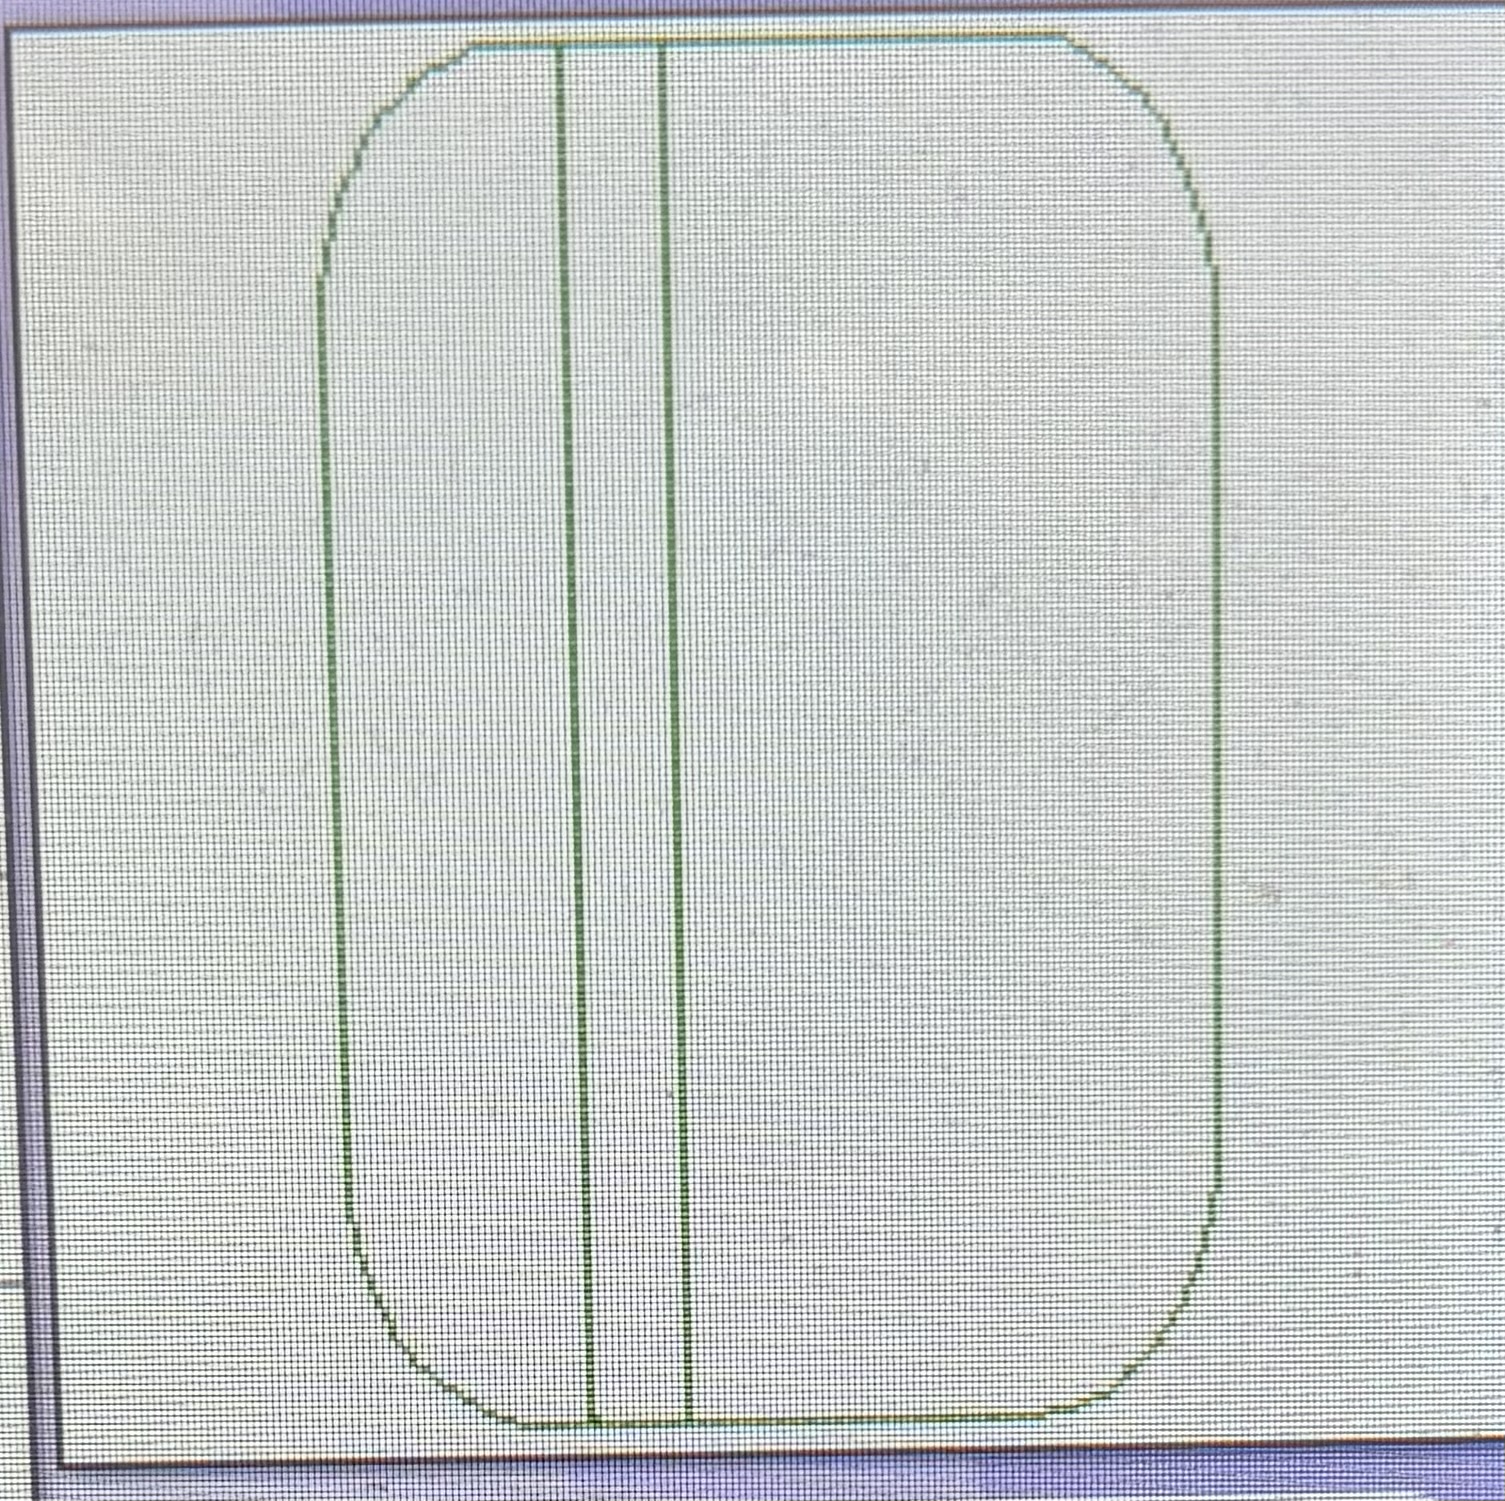
Run the outline and zipper placement stitches. Remove the hoop and place on a flat surface.

Step 2
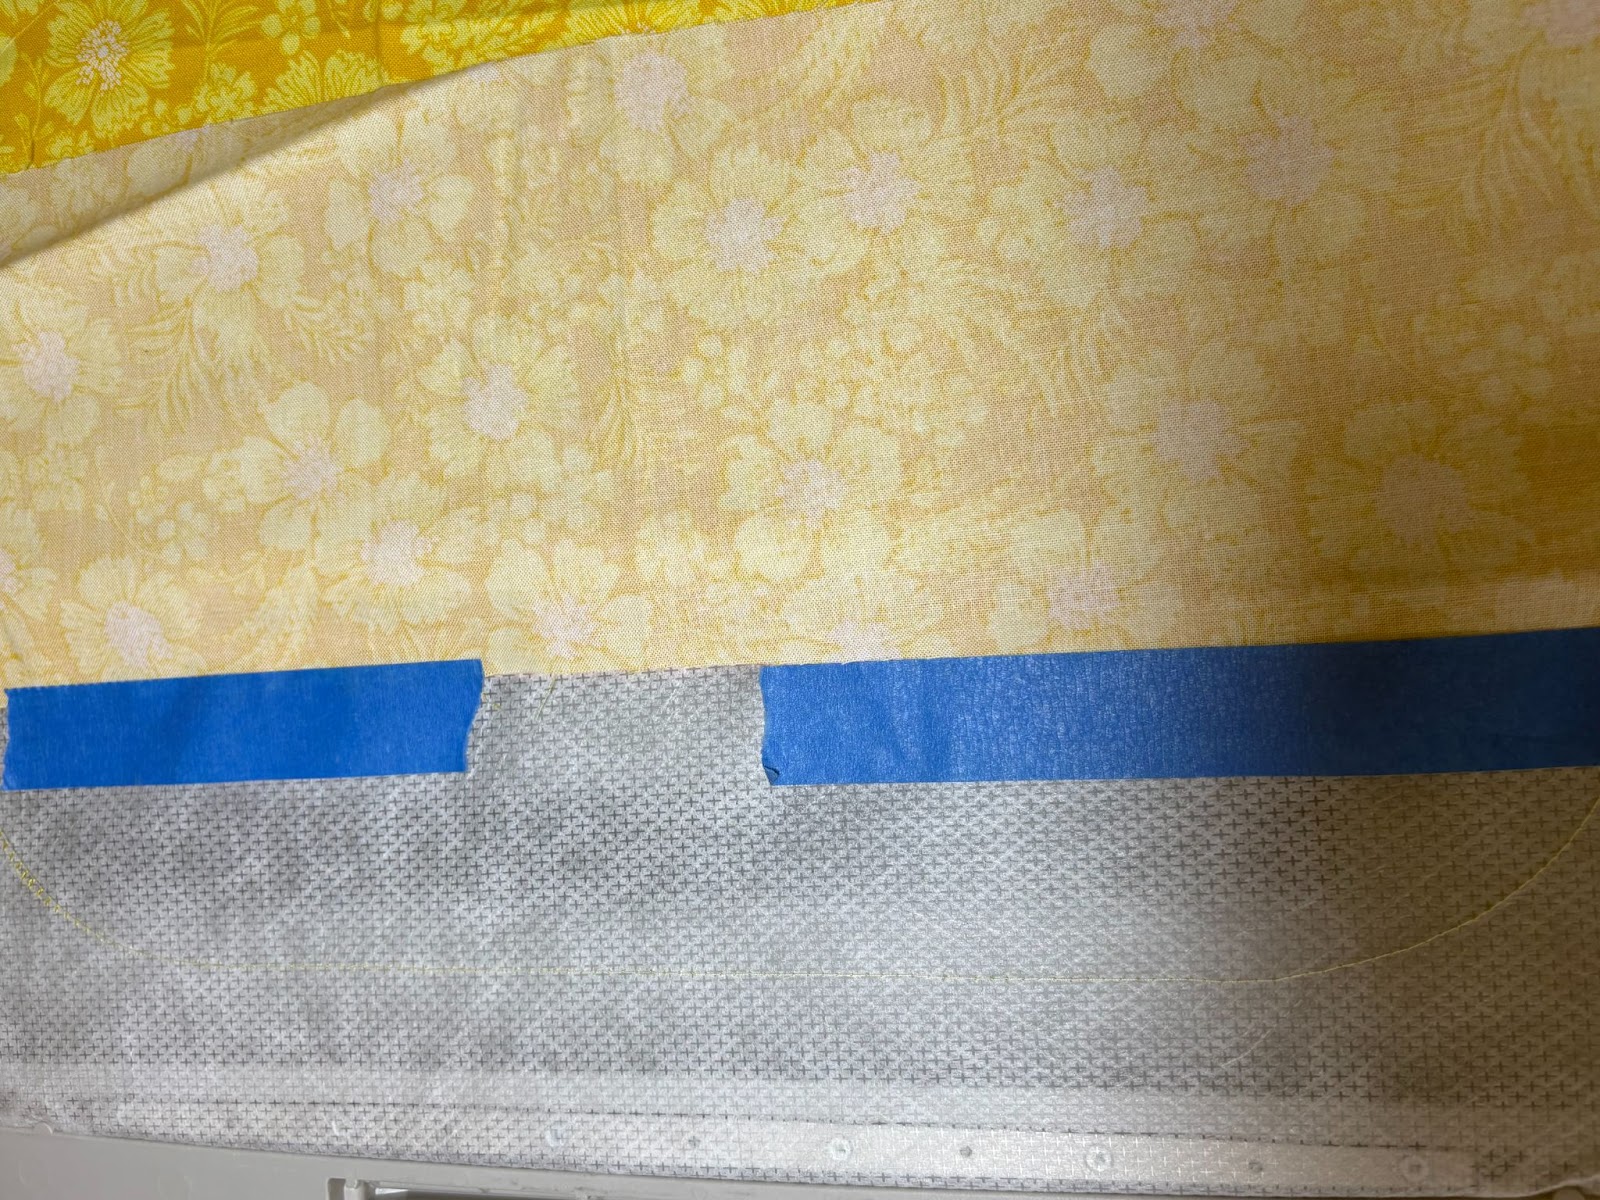
With the zipper facing up, place the zipper onto the stabilizer centering it between the two placement lines.
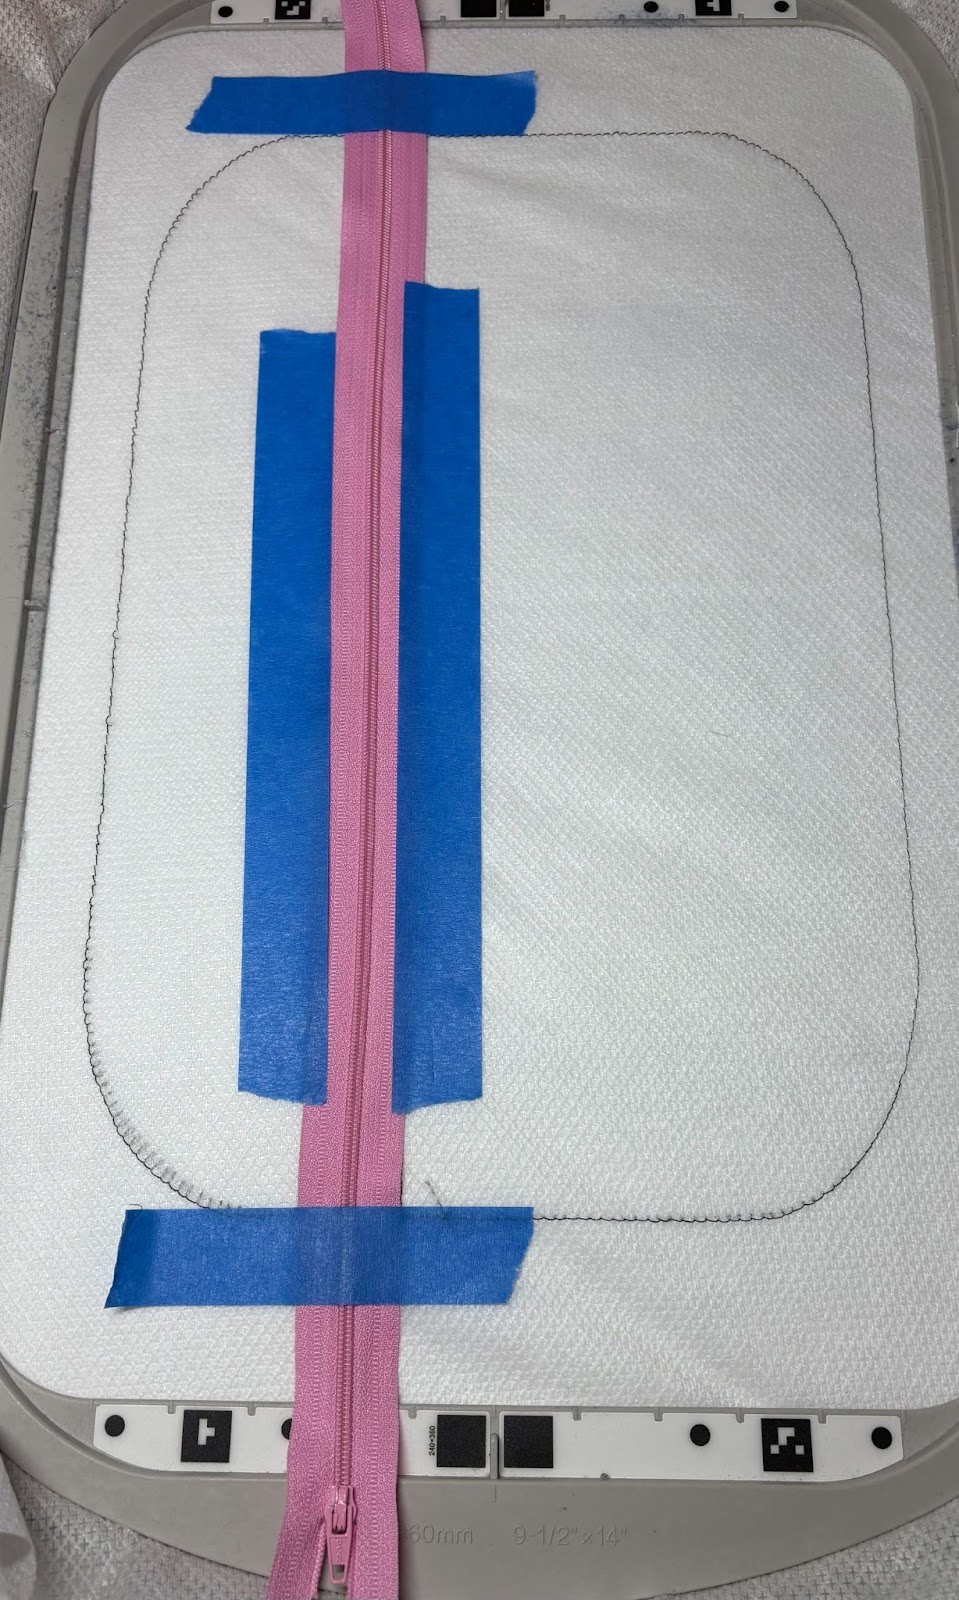
You can place the zipper pull to the left or right, depending on which way you want your bag to open. Tape the zipper down. Ensure your zipper is the correct size. Some zippers may be wider than the stitch lines. That is fine. You will want the zipper ends to be longer than the lines to ensure the needle does not hit the metal ends. Take the hoop back to the machine and run the tack-down stitch to hold the zipper in place. Remove the hoop and place on a flat surface.
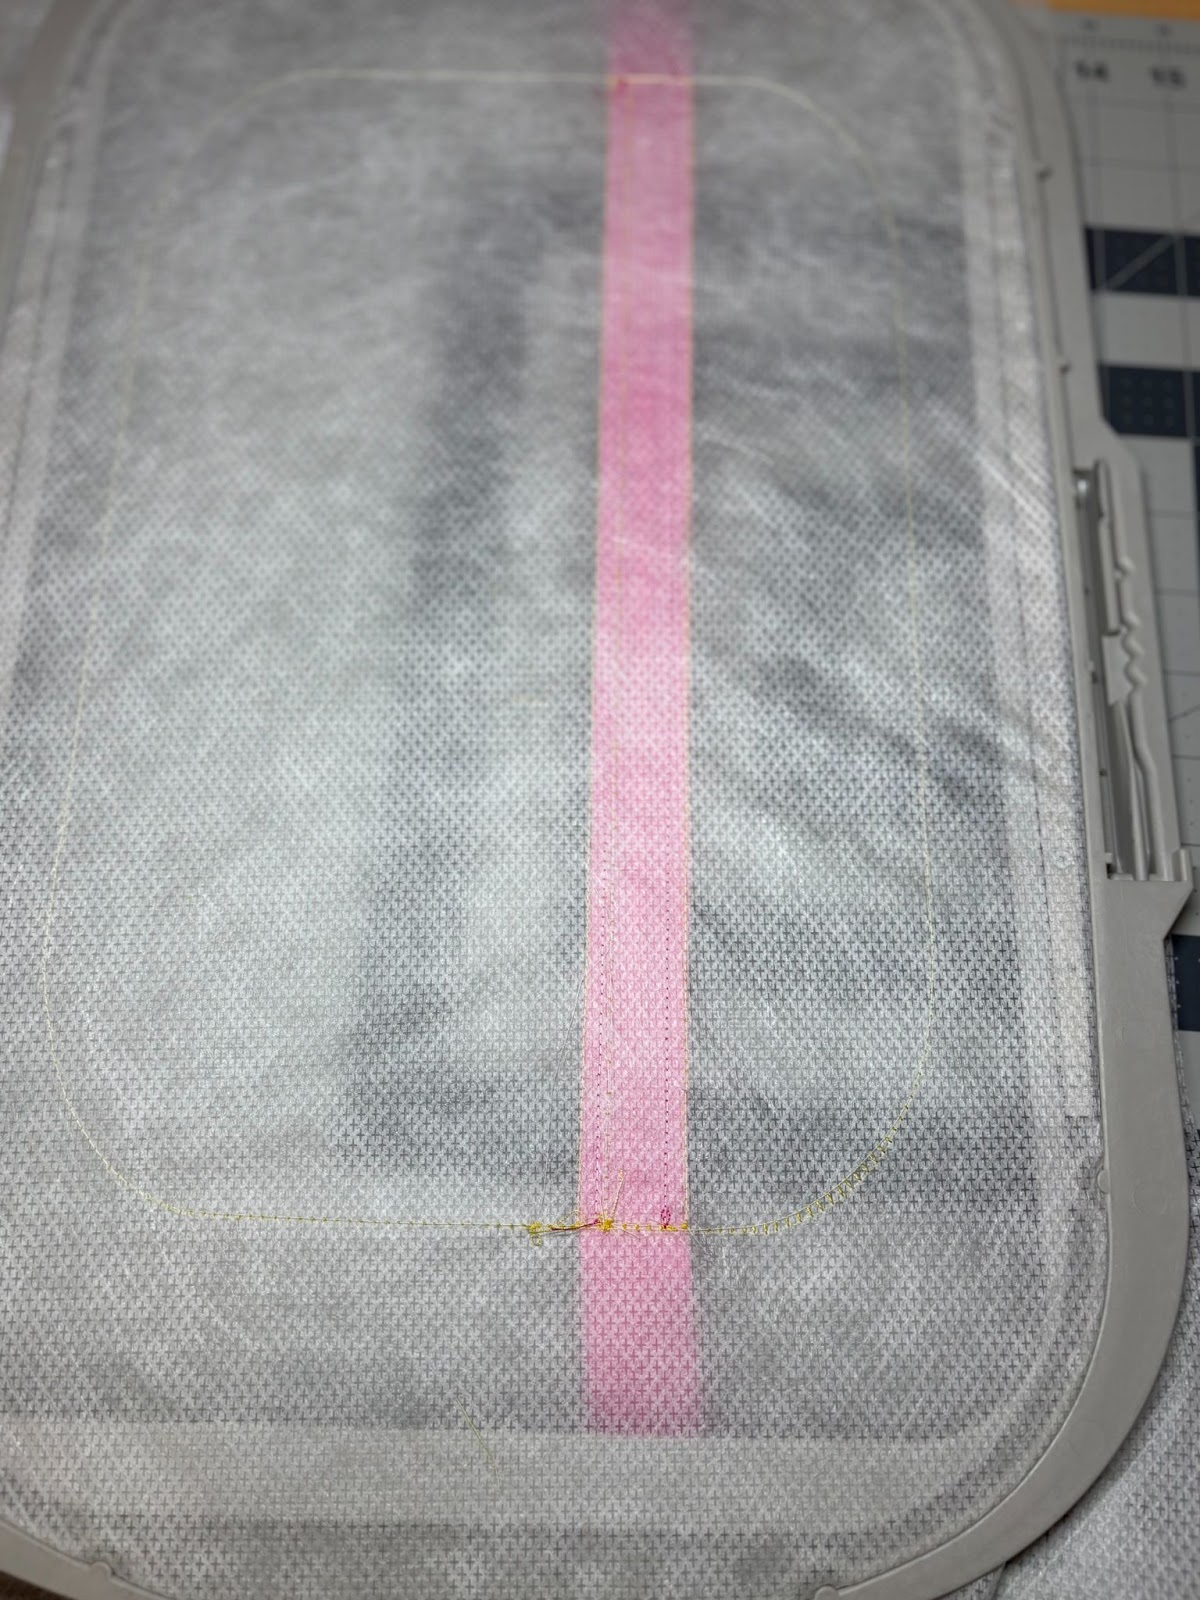
Turn the hoop to the back side.

On the back of the hoop, align the raw edge of the lining bottom fabric right side down with the bottom edge of the zipper. Tape in place. The fabric will be stitched, then folded down to become the bottom of the bag lining. Return the hoop to the machine. Ensure the fabric remains flat.
Step 3

Align the outside bottom fabric right side down with the bottom of the zipper. Stitch across. Remove the hoop and set on a flat surface.
Step 4
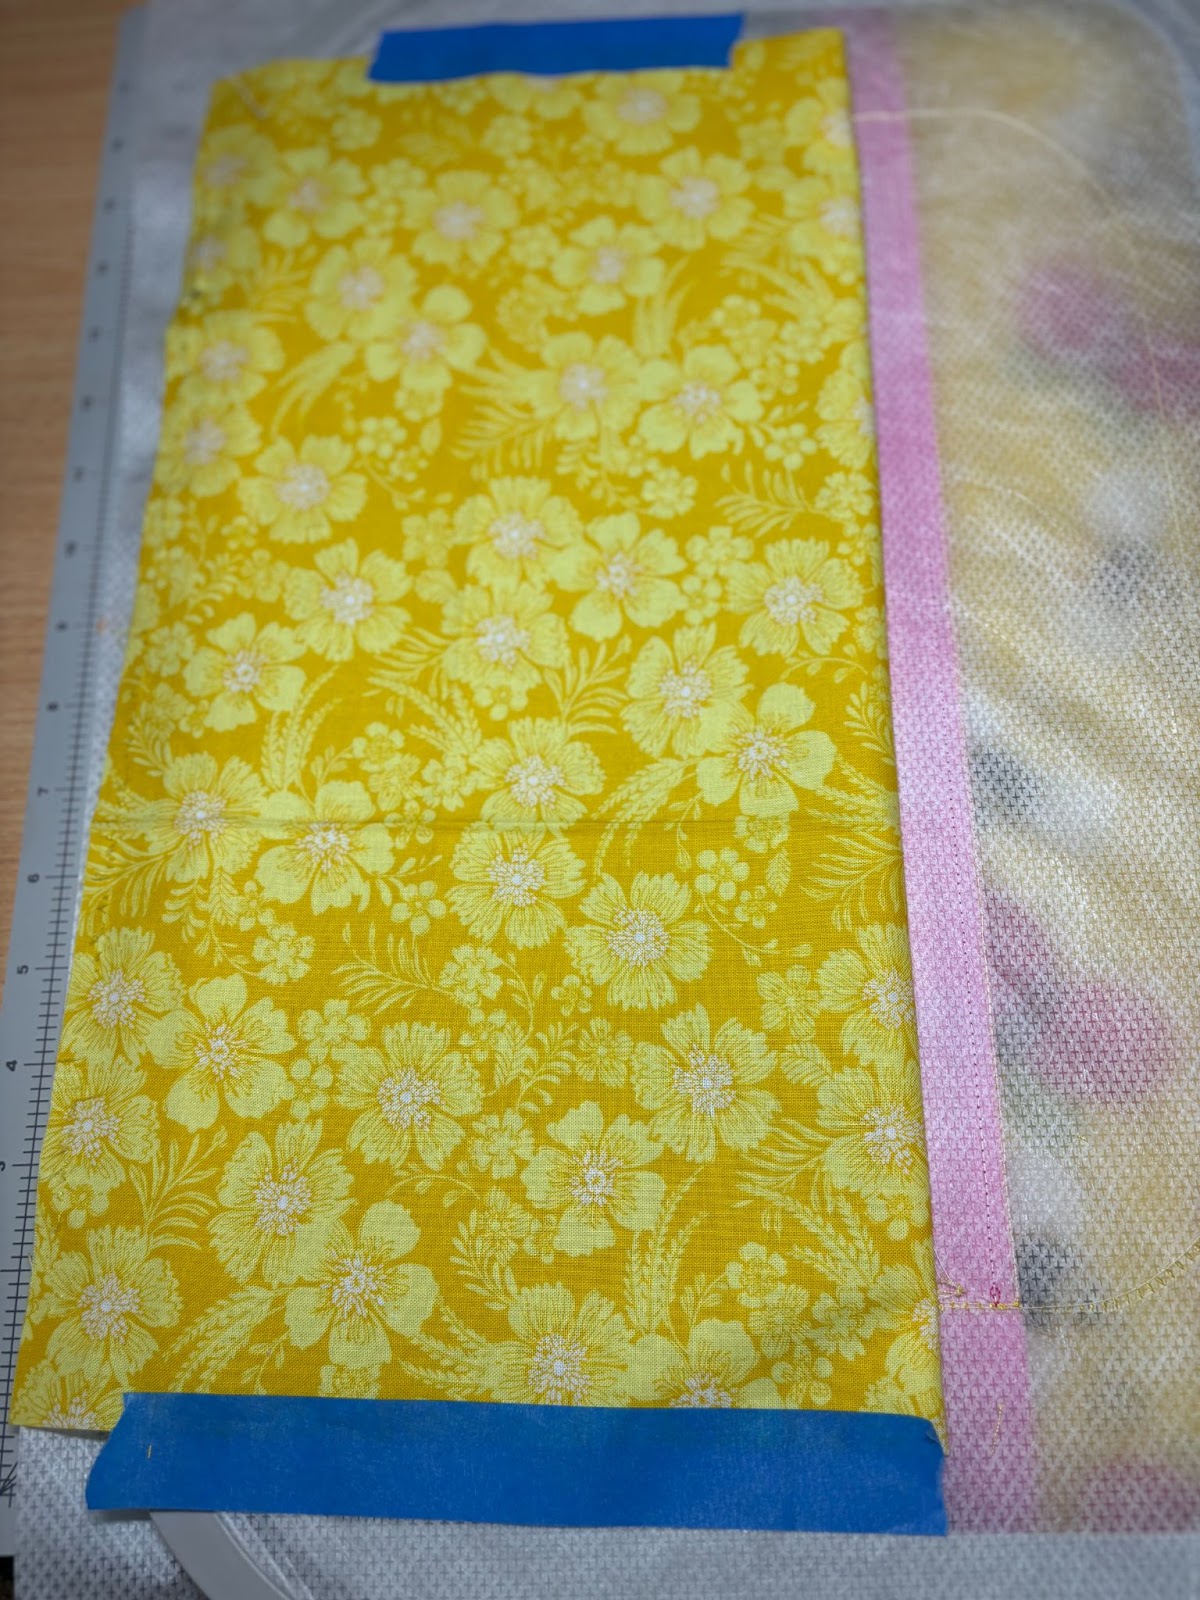
On the back side of the hoop, fold the bottom lining down taut and tape in place. Turn the hoop over.
Fold the outside fabric down toward the bottom of the bag and smooth in place. Tape down to hold it taut. Return the hoop to the machine. Run Step 4 to attach the front bottom to the lining bottom. Remove the hoop and place on a flat surface. Advance the steps on the machine to number 8.
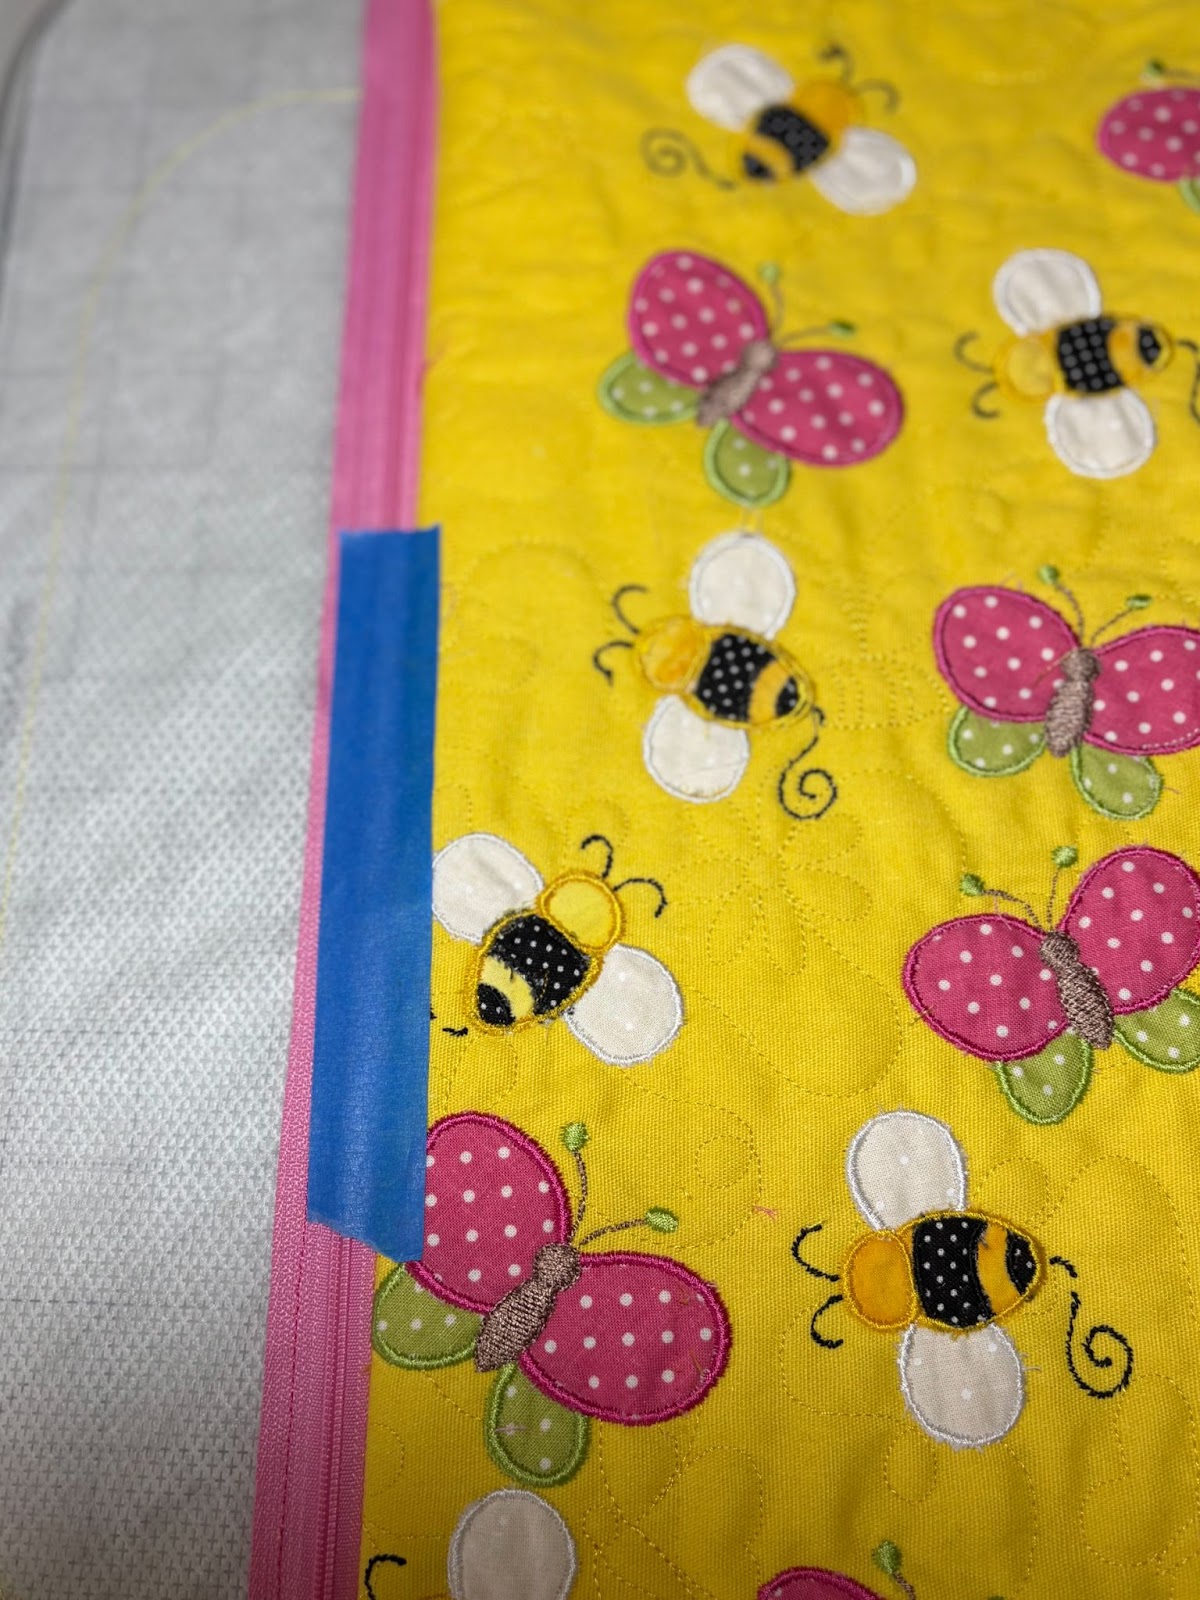
Your machine should now be on Step 8.
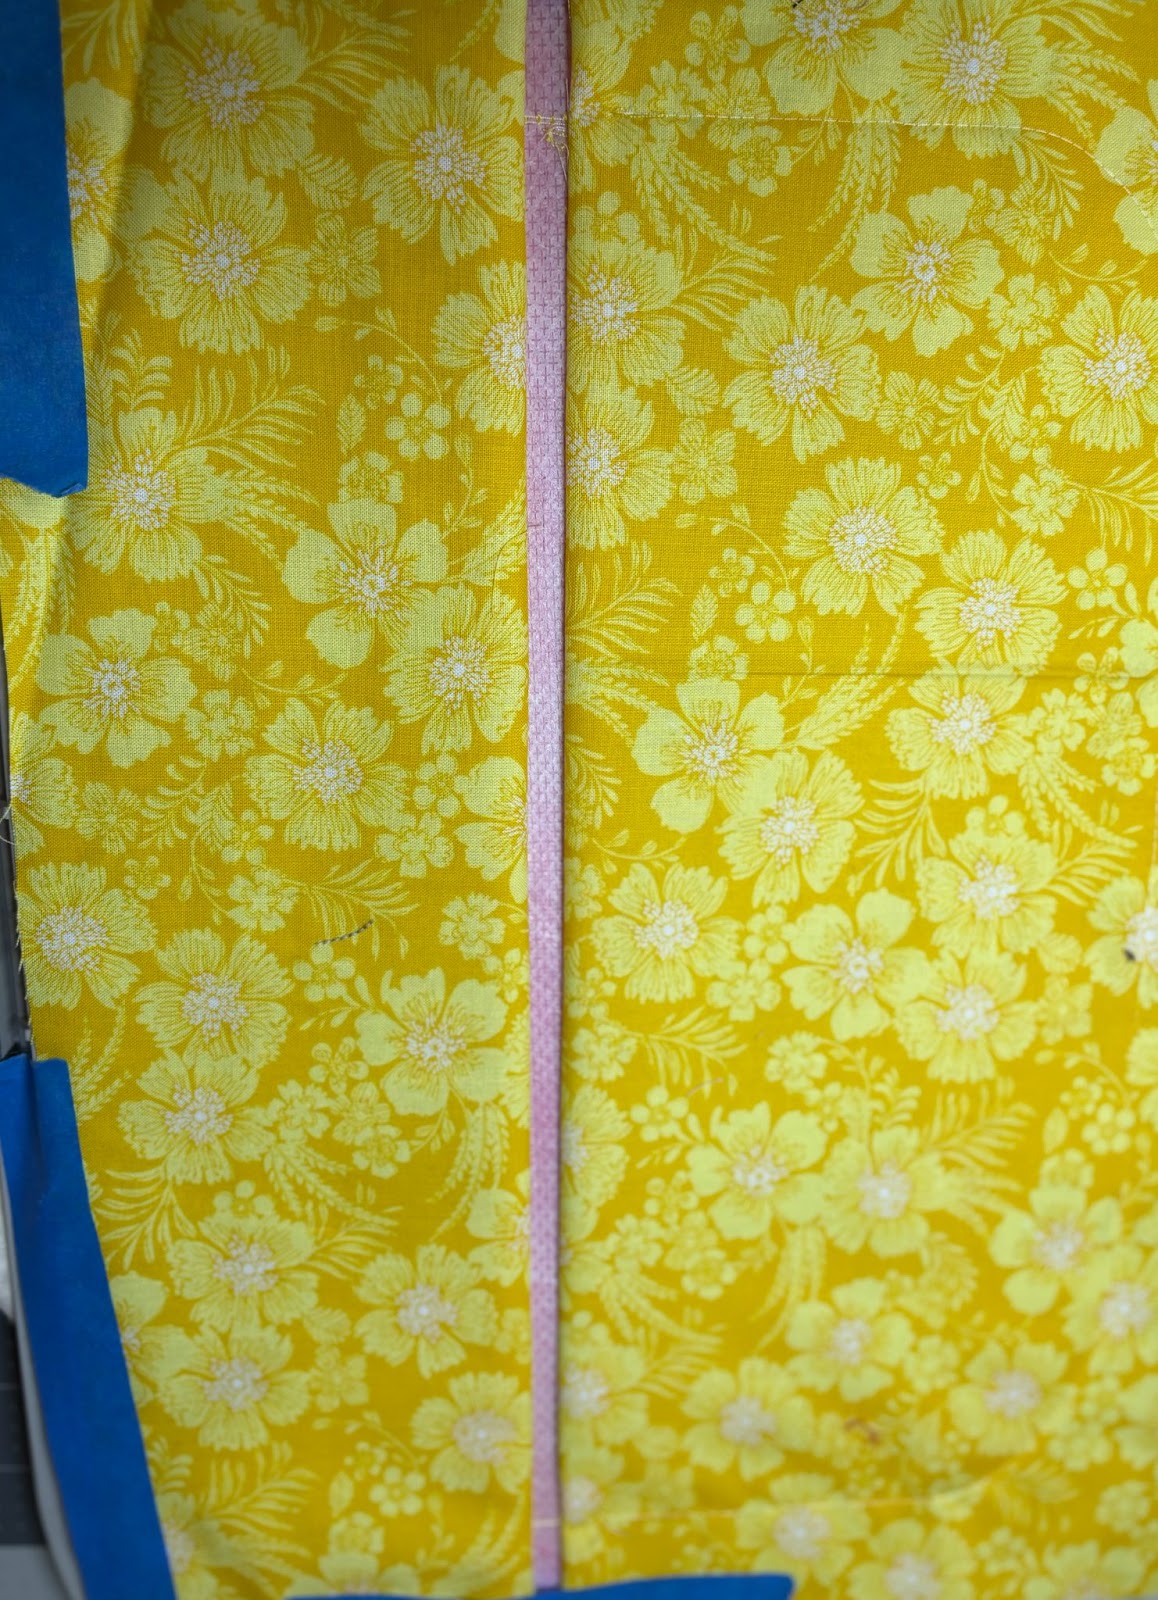
On the back side of the hoop, align the top lining fabric right side down with the top of the zipper as shown. Tape the fabric down. Return the hoop to the machine. Ensure the fabric is flat and in place.

Align the top outside fabric with the zipper and lining fabric. Stitch Step 8. Remove the hoop and place it on a flat surface.
Fold the top lining toward the top of the bag. Smooth down, keeping it taut. Tape to the hoop.
Fold the outside fabric to the top of the bag. Smooth in place taking care to bring it up taut. Tape in place. Return the hoop to the machine.
Step 9

Run Step 9 to attach the front top to the lining top. Advance the machine to Step 13.
Step 13

Open the zipper more than halfway past the center of the bag but not to the seam allowance stitches.
Place the outside backing fabric on top of the hoop. Your fabric should easily cover the entire top of the bag. Take to the machine and run Step 13.
Step 14

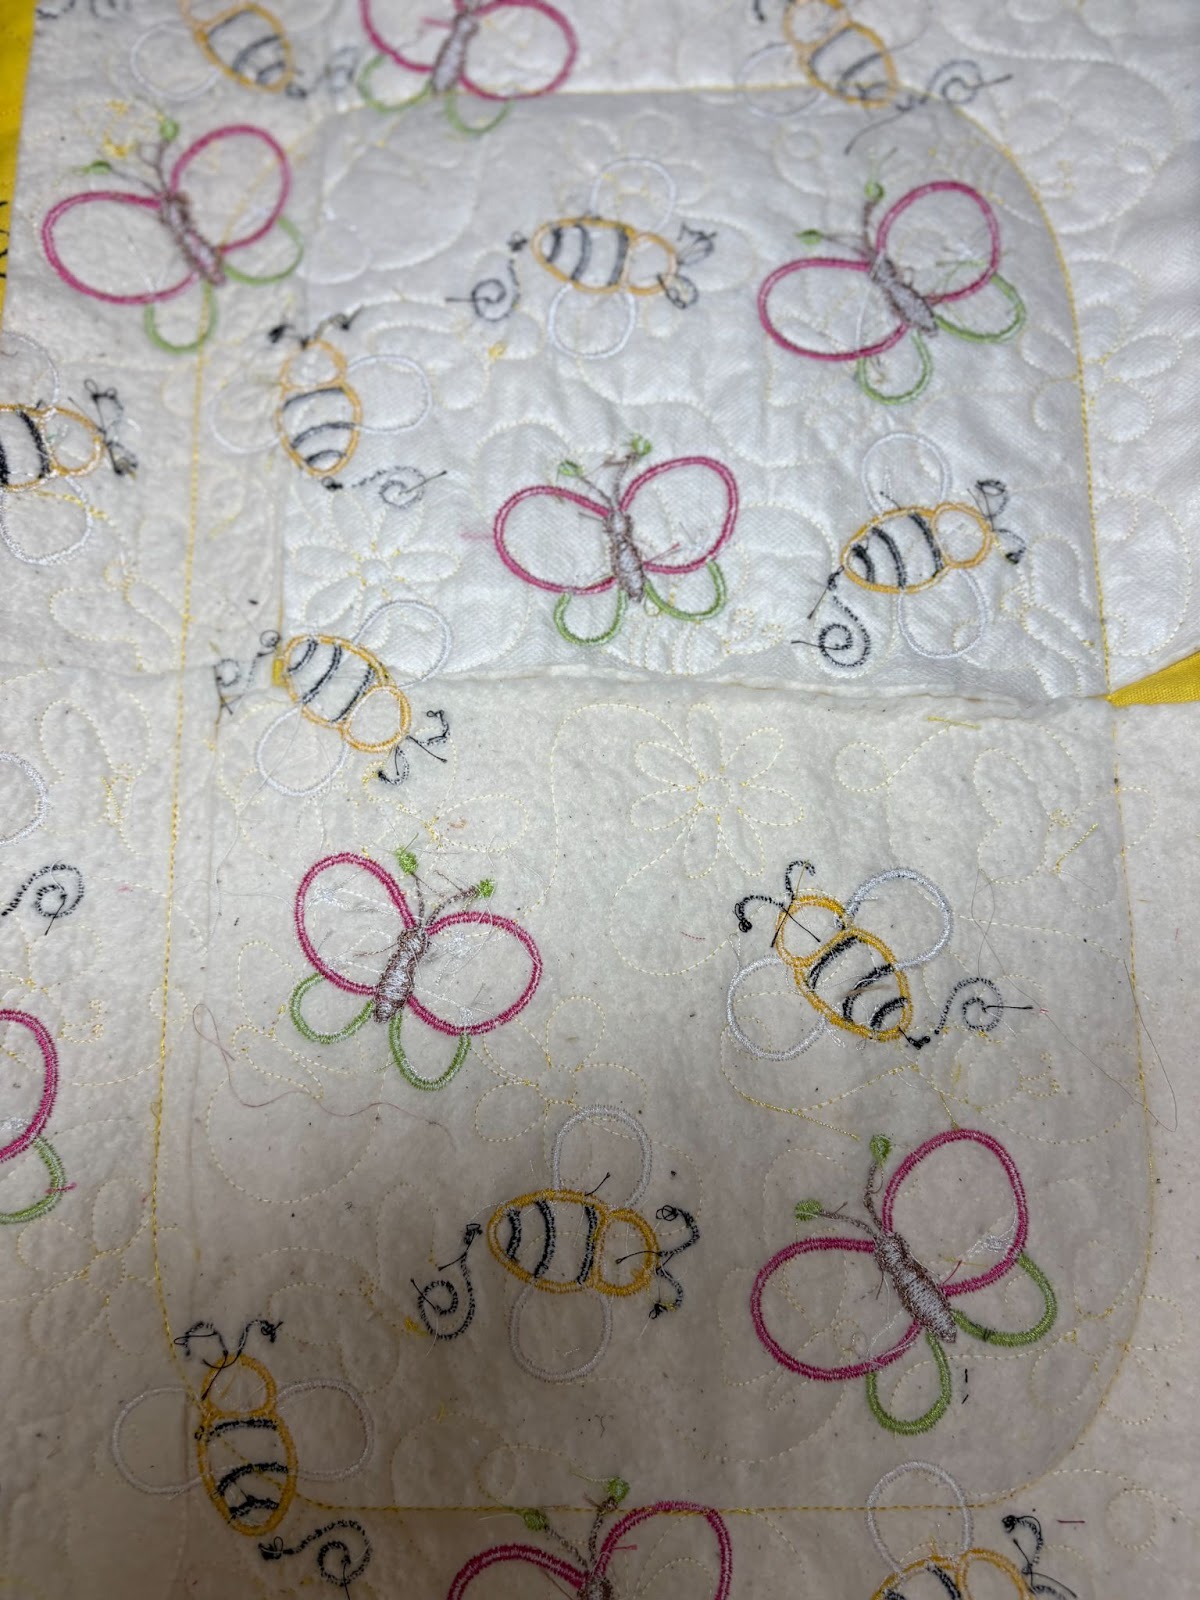
Turn the hoop over and on the back side, tape down the lining fabric. This fabric should easily cover all of the bag as well. Take to the machine. Ensure the fabric stays smooth. Run the final step, Step 14. This step will leave an opening in the stitching. This is where you will turn the lining right side out. Remove the hoop from the machine.

Remove the bag from the hoop. Trim the bag approximately ¼” all around. Leave at least ½” around the opening.
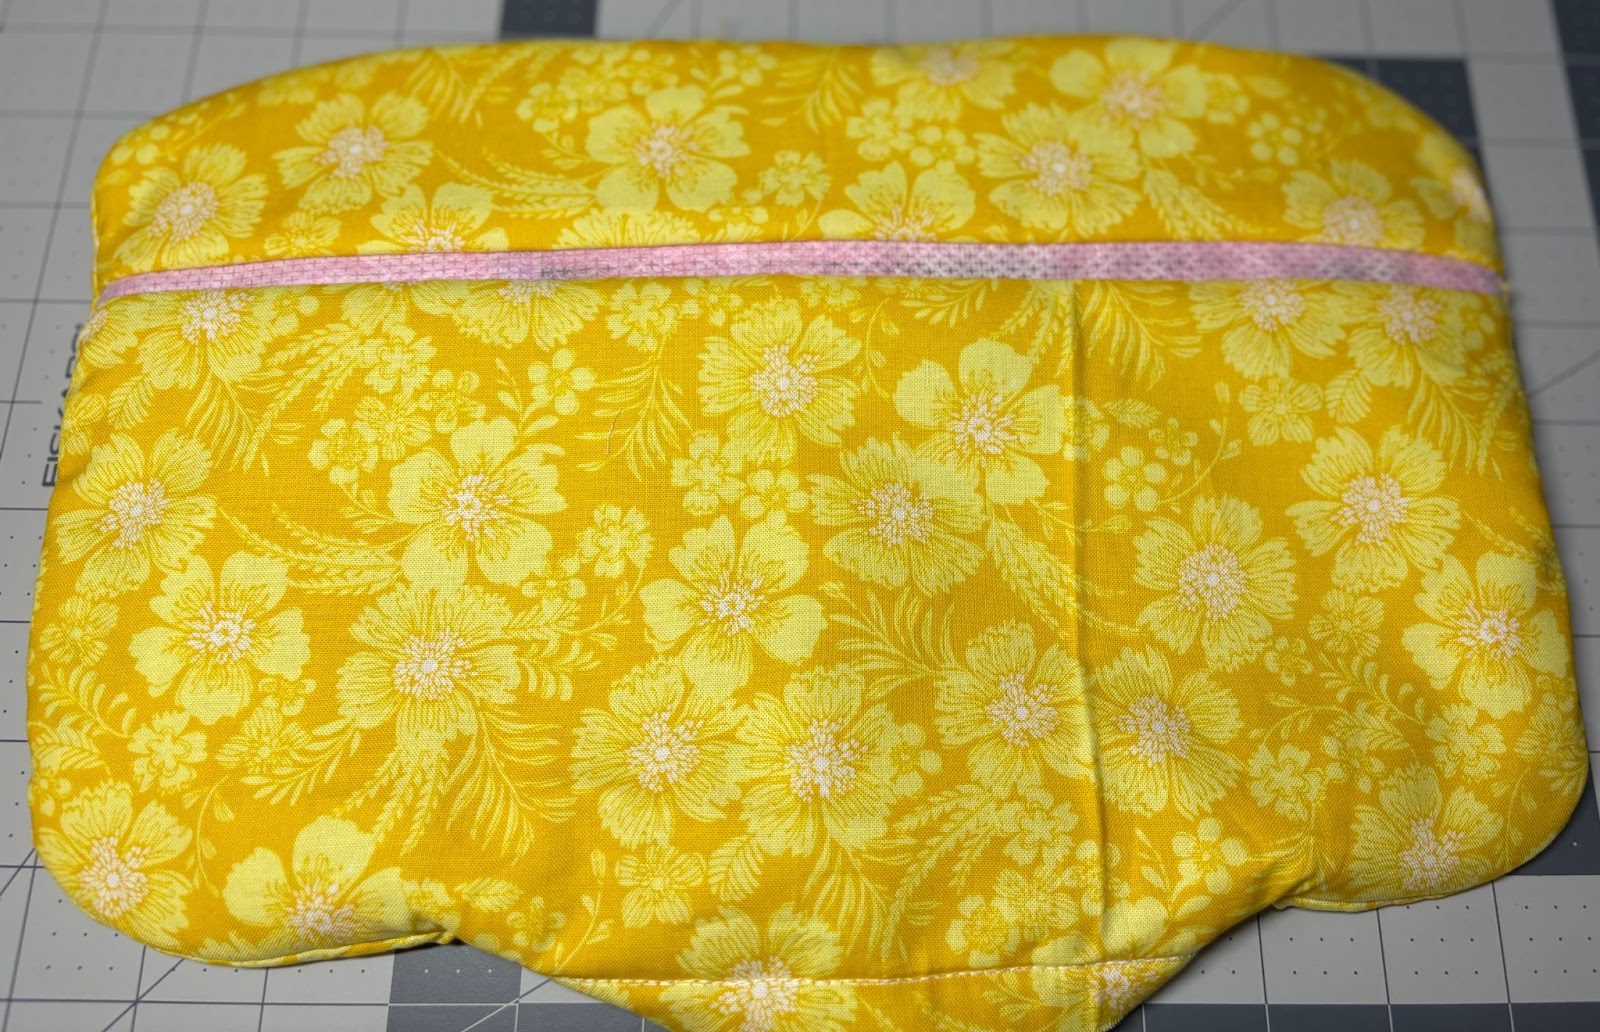
Reach inside the lining fabrics and turn the lining right side out.
Fold the lining opening to the inside and hand stitch it closed.
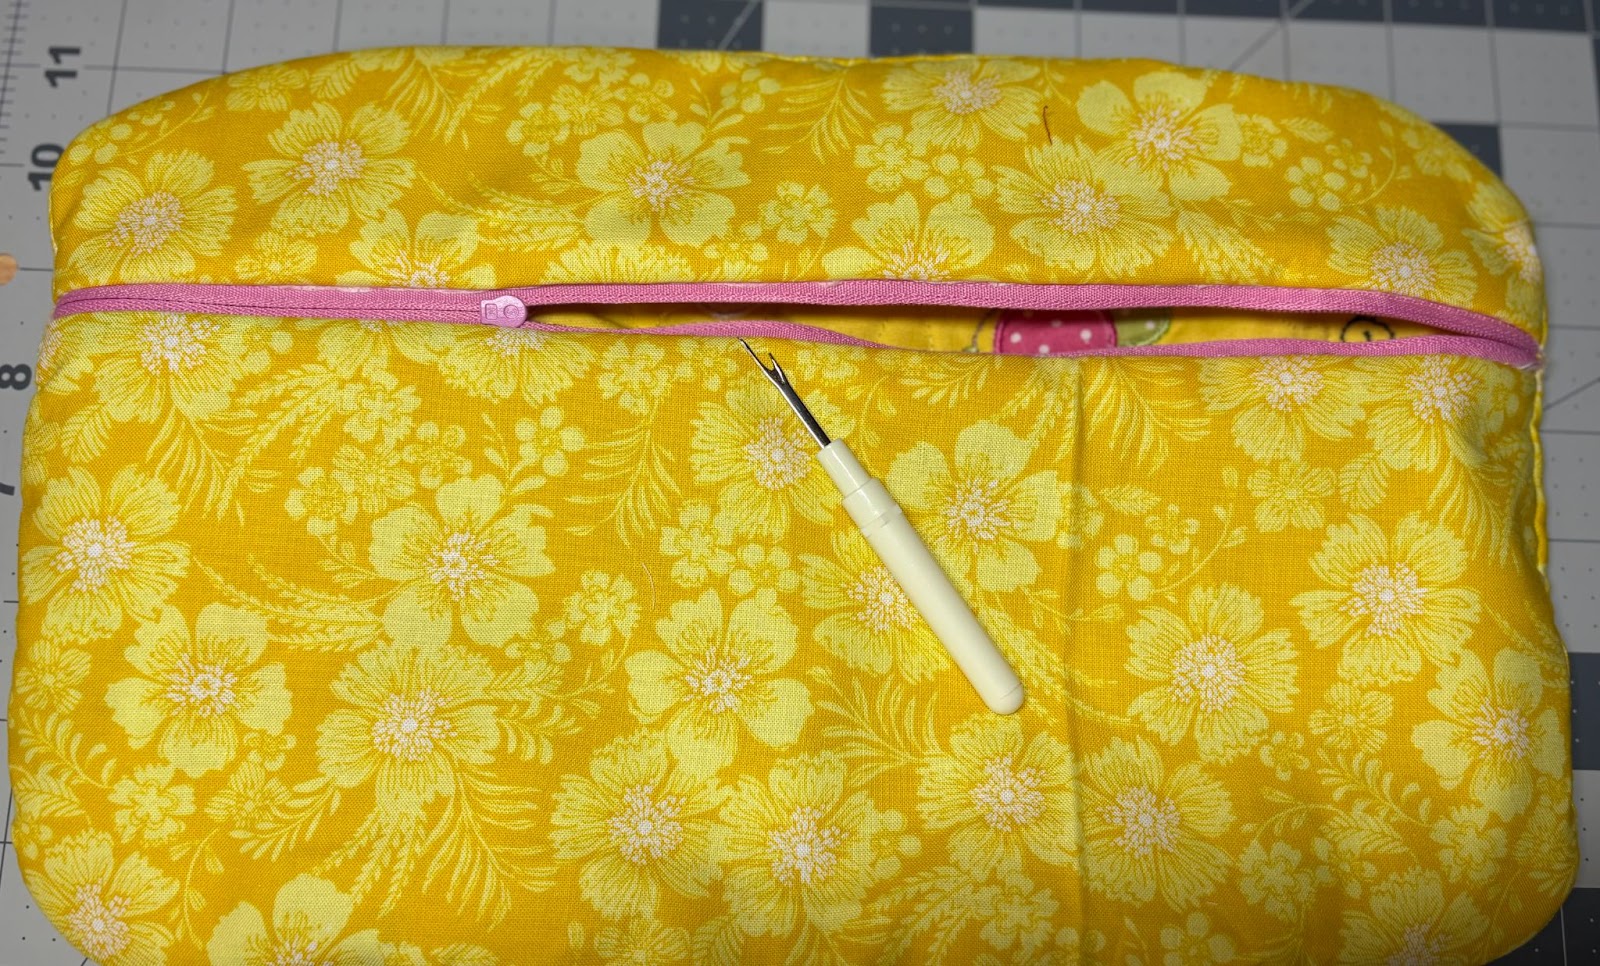
With a seam ripper, remove the stabilizer covering the zipper. Take care not to cut the folds of the fabric.

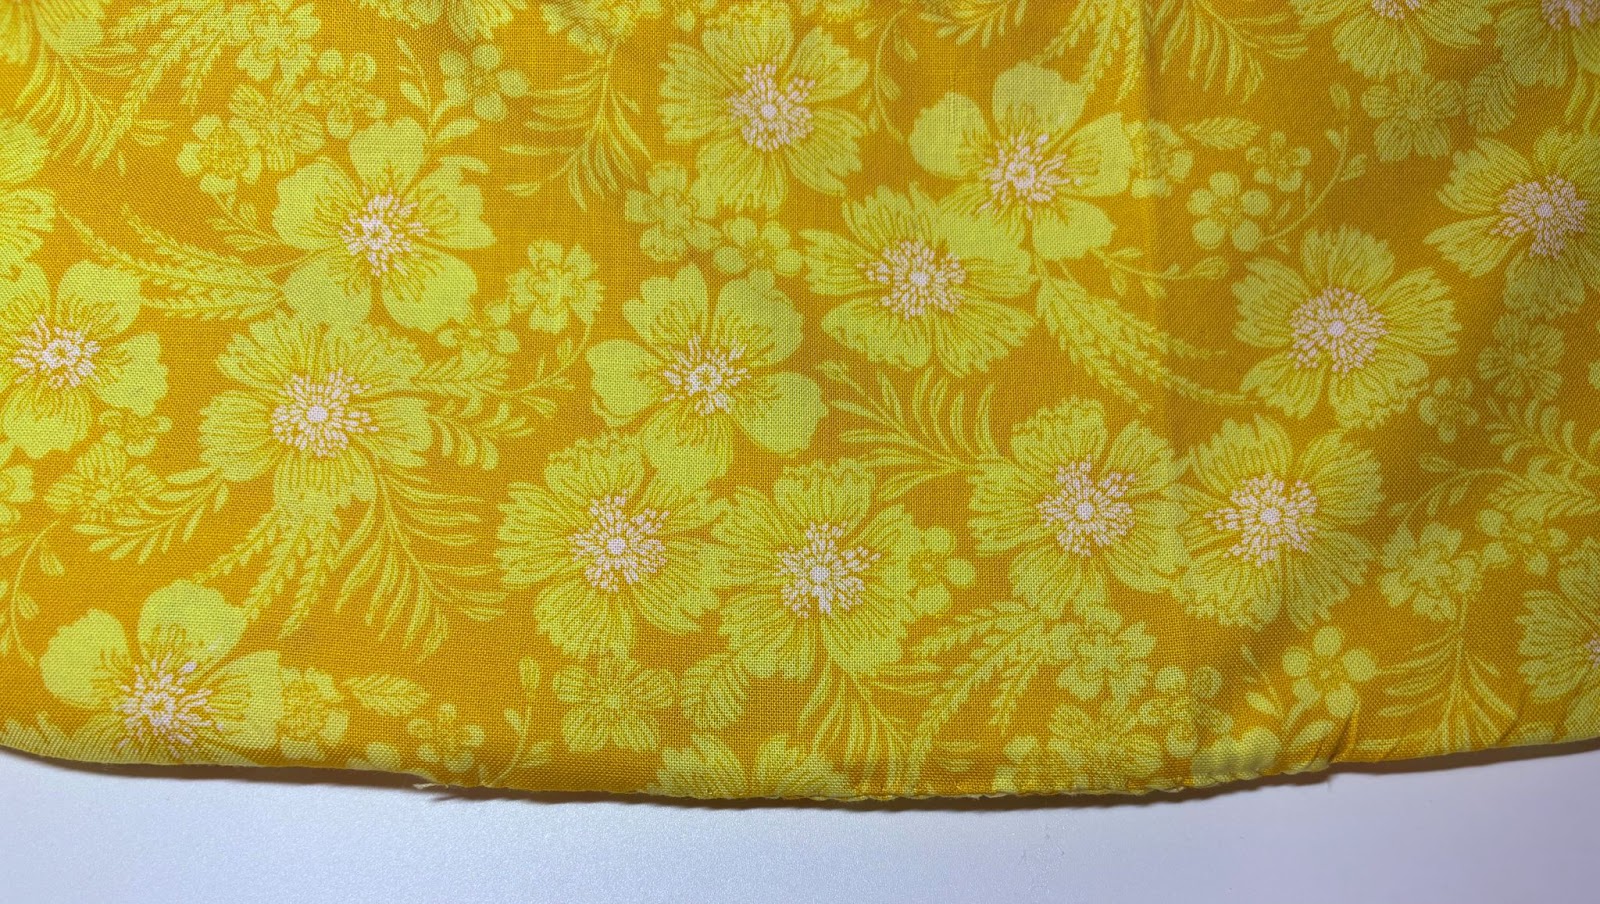
Give the lining a nice press.
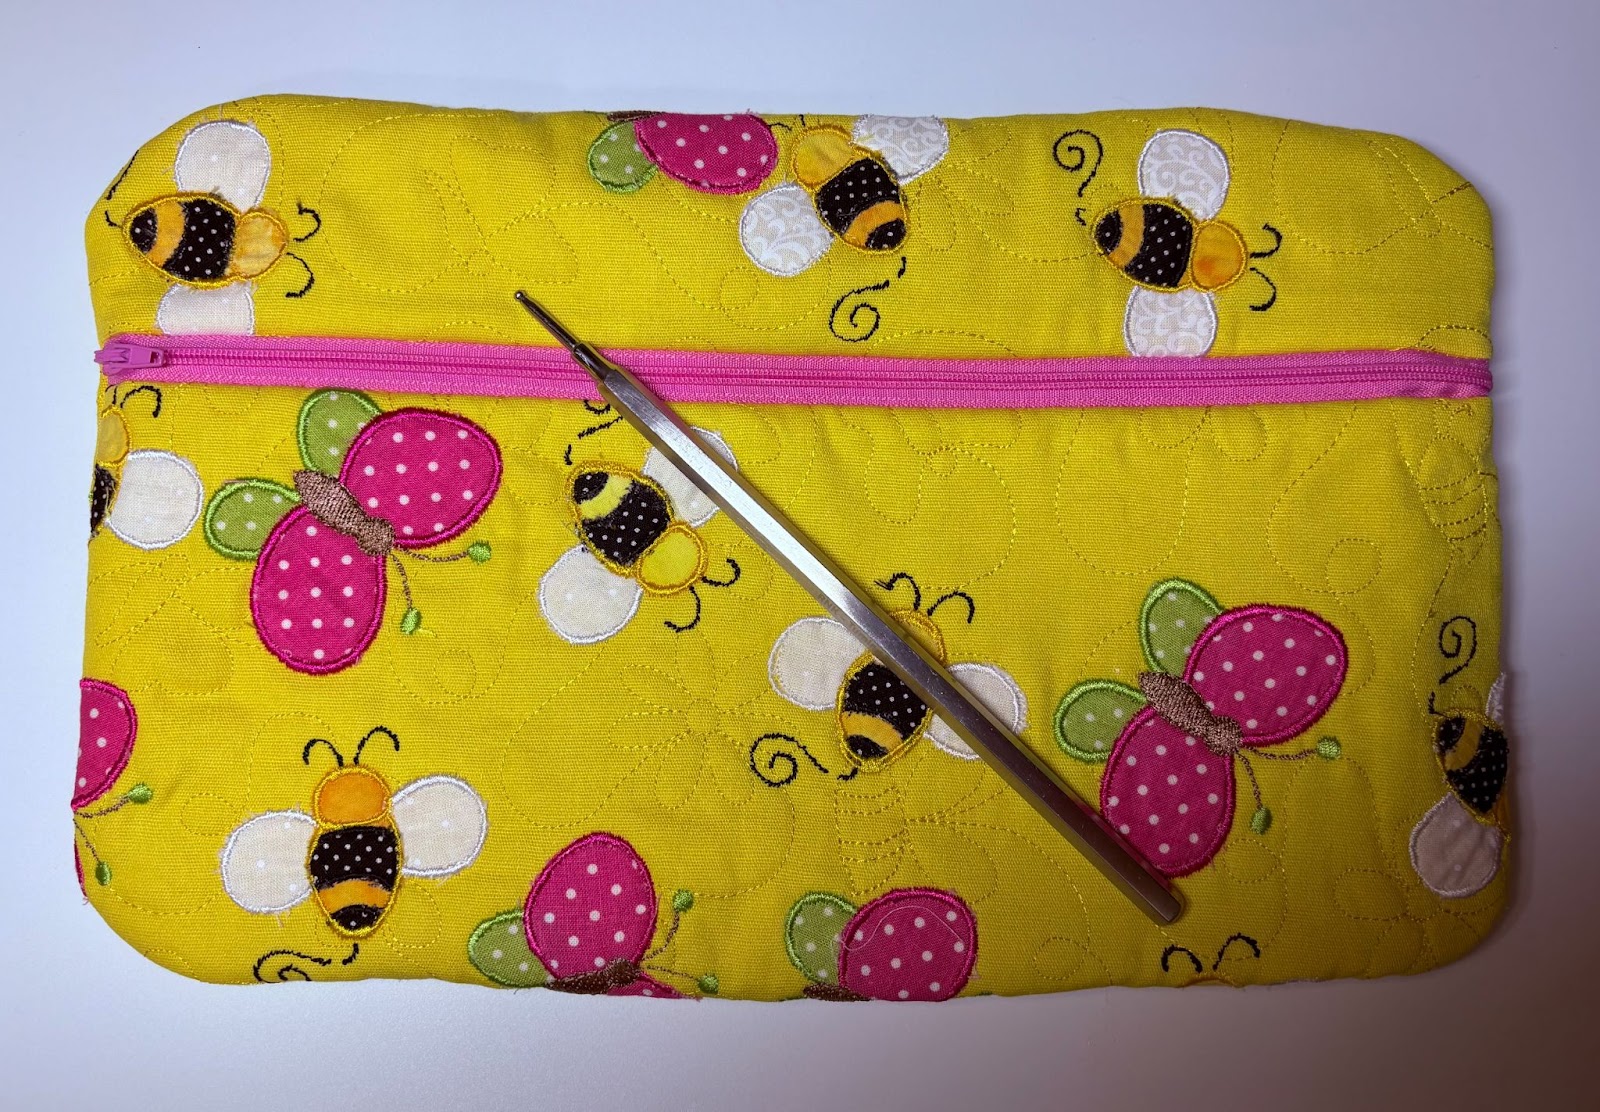
Turn the bag right side out through the zipper opening. Use a turning tool to gently push out the corners so they are nice and rounded.

Press your bag for a nice finish. Your custom fabric zipper bag is complete!
This project is all about letting your imagination take the lead. Whether you're stitching whimsical themes, seasonal favorites, or something totally one-of-a-kind, creating your own custom fabric opens the door to endless possibilities. Don’t be afraid to mix and match designs, play with color, and make it truly your own. Most importantly, have fun with it!
We can’t wait to see what you dream up. Please share your creations with us in the Designs by JuJu Embroidery Blessings Group on Facebook, or use the hashtag #designsbyjuju anywhere on social media.
Happy stitching, and happy creating!
