Toggle Nav
 Inspire.
Create.
Stitch.
Inspire.
Create.
Stitch.
Search
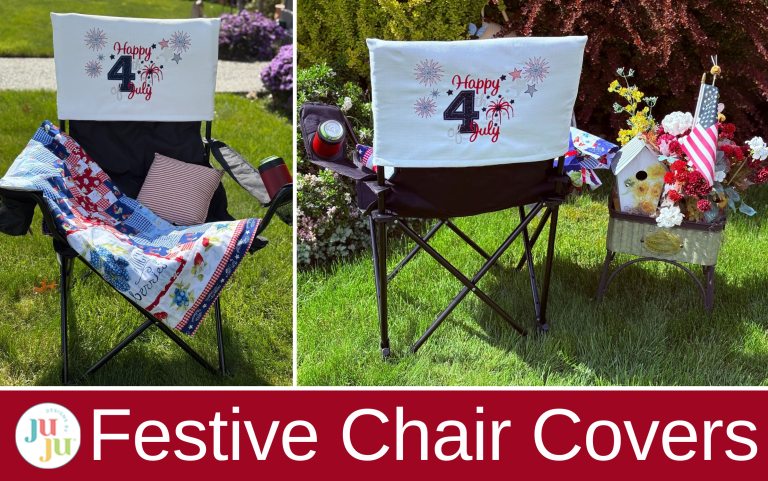
Celebrate in style with festive Fourth of July chair covers—perfect for adding patriotic flair to your party decor!
Are you excited to stand out at this year's Fourth of July celebration? This fun and easy project will help you create something special that will definitely catch the eyes of your friends and family. Just imagine them admiring your work and asking, “Where did you get that?” or “I need one for my chair!” With a big smile, you can proudly say, “I made it myself!” Not only will you show off your creativity, but you'll also create something special that adds a personal touch to your festivities. Let’s get crafting and make this holiday unforgettable.
Check out the DBJJ team’s favorite supplies in the Designs by JuJu Amazon store.
Since chairs come in many sizes, you will need to measure the chair you will be using. Here are two different examples of chairs.
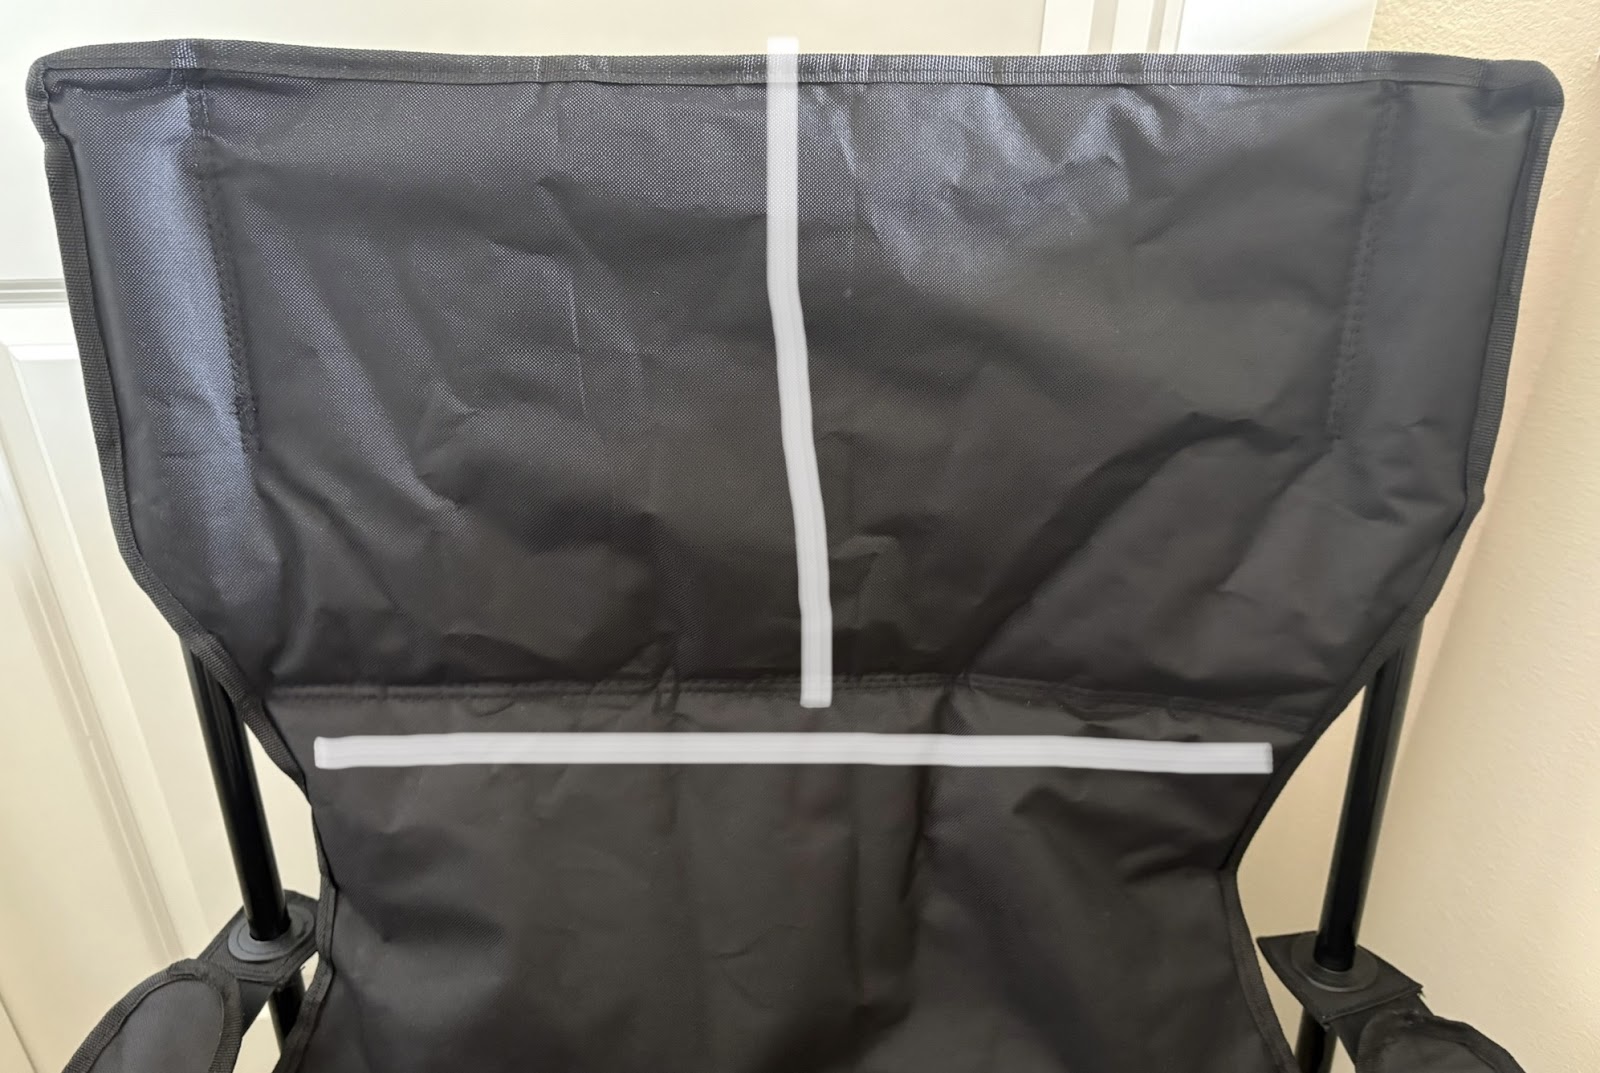
This chair has adjustable armrests. I measured the cover down until it started to curve in, as shown in the picture. Next I measured across from side to side. My measurements are 13” down and 23” across. I will double the 13” and add 2” for a 1” hem on each short end. My cut fabric will be 28” down and 24” across. This allows for a ½” seam allowance on both sides.
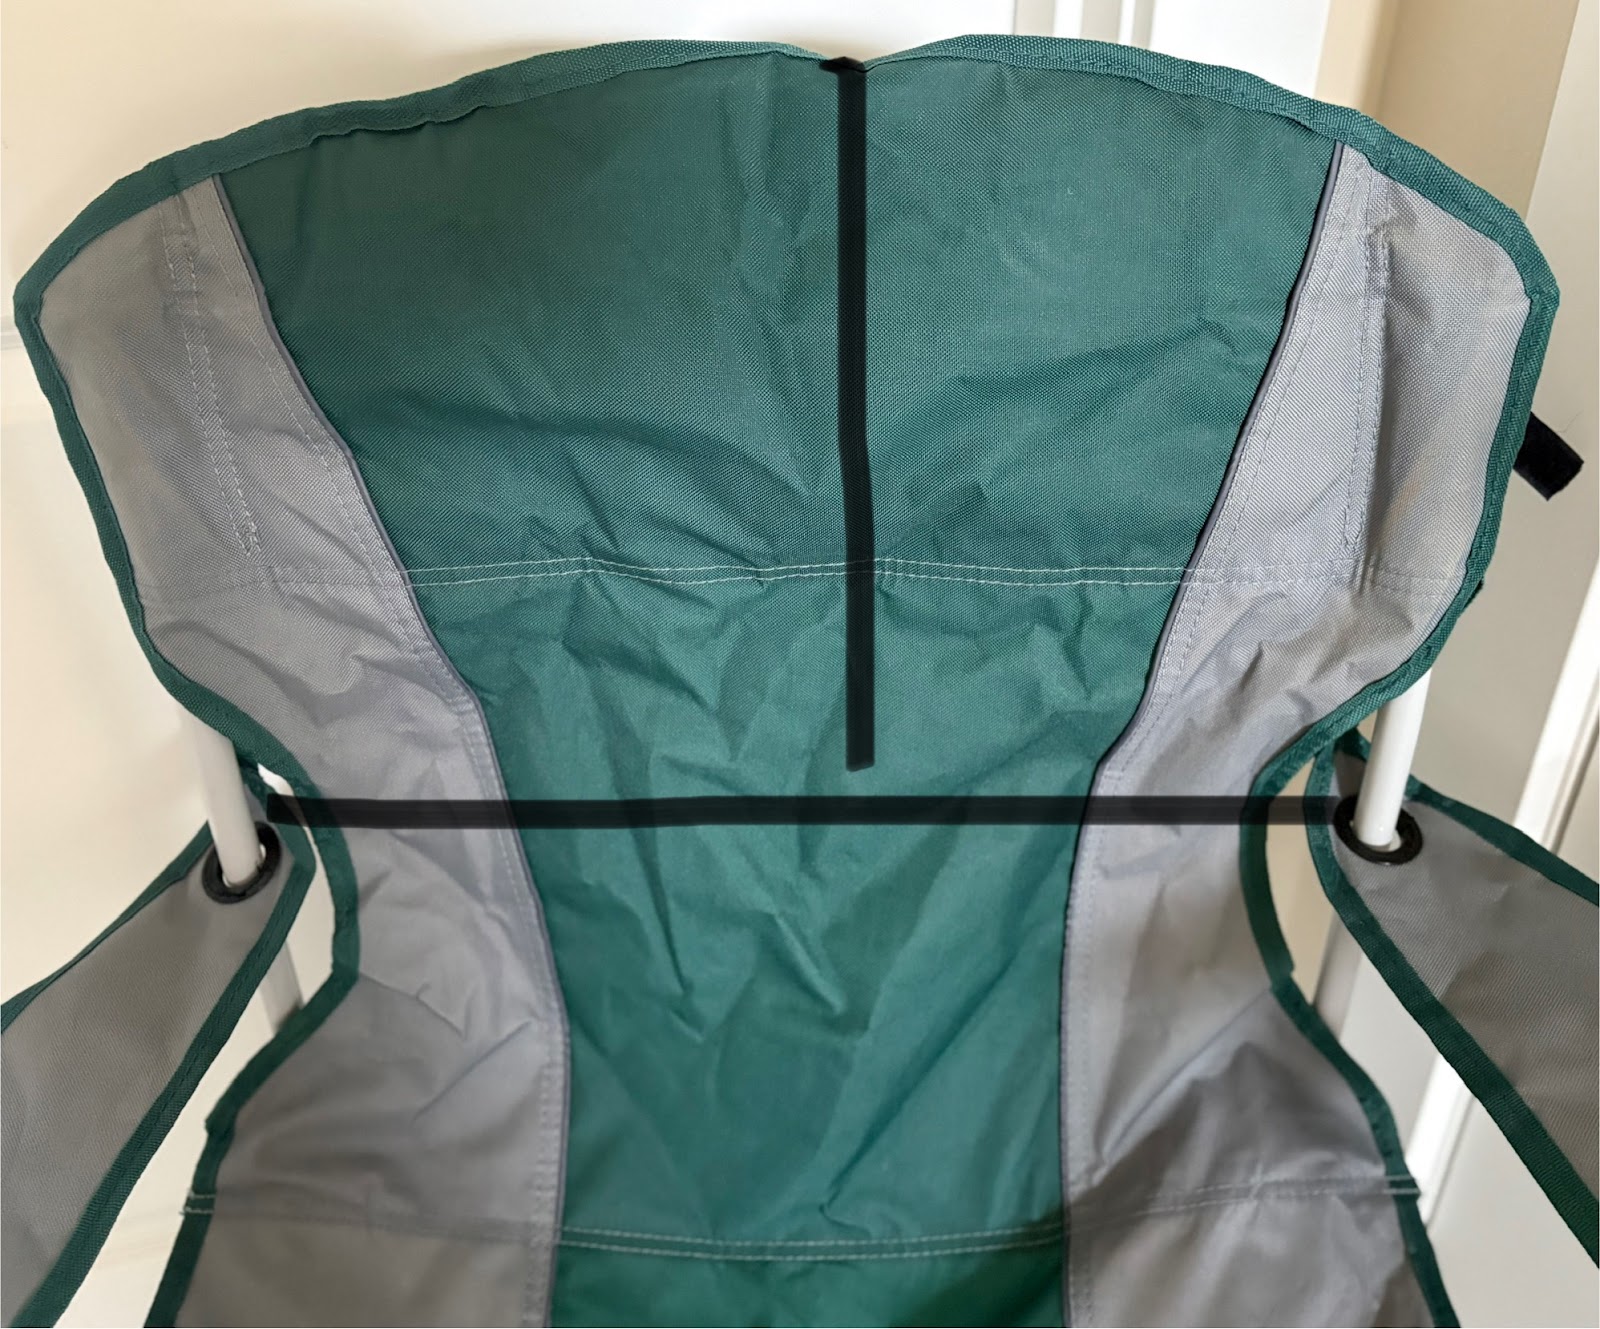
This type of chair is slightly different. It does not have adjustable armrests. I measured across the top and then down to the top of the armrests. This chair measured 13” down and 21” across. I will cut my fabric for this measurement to be 28” down (13” + 13” + 2” for hemming) and 22” across (21” + ½” seam allowance on both sides). Always measure each chair before cutting your fabric. Remember to allow 2” for the hem and 1” for the side seams.
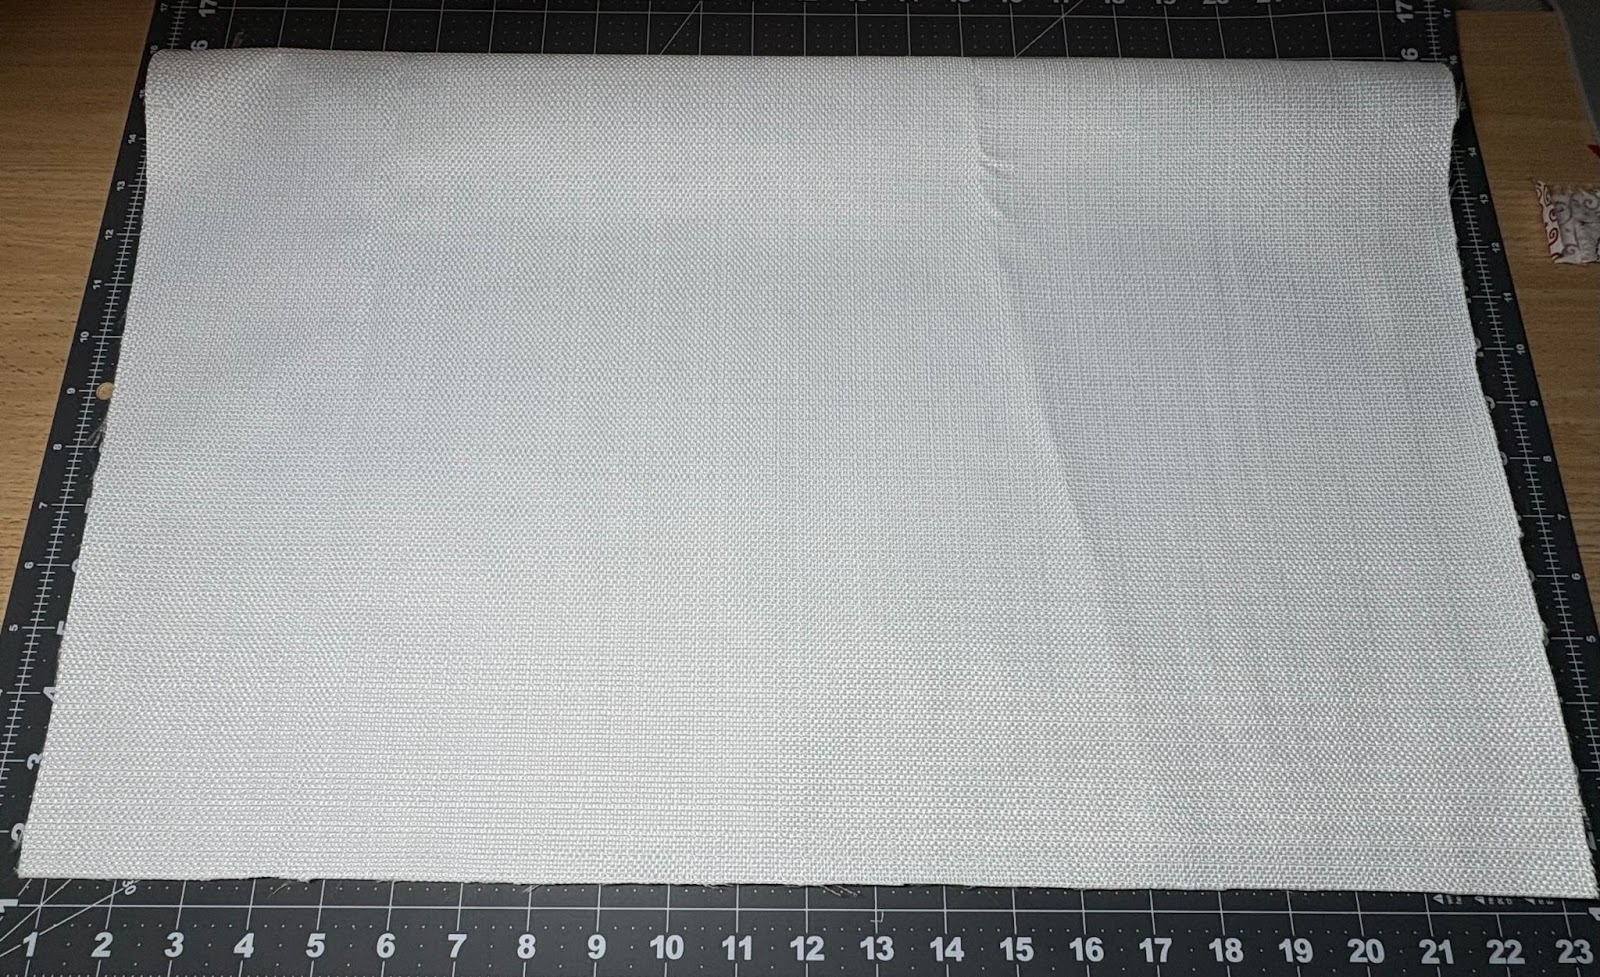
Once your fabric is cut, you are going to hem the two short ends.

Turn under 1” on both short ends. If your fabric will fray, turn under ½” and then turn up the end again to give you a ½” seam. Clip or pin.

Take to your sewing machine.
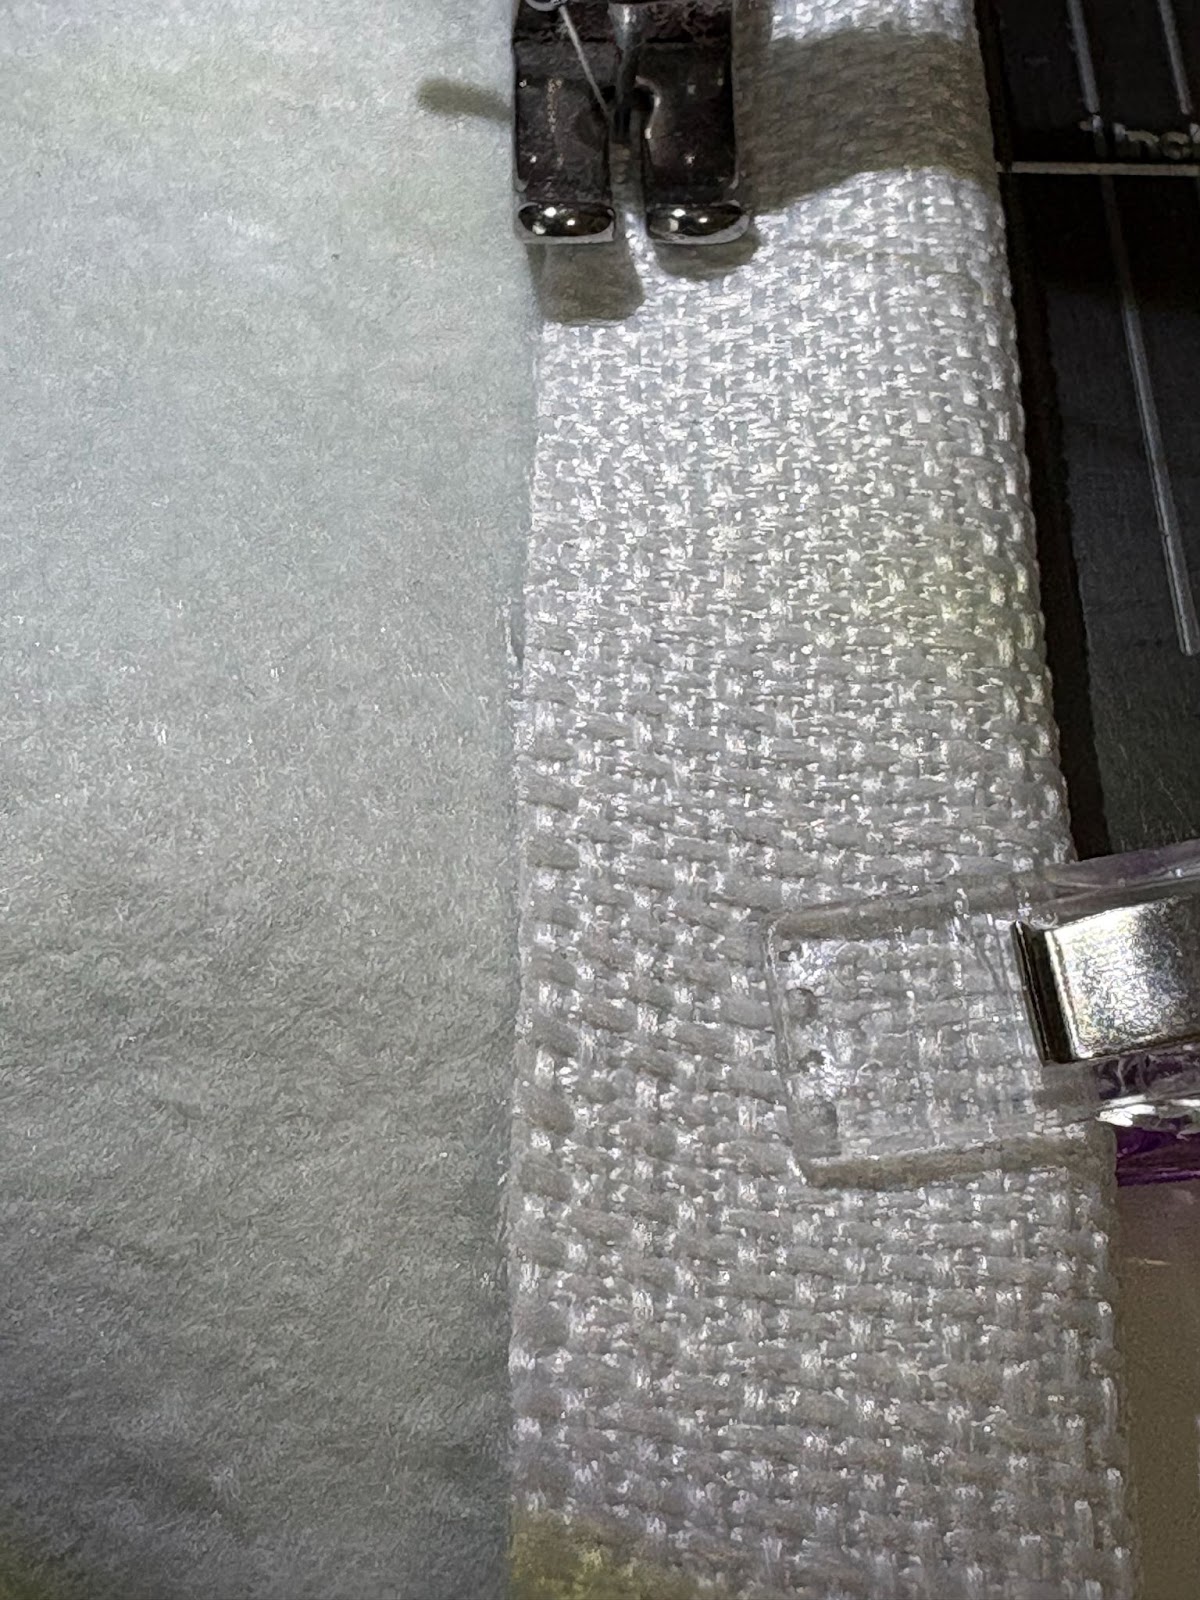
Stitch close to the edge. If you want to add a pop of color, you can stitch this with a colorful bobbin thread that will show on the front.
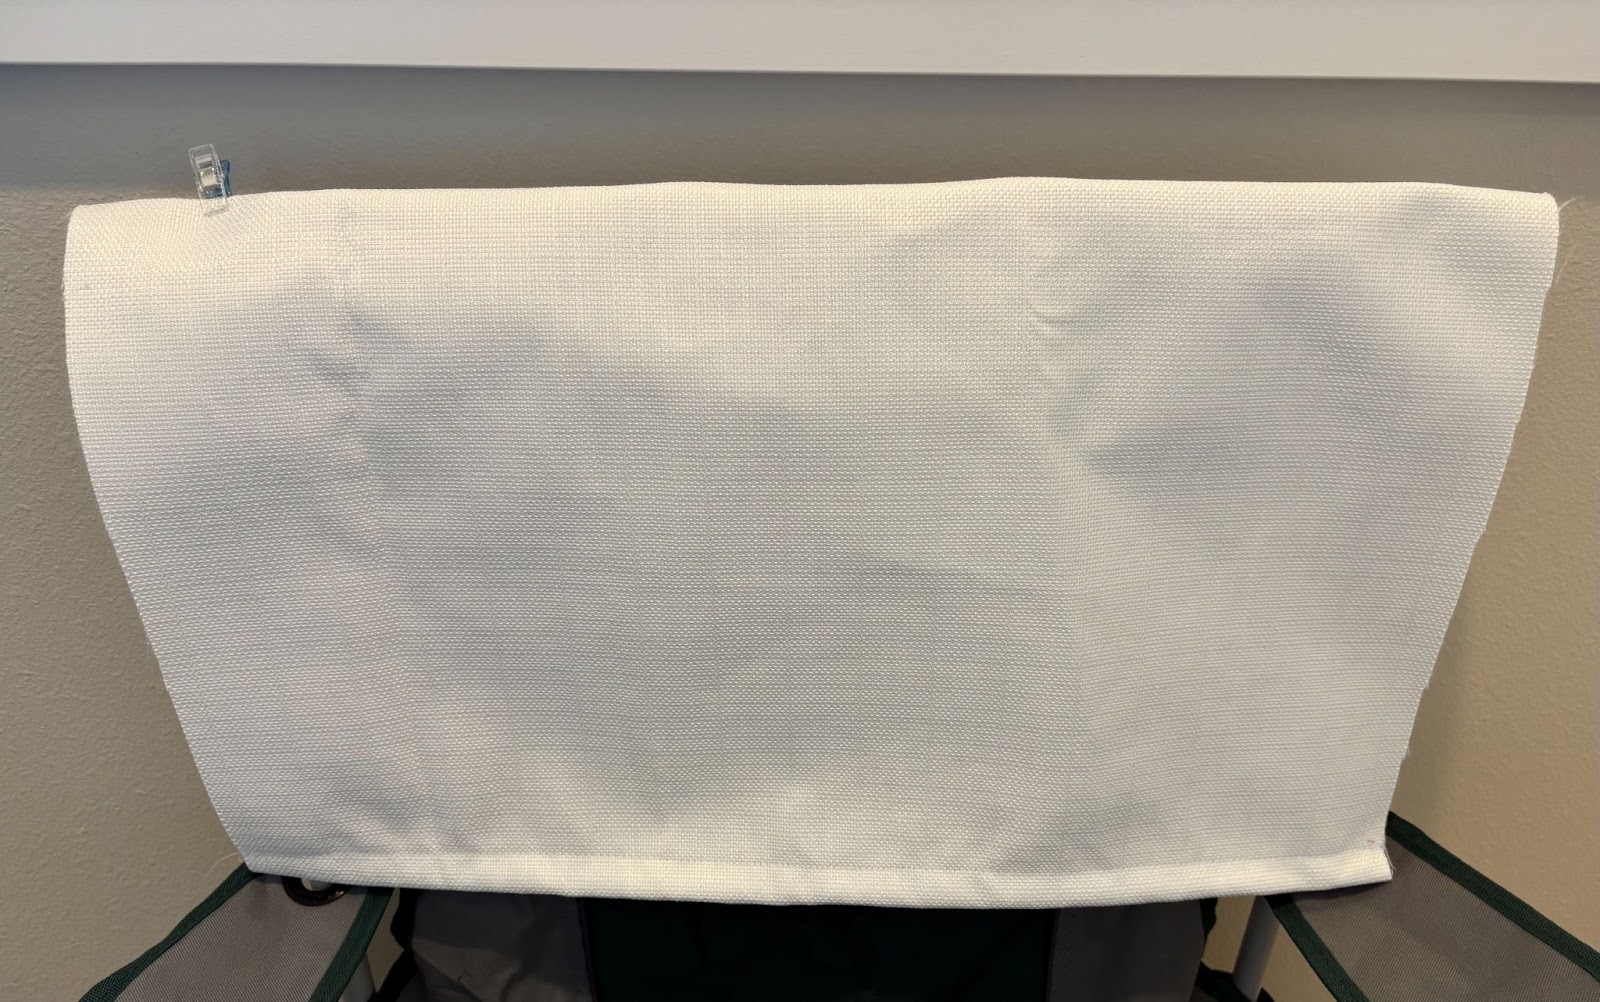
Lay the fabric over the chair. If the length is too long, now is the time to adjust the hem.
How much of the fabric you want to cover in designs will determine the sizes and how many different designs you can use. You may want to keep it simple with just one design. Or you can add multiple designs.
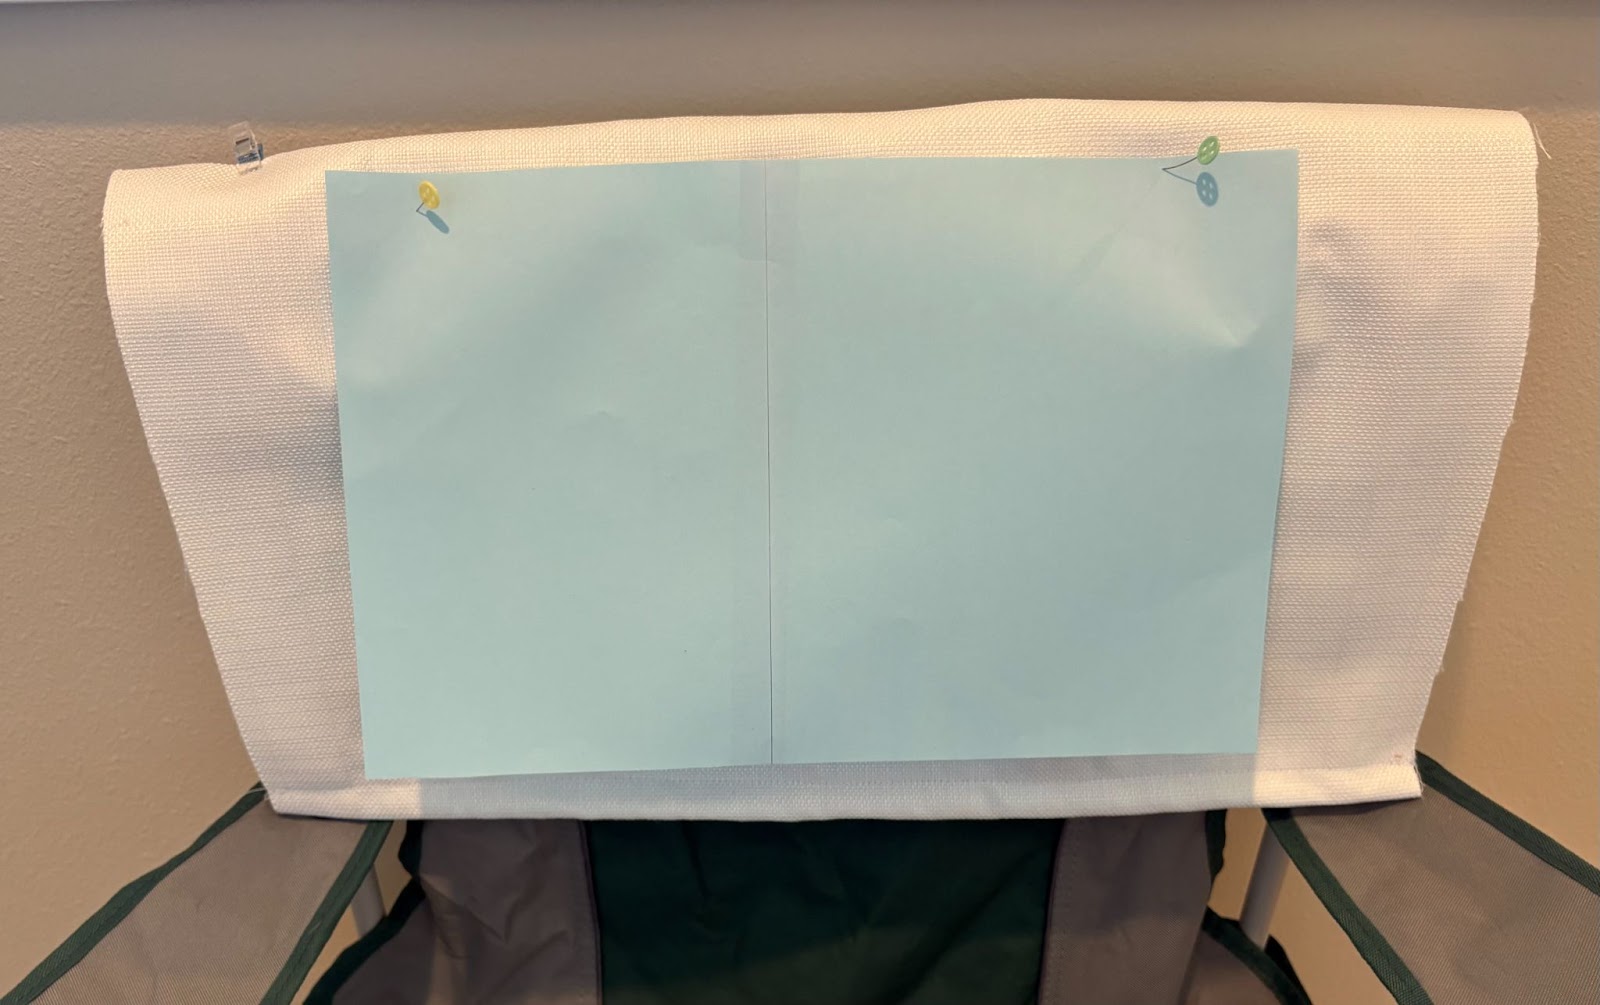
With the fabric still on the chair, measure out your design space. Cut a template from paper and pin it to the fabric. This will give you an idea of the size and number of designs you can work with. My template is 15½” x 10”. I do not have a hoop that large, so I will do multiple hoopings. This is a rough estimate of how much space I have to work with. Your design area does not have to be this big.
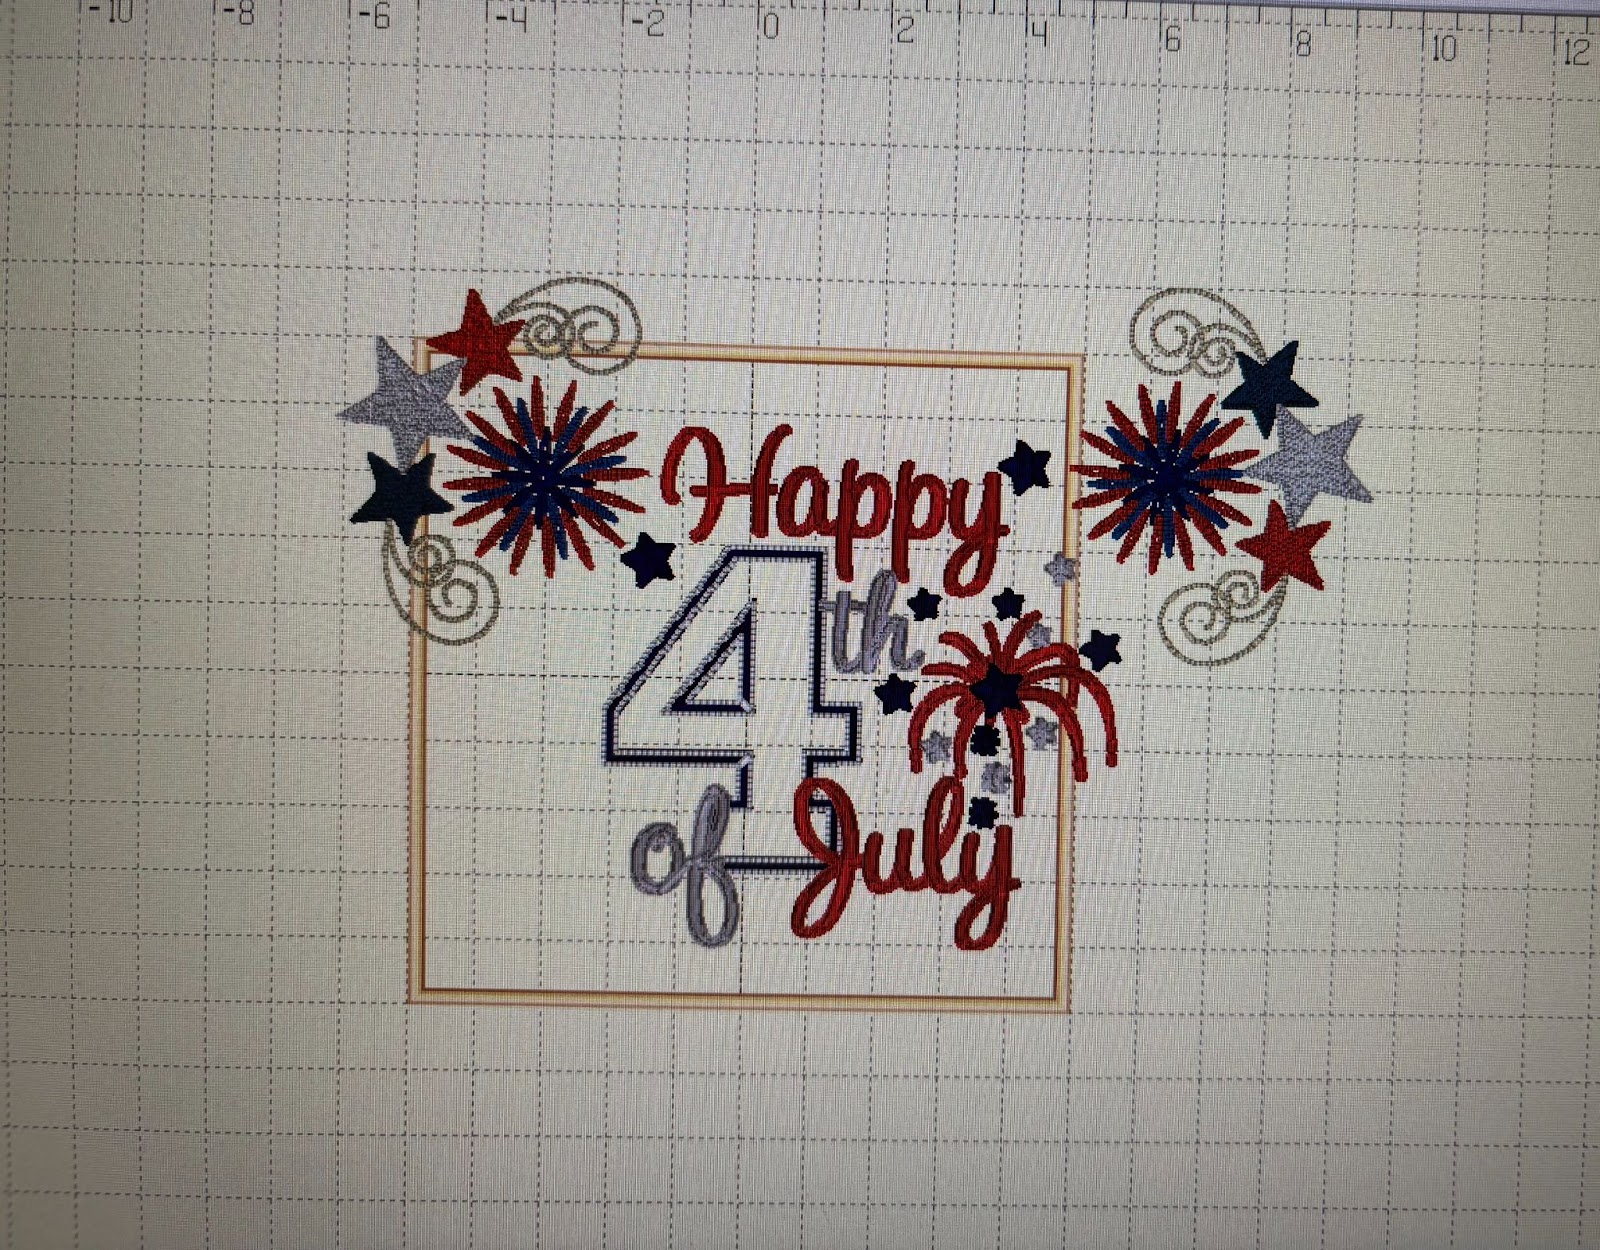
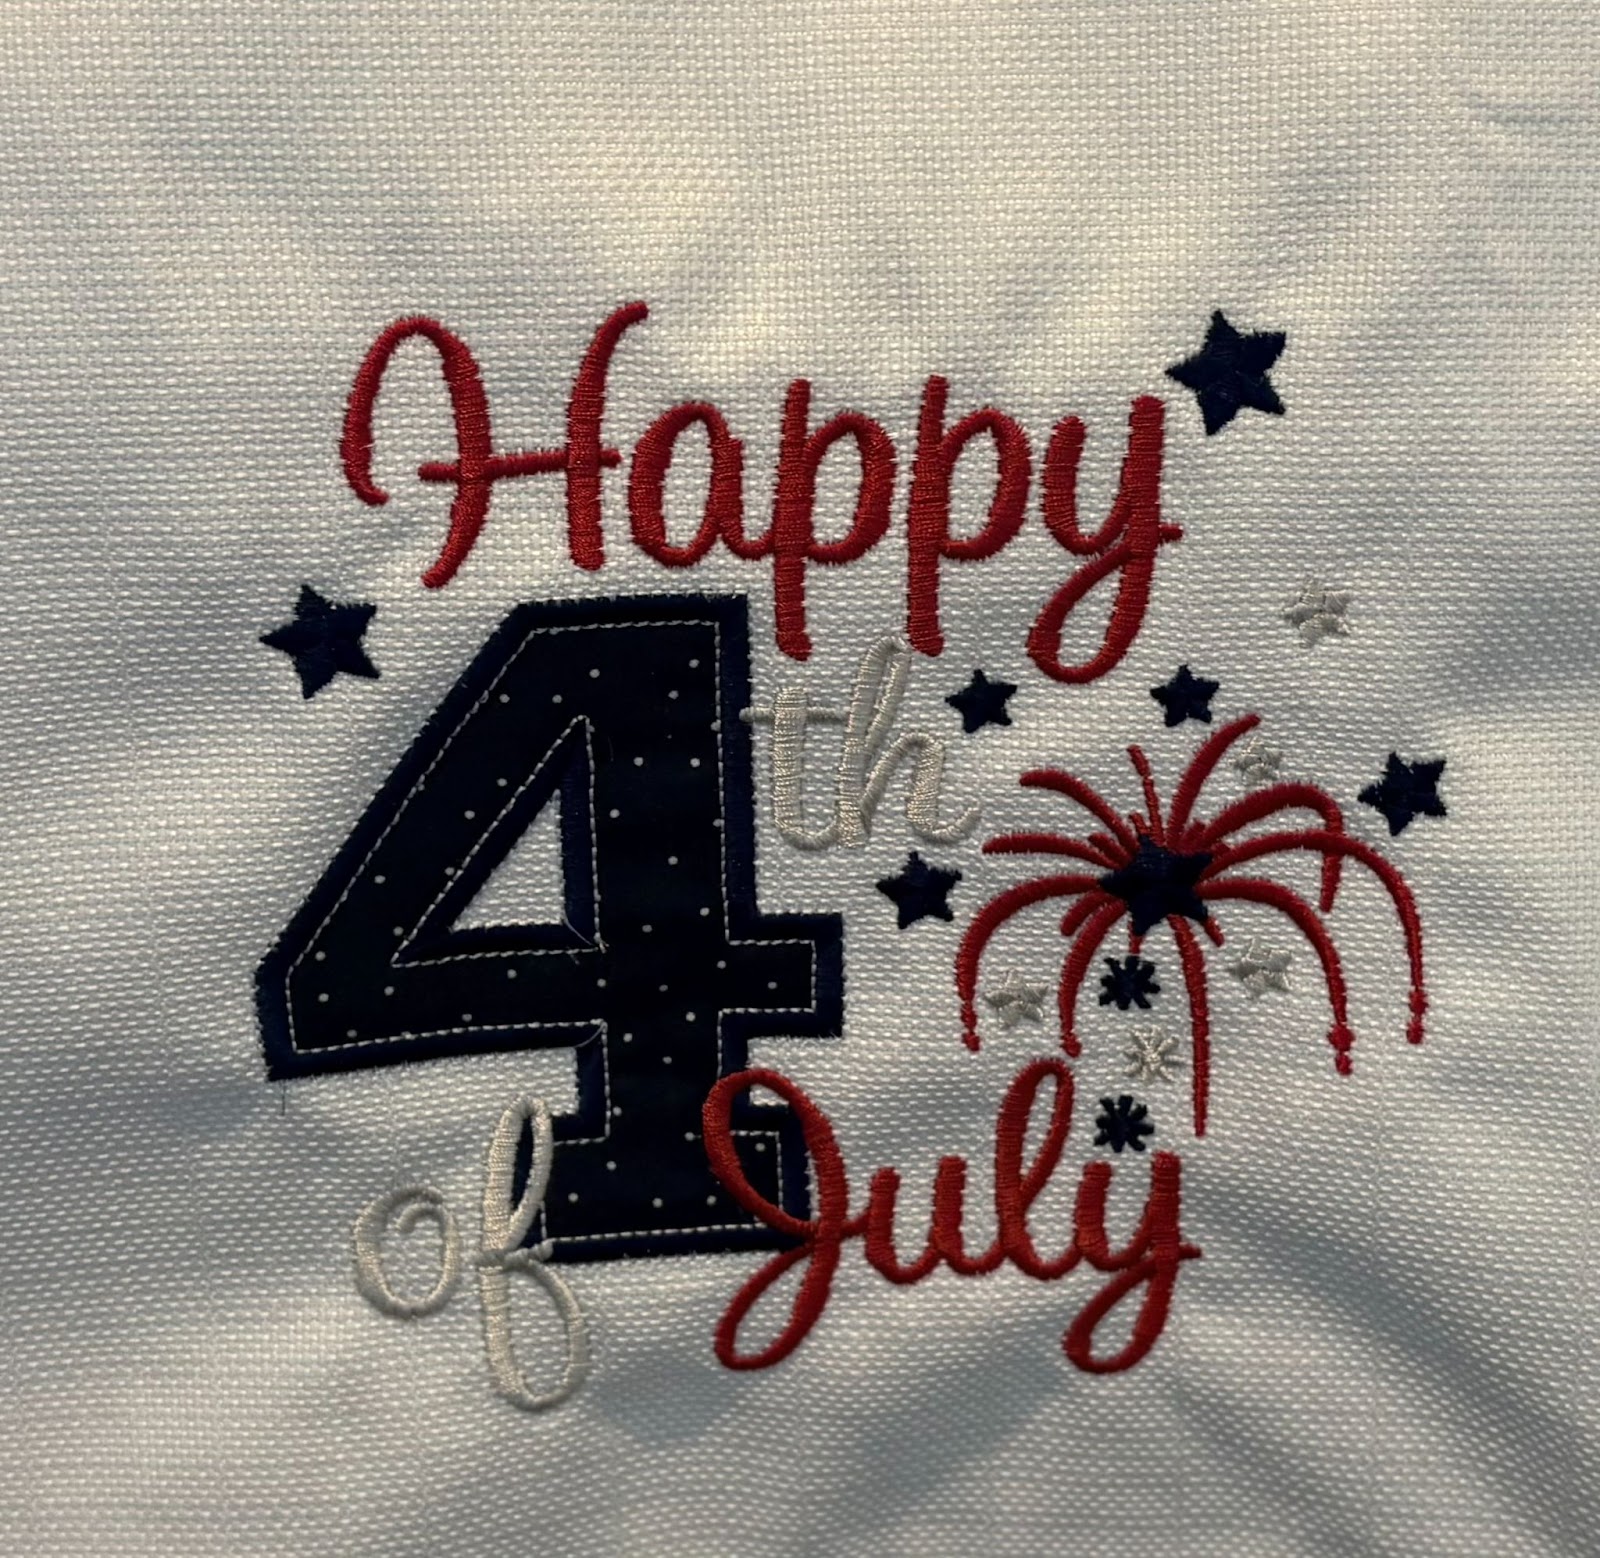
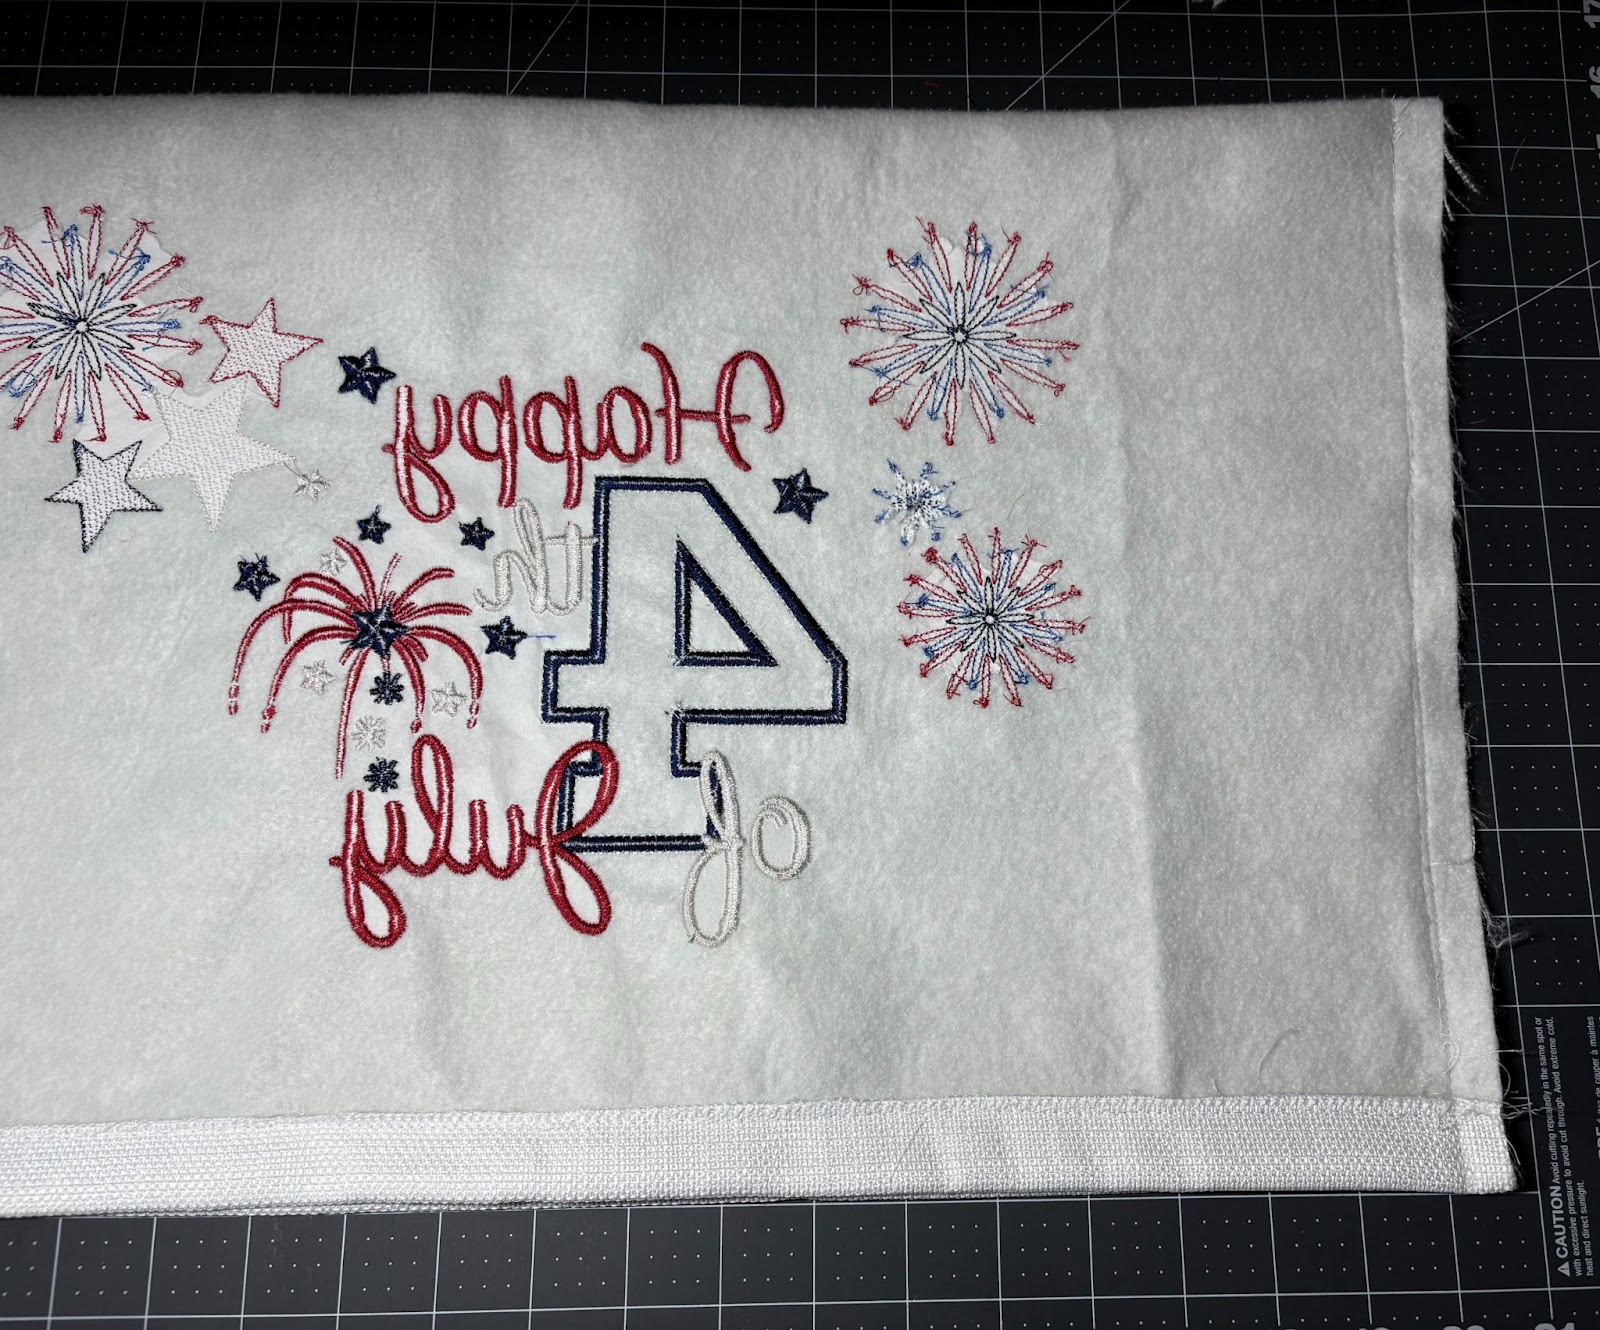
If you have software, you can design the cover there. If not, I would continue to use paper templates. I am using the Happy 4th of July Machine Embroidery Design, size 8x8 (7.86" x 7.74"), and Patriotic Corner Embroidery Design, size 5x7 (4.77" x 4.8"). If you look back at my finished cover, I did not end up using the designs exactly as shown. Once I started stitching out my designs and saw how they looked, I changed them up a bit. Remember, nothing is permanent until it is stitched out. Creativity is constantly evolving. If you are limited by hoop size, this is a great project in which to use multiple designs and multiple hoopings to fill the space.
Choose the design of your choice and load it to your machine.

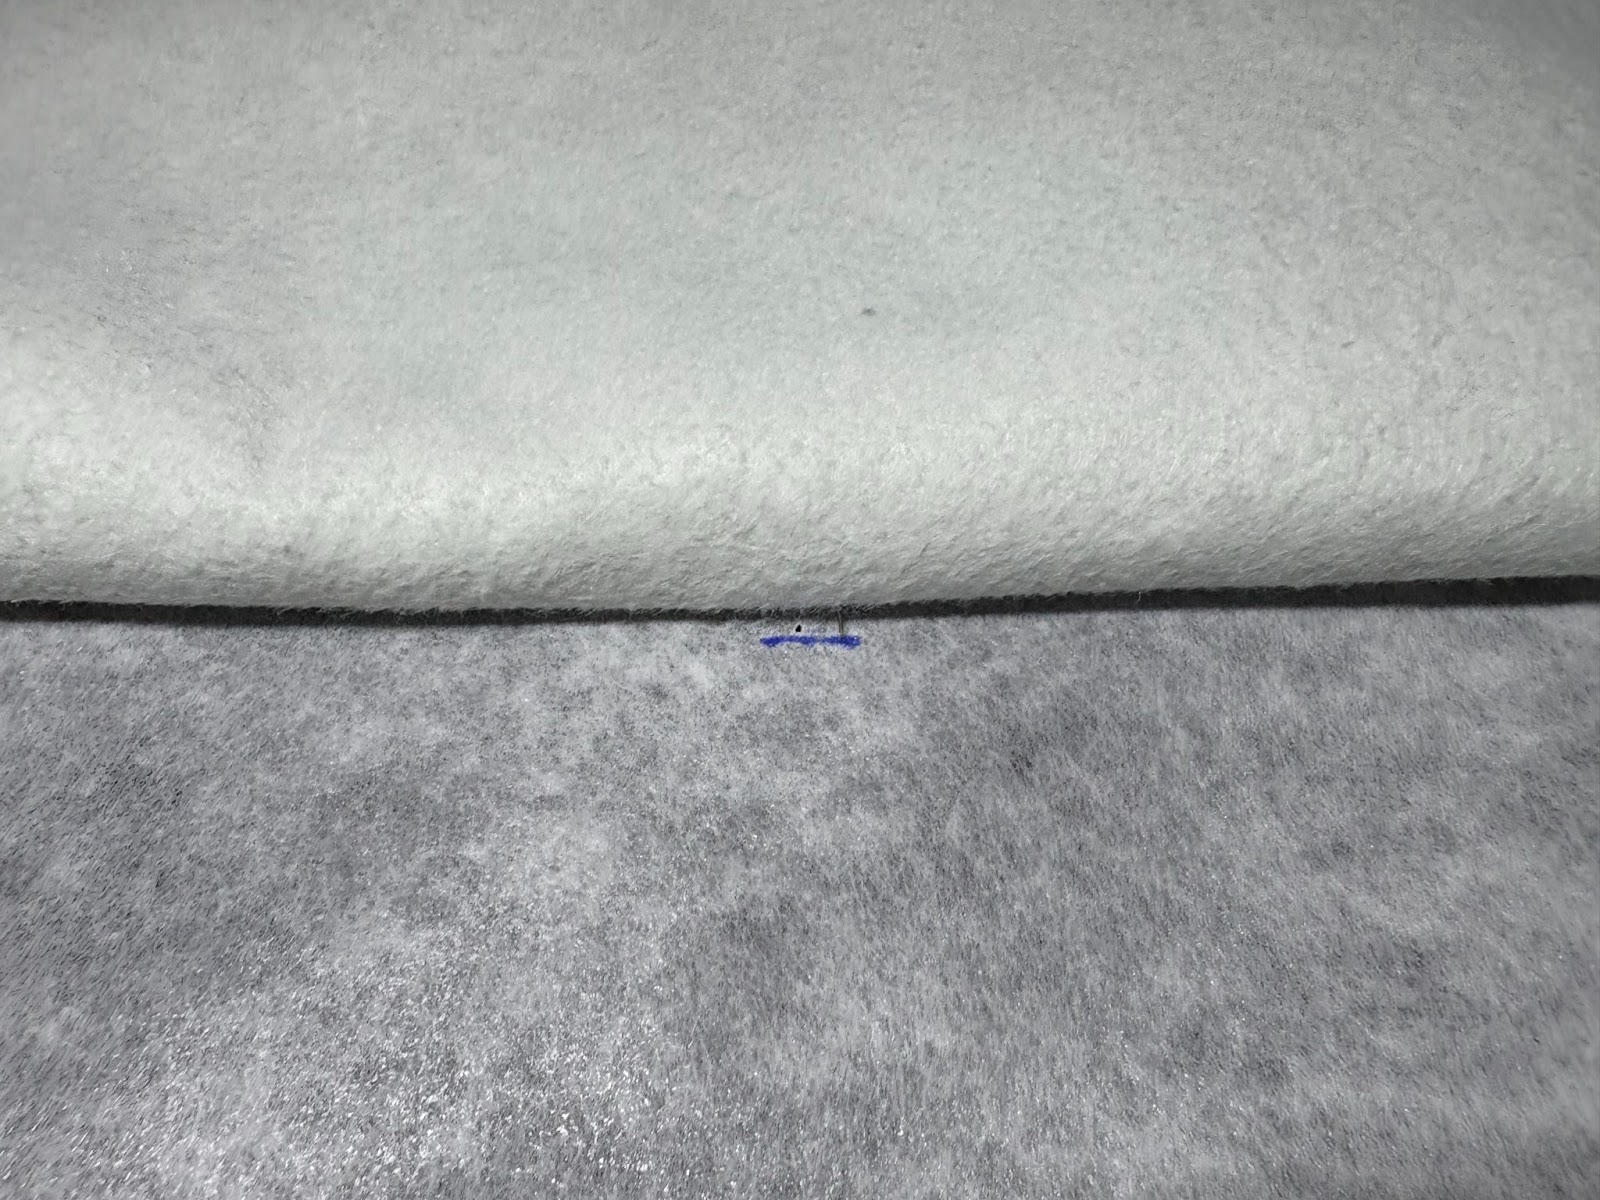
Hoop tear-away stabilizer. Take the hoop to the machine.
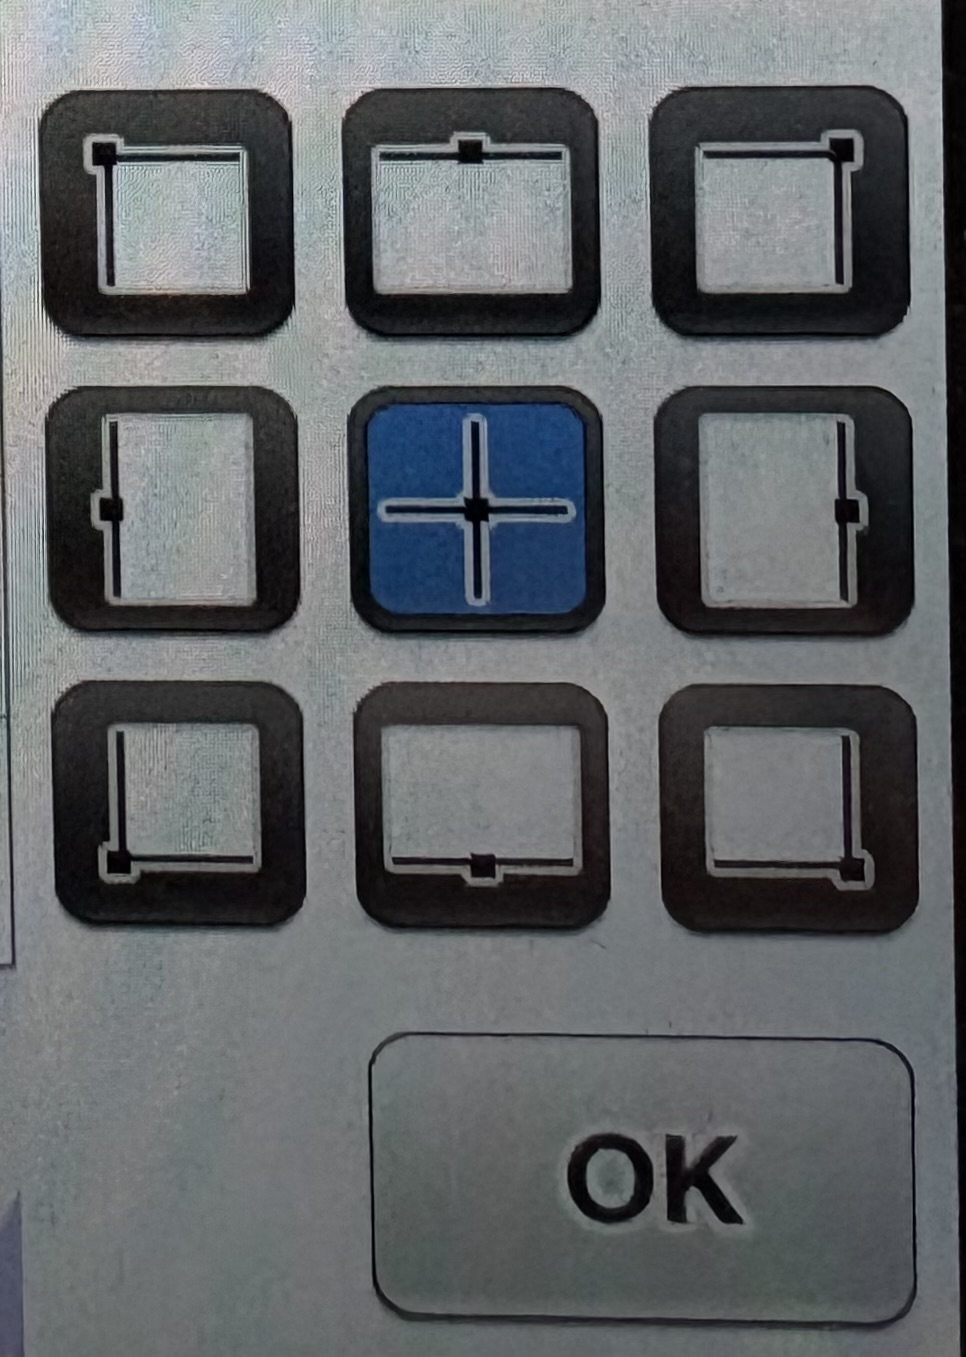
With the Placement keys, find the center of the design. My machine is a Brother 8500; your screen may look different.
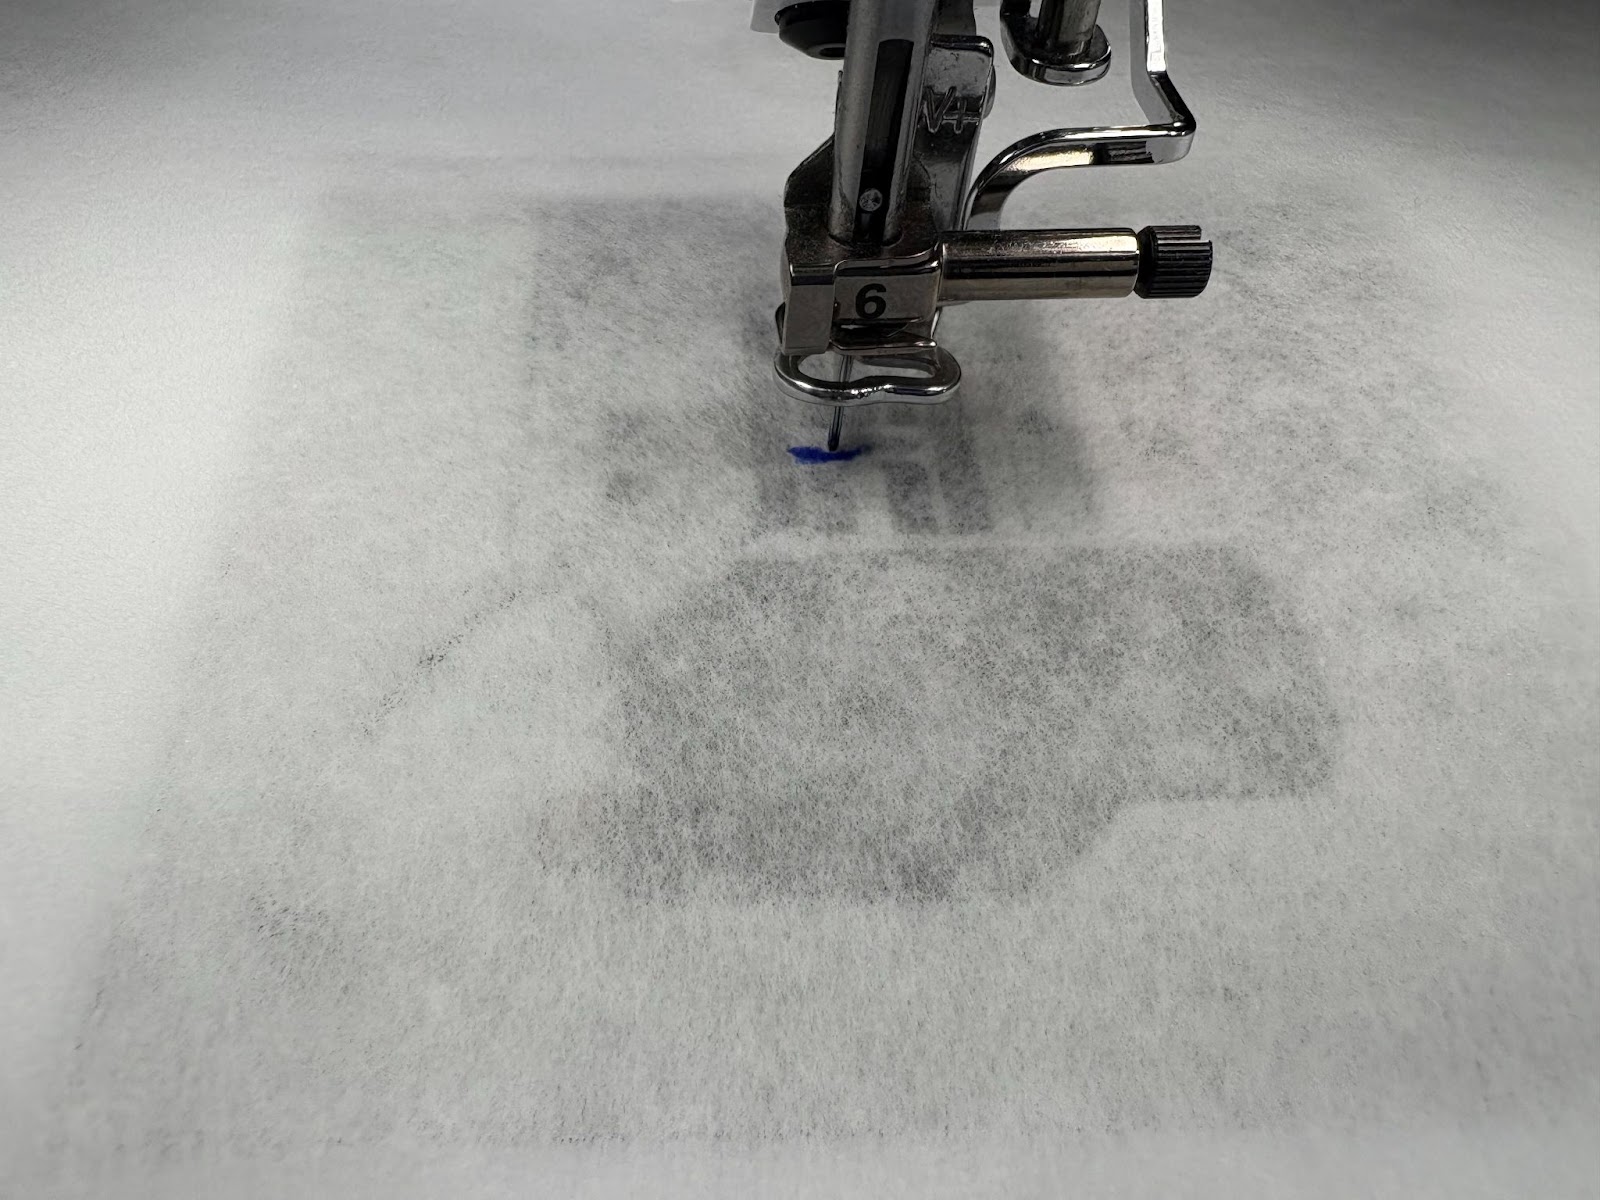
With the Needle Down key, mark the center onto the stabilizer. Then, lightly mark that spot on the stabilizer with a pen. Remove the hoop from the machine and place on a flat surface.
Fold the fabric in half, matching up the short ends.
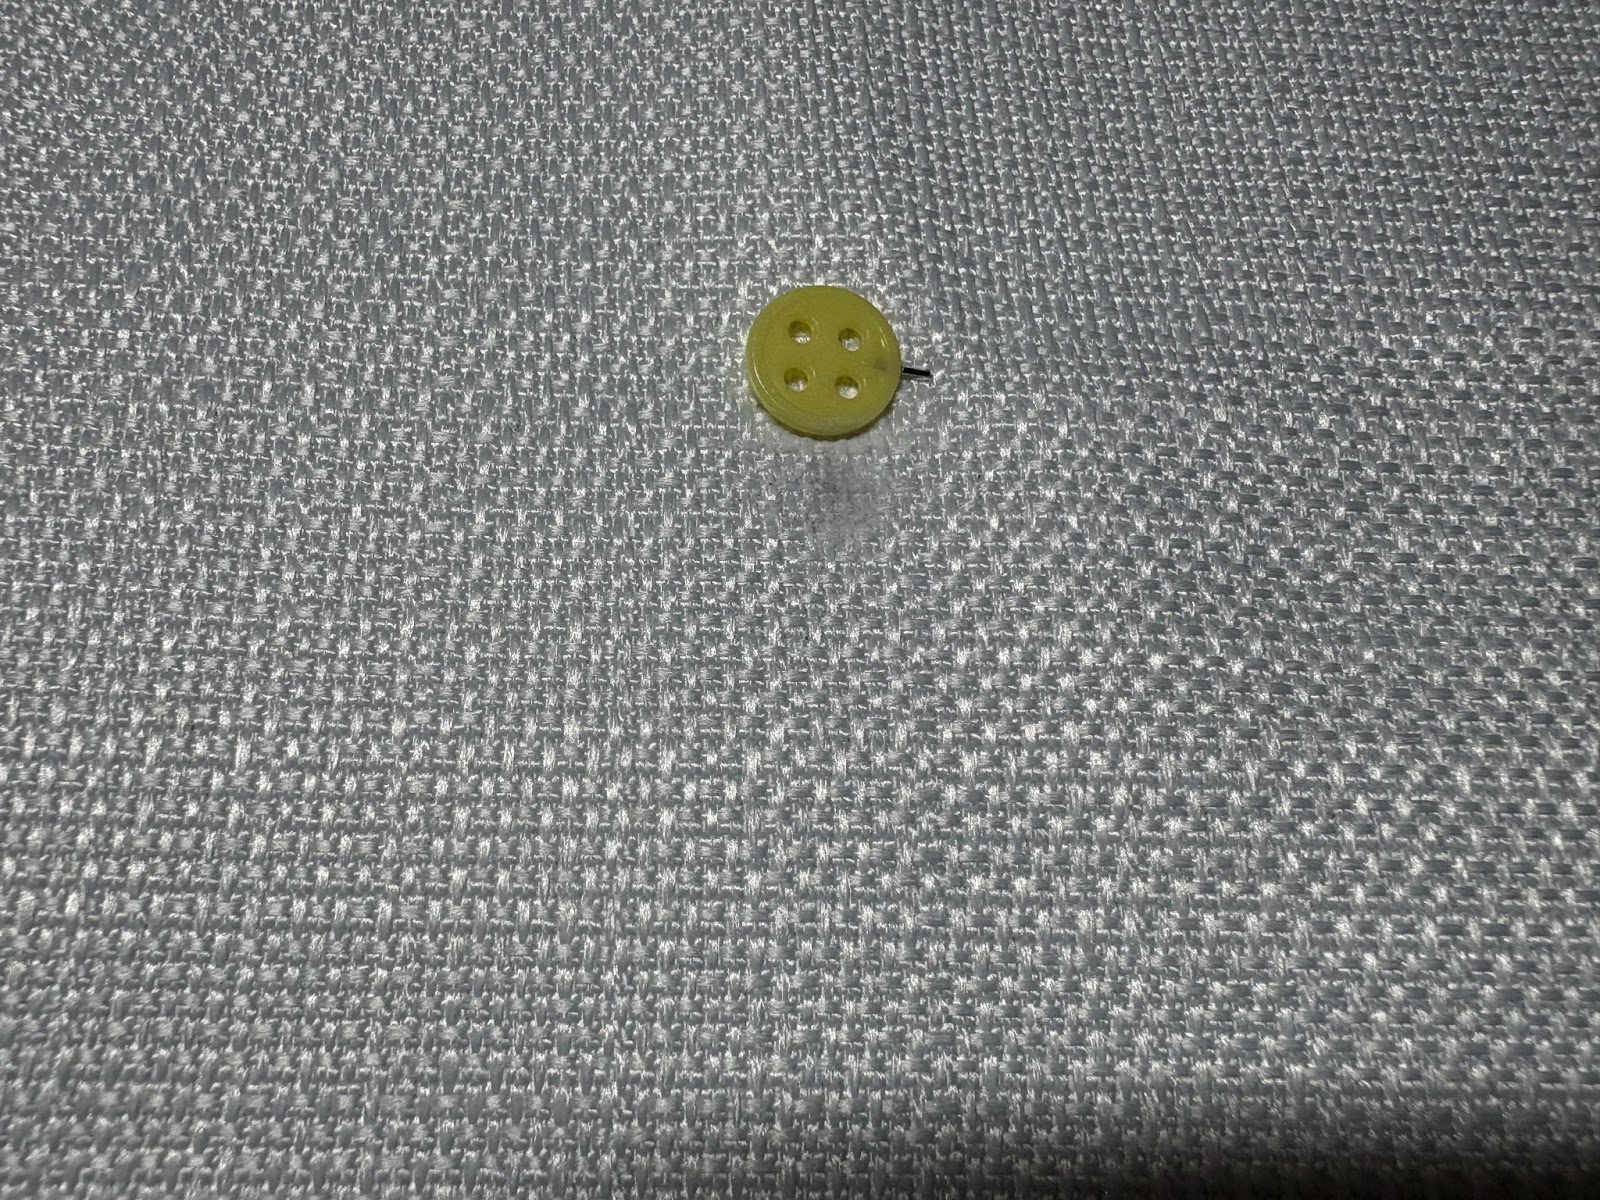
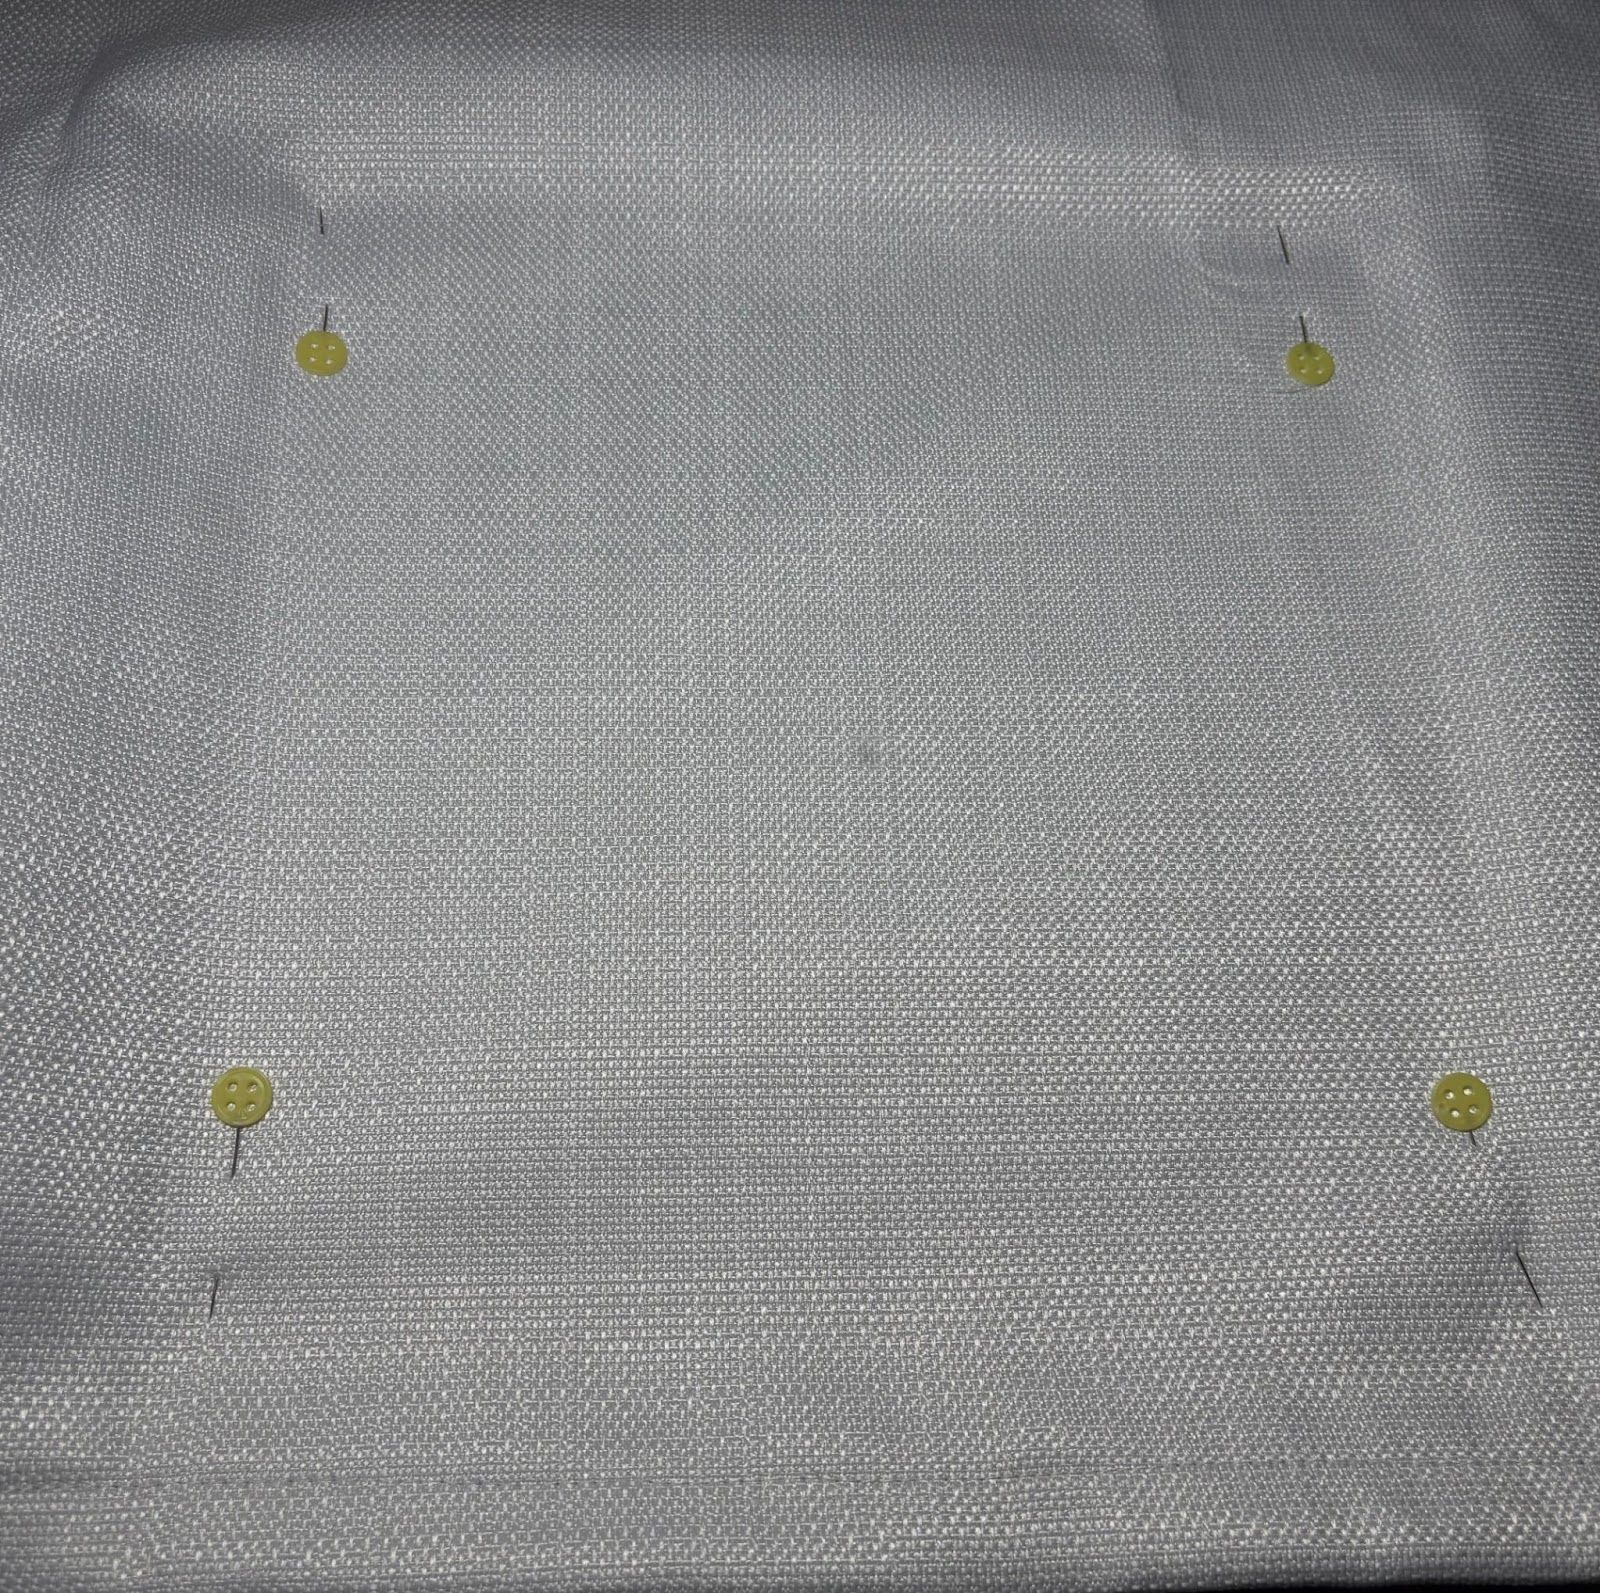
Find the center of the front of the fabric and mark with a pin or tailors chalk. Since this fabric cannot be ironed I do not want to use a fabric pen since it may leave a mark.
Spray the hooped stabilizer with a basting spray, or use pins to keep the fabric stable. Line up the pin in the fabric with the mark on the stabilizer and finger press down to lay flat.
If using pins to hold the fabric in place, always place them outside of the stitching area. Take to the machine and stitch out your design.
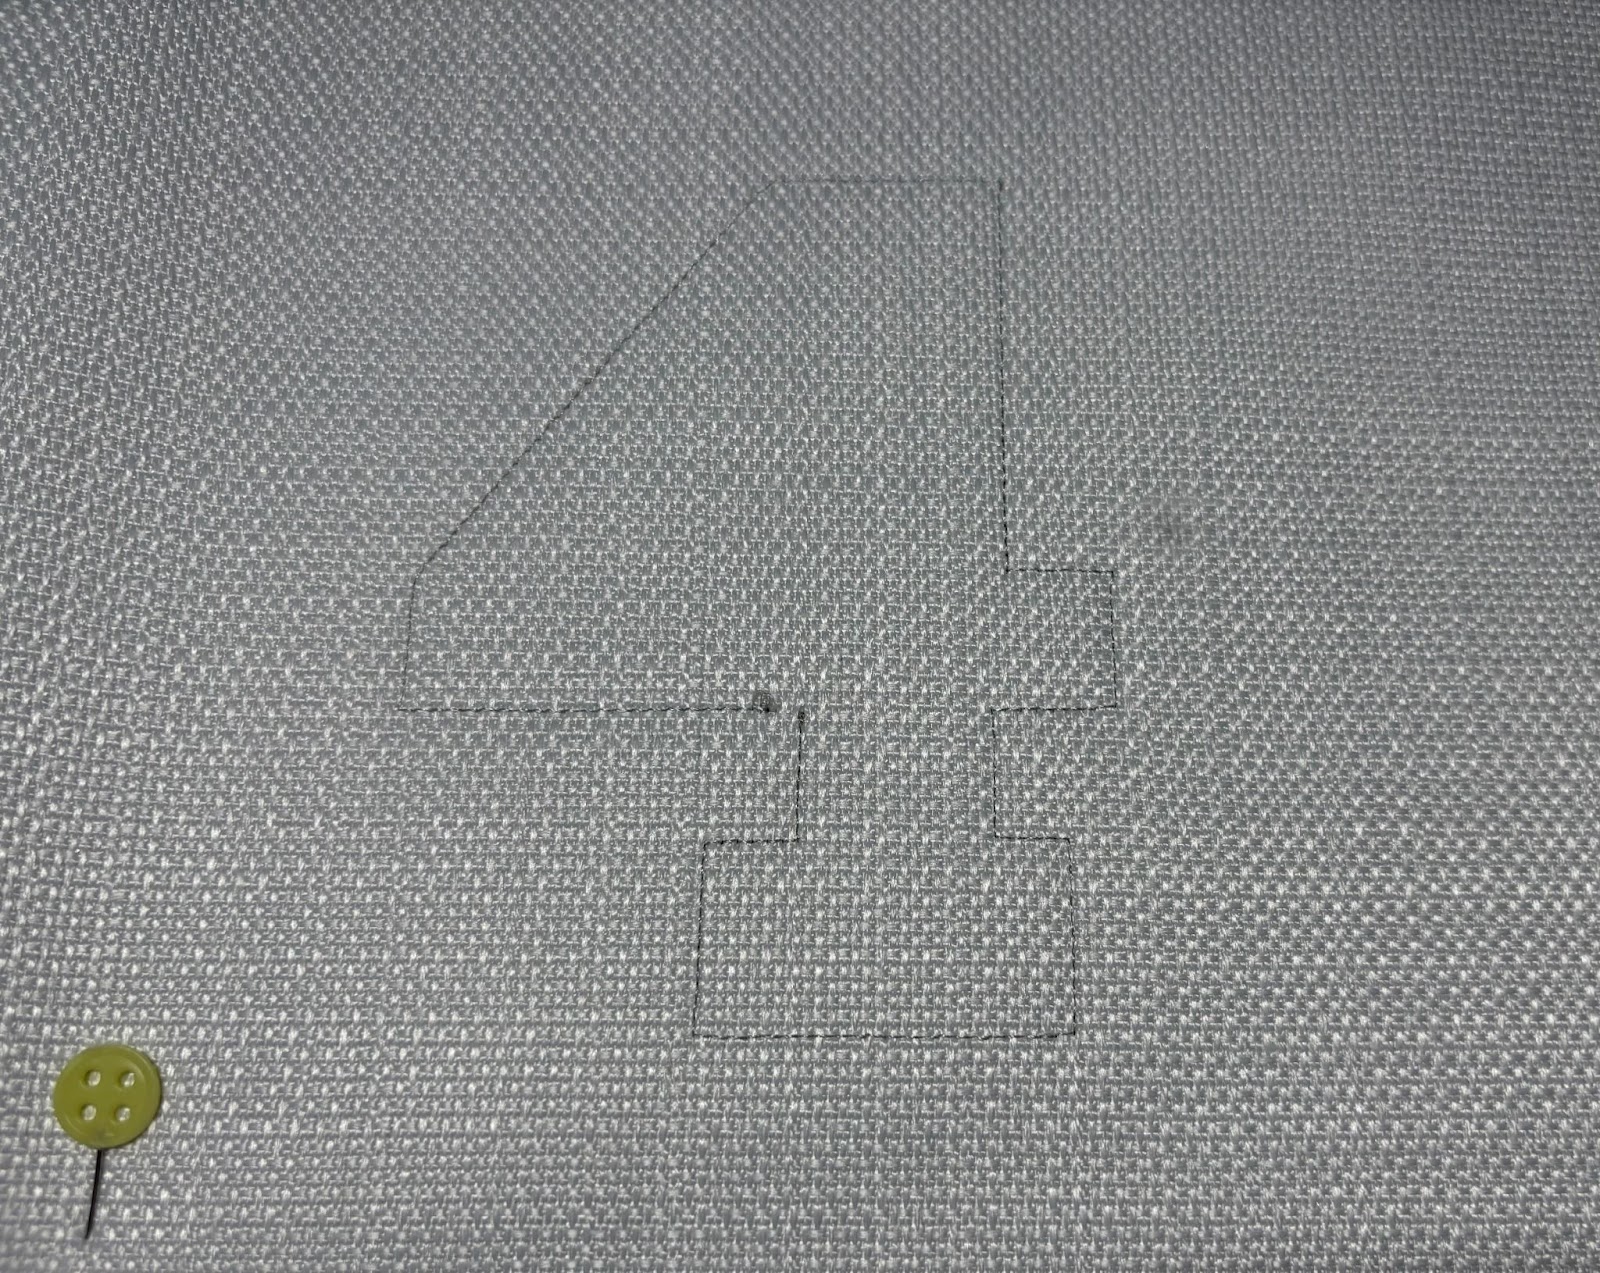
If your design is an applique, stitch out the fabric placement stitch.

Place the fabric over the outline, completely covering all the stitches.
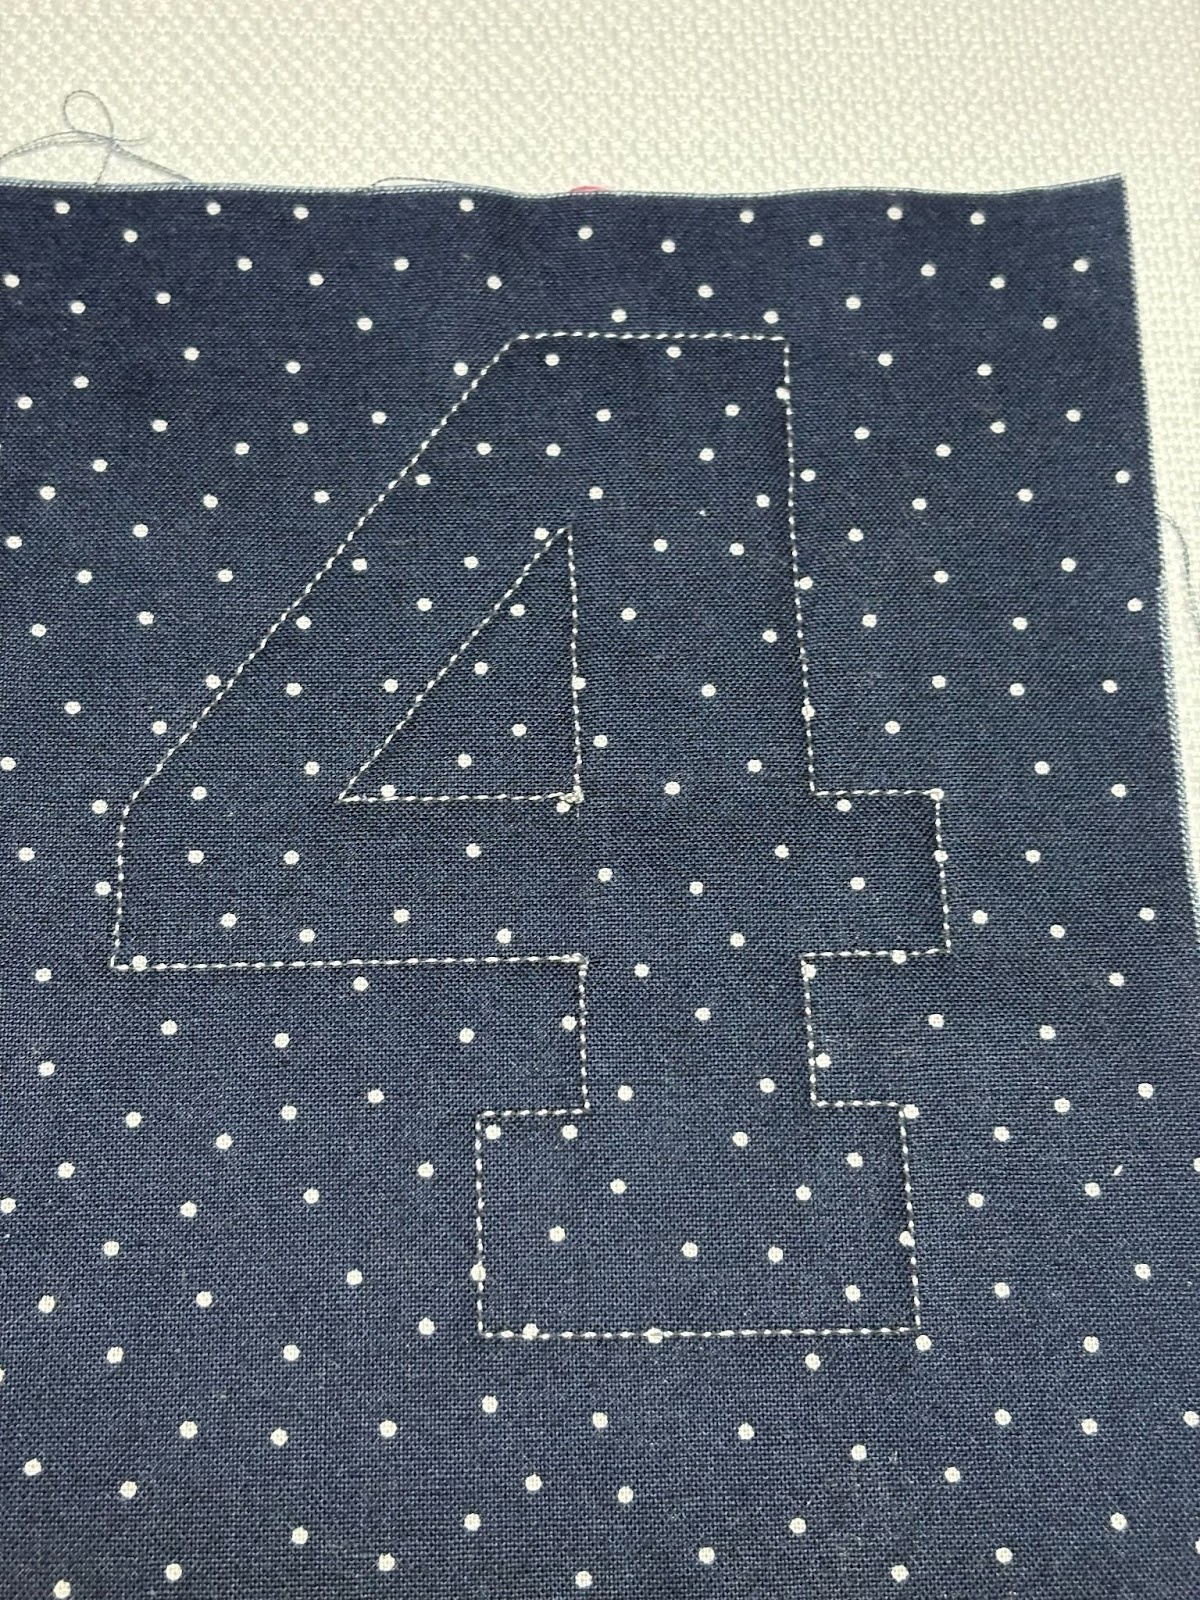
Stitch the fabric tack-down. Remove the hoop and place on a flat surface.

Trim the applique close to the stitching. Take care not to cut the cover fabric. Return the hoop to the machine and continue stitching the design.
I am not able to press the fabric. I know it looks wrinkled, but once it is stretched onto the chair the wrinkles will come out.

When finished, remove the hoop from the machine and the project from the hoop. Tear away the stabilizer.
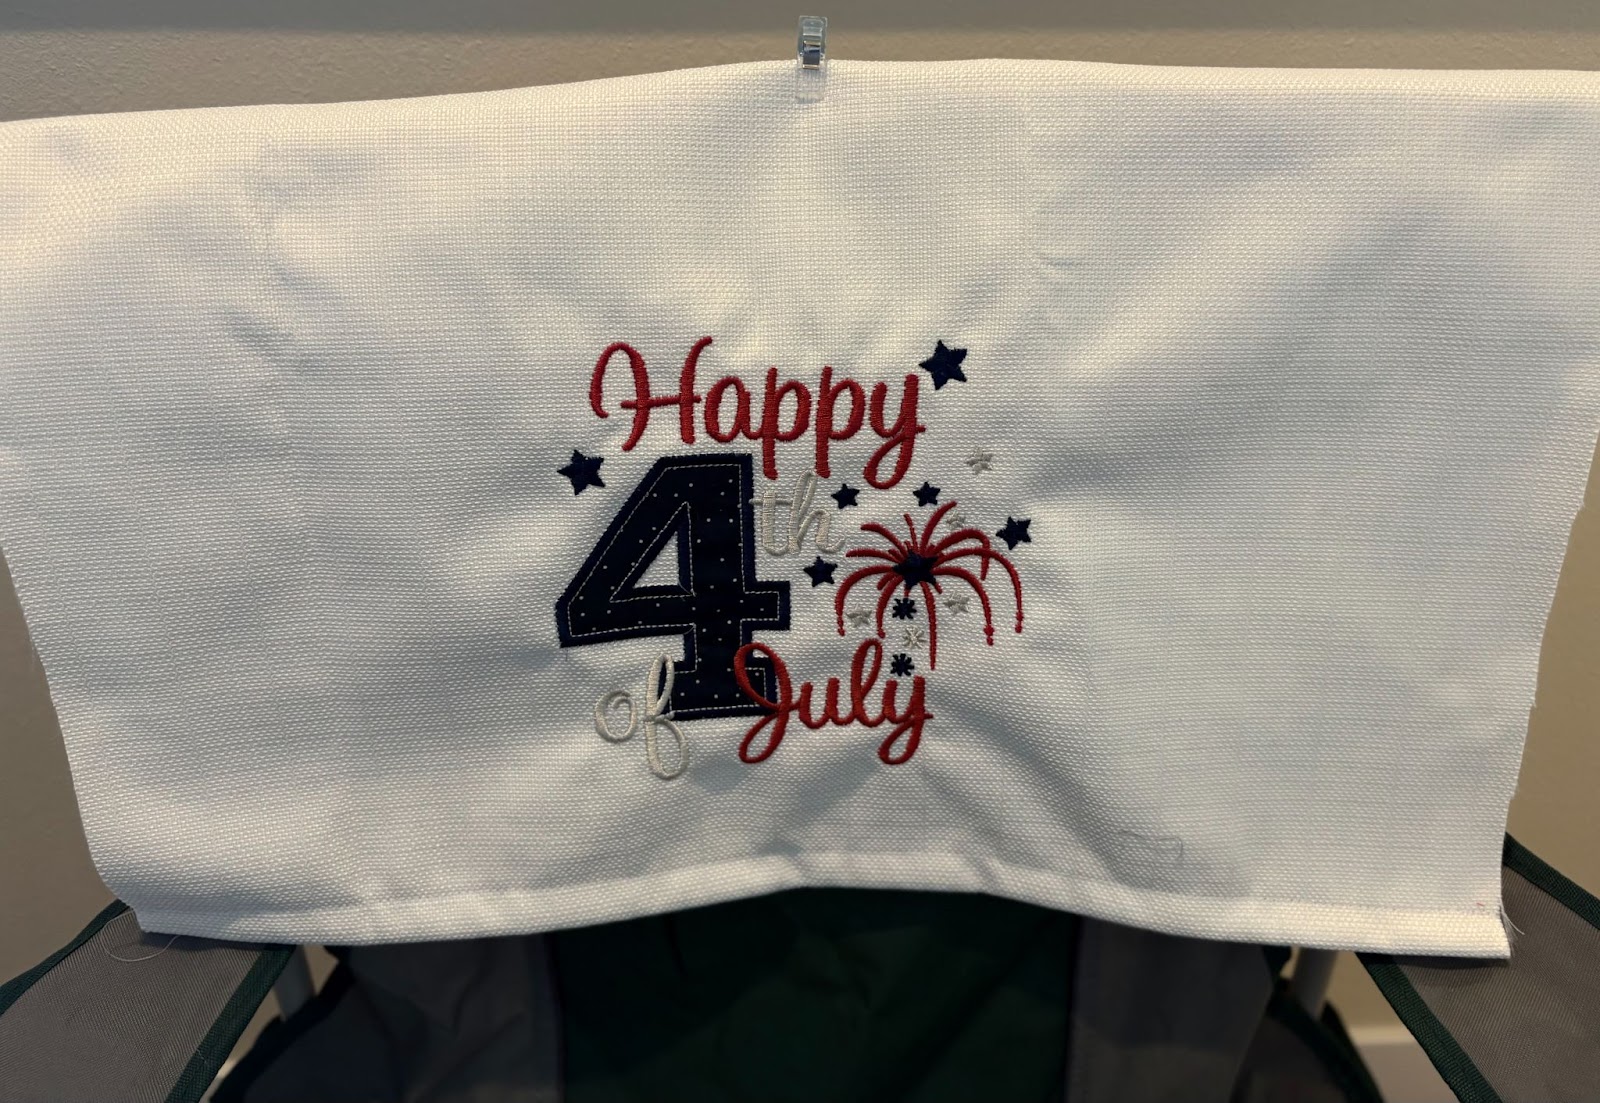
Place the fabric on the chair. If you are happy with having one design, then you are ready to finish the cover. If you are going to add additional designs, mark with pins or tailor’s chalk where you want those designs to be.
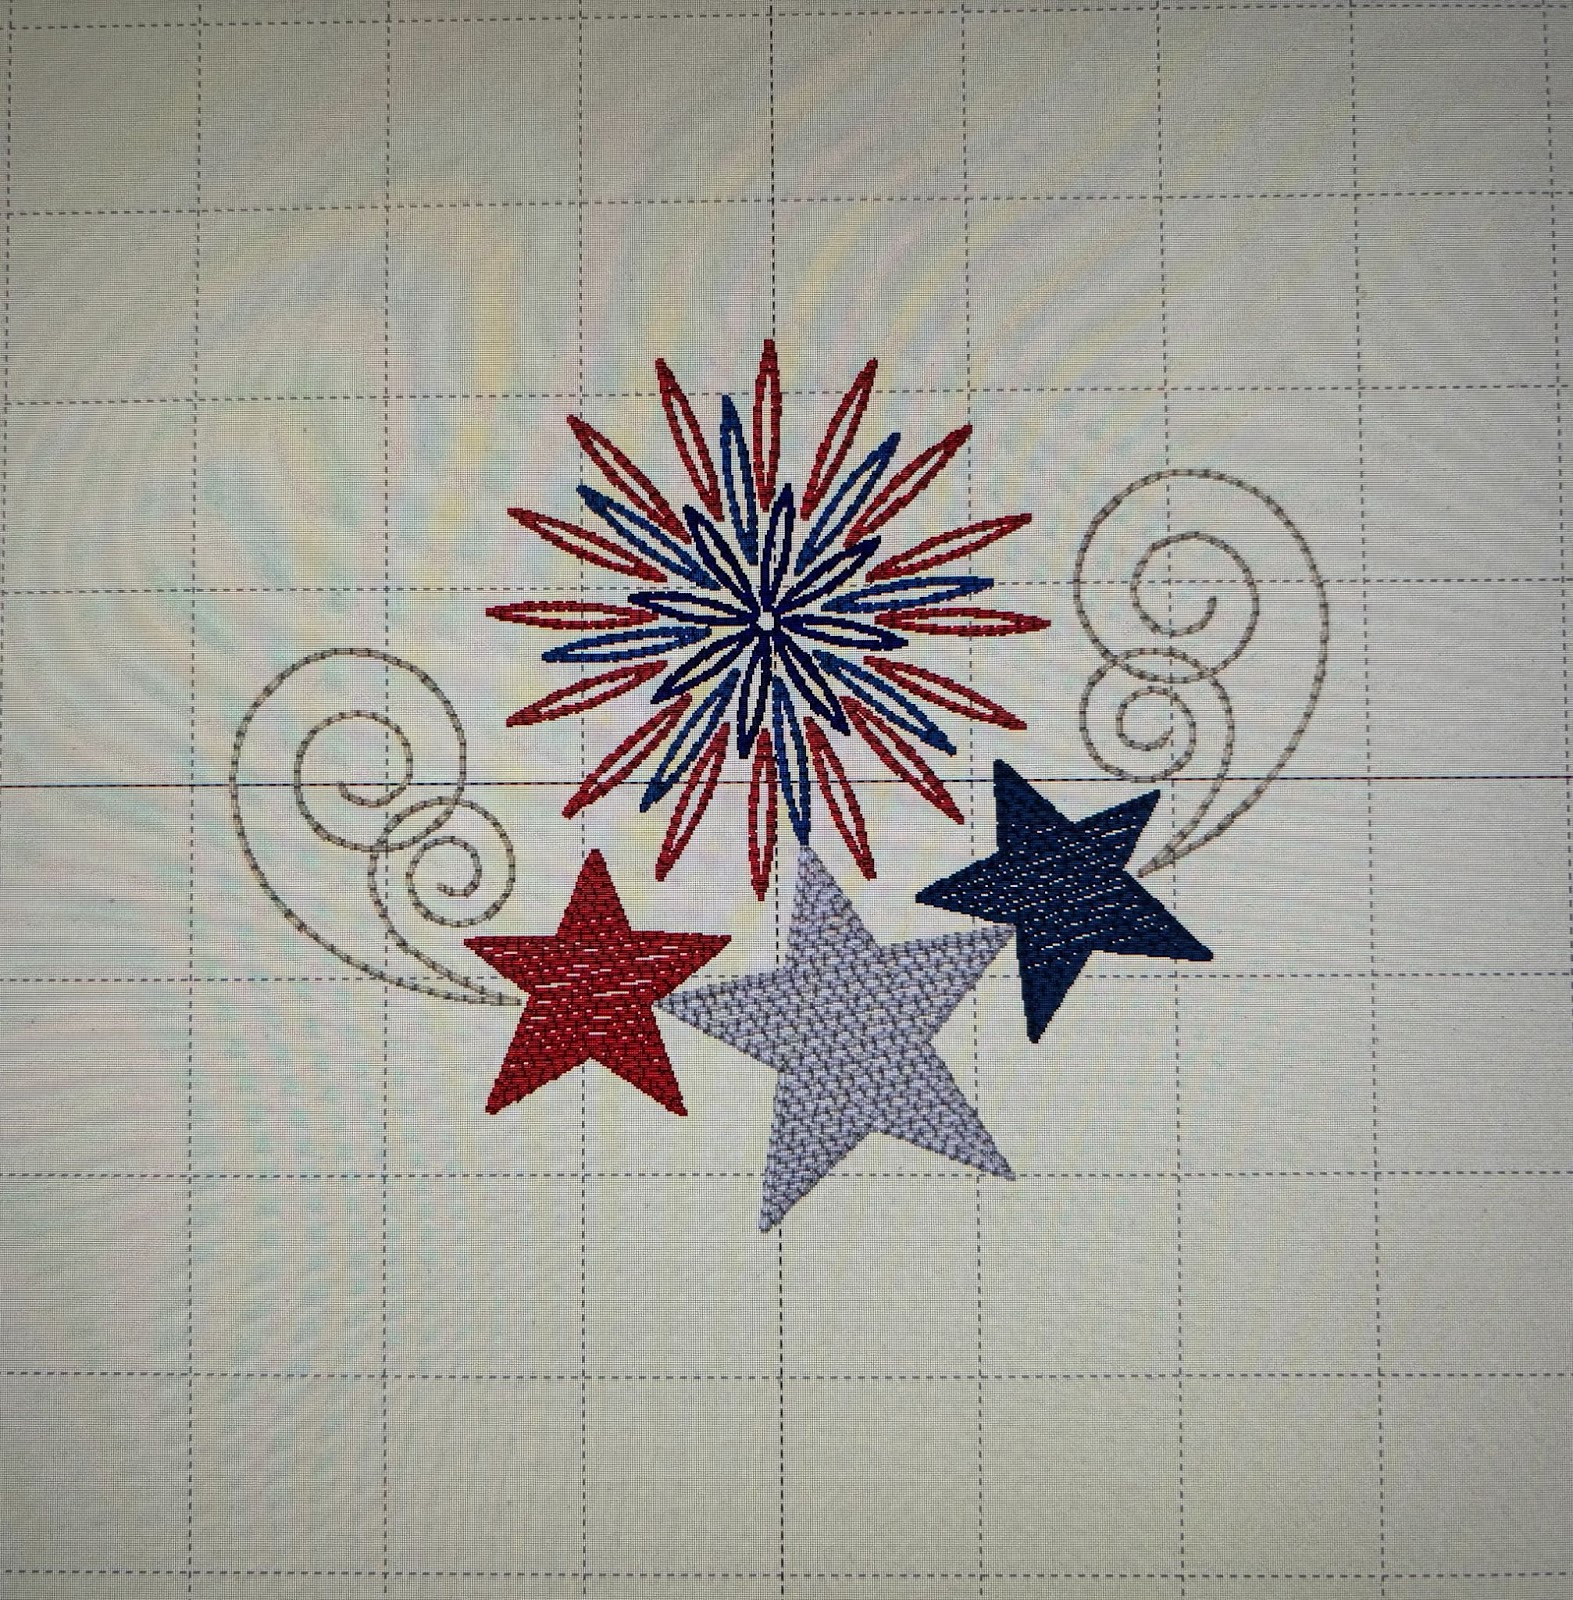
I added a Patriotic Corner Embroidery Design to my cover.
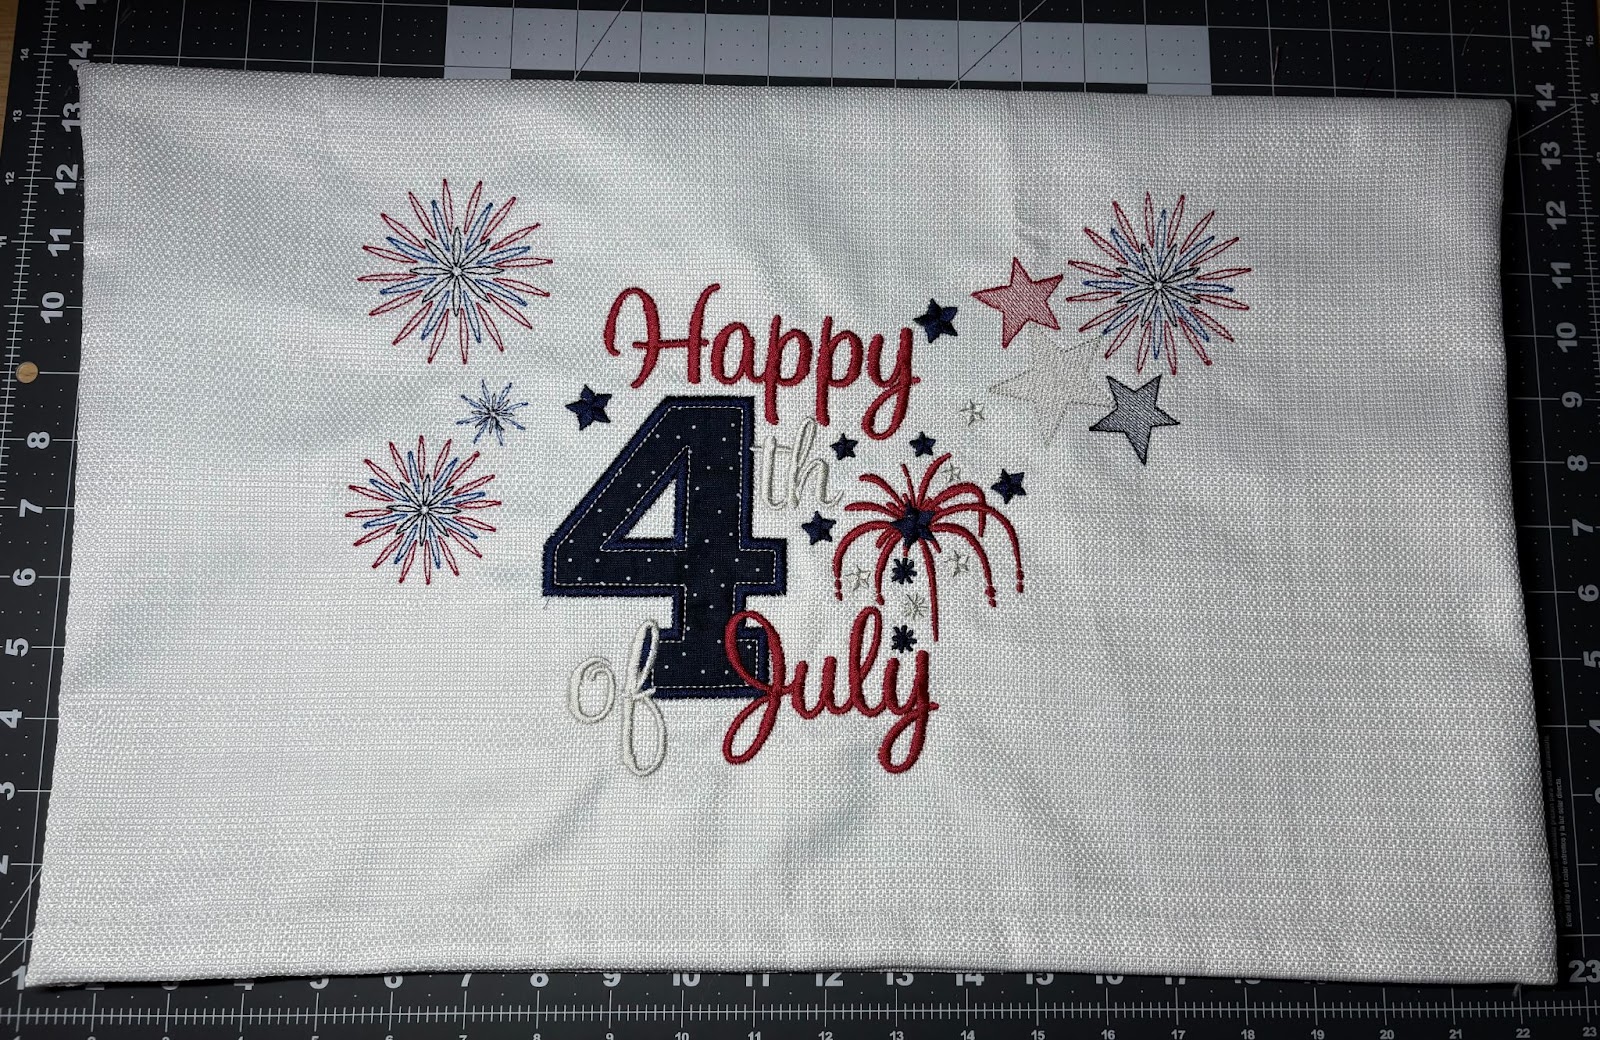
As shown in the picture, I added the full design on the right side and just the fireworks on the left side. I did this in multiple hoopings. I changed the sizes of my fireworks on the left side. Float the fabric and use the design placement keys to help with the placement. This may take awhile to get the designs placed where you want them. Take your time. Since I used a corner design I could not rotate the design itself. I had to rotate and move the fabric around. You can also use paper templates cut to the size of each design to help. Or print the design and place it on the fabric. Once satisfied, pin the fabric down and begin stitching. If it’s not perfect, no one will know. Fireworks can explode anywhere on the fabric!
When finished with all your embroidery, fold the fabric in half with right sides together, matching the short ends. Take to the sewing machine and baste a ½” seam down one side. Take the cover and place it over the back of the chair. Pull tight and pin the opposite side. You may need more or less than a ½” seam down this side to make the cover fit properly. Return to the sewing machine and baste. Place the cover on the chair again. If satisfied with the fit, return to the machine and stitch down both sides to finish the cover. If you need to make adjustments, simply remove the basting stitch and stitch it again. Try the cover again before the final stitching.
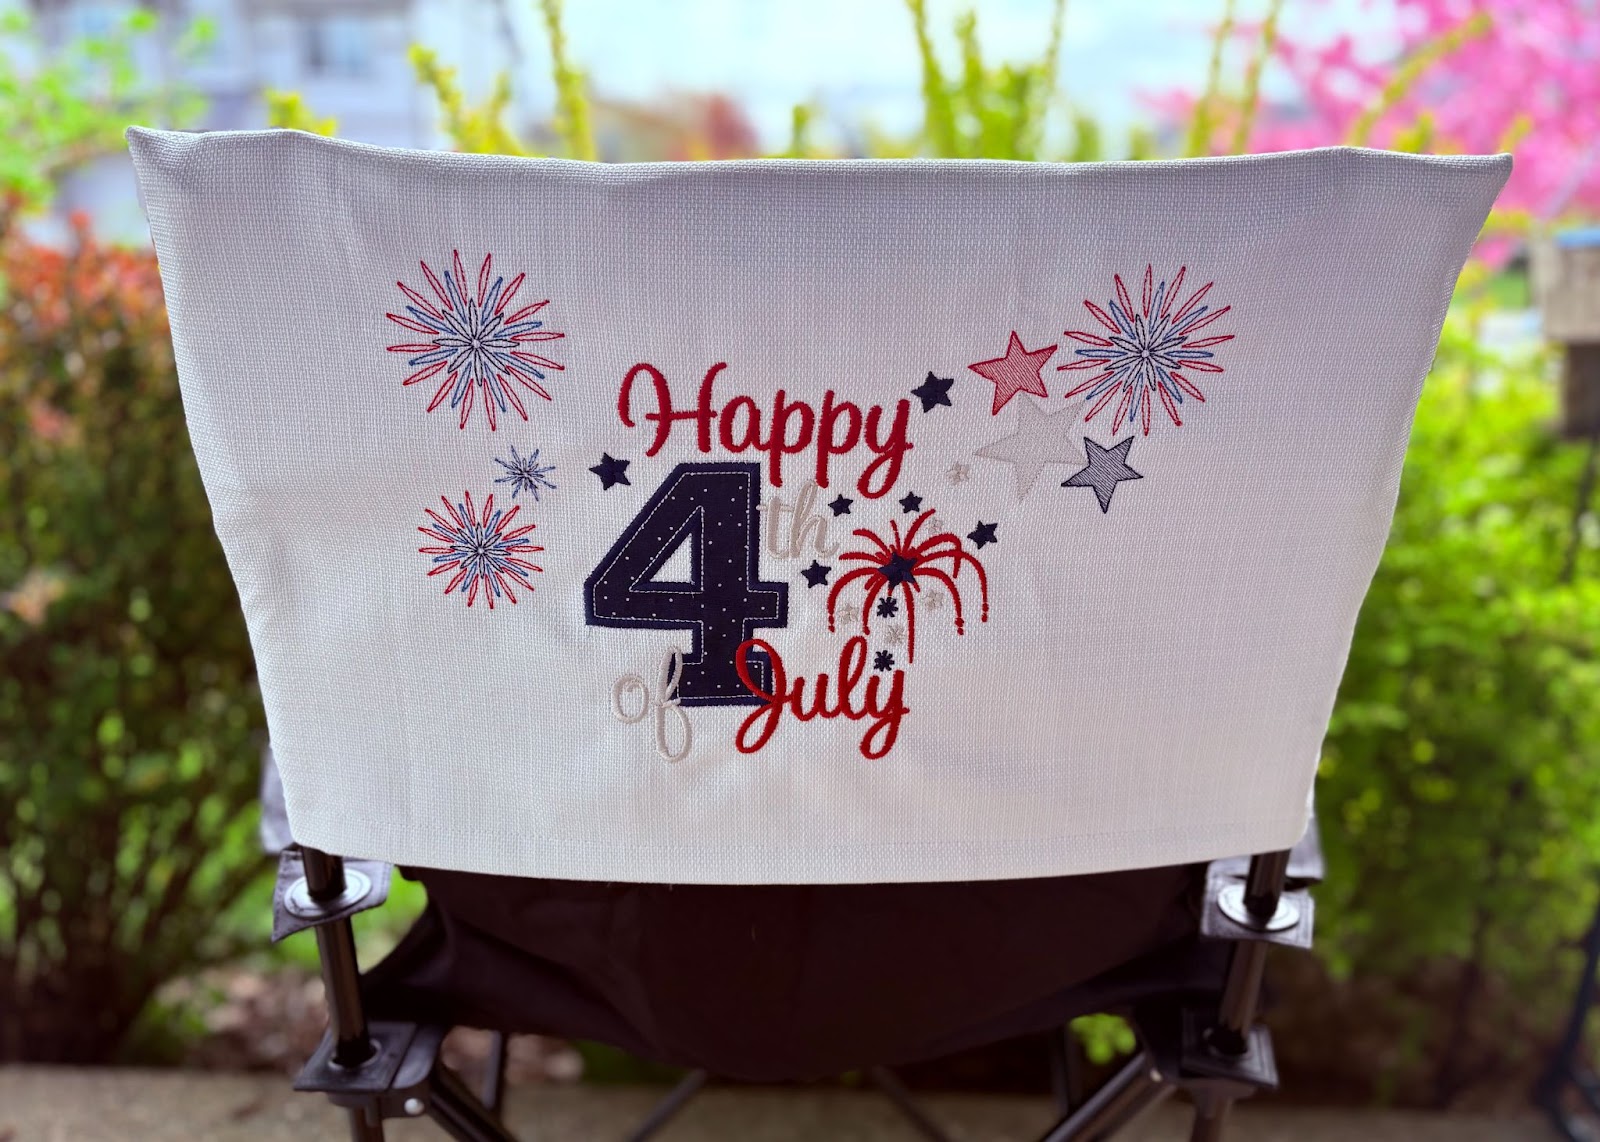
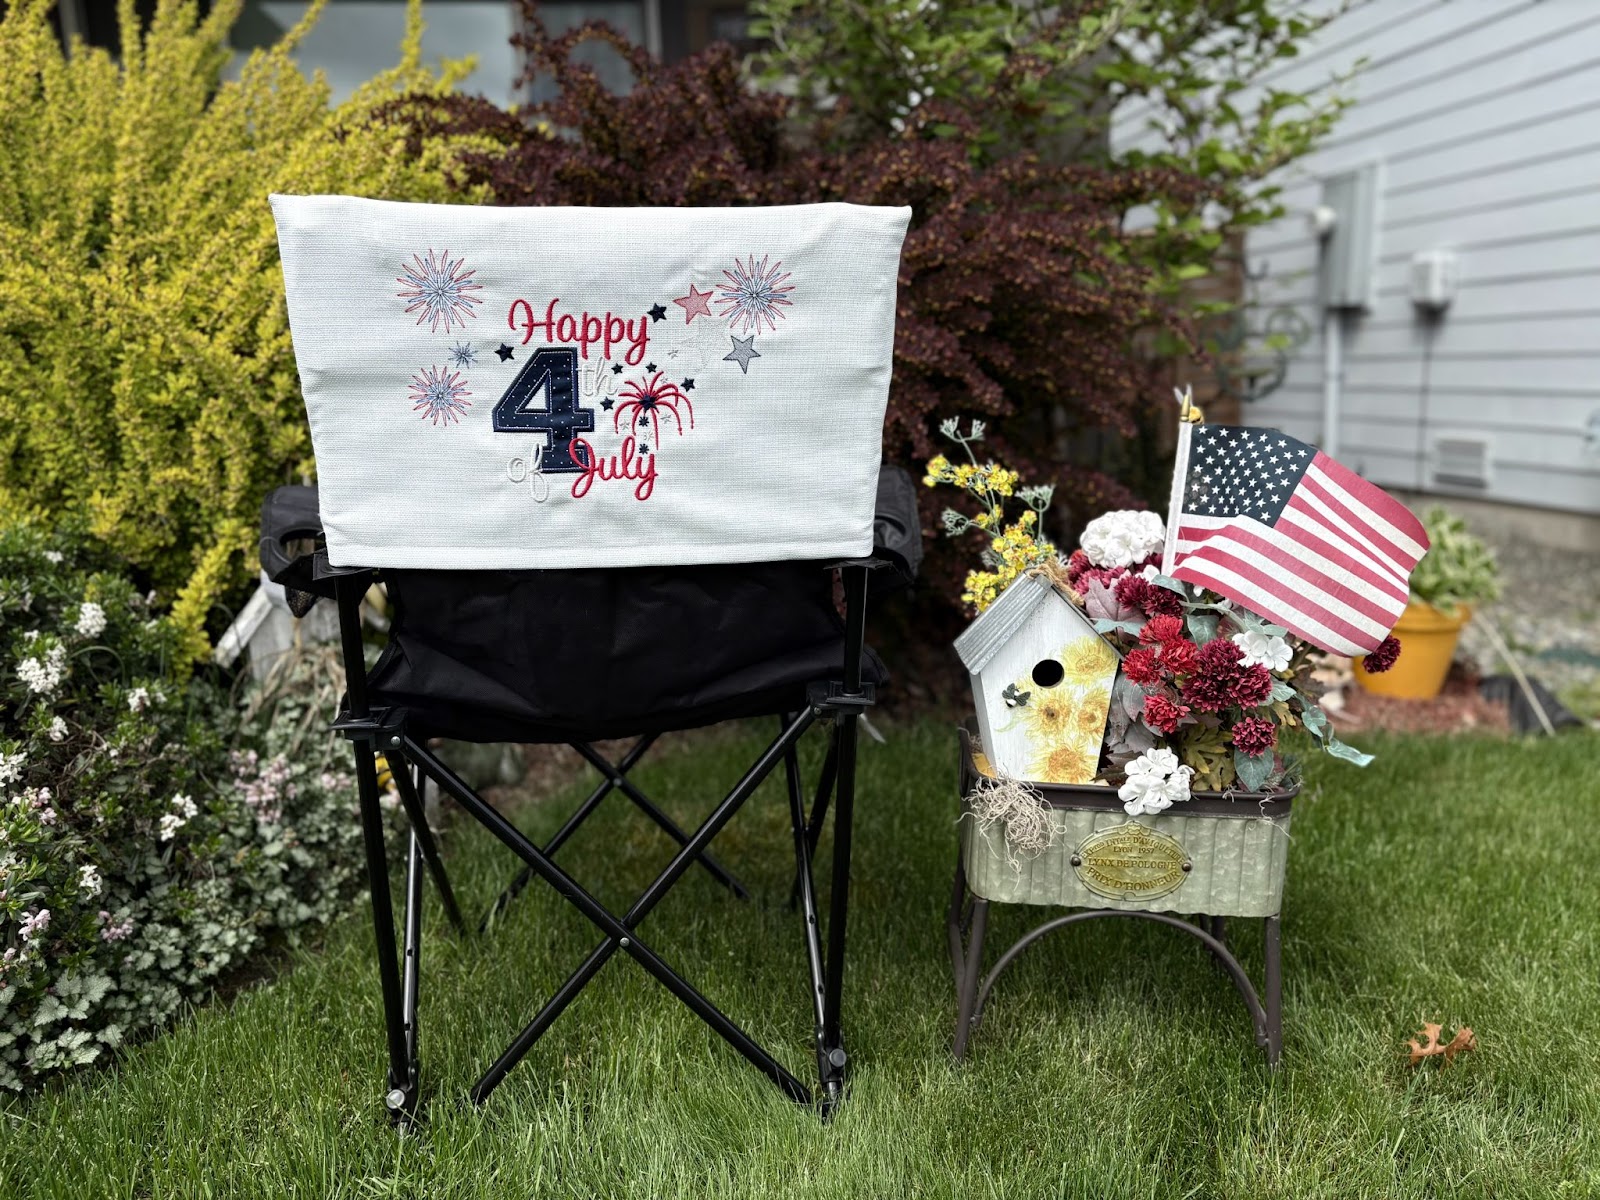
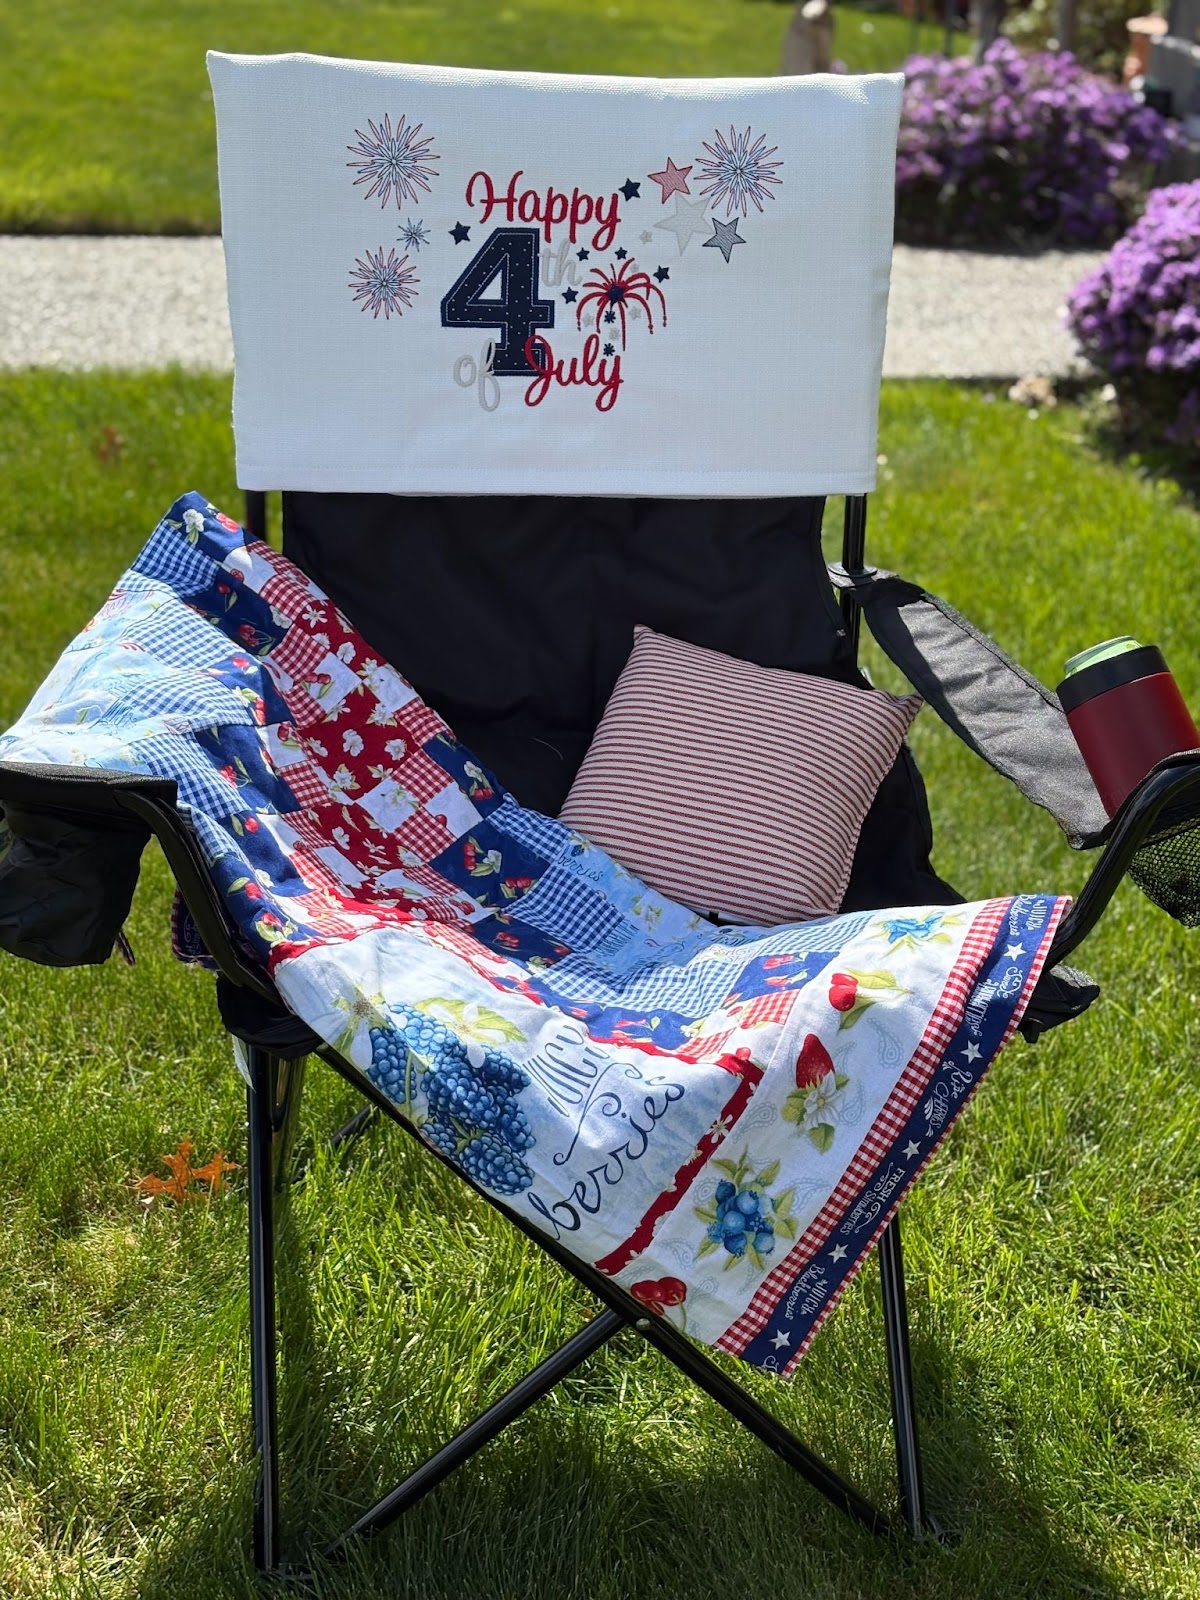
Your cover is now complete!
You can place the cover on your chair with the design showing on the back of the chair, or . . .
. . . showing on the front.
Designs by JuJu offers a variety of designs that work great for this project. Keep your chairs decorated throughout the summer months and even year ’round with multiple covers. Such a quick and fun way to dress up your lawn/camp chairs!
Please share your projects in the Designs by JuJu Embroidery Blessings Group on Facebook, or anywhere on social media using the hashtag #designsbyjuju. We love to see what you create!
