Toggle Nav
 Inspire.
Create.
Stitch.
Inspire.
Create.
Stitch.
Search
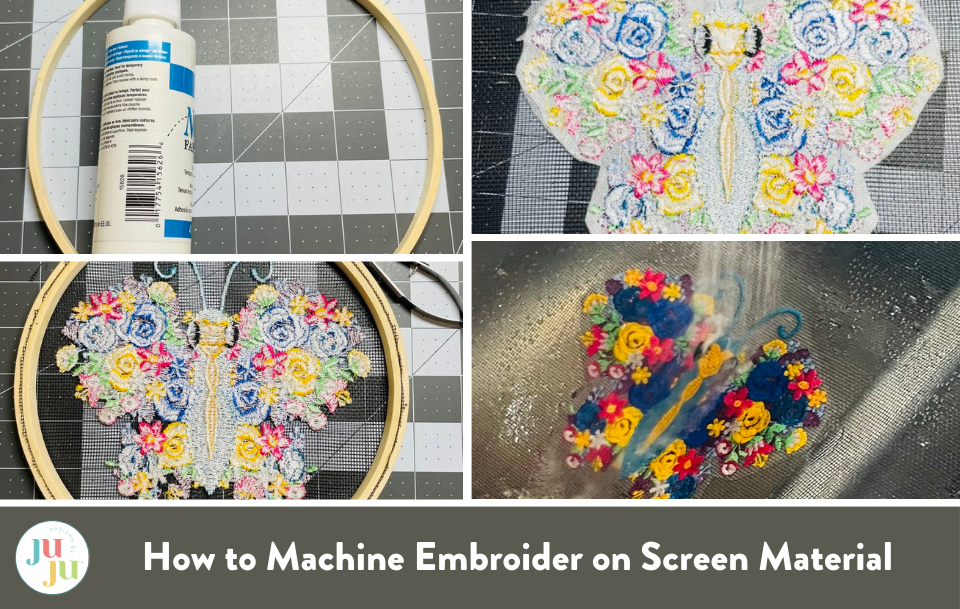
I don’t know about you, but I love experimenting with new and unique materials in my embroidery projects. It can be incredibly rewarding, especially when it involves a cost-effective medium like screen material.
In this guide, I'll guide you through each step of creating a stunning, embroidered piece on screen. Whether you're an experienced machine embroiderer or just starting out, this project will inspire your creativity and expand your skill set.
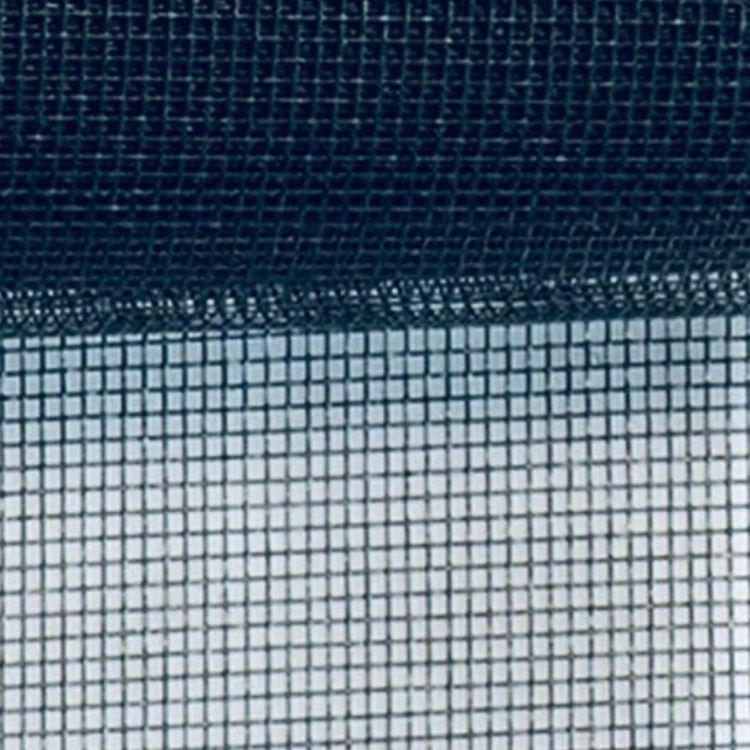
Nylon screen is made from fiberglass or polyester coated in vinyl. It is lightweight, durable, and available in multiple colors. Its texture is perfect if you want to frame your embroidery design.
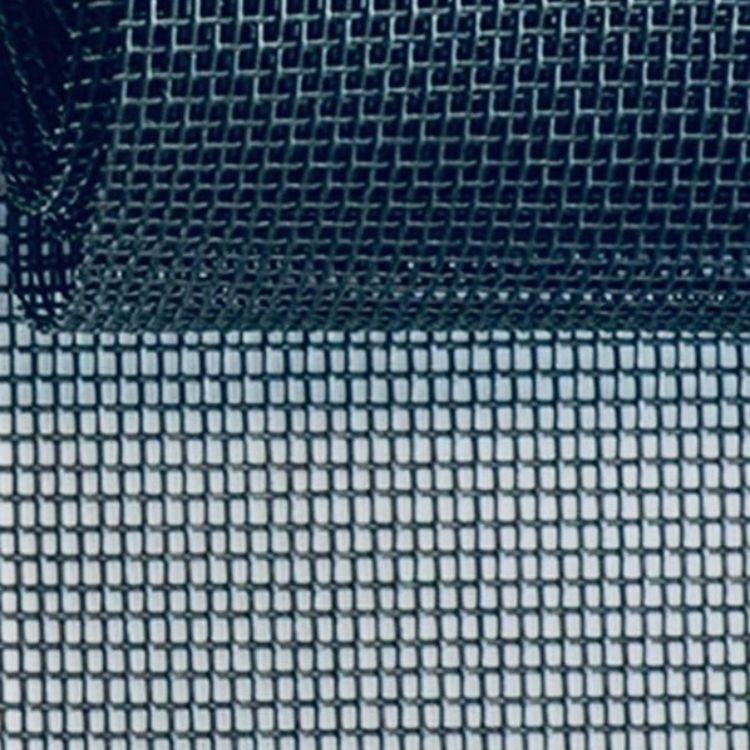
Pet screen is made from polyester coated with vinyl. If you want a screen mesh for sewing projects such as bags, totes, or hats, pet screen is the best choice. This is a thicker fabric, similar to tulle, but a lot more durable.
NOTE: Never use metal screen for machine embroidery projects! It will damage your machine and ruin all your hard work.
For supplies tested and used by JuJu’s team, check out the Designs By JuJu's Amazon Page.
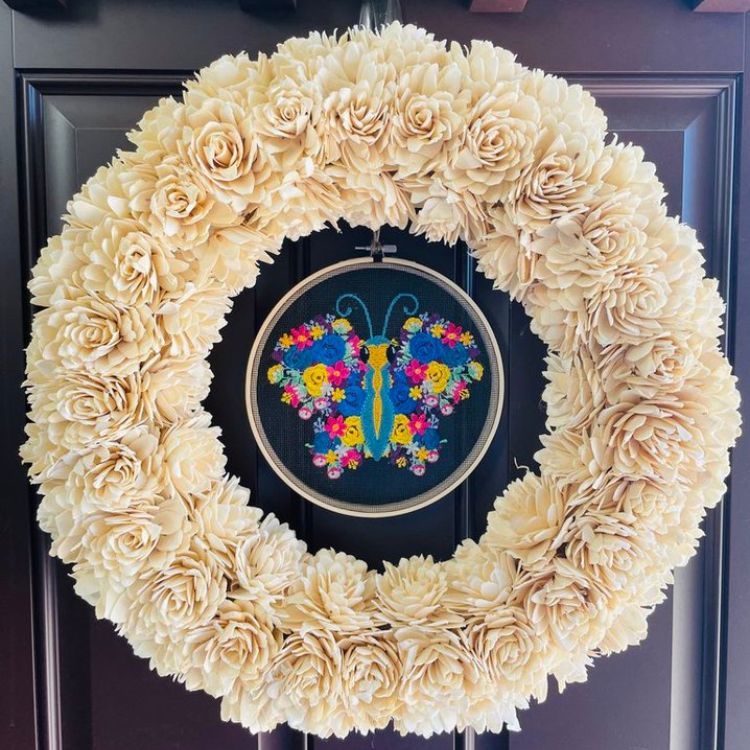
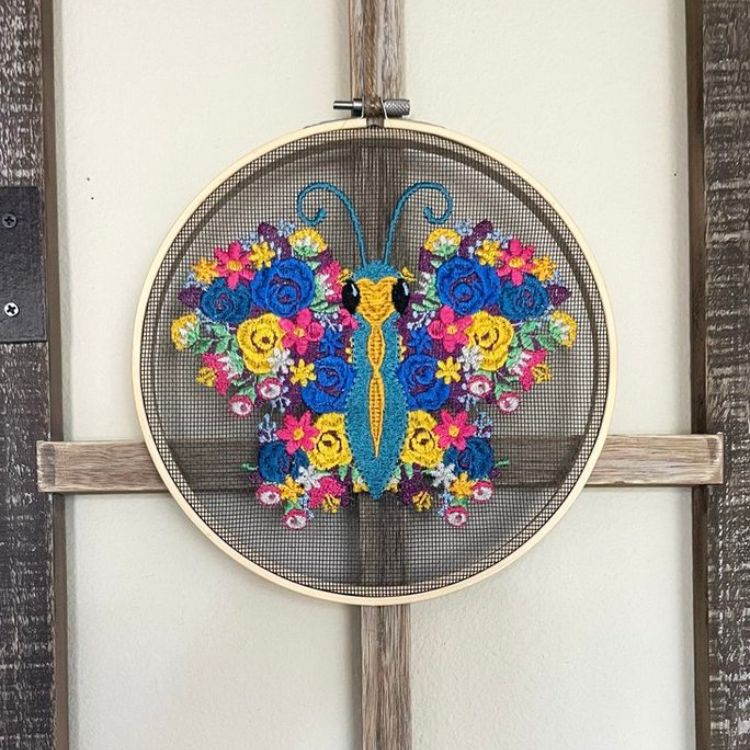
First, decide how you are going to display your screen embroidery project. For this tutorial, I’m framing my work in an embroidery hoop, but there are tons of other options. You can display your work in decorative frames, or use your design in a sewing project such as a bag or tote.
NOTE: If you’re using screen in a sewing project, remember to use pet screen mesh.
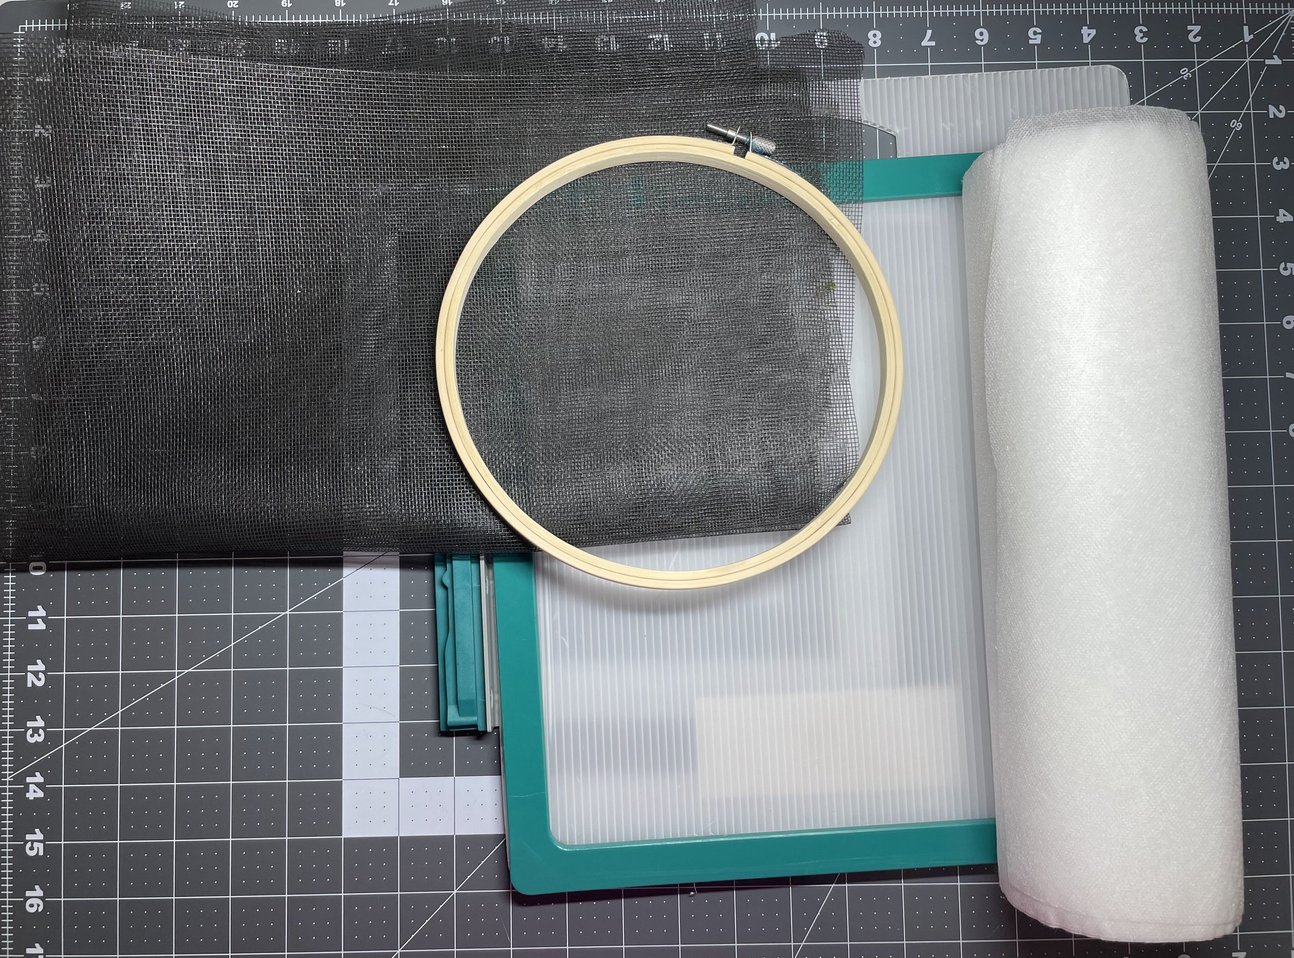
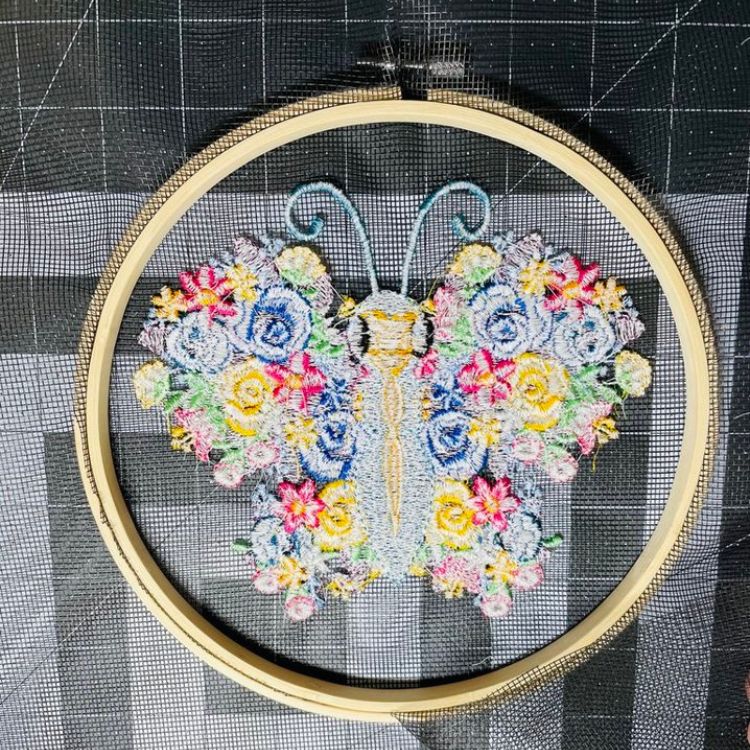
To determine the size of my design, I am going to trace the inside of my hoop.
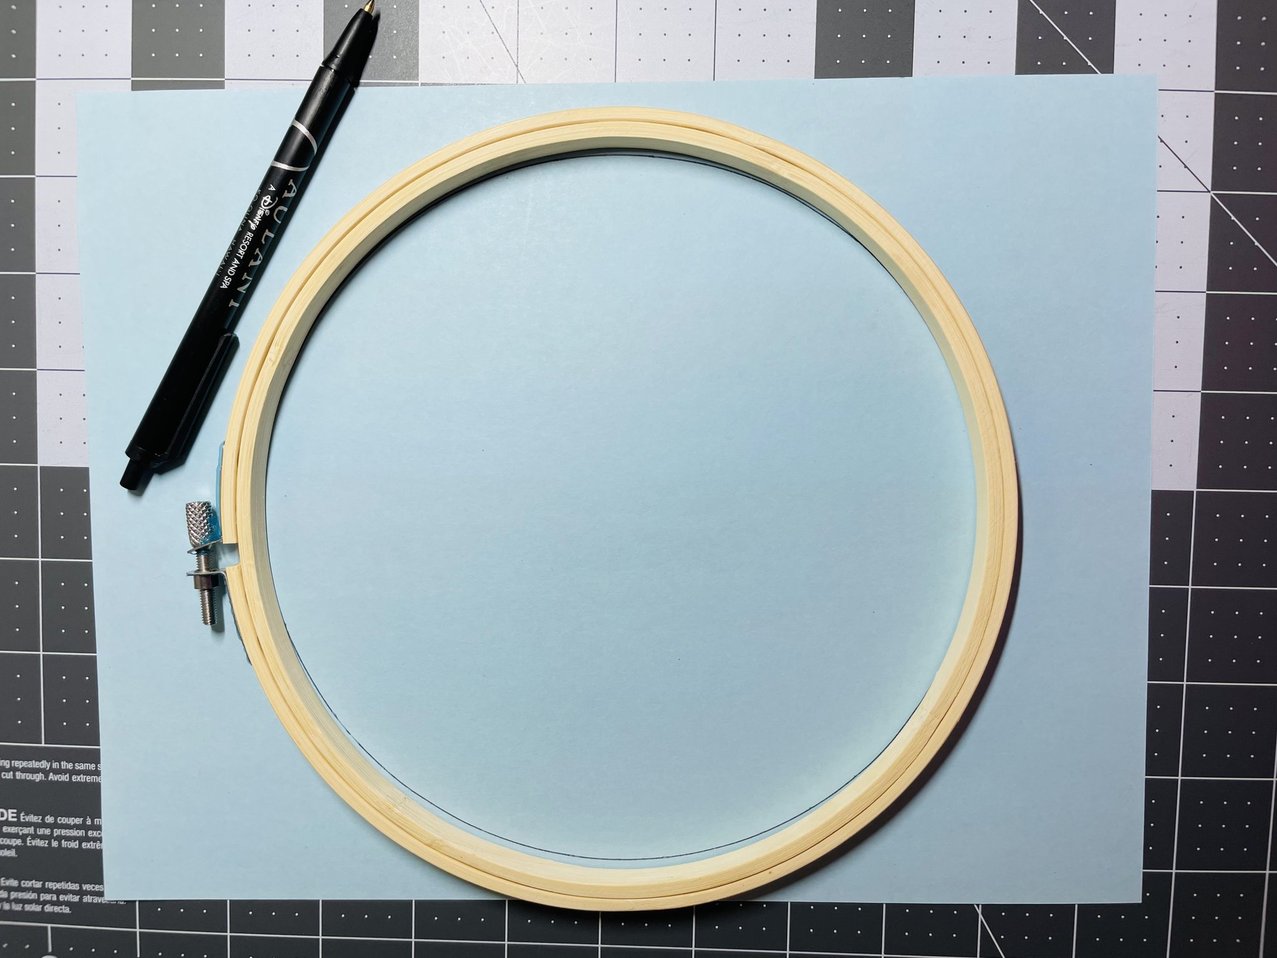
Cut out and measure the circle. Size your design to fit within the shape, leaving a ½” to 1” space between the design and the hoop.

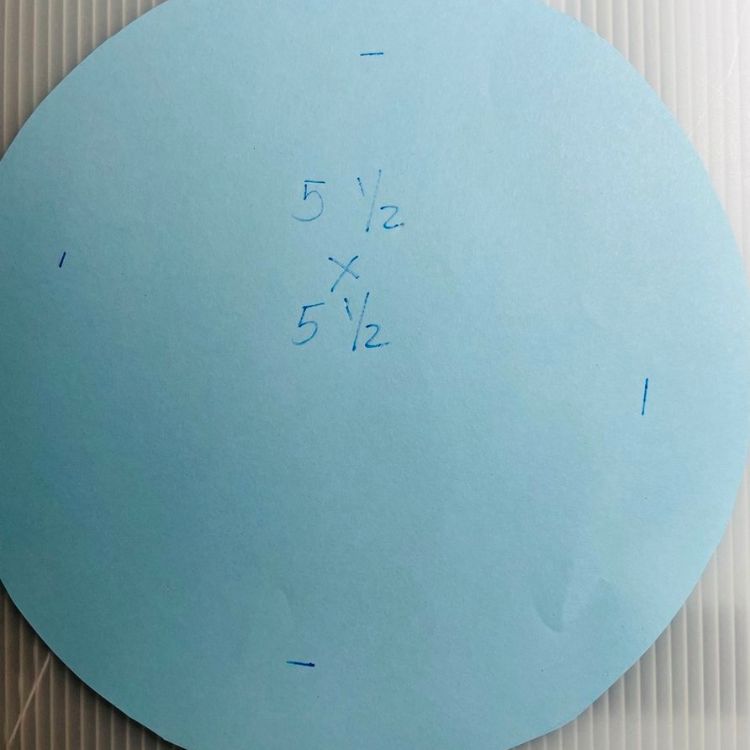
Once I have determined the approximate size, I can add my design to the machine and make any necessary adjustments.
Lay the bottom of your embroidery hoop on a flat surface, and add two layers of wash away stabilizer on top of the hoop. Spray the top layer with temporary fabric adhesive. This will temporarily adhere the screen to the stabilizer and smooth out any wrinkles or creases.
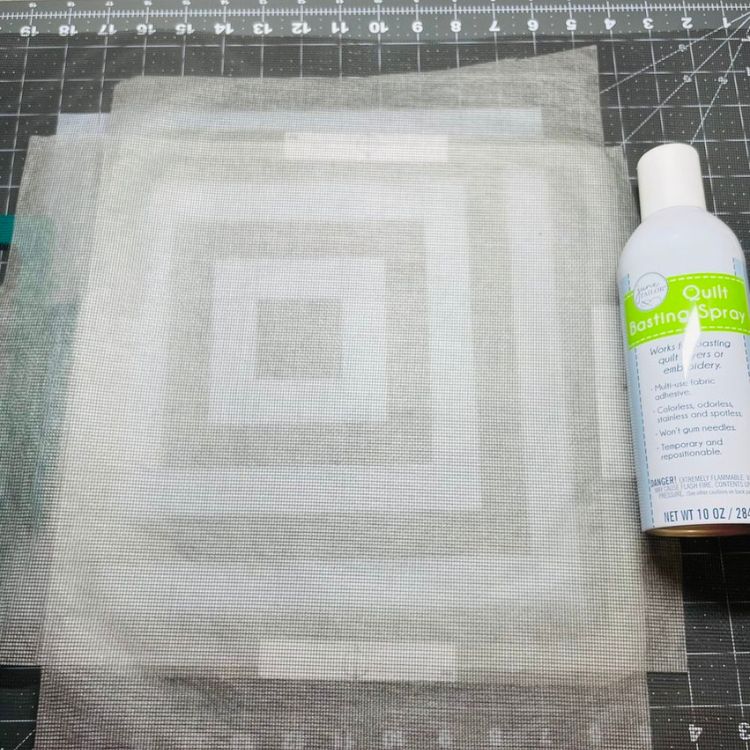
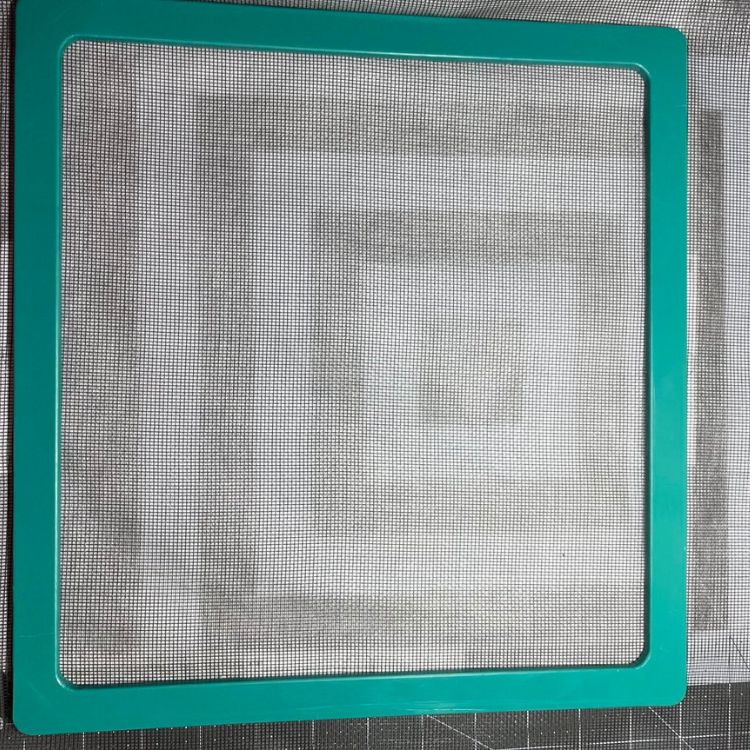
Cut the screen larger than the hoop to prevent it from pulling and puckering during embroidery. Lay the screen material on top of the hoop frame’s bottom and stabilizer. Again, smooth out any wrinkles before adding the frame’s top. Attach the top of the embroidery frame and pull both your screen and stabilizer tight. Load it into the machine.
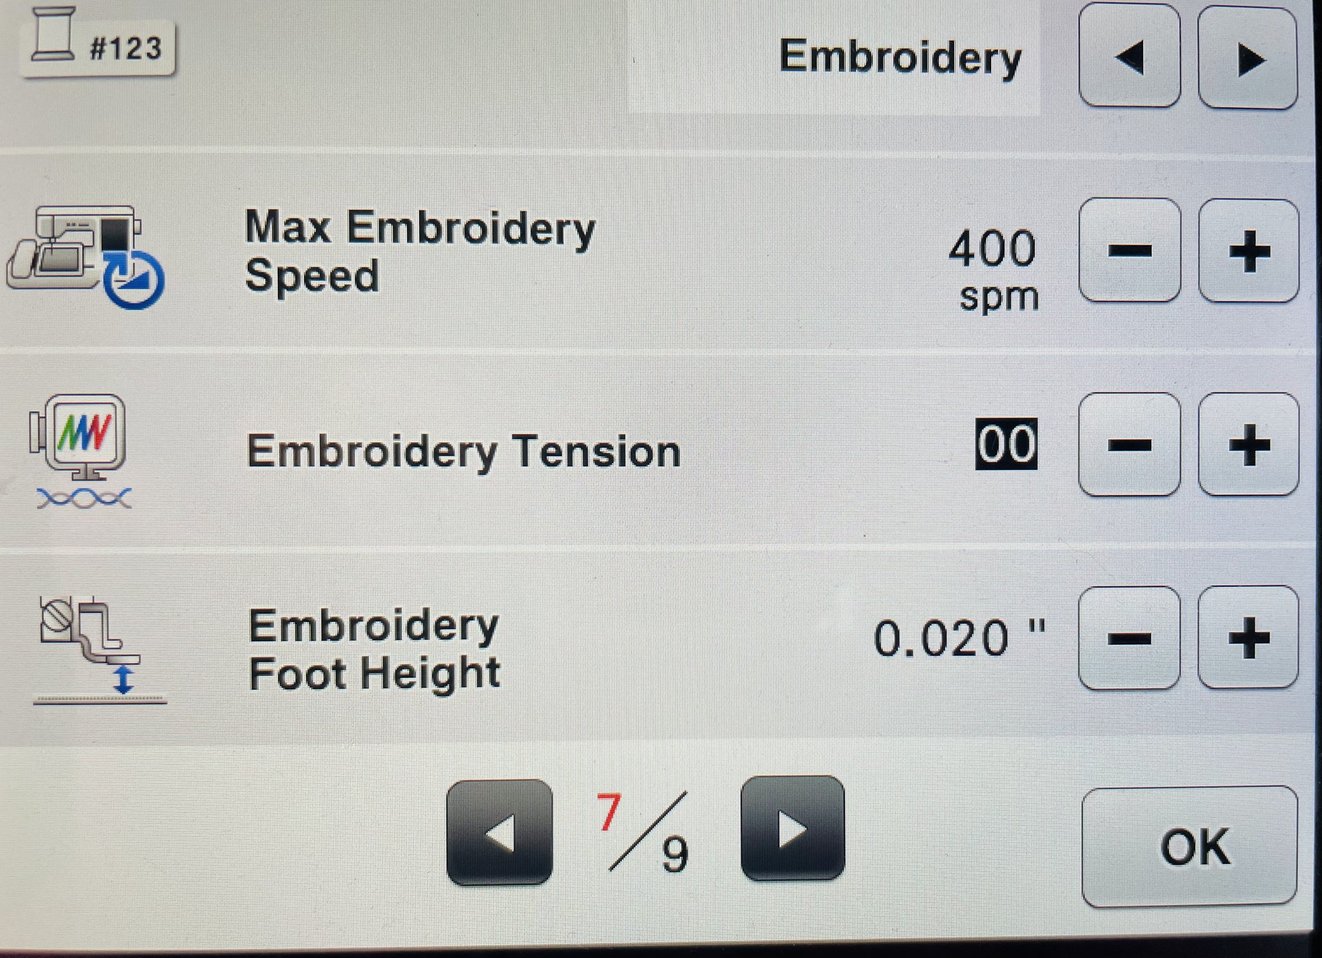
Set your machine’s speed to 400 spm or less. This will allow the screen to lay more naturally and reduce tension. Your settings may look different depending on what machine you are using.
Stitch out your design.
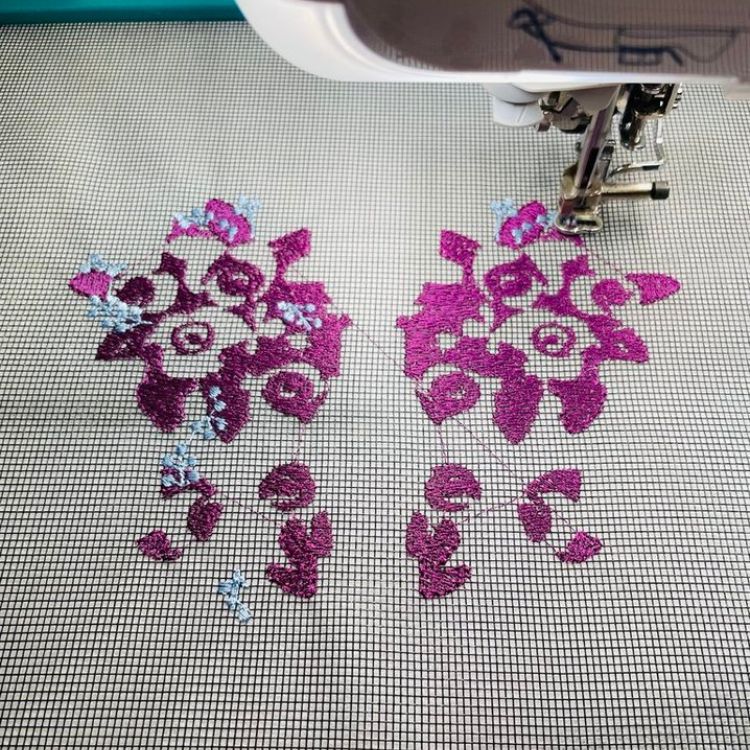
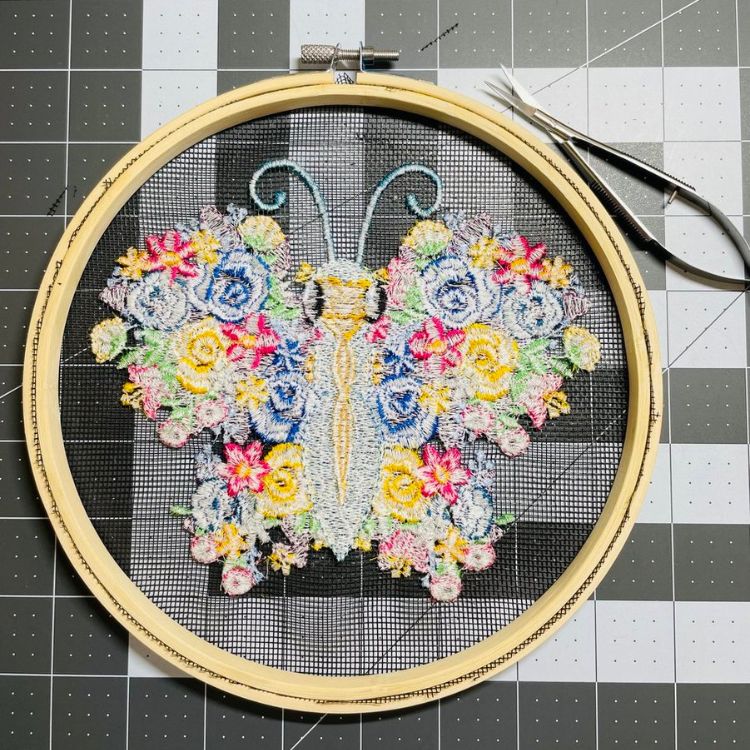
When you’re finished, remove the hoop from the machine.
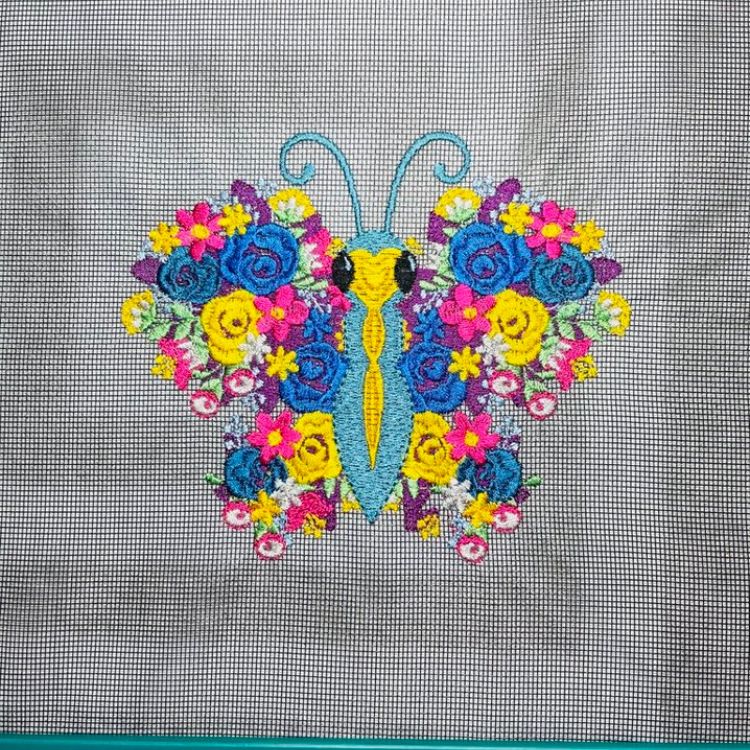
Now, trim away any excess stabilizer.

Rinse your design with water. A kitchen sprayer will work well for this.
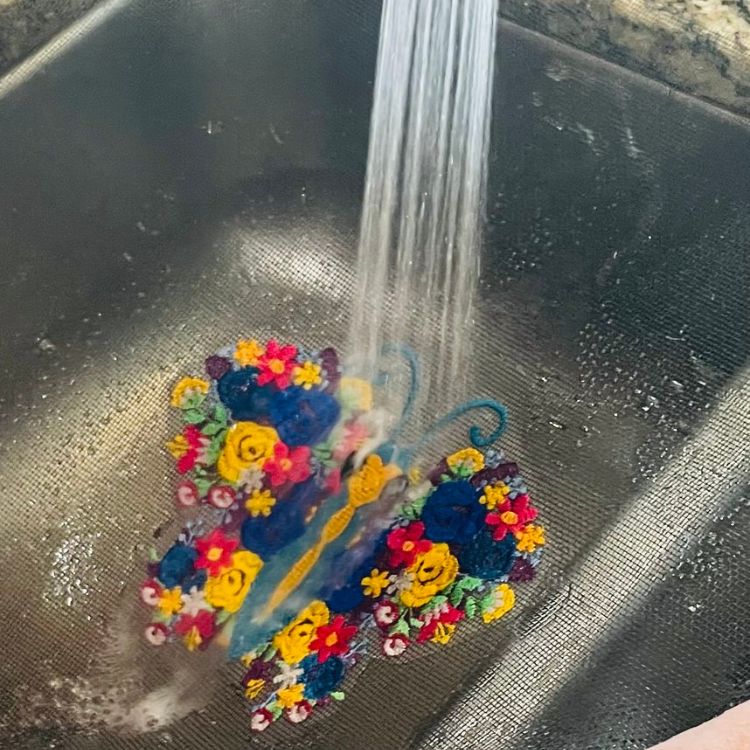
Dry your work flat. I allowed mine to dry overnight. Do not iron or apply heat to this project, as it may melt the screen material.
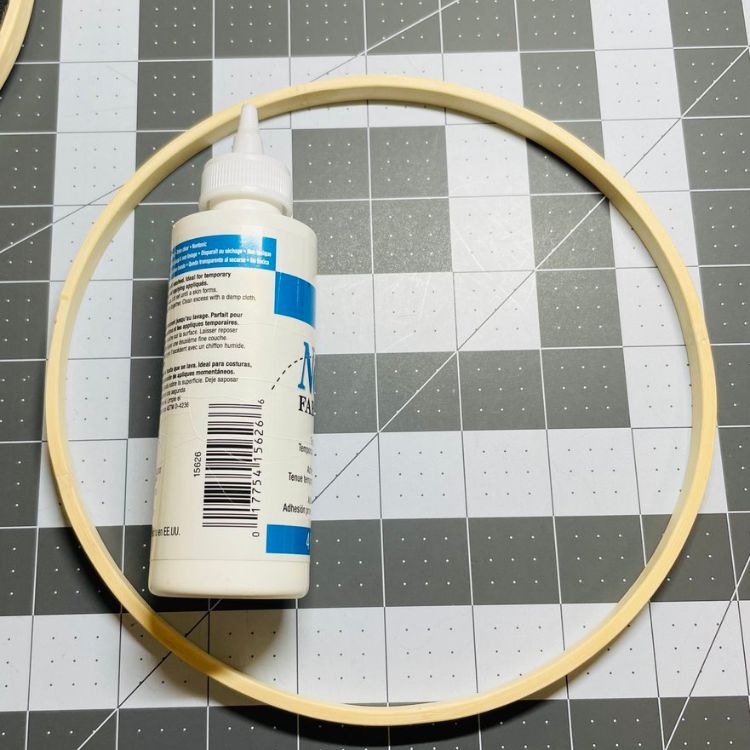
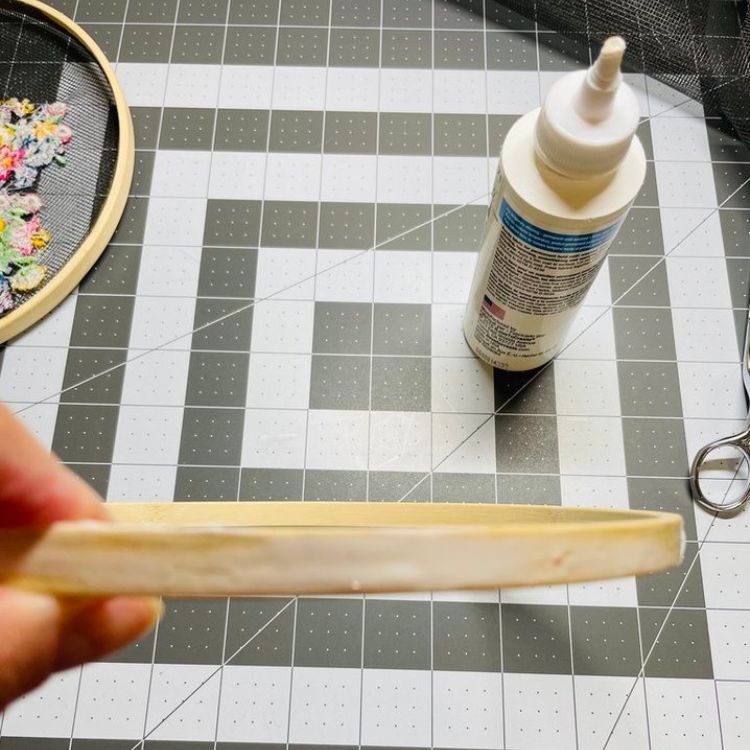
When your design is completely dry, add a thin layer of glue around the outside of the hoop’s inner ring (the smaller of the two pieces) with your finger or a cotton swab. I do this for extra security so the screen doesn’t come loose.
Lay the outer piece of the hoop on a flat surface. Center the screen design over the hoop, wrong side facing up. Don’t trim yet!
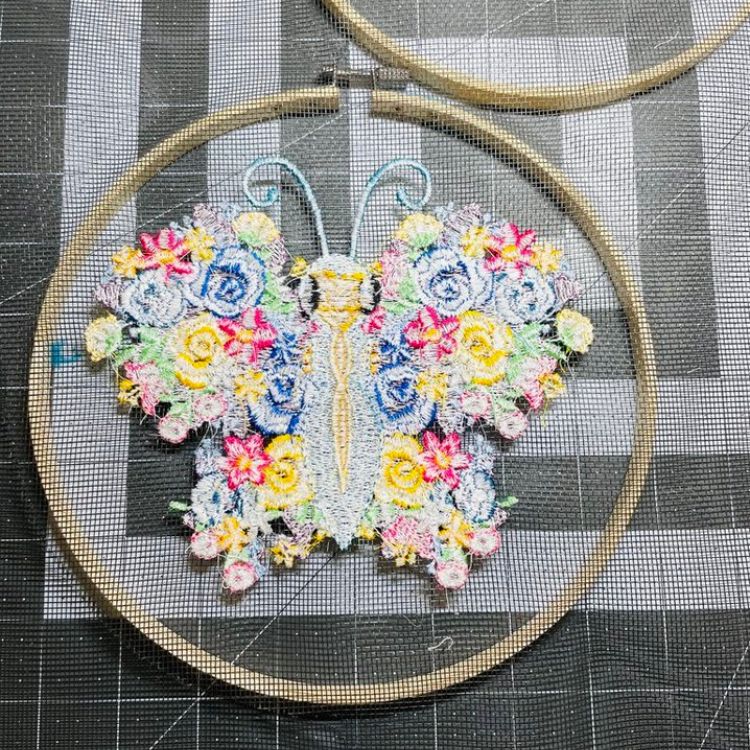
Keeping your design centered, lay the inner hoop (the smaller one) over the design. Lightly push down to place the inner hoop inside the outer hoop. Tighten the hoop. Once the screen is secure and you are satisfied with its appearance, trim around the edge.
Use thread snips to clean up any loose threads on the back. Be careful not to snip your screen!
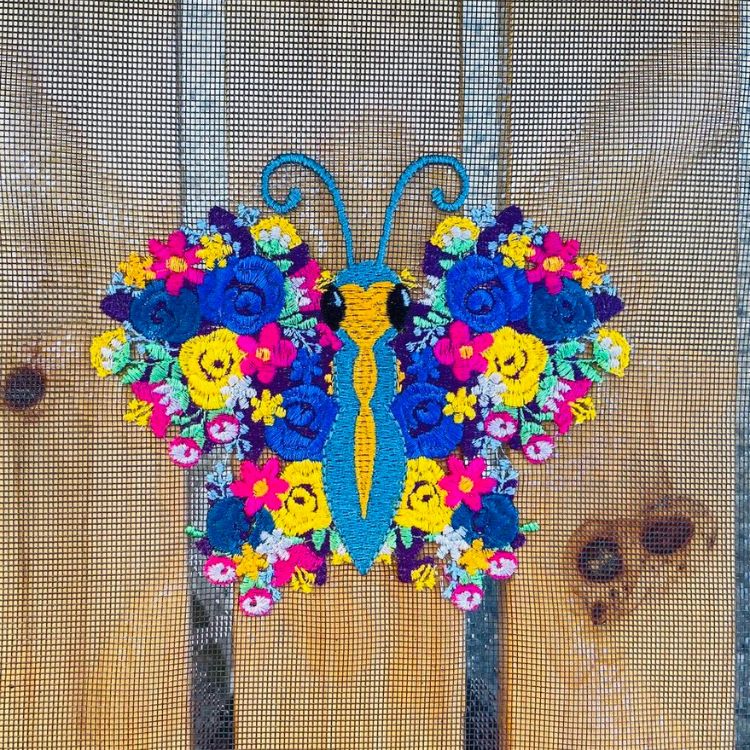
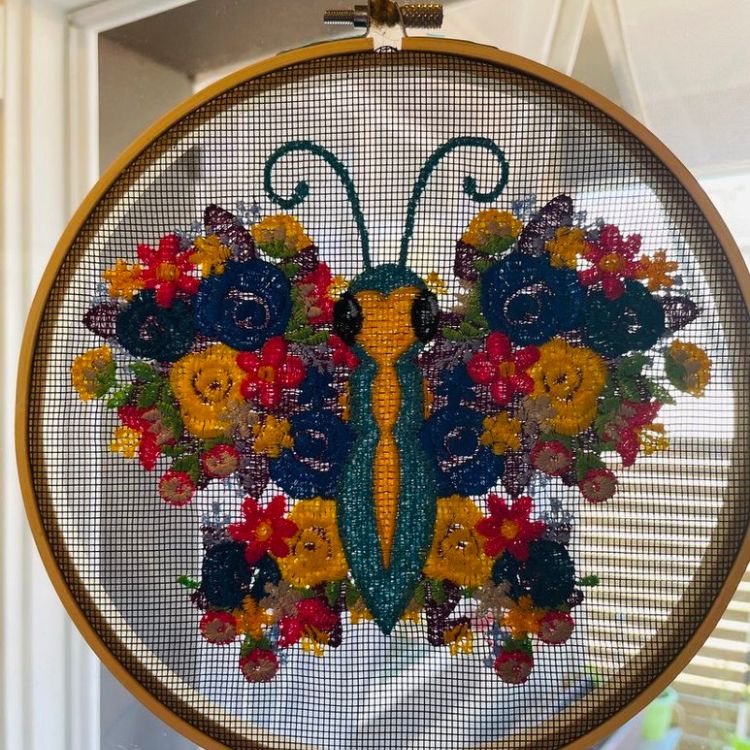
Now you're ready to display your finished work. You can hang it on a wall or door or near a window to let the light shine through. Feel free to change out your design with the seasons using the plethora of designs that Designs By JuJu has available!
Feel free to share your embroidery screen creations on the Designs by JuJu Embroidery Blessings Facebook Group or use #designsbyjuju on other social media platforms. Have fun stitching! I can’t wait to see what you make!
