Toggle Nav
 Inspire.
Create.
Stitch.
Inspire.
Create.
Stitch.
Search
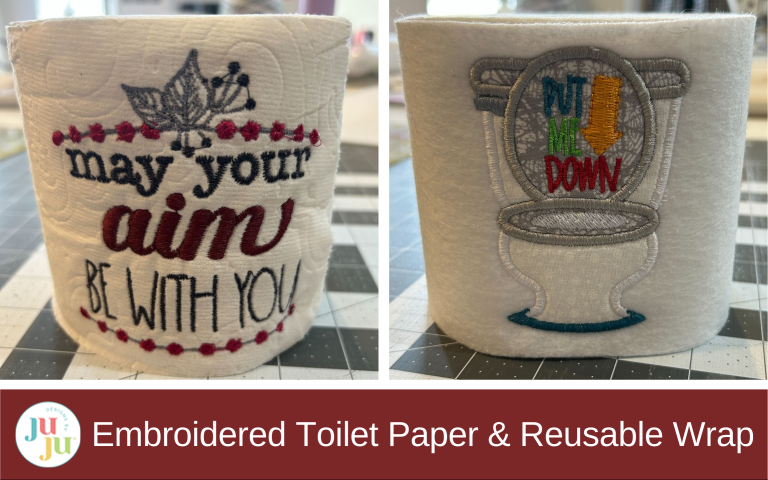
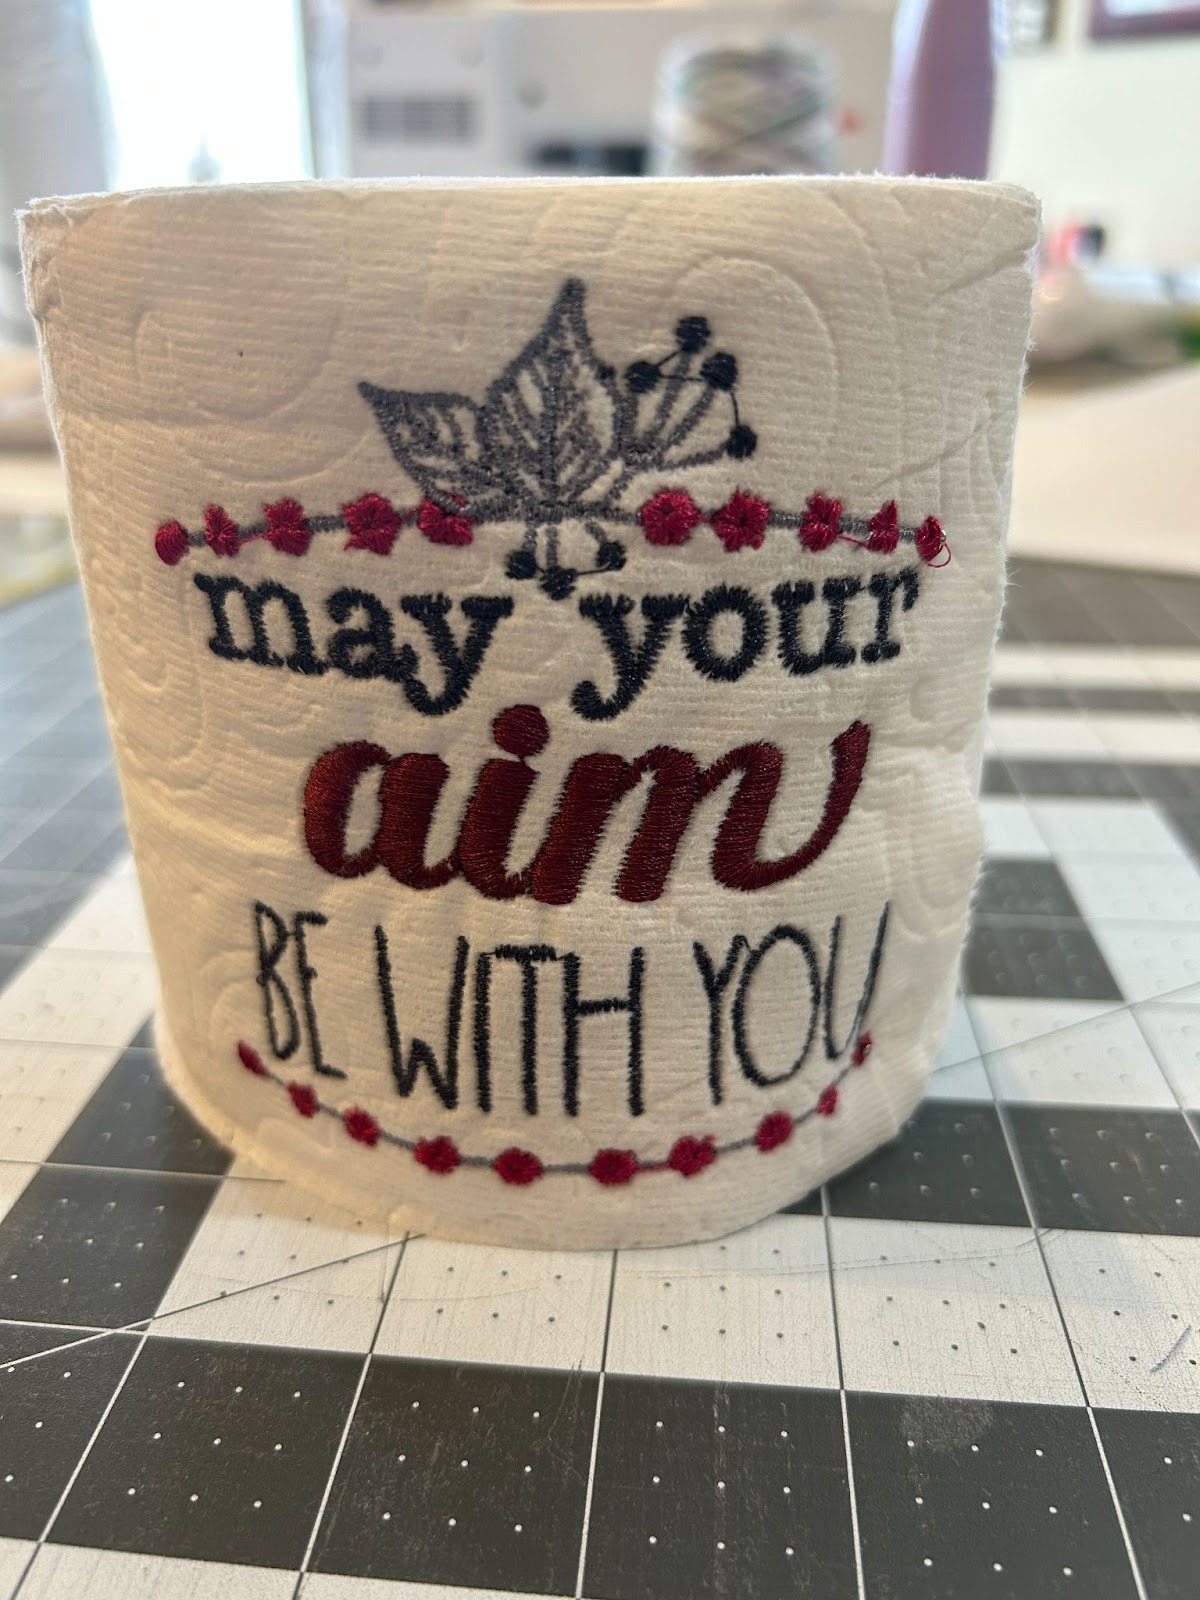
Embroider toilet paper and watch an ordinary item become a clever gift no one saw coming.
When I first heard about embroidered toilet paper, I thought people must be kidding. I mean—toilet paper? And what would you do with it? But then I tried it. I did a funny phrase on a roll for my husband for Christmas and then I realized just how fun these can be! They work for funny gifts, but you can choose a design that complements your bathroom and display it all the time.
So today I’ll show you a couple of options, the first where we embroider directly on the toilet paper, and the second where we make a wrap for a roll that can be reused over and over (the wrap, not the roll).
Let's get started with this project that’s guaranteed to wipe the frown off anyone’s face.
Check out the DBJJ team’s favorite supplies in the Designs by JuJu Amazon store.

I find that 4x4 designs work well for embroidered toilet paper. Less dense designs work better on the toilet paper itself, but if you have a dense one or an applique design you'd like to use, put it on a wrap!
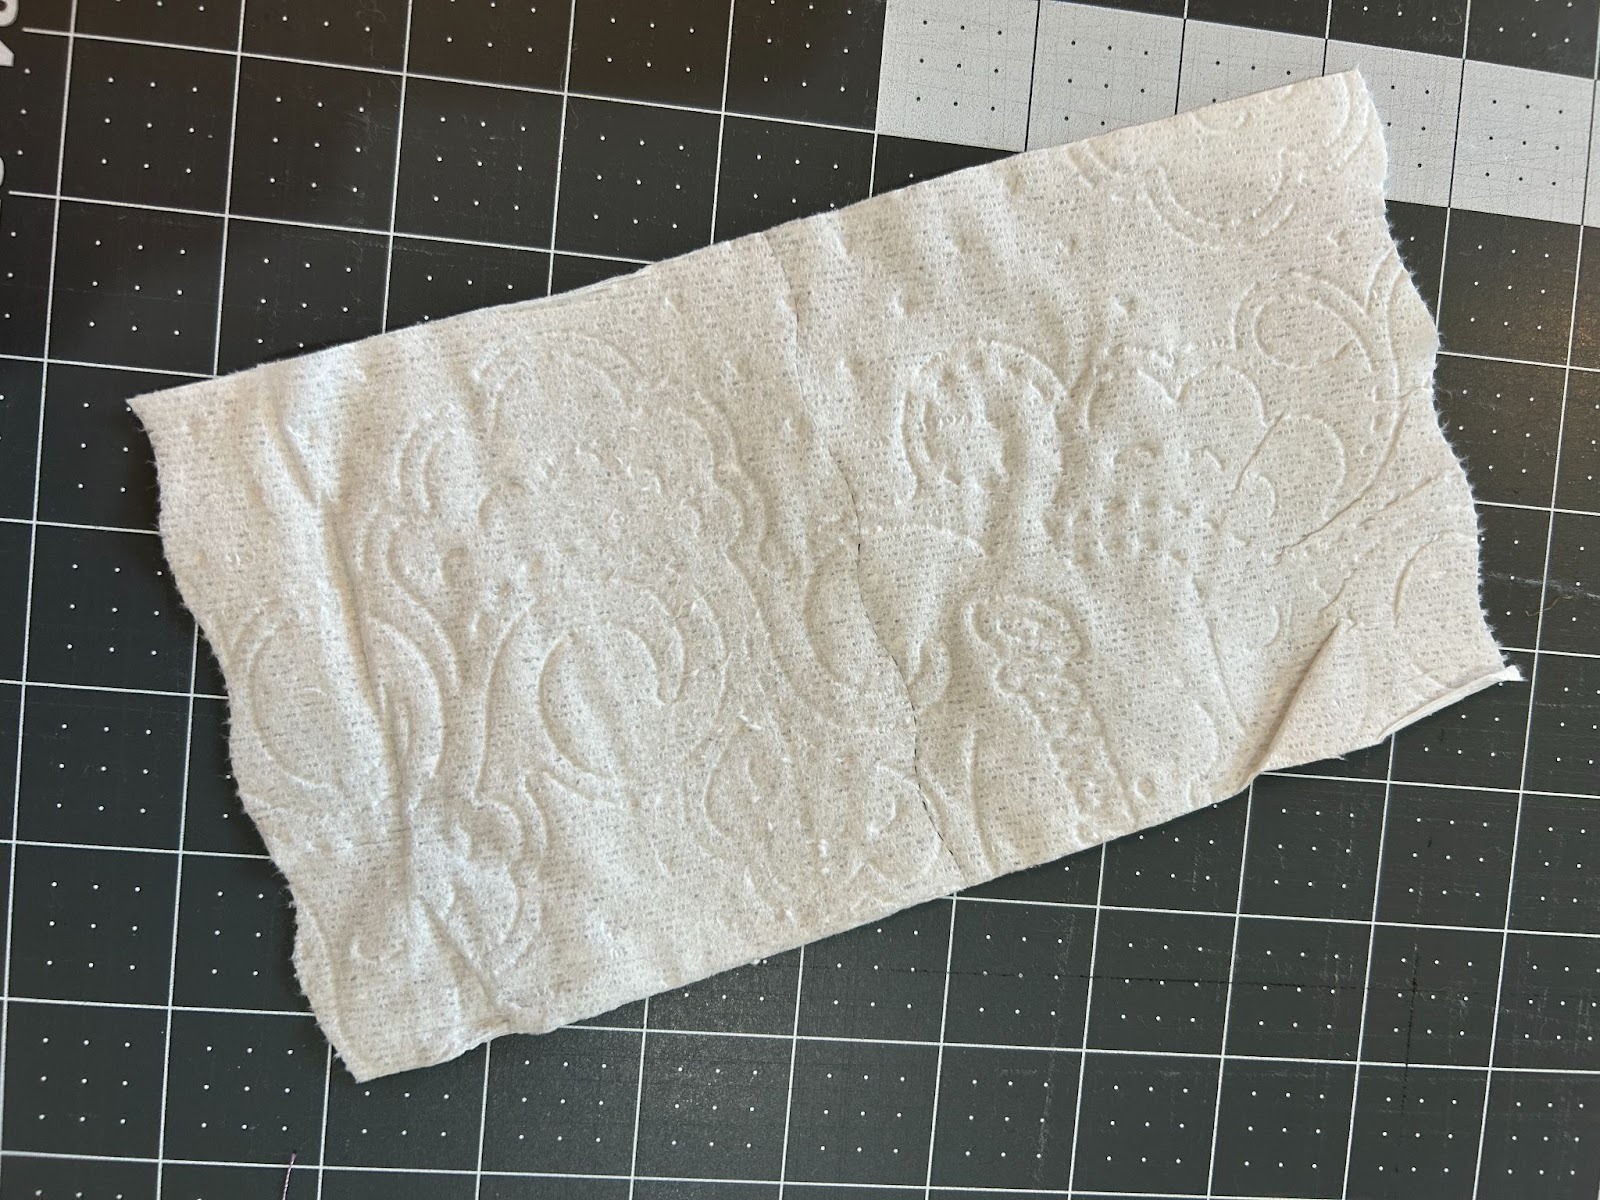
To start, I always remove a couple of squares from the roll. They can be wrinkled, or maybe stuck together and will tear the roll. I remove as much as I need to so I have a good start.
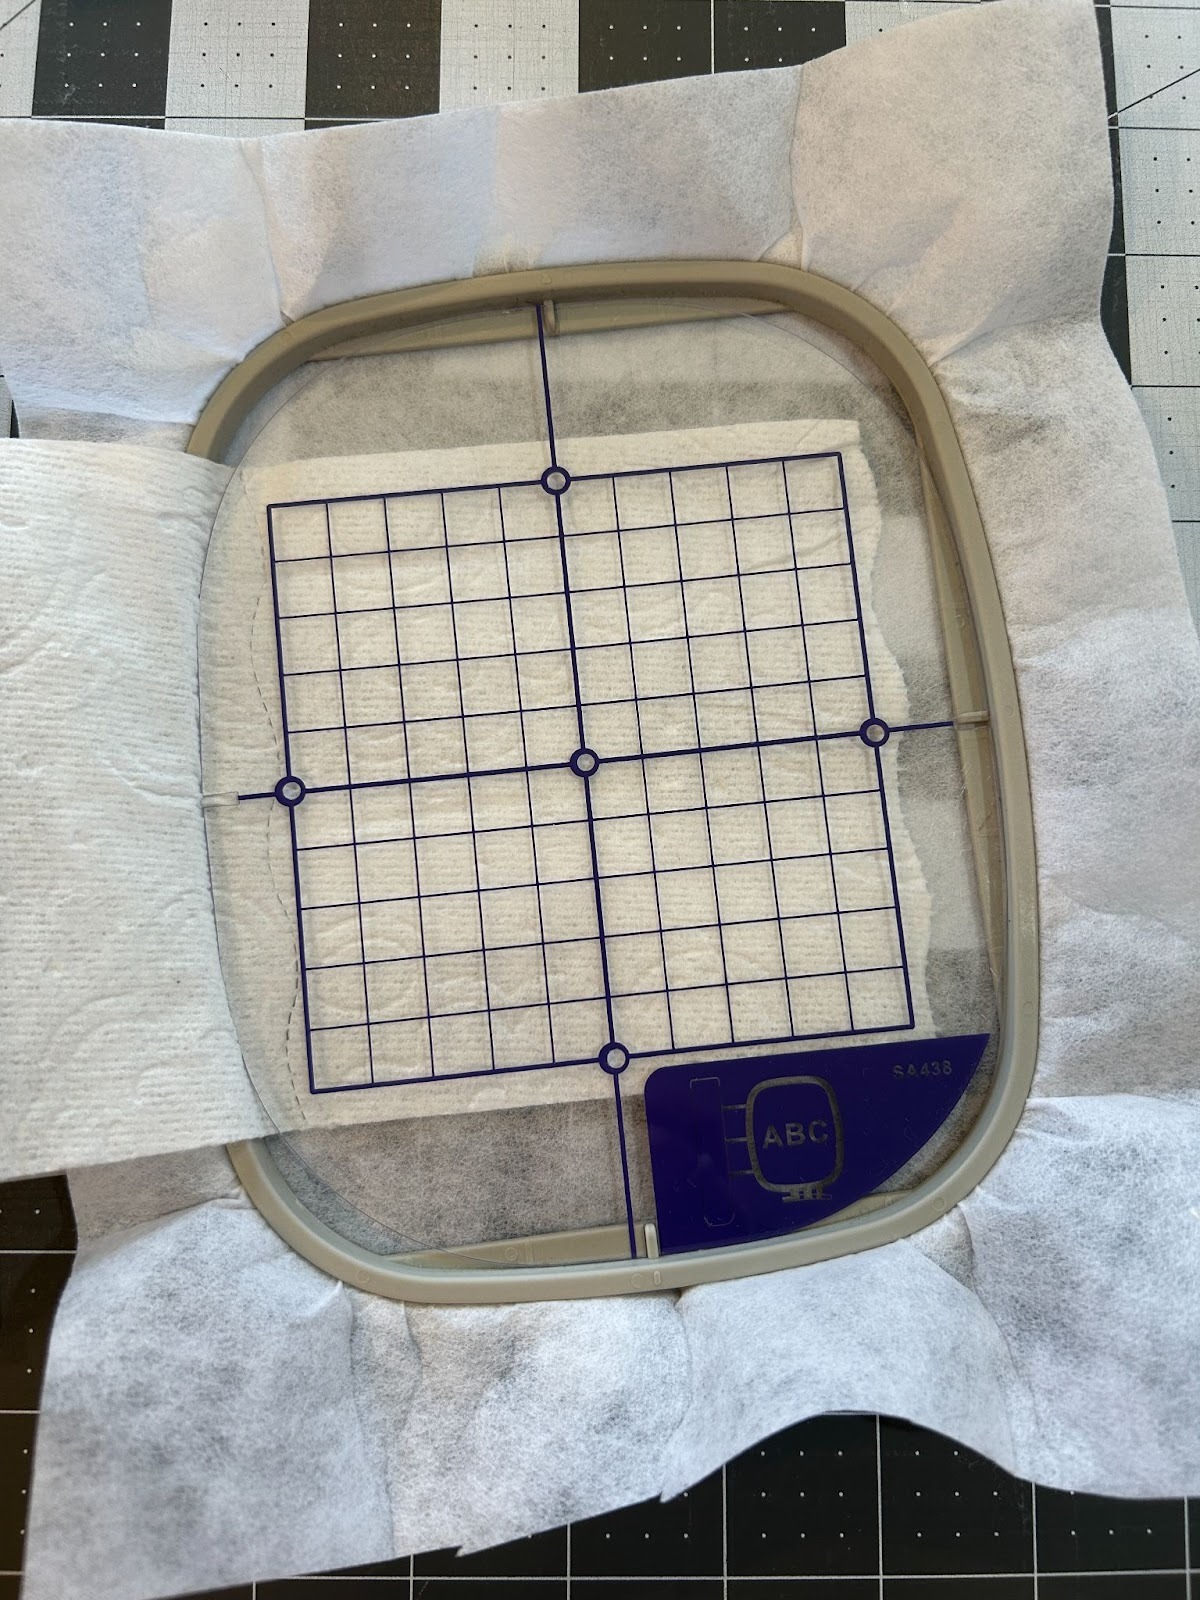
Hoop a piece of cut-away stabilizer.
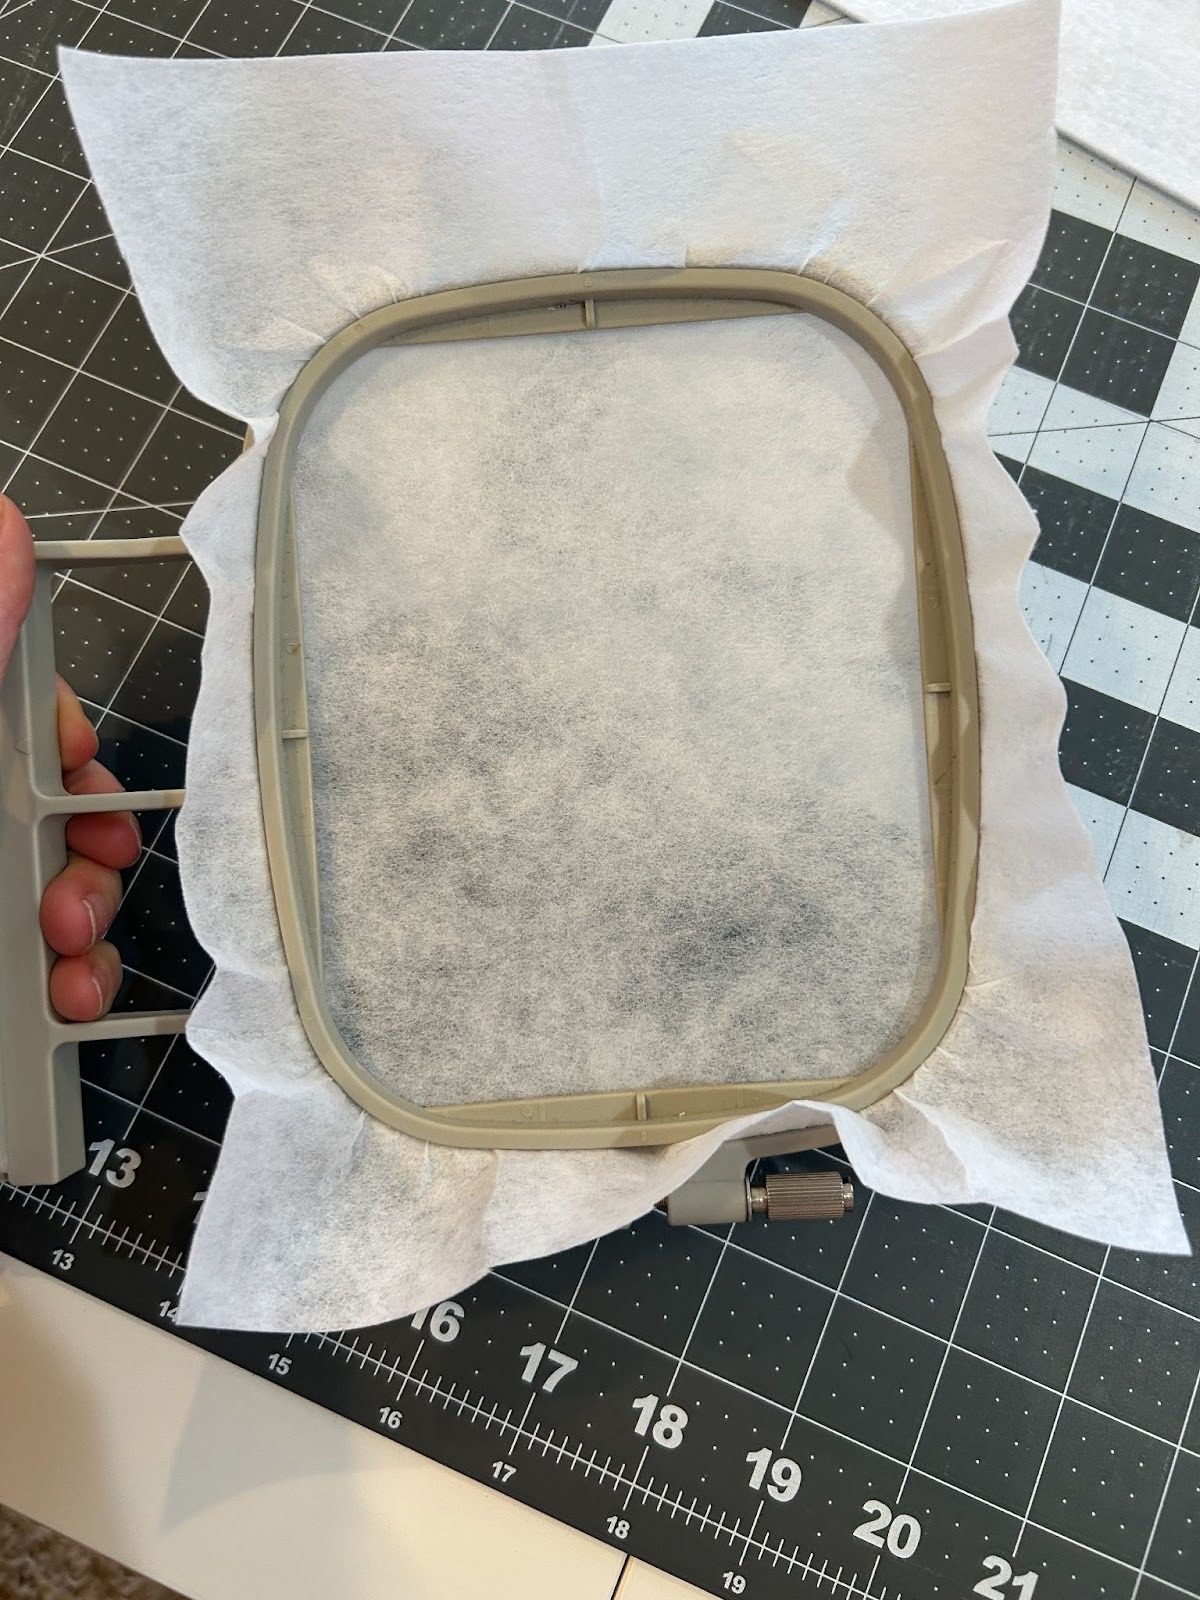
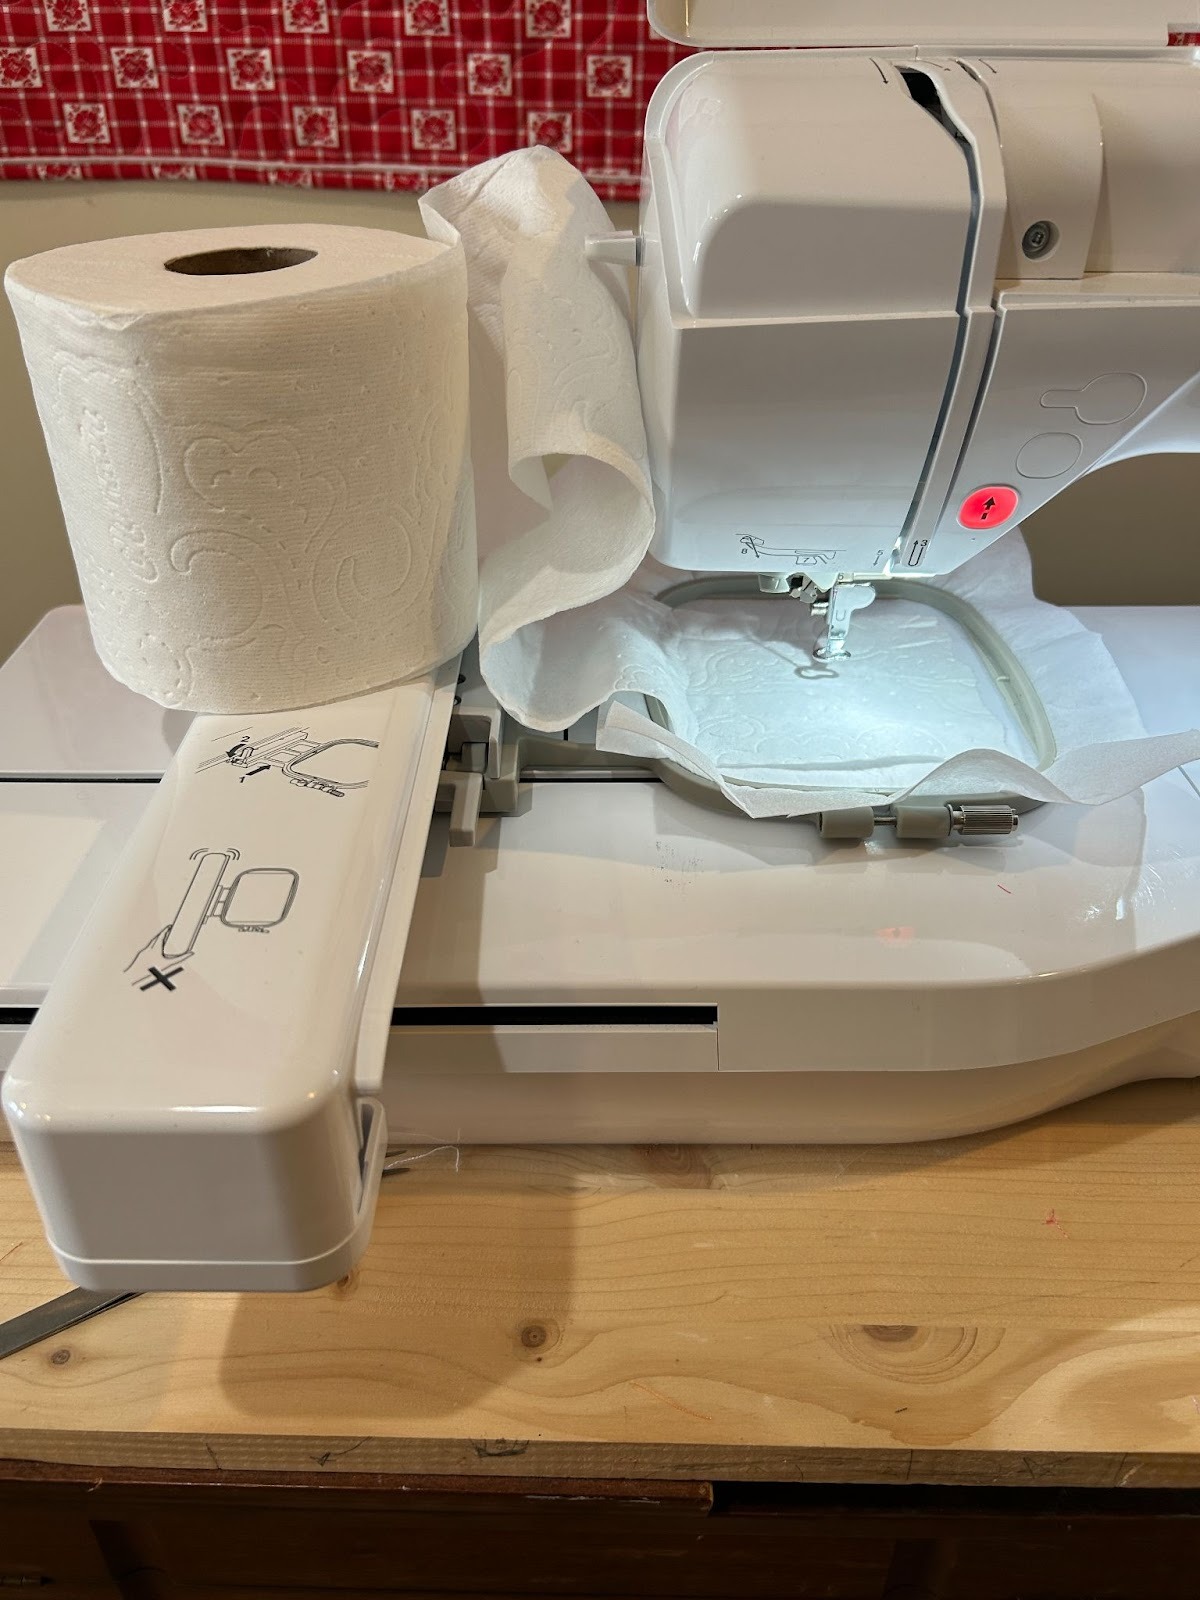
Using my hooping guide, I floated the first square in the hoop, with the roll alongside the hoop. I secure it with a little bit of 505 spray. If your toilet paper is a little smaller than 4” x 4”, make sure your design fits or can be resized so it doesn’t go off the toilet paper.
Take your toilet paper roll to the machine. I unroll a little bit and place the roll on the arm of my machine to help it all move together. We don’t want to put any tension on the length of toilet paper because if it stretches, it could tear along the perforations.
Begin stitching your design, changing thread colors as needed.

When your design is finished, remove it from the machine.
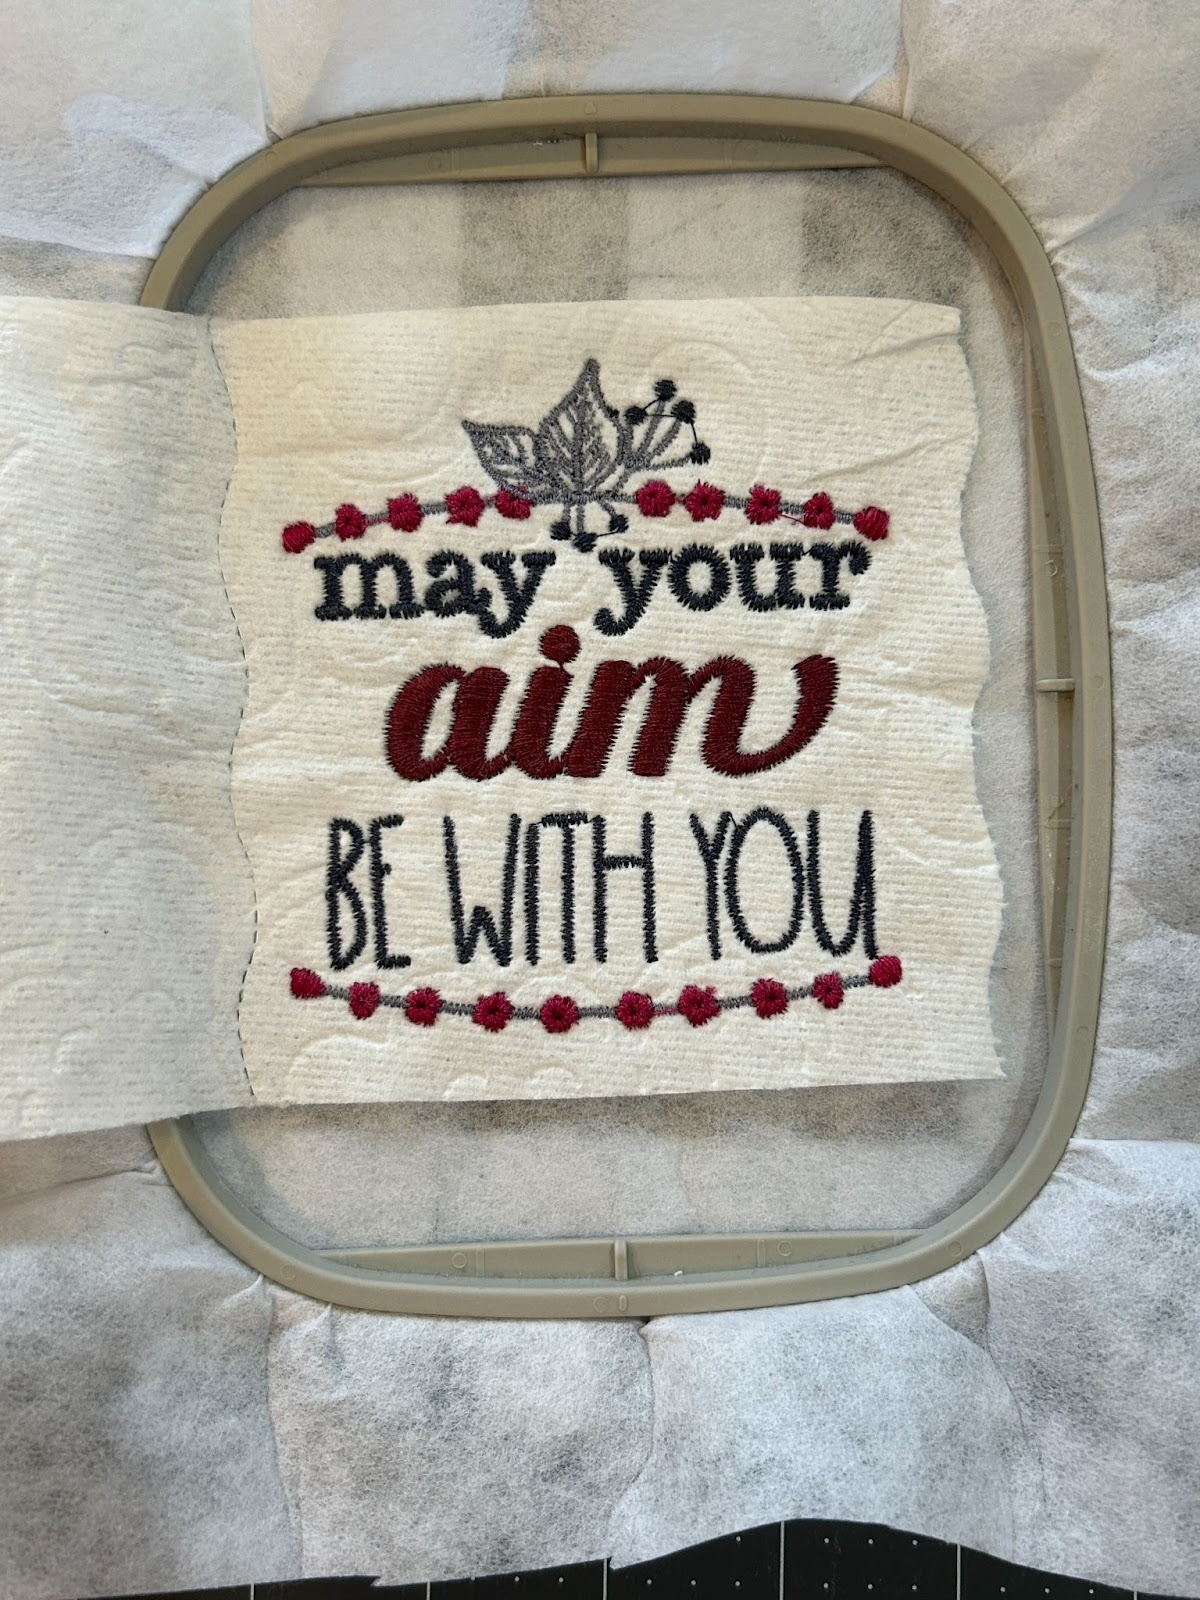
Trim up the threads on the back.

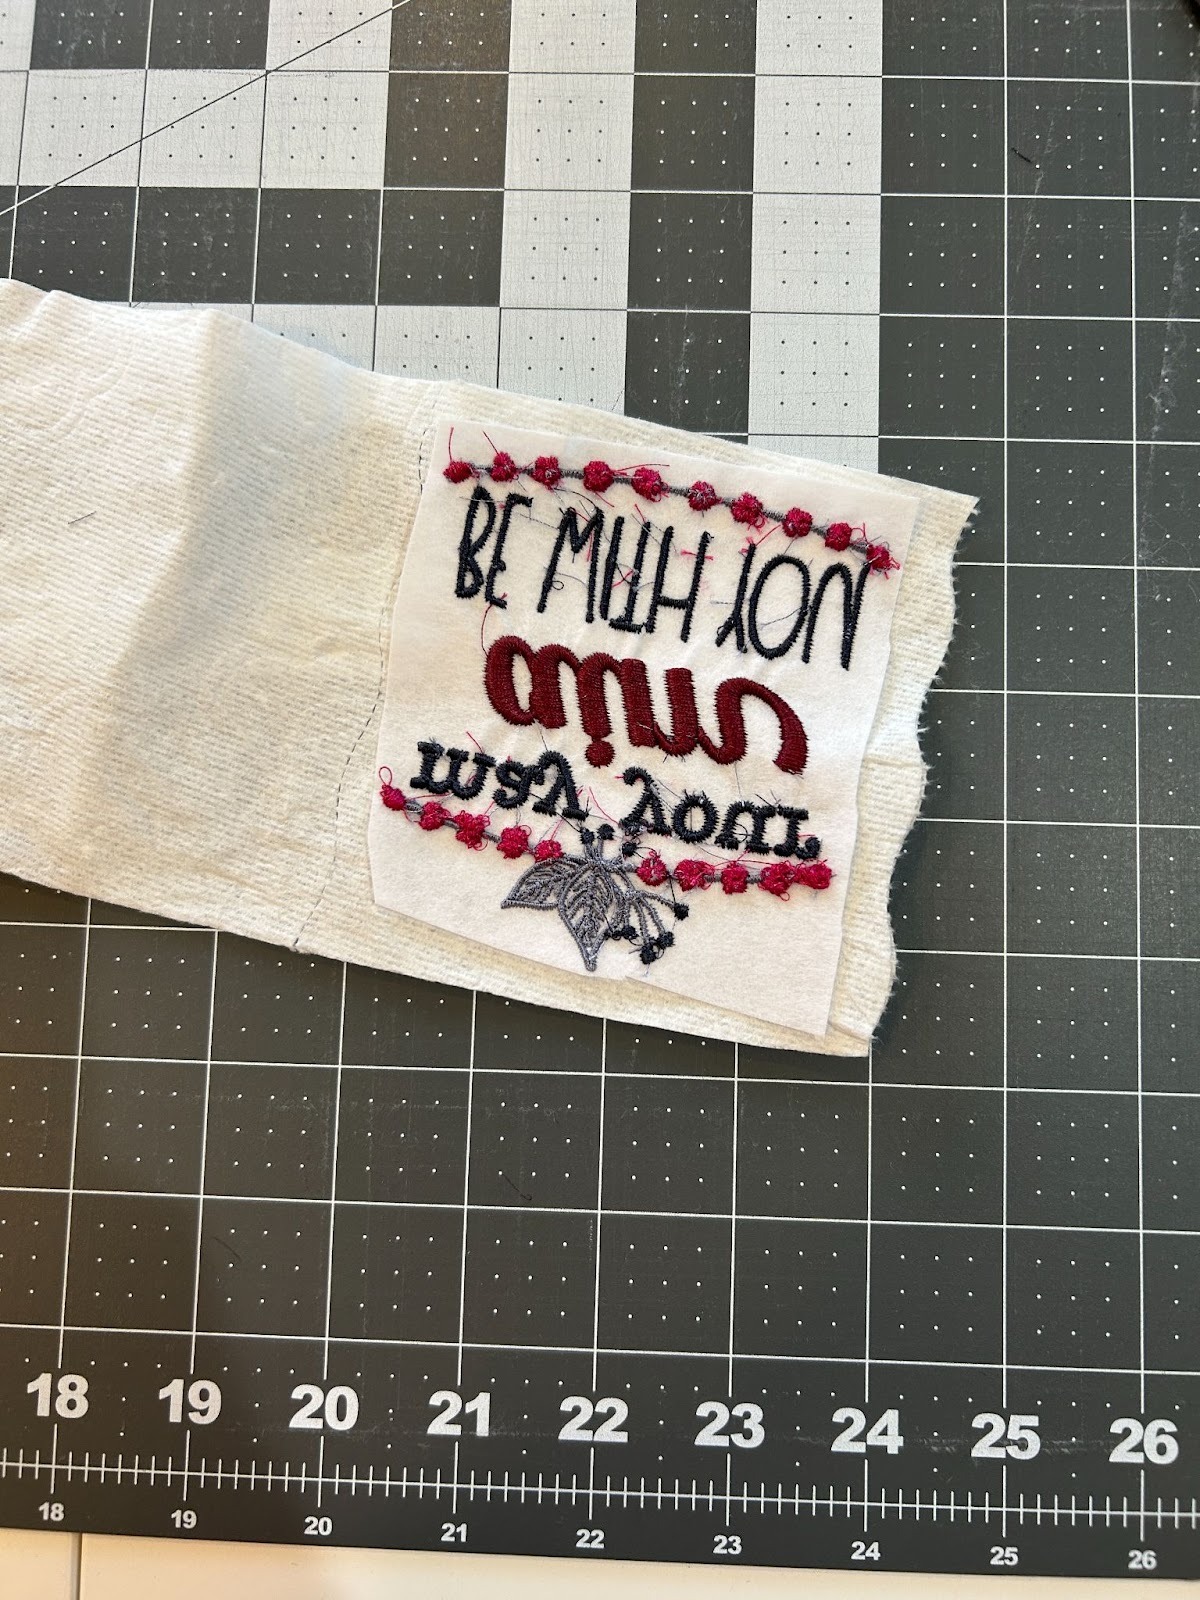
And trim your stabilizer so it doesn’t show around the edges of your toilet paper.
Reroll your toilet paper on the roll. To hold the edges down I use a small flat-head pin and poke it through my design where it won’t be noticed. You could also use a glue stick to secure the square back in place.
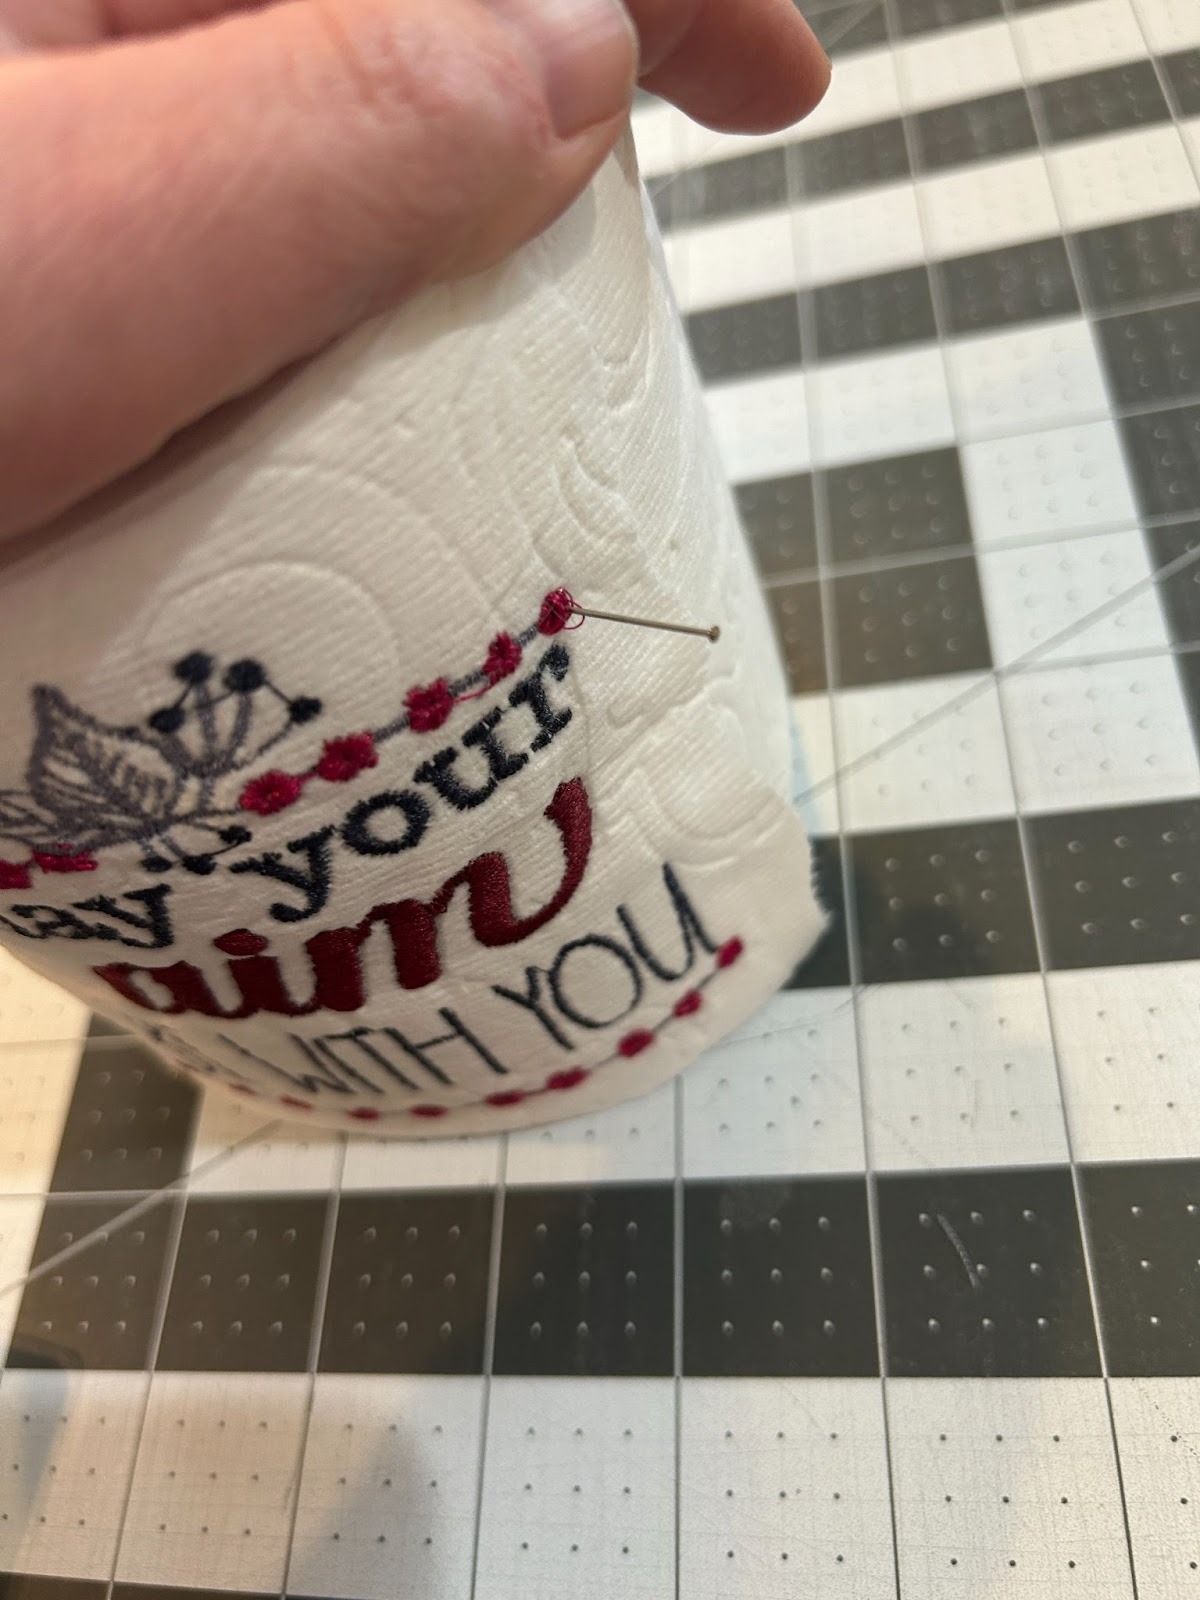
And look how cute that is!
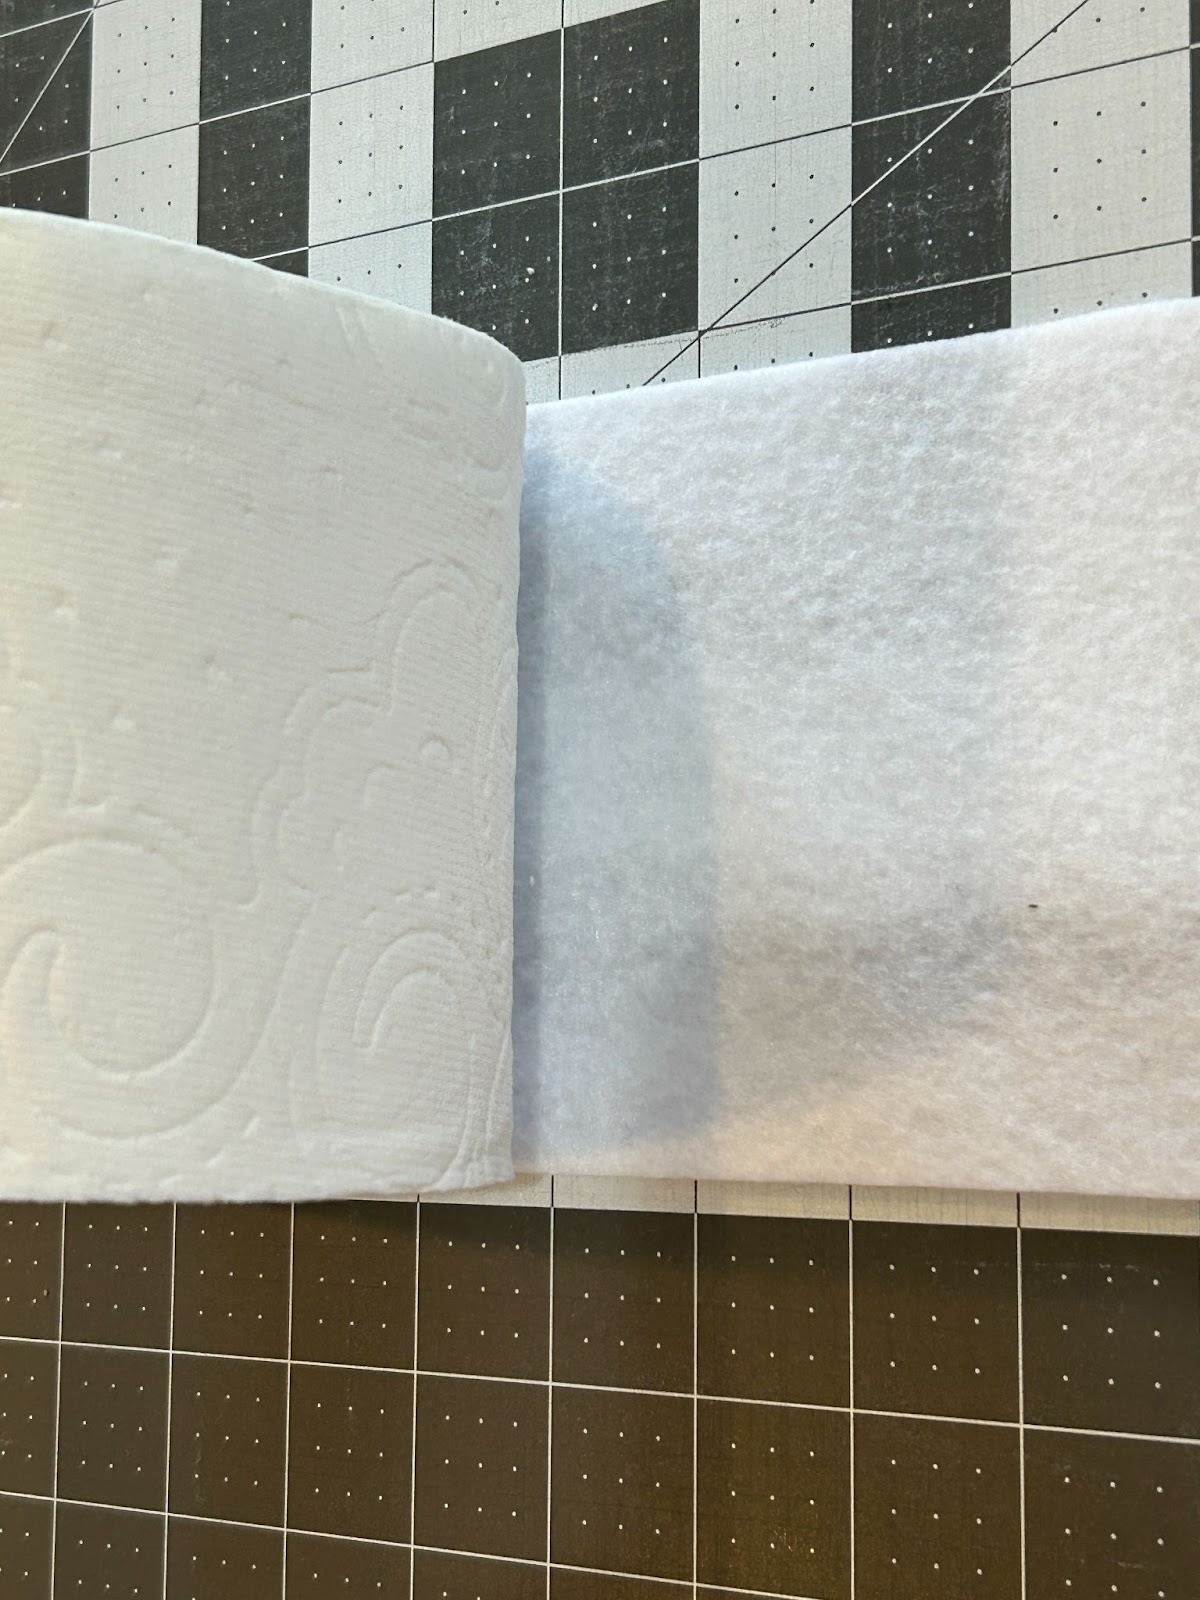
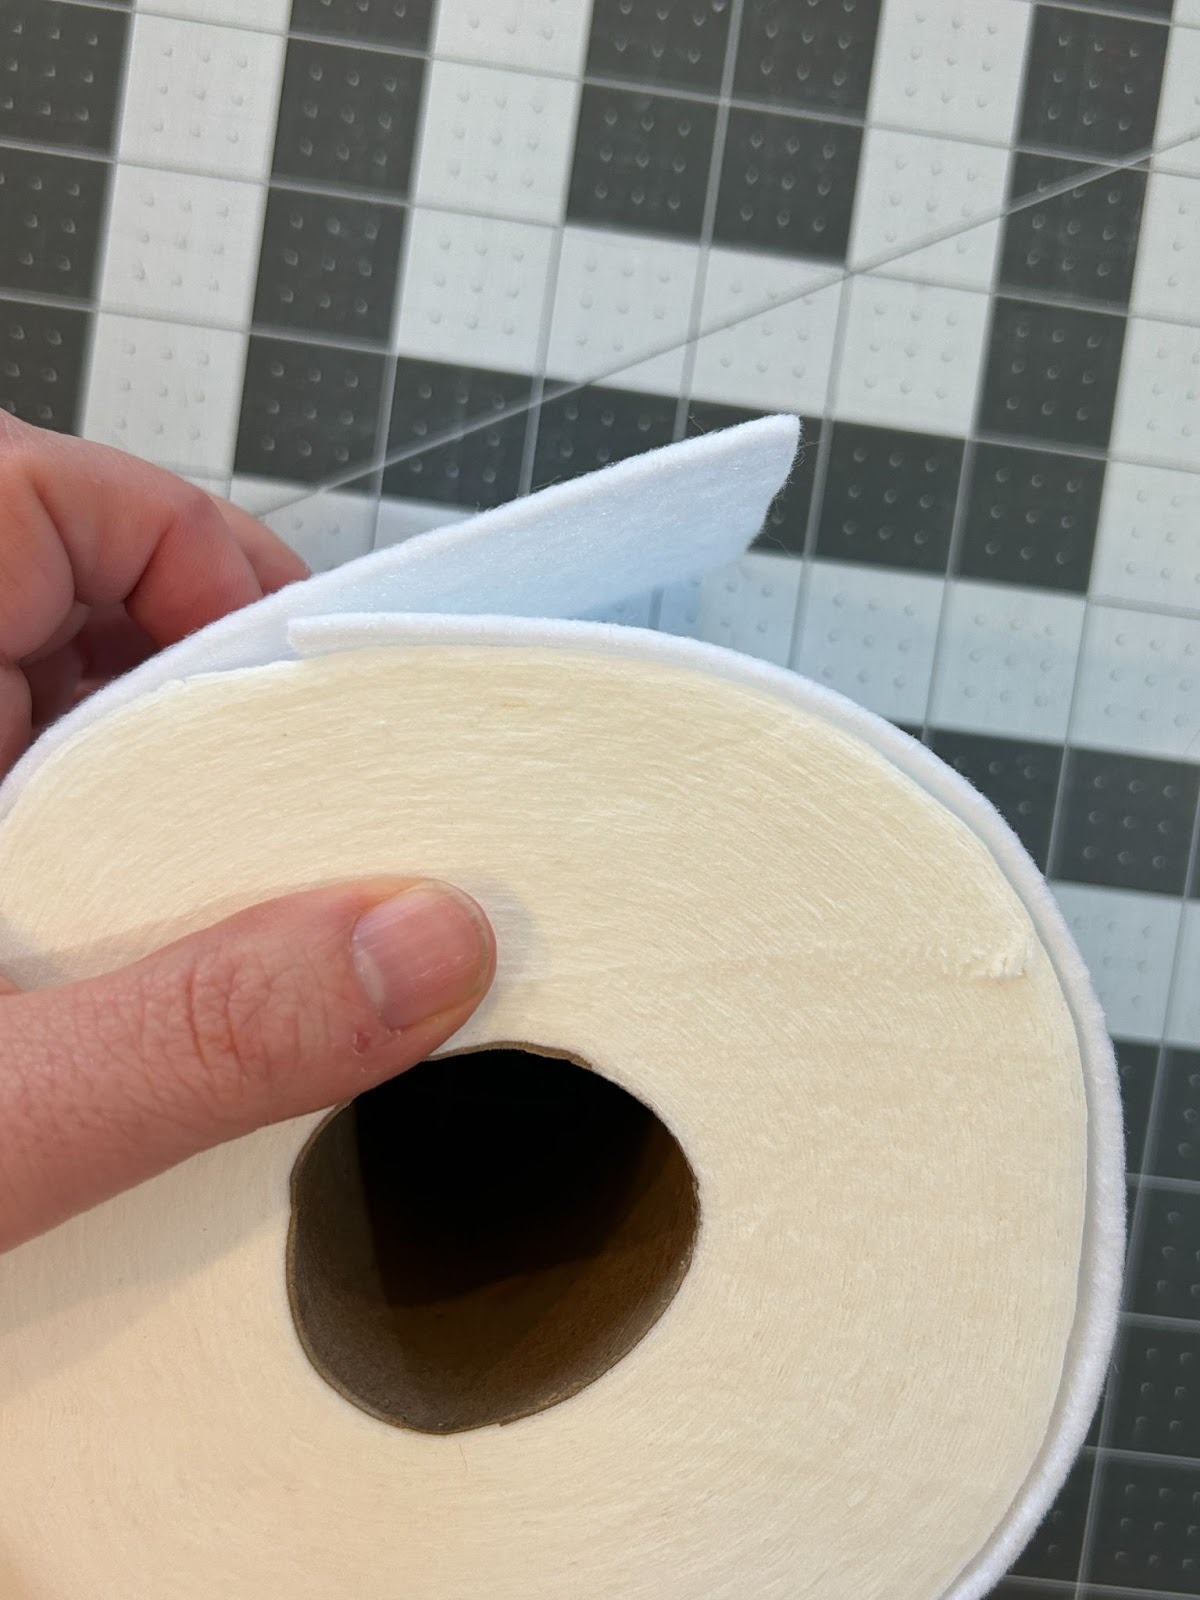
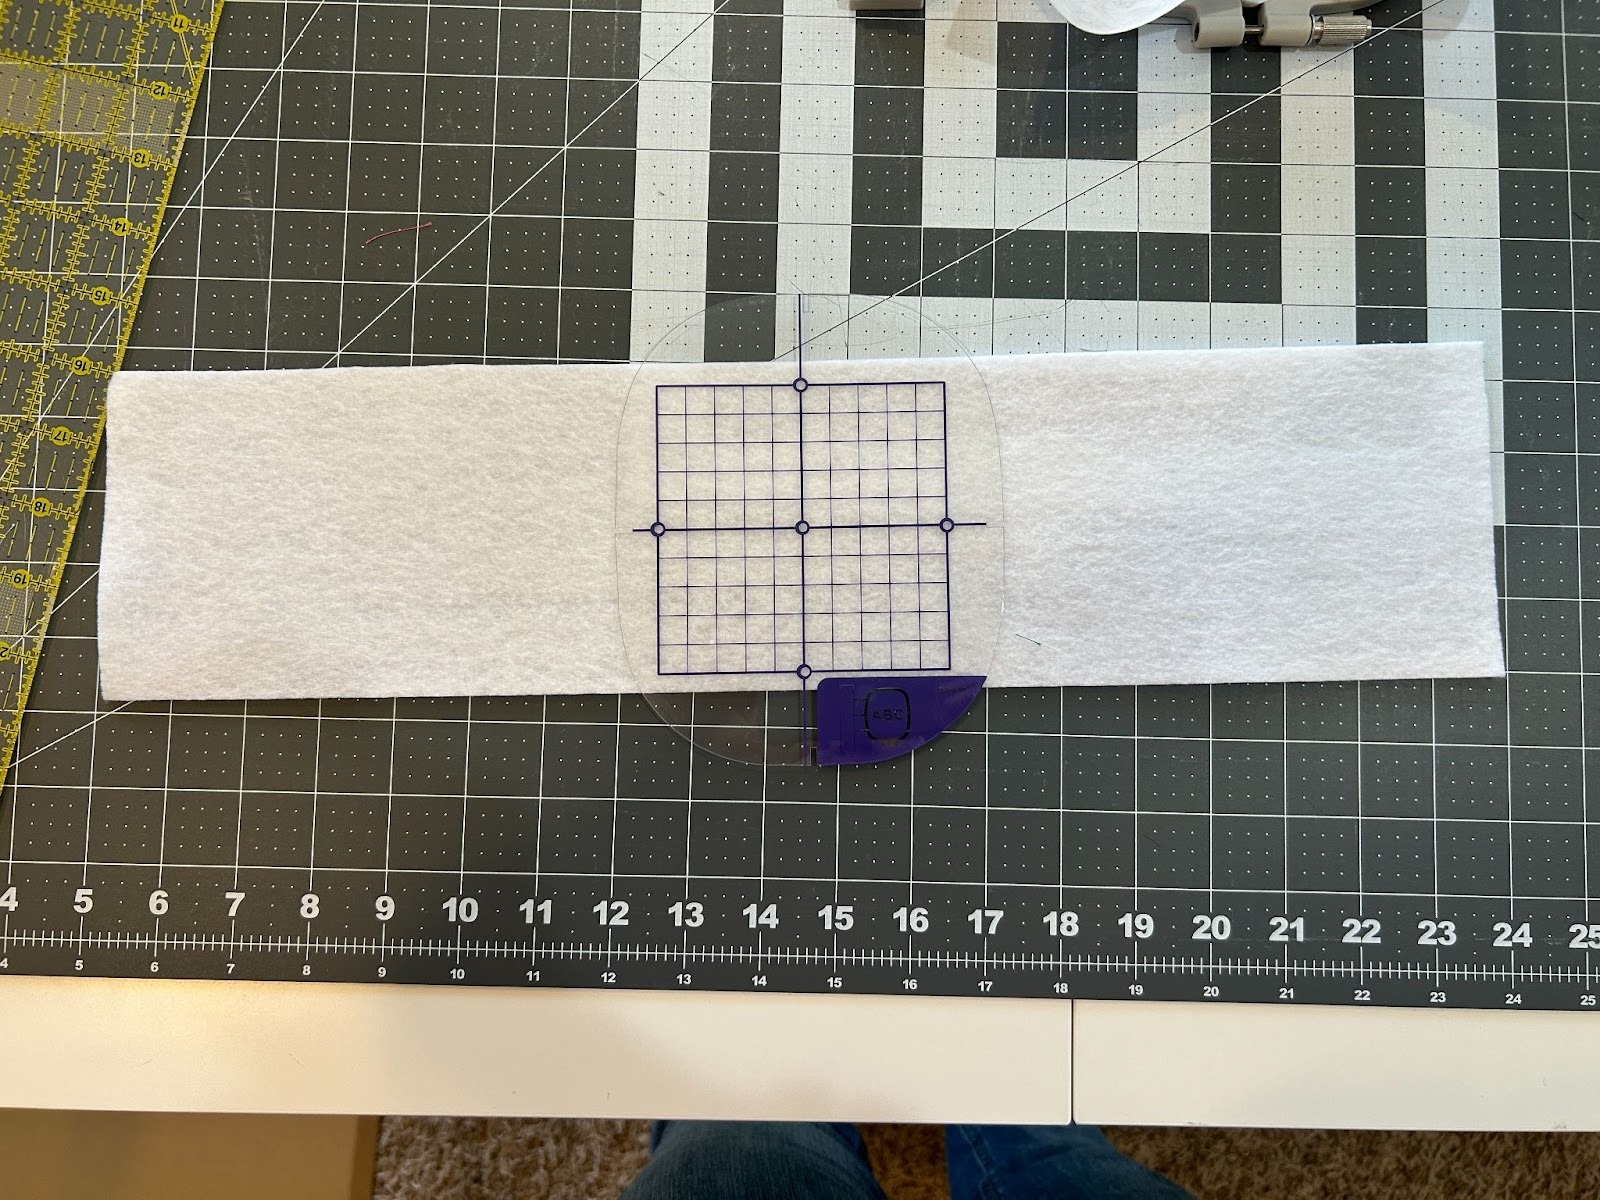
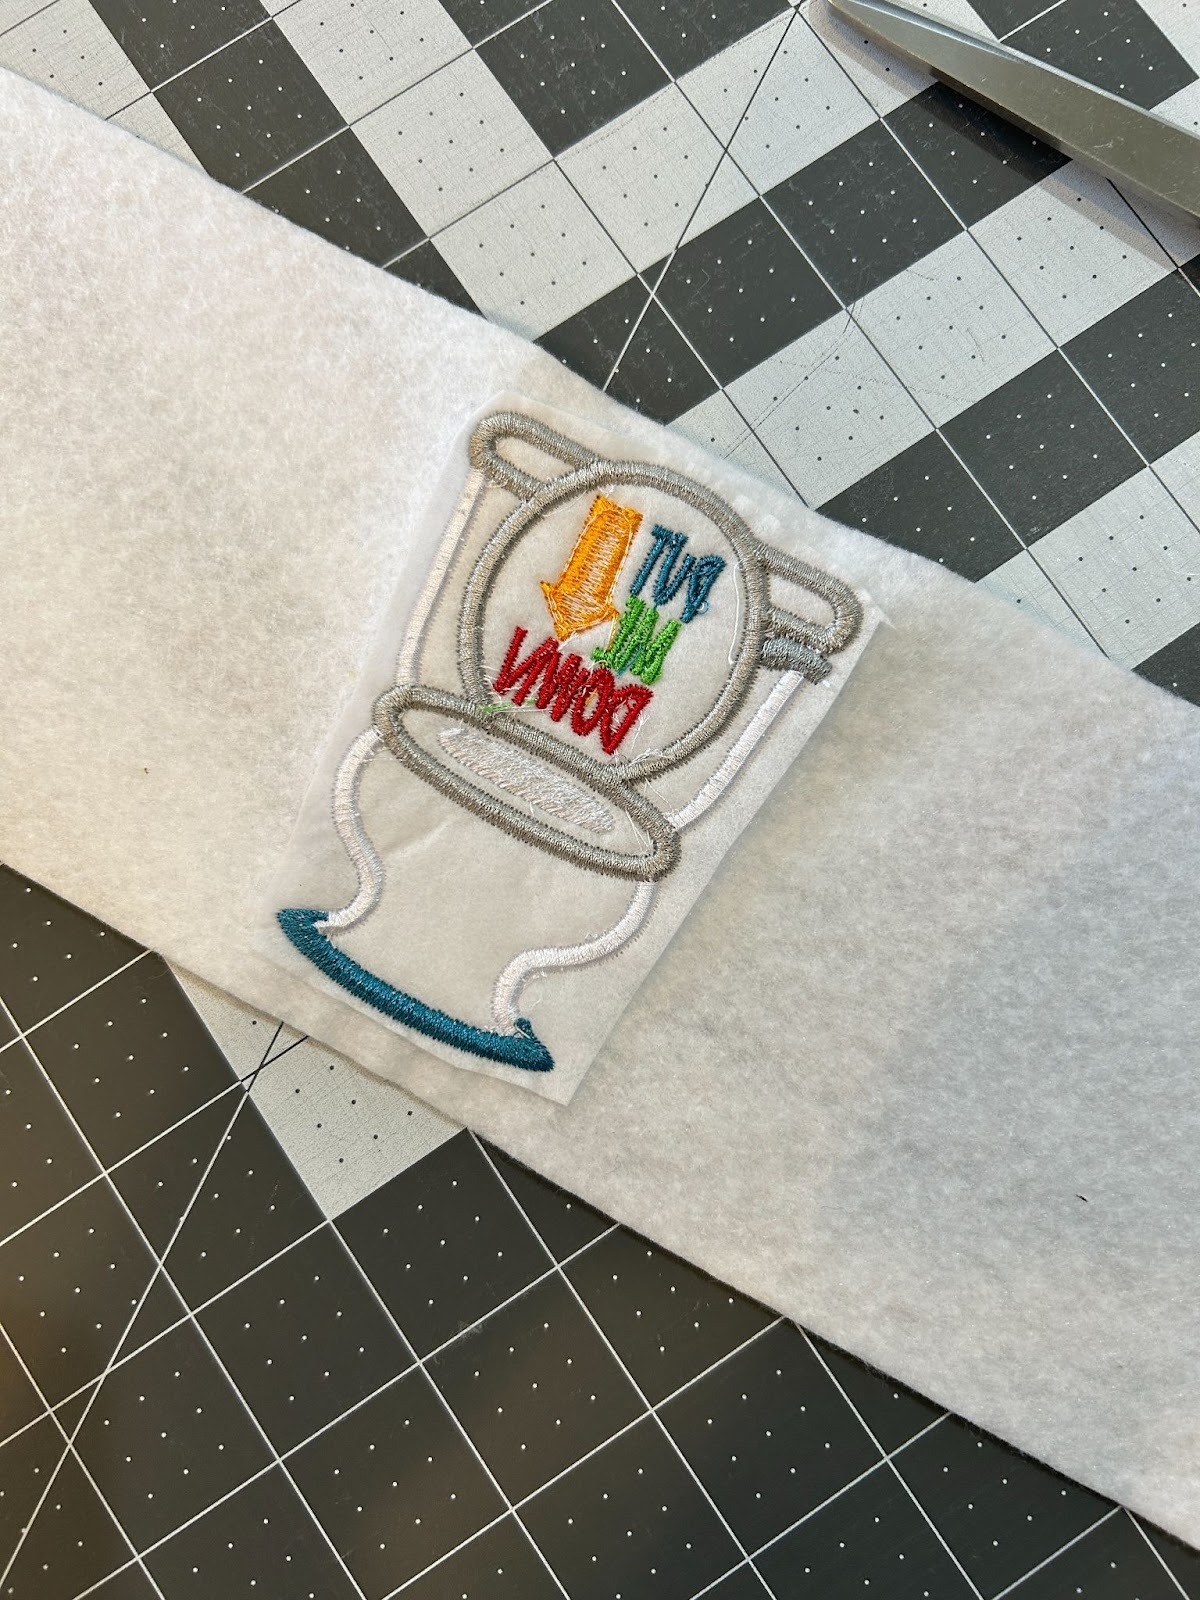
I like to use the wraps for a design that’s a bit more dense, for applique, or if I just want to be able to change it out and use the toilet paper underneath. Since every toilet paper roll is a different size, use the roll you are going to wrap as a template. Cut your white felt so that the height is the same as the height of the toilet paper,
and as long as it takes to wrap around the roll and overlap by a couple of inches.
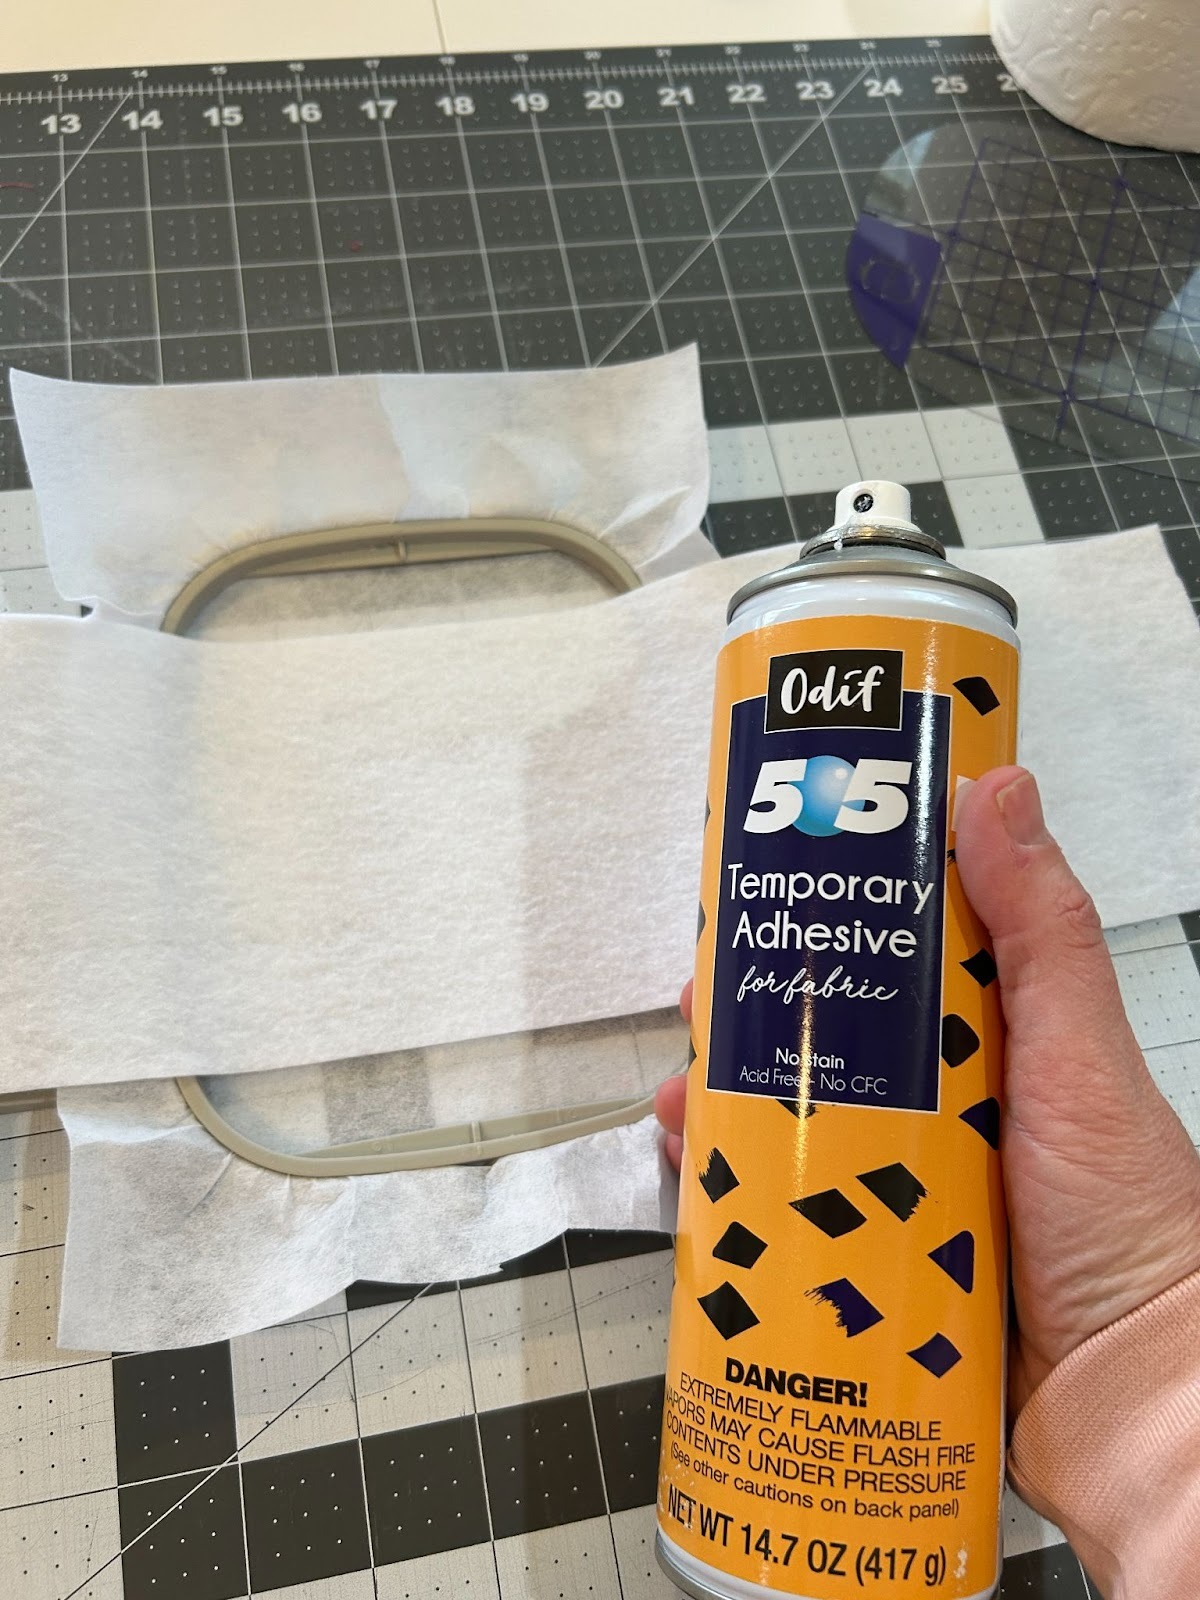
Hoop your cut-away stabilizer.
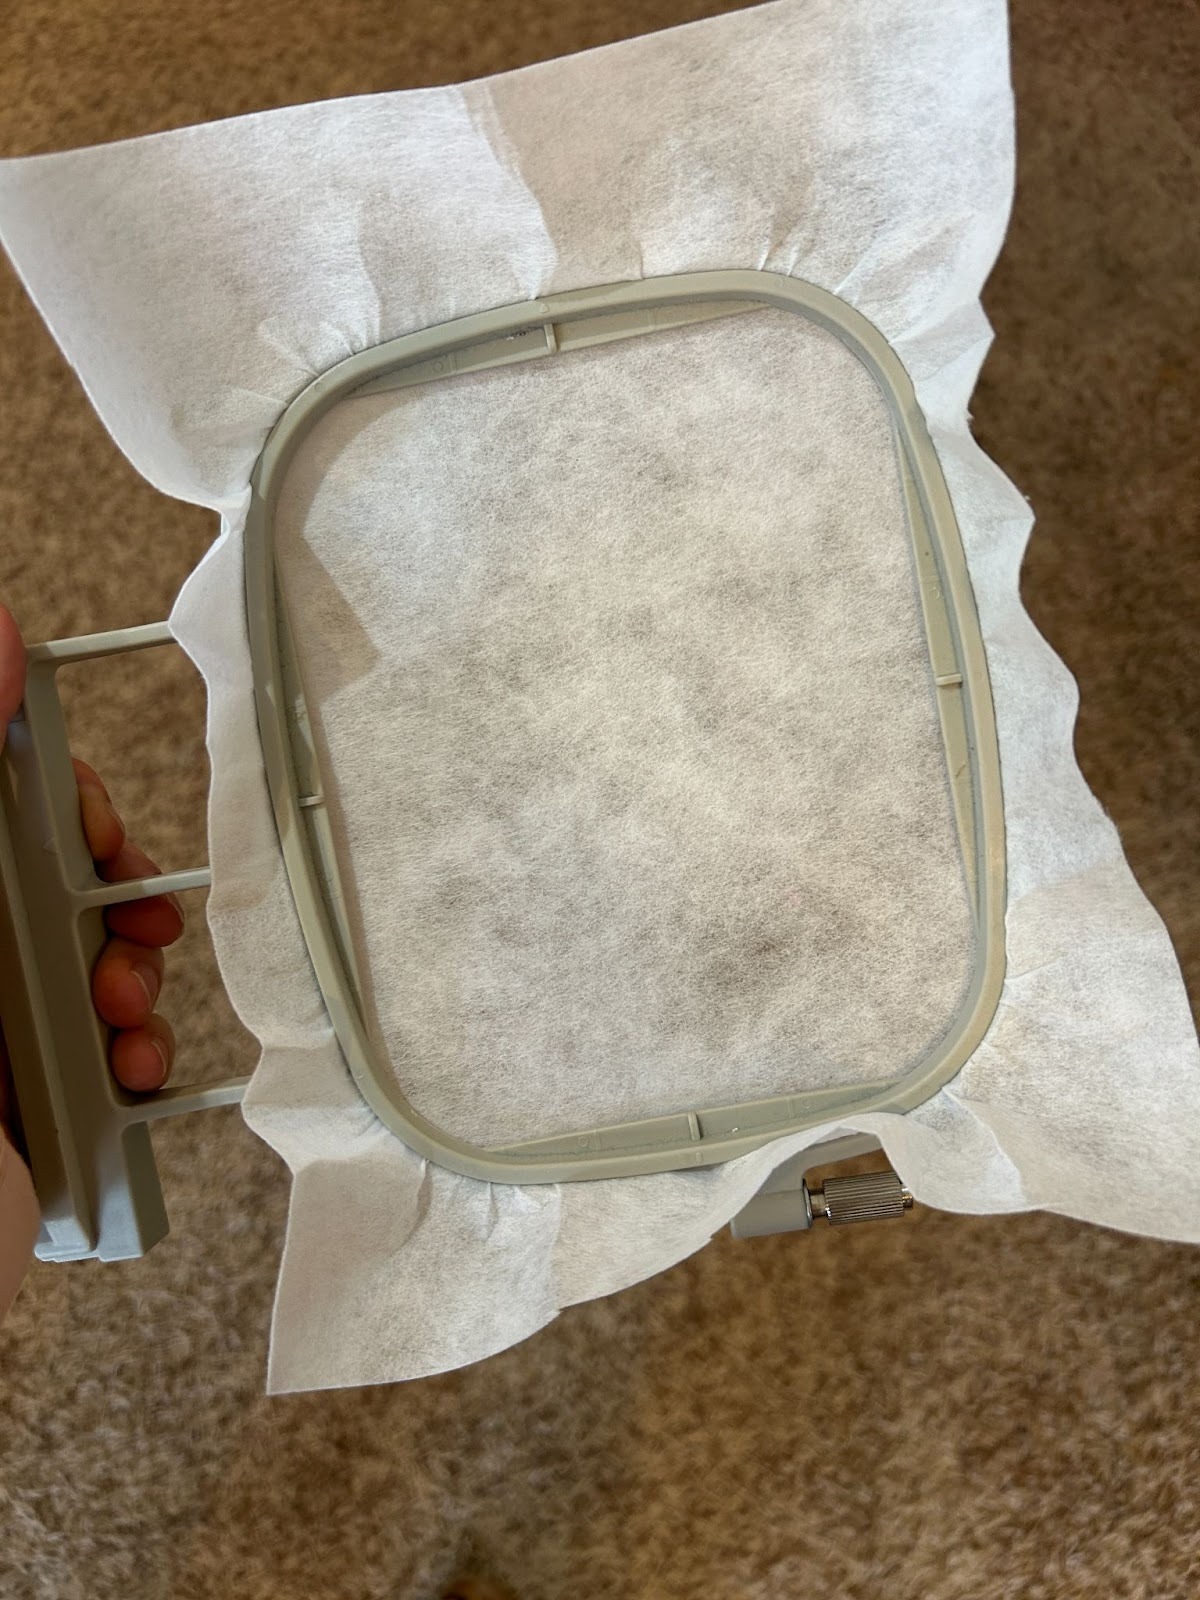
Find the center of your wrap and float that part of the wrap in the hoop.
Use some 505 spray to hold it in the hoop while you begin stitching.
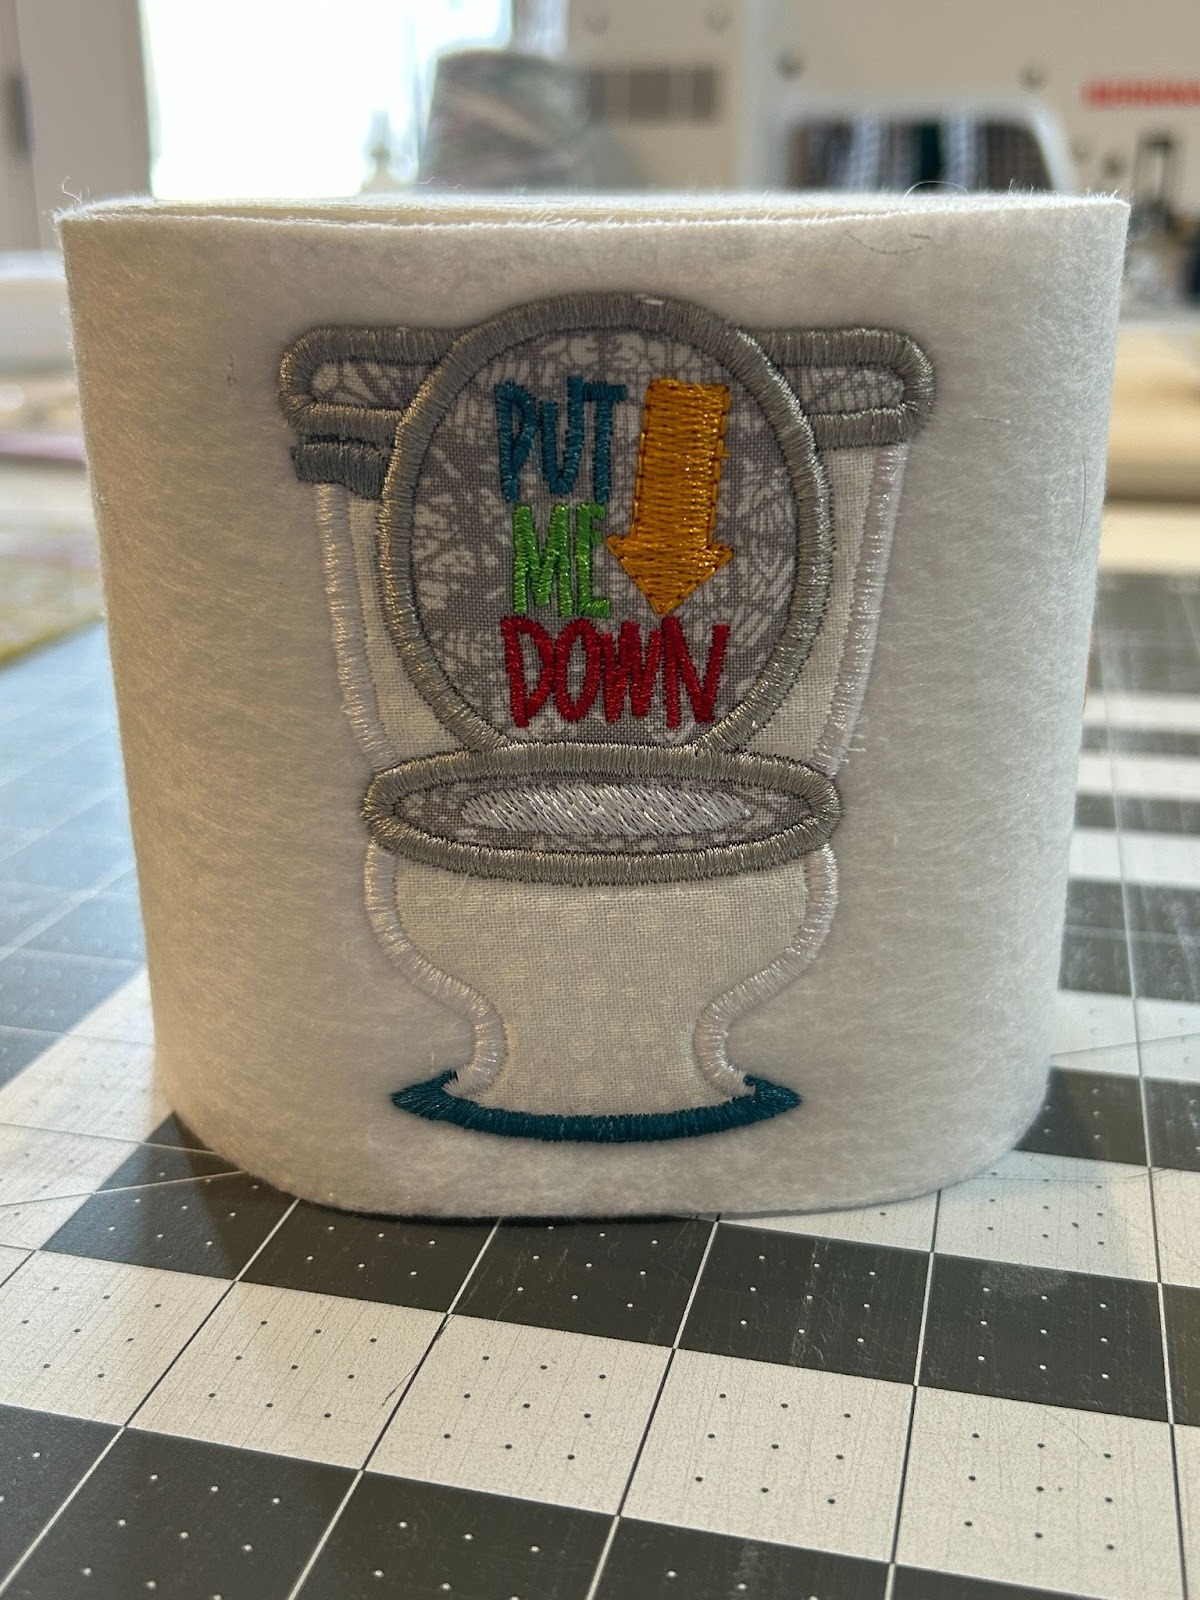
And start your design. I am embroidering an applique design, so I’ll start with some placement stitches.
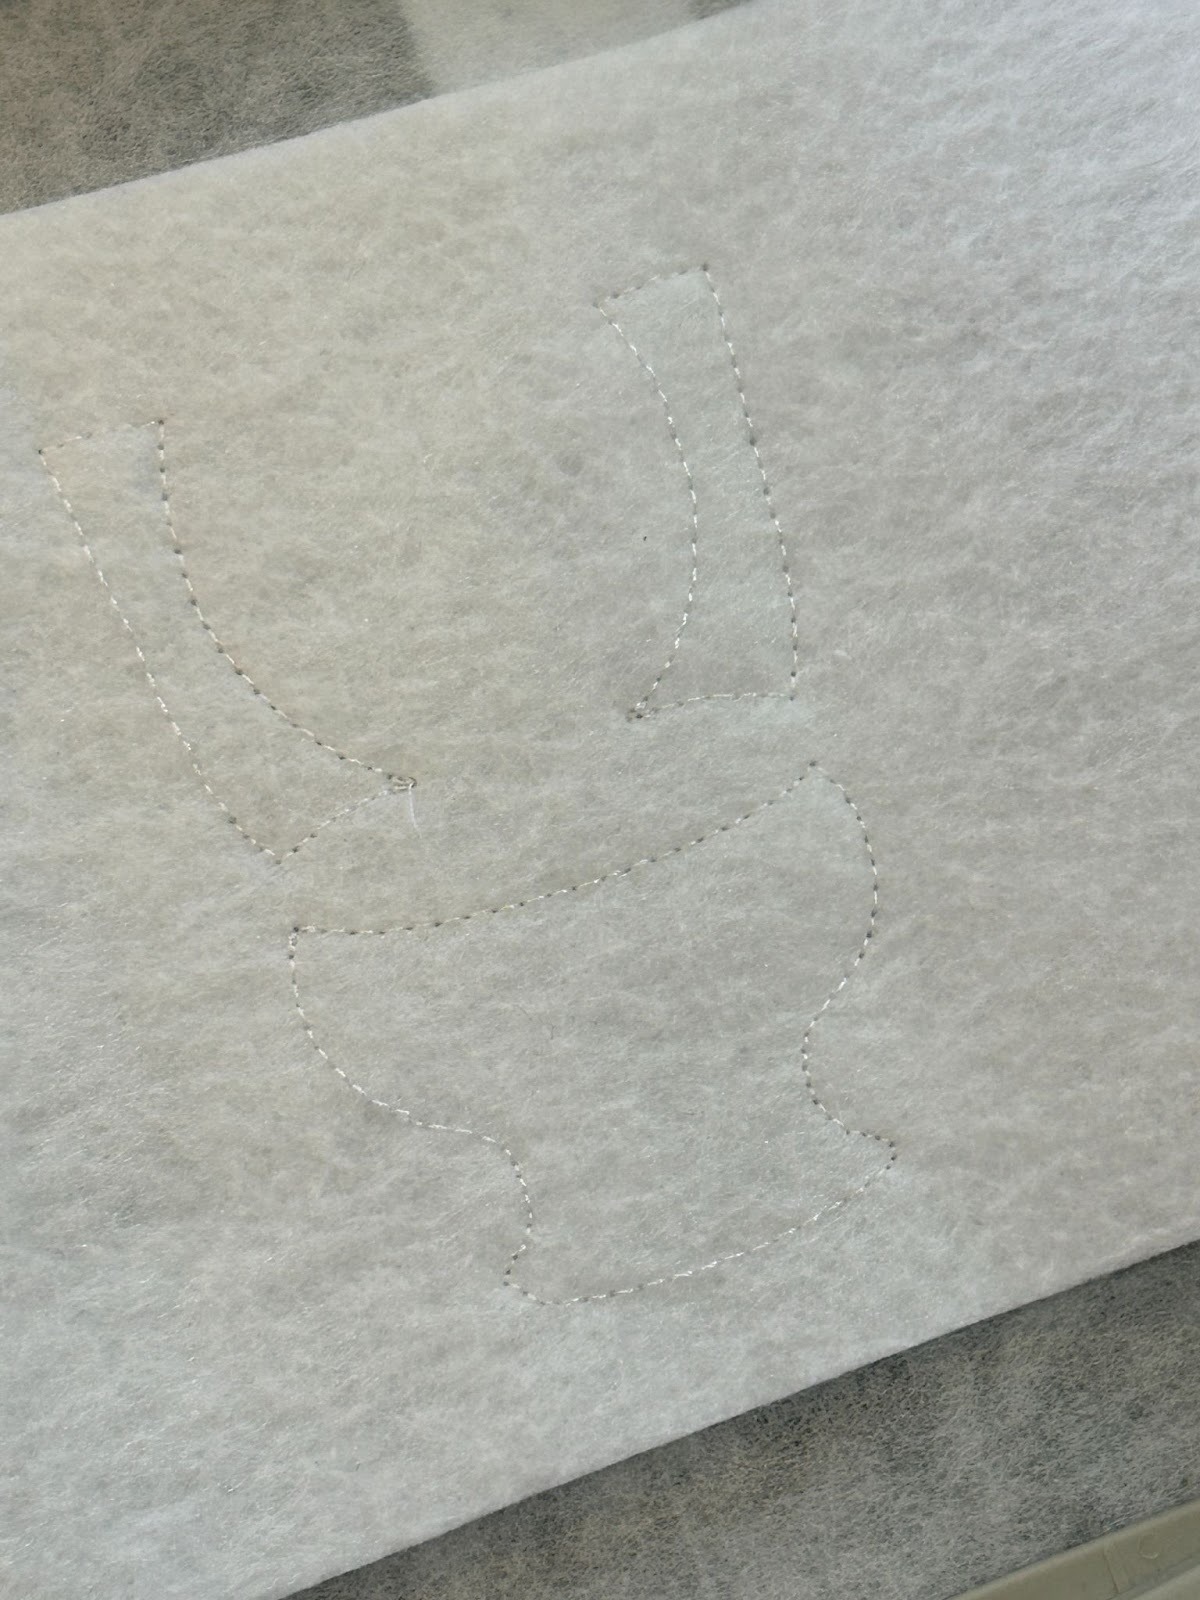
Cover them with fabric, stitch the tack-down, and trim the fabric. If you’re new to applique, check out our series on applique here. Finish stitching your design.
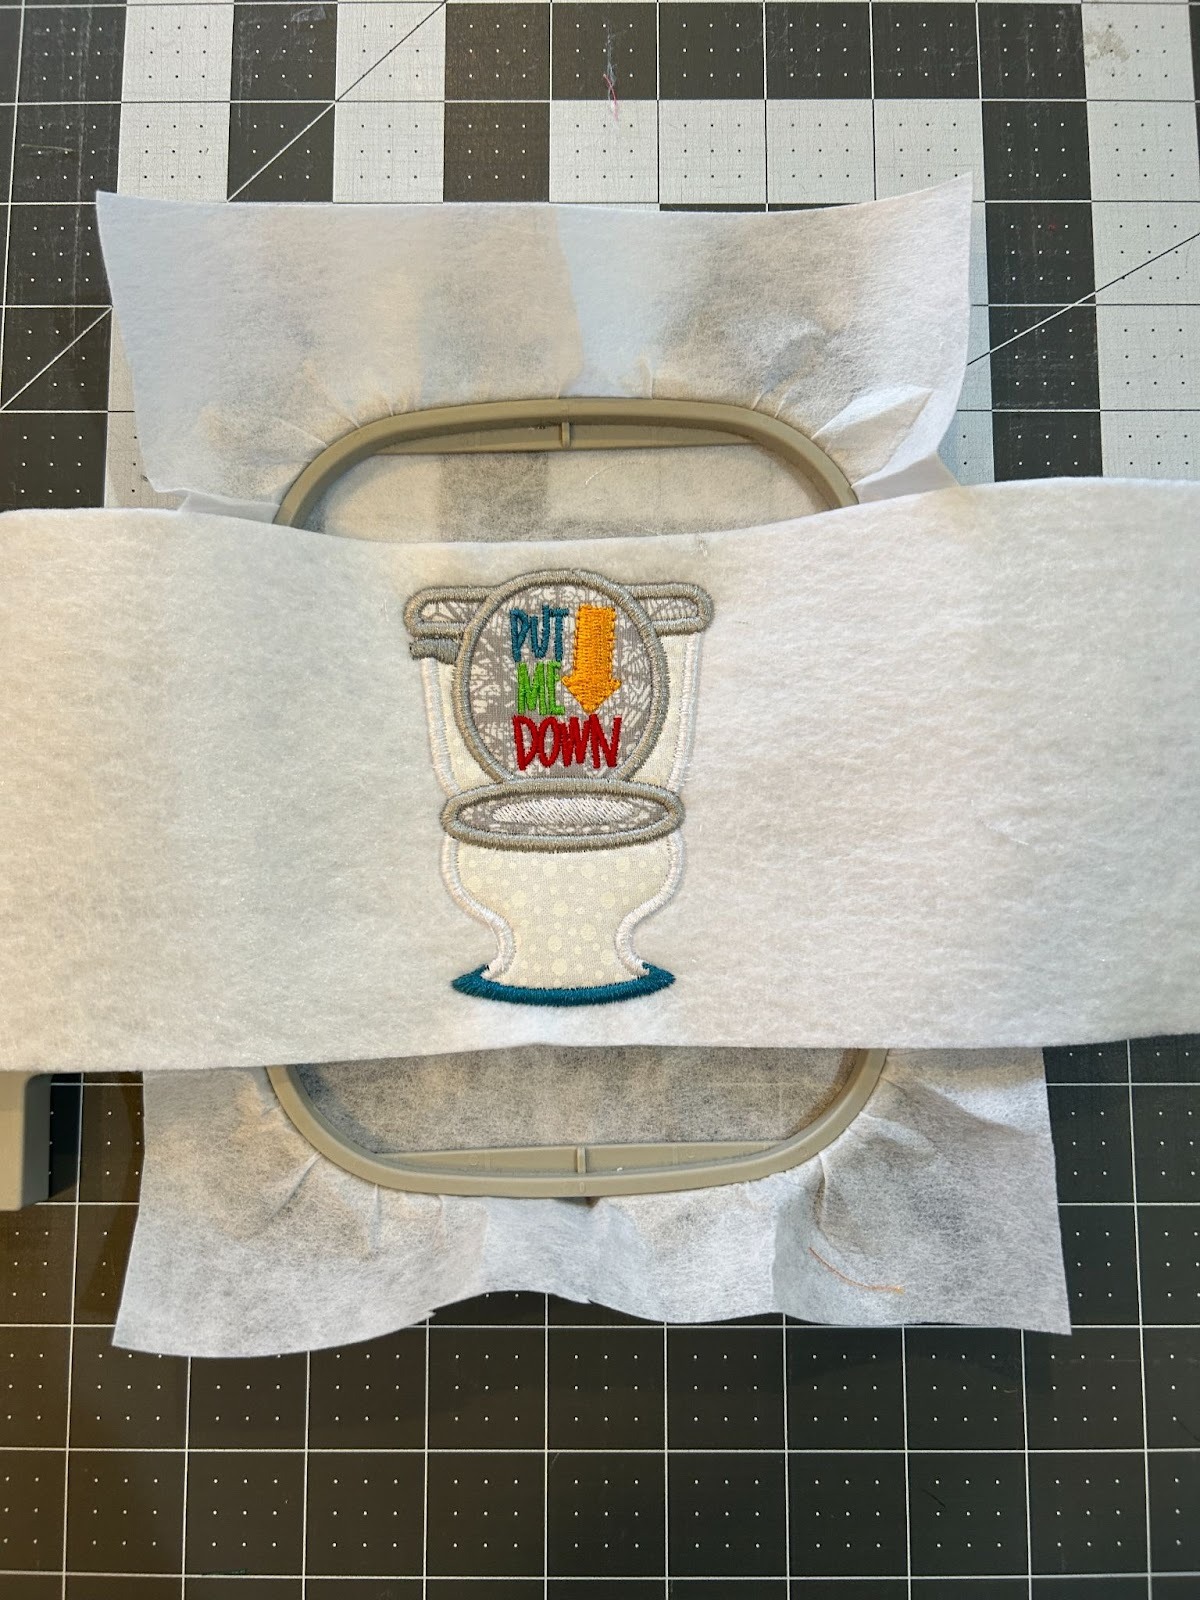
Remove your hoop from the machine and clean up the threads on the back.

And cut the stabilizer from the back so it’s not seen on the front side.
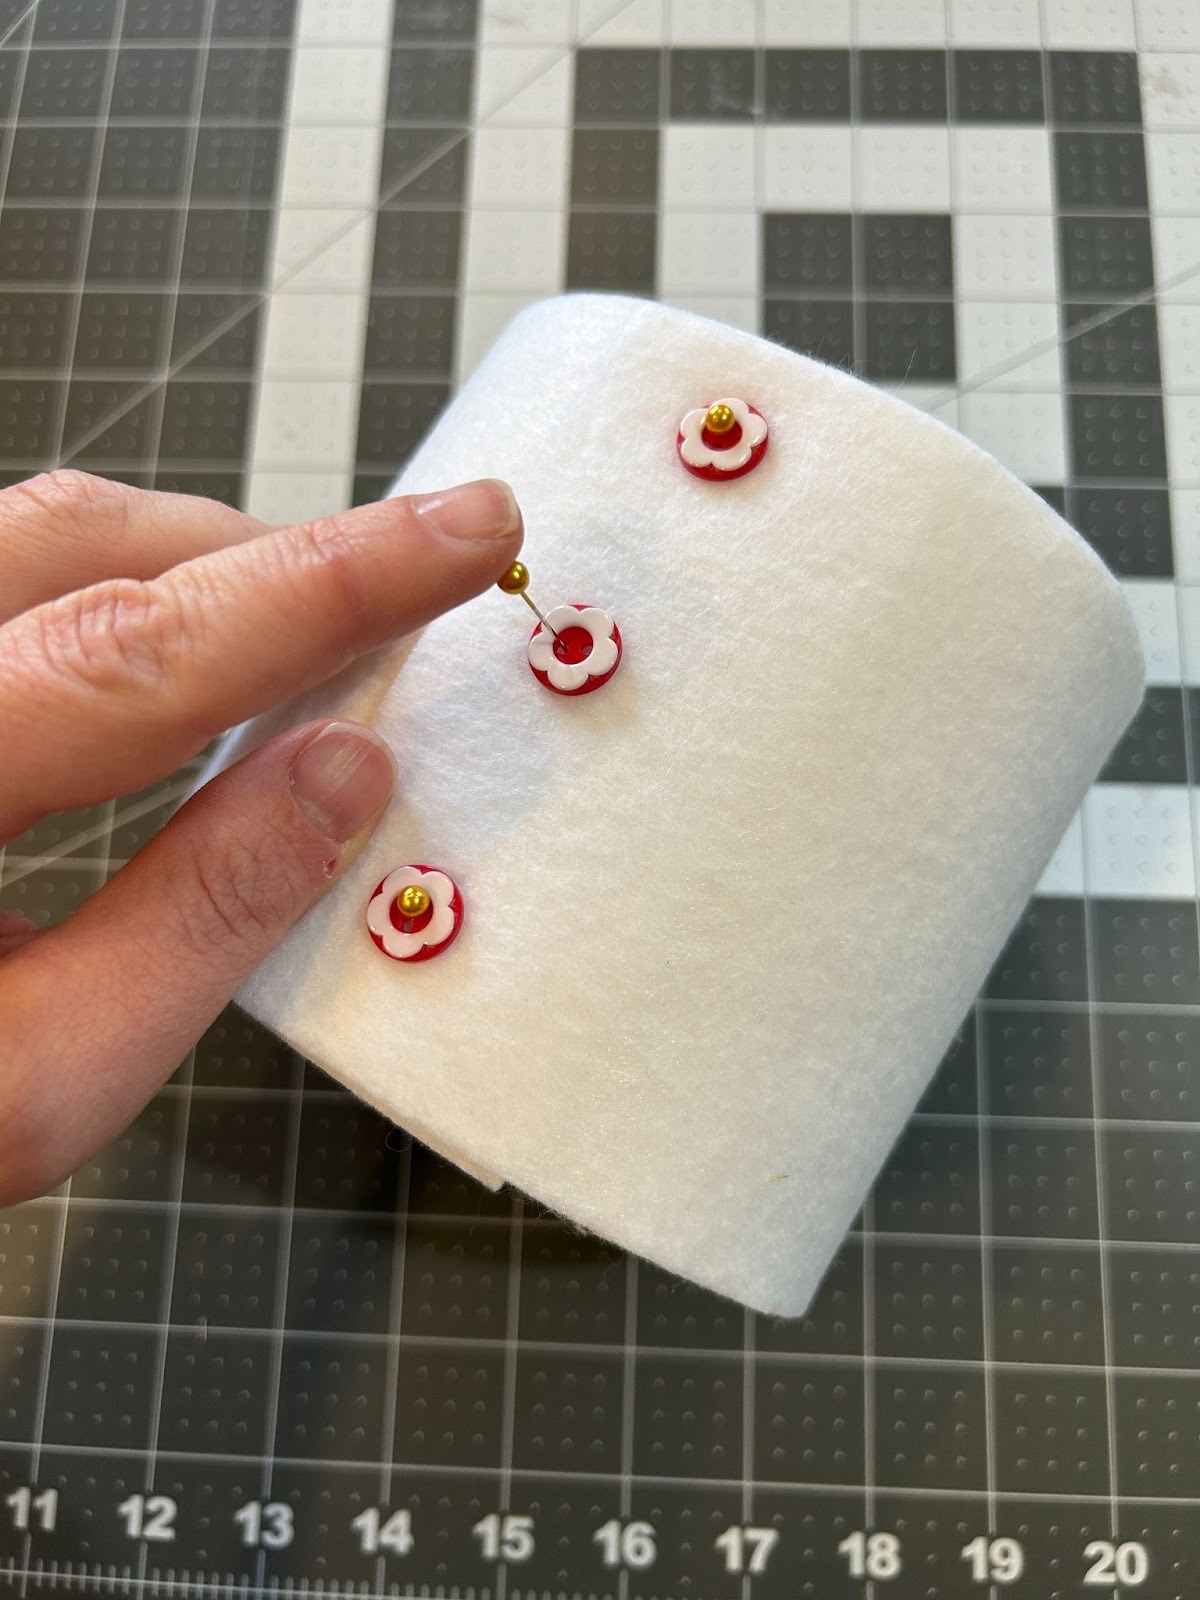
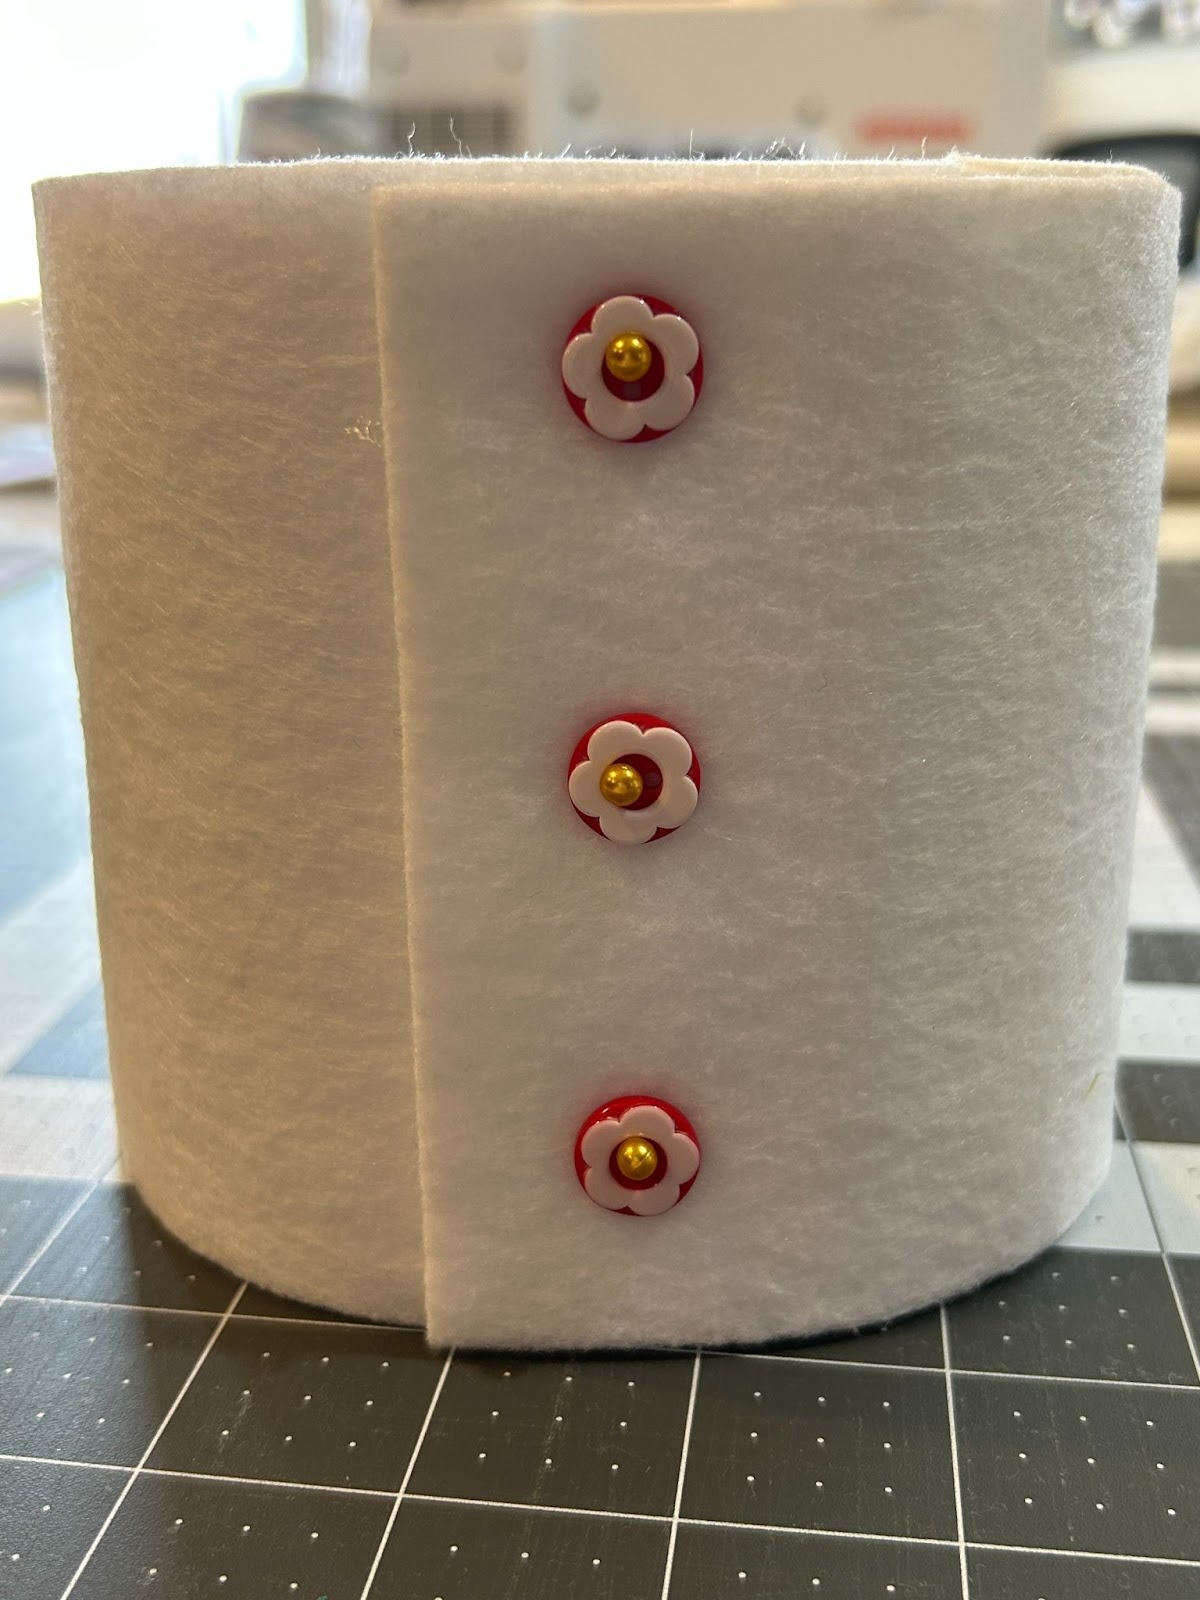
Wrap the felt piece around your roll of toilet paper. For a fun finish I use some decorative buttons and push a matching pin through the buttonholes. You could also hand stitch it, or if you’re super fancy, attach hook-and-loop tape to each edge.
And you have a finished wrap.
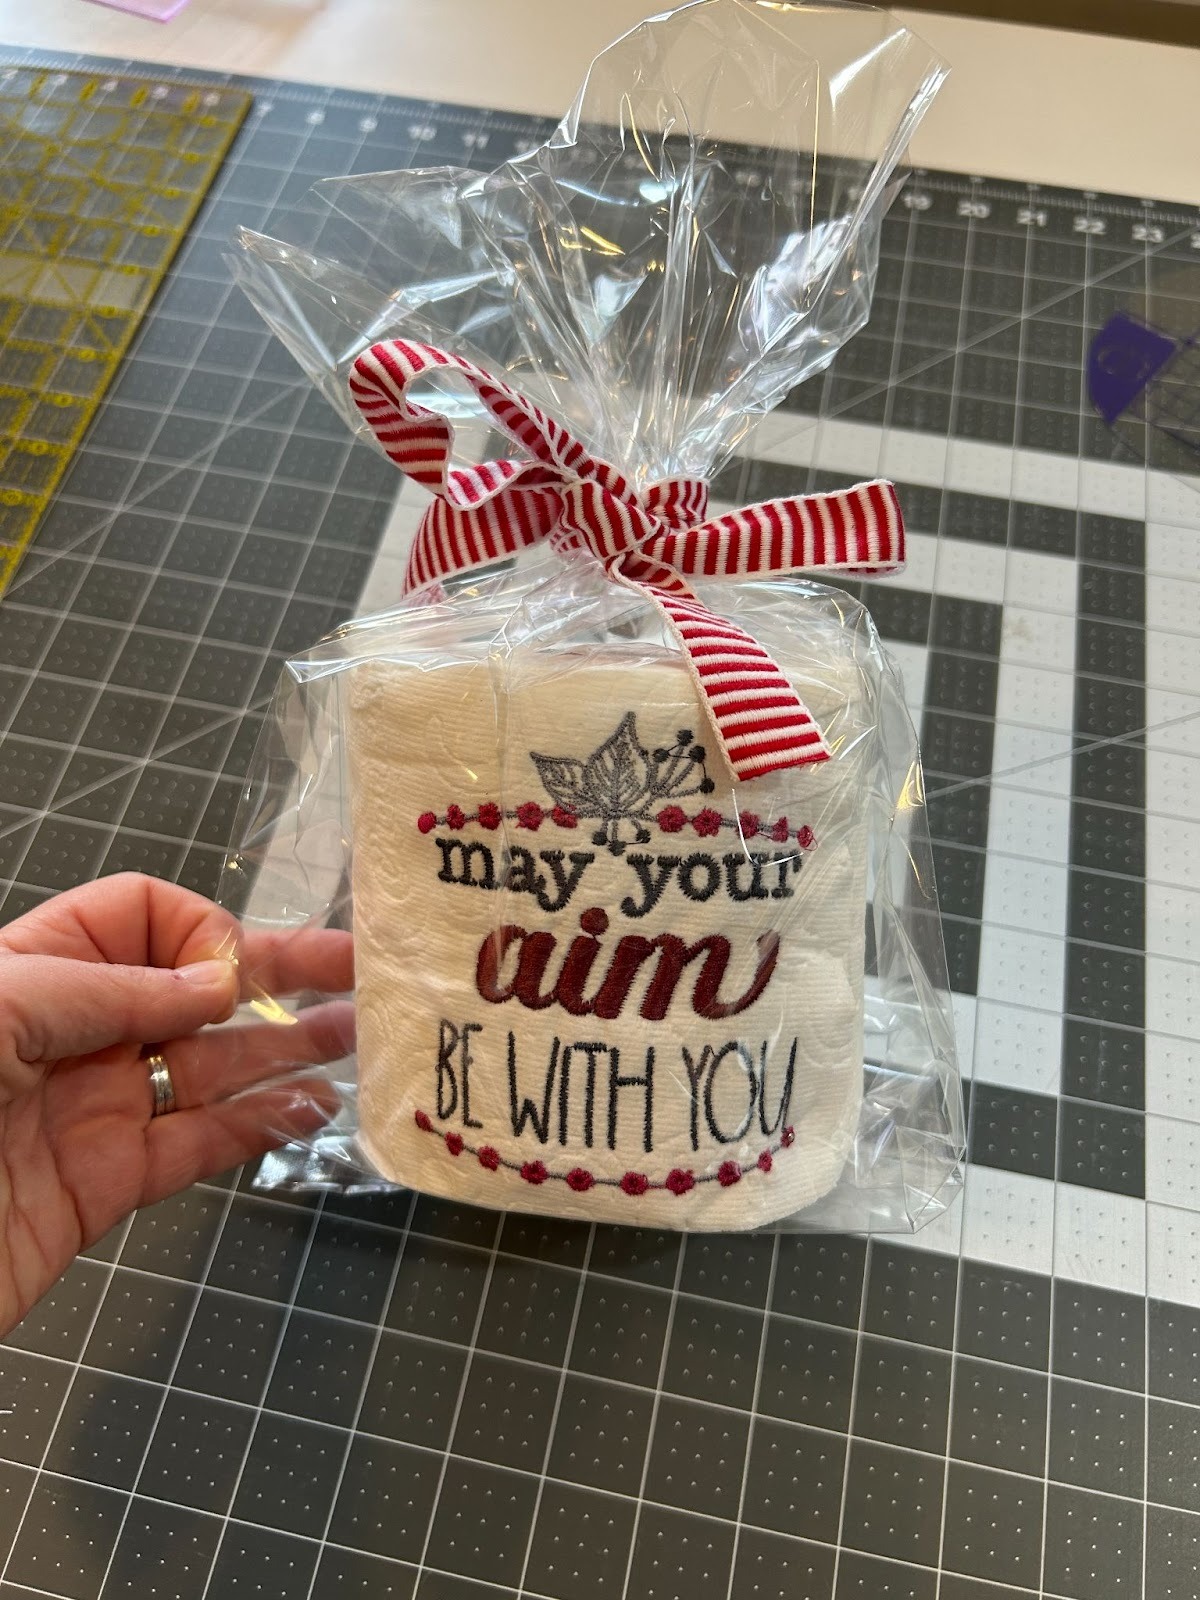
To wrap the toilet paper I like to place it in a clear cellophane bag and tie it with a bow. This is also a way to display it in your bathroom that keeps dust off the toilet paper.

I can’t wait to see what you embroider on your toilet paper rolls! Share with us in the Designs by Juju Embroidery Blessings Facebook group, or anywhere on social media using the hashtag #designsbyjuju, so we can see what you create!
