How to Create Custom Embroidered Clothing and Quilt Labels
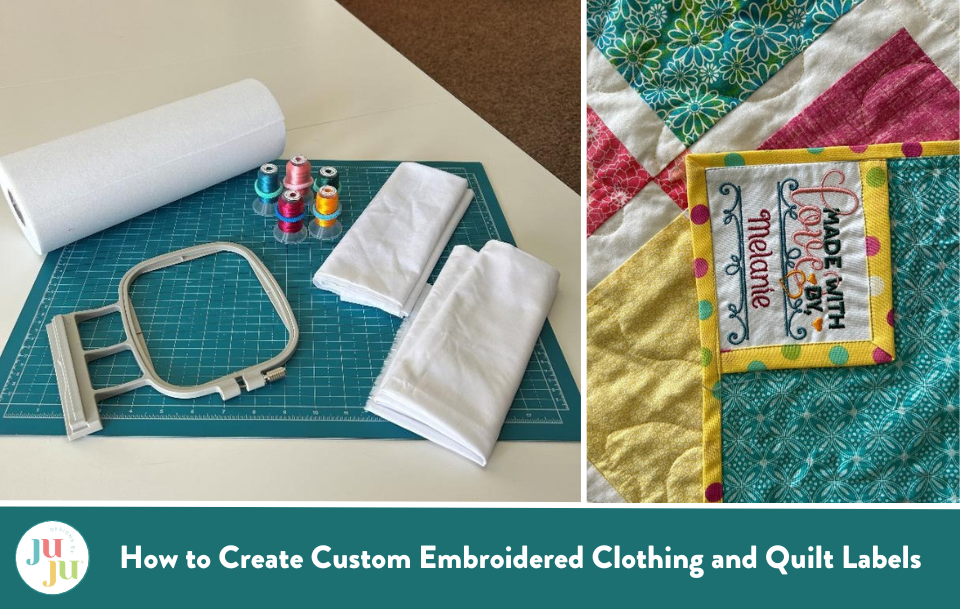
Embroidered labels are the perfect finishing touch for any project! Whether you're a seasoned crafter or just starting your embroidery journey, personalized labels can add a unique flair to any piece. They are not just identifiers, but storytellers, and can help your personality shine through each of your pieces! Today, we will learn how to make custom embroidered quilt labels, as well as custom embroidered clothing labels.
Custom Embroidered Quilt Labels
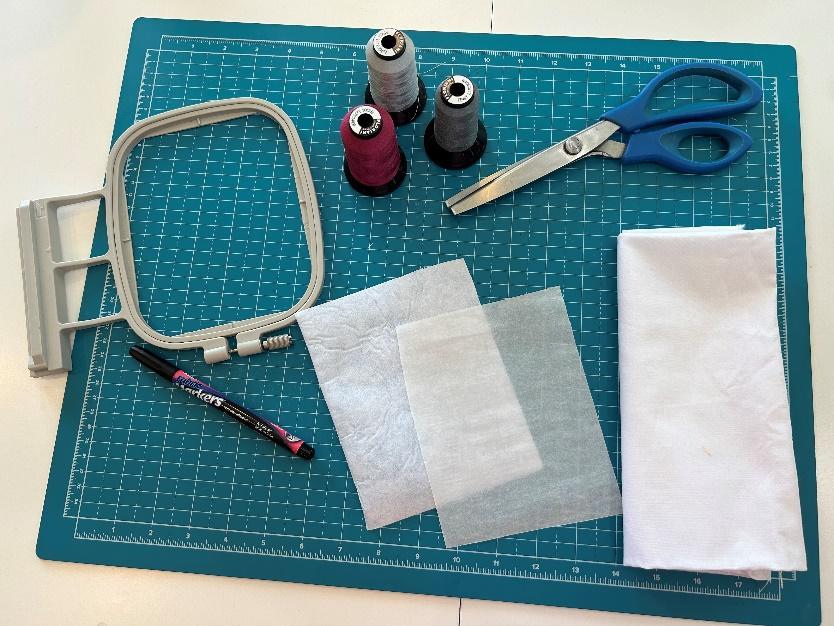
For our custom embroidered quilt label project, we will need to gather some supplies. Check out Embroidery Supplies JuJu Uses for our favorite supplies.
- Tearaway stabilizer
- Fabric for the label
- SF101 iron-on/fusible interfacing for the fabric
- Threads for the design
- Pattern uploaded to your machine (I’m using Customizable Quilt Labels 1 # DBJJ2597 and Quilters Love Labels # DBJJ2614)
- .BX font from Juju (Orleans font #DBJJ2760)
- Embroidery software to add customization to design (I use Embrilliance Essentials Software)
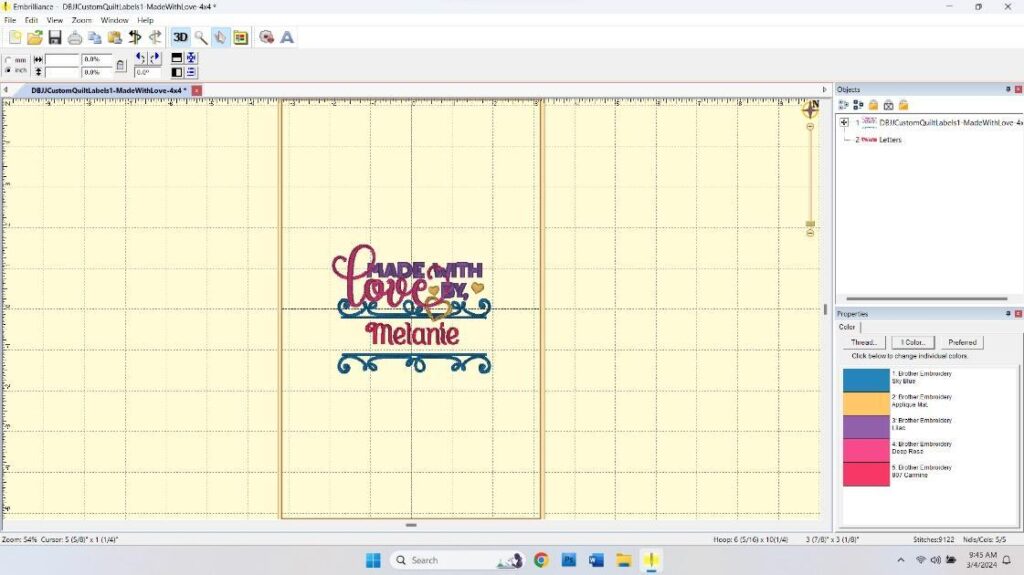
I like to get my customization ready to transfer to my machine first. I opened my Embrilliance software and uploaded the design I wanted to use. Using the installed .BX fonts I have from Juju (Orleans font #DBJJ2760), I type my name in. You can add any details you’d like to personalize your label to your taste. Save your work as a stitch file and transfer it to your embroidery machine.
Once we are ready to embroider, I fuse some SF101 to the back of my fabric for the quilt label. I found that it helps keep things smooth, especially with the smaller size of some of the letters. I cut it a little bit smaller than the fabric for the label, and press it on the wrong side until they are fused.
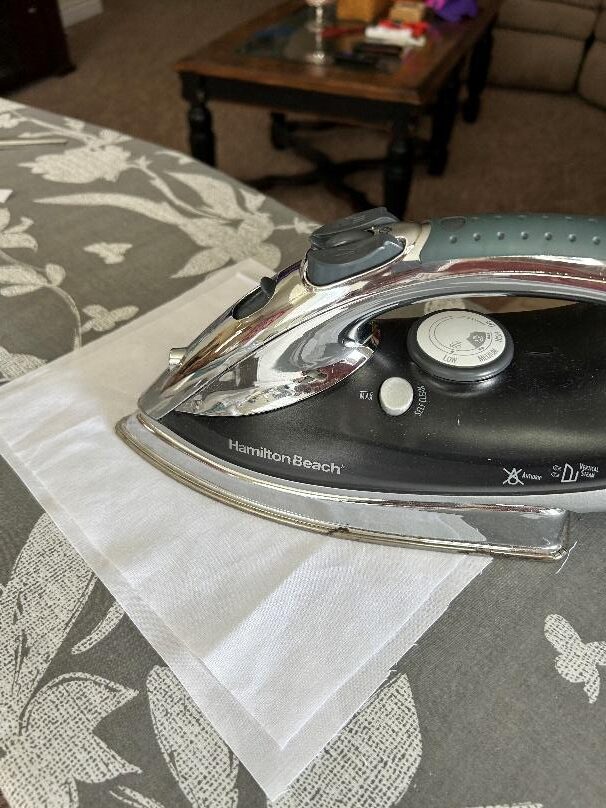
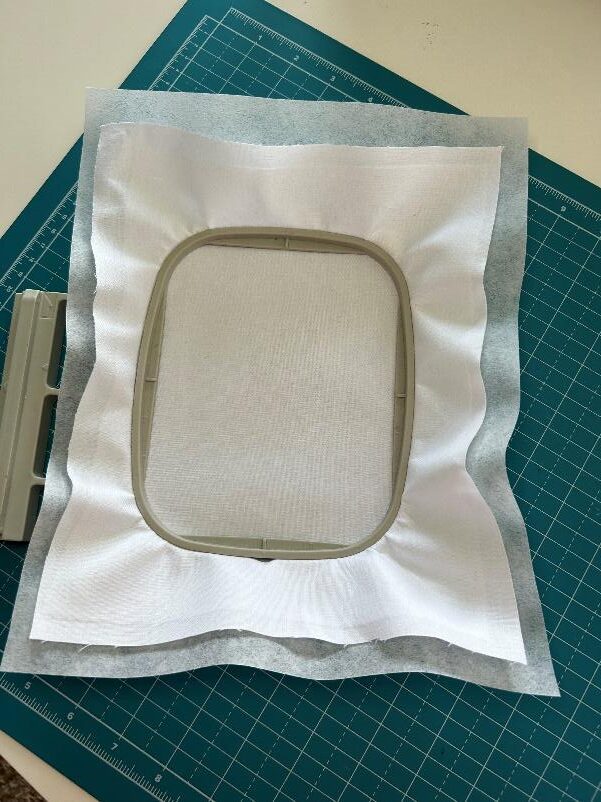
Hoop the tearaway stabilizer with the fabric and SF101.
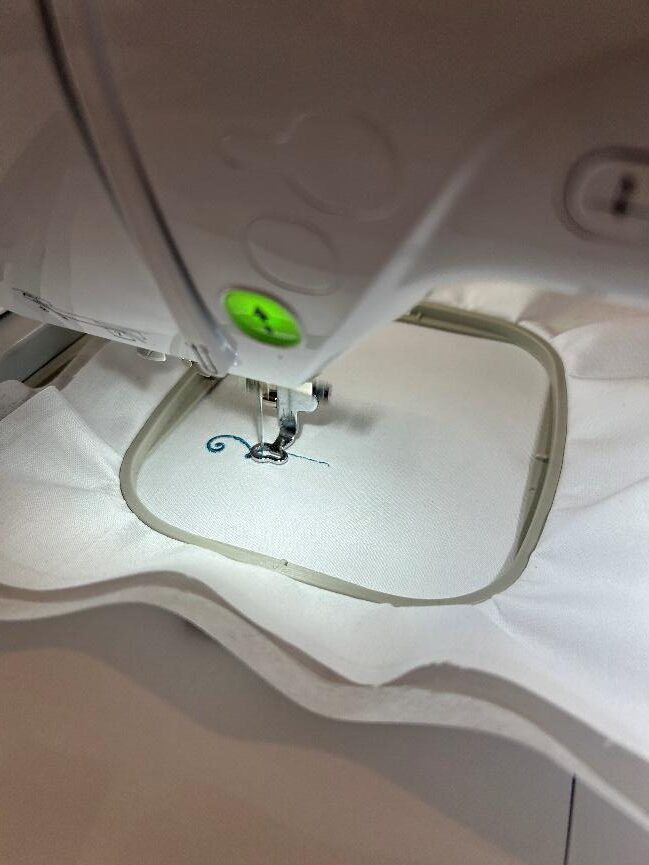
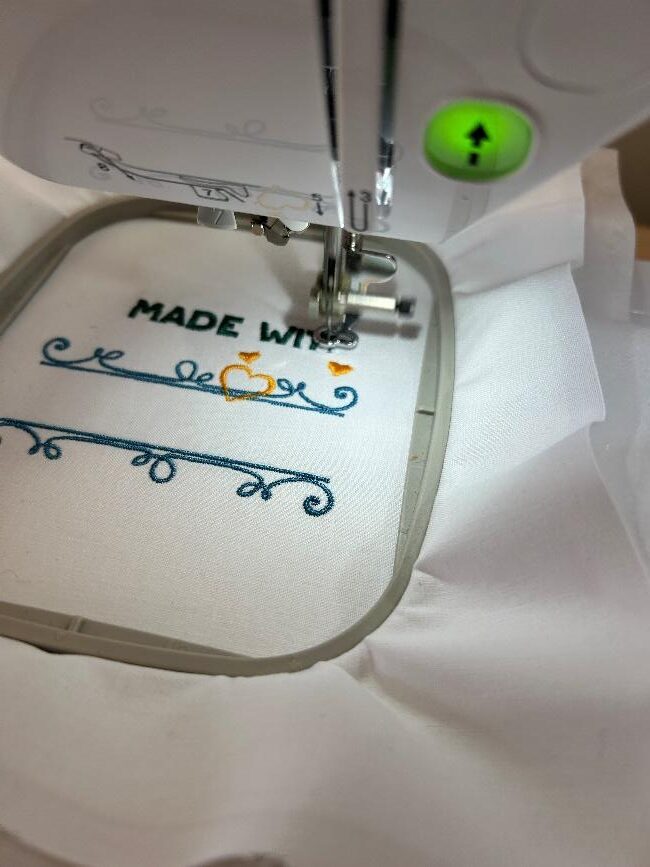
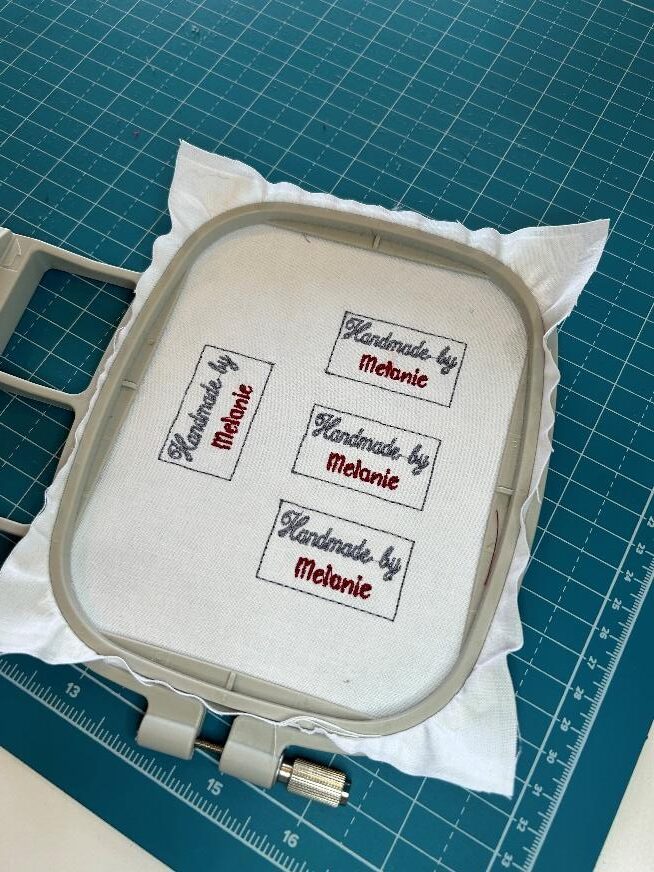
Now, load it into your machine and stitch out your pattern!
Work your way through all the steps and color changes for your design. Refer to the color chart that came with your pattern to help you decide what colors best match your quilt.
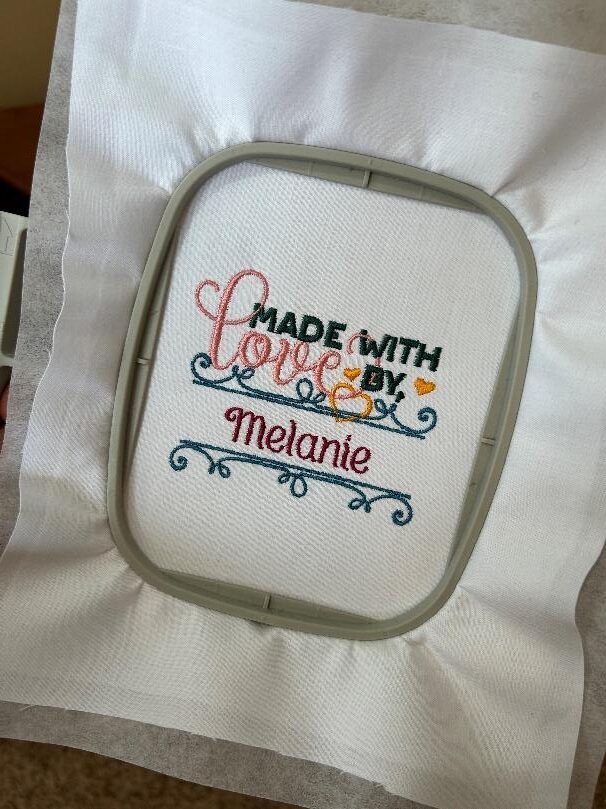
When it’s finished, remove it from the machine.
Trim up your threads on the backside of your design.
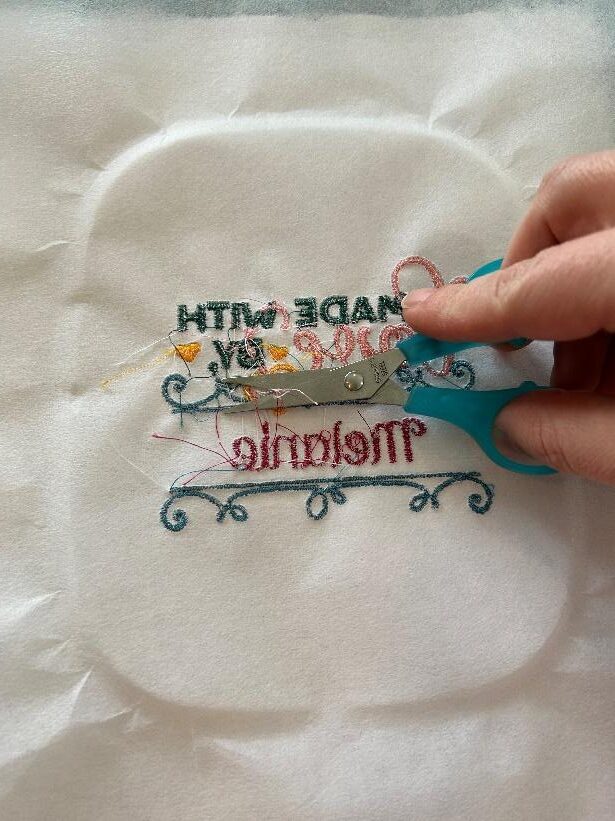
Remove the excess tearaway stabilizer.
I trim the label down, which gives me about half an inch on each side of the stitches.
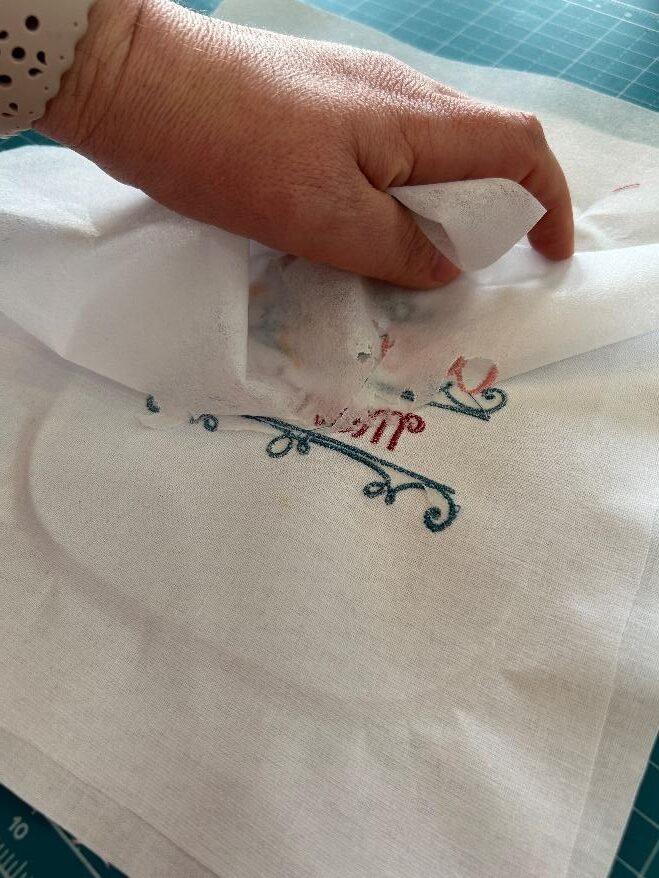
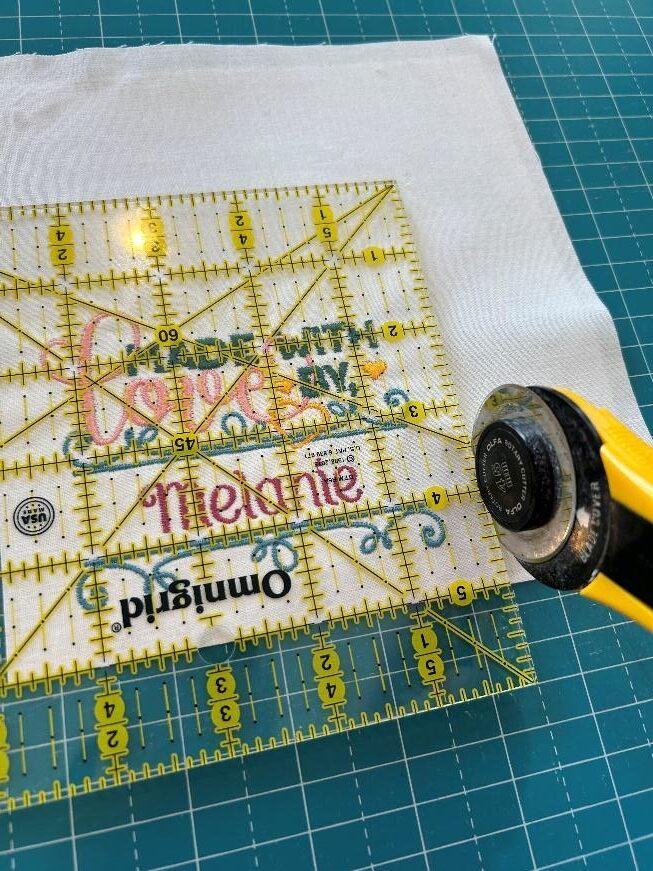
Now, your label is done! There are a few options for attaching it to the back of your quilt.
One way is to fold over the edges, sew them down, and hand stitch it to the back of the quilt. I like to finish two sides with the same binding I used for the quilt, and then bind it onto the back of the quilt.
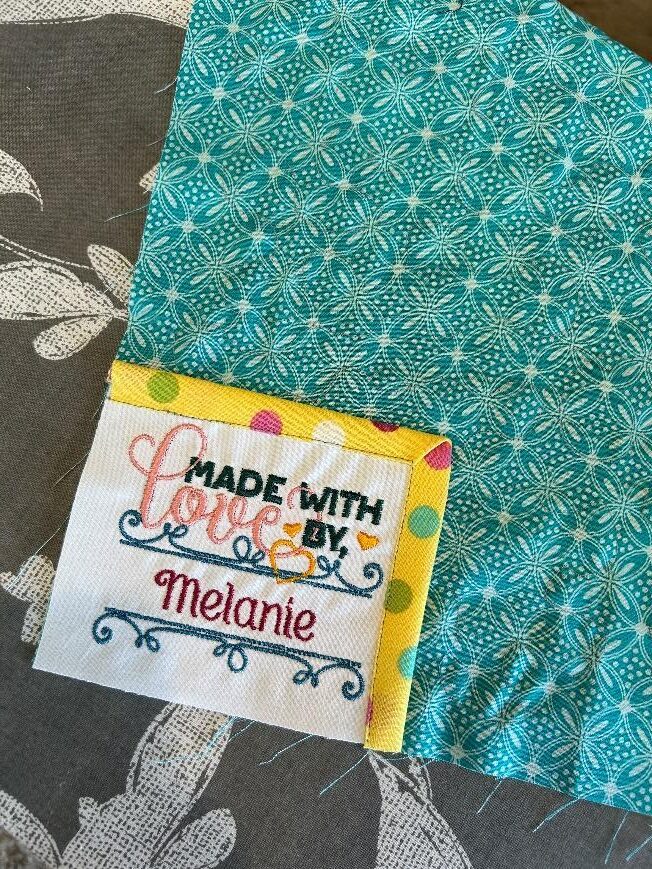
I start by attaching my binding to the backside of the label on two sides, using a mitered corner.

I flip it to the right side, press it in place, and stitch it down. I used my machine for this step, but hand stitching works just as well.
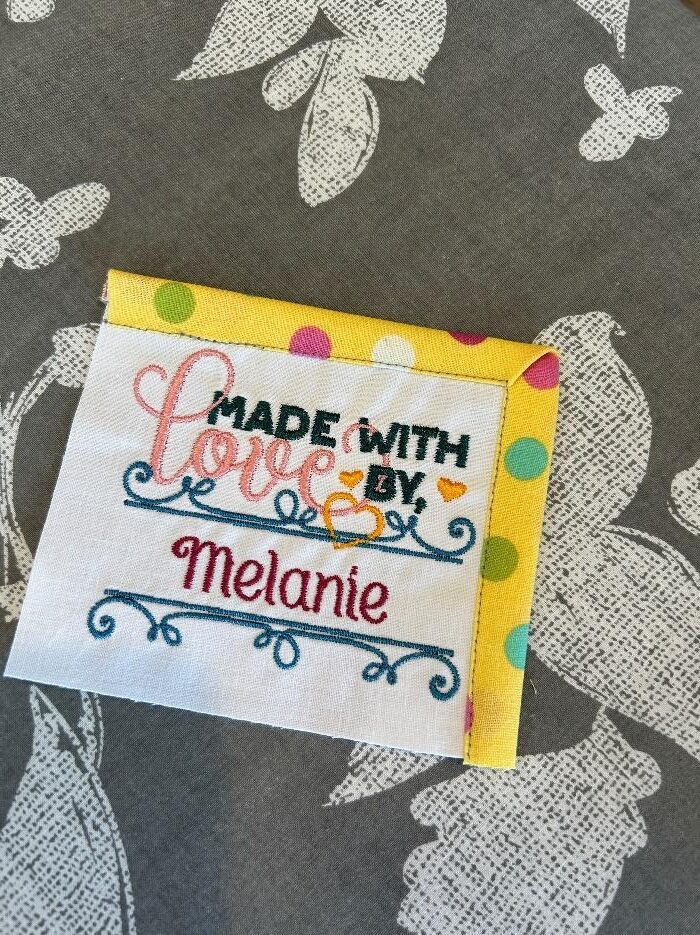
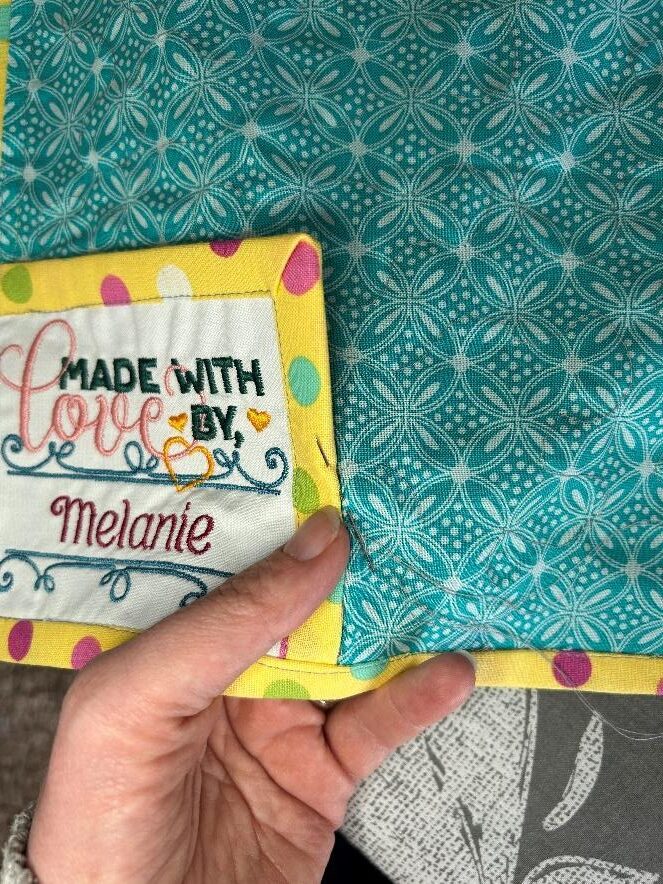
I now place it in the corner of my quilt and bind like usual.
When I’m done binding, I hand stitch down the bound edges around the label. Be sure to only stitch to the quilt back.
Now, our quilt is done! Adding the personalized embroidered quilt label to the back not only adds a professional touch, but infuses the piece with sentimental value. Whether you're gifting it to a friend or keeping it for yourself, seeing your custom label nestled on the quilt brings a sense of pride and joy.
There are many options to make a label for your quilt. I used Design by JuJu's Quilters Love Labels # DBJJ2614 to finish a quilt for my daughter, with a design that perfectly captured the journey of creating this piece. We’ve all had projects that have taken us far longer than initially anticipated. So, when I finally finished the quilt, I used the Took Me Forever design and customized it to my liking. My daughter and I still laugh when we look at this label!
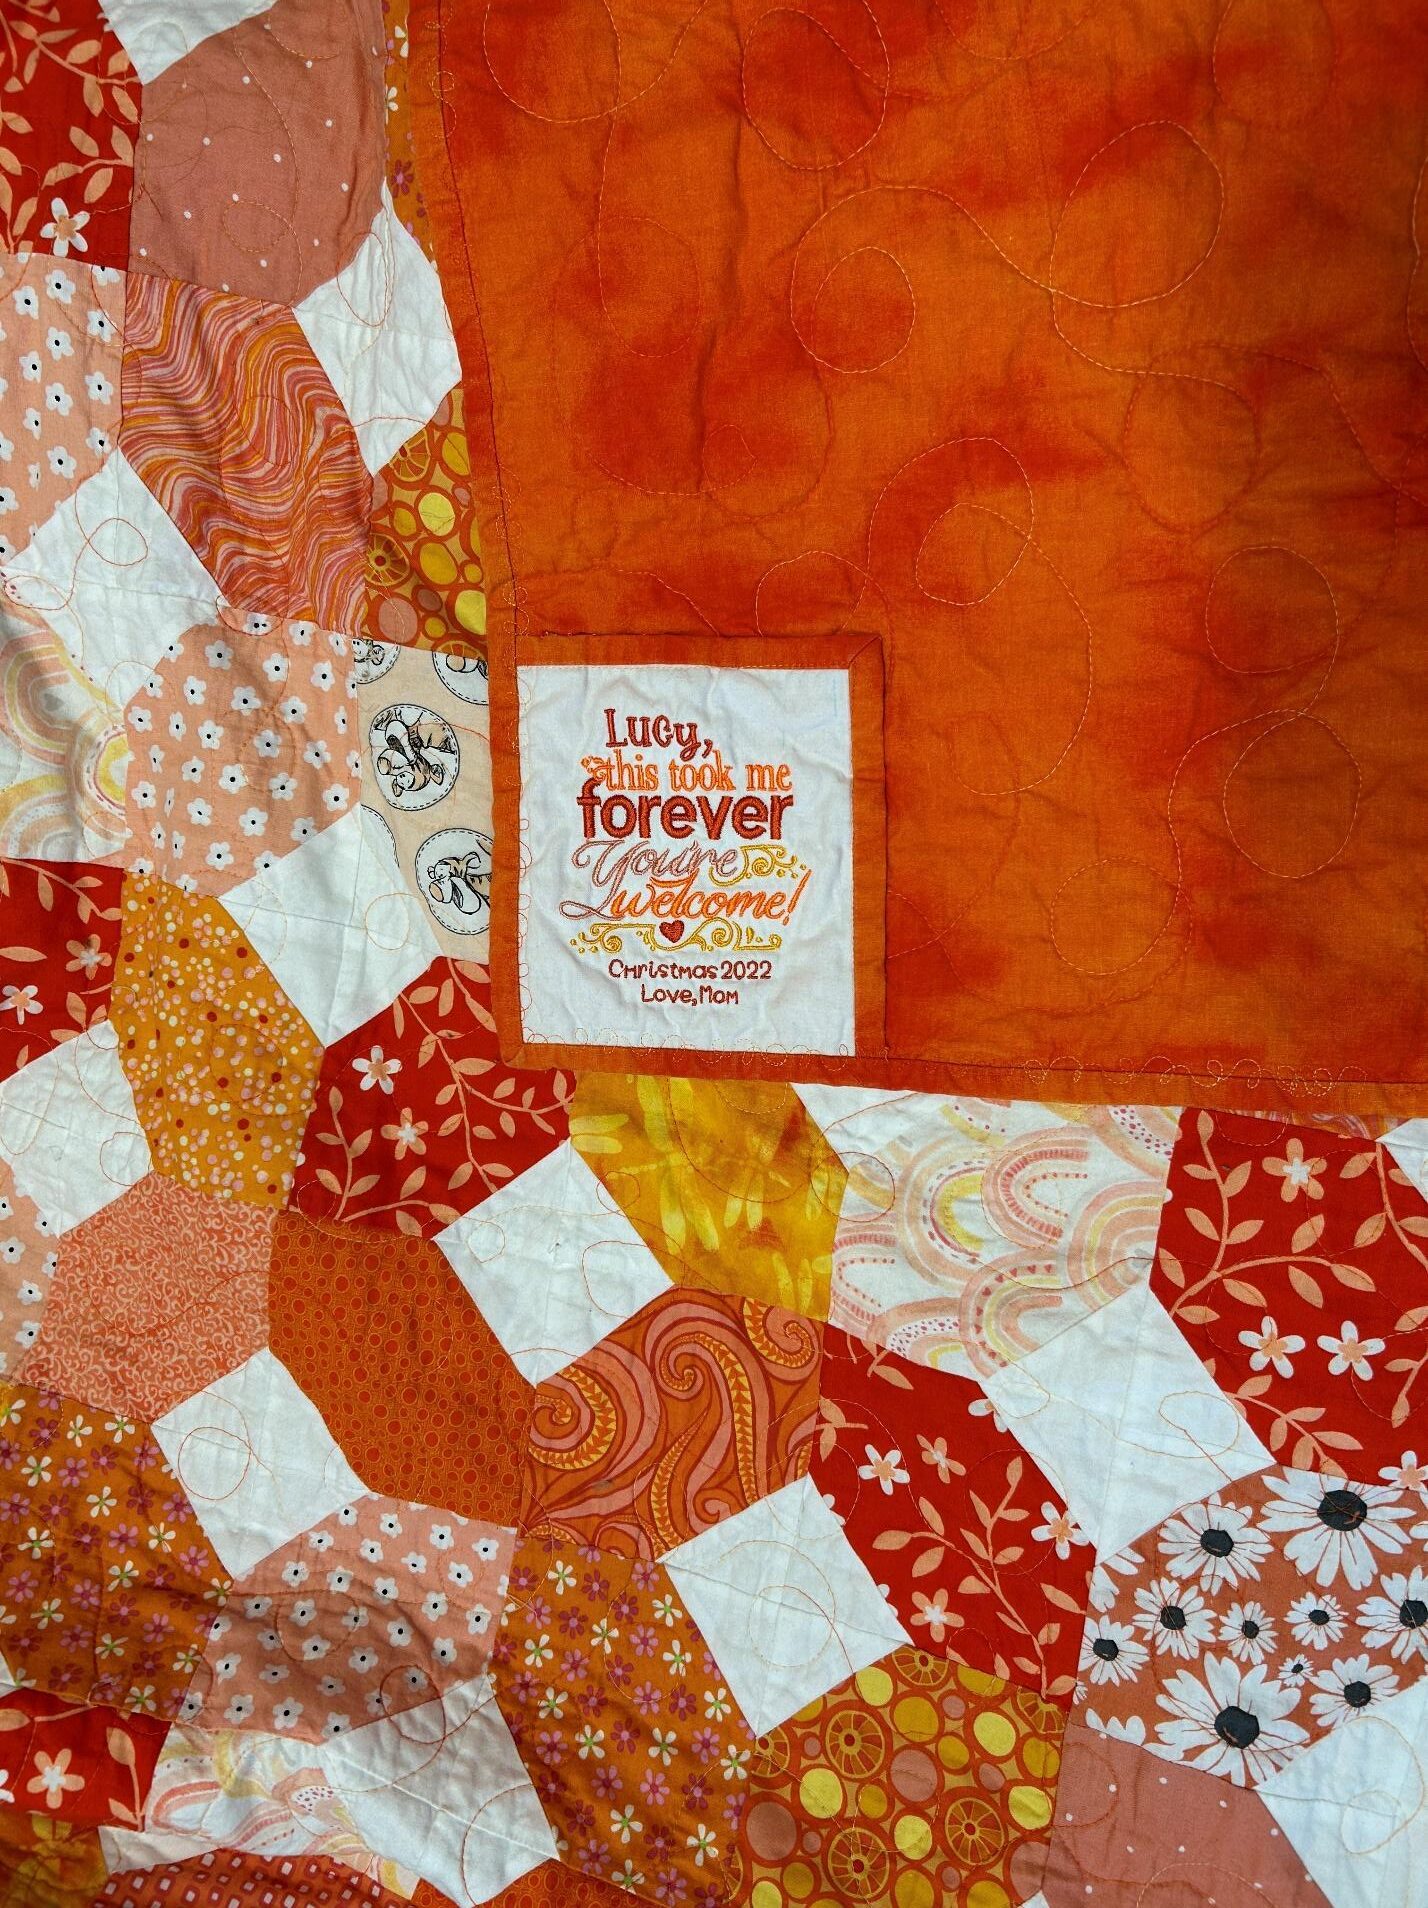
Custom Embroidered Clothing Labels
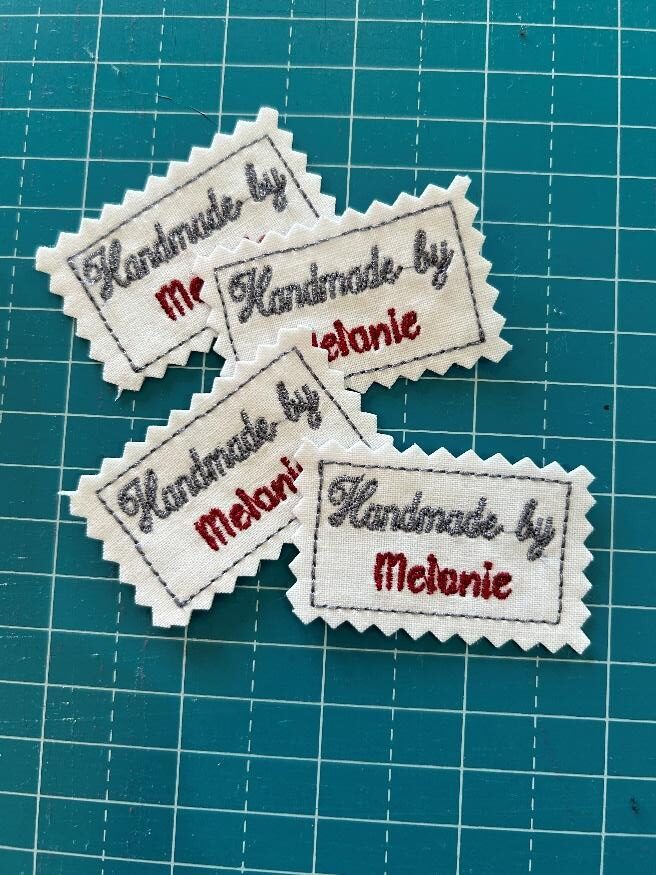
If quilts aren’t your thing, I’ll show you how to make custom embroidered garment labels, too! You can make these fusible so you can iron them in place or sew them, if that’s your preferred method.
Supplies for the Custom Embroidered Clothing Labels:
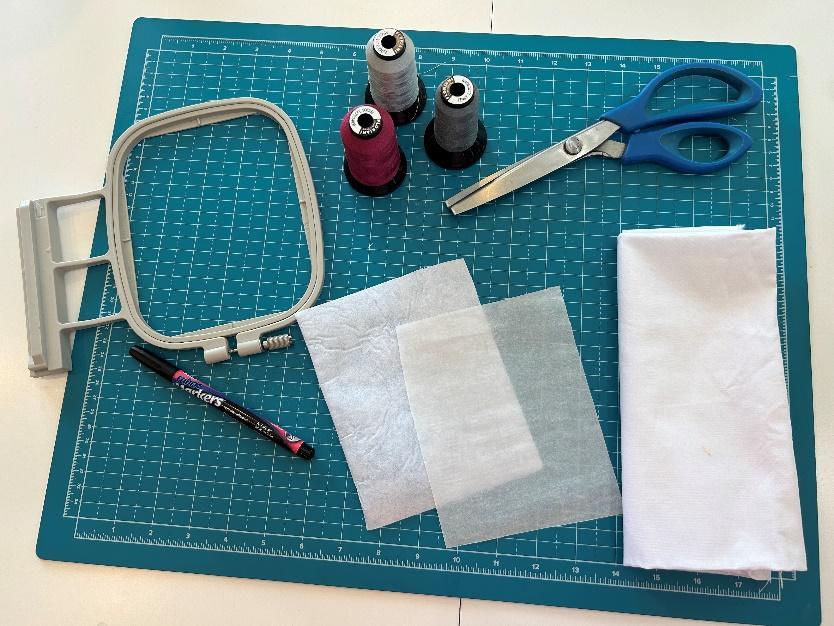
- Design loaded into your machine. I’m using Lil Label Iron On Set 3 #DIGIST189 (this makes 4 labels in one hooping)
- Ivan font from Quarter Inch Font Bundle 18 #DBJJ2902
- Good quality tightly woven cotton fabric
- Fusible stabilizer
- A piece of Ultra Heat-n-Bond stabilizer (This is the kind that has a paper backing to it; I’ve also used Wonder Under)
- Threads to match your project
- Pinking shears
- Embroidery software to add customization to design. I use Embrilliance Essentials Software
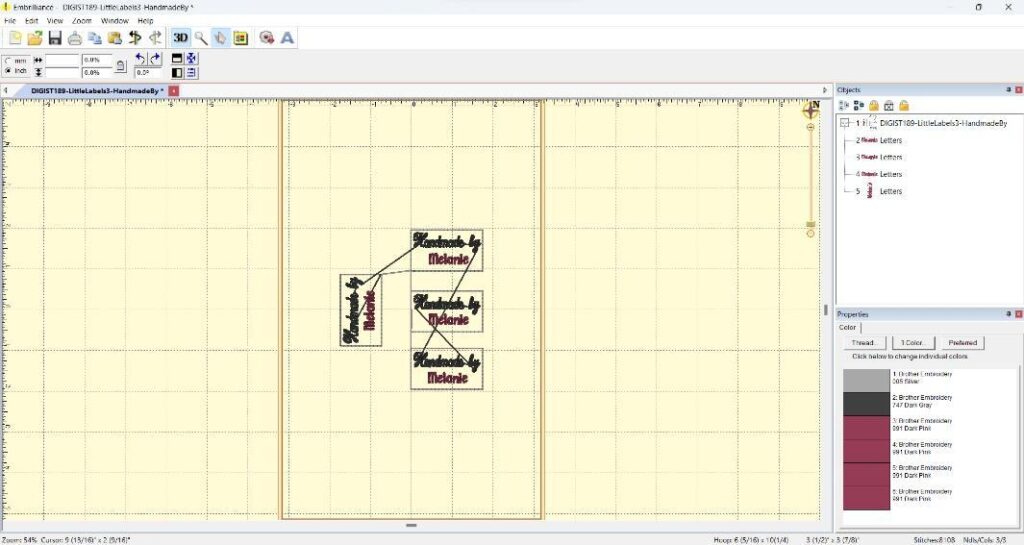
Just like with my quilt labels, I like to get my computer stuff done first. Open Embrilliance and load your pattern. These little labels are so small, so I chose a quarter inch font to add my name. I used Ivan out of the Quarter Inch Font Bundle 18 #DBJJ2902.
Save your stitch file and move it over to the embroidery machine.
Fuse your stabilizer to your fabric and place it in your hoop. Load your hoop into your machine and start the first stitch. Trim your jump stitches in between each step.
After stitching them out, take them from your hoop.
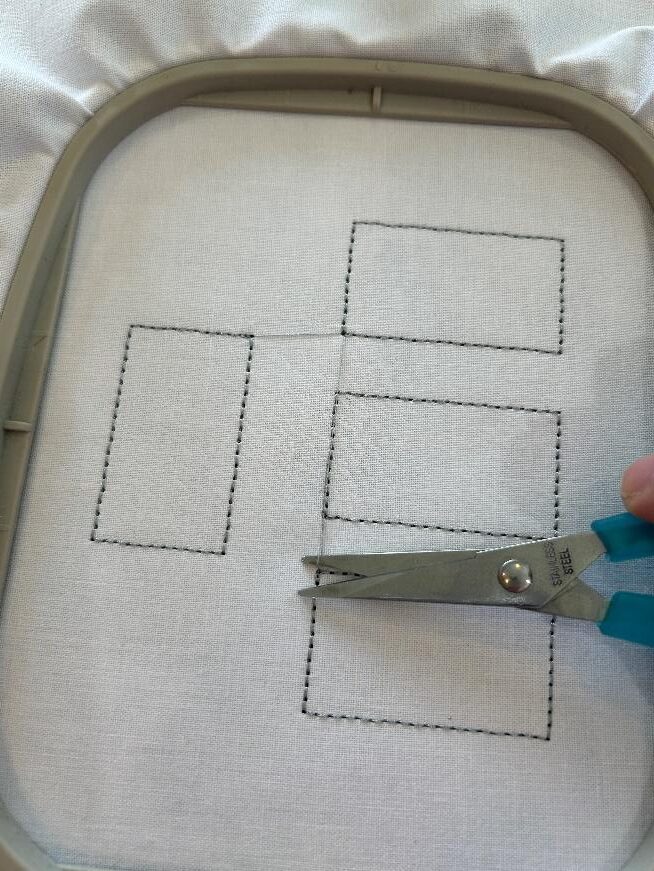
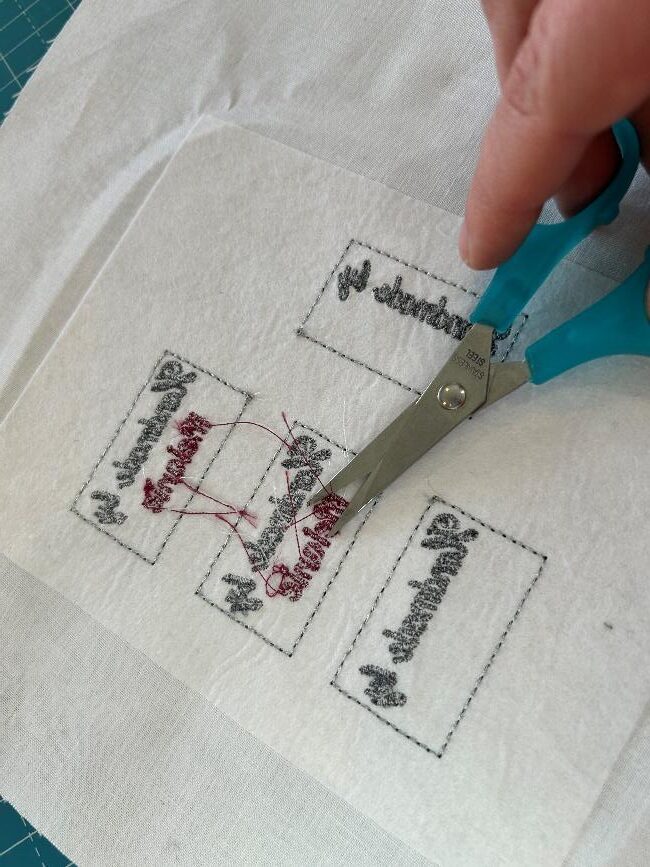
Trim up the backsides!
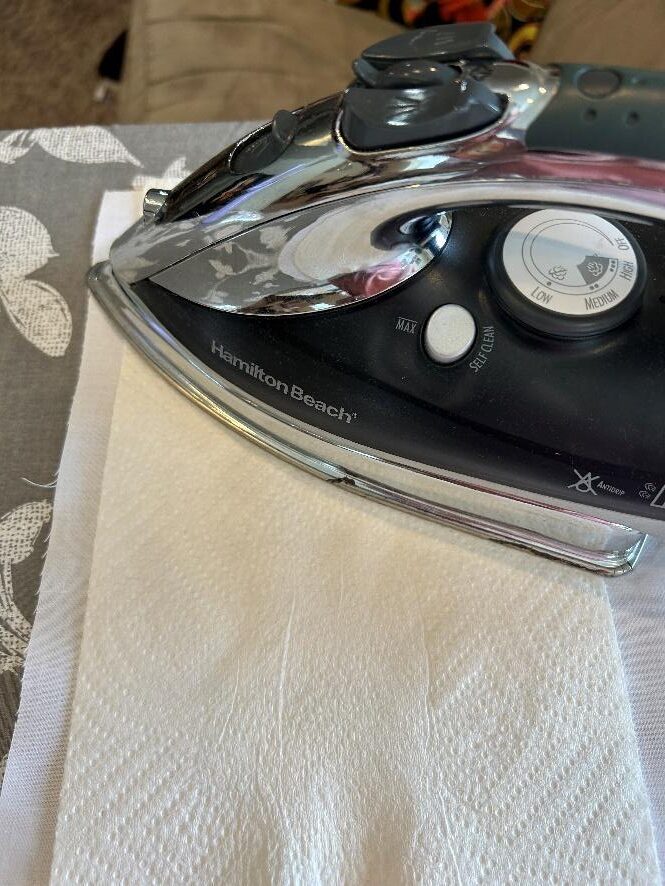
After they are trimmed, place the labels face-down on your ironing board. Place the Heat-n-Bond paper-side up on top of the labels. Press it down to adhere it to the fabric. I used a pressing cloth between the Heat-n-Bond and my iron.
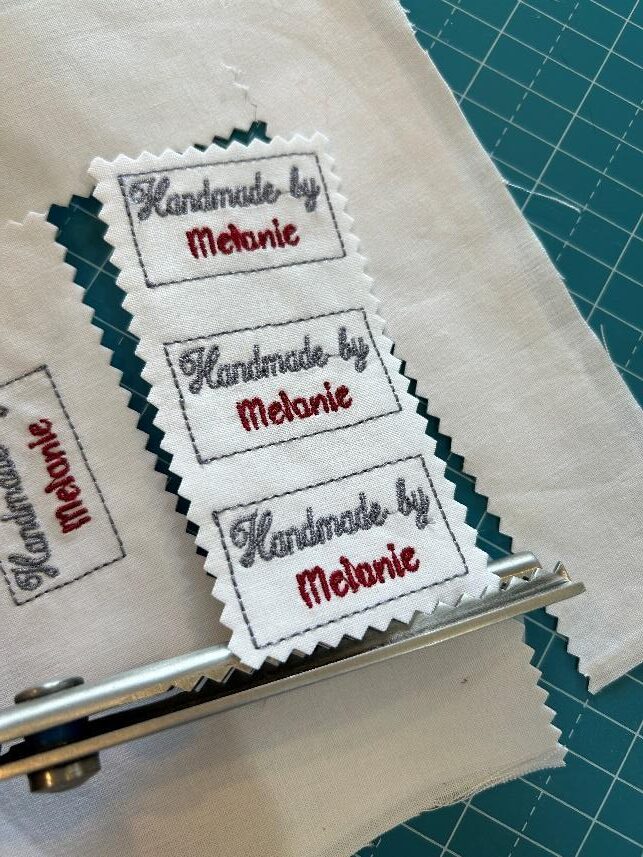
Use your pinking shears to cut out the labels.
To use, peel the paper from the back of the label, place it on your clothing, and press in place.
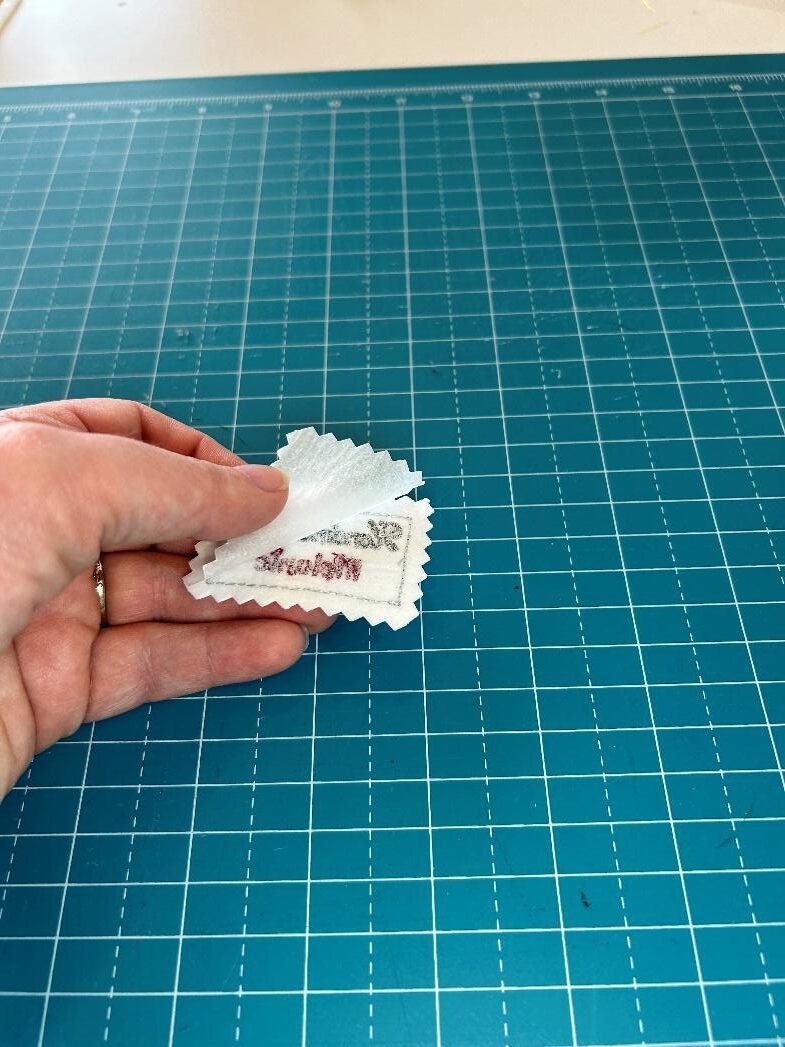
Alternatively, you could sew the label onto your garment if you prefer.
I made a skirt for my daughter and put the label at the waistband.
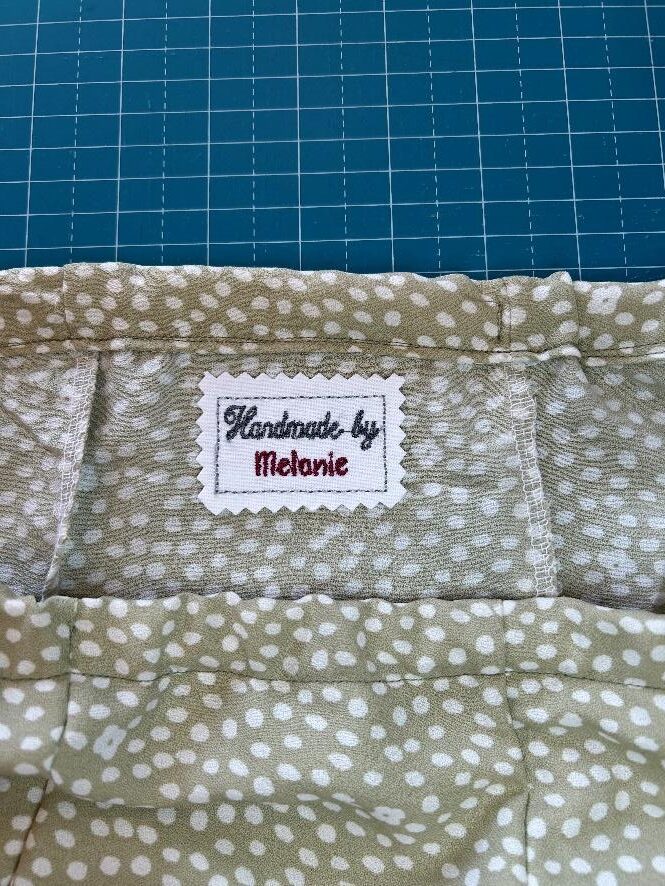
Custom embroidered clothing labels can be so versatile! Make a bunch for all of your homemade garments. If you prefer a smaller label for your quilt, or a larger label for your clothes, you can do that too! It’s fun to personalize the projects we make for other people. Even if you don’t make clothes or quilts yourself, these custom embroidered labels can make for great gifts.
Don't forget to share your creations with us on social media (#designsbyjuju). Happy stitching!
