Toggle Nav
 Inspire.
Create.
Stitch.
Inspire.
Create.
Stitch.
Search
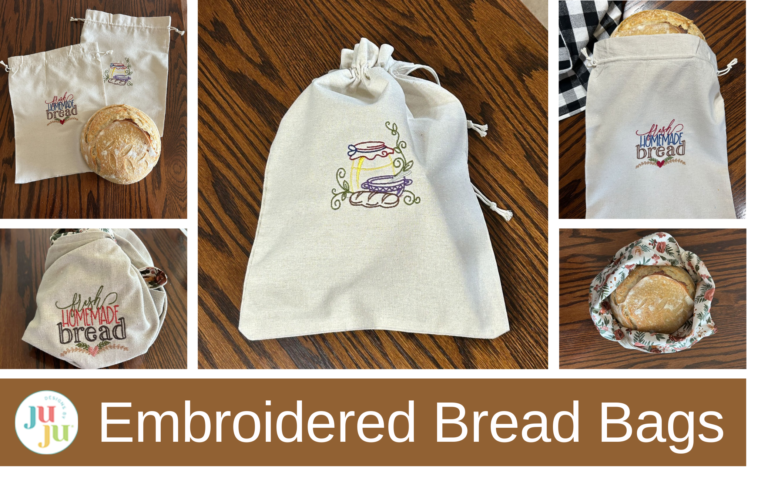
Do you love sourdough bread? I sure do! I was given a starter by a friend and have been making bread ever since.
I love to make loaves of bread for neighbors. But after wrapping them in paper bags I decided I needed something cuter in which to send them to their new homes. So today I will show you how to make a bag from fabric, and I will also show you how to order some already-made bags and add your design to them.
Check out the DBJJ team’s favorite supplies in the Designs by JuJu Amazon store.


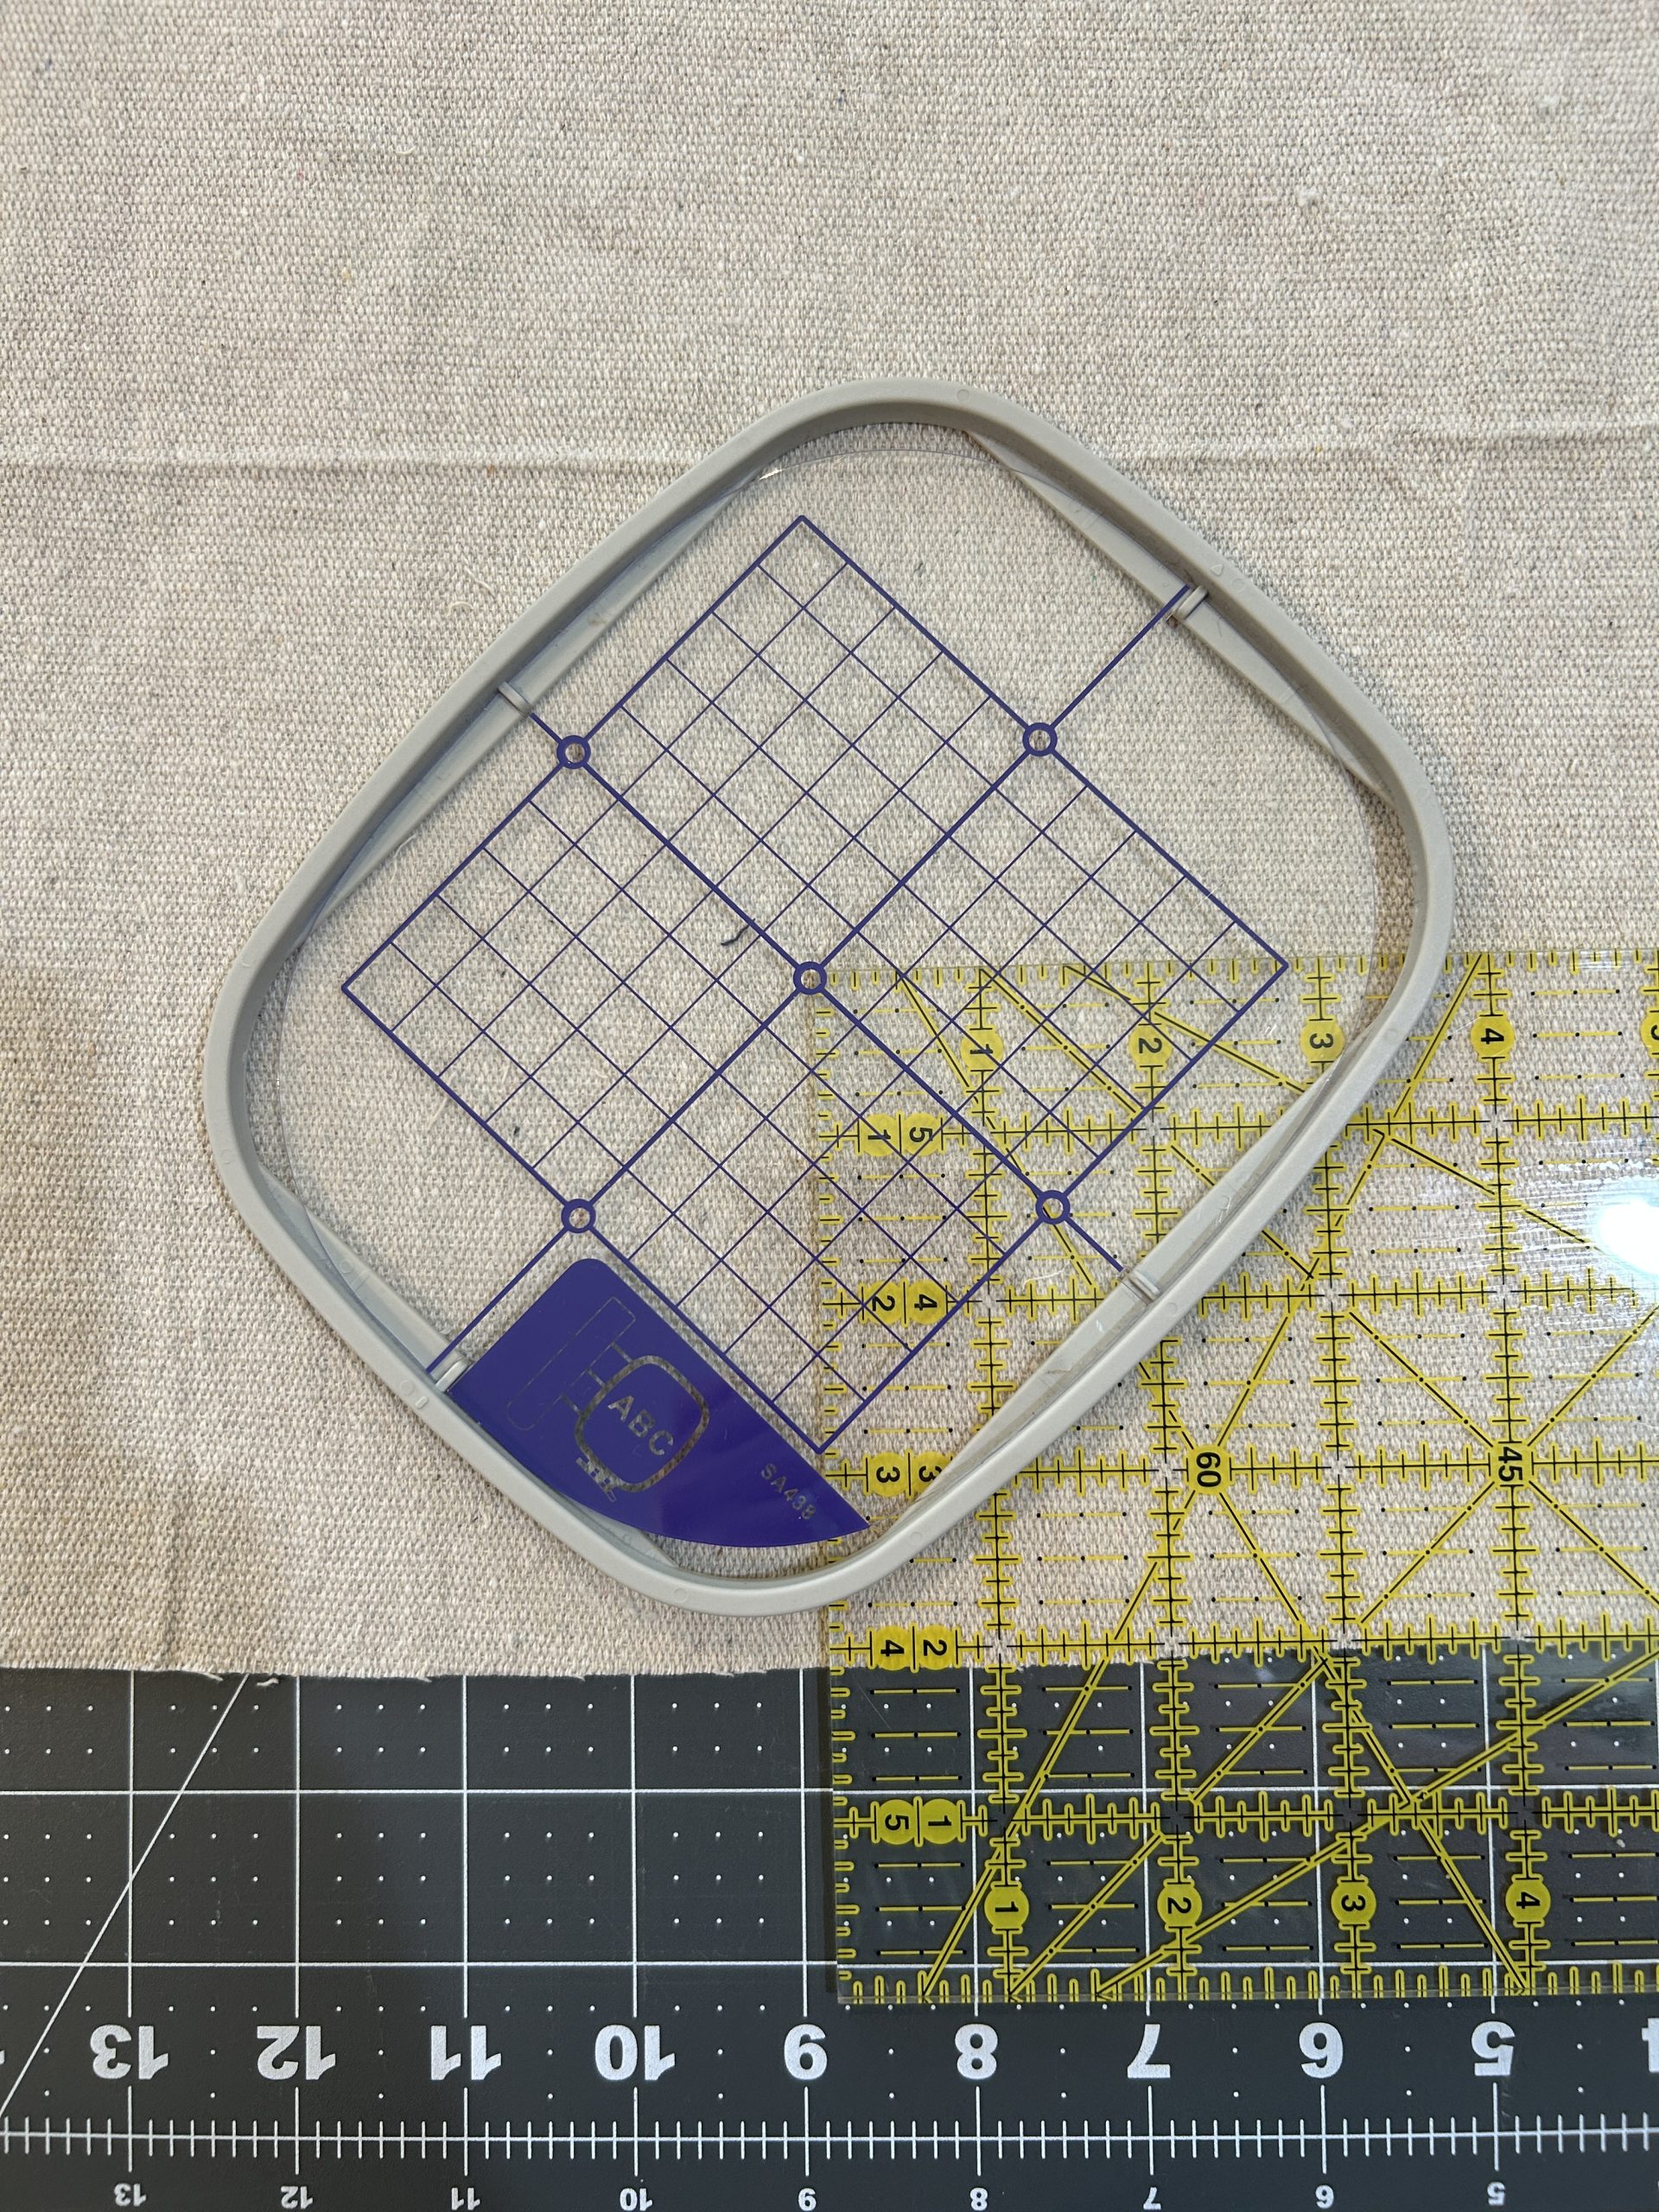
To make our homemade bento bag, we need to find the placement for our design. I placed the center of my 4” x 4” design 7” in from the right side of the long edge, and 4” up from the short side. Place the center of your hooping guide on the corner of your ruler. You will now turn the bottom of your hoop (the bottom of the design) toward the center of the design by 45 degrees.
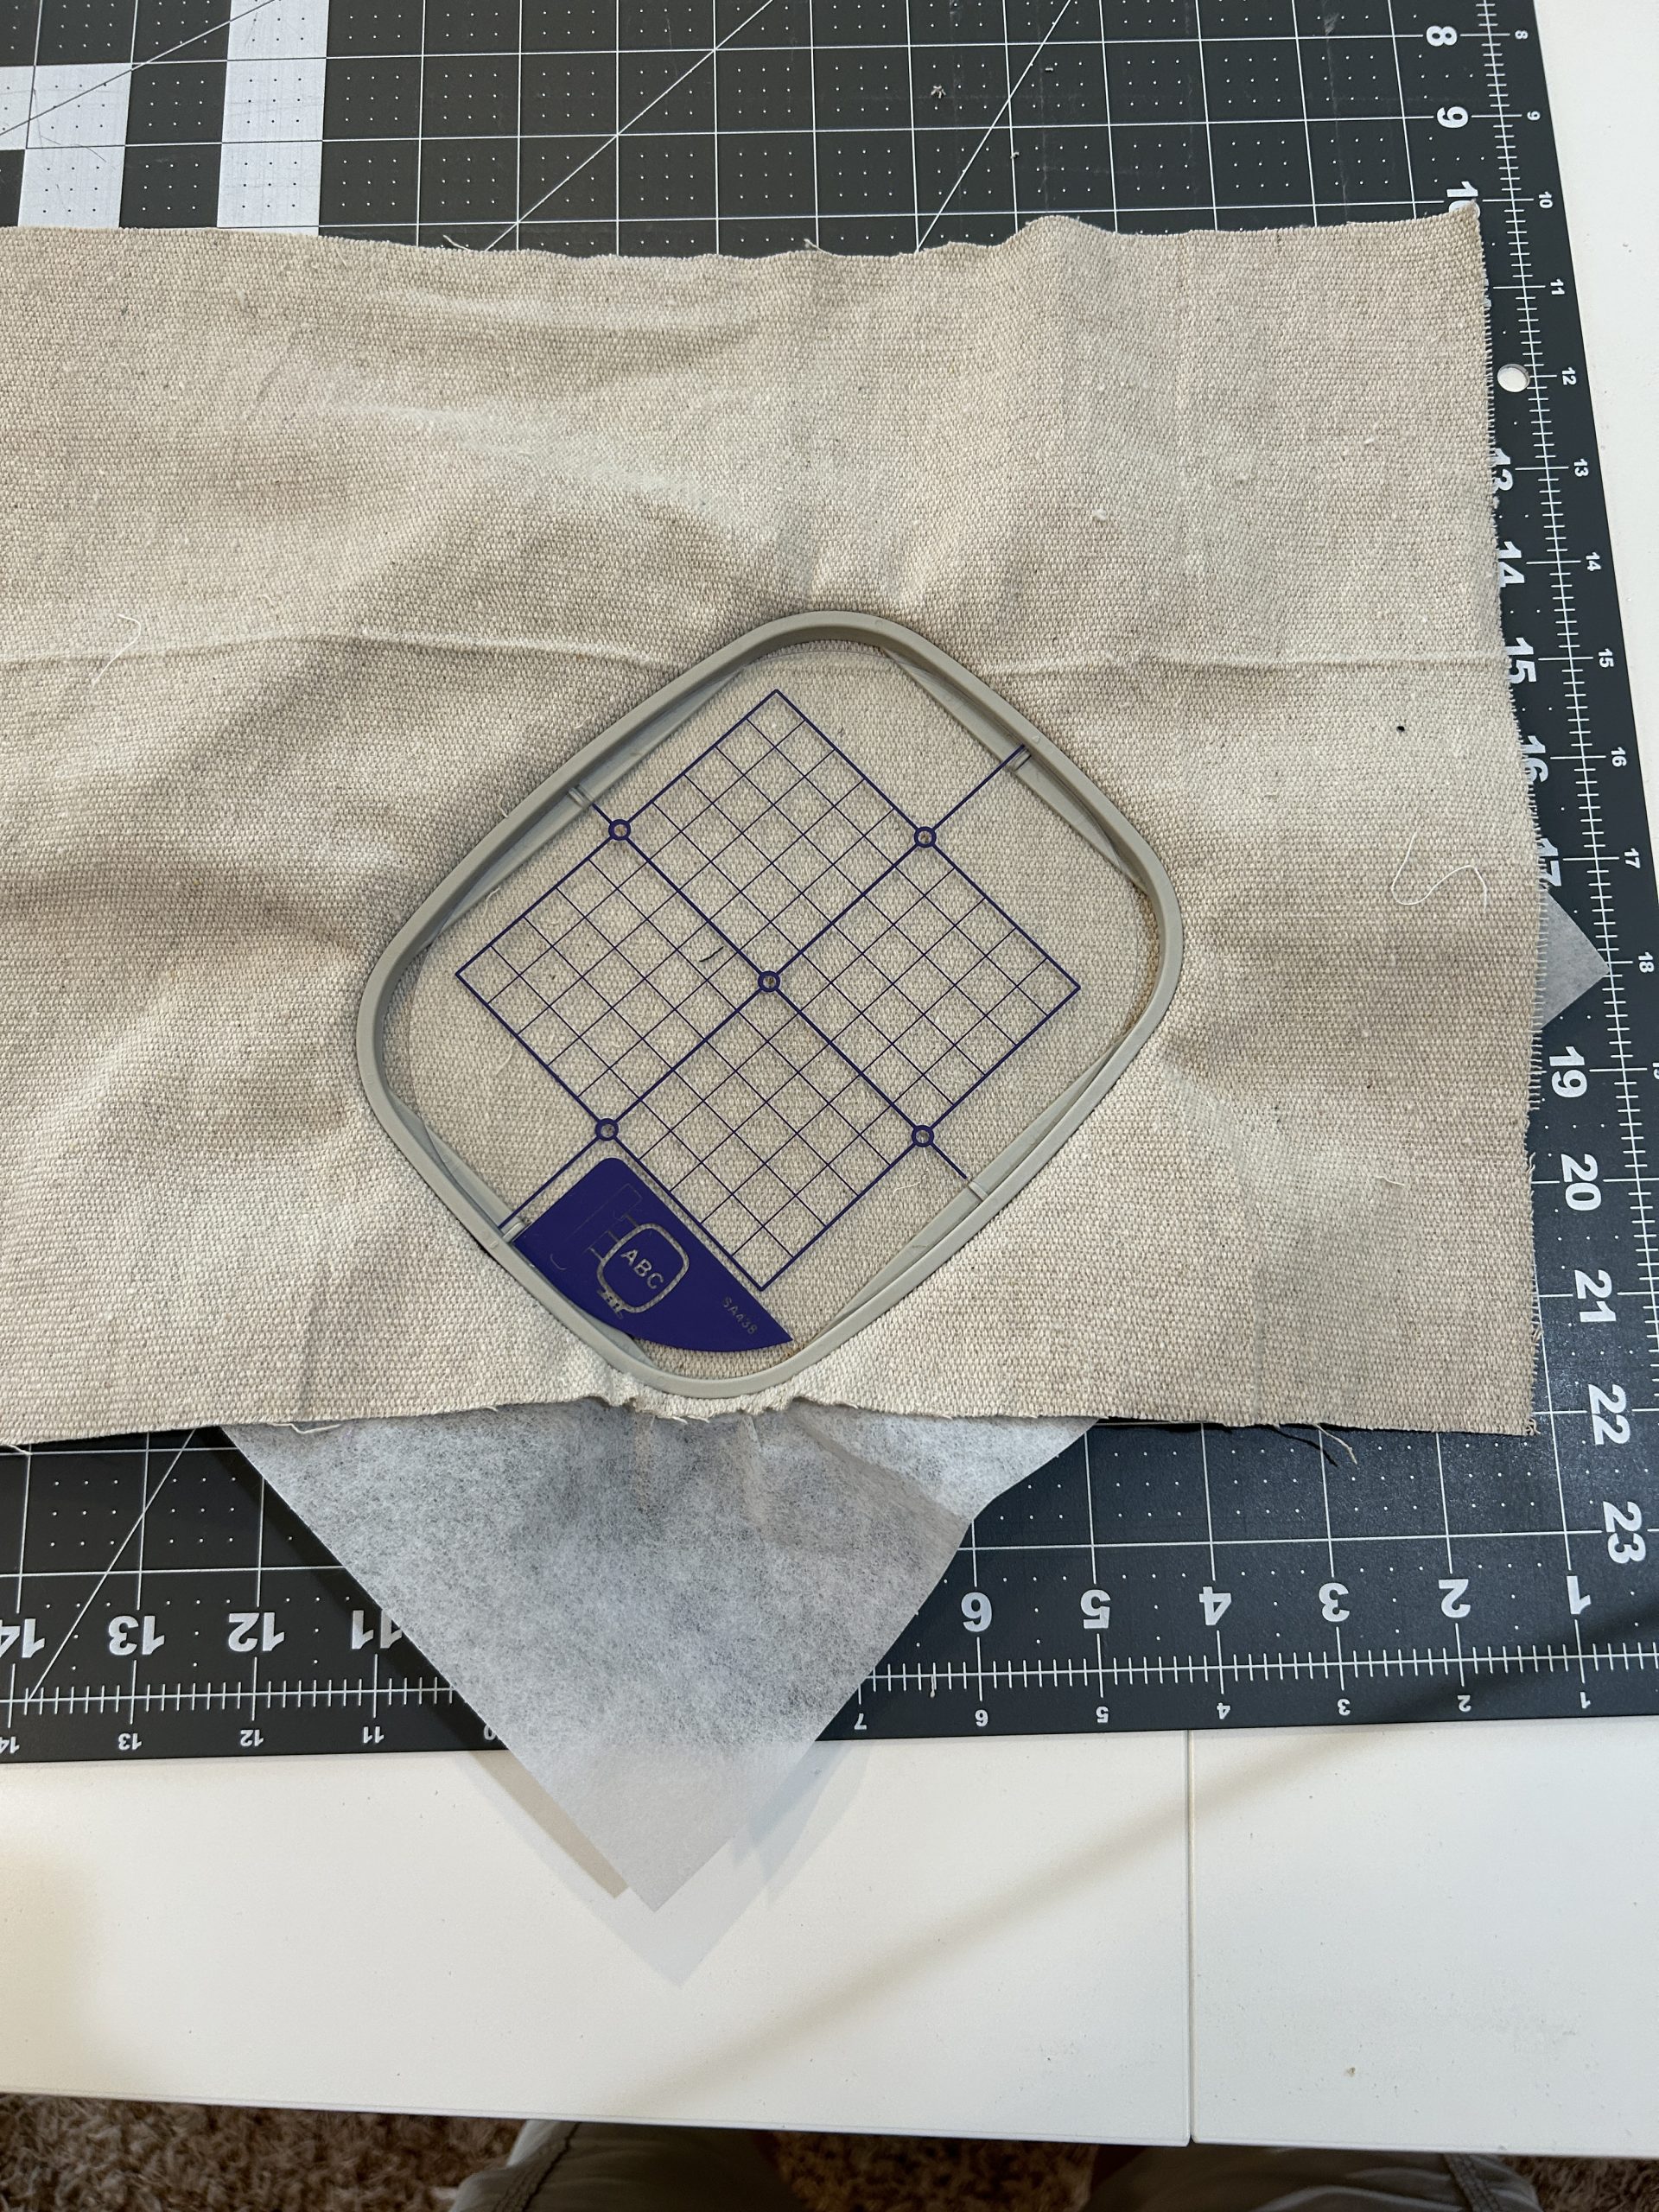
Hoop your fabric. I used my guide to make sure the design would be centered where I wanted it to be on my fabric.
Then stitch out your design, changing colors as the design calls for.
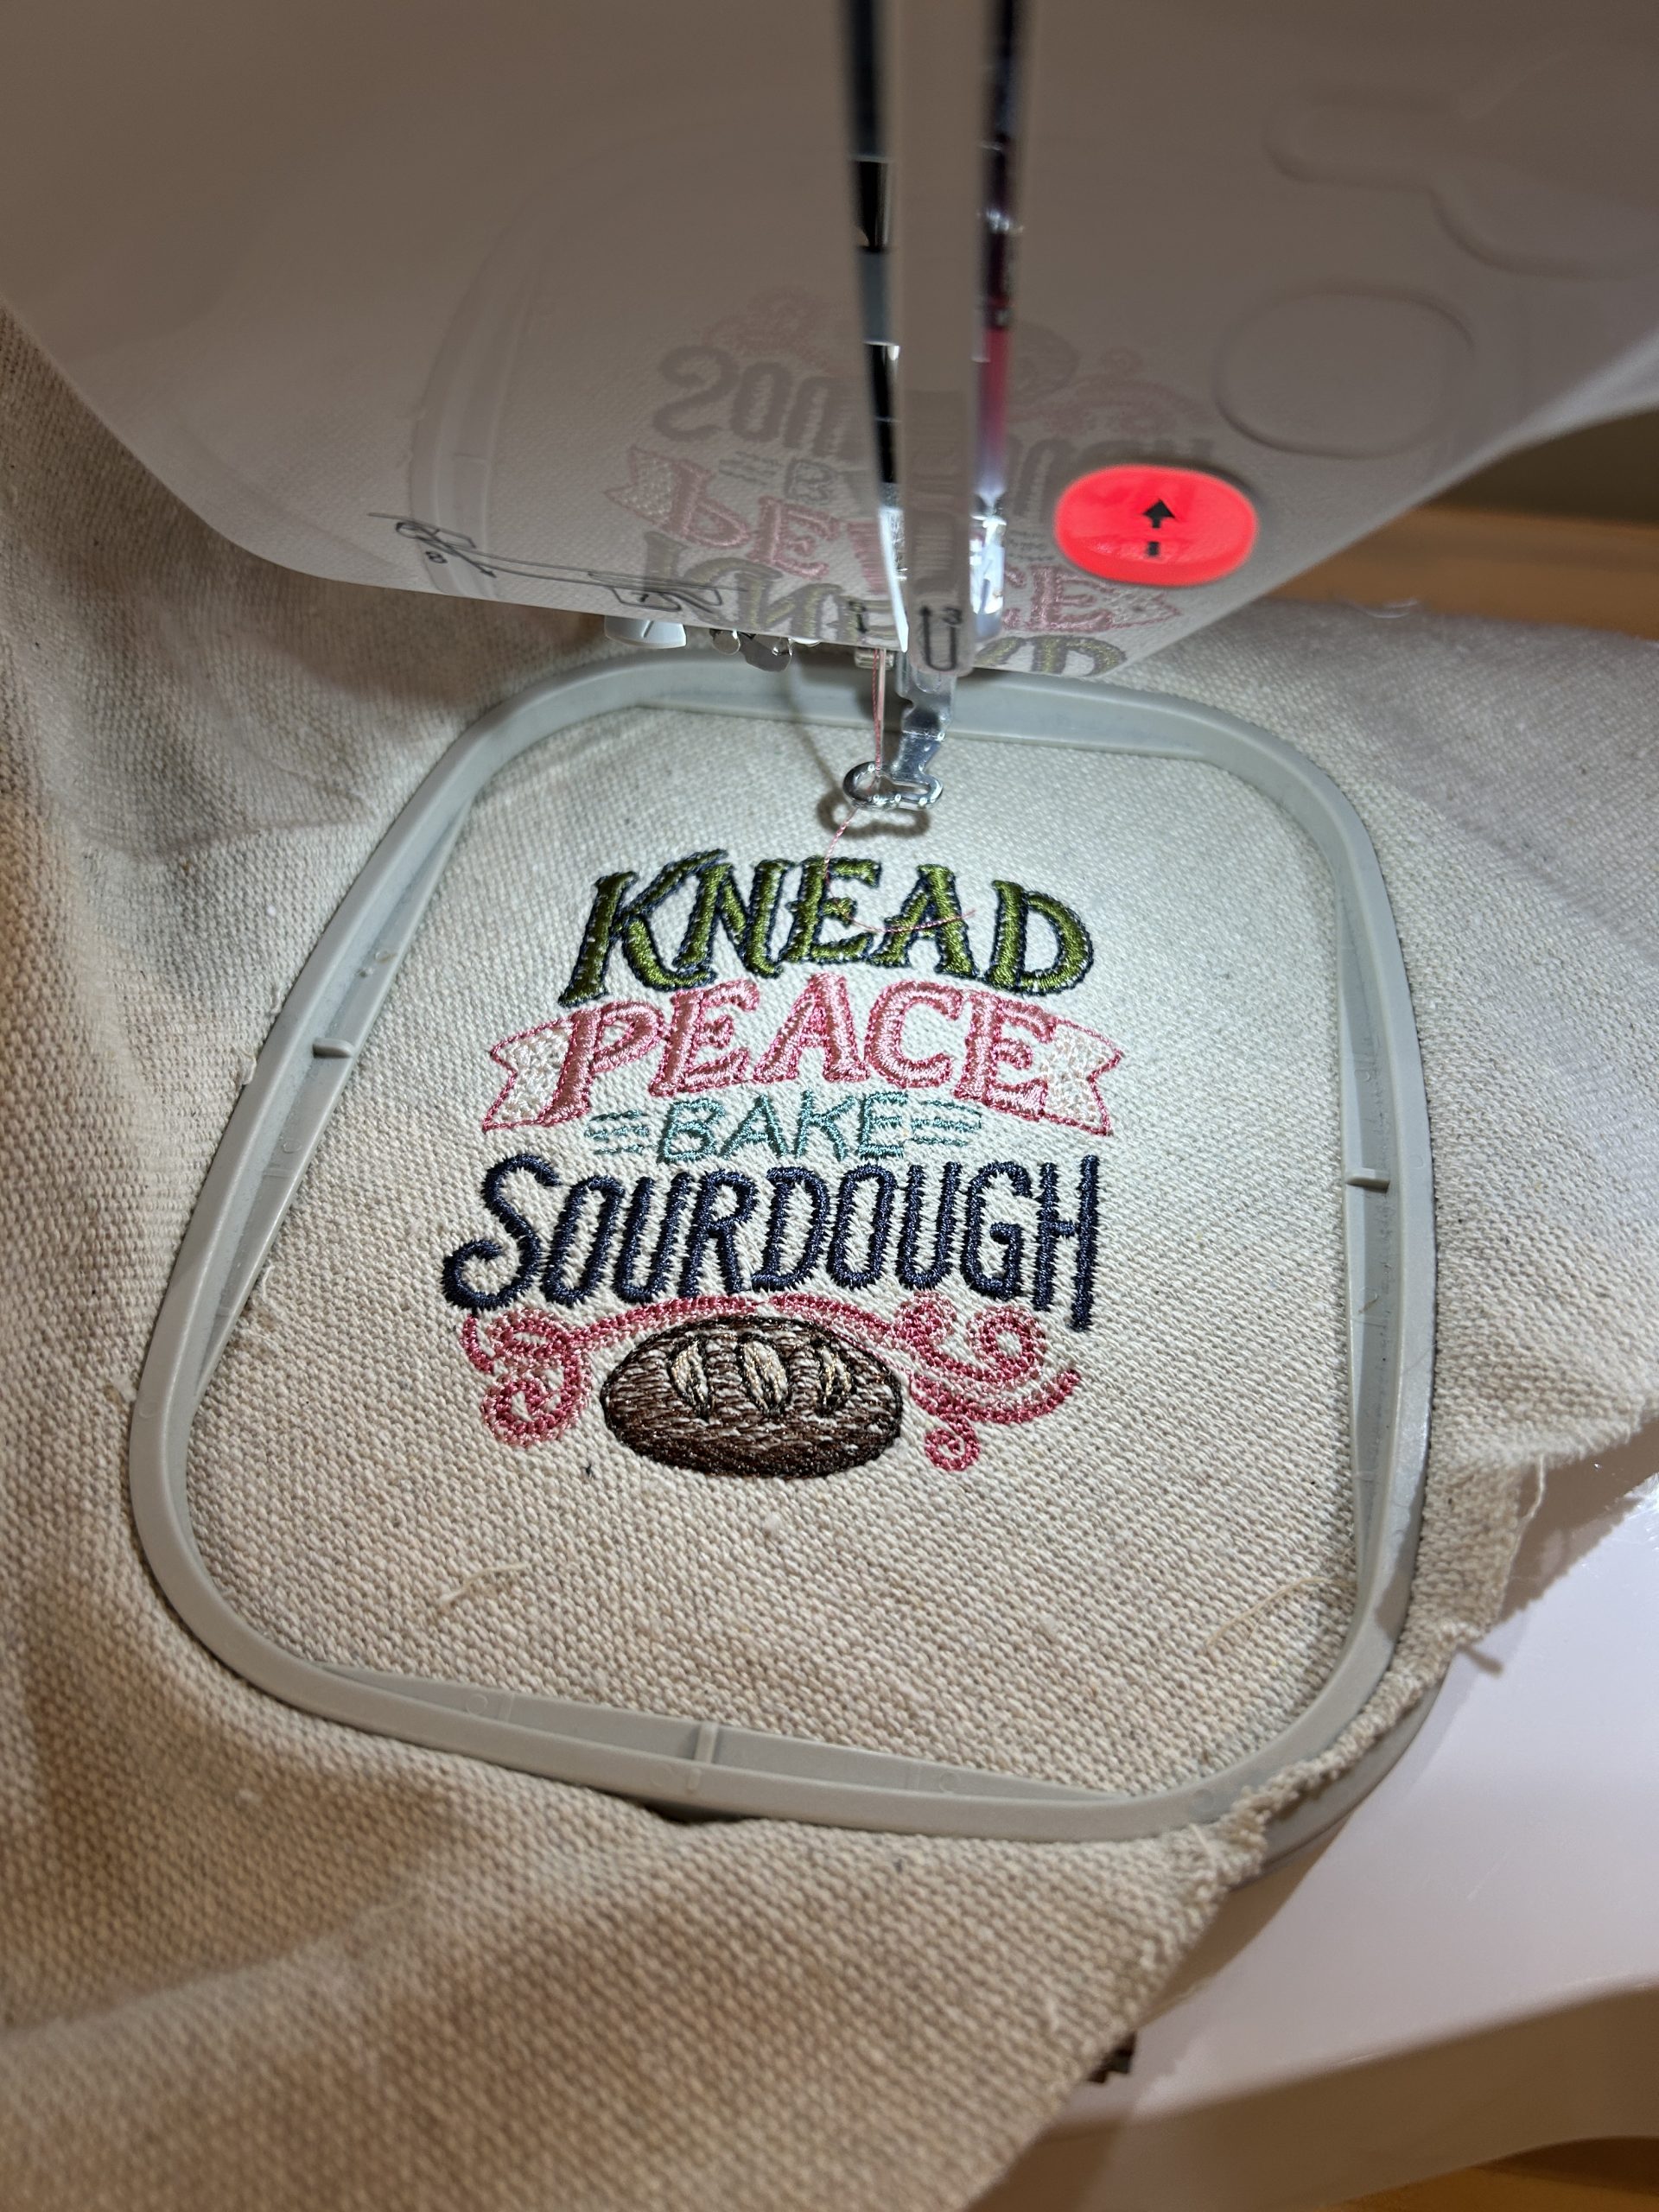
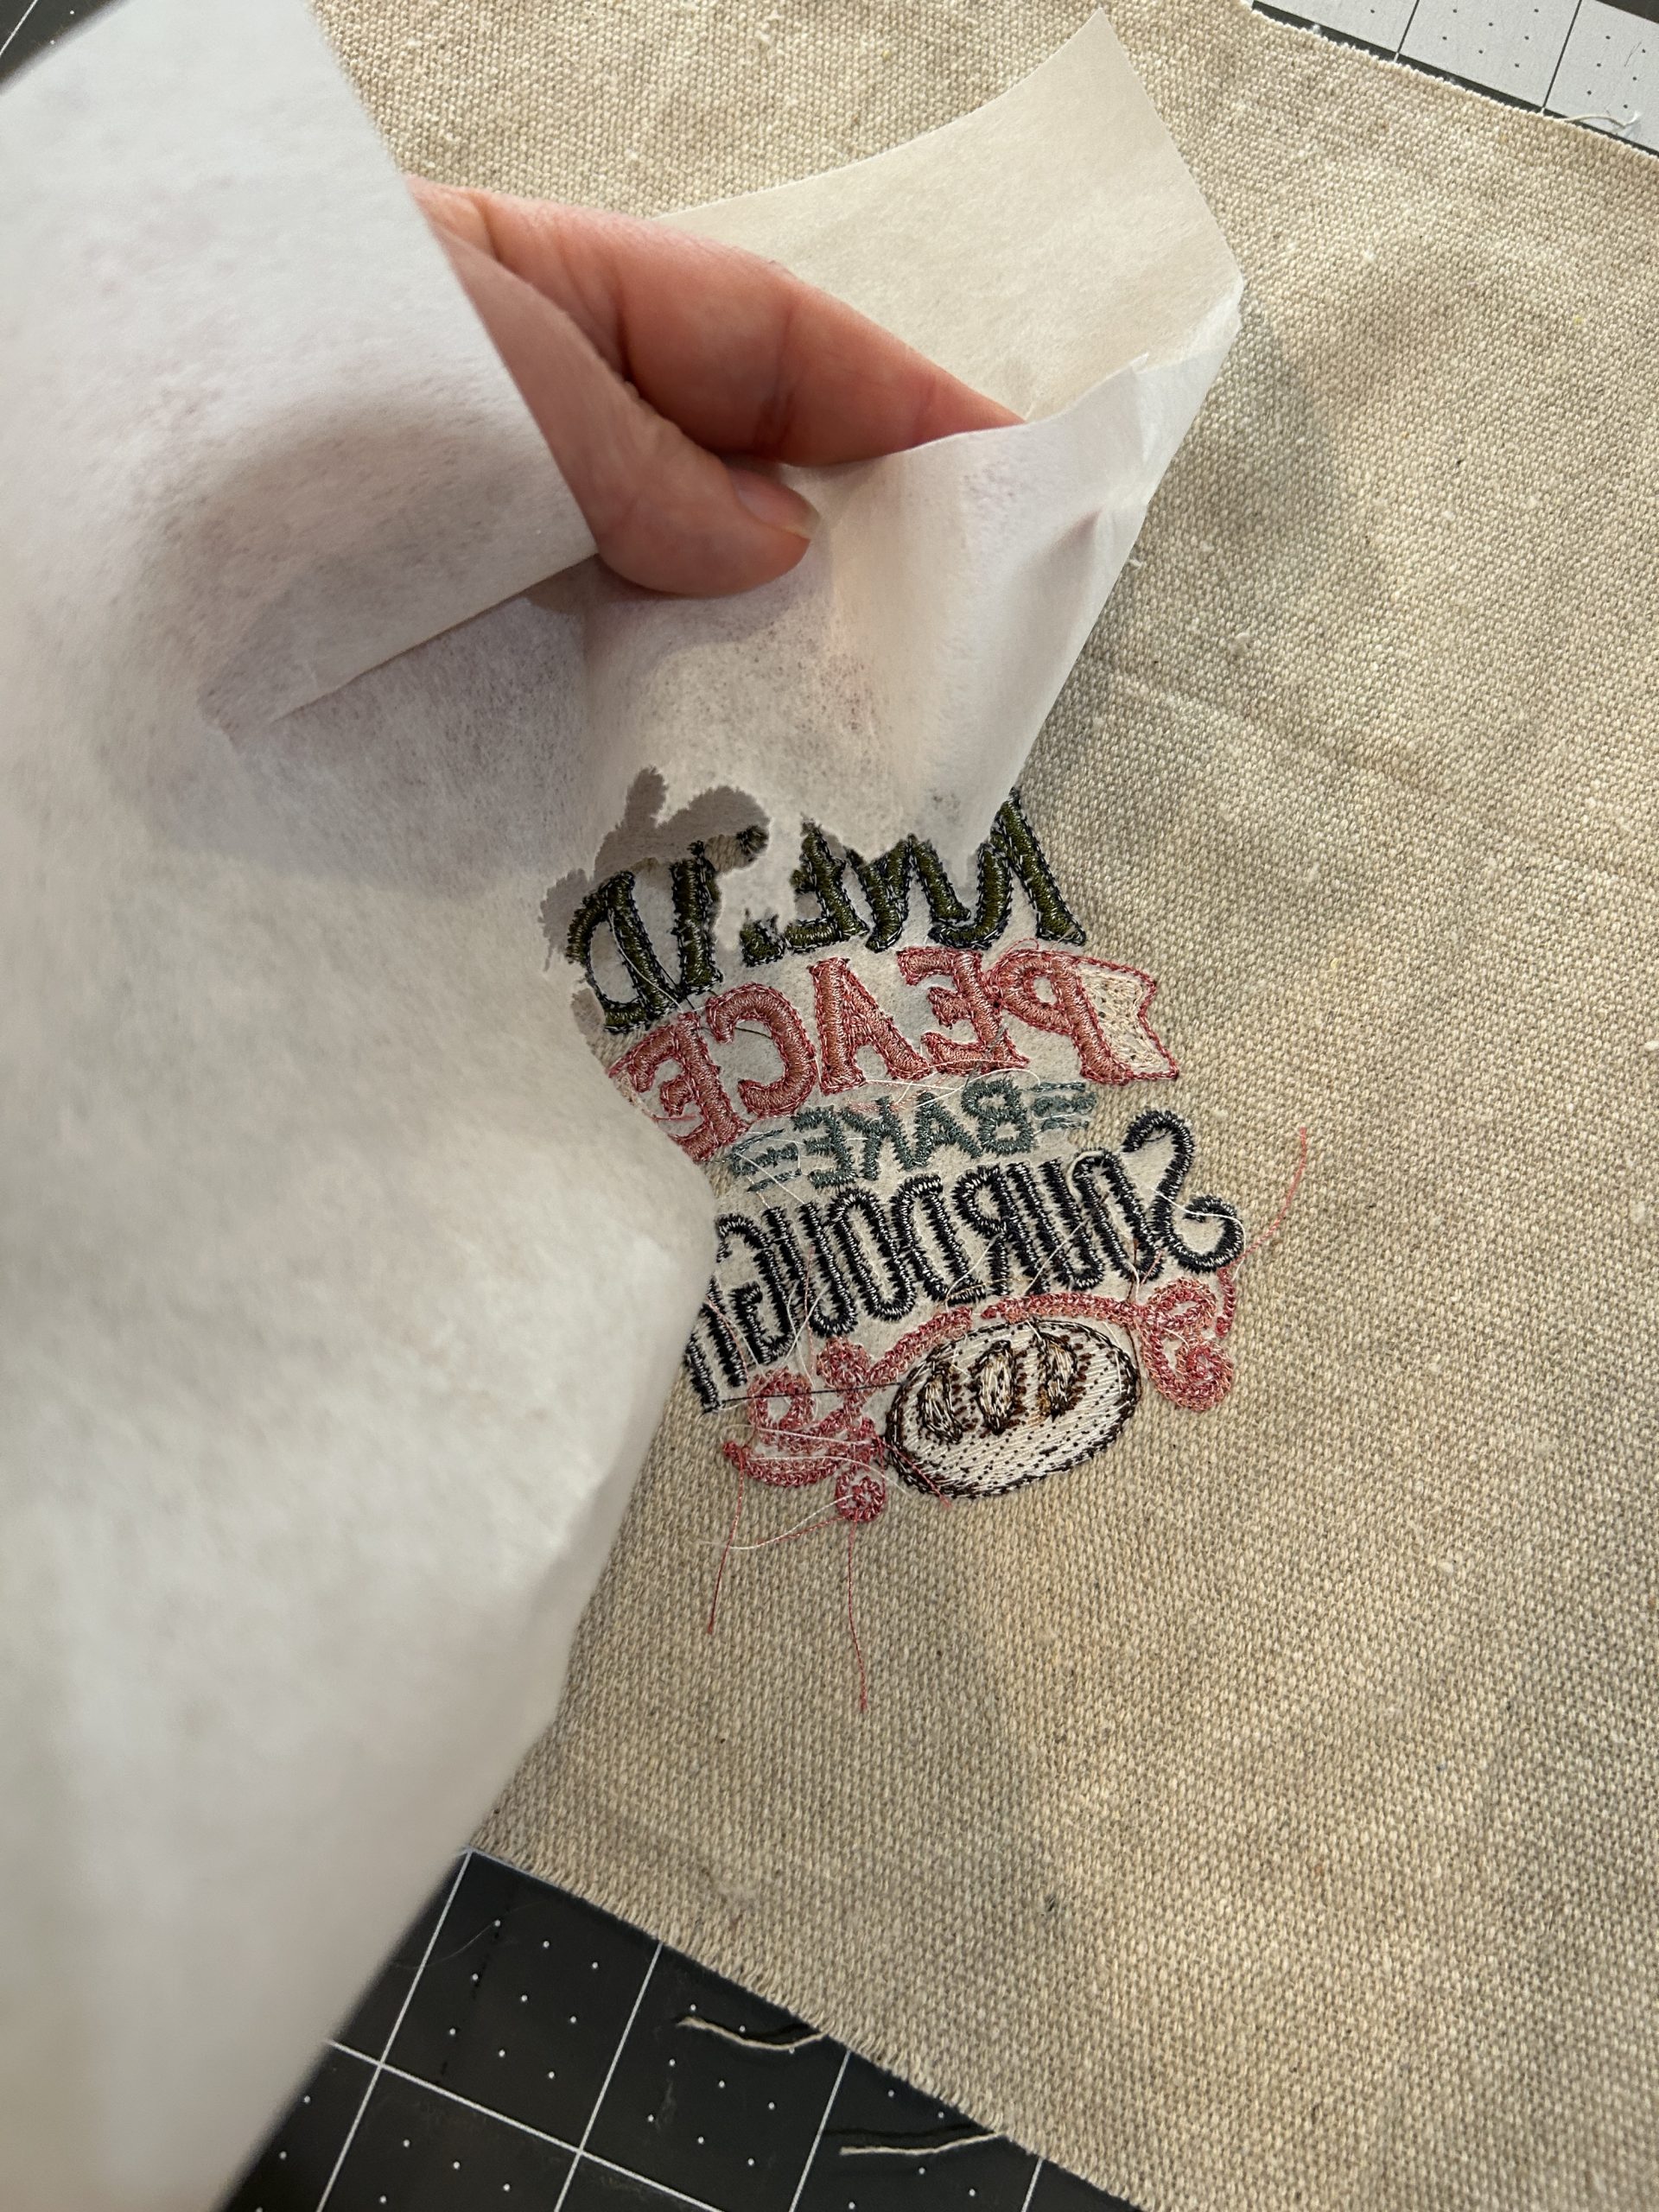
When stitching is done, remove it from the hoop, trim threads, and remove excess stabilizer. The back will be enclosed so if you miss some threads no one will know.
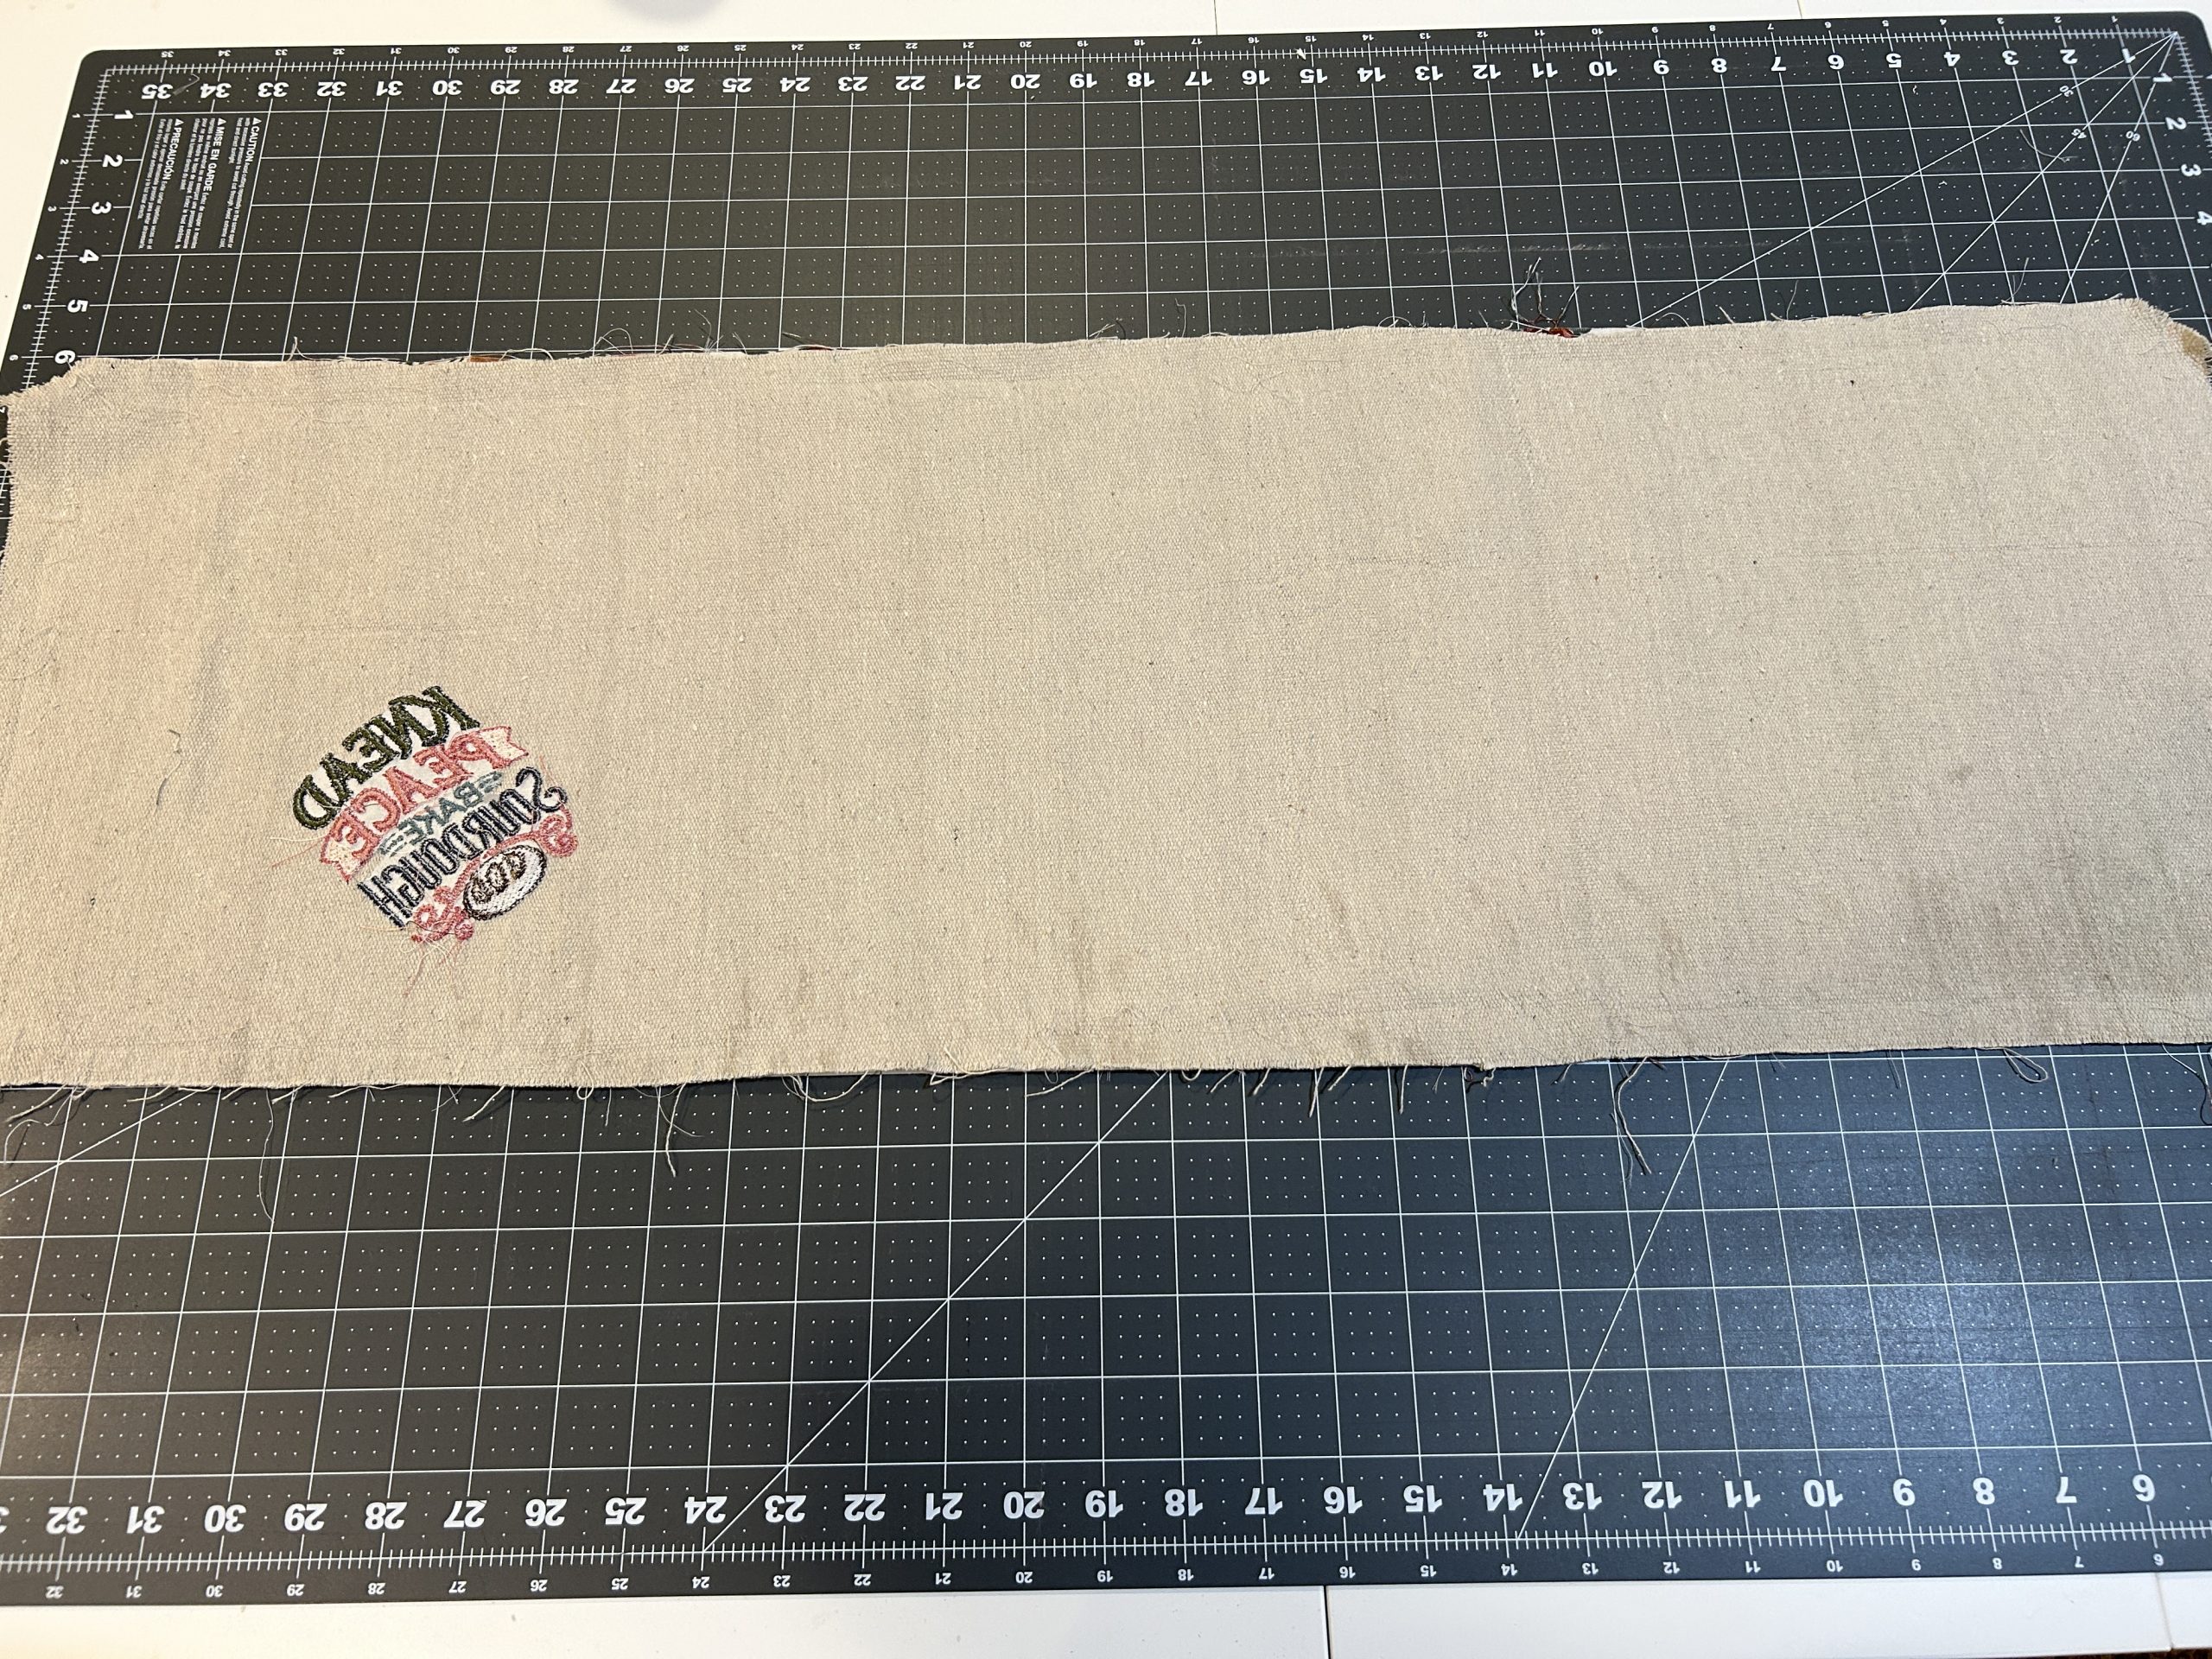
Now place the lining fabric face up on your workspace.

Place the embroidered outer piece face down on top of the lining. Have your embroidered design in the lower left corner.
Now we will stitch around all sides, leaving about 4–5” for turning on one long side. I used a .5” seam allowance.

Clip your corners close to the stitching line.

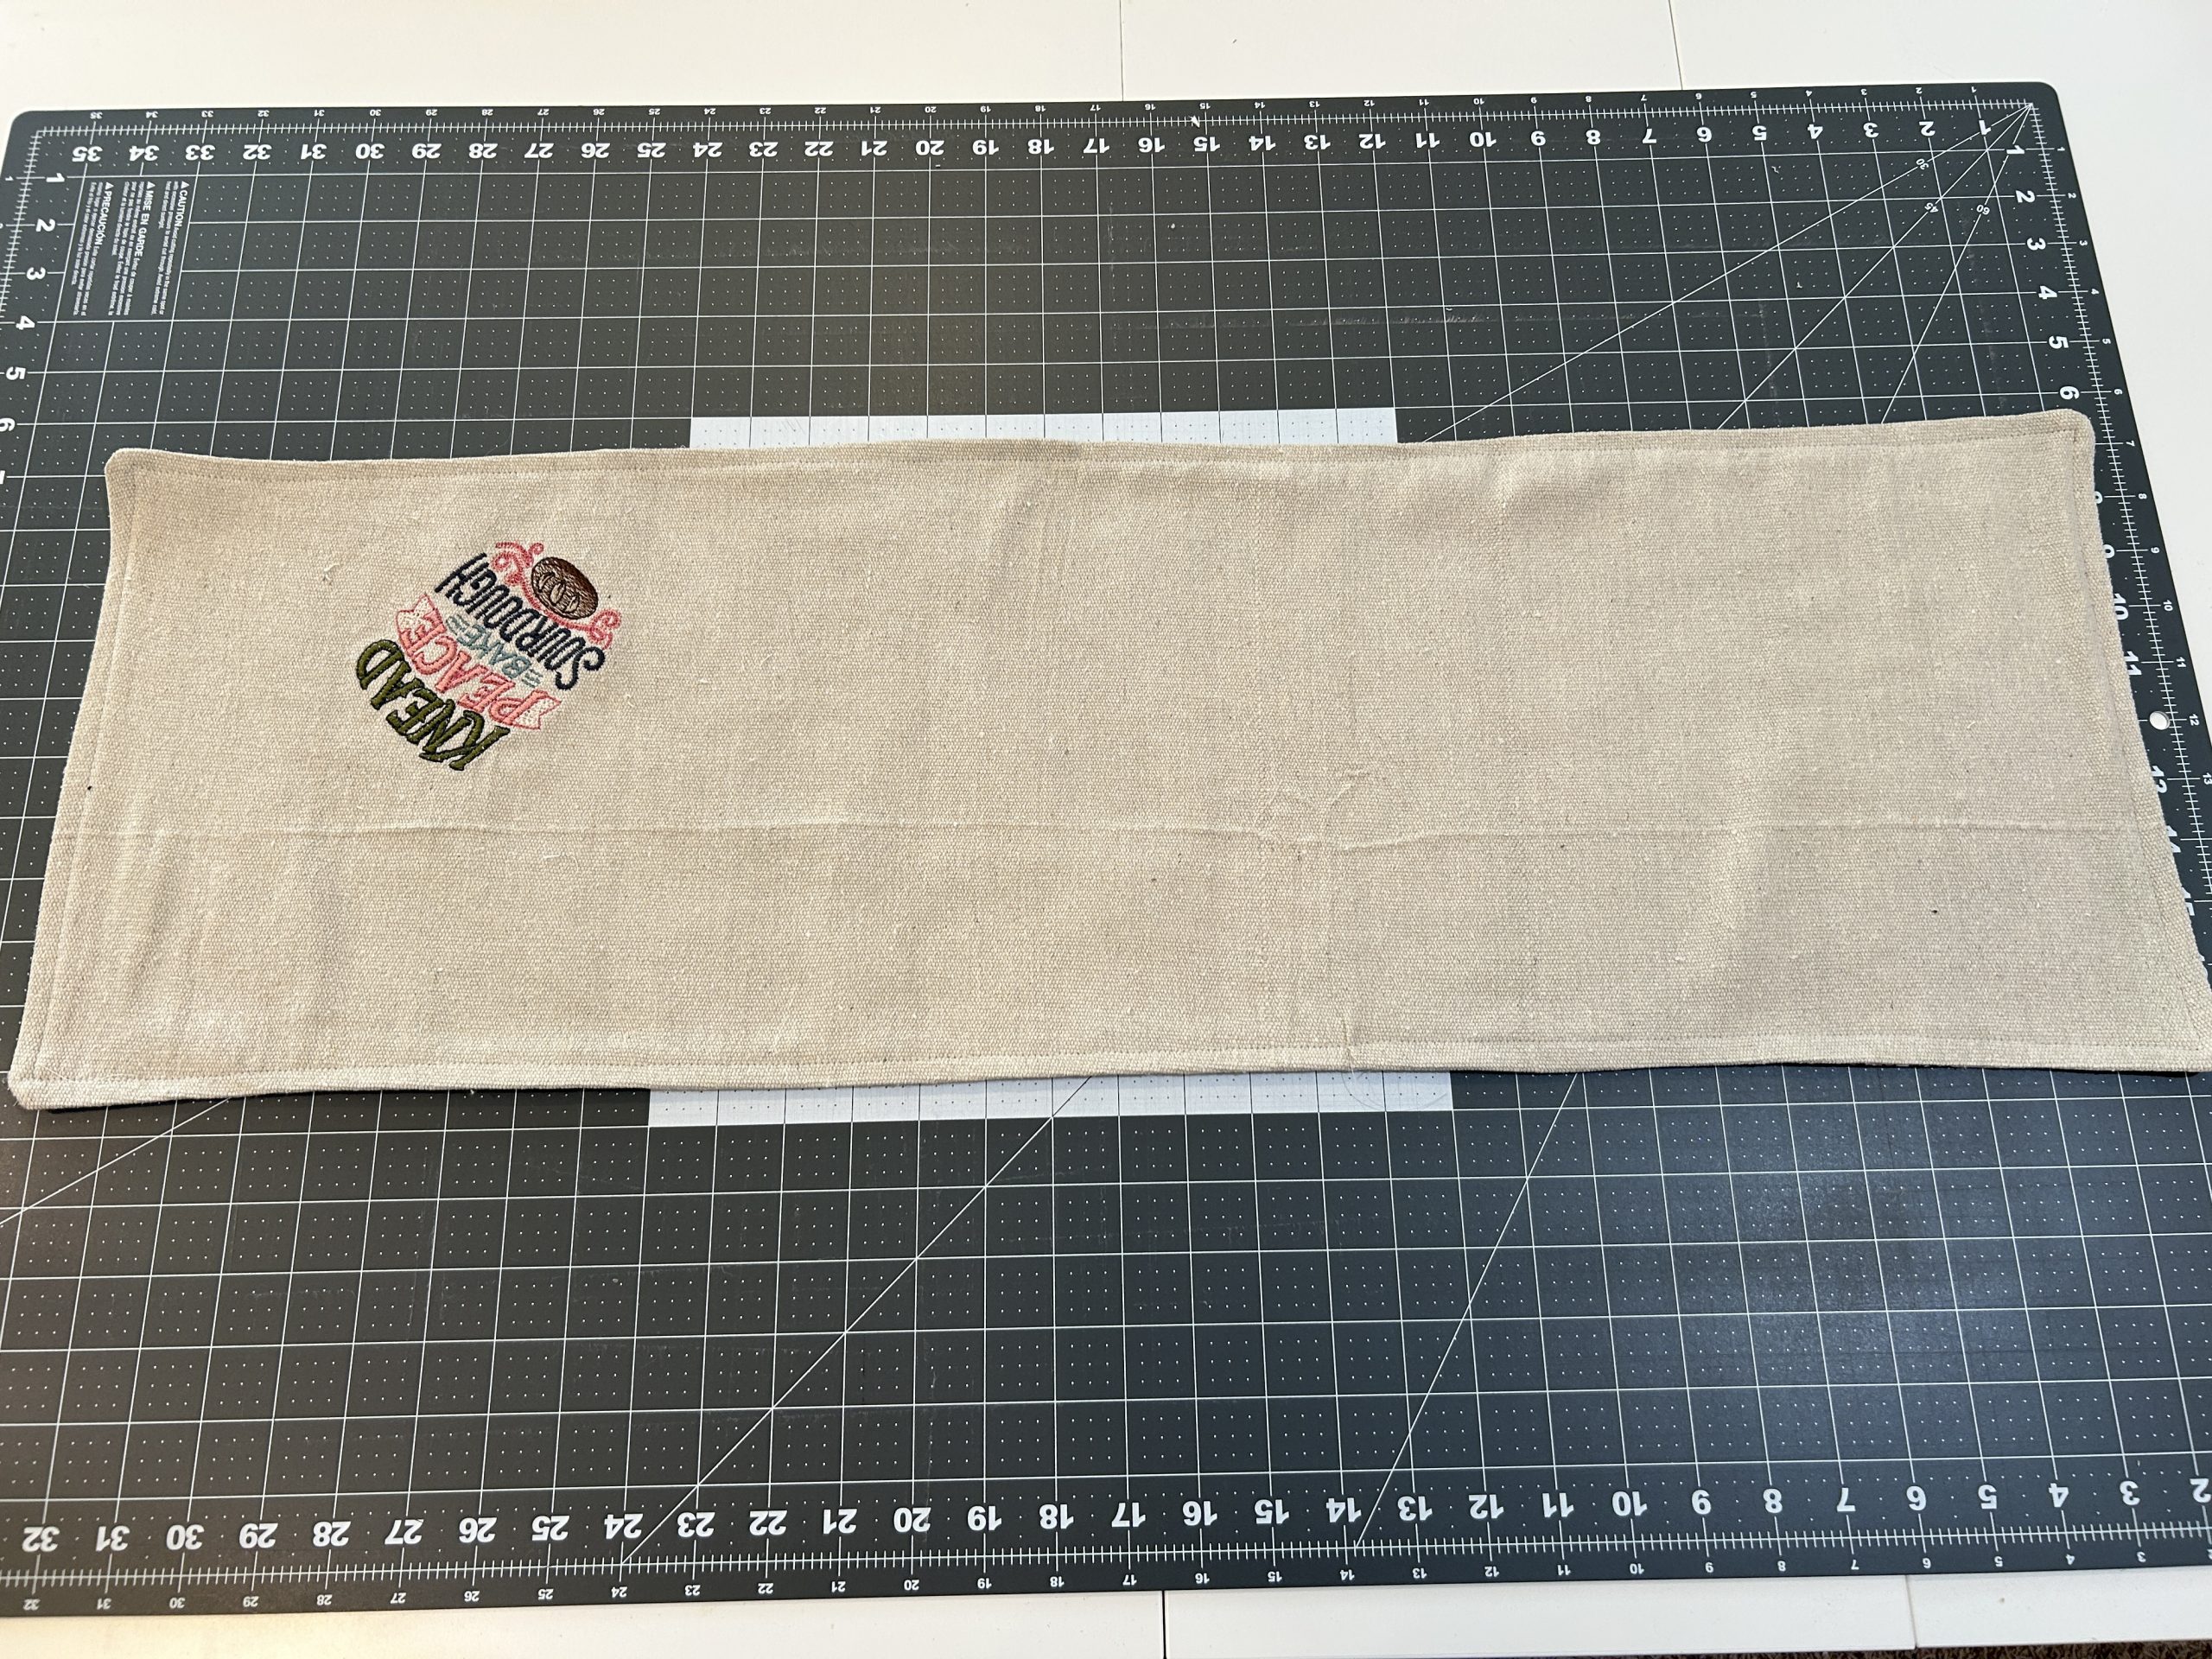
Reach into the opening you have and turn the project right side out.

Once it’s right side out, use a knitting needle or bone folder to push the corners out so they are nice and crisp. Then press the edges.

Next, stitch the edge with a scant 3/8” seam allowance. This will give a nice edge and secure the opening closed.

Now for the fun part! We will fold and sew a couple other seams to create the folded basket. Lay your fabric right side up with the embroidered area in the upper left corner.
Then take the upper left corner and bring it down, so the side seam is next to the bottom edge. Do the same with the lower right corner, bringing it up so the side seam is next to the top edge.

Now grasp the upper right point and pull it down so that the fabric creates a 3-sided square. It almost looks like a square Pac-Man. The right corner is below but in line with the tip edge. You want your finished edges to line up from the top of the triangle. Your edges will just meet and not overlap.

We will pin or clip the edges together, from the point of the triangle to the edge. At this point we will place the right sides together. Make sure to just pin the top layer and leave the bottom layer open.

Flip the project over and do the same for the other side.

Now take it to your sewing machine and sew those two seams along the same seam line we have from before.

I do a backstitch at the edges to keep them secure.

Now you can create boxed corners if you’d like. If I’ve lined my design up with the bottom, I do this extra step. You will sew at a 45-degree angle three inches from the corner.

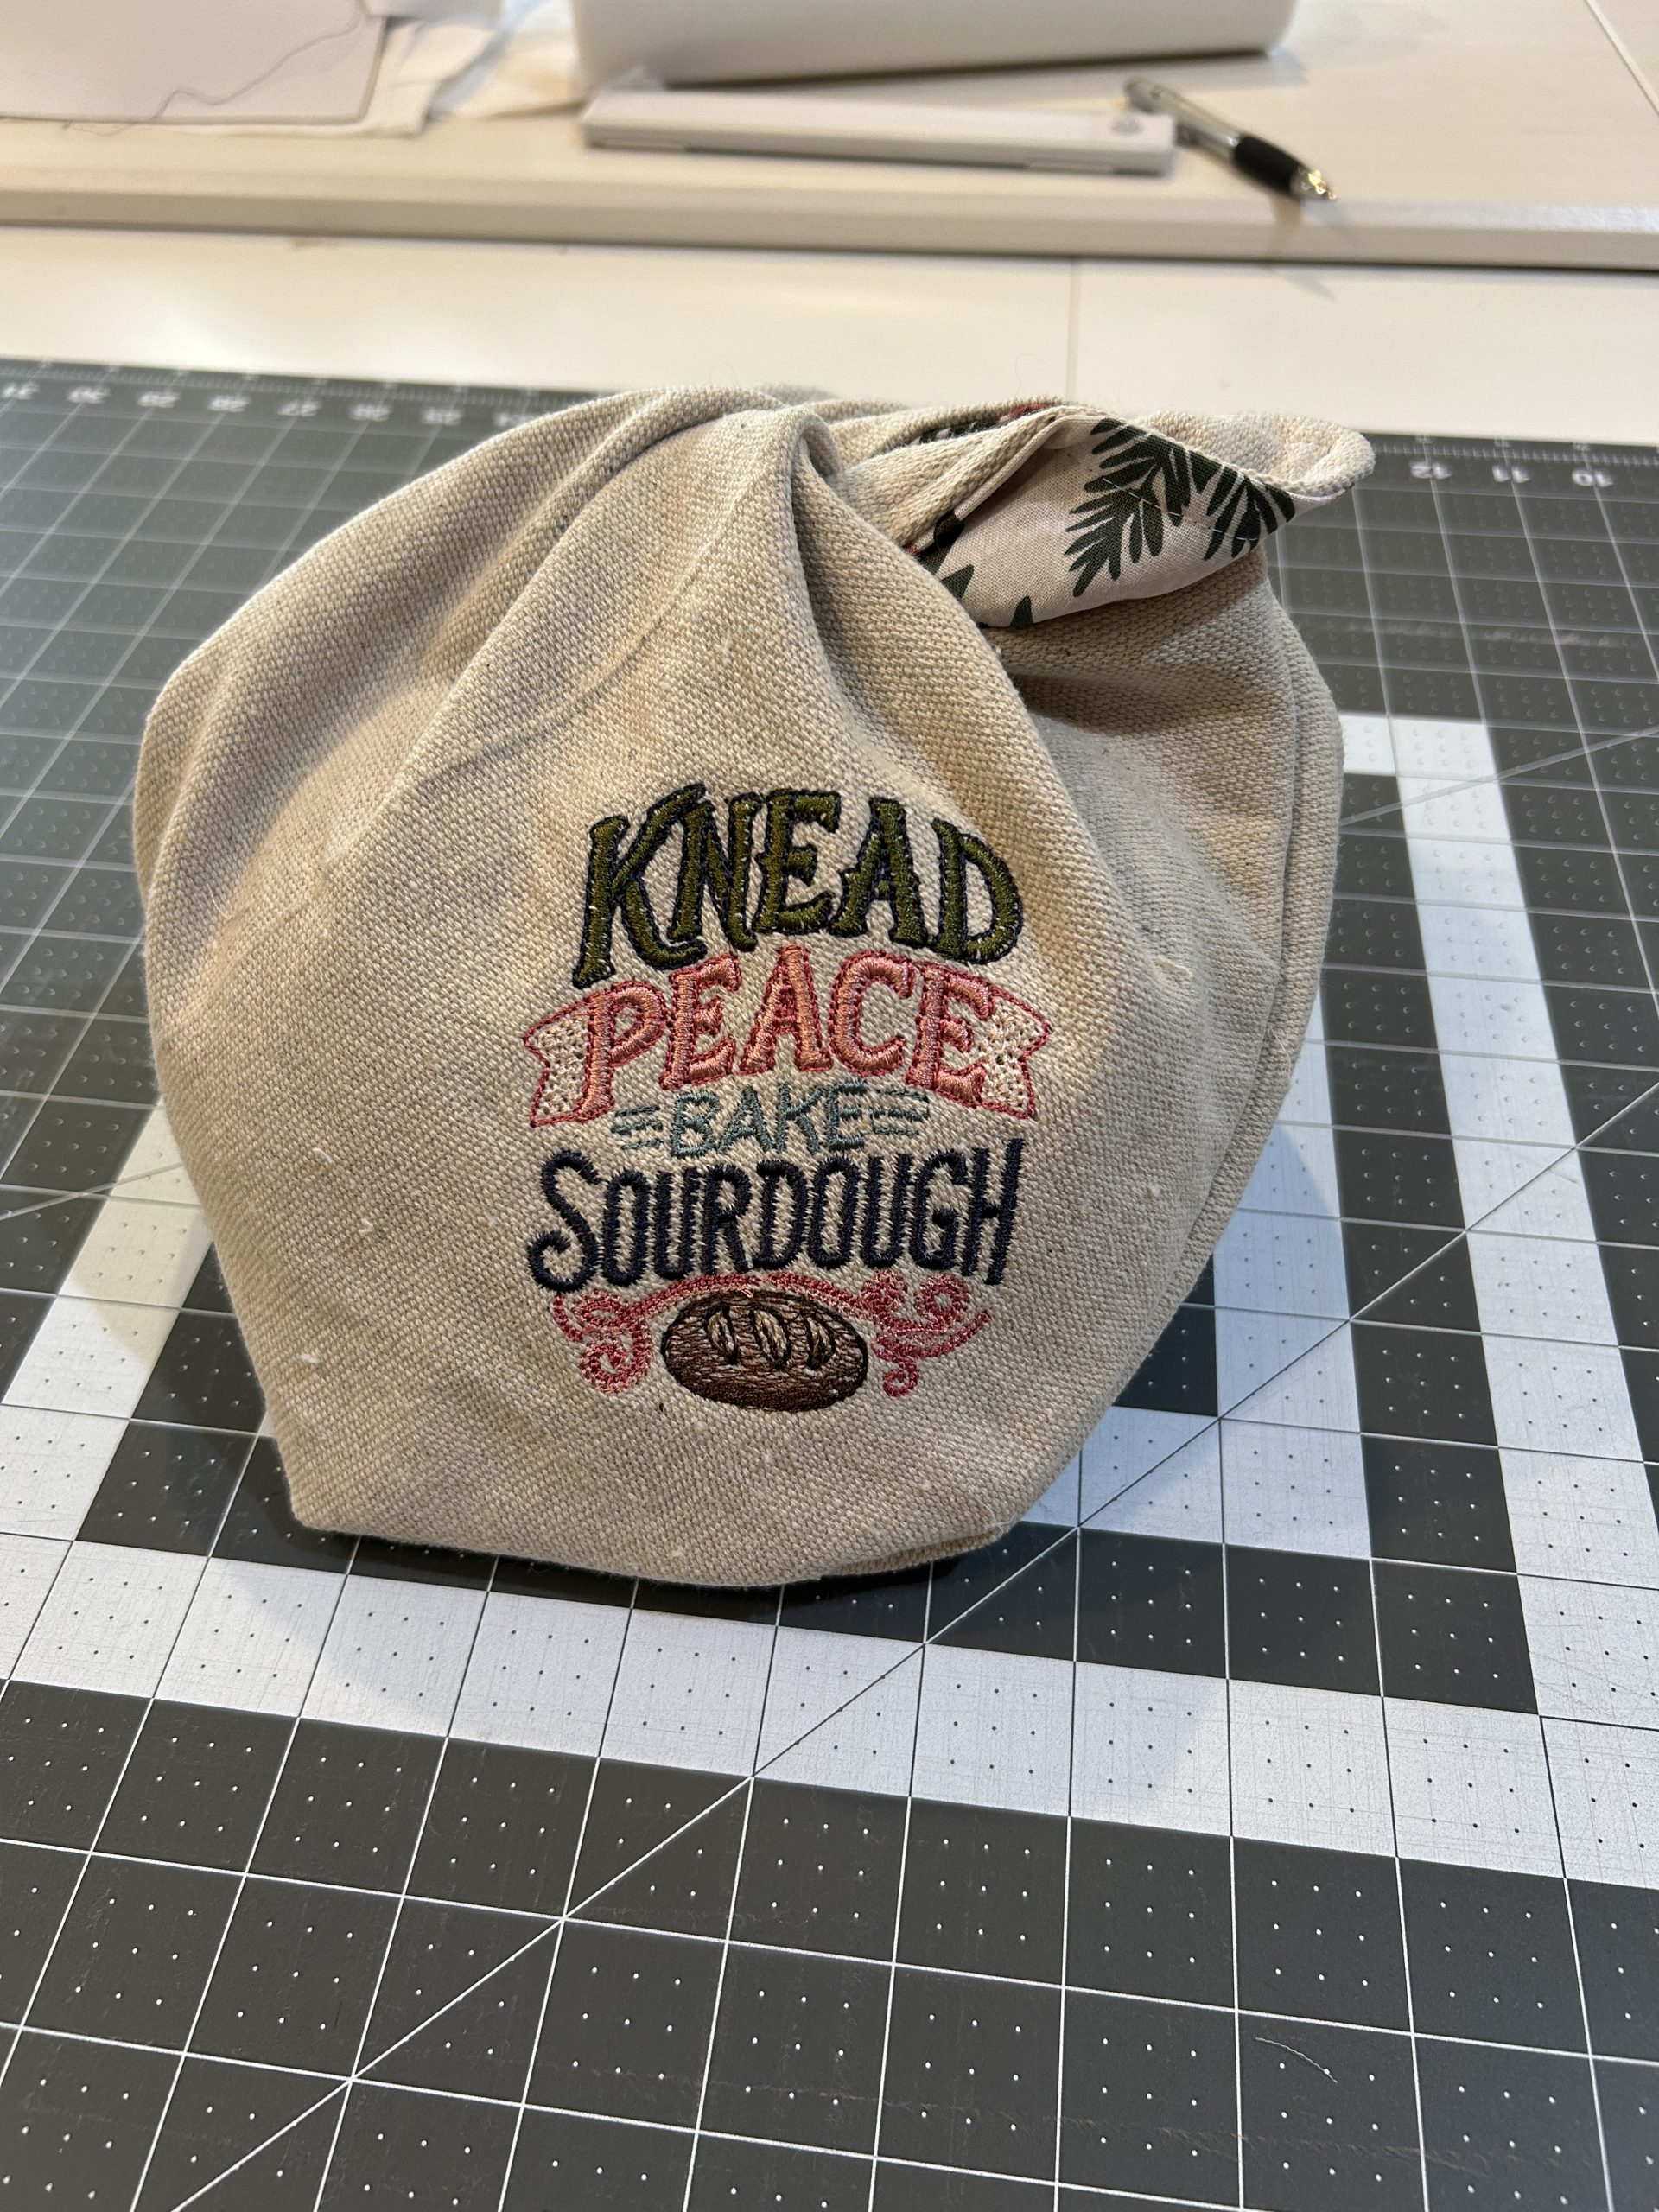
Flip the lining to the inside and place your loaf of bread inside.

You can use the pointy tips to tie a knot at the top of the loaf to keep it enclosed. It’s now ready to give to someone in a cute, embroidered homemade bag.
While I love the look of the homemade bag, sometimes I just don’t have time or the fabric to whip one up. So let’s put a design on a purchased bag. Make sure the bags you buy are blank, as a lot of them have designs or words already on them.
Find the center of your bag where you’d like the design to be. I use a little chalk to mark the center.

Hoop your bag with stabilizer. Make sure you are pulling the other side out of the way. I use painters tape to hold the edges out of the way of my stitching area.

Load your design into your machine and stitch it out.

When the design is finished, remove hoop from the machine and trim up the threads on the back.
Remove from the hoop and tear away excess stabilizer.

Press the hoop marks out of the bag,

This is a quick and easy way to make bags to have on hand or if you need a last-minute wrap for some bread you’re making.

Slip your bread in the bag and you’re ready to gift it!

I hope this inspires you to make some fun bread bags and a loaf of sourdough bread! If you do, we would love for you to share your bread bags in the Designs by JuJu Embroidery Blessings Facebook Group, or use the hashtag #designsbyjuju anywhere on social media so we can all see. We love to see what you create!
