Toggle Nav
 Inspire.
Create.
Stitch.
Inspire.
Create.
Stitch.
Search
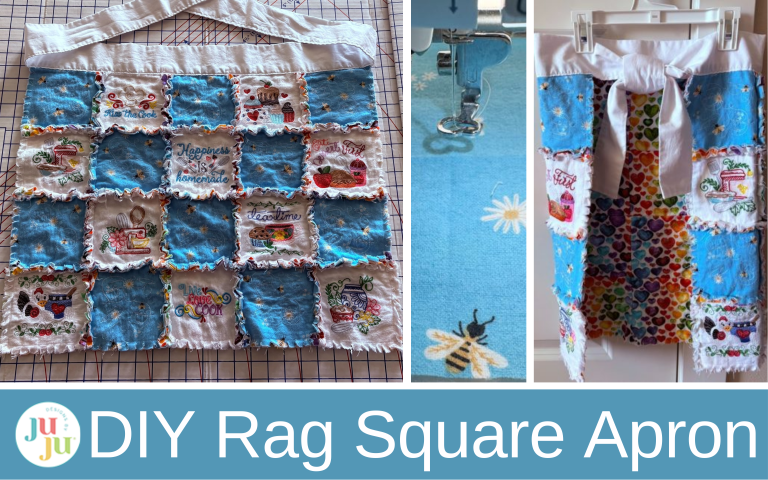
Create a soft, frayed-edge half-waist apron using embroidered rag squares. Perfect for gifting or everyday wear.
If you love making rag quilts, you already know how irresistible those soft flannel squares can be. And when you add embroidery to them? Even better. Today, we’re taking those embroidered rag squares and turning them into a sweet and functional half-waist apron. It’s the perfect way to showcase your favorite stitch designs while creating something useful for your kitchen, craft space, or gift giving. This project is beginner-friendly, scrap-friendly, and has all the cozy charm of a rag quilt in apron form. Let’s turn those embroidered squares into something you’ll want to wear every day.
Check out the DBJJ team’s favorite supplies in the Designs by JuJu Amazon store. For stabilizers and batting, Designs by JuJu+ has everything you need.
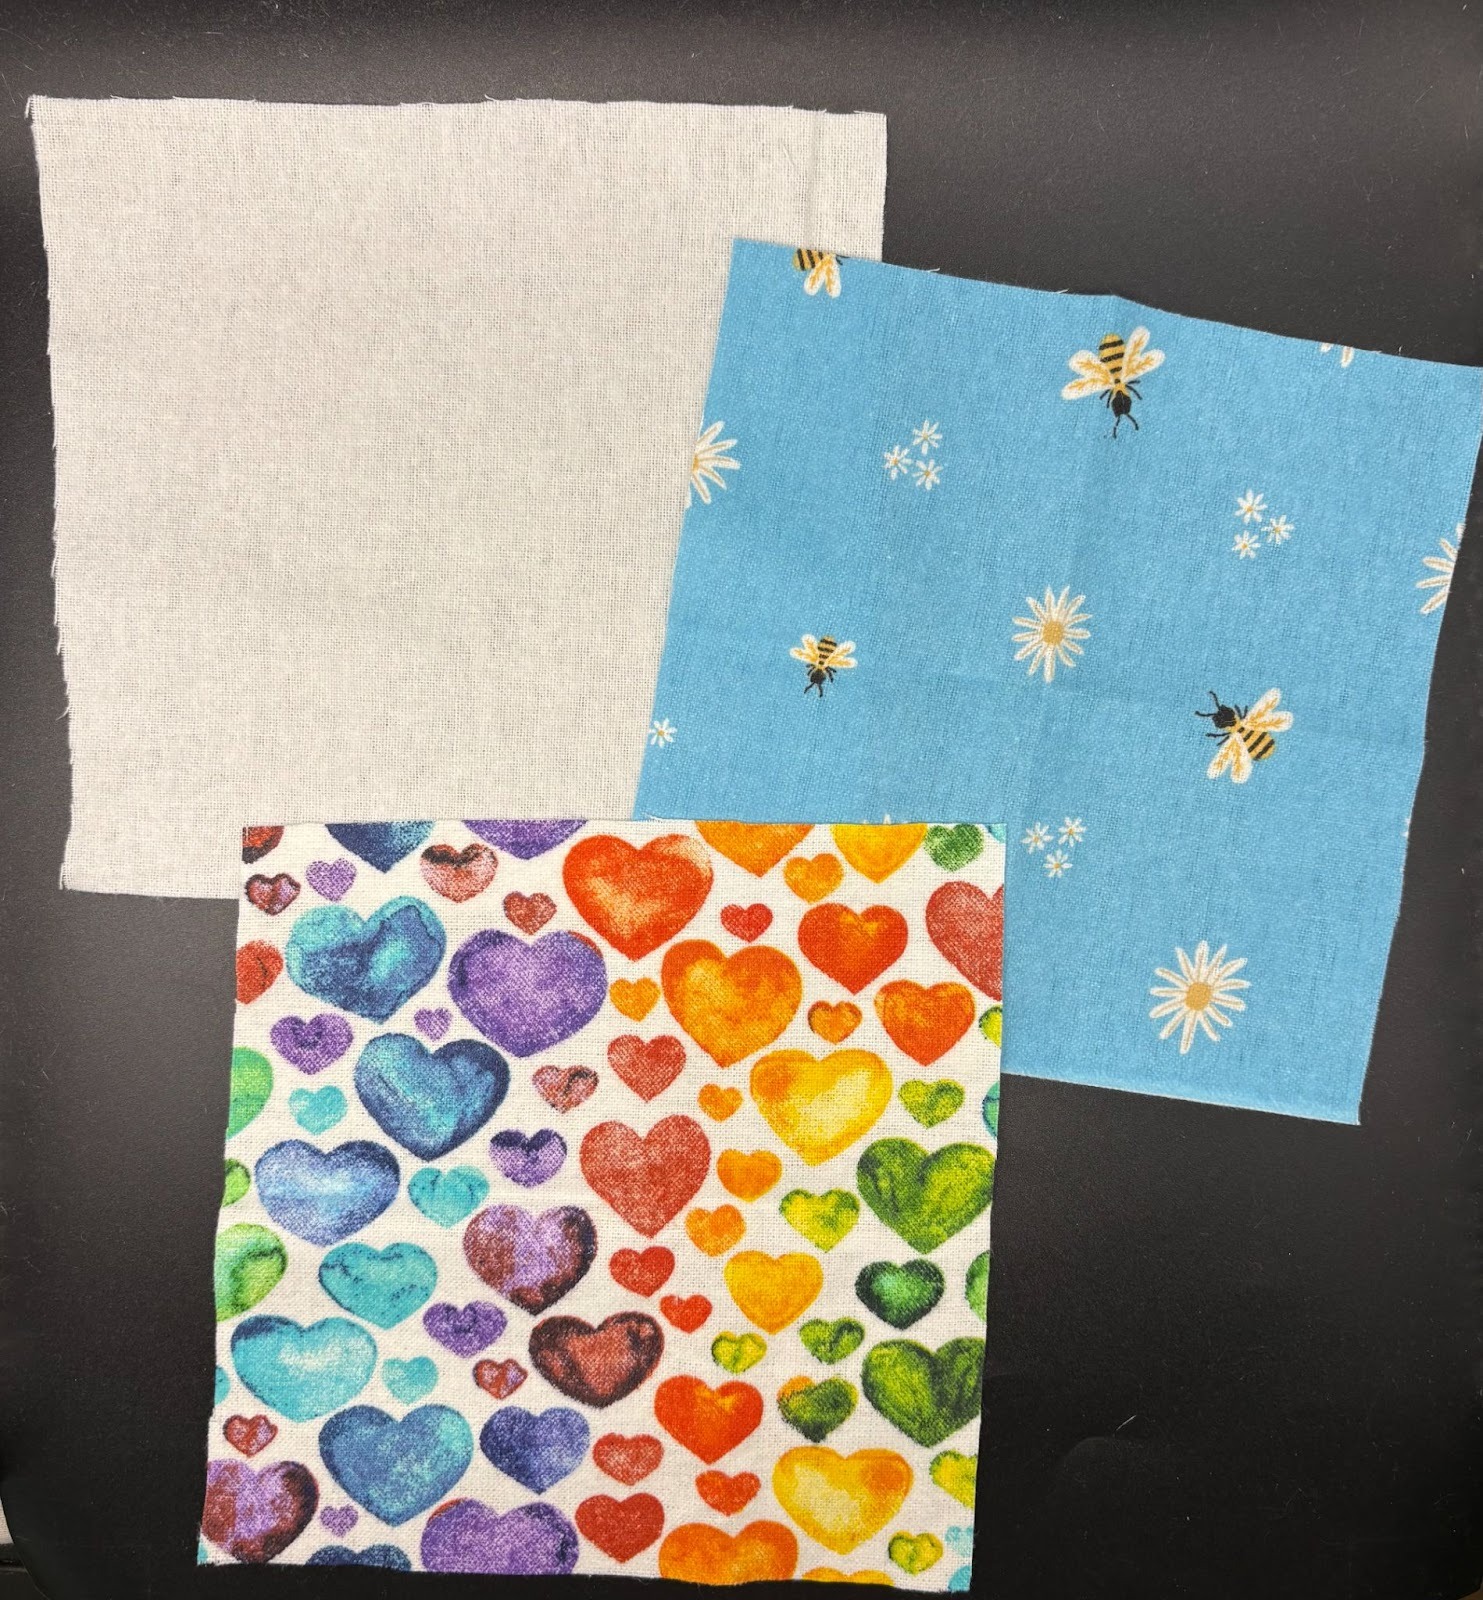
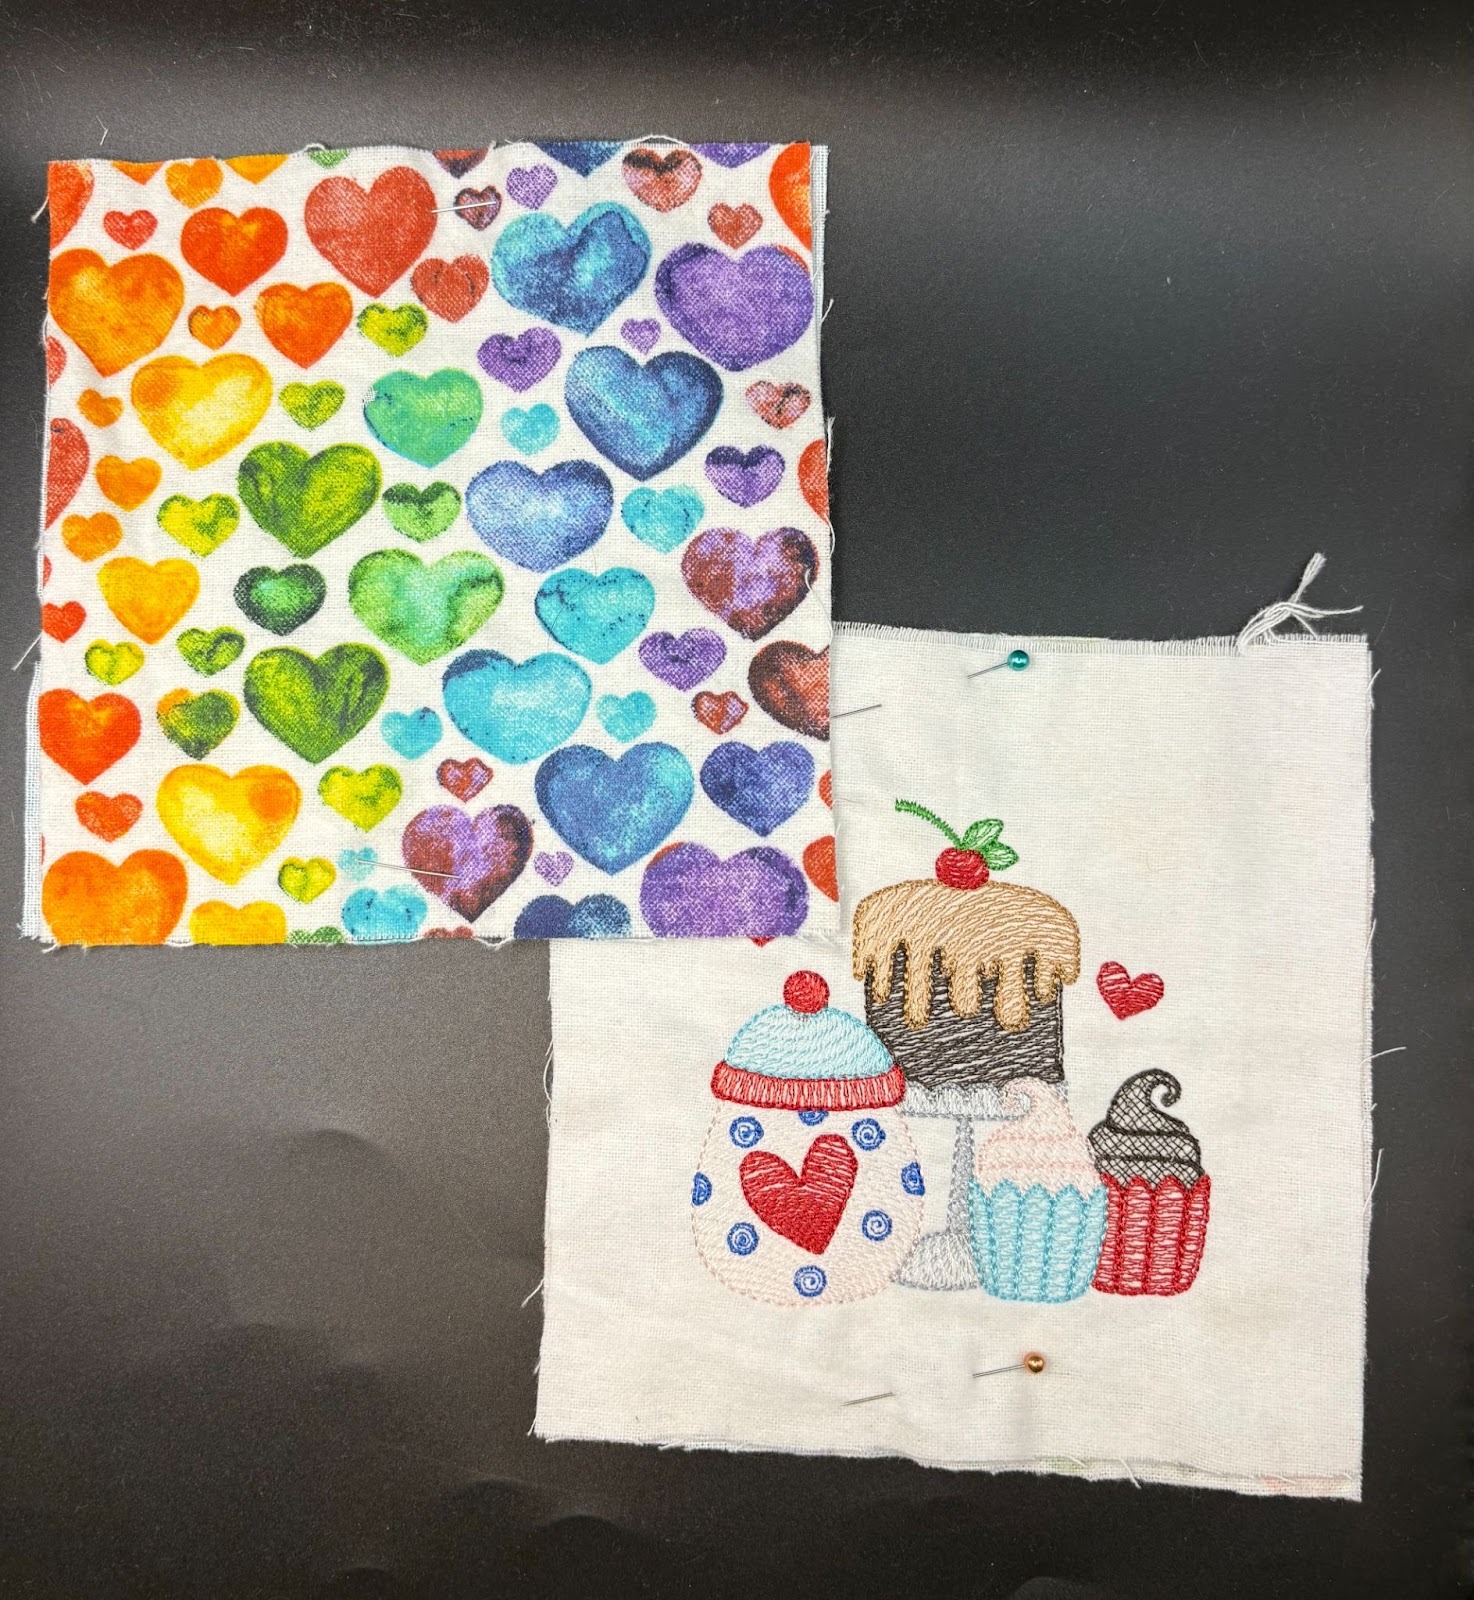
Cut your flannel into 6” x 6” squares. For the front, cut 24 to 30 squares (depending on desired apron size), half in solid and half in print. Cut the same number of 6” x 6” squares for the back.
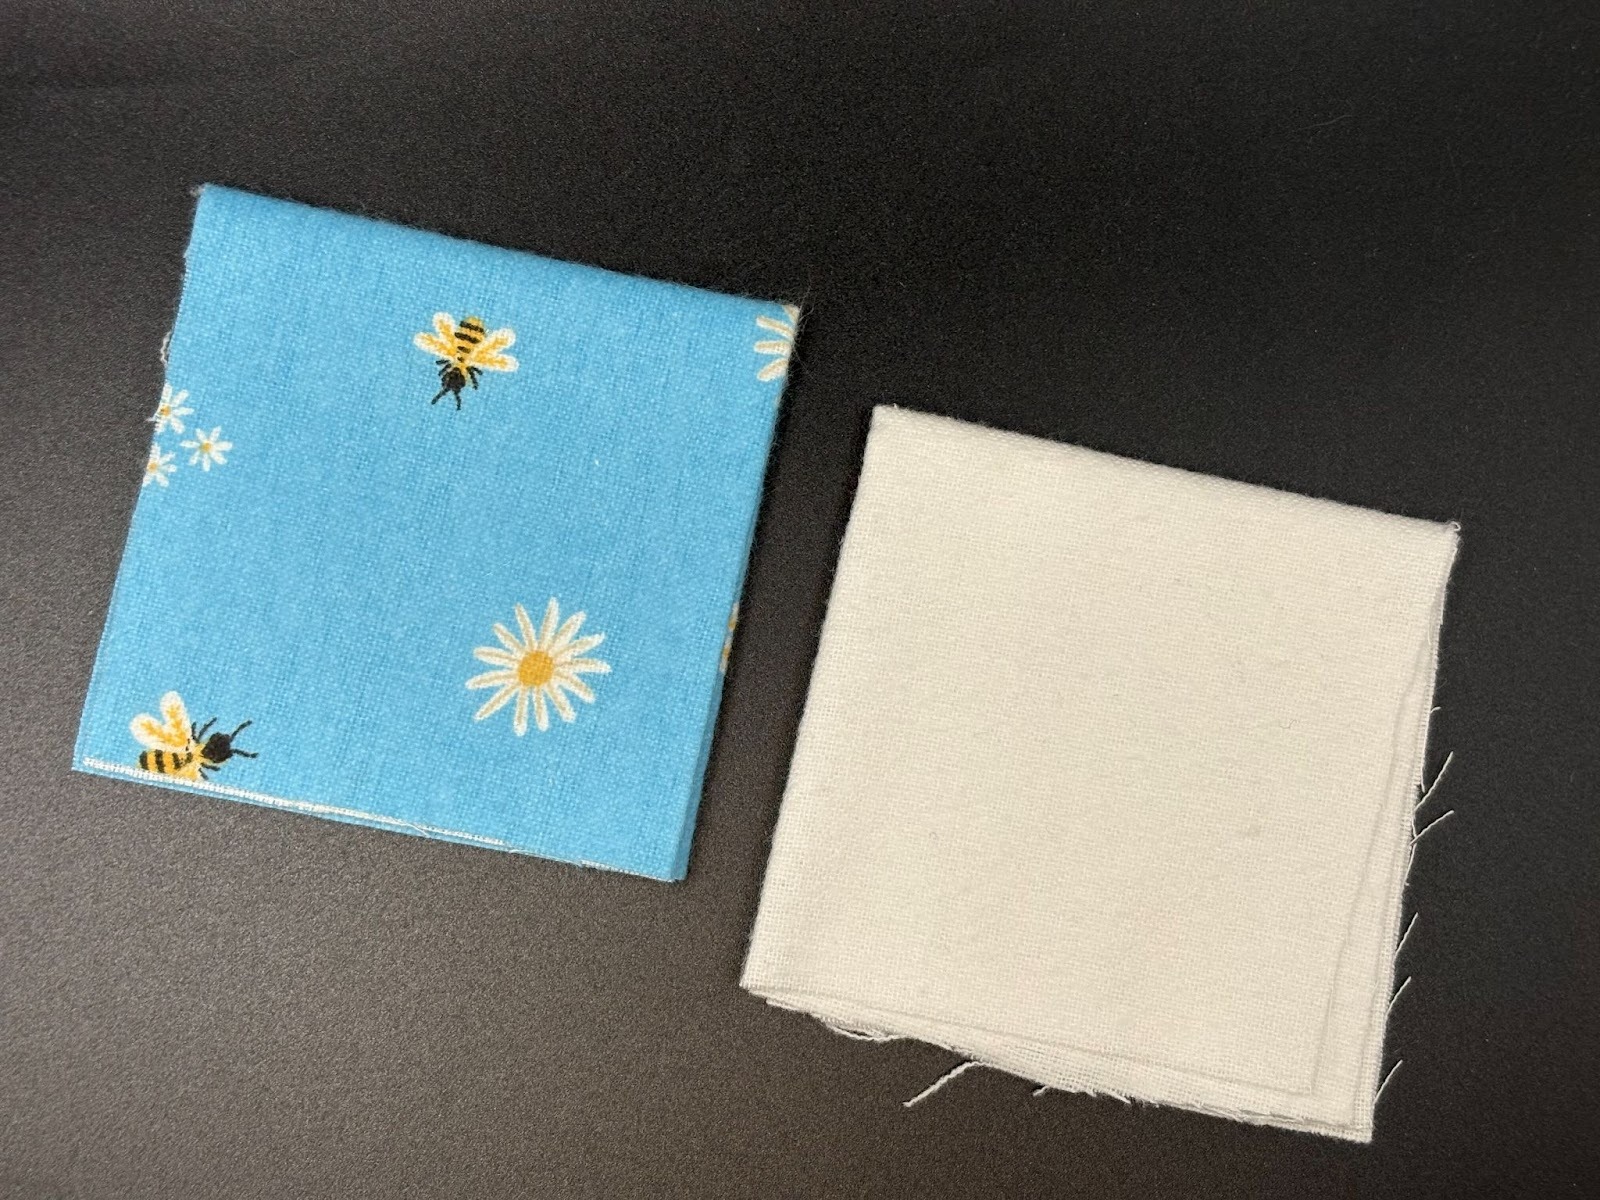
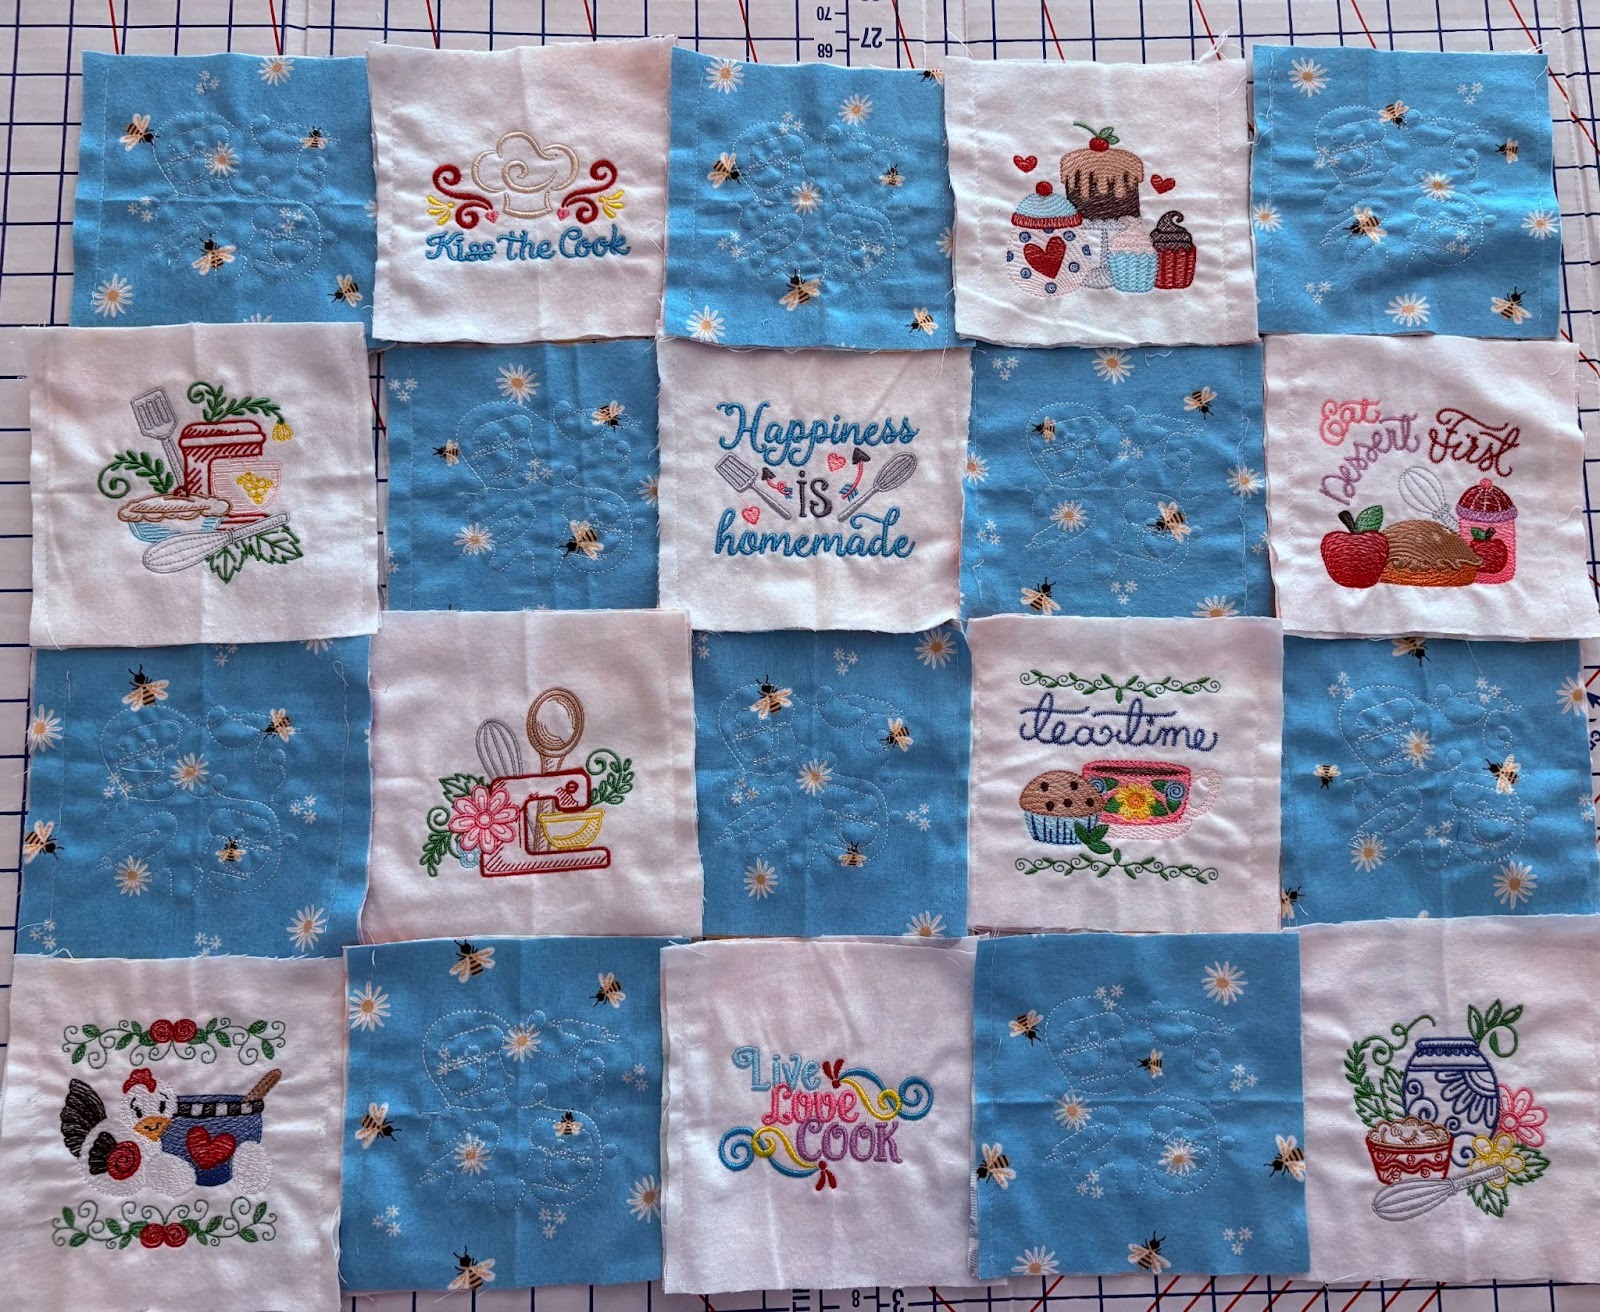
Fold the squares in quarters to find the center and finger press. Select the design or designs you wish to use for the front. For my solid color squares, I used a variety of kitchen-themed designs, all listed in the supplies list. DBJJ has so many to choose from!
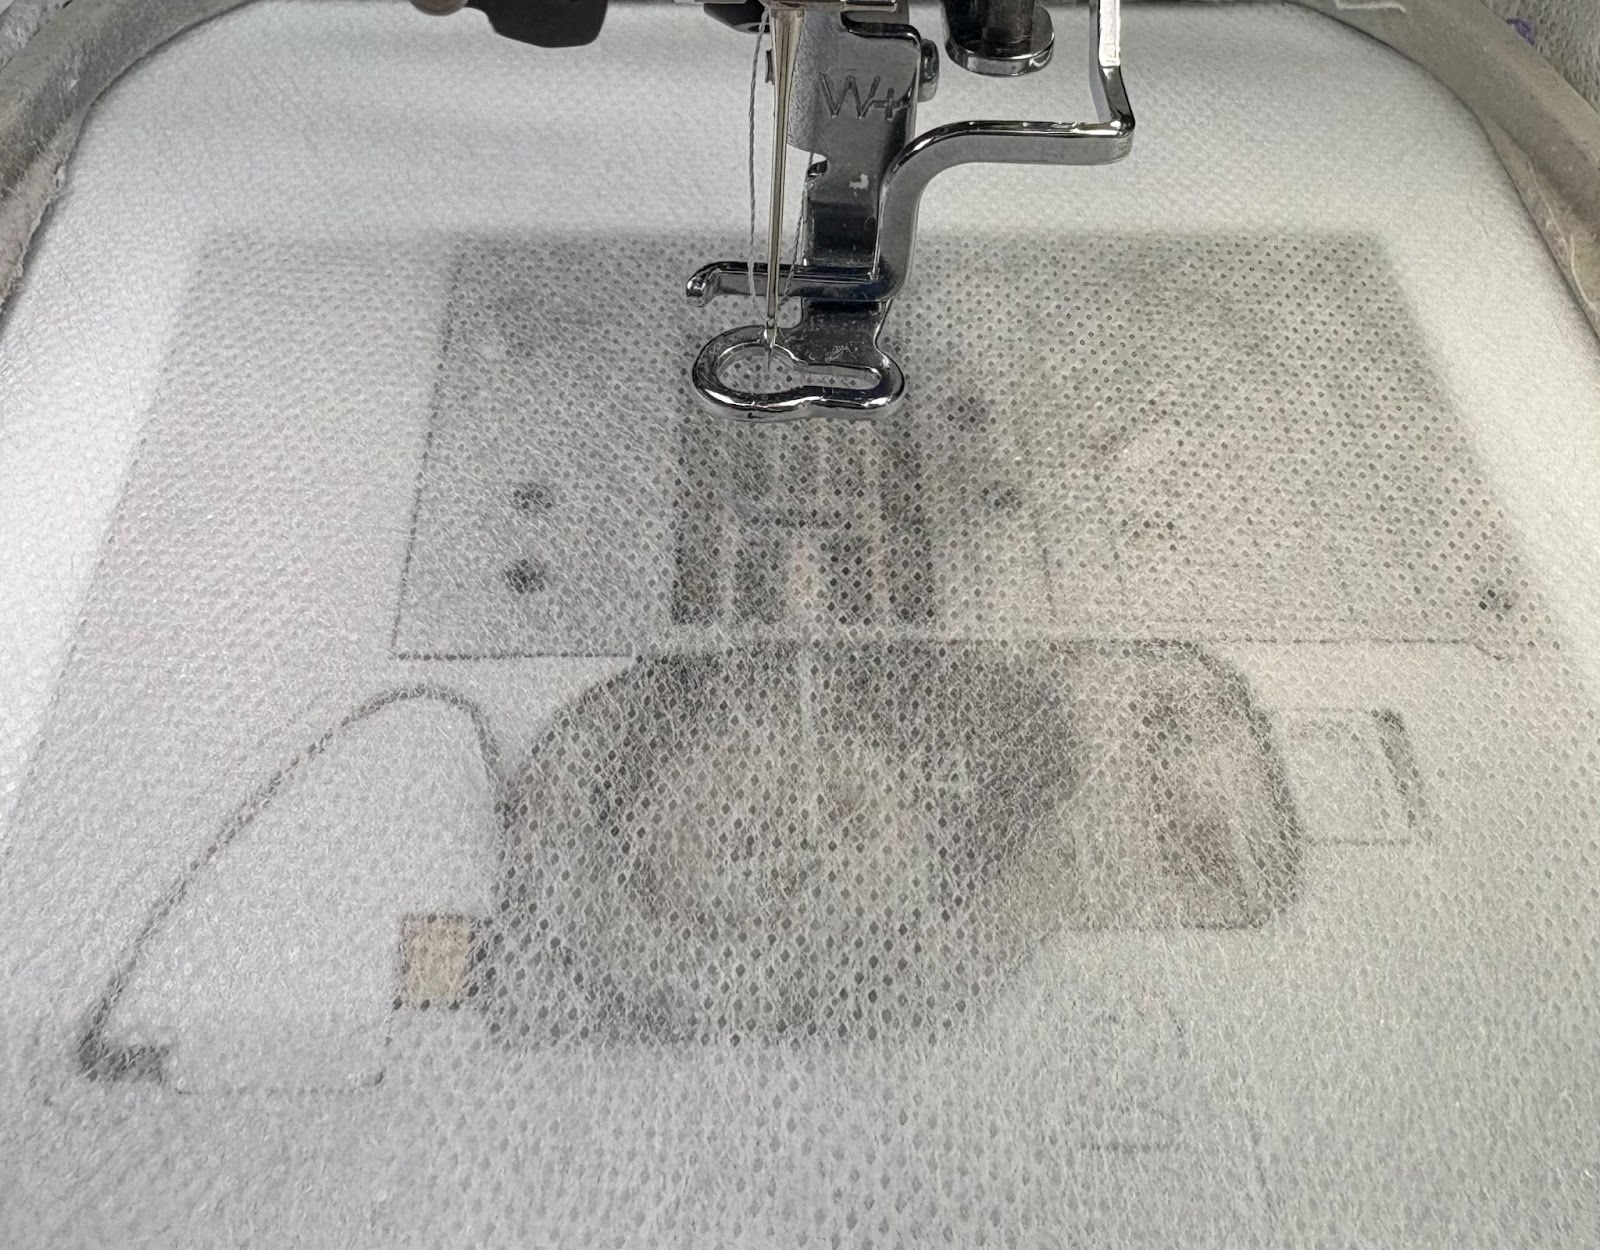
Hoop wash-away stabilizer, spray with fabric basting adhesive, and take it to your machine.

Choose your design. Select the smallest size and load to your machine. Find the center. Center the flannel onto the stabilizer and press flat. Smooth out any wrinkles. You can pin the flannel if you like. I find the adhesive holds it firmly in place. Do not use batting with your squares, because we don’t want the extra weight.
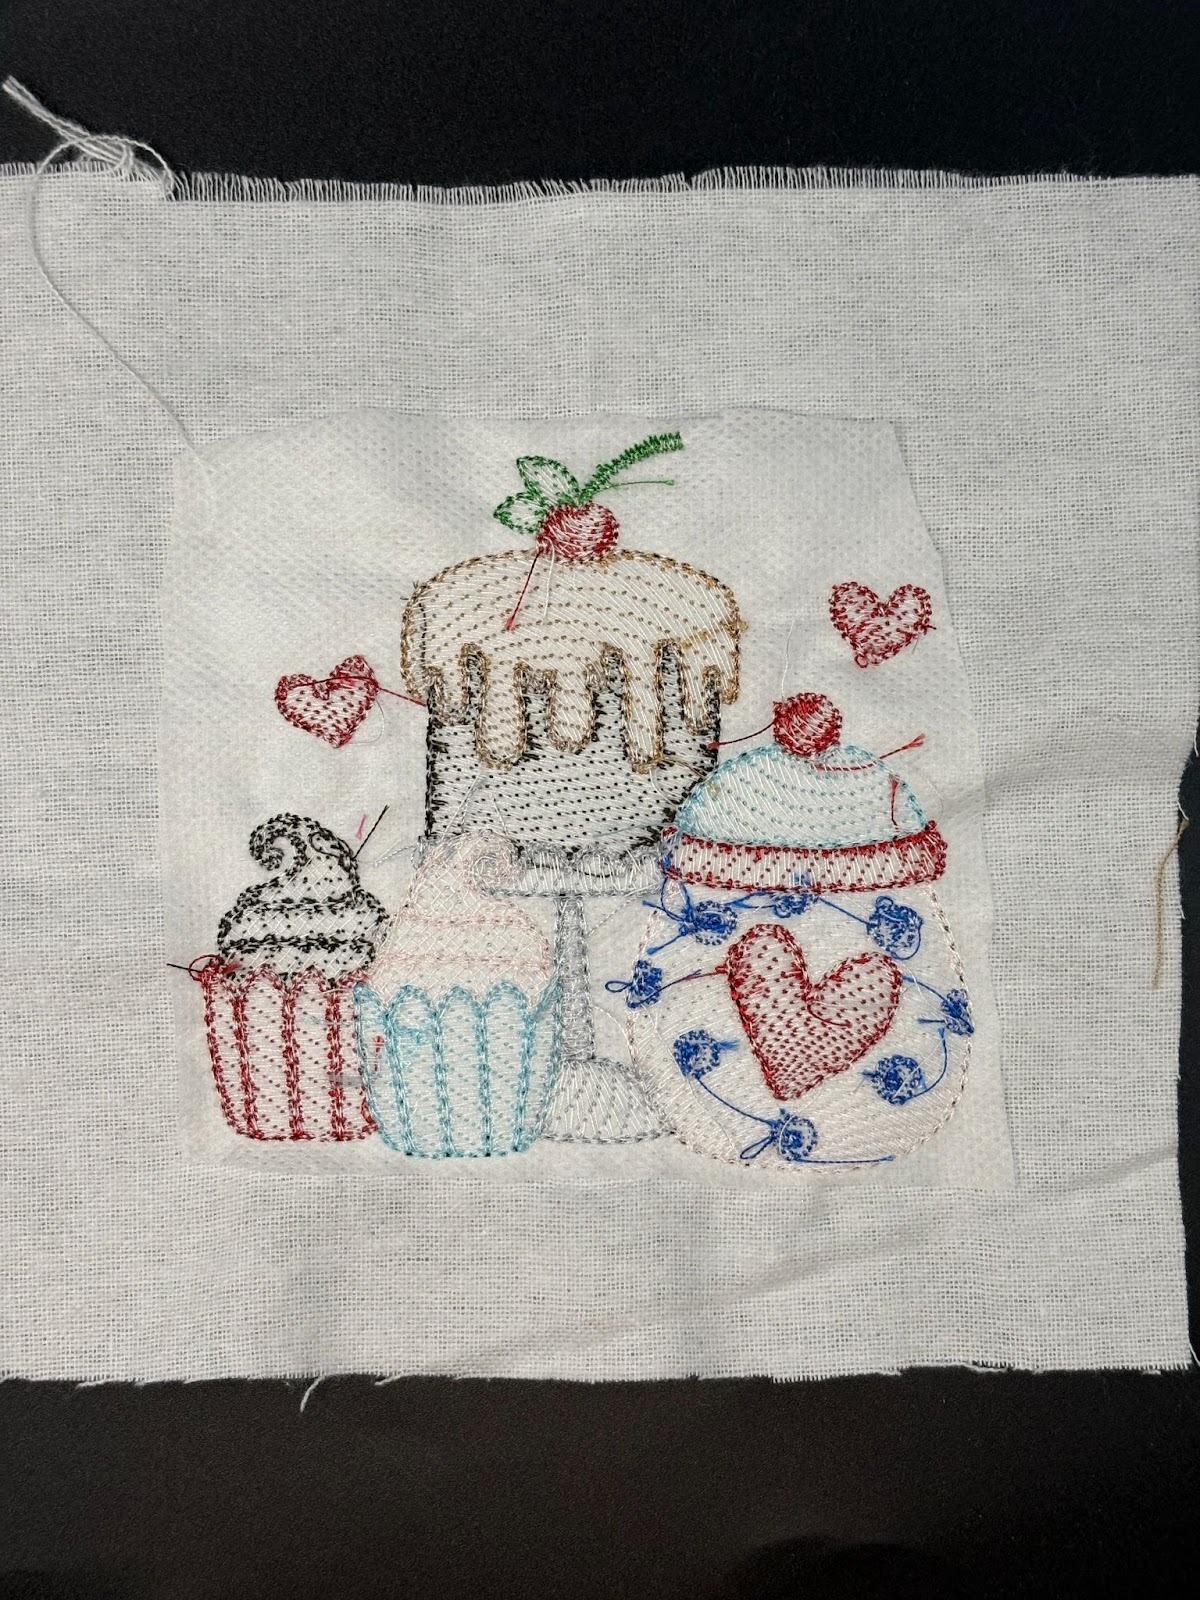
Stitch out all your solid squares, and trim away excess stabilizer.
For the print flannel on the front, I used Kitchen 2 End-to-End Quilting Embroidery Design.
Once you have decided on your end-to-end design, load it to your machine and choose the 3.50” x 3.50”.

Hoop wash-away stabilizer, spray with a fabric basting adhesive, and take it to the machine.

Center the square on top of the stabilizer and press down. Smooth out any wrinkles.
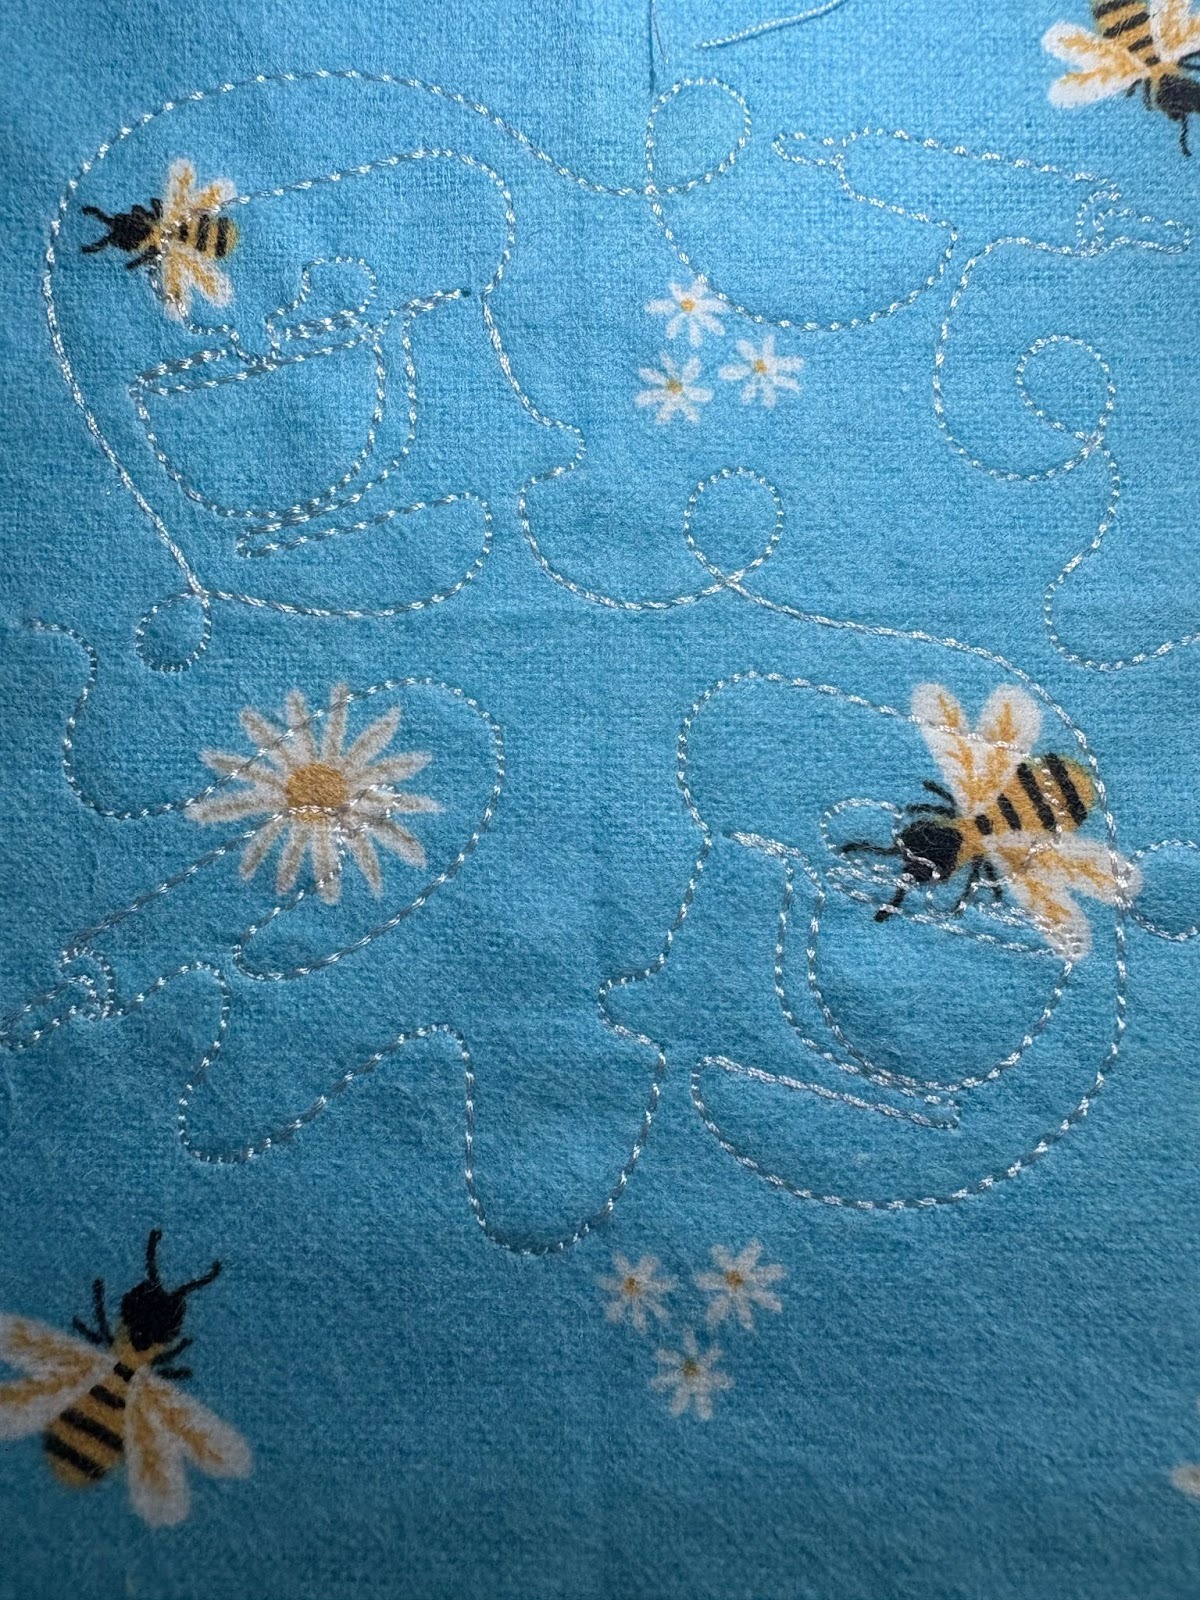
Run the end-to-end design twice. This will enable the thread to be visible. Continue until you have completed all the squares of your printed flannel for the front.
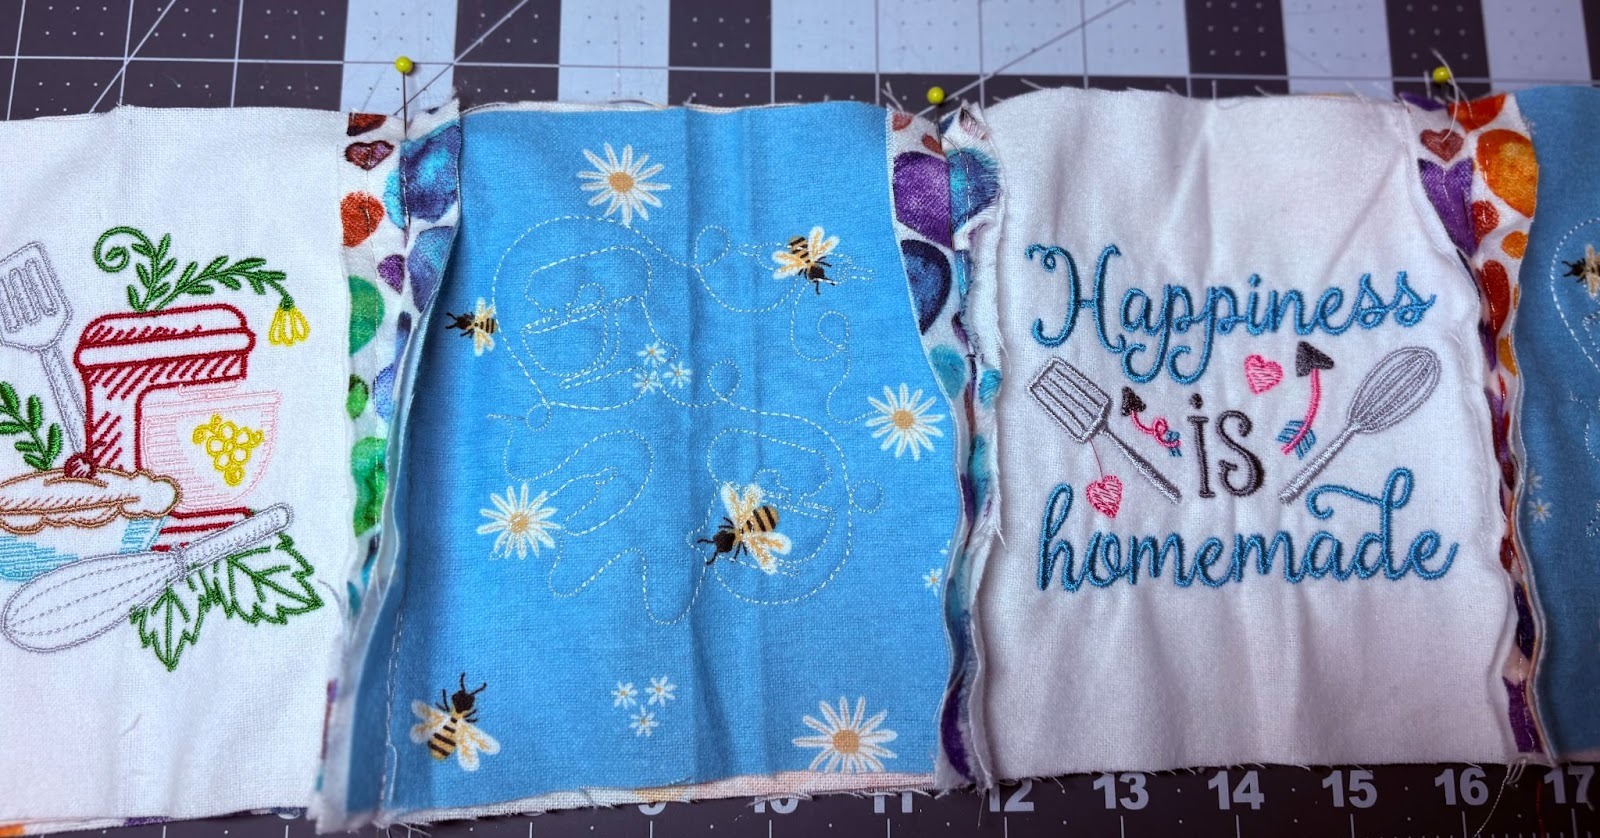
Pin the front and back squares together. Take to the sewing machine.
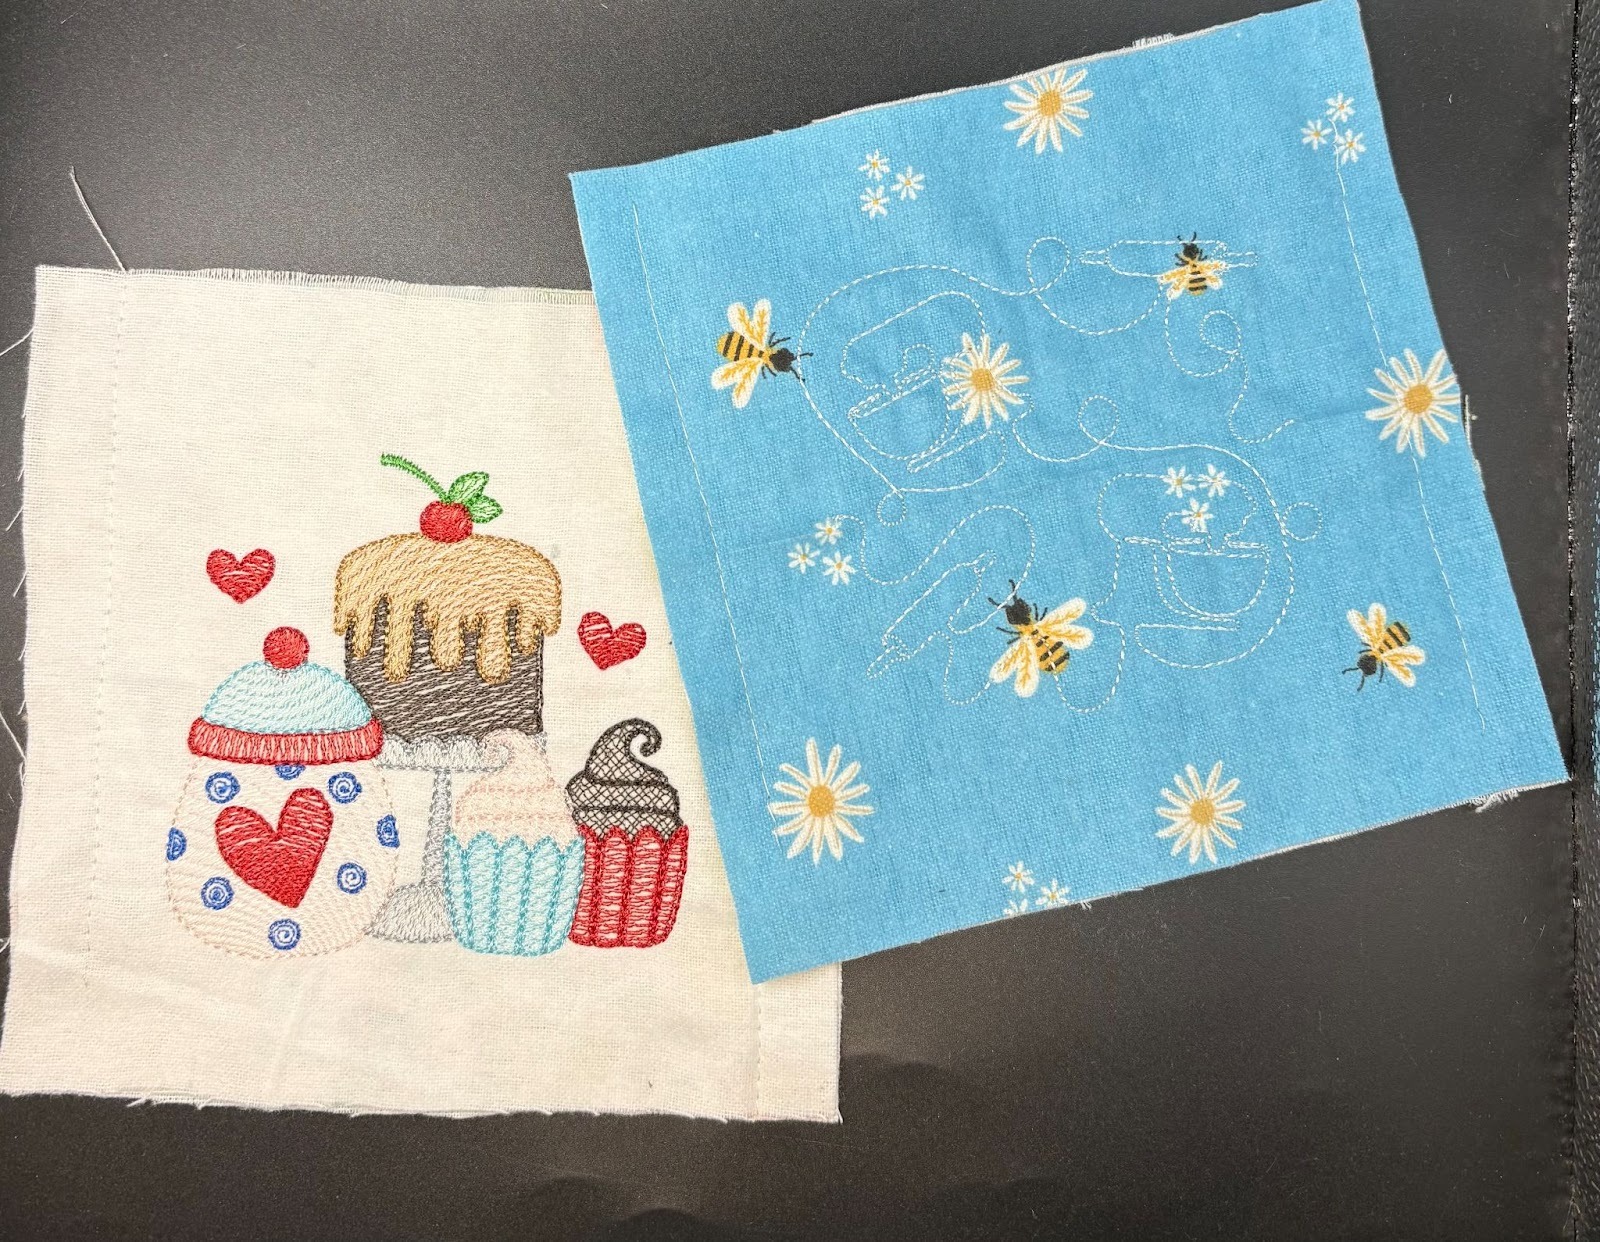
With a long basting stitch, attach the back fabric to each of your finished squares. Stitch down each side, close to the edge. We only want to hold the two squares together.
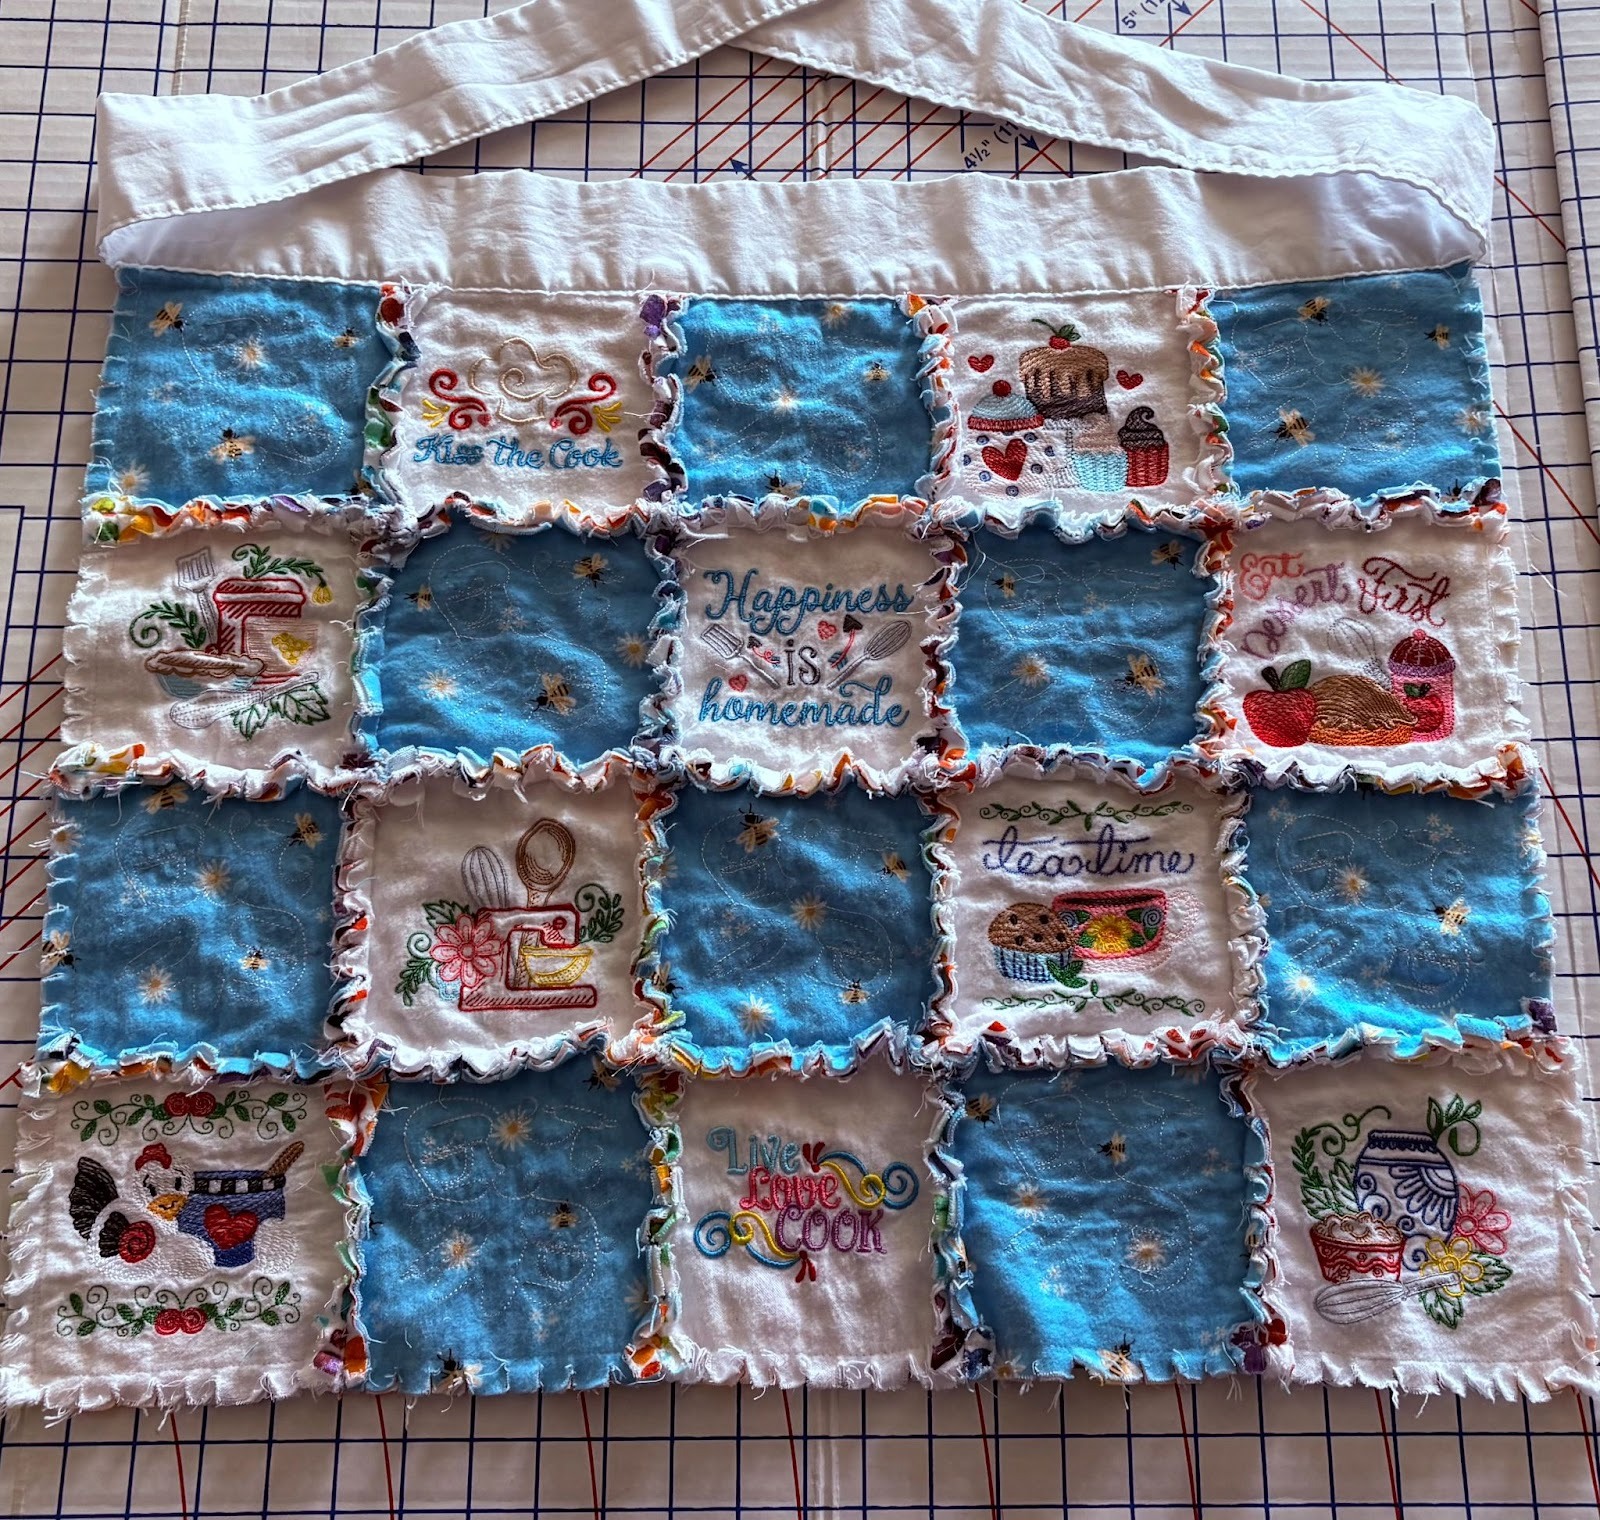
Lay your squares out onto a flat surface and arrange them to your liking.

Place two squares back sides together and sew a ½” seam along the joining edge (consistent seam allowance gives even fray). Continue adding squares to form the first row.

Hold this first row up to your hips. Do you need to add or subtract a square? If you want your apron wider, go back and stitch out additional squares. If you want it smaller, remove the end square. If you are satisfied, continue sewing each row together.
Next, place two rows, back sides together, matching seams, and pin or clip. Then sew along the long edge using a ½” seam allowance. Continue adding rows to create the full apron front.
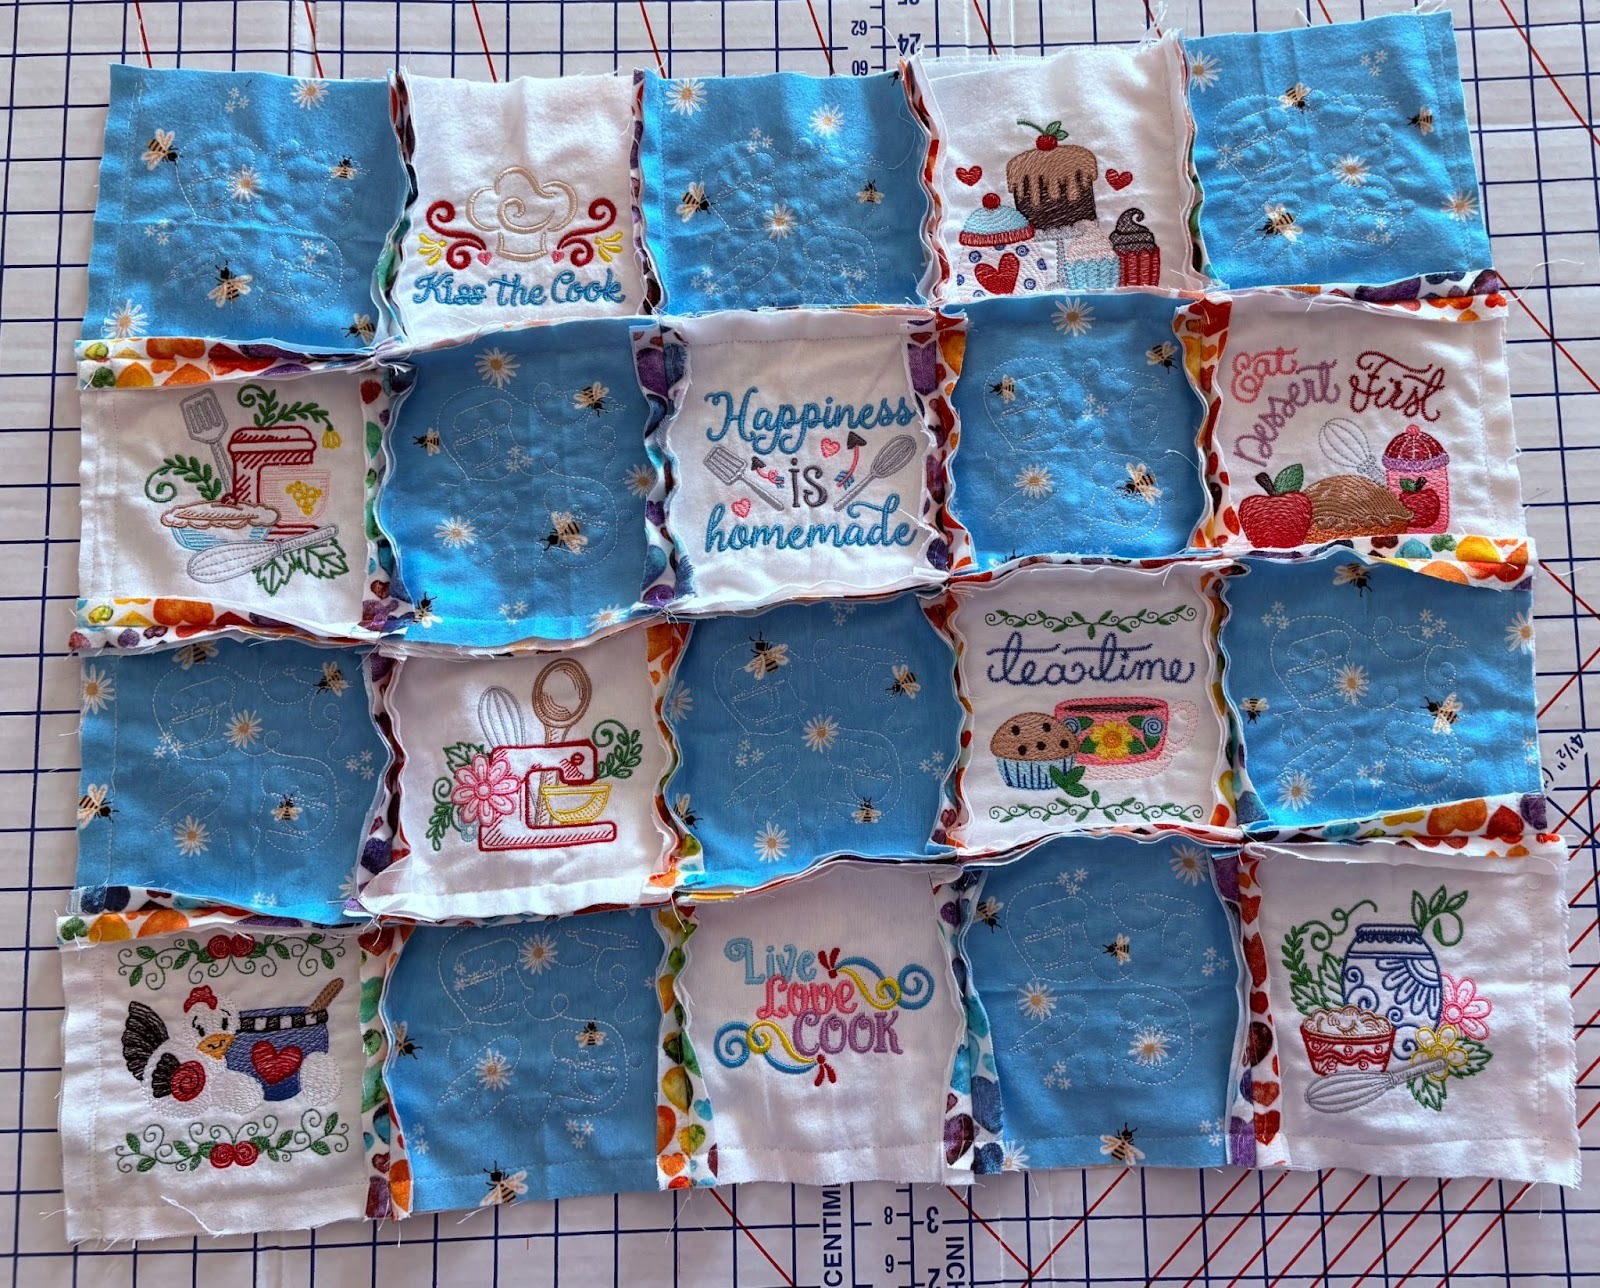
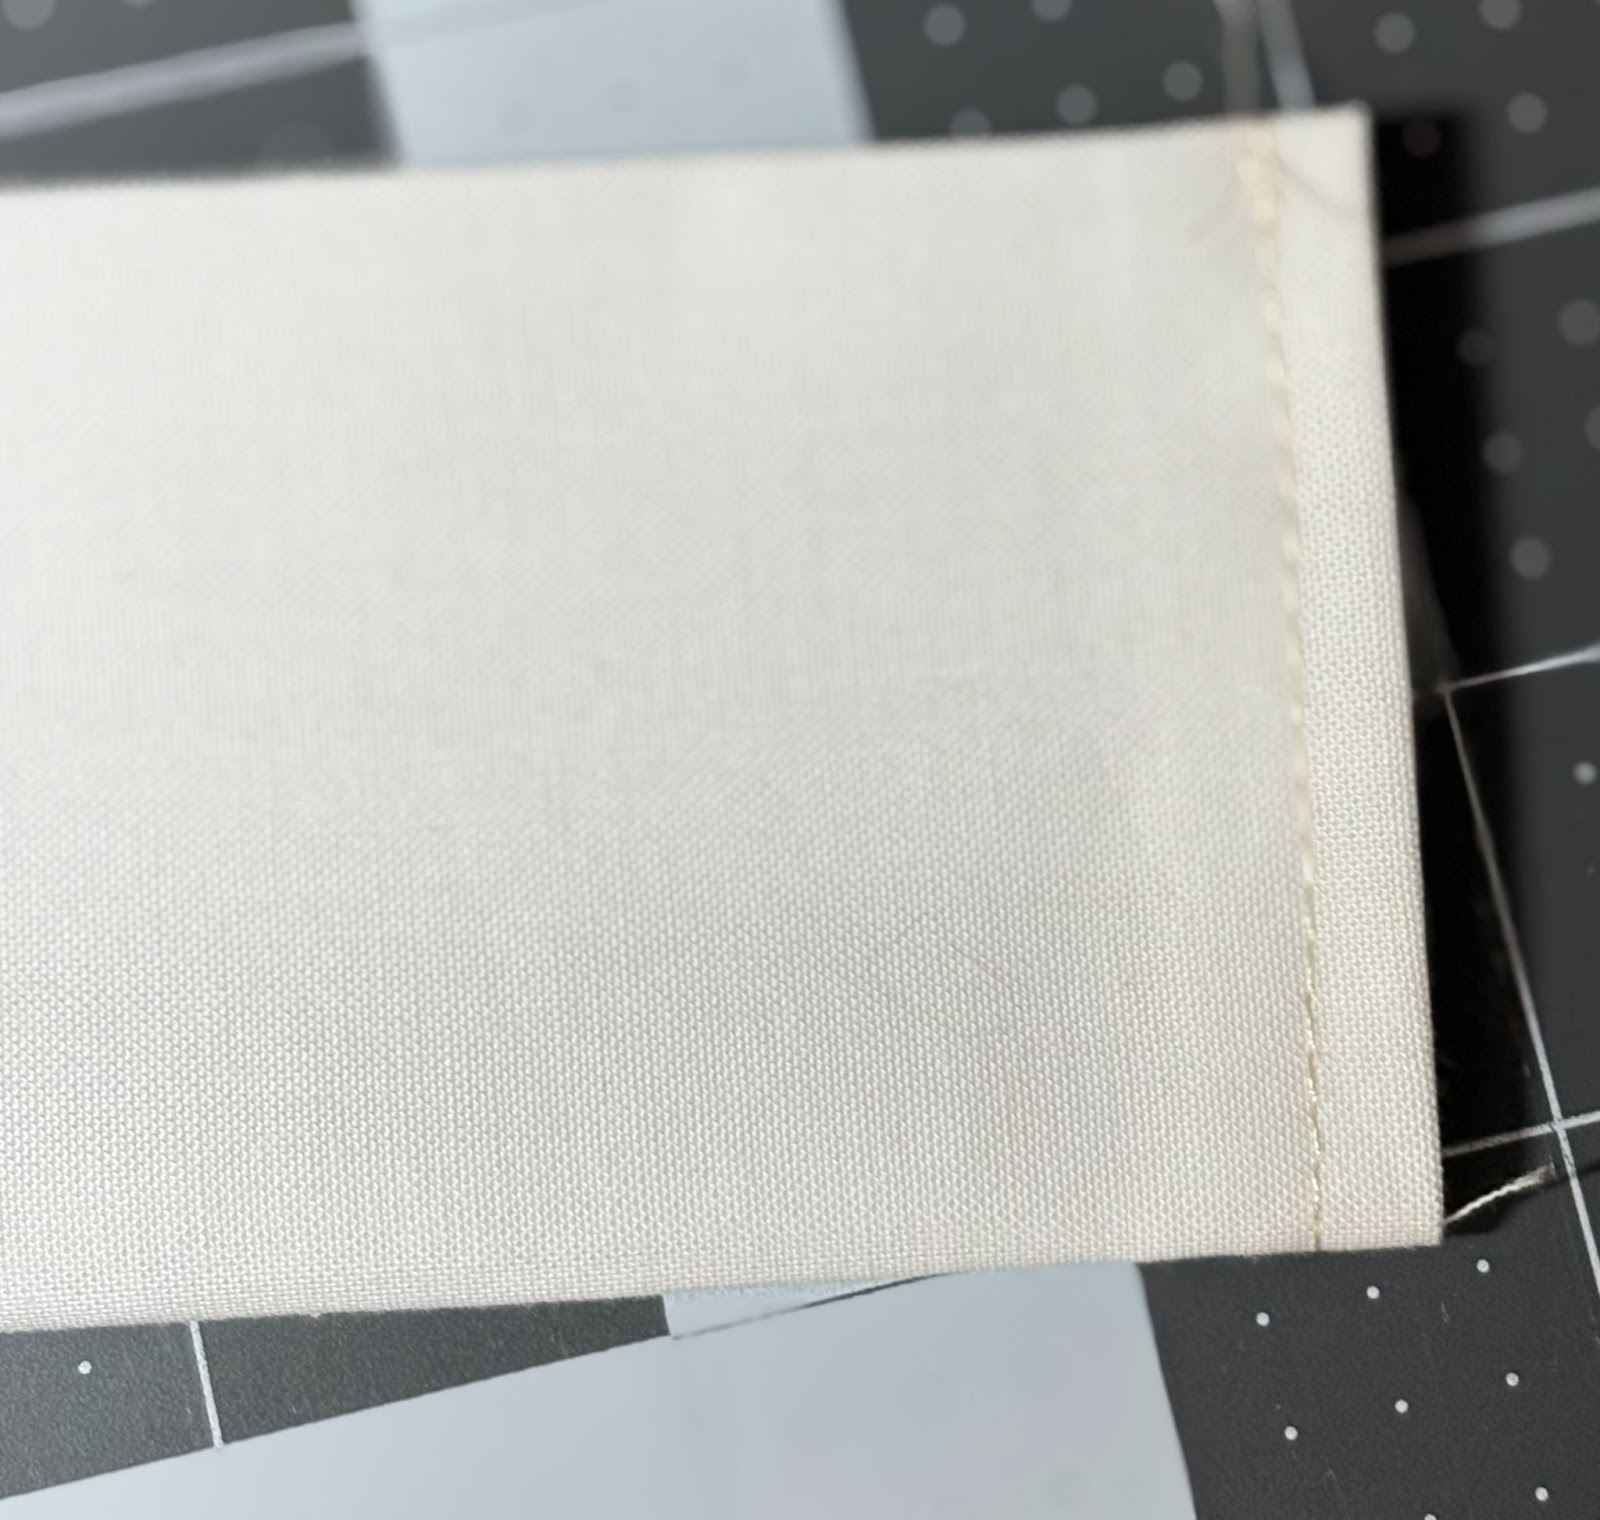
Stitch ½” from the edge on all four sides of the apron, stitching seams open.
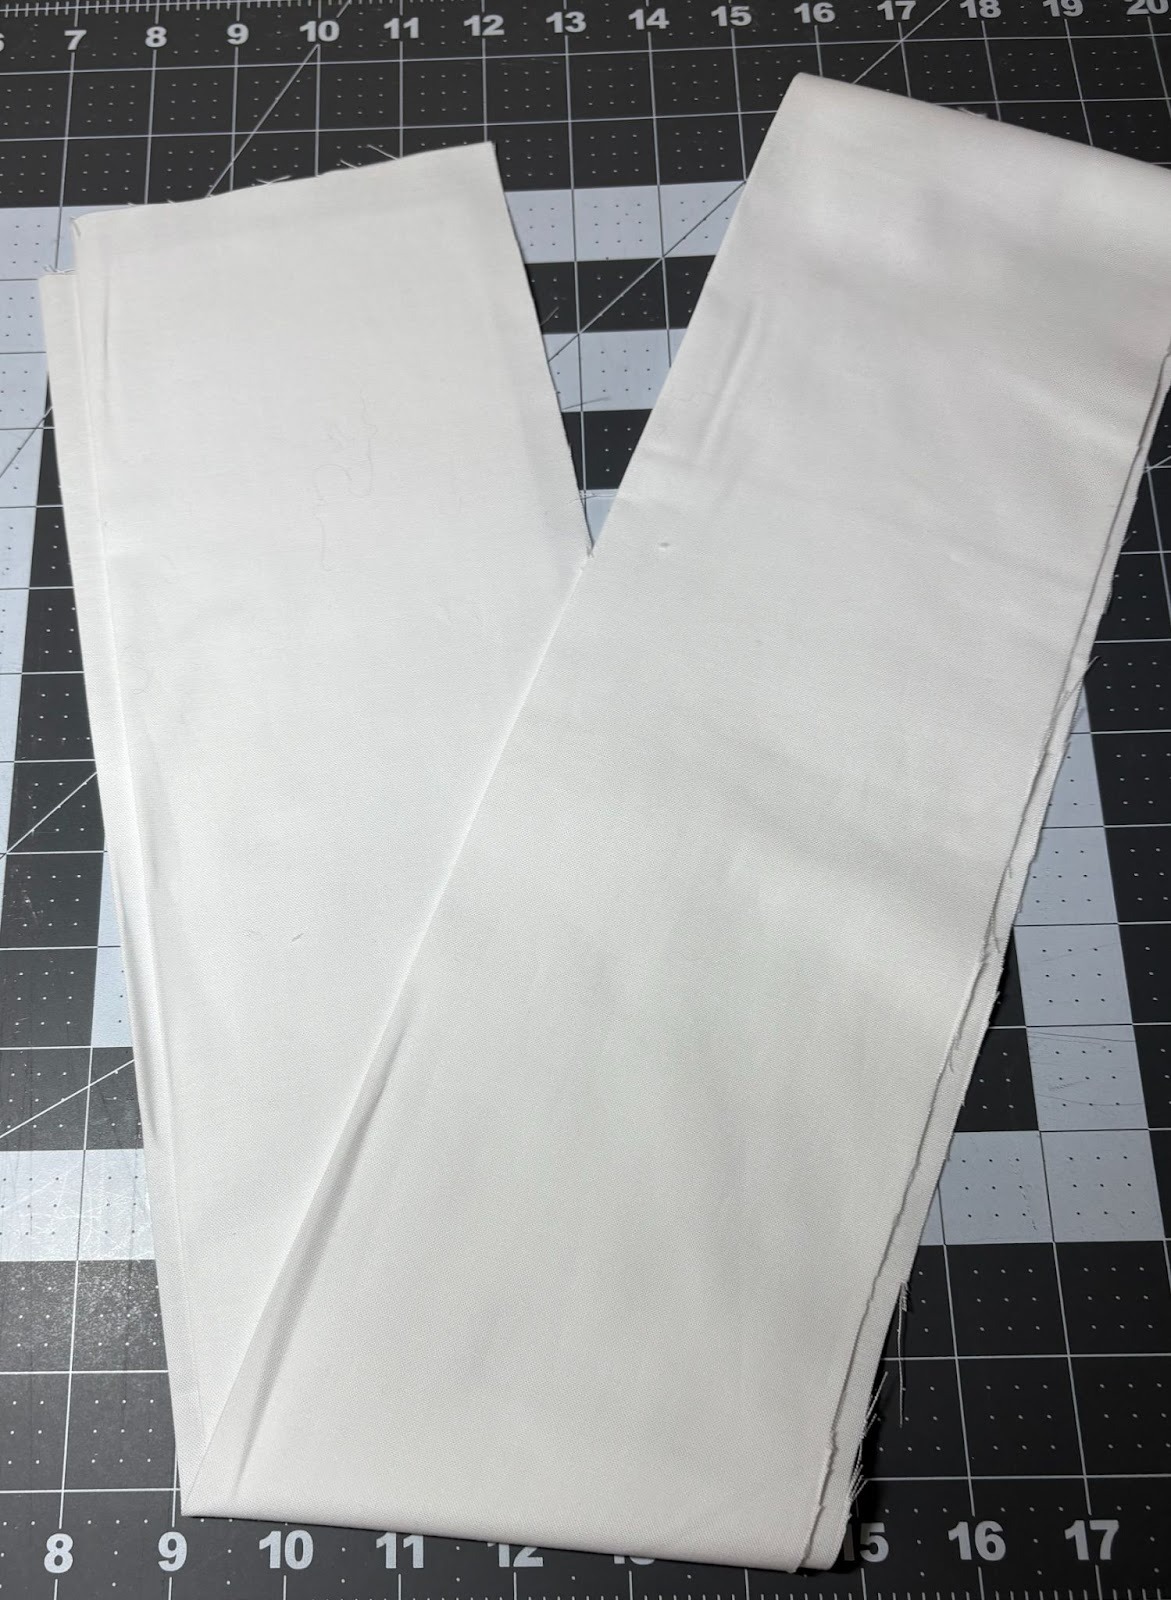
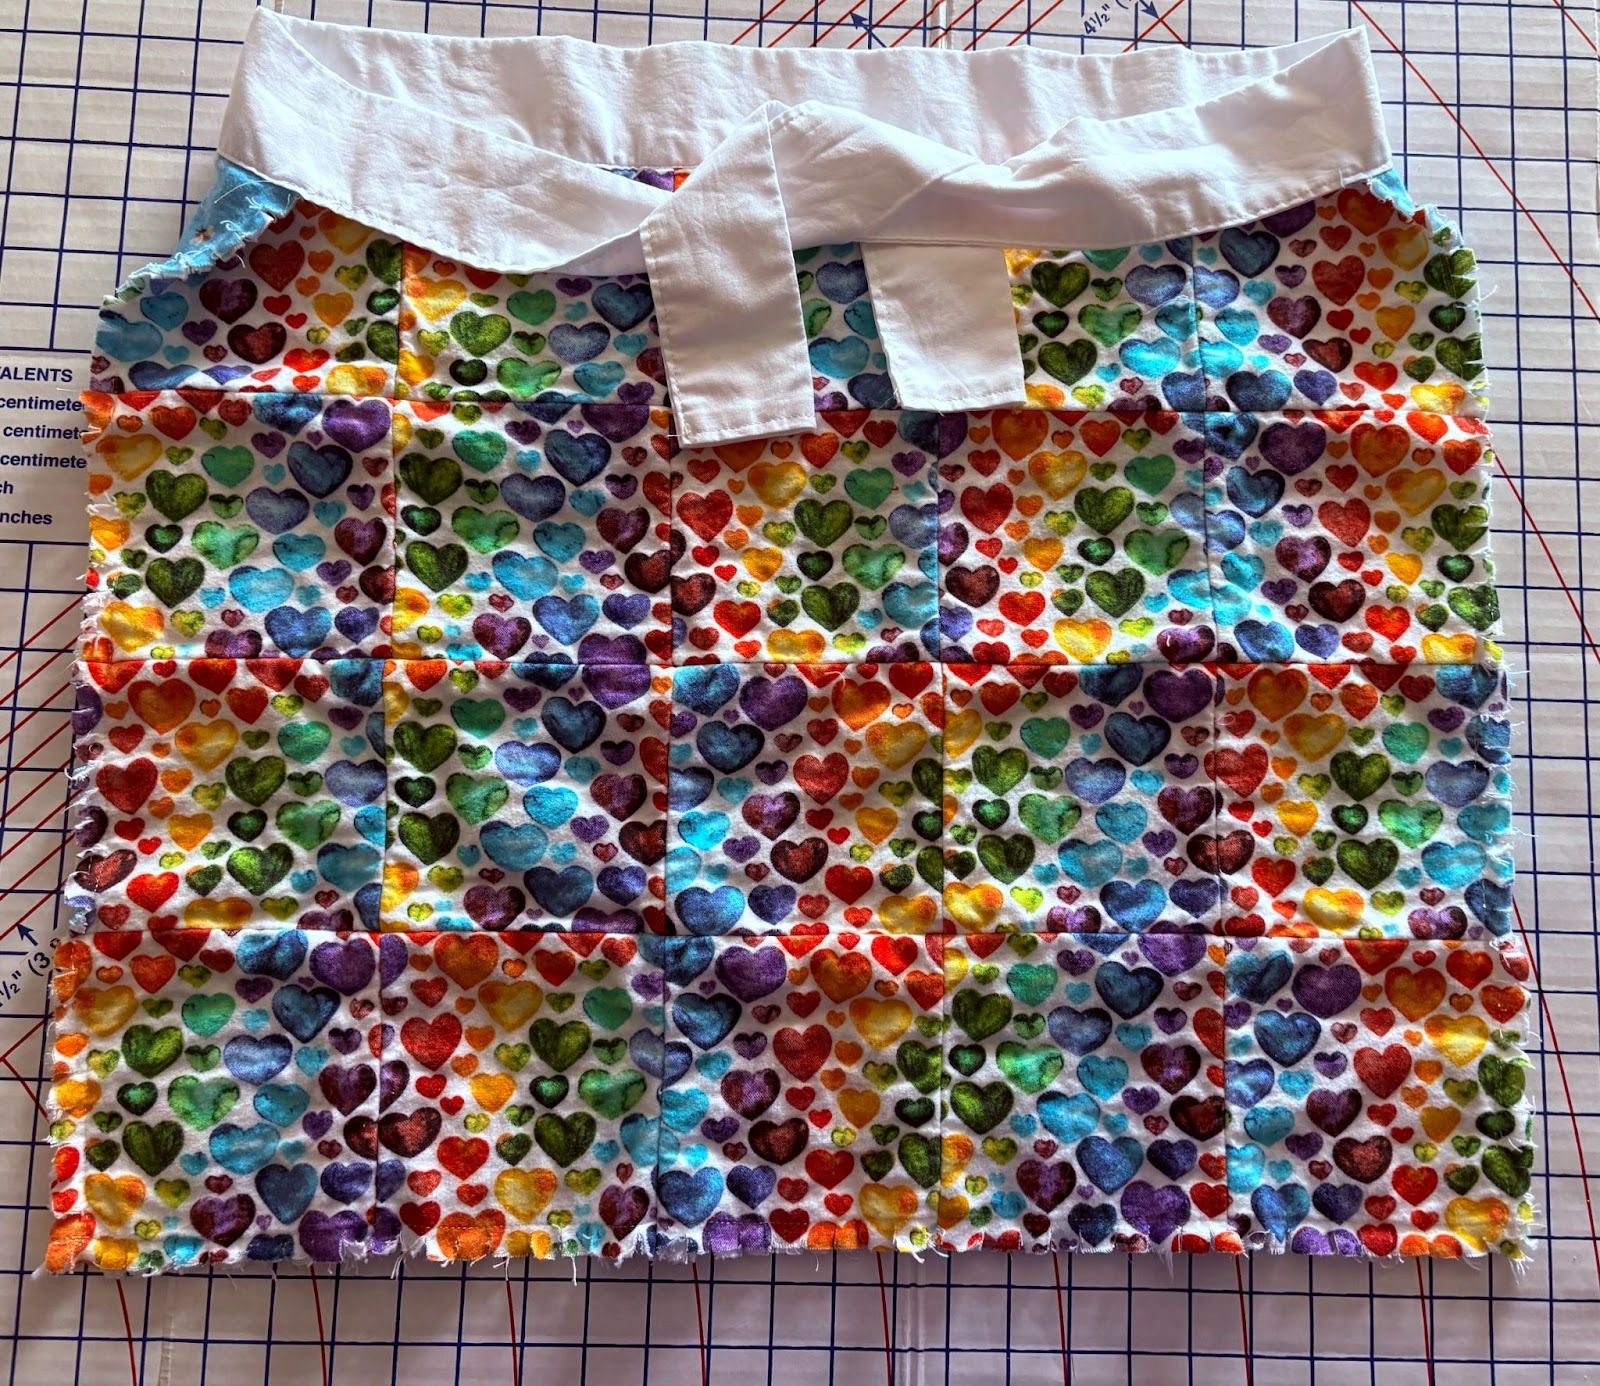
For the waistband, I cut a strip of fabric 10” wide by 60” long. You can add fabric to each end of your strip to lengthen it if needed.

Turn the short ends in ½” and bring the long edges to the center. Press, then stitch across short ends.
Fold the fabric in half lengthwise to create a 2½” x 60” strip.
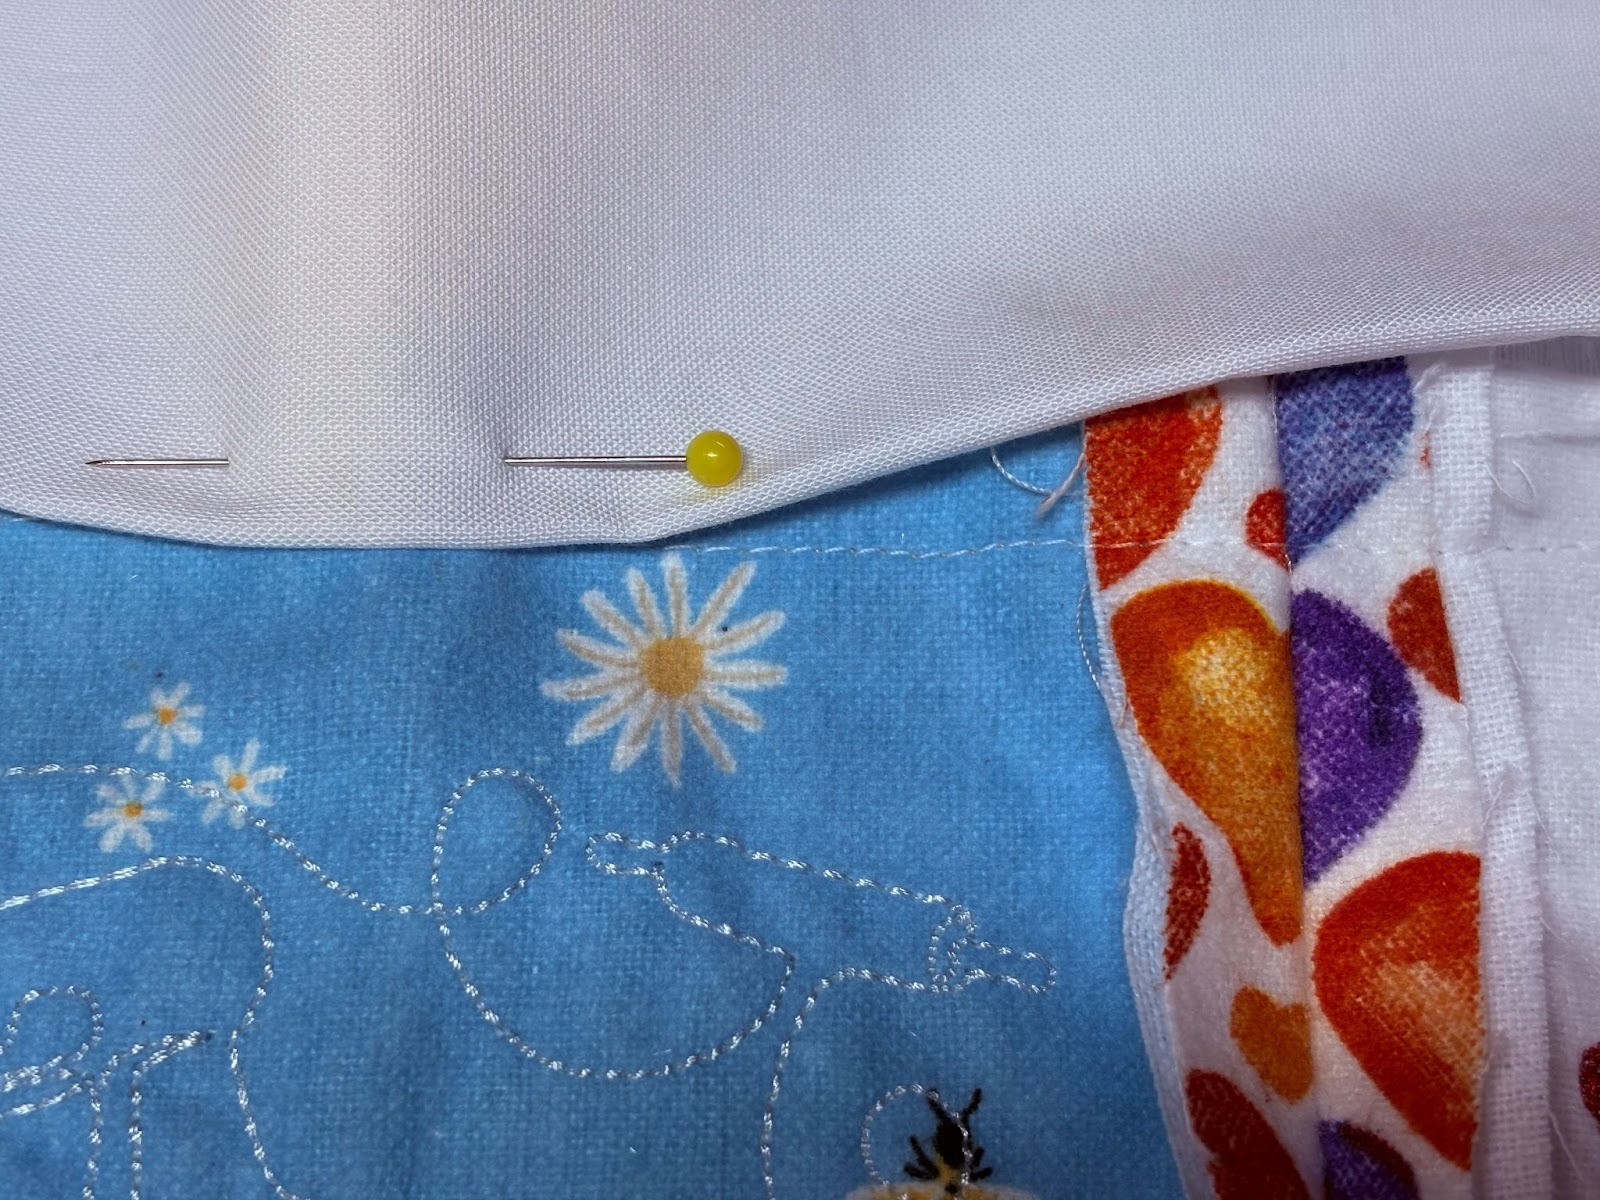
Center and pin the waistband to the top of the apron, sandwiching the apron between the two sides of the waistband. Match the folded edge with the ½” seam we stitched along the top on both front and back.
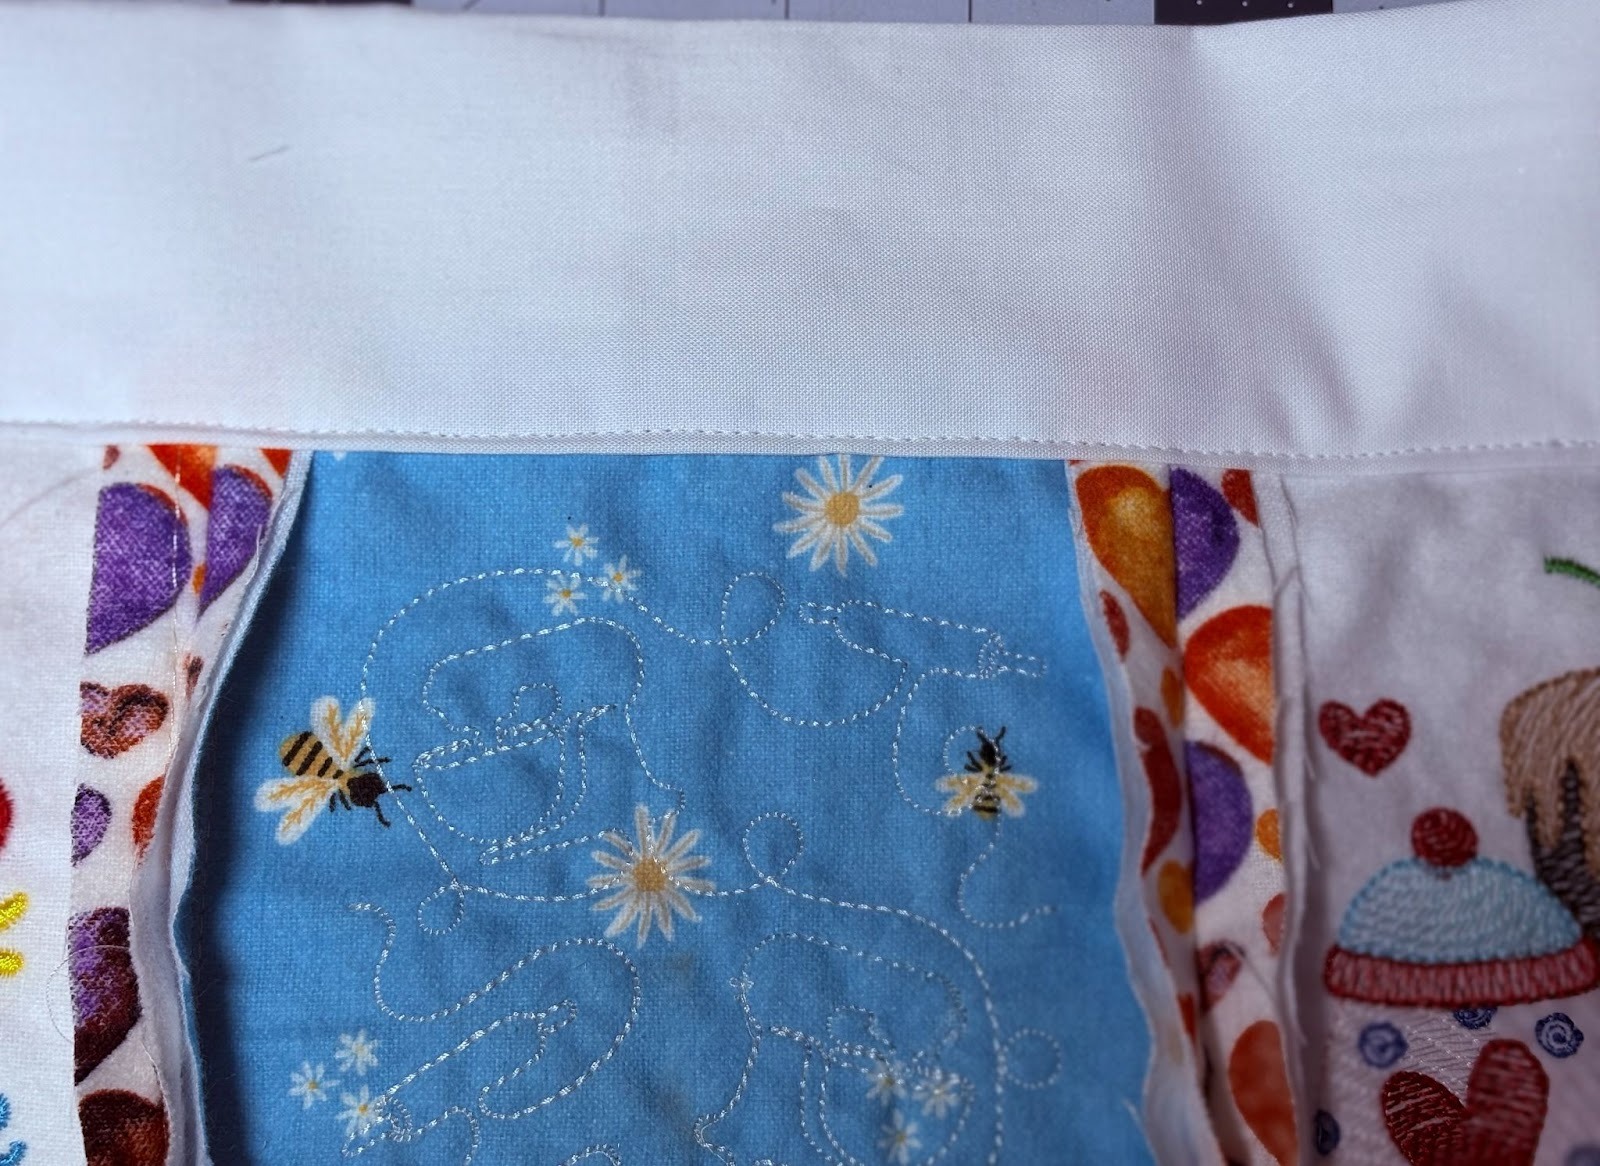
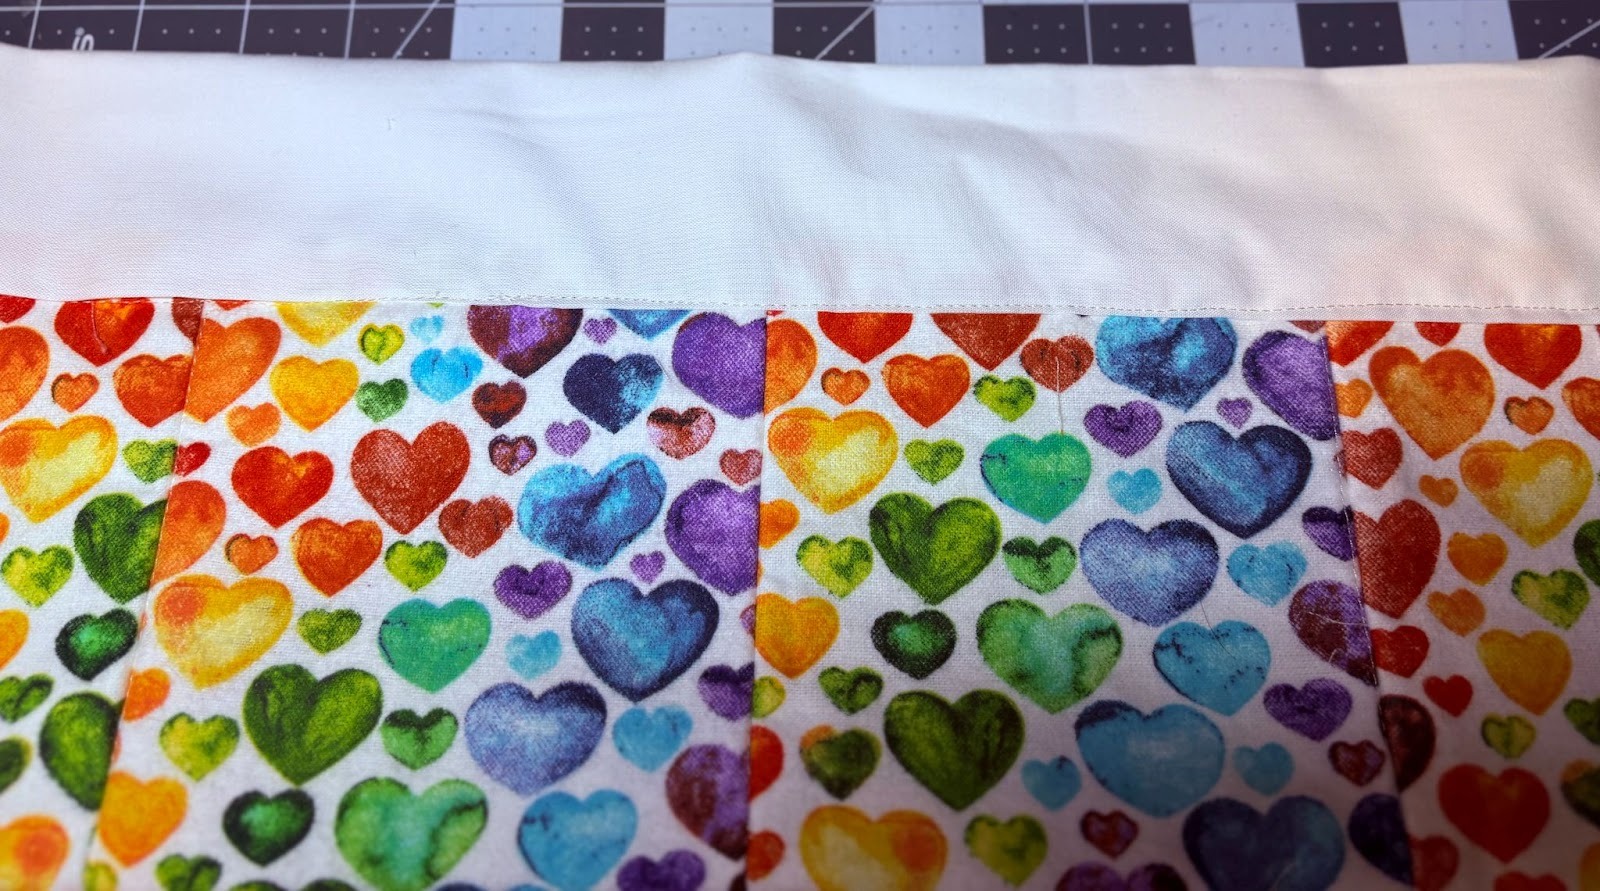
Stitch along the edge of the waistband, catching the apron top and back inside the fabric.
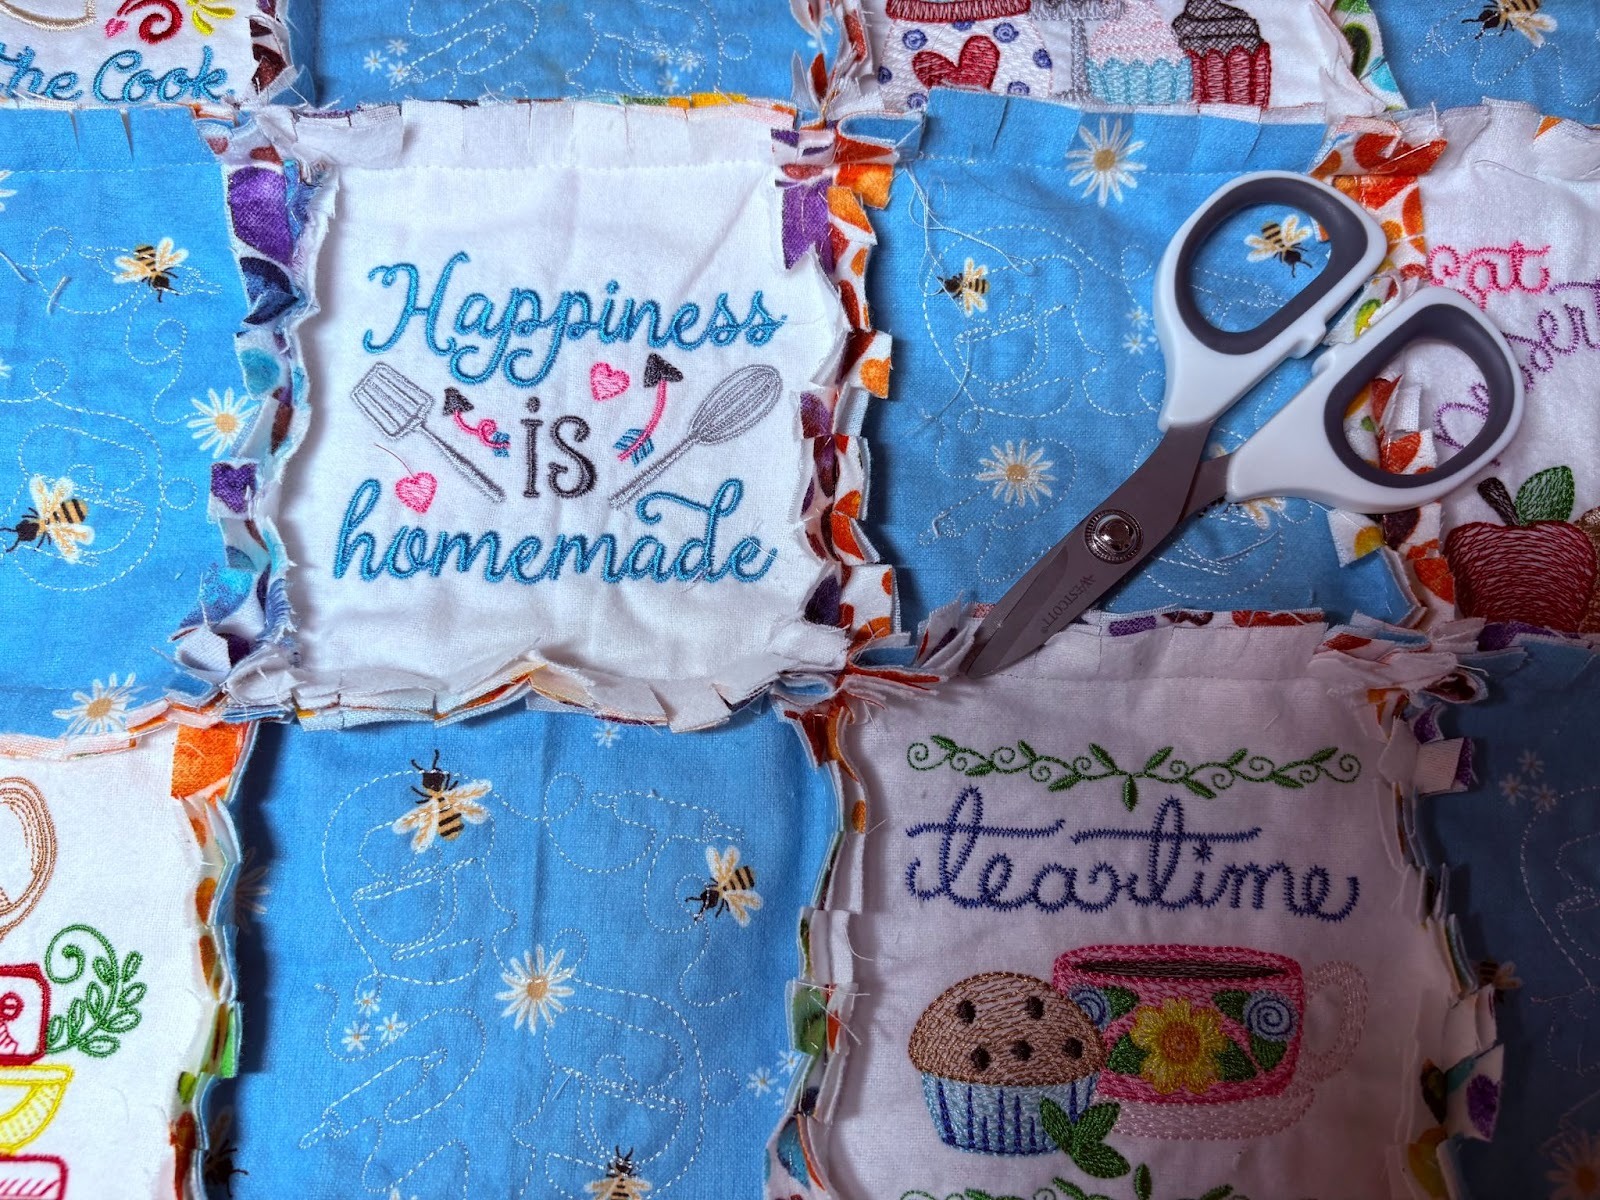
Use scissors to clip seam allowances at ¼” to ½” intervals, but be careful not to cut into the seam.
To achieve the soft frayed edge, wash and dry the apron or tumble dry it with a few towels. This will encourage the seam allowances to open and fray.
Your new apron is complete!

I hope this project inspires you to look at your embroidered rag squares in a new way. There’s something special about turning small stitched pieces into something usable and full of personality. This half-waist apron is cozy, charming, and completely customizable. No two will ever be the same. Make one for the holidays too.
We'd love to see your version and the fabrics and designs you chose. Be sure to share in the Designs by JuJu Embroidery Blessings Group on Facebook, or anywhere on social media using the hashtag #designsbyjuju. Happy stitching, and enjoy wearing your new apron!
