Toggle Nav
 Inspire.
Create.
Stitch.
Inspire.
Create.
Stitch.
Search
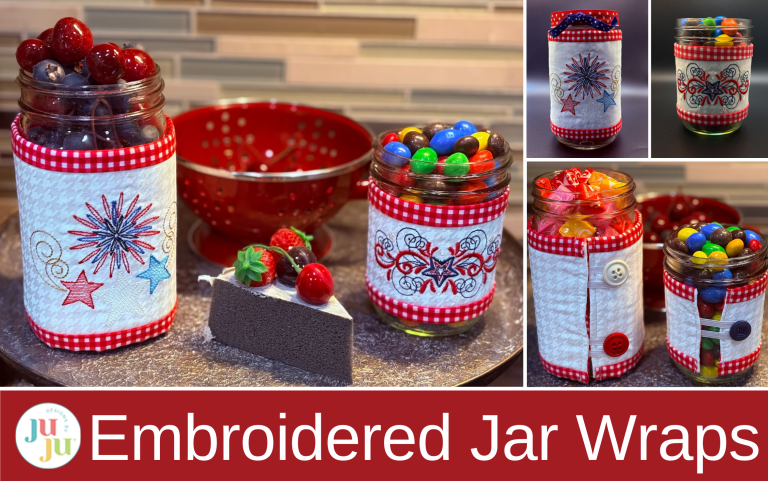
Dress up your summer table with DIY patriotic mason jar wraps using festive machine embroidery designs!
Summer is just around the corner, which means more time spent outdoors with family and friends. With the Fourth of July approaching, I have a quick and fun project to help you dress up your outdoor table or bring to a friend's gathering. In this tutorial, I'll show you how to decorate a mason jar with a simple and stylish wrap. These wraps can transform a plain jar into a festive decoration. You can use them to create a charming centerpiece or fill the jars with candy, flowers, or even sparklers for the kids to celebrate Independence Day!
Check out the DBJJ team’s favorite supplies in the Designs by Juju Amazon store.
(Measurements are for a quart-size jar. Pint-size jar measurements are in parentheses.)
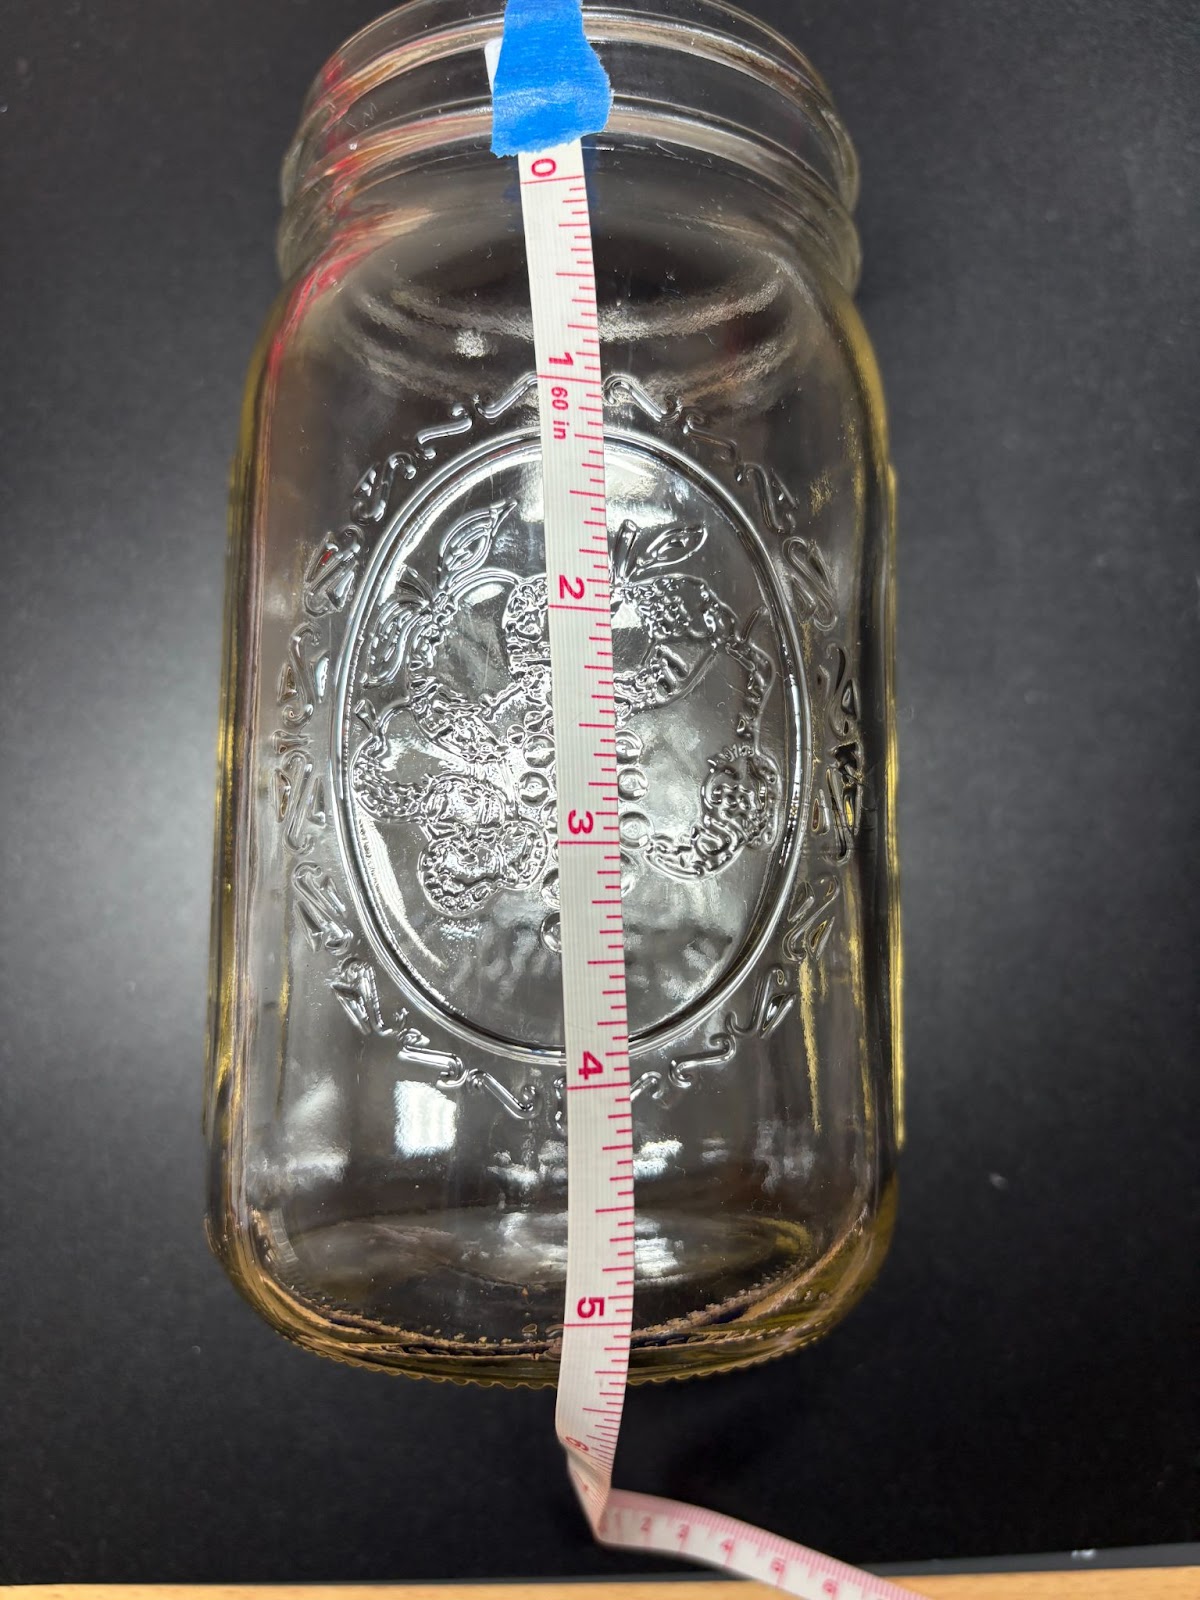
In this tutorial I used mason jars. If you want to use different jars or canisters, measure around the middle of the jar and add ½” for the length. For the width, measure the front of the jar only where you want the embroidery design to be. Do not measure from top of the lip of the jar to the bottom. Example above shows I want the width of my fabric to be 5” but to allow for binding, the design will be no larger than 4”. A larger jar or canister will allow you to use a larger design.
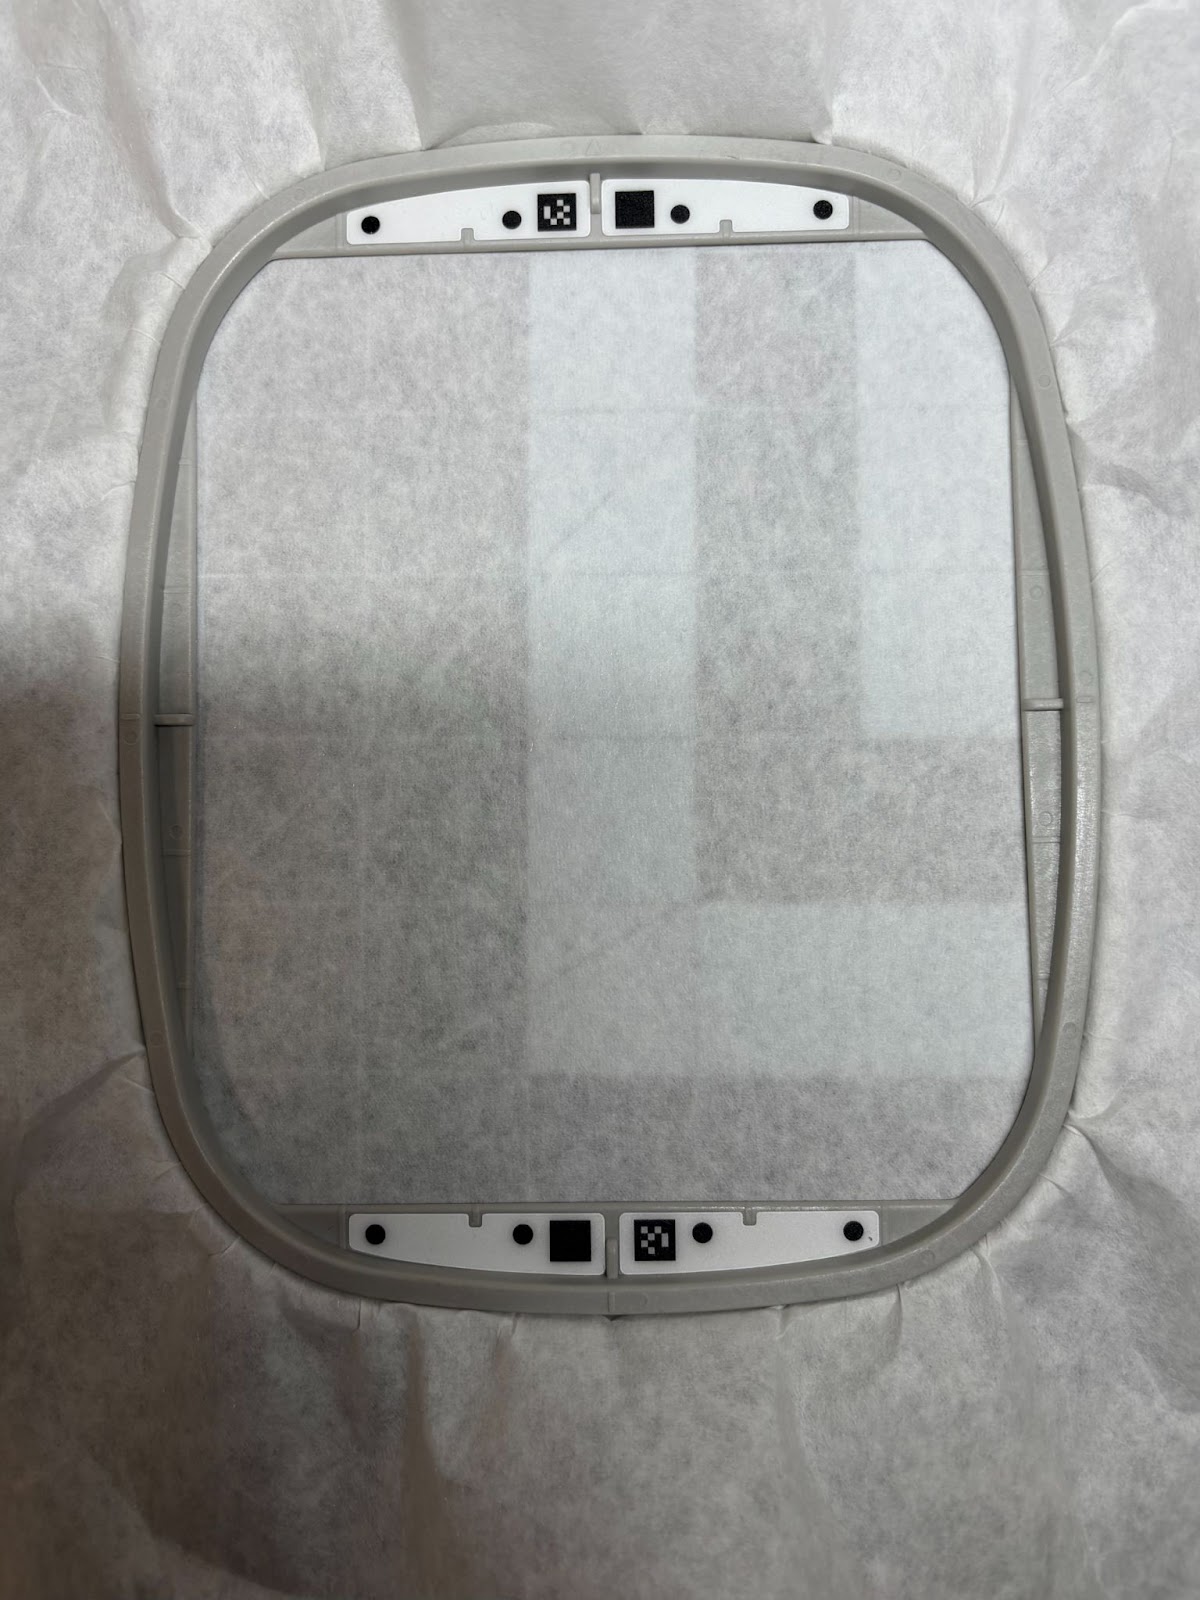
Add a single layer of tear-away stabilizer to a 5x7 hoop and take it to your machine.
Designs by JuJu offers a variety of designs you are able to use for this project. Most designs will need to fit into a 4x4 hoop, but since I chose a corner design, I will be rotating my fabric, which will allow for a larger design size.

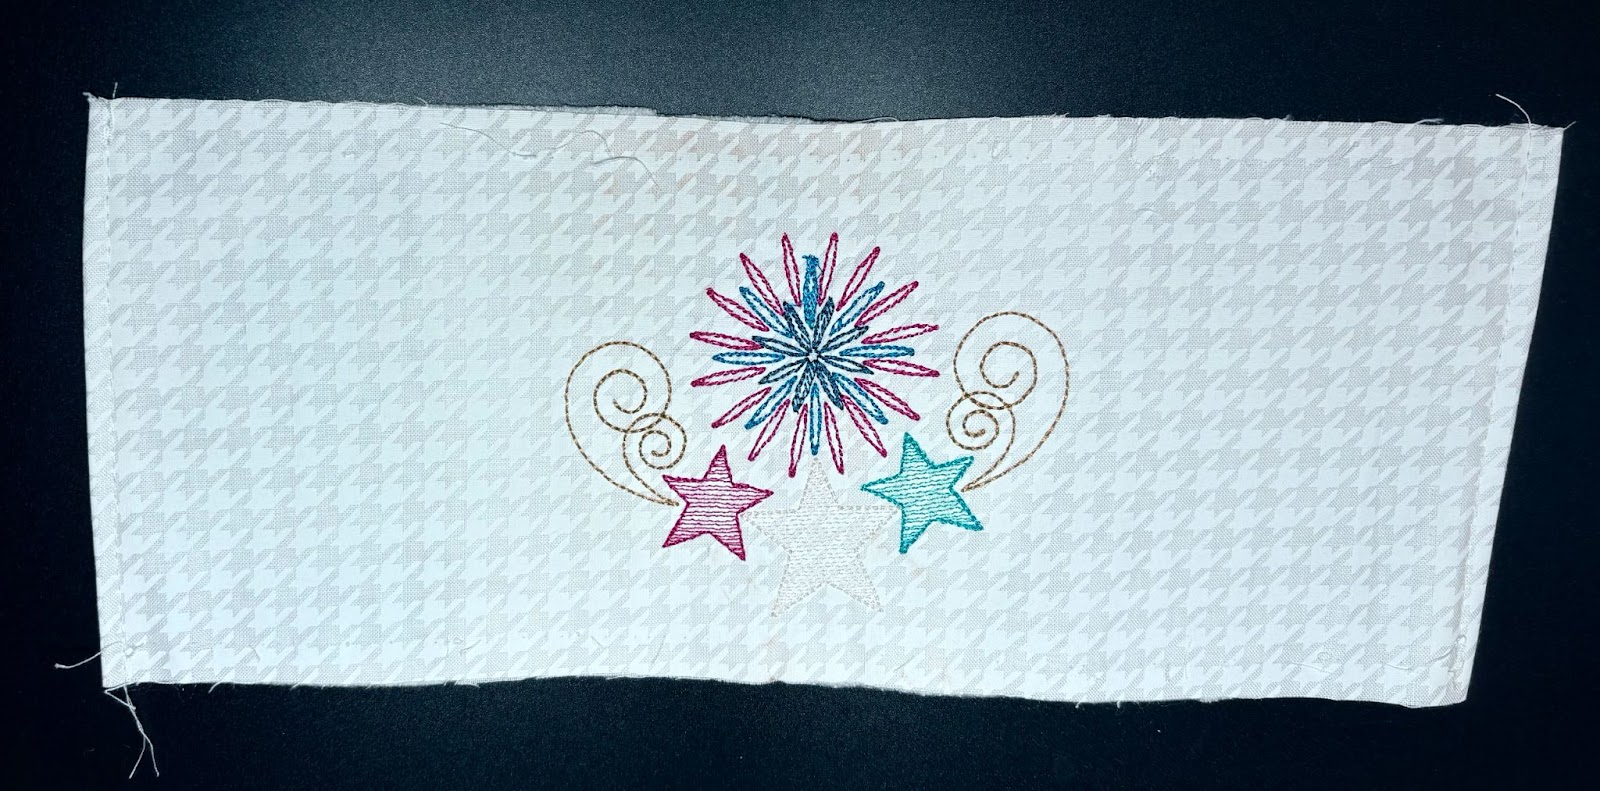
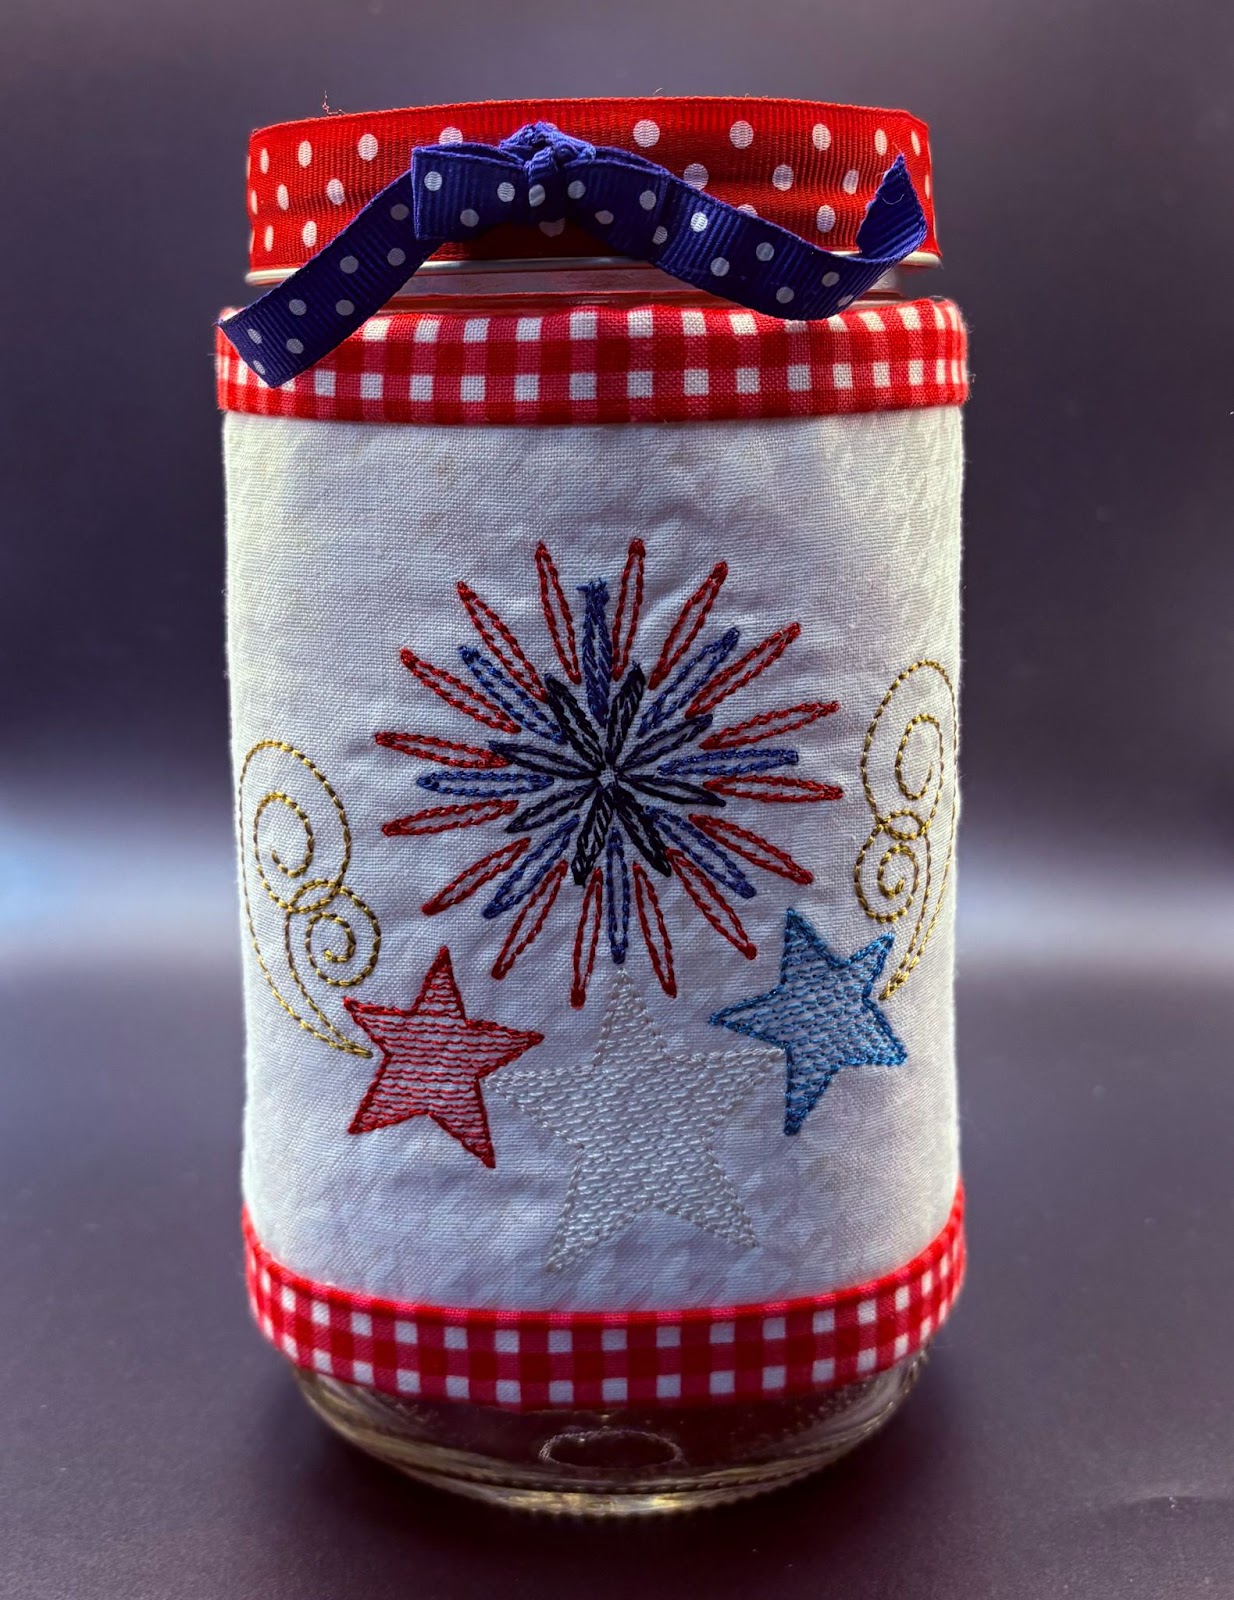
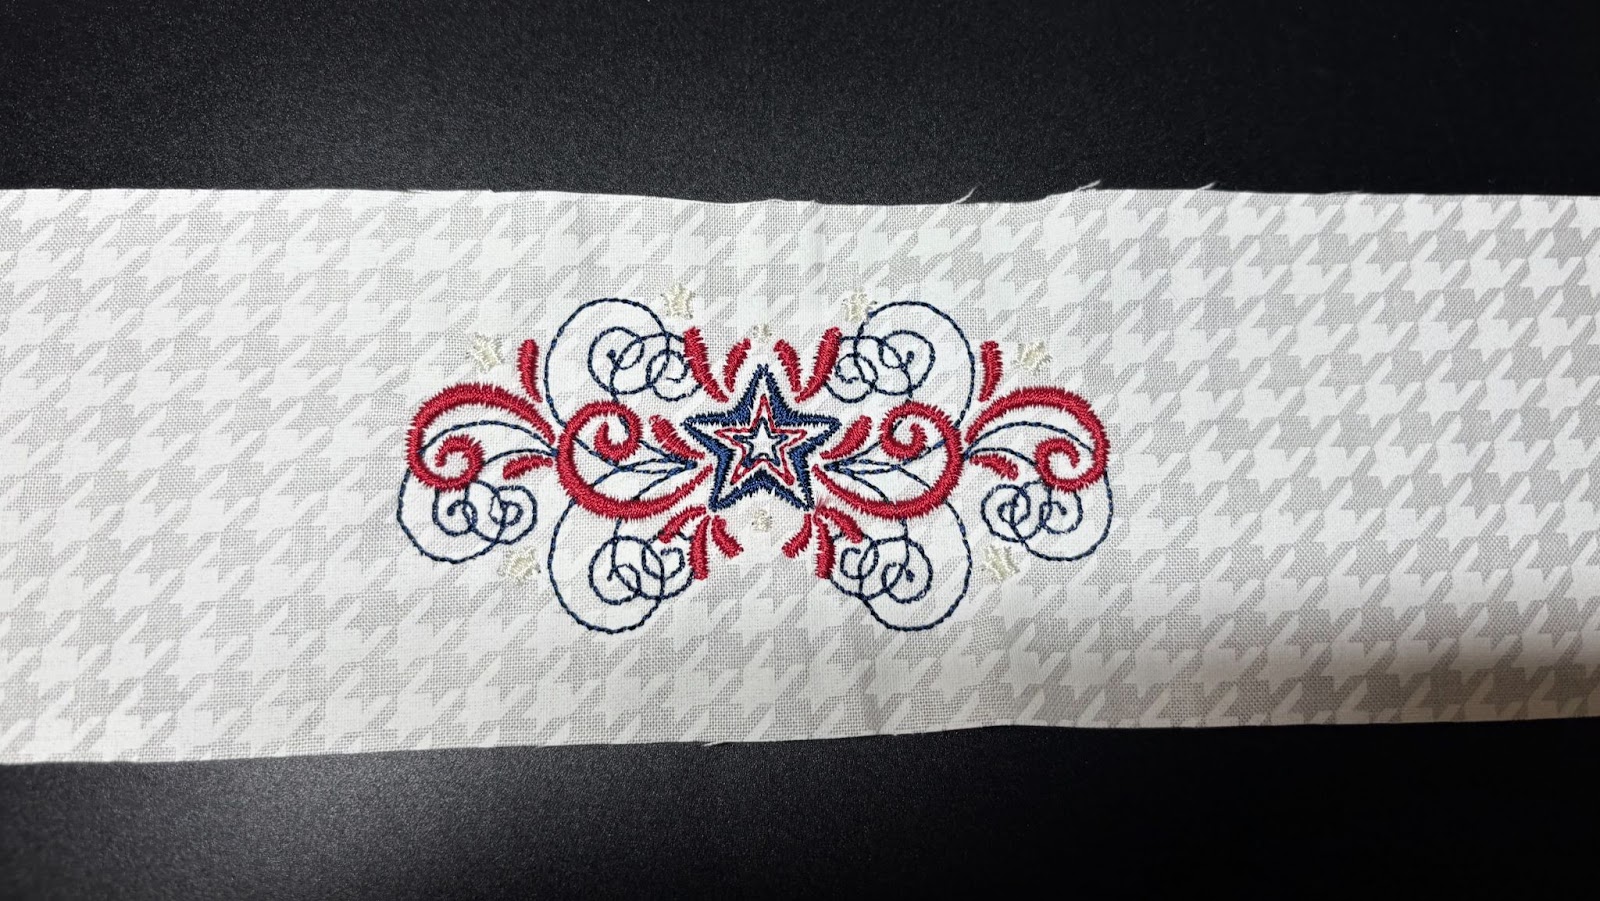
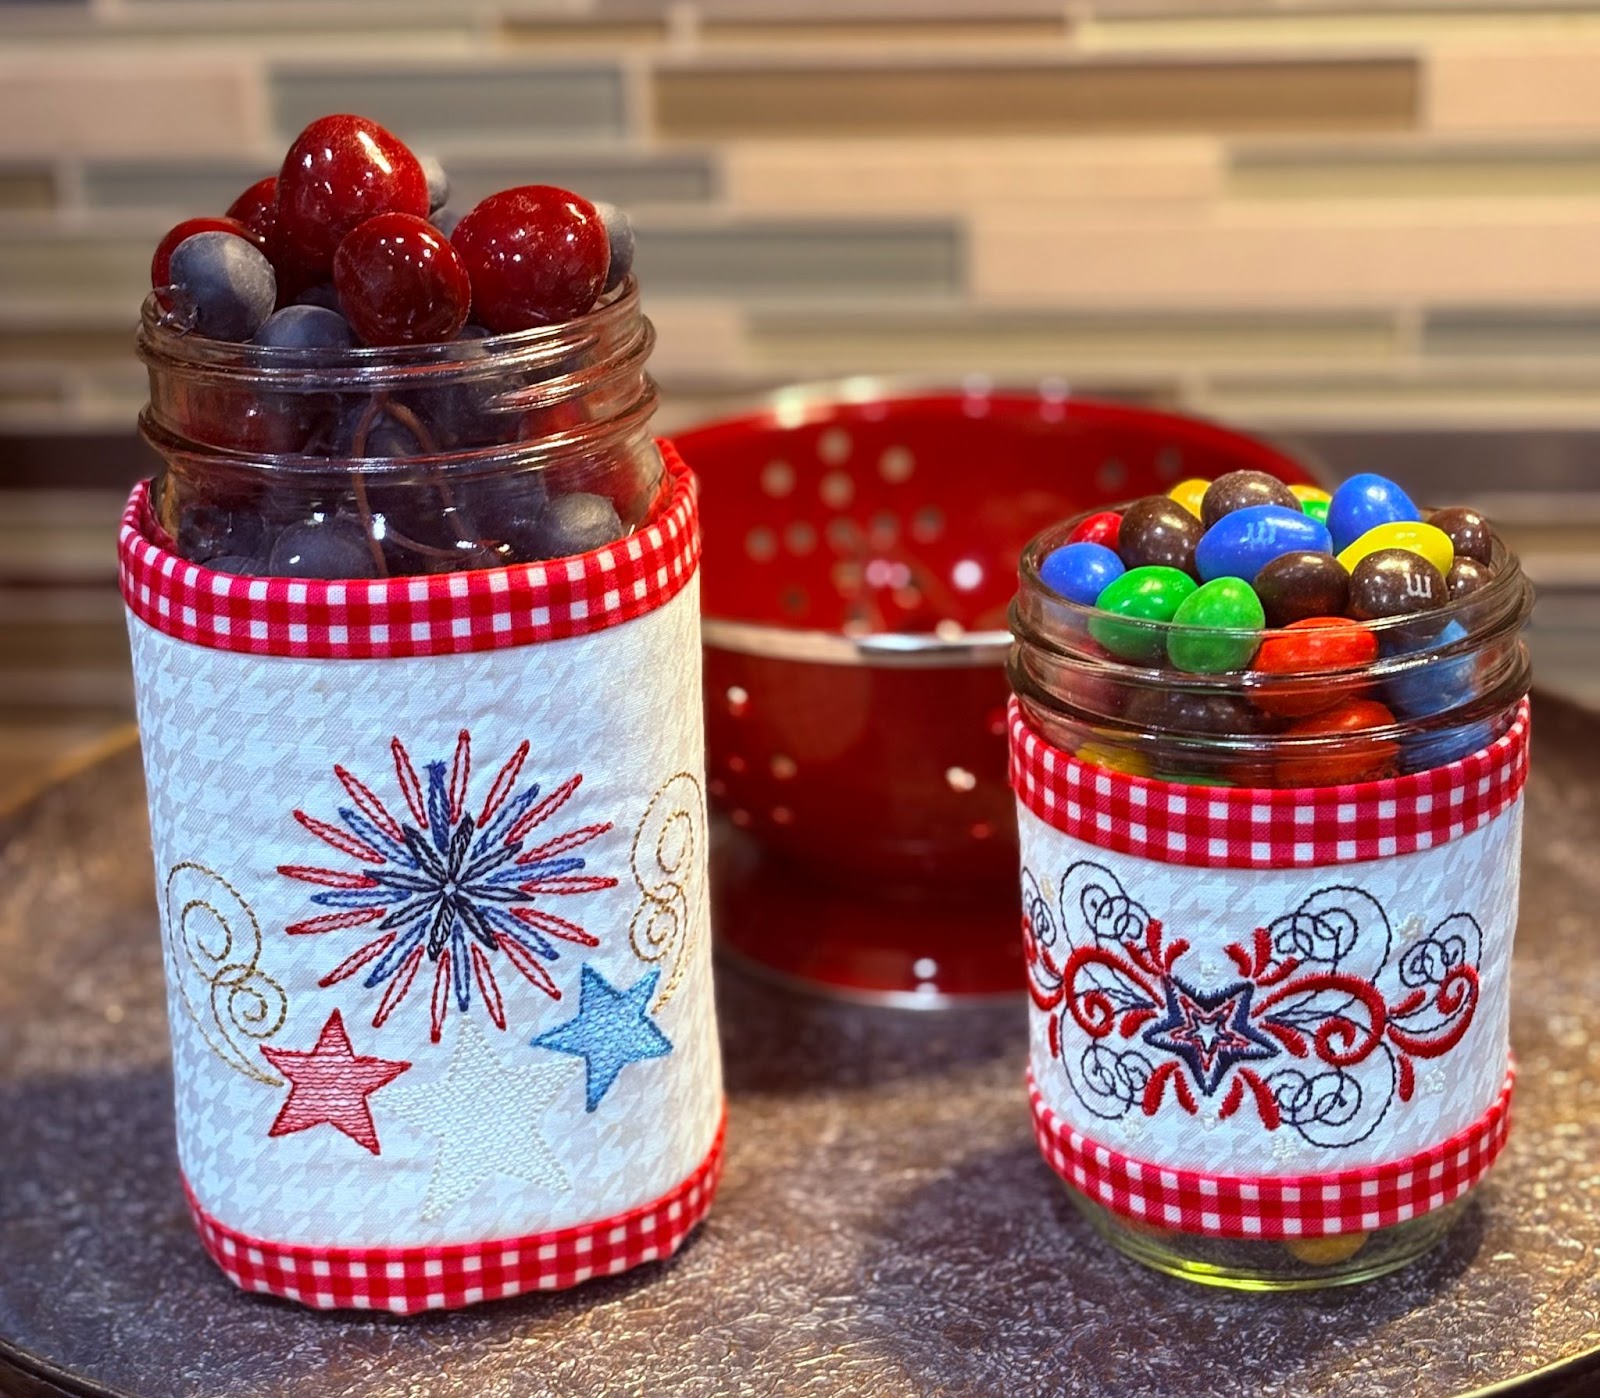
For the quart-size jar I used the Patriotic Corner design in size 4.80” x 4.77”. My machine is a Brother 8500; your screen may look different.
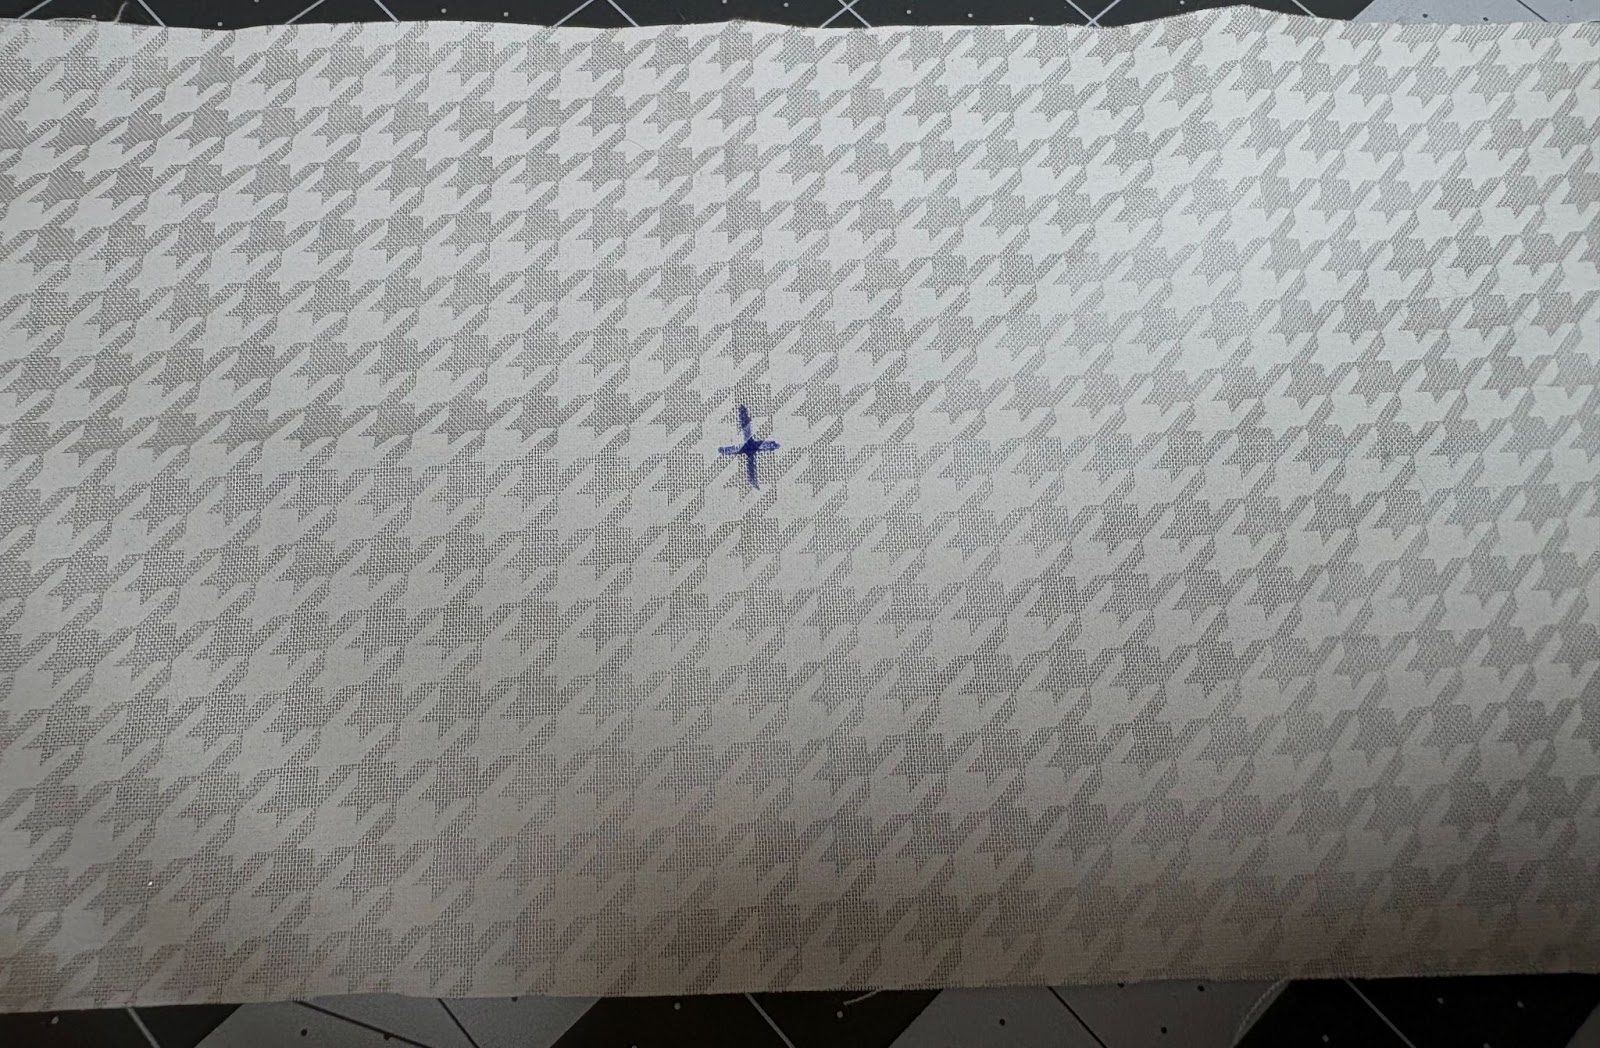
With an erasable fabric pen, mark the center of the front piece.
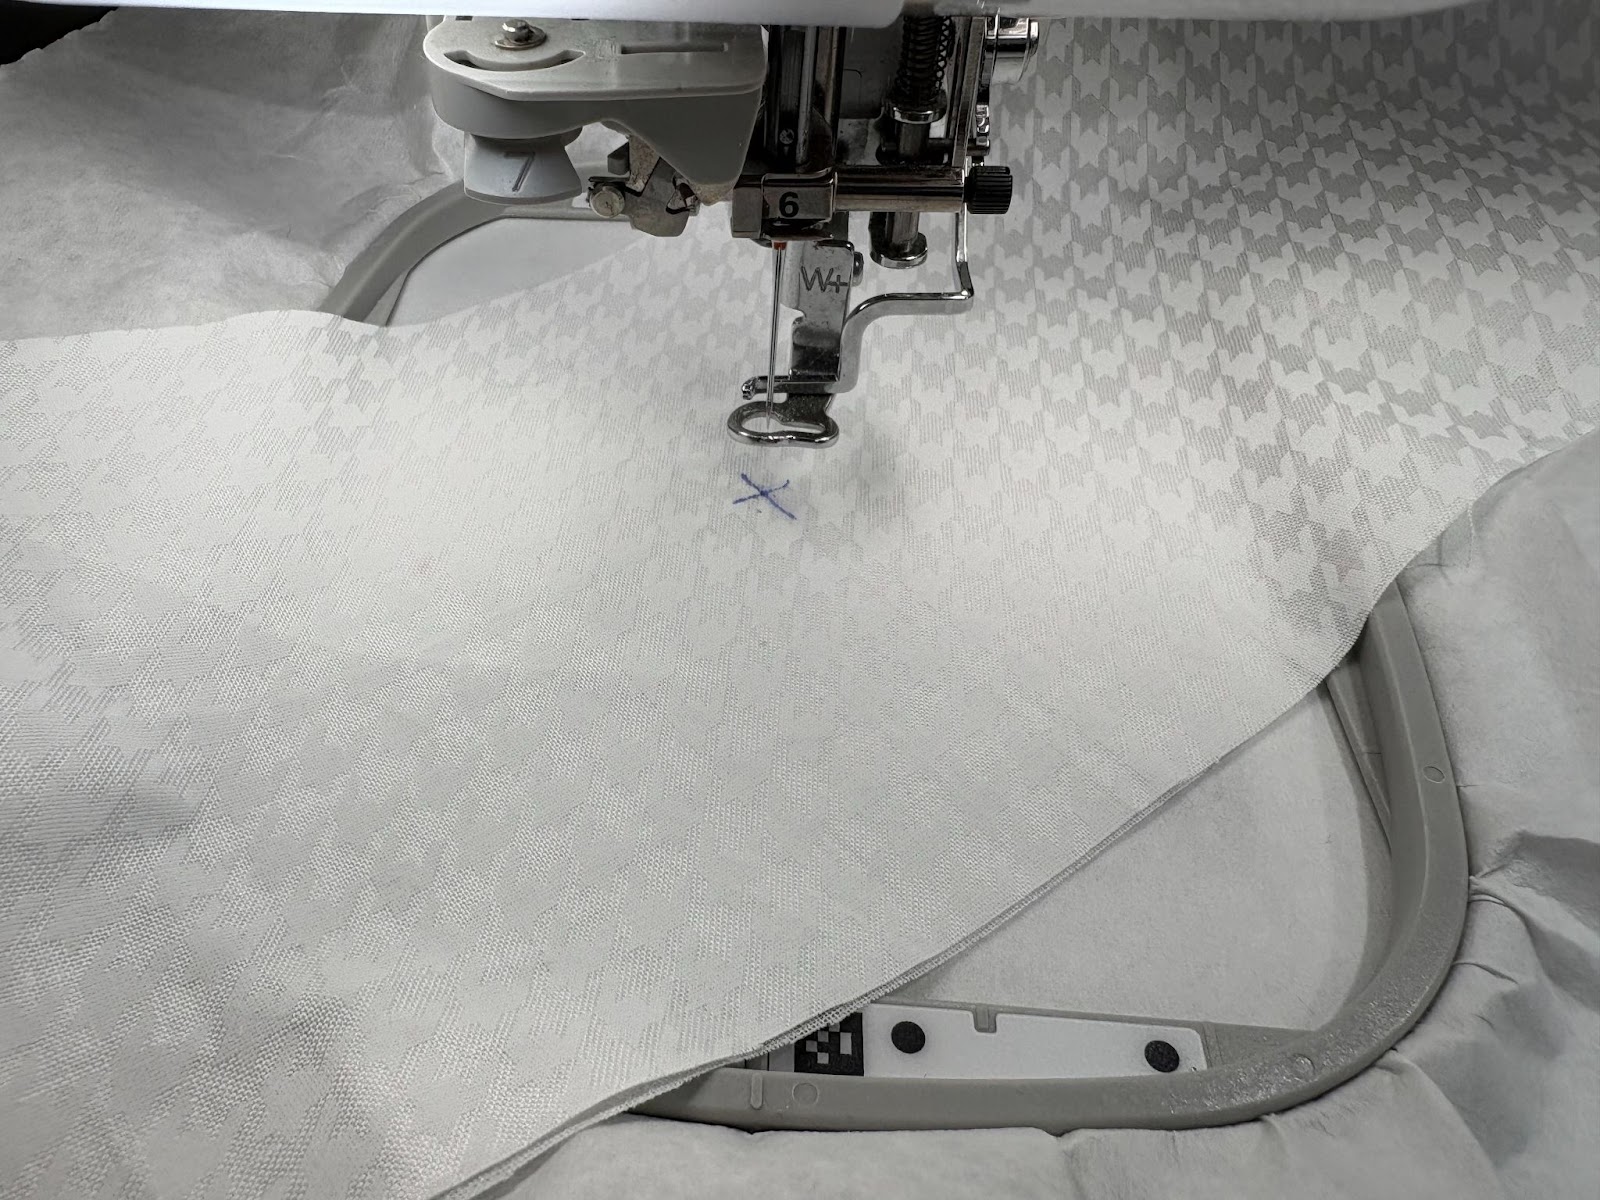
Since the design I am using is meant to stitch in a corner I need to float my fabric at an angle. Pin or use a basting spray to keep the fabric stable.
Use the position arrows on your machine to ensure your design will fit the area and your fabric is positioned correctly. Always leave ½” on both the top and bottom of the fabric to allow for the binding. Stitch out the design. Remove the design from the hoop and tear away the stabilizer.
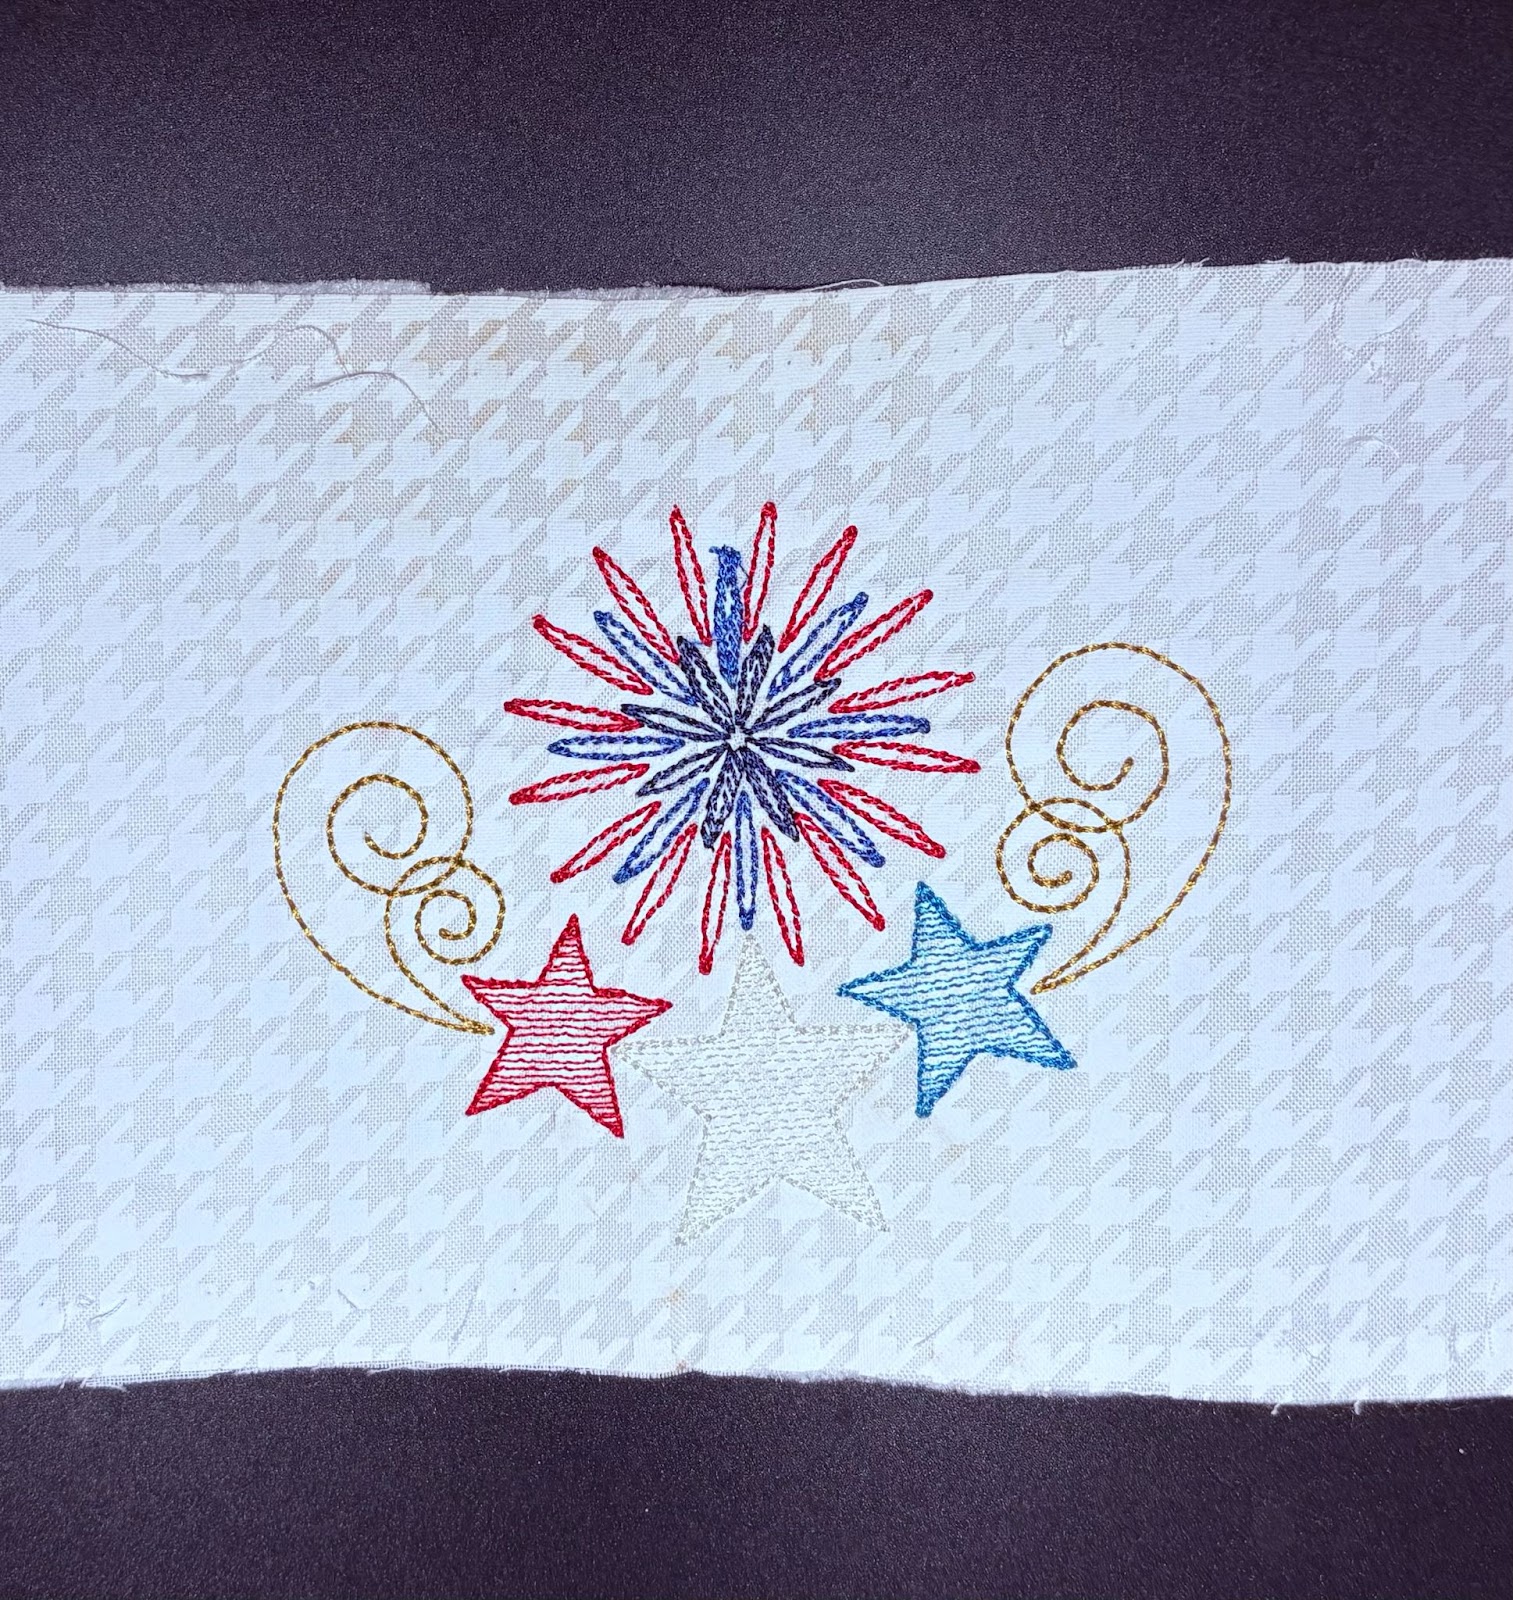
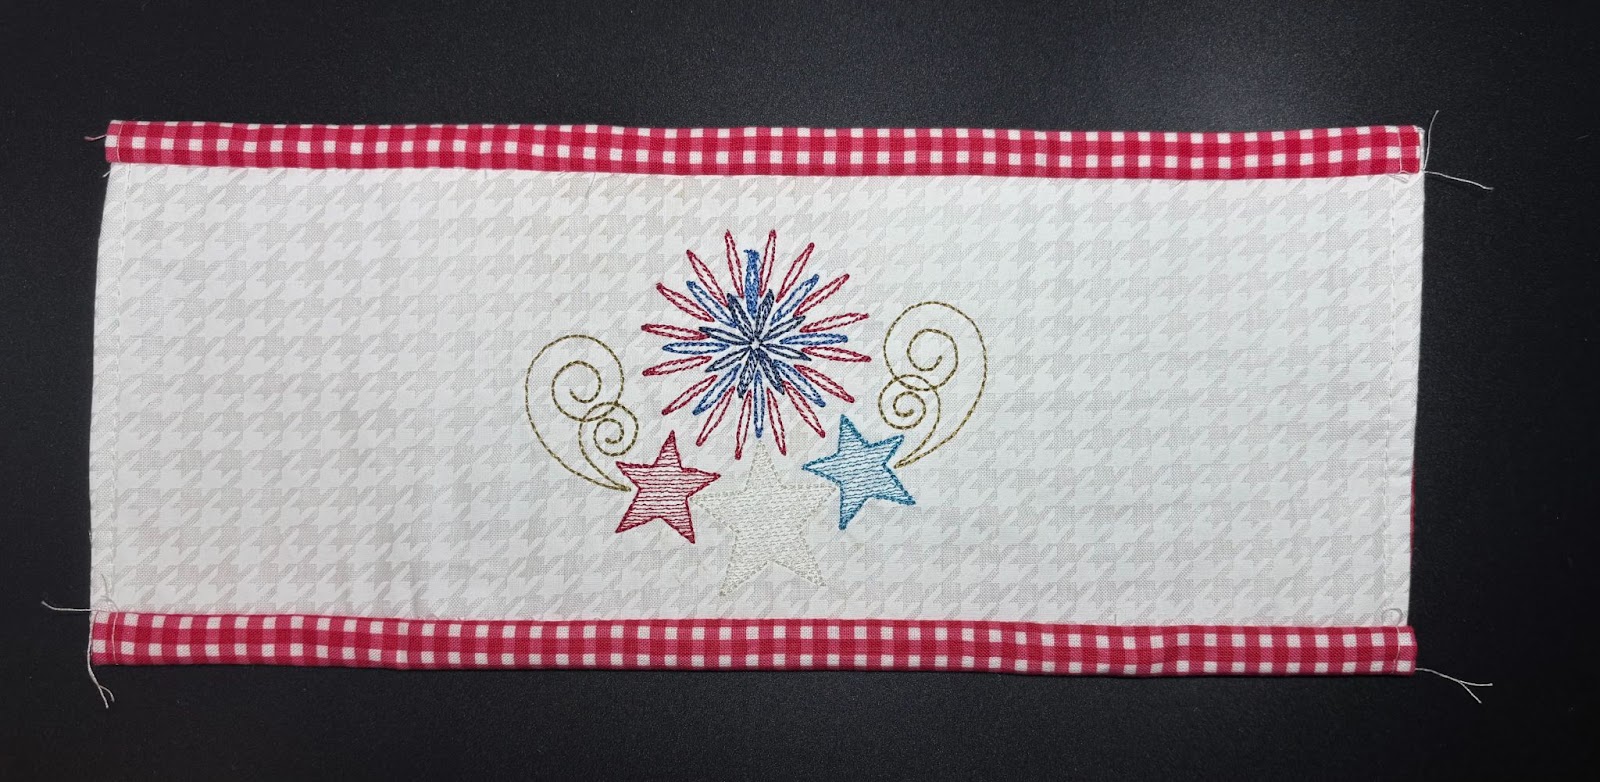
When stitched out, the design will line up straight across the strip of fabric.
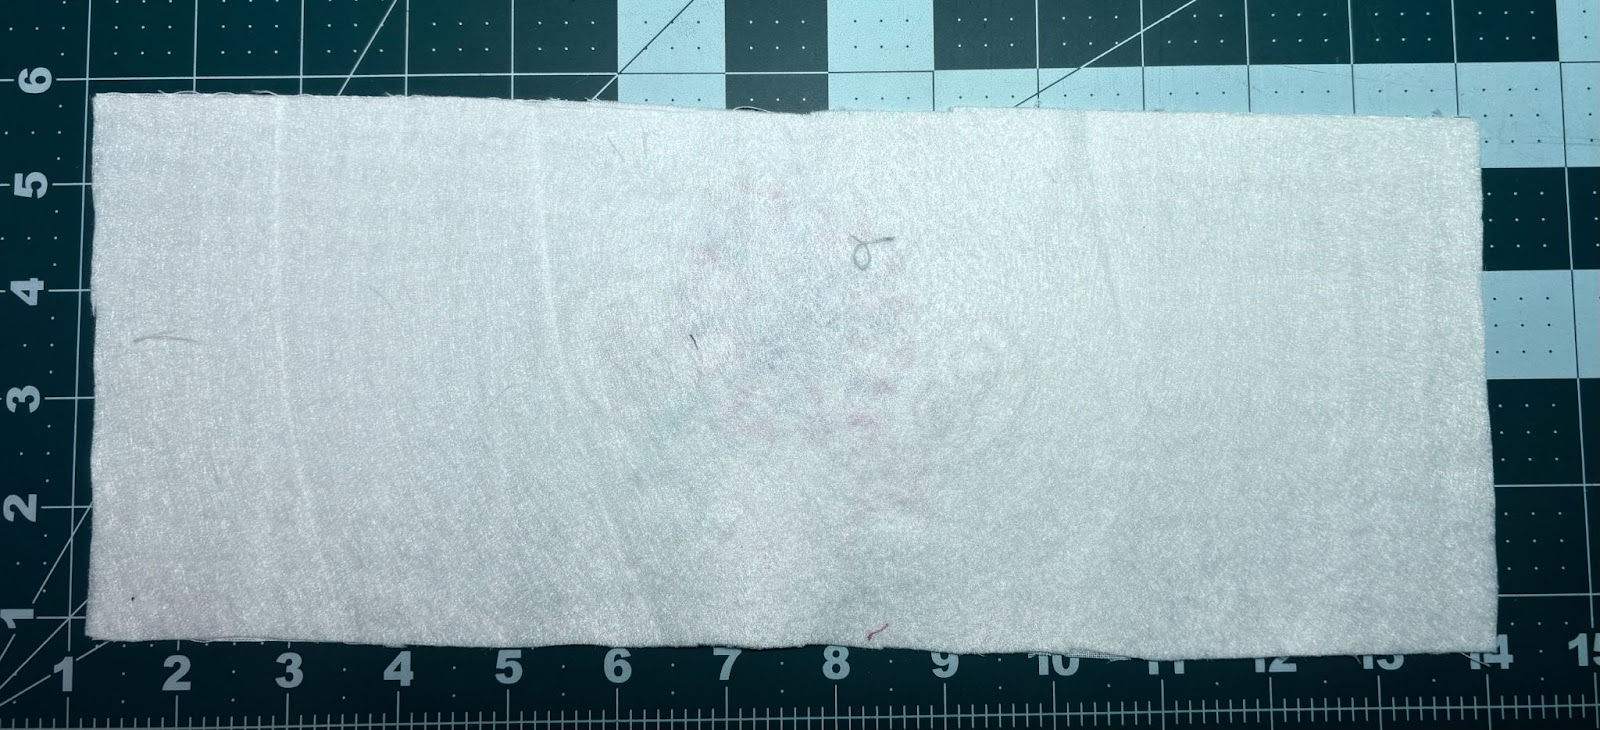
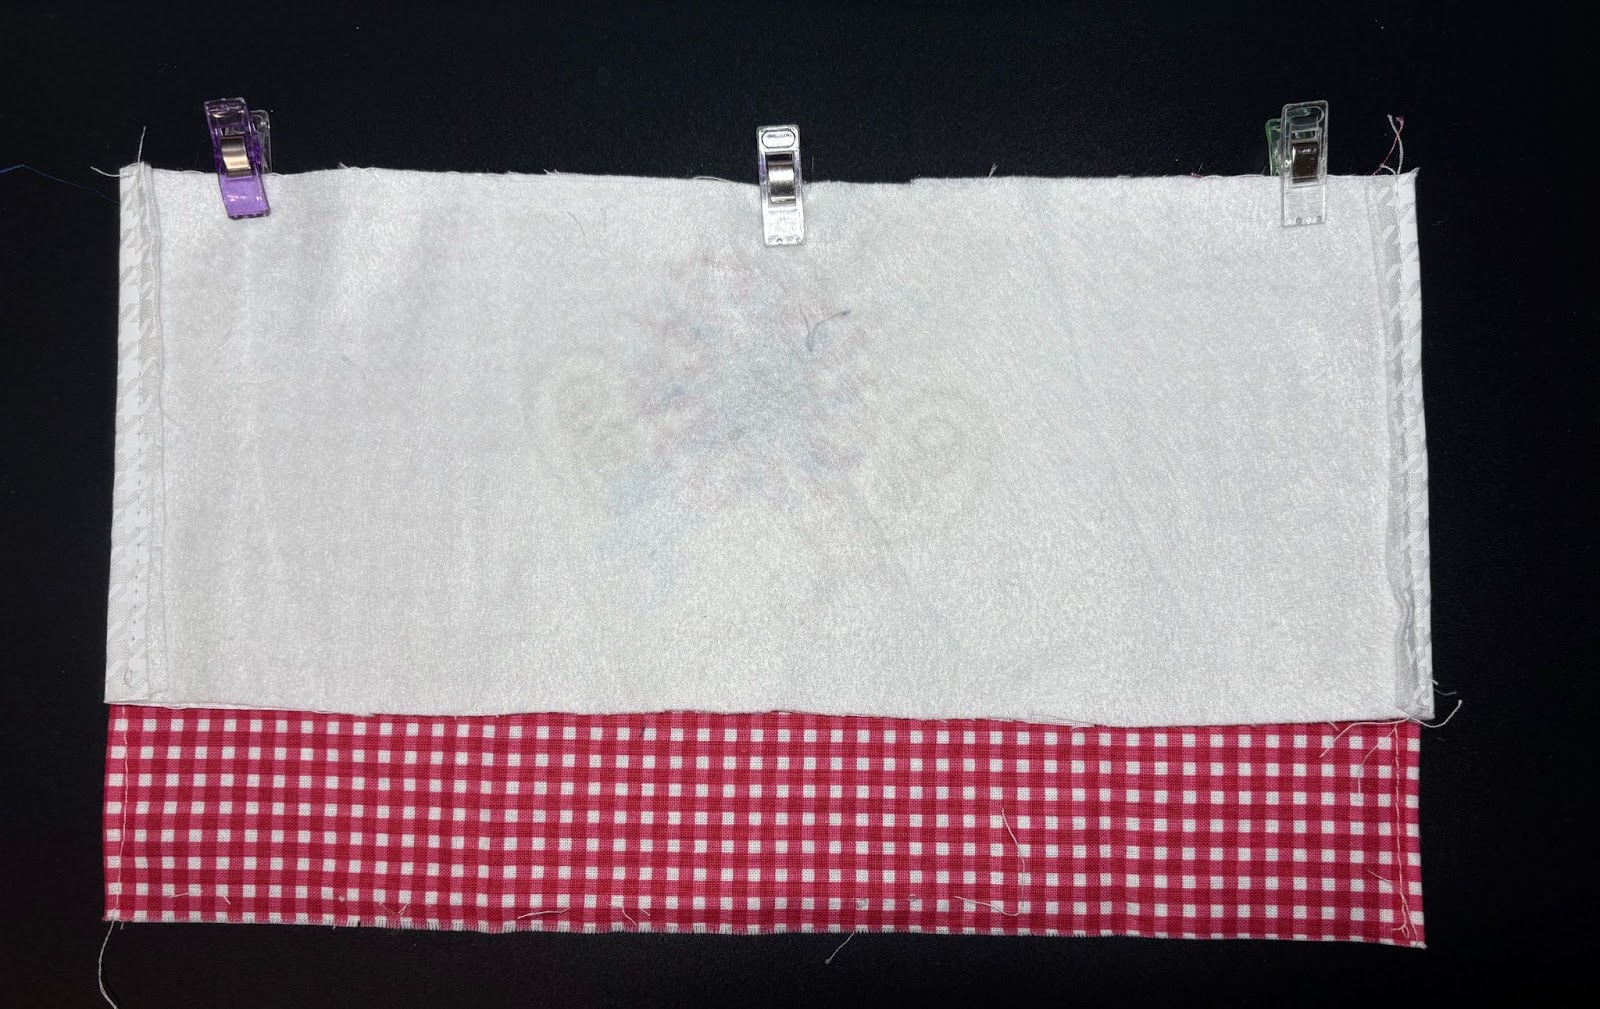
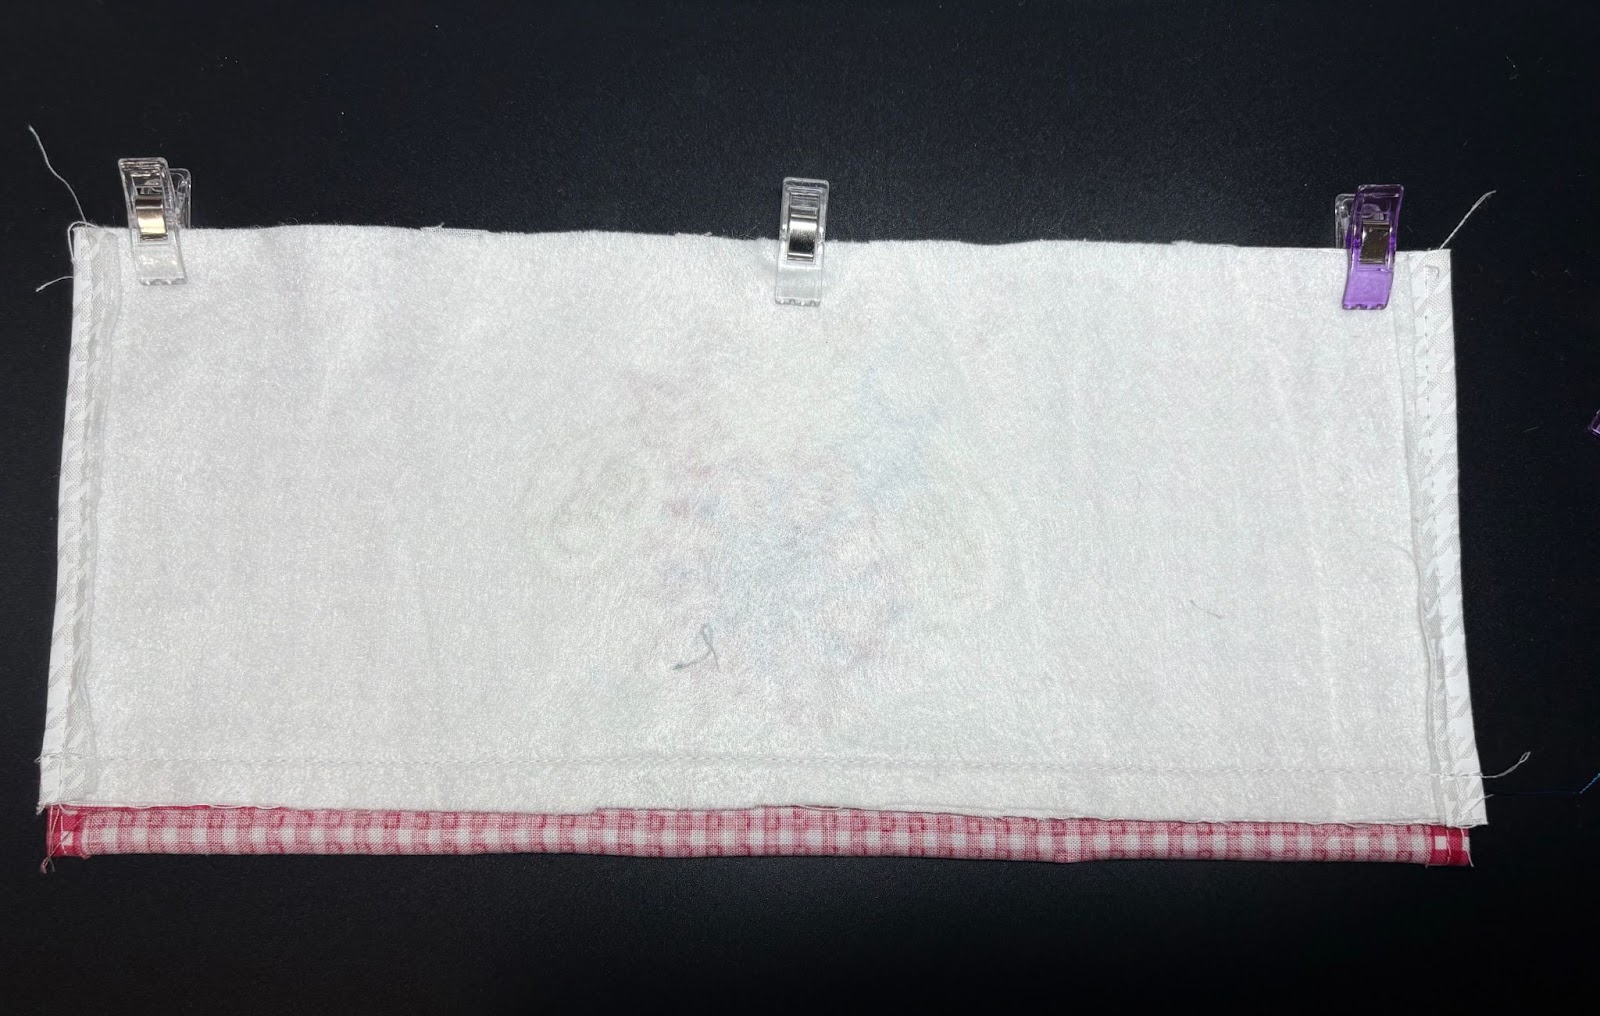
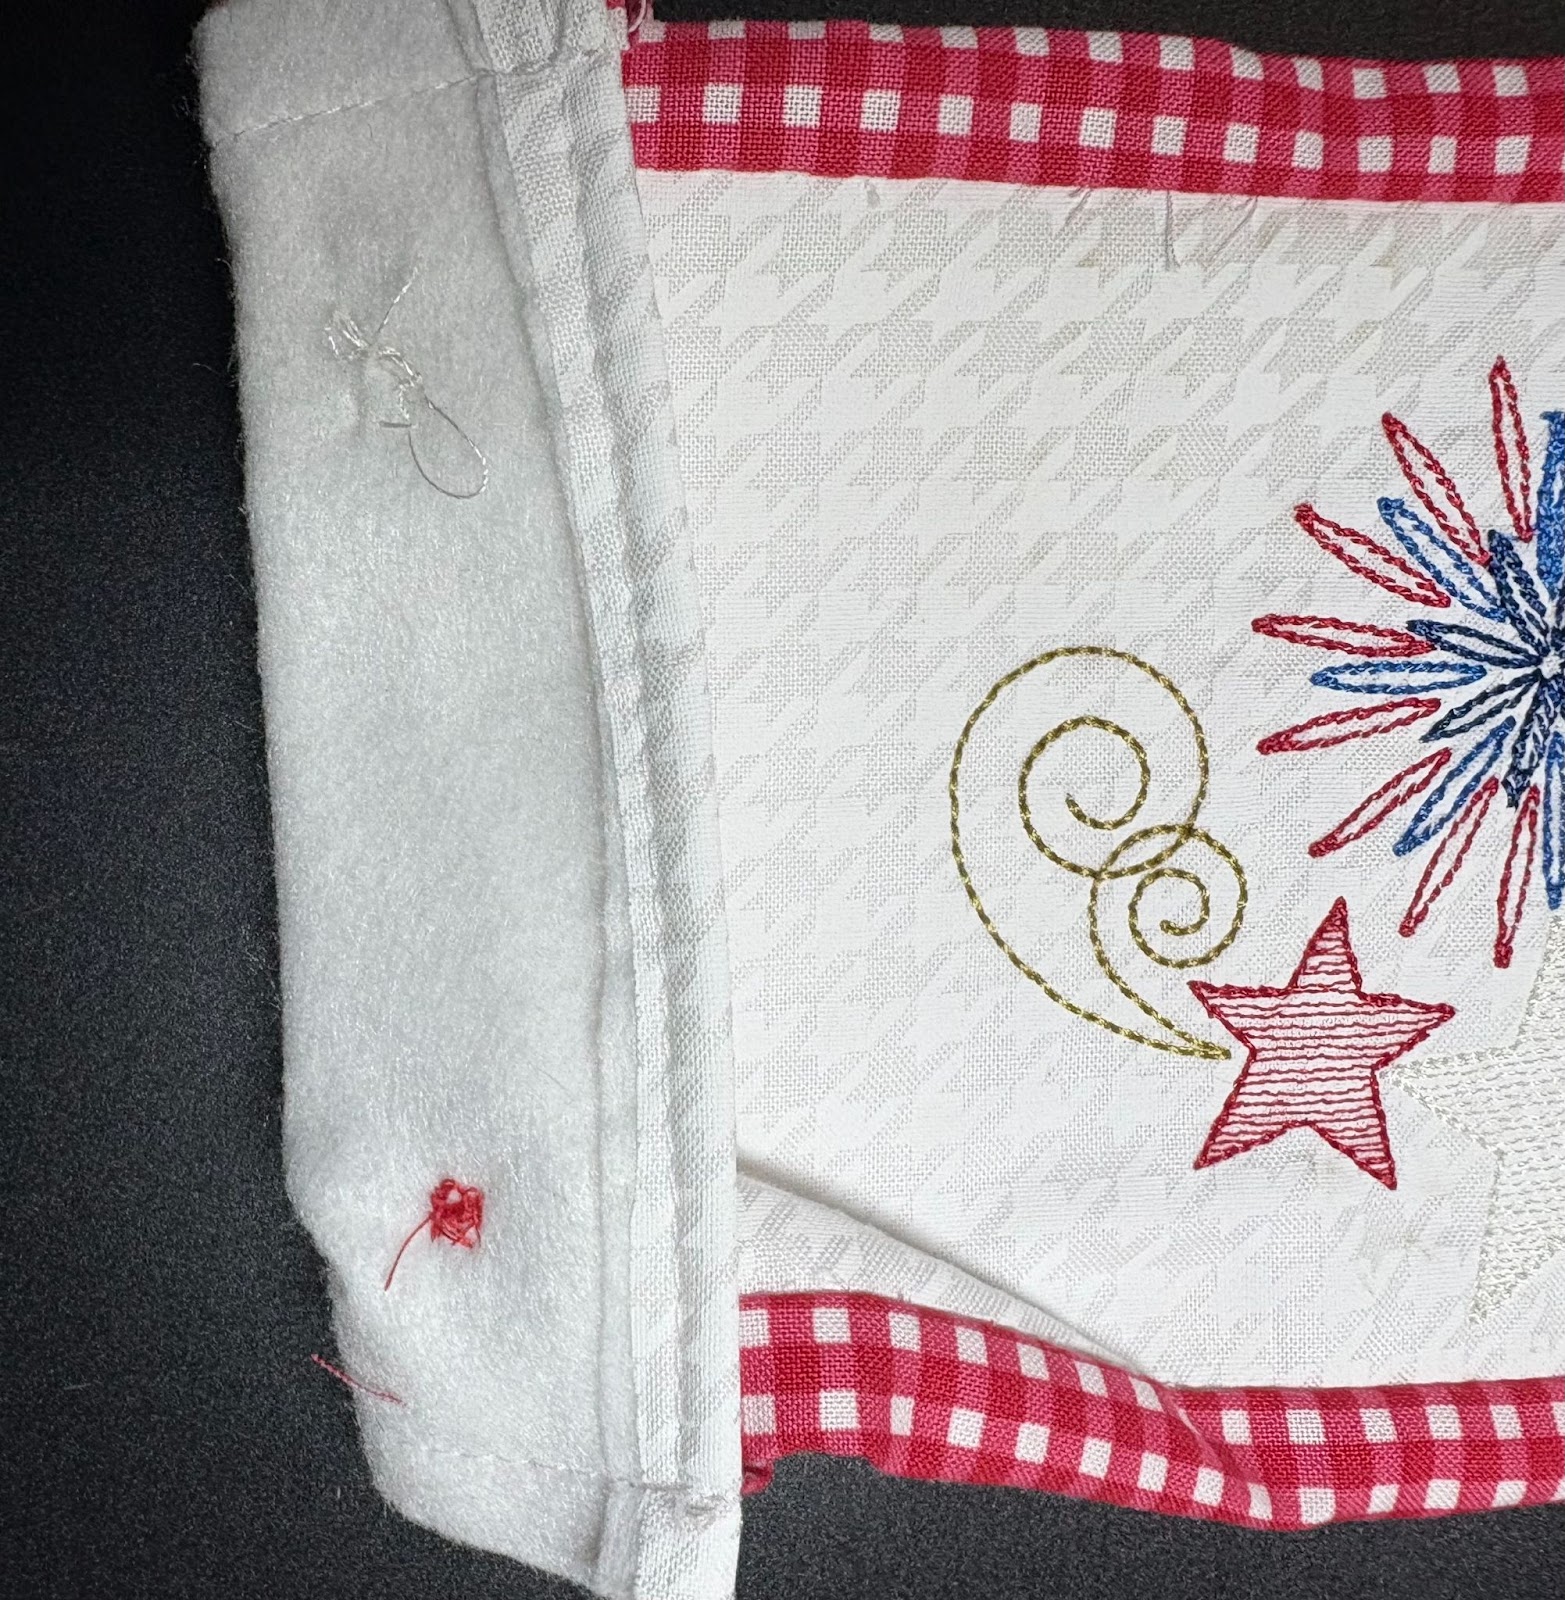
Fuse the fleece to the back of your stitched piece. Trim the fleece if needed so it is even with the cotton fabric. Turn in ¼” on both short ends. Press.
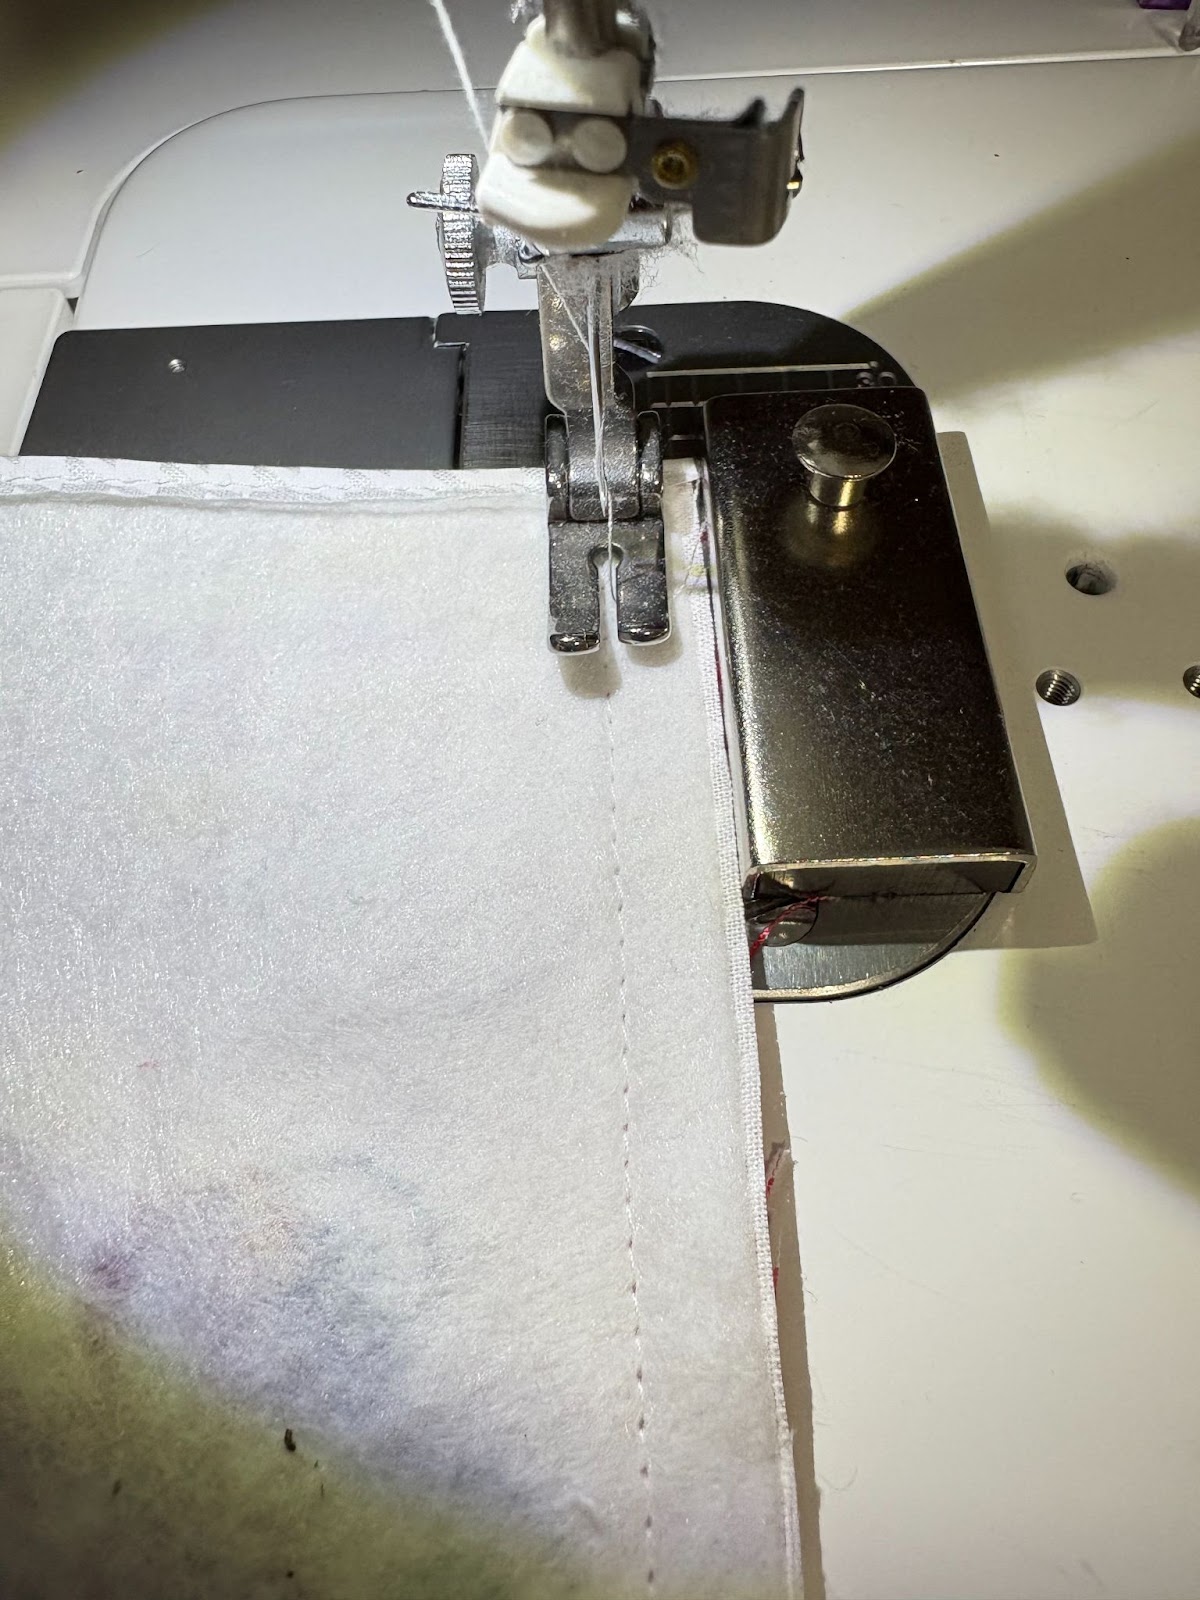
Take to your sewing machine and stitch across ends.

Turn in ends ¼”, press, and stitch the same way with your backing fabric.
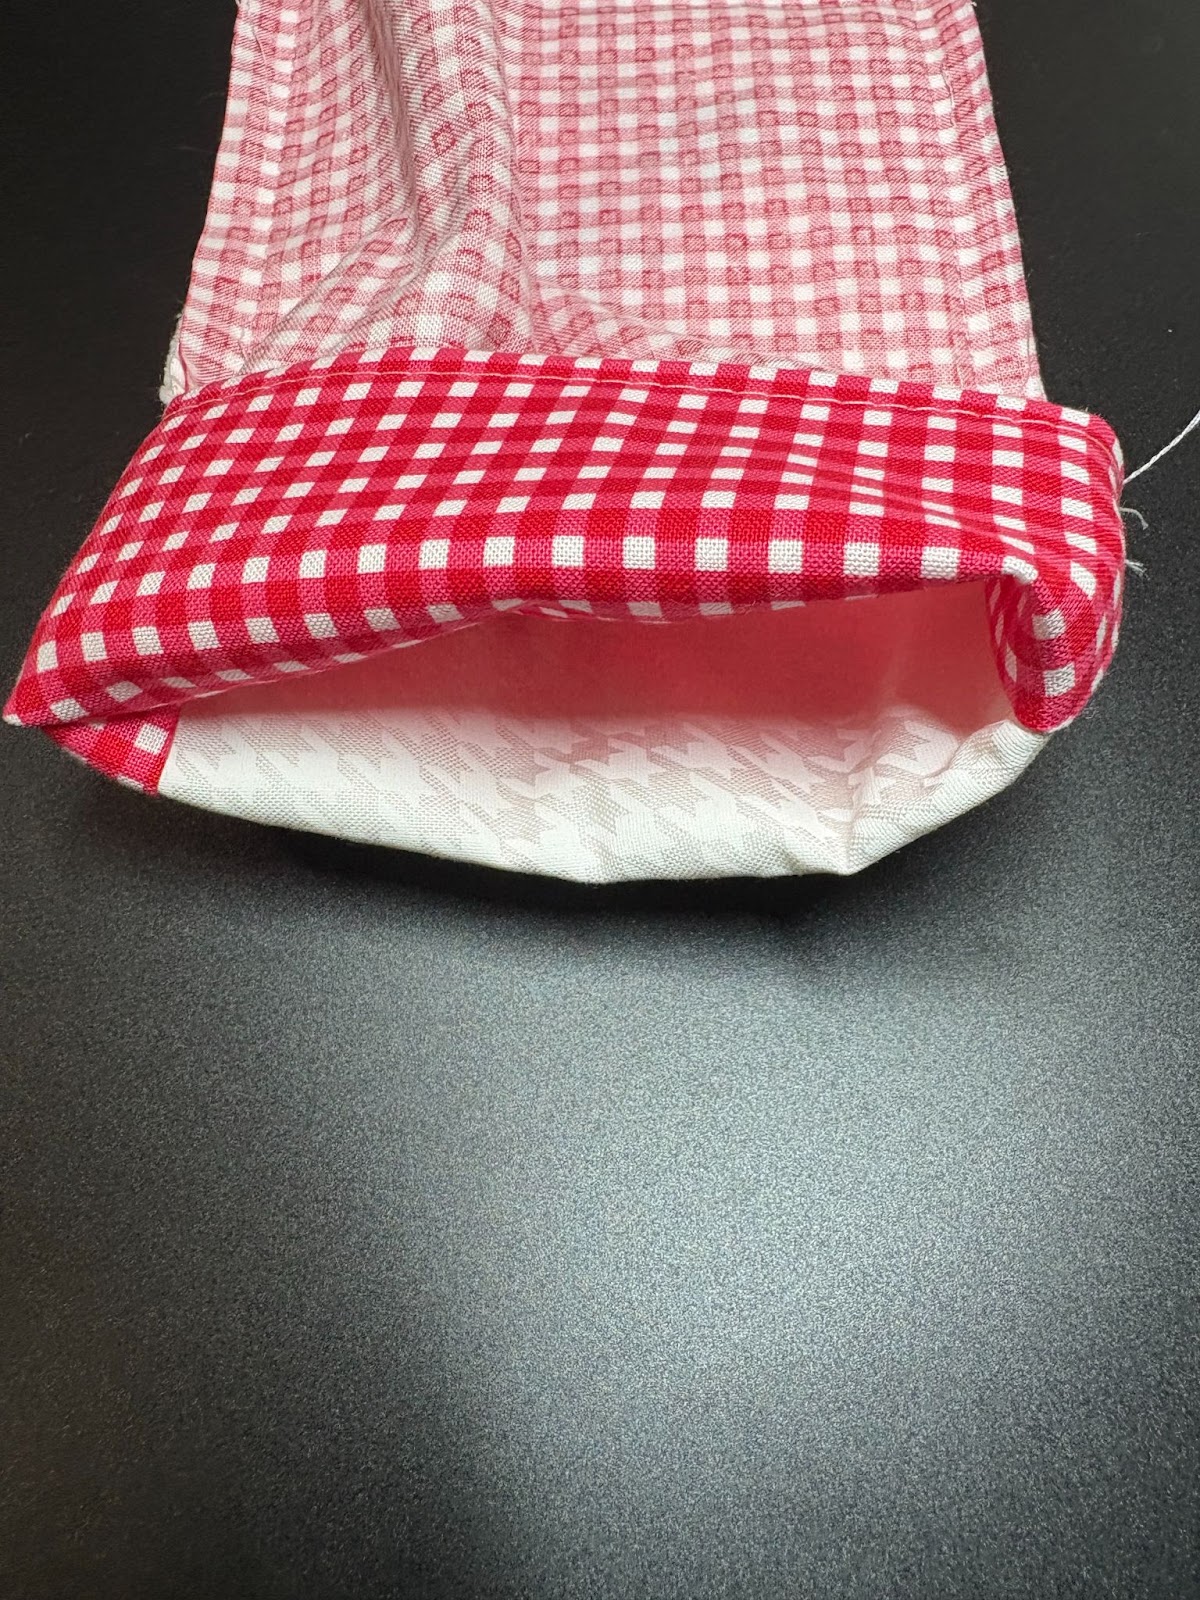
We are now going to make a tube by sewing the front and back together.
With right sides together, pin or clip the front and back together along one long raw edge.
Sew a ½” seam allowance across. Remember to backstitch at the beginning and the end.
Fold the bottom of the backing up to meet the opposite edge of the front. Pin or clip. Sew a ½” seam allowance along this edge.
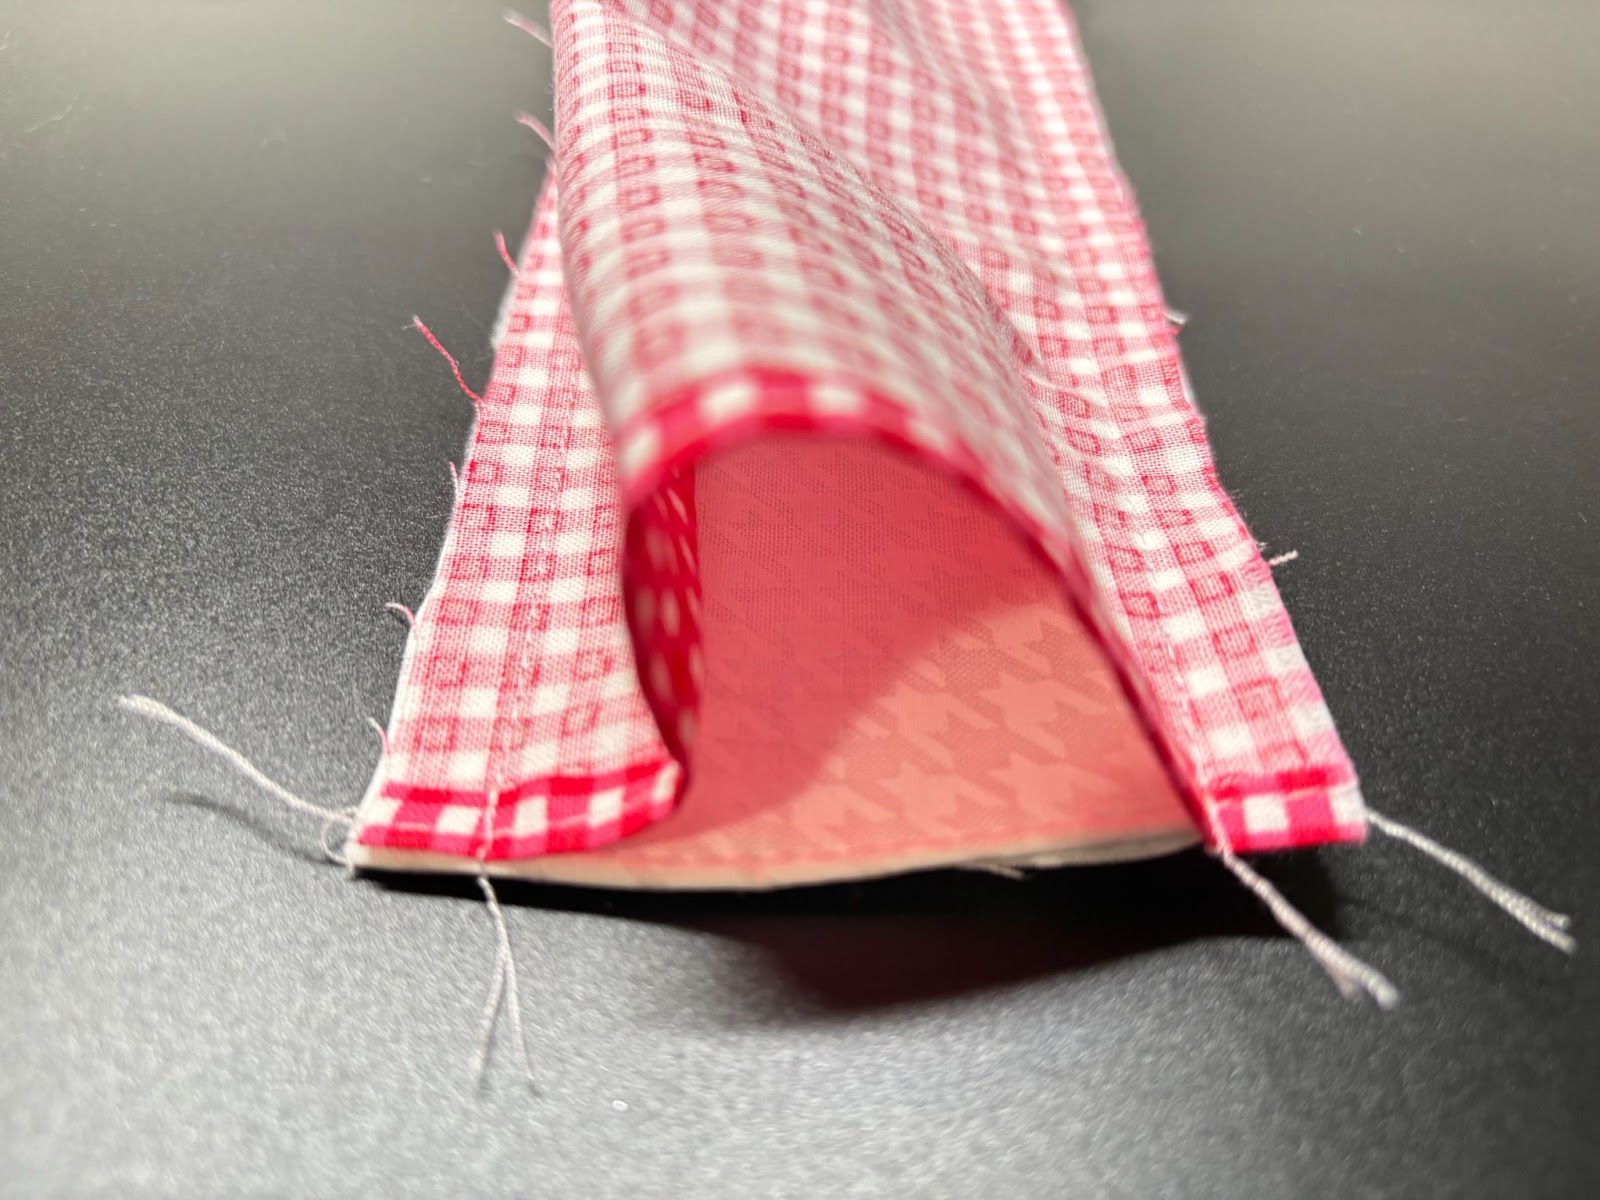
You should now have a tube.
Turn the tube right side out. Press the fabric flat, leaving a nice ½” binding on the top and bottom.
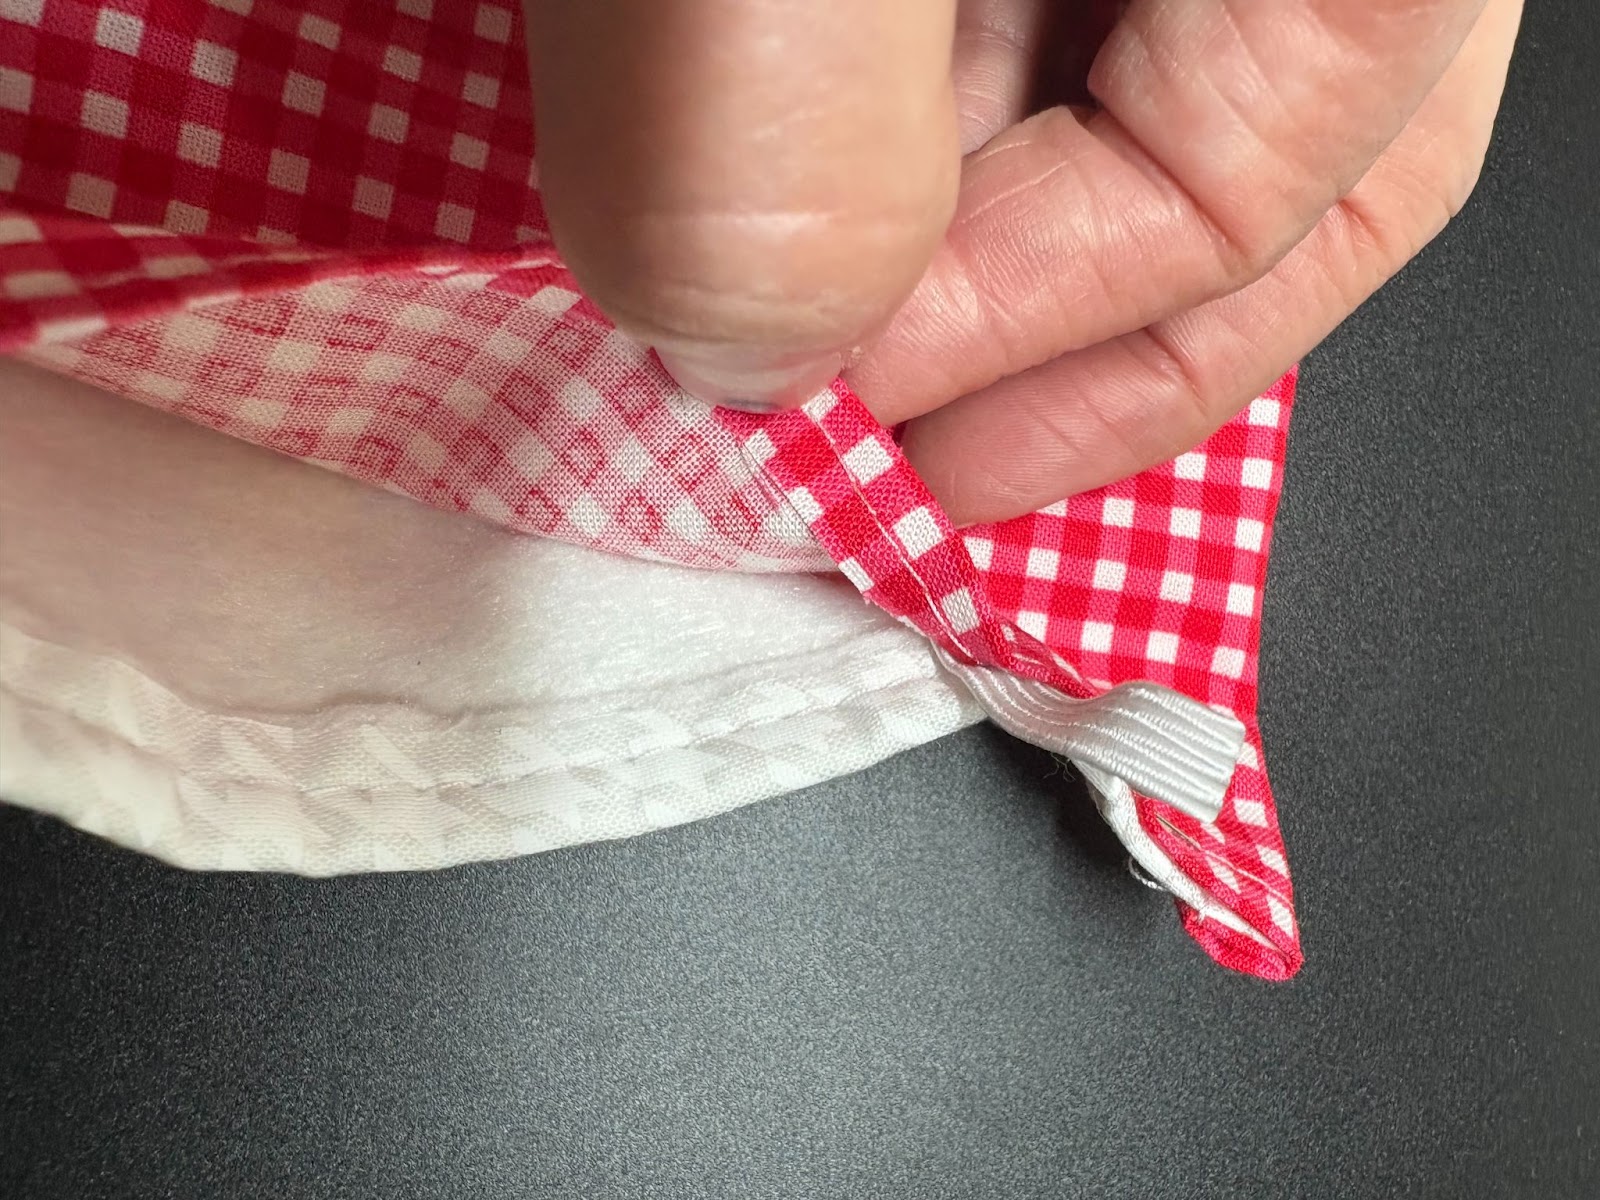
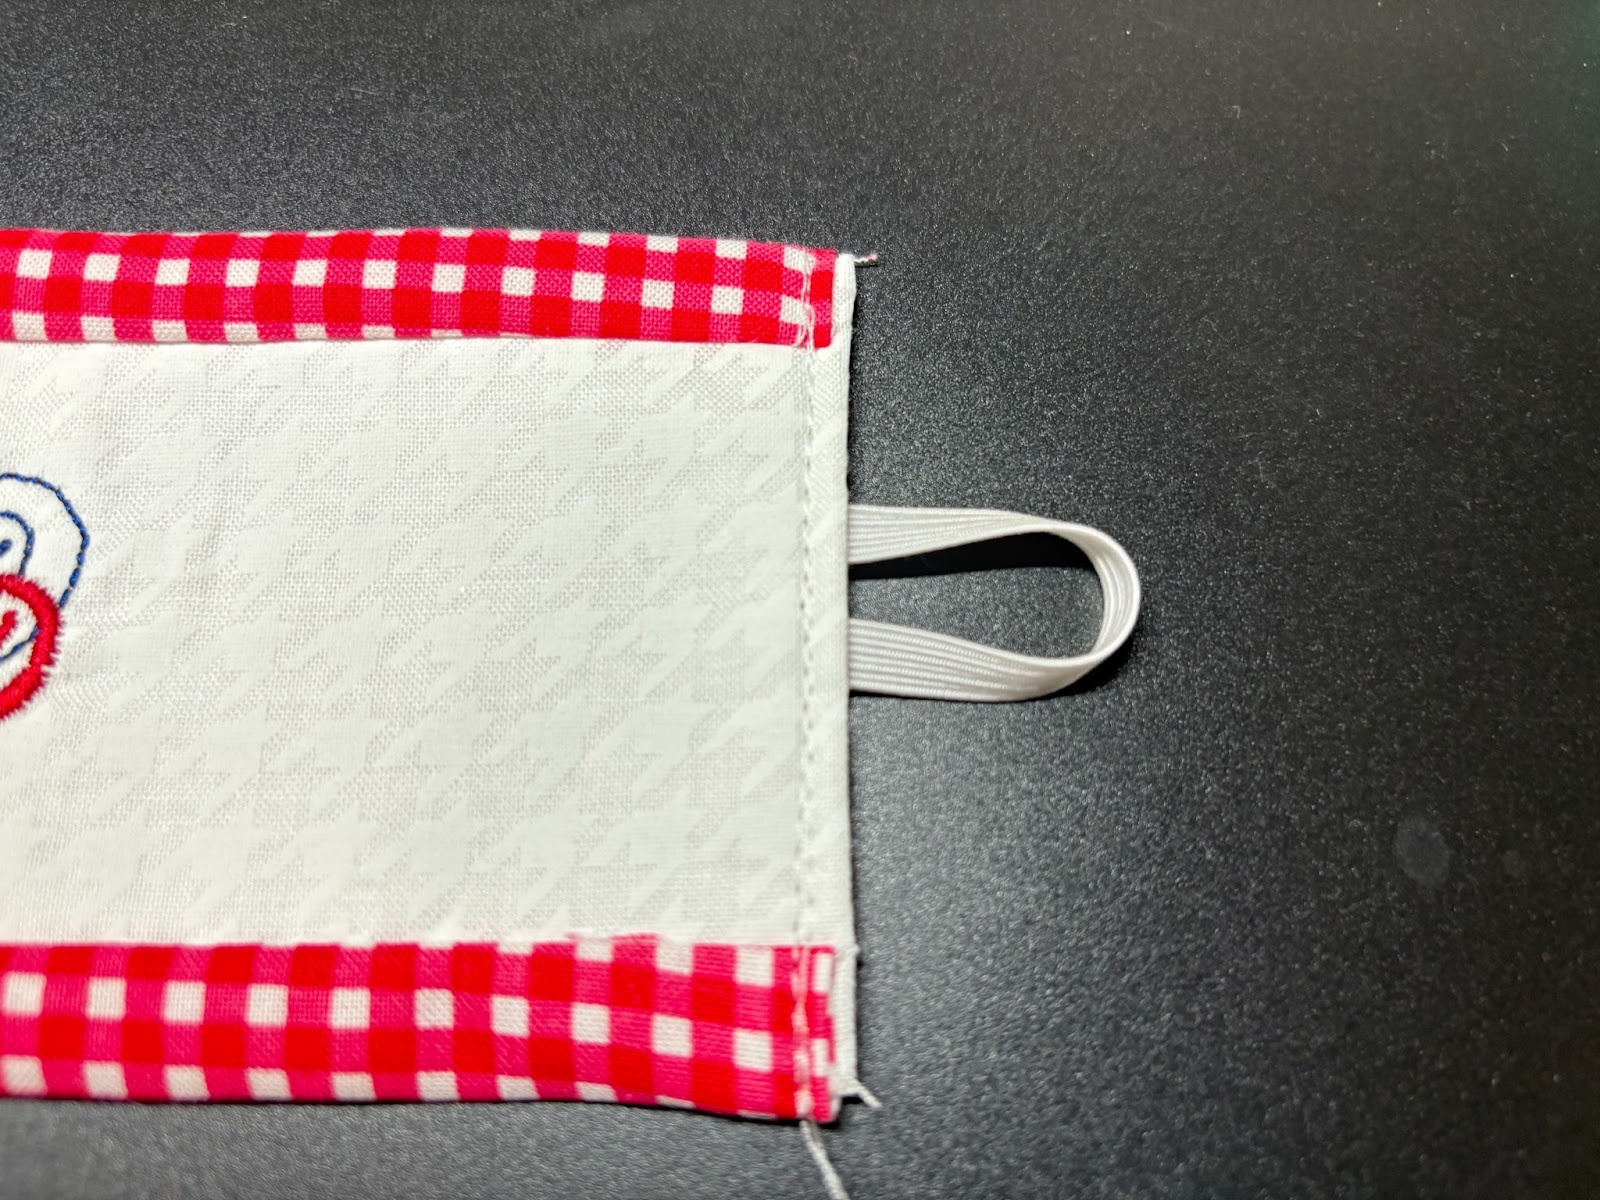
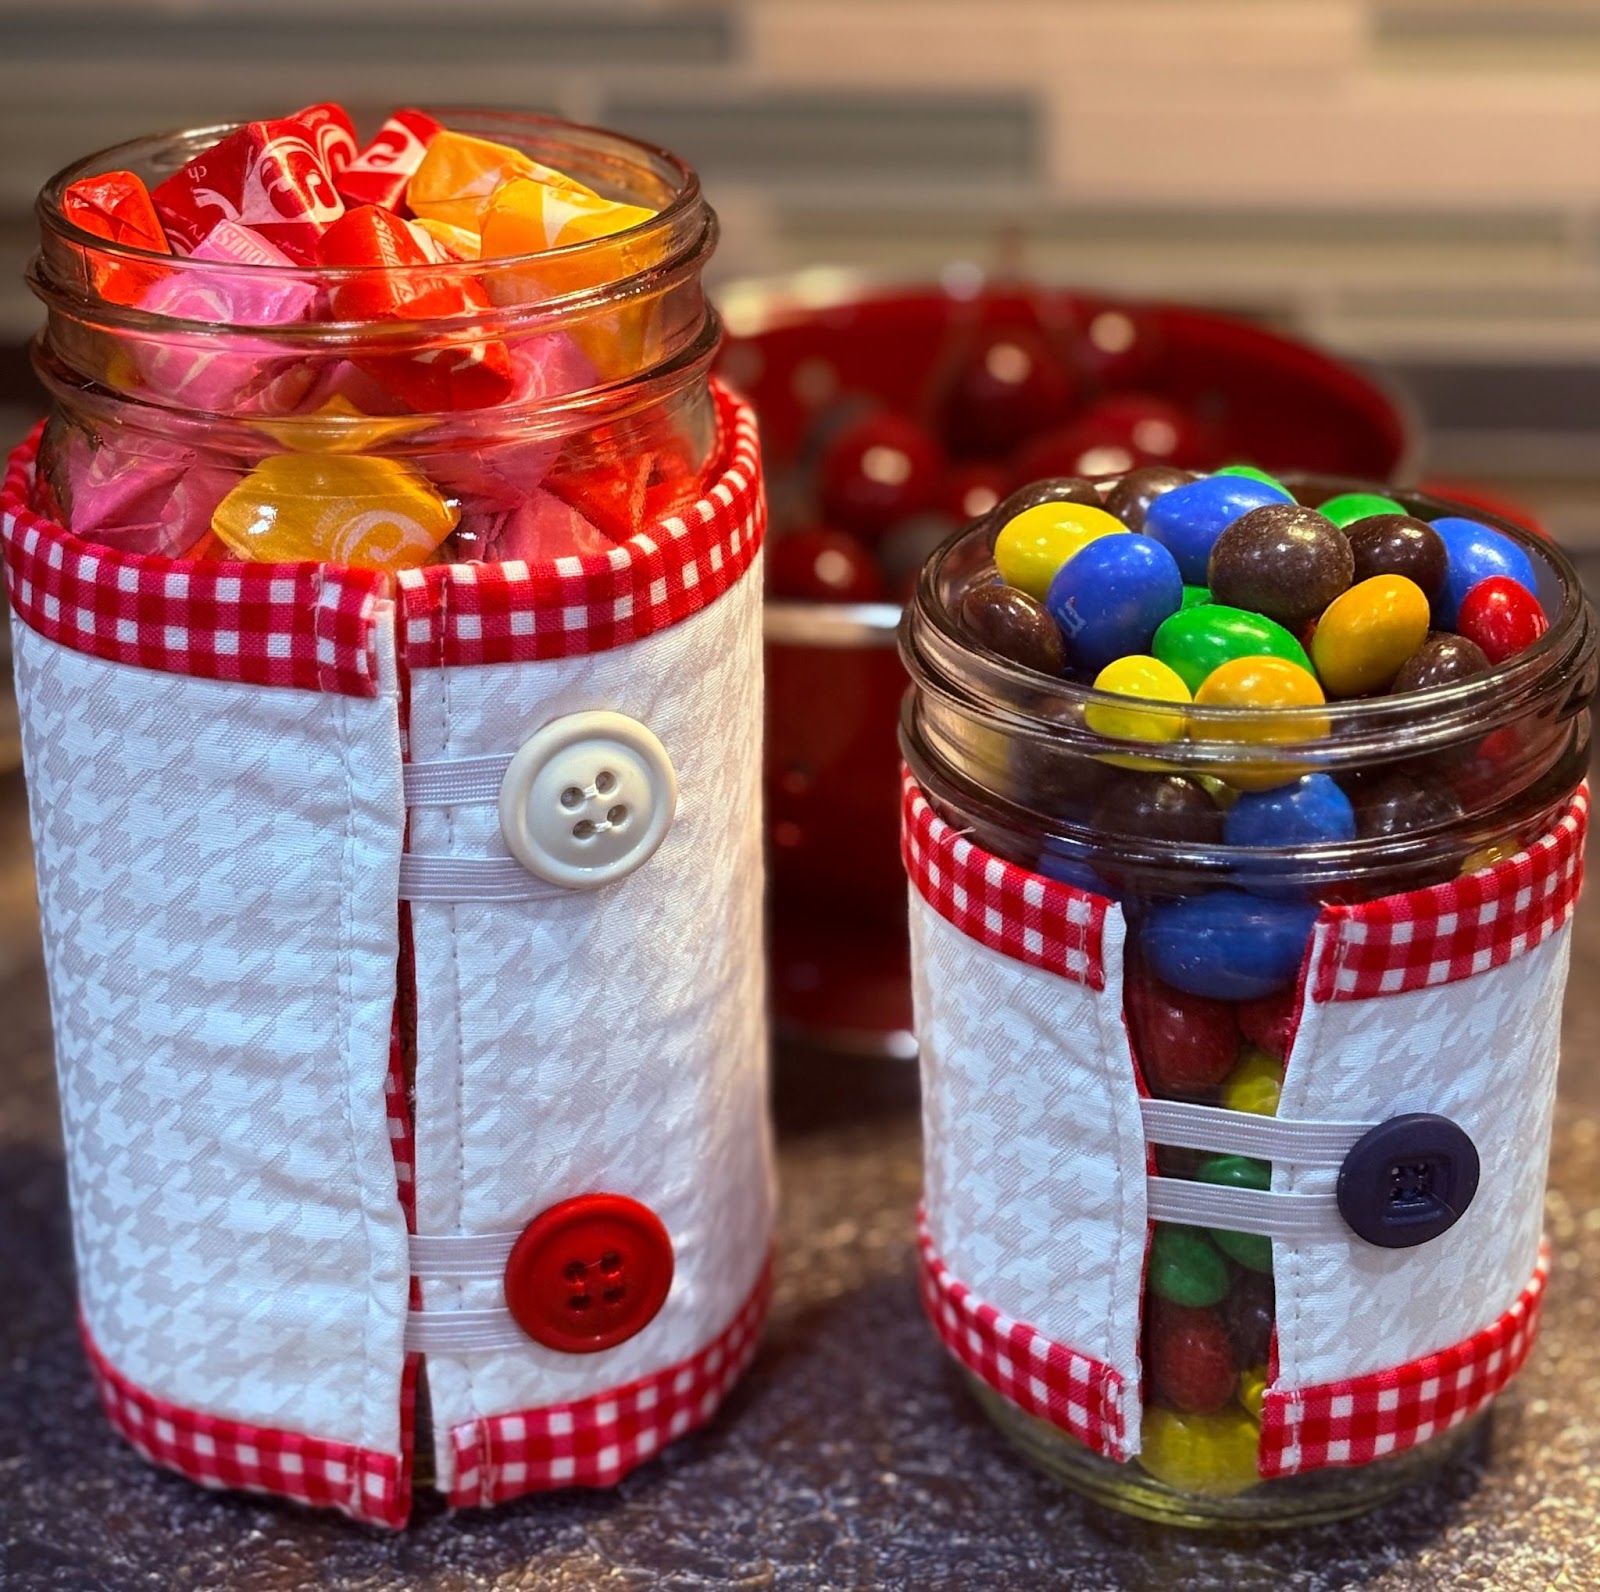
Cut the 6” piece of elastic in half. Attach the two ends of each 3” piece into the short end of the wrap approximately ½” from each side, creating a ½” loop with the elastic.
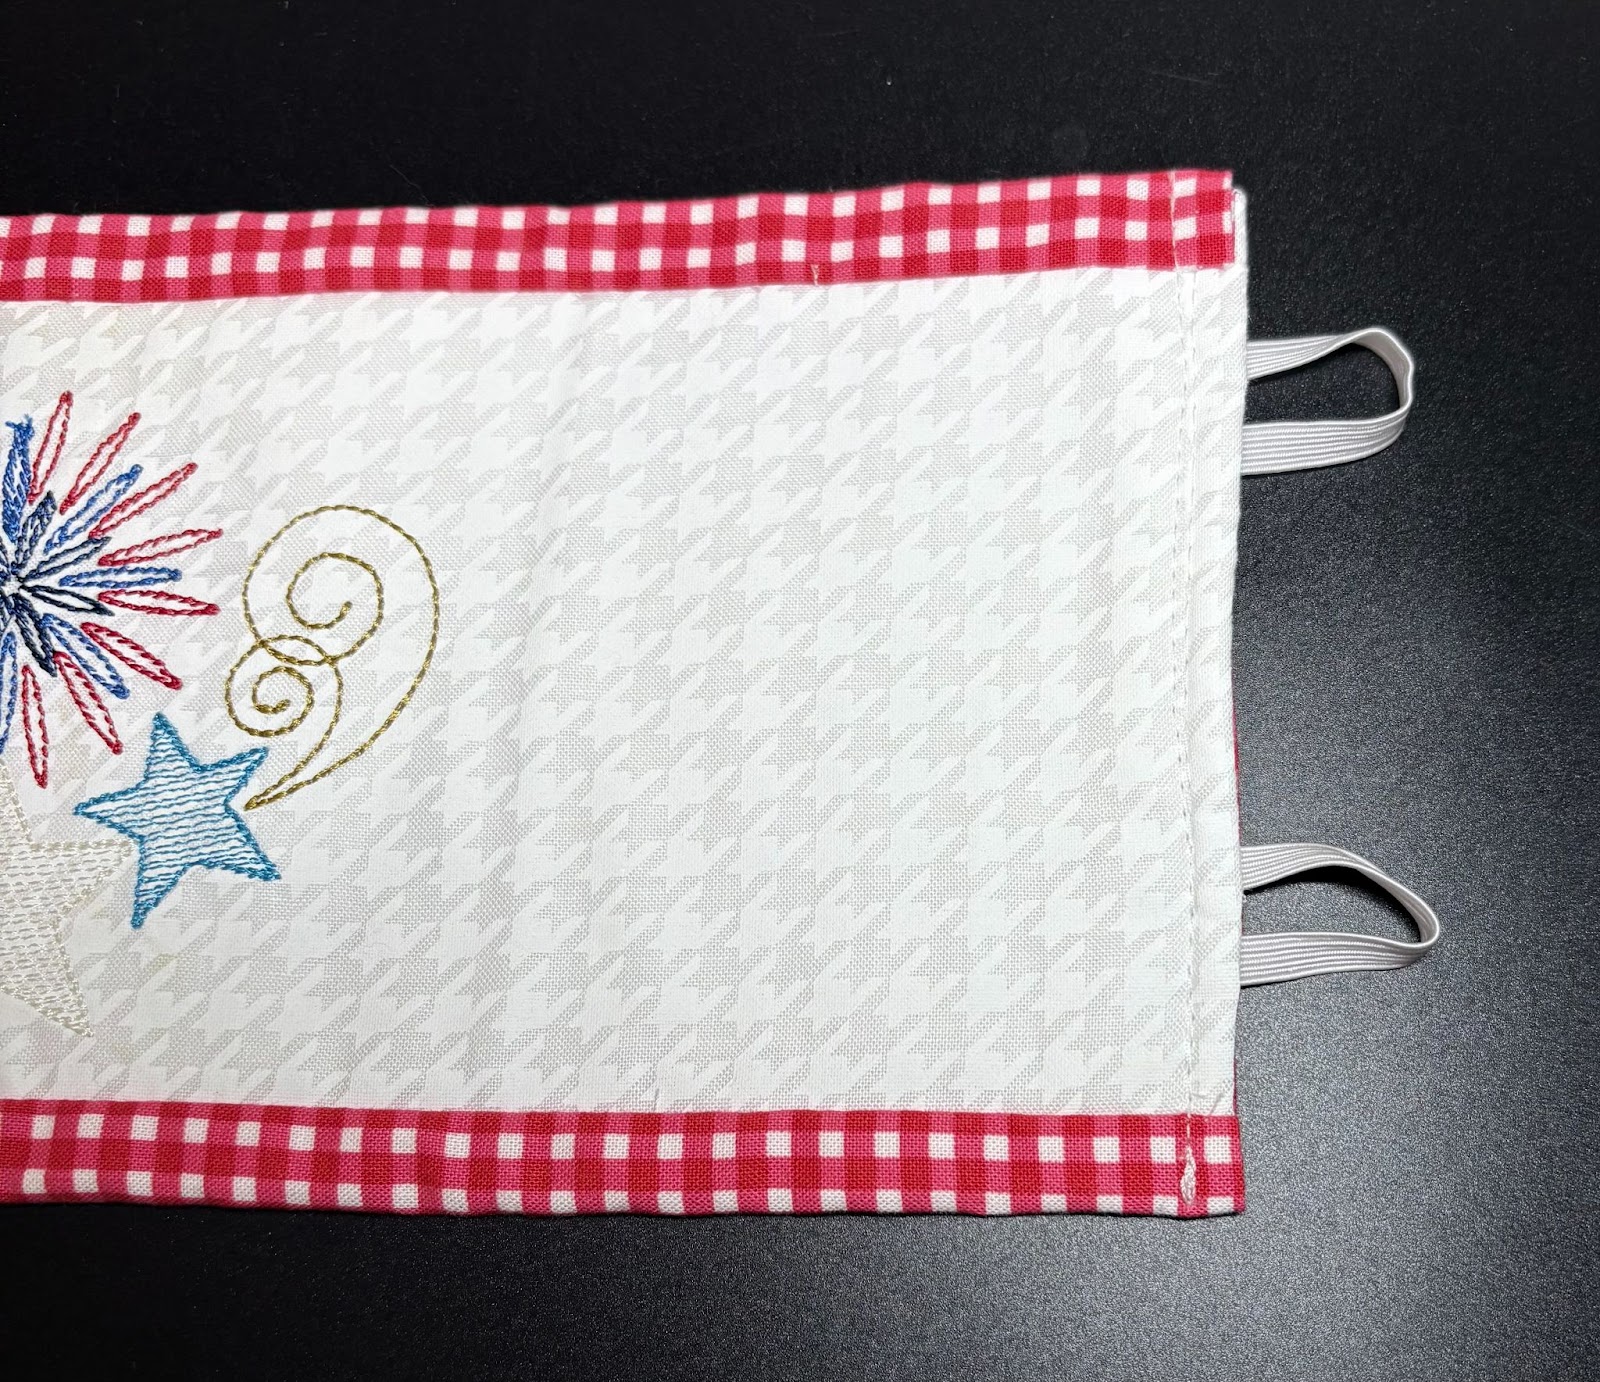
Take to your machine and stitch across to close, catching the elastic in the seam.
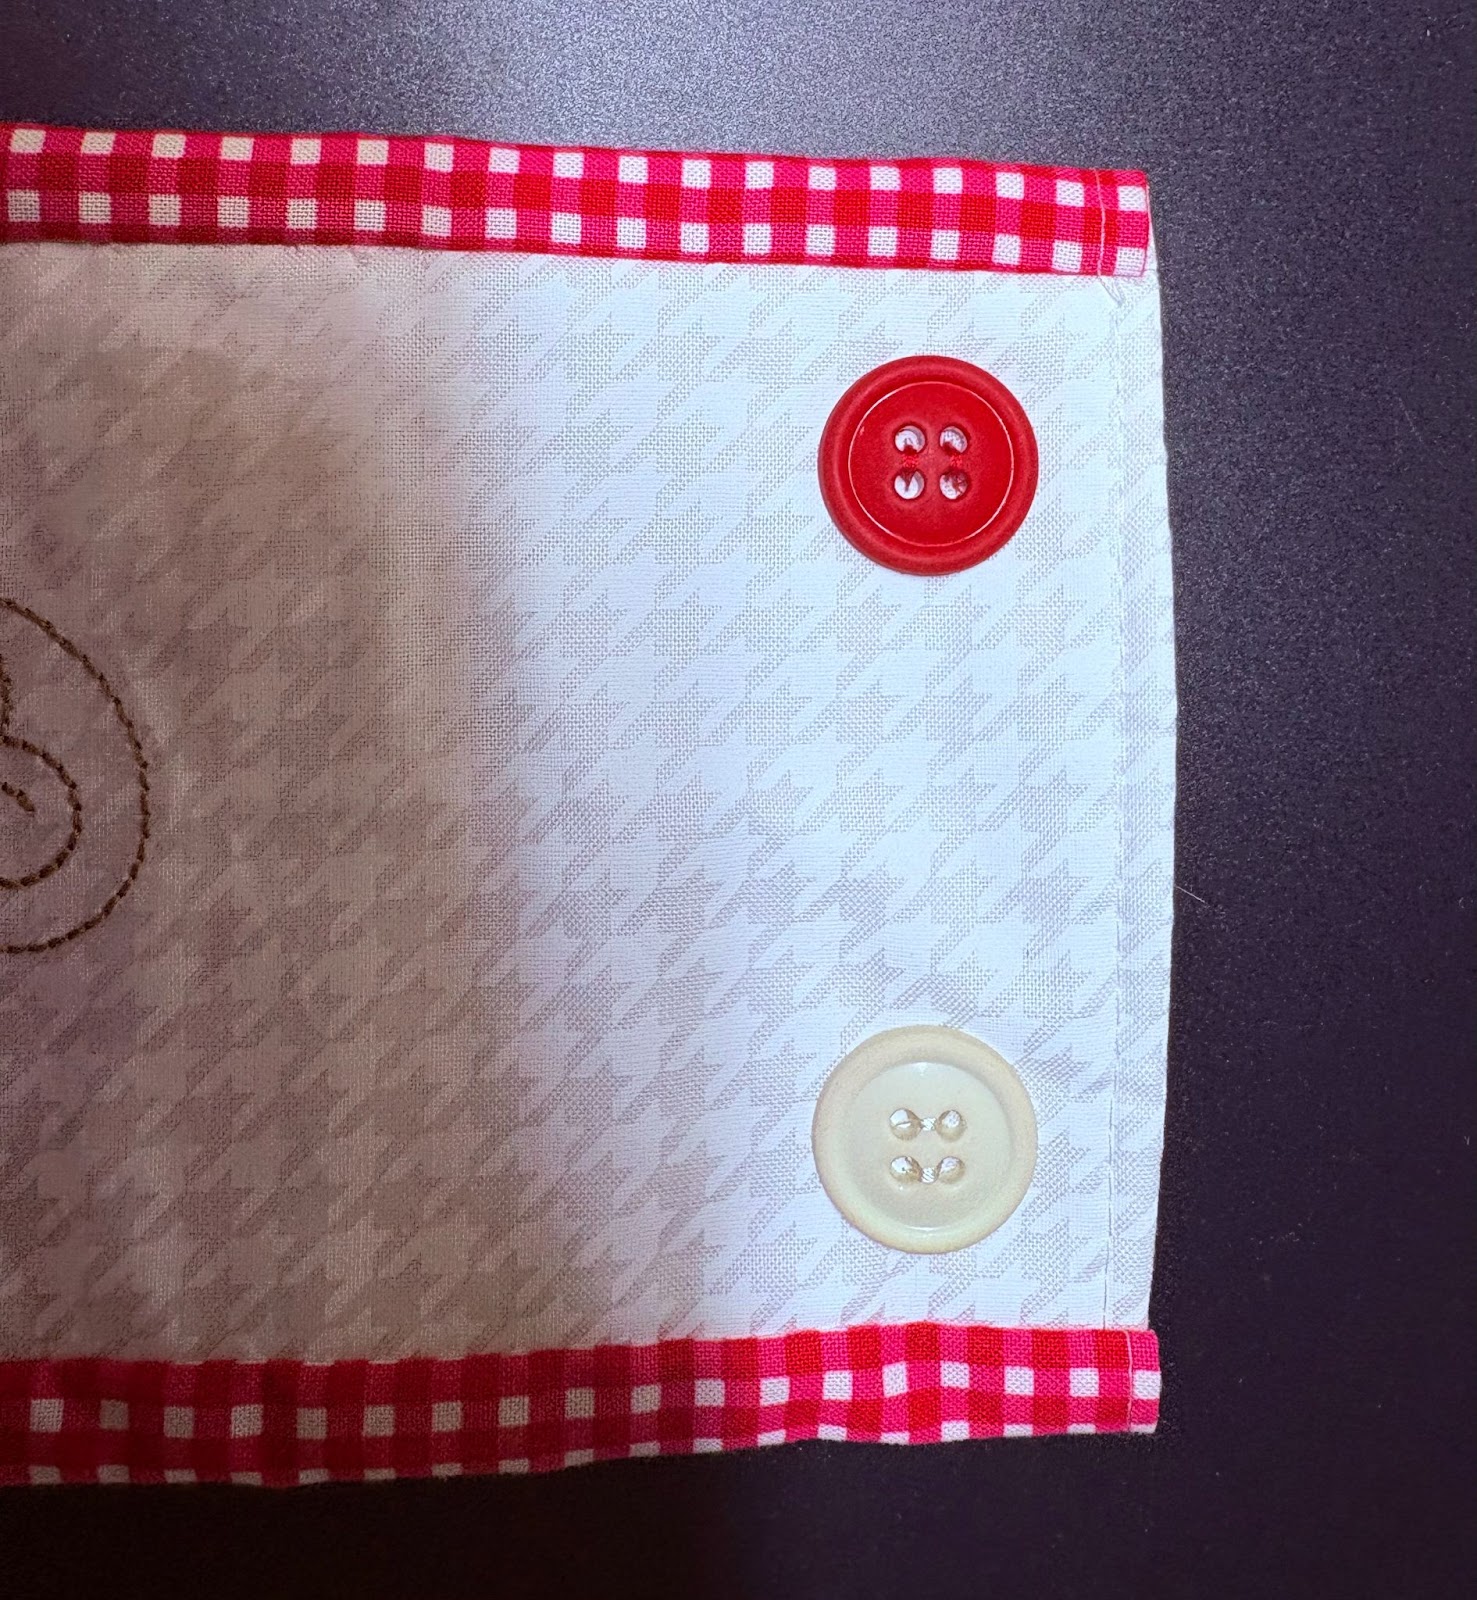
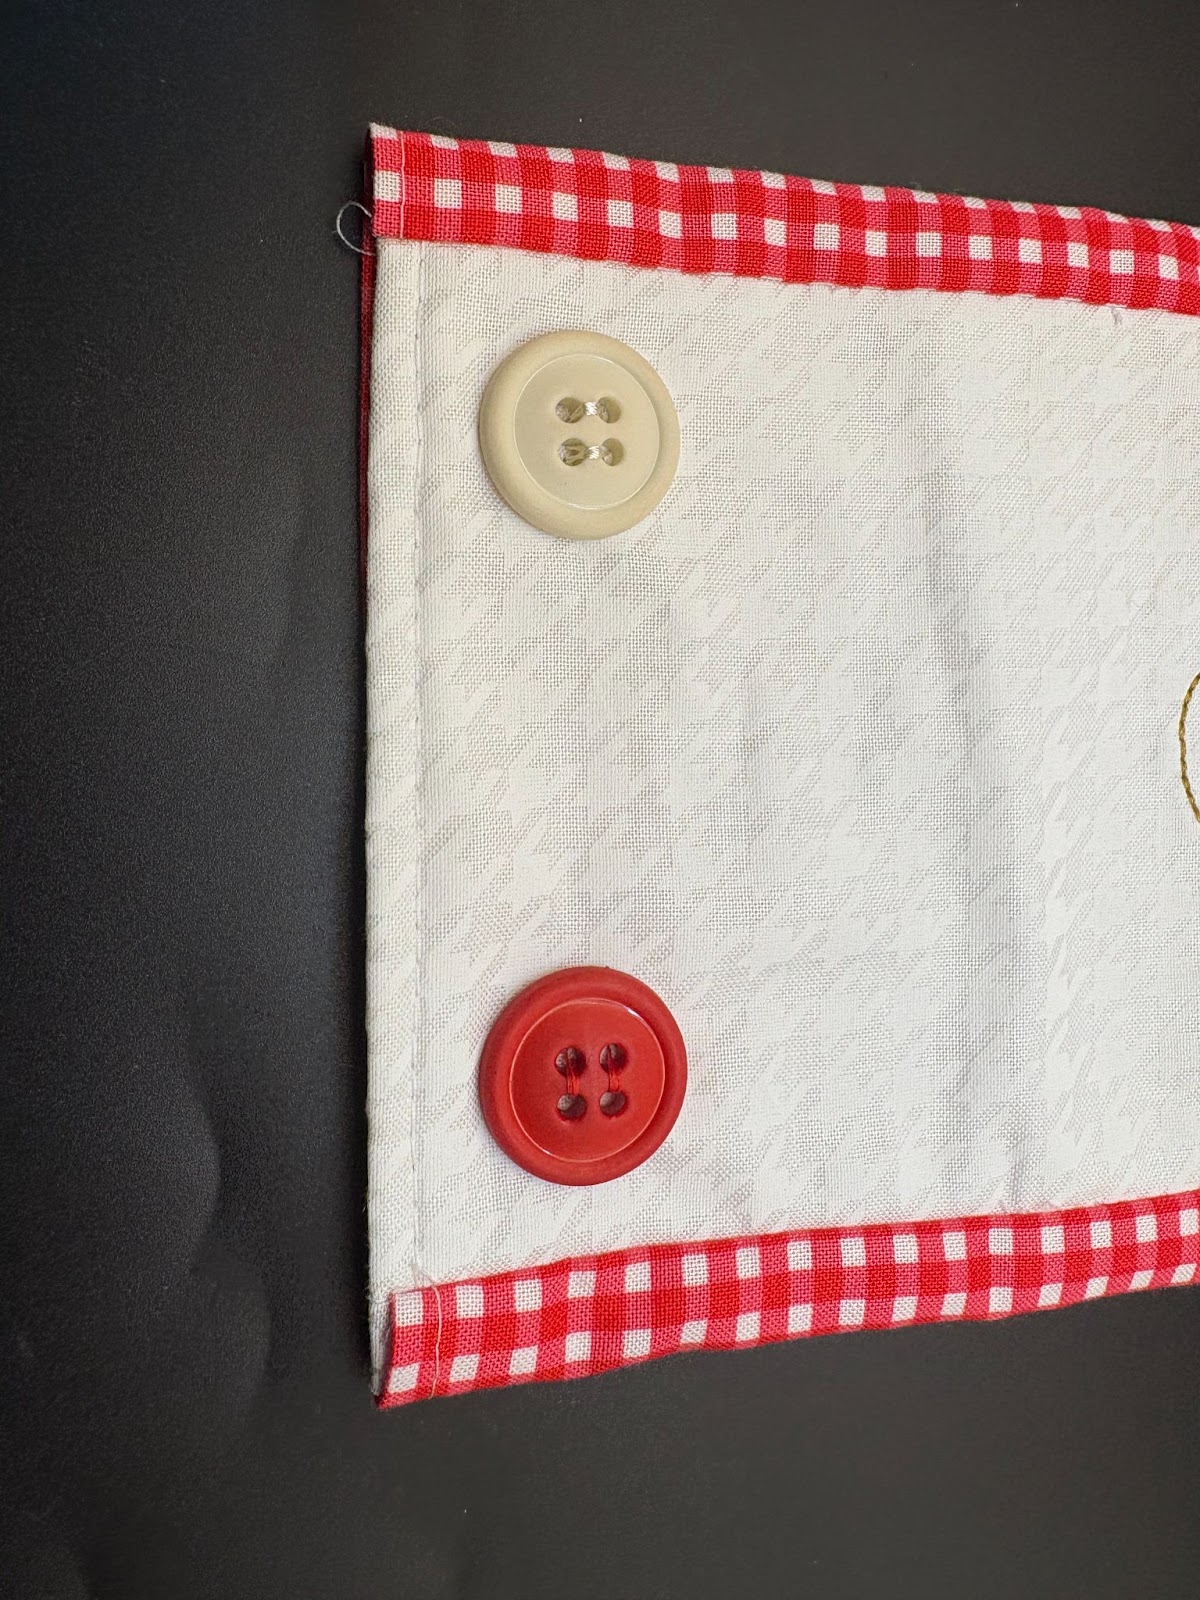
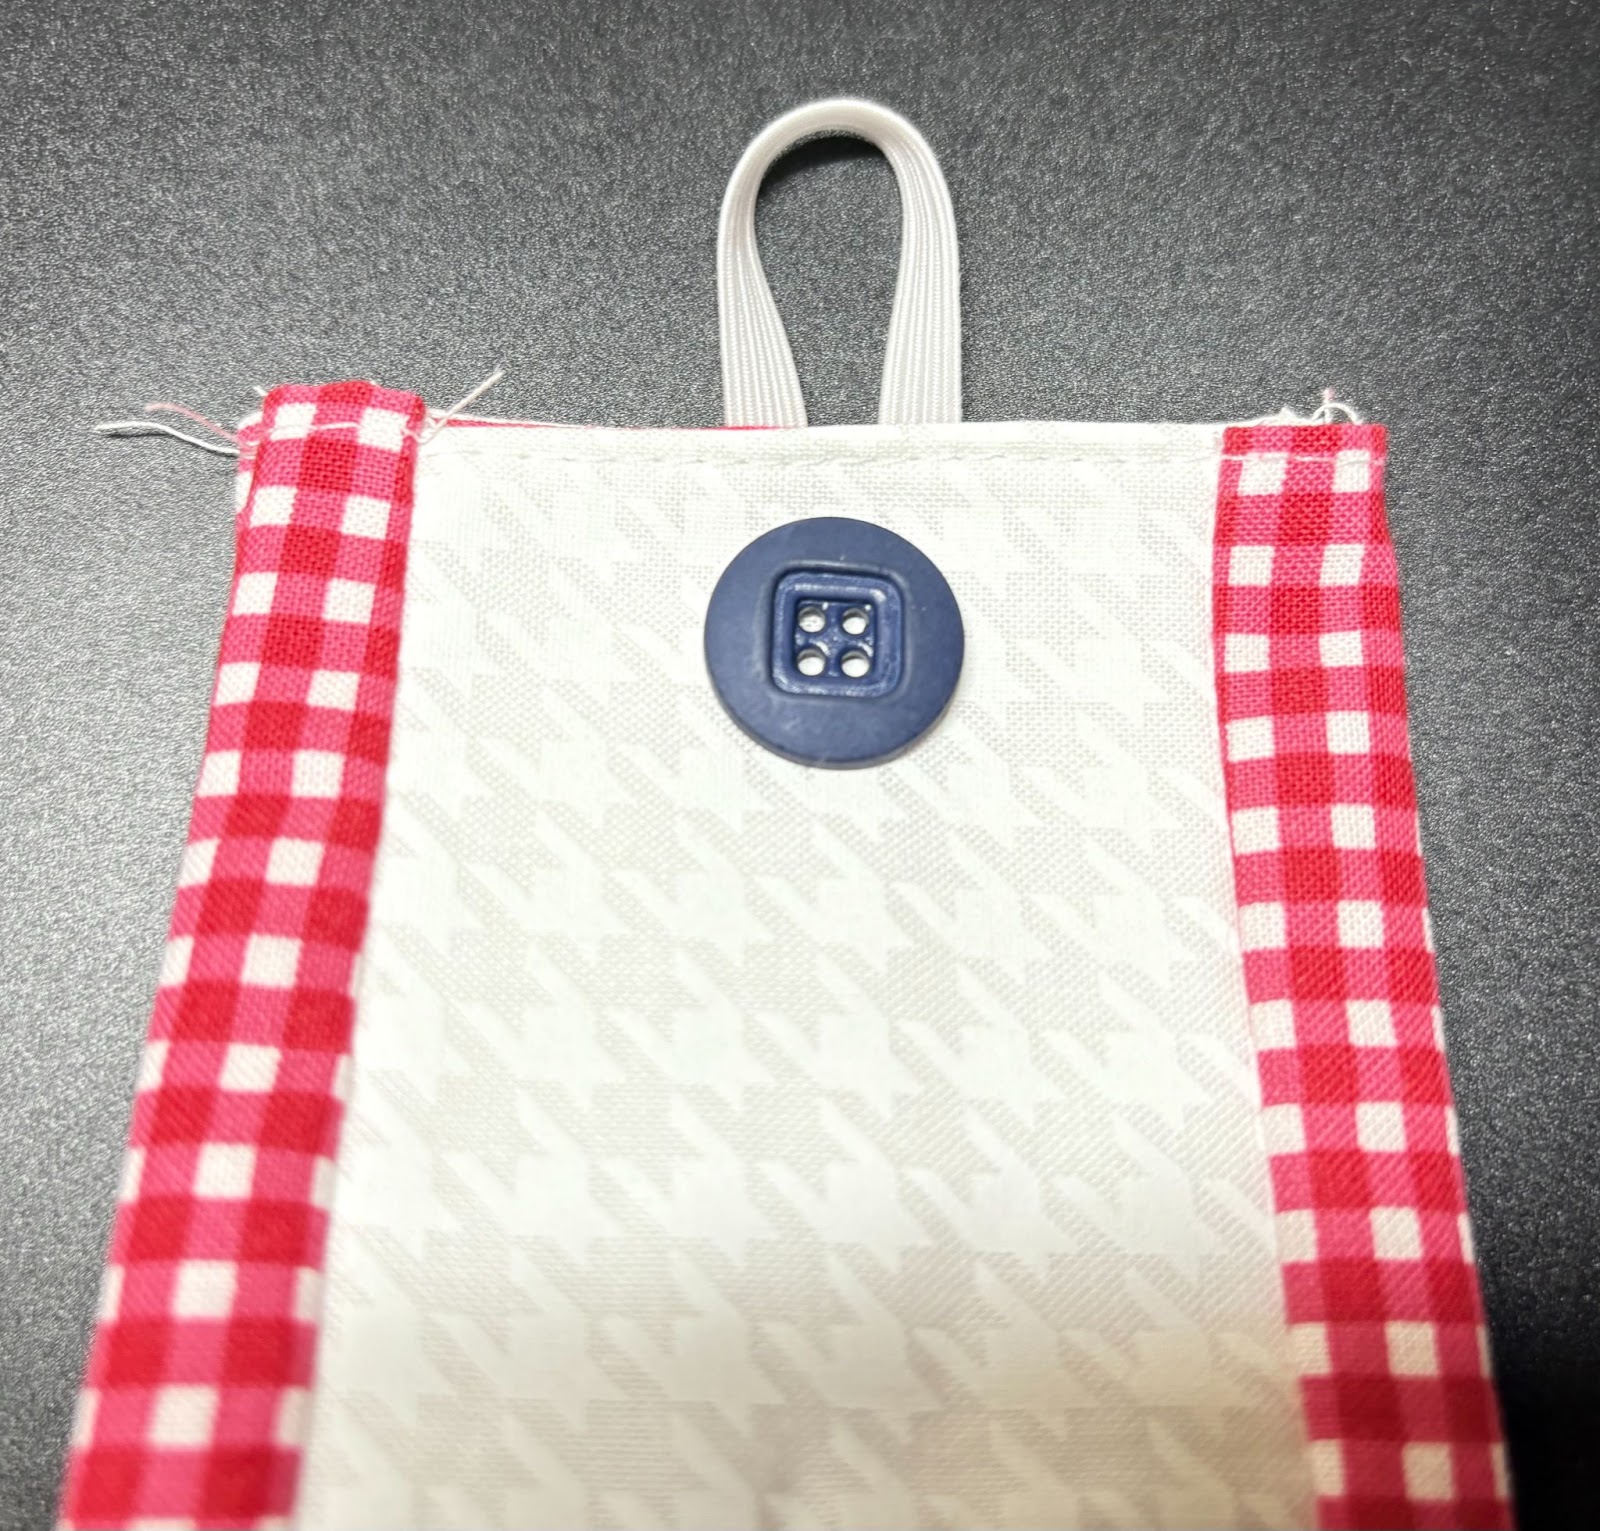
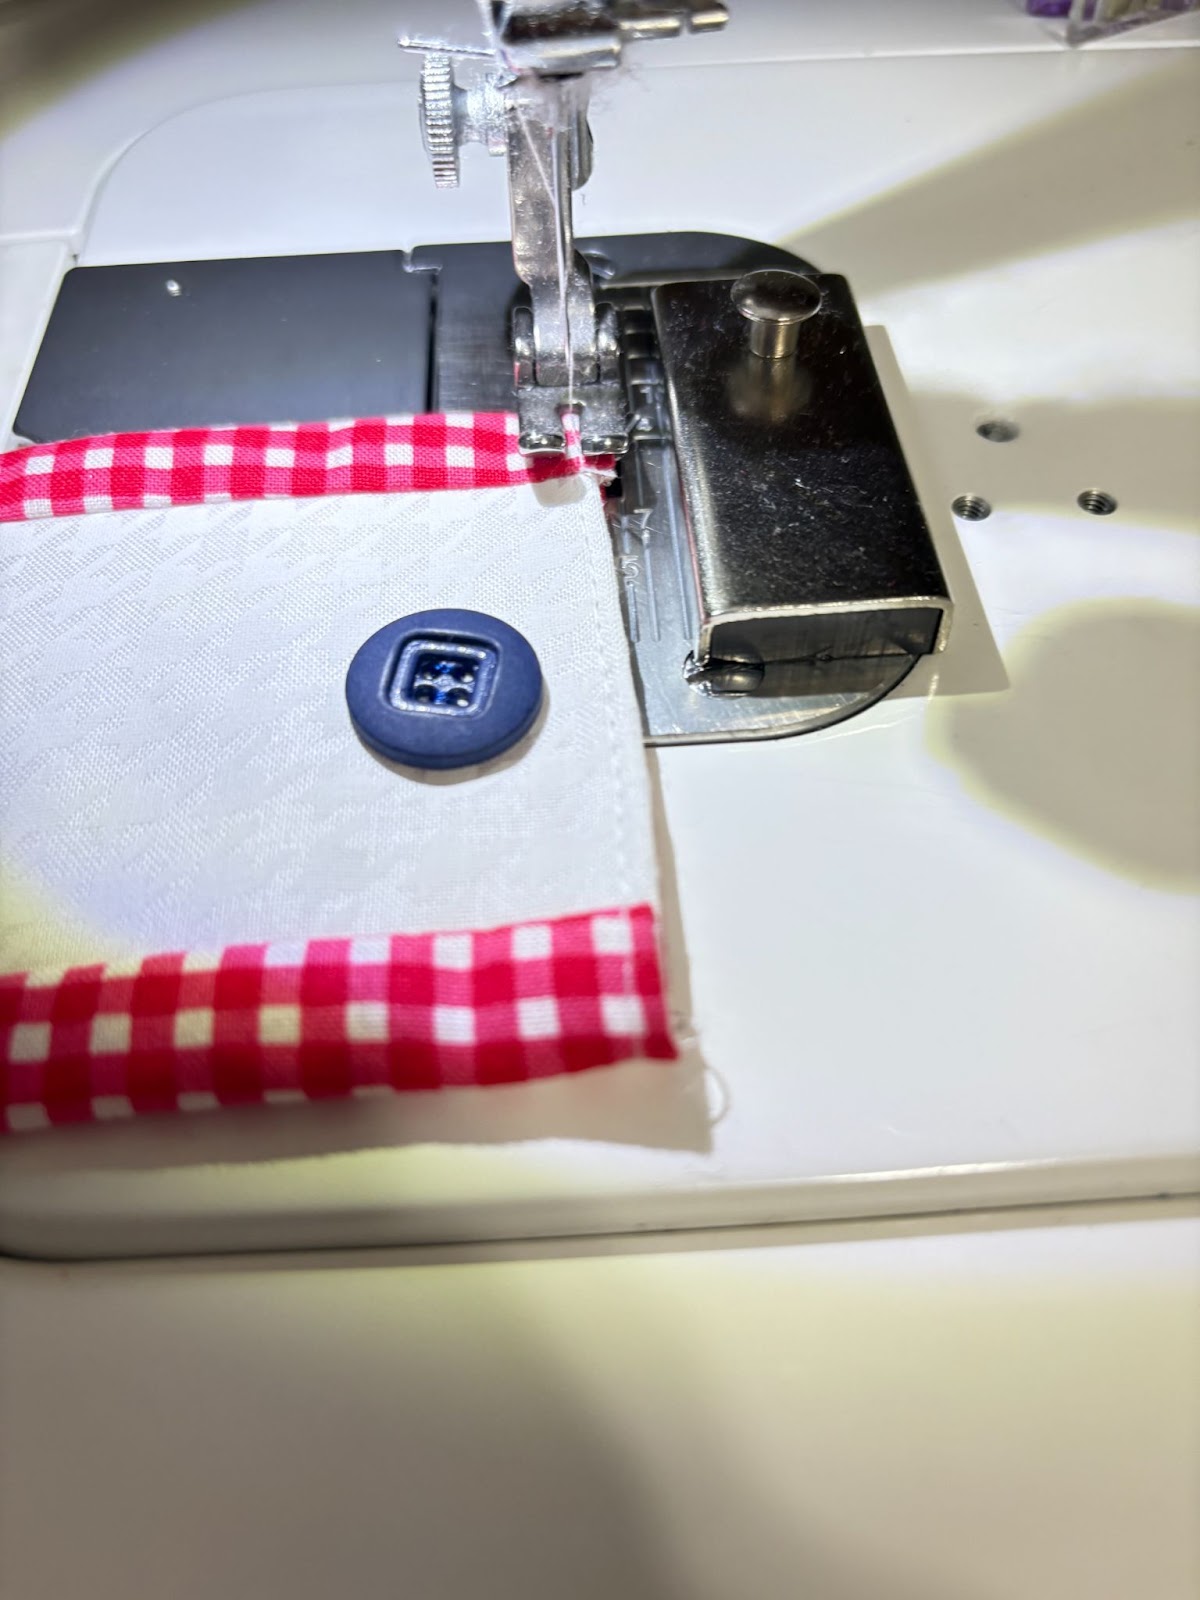
Place your buttons on the front side of the opposite end. Check to ensure they will line up with the elastic.
Securely sew them in place.
With the sewing machine, stitch across the end to close.

Wrap around the jar and pull the elastic around the buttons.
You can add a ribbon around the lid if desired.
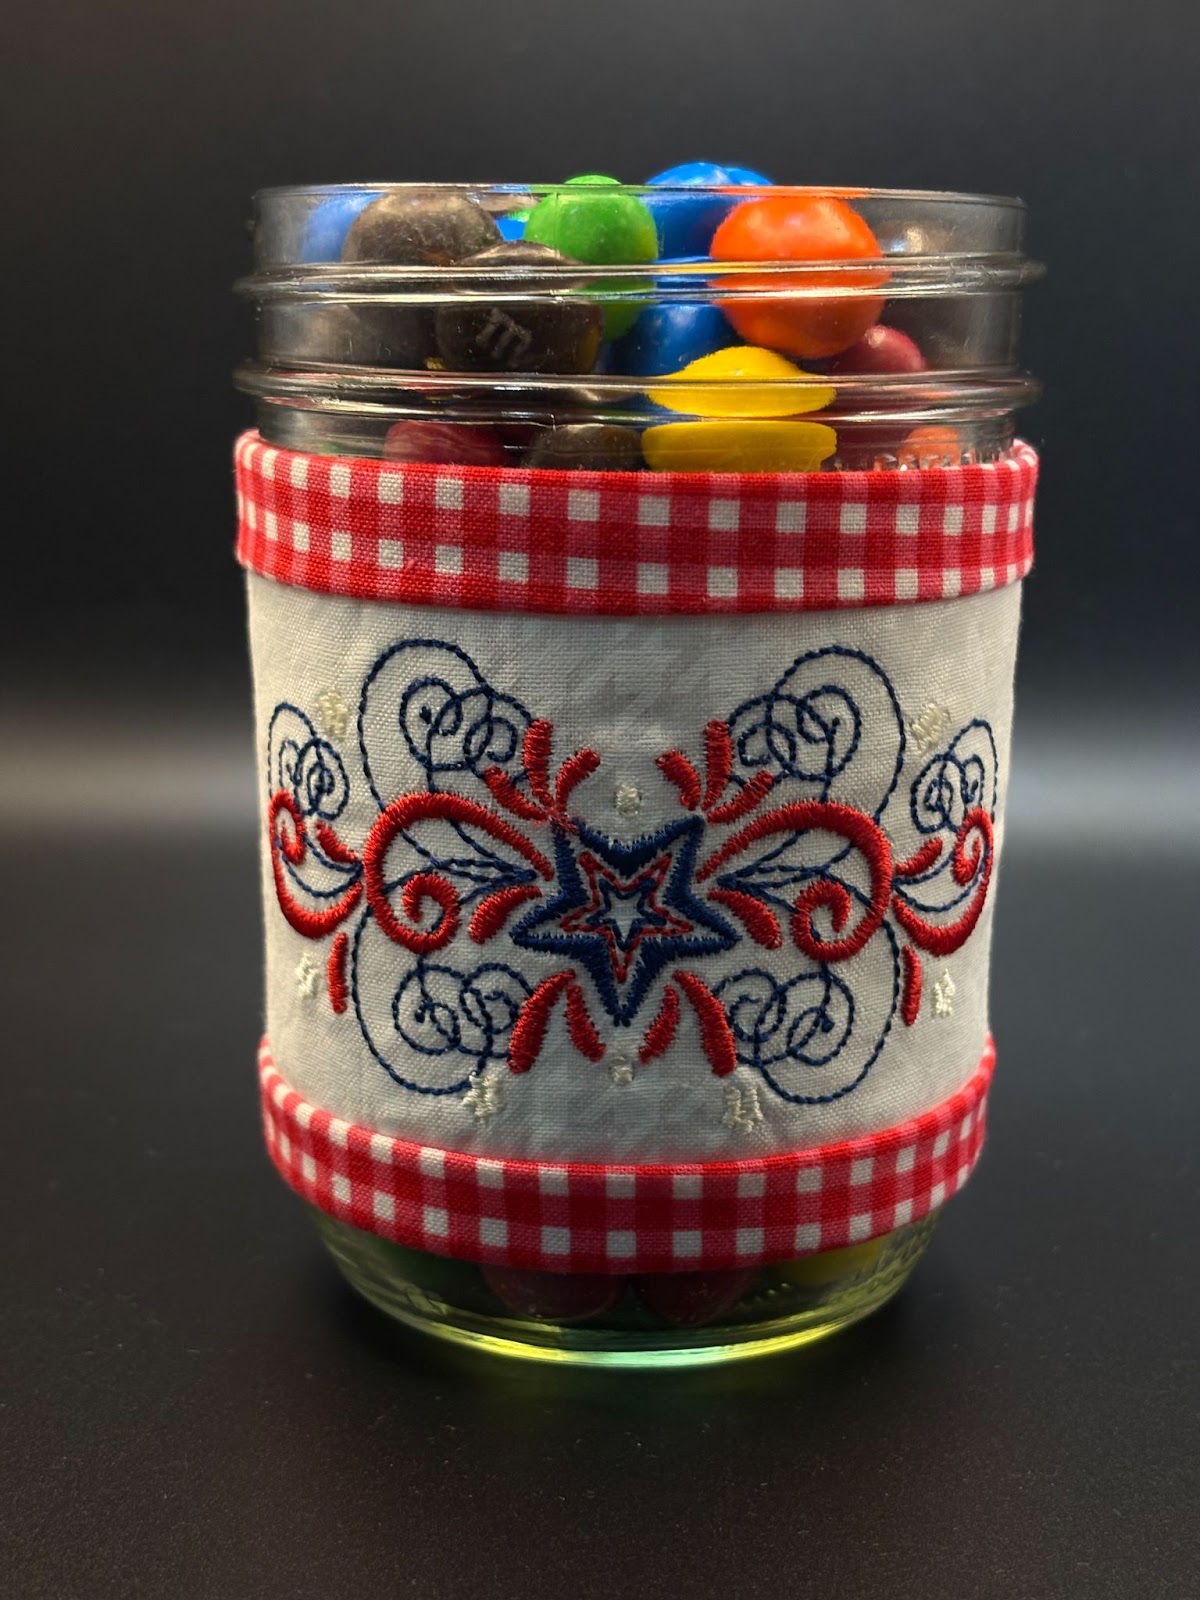
For the pint size, I used the Flourishing Patriotism Machine Embroidery Designs.
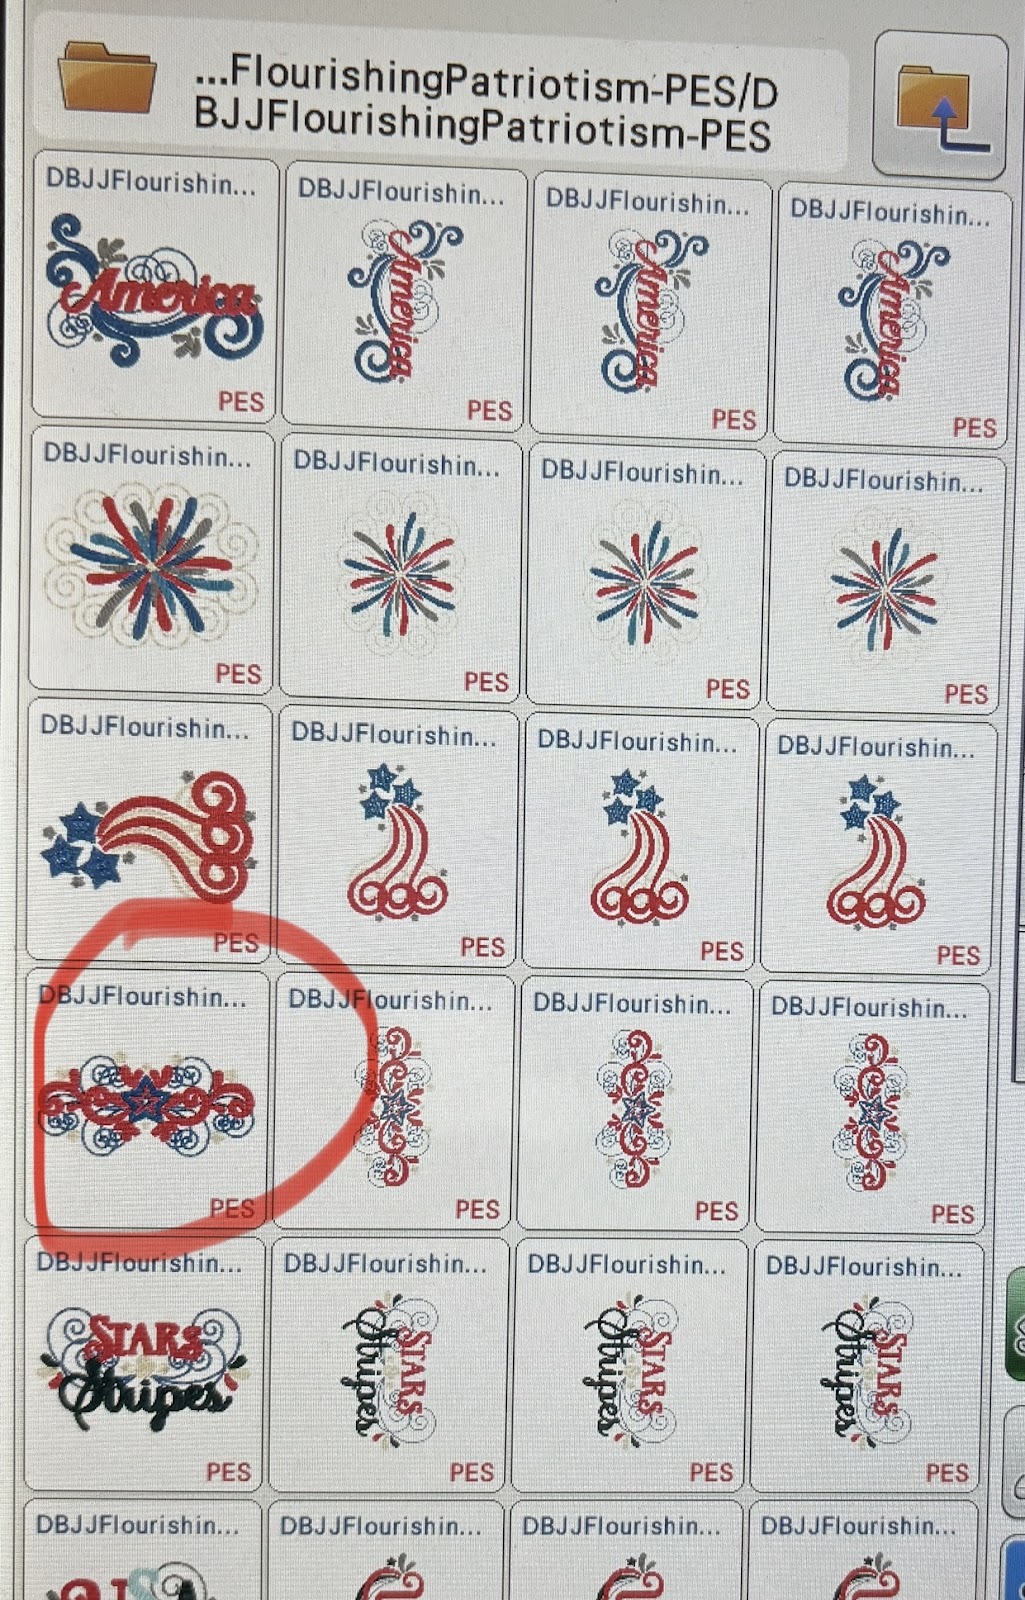
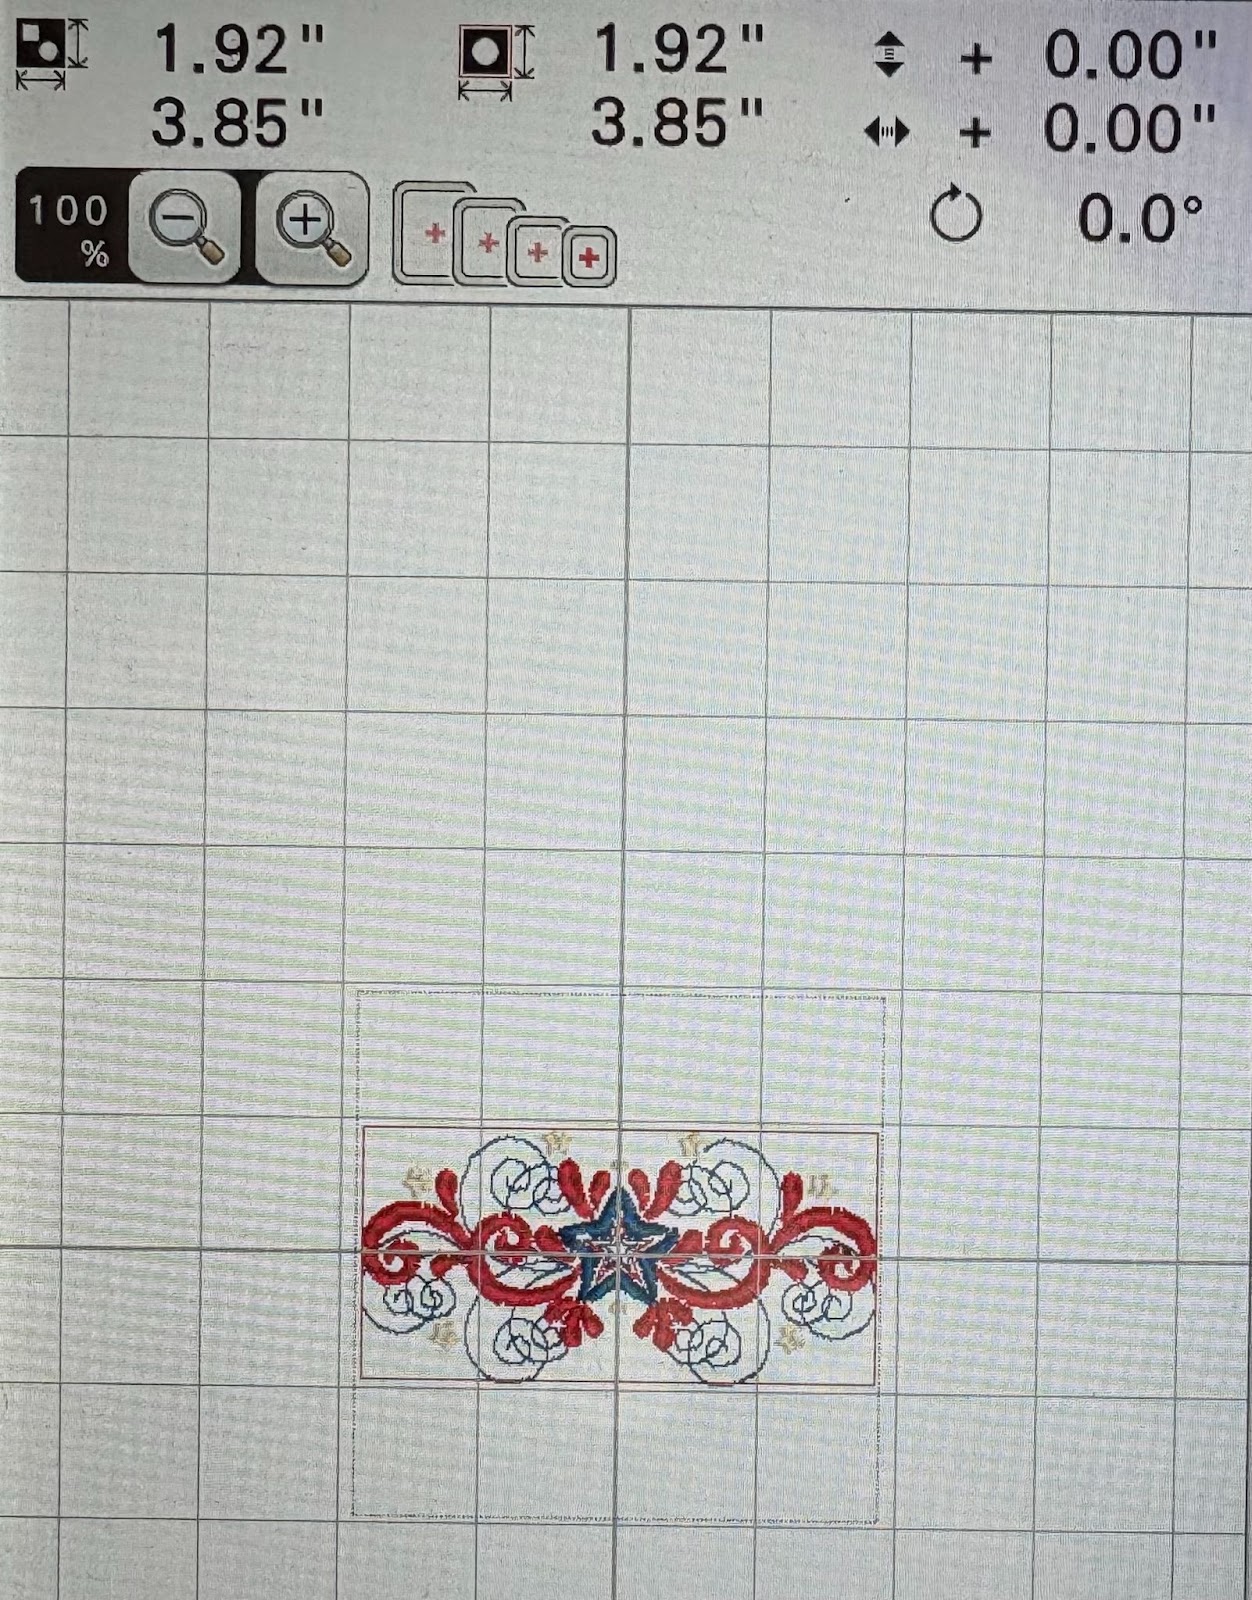
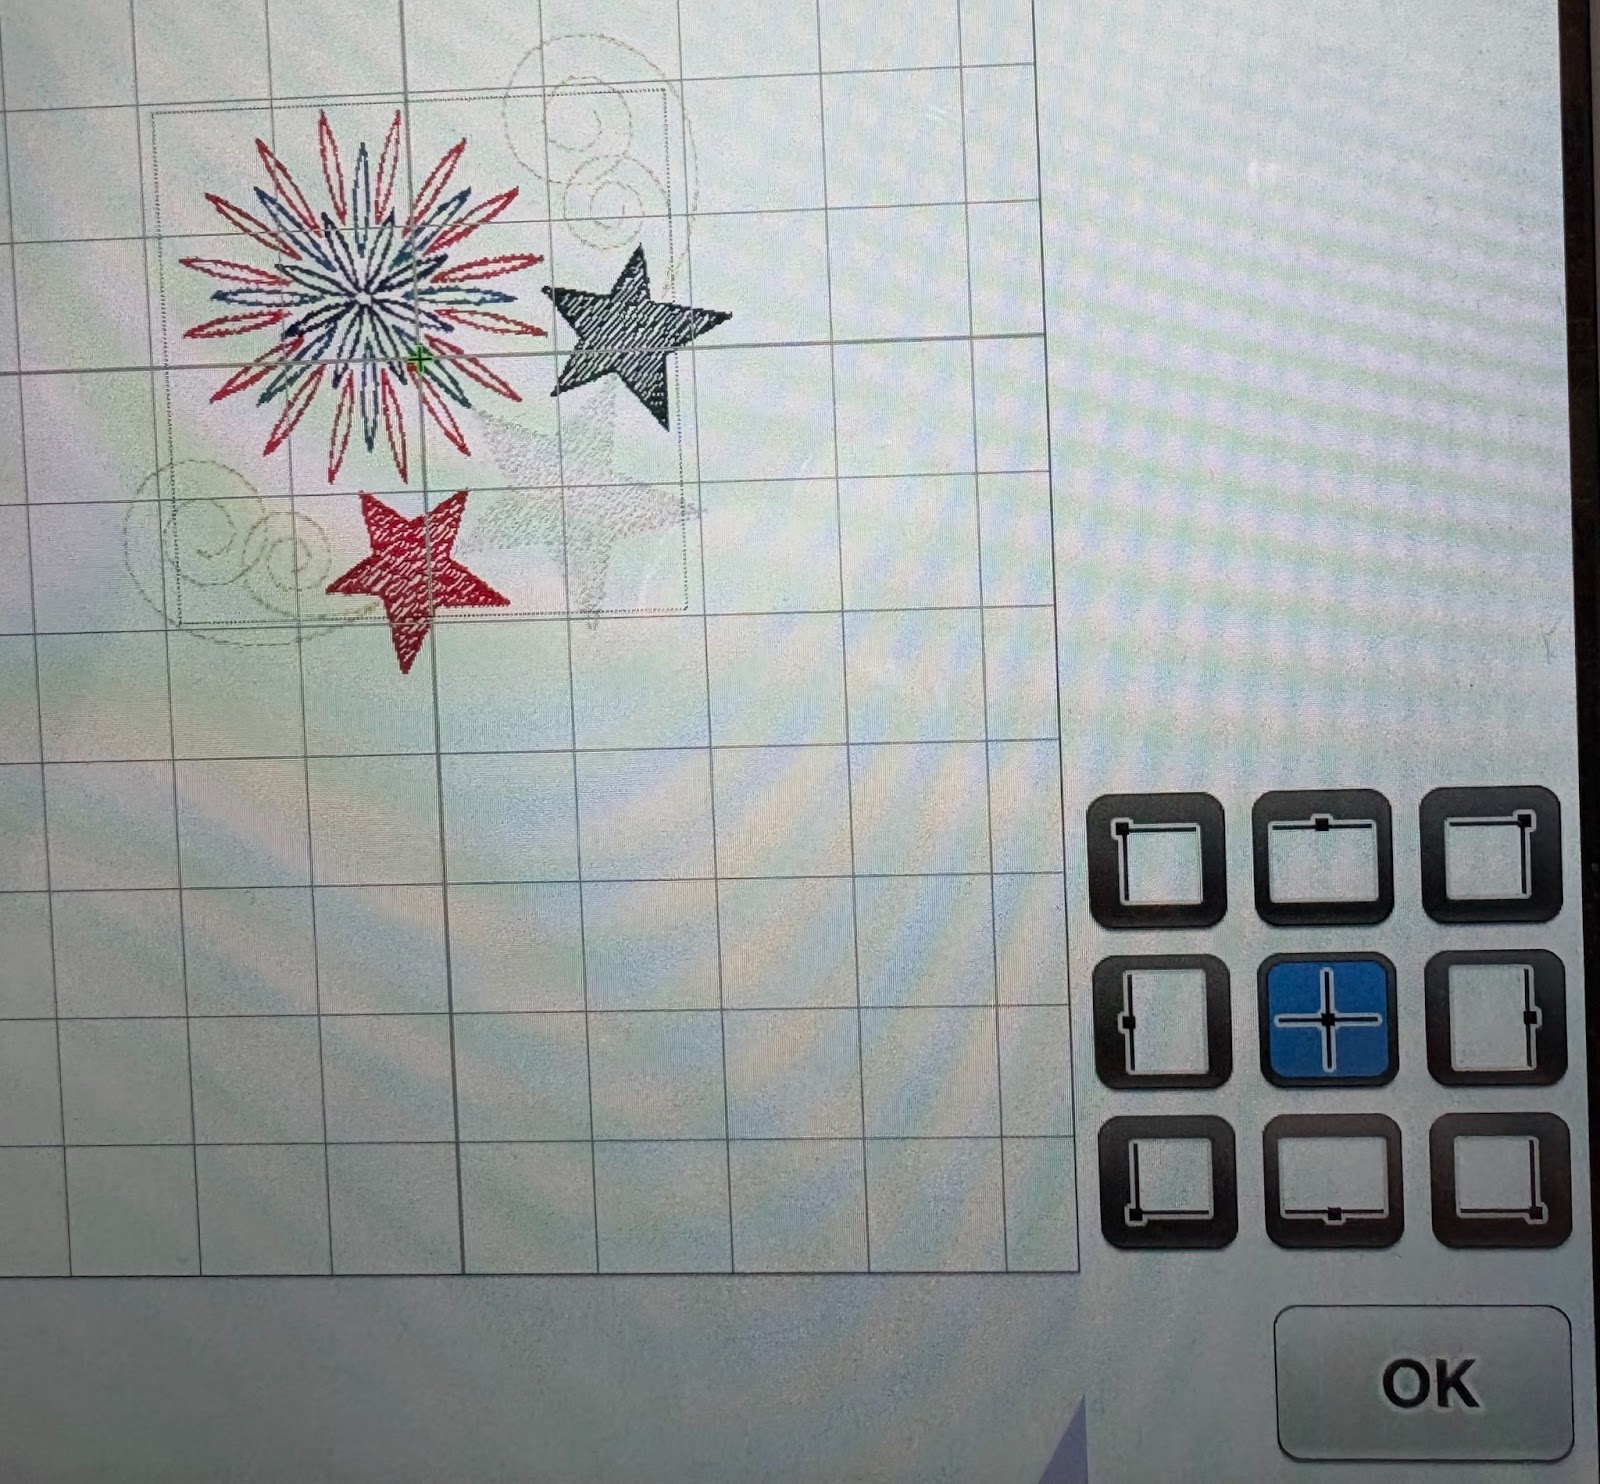
This set has so many wonderful designs to choose from. Remember to choose the smallest size. Once you have chosen the design you want to use, hoop tear-away stabilizer. Take the hoop and the front fabric strip to your machine.

Use the design placement keys to center the strip of fabric onto the stabilizer. I find it much easier to float the fabric on top of the hooped stabilizer. Always double check using the position keys to ensure the design will fit. Remember to leave ½” from both the top and bottom for the binding. Pin or use a basting spray to keep the fabric stable while stitching.
Stitch out the design.

Follow the quart-size instructions to assemble the wrap.
For the pint size you will only need one elastic loop and one button.
Center the elastic. Stitch closed, catching the ends in the seam.
Line up the button with the elastic loop and securely sew it to the opposite end.
Stitch the button end closed.
I made the pint-size jar wrap a little smaller to show you a different option. If you want a wider gap, decrease the size of the strips by ½”.
With all the designs JuJu has to offer, these mason jar wraps can be made for any special occasion or holiday. They make the perfect little gift for a friend, neighbor, or teacher to let them know you are thinking about them. Or use them in a centerpiece on your table, indoors or outdoors. Remember you are not limited to using just mason jars. These wraps can be made to fit any jar or canister.
If you make festive jar wraps, please share photos in the Designs by JuJu Embroidery Blessings Group on Facebook, or anywhere on social media using the hashtag #designsbyjuju. We always love to see what you create!
