Toggle Nav
 Inspire.
Create.
Stitch.
Inspire.
Create.
Stitch.
Search

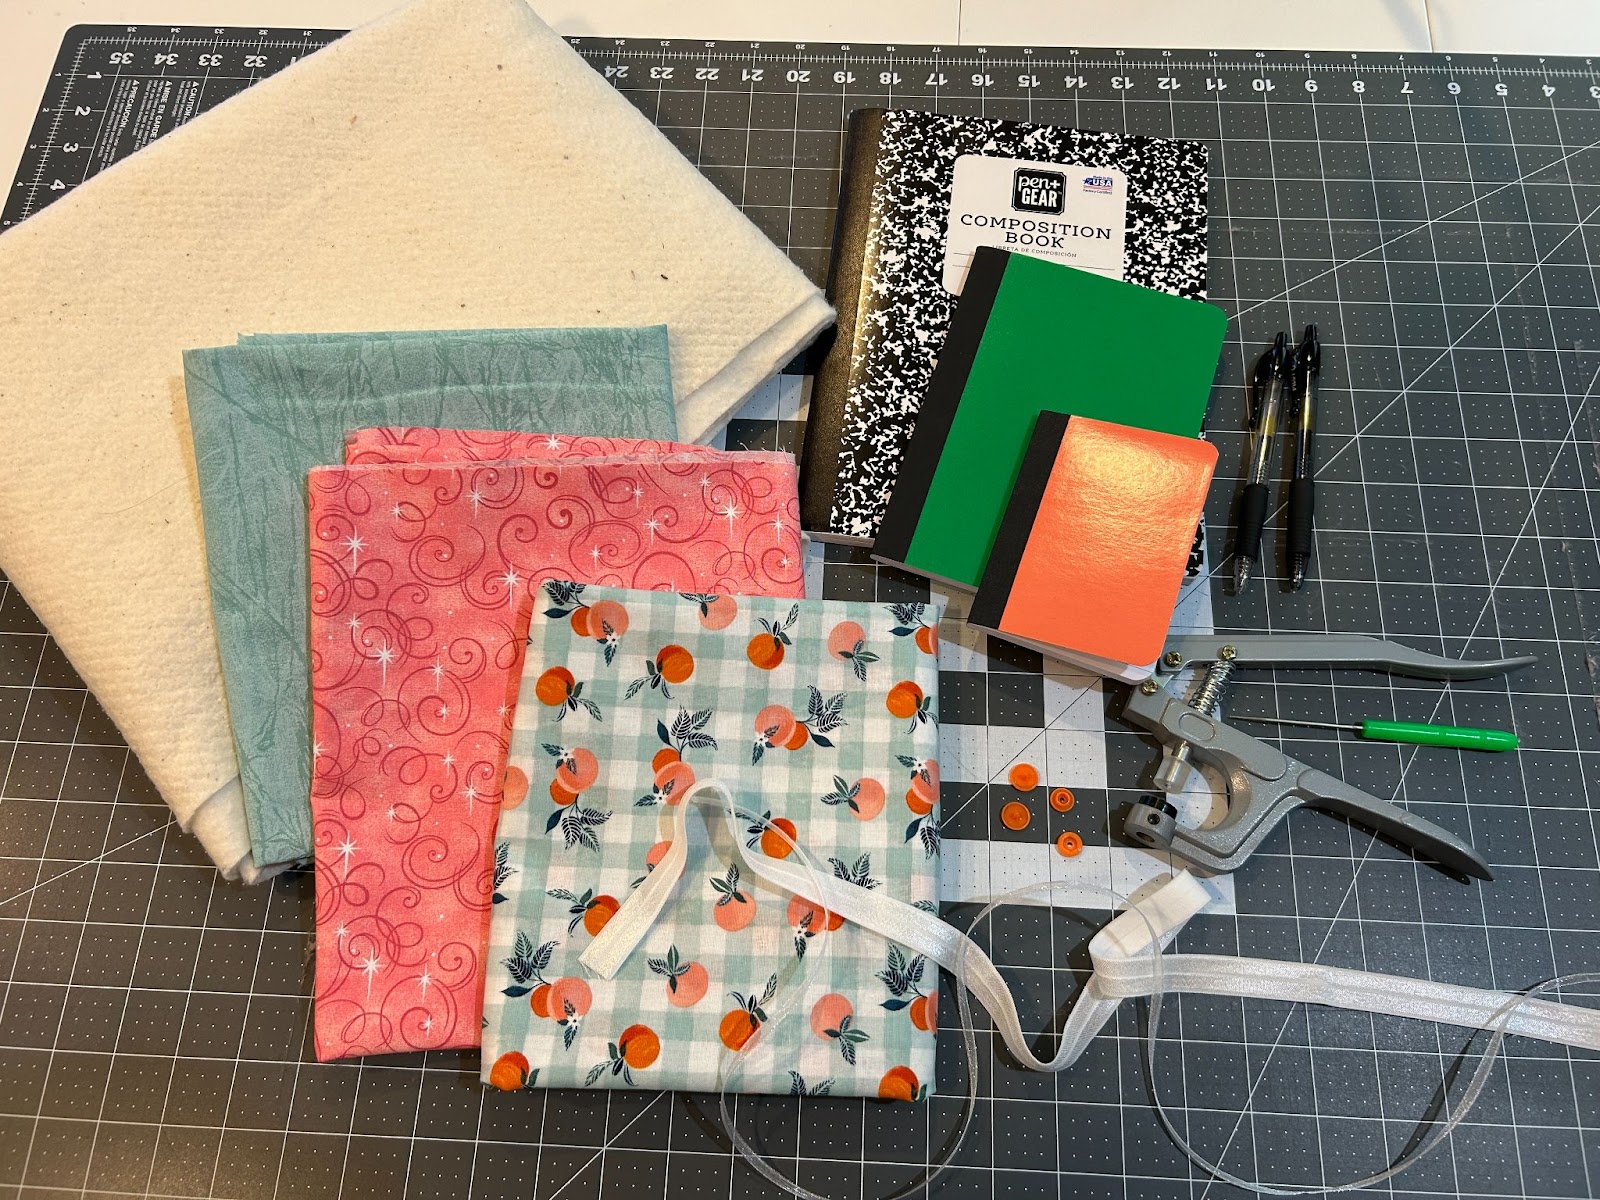
Make your notebooks pop! These ITH covers stitch up fast in three sizes, perfect for planners, gifts, and more.
I love the possibilities that a new notebook holds. So when I can take a composition notebook and add an embroidered cover that is personalized for the recipient, it feels like I won the notebook lottery! Today I will show you three different sizes and styles of ITH Notebook Covers and how to personalize them. Follow me as we create some one-of-a-kind covers that show off your personal style.
Check out the DBJJ team’s favorite supplies in the Designs by JuJu Amazon store.
Projects included in this post:
I love having a physical place to write down a reminder, and this cute notebook fits easily in my purse so it’s always on hand.
We will start by cutting the fabric into the sizes listed in the instructions.
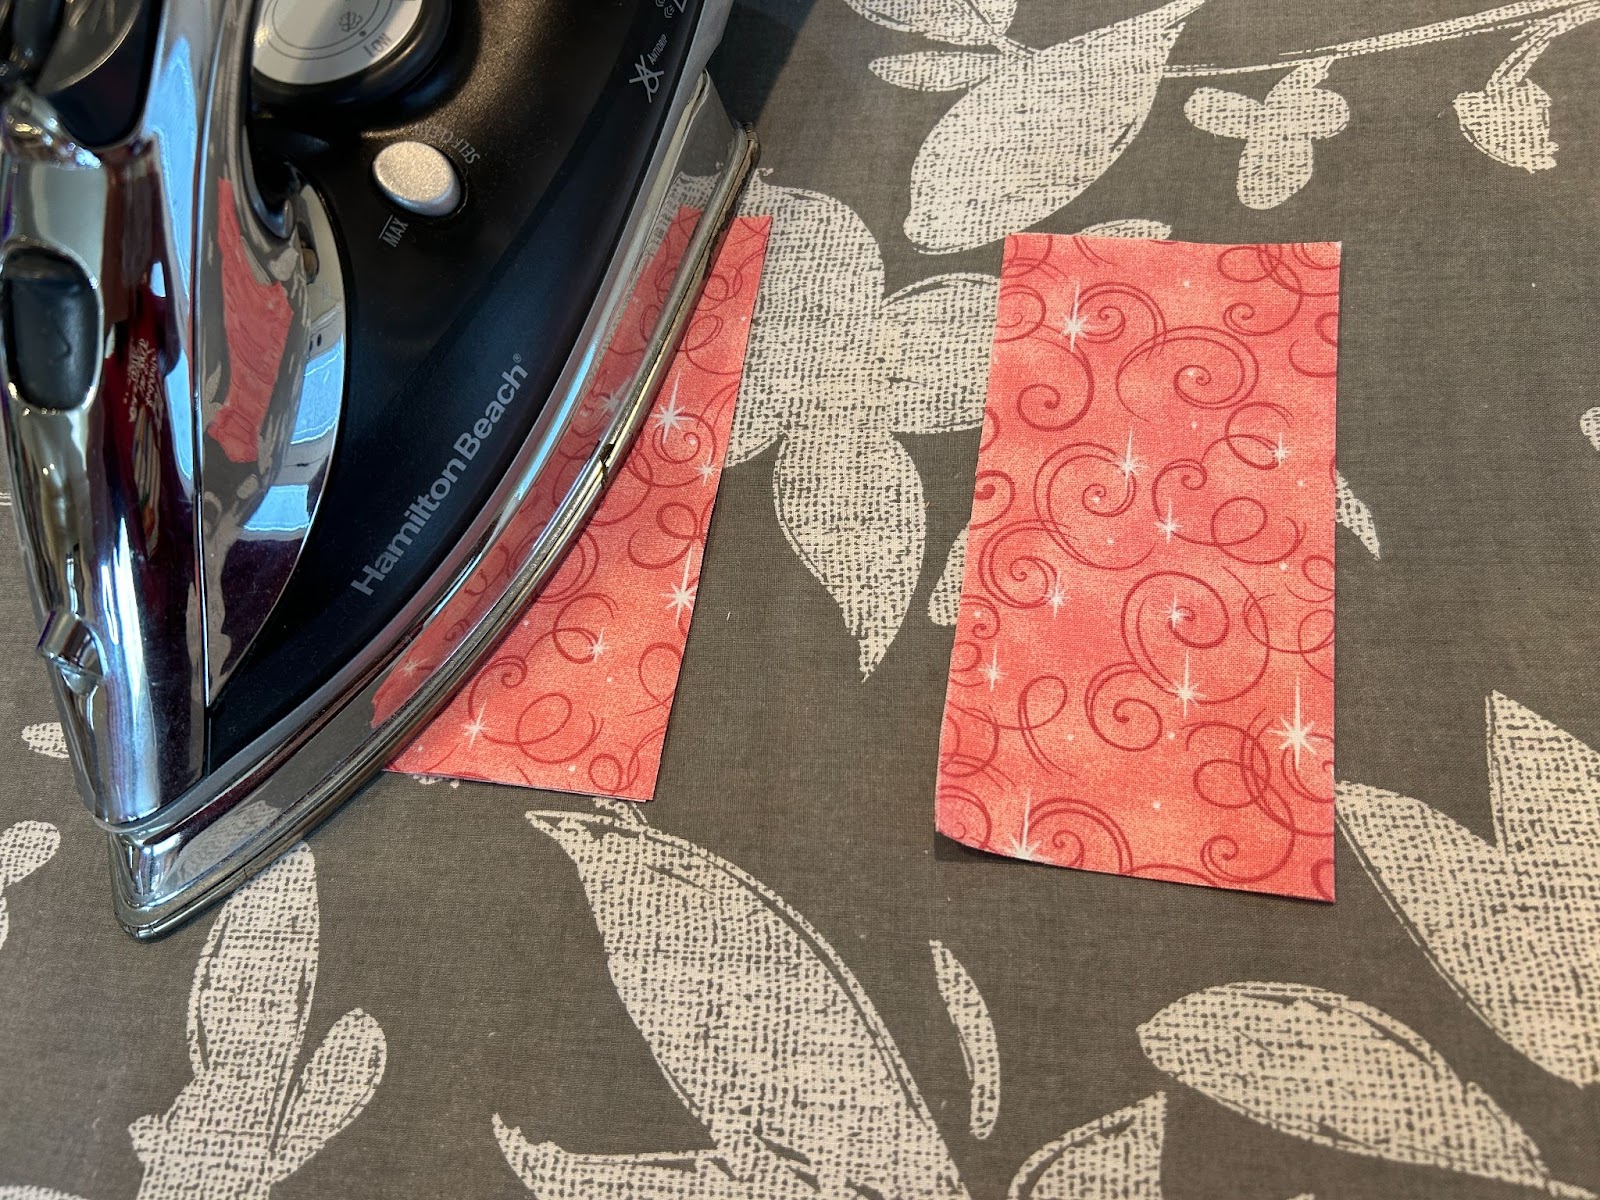
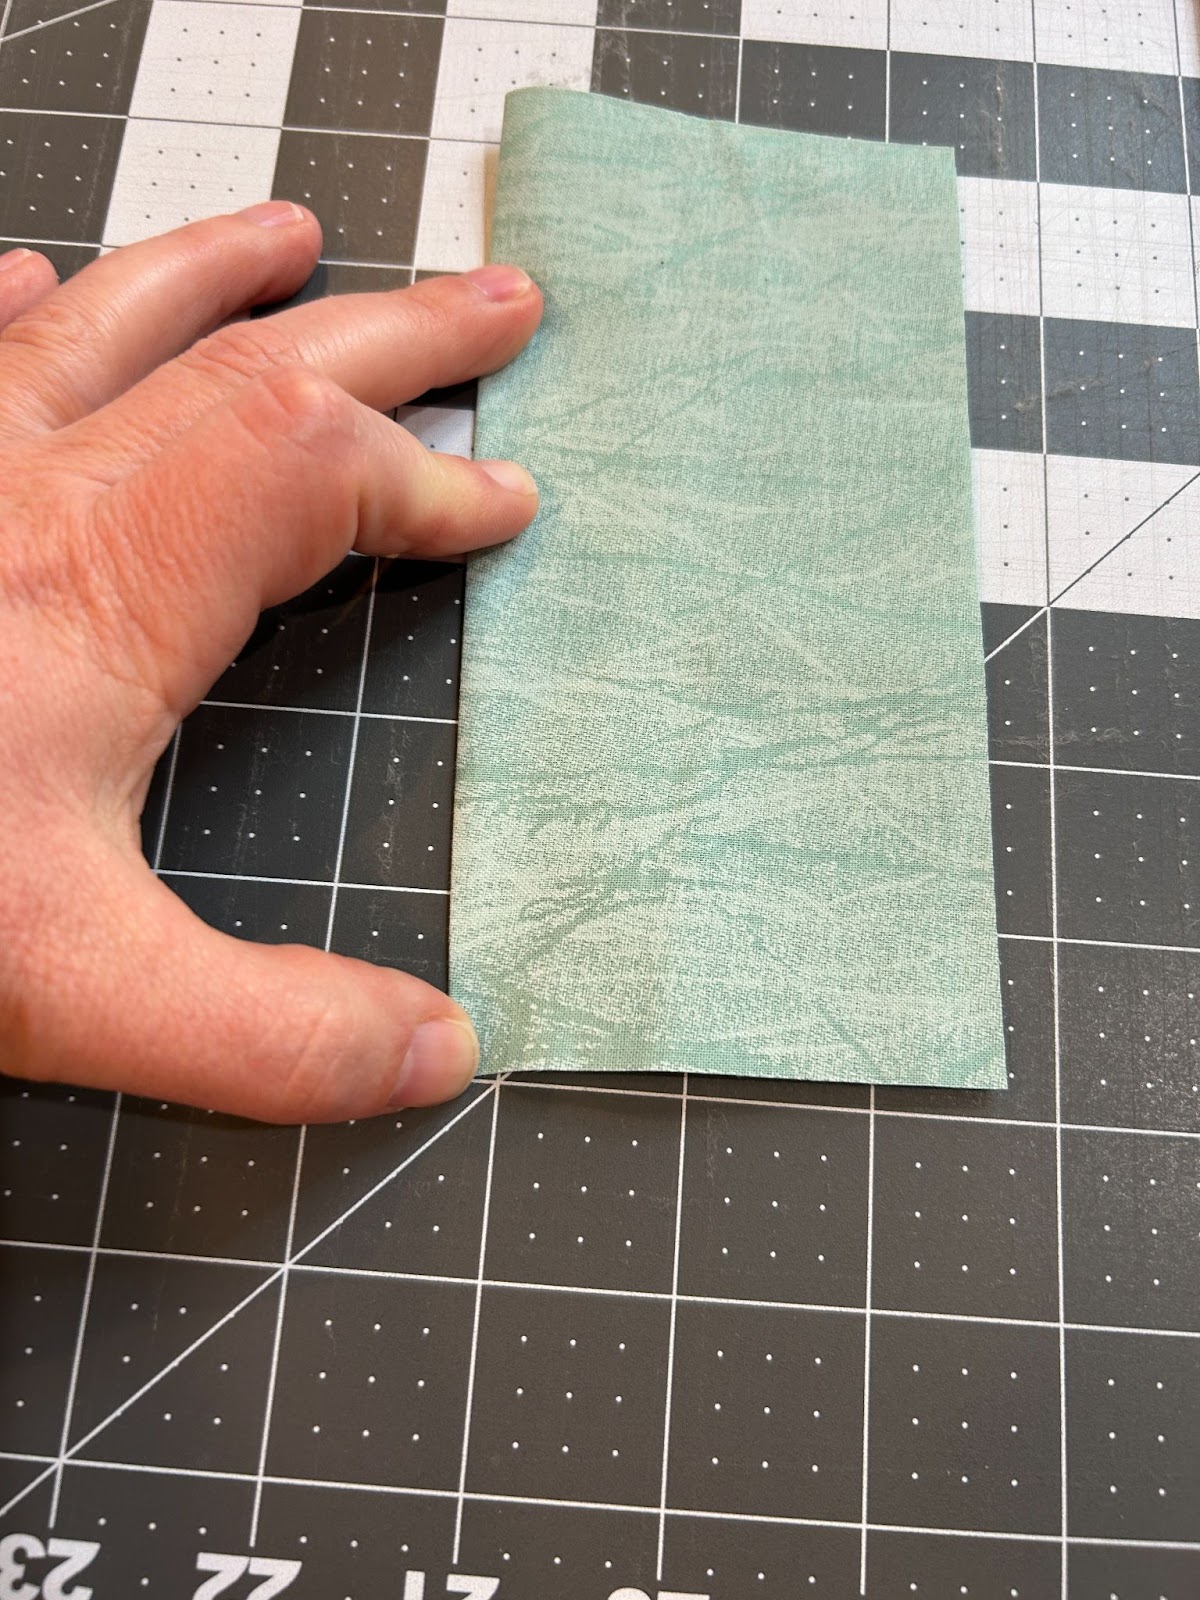
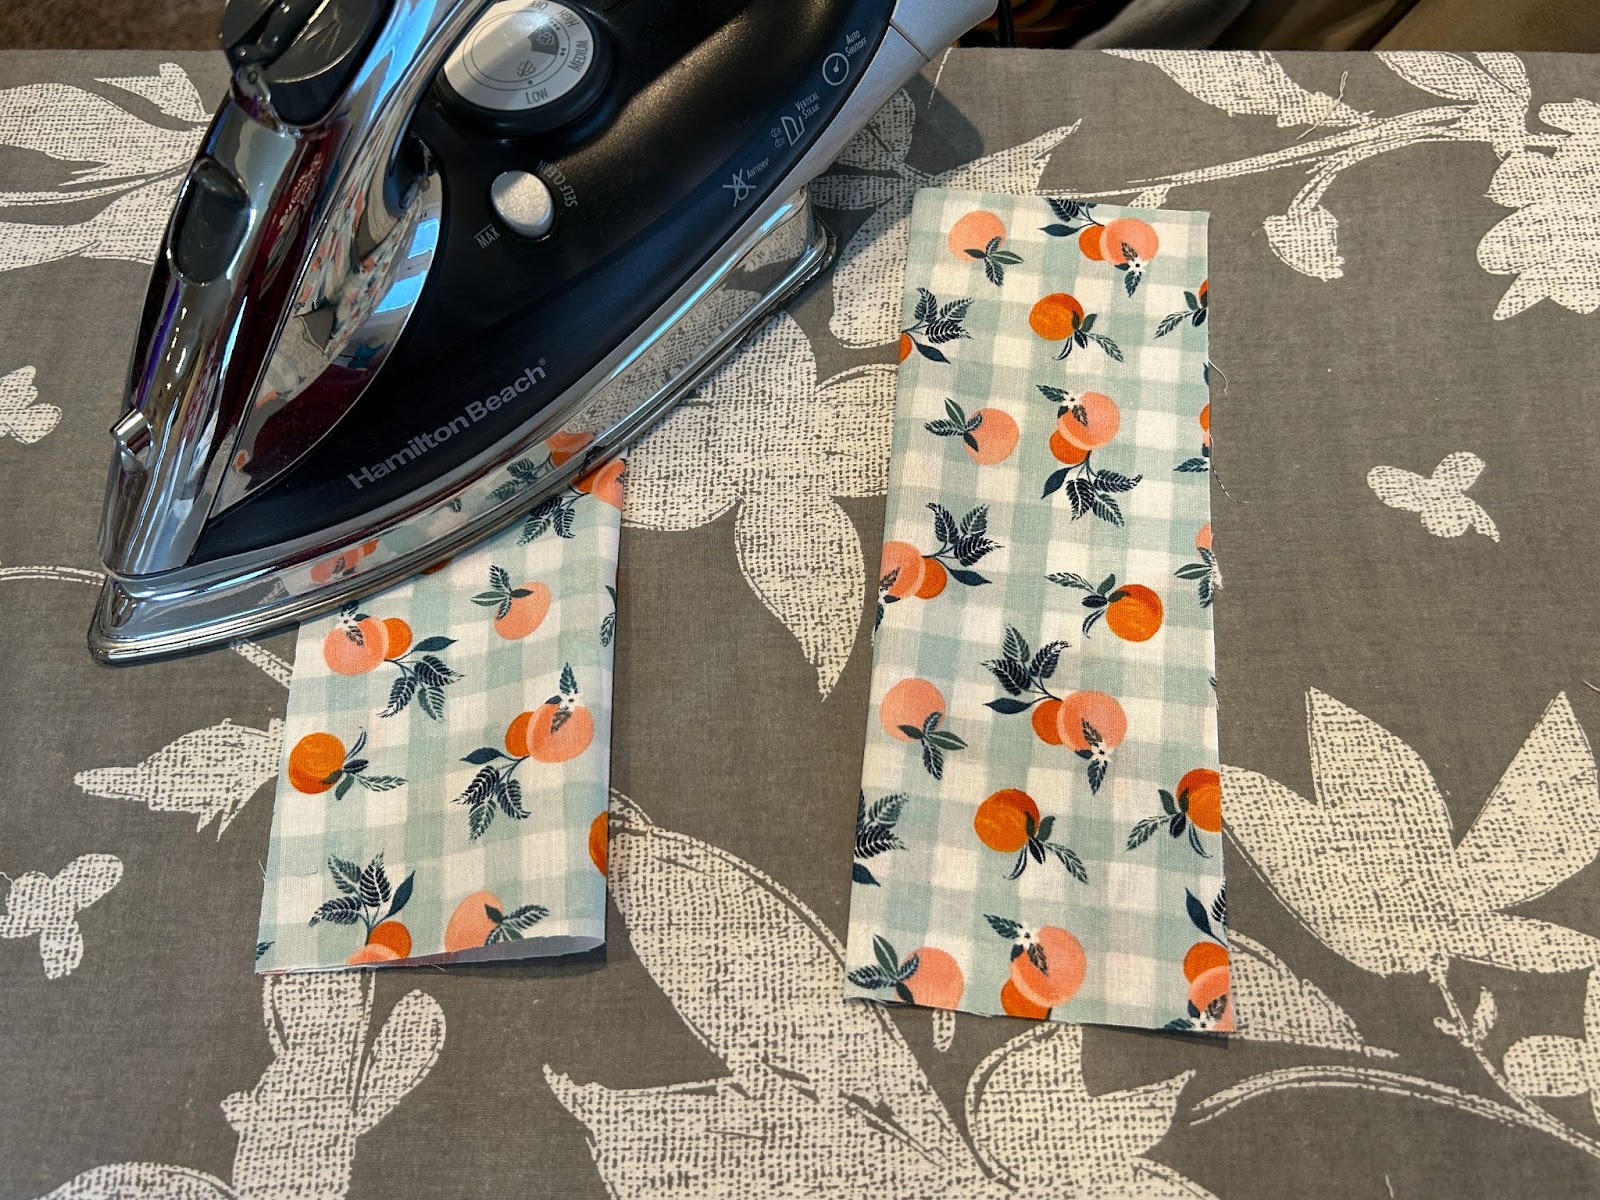
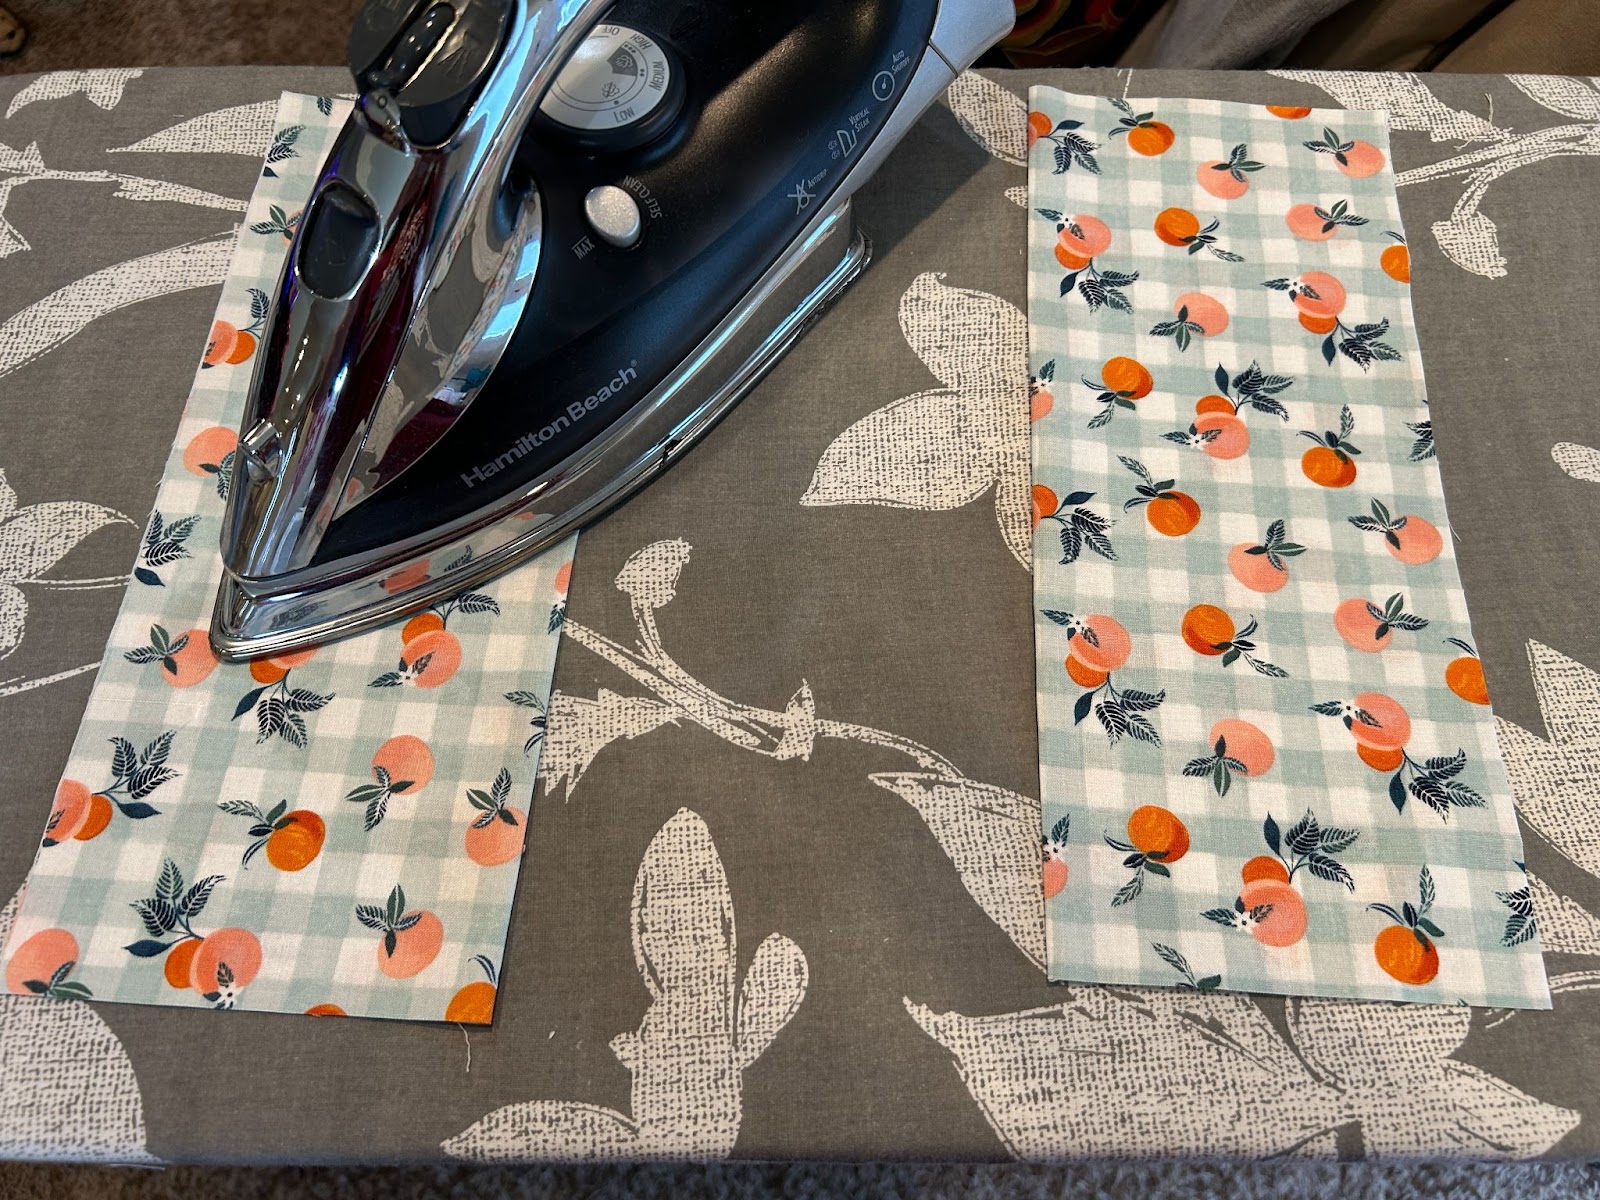
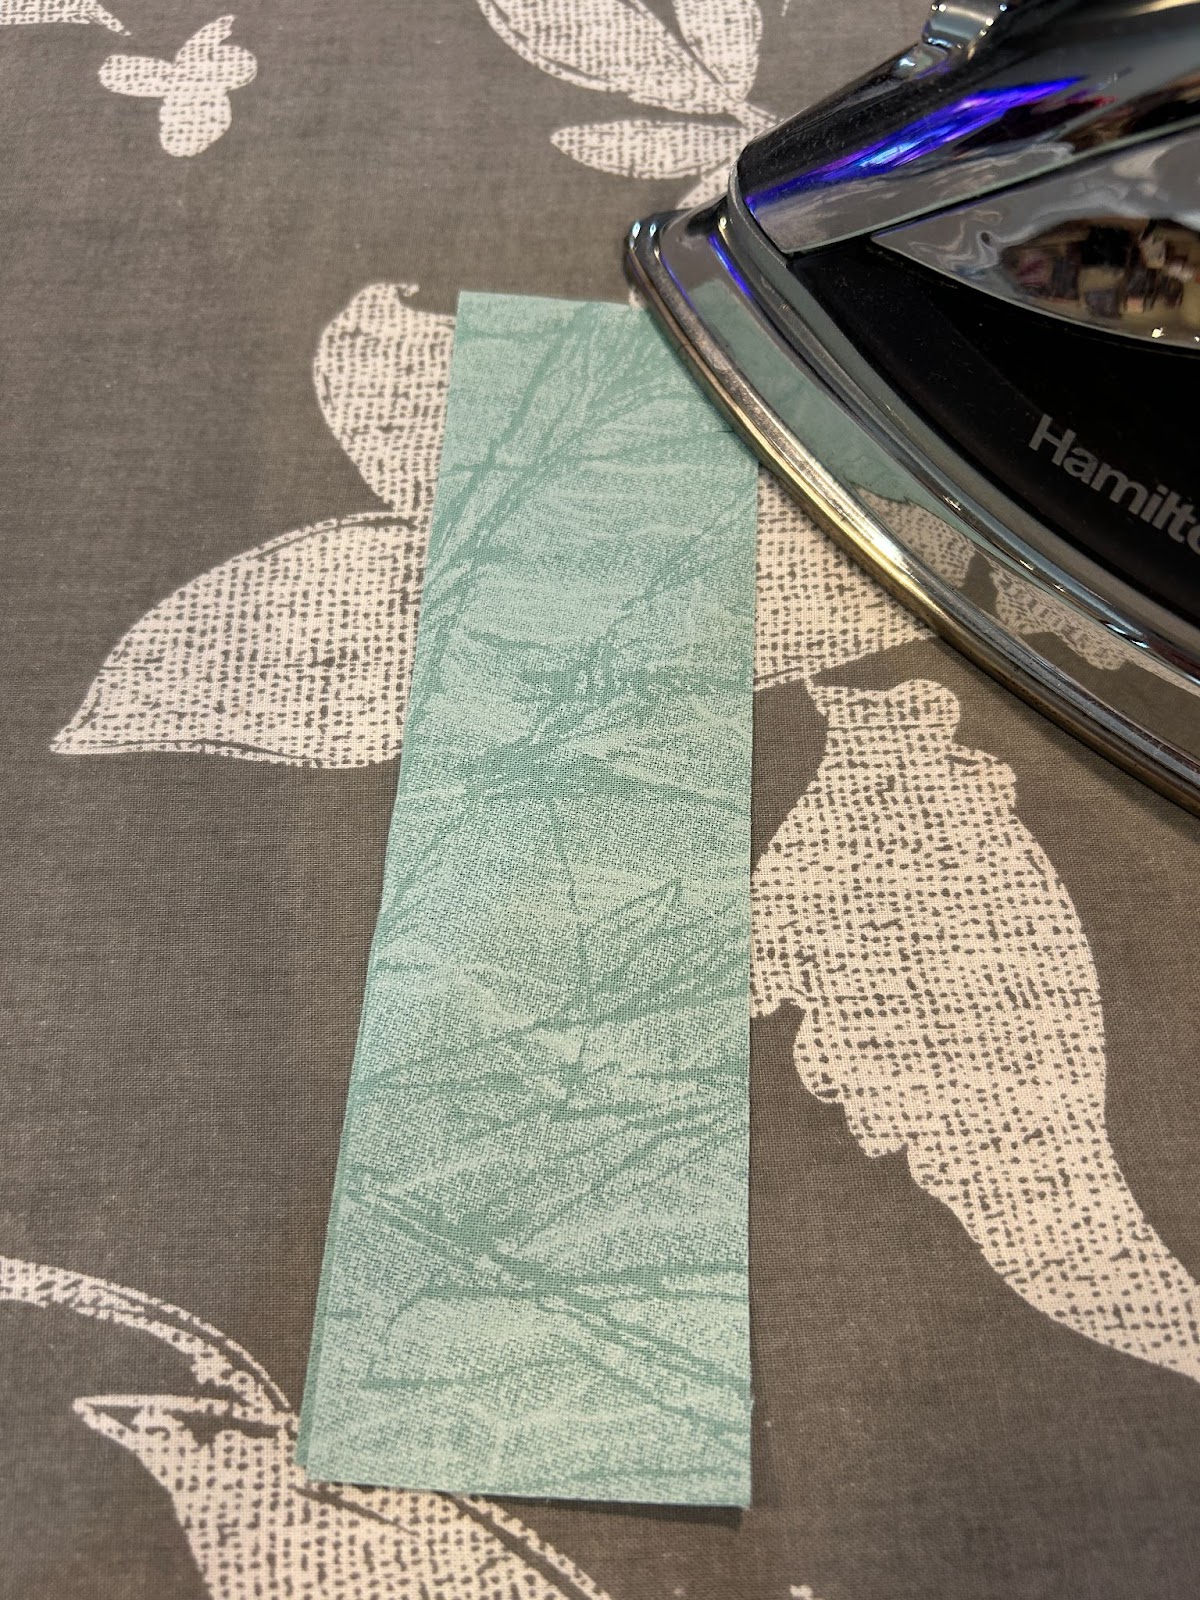
Fold both flap fabric pieces in half, wrong sides together, to measure 3” x 6”. Press well.
Hoop a piece of no-show mesh stabilizer and run the placement stitch. Place the notebook cover fabric right side up, centered over the placement stitches.

Next, run the tack-down stitch. Do not trim your fabric.

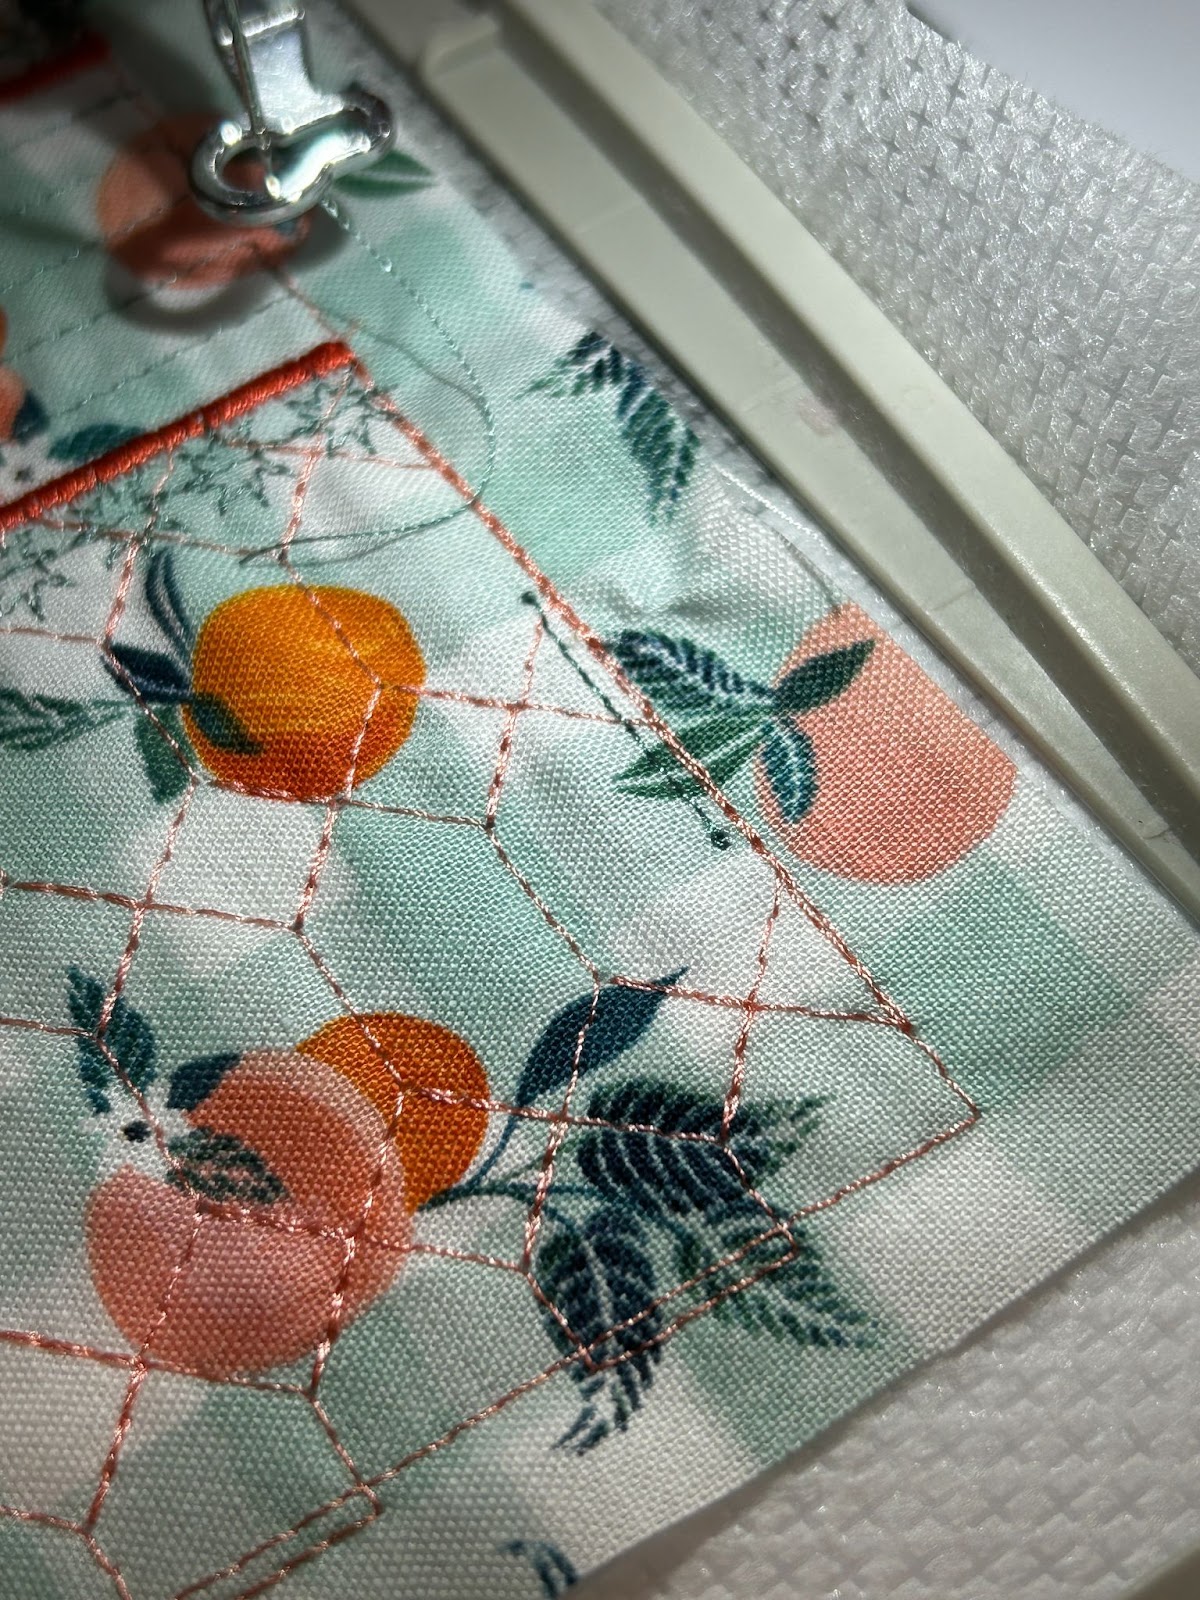
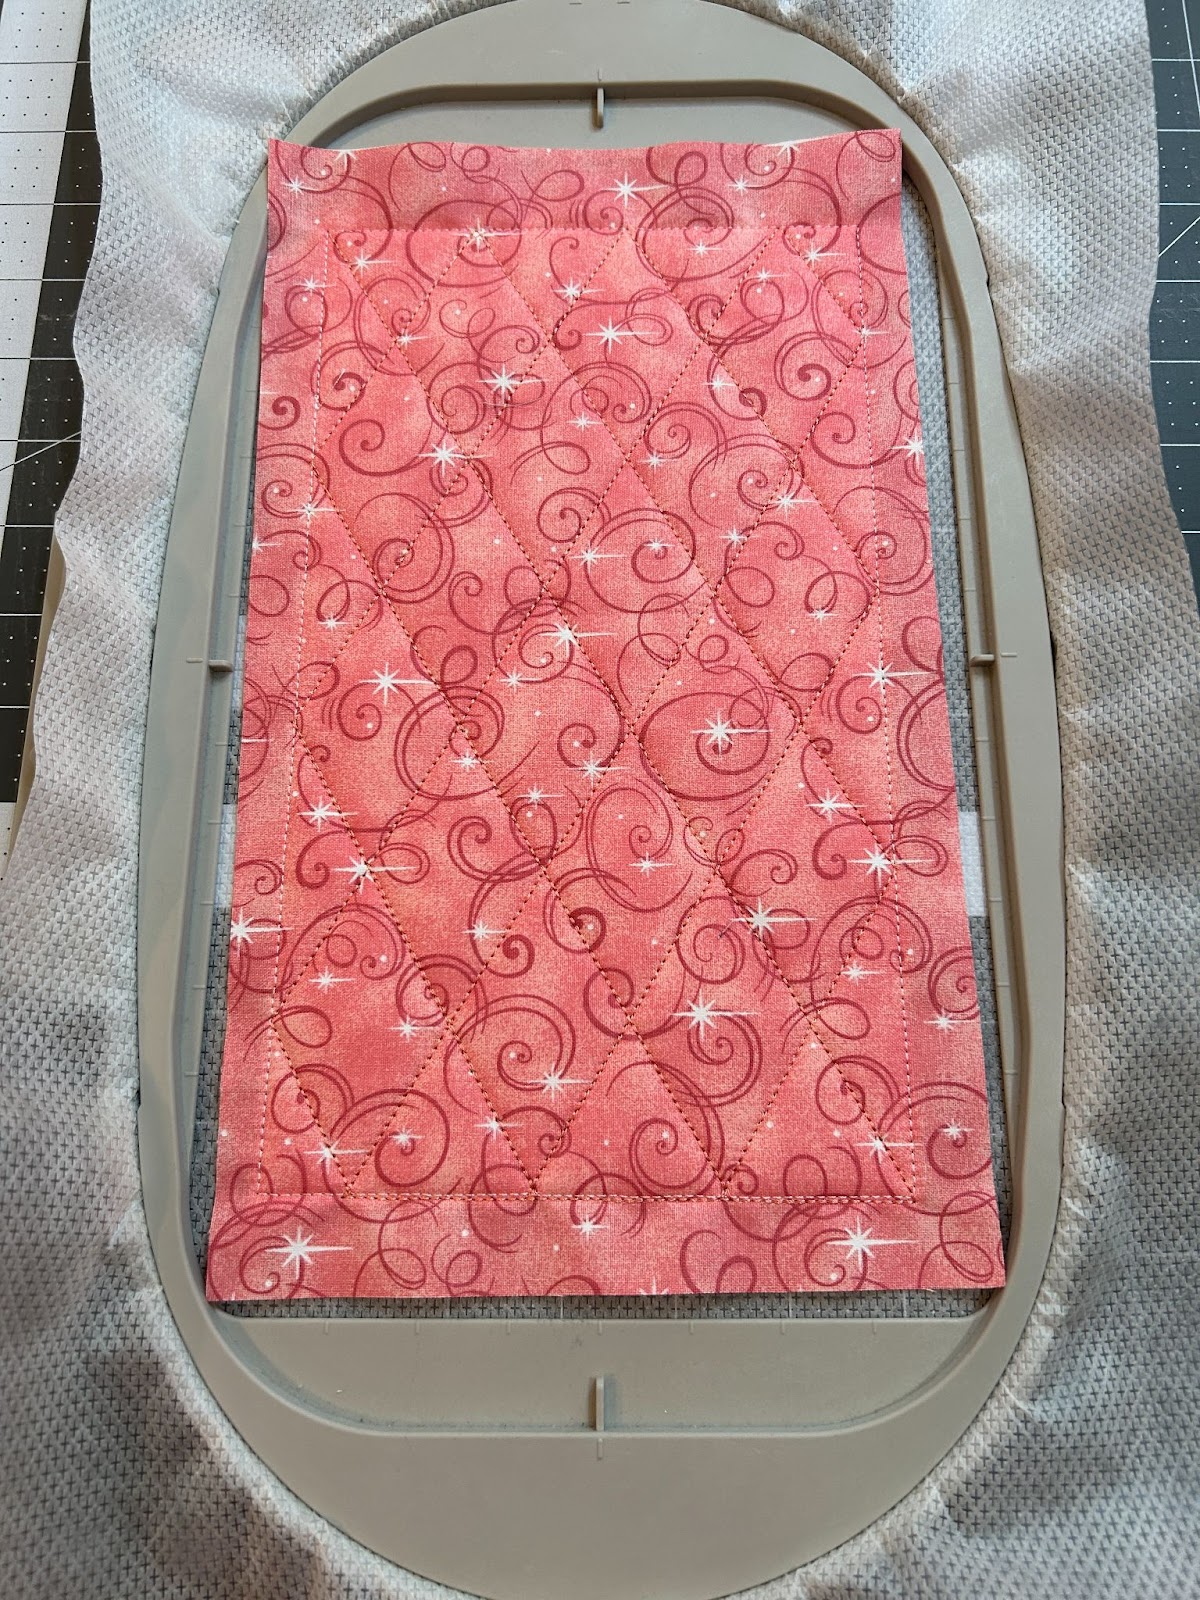
The next steps are the decorative stitches. Choose the thread color you want and stitch those out. The stitches on the cover stitch first.

Next are the decorative stitches on the spine. Follow your color chart for the spine stitch order.

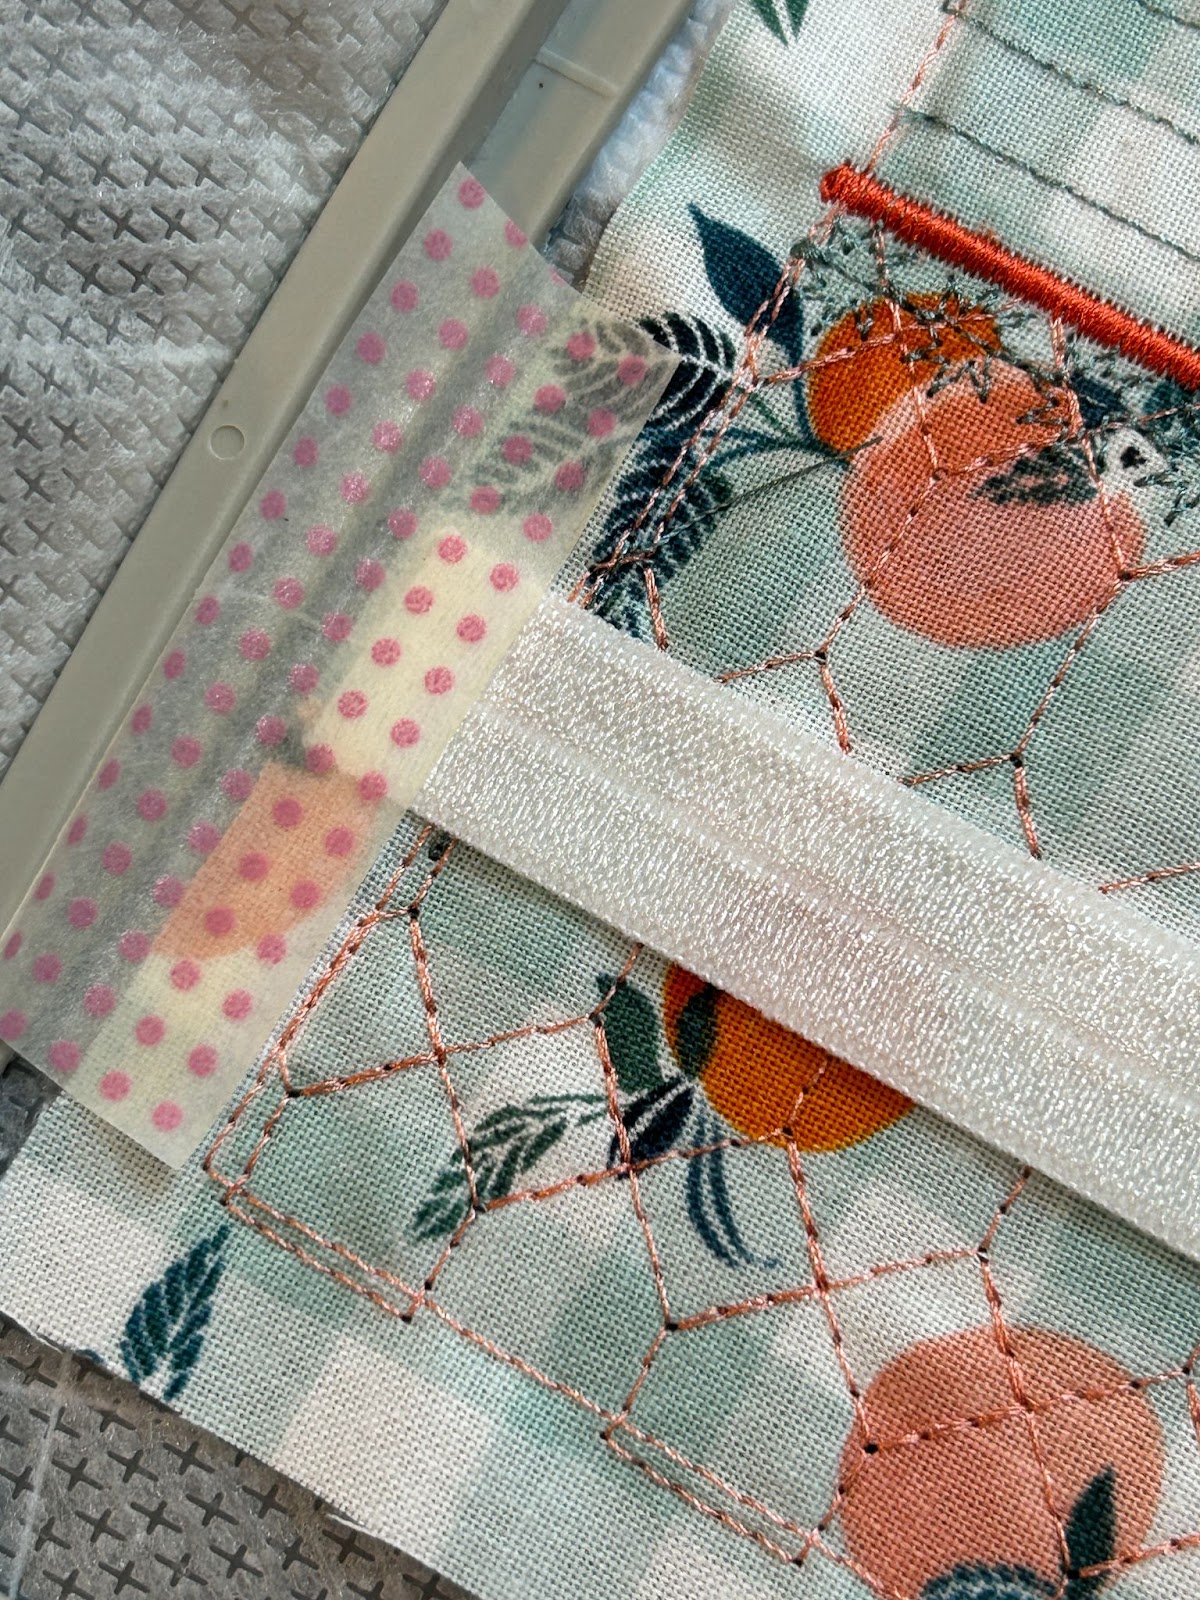
Now we will stitch the placement lines for the elastic.
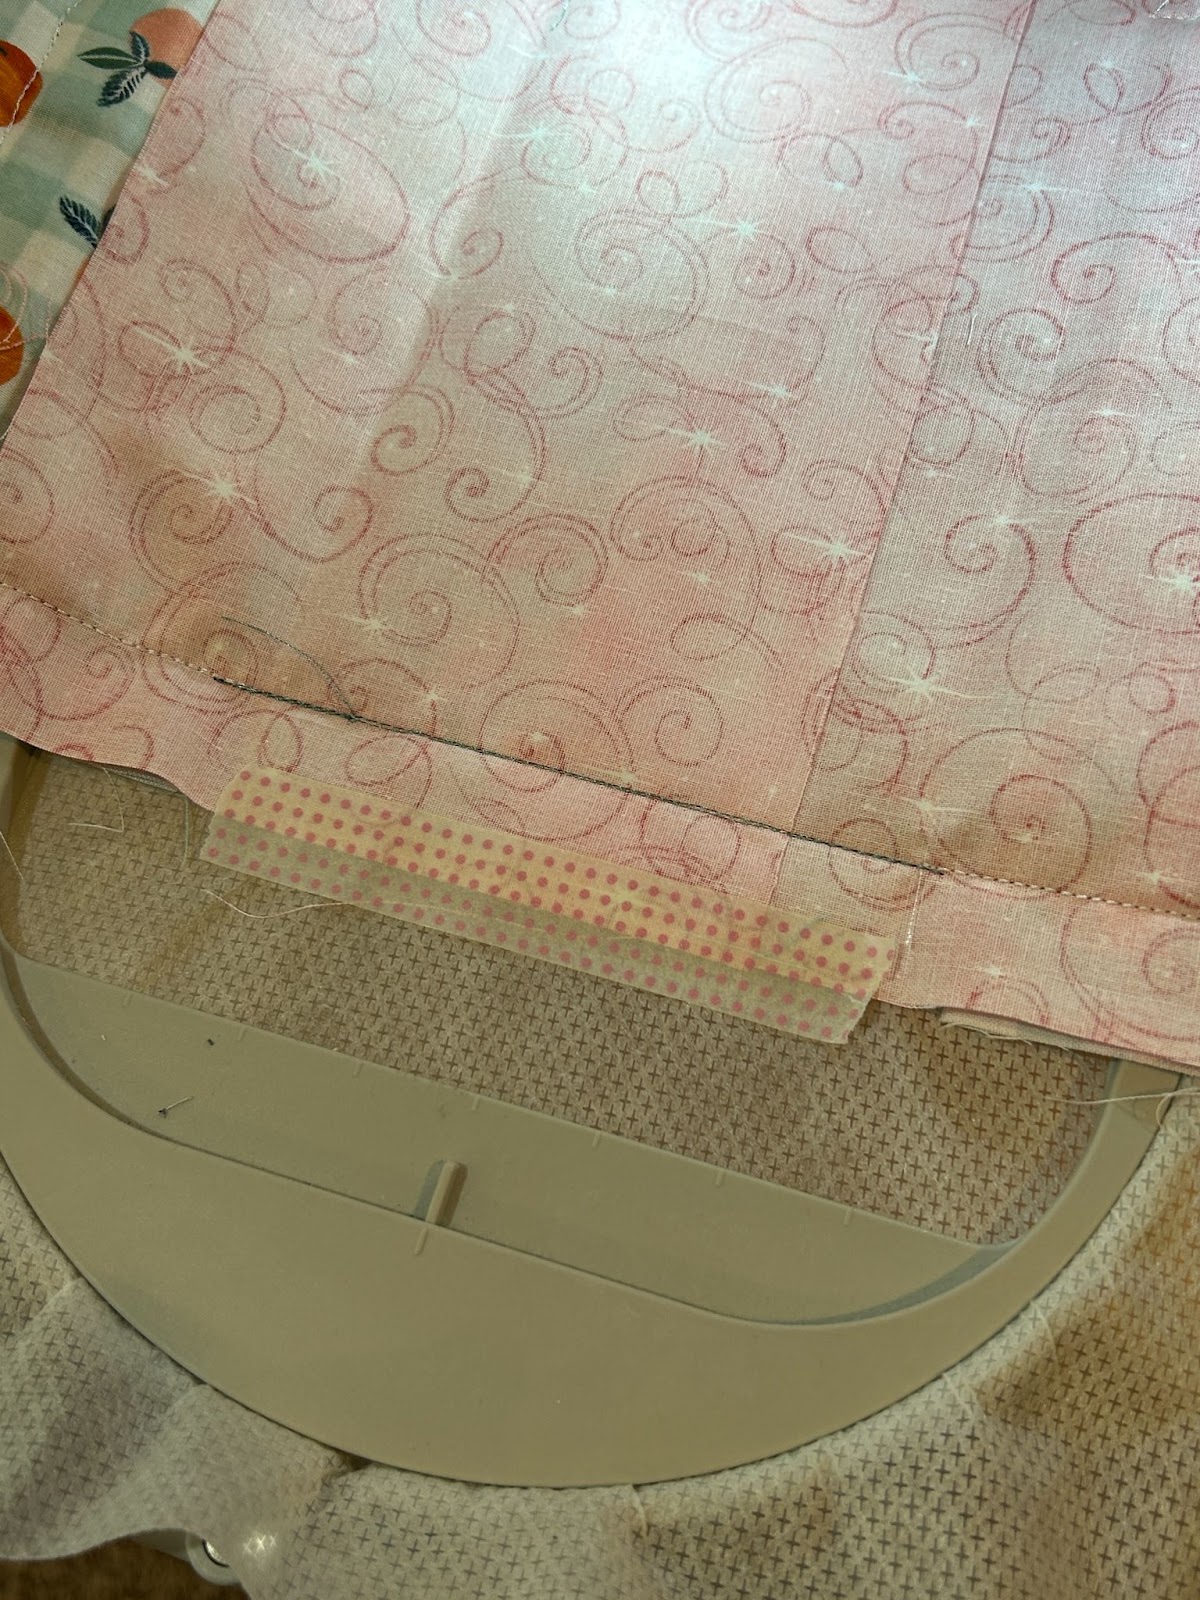
Cover the placement stitches with the fold-over elastic. Place the elastic right side down and tape in place. Then run the tack-down stitches.

Repeat for the other side. When it comes time to place the elastic, make sure the elastic is slightly taut and not floppy. A piece of tape is great to help hold it in place while you run the tack-down stitches.
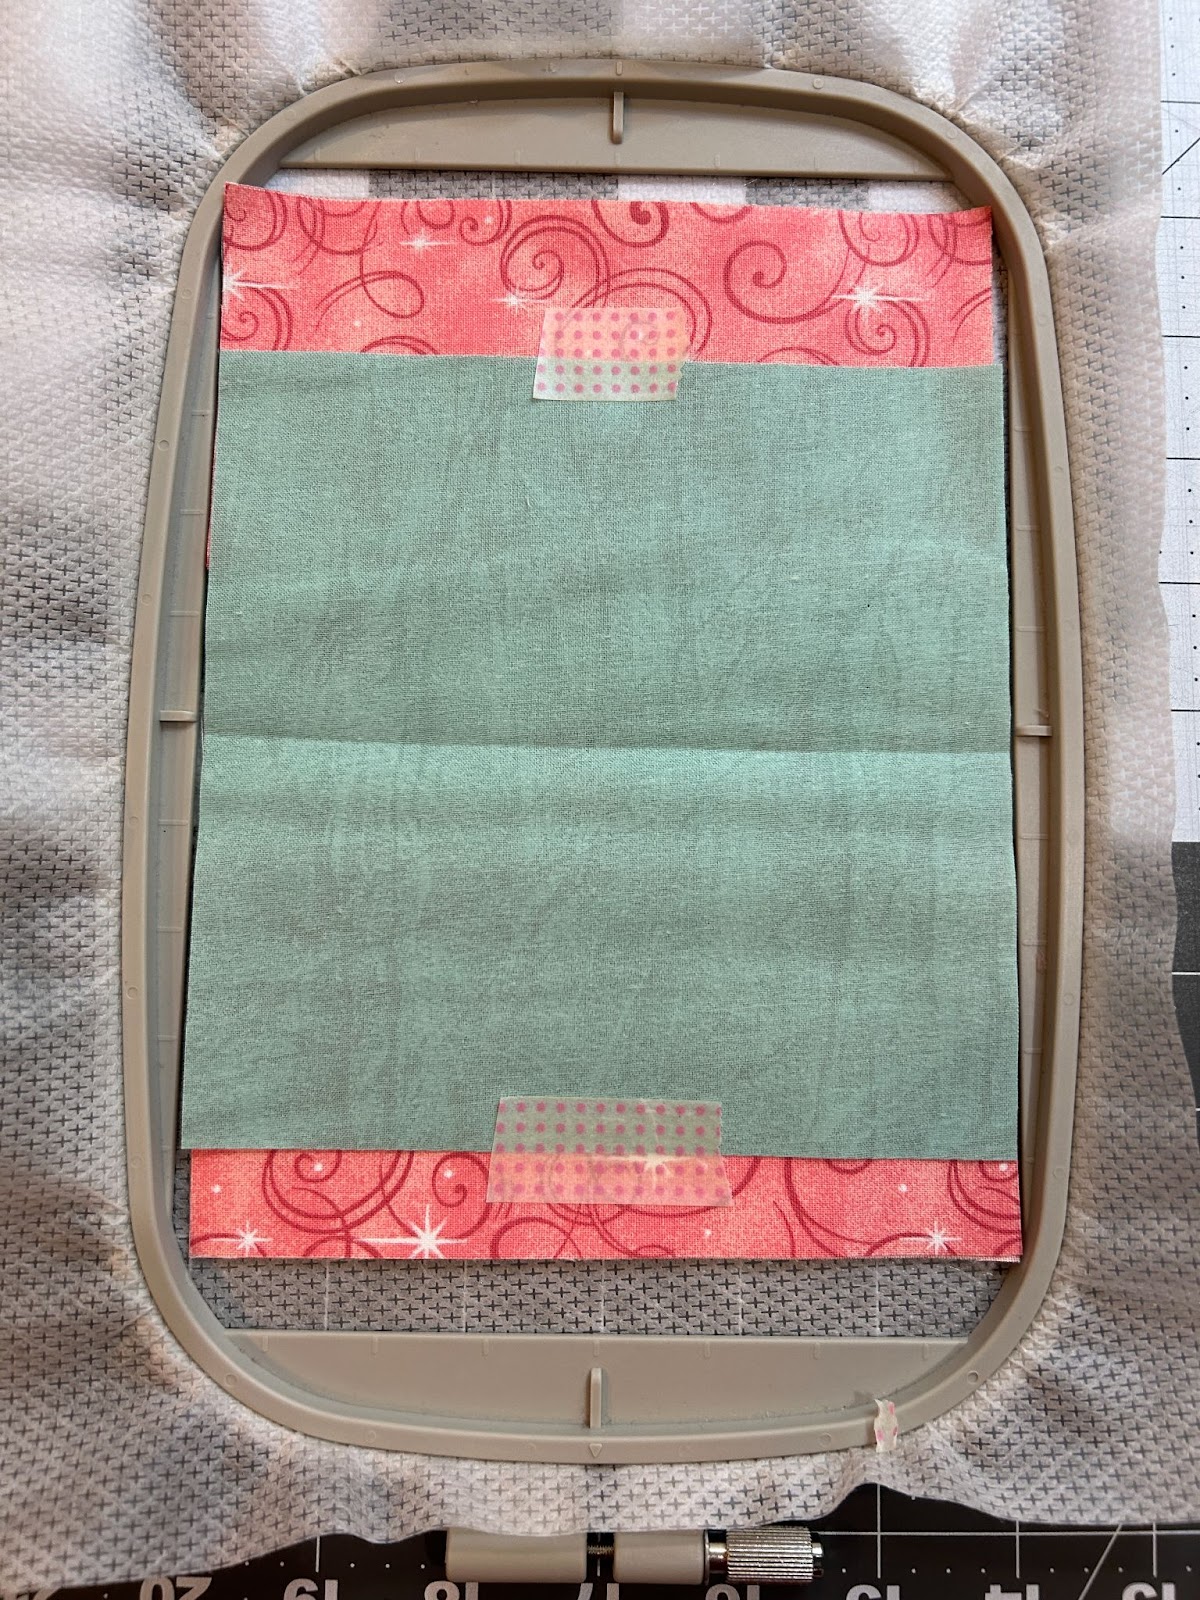
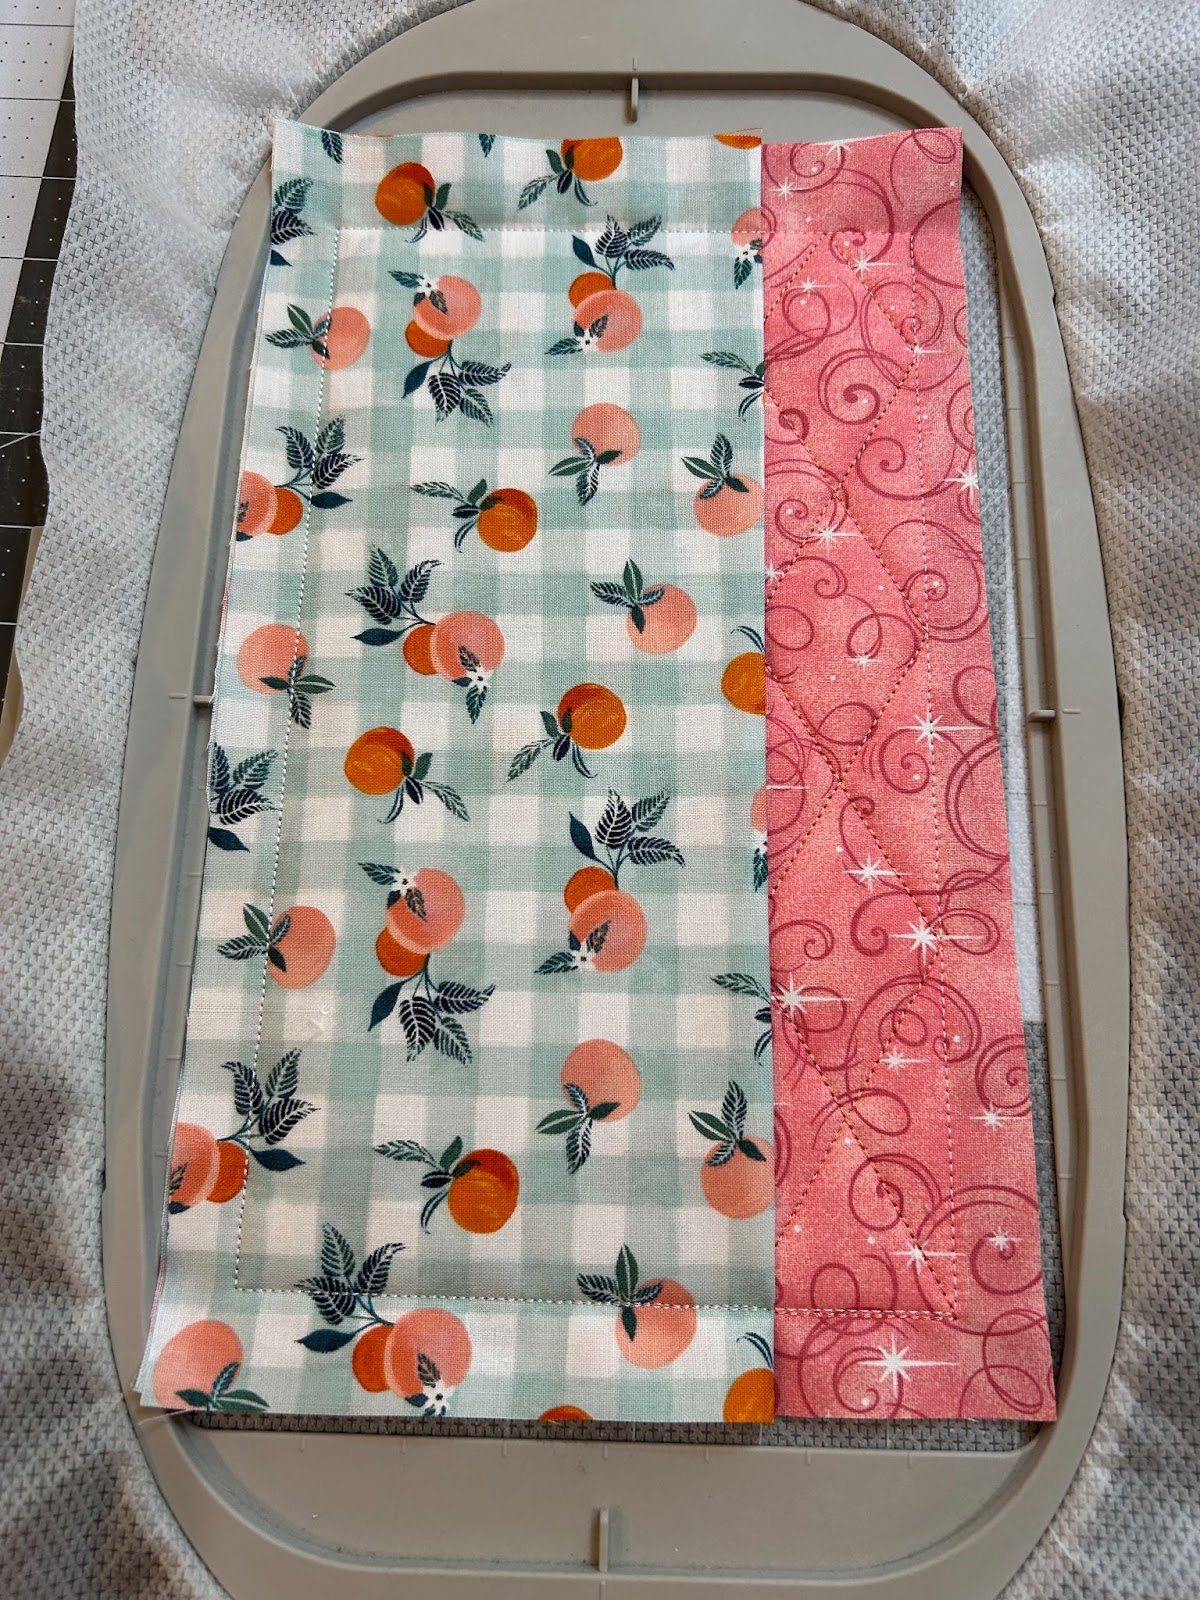
Now we use the two flap pieces that we pressed in half earlier. We will place them on top of the notebook cover in the hoop. Face the folds toward the center of the project and match the raw edges.
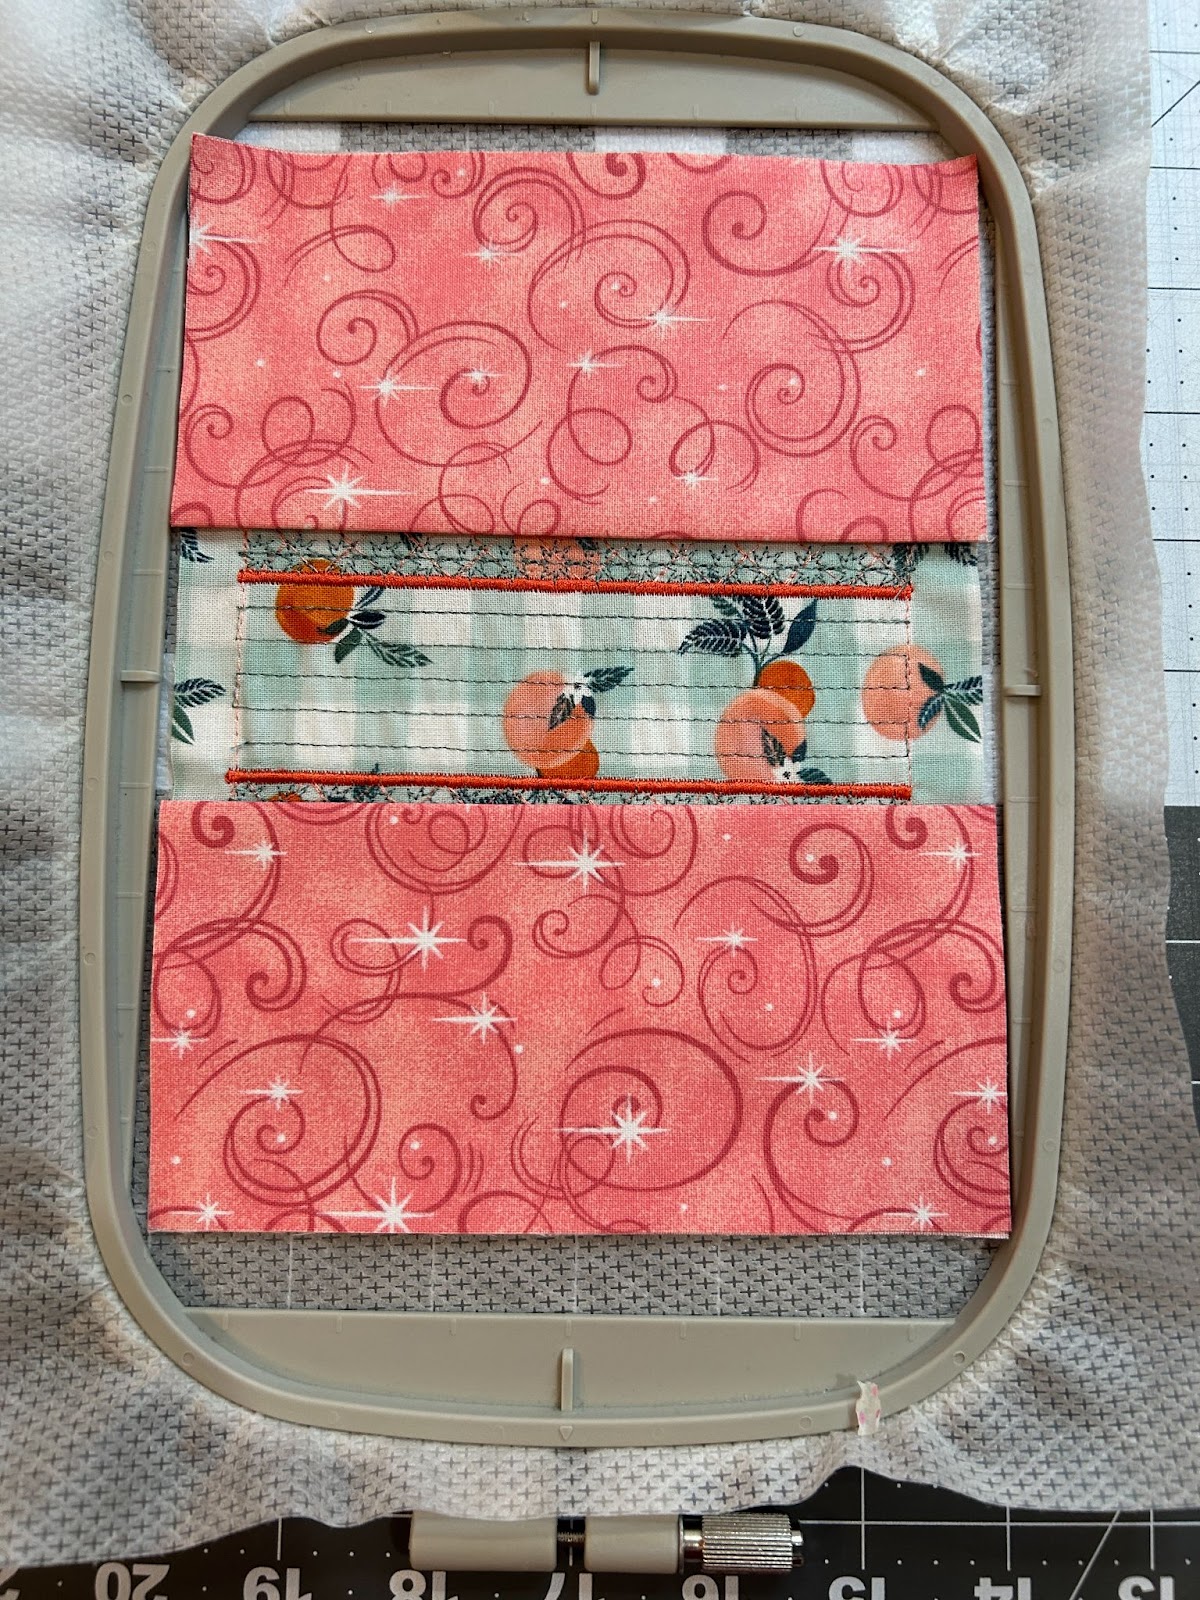
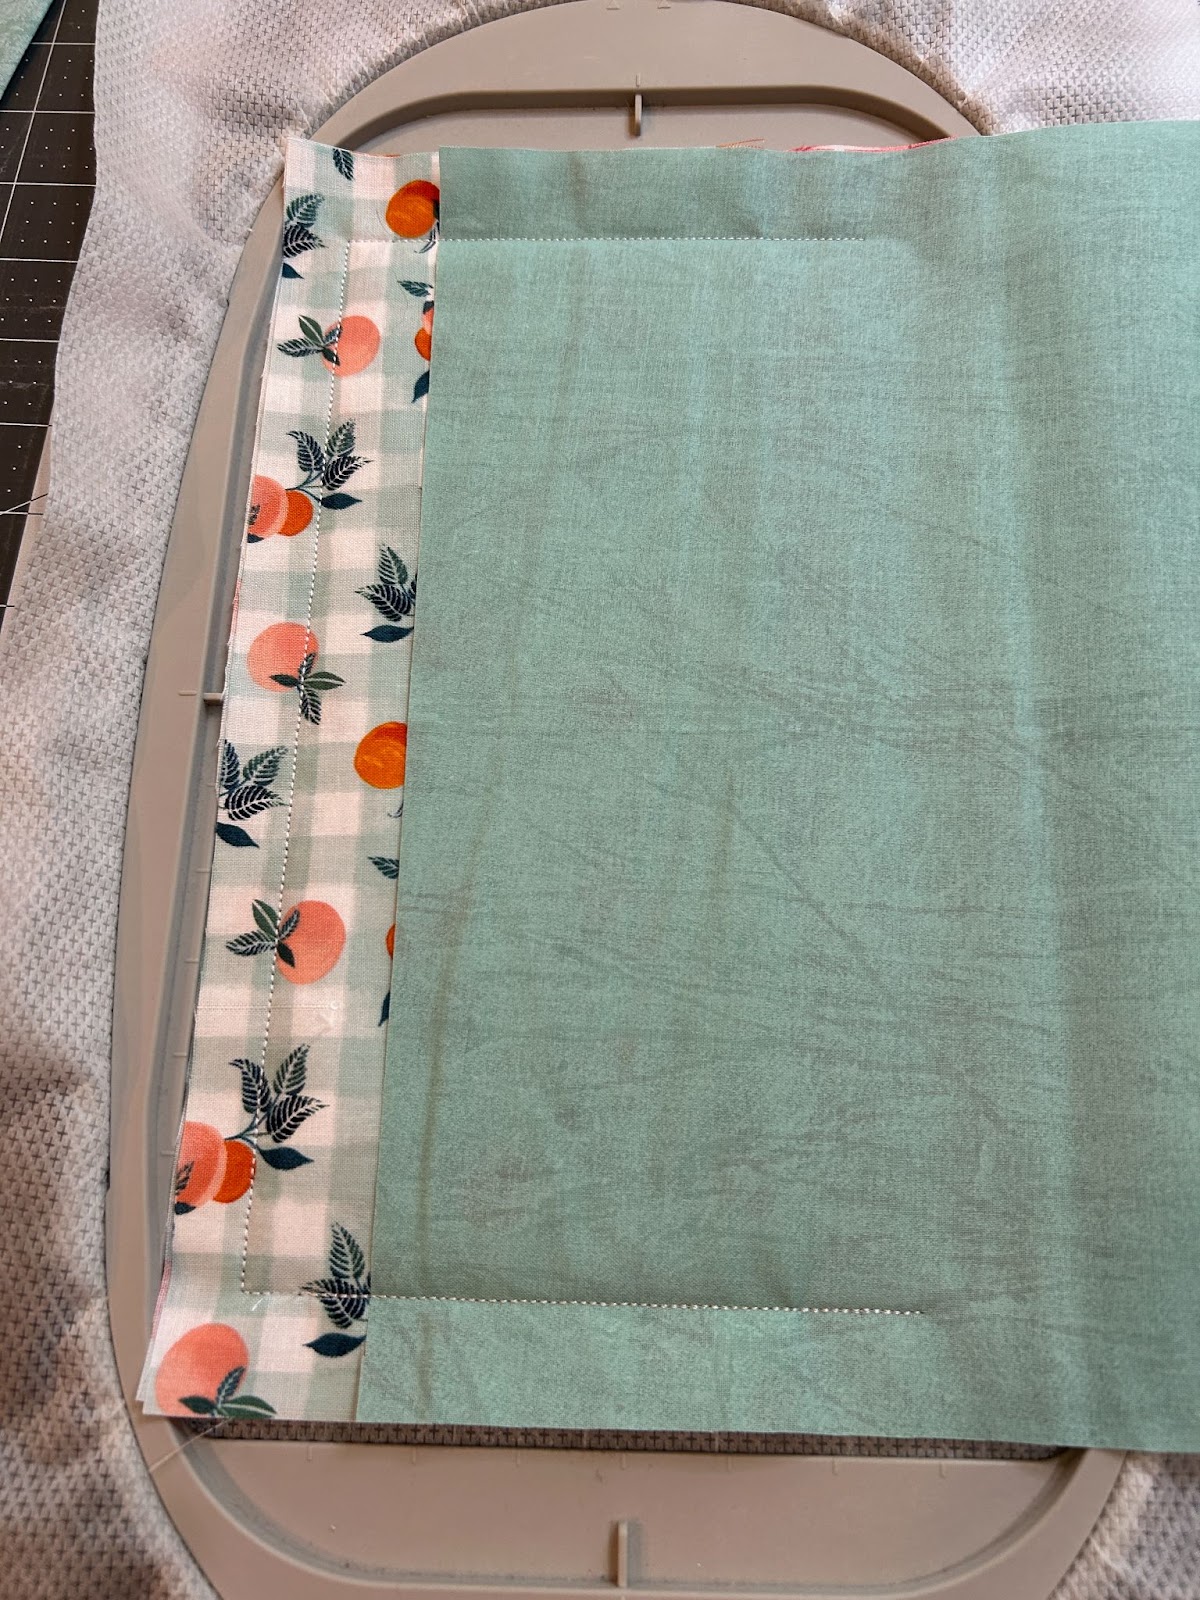
For the lining piece, fold in half and finger press.
Open it up and, using the center line, place it right side down on the hoop, lining up edges. I used my hoop’s center marks to help line it up. Tape it in place.
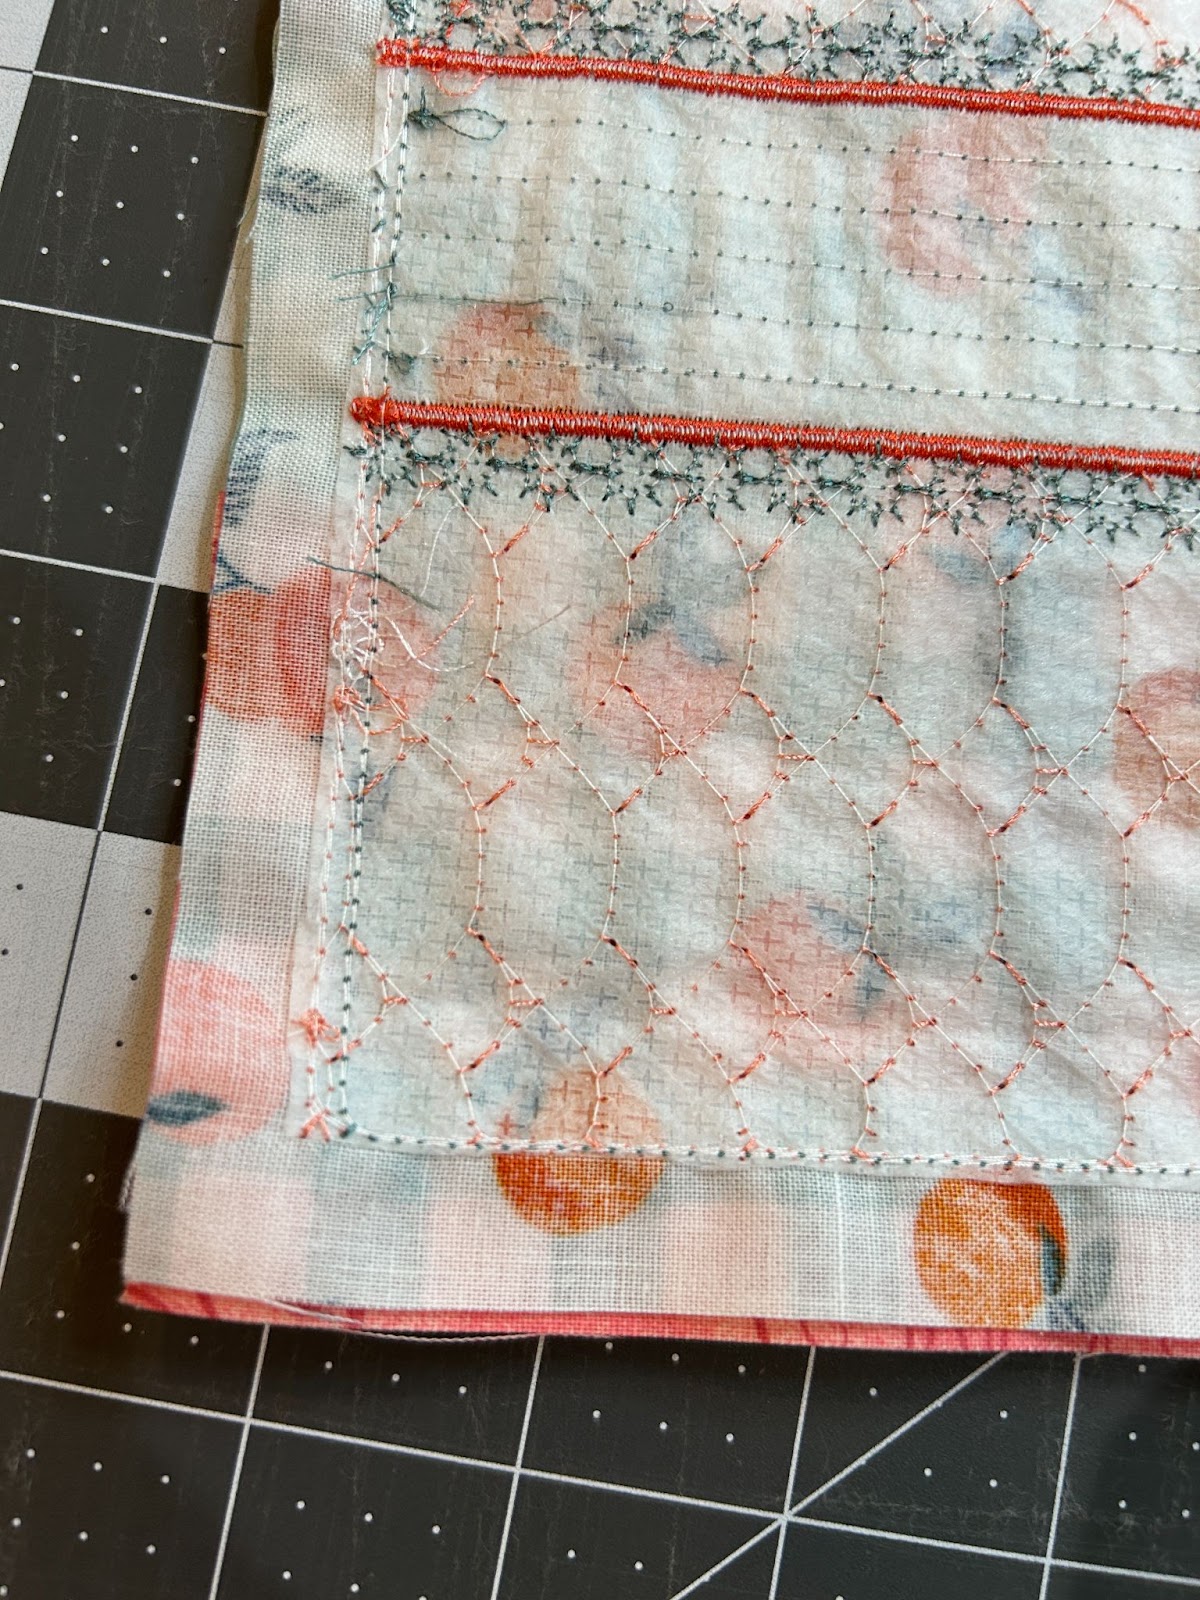
Stitch the seam that connects it all.

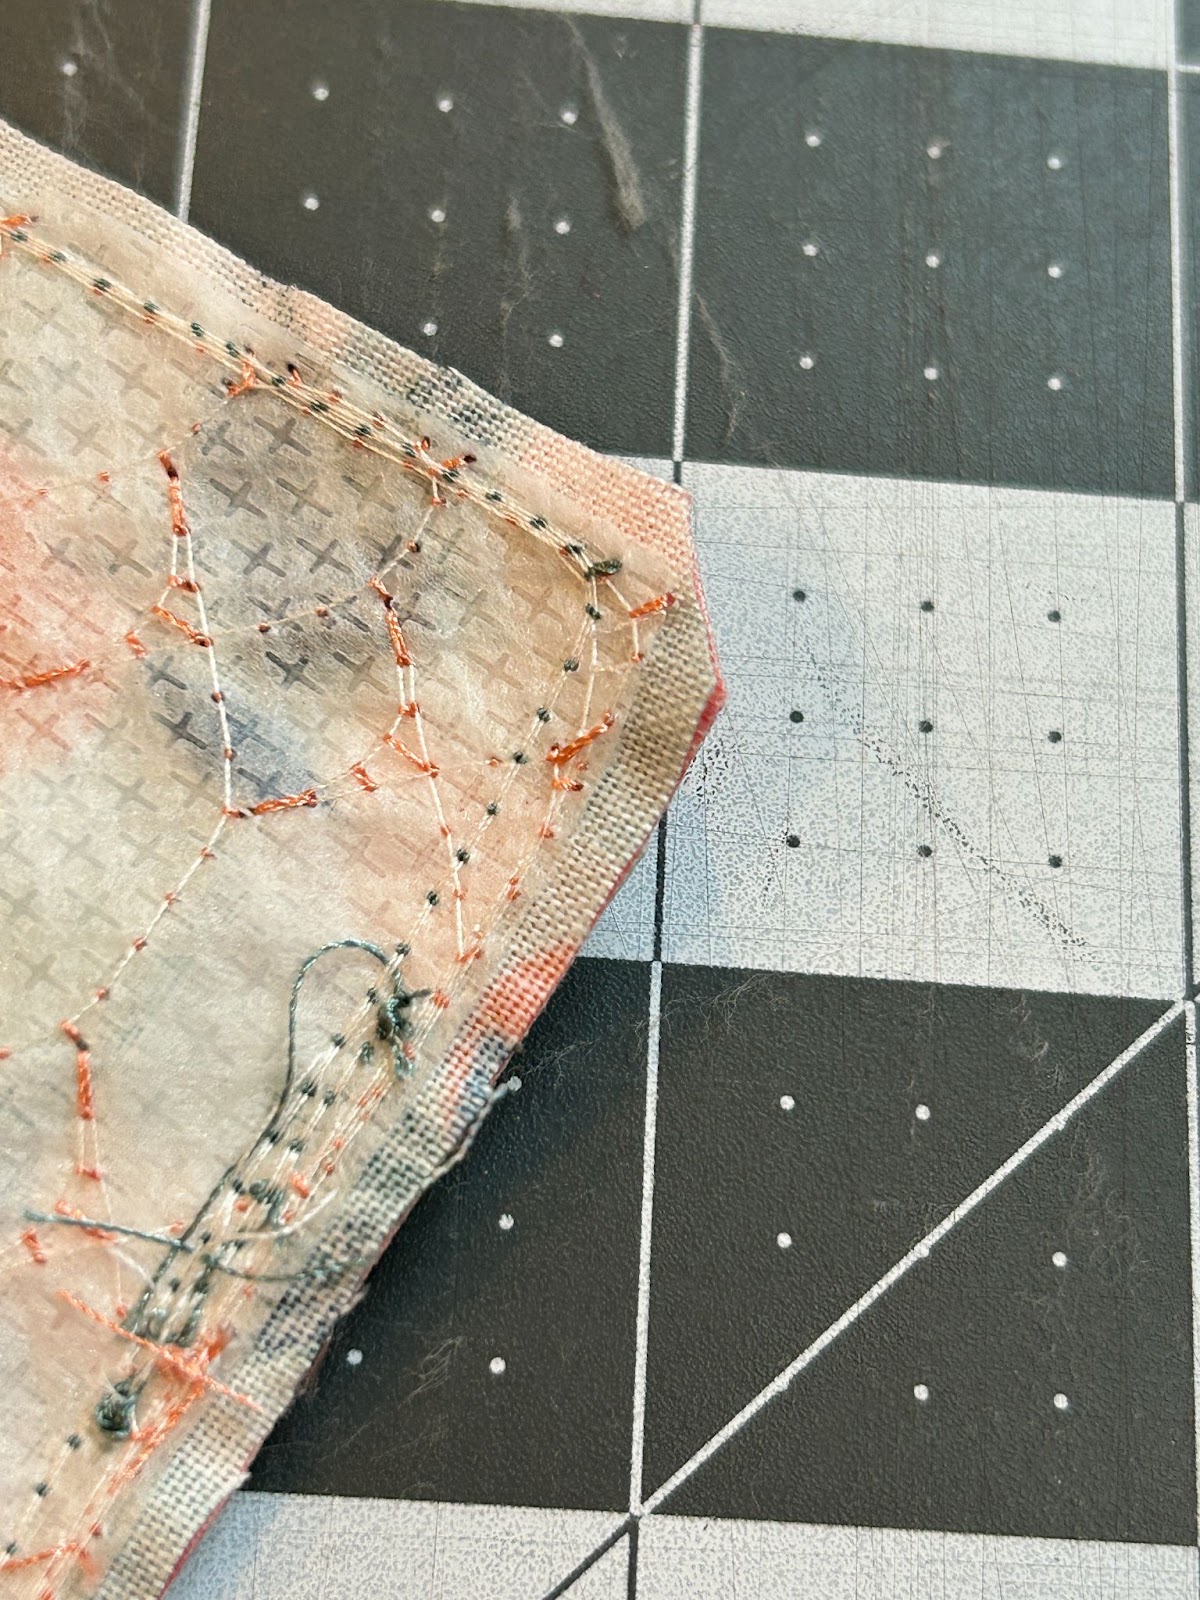
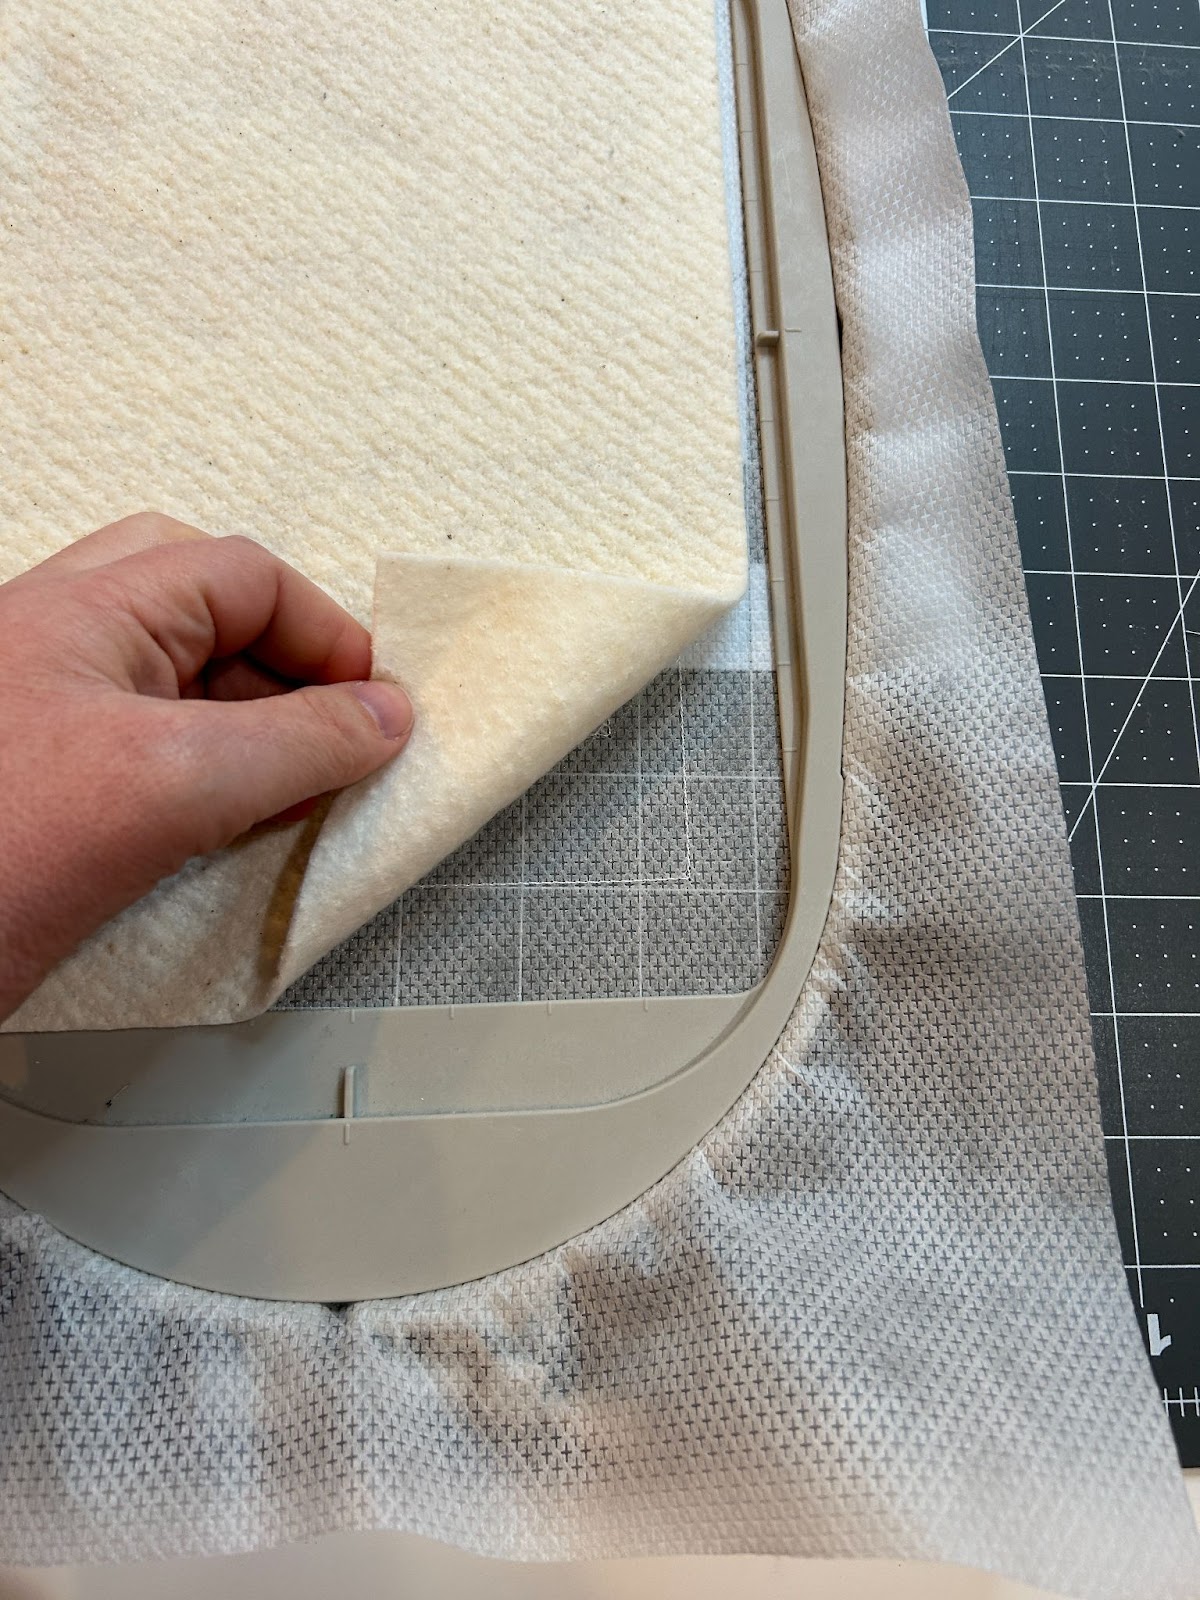
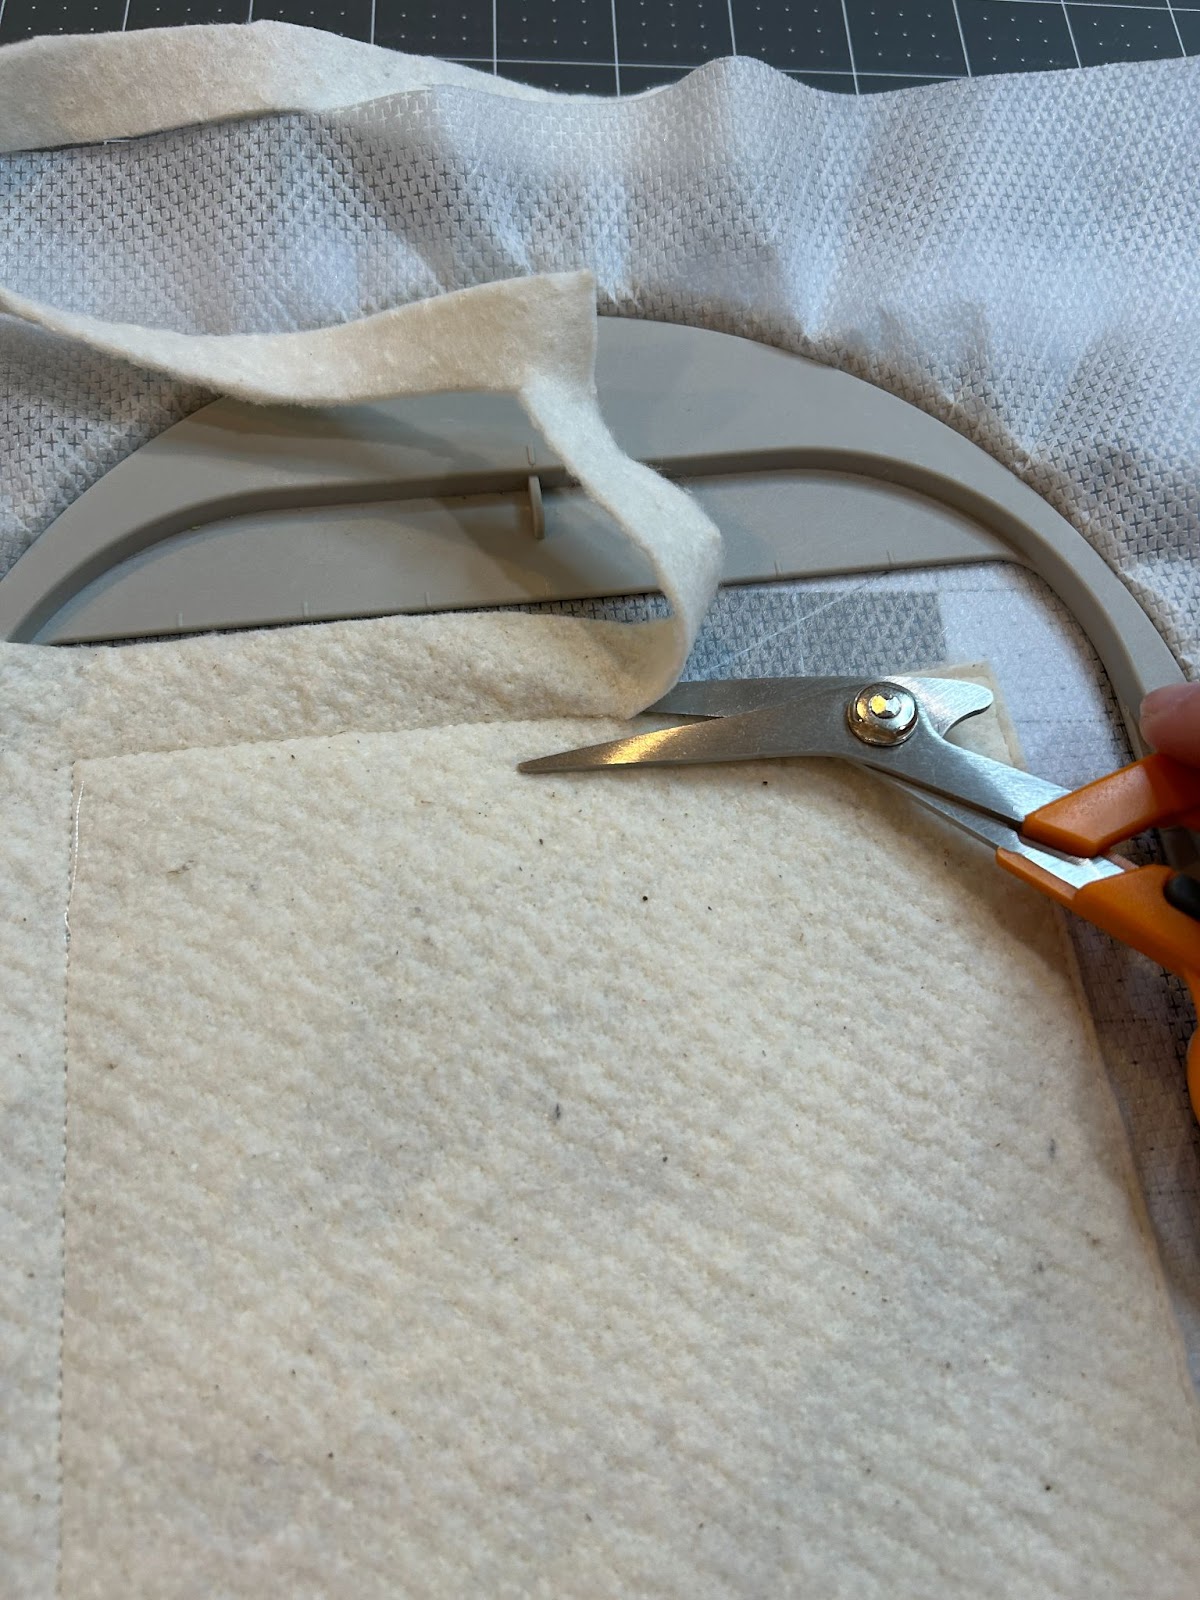
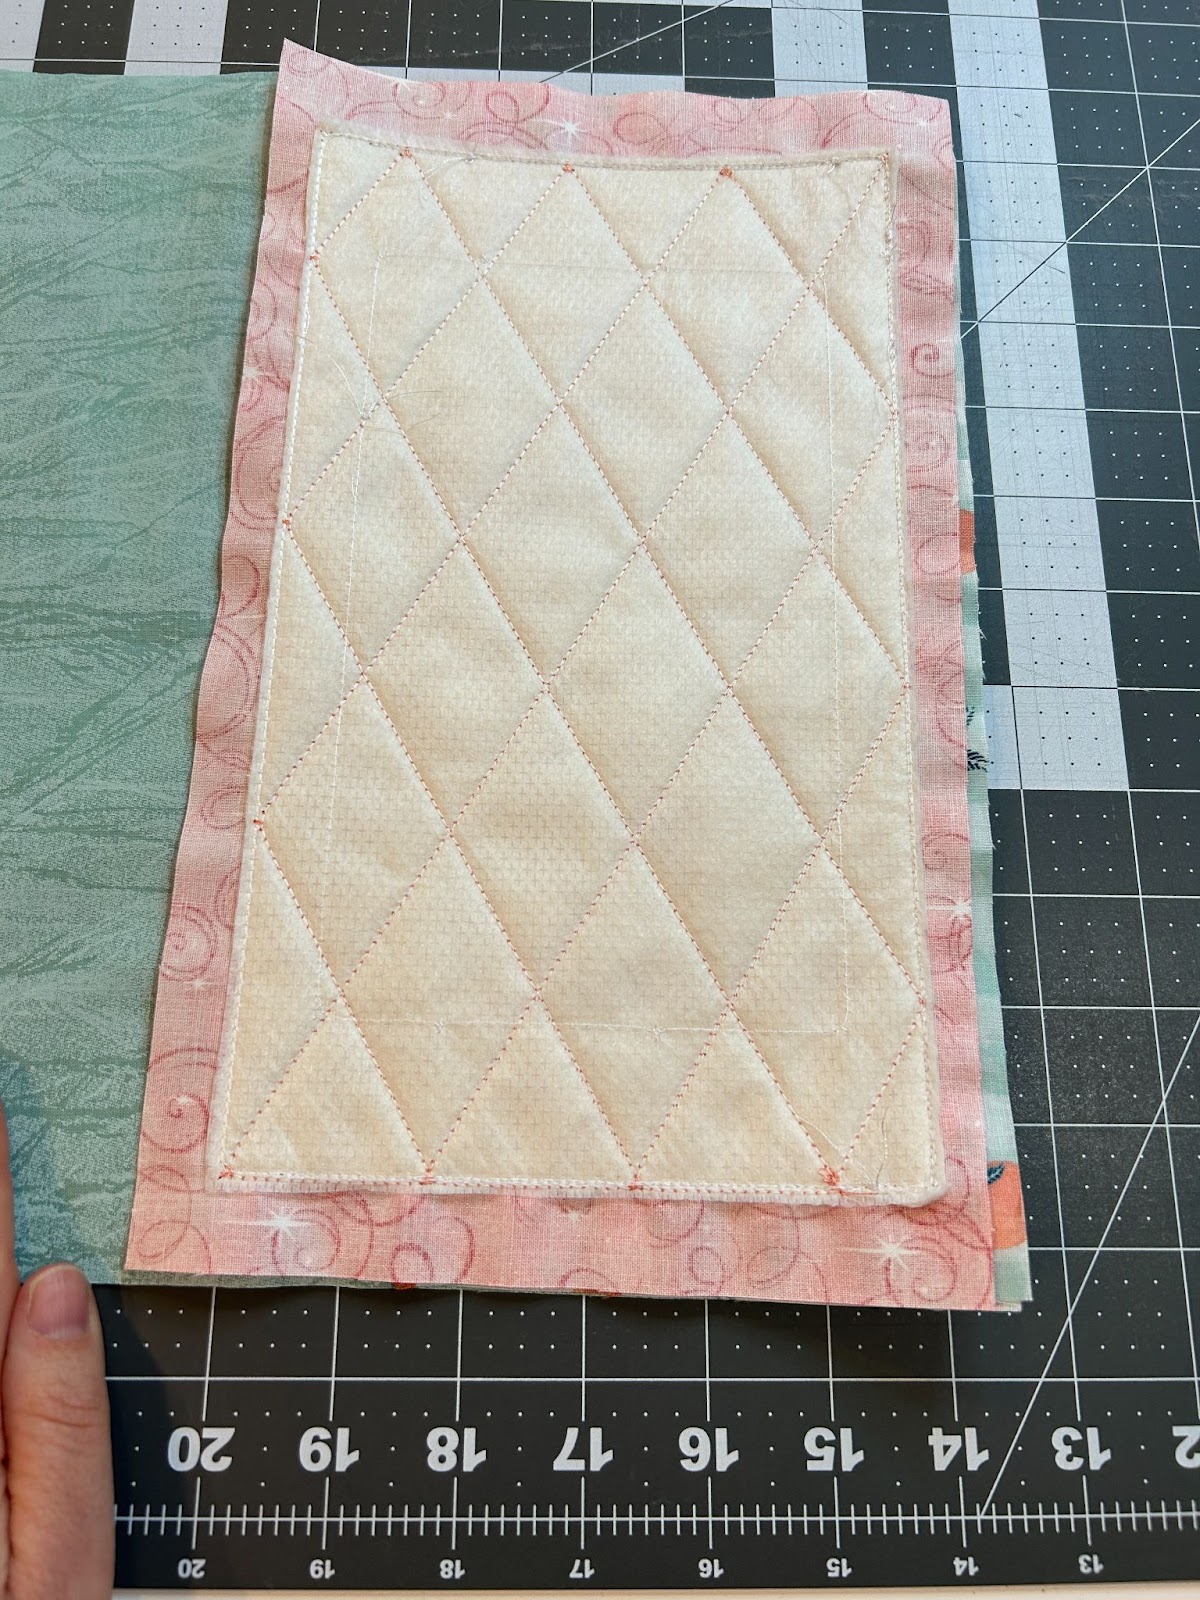
Now we remove it from the hoop and trim the stabilizer close to the stitches, making sure not to clip any stitches.
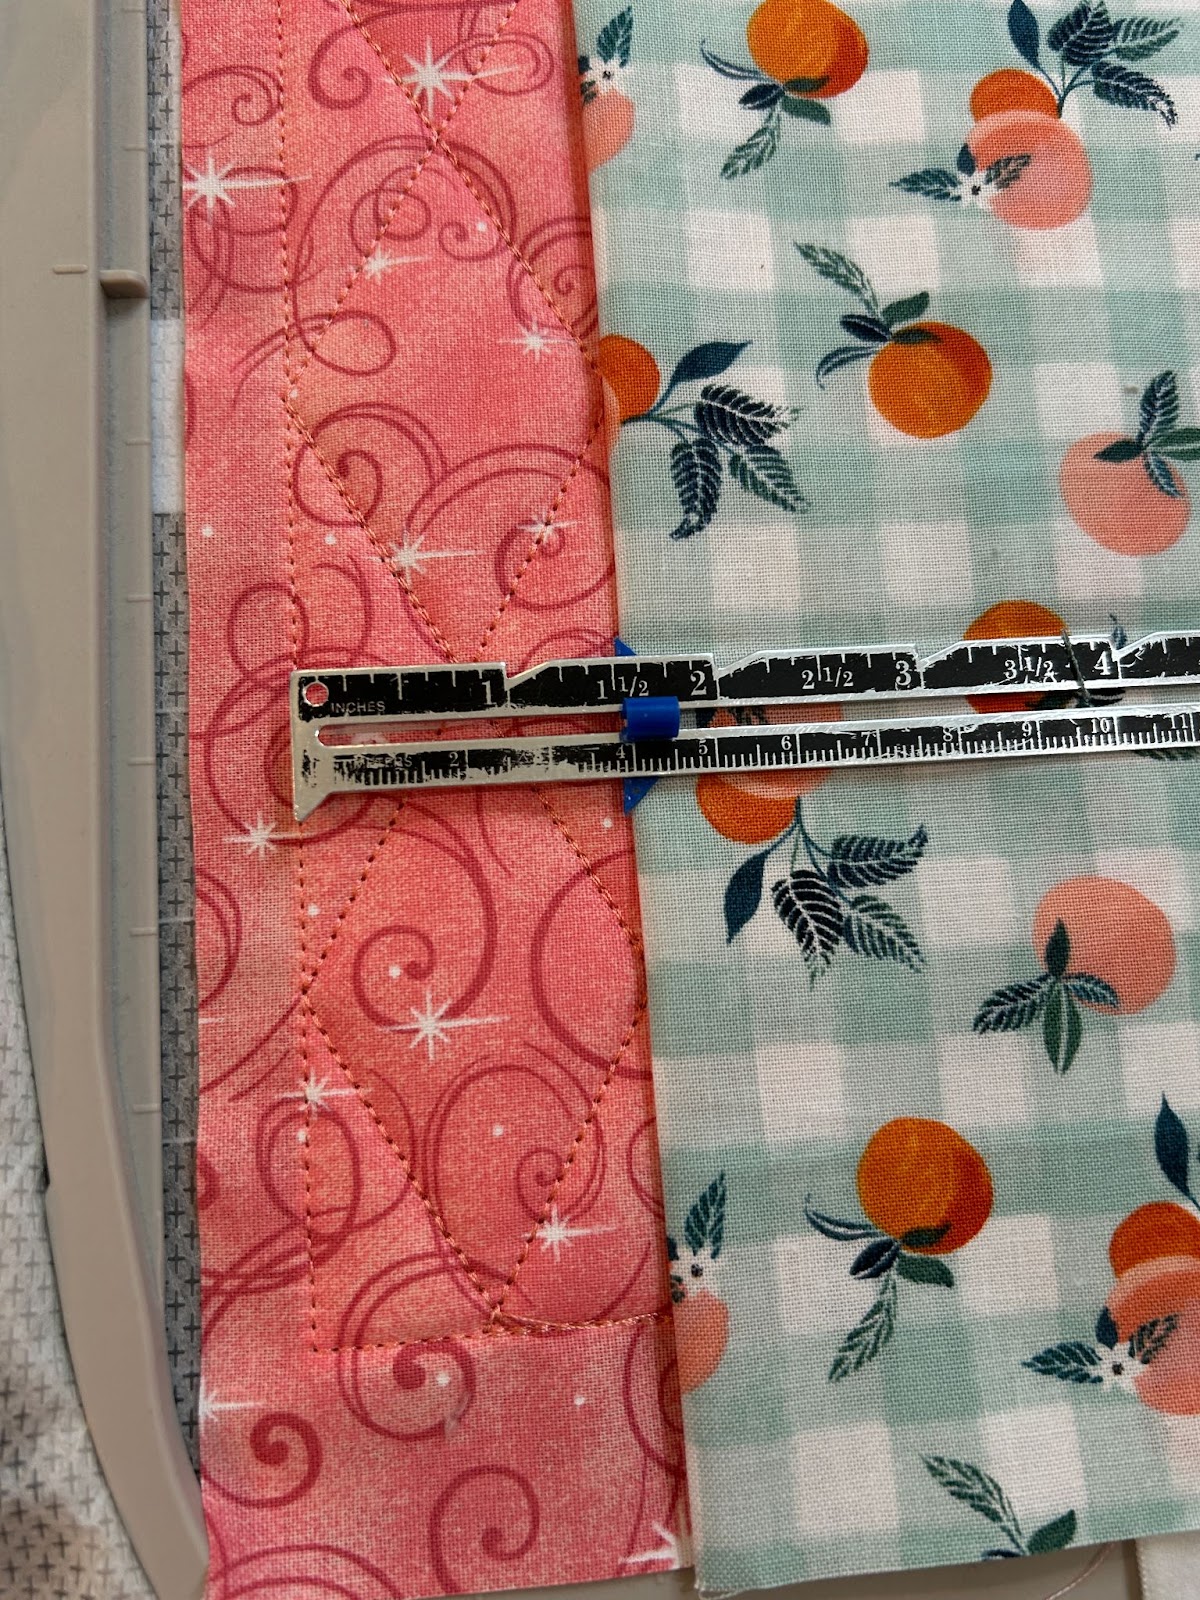
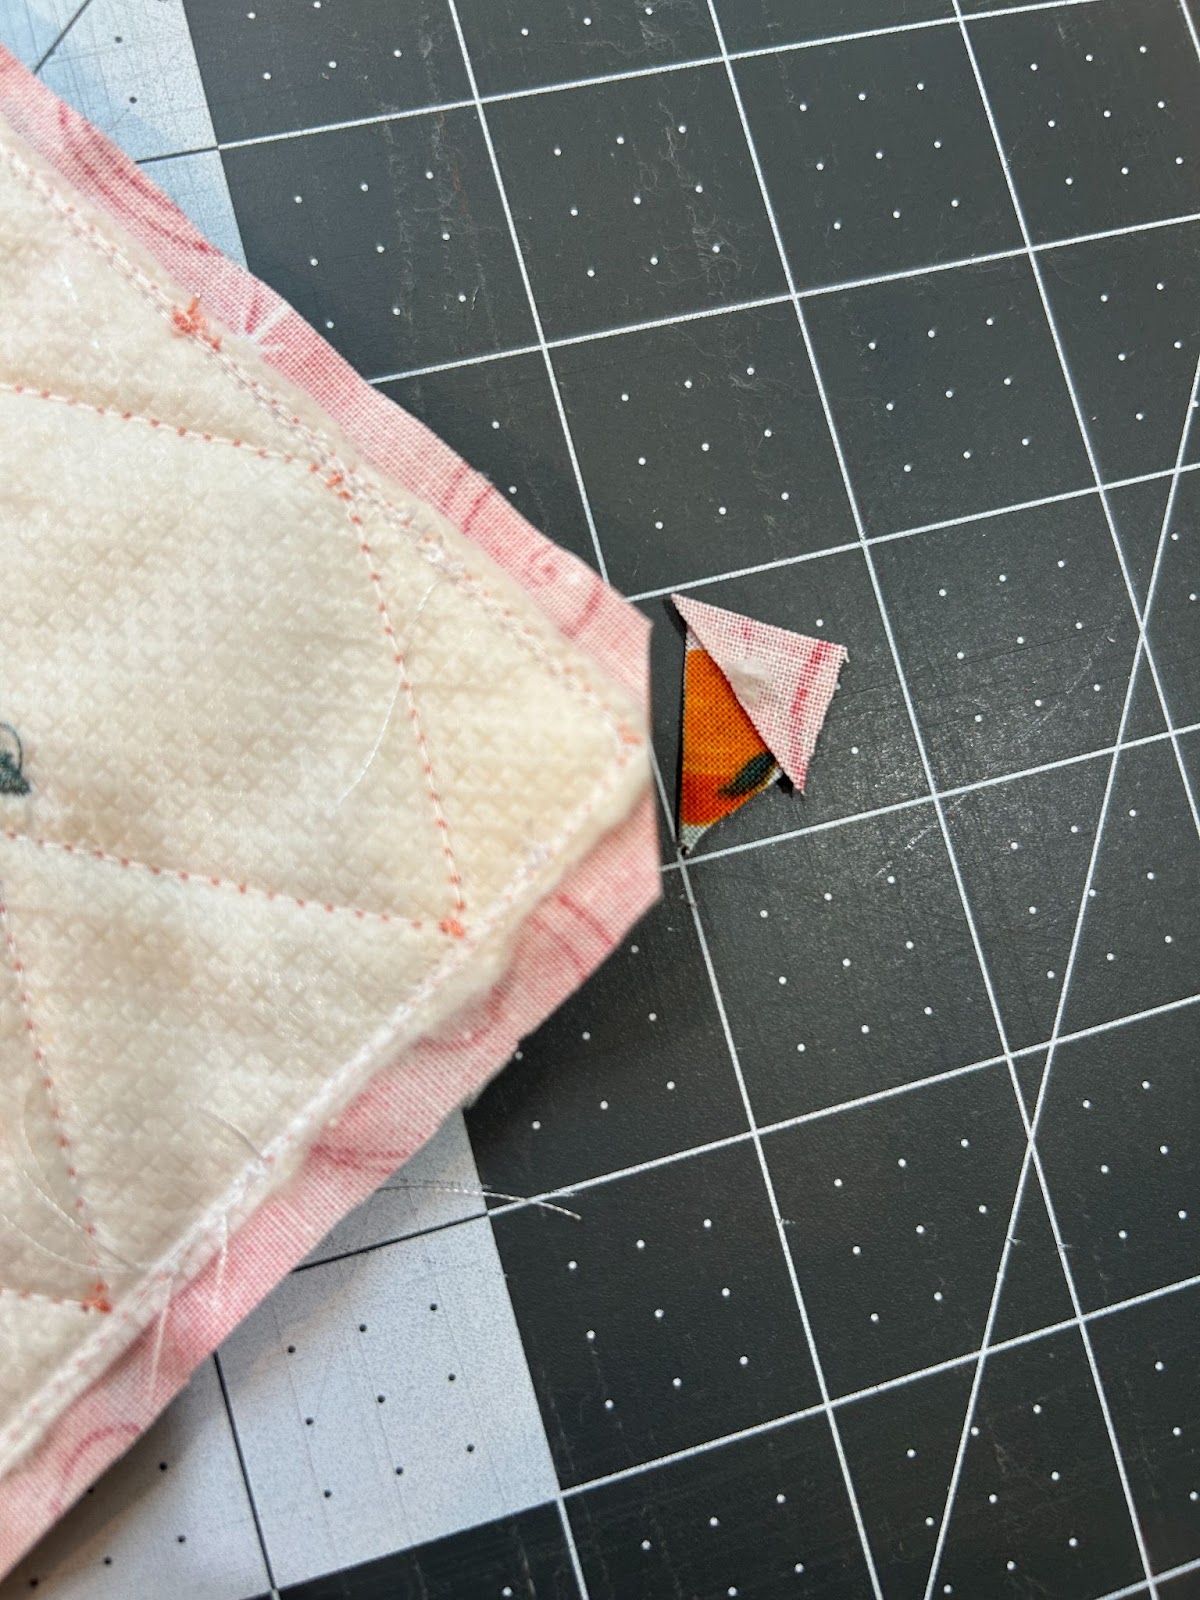
Trim the edges of the notebook cover a little less than ¼” away from the stitching line.

Trim your corners.
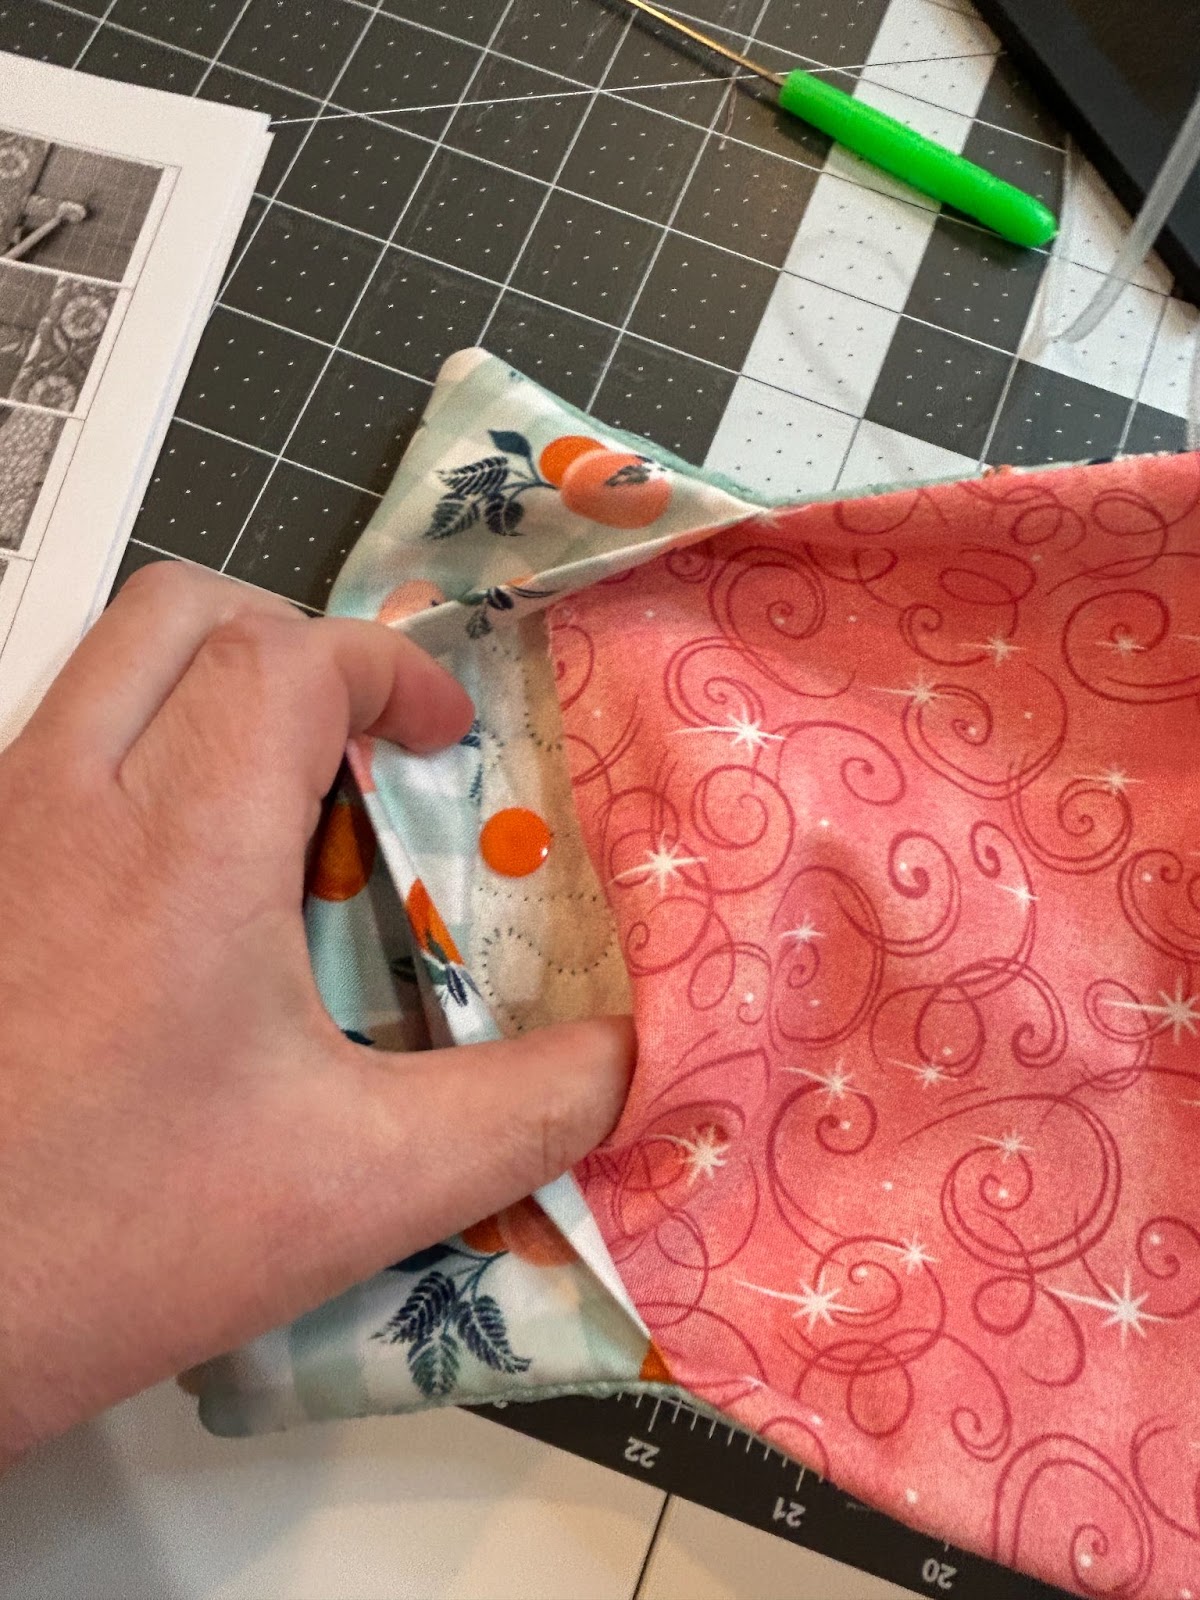
Reaching through the lining fabric, turn the piece right side out.
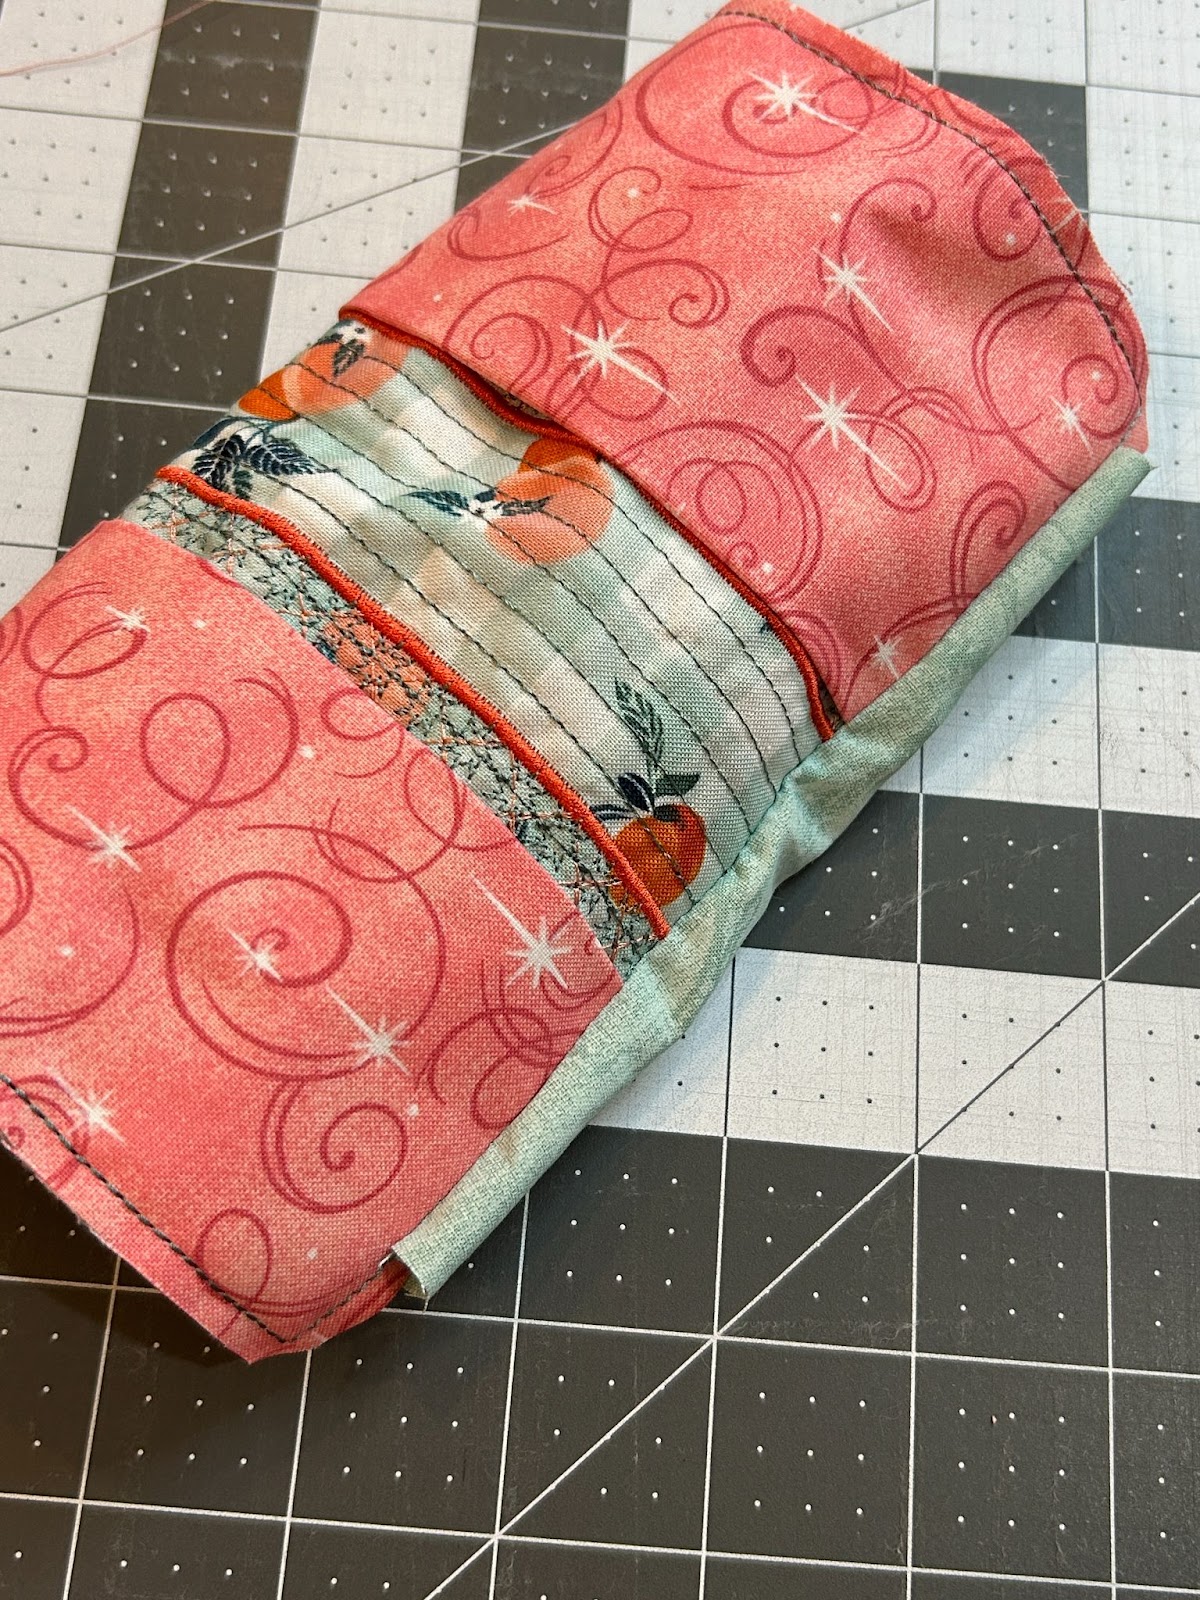
Then turn the flaps to the inside. This will also cover the raw edges of the lining.
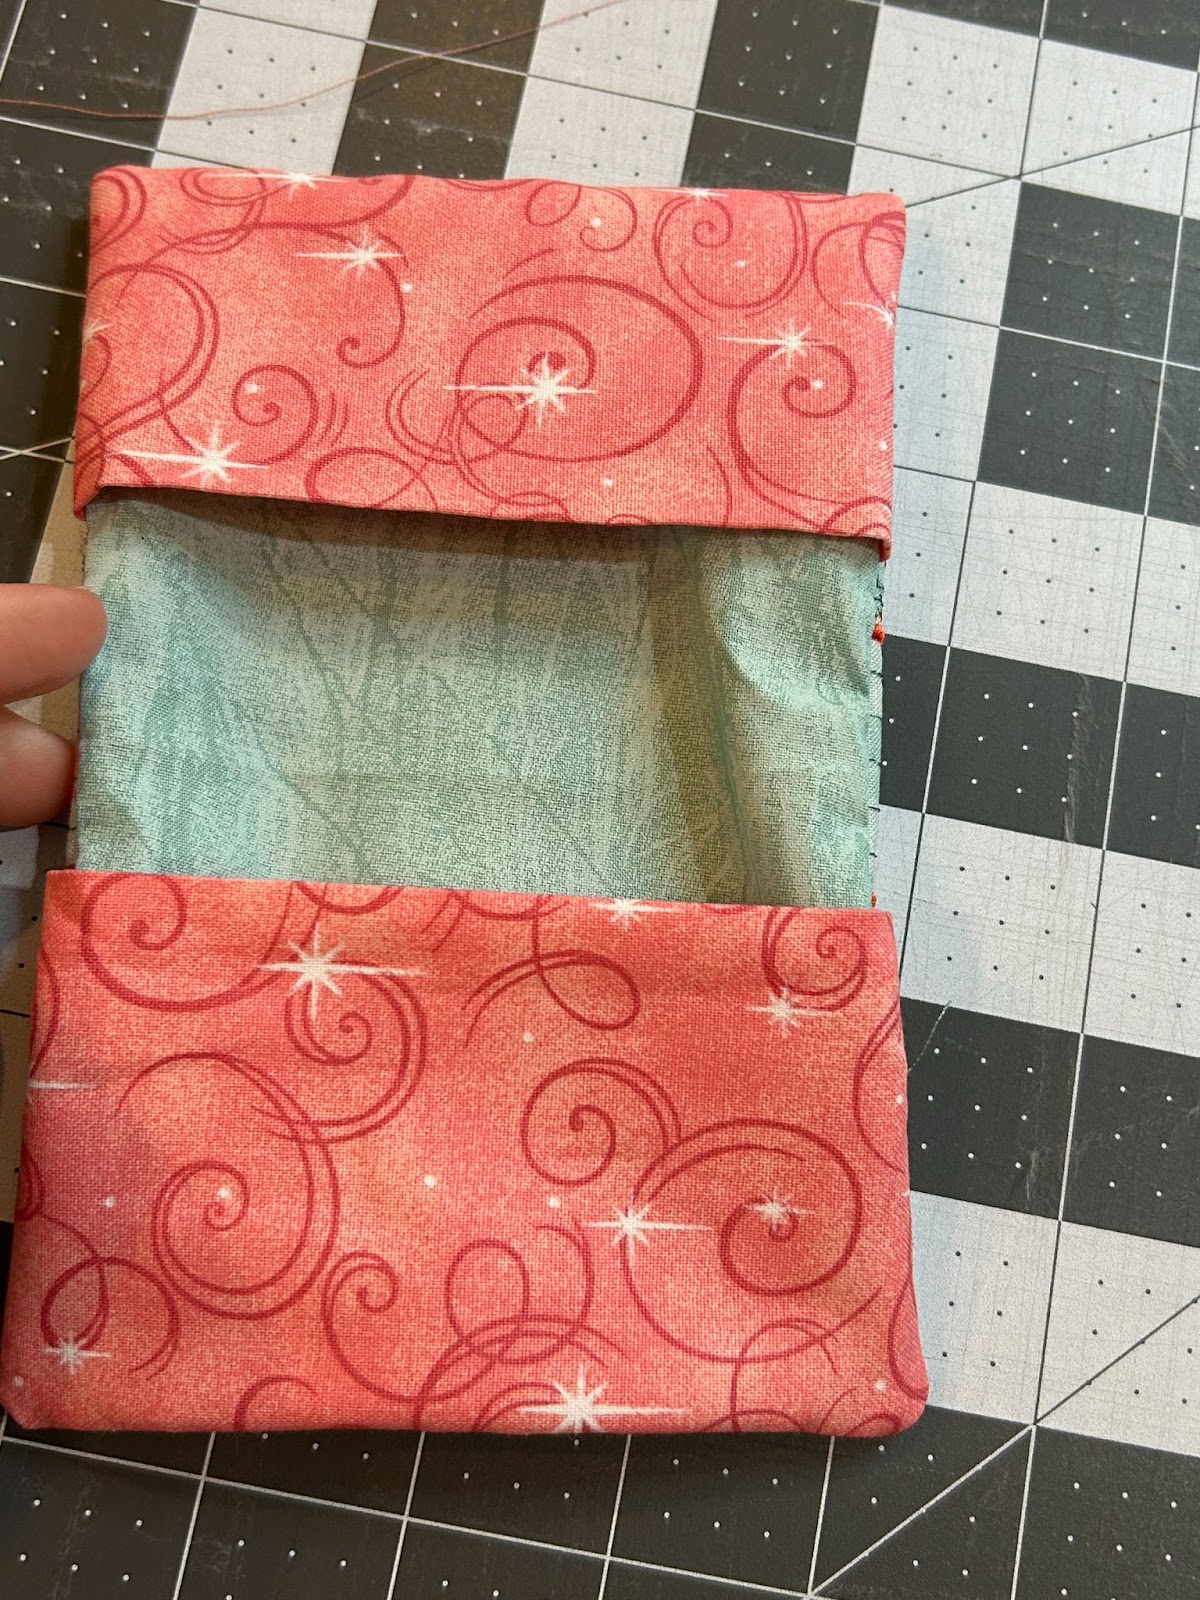
Give it a press for a nice, neat finish.

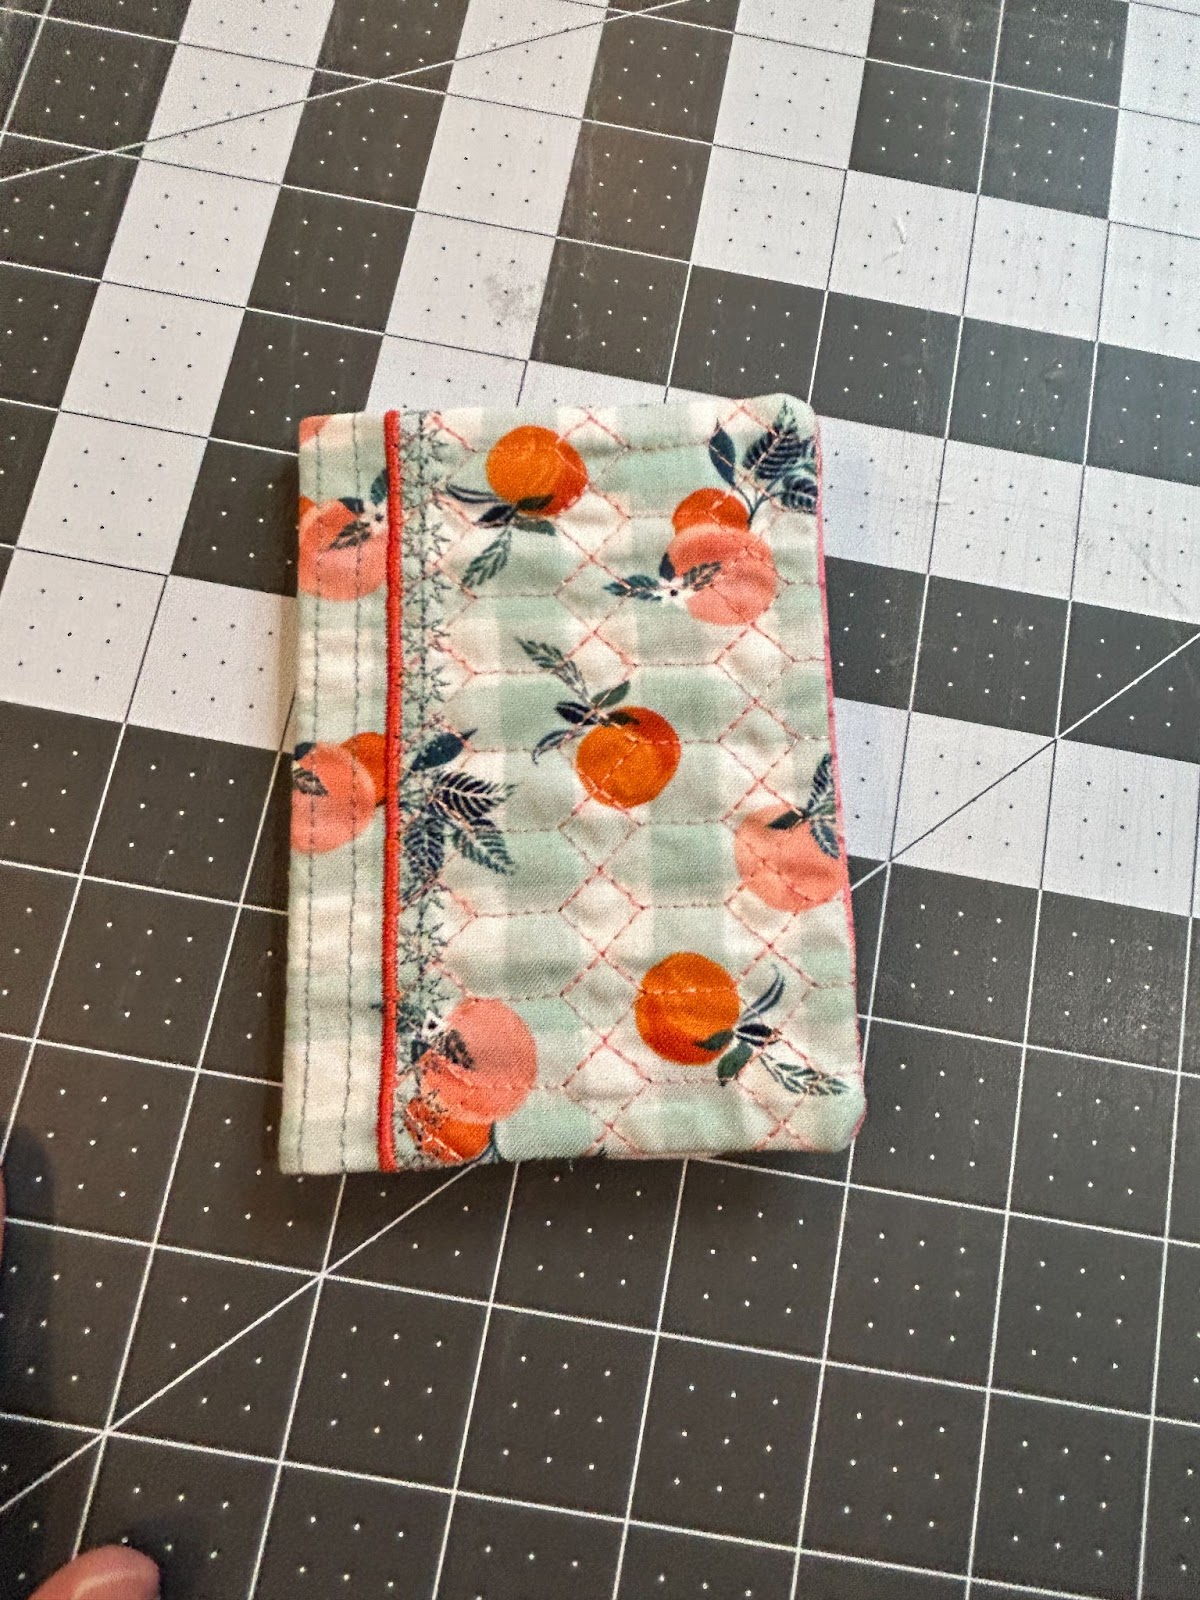
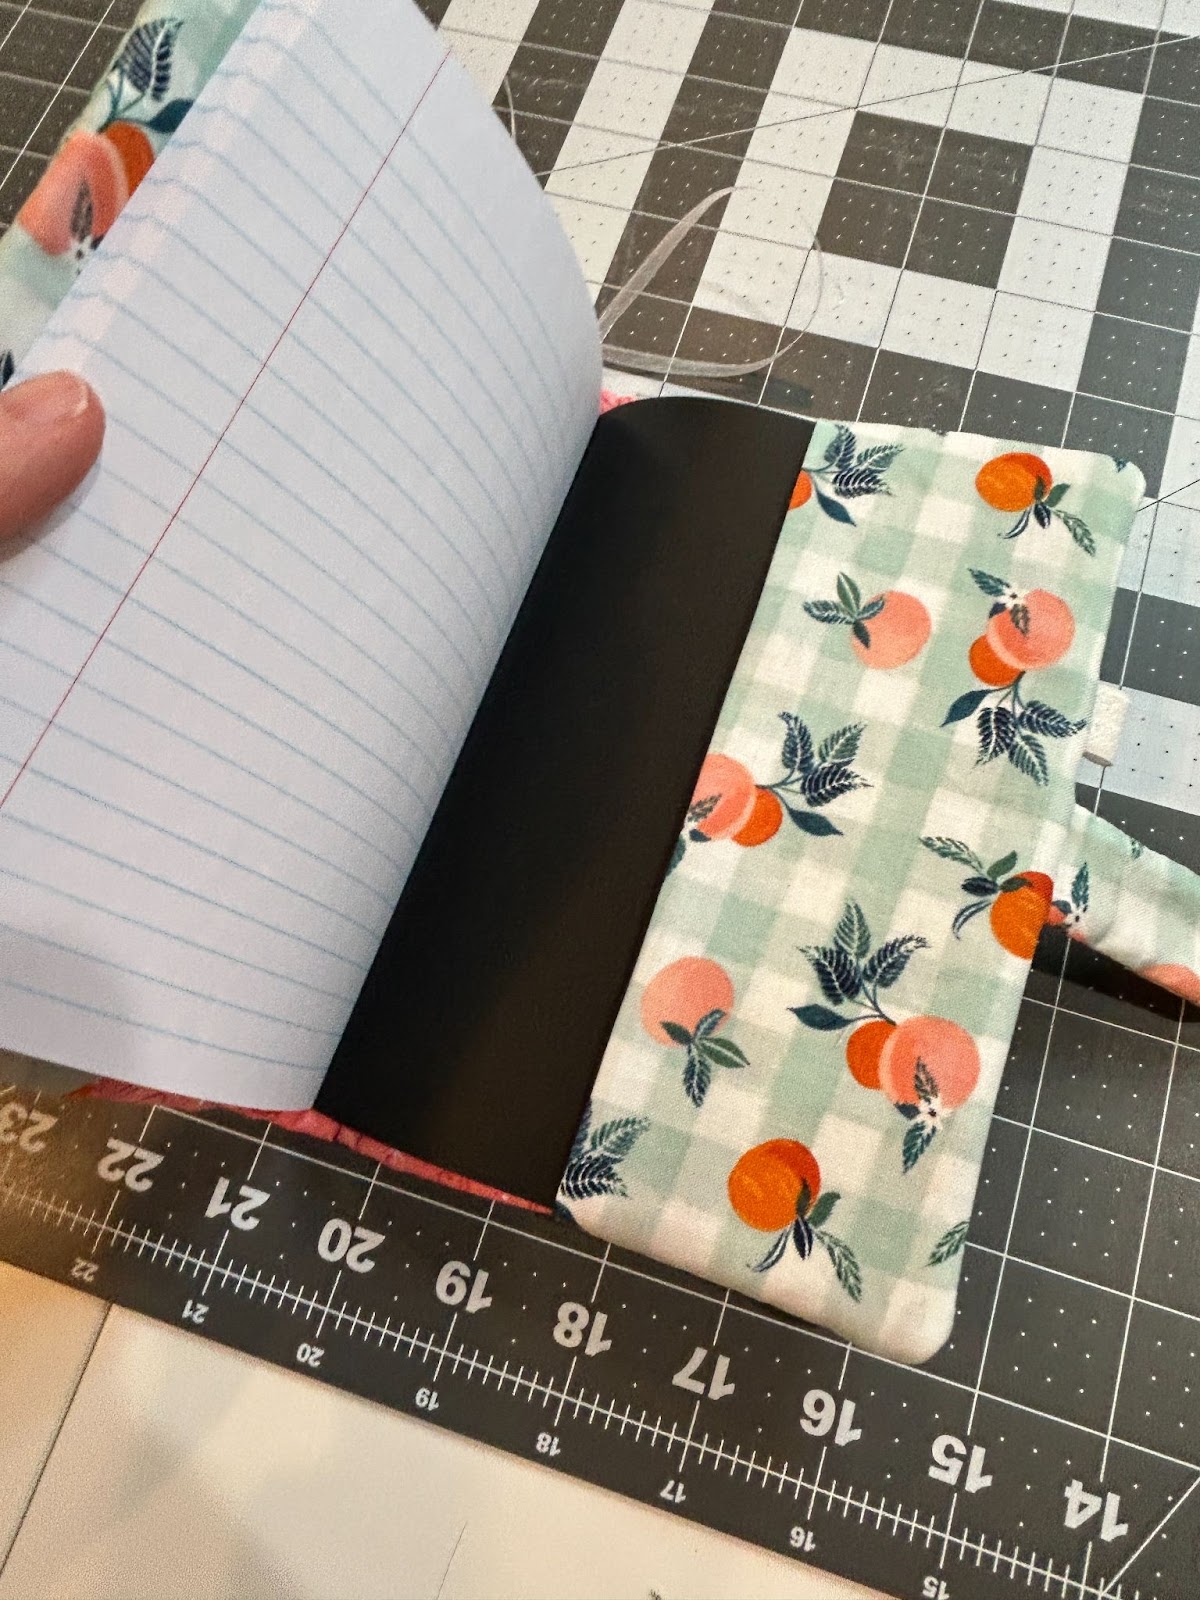
And insert your notebook. You may have to bend the back of the cover a bit to slide it in but it does fit!
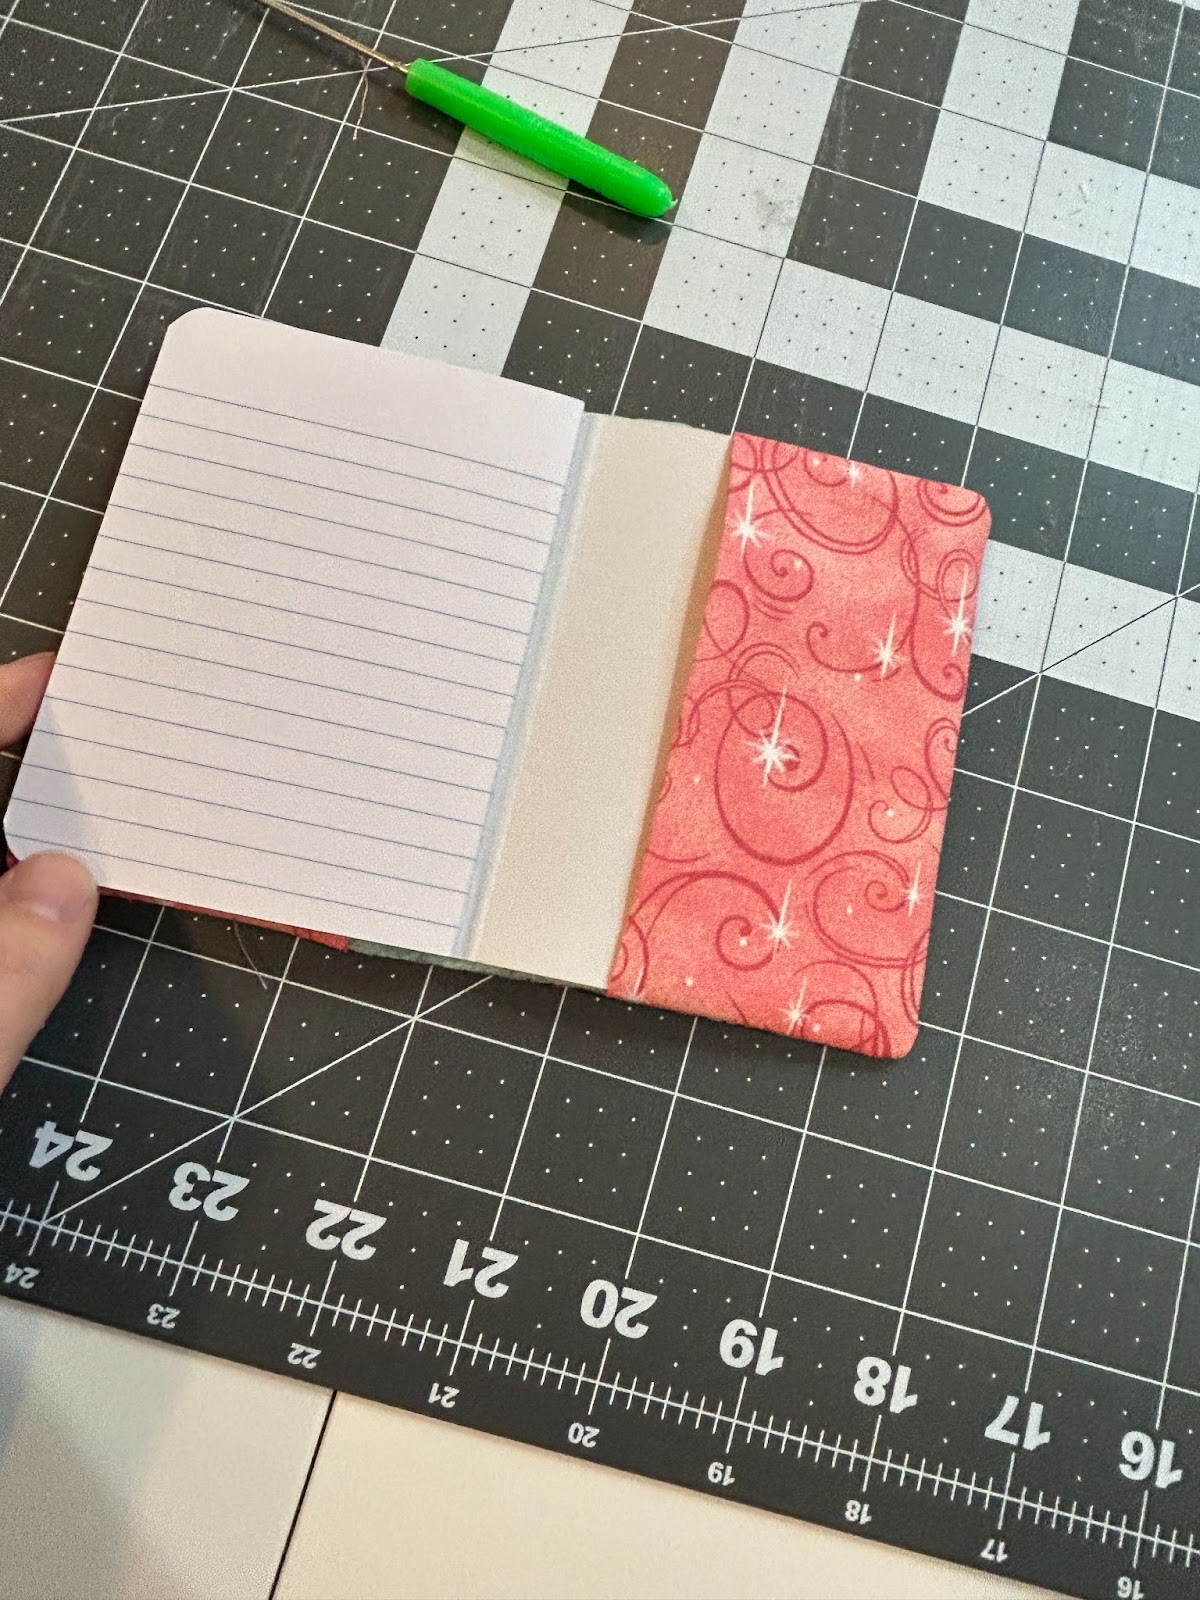
Enjoy your mini notebook. It’s tiny enough to be discreet and keep all of your information safe.
This notebook has options for either a tab with a snap closure or an elastic close. I will be demonstrating the tab option on this notebook but will show the steps for the elastic close in the last demonstration.
Start by cutting out your fabrics and batting according to the instructions, depending on the size of your hoop and notebook. Then we will fold our flap fabrics in half and press.
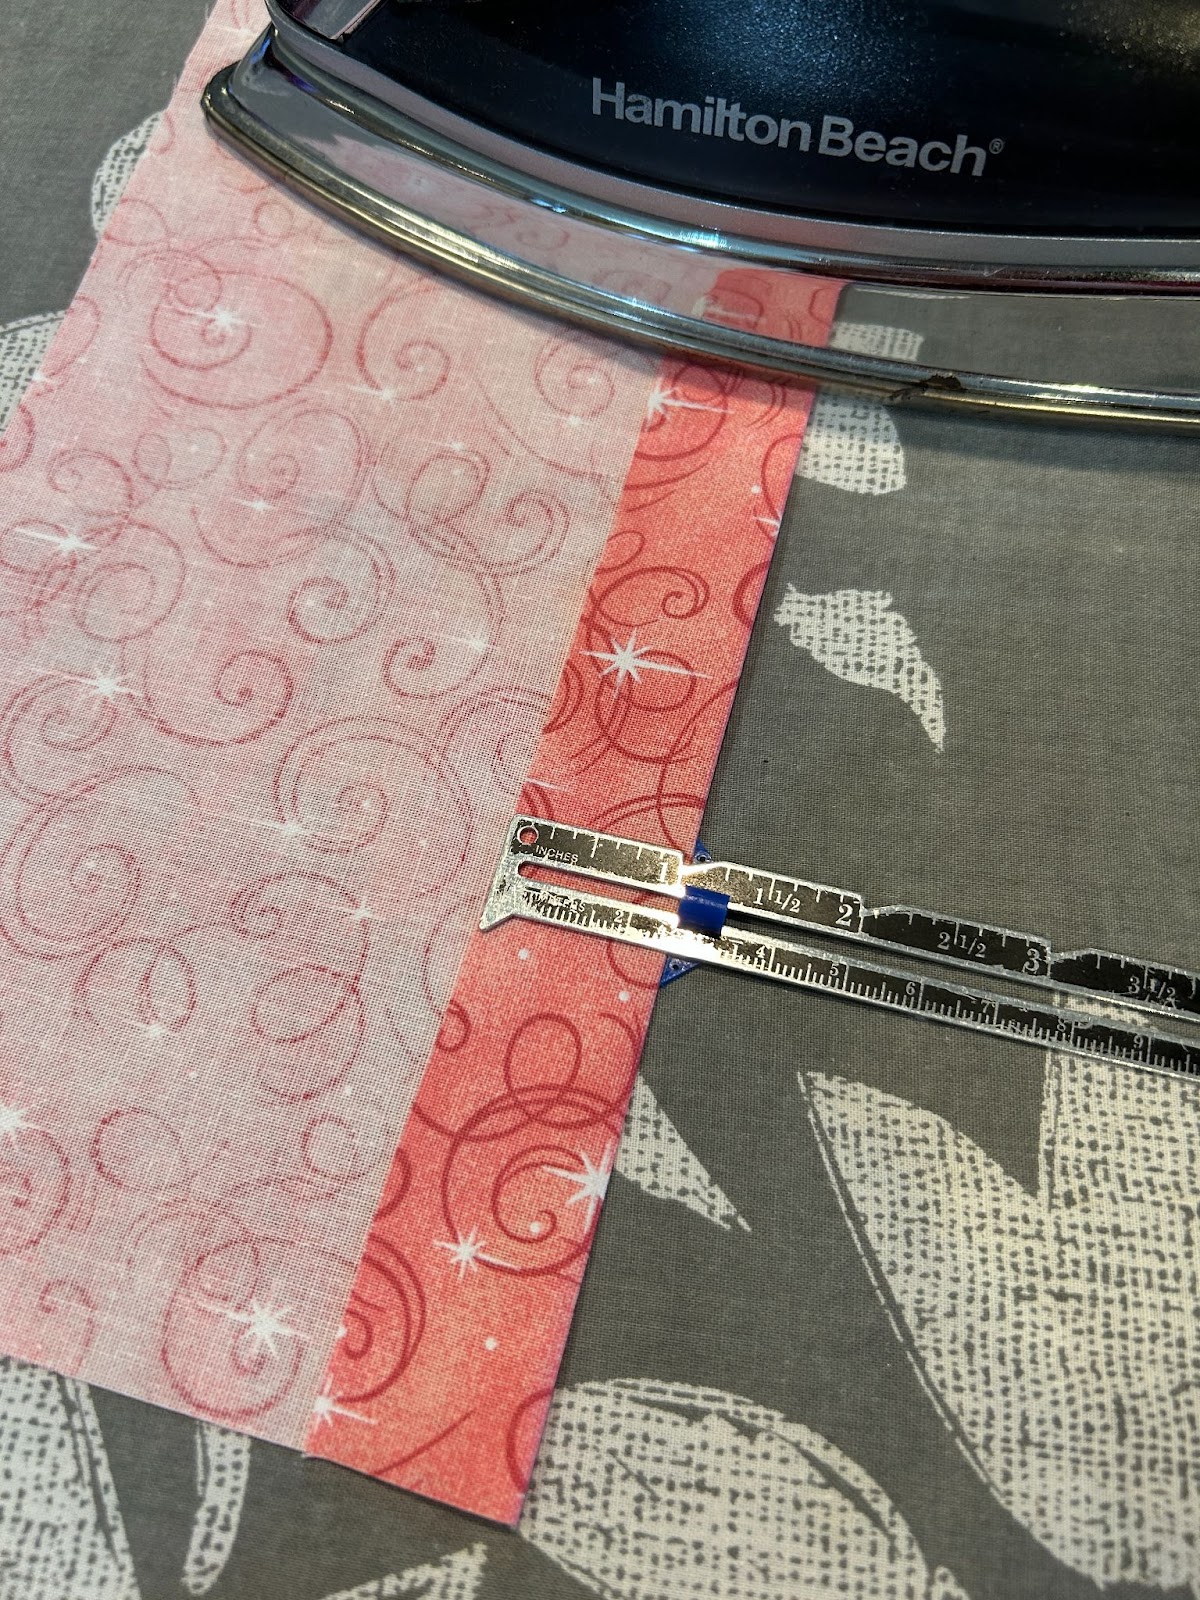
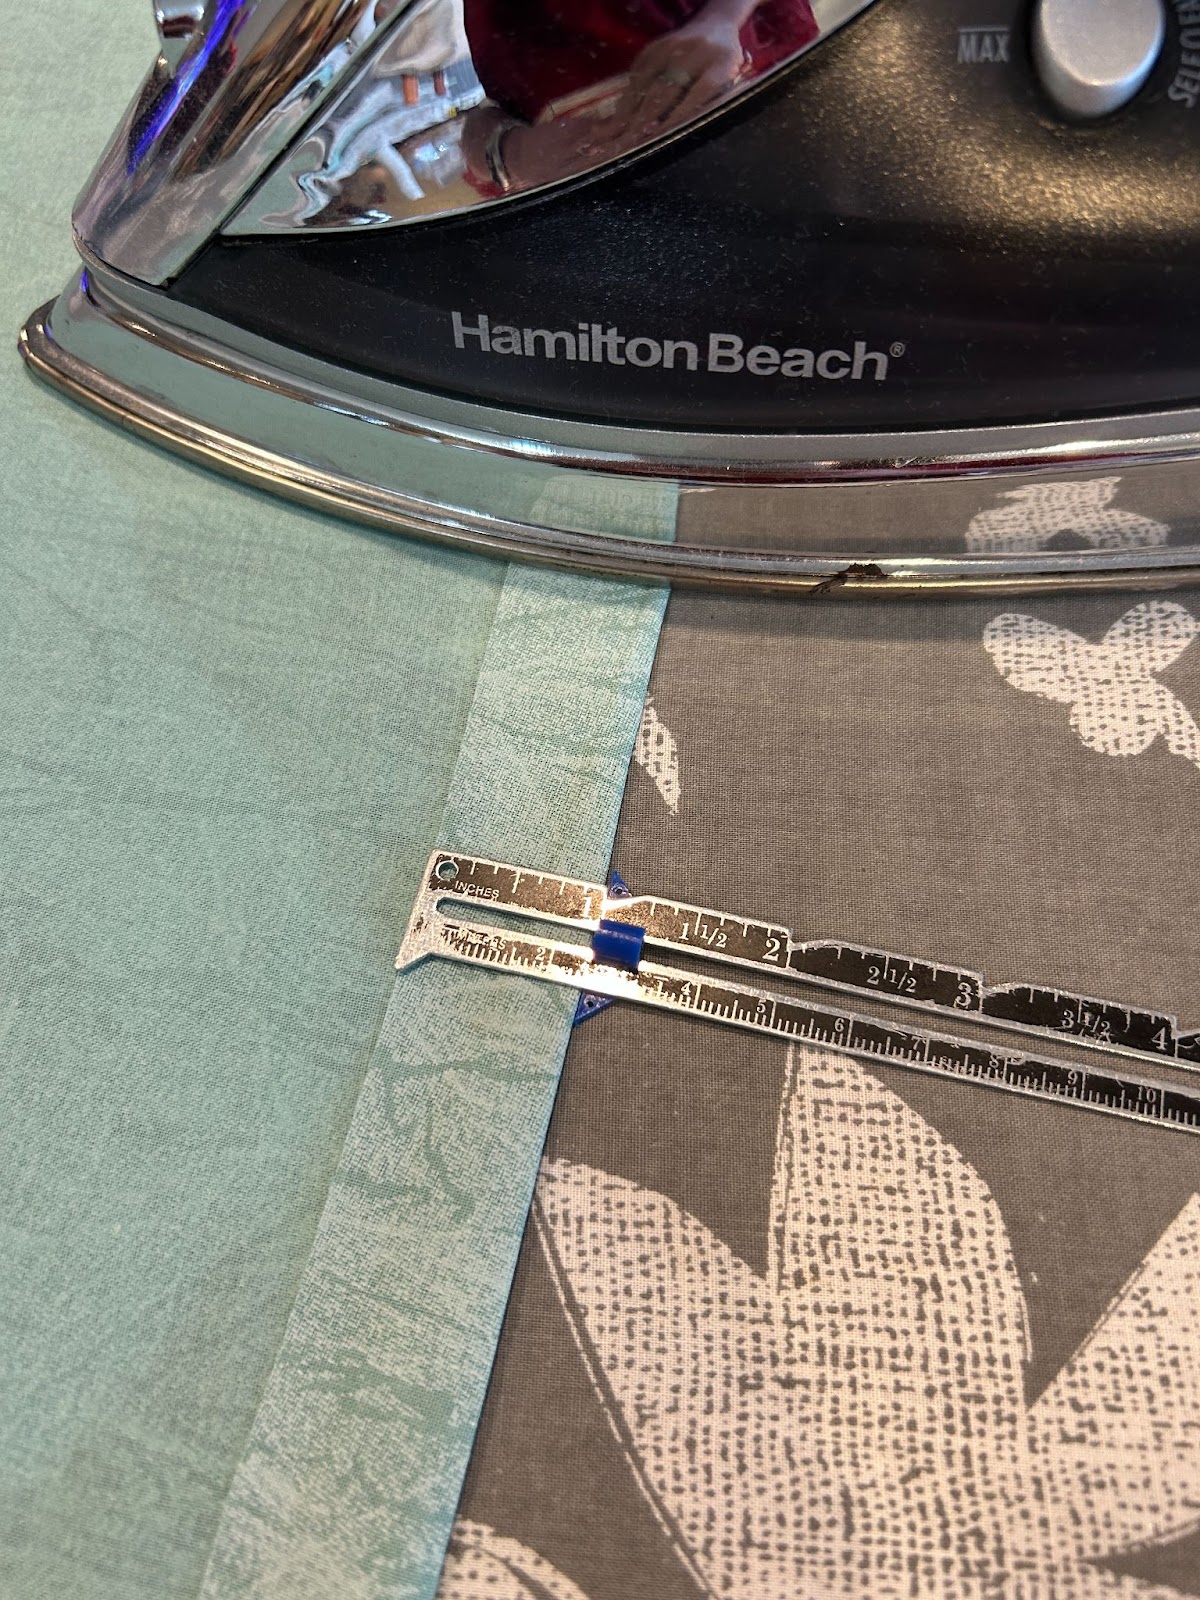
With one piece of your lining fabric, fold over 1” on the long side, and press.
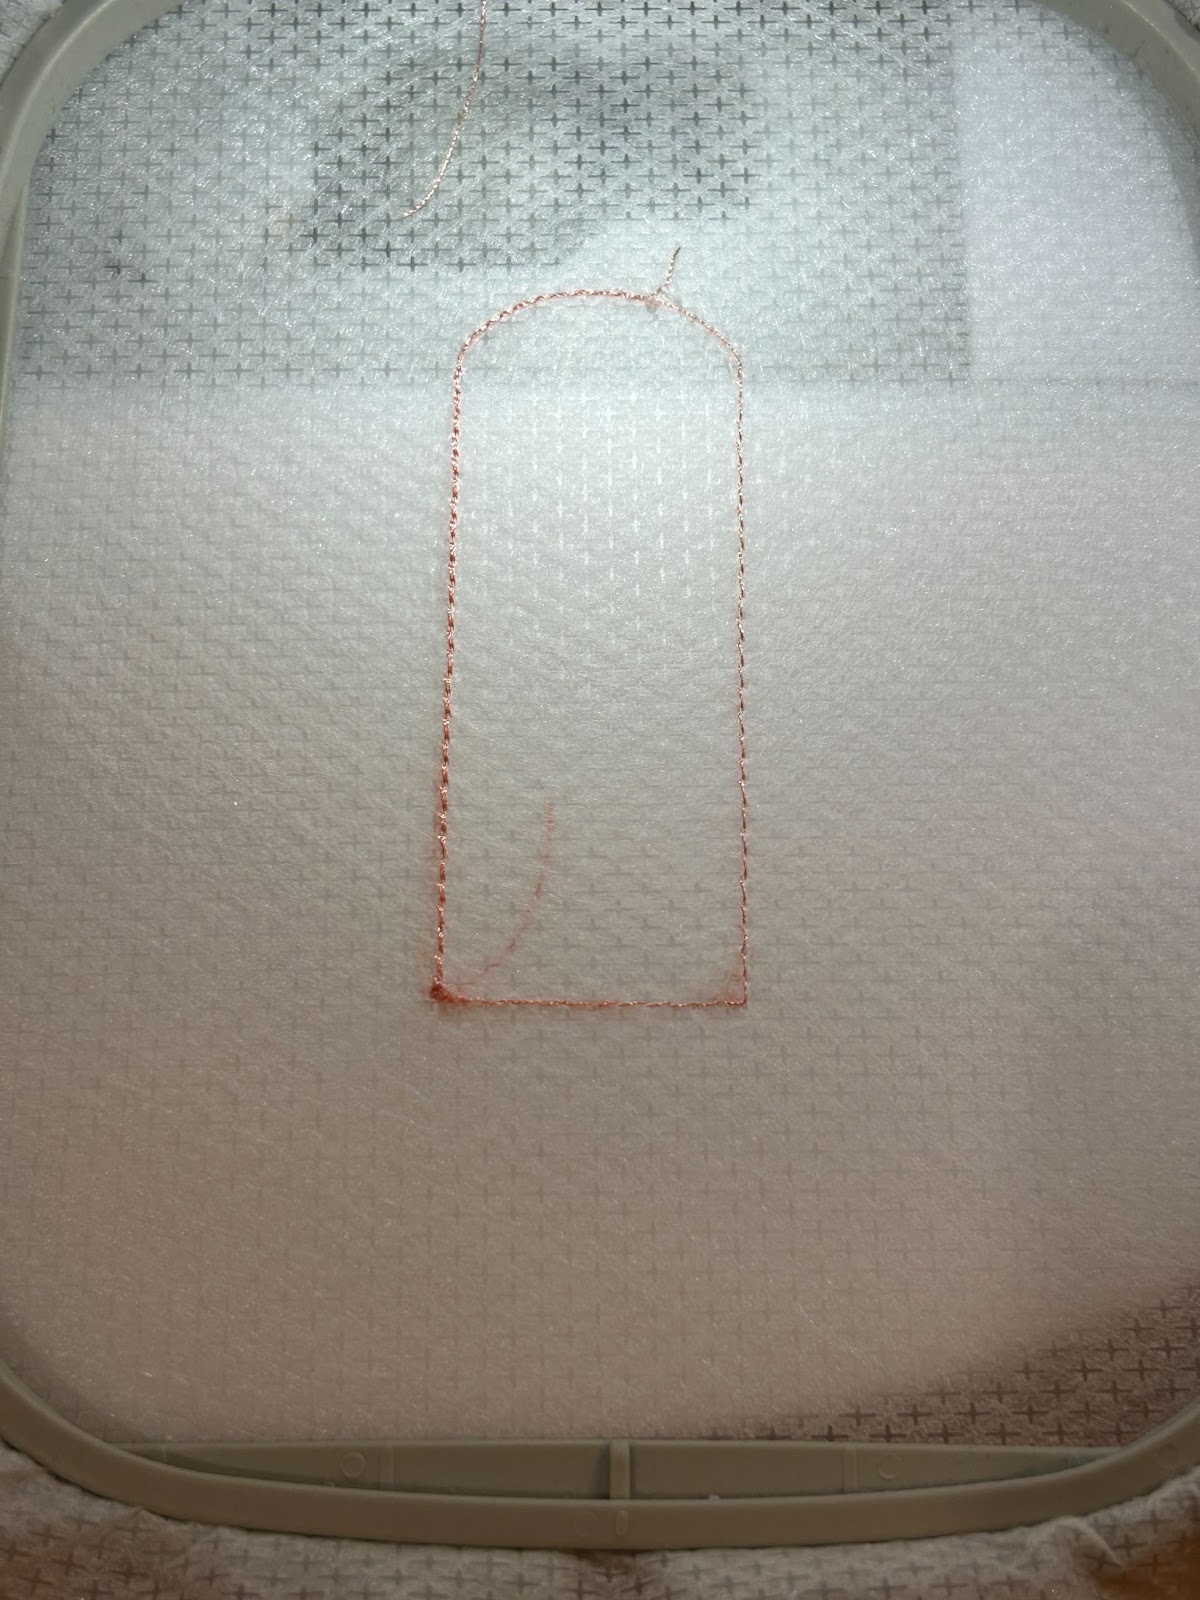
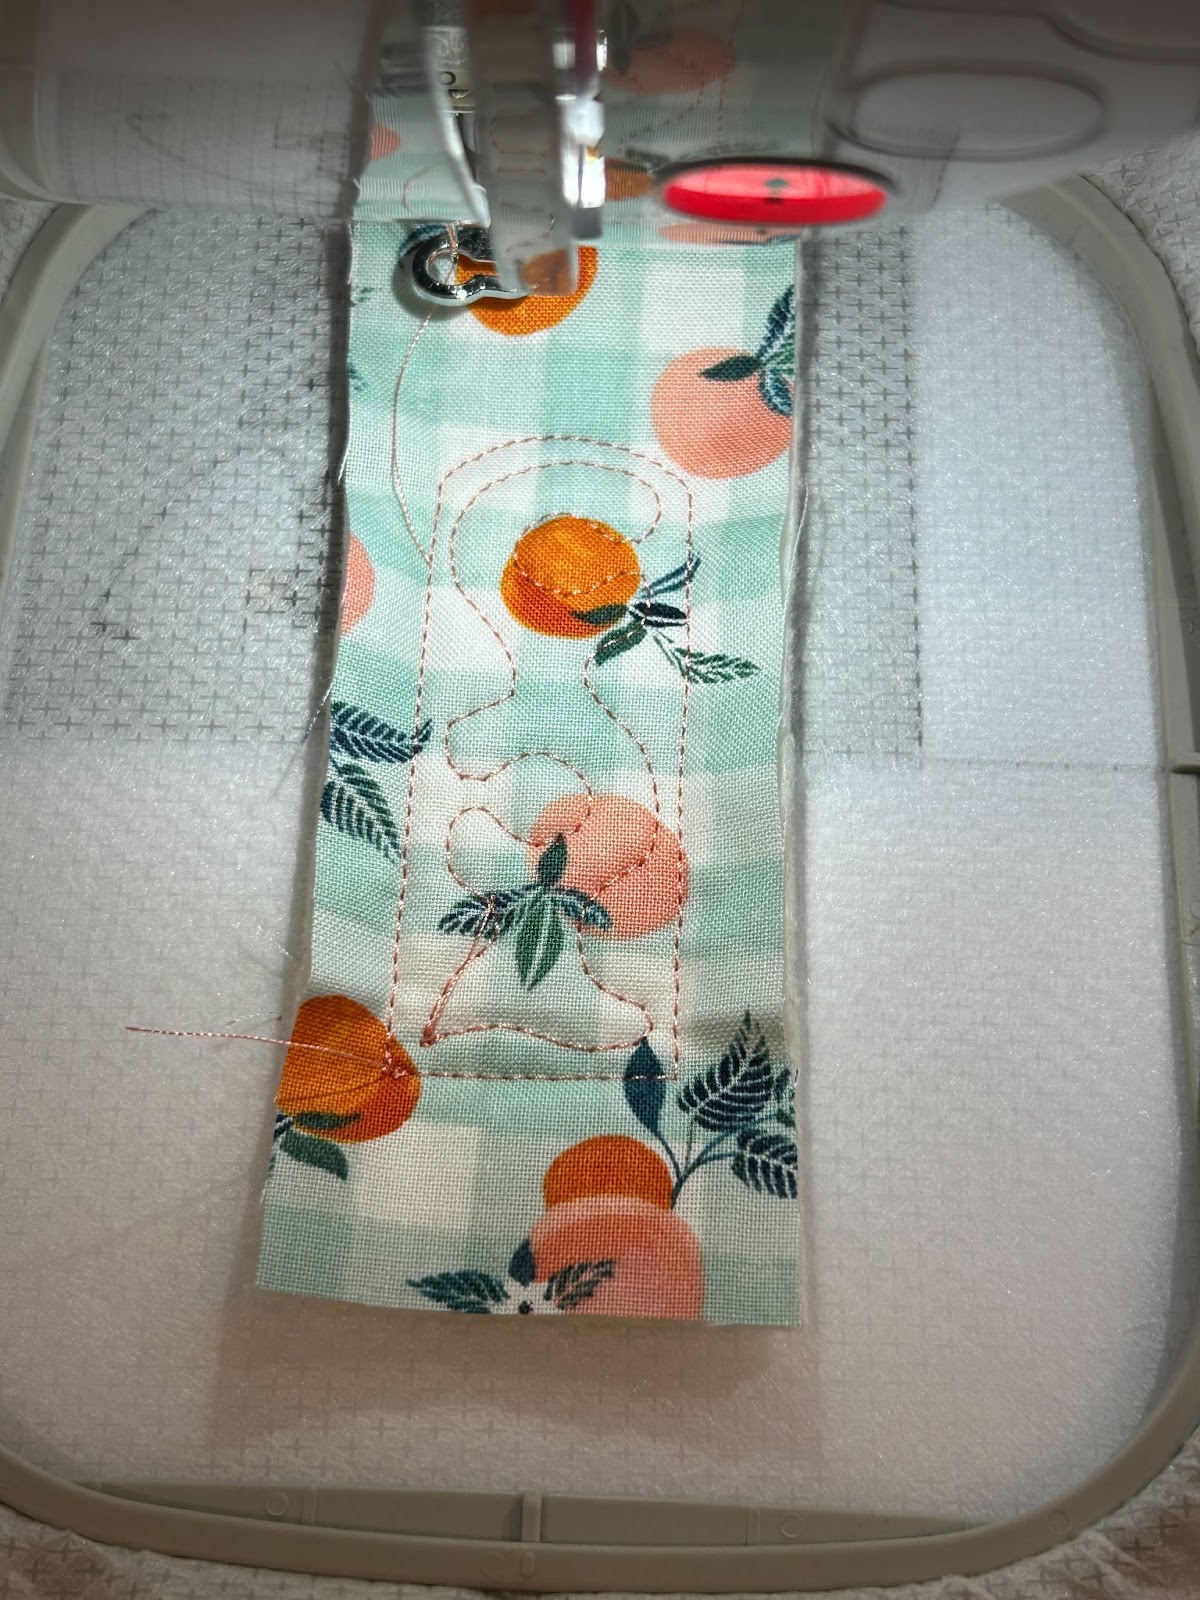
We will first stitch out the optional tab. If you don’t want a tab, you can skip the next few steps. The tab will fit in a 4x4 hoop. Hoop no-show mesh and stitch the placement stitch.
Place the batting first and then fabric, right side up, on top of the placement line. (The batting can’t be seen in the photo because it’s completely covered by the fabric.)

Stitch the tack-down.

Now run the decorative stitching. This is a good time to check your thread colors to make sure you’re using one you like for the decorative stitches. I often stitch placement/tack-down stitches in just white. I have forgotten to change it out when I’m doing my decorative stitches and that’s always frustrating.
Cover the tab with backing fabric, placing it face down to cover all stitching.

Stitch the tack-down stitches.
Remove the tab from the hoop and trim the stabilizer close to the stitches.

Trim fabric ⅛”–¼” from the stitches. I clipped toward the stitches around the curve.

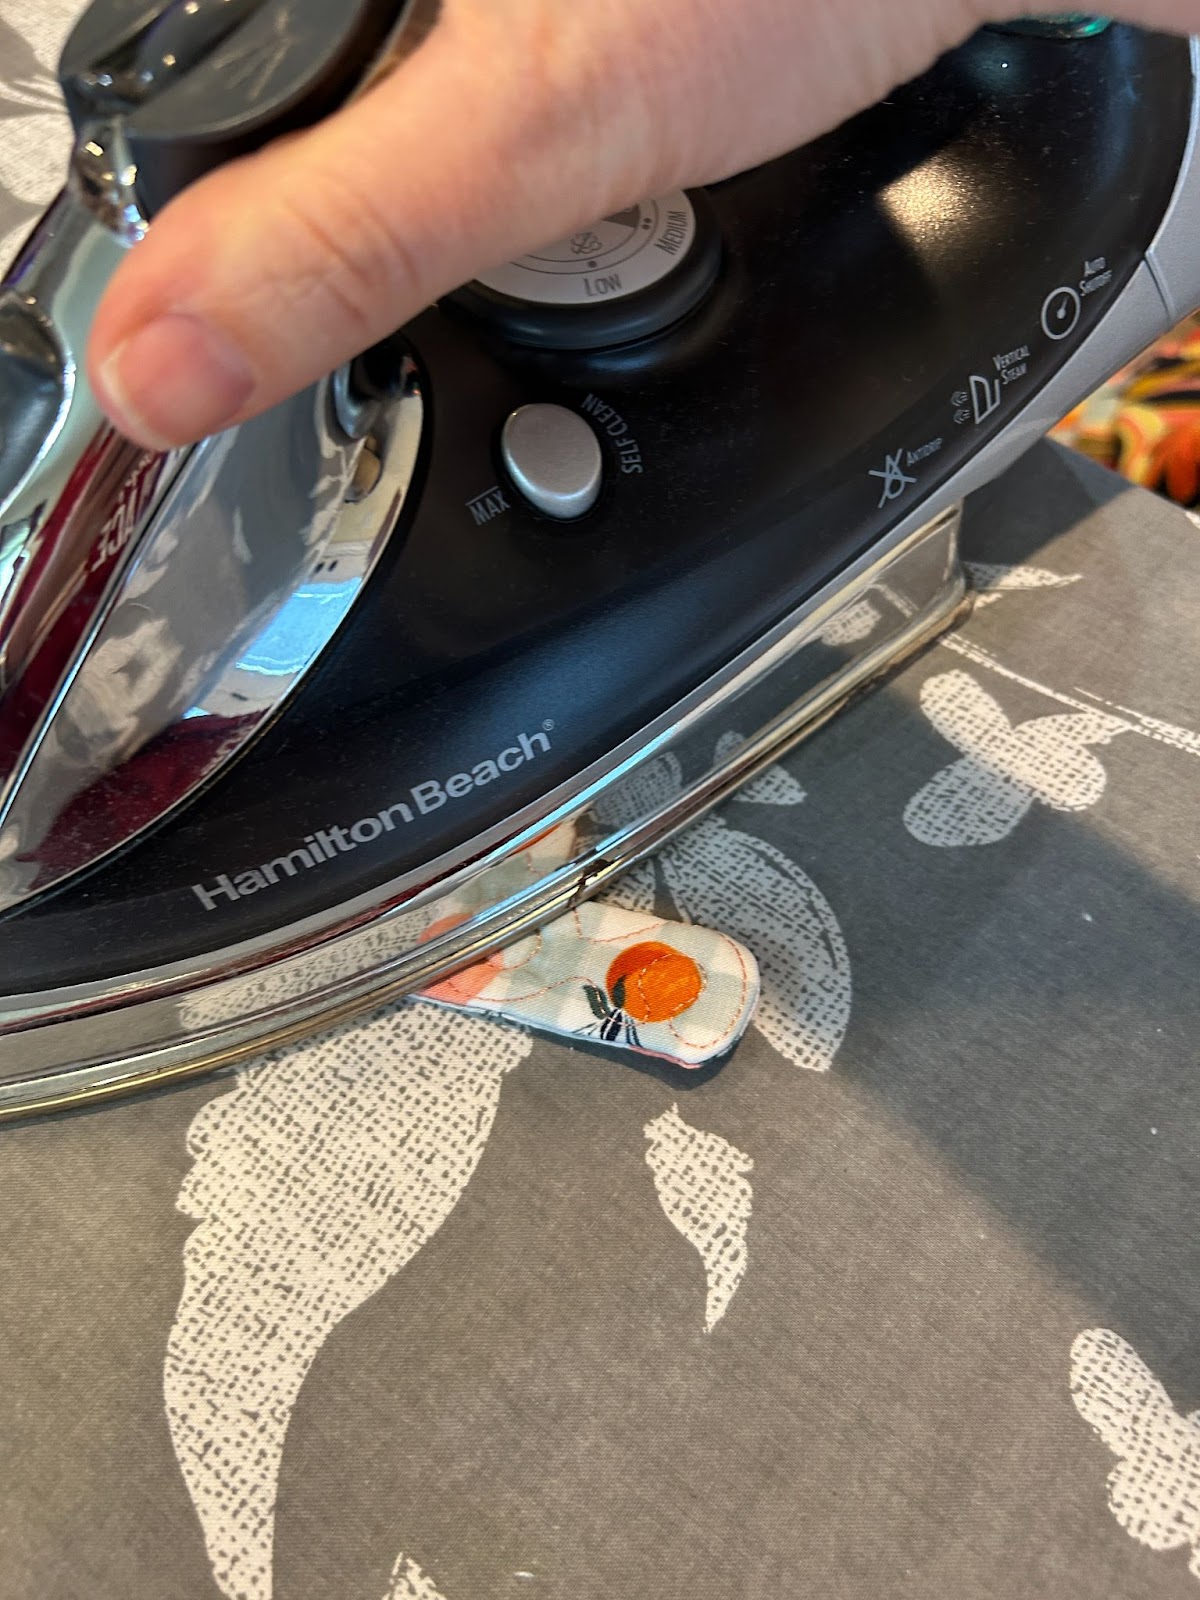
Turn the tab right side out and press. This was a little tight so a chopstick or something similar would be helpful for turning.
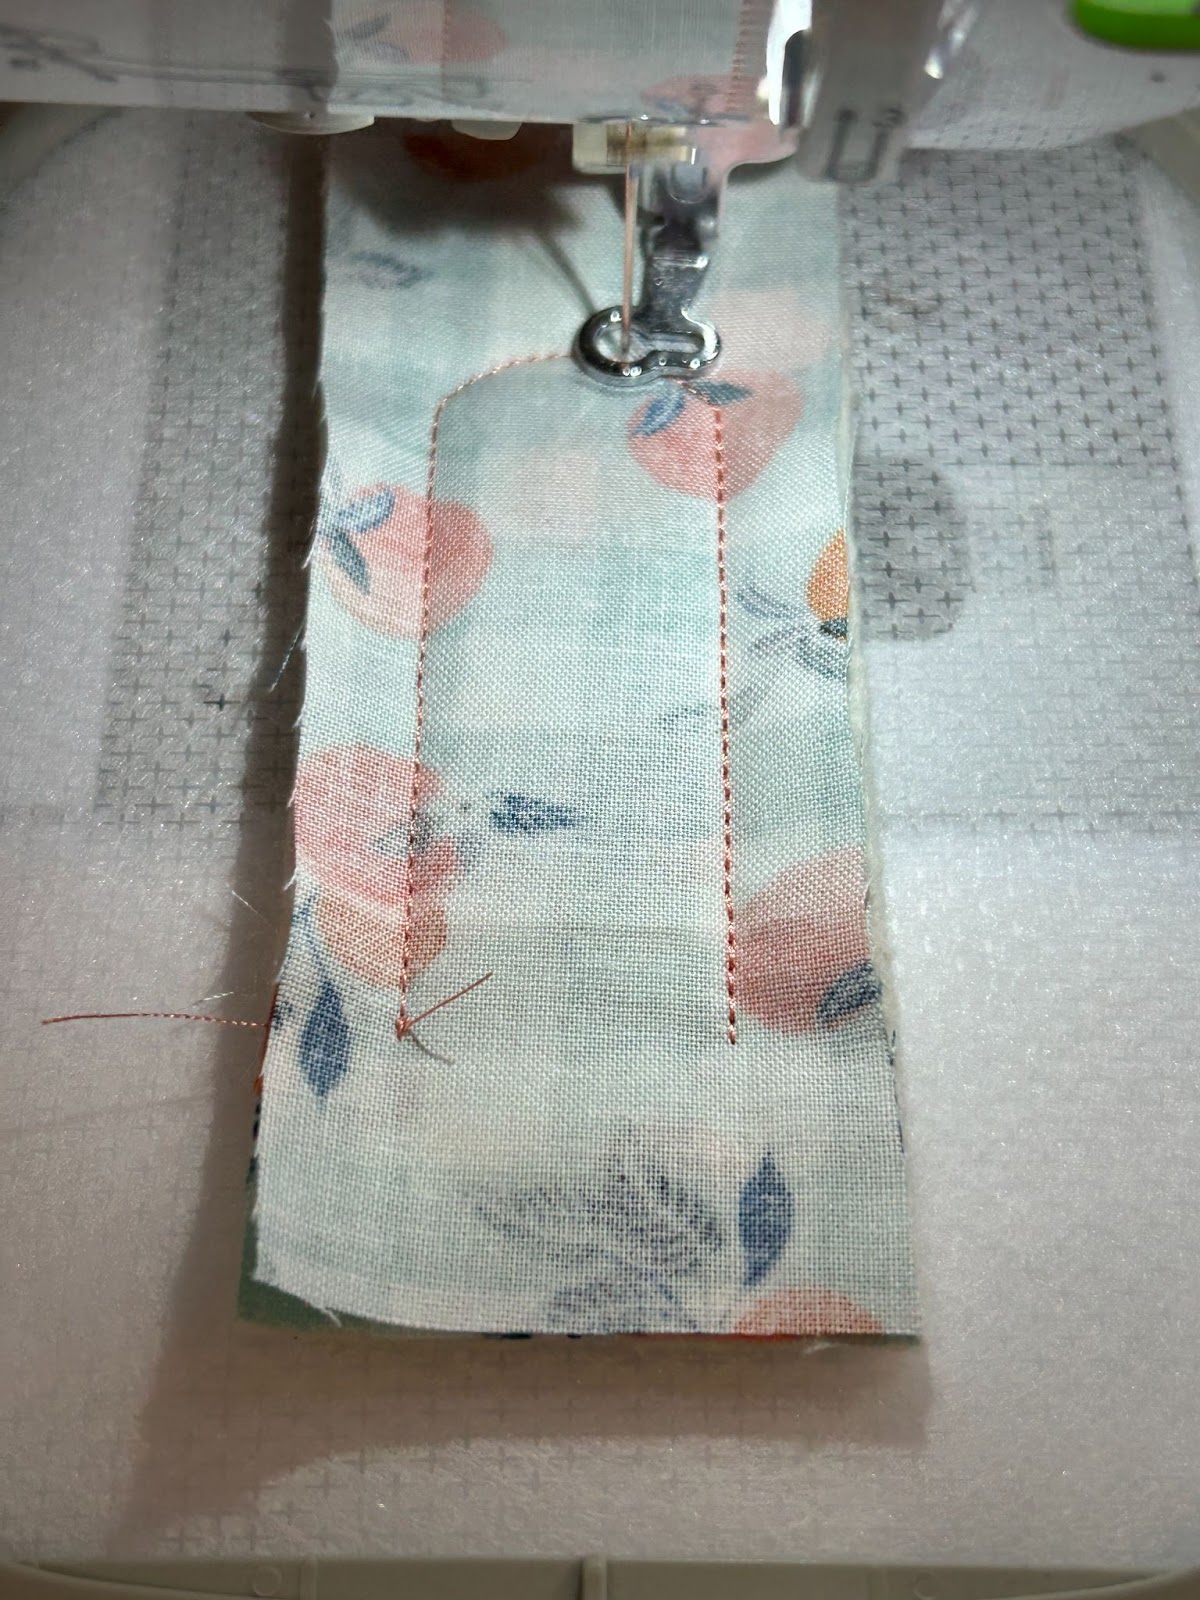
Now we will create the back cover. Hoop a piece of no-show mesh stabilizer and stitch out the placement line.
If you look at the stitch out, you will see some notches around the design. We want to use a pen and, drawing on our no-show mesh, extend those lines to the edge.
I did this by lining up one of my straight edge rulers with the notch and just using a pen to draw the lines.

When you're done, you will have lines coming from three of the edges. The top and bottom lines will help us align the flap and lining fabrics. The lines on the left side will help us align the tab.
Now place the batting over the placement line and run the tack-down stitches. Trim batting close to the stitches.
Use one of the cover fabric pieces and center it over the batting.
Run the tack-down stitches, then check your thread color and run the design stitches for the cover.
The next step will run a placement line for the optional pen loop. Stitch the placement stitch and then fold a 3” piece of fold-over elastic in half, wrong sides together. Overlap the placement line, with the fold on the design, ends to the outside, by about ½”–¾”. Stitch the elastic down.
If you’re using the tab, you will now place it right side down on the back cover. Using the placement lines you drew on the no-show mesh, center it between them and overlap the stitching line with about ¾”. The tab should be on the notebook cover and the raw edges off the design.

Tape it down and run the tack-down stitches.

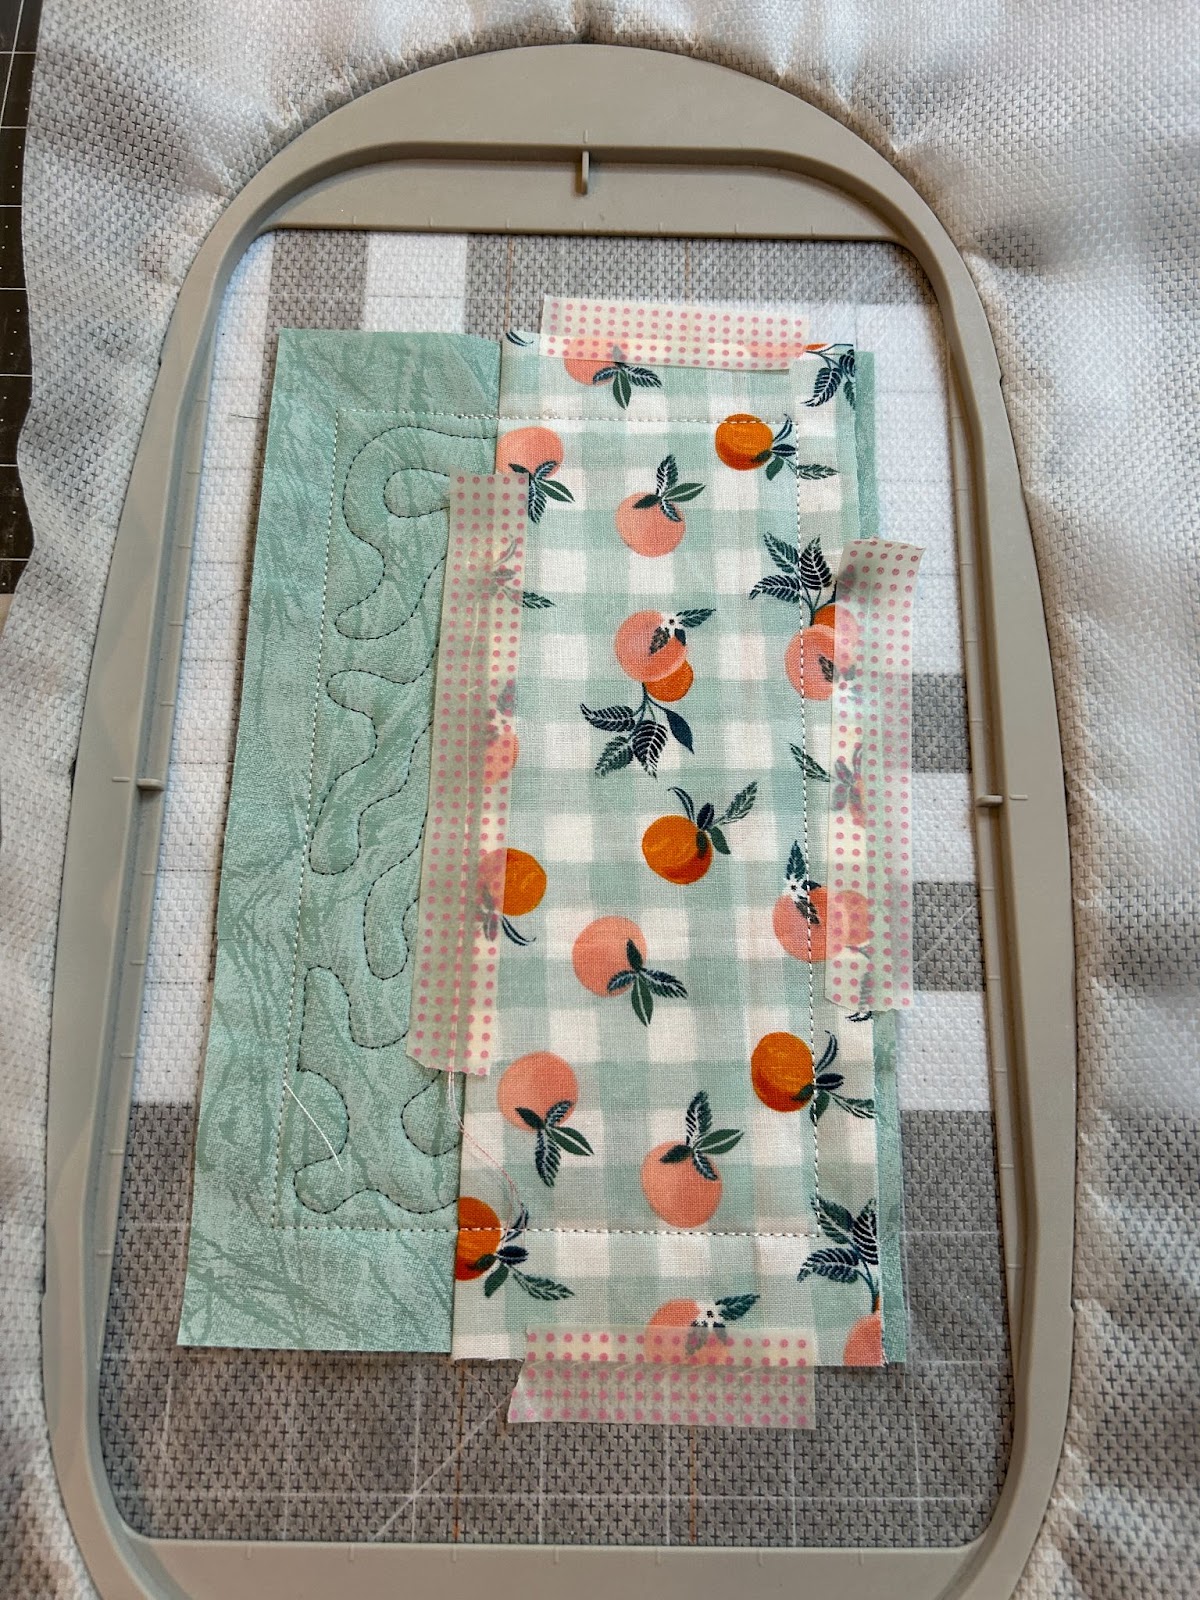
Now we will add the flap and backing. First we will take our pressed flap fabric and place it on the cover with the fold on the right side. We will use the lines we drew that are to the right to line up the flap. After it is lined up, tape it down and run the tack-down stitches.
For the lining we will use the piece without the fold and place it right side down. Use the placement lines on the left side to make sure it’s positioned correctly.
Tape to secure and stitch the tack-down lines for the lining.

Remove from the hoop and trim stabilizer close to the stitches.

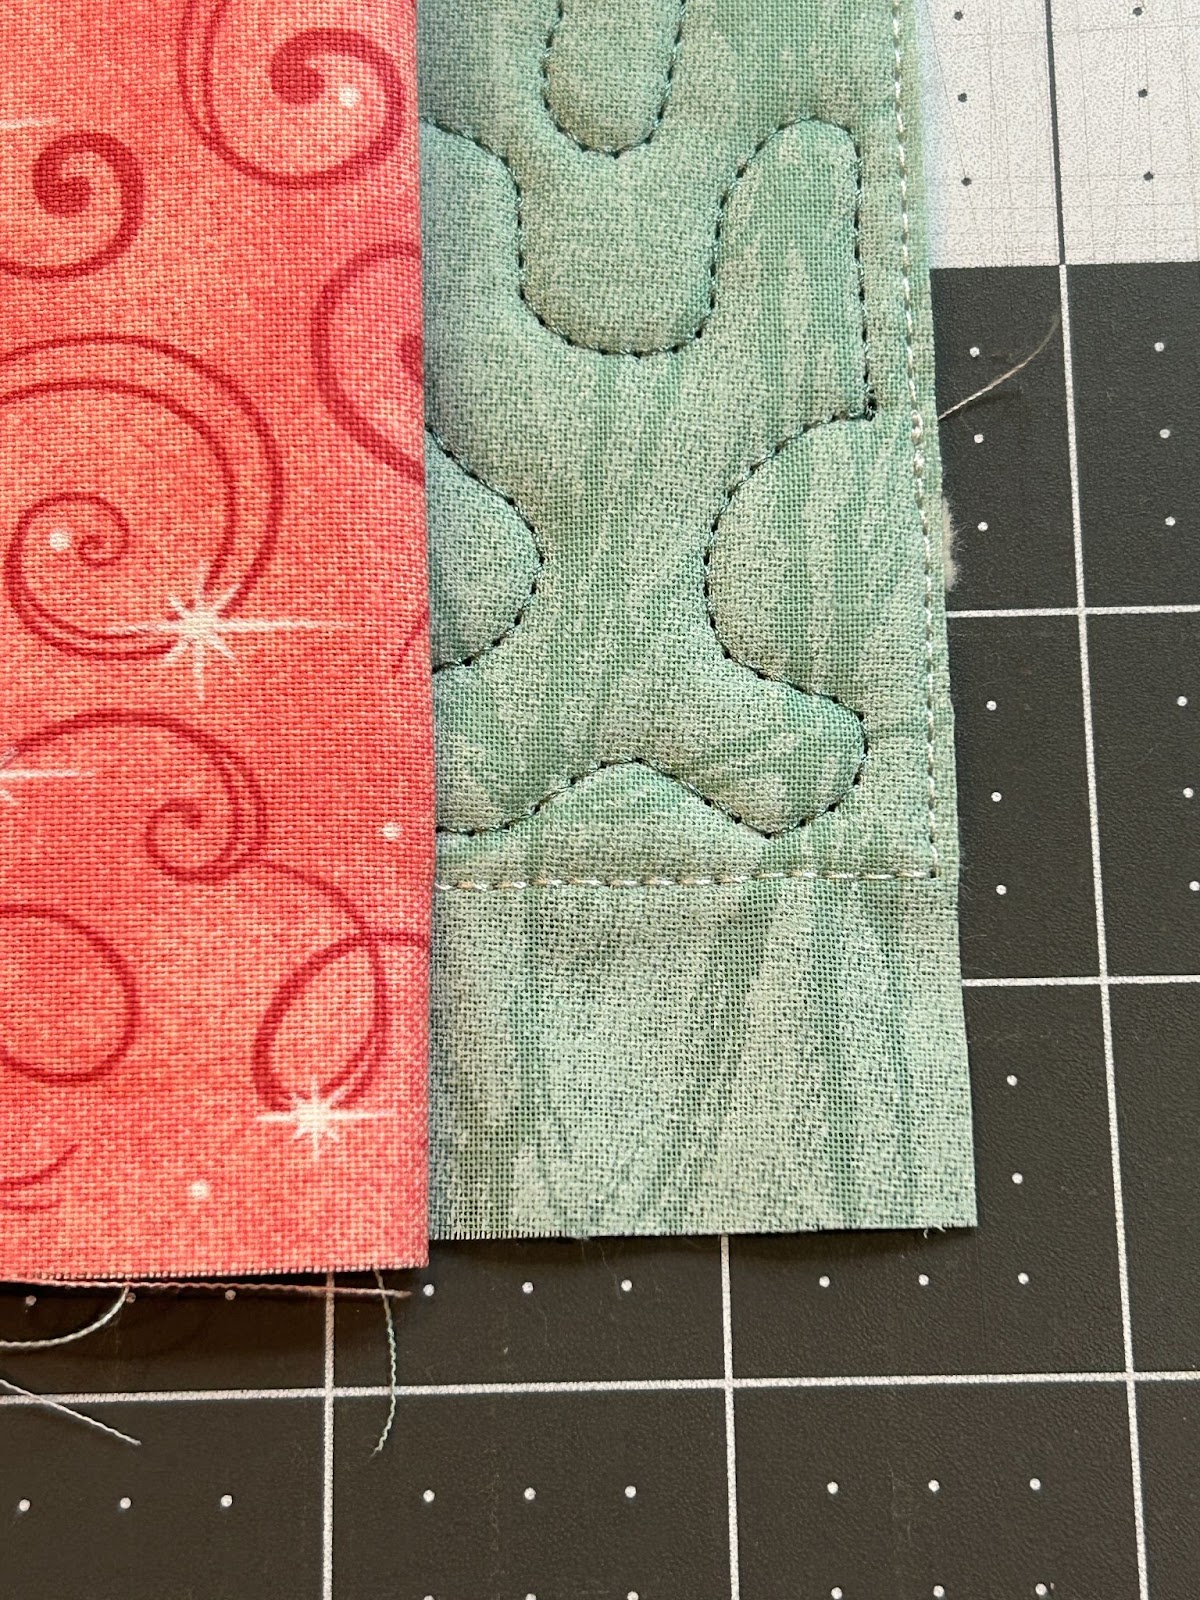
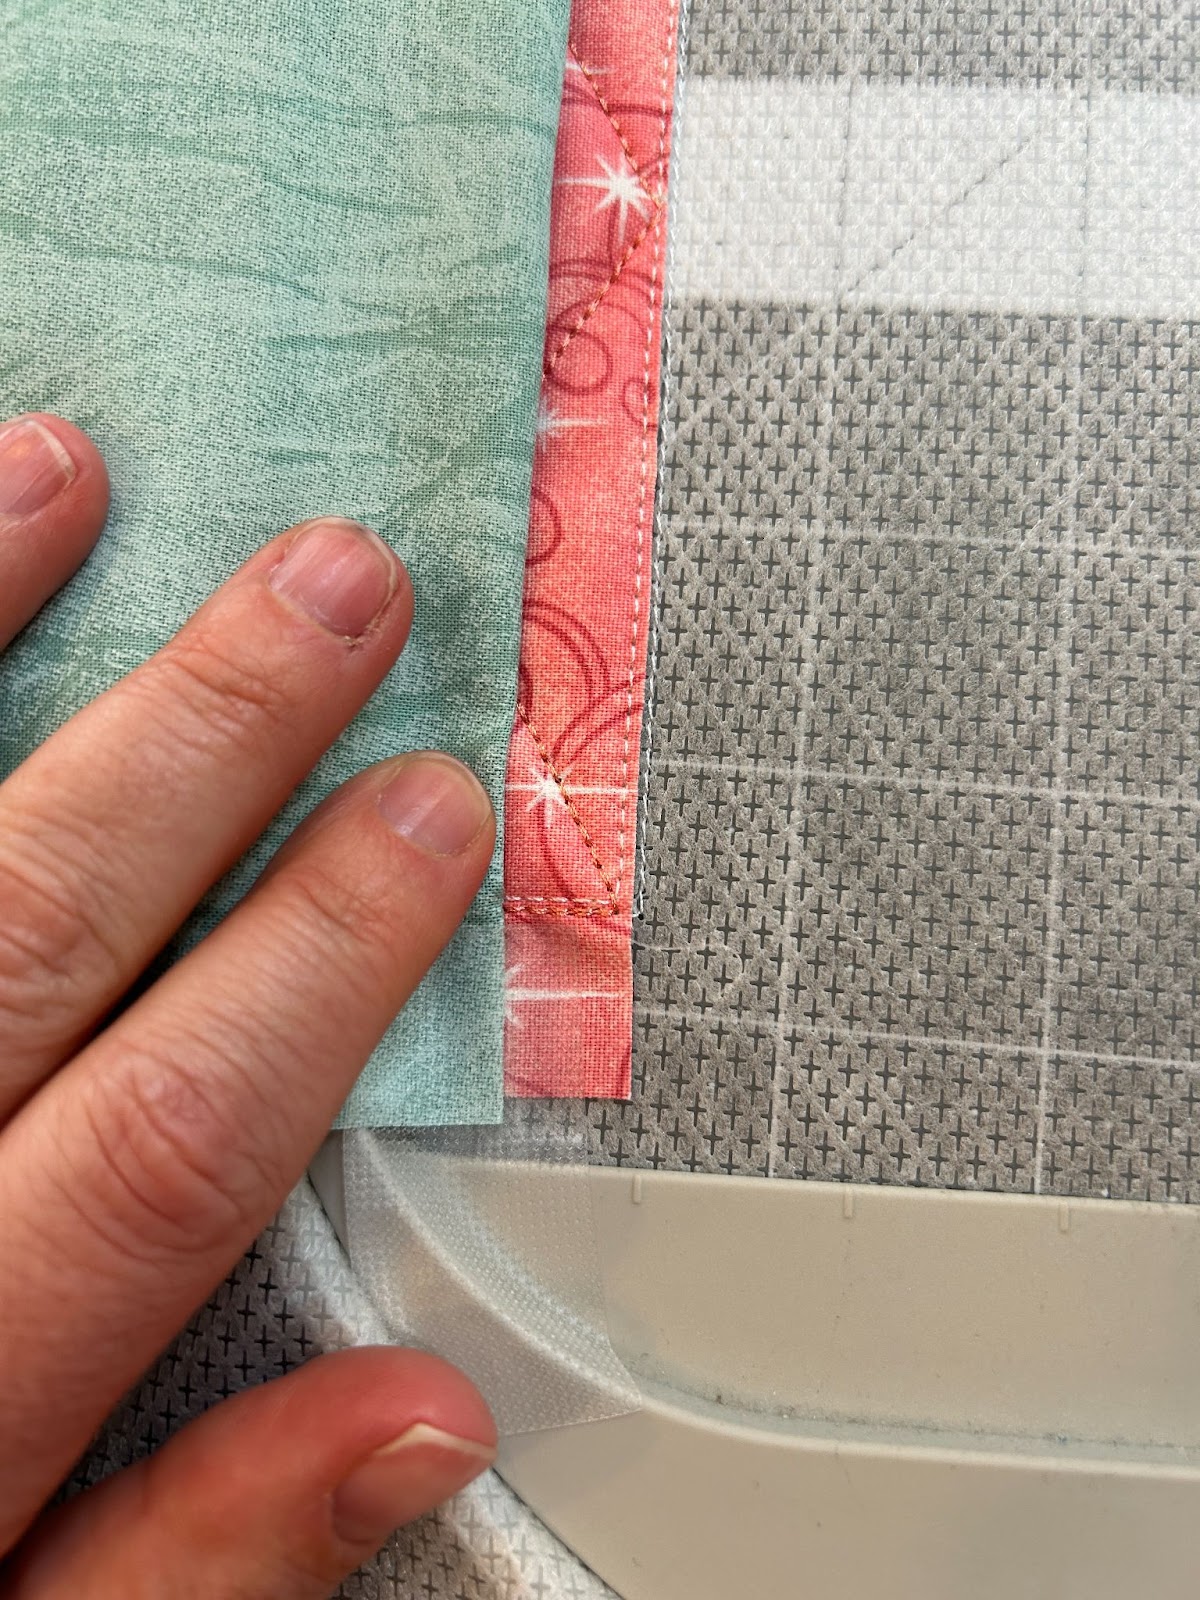
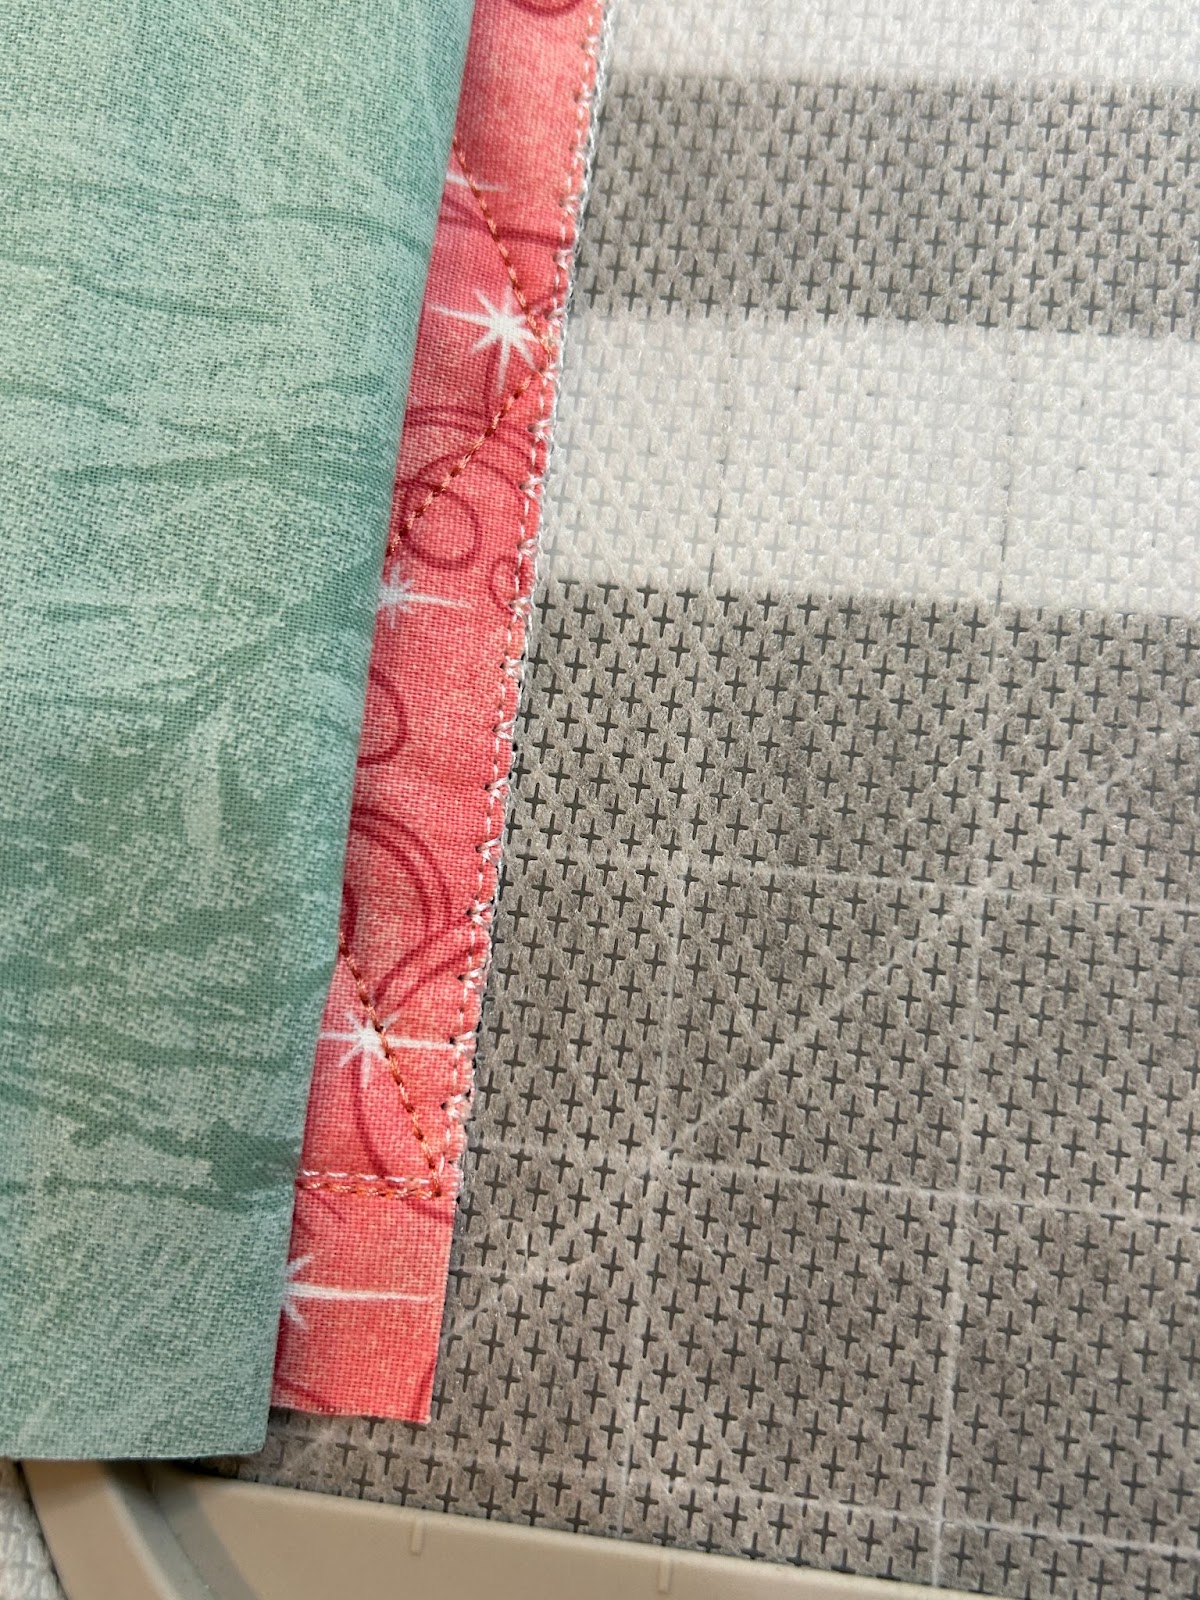
Now flip it back so the right side is up and fold back the lining so we can see the edge stitches on the cover. We want to trim as close to the stitches as we can without cutting them.

I like to use my straight edge and place it right on the stitches. When I trim this way I can get super close but know my stitches are safe.
Now we will make the front cover. This is very similar to the back cover but everything is reversed. Stitch the placement stitch and extend the marks to the edge of your hoop with a pen. This one will only have marks on the top and bottom. Cover the placement stitch with your batting and stitch the tack-down. Trim the batting.

Continuing, place the cover fabric and stitch the tack-down and decorative stitches.
Note: If you are using an elastic closure instead of the tab, attach it at this step. Detailed instructions for the elastic closure will be provided in the next notebook.
We will now place the flap. The fold will be toward the left of the design, lining up on the placement lines we drew. Tape it in place to hold. Stitch the tack-down stitches.
Now using the backing piece with a fold, we will line up the raw edge on the right placement lines, with the right side of the fabric down. This puts the edge with the fold at the left of our project. Tape it in place.

Stitch the tack-down stitches.
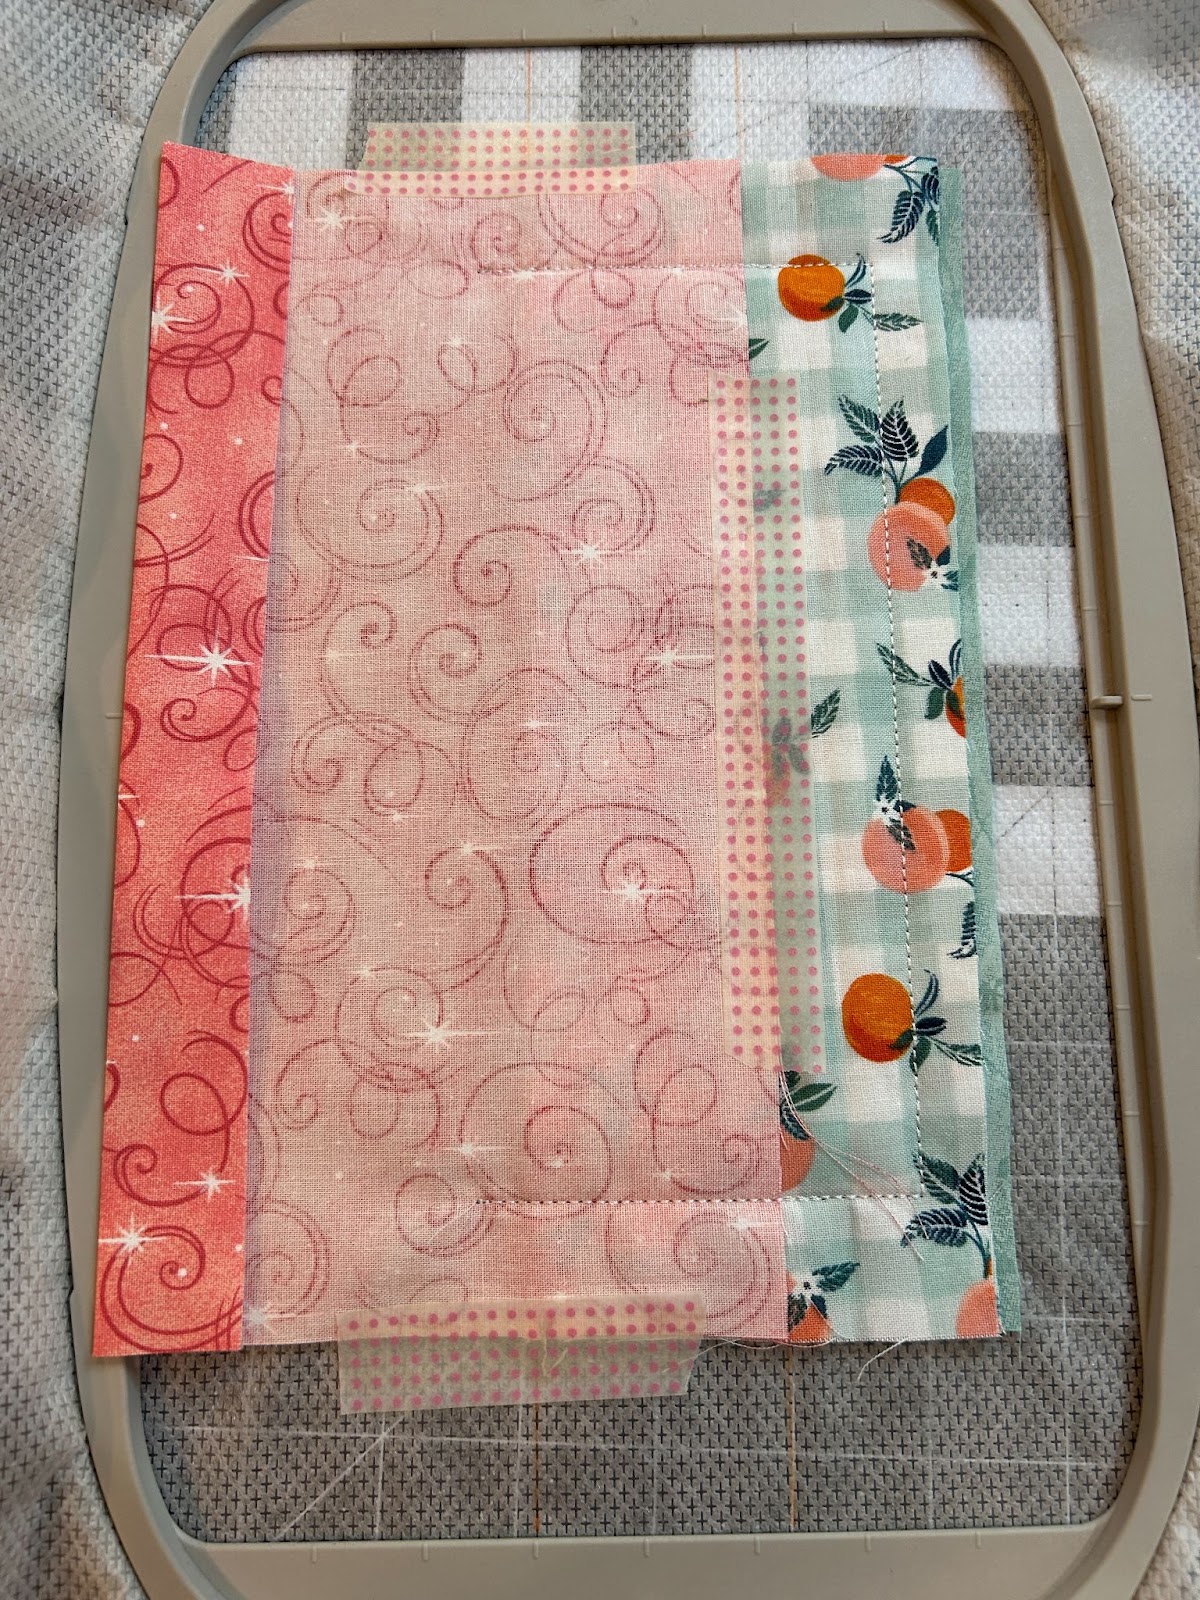
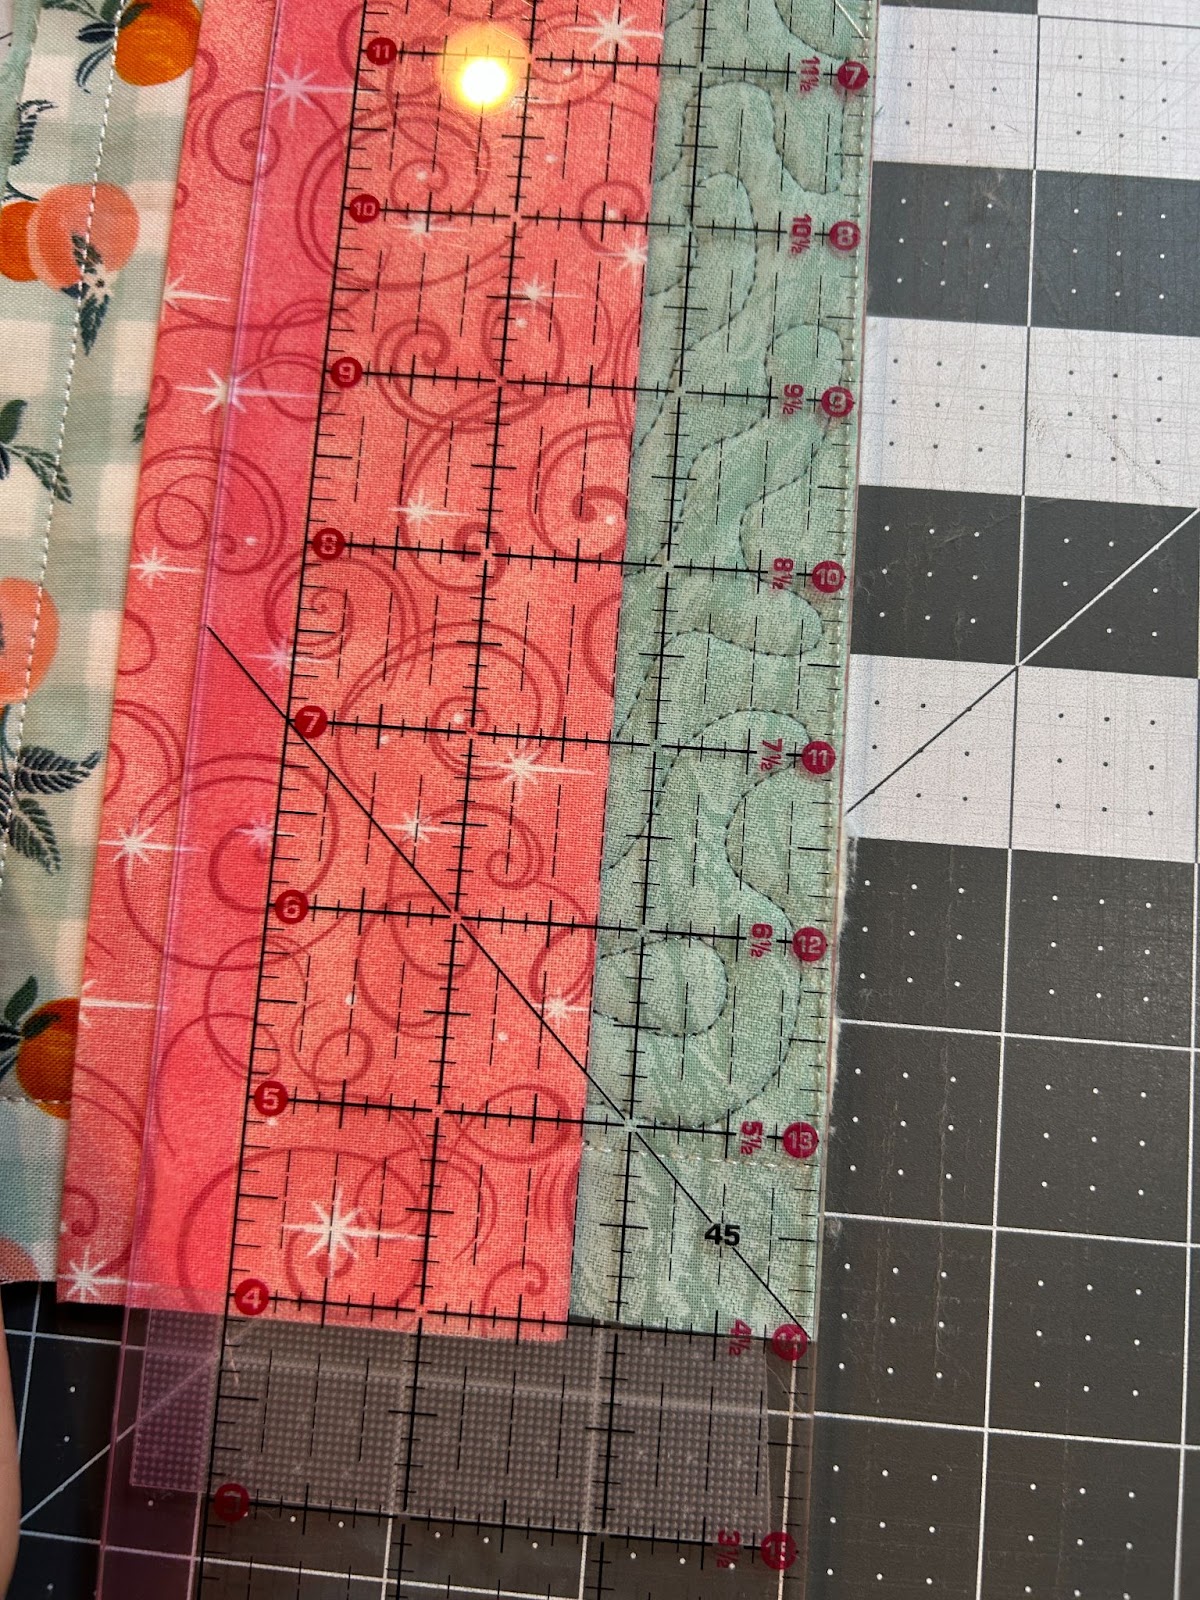
We will trim this the same way we did the other piece. Fold back the lining and cut as close to the stitches as you can without cutting them. I have turned my piece so that it's easier to cut with my straight edge and rotary cutter, but I will remember the piece with the folded lining goes on the right side.
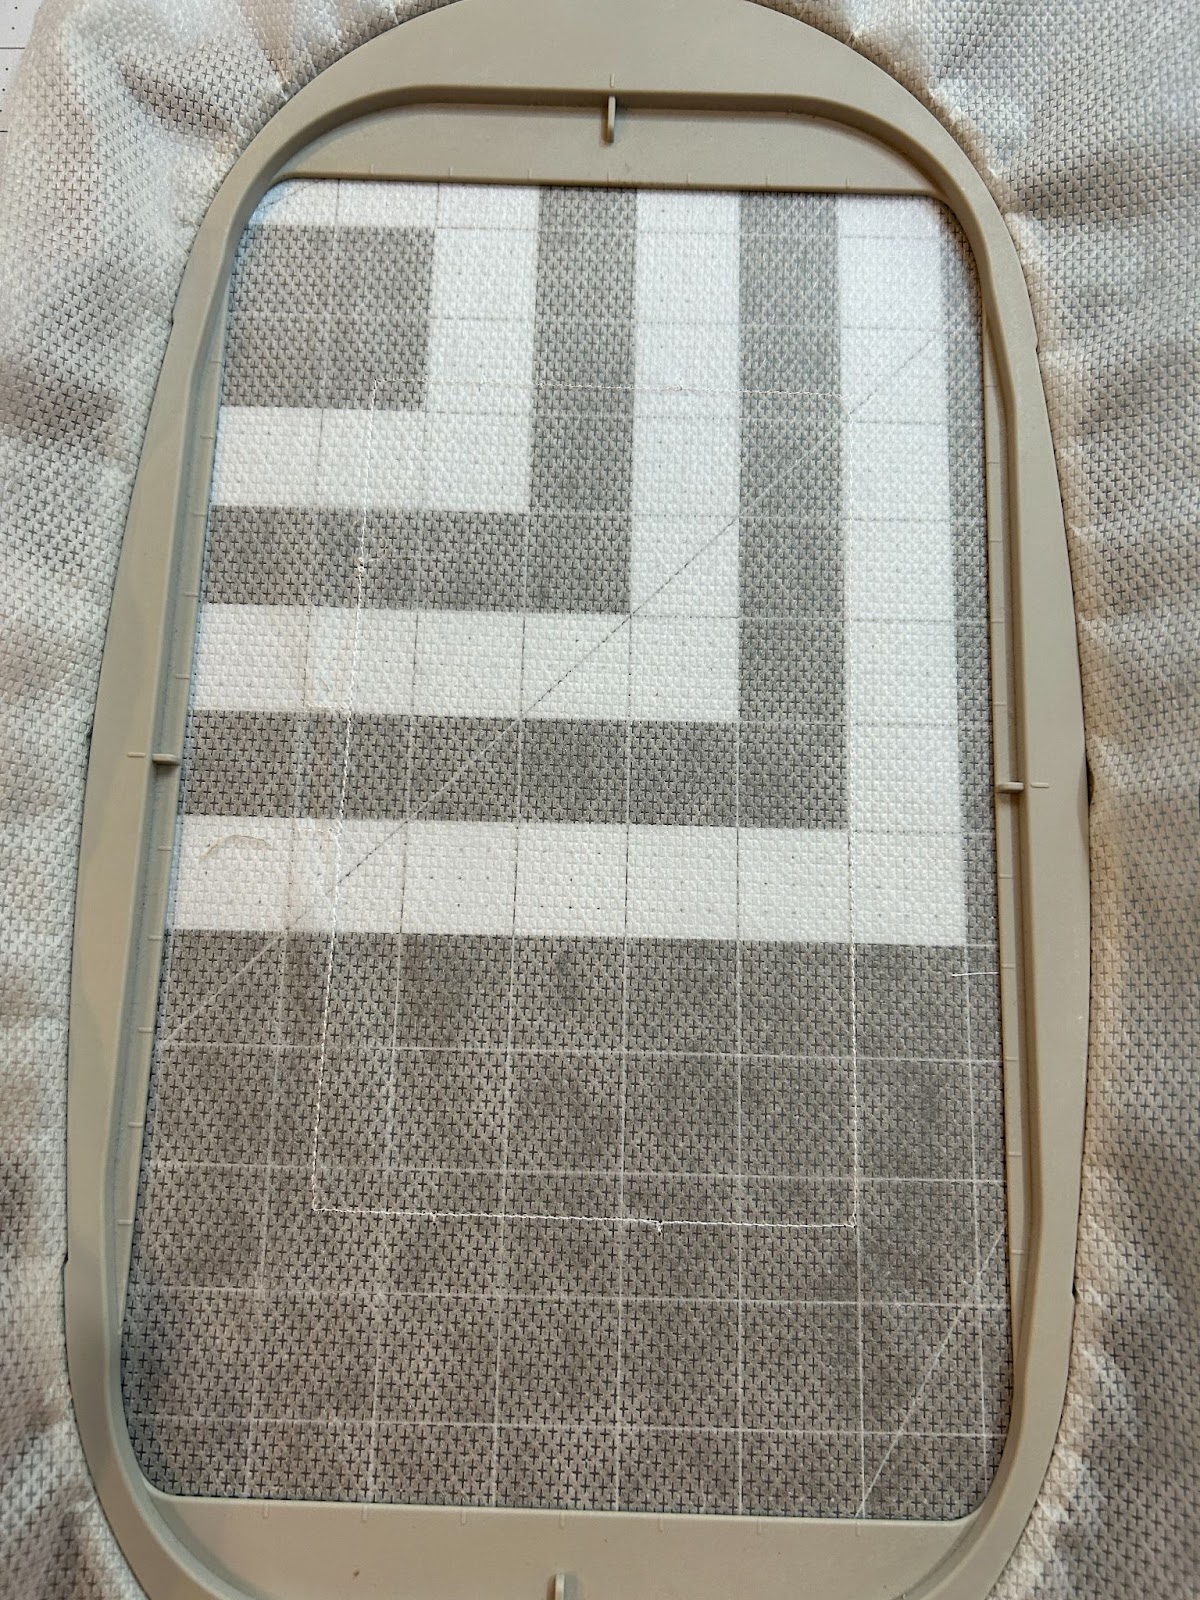
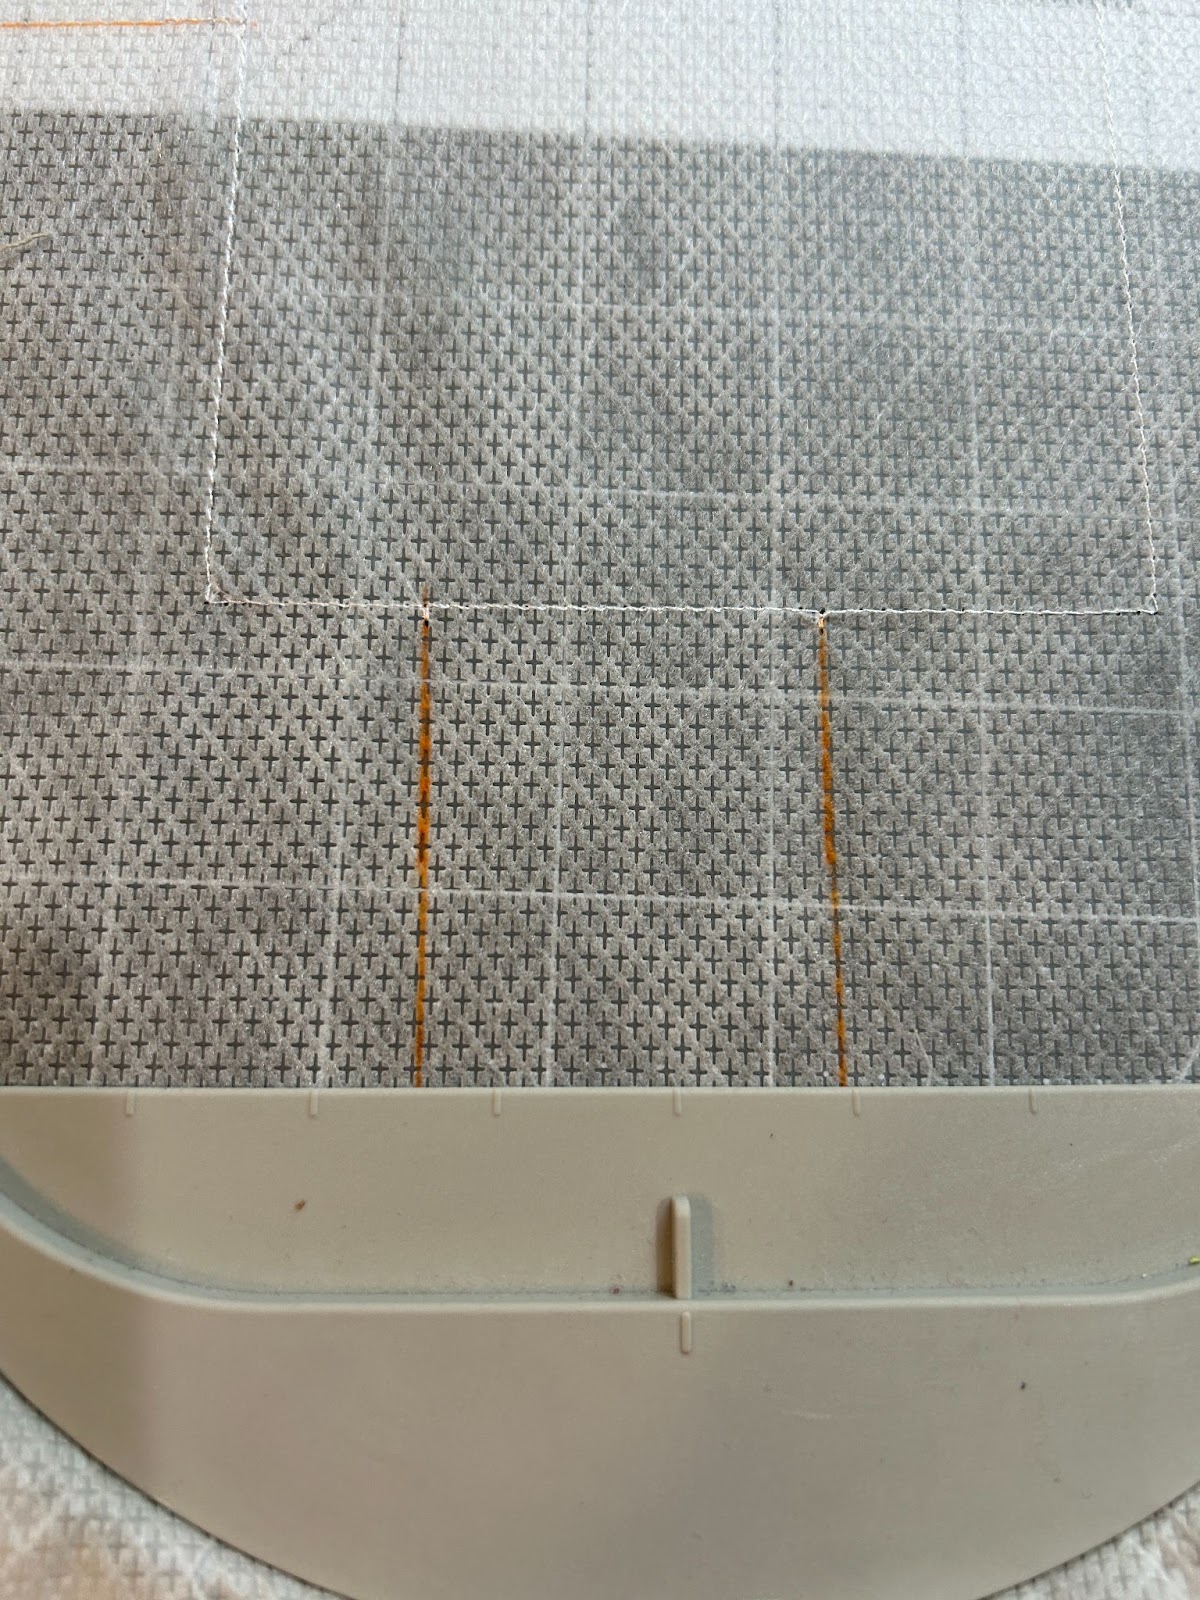
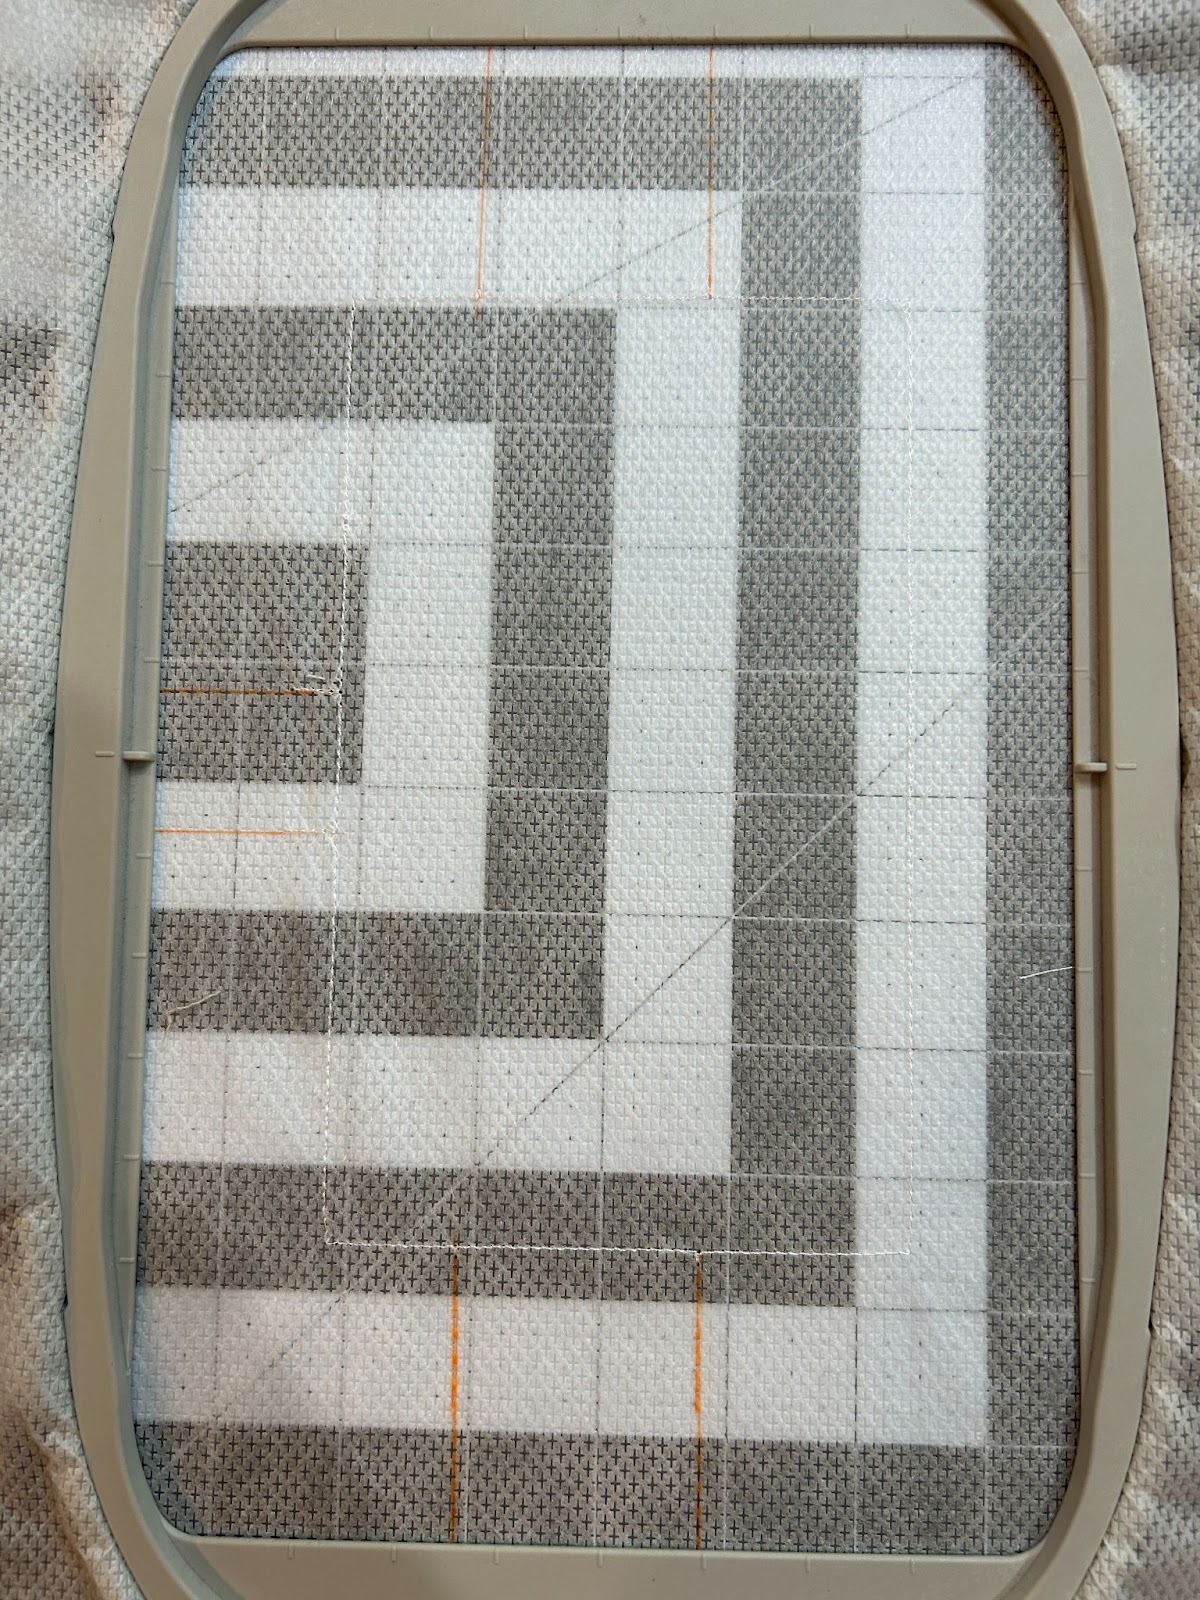
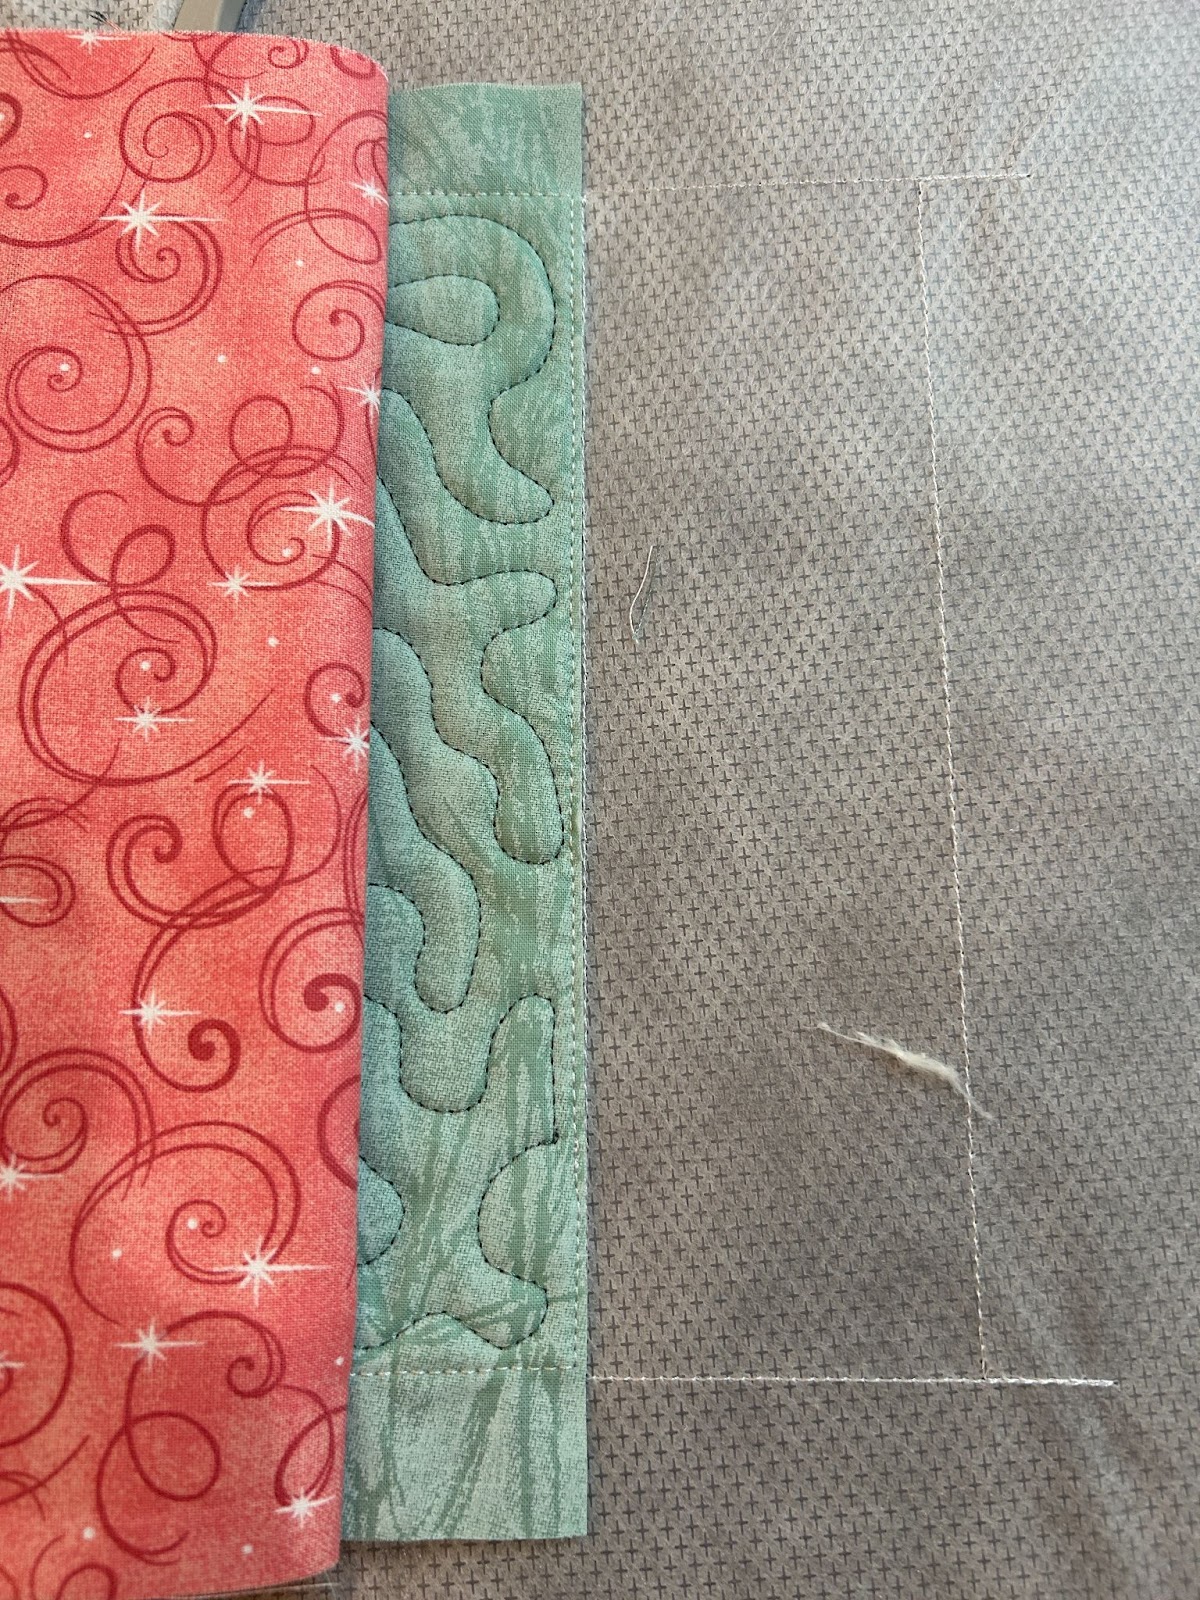
Now for our final hooping. Hoop a piece of no-show mesh and stitch the placement stitch for the spine.

Starting with the left side, which is the back and has the tab and elastic pen holder, we will place the trimmed side right next to the placement line. Fold the lining back so that you’re seeing the cover fabric. Place it so the top and bottom line up exactly on that line.
Tape it in place to secure it while we stitch the tack-down stitches.
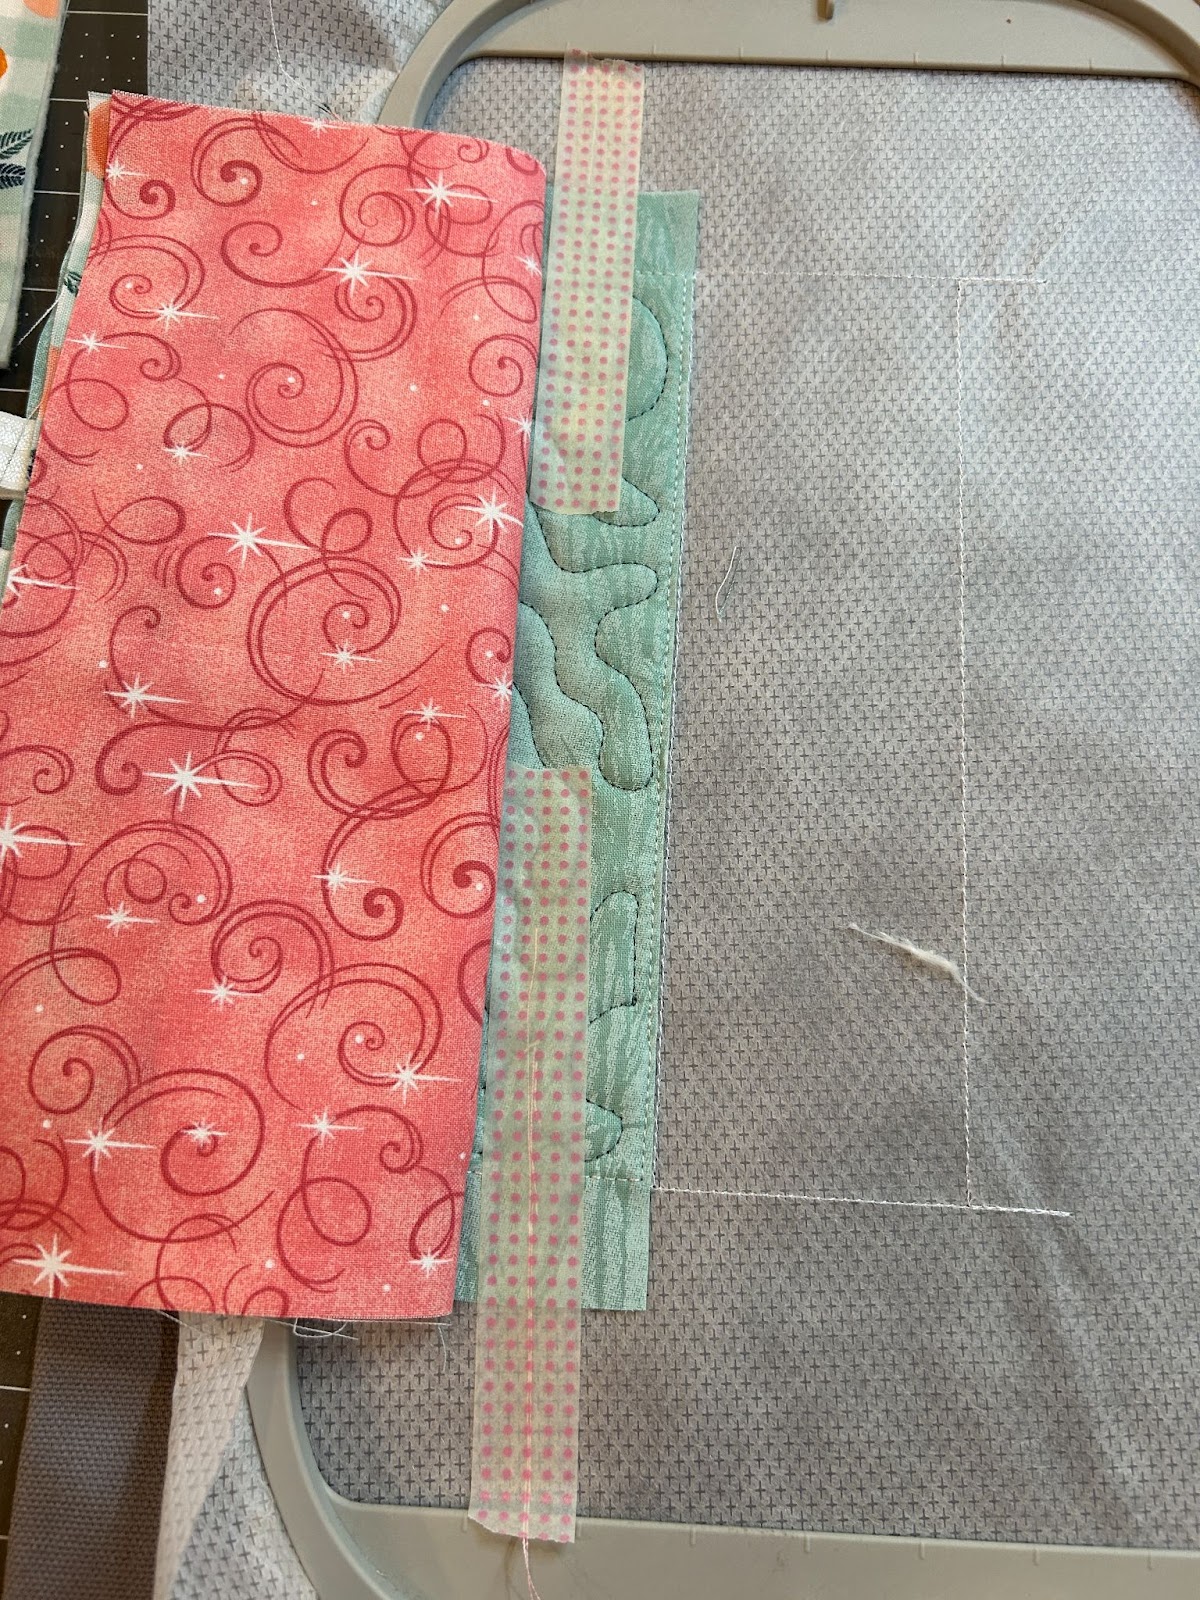
Stitch the tack-down stitches, which will attach the cover to the stabilizer. Then line up the right side (the front cover) with the right side stitches.
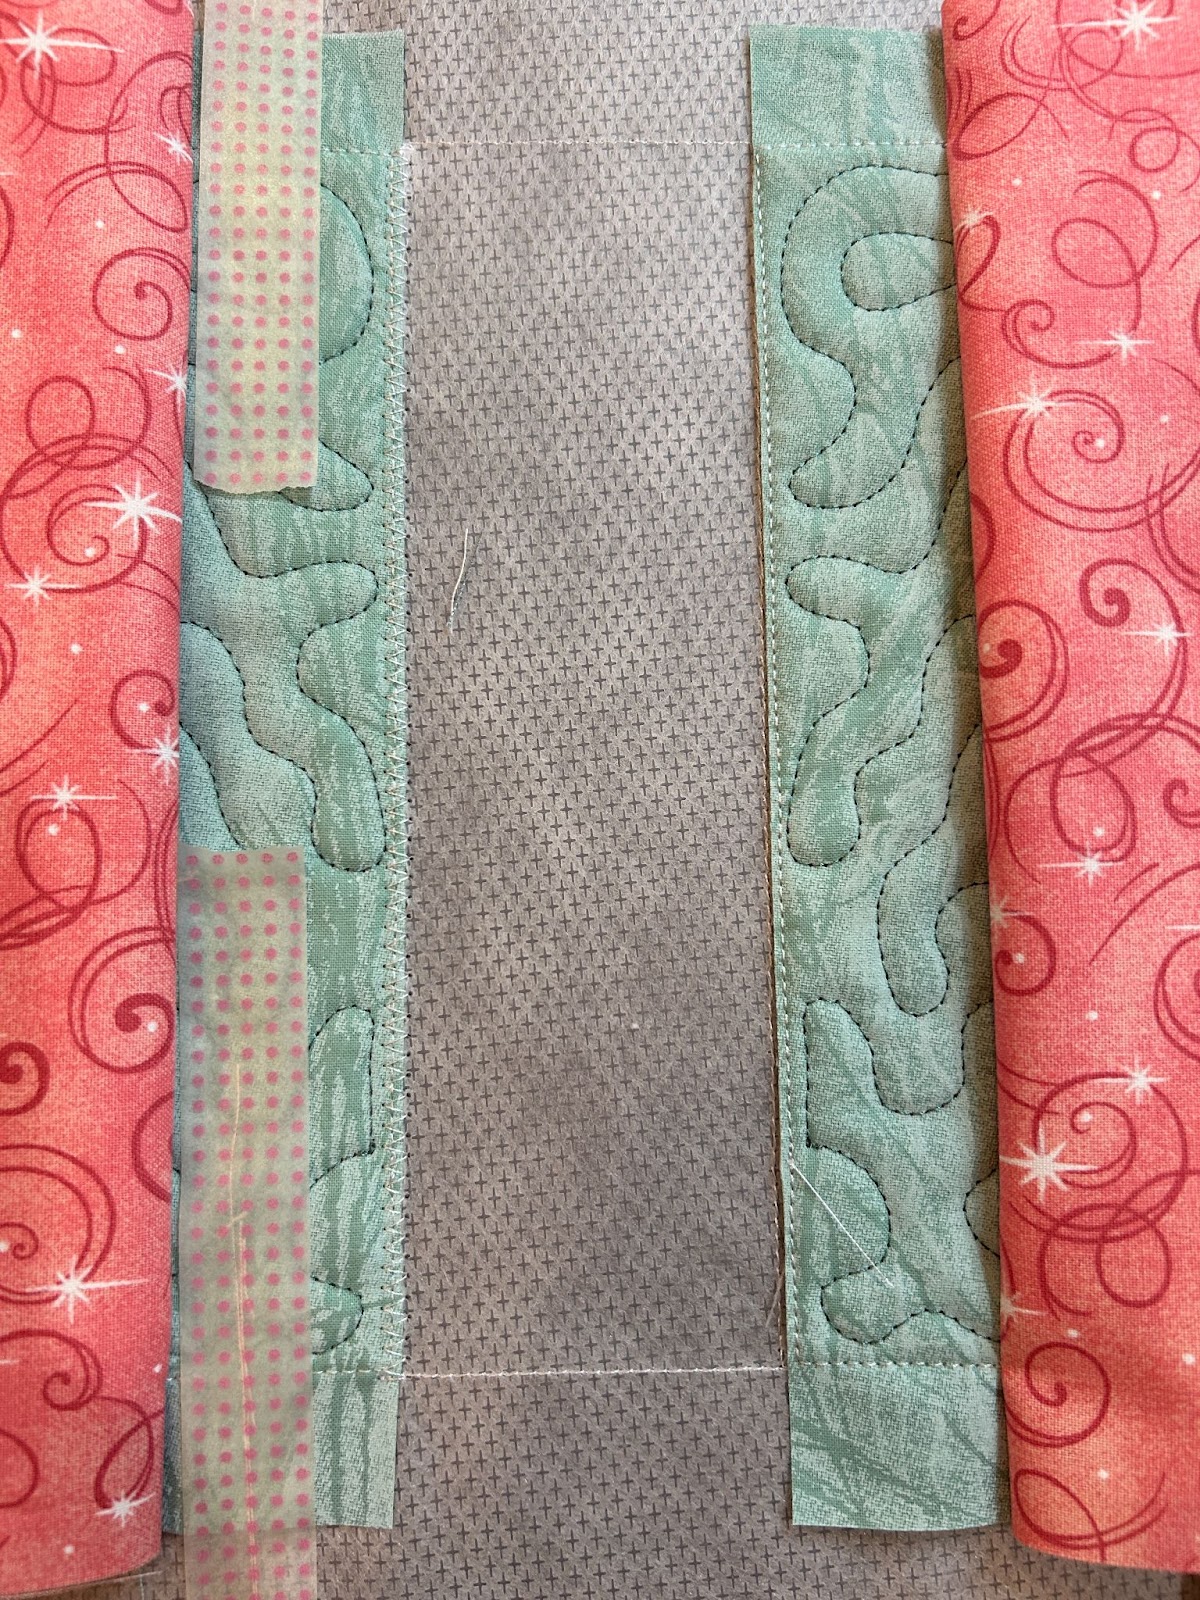
After you have stitched the tack-down on the right side, cover the spine area with your spine batting.

Stitch the tack-down stitches for the spine.

Trim the batting. Be careful as you’re trimming the edges that you don’t cut the cover fabric behind them. I find if you hold the batting straight up it’s easier to trim.
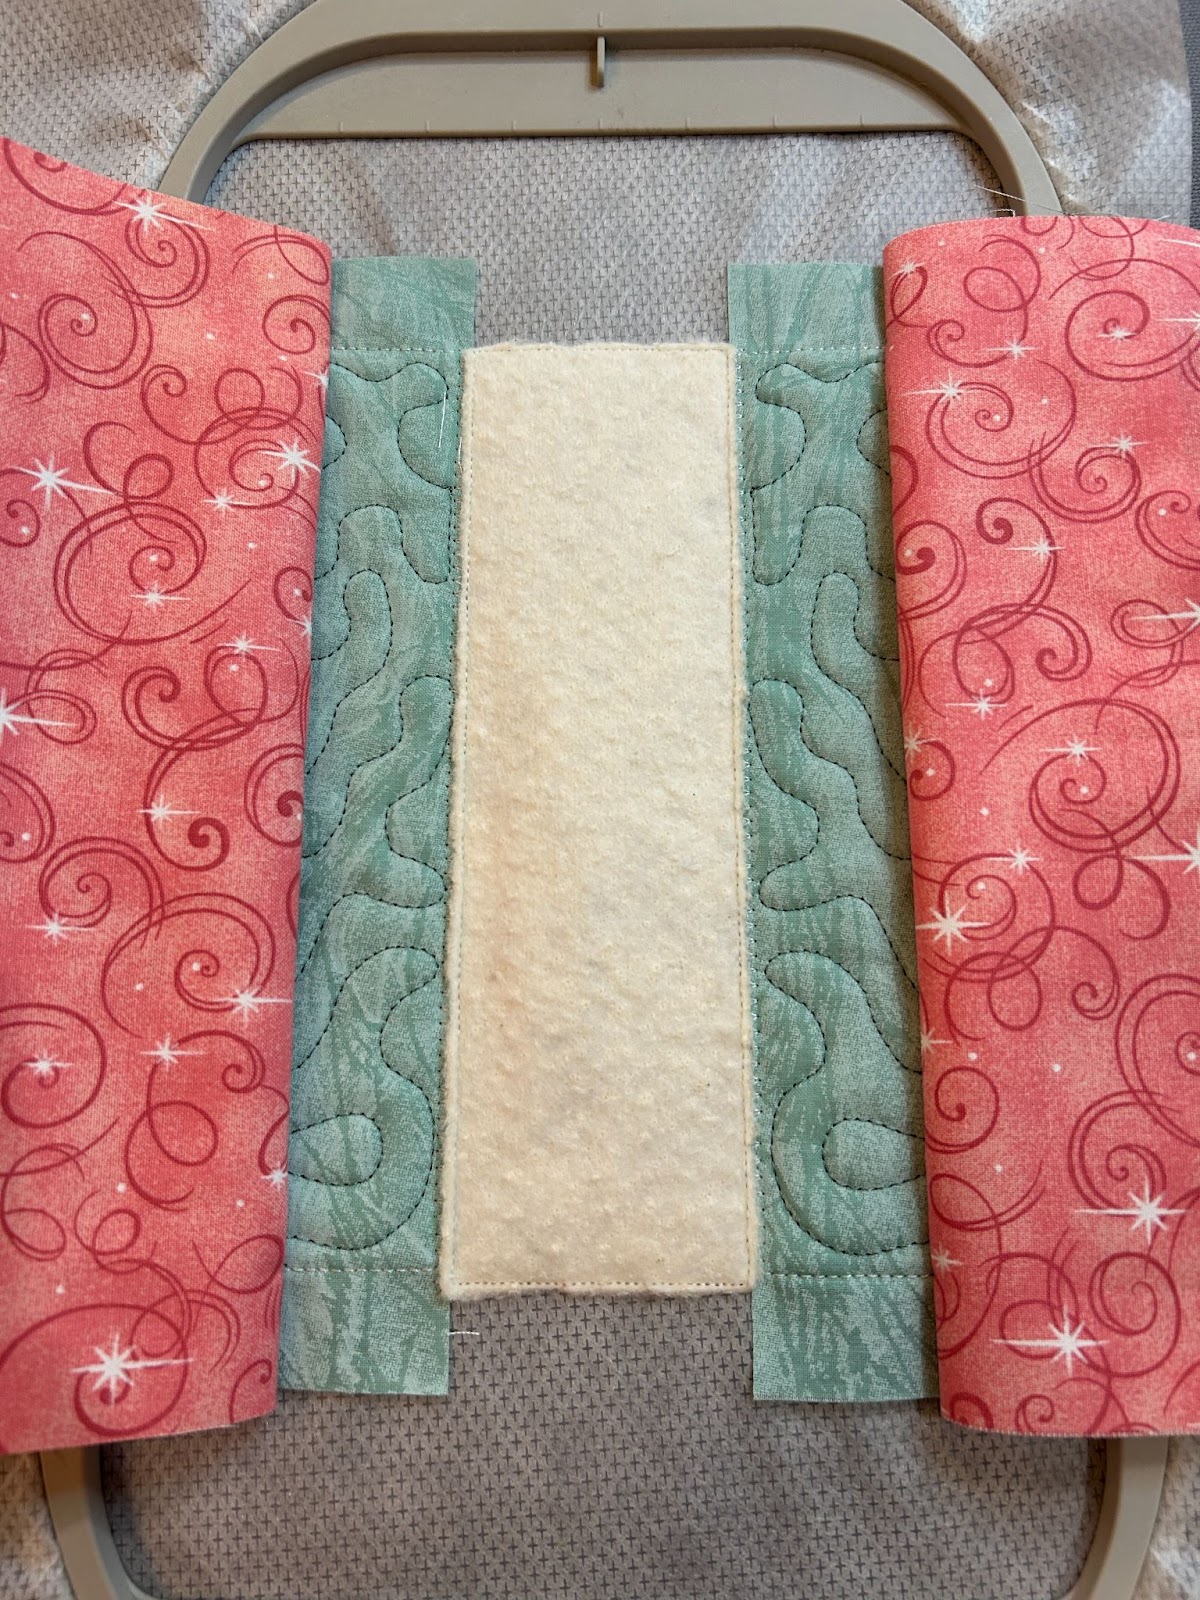
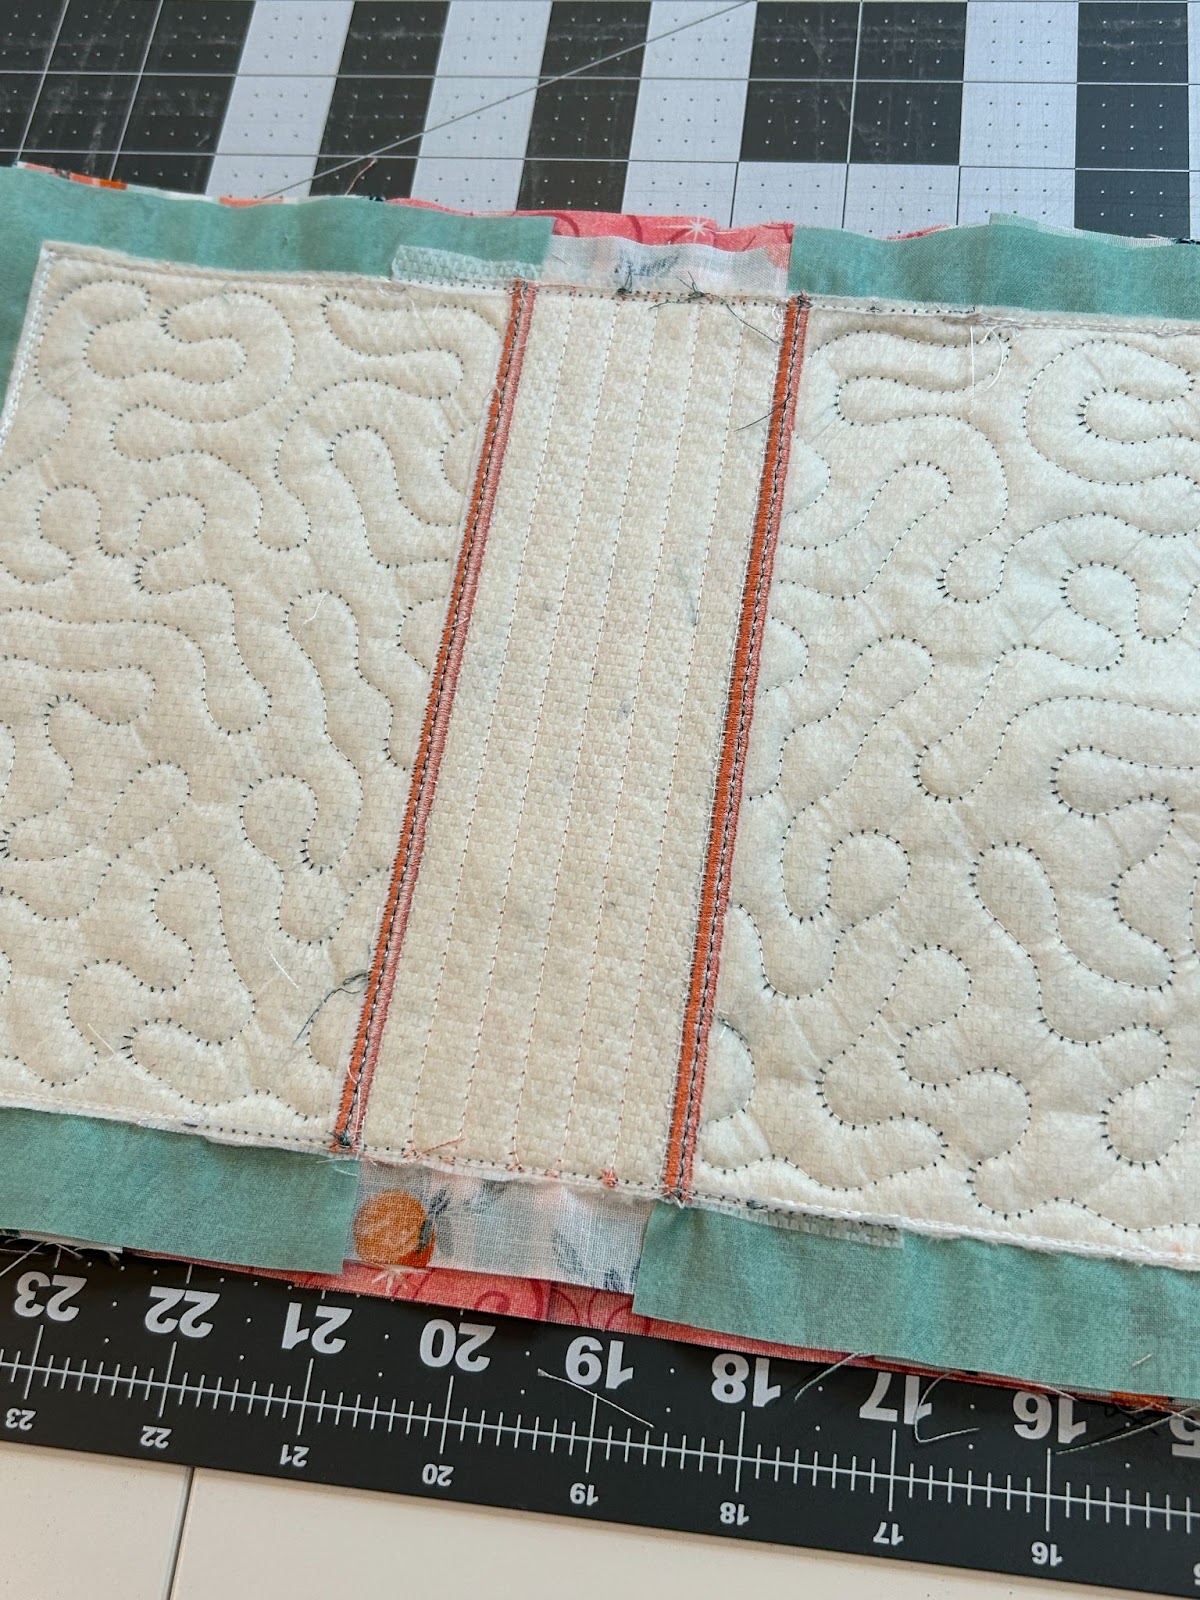
Place the spine fabric over the batting. Center it top to bottom.
Stitch the spine tack-down and decorative stitches. Remember to check your thread color!
Now we will trim the spine fabric, but only on the sides. Leave the top and bottom alone. Get close to stitches. It helps to hold the fabric up again to make sure you don’t clip the cover fabric. I also make sure the fabrics overlap a little bit where the spine meets the cover on the top and bottom.
Now we will add the decorative stitches that will hold the covers to the spine. These are a satin stitch with a decorative bean stitch over the top. If you don’t like the look of the bean stitch you can omit that step.

If you’d like to attach a ribbon to the top as a bookmark you will now have a placement stitch for it and a tack-down. I’ll show these steps in more detail in the next notebook. We will prepare the notebook for the lining to be stitched. If you’ve used a ribbon, tape it securely in the center of the spine.

We will first fold the right side of the lining to the center. This is the one with the folded lining piece.
Then fold the left over to the center and run the tack-down stitches on the top and bottom.
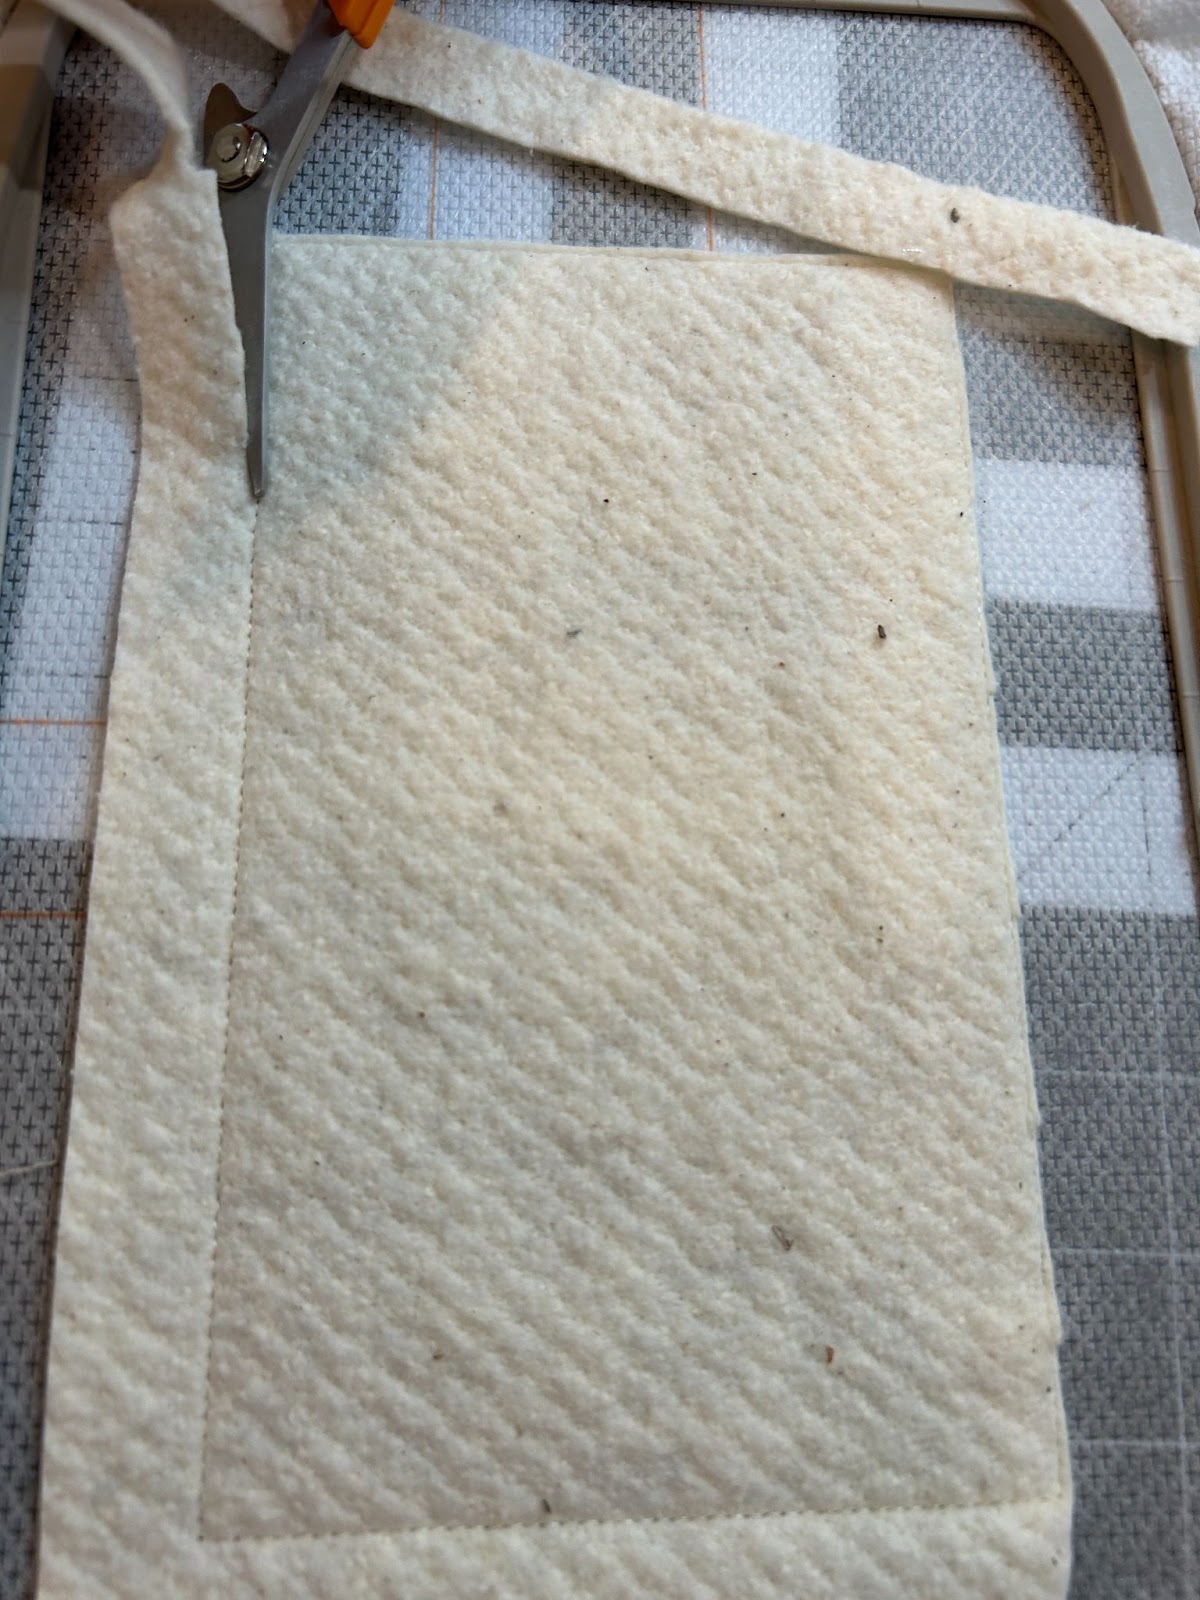
Remove from the hoop and trim the stabilizer close to the spine stitches.
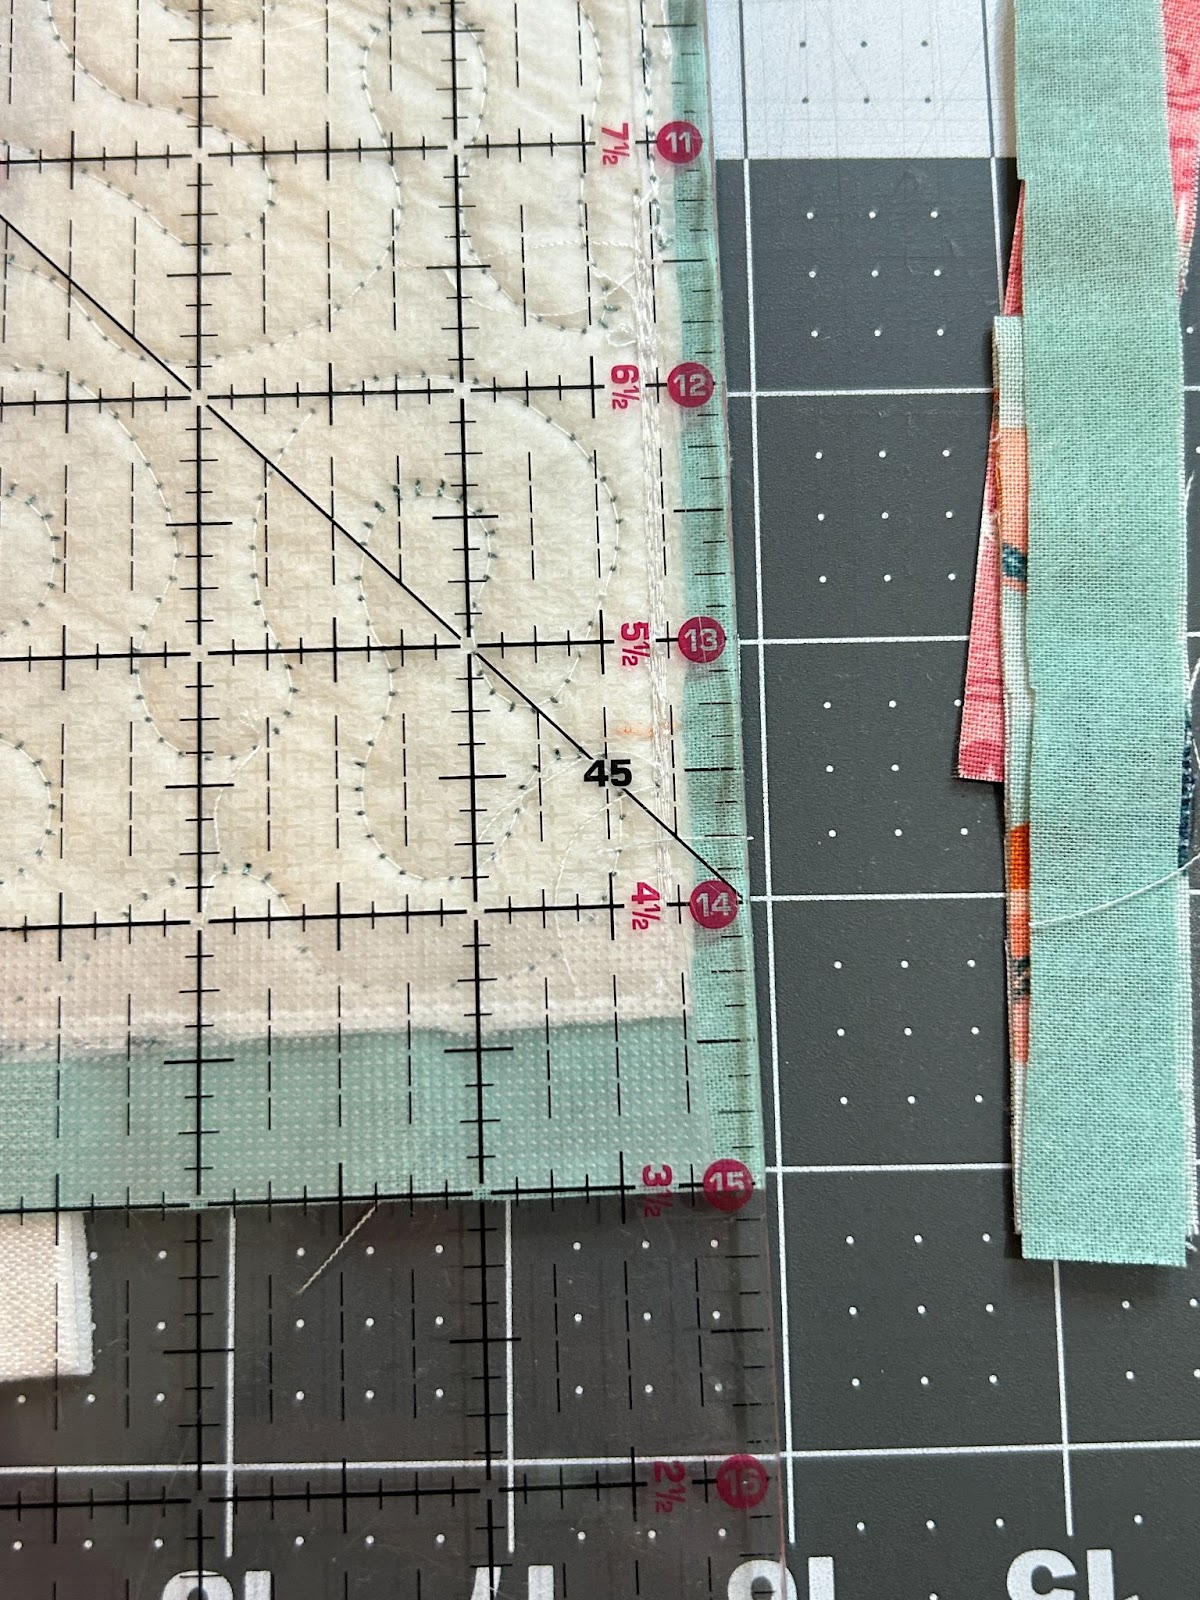
Trim around the edges of the notebook cover. I like to go about ¼” away from the stitches.
Trim the corners, making sure not to clip the stitches.

Now reach through the lining and pull the project right side out.

Turn the flaps to the inside.

Press the notebook cover.

If you're using the KAM Snaps, you can place them now. I center one on the tab, and then I wrap the notebook I'm using in the cover and decide where the other snap needs to be placed.
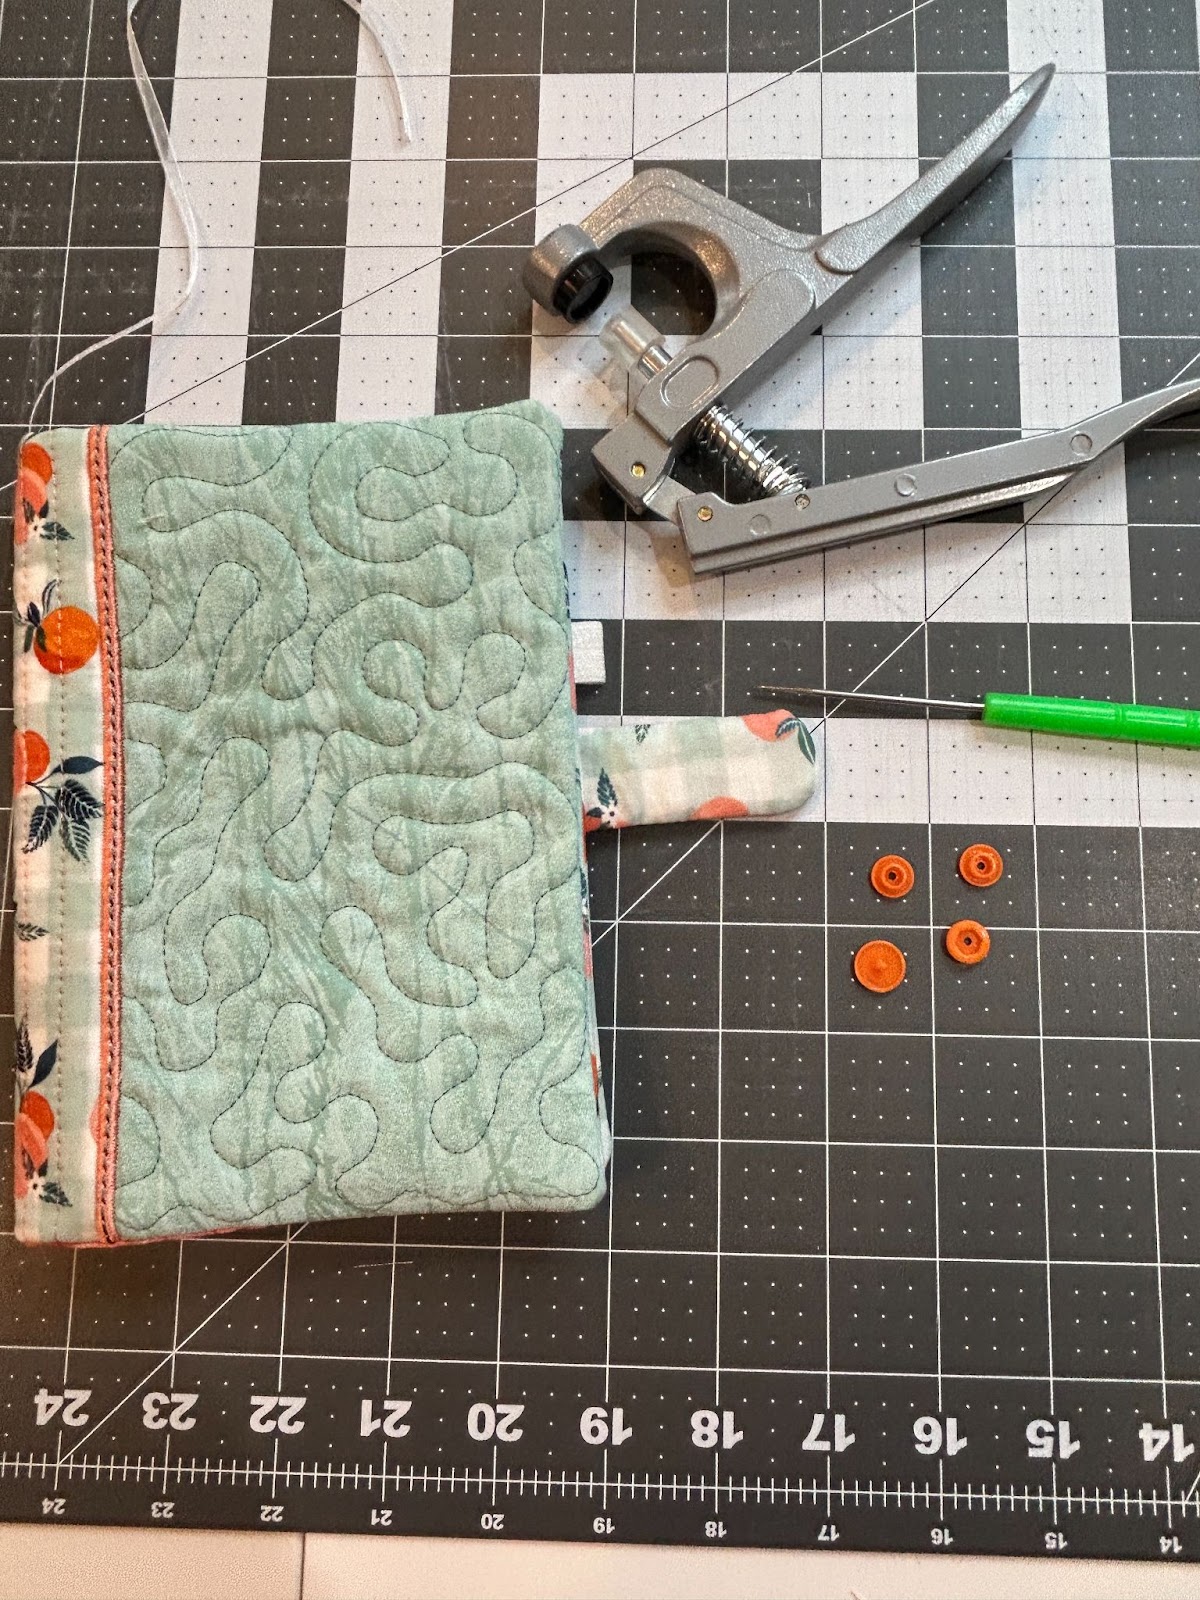
Follow the directions that came with your KAM Snaps to make sure you’re using your system correctly.

The one on the cover was a bit trickier. I had to navigate inside the fabric to make sure I was only placing the snap on the outside layer and not through the flap also.
Slide your notebook in the cover.
Marvel at the cute thing you just made!

This notebook is very similar to the 5x7 one in construction. So if you have questions they are probably answered in that tutorial. There is an option for a one-piece lining that you would finish at your sewing machine in your instructions. I will be showing the two-piece option that is done completely in the hoop. These can be done in a 6x10 or 7x14 hoop. I will be demonstrating in a 6x10 hoop, which has a wider spine. If you’re using the 7x14 hoop, check the measurements in your instructions for proper placement of flaps and lining.
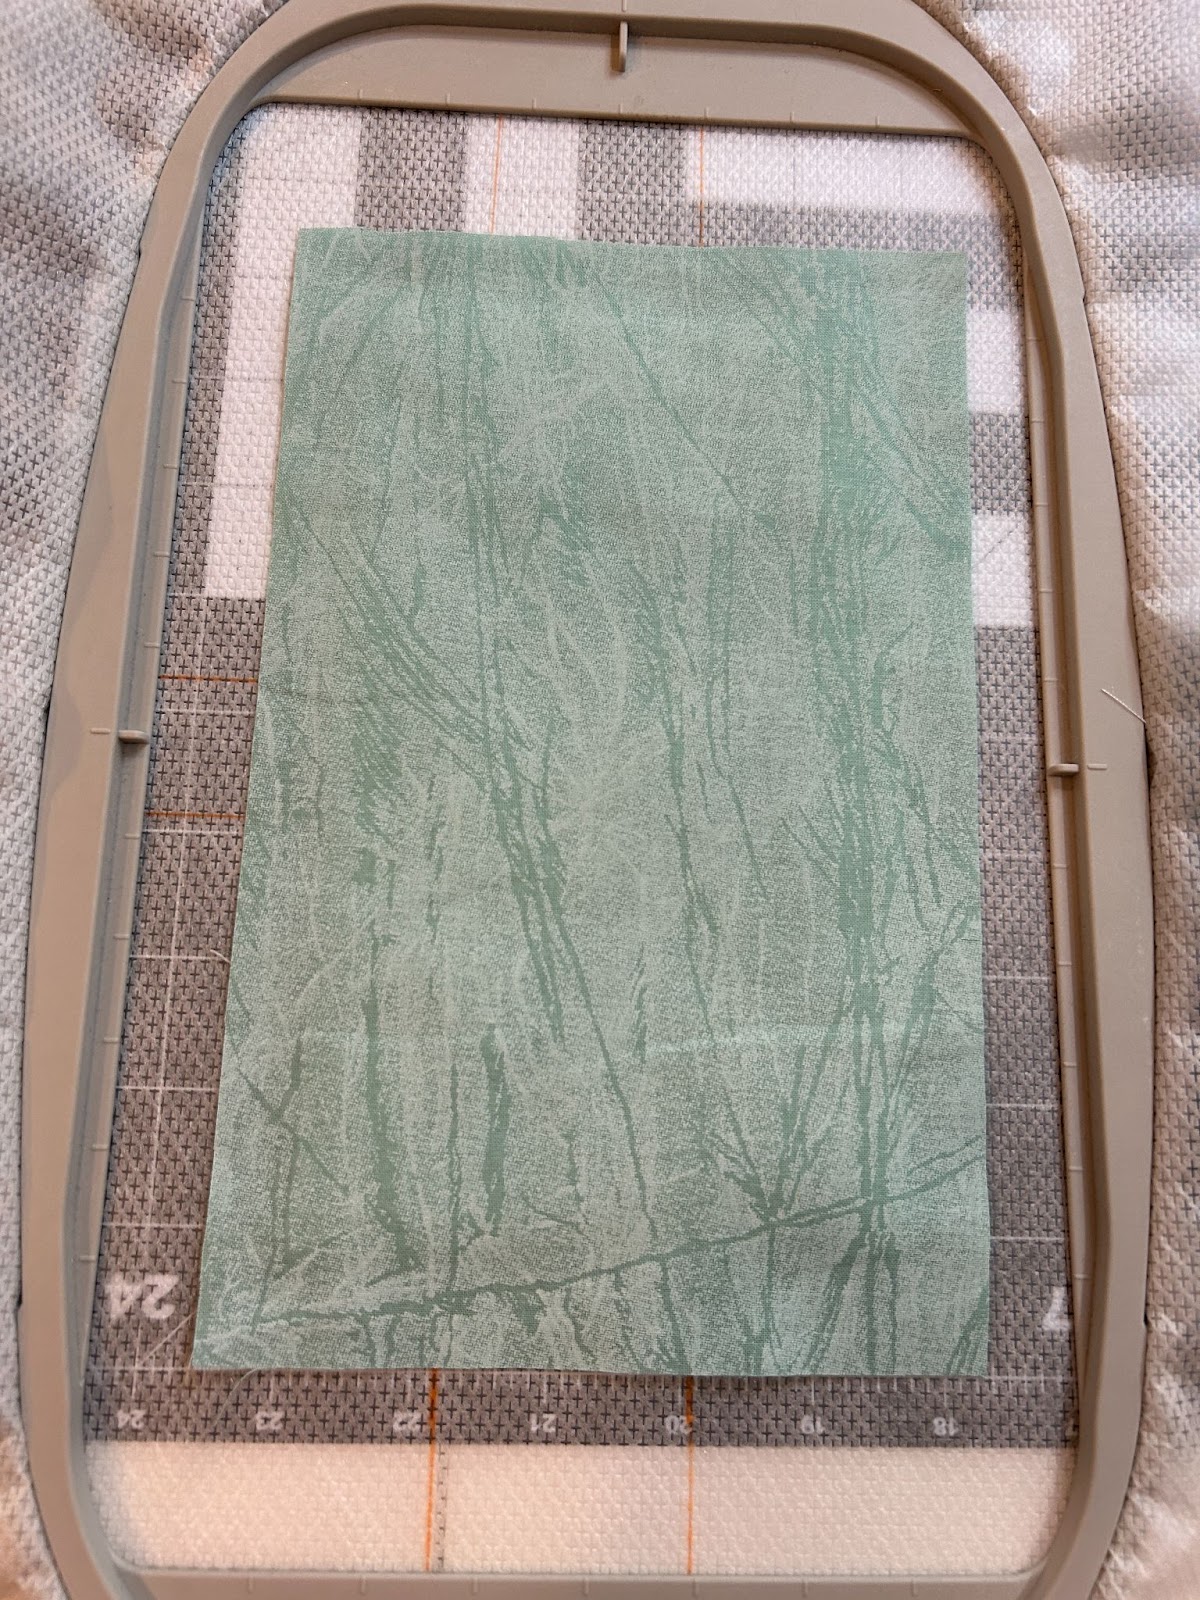
Cut your fabrics, batting, ribbon, and elastic to the sizes specified in the included instructions.
We will start by pressing the flap fabrics in half with wrong sides together. They will measure 5” x 12” when done.
We’ll also fold one 12” edge of a lining piece over by 1” and press it.
Fold the pocket fabric in half with wrong sides together so that it now measures 2” x 7”. Press.
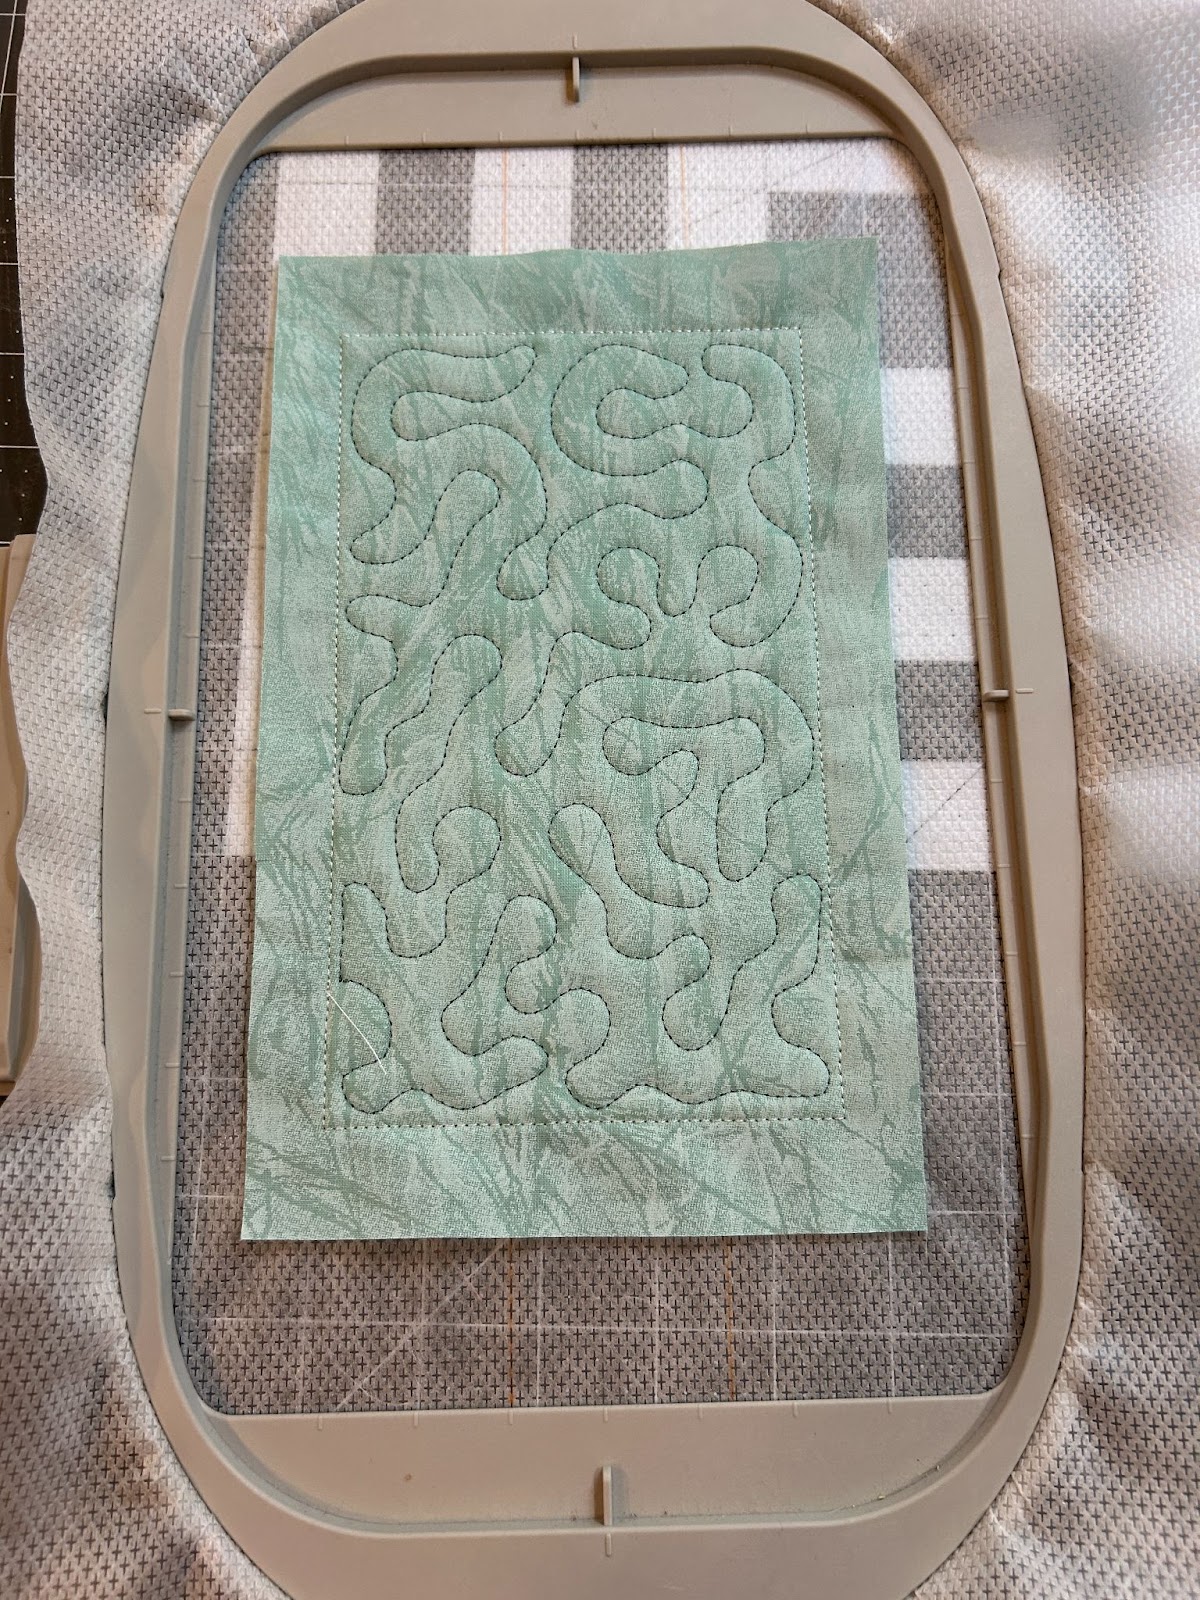
We will create the back cover first. Hoop the stabilizer, run the placement stitch for batting, and cover the stitches with batting.
Stitch the tack-down stitches and trim the batting close to the stitch line.
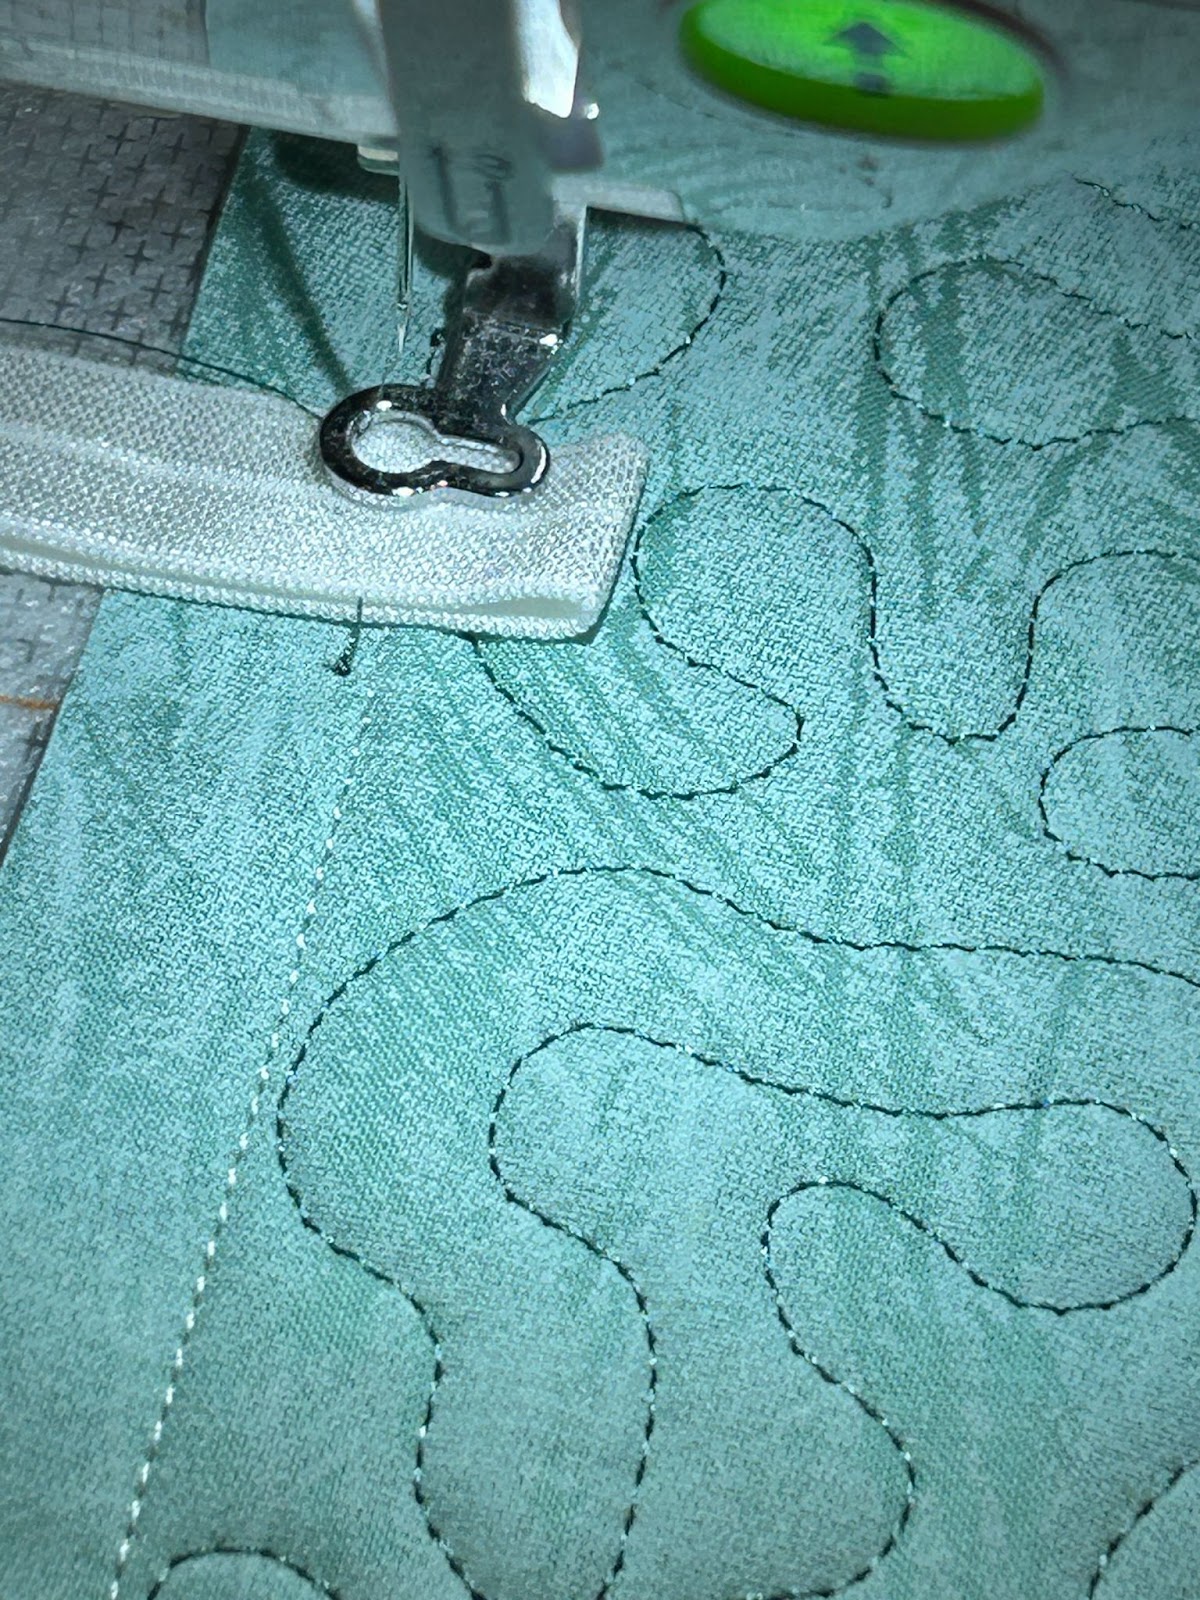
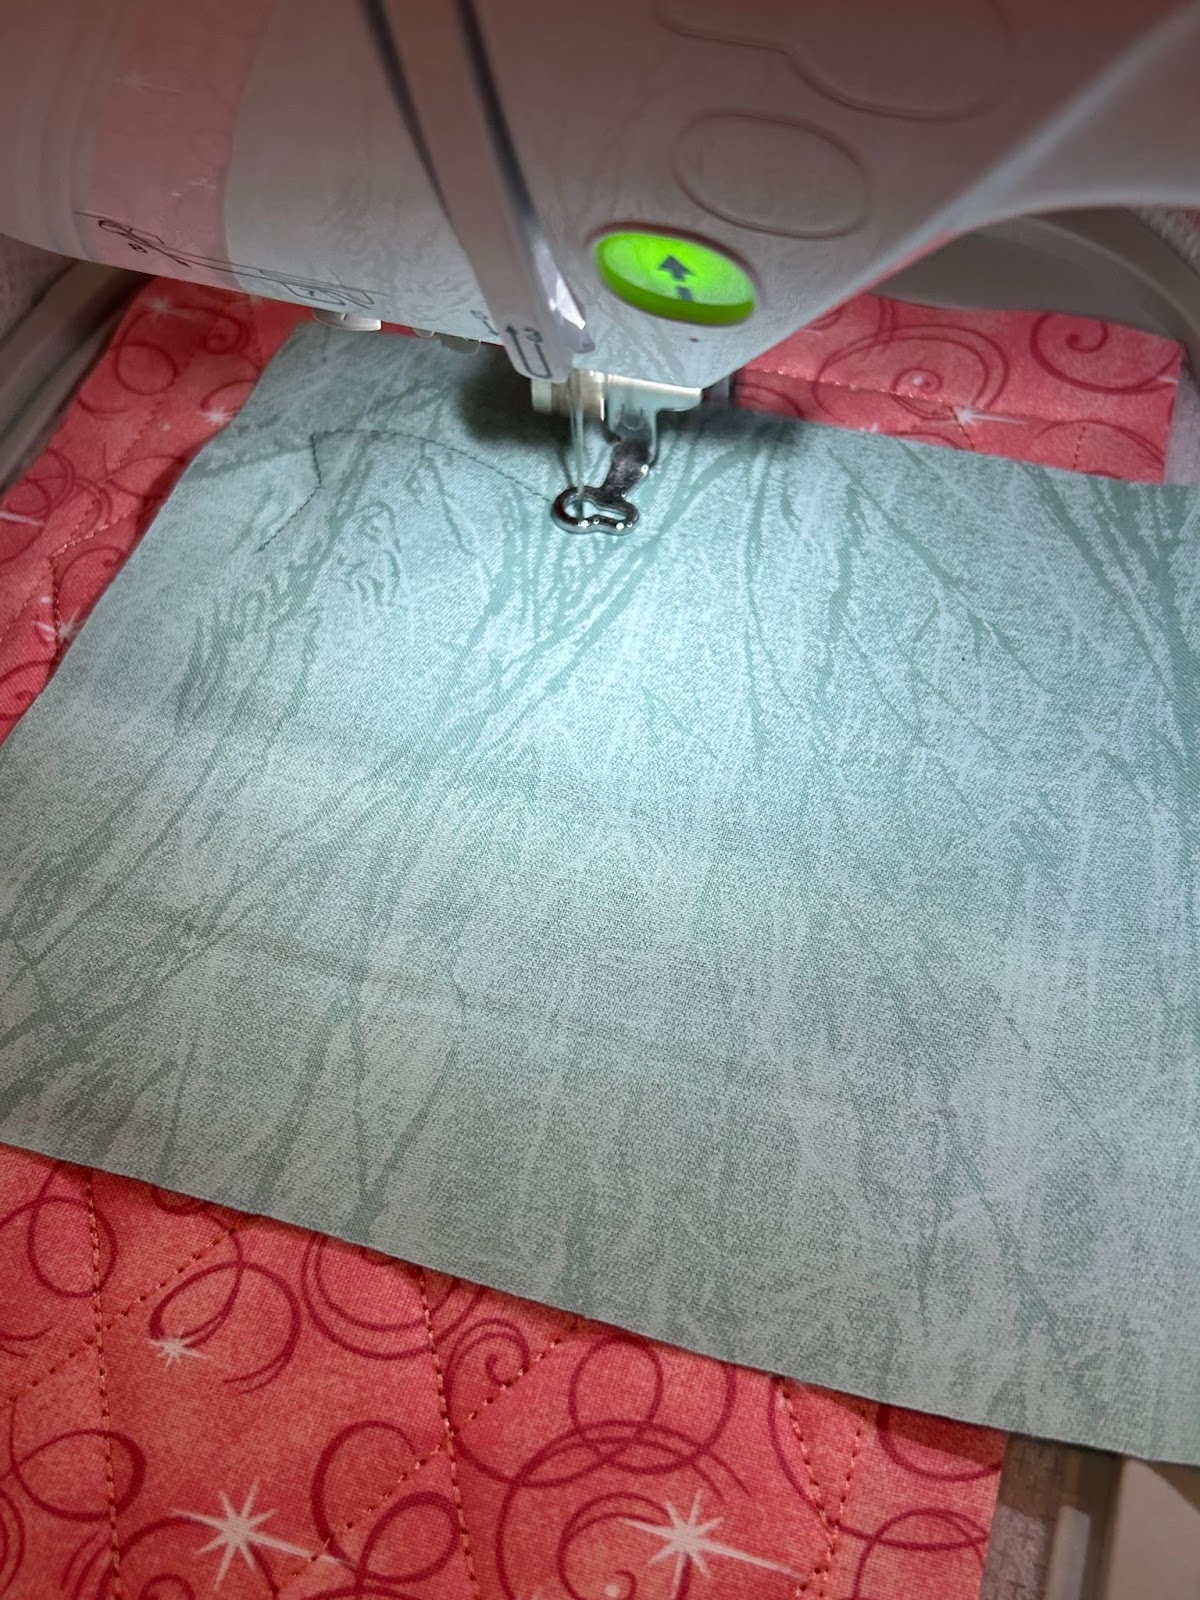
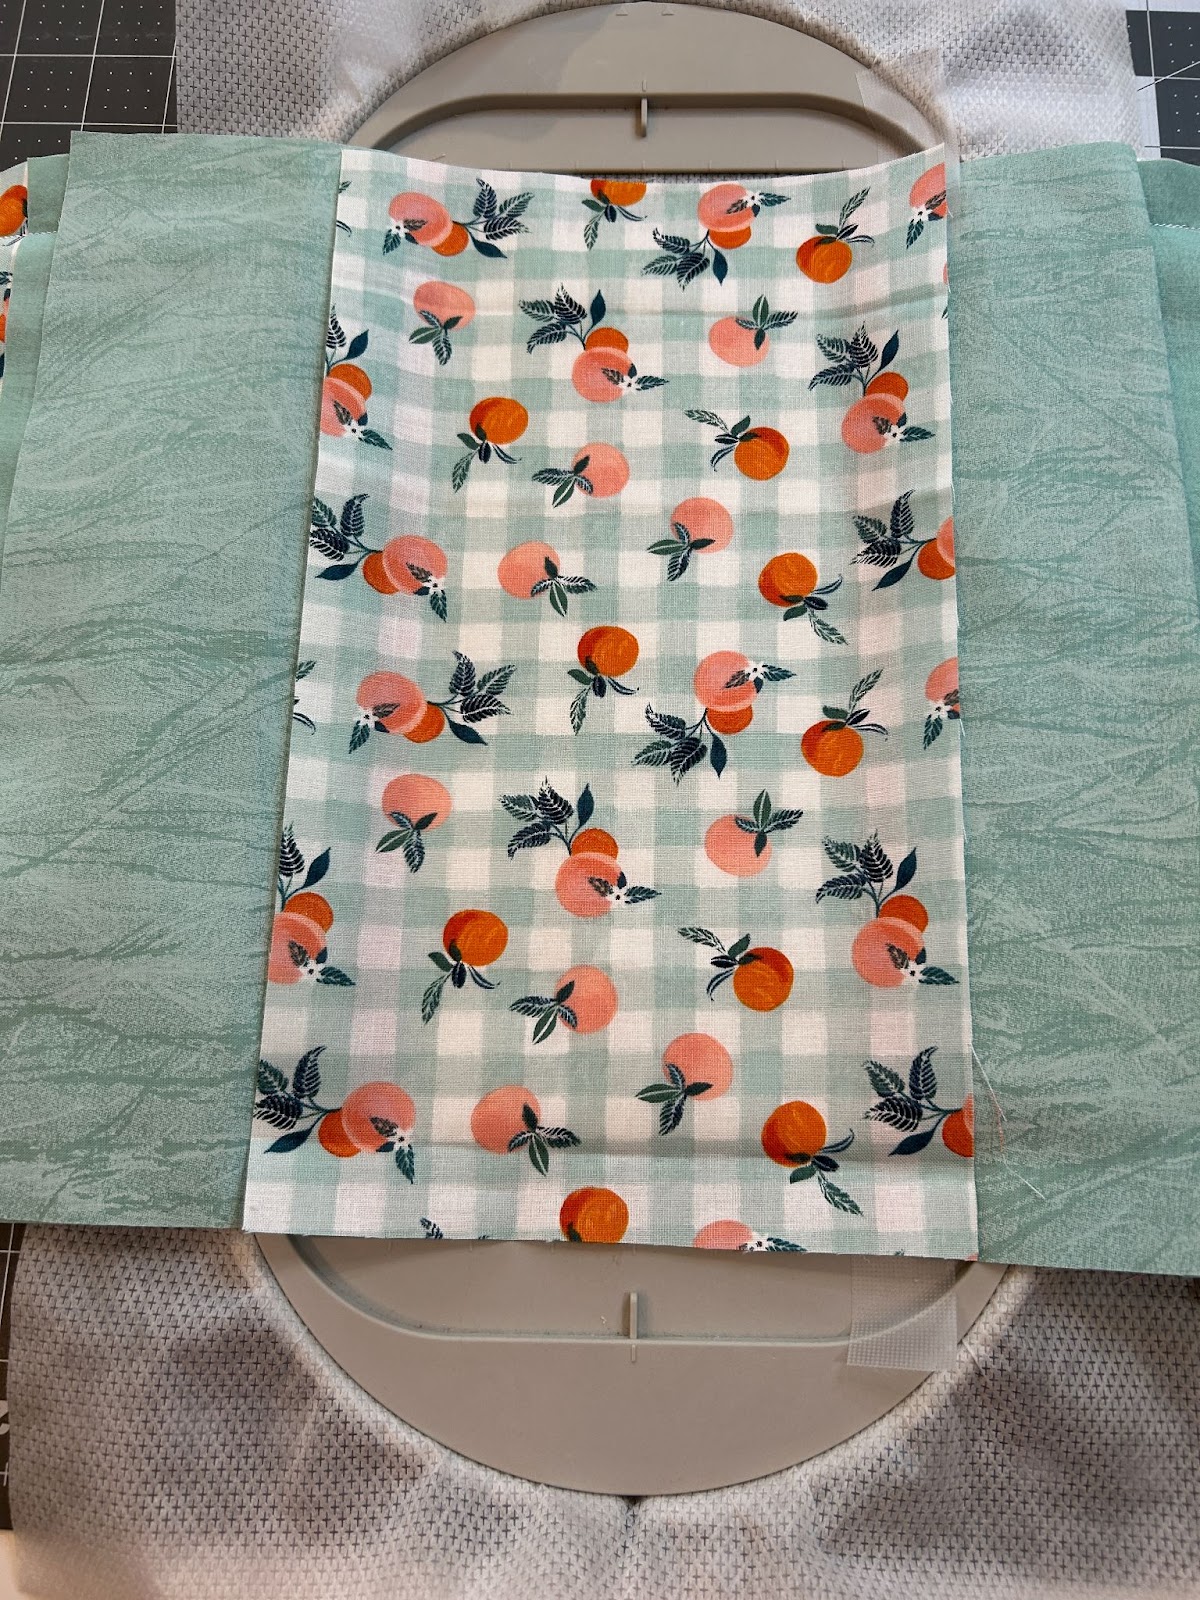
Place the cover fabric on top of batting. Make sure the batting is covered by at least ½” all the way around. Stitch the tack-down stitches.
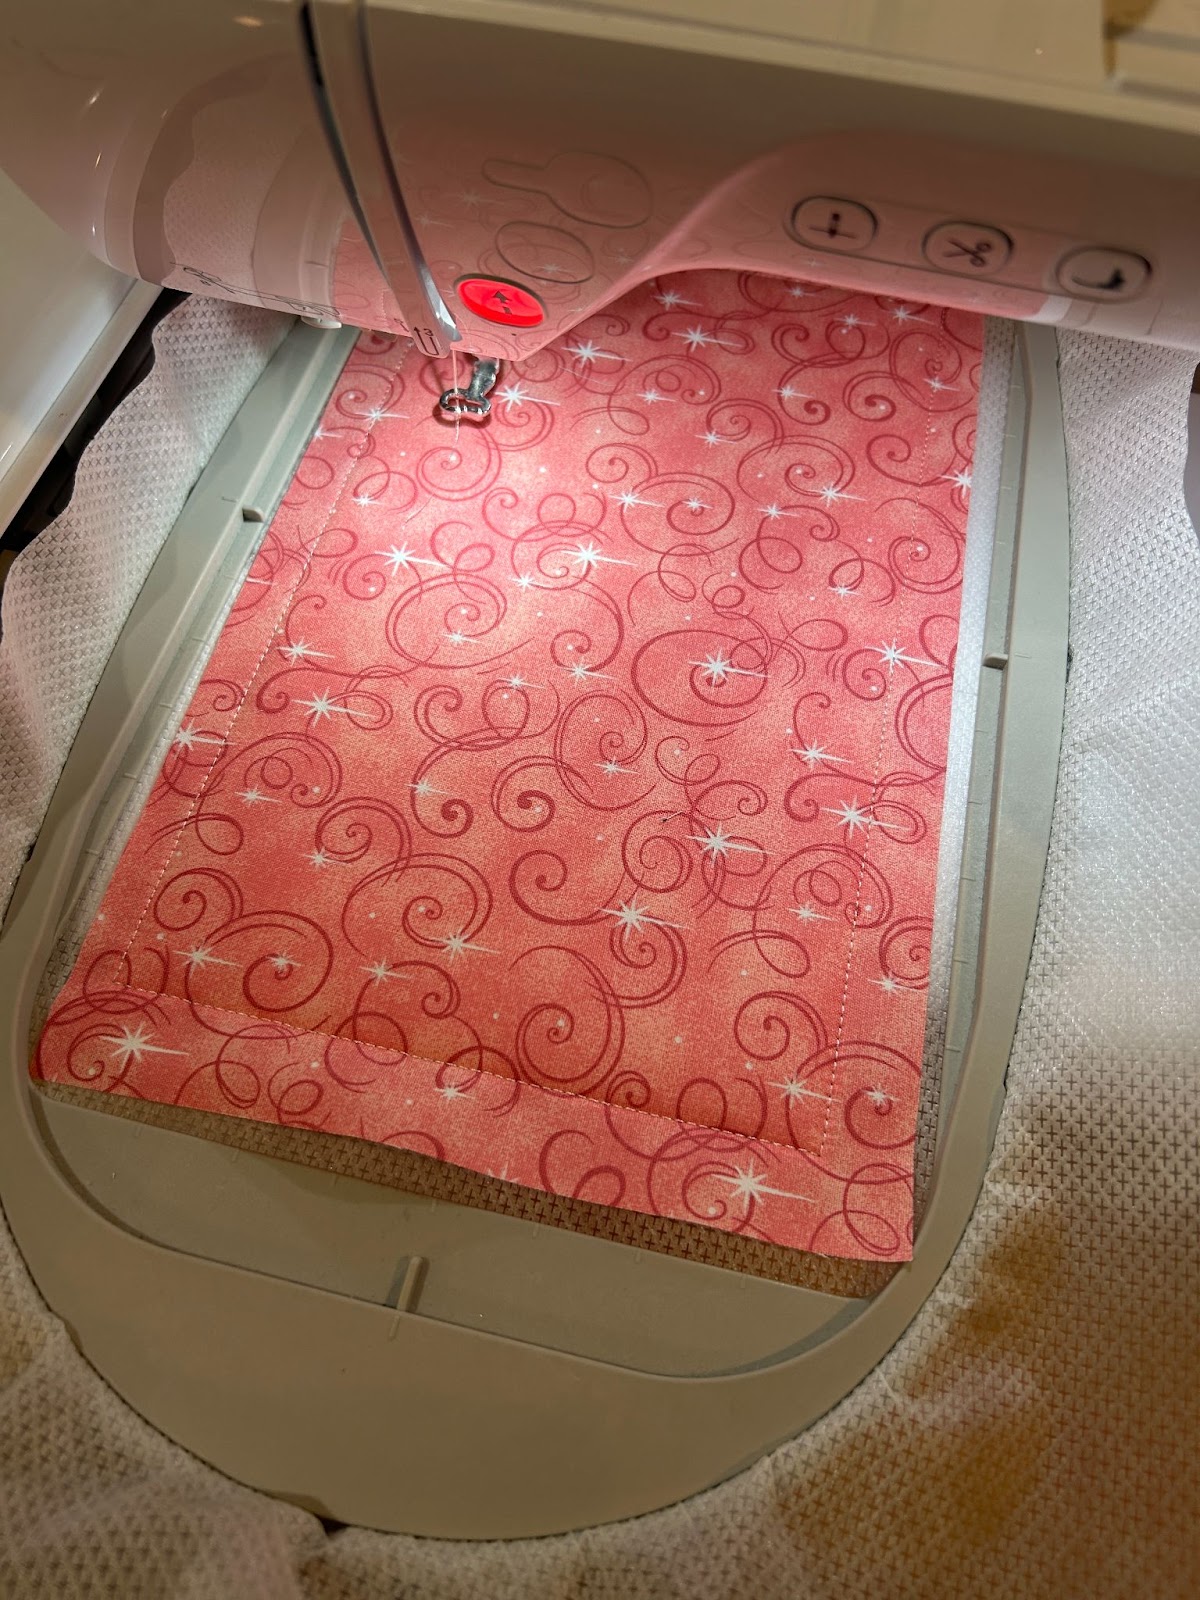
Run design stitches on the cover. Double check your thread color here.
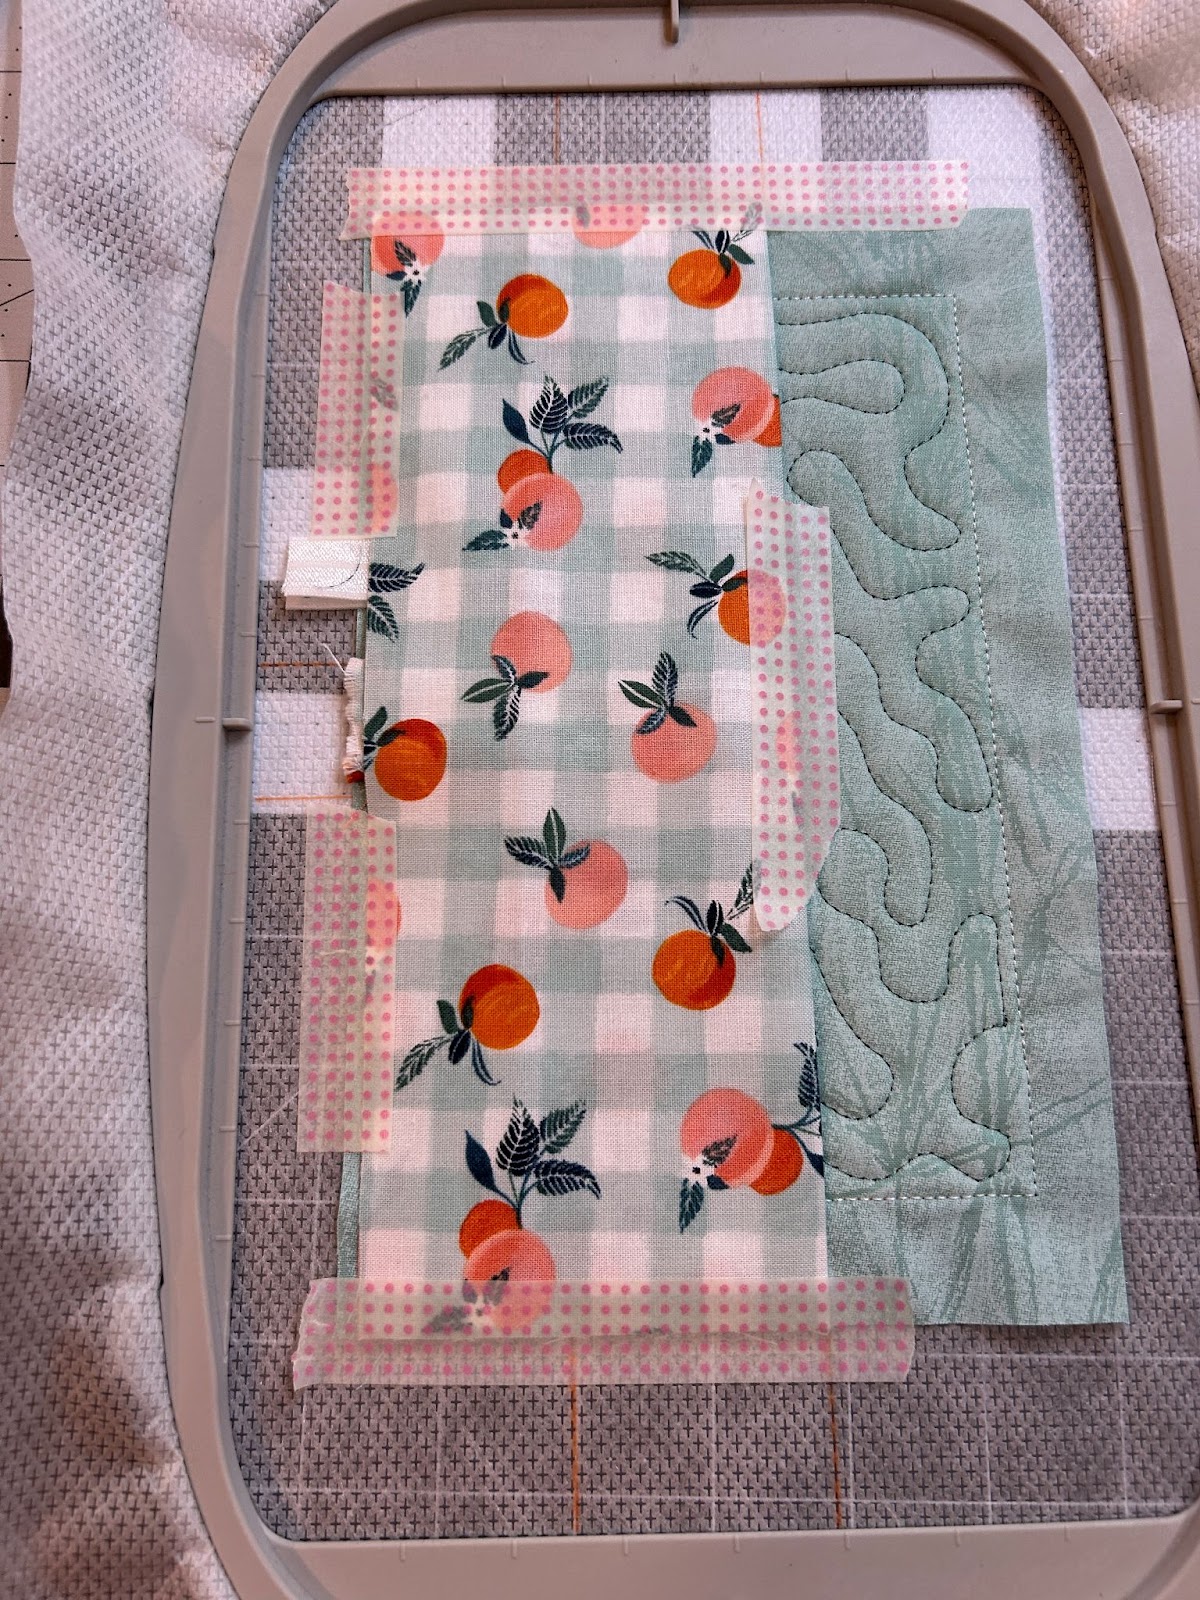
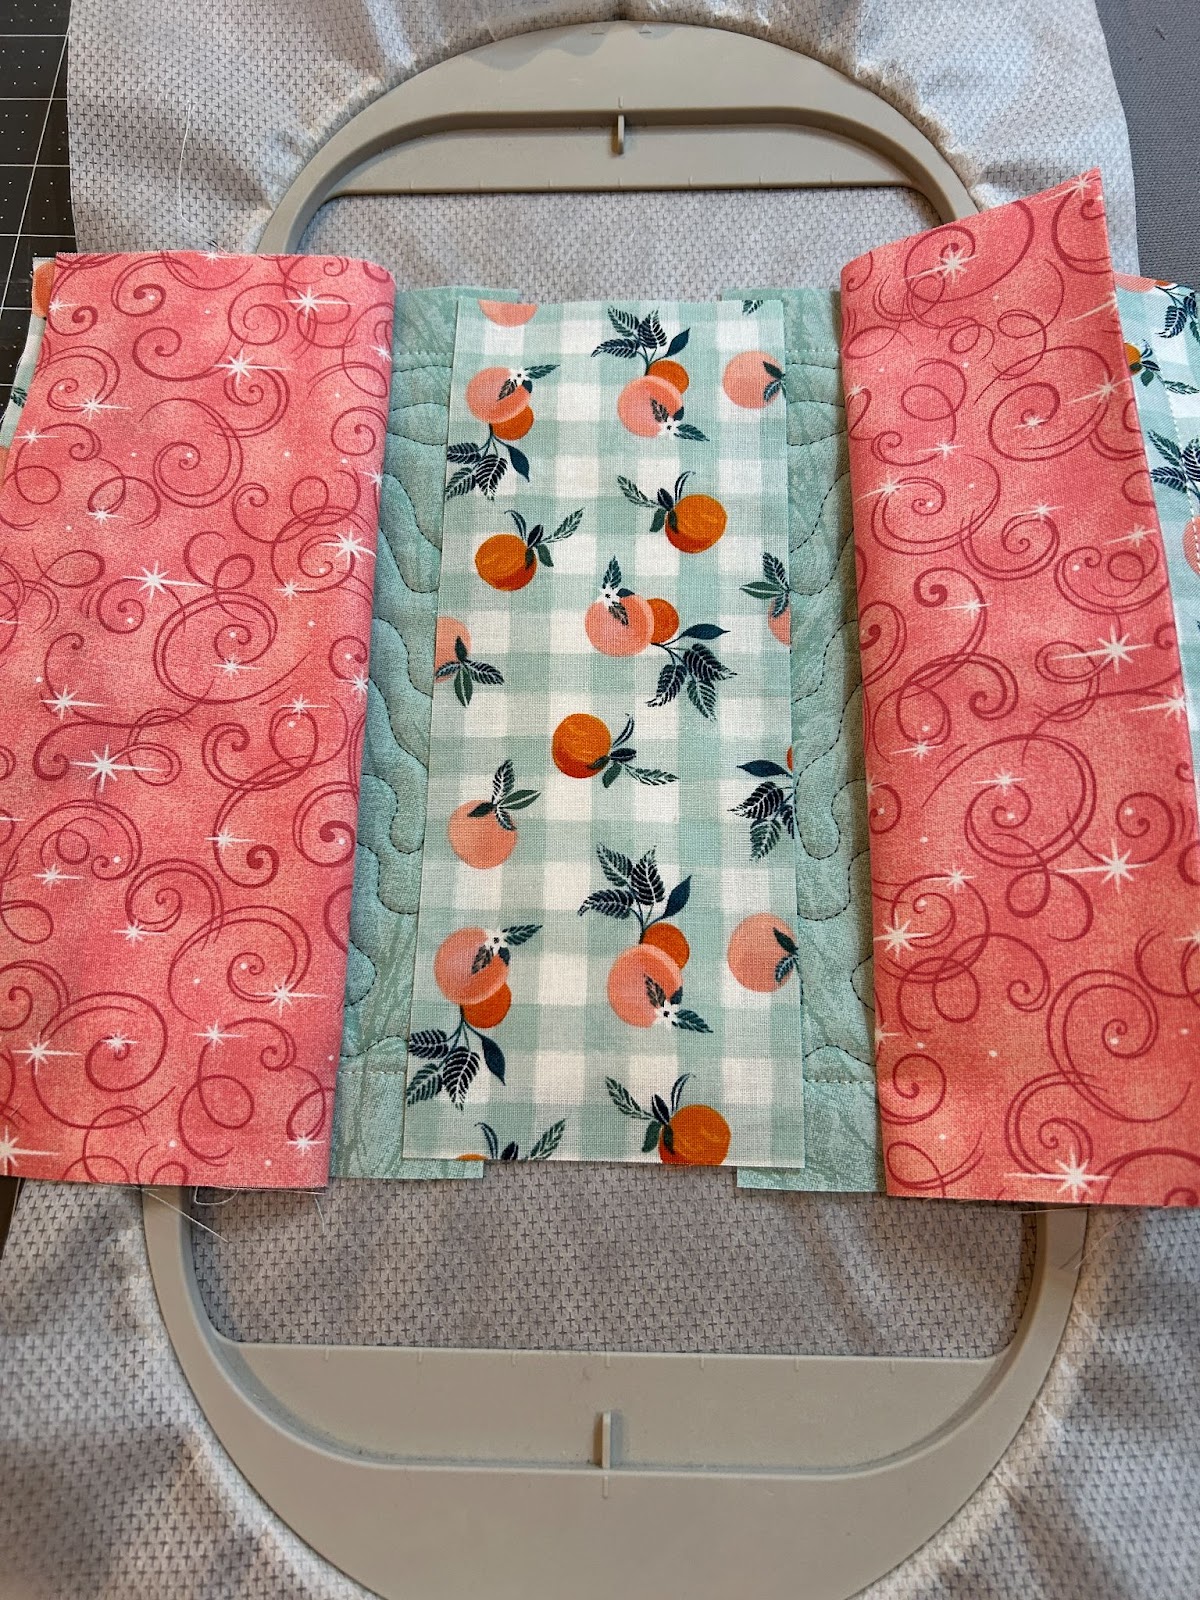
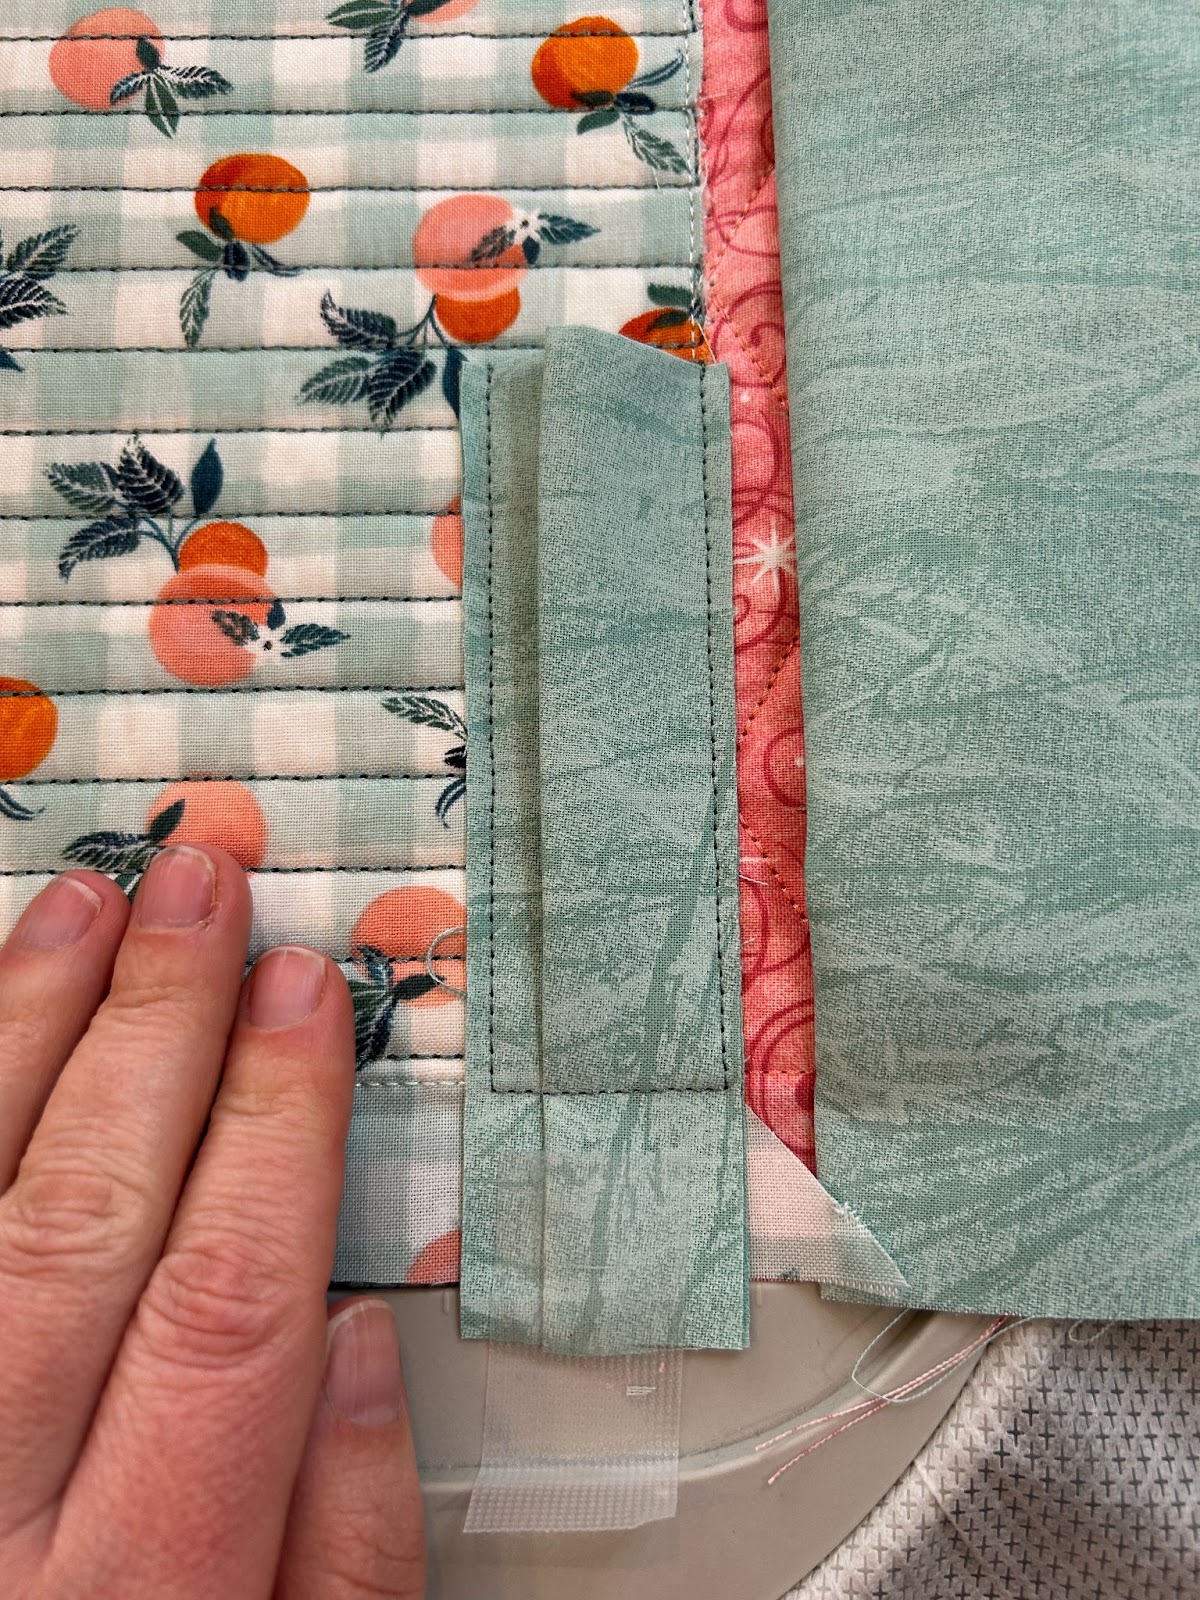
For this notebook we will place the flap with the fold toward the right side and the fold will be 1.5” from the right edge stitching.

Run the tack-down stitches.
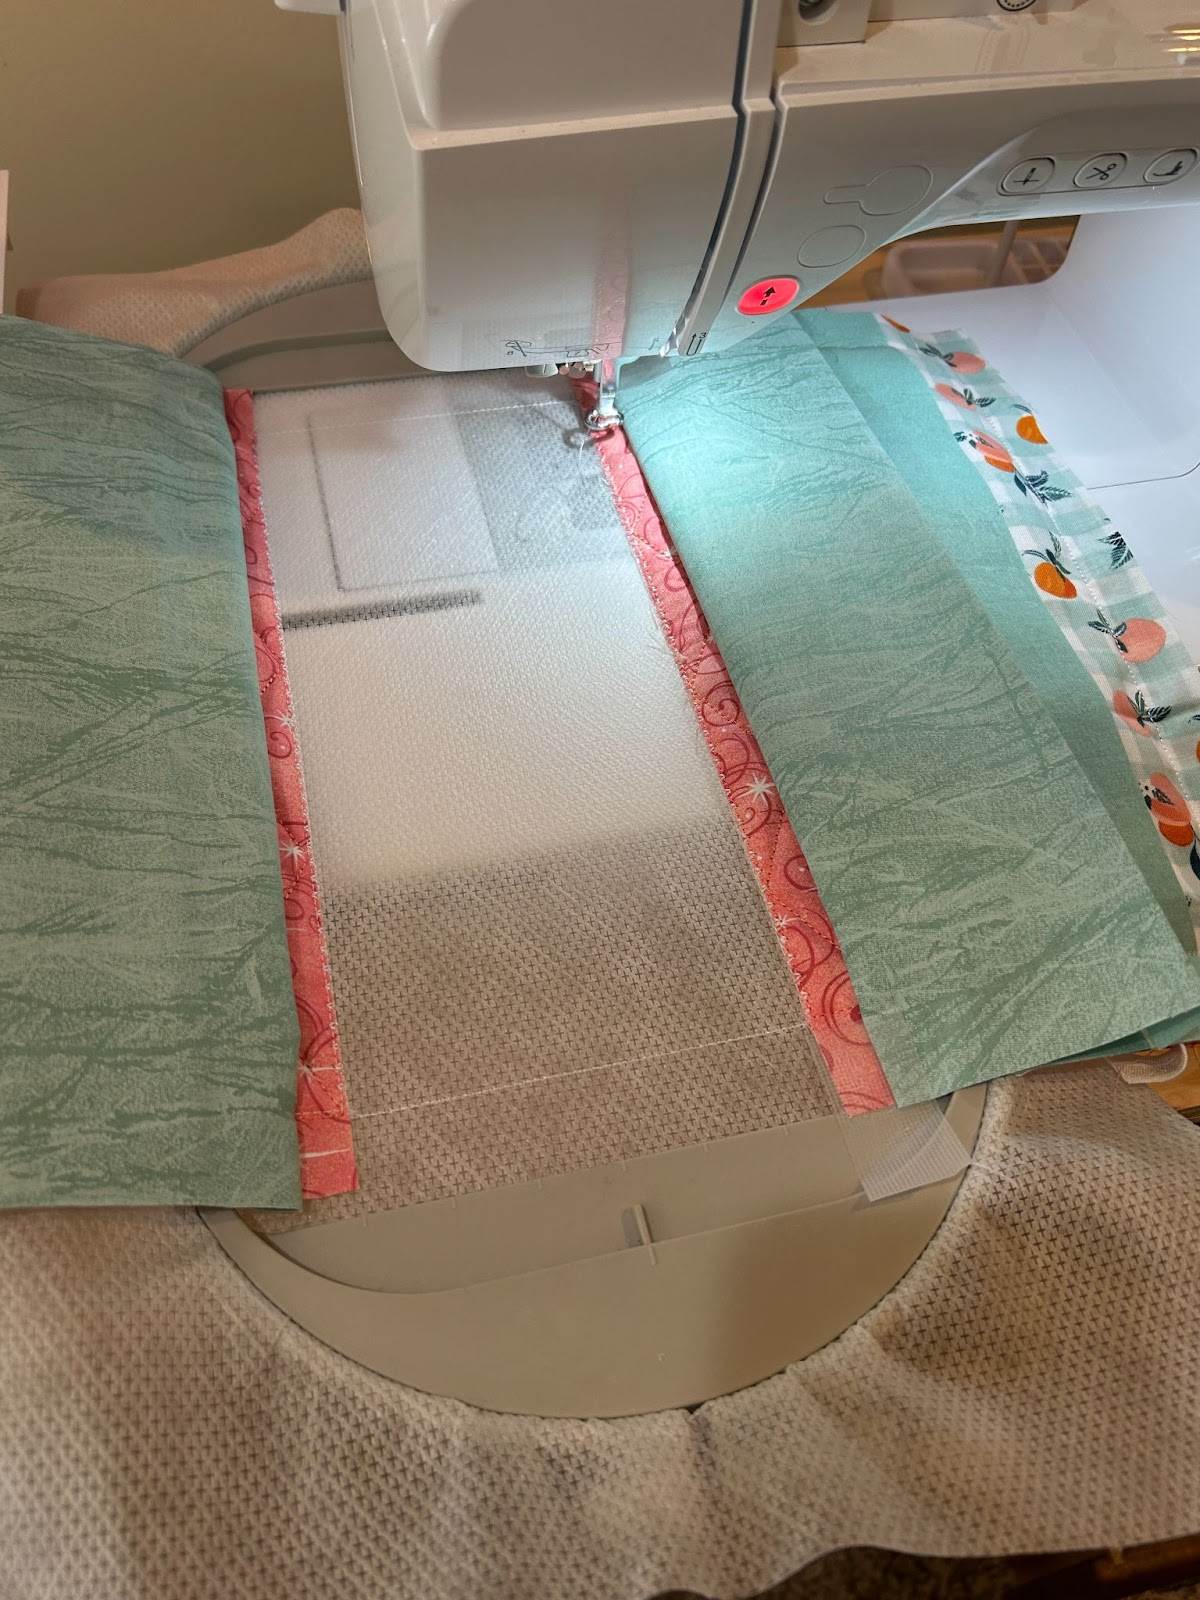
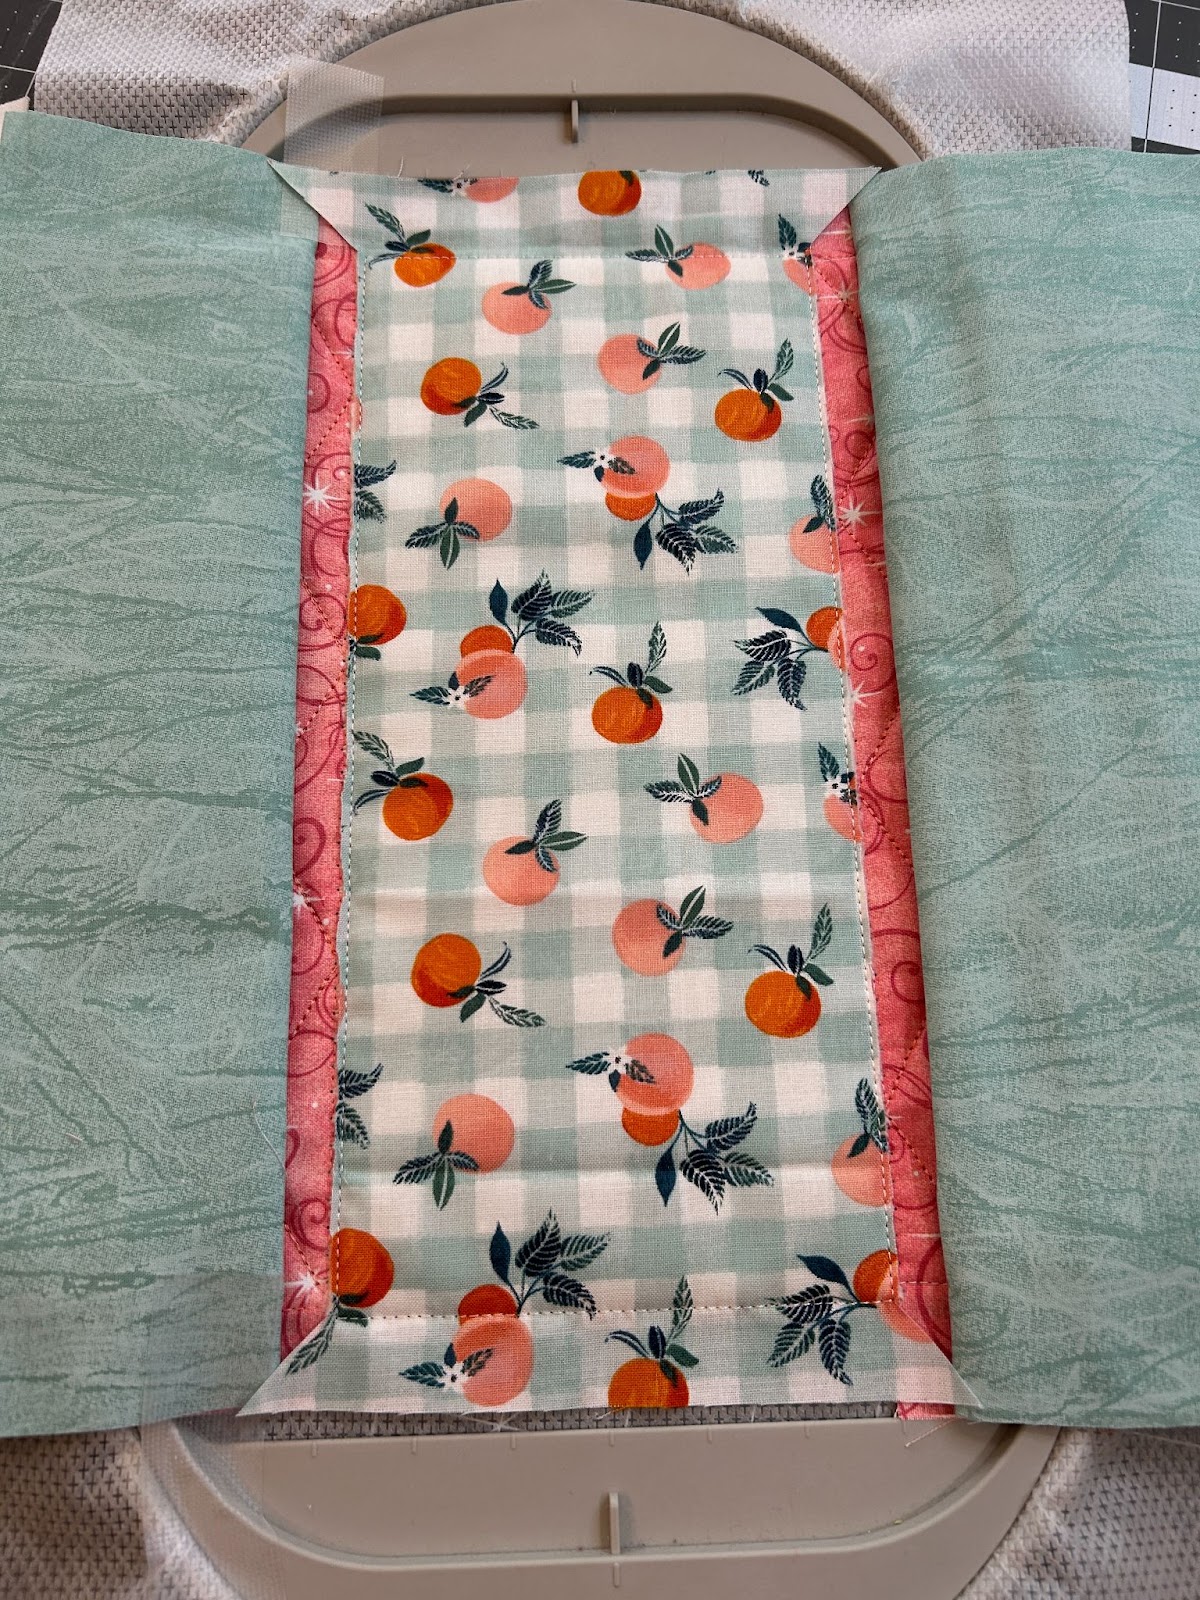
Now we place the lining fabric face down on the project. This is the piece without the fold. Line up the raw edge 1” from the left edge stitches.

And stitch the tack-down.
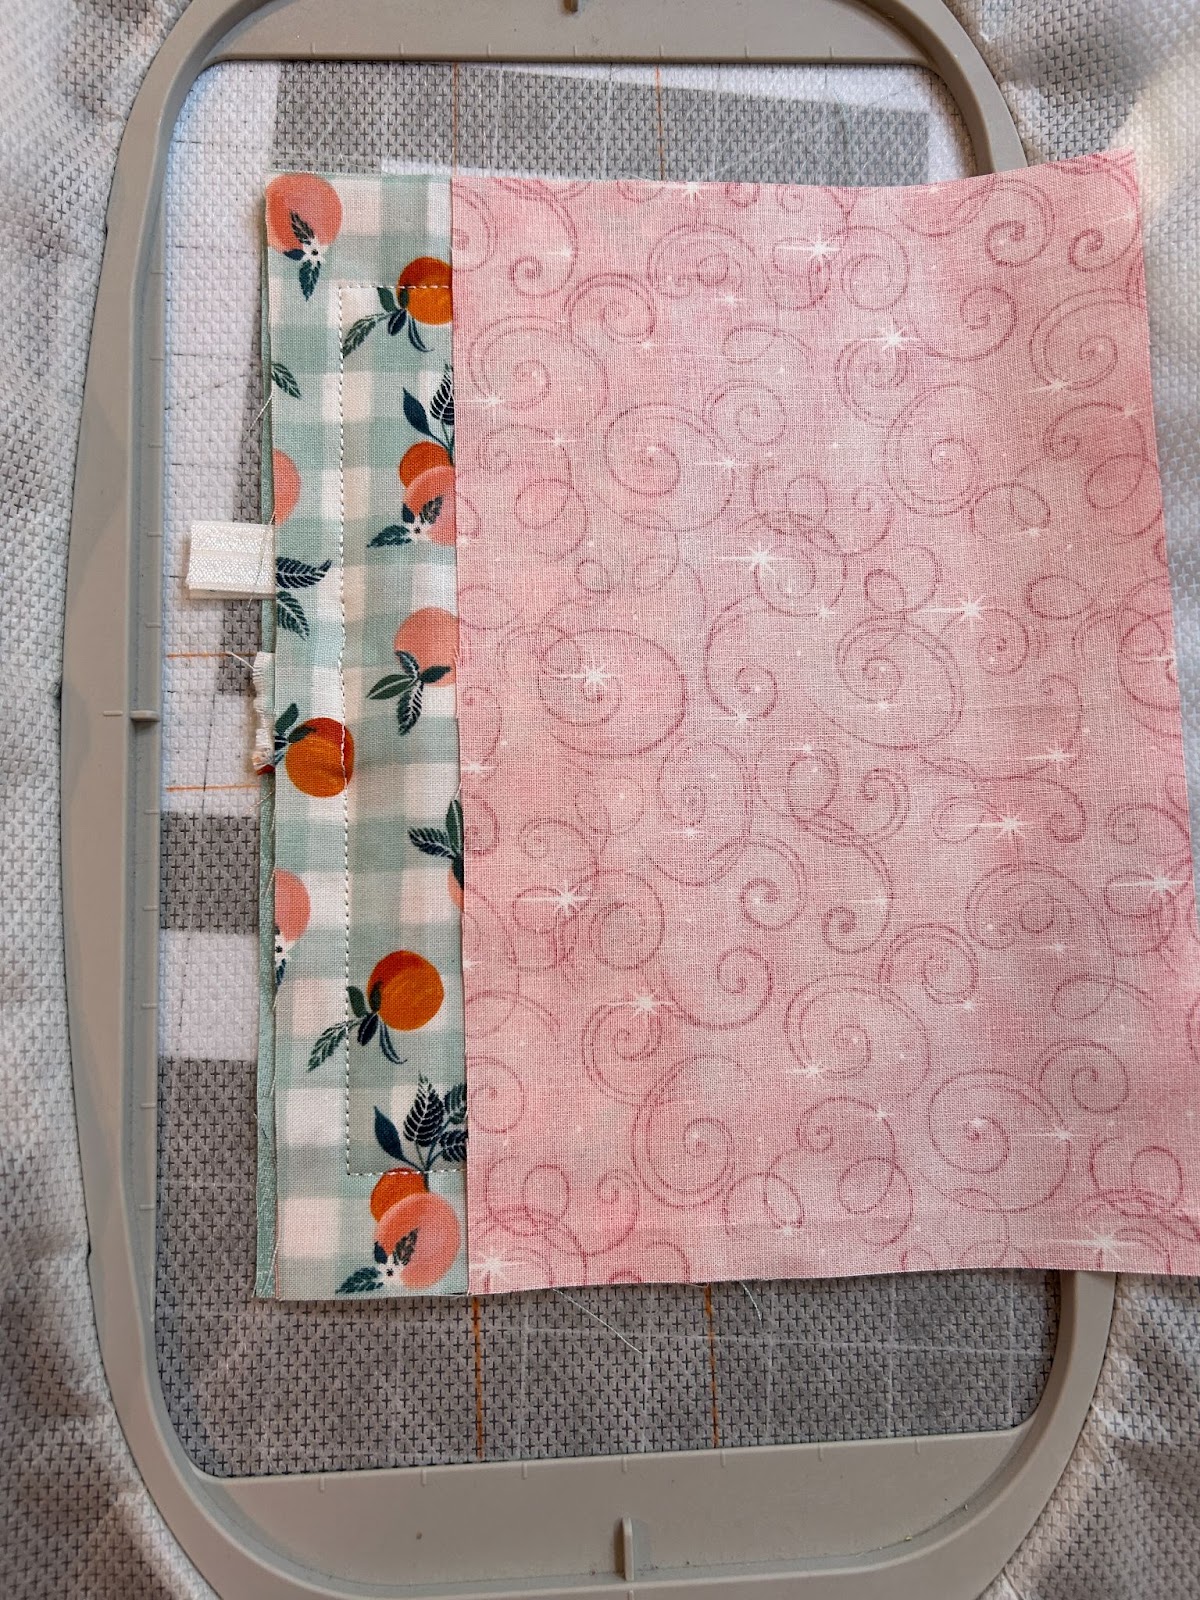
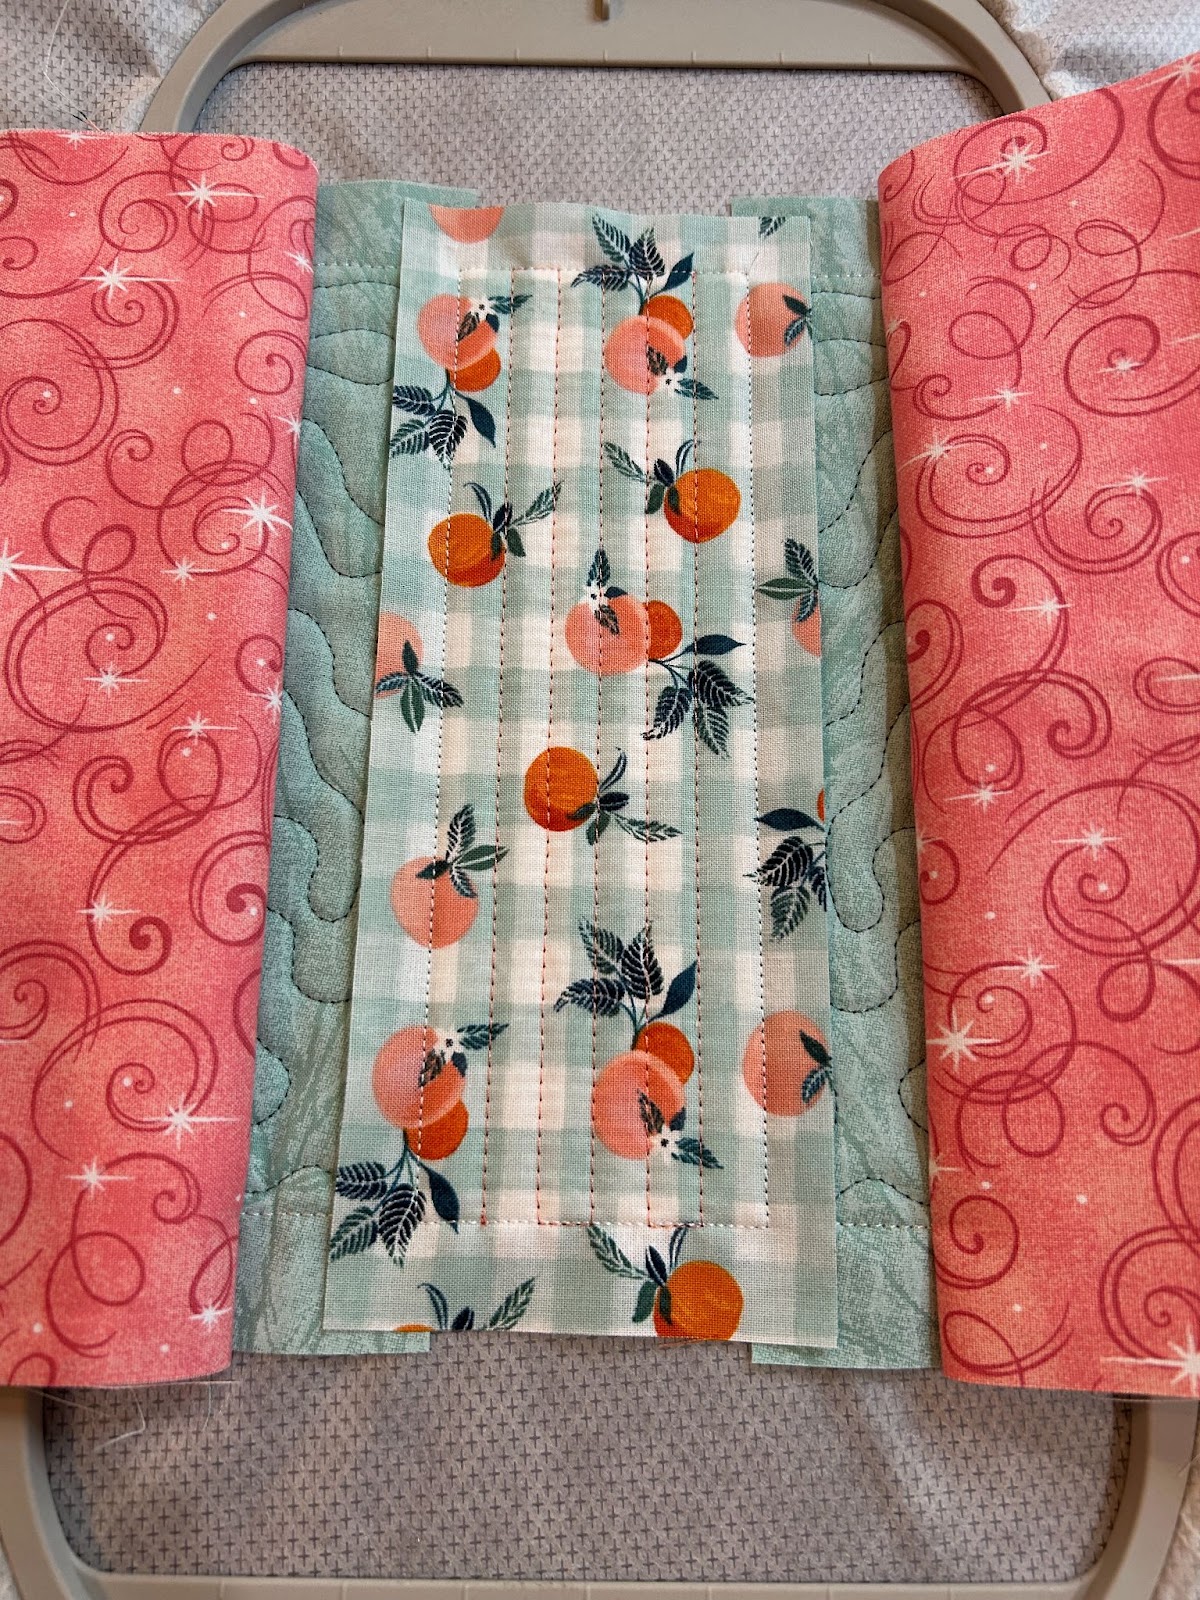
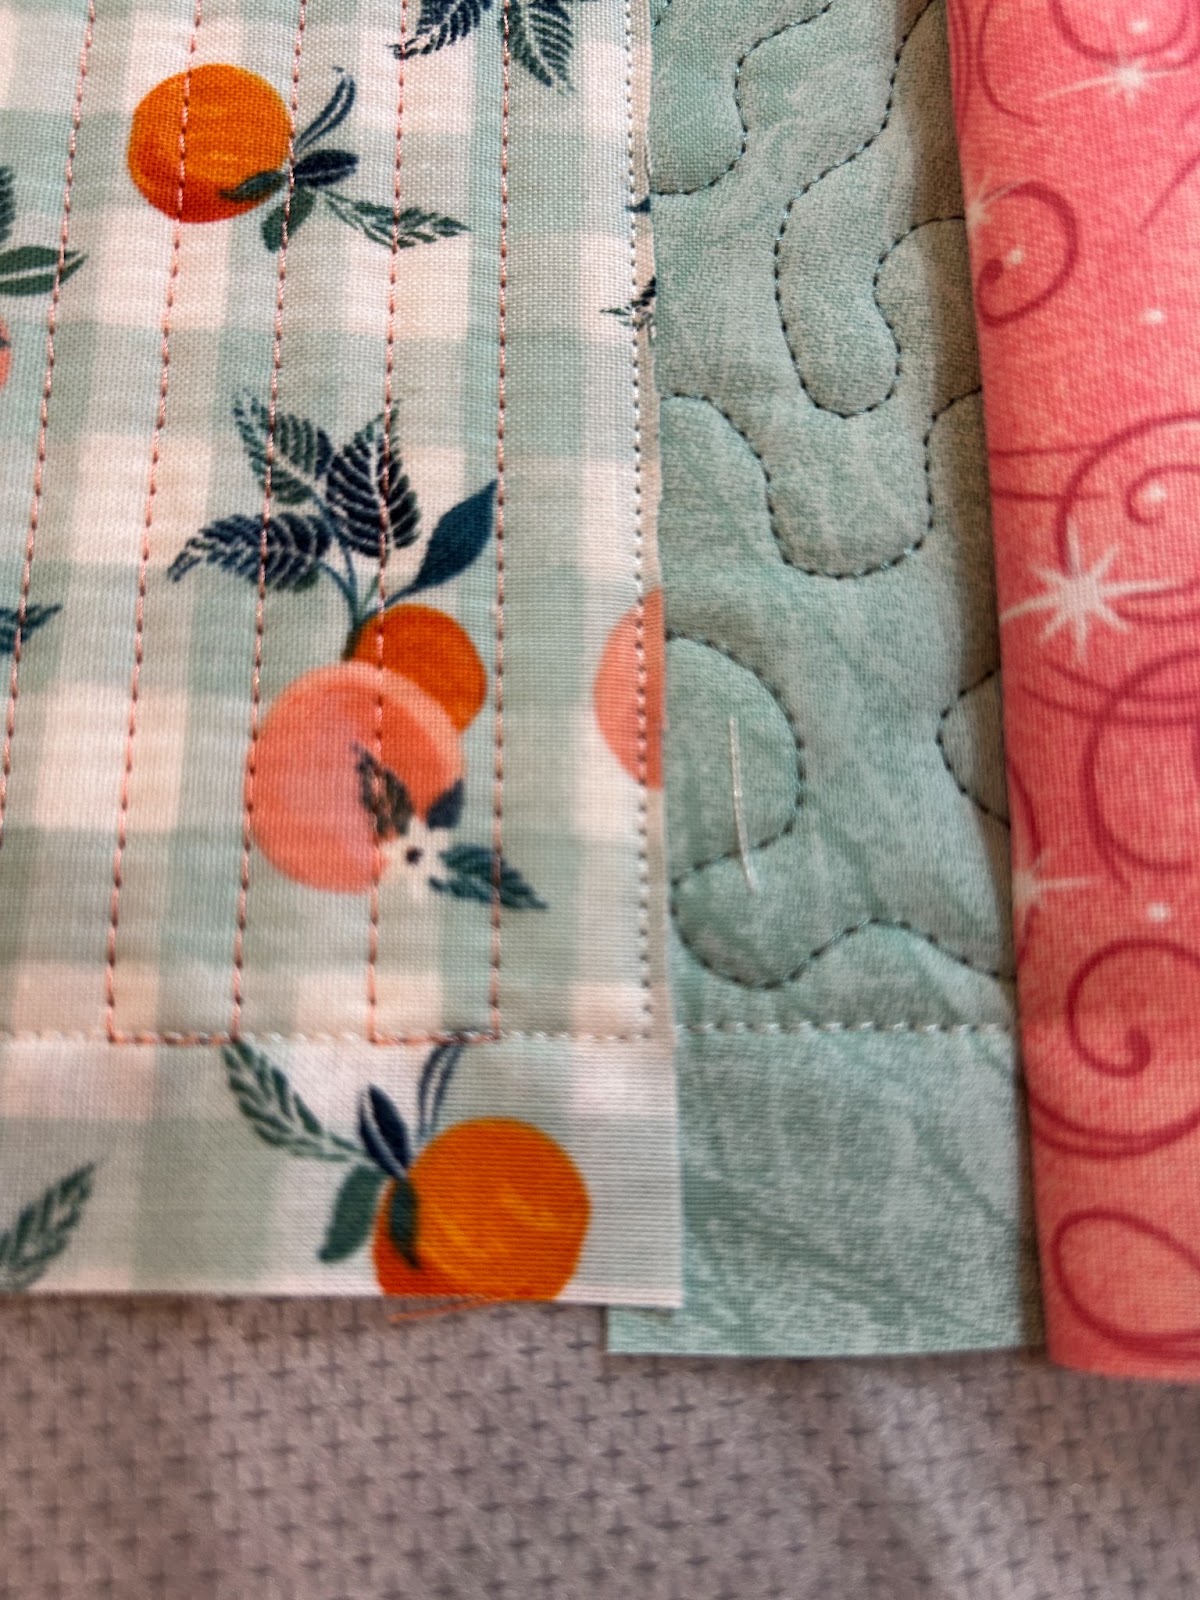
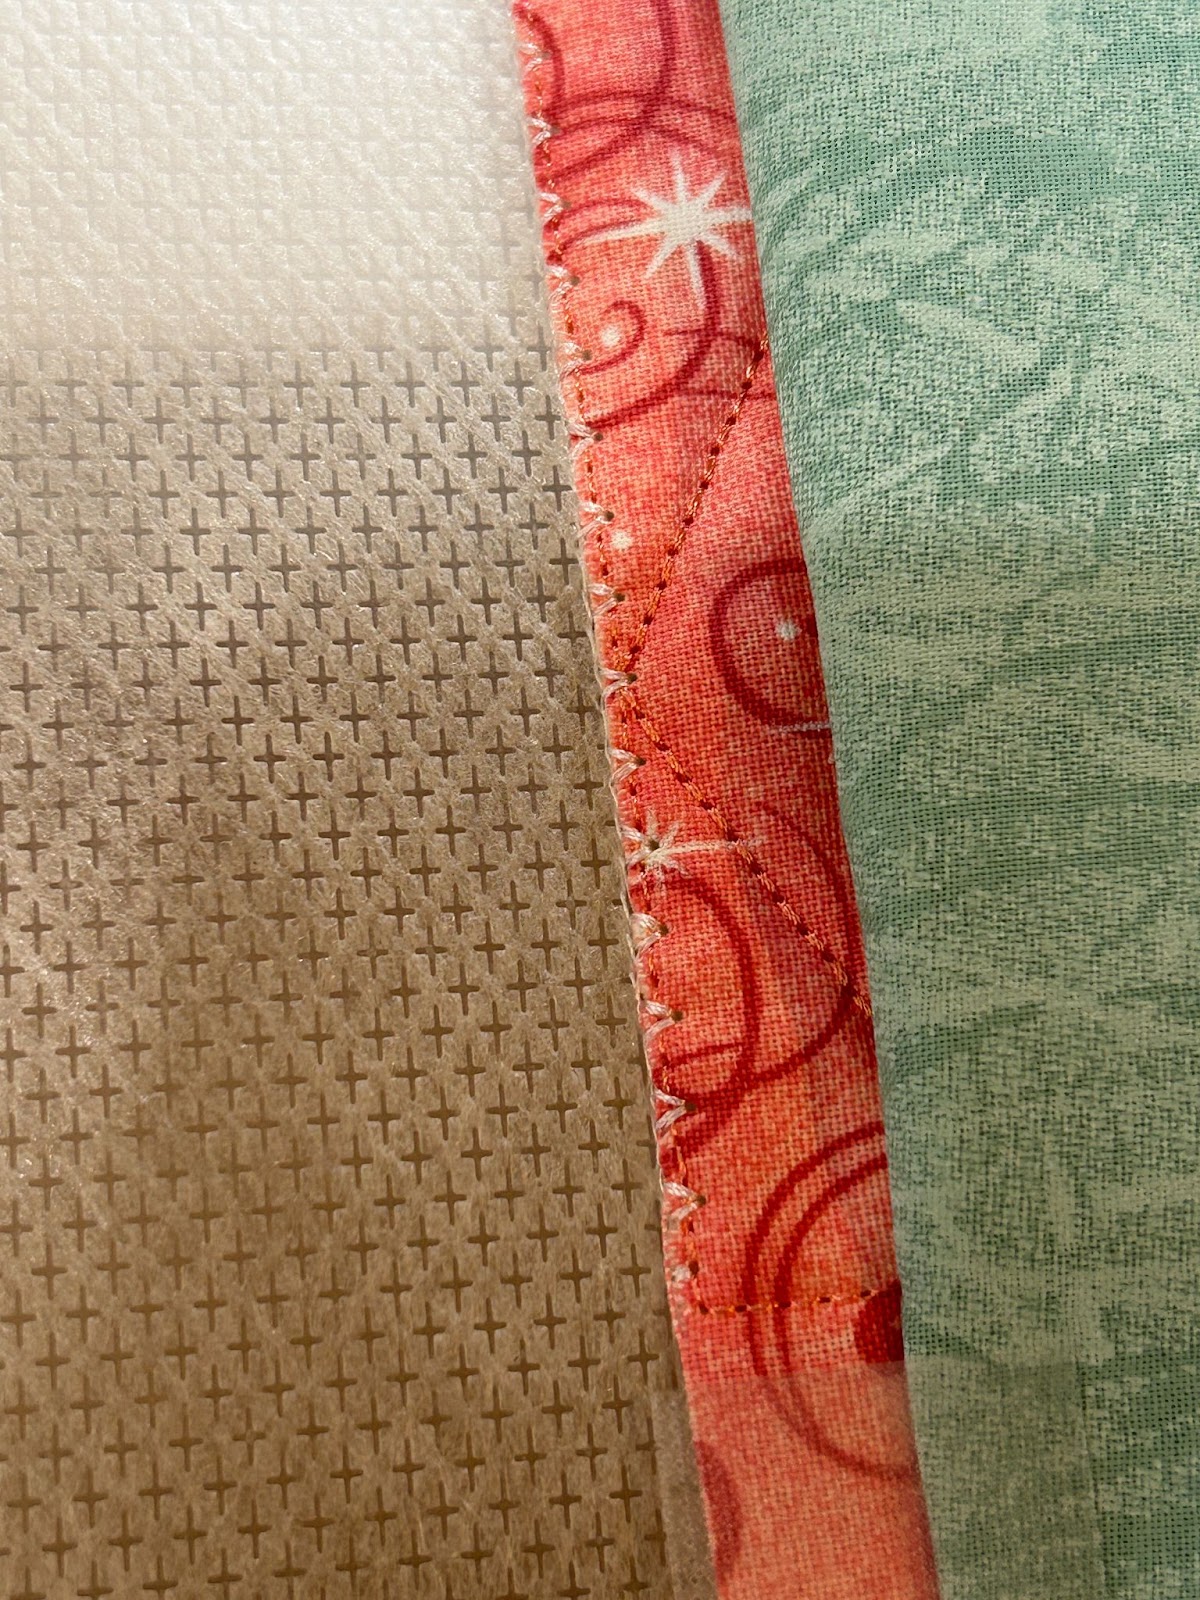
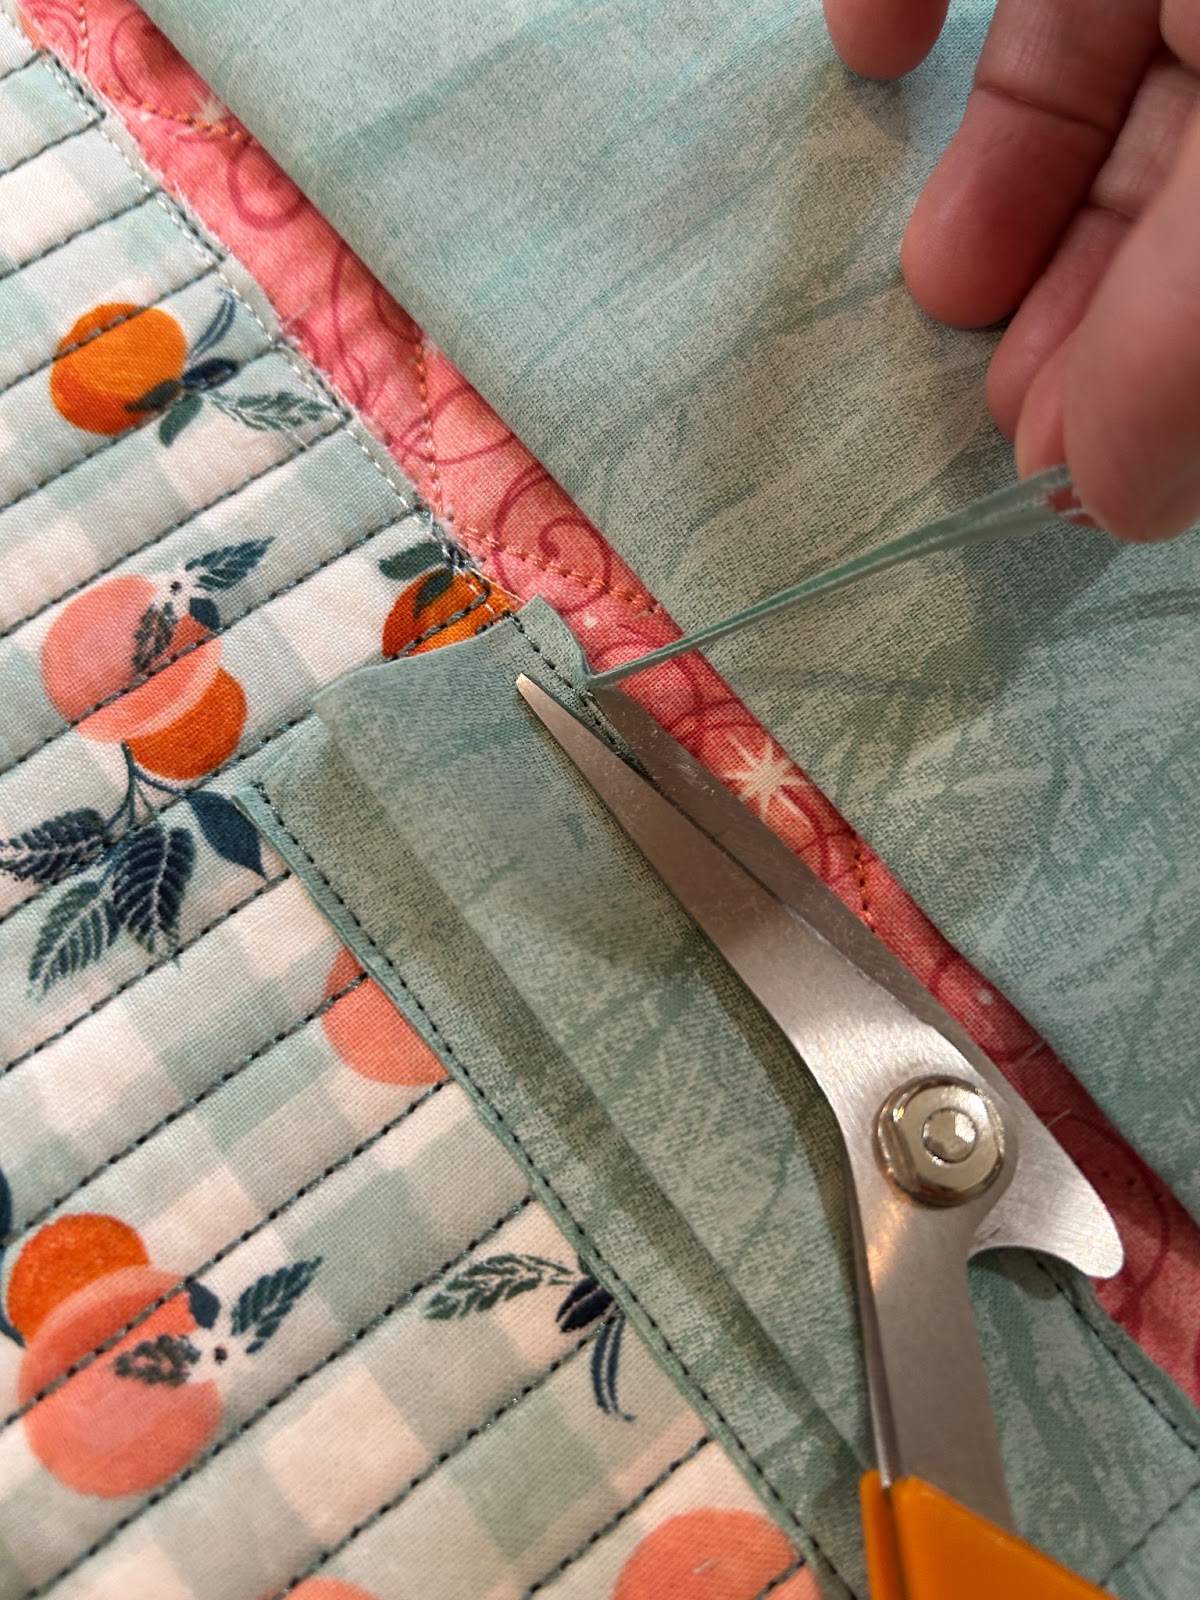
Remove from the hoop and trim the stabilizer close to the stitches.
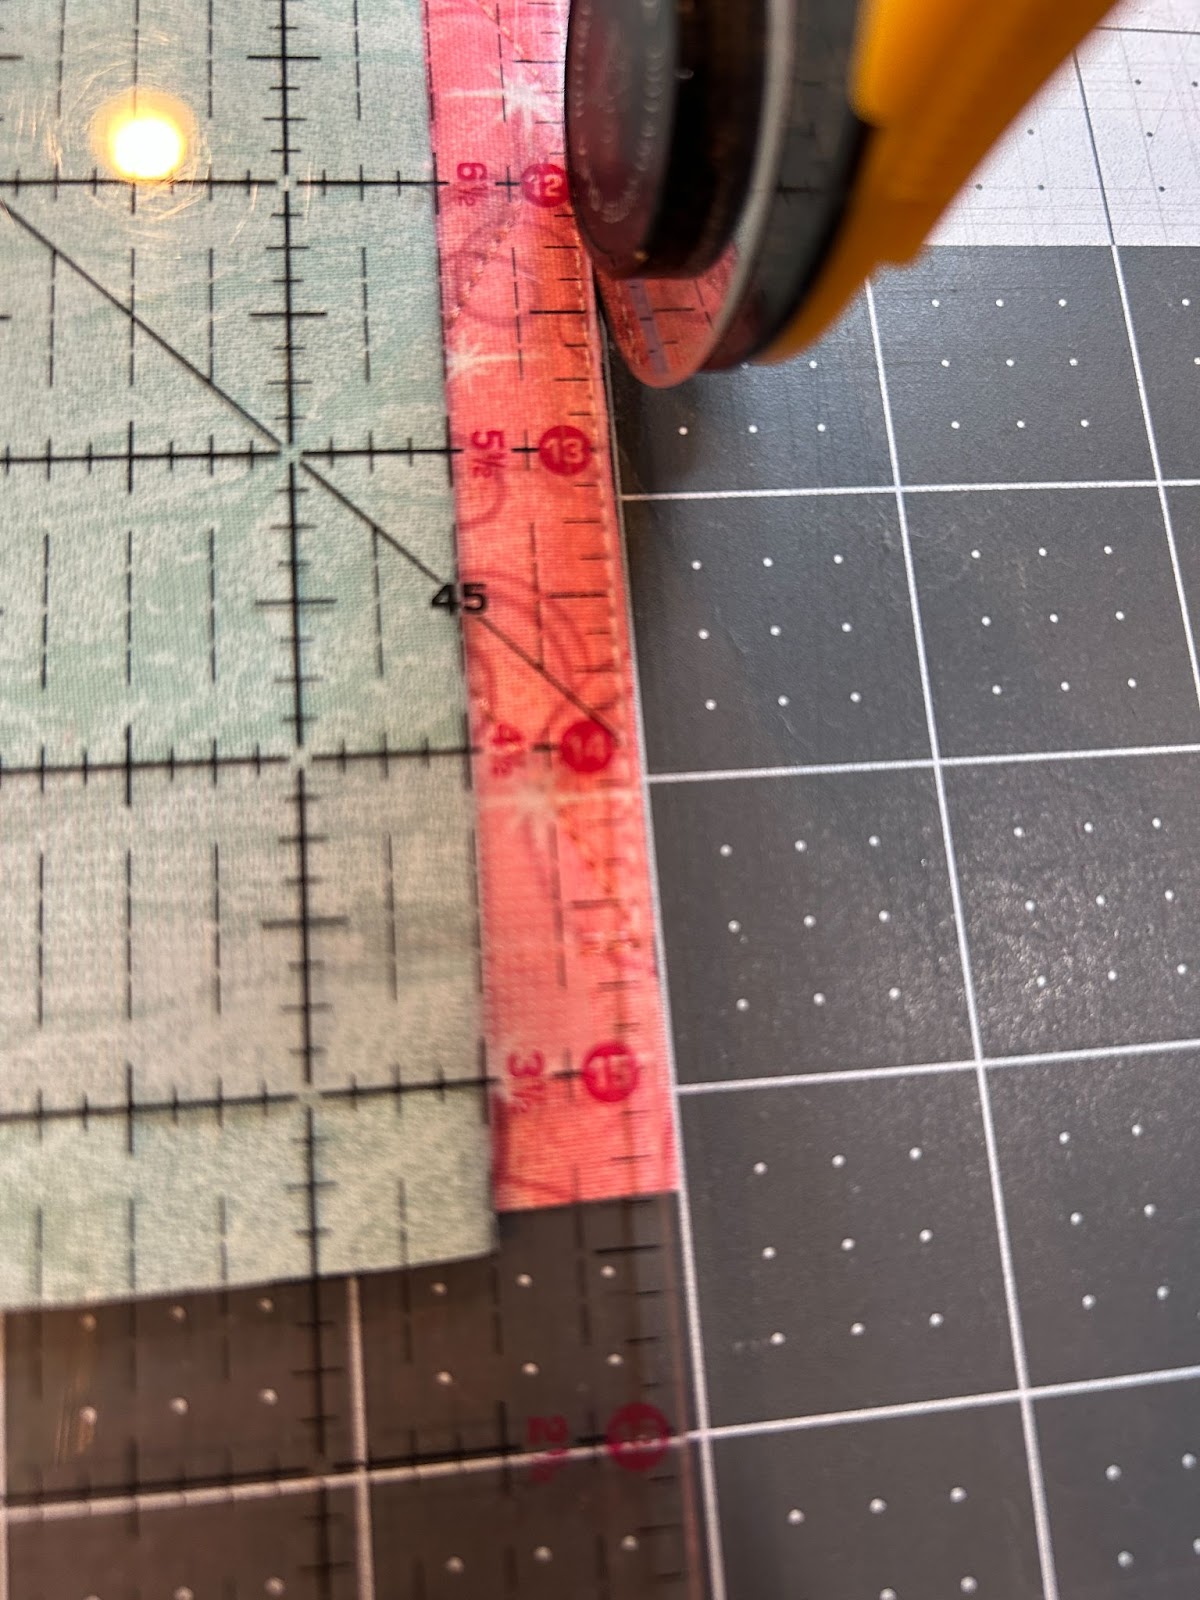
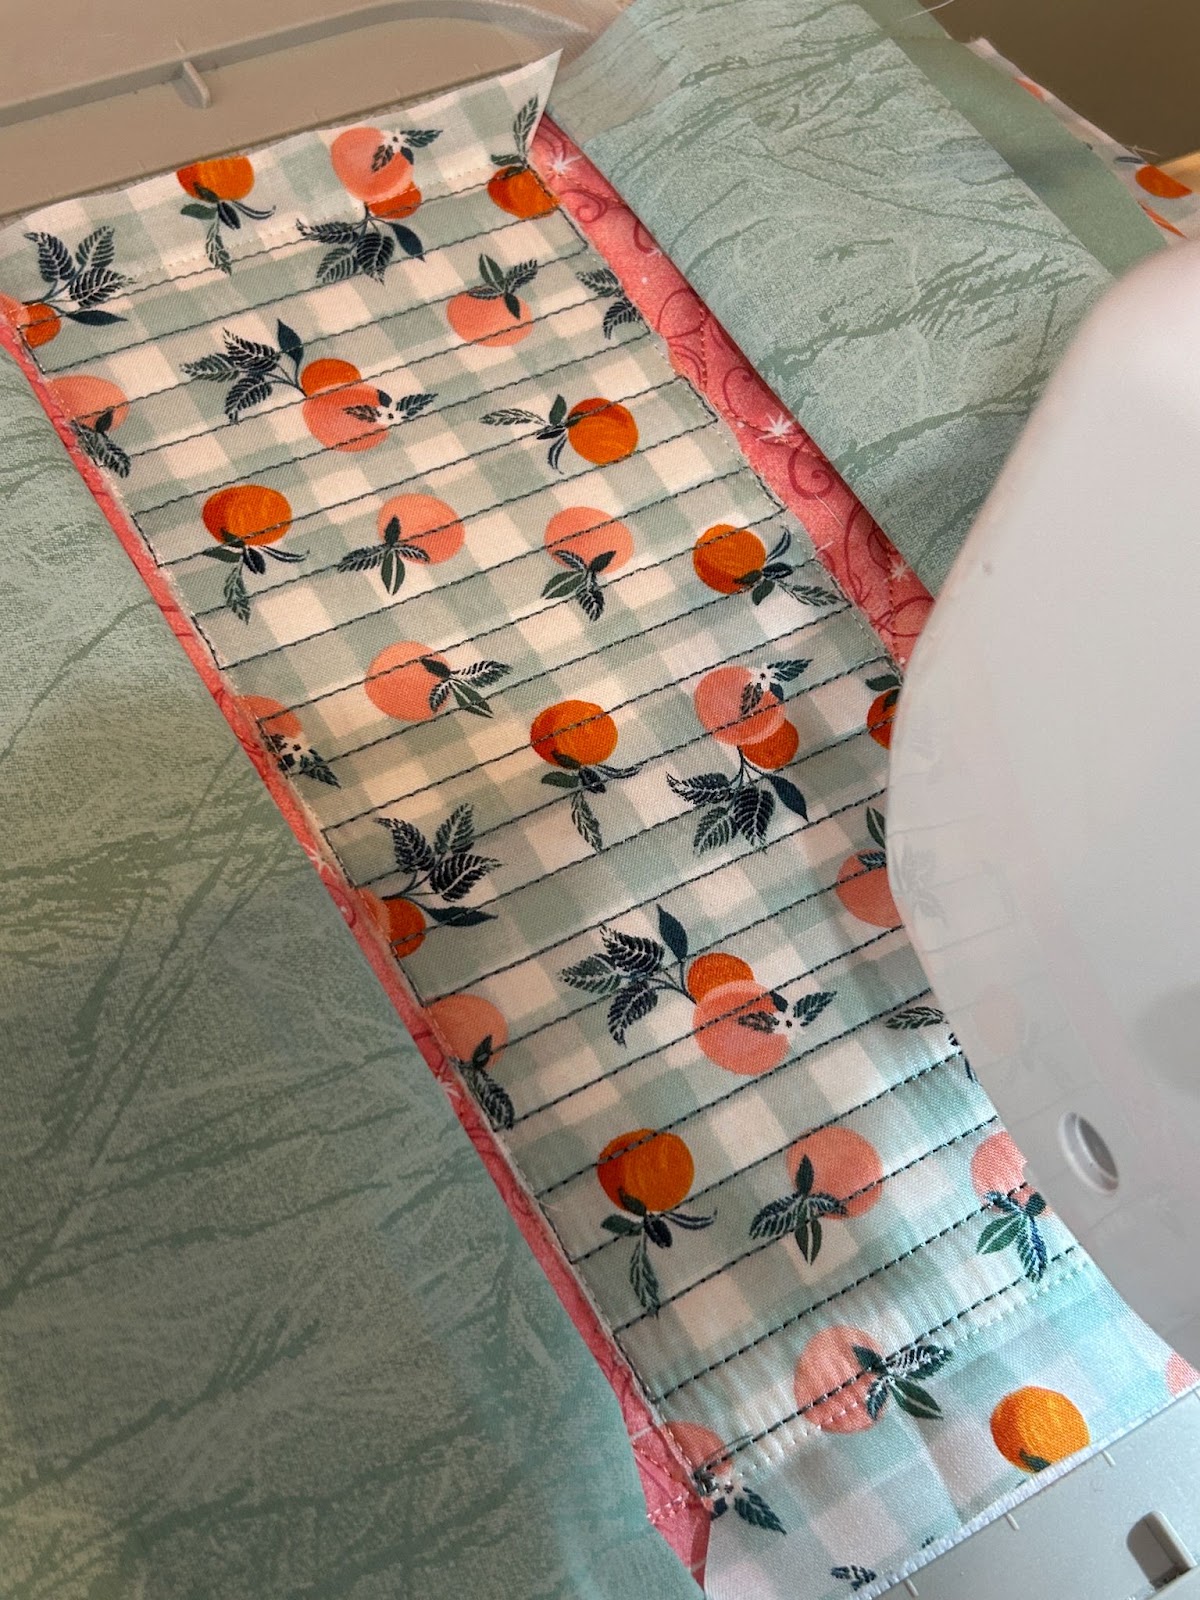
Fold back lining and trim as close to the cover right side edge stitches as you can without clipping the stitches. A straight edge and rotary cutter work great for this job.
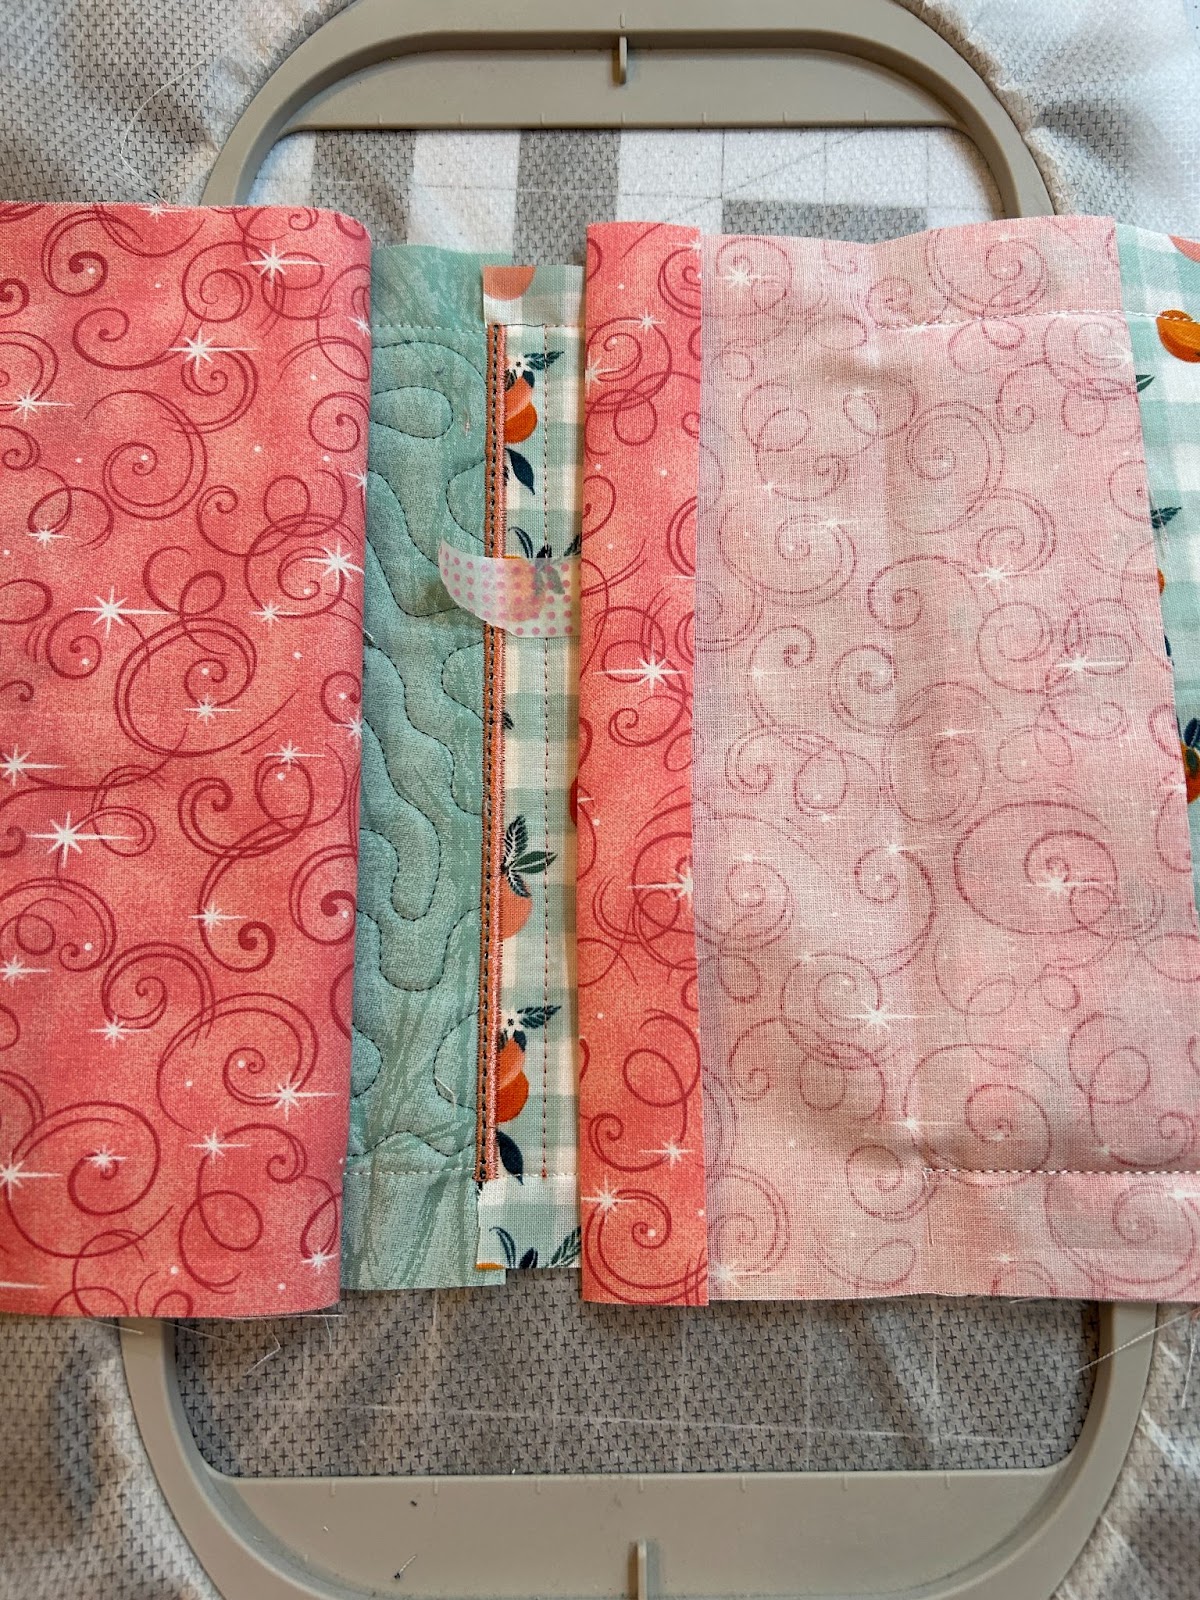
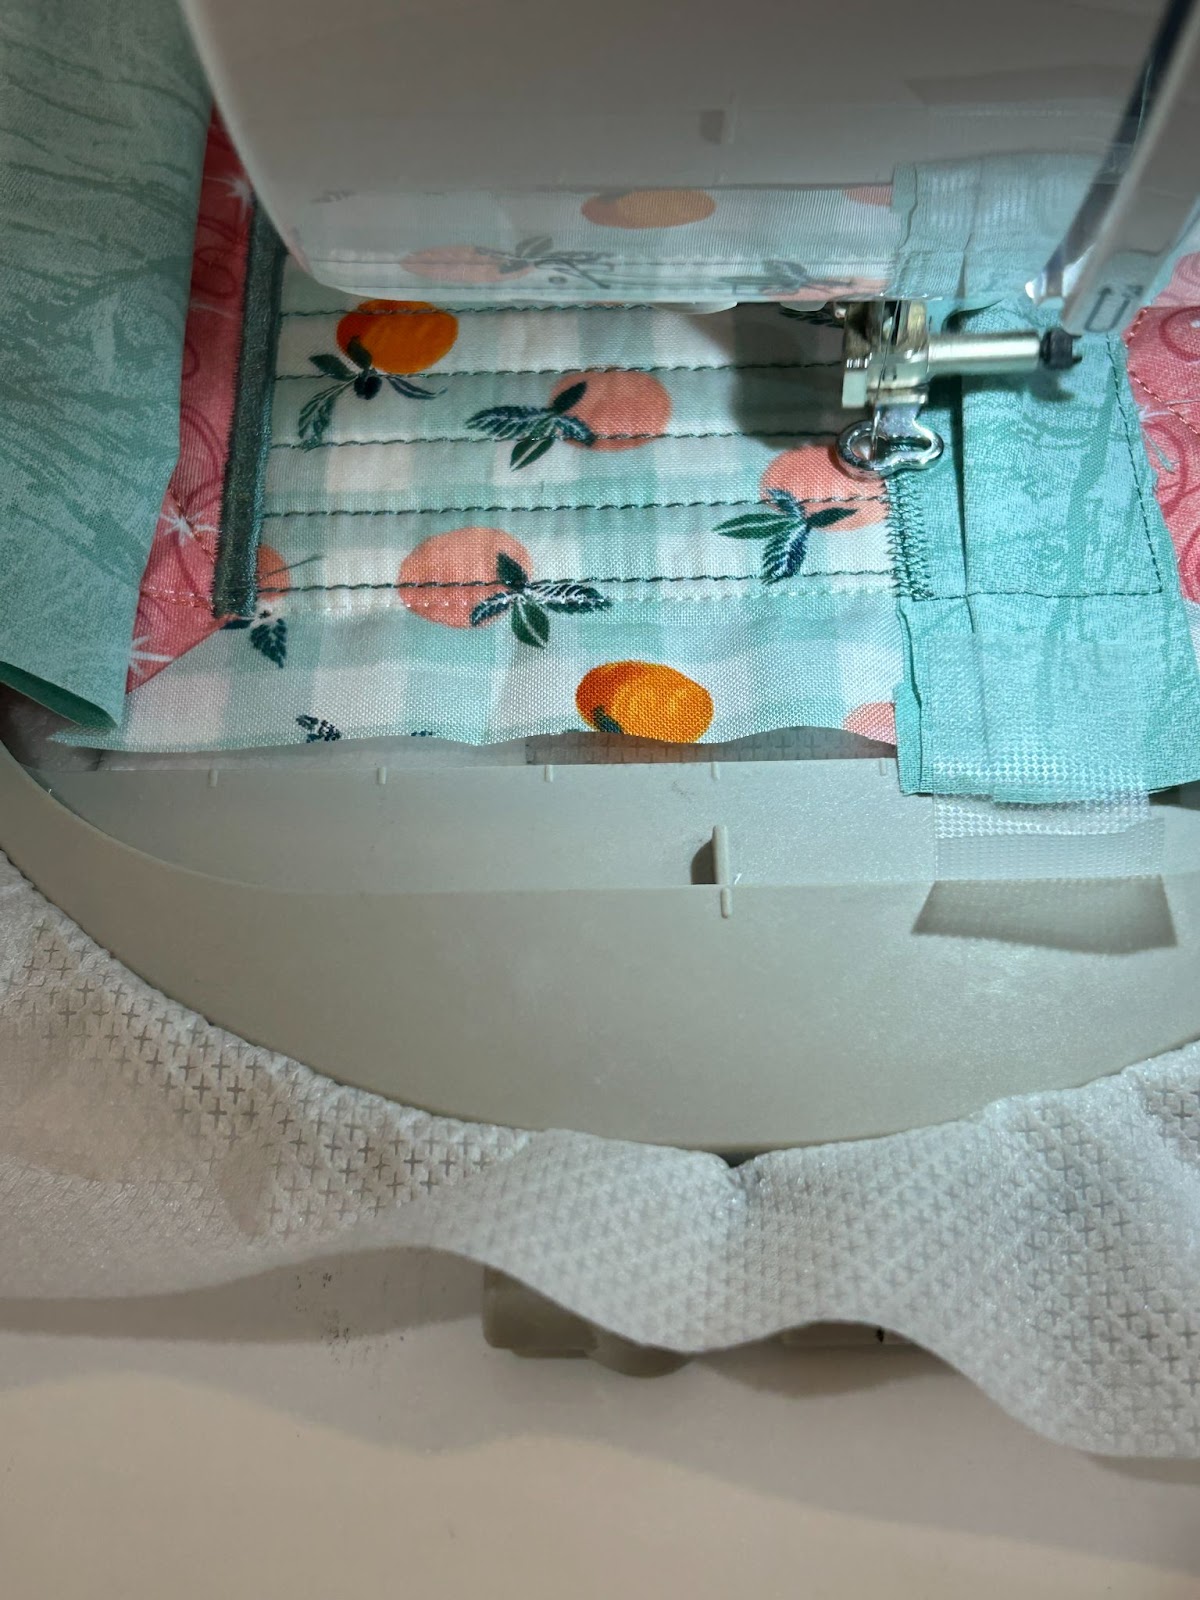
Set aside the back cover and we will create the front cover next. Hoop the stabilizer and stitch the placement stitch for the batting. Place the batting, stitch the tack-down, and trim the batting close to the stitches.

Cover batting with cover fabric. Make sure there is at least ½” around each edge. Stitch the tack-down and the decorative stitches.

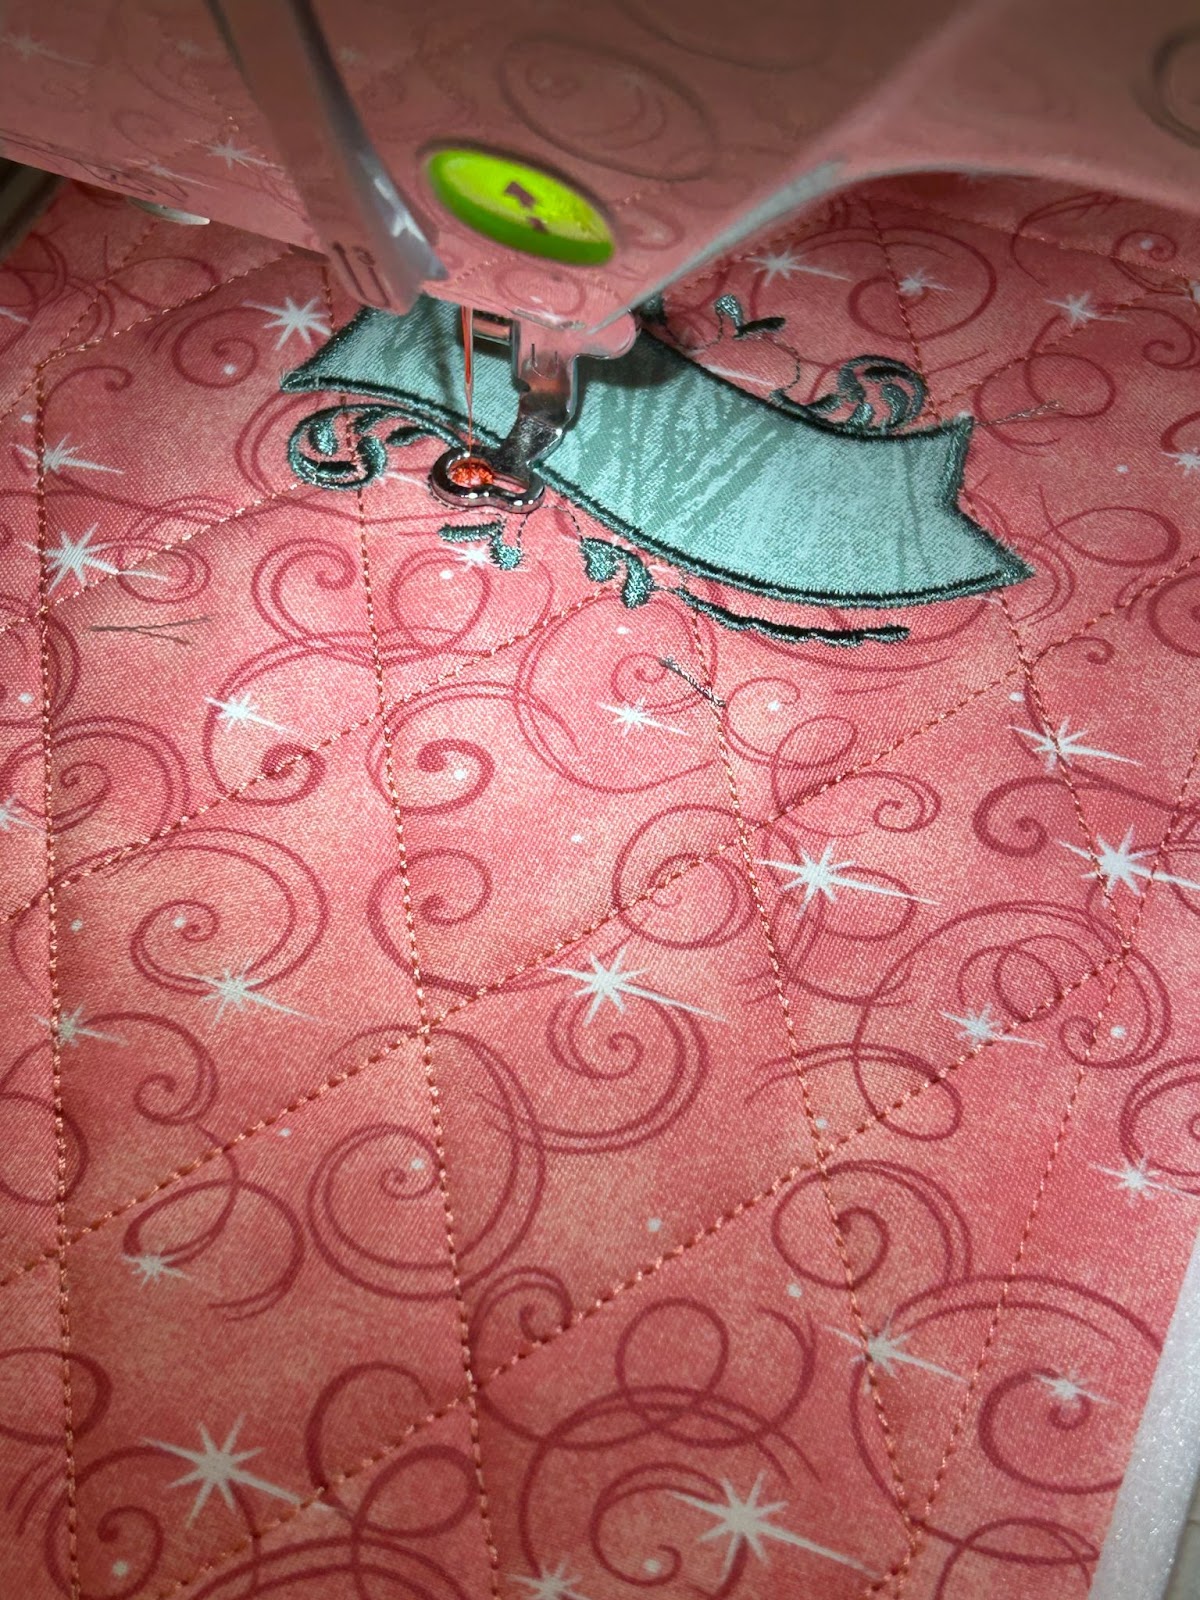
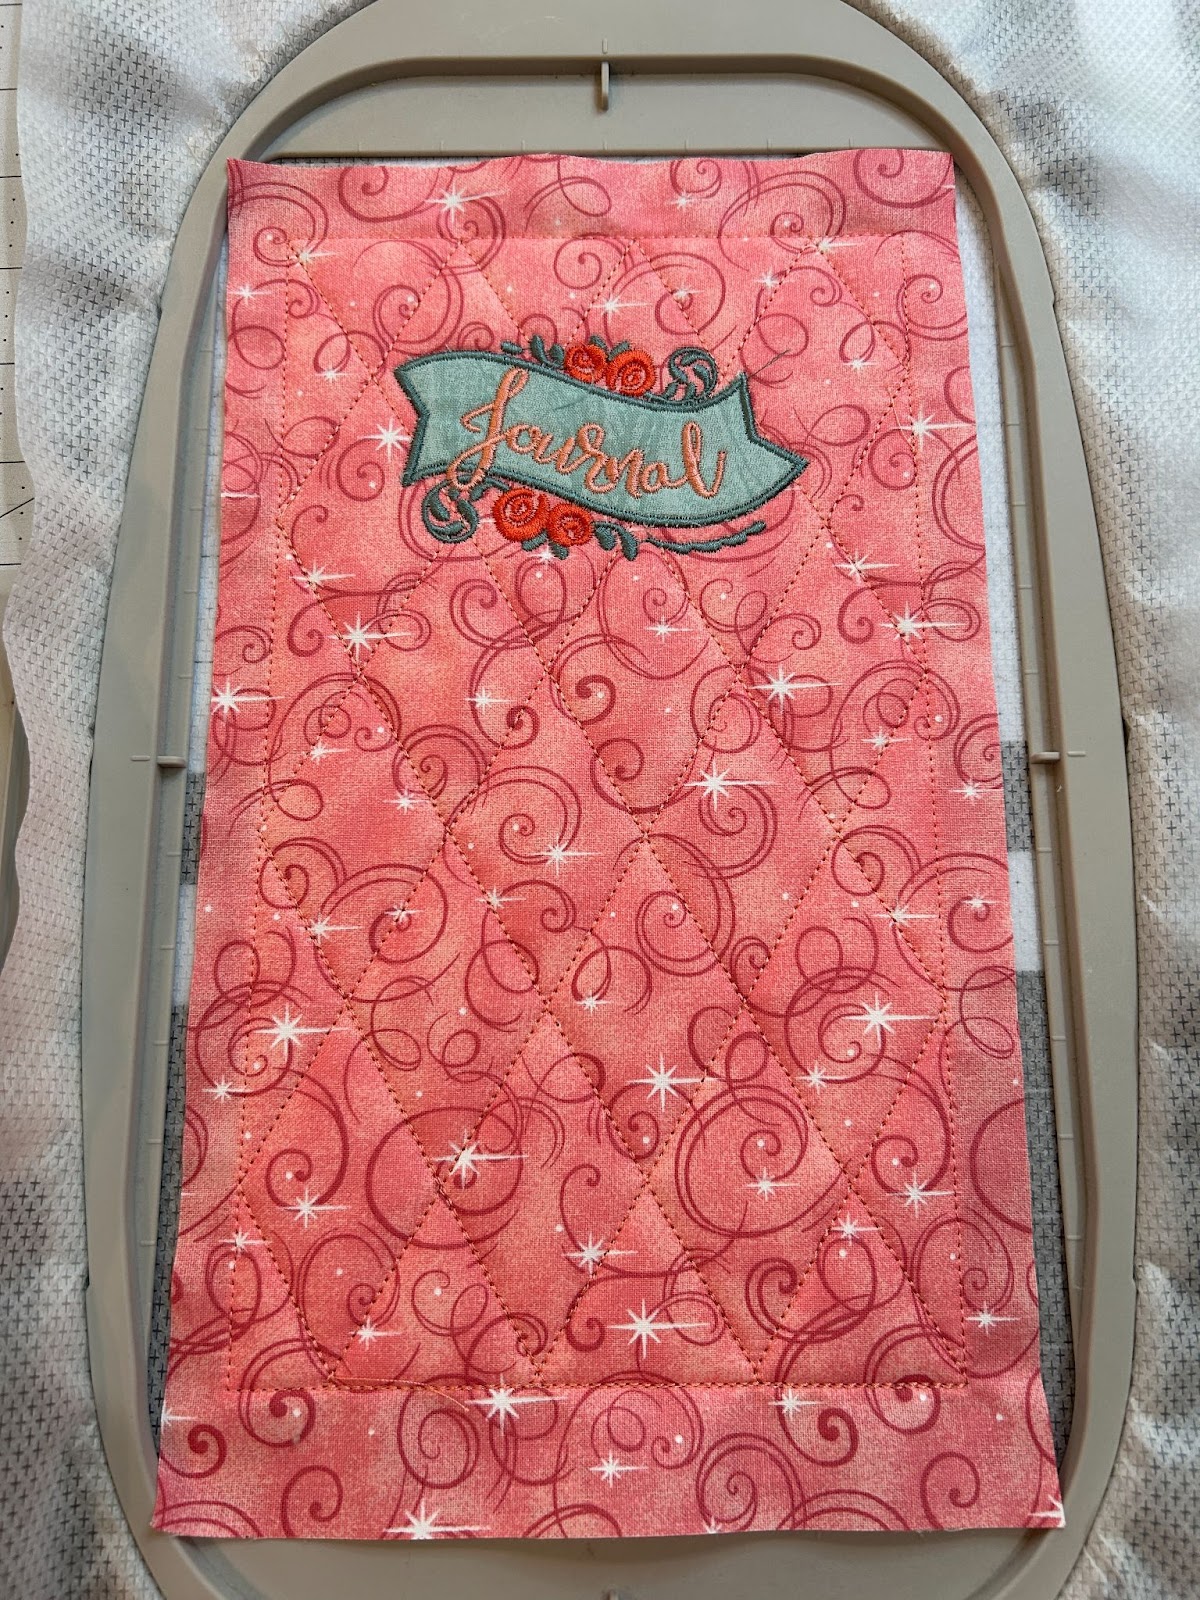
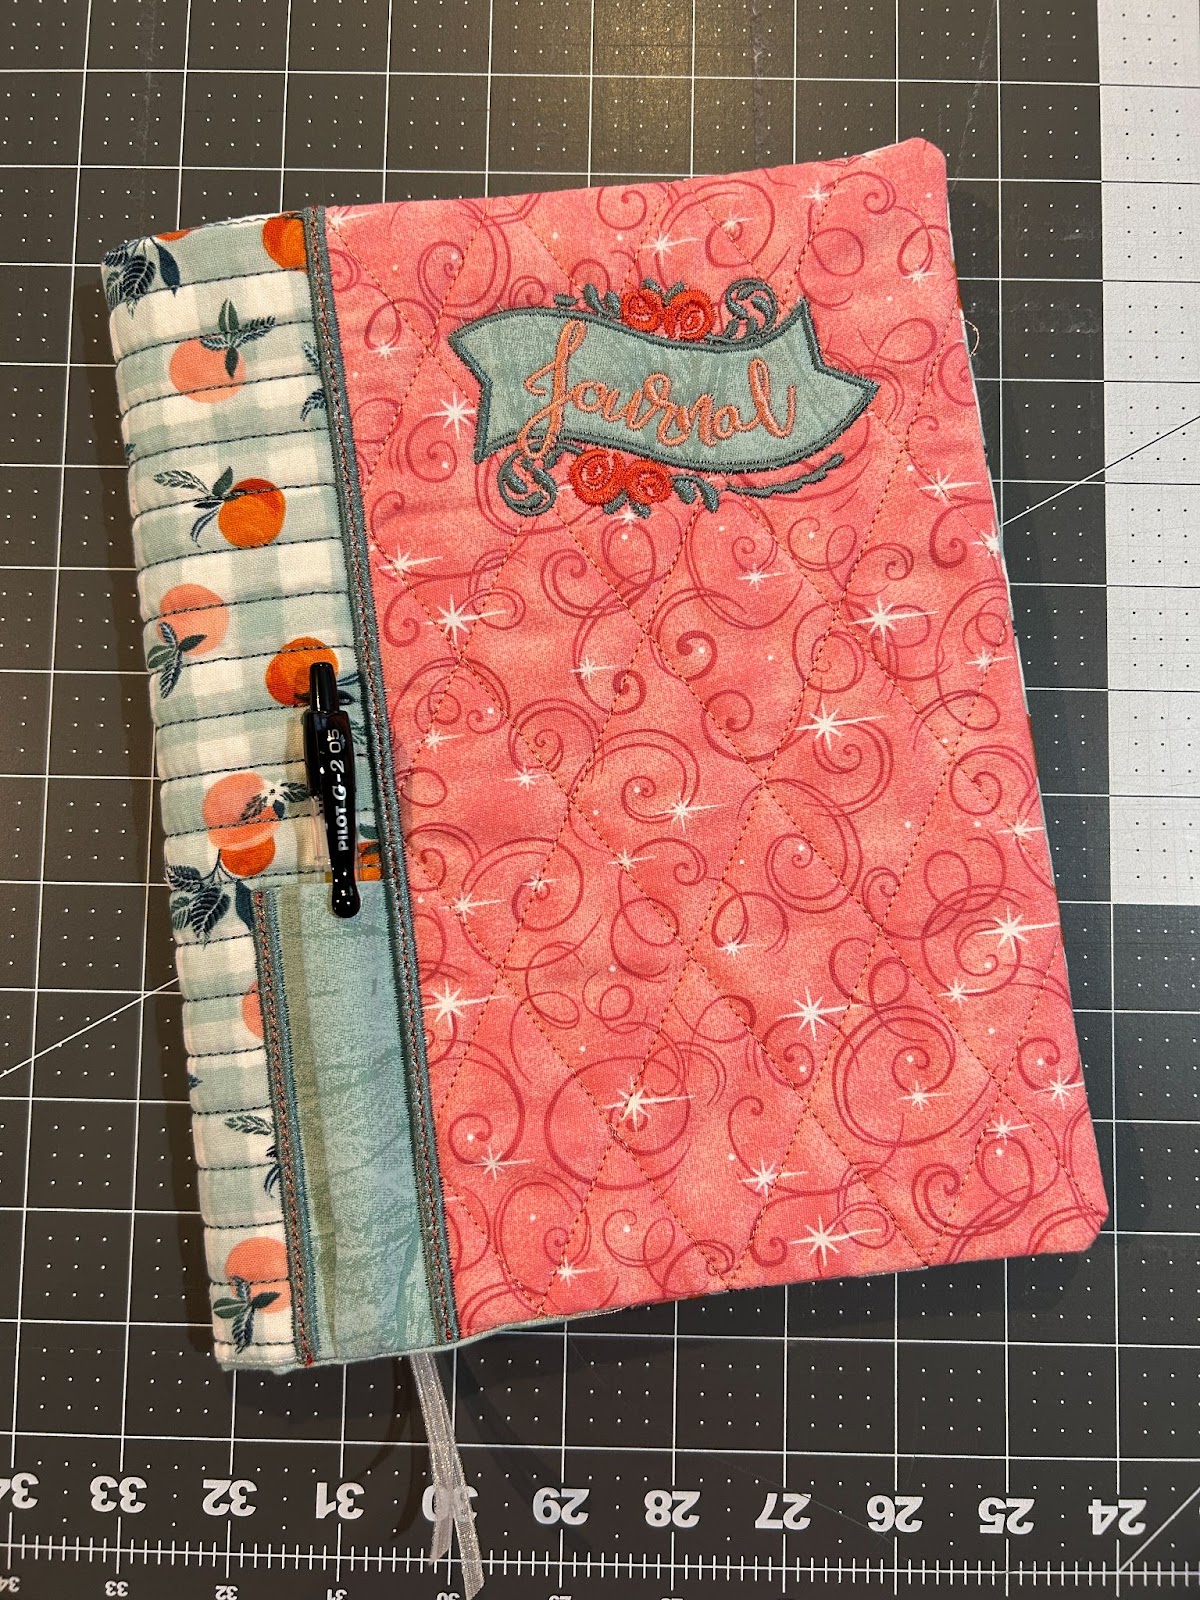
Now that the decorative stitches are done on the cover, we can add an additional design if we want. I decided to add the Journal design from the Reading Word Art Set 2. I combined them directly on my machine, but you could also do this using embroidery software.
This requires a little applique. If you’re new to applique, here is an article on how to get started.
I stitched the placement stitches, covered with fabric, and stitched the tack-down stitches.
Then I trimmed the fabric and finished the design stitches.
Here is the front cover with the design finished.
Now we will be placing the elastic to close the notebook. This step is optional, so feel free to skip it if you don’t want to include it. We start with some placement stitches at the top of the cover. We will cover them with the fold-over elastic, right side down. Overlap the stitches with about ½” of elastic.
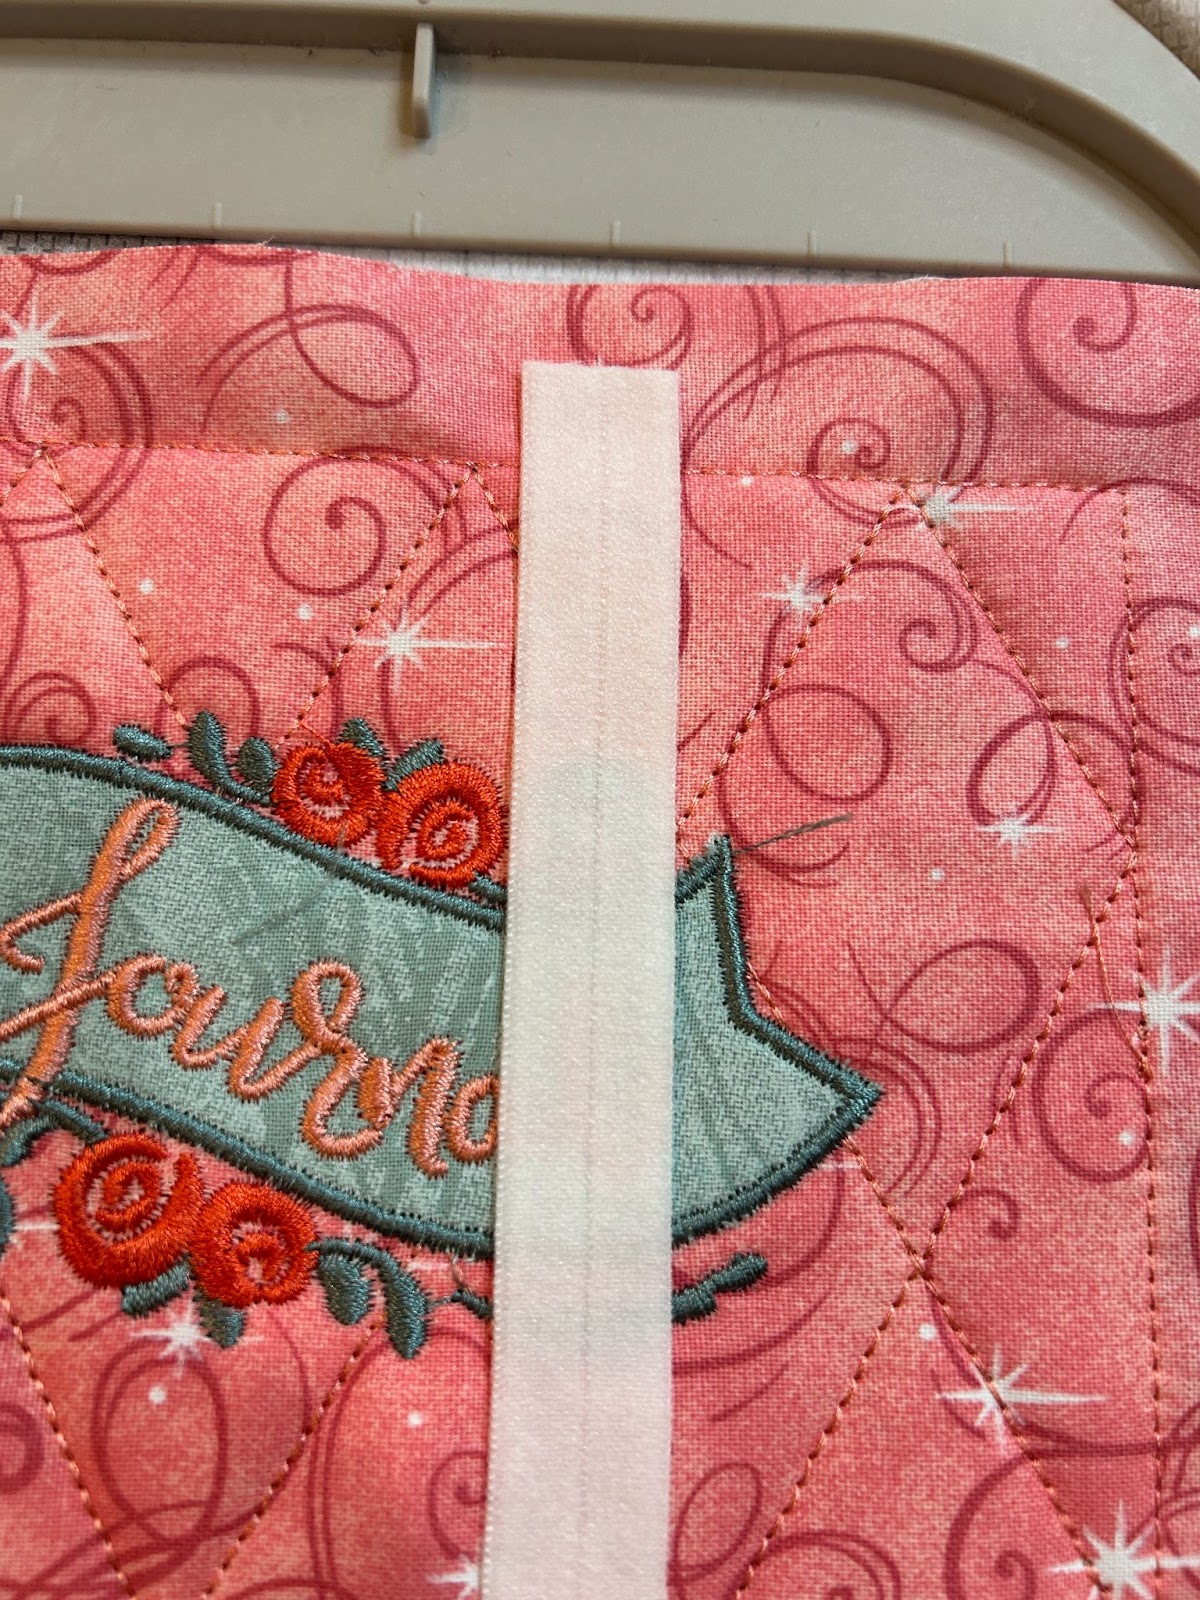
Stitch tack-down stitches.
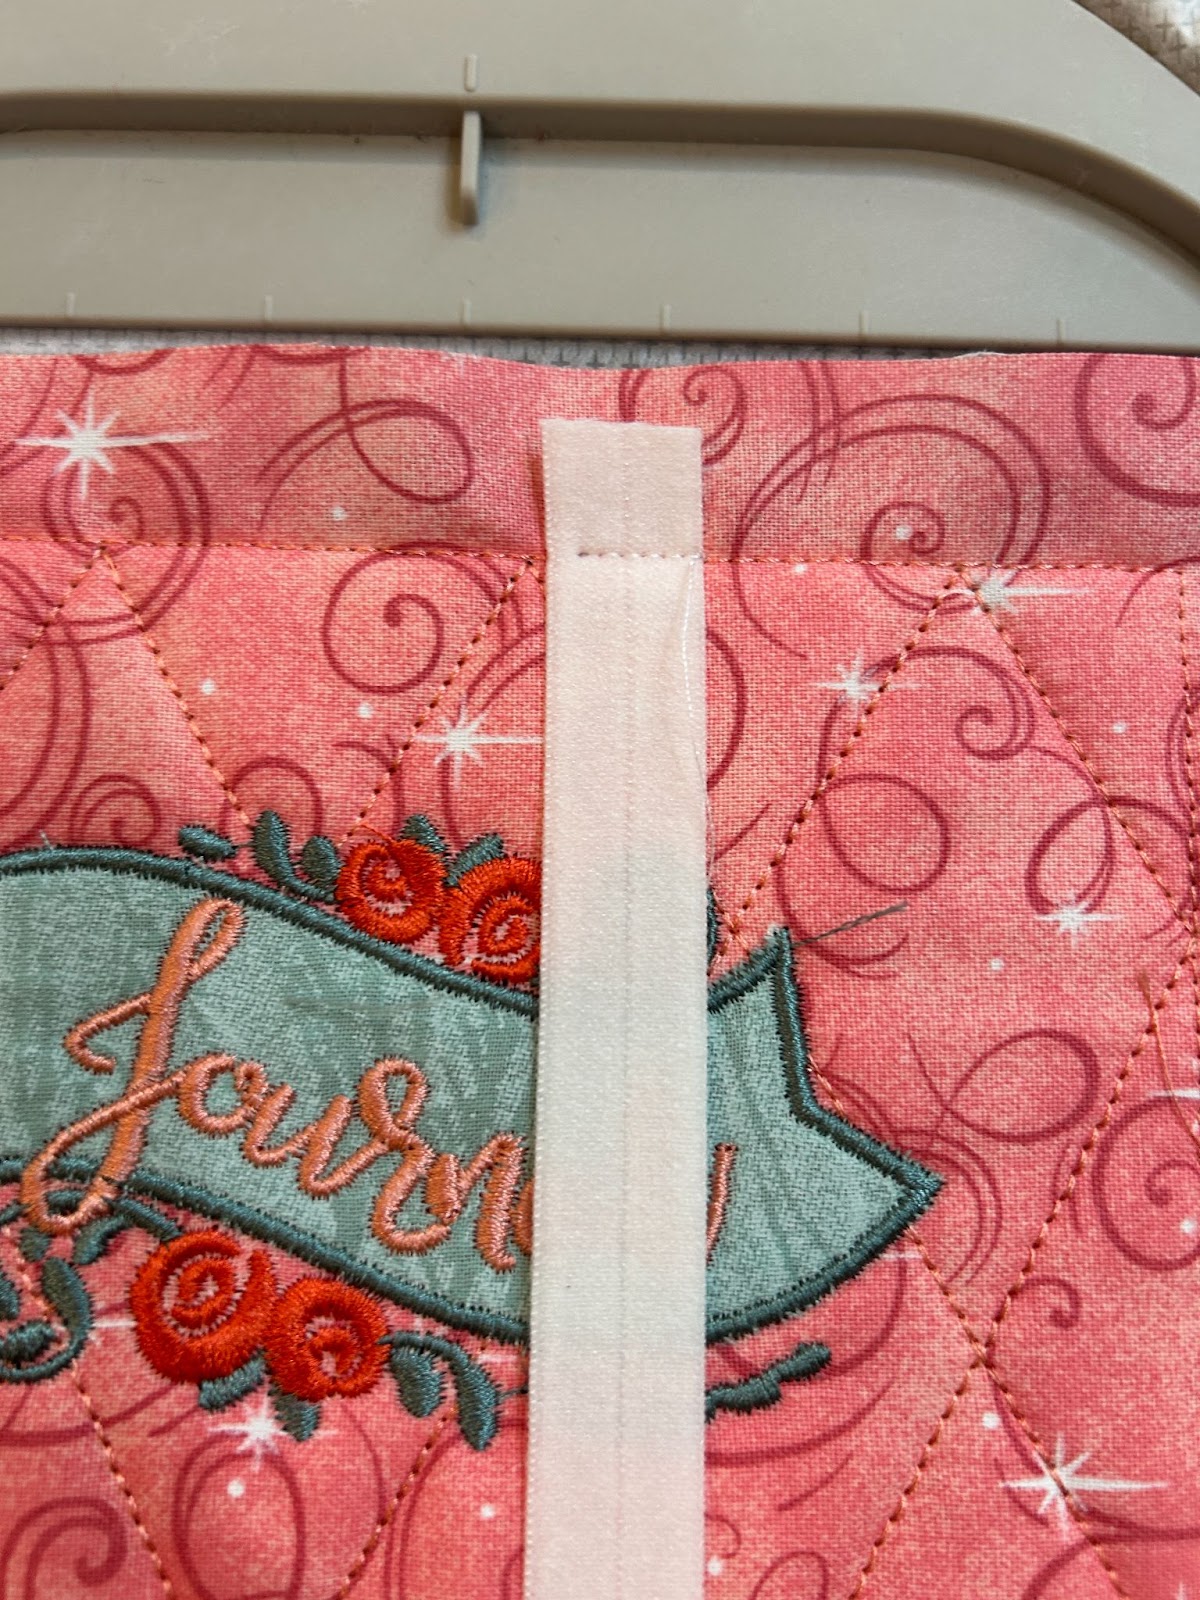
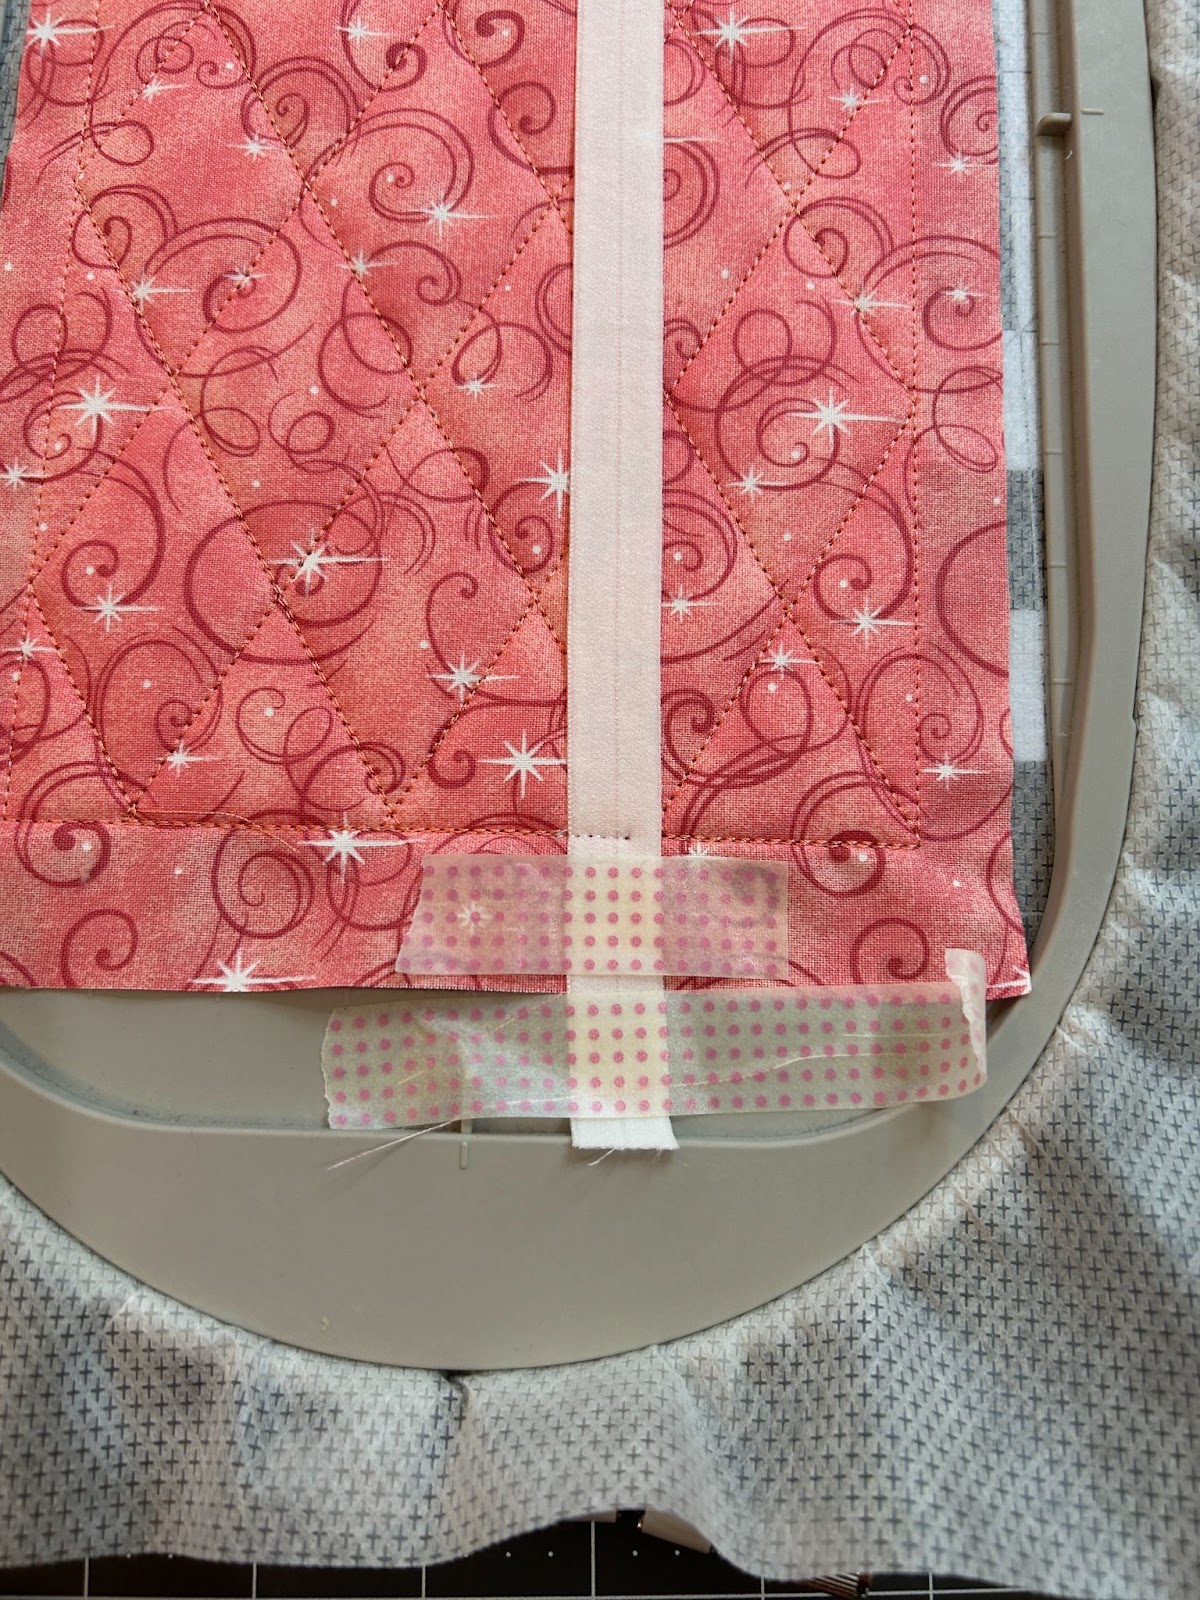
Hold the elastic out of the way and stitch the placement stitches for the bottom of the cover. You will then pull the elastic down to cover the tack-down stitches. You want it to overlap at least ½”, and you also want to make sure it’s taut and not floppy. So if you overlap more, that’s okay.
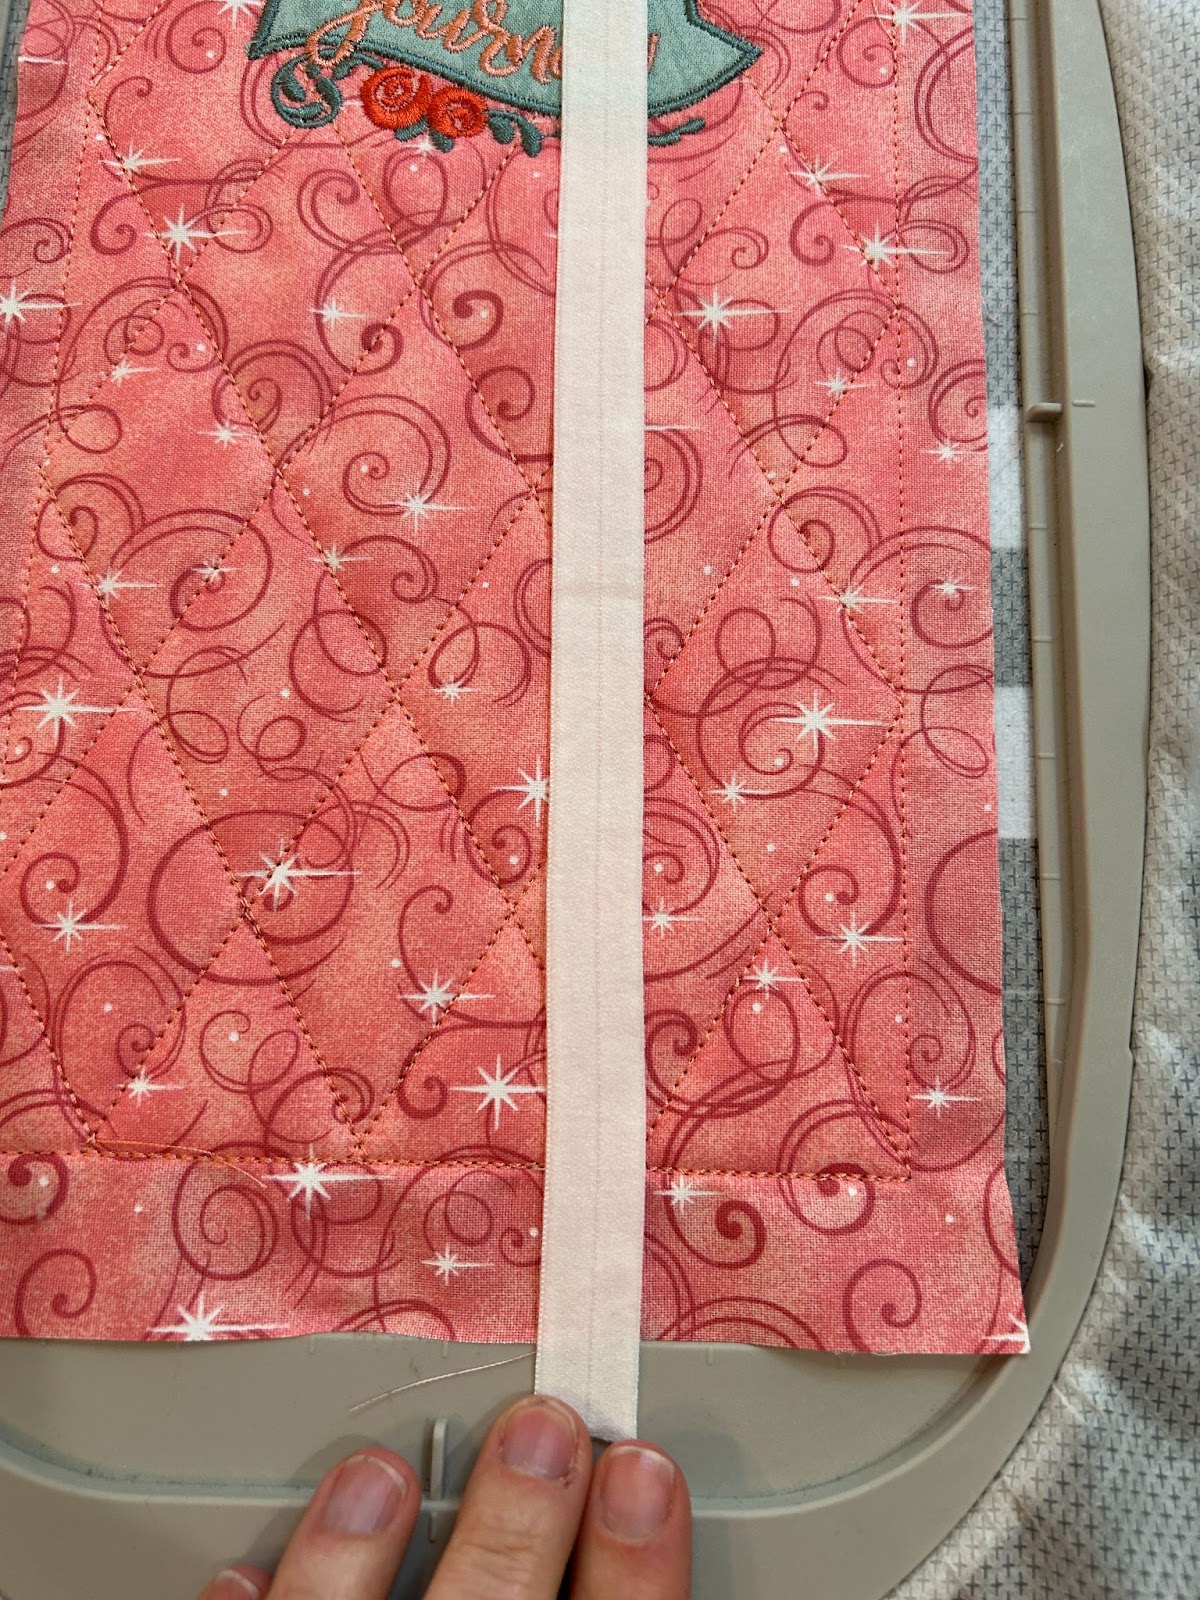
Tape it in place and stitch tack-down stitches.
Now we will attach the flaps and lining like we did for the back. Place the flap 1½” from the left stitches with the fold toward the left. Run the tack-down stitch.
Place the lining fabric with the fold, right side down, 1” from the right side of the stitches. Line up the raw edge on the right side and the fold on the left side. Run the tack-down stitches.

Remove from the hoop and trim the stabilizer close to the stitches.

Fold back the lining and trim the edge of the cover close to the stitches. I again have flipped this one upside down so I can more easily cut it with my rotary cutter.

Now for the spine. We are getting close! Hoop the stabilizer and stitch the left placement stitches.

Align it so the edge of the back cover is right on the placement line and even with the top and bottom line. Keep the lining fabric folded back. Tape in place.
Run the tack-down stitches.
Repeat for the right (front cover) side. Stitch the placement lines and line up the edge of the front cover. Make sure the lining fabric stays folded out of the way.

Run the tack-down stitches.
Now we stitch the placement lines for the spine.
Cover the placement lines with batting and stitch the tack-down stitches.

Trim the batting, making sure not to cut the cover. Holding the batting up while you trim is helpful.

Now cover the batting with the spine fabric right side up. Make sure the fabric covers the spine at least ½” all the way around.
Run the tack-down stitches and then we will trim the fabric along the sides. I sometimes angle the edges to make sure no raw edges will show. Do not trim the top or bottom.
Now we will stitch the decorative stitching on the spine.
After this is done we will add the optional pen pocket. If you don’t want a pen pocket, you can skip this part. Stitch the placement stitch for the pen pocket. The right side is a bit harder to see as it’s at the edge of the spine, but we know it’s there.

We now want to place the pocket fabric. We will overlap the placement stitches by ¼”. I like to put a little fold lengthwise in my fabric so that it creates some room for my pen. Line up the short folded edge with the top of the stitches and tape it in place.

Stitch the tack-down stitches.
Trim the sides close to the stitches but don’t trim the bottom.
Now we will do the decorative satin stitching along the spine and the pen pocket. Choose your colors for the satin stitch and the optional bean stitch.
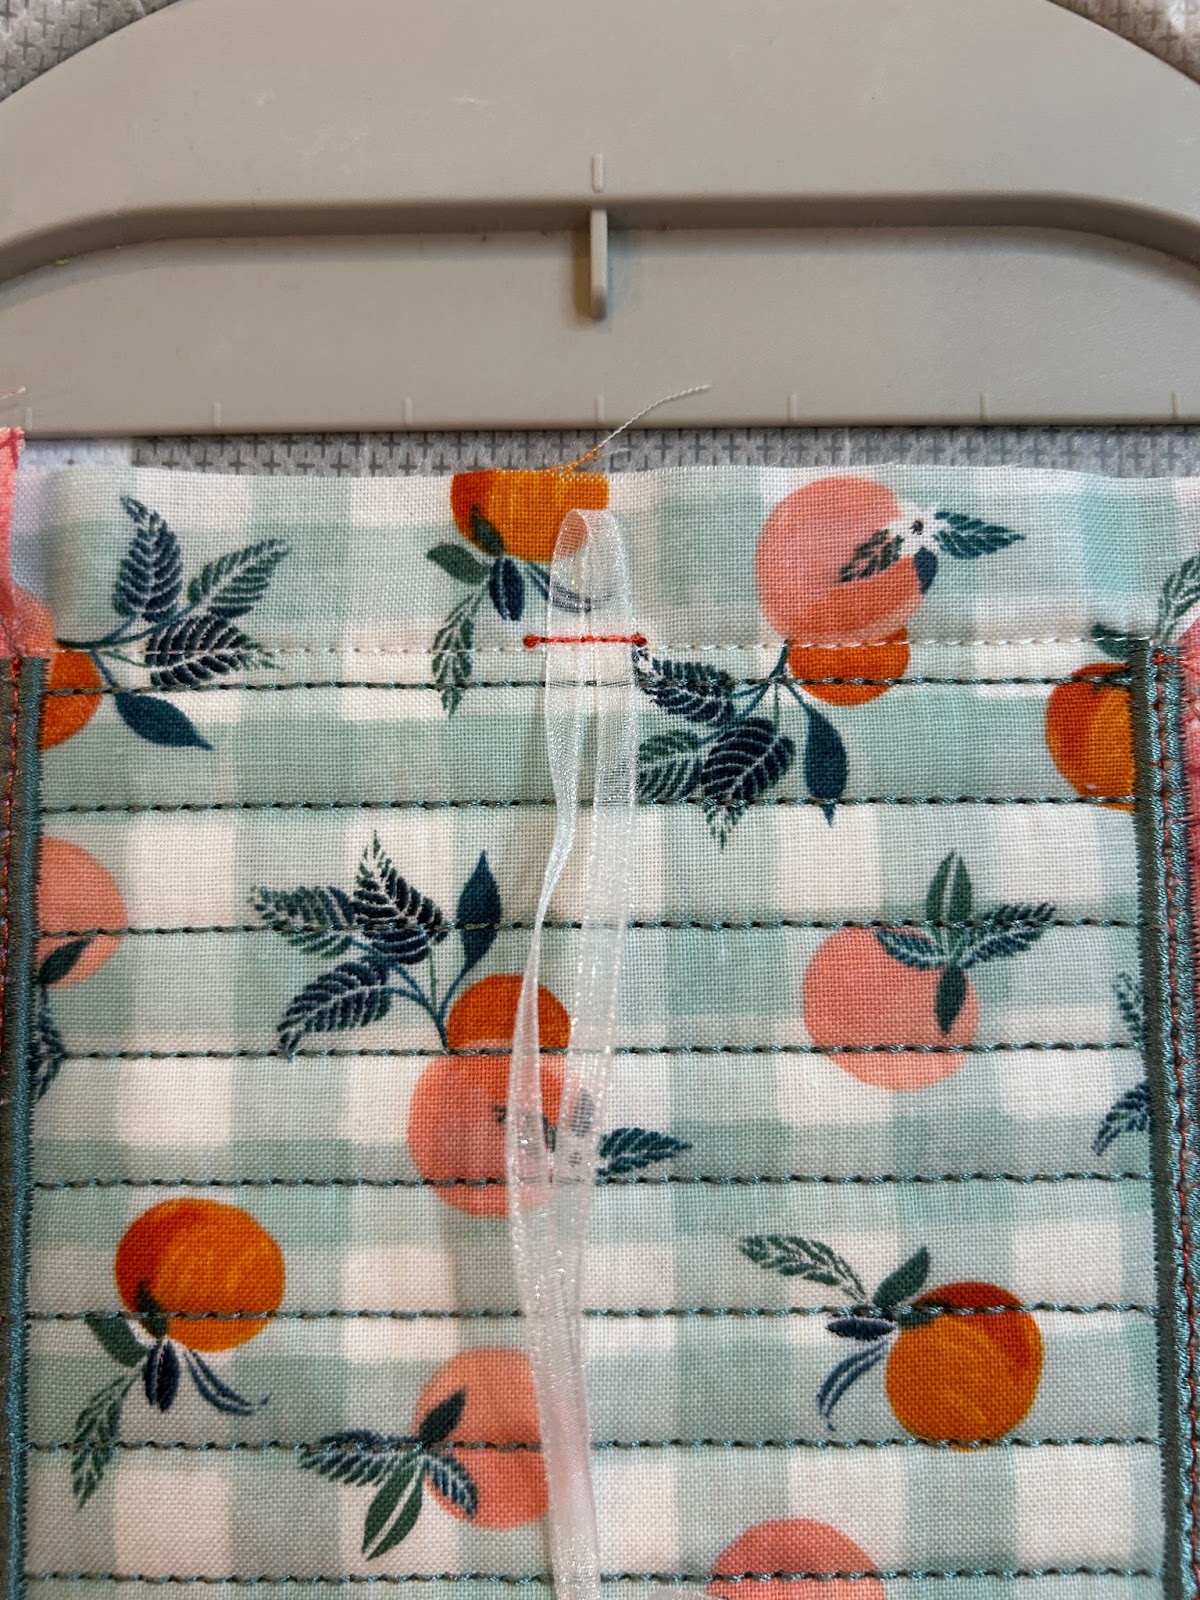
Next is a placement stitch for the optional bookmark ribbon. This time I used a double length of ribbon and folded it in half. I placed the fold above the placement stitch and then tacked it down. This gives me two bookmarks for this notebook.
Next we will prepare for attaching the lining. If you added a ribbon, tape it securely in the center of the spine so it doesn’t get sewn into the edges.
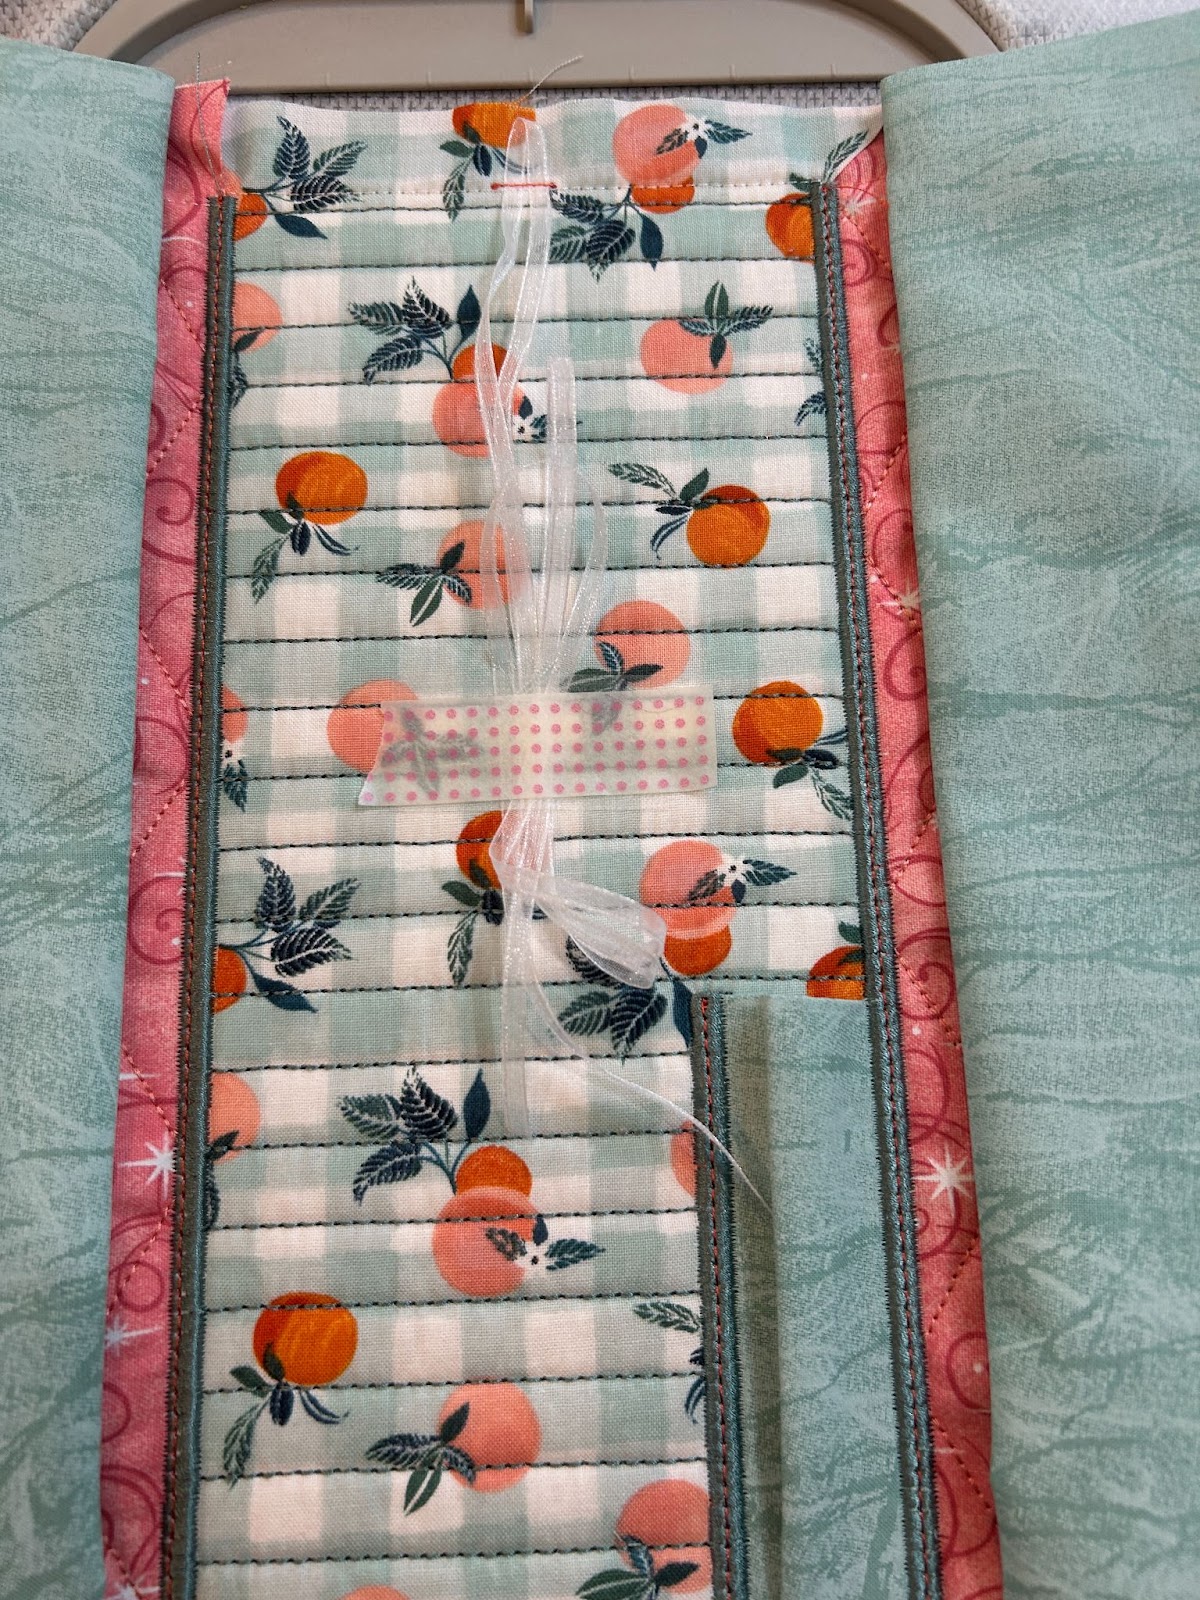
Fold the right side in first. This is the lining fabric with the fold.
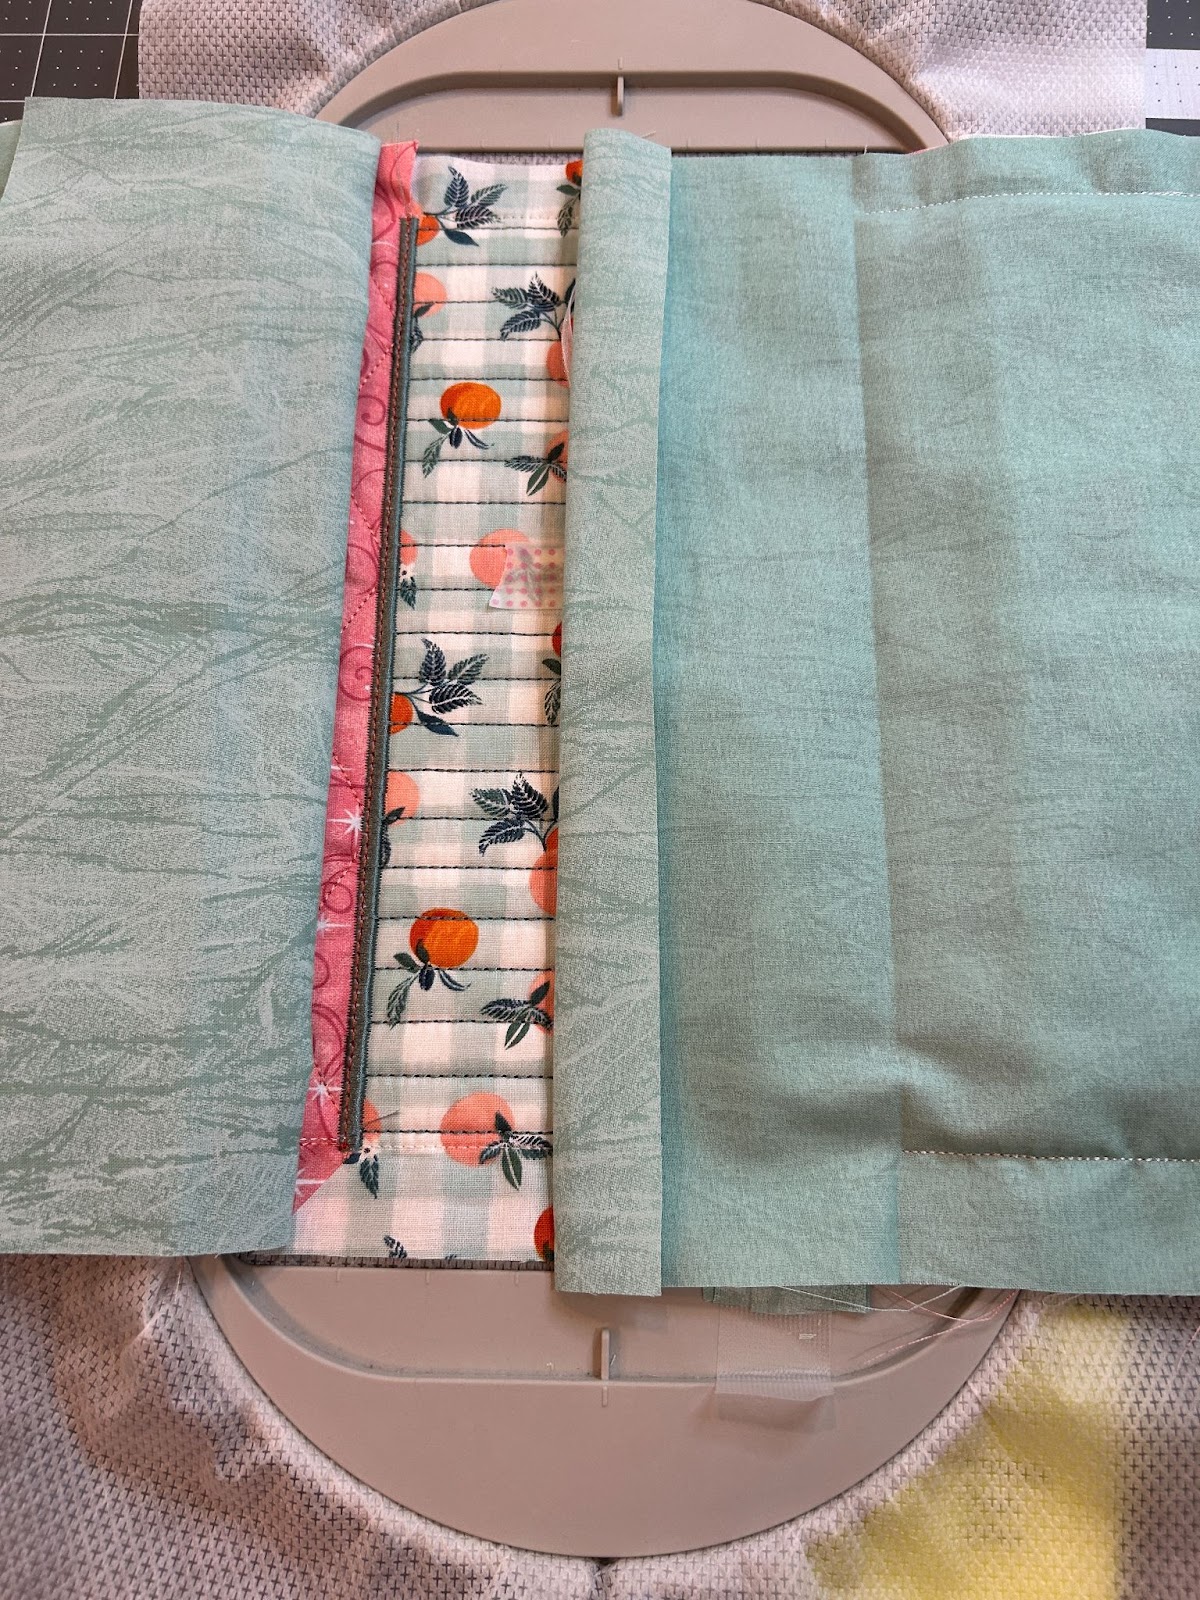
Then fold the left side fabric over the right side. Make sure everything is nice and smooth. Tape down the edges to hold in place.

Stitch the lining in place.
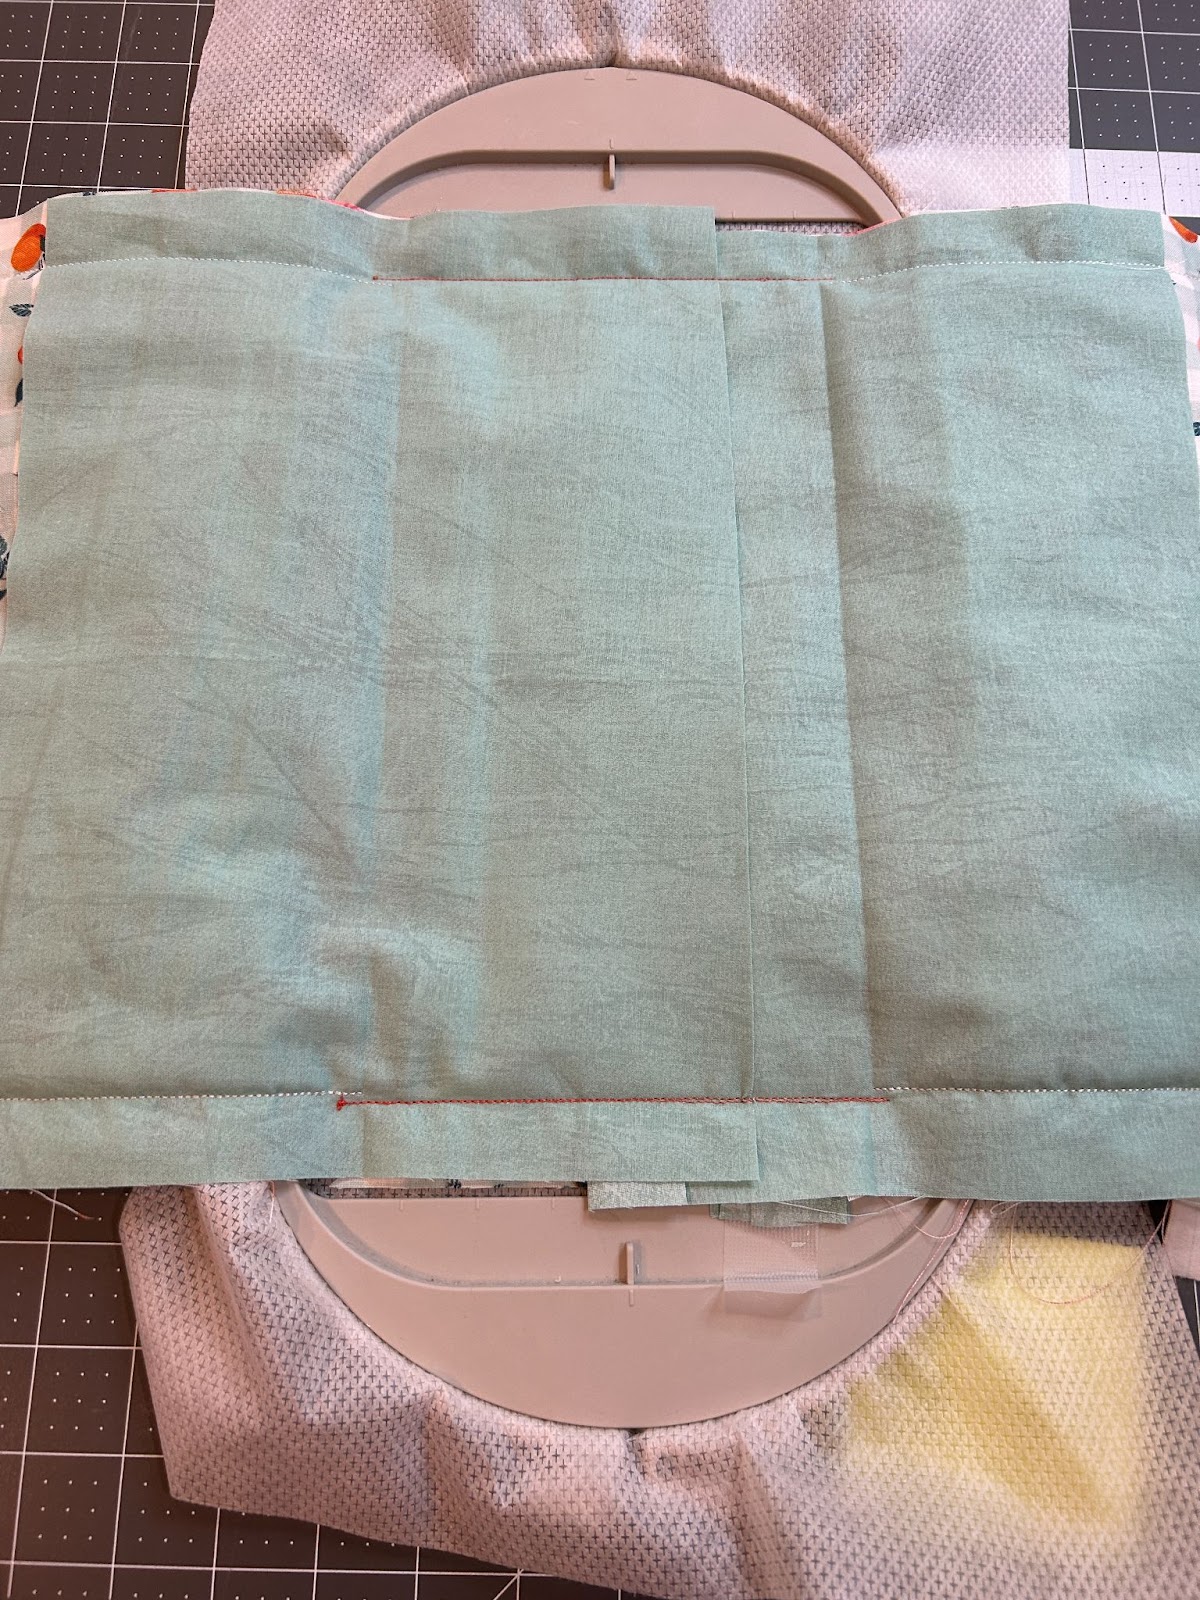
Remove from the hoop and trim the stabilizer close to the stitches.

Cut around the edges ¼” from the stitches.
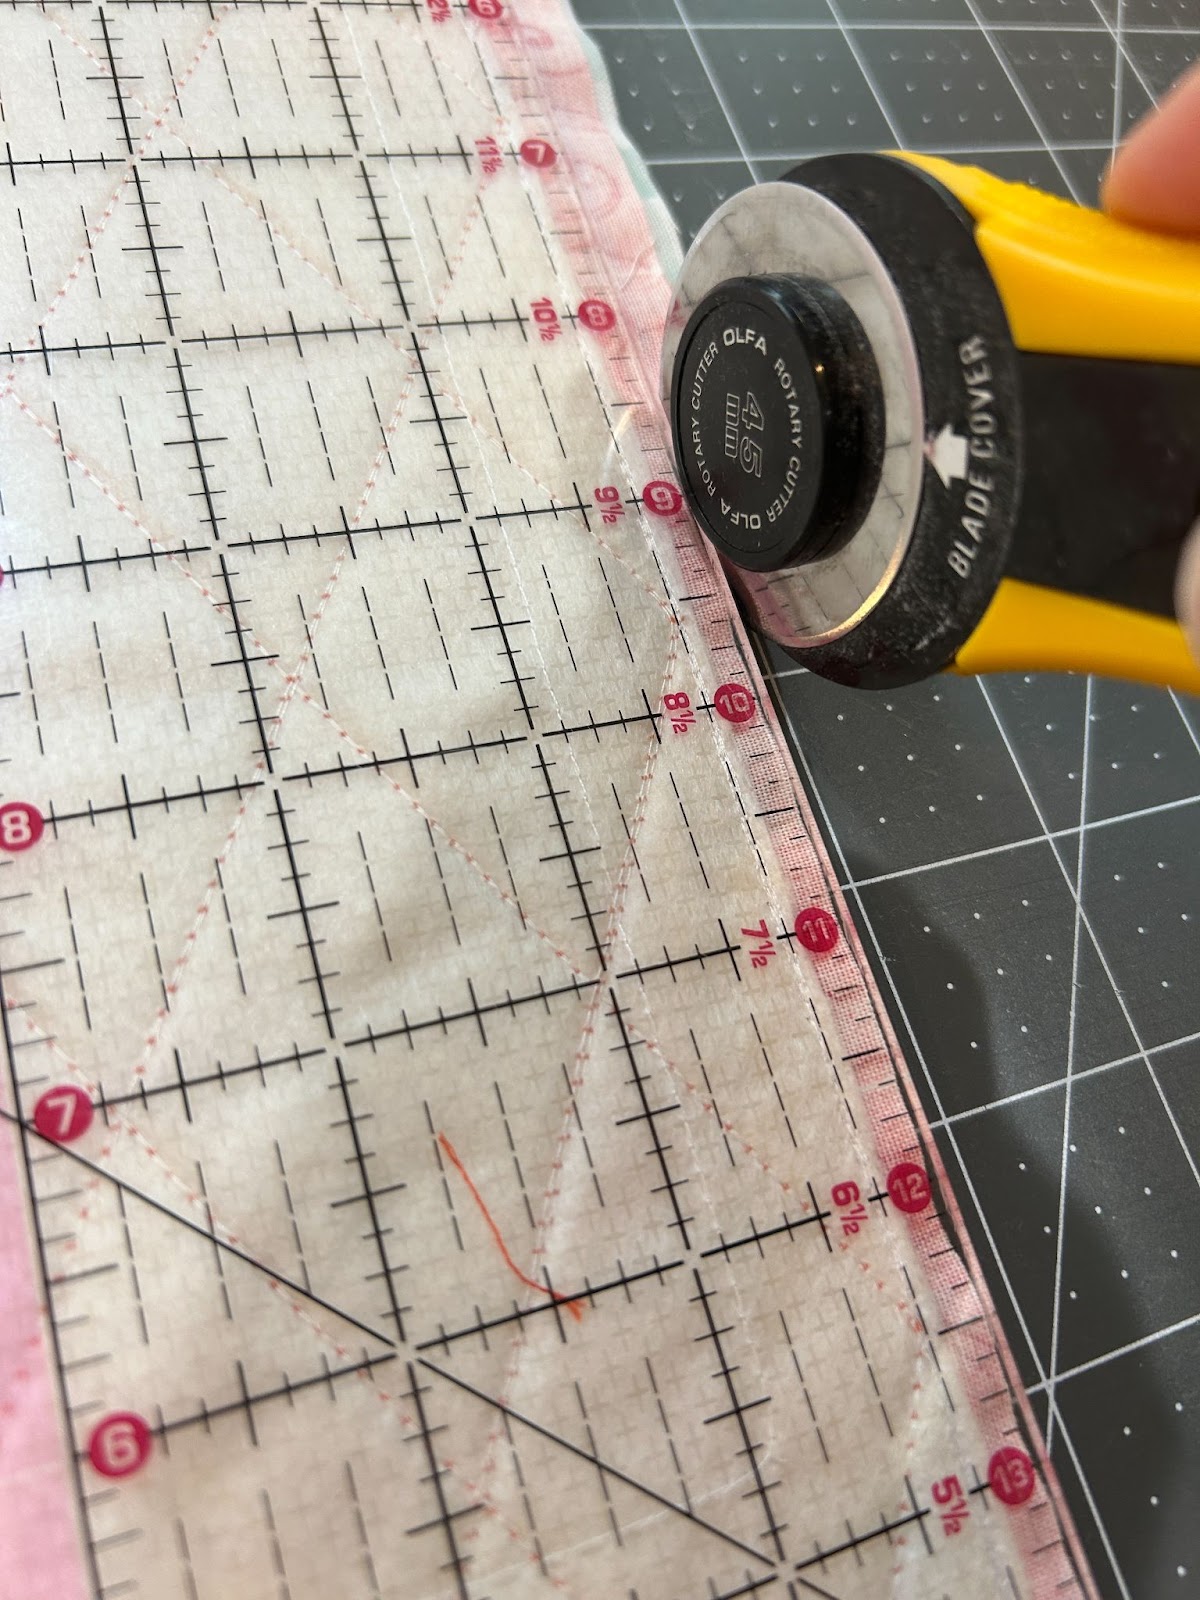
Trim the corners.
Reach through the lining and pull the project right side out.

Turn the flaps and make sure you get the corners pushed out.

Press the cover.

And slide your notebook in. You may need to bend the back cover a bit to fit.
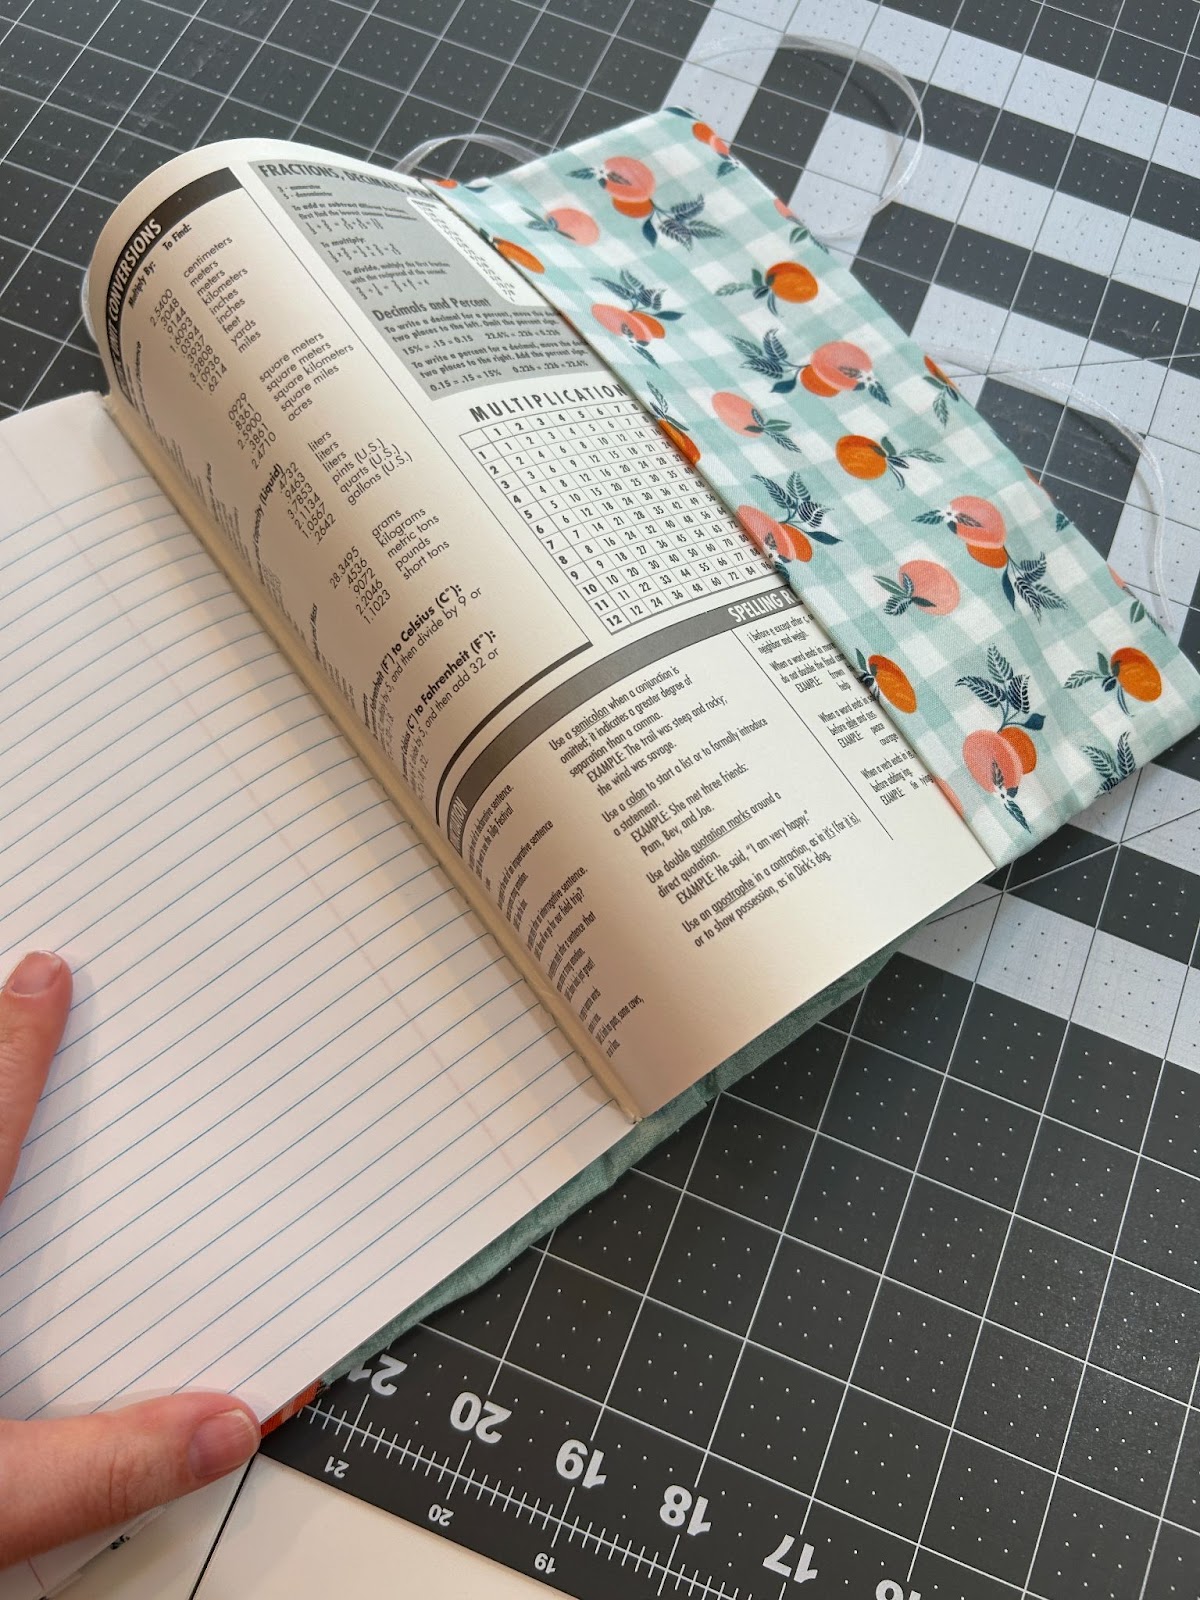
And it’s finished!
Now that you’ve stitched one up, don’t be surprised if every notebook in your house starts begging for a new outfit. Maybe they want to coordinate or maybe they all want to be set apart in their own style.

We can’t wait to see how you make your notebook covers, so share your projects with us in the Designs by JuJu Embroidery Blessings Facebook Group or anywhere on social media using the hashtag #designsbyjuju. We love to see what you create!
